Jodhpur guy looks like he has a story (who wears those pants unless horseback riding?!). Nice detail so far, looks like a small scale.
1 Like
Shoplifters …
also useful when stealing apples …
2 Likes
Of course! That’s why my budgy smugglers didn’t work too well last time I went to the shops…
2 Likes
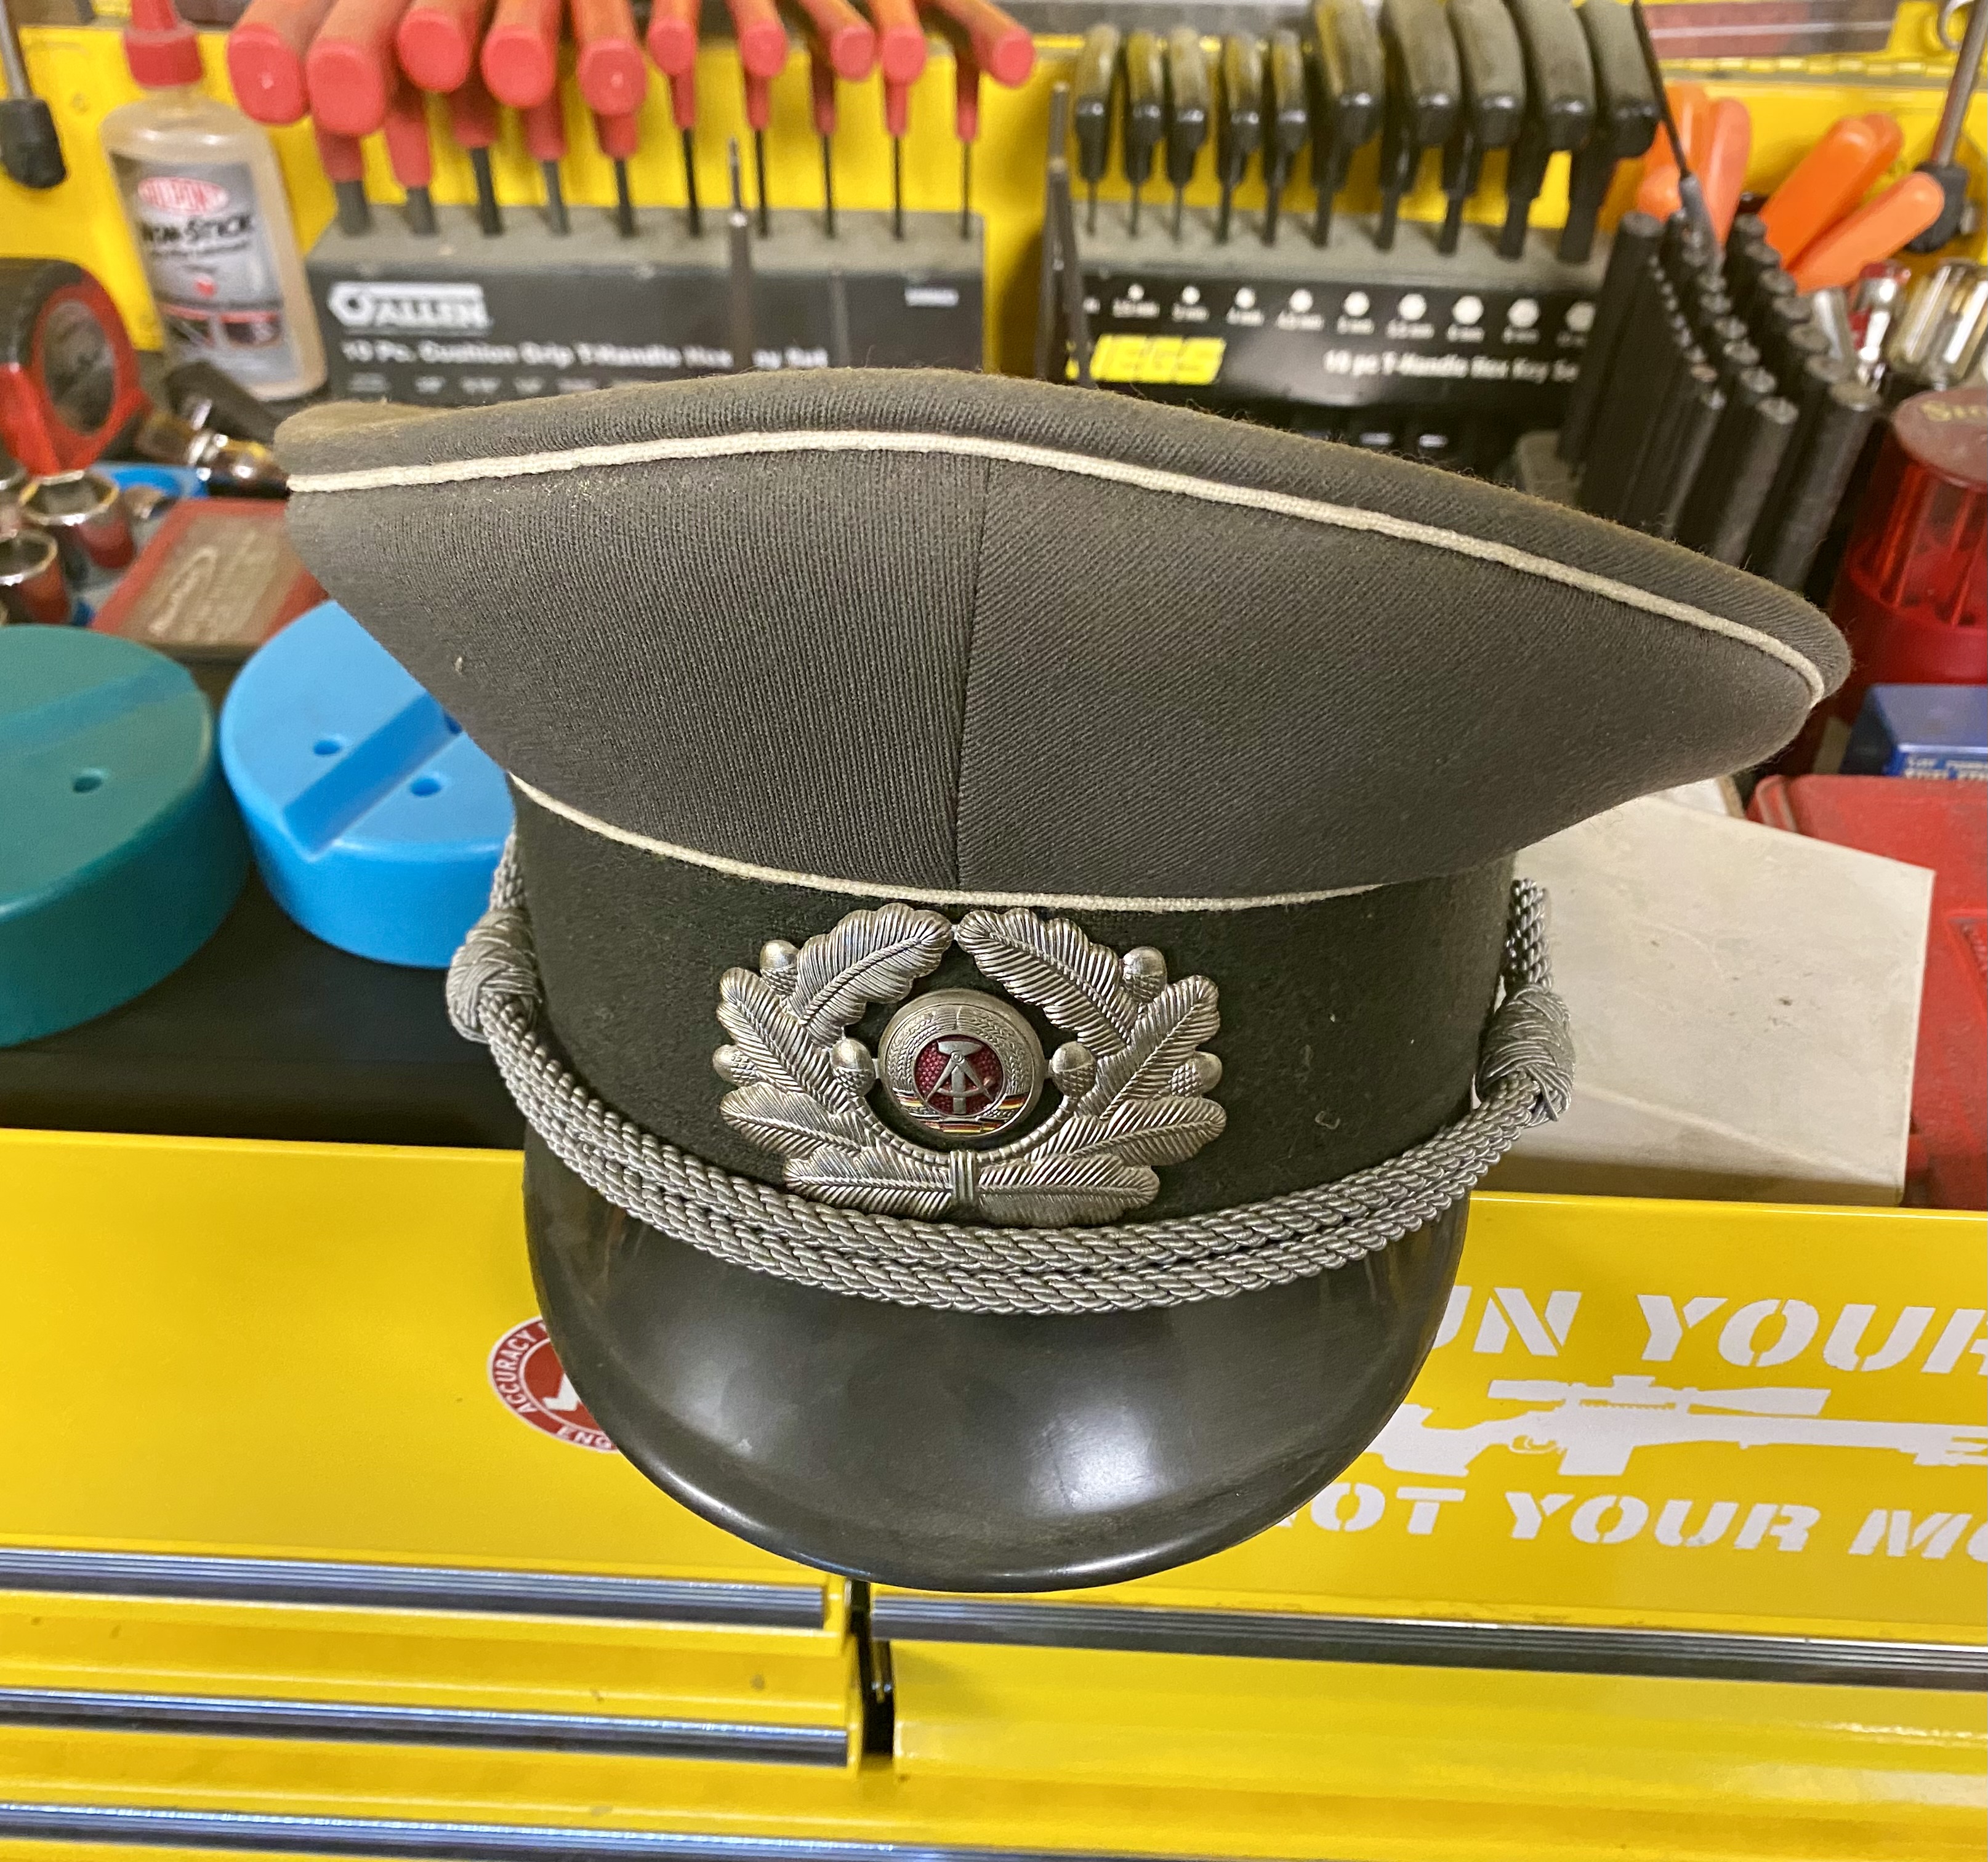
I’ll have to find the picture of myself in a DDR Grenztrupen officer’s uniform complete with jodhpurs, pebbled boots, shirt, cap and tie with the wollen great coat that I bought at the Alexandria surplus store Full Metal Jacket in the basement of Hunter’s Haven/Potomac Arms, formerly a division of the Interarms Corporation. You can look it up…
I wore it for a Halloween party in 94 or 95. I gave the uniform away 30 pounds ago but I still have the hat:
@Uncle-Heavy @Armor_Buff I found it, LOL. Complete with porn stache, 1993 at girl friend’s apartment.
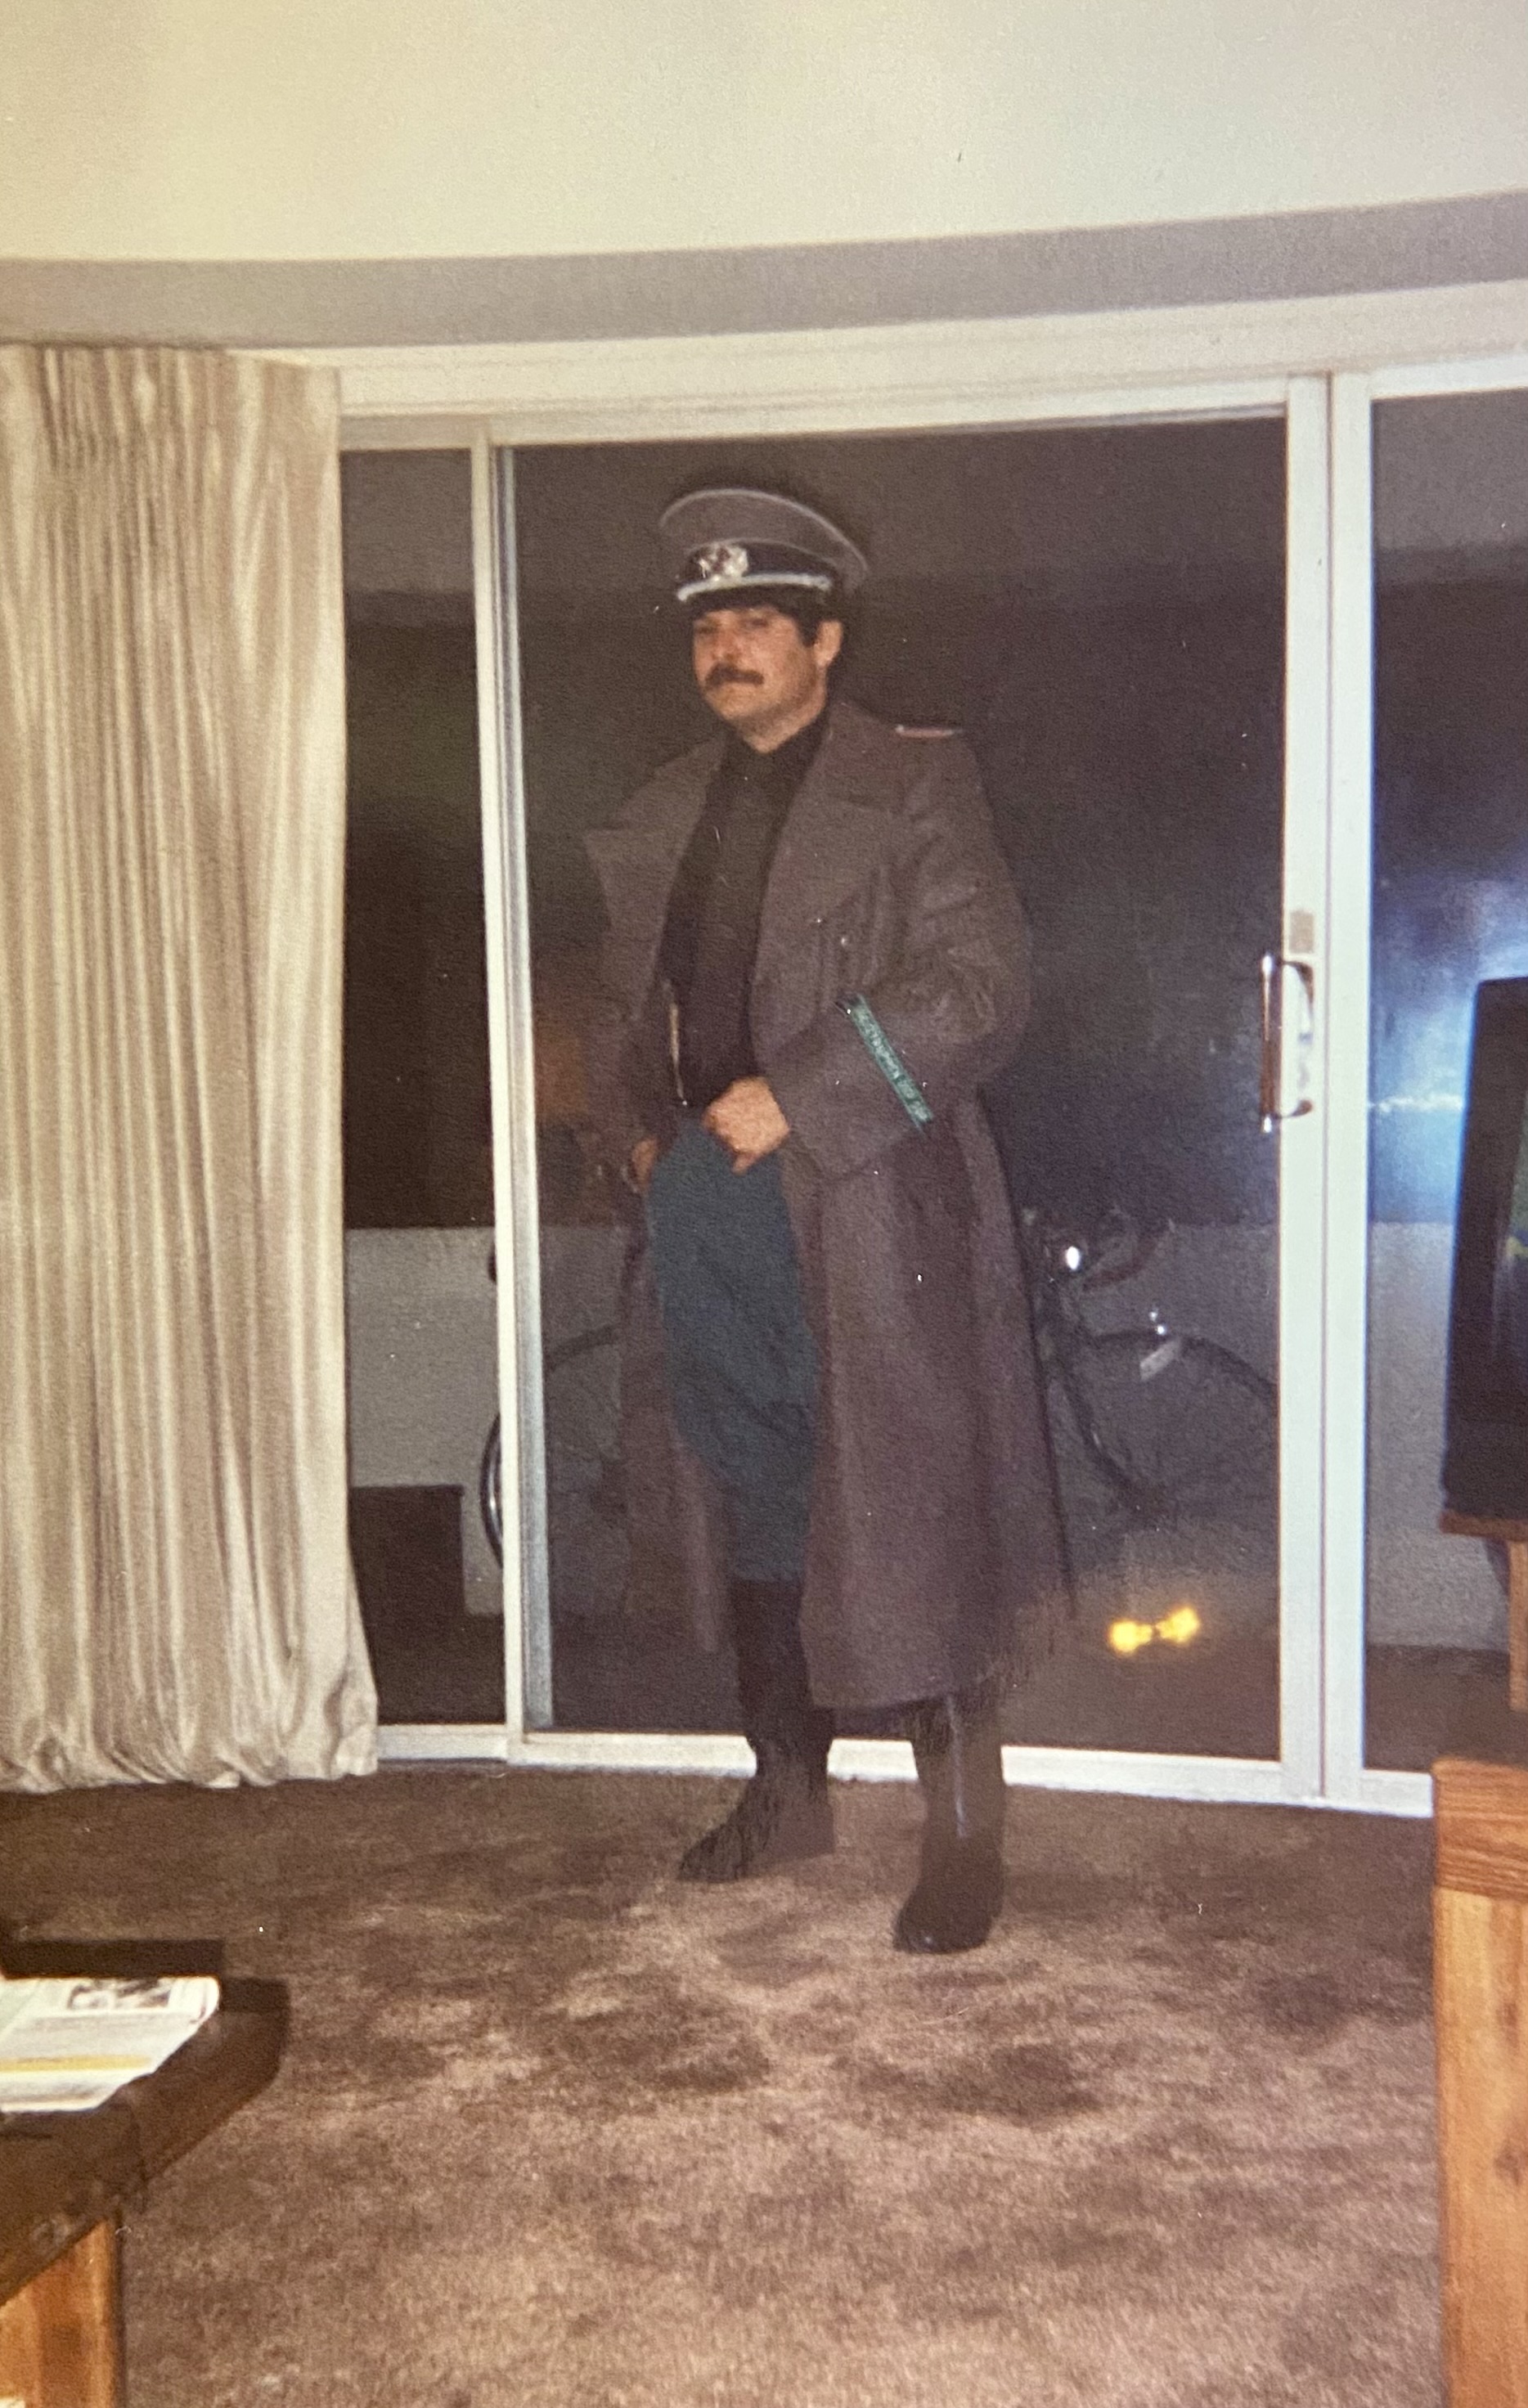
I remember now I was working at a dealer that made me get a hair cut as a condition of my employment.
10 Likes
Thank you Rokket -all 1/35.
1 Like
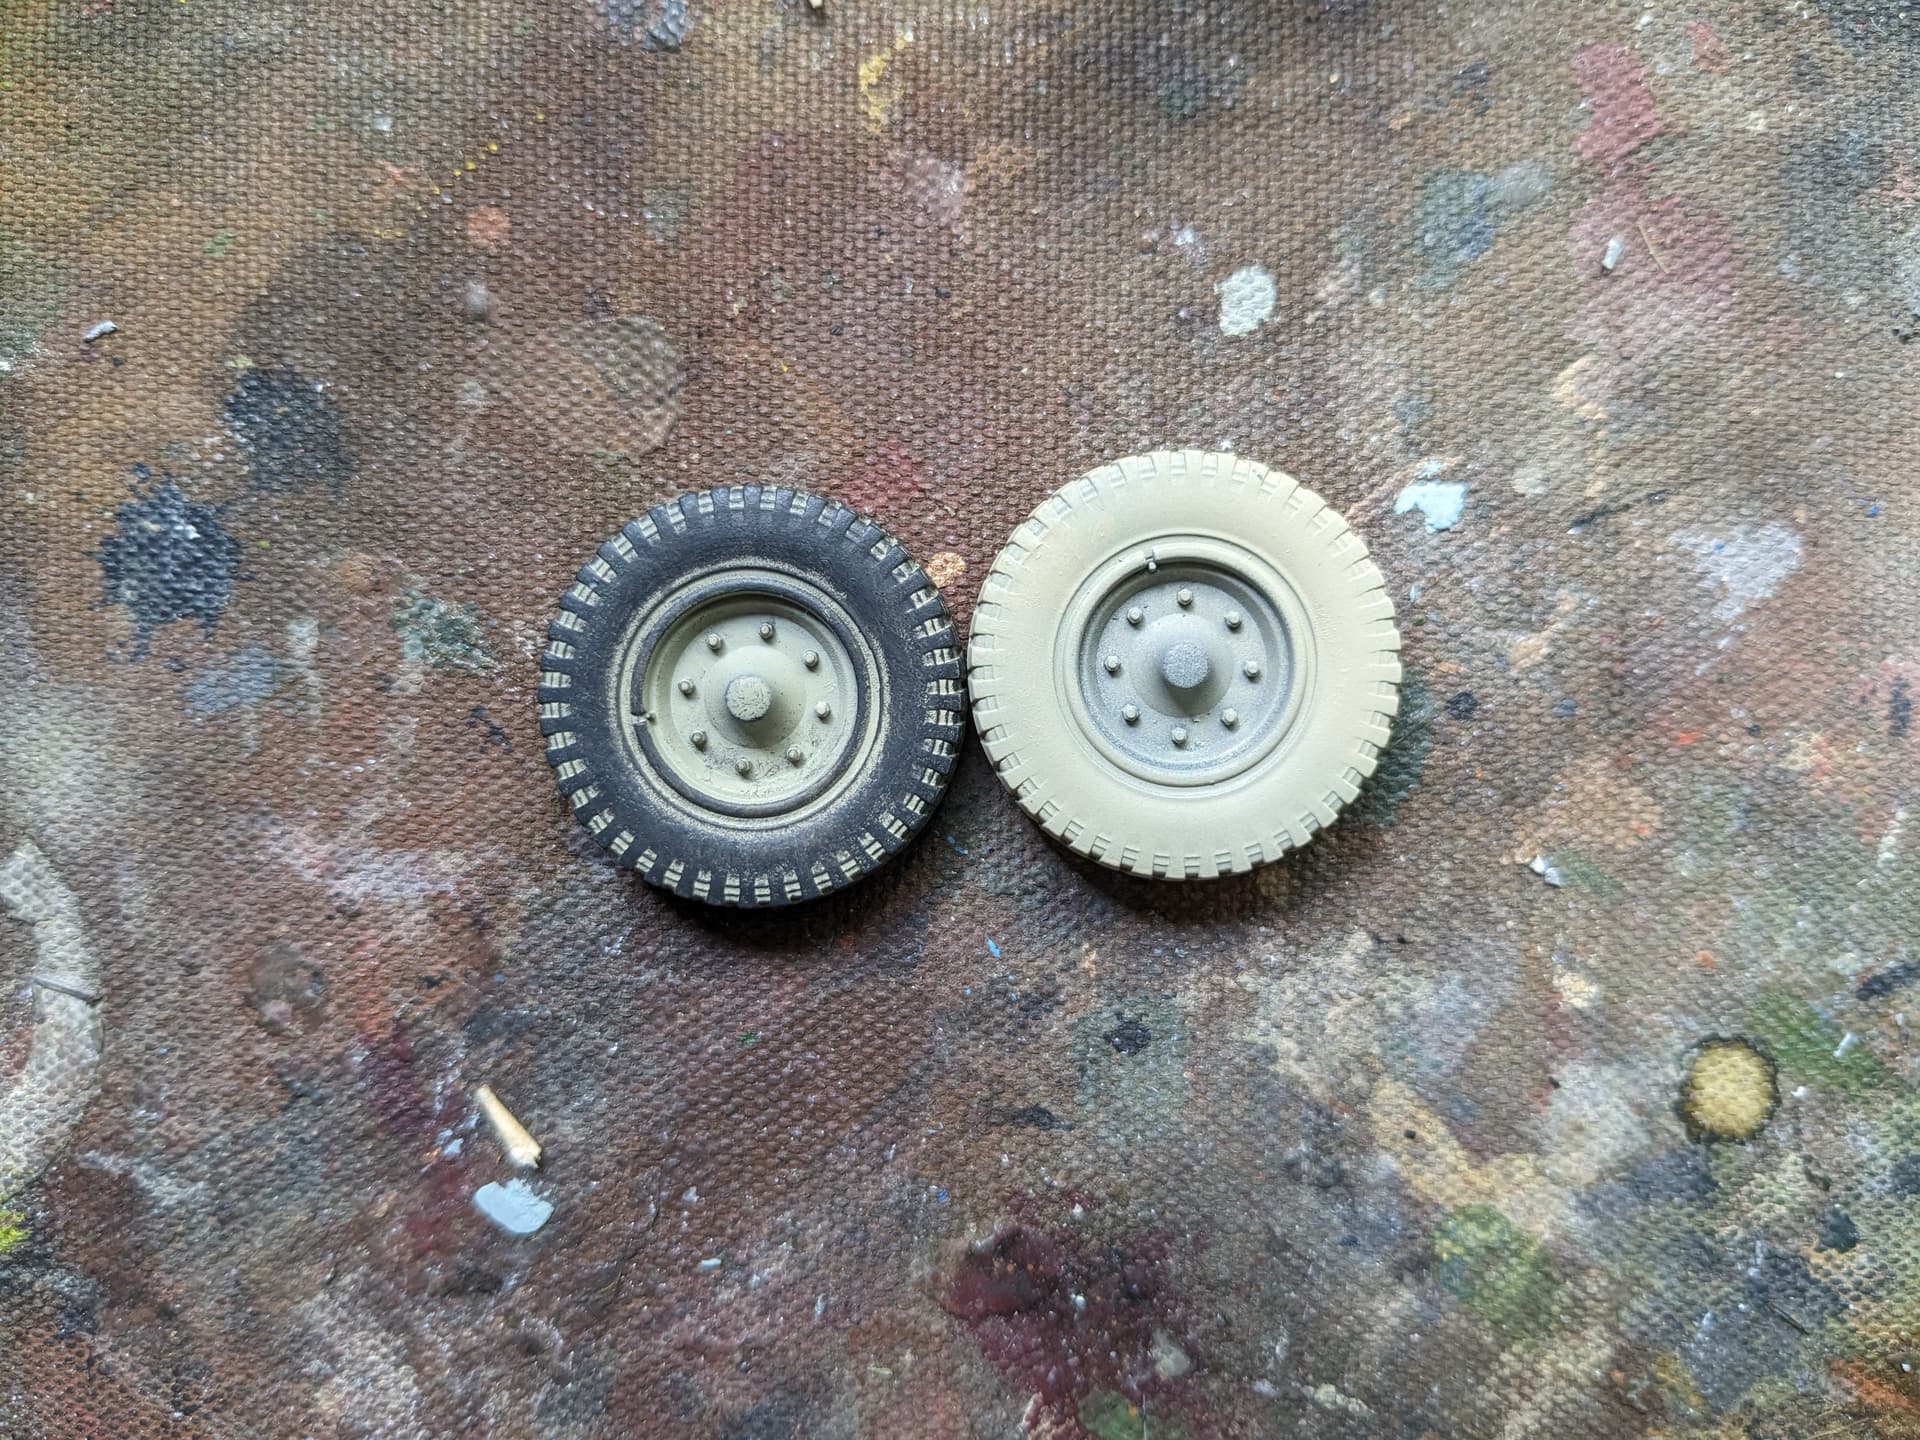
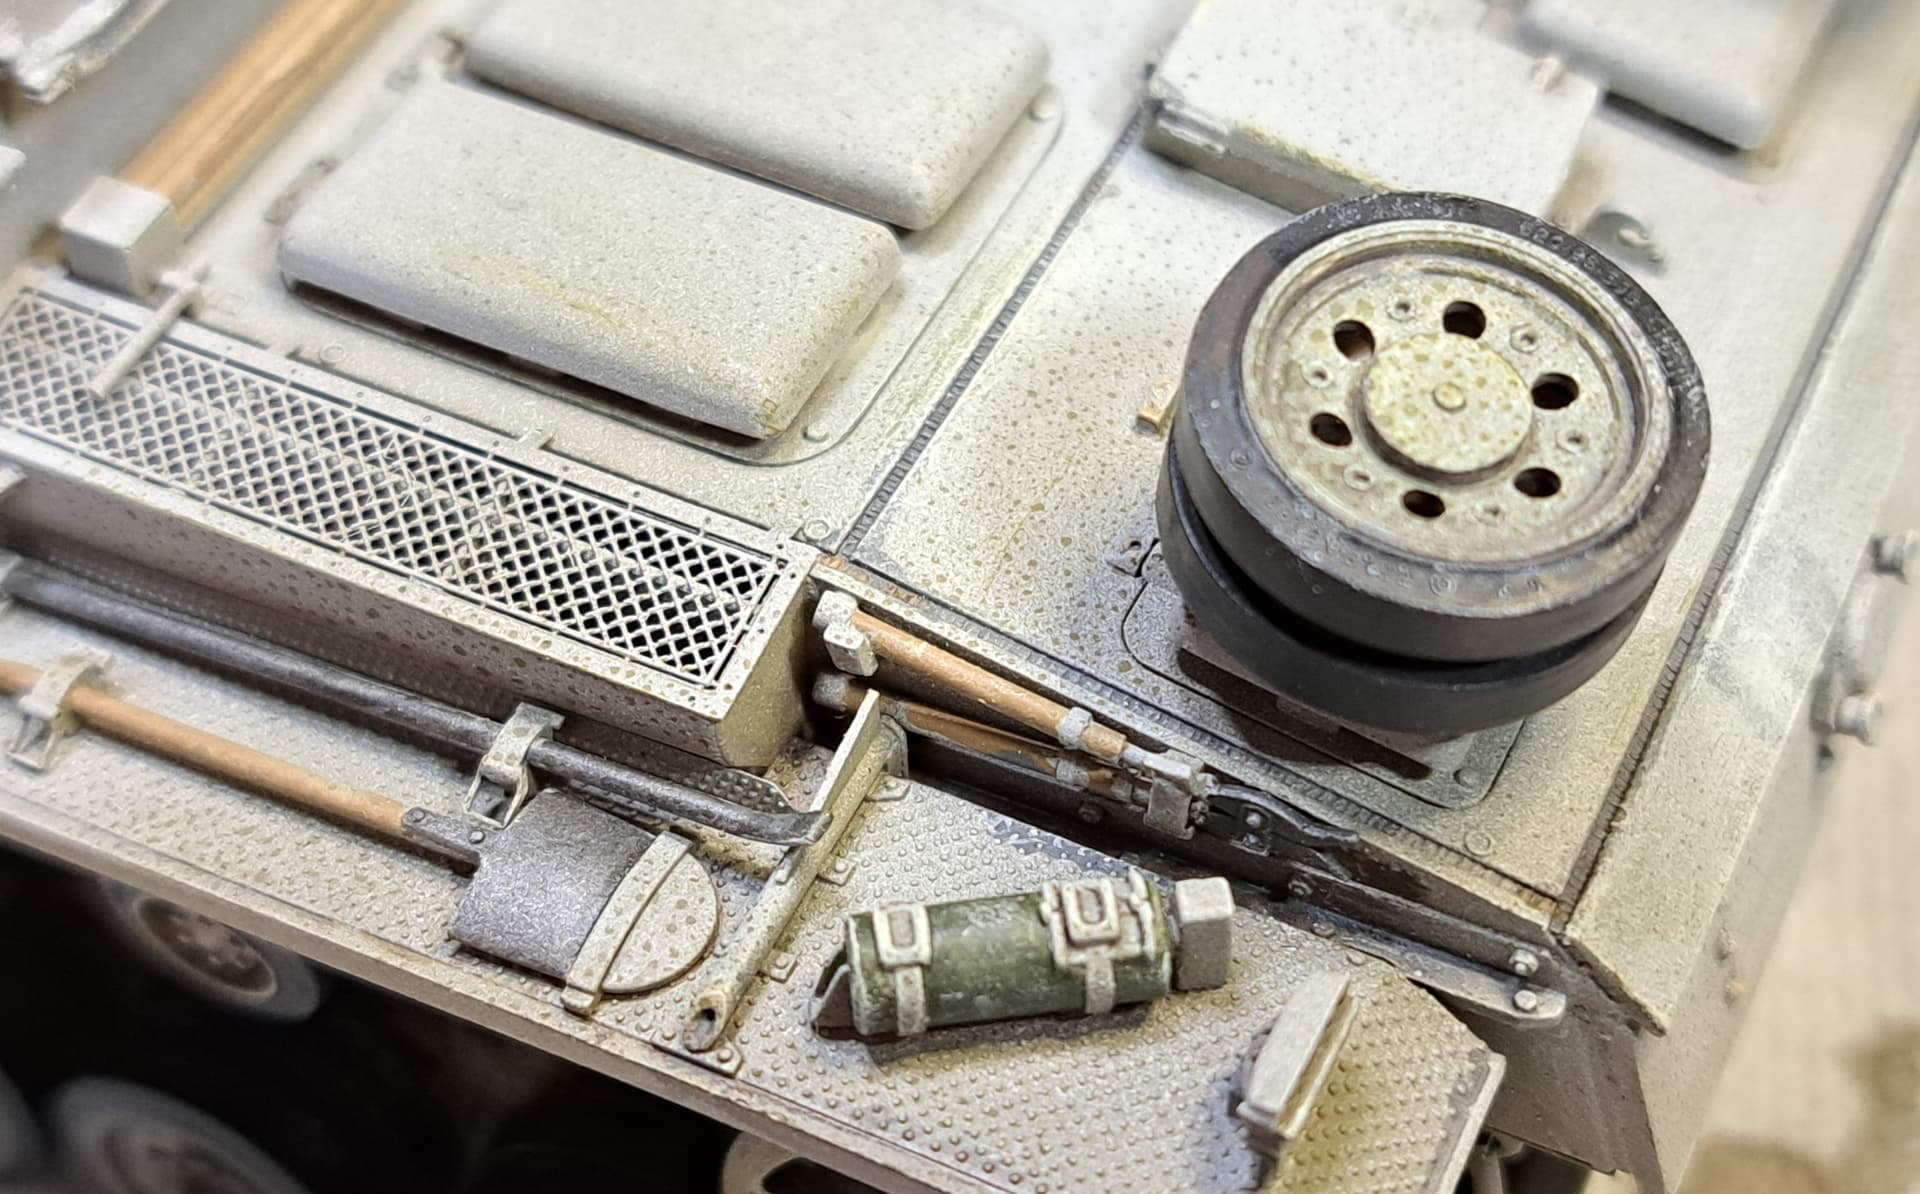
Worked on a front wheel for my Sd.Kfz. 251/17. Here’s how I did the tires:
Step 1: Base coat with a sandy/dusty color
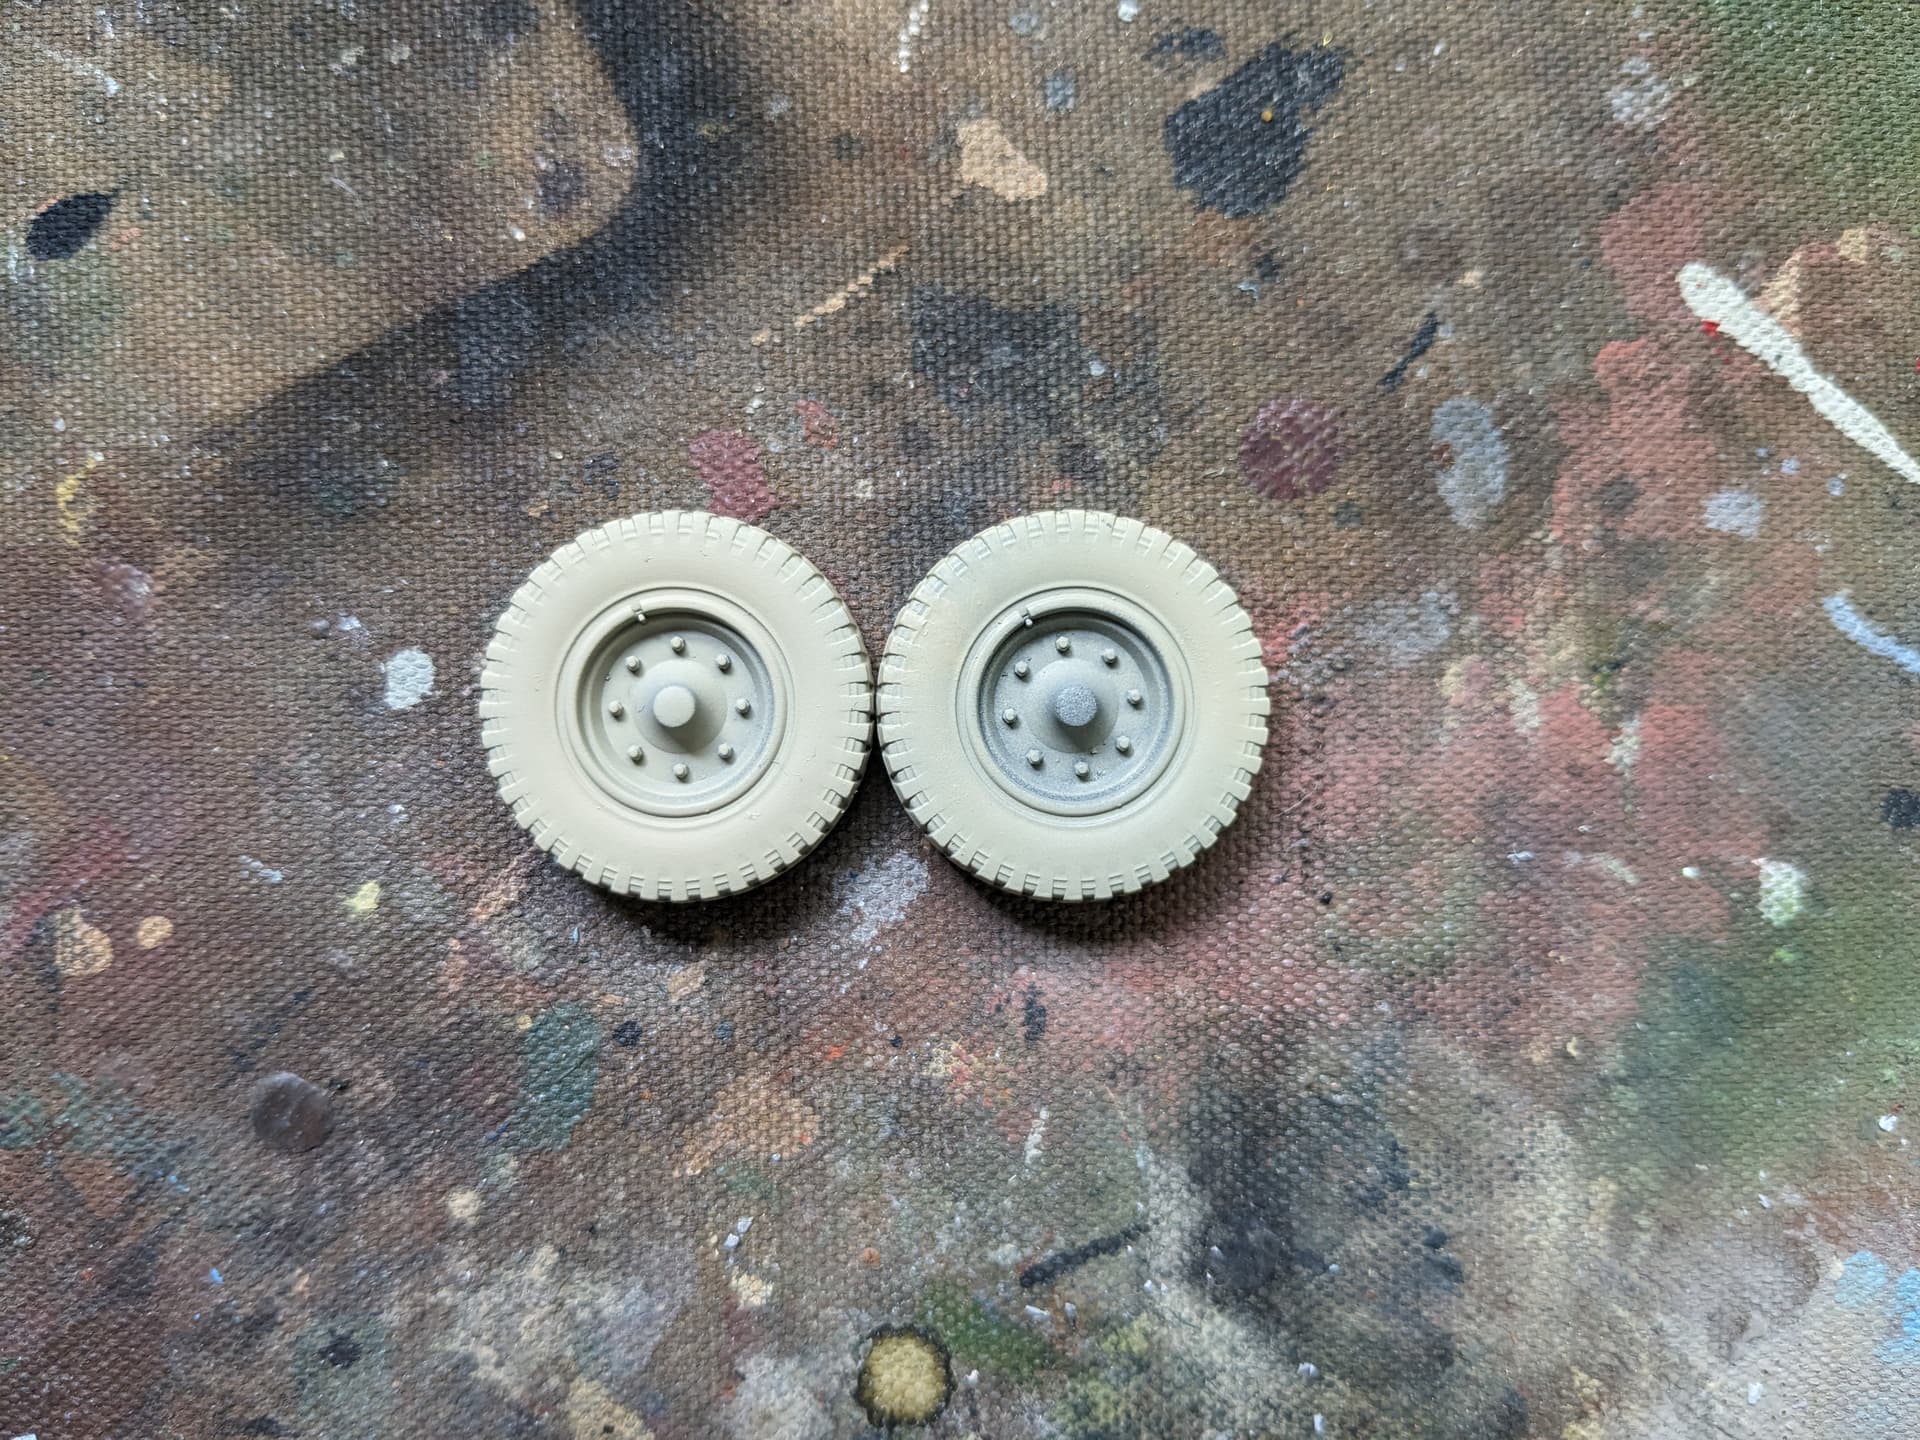
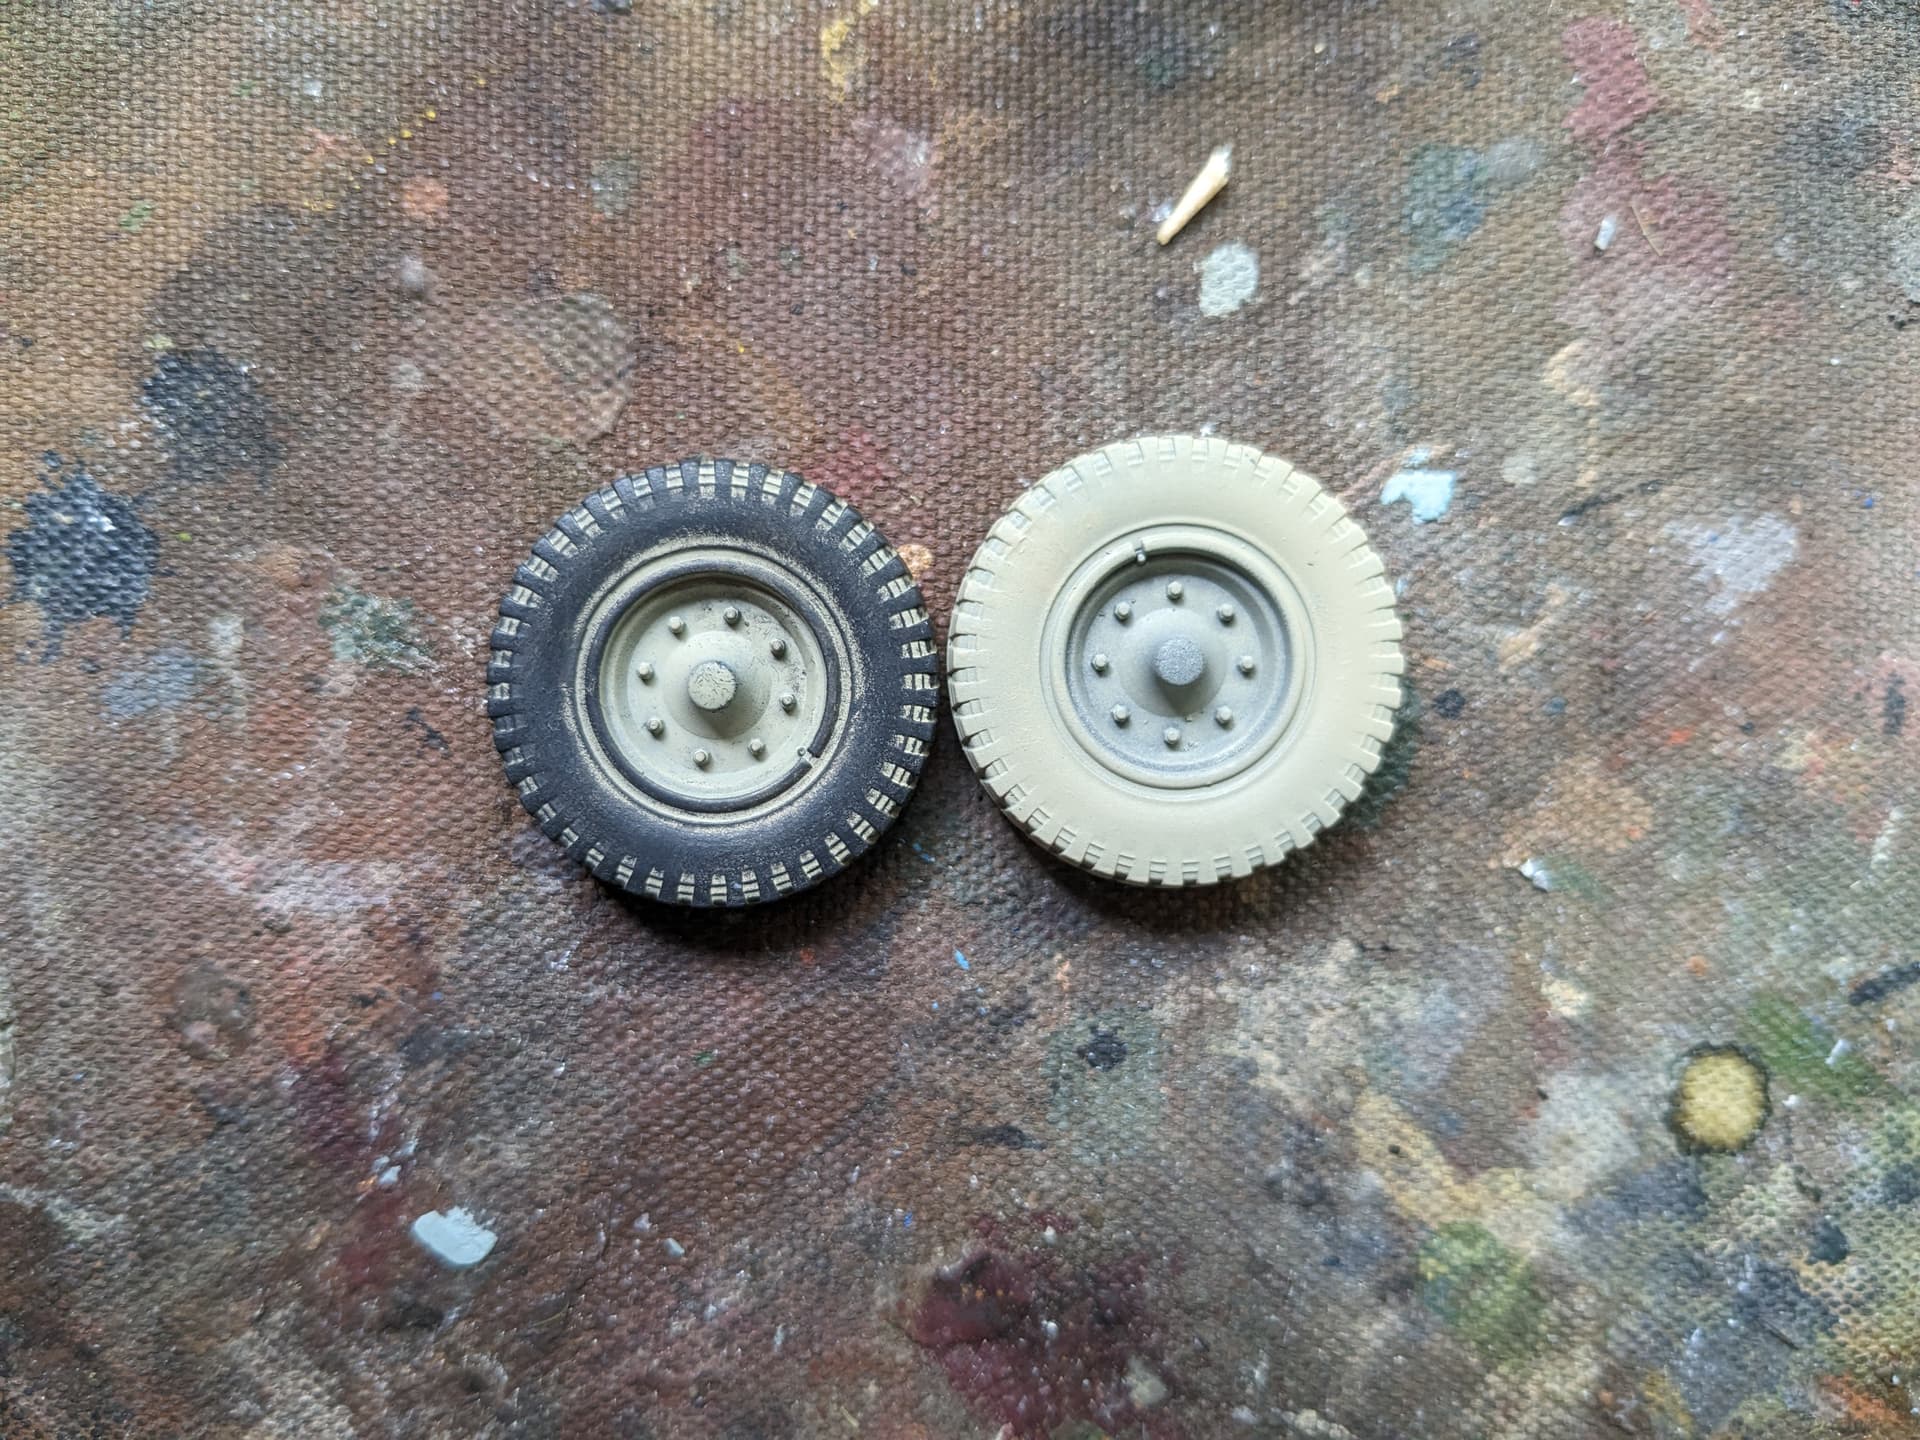
Step 2: Drybrush a mix of 75% of the sand color and 25% black
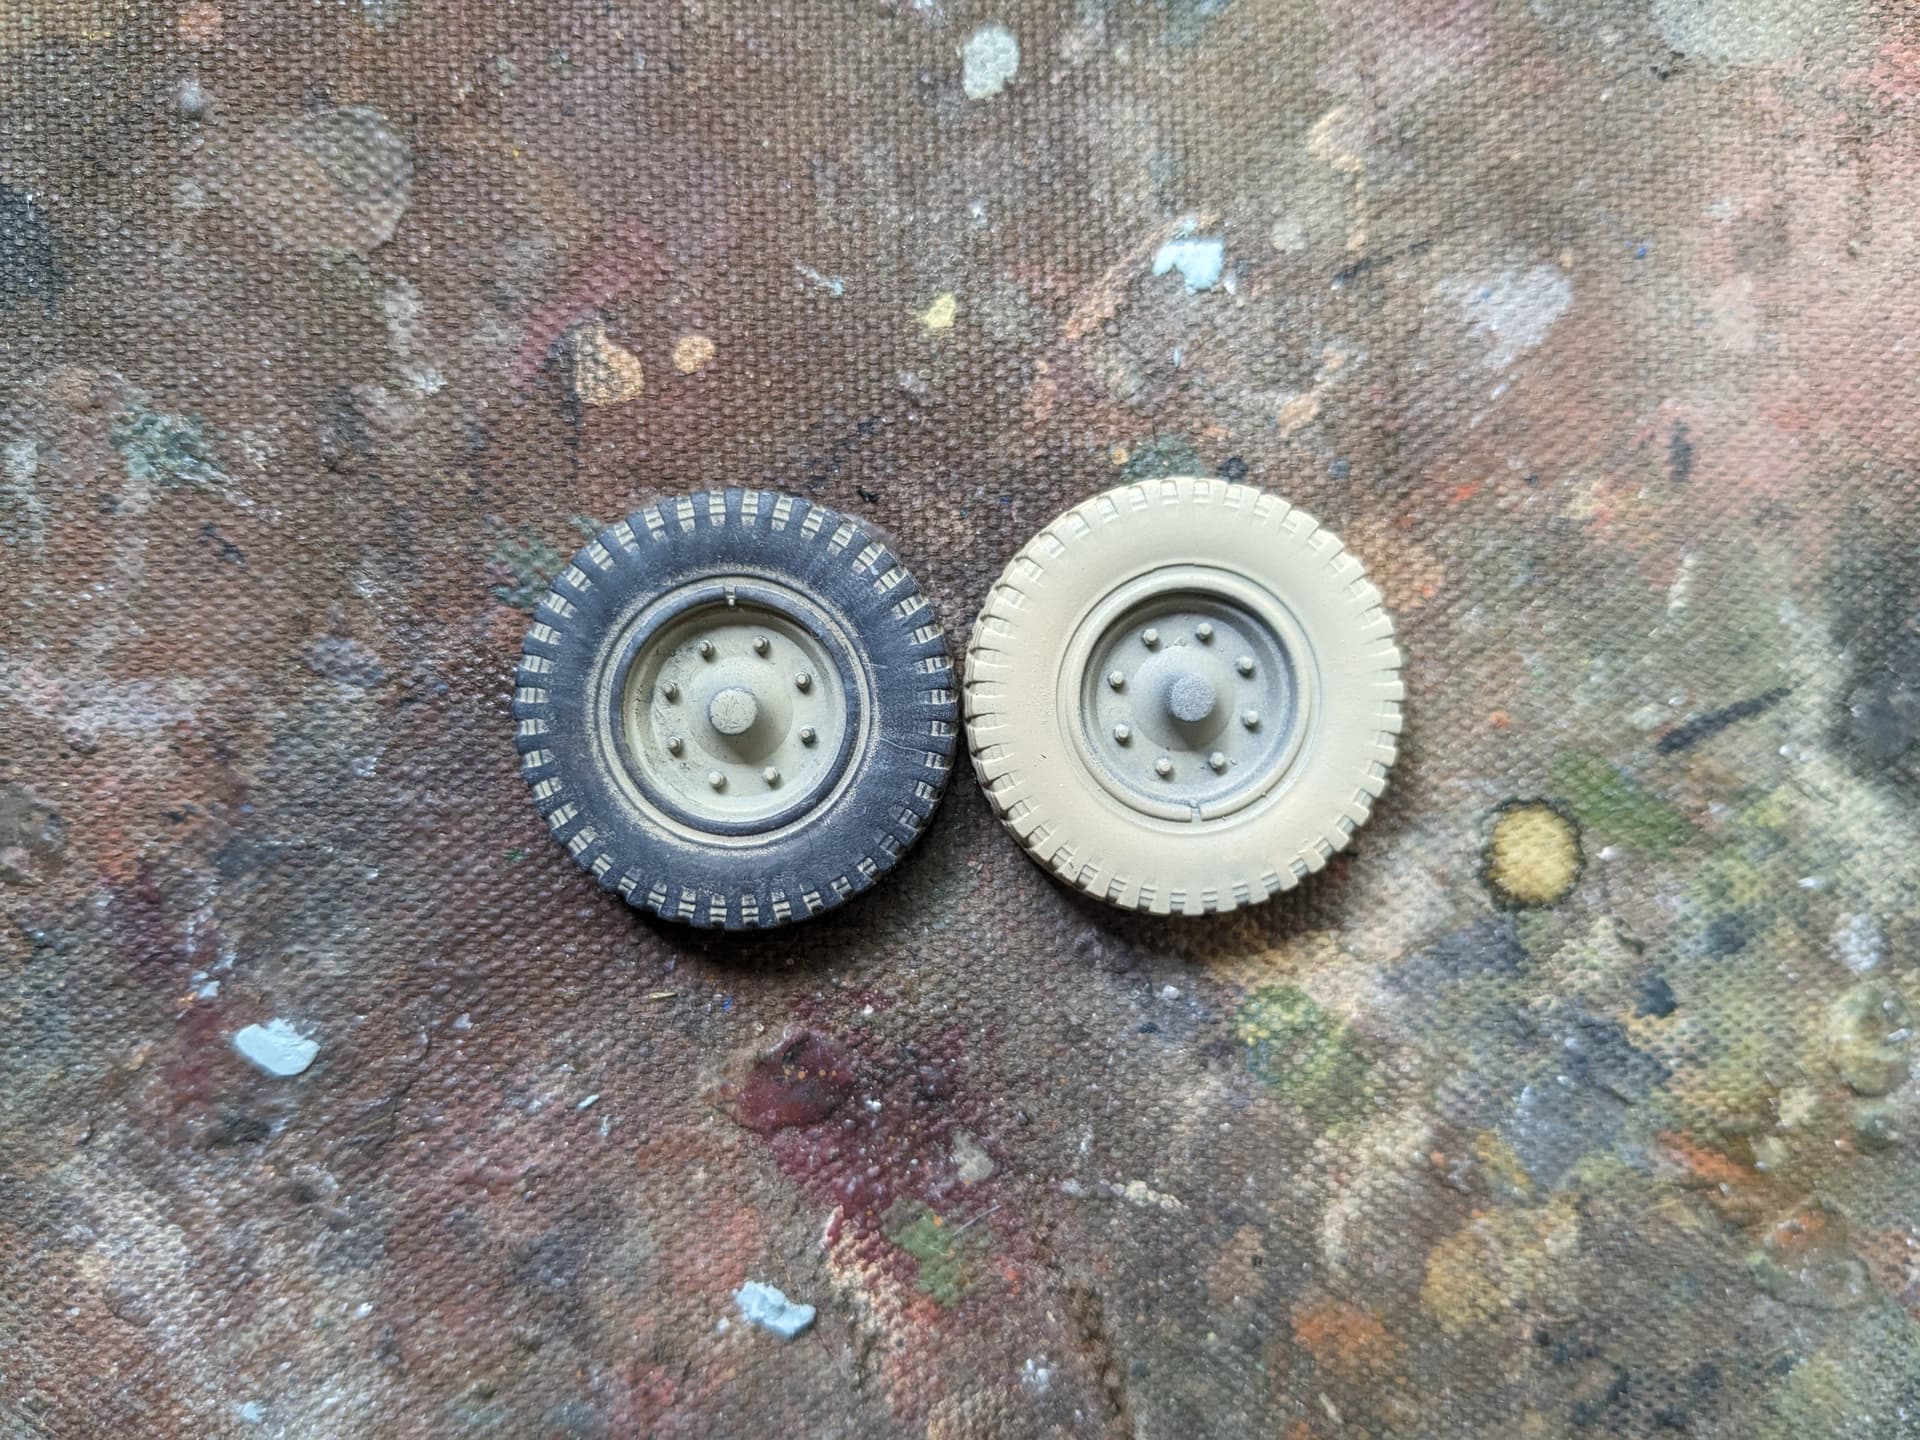
Step 3: Drybrush a mix of the previous color and black, adding the desired amount of black. I had to do this twice to get what I wanted.
Step 4: Add dust streaks with oil paint coming down from the metal part of the wheel, as many as you like.
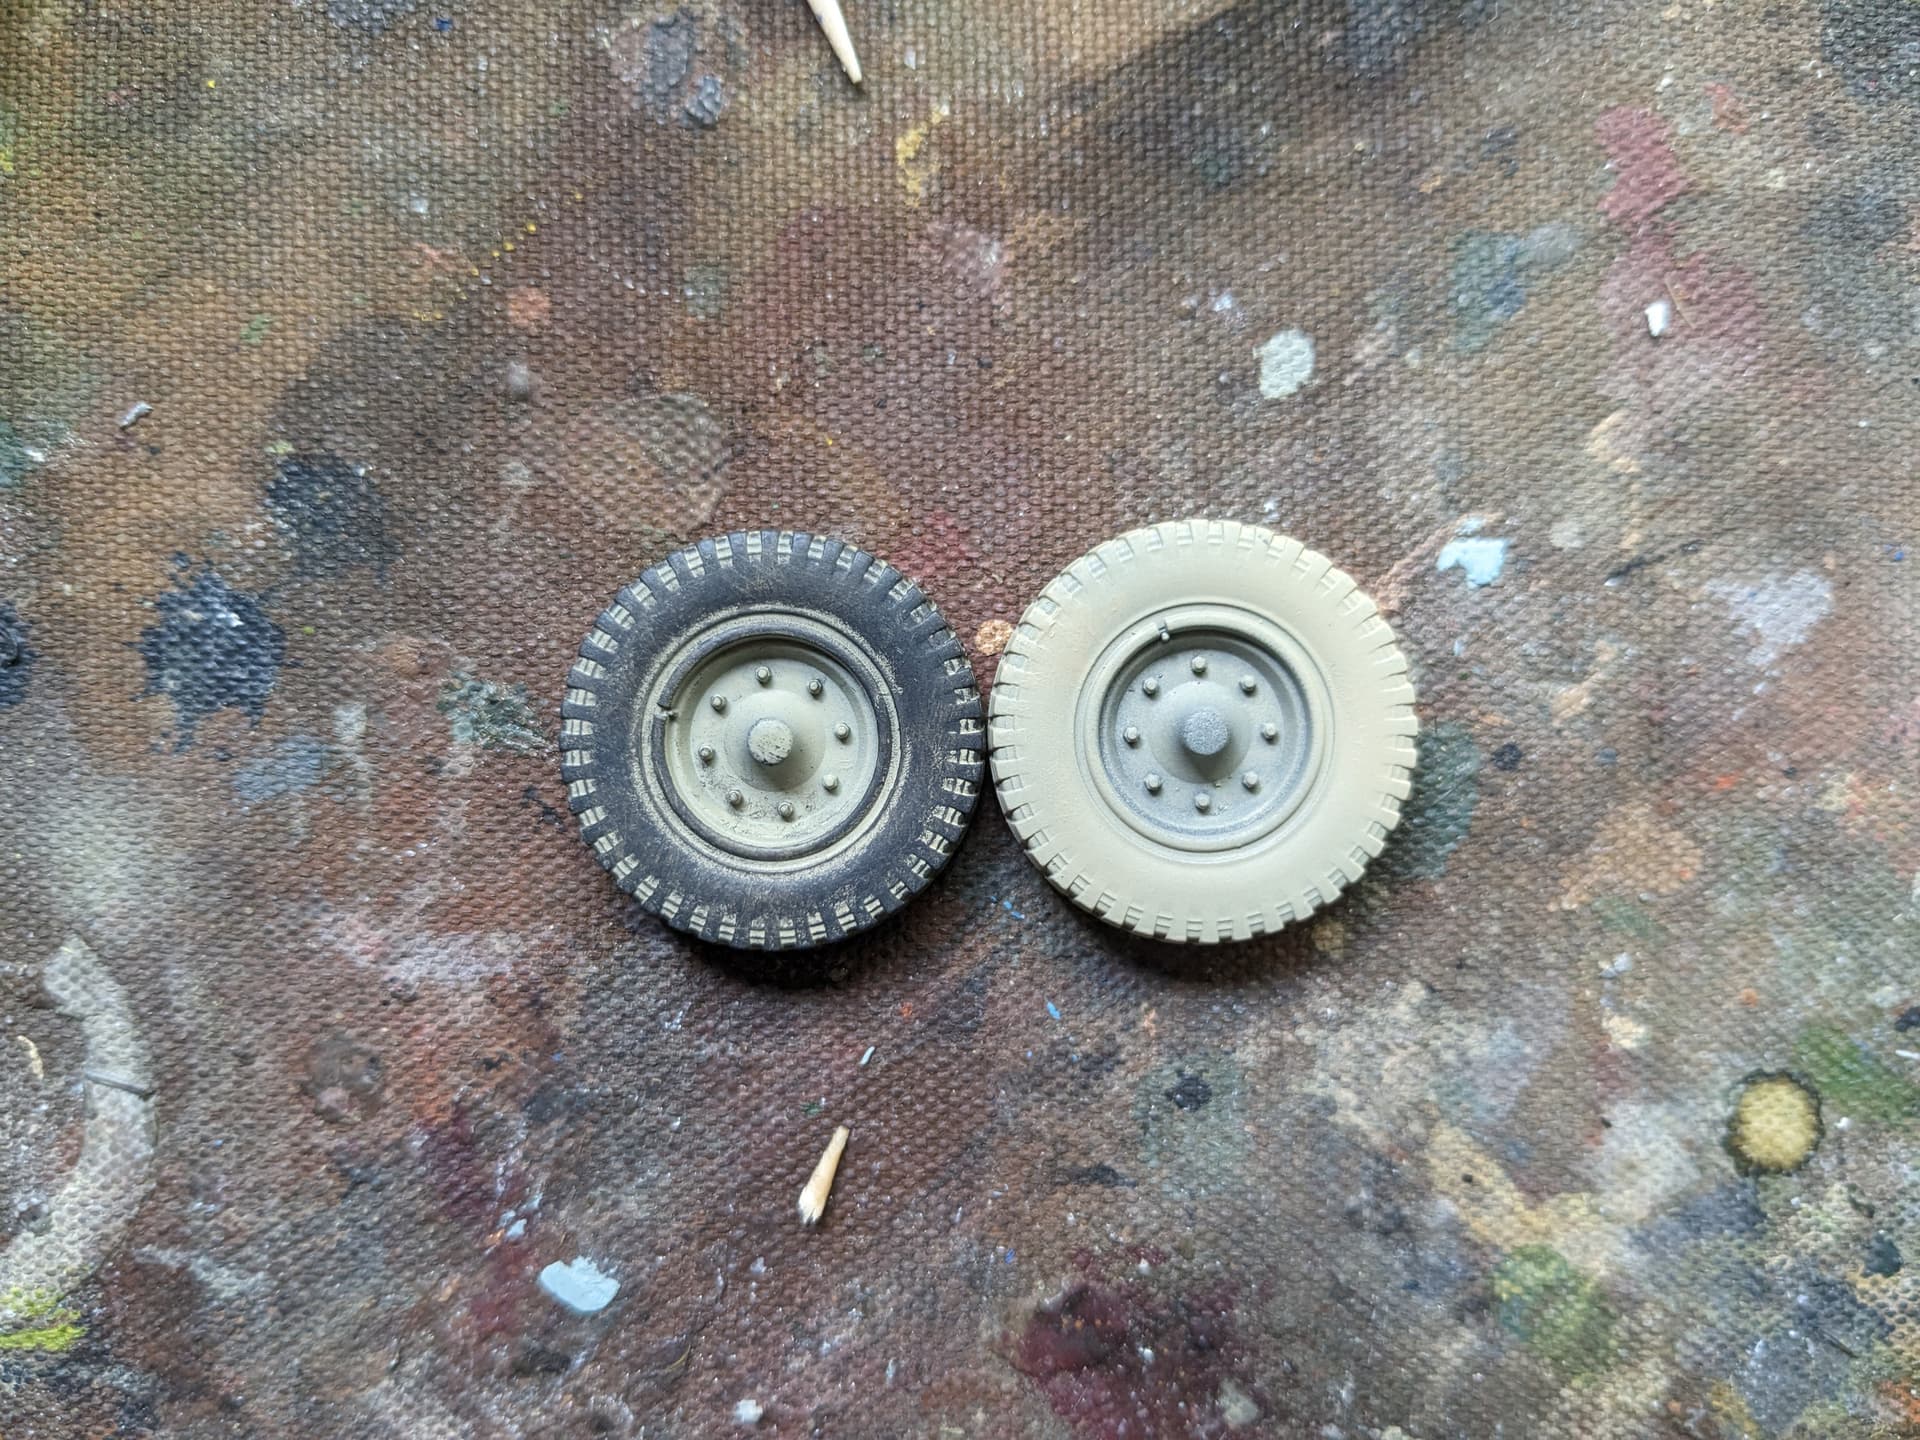
The result after painting and chipping the wheel, adjusting some color with oils, and adding a bit of preliminary weathering:
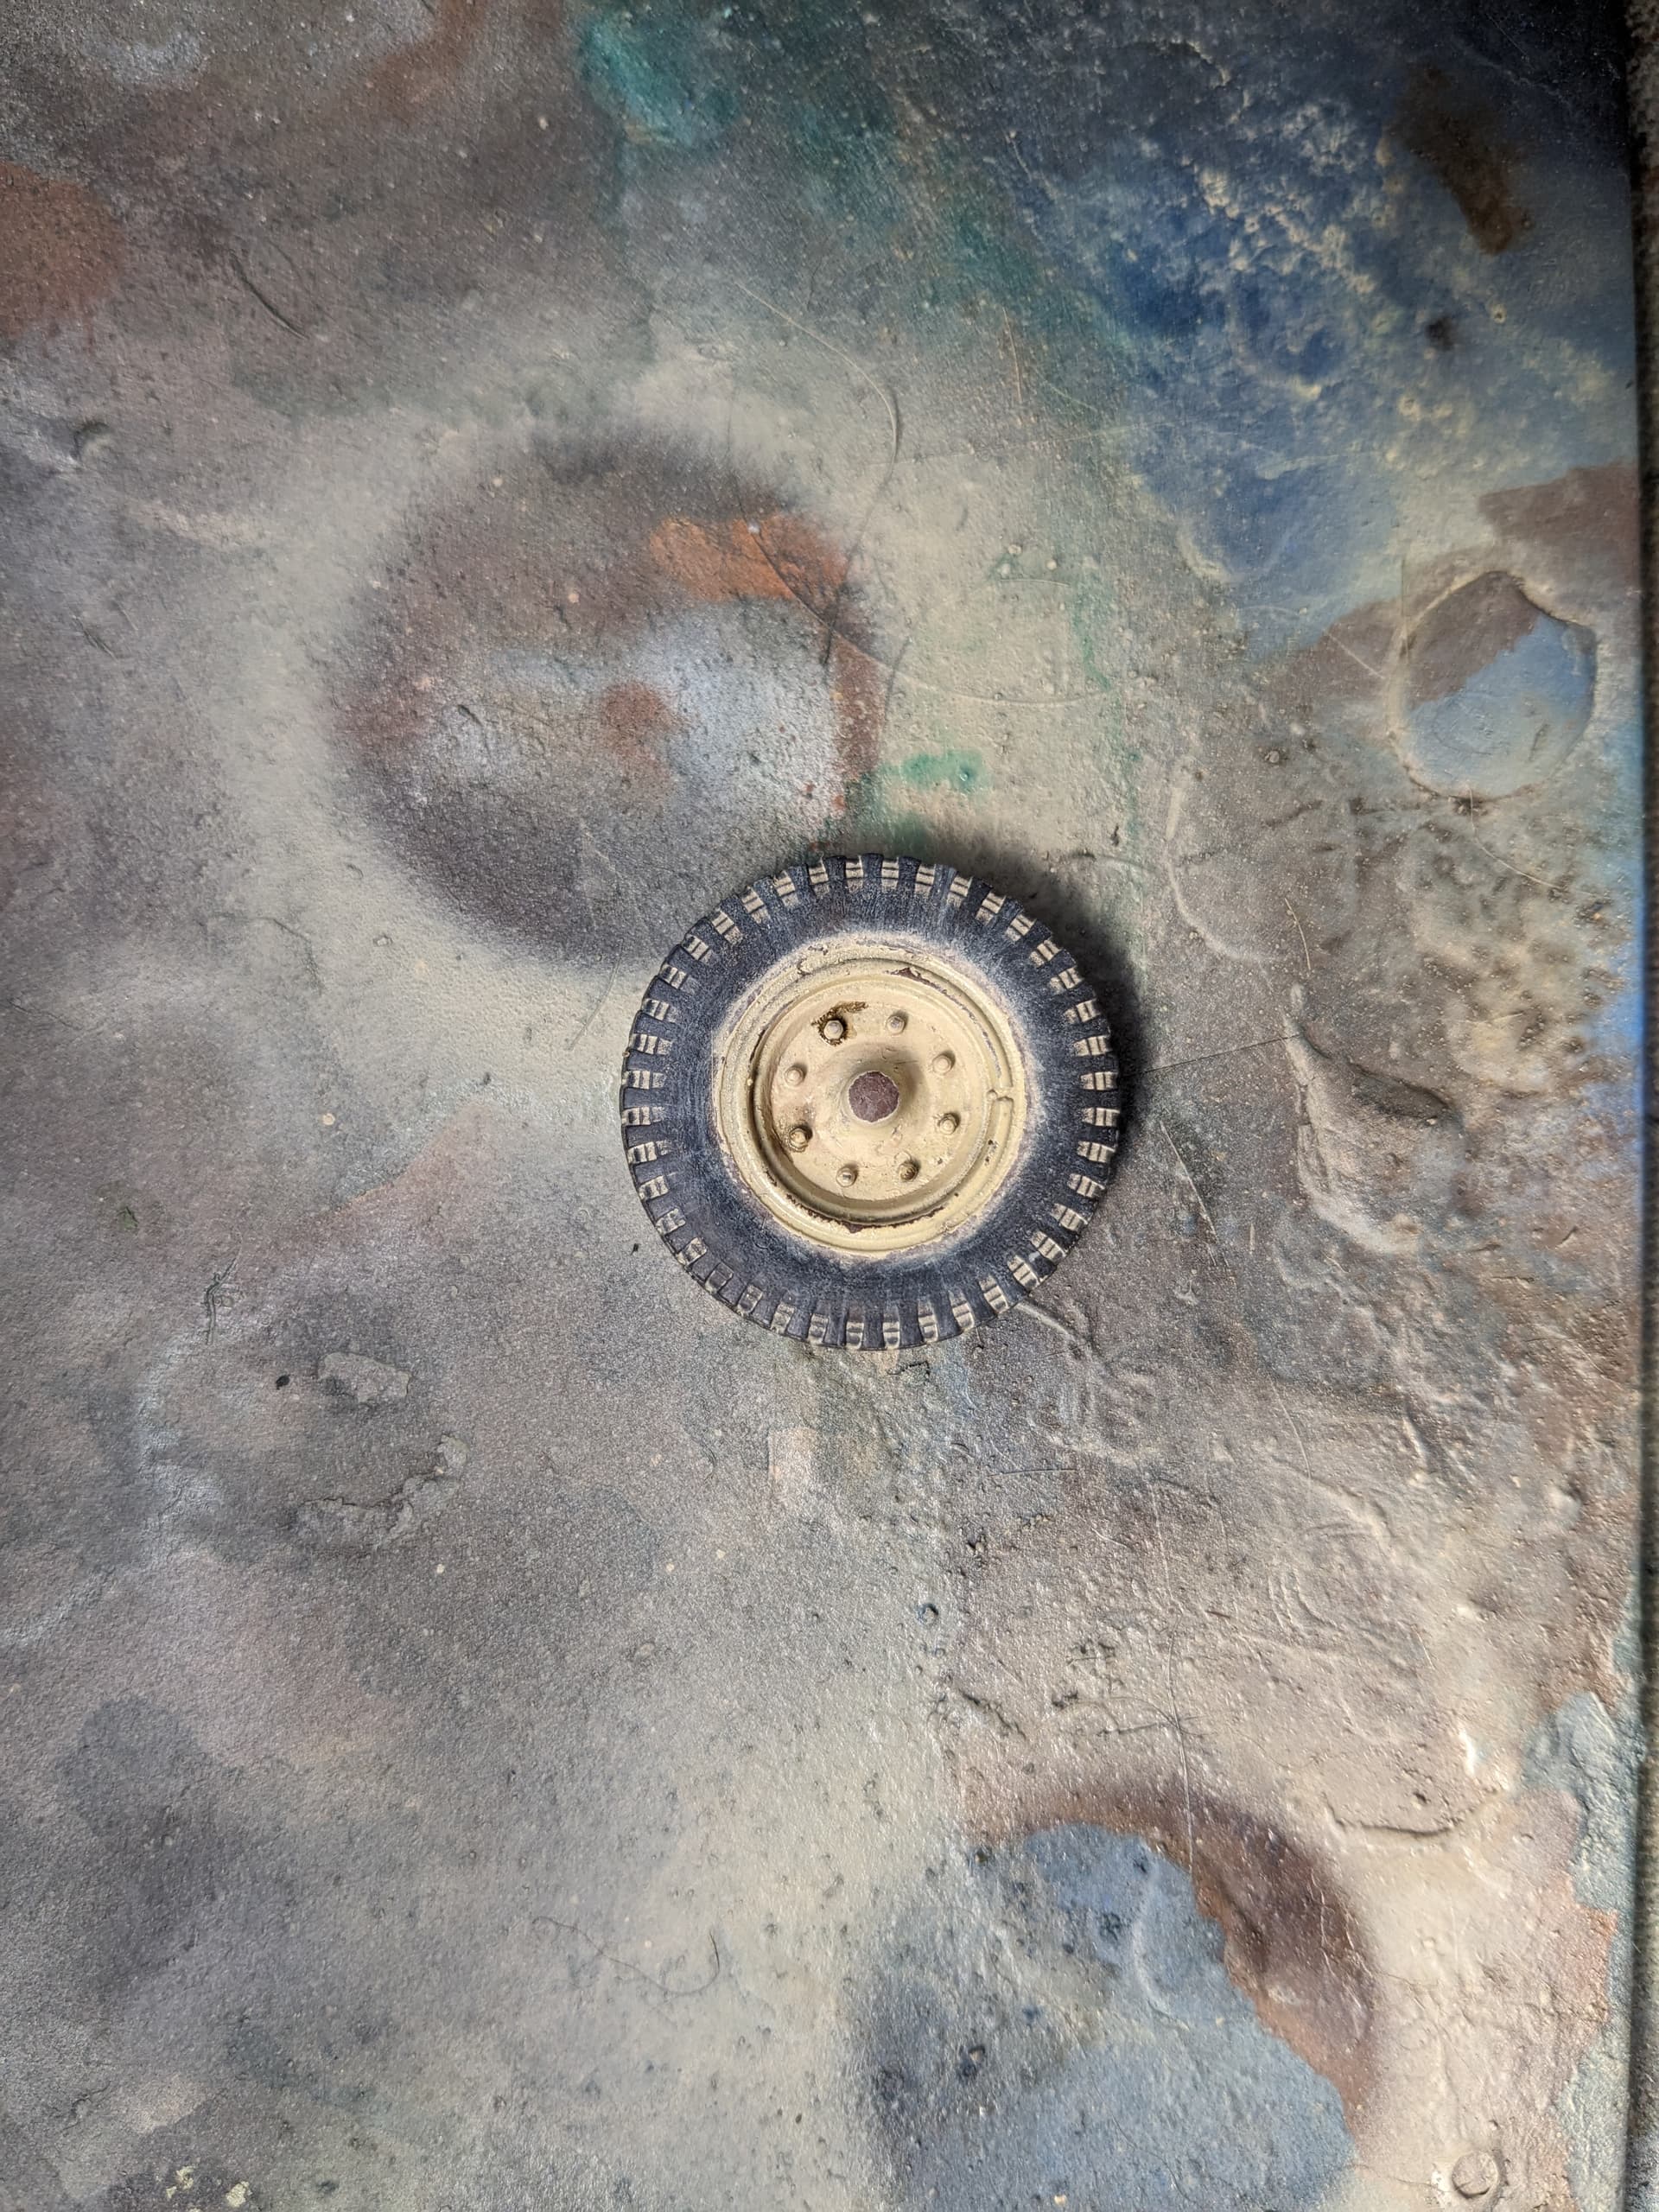
I feel that this technique would look better with a darker color, maybe it’ll stand out more after heavier, darker dirt.
Hope you guys like it and find this useful! ![]()
Colin
14 Likes
@Arch-Stanton Al, reminds me of a story a co-worker shared long ago. He’d gotten hired to repair industrial sewing machines. Got the required short hair cut etc. First day, he’s told that his Gandalf bread had to go as well. He storms out saying if you’d told me that at the interview, I wouldn’t have wasted my time getting a hair cut.
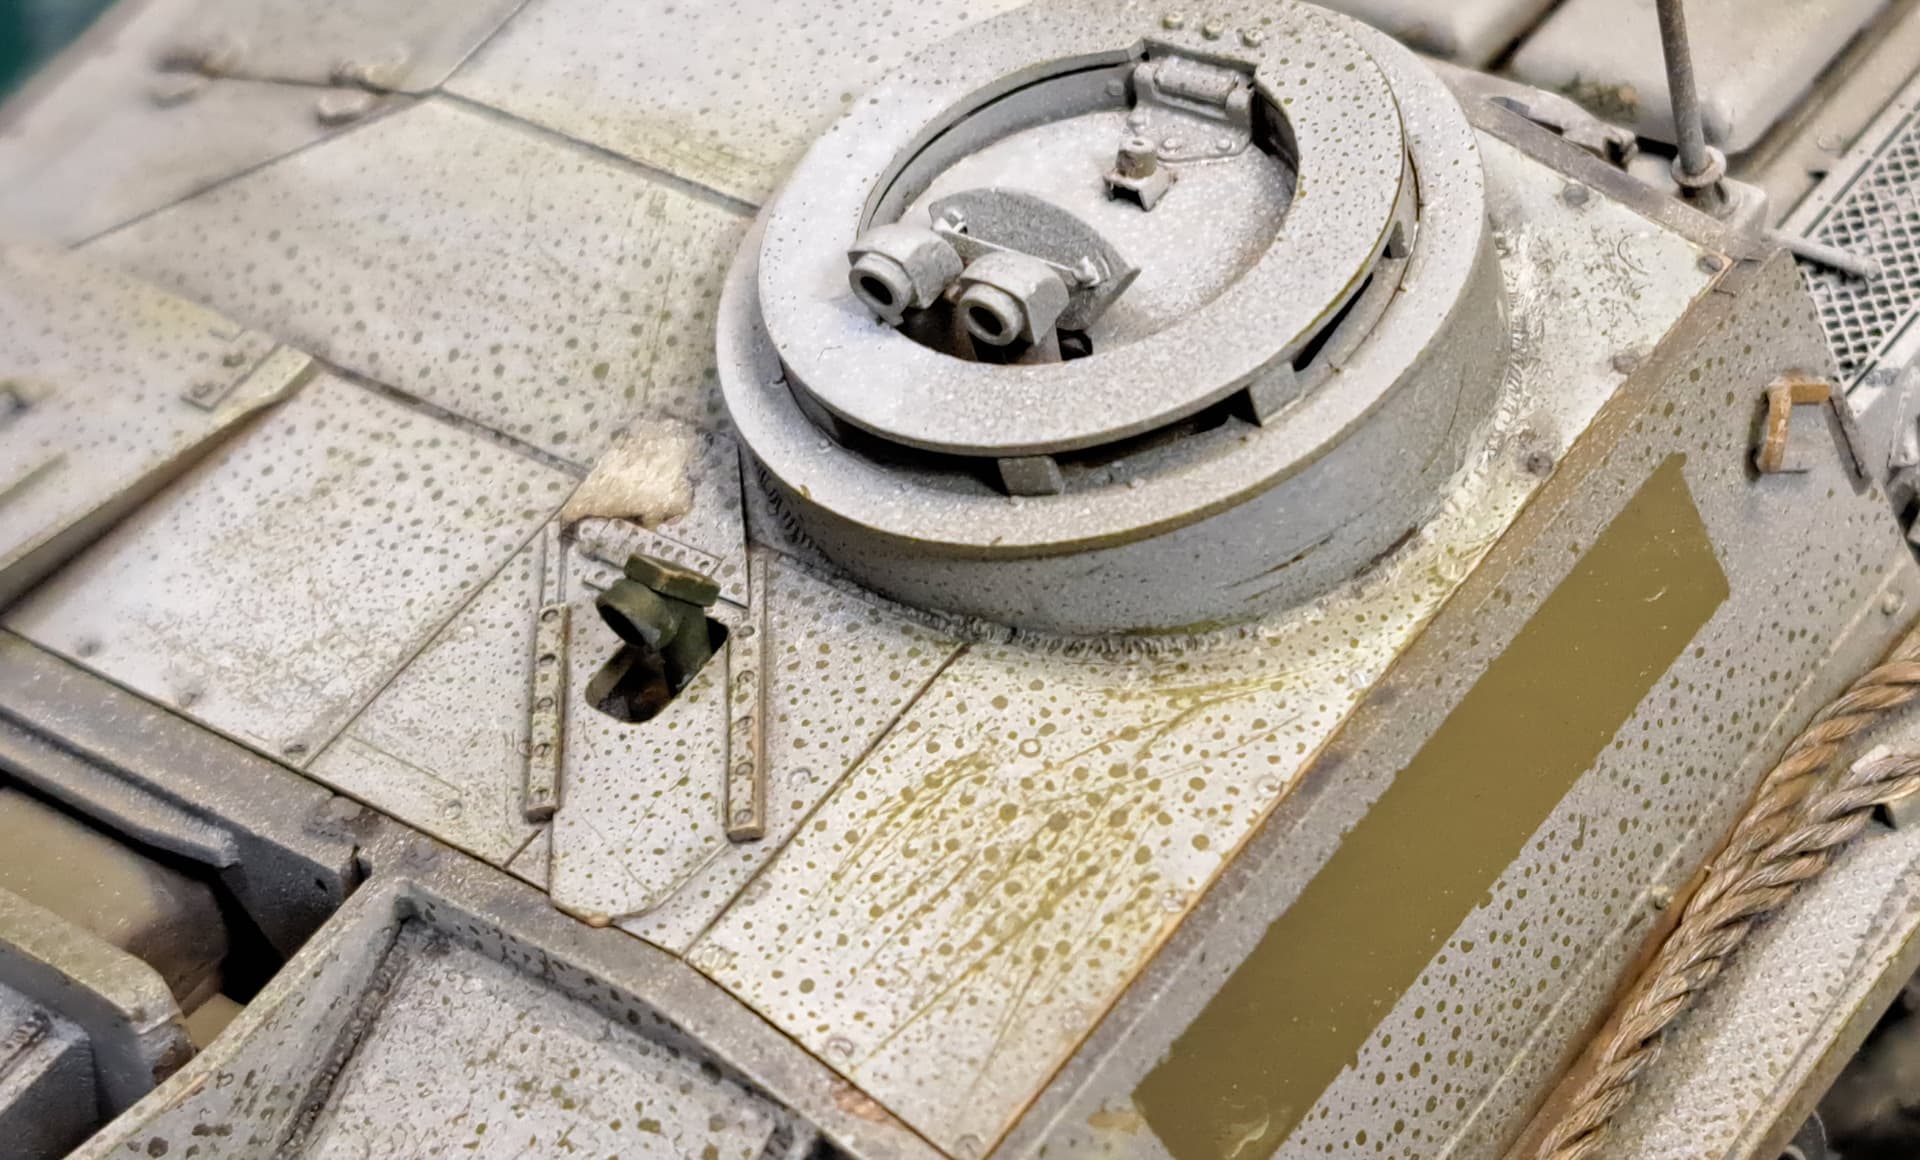
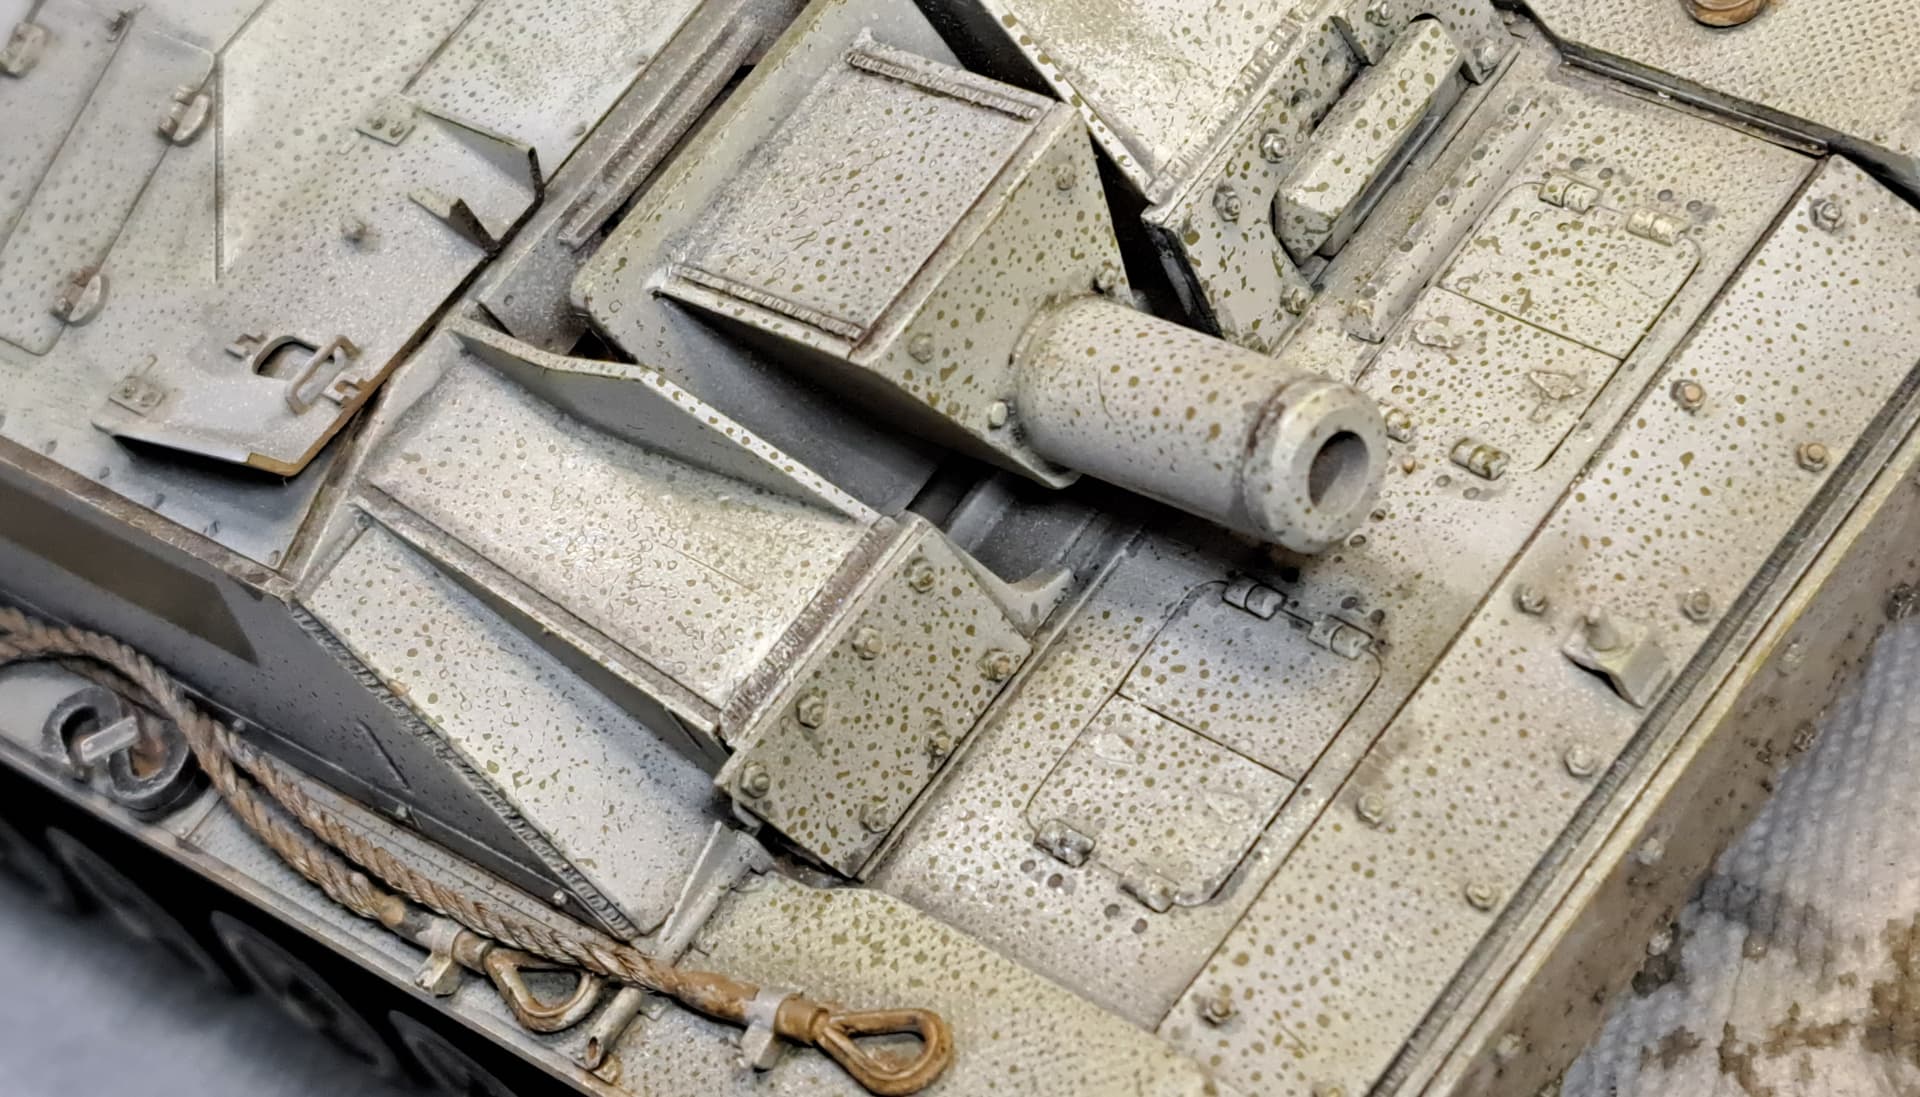
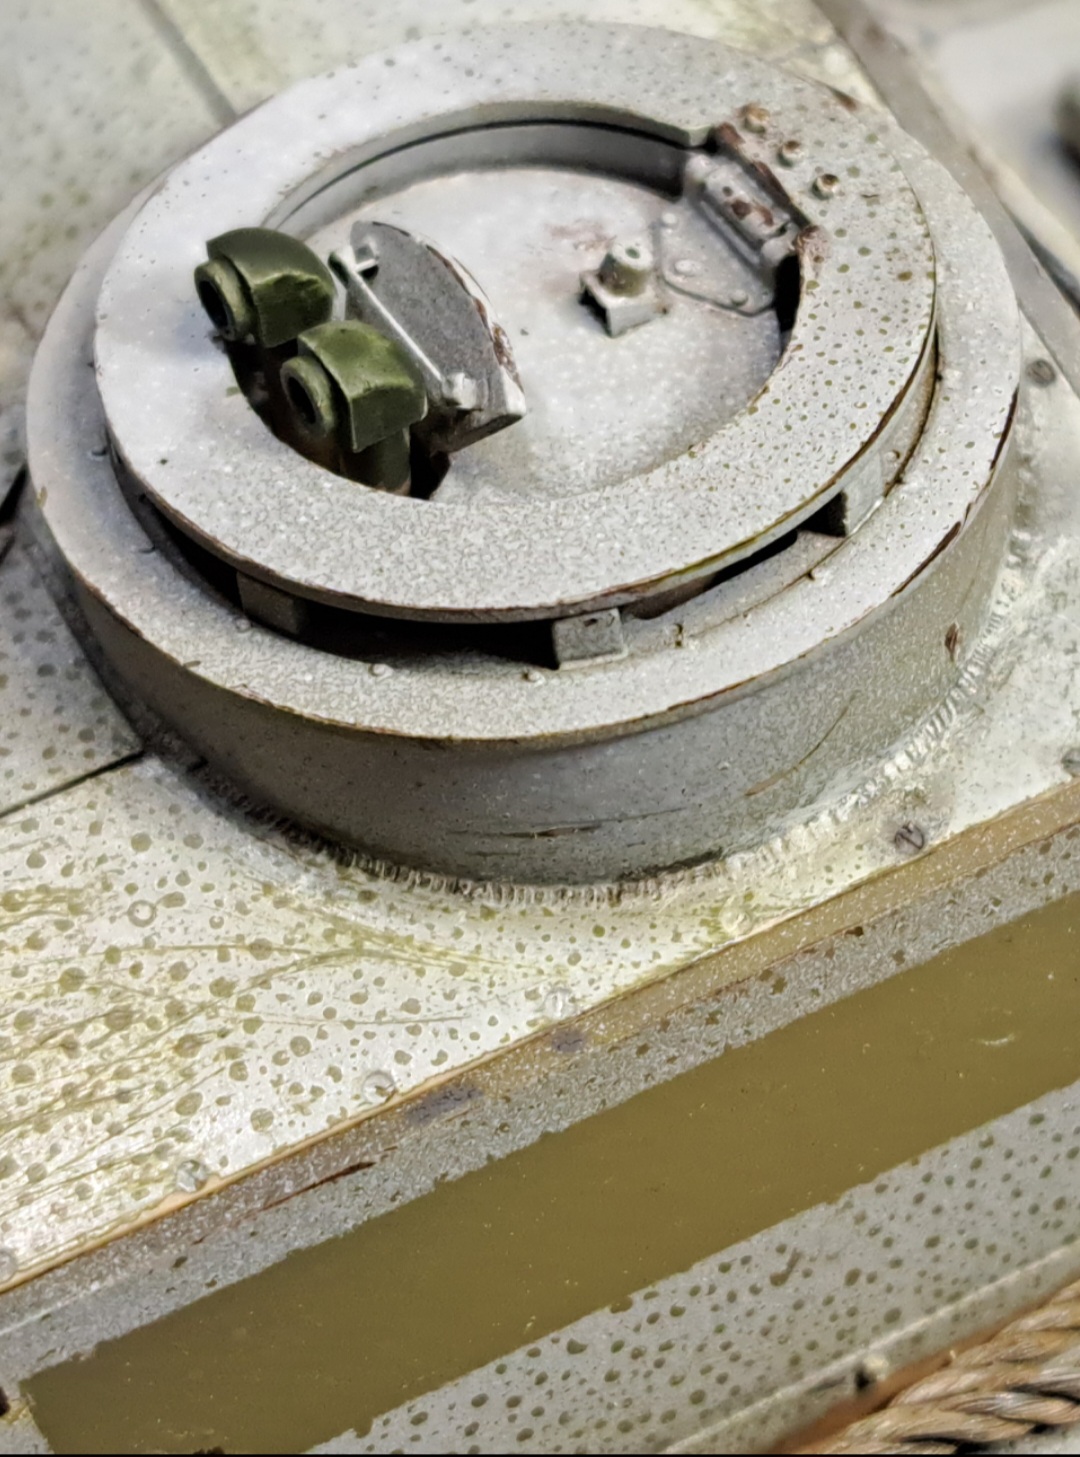
Playing with pins wash & dry brush, more to do…

13 Likes
The cork through me, looked smaller. 1/35 is do-able for me! Looking forward to seeing the finished piece.
1 Like
It works quite well, very nice. The drybrushing worked well. I would have thought black and then sand drybrushing, but you’ve made a great looking piece!
2 Likes
The hooks look especially good.
2 Likes
What are you using for White Pin Wash? I just foung a bottle of White Vallejo Wash about an hour ago. I’m still learning about washs. And my upcoming diorama will have White camouflage done to it.
As for what have I done today for my work. I’ve put together a driver for the Half-Track today. It will look better once we are done.
Cheers,
Tom D
2 Likes
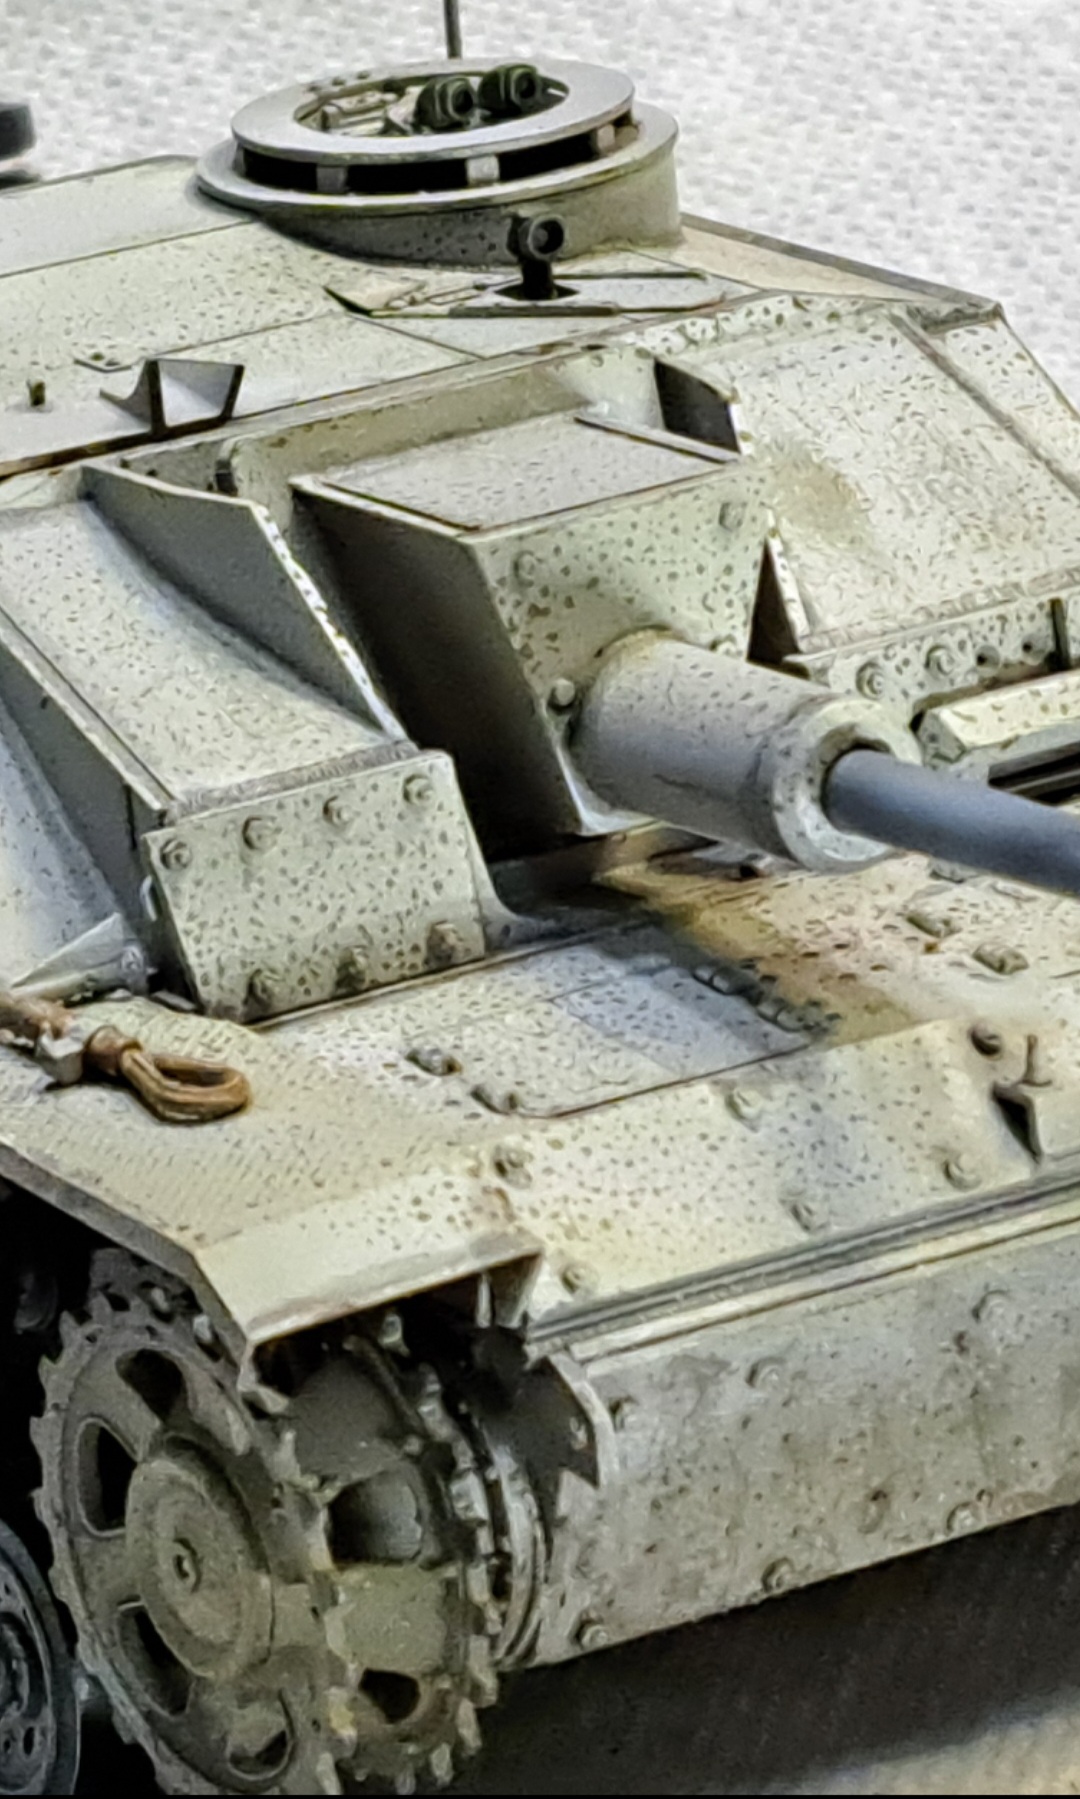
Tom, the white camo is Tamiya white airbrushed on top of chipping fluid. Panzer Dark Yellow/DunkelColoris under that as the base color.
With white camo, I like to use a gray pin wash. Instead oils this one is Floquil Military Color enamel Panzer Gray thinned with Mr Color Leveling. Tamiya has a gray panel wash that’s probably pretty close to the same.
Removed the wash as best as possible where it over flows with a clean brush damp with thinner then dry brushed the white camo color back in as needed to tidy up.
Washes can be a little tricky at first, experiment, test and ask questions there many excellent modelers will to help.
@Rokket2001 Wink, thank you.
3 Likes
The S hook and recovery cable in that pic are mesmerizing Wade.
As it turned out, the service manager was just a tight @ss. I guess he thought we had to look like the NY Yankees or something.
Up and asleep weird hours because of the Wife’s recovery. She’s doing okay but needs help. Two way radios are a Godsend.
AFV Club MRV also needs extra help with wheel alignment; black Starbond for the win
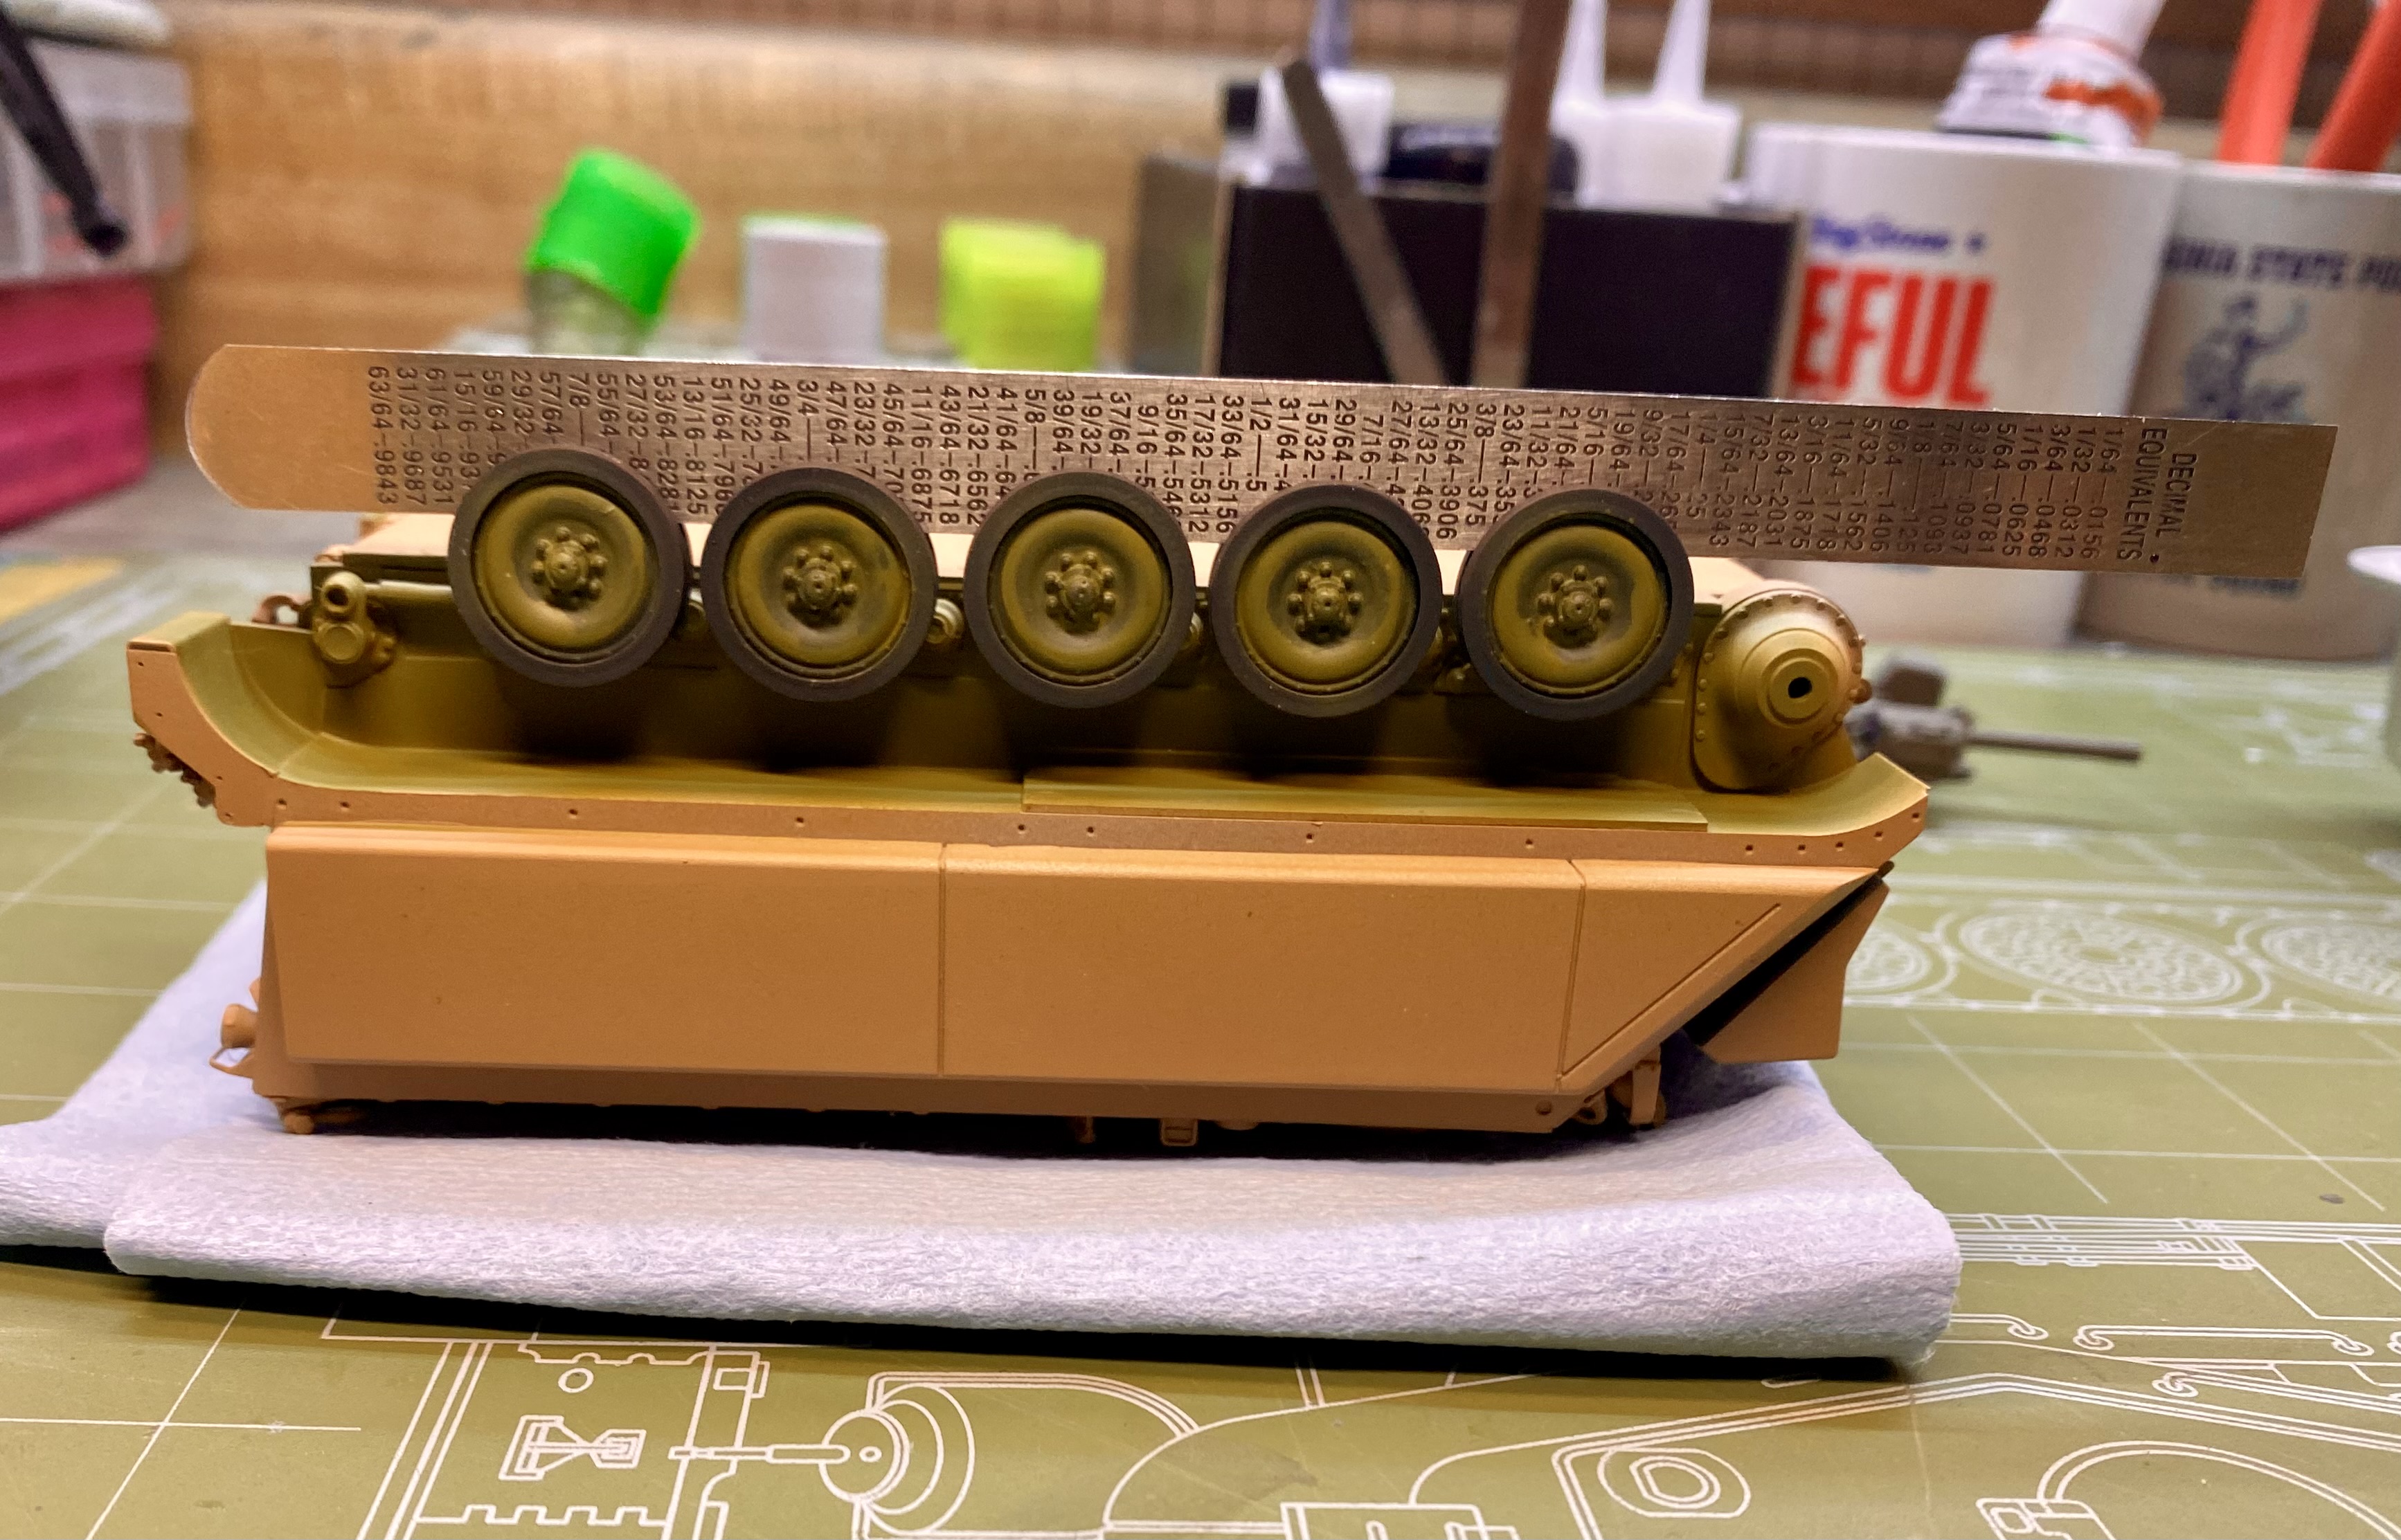
Everyone gets wheels n’ tracks n’ skirts
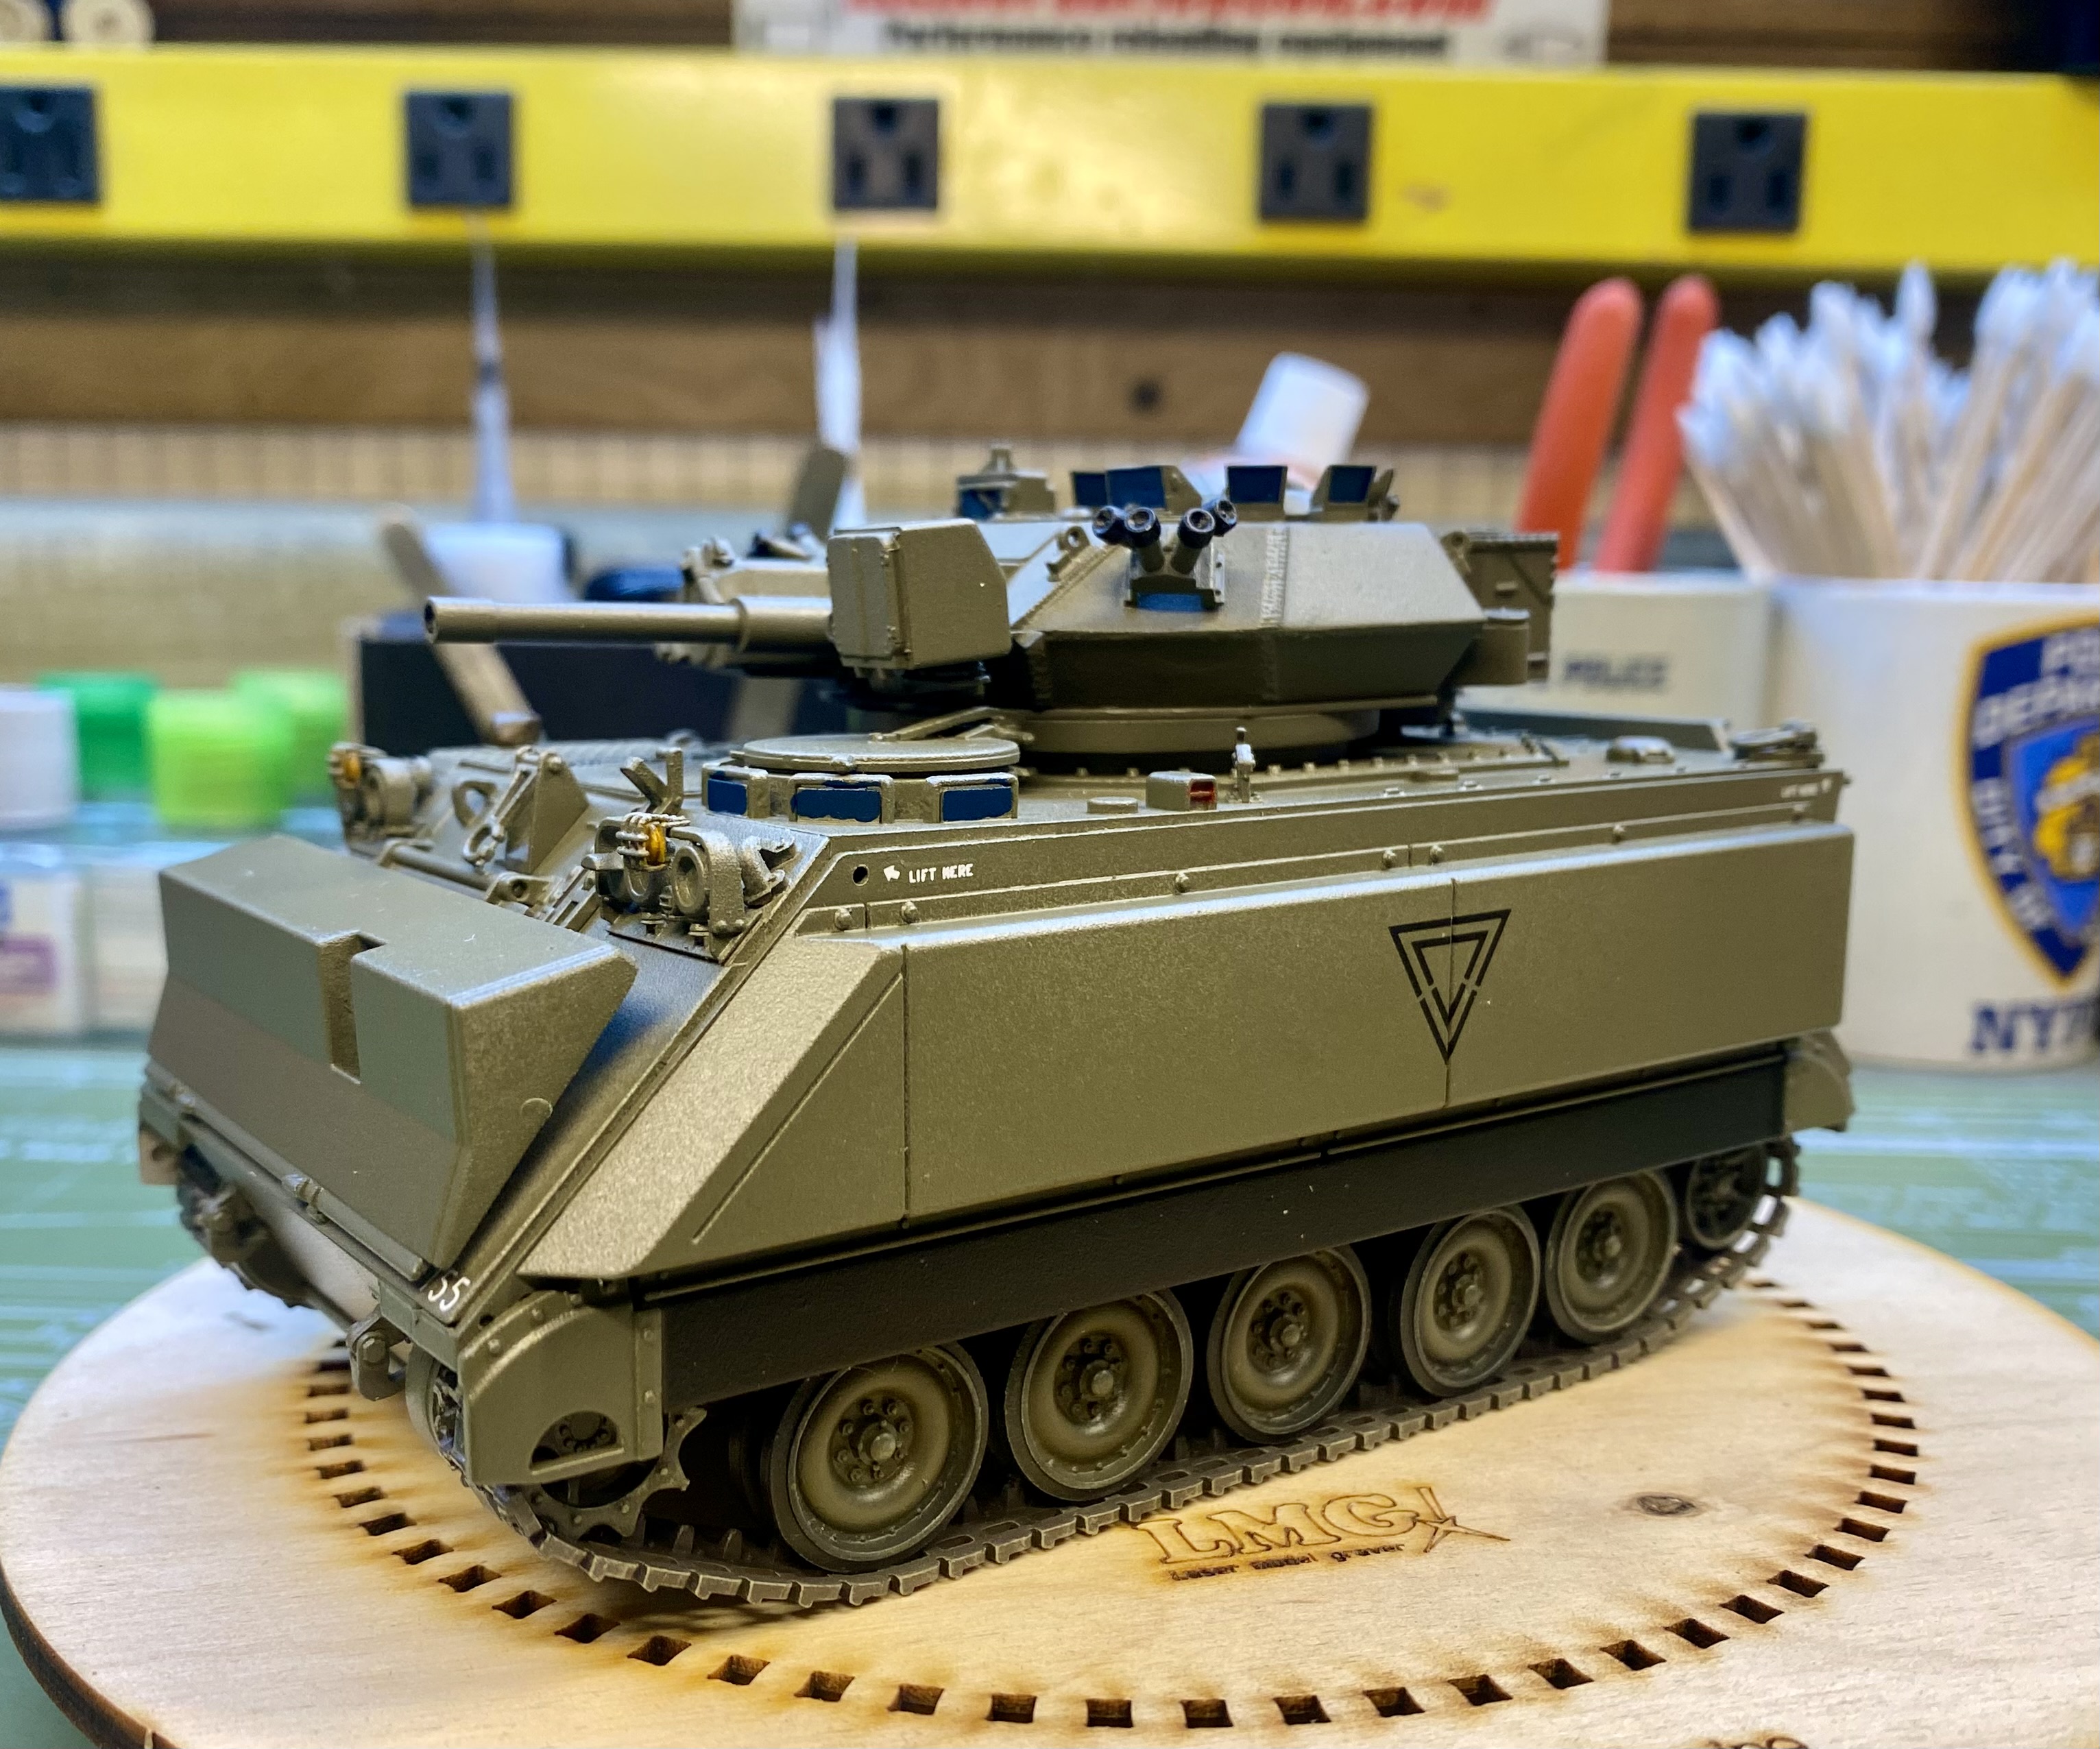
Academy/AFV Cub FSV detail painting. Orange turn signals just barely visible under cages. Just noticed the travel lock is cockeyed. Pictures always show where more work is needed, huh?
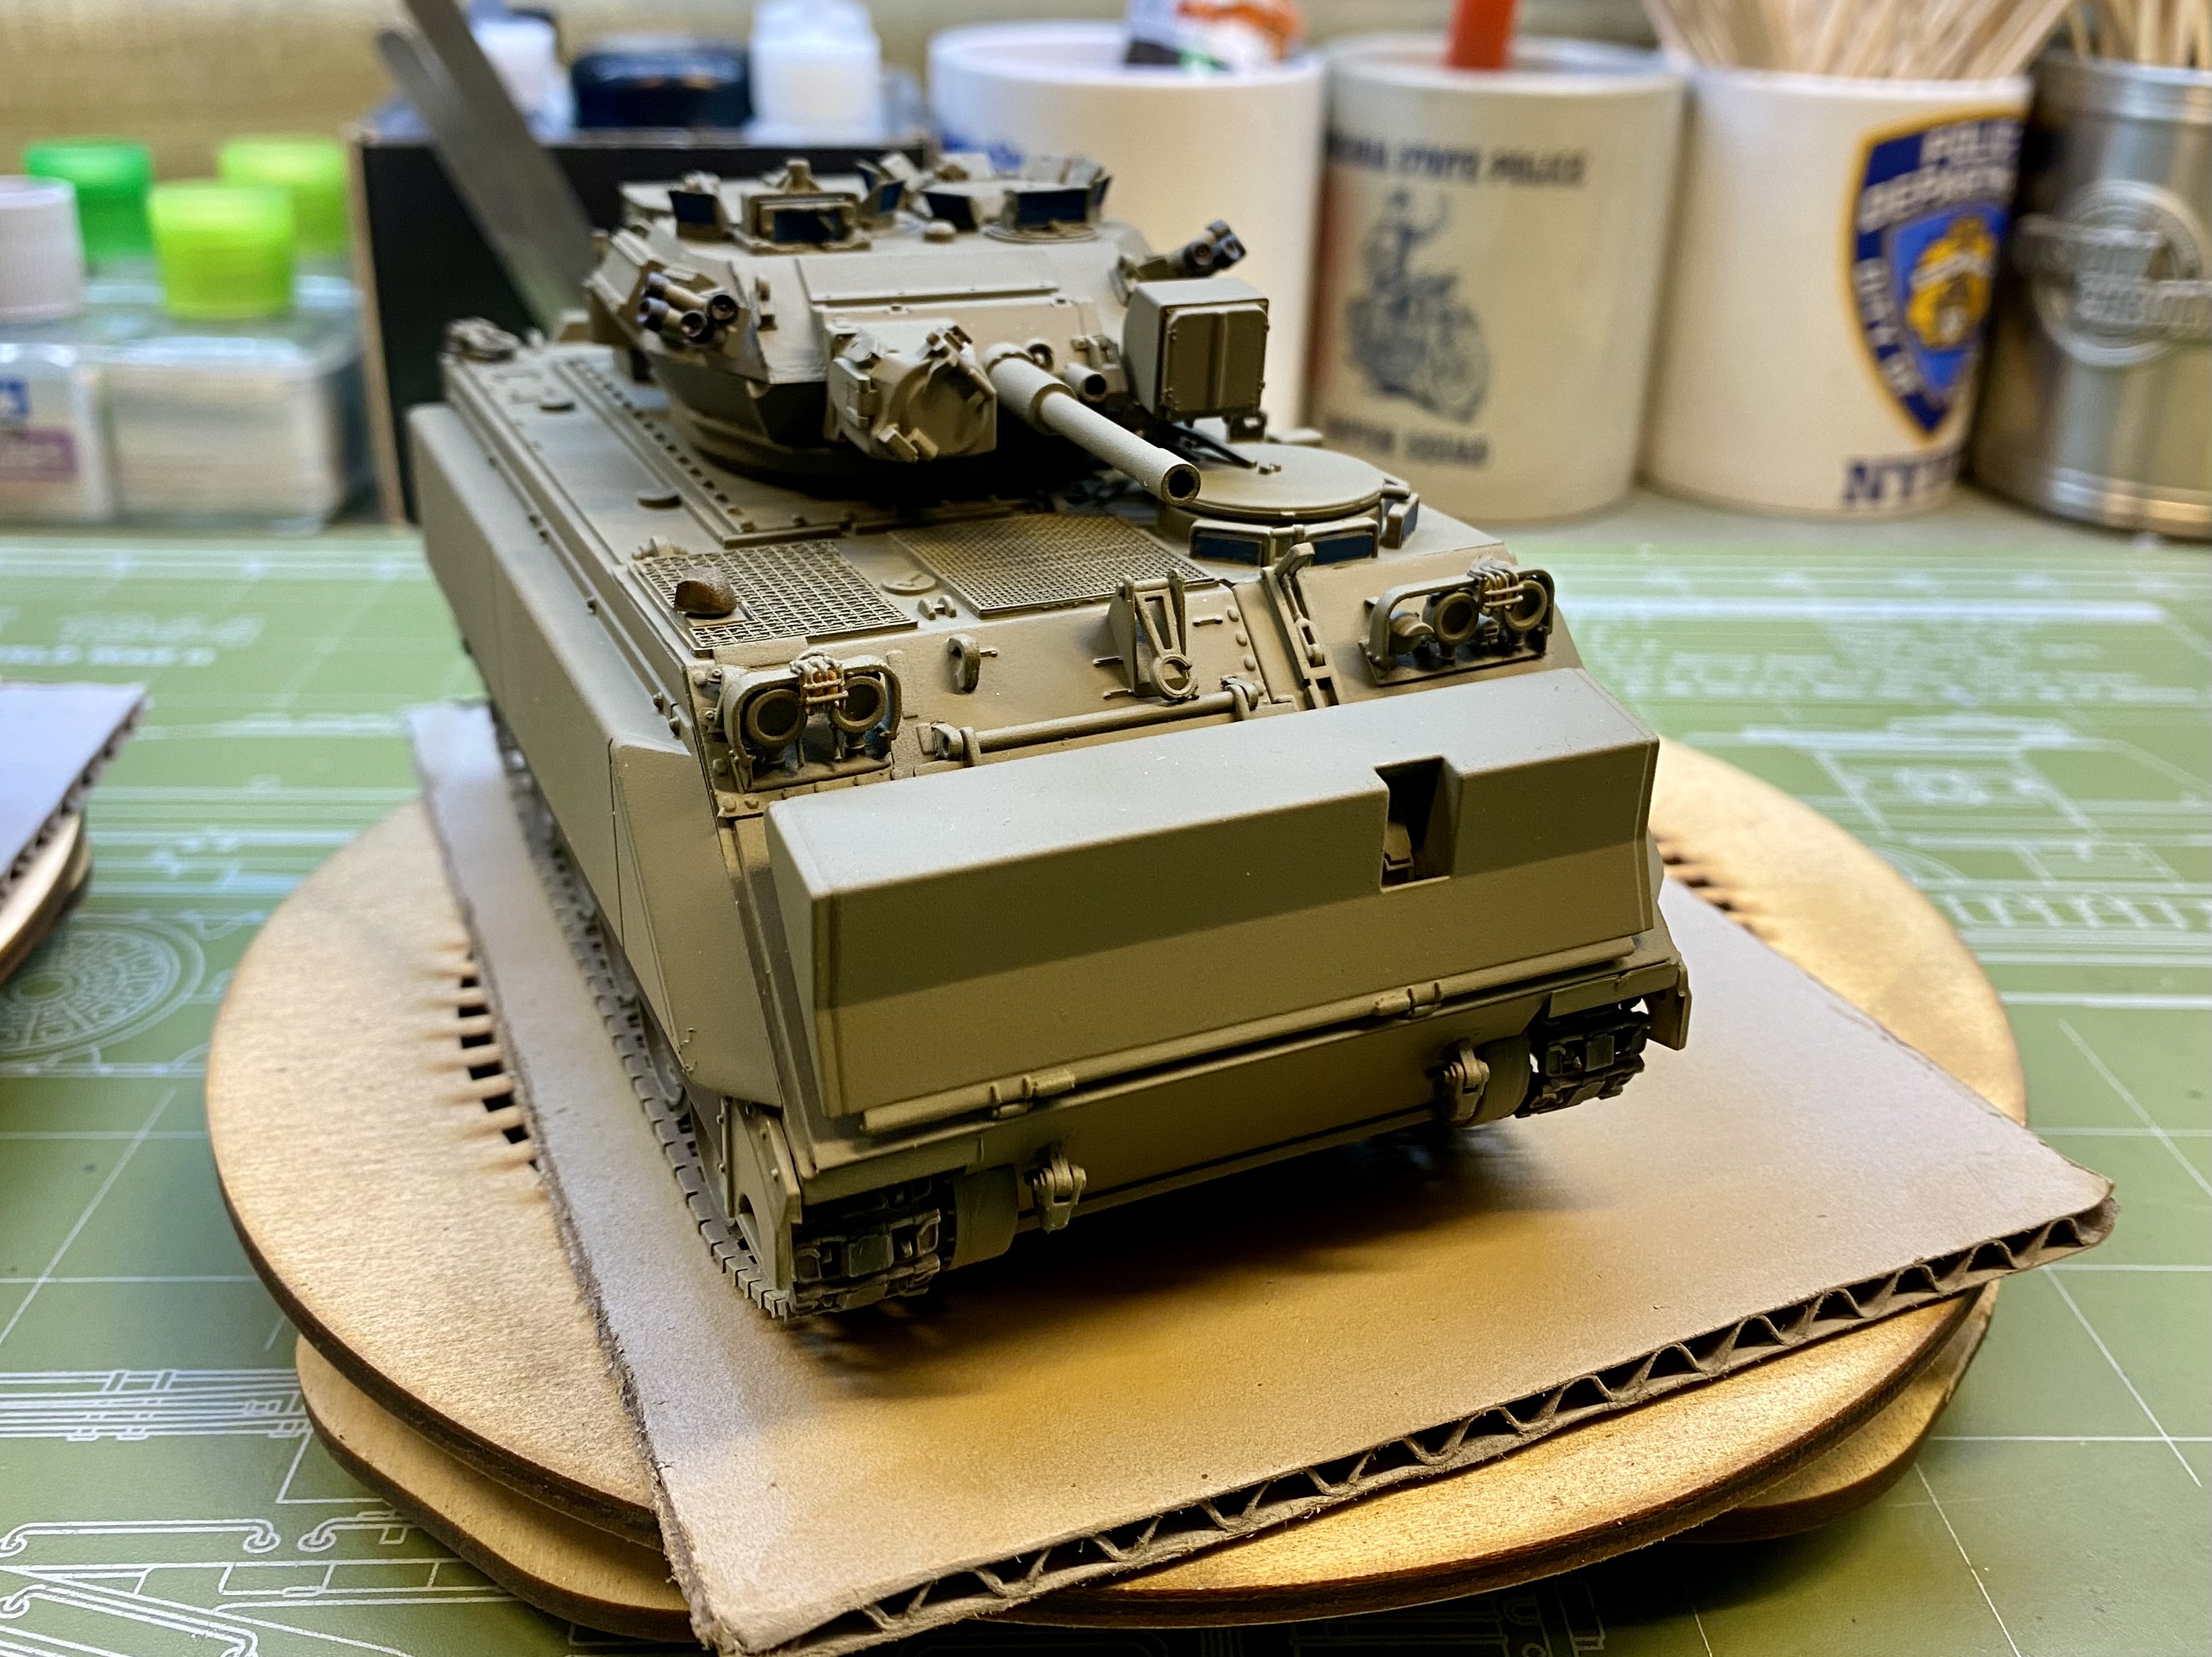
And gloss; ready for decals
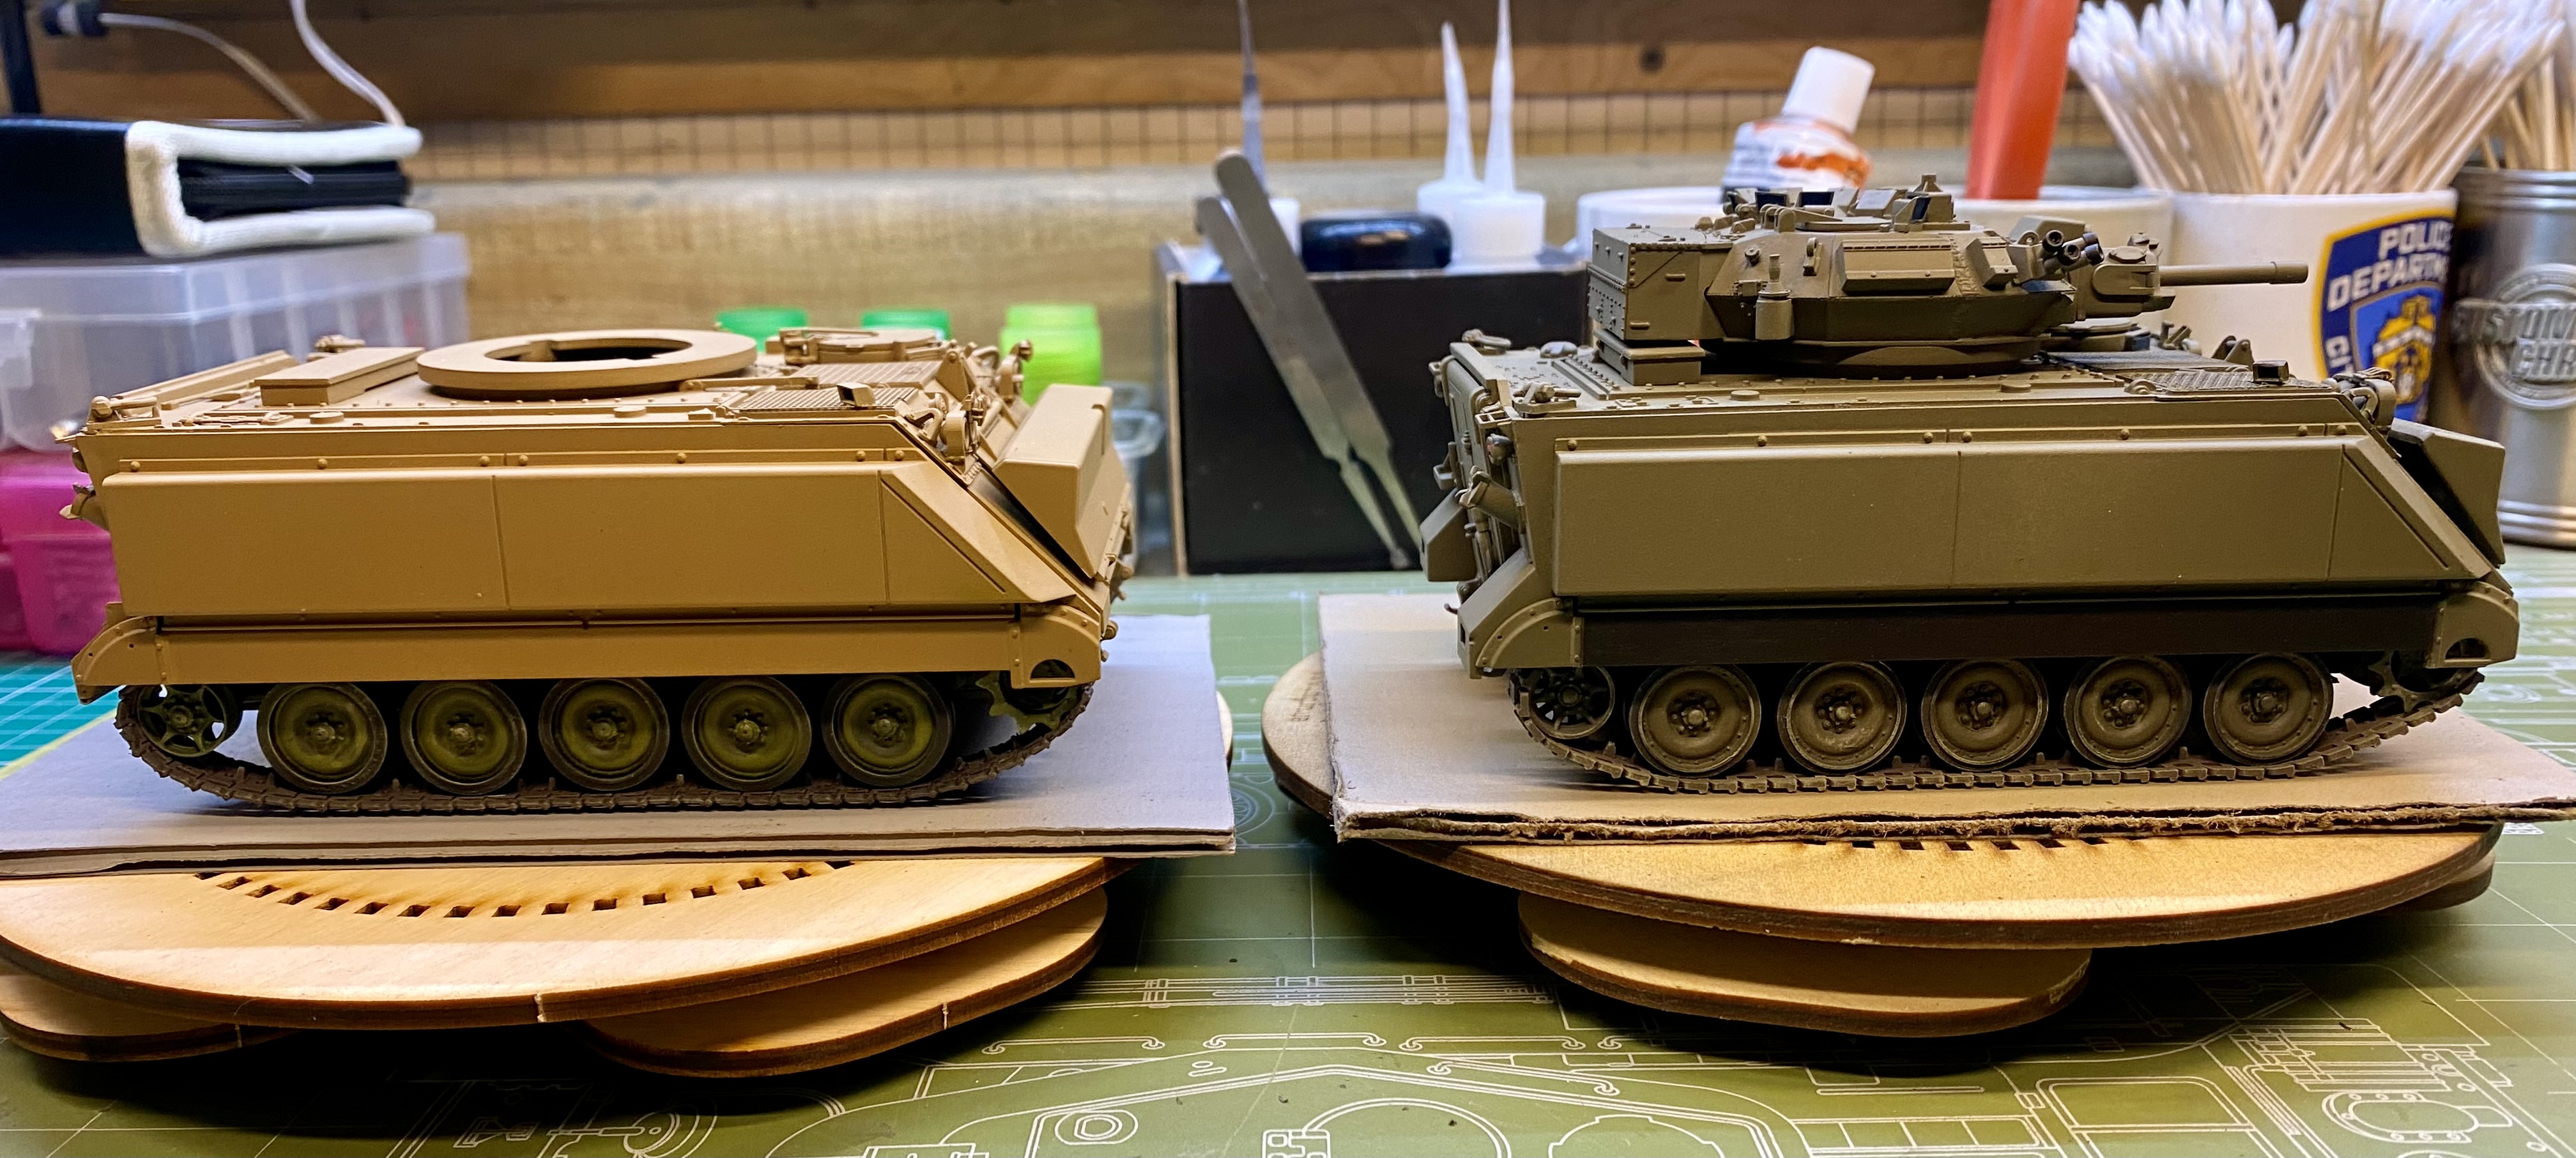
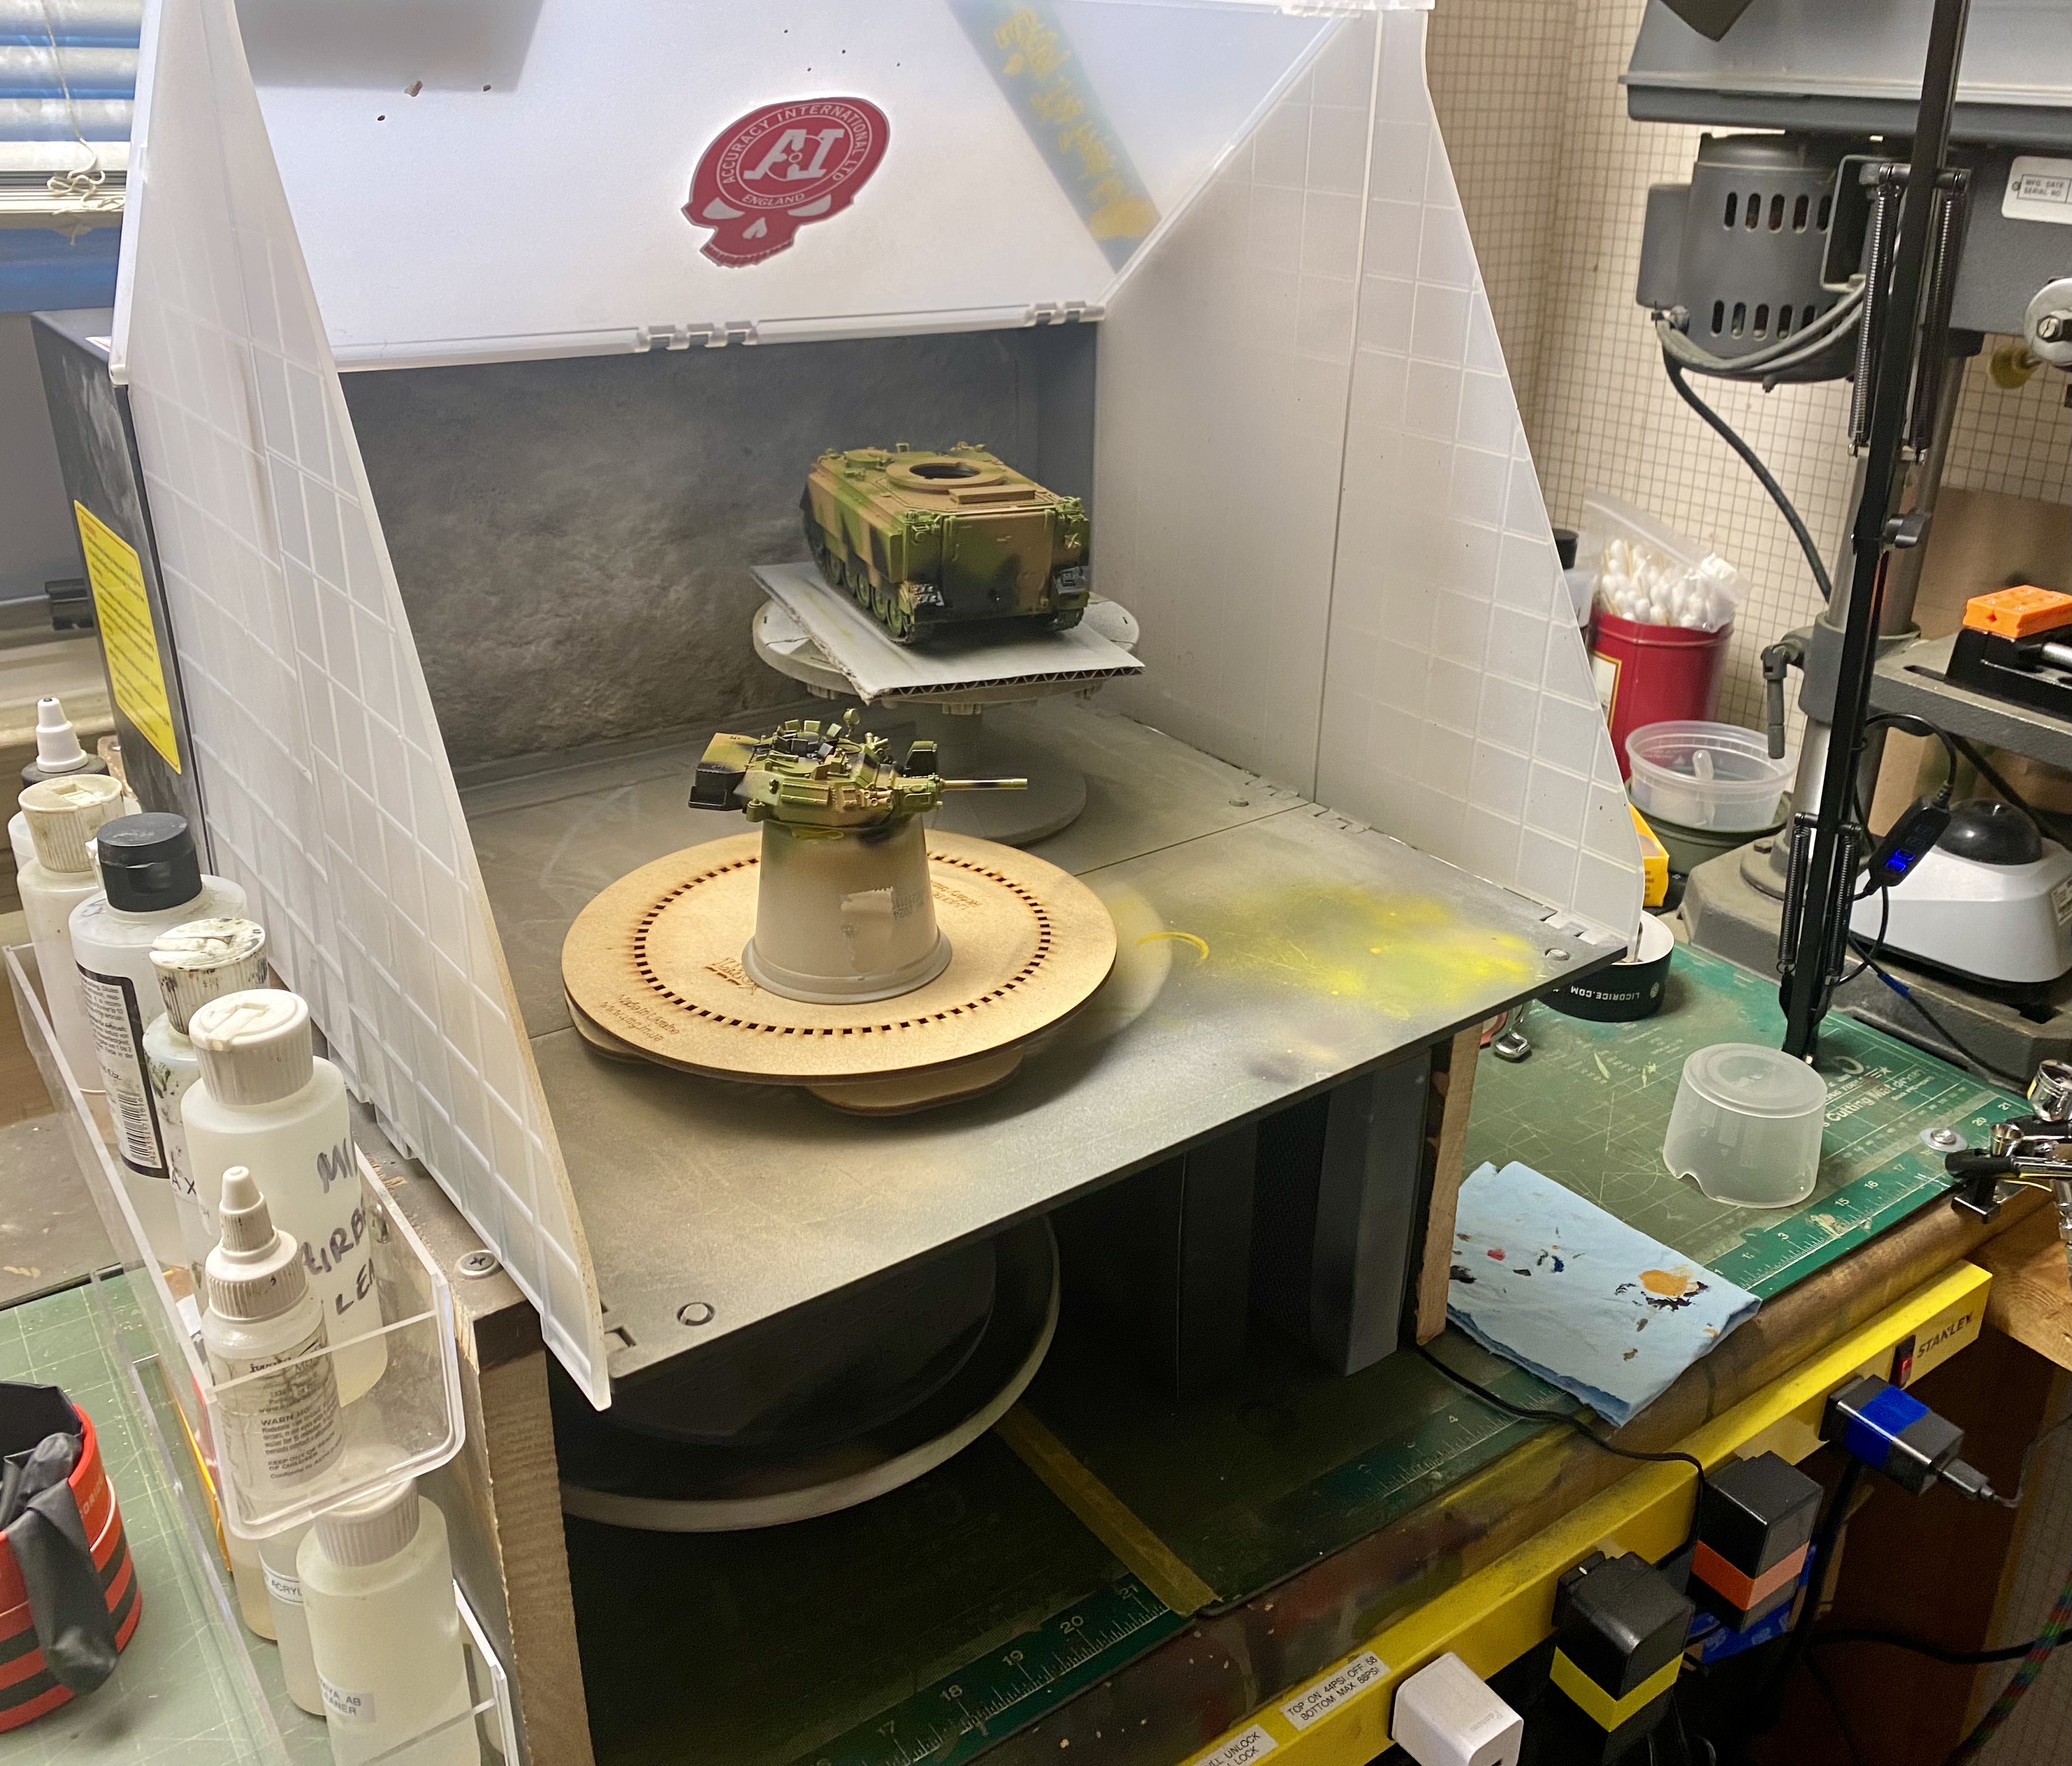
MRV ready to begin camouflage. This brown FS 30219 the instructions call for kinda’ resembles the Bundeswehr Gelbolive ( or German brown as @BootsDMS calls it) I thought it would be lighter.
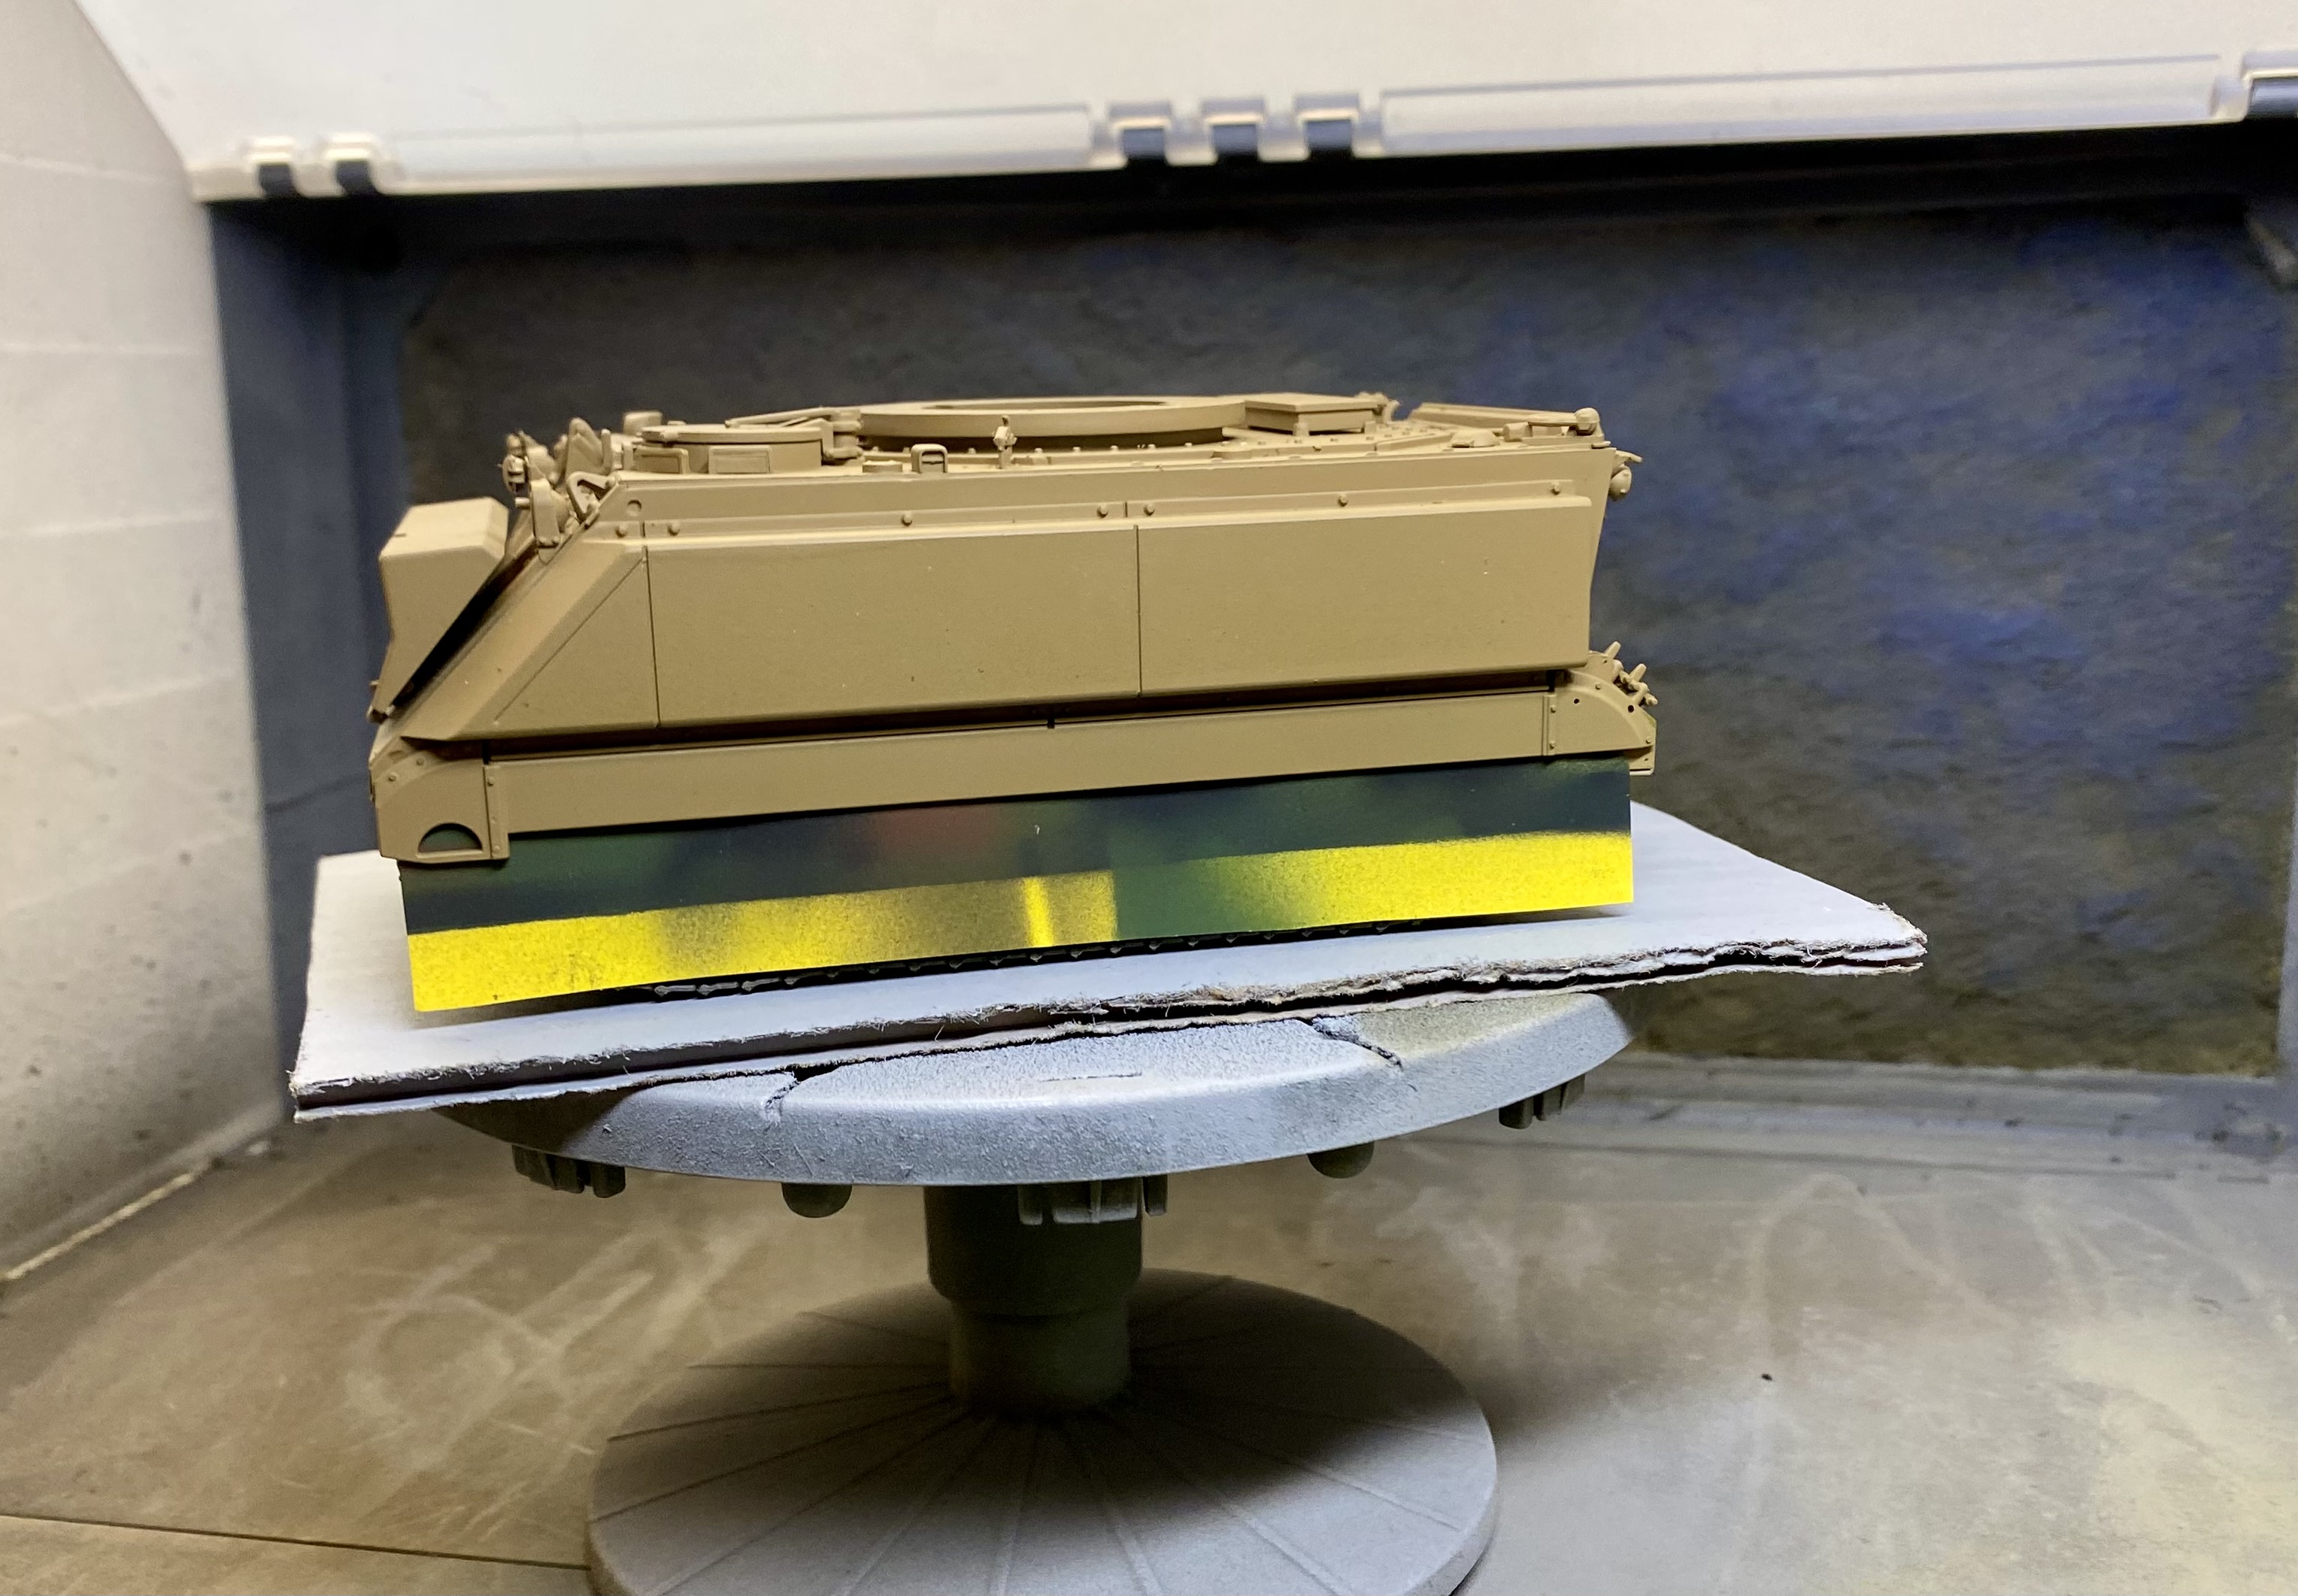
13 Likes
Man Al you’re just truckin’ along with these two! The 3D details look fantastic and your paintwork is excellent. Are you using your Iwatas and compressor?
4 Likes
Wade, you’ve mastered the whitewash quickly! And your drybrushing is just enough that it doesn’t scream out, “Hey! I’m drybrushed!” Very nice work.
4 Likes
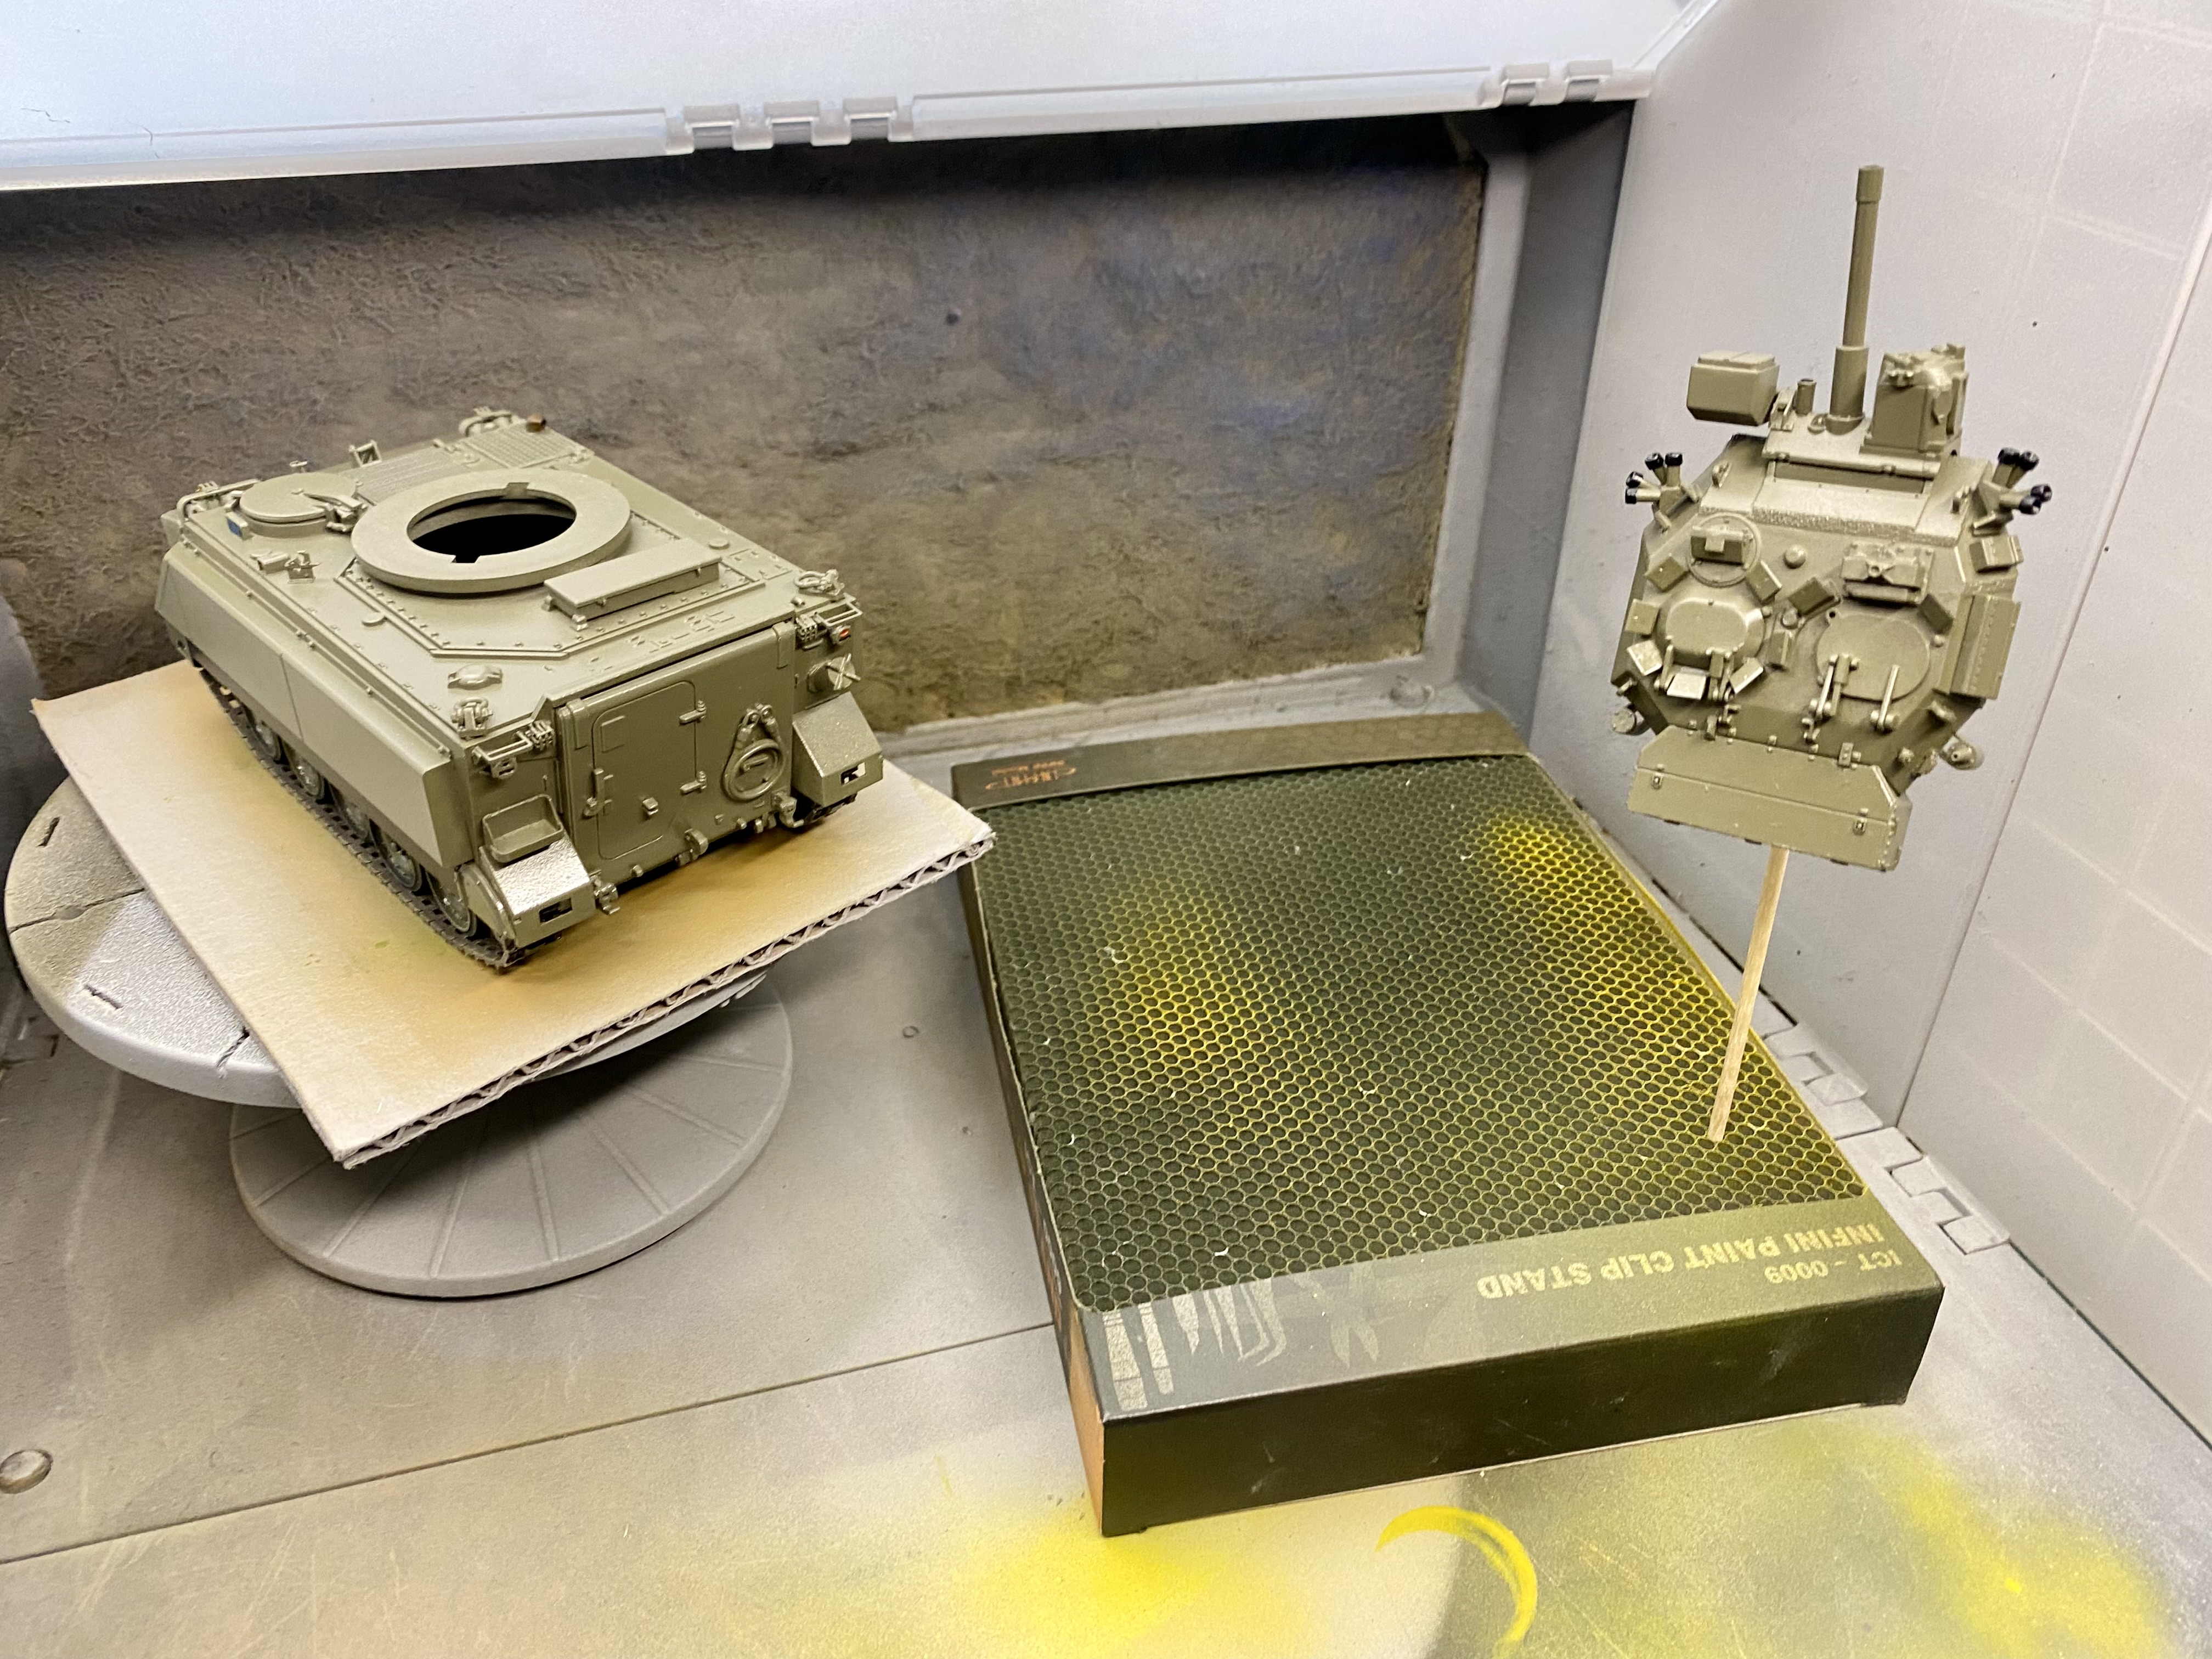
Yup, new compressor and paint booth guys have definitely changed up stuff.
While the wife was napping, decals on the FSV

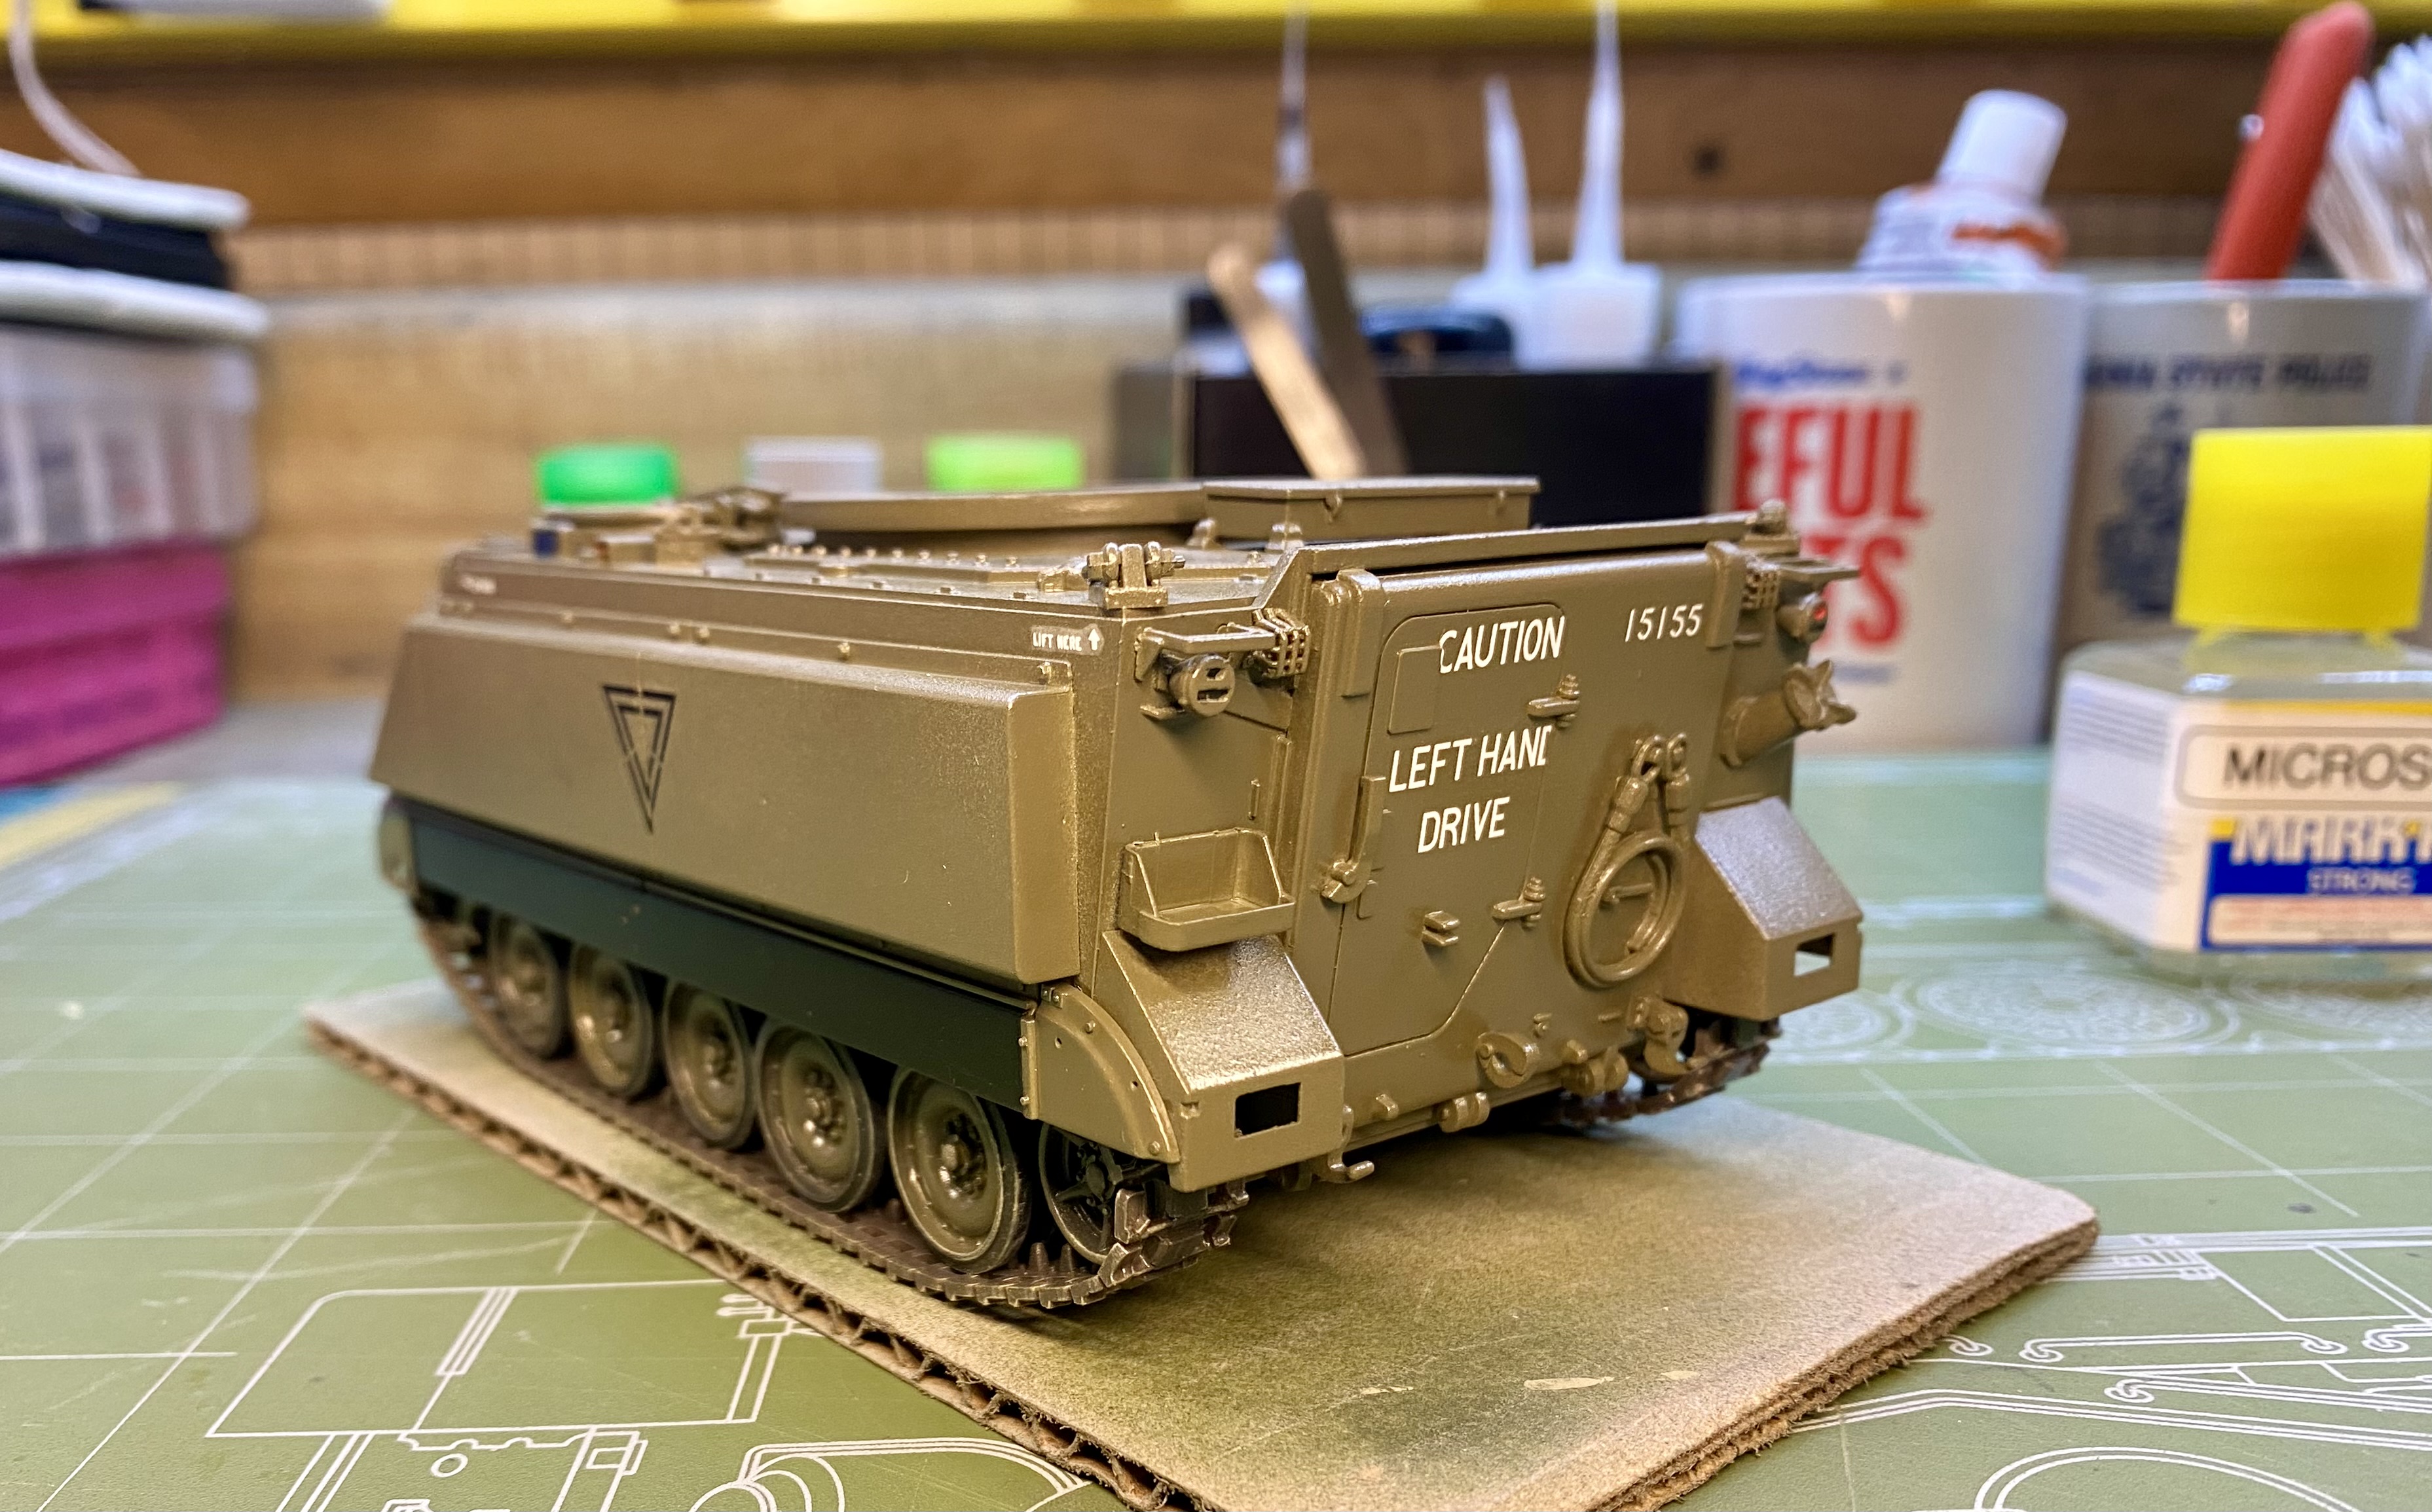
The stupid rear Lift Here decals from my Star Drcals 113 stenciling sheet are not cooperating… on either side….
14 Likes
Last time with silvering decals, i picked with a very small 25G 5/8" cannula for sup cutan injections, a few holes in the decal and dropped a little micro sol on it, flupp, no silvering
Rabbits
4 Likes
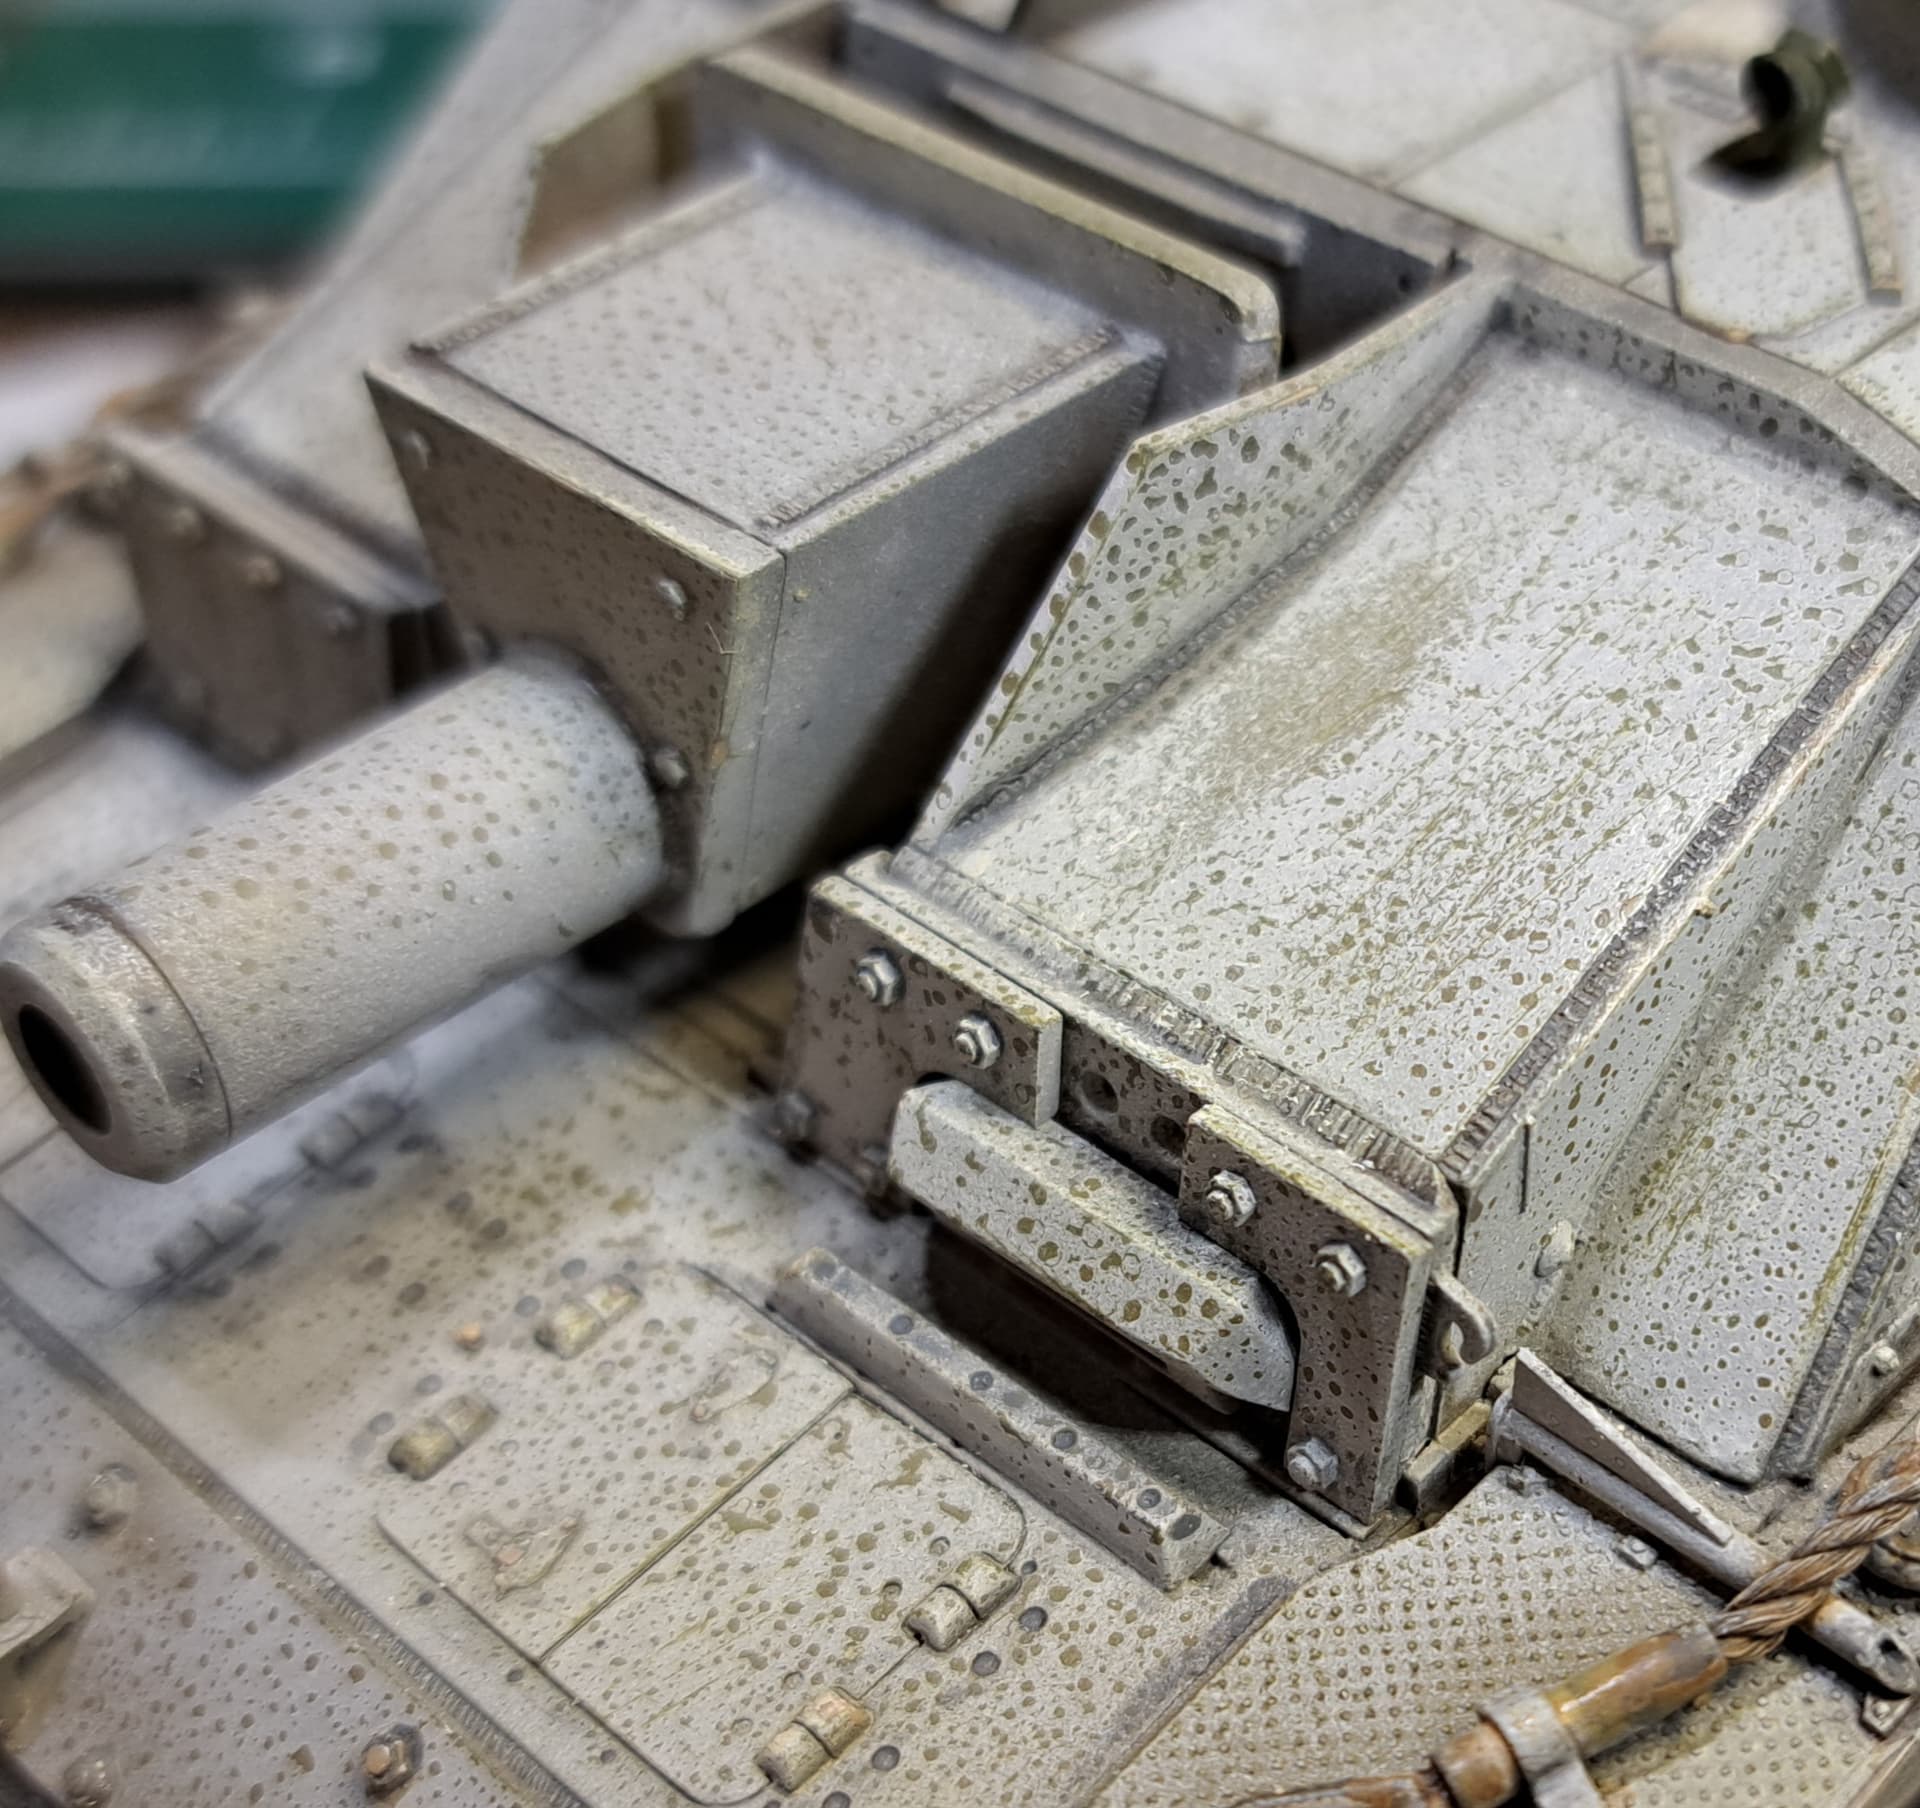
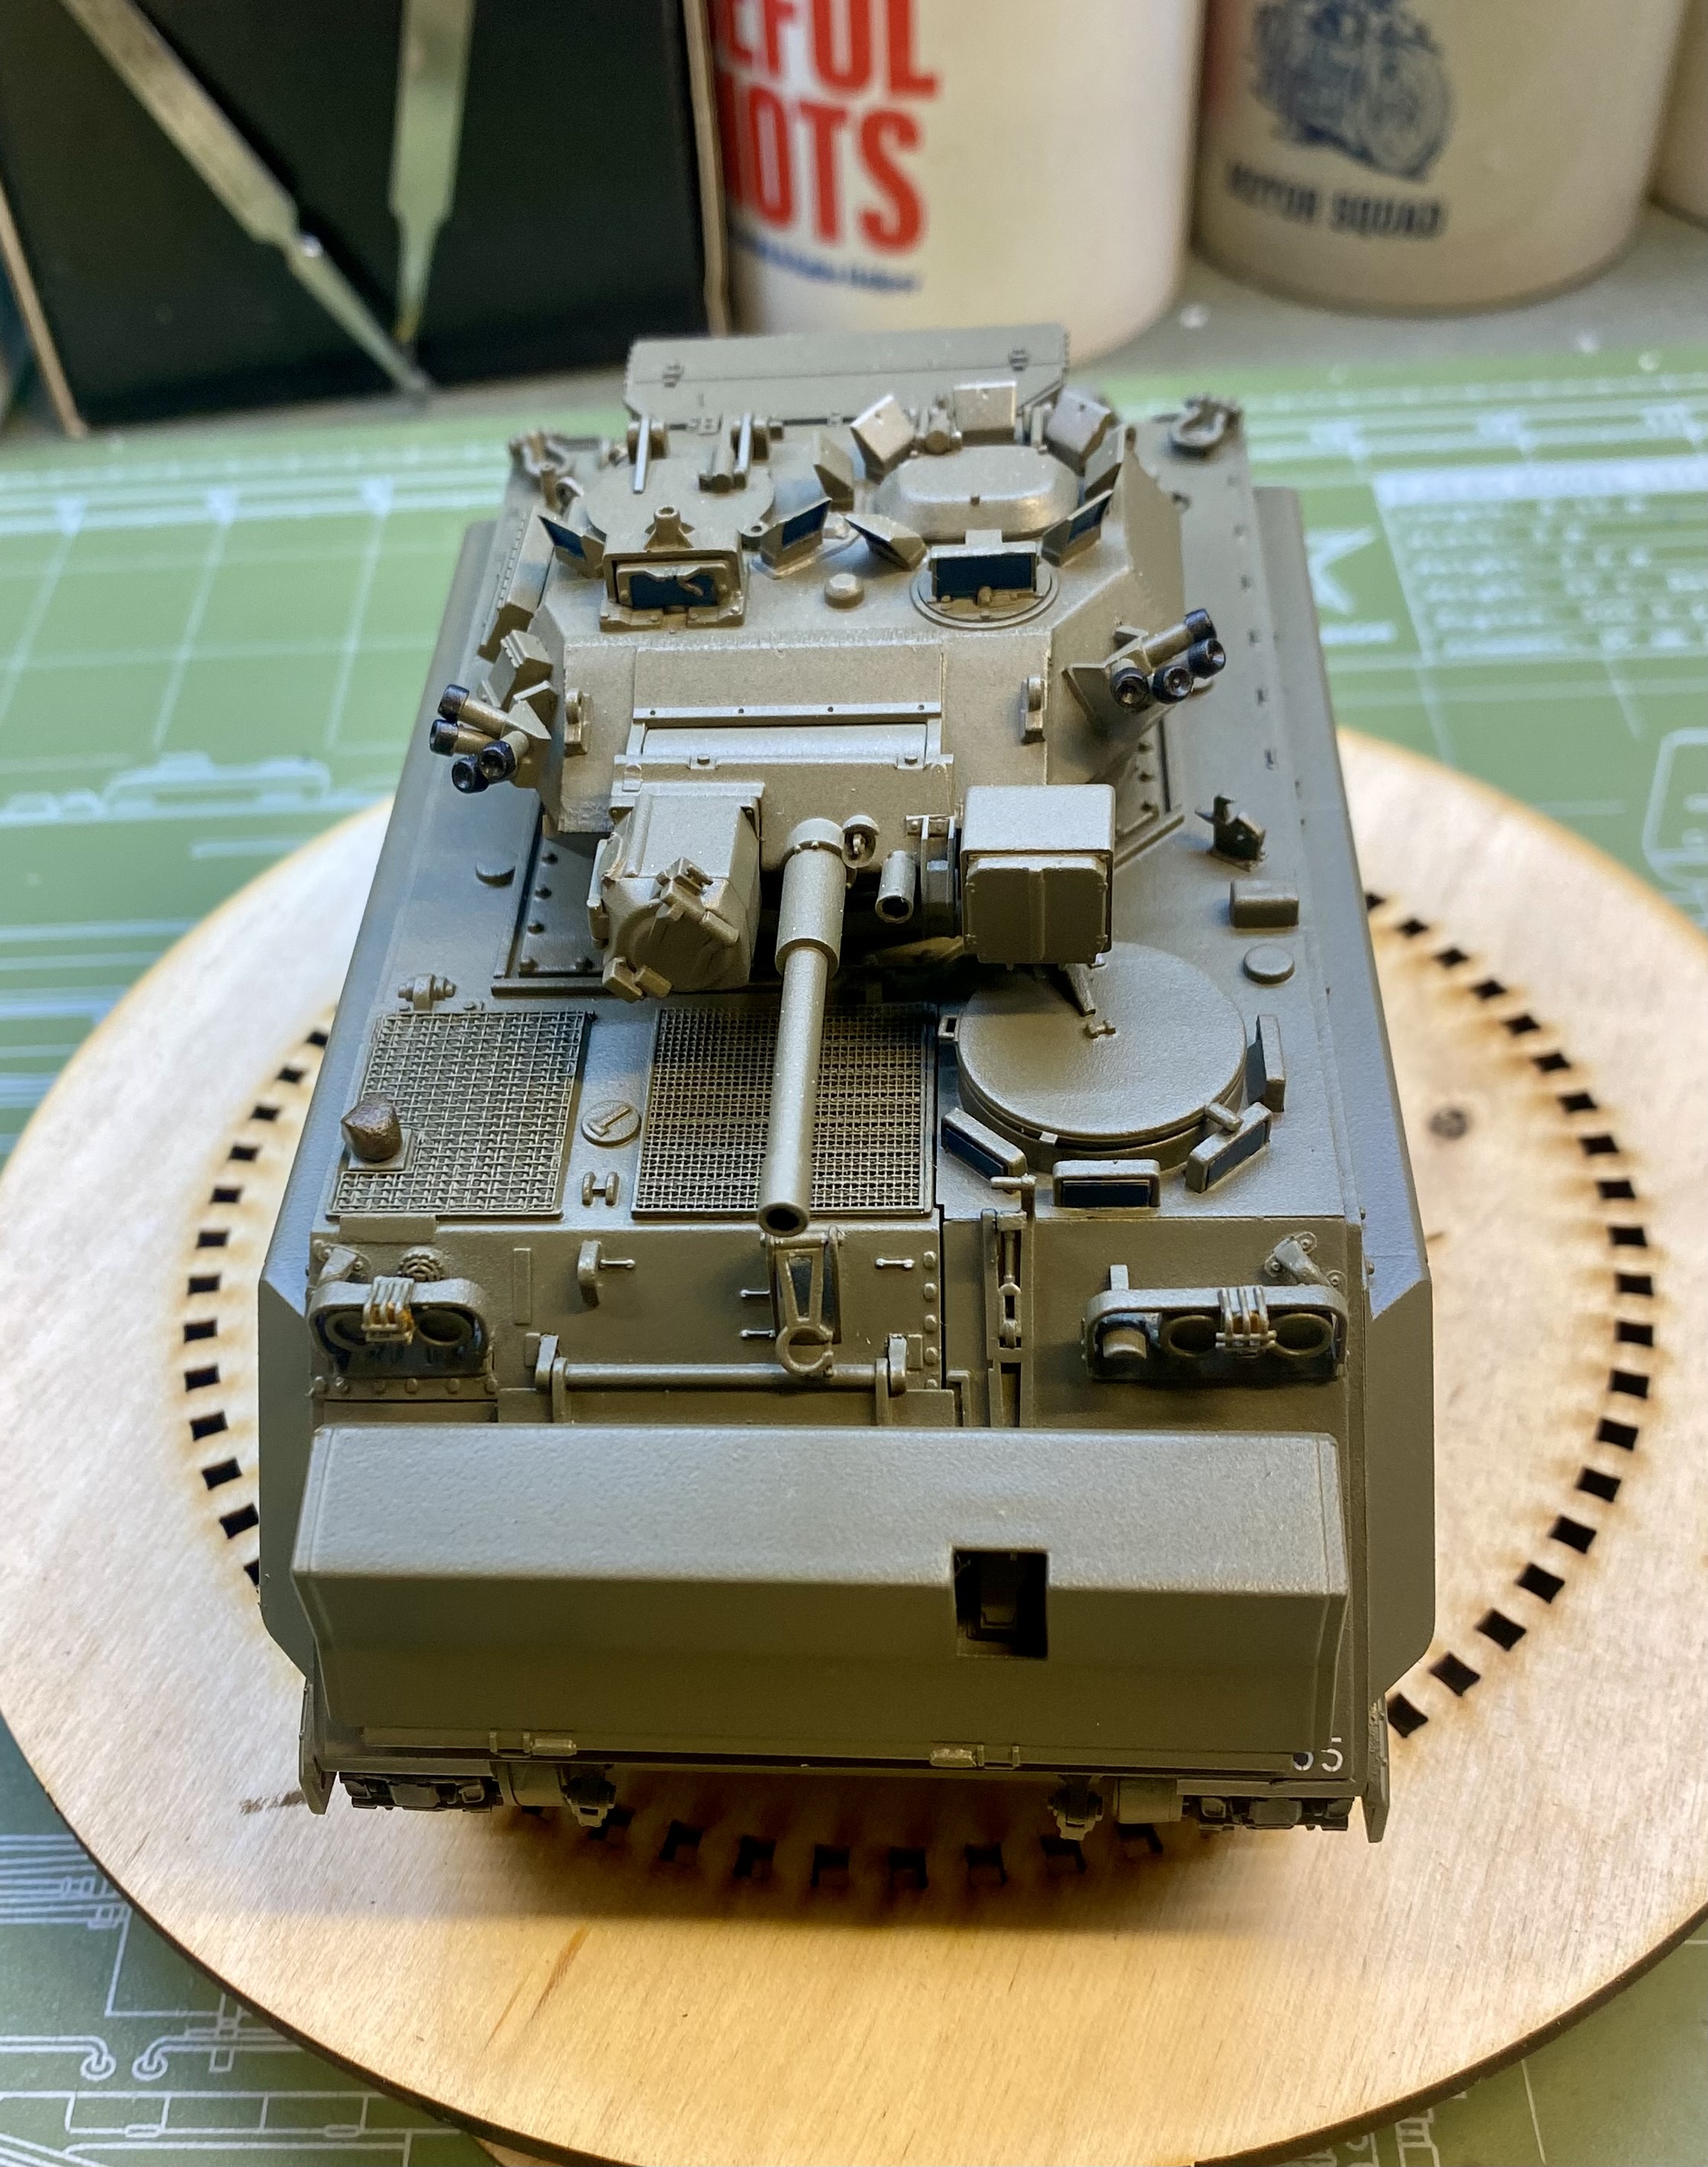
Minor update. Black lacquer finish for the barrel w/white wash plus a few paint tweaks.
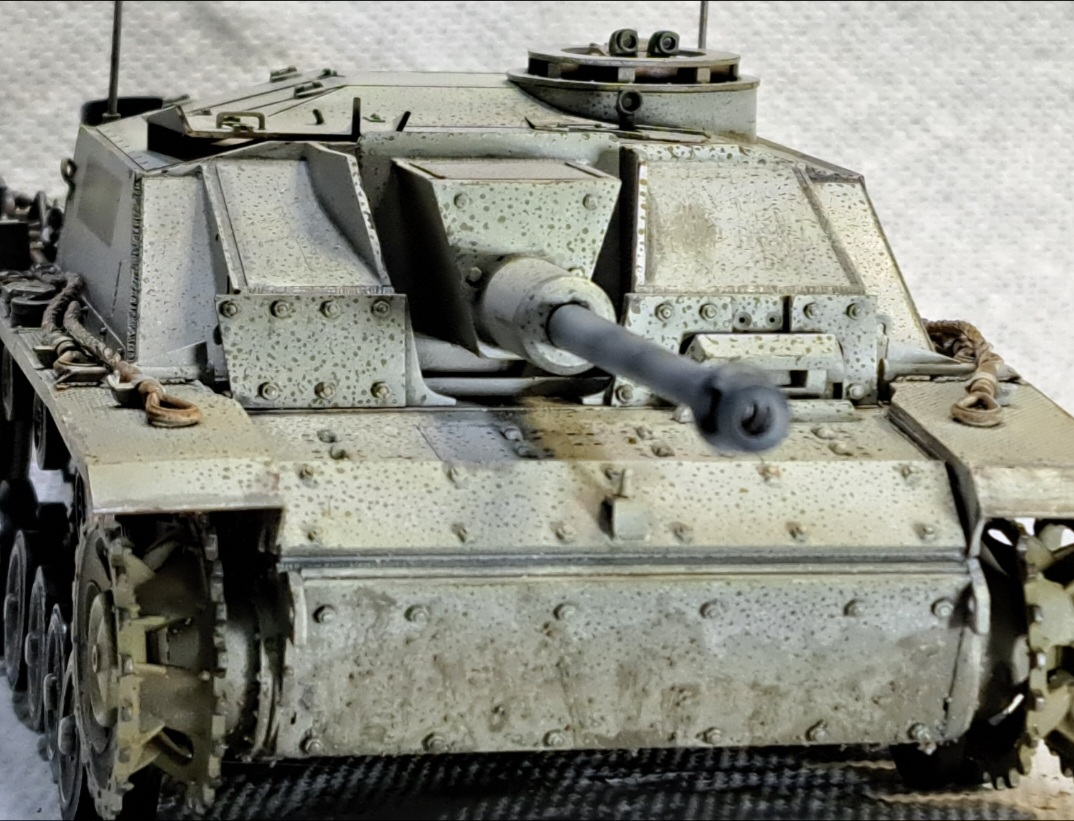
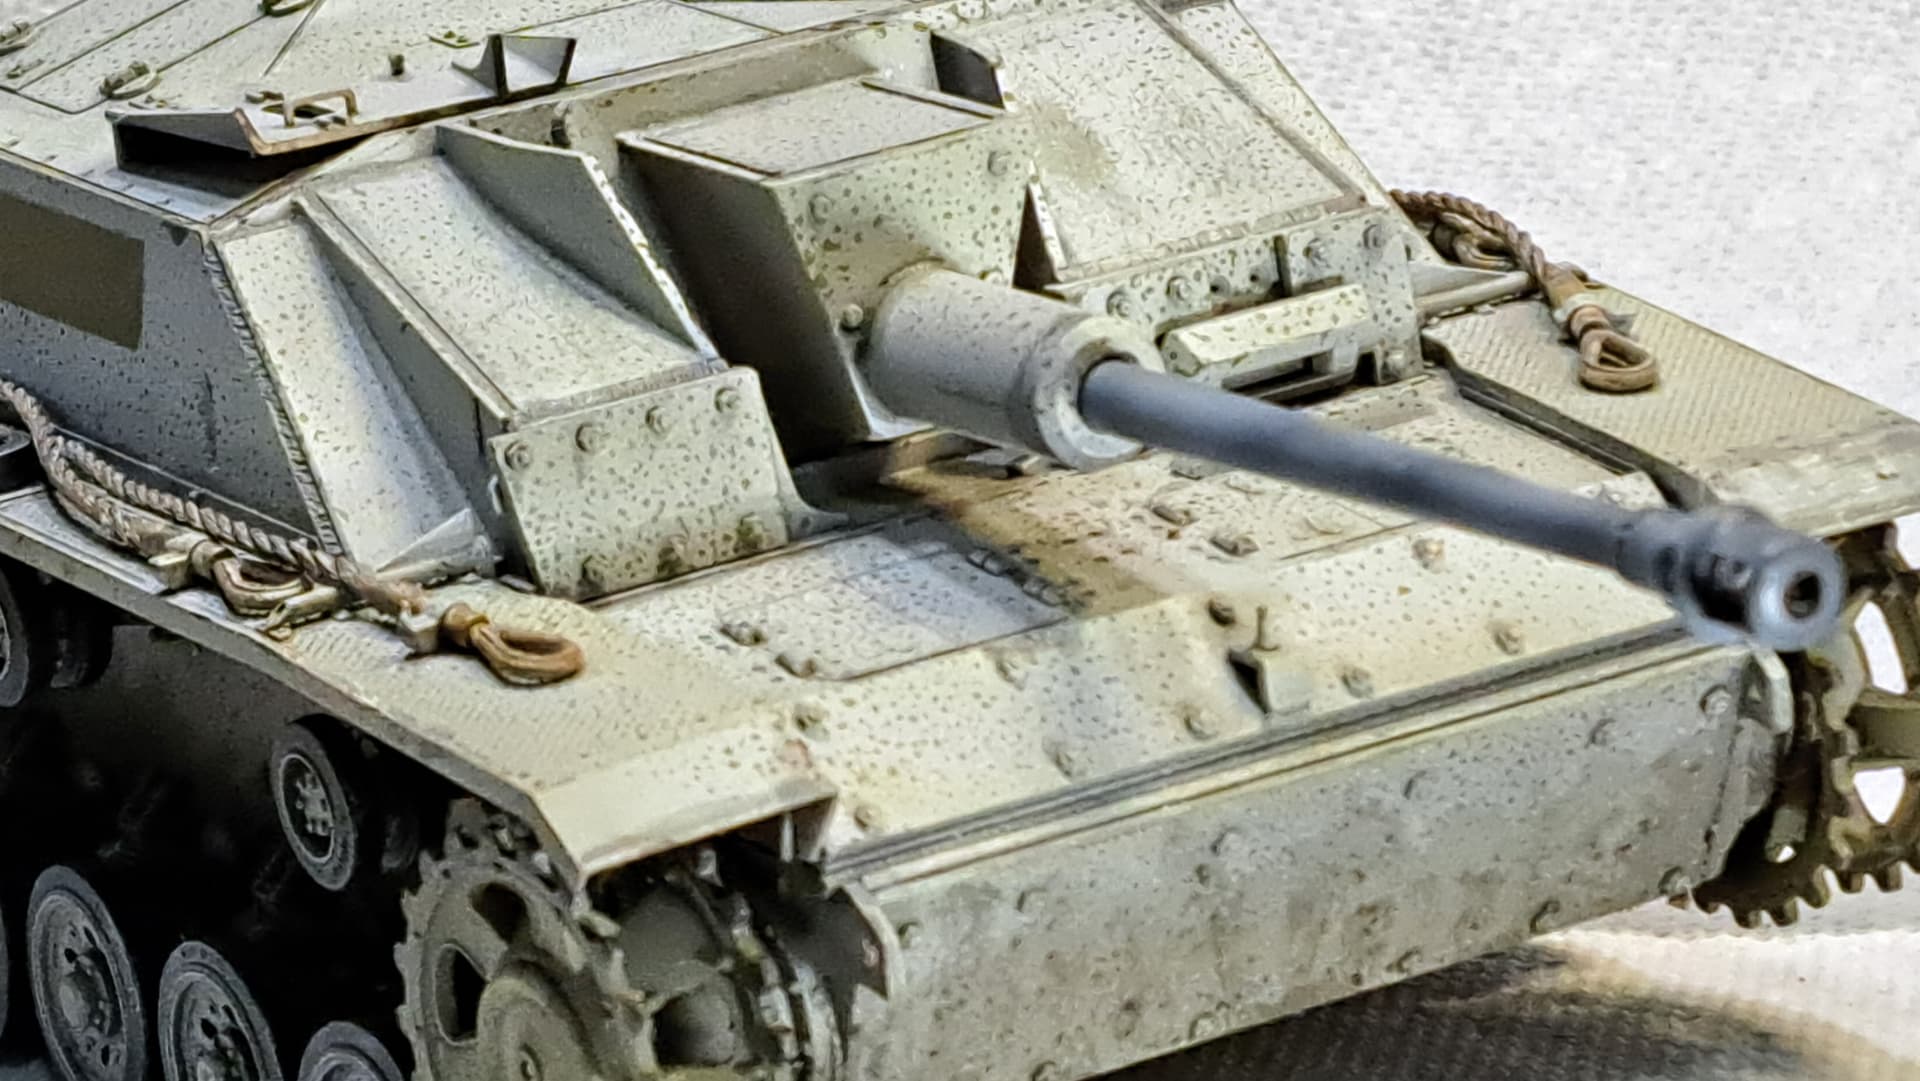
Tweaked edges
Have a few more paint tweaks to do before decals etc.
13 Likes
Decals look good. Nice on the airbrush and compressor. I have an old shop compressor. Works, but it’s not a compact and quiet beast.
2 Likes
Thanks Wink.
All my sturm and drang over my stencil decals was for naught. After I shot it with some flat clear, they were okay.
The 20+ year old FSV decals were toast. Aside from the aforementioned stencils, these are all MRV decals from the later kit.
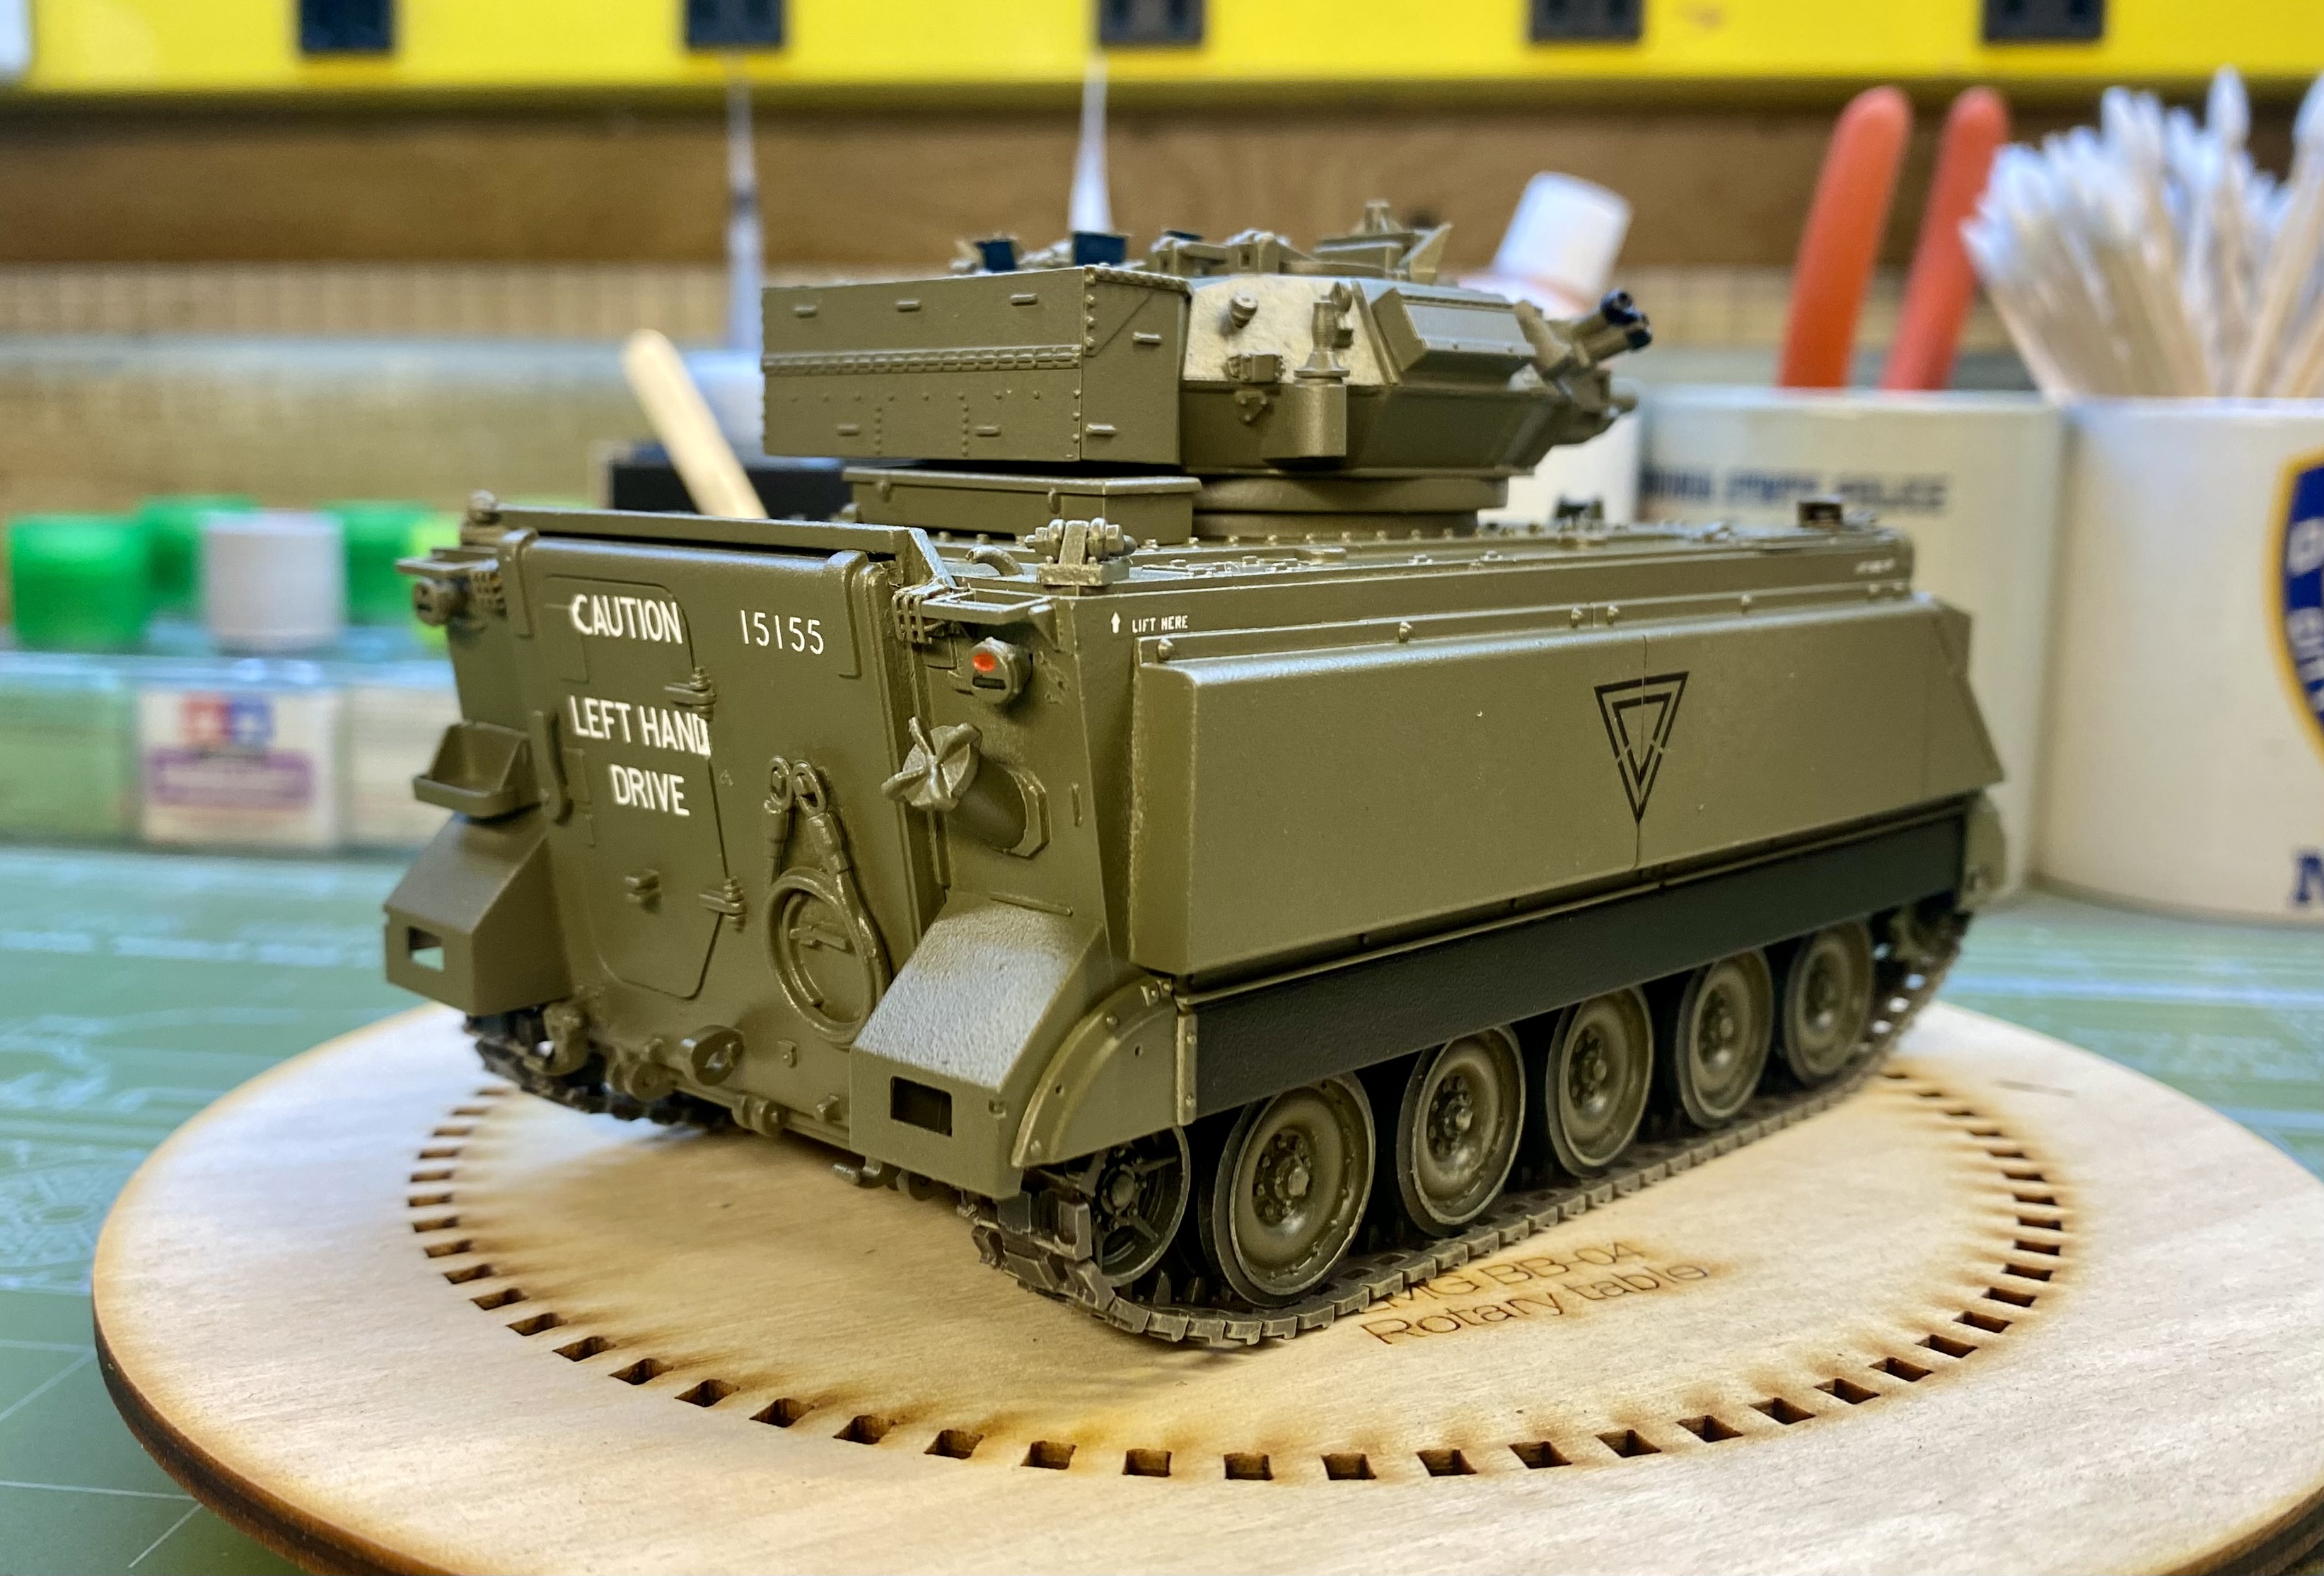
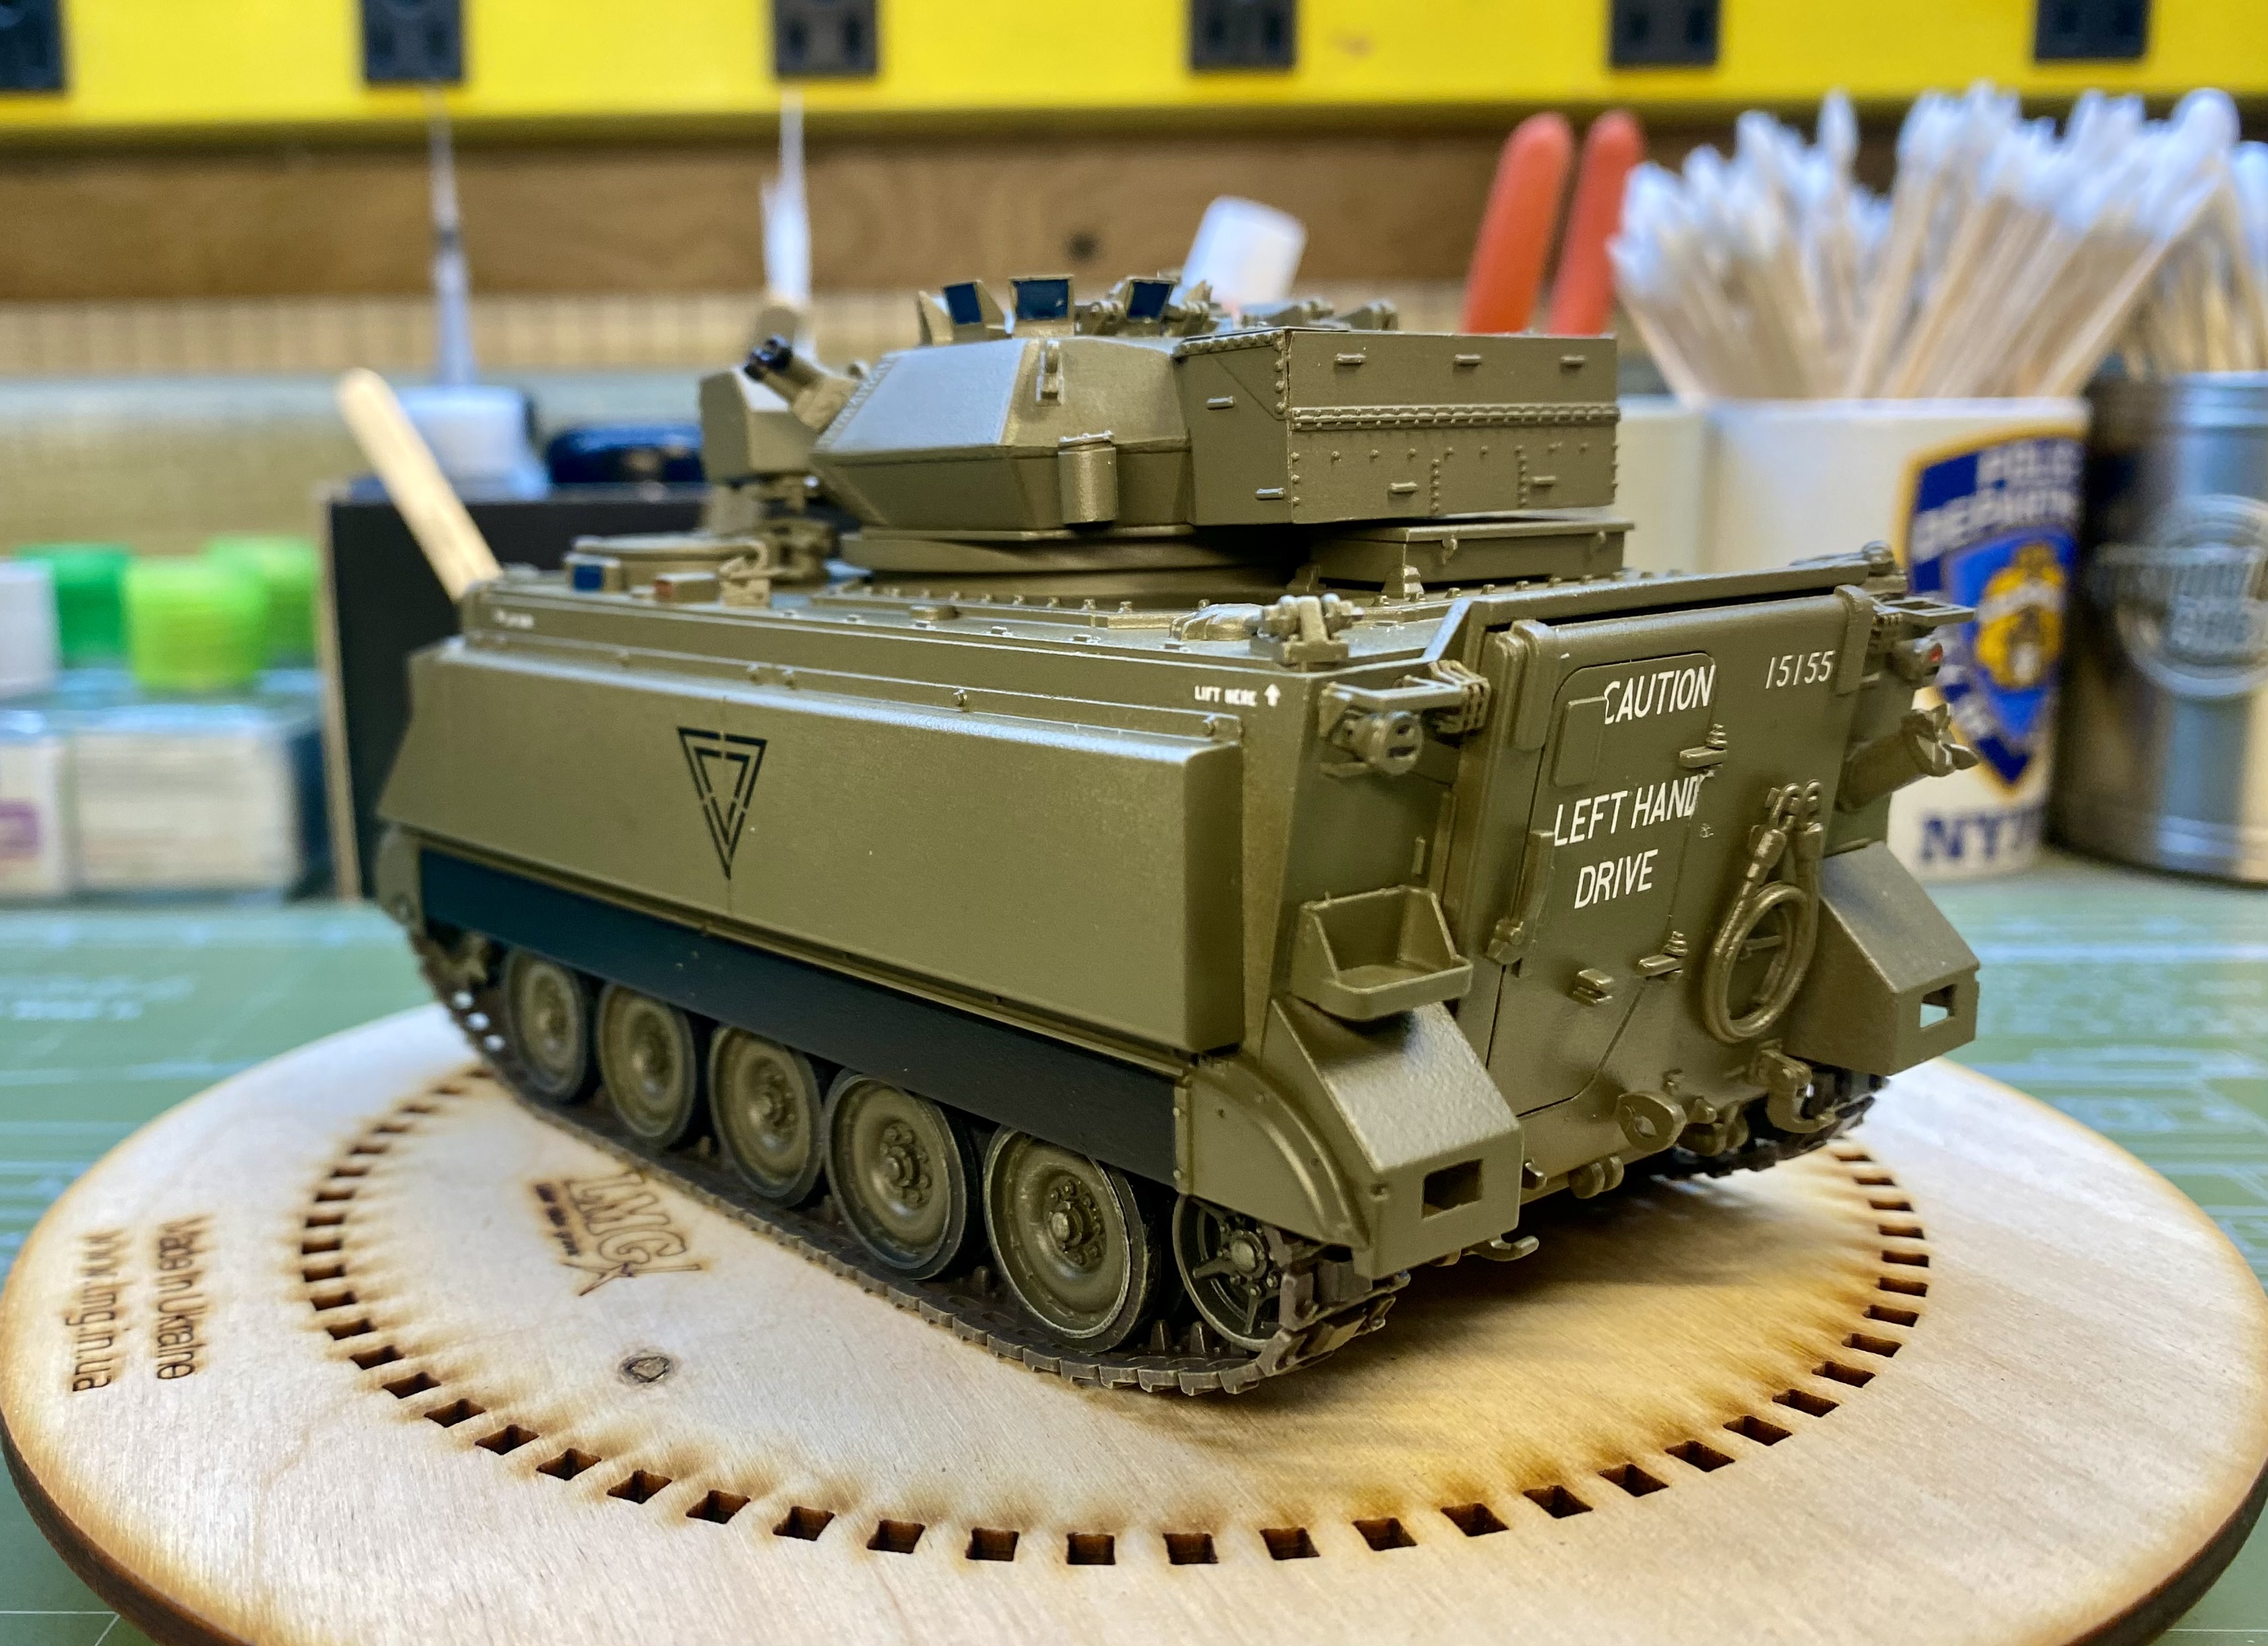
I also kinda’ finished the rest of the D in the (LEFT HAND) decal with a pinstripe brush whose film had slipped through the crack on the ramp door. Now it looks like it says LEFT HANU…

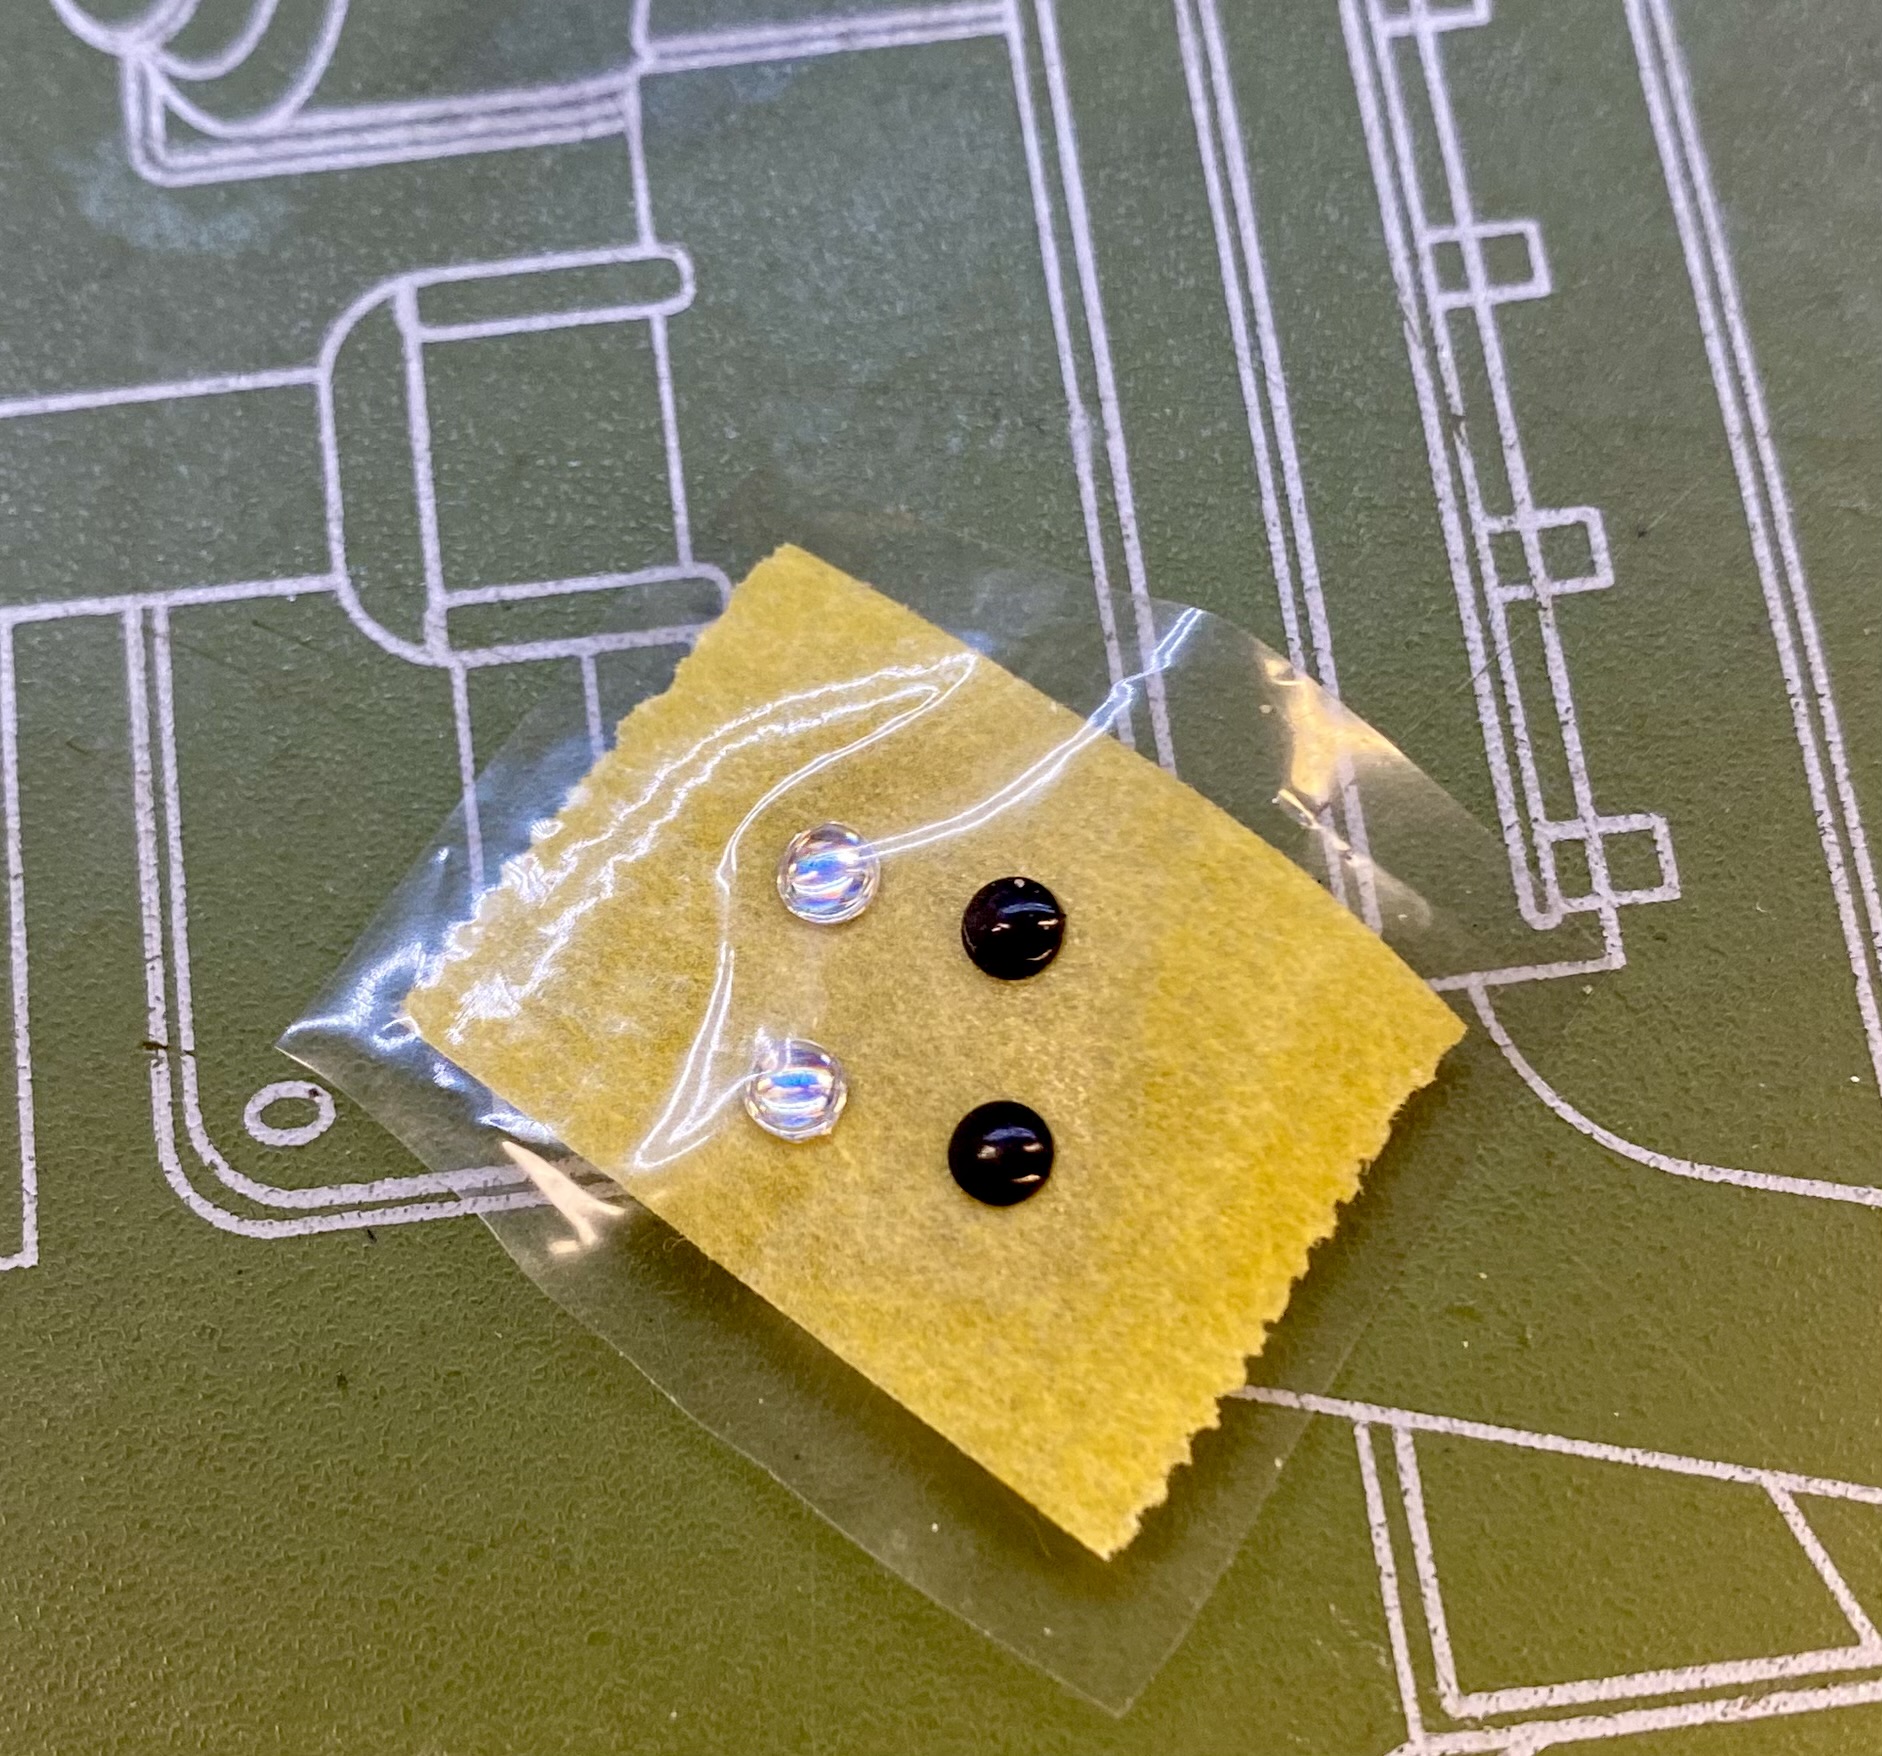
Oh yeah, I need headlamp lenses….
Next: some touch up, gloss for the periscopes, Citadel shaders and some oil pastel dry brushing.
And there’s this
edited for spellin
21 Likes