Yup.
Gone now.
Haven’t had a working Aztek AB since they stopped the no questions asked warranty replacement.
Yup.
Gone now.
Haven’t had a working Aztek AB since they stopped the no questions asked warranty replacement.
Same here. Mine was replaced one time and since the late 1990’s it’s been gone to airbrush Valhalla.
I got tempted.
Bought an A470 in a fancy wooden case with the full set of nozzles.
I was after the special acrylics nozzle.
First spray session and the spray would go in different directions each time I pulled the trigger.
Examined the design and came to the conclusion that the manufacturing precision was way too sloppy to ever achieve consistent results. How could anyone think that a 1/4 inch needle can be kept straight in a loose fitting sleeve?
Back in the fancy case and then sold it a year later.
It leaked, when the trigger was released there was still a faint sizzle and paint would collect at the needle tip. Tried adjusting it but it just kept leaking.
Indeed it is. The Aztek 470 is my AB of choice but I already have 3 of those wrenches/cleaners.
I had two that worked very well from the mid 90s until about 2010.
I’d use one until it failed and send it in for for replacement while I used the other.
I got one of them in a fancy wooden presentation case for Christmas. After it went in for replacement I hit upon the idea of having a second.
I got pretty good at taking the tips apart and discovered they worked best when they were stored in whatever thinner I was using.
I may have gotten what we in Sweden call a ‘Monday specimen’
meaning that it was produced by a tired & hung-over worker on a Monday morning.
Only nine more Microsol applications to go….
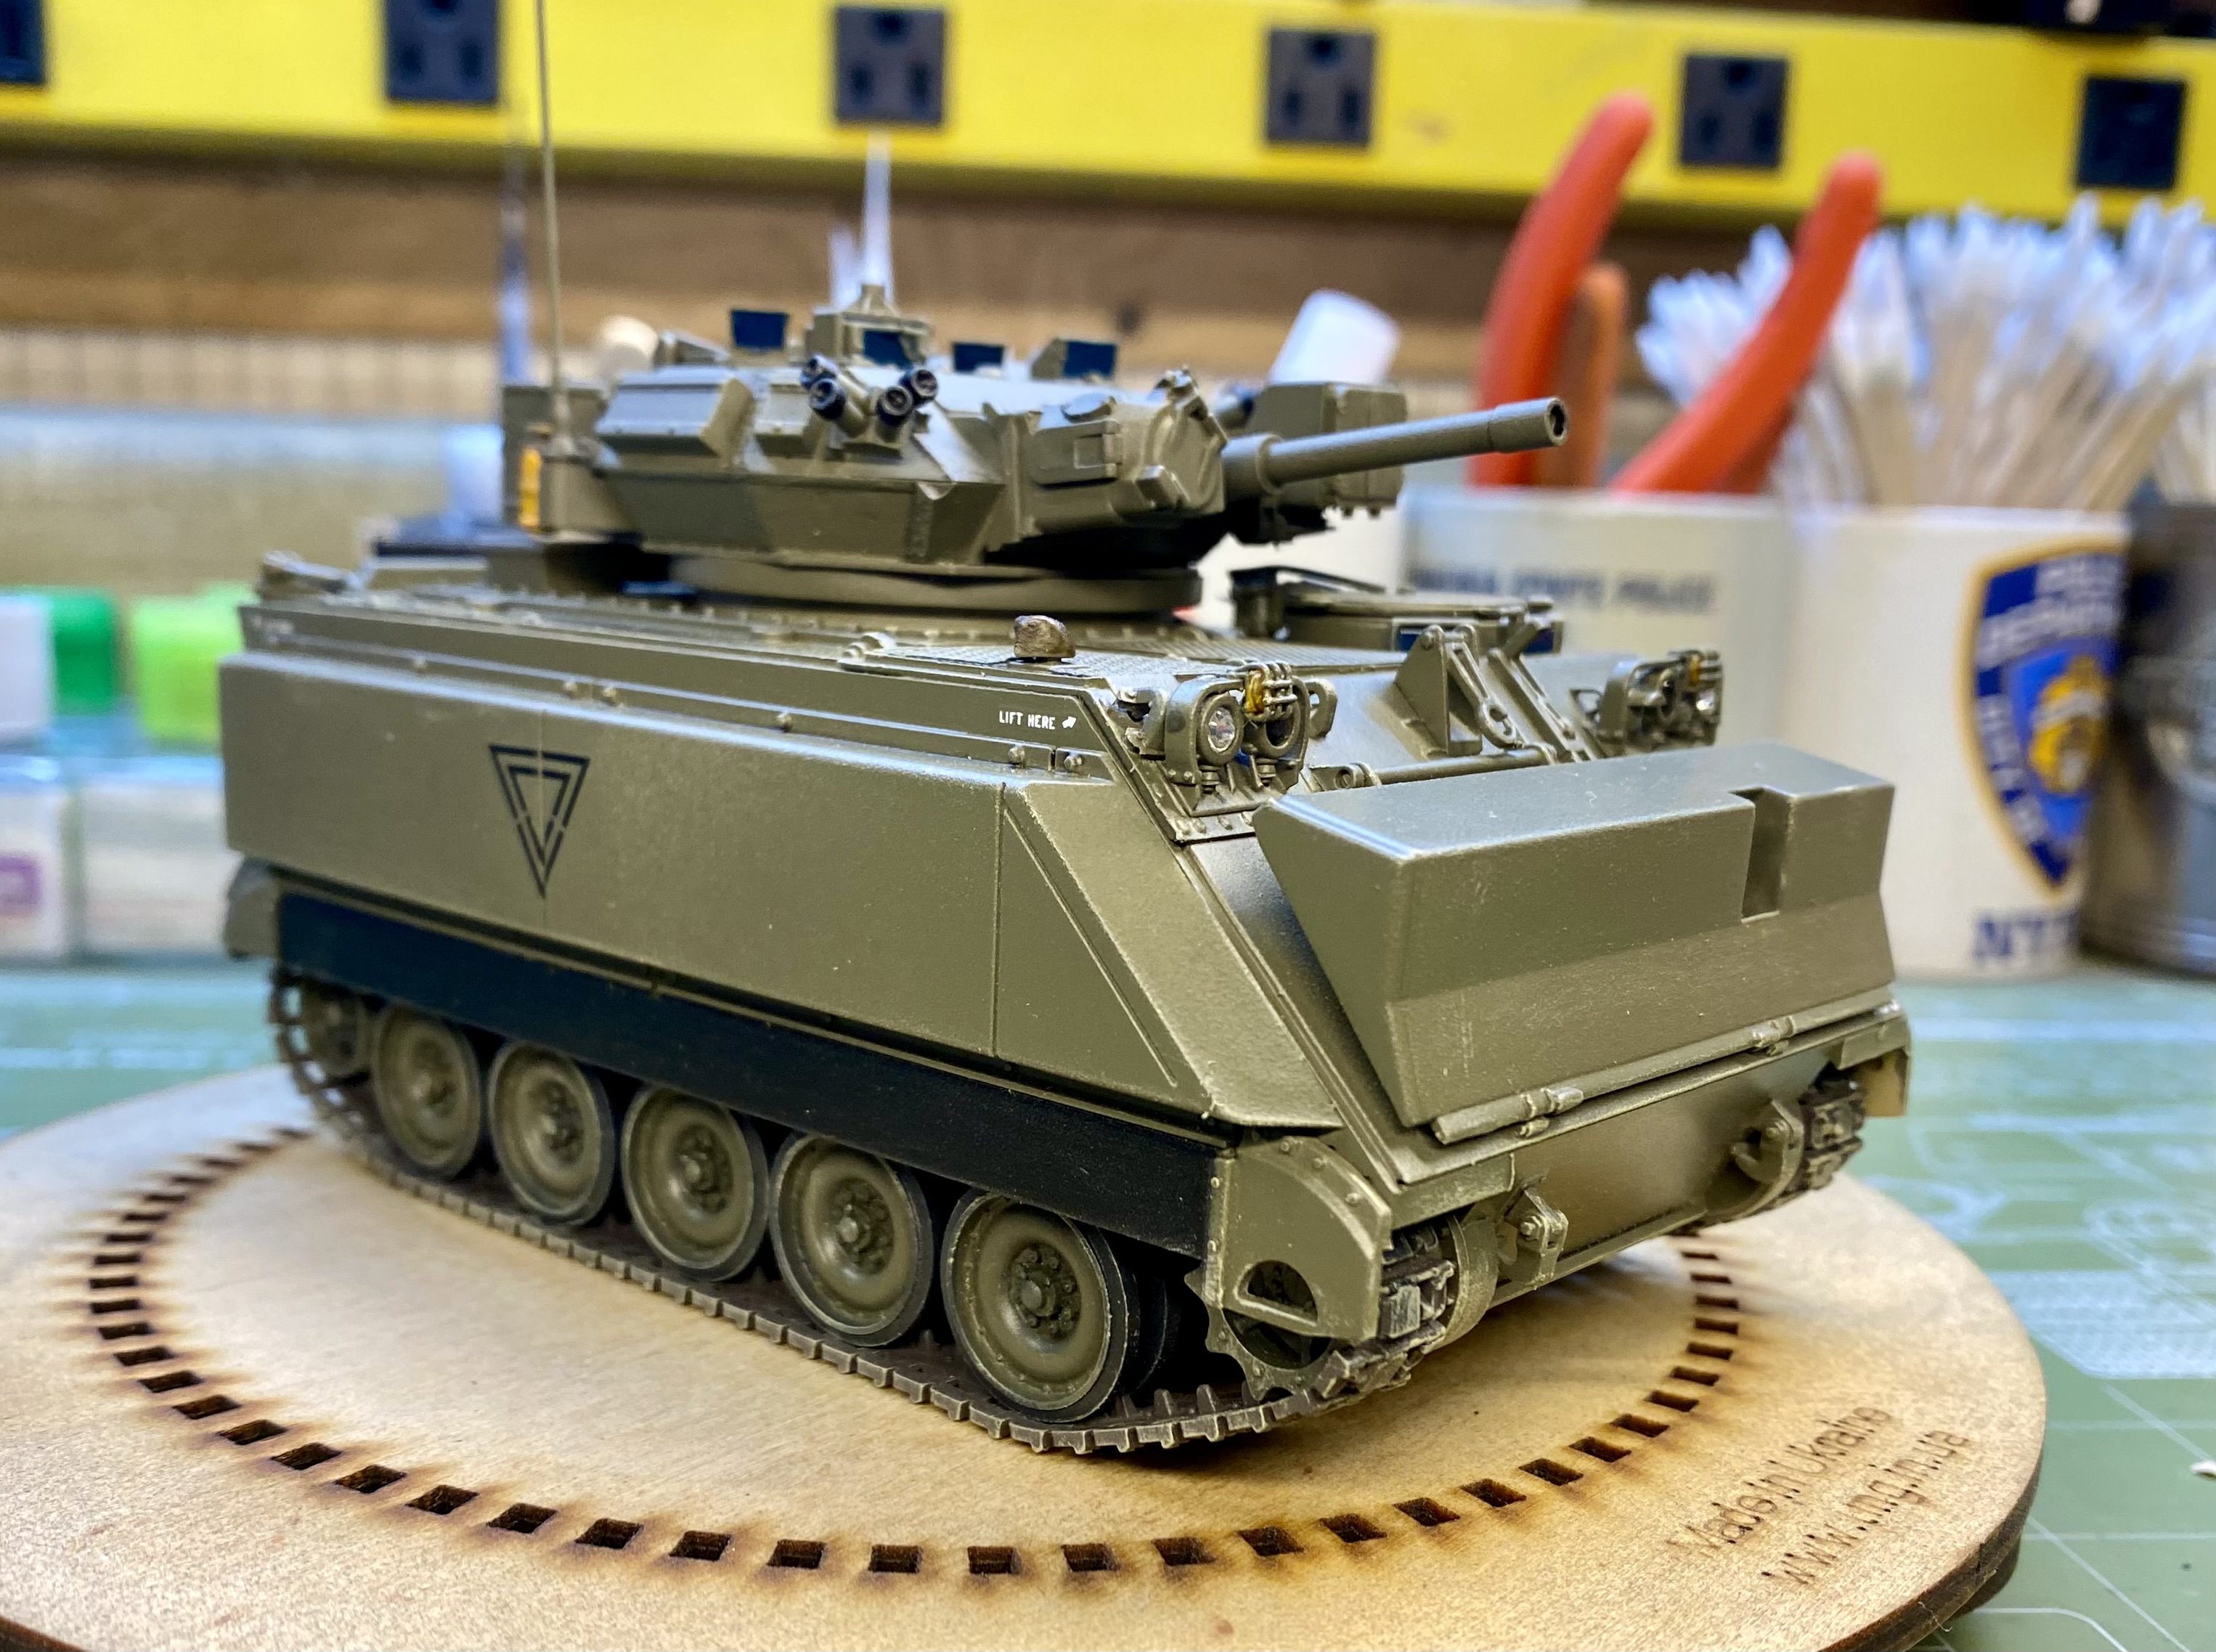
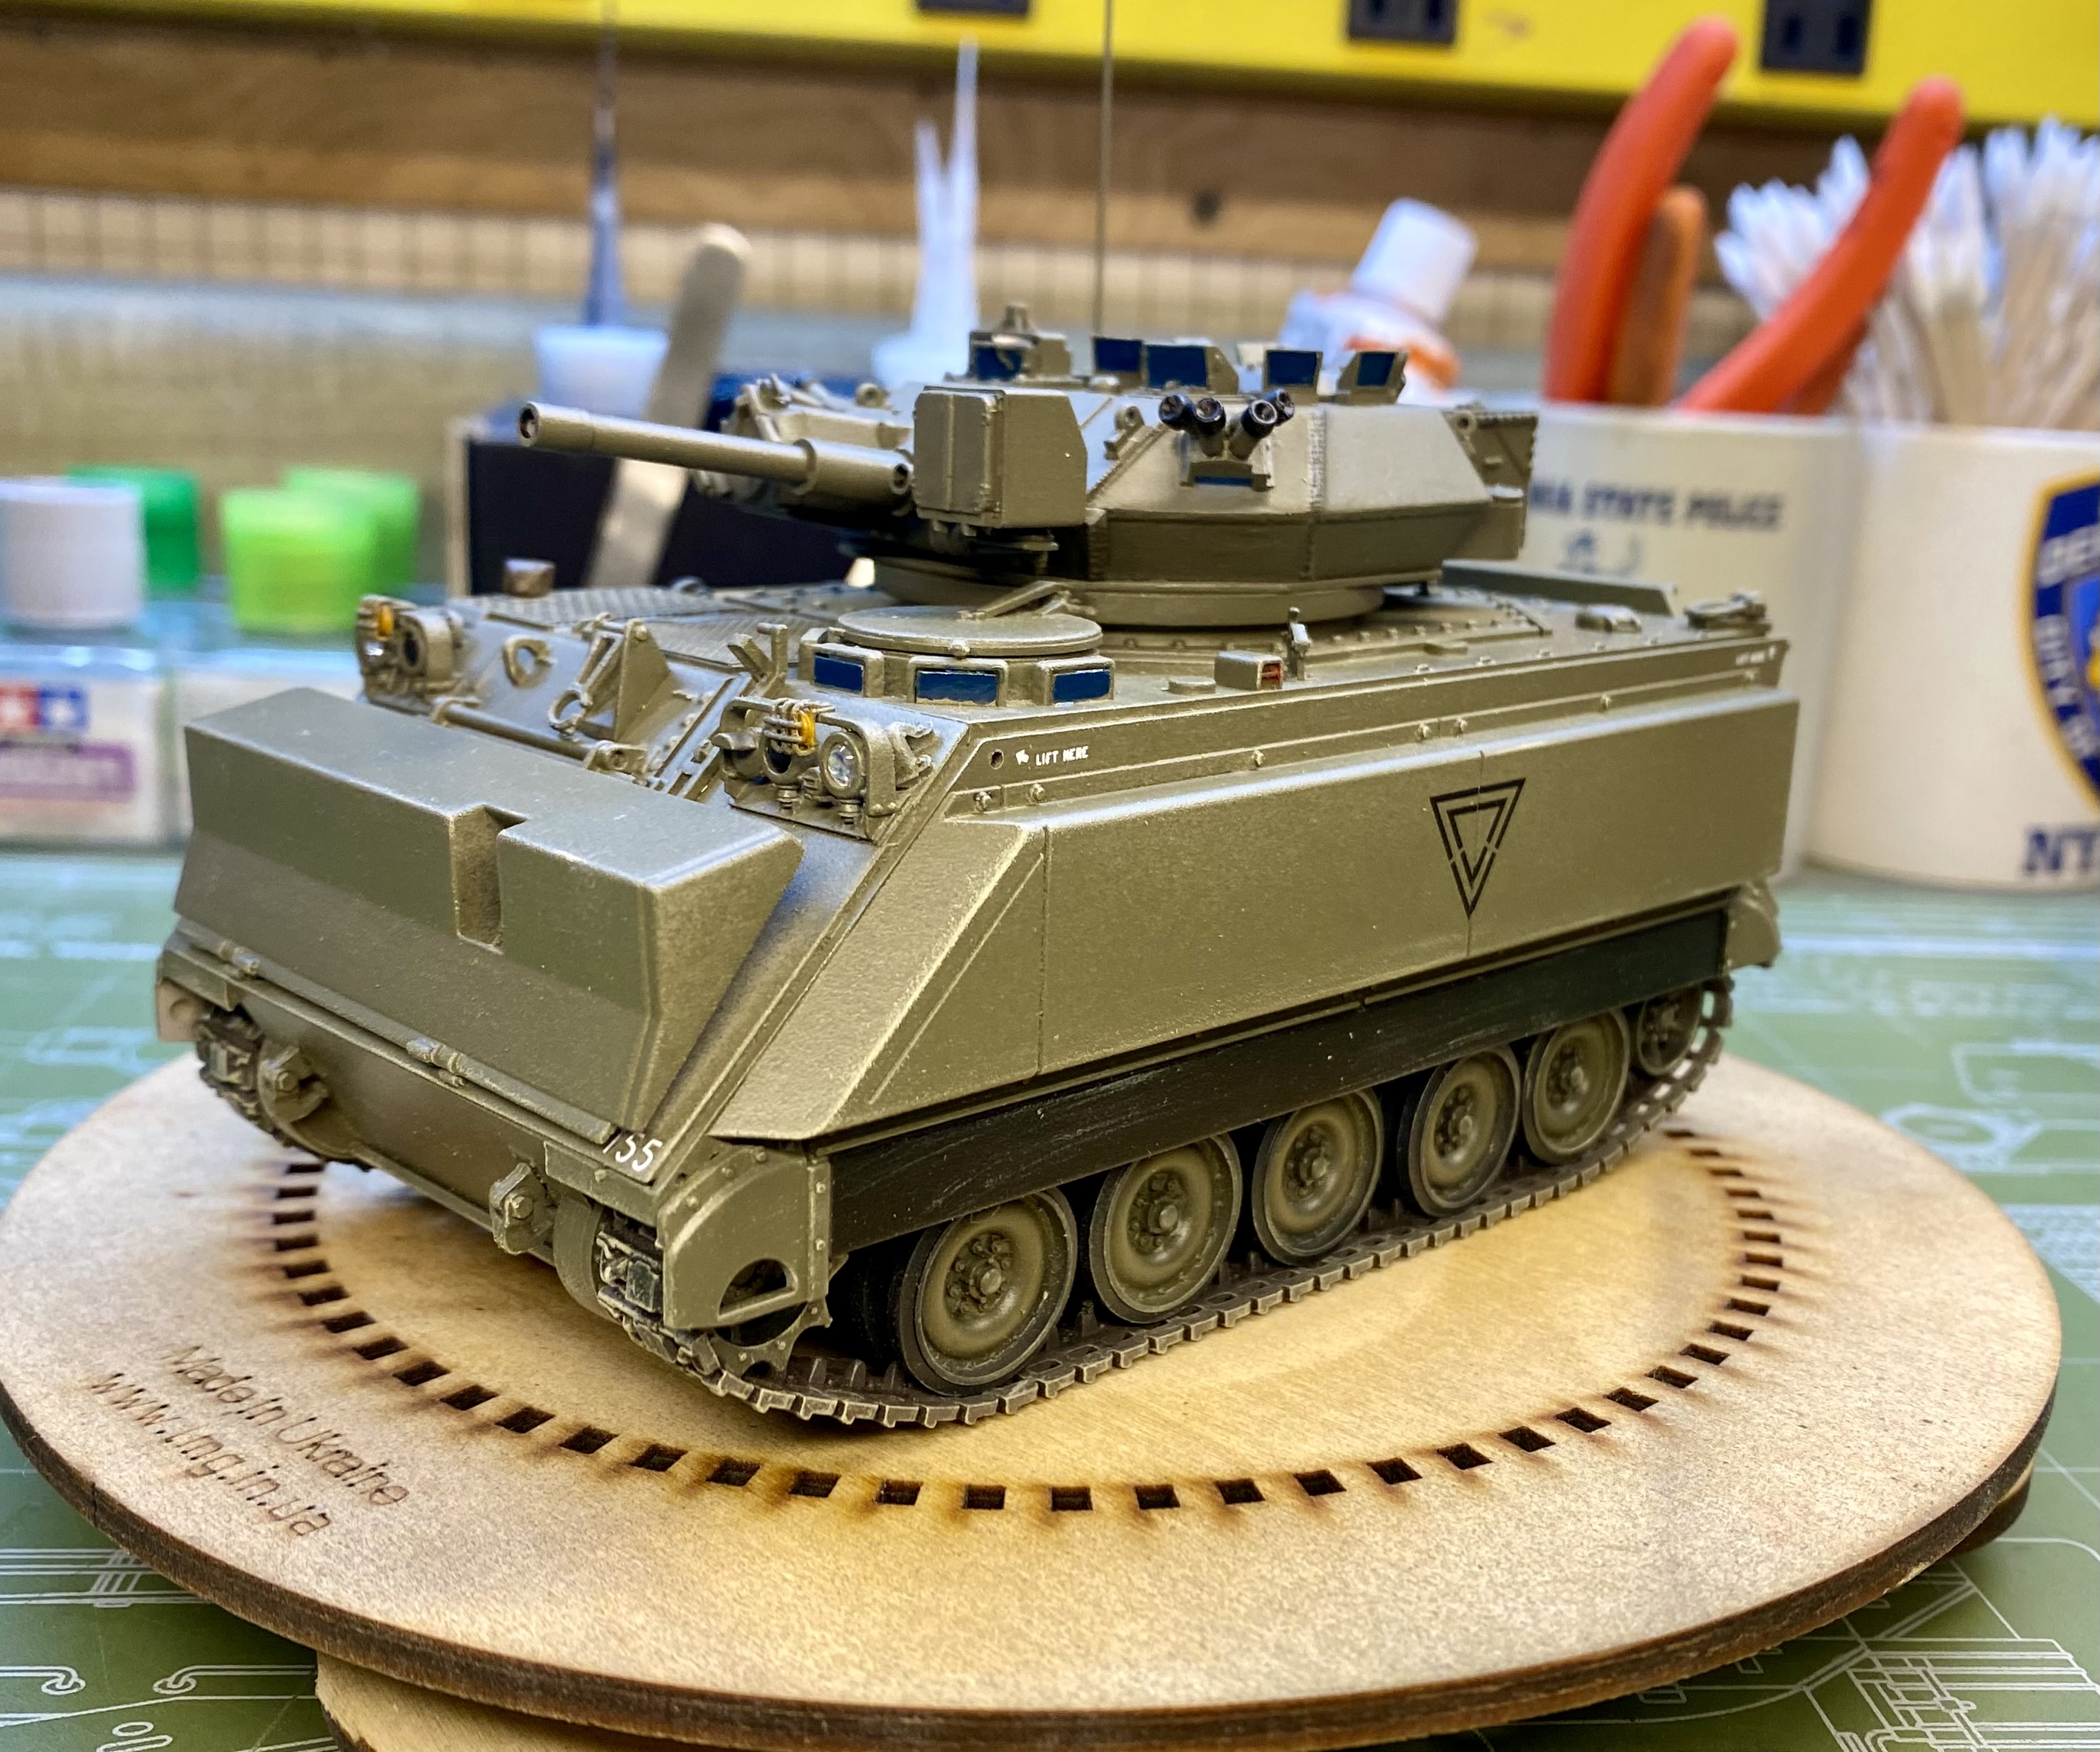
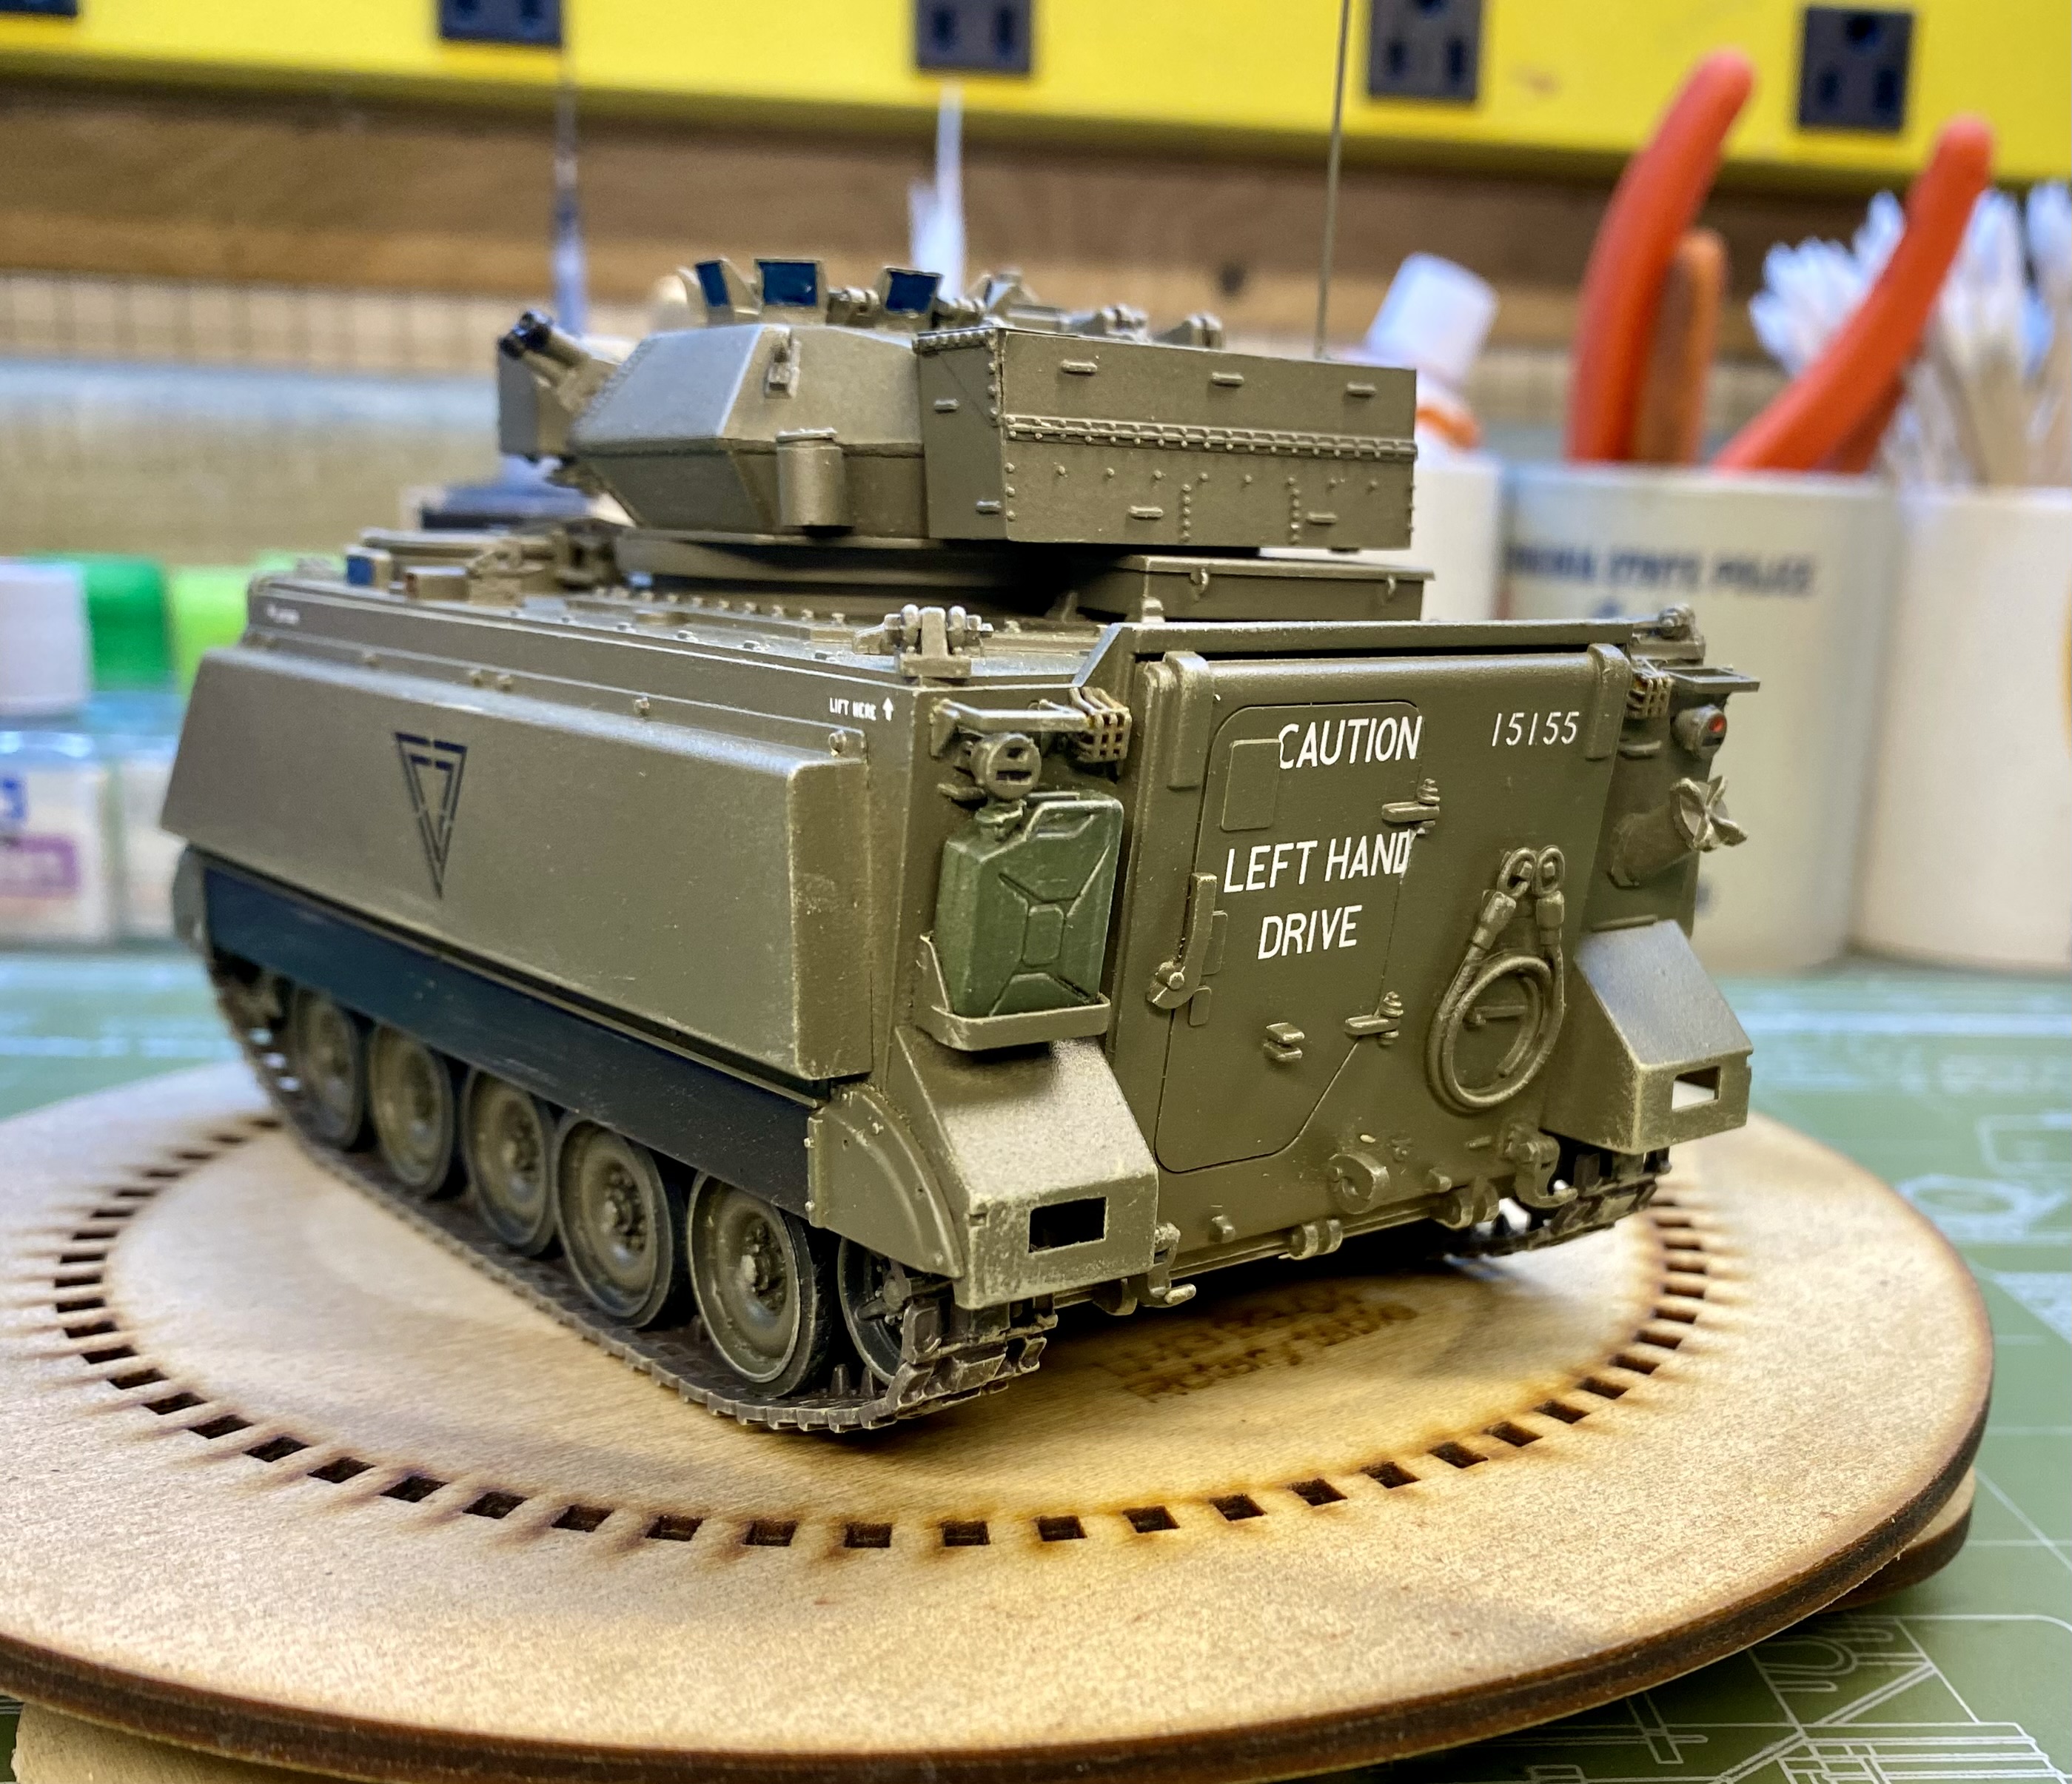
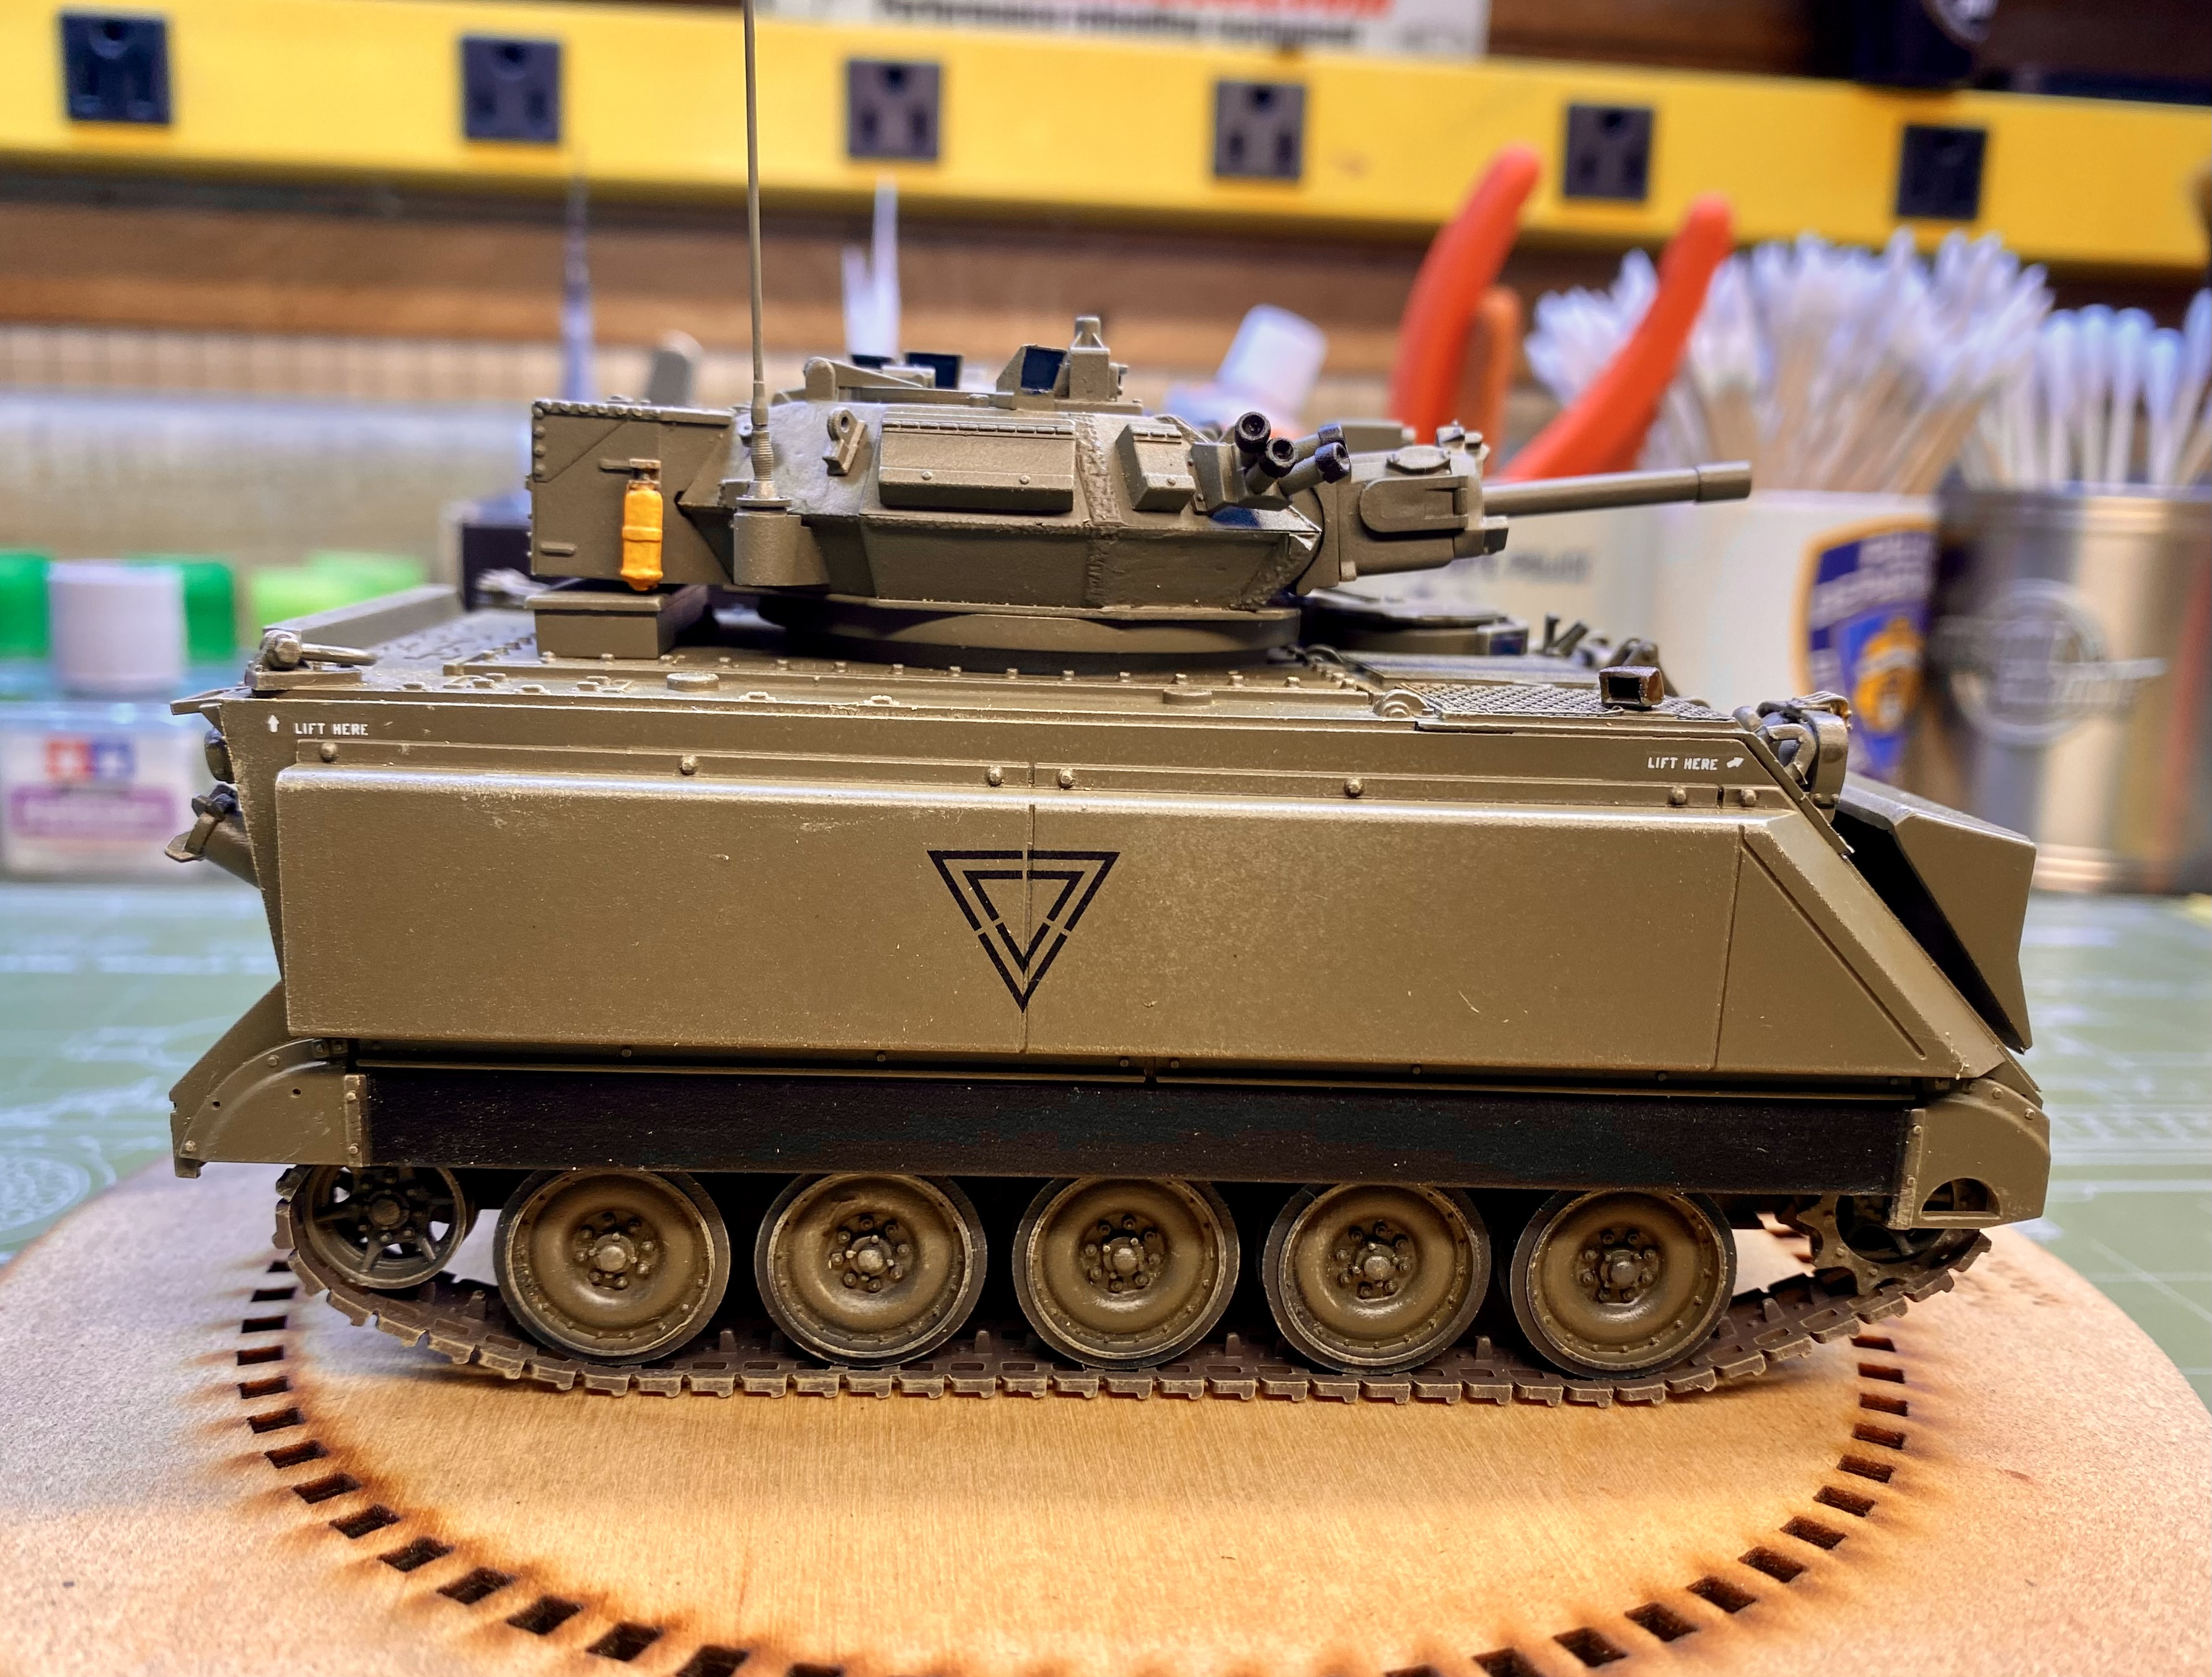
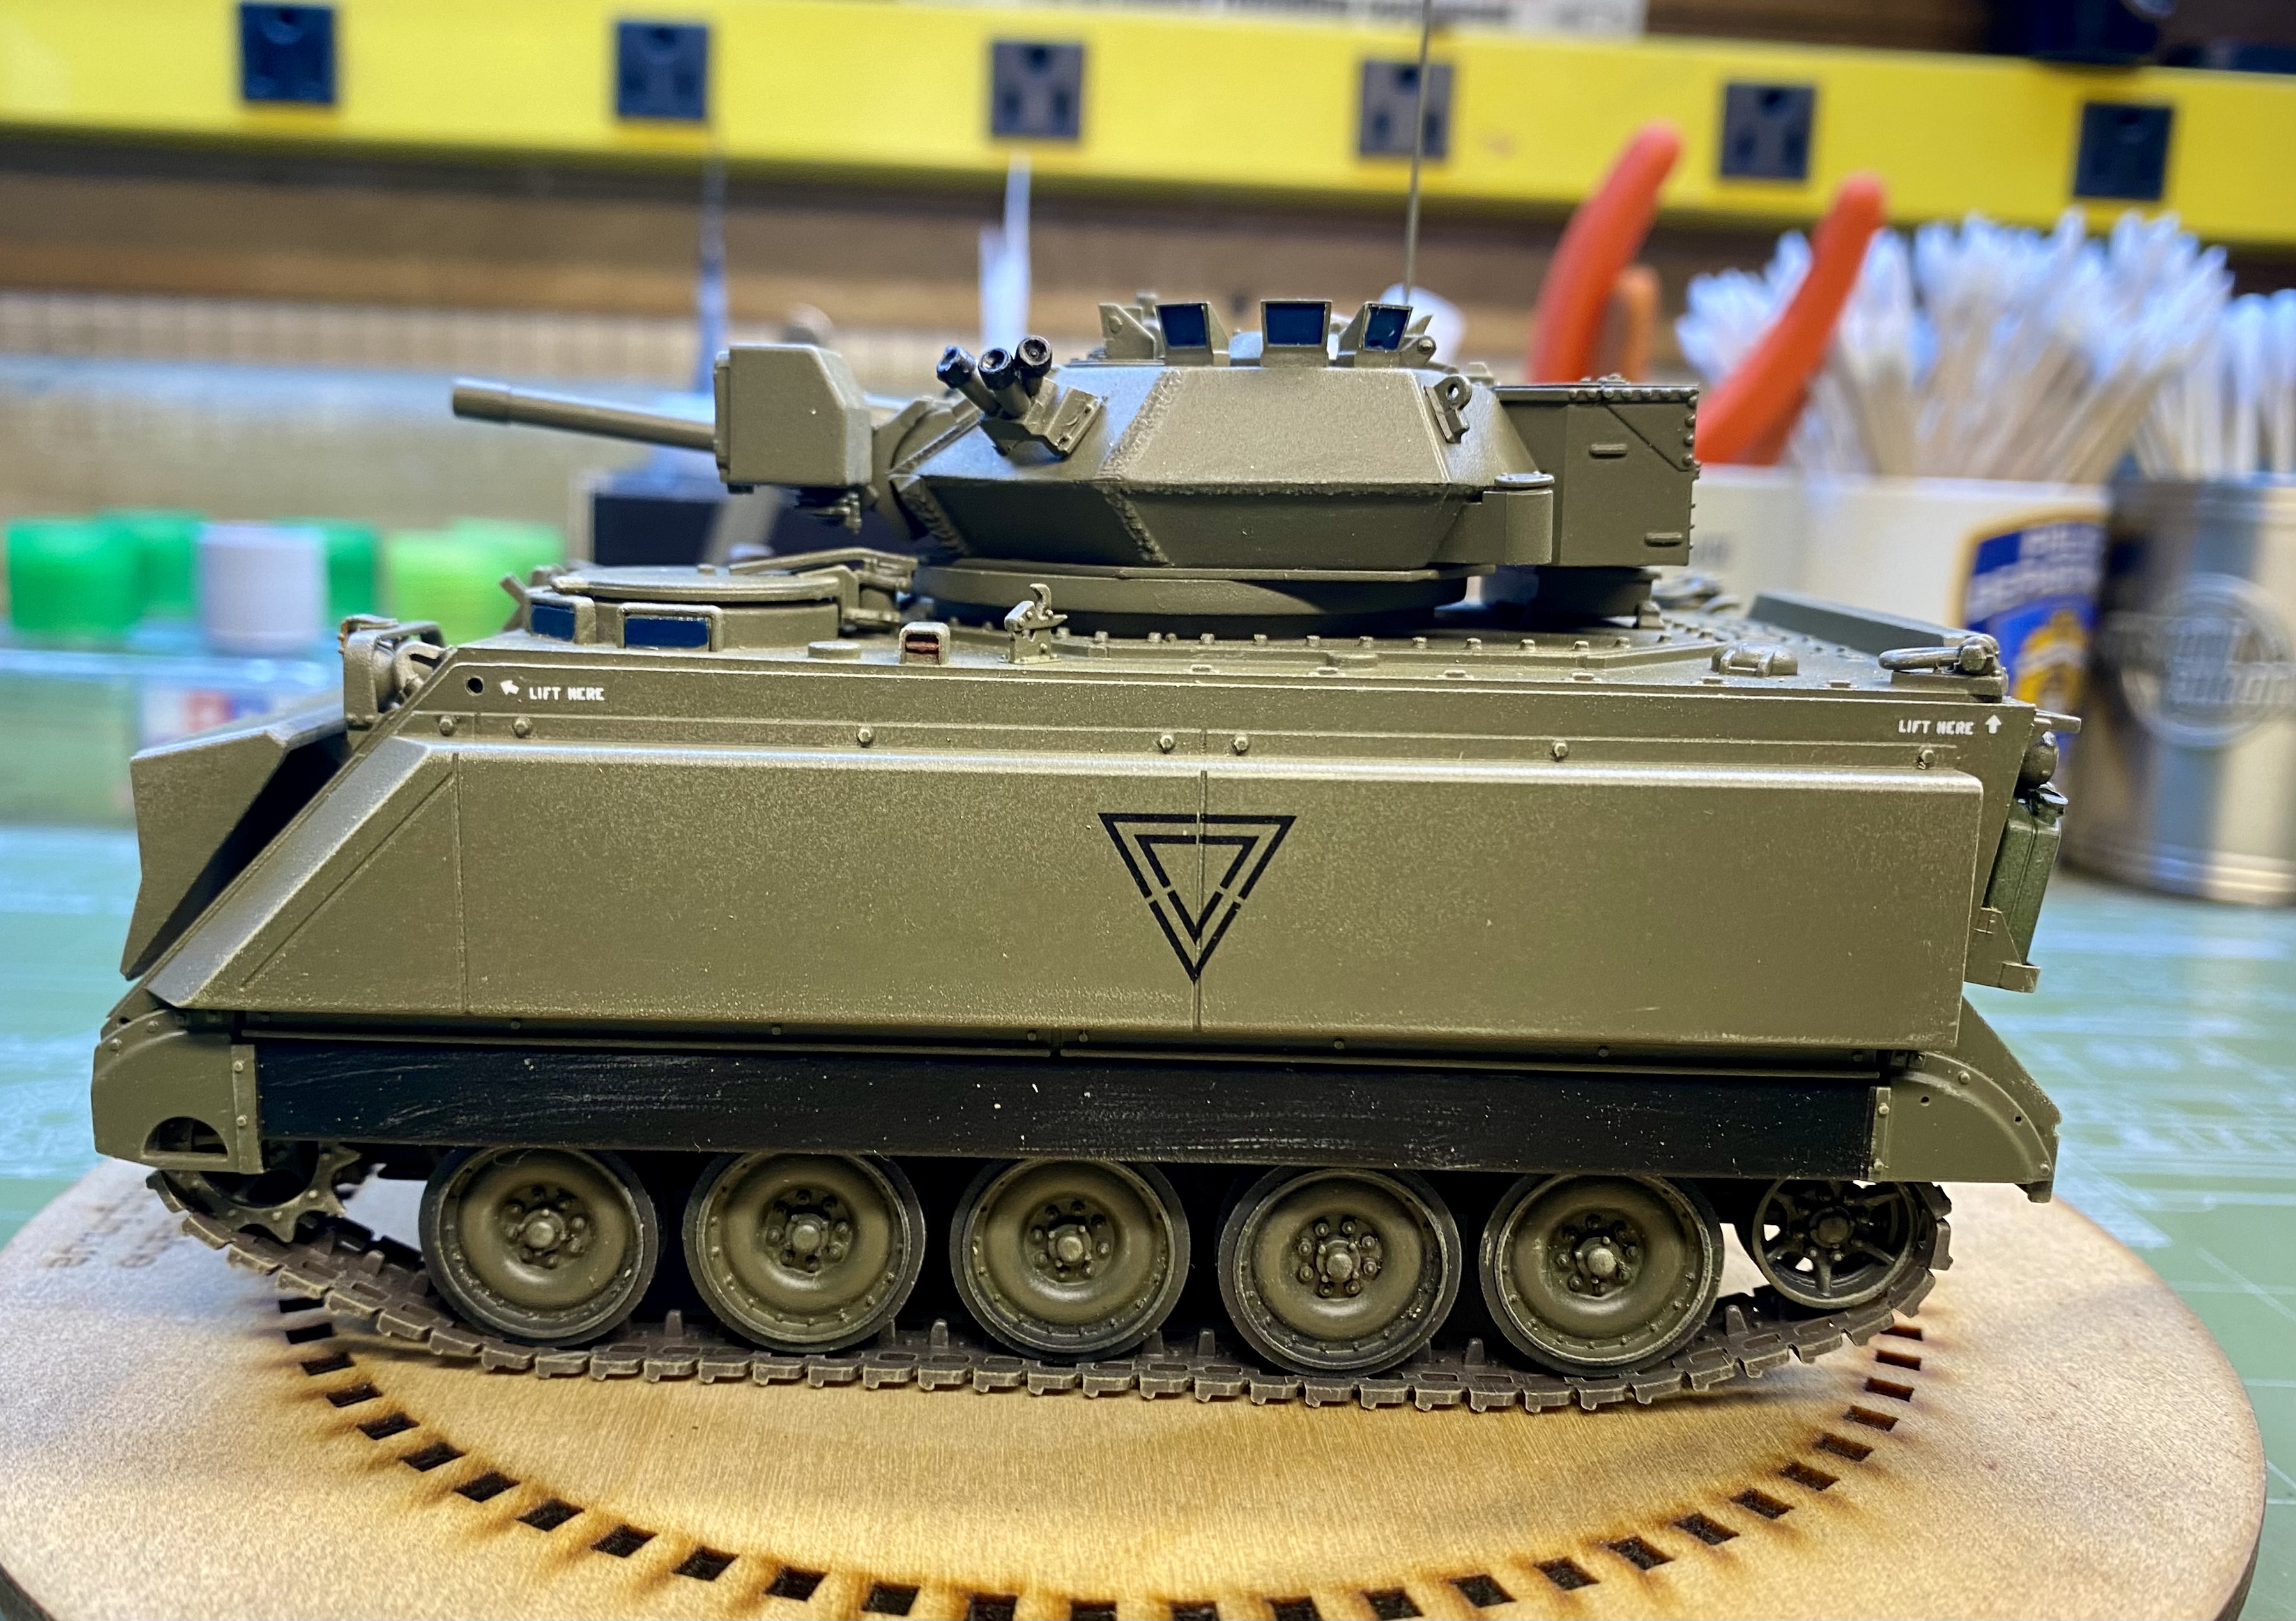
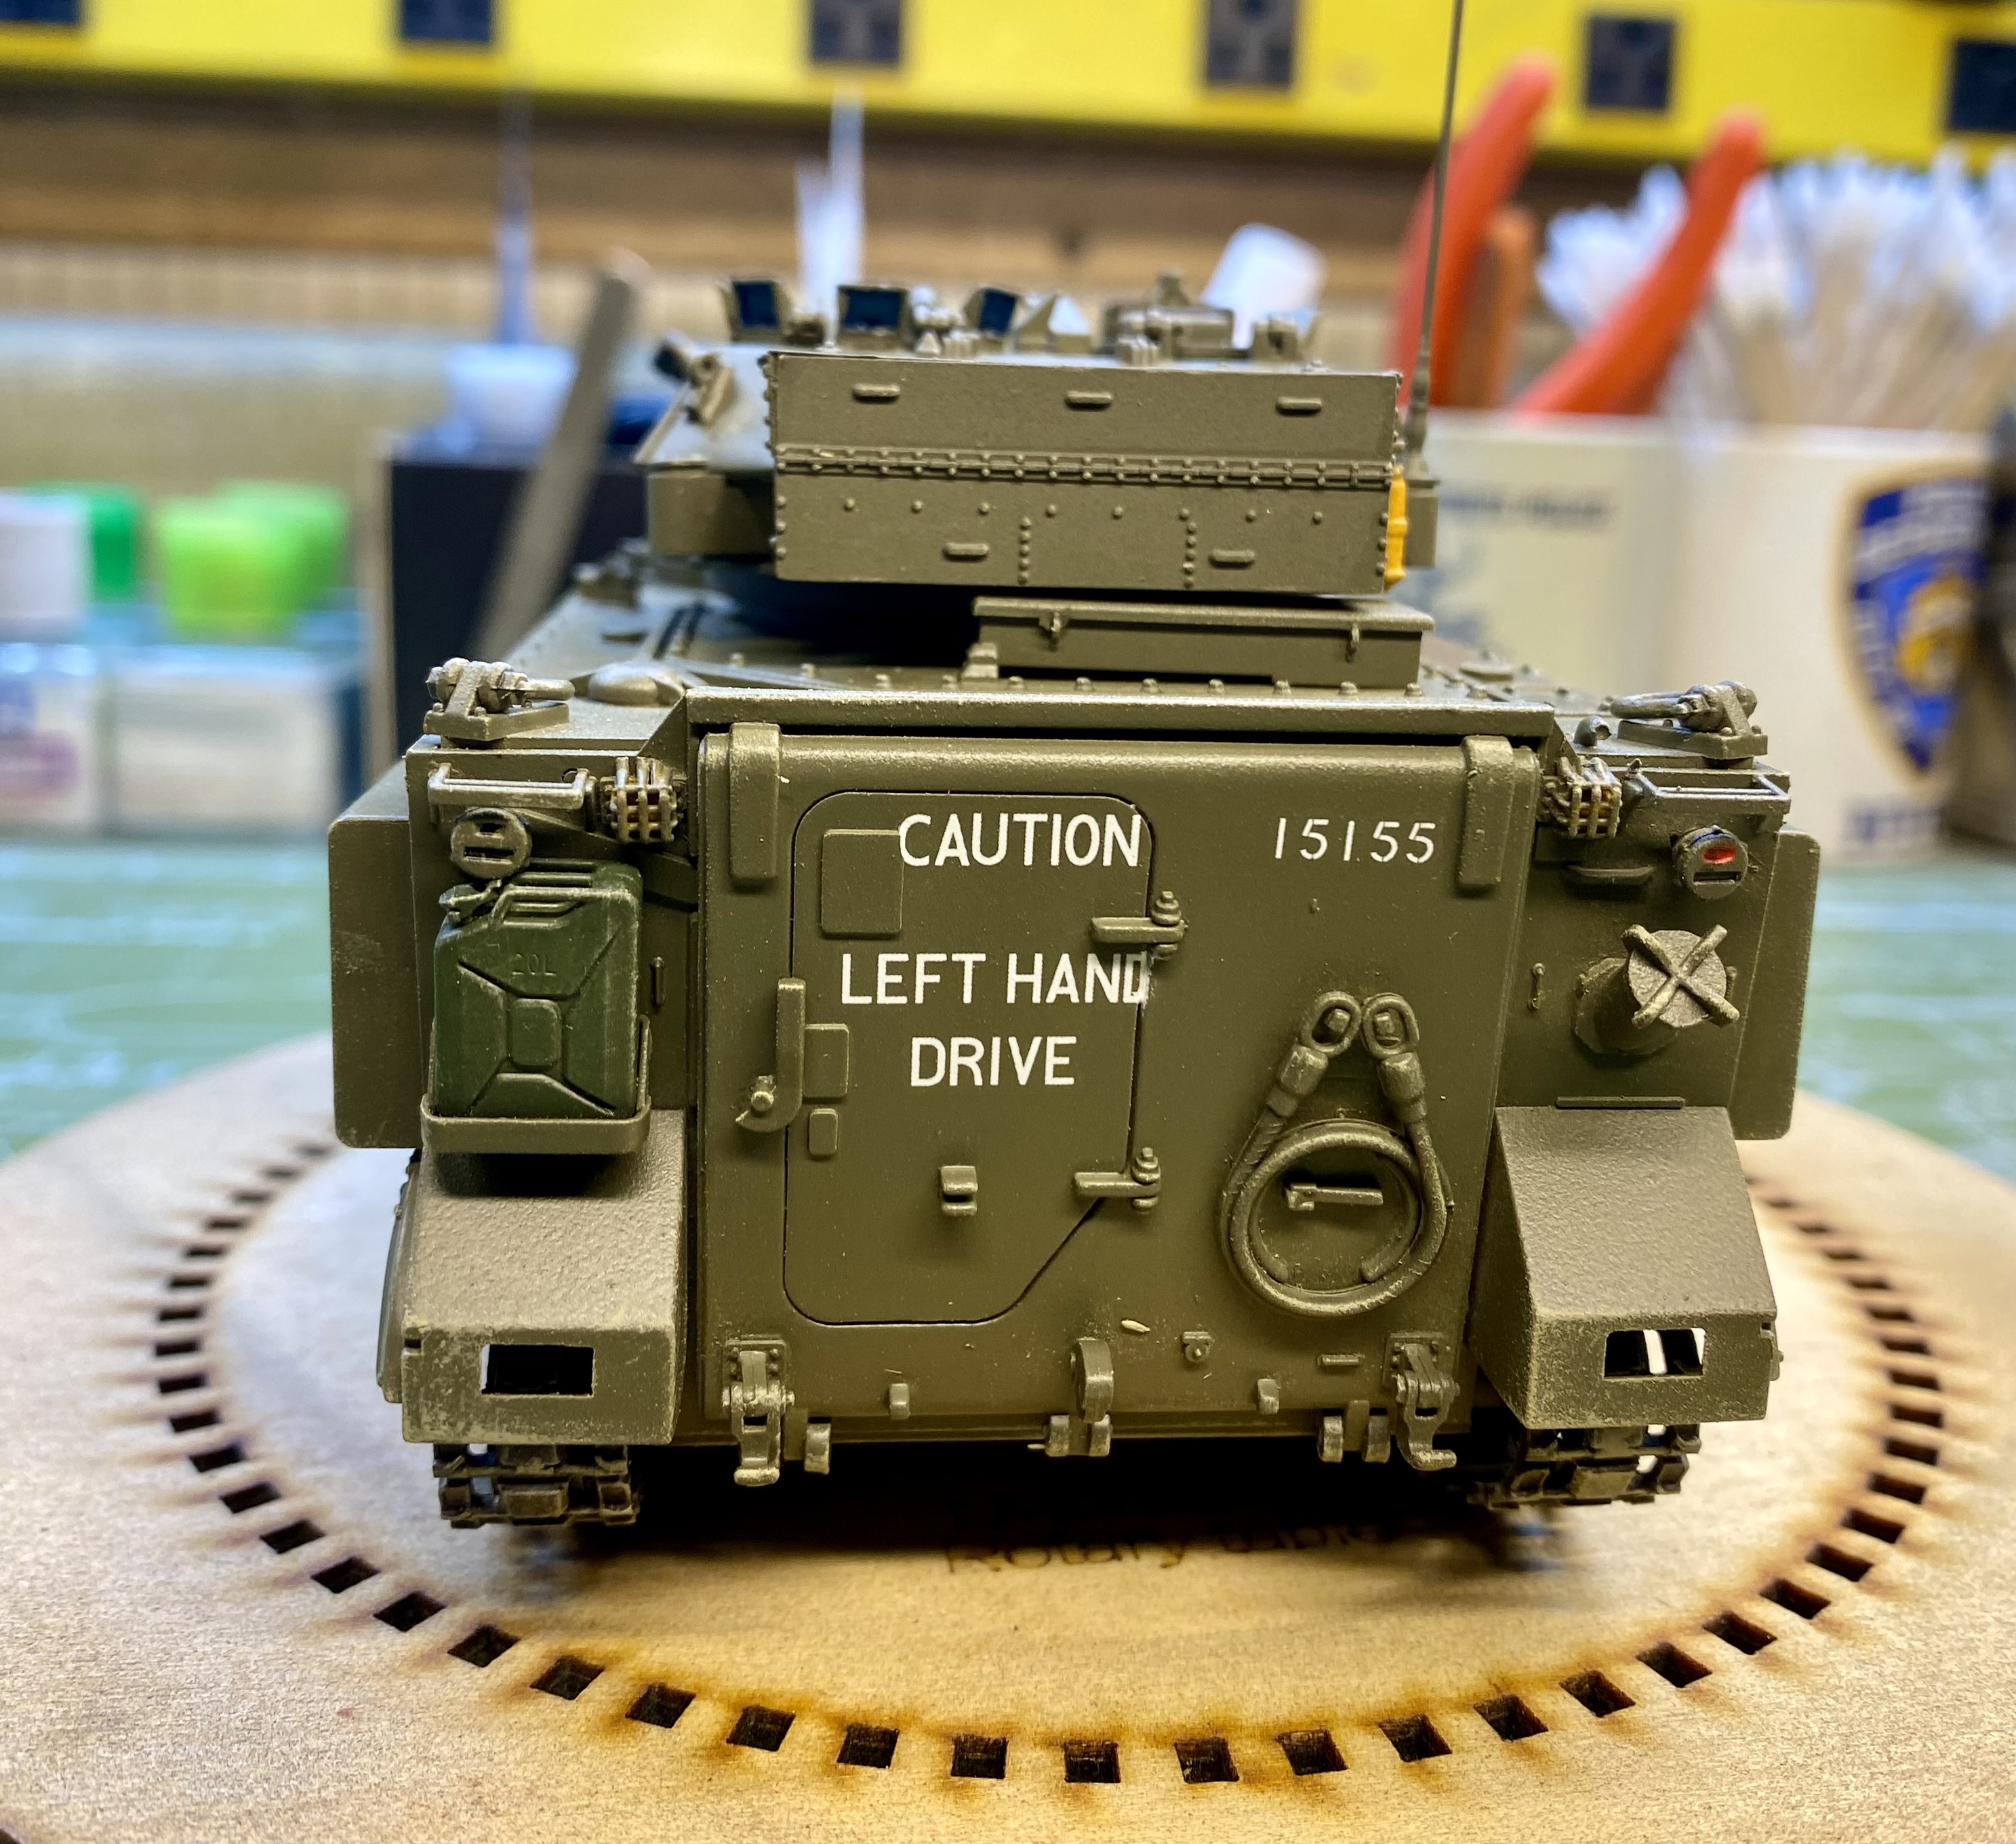
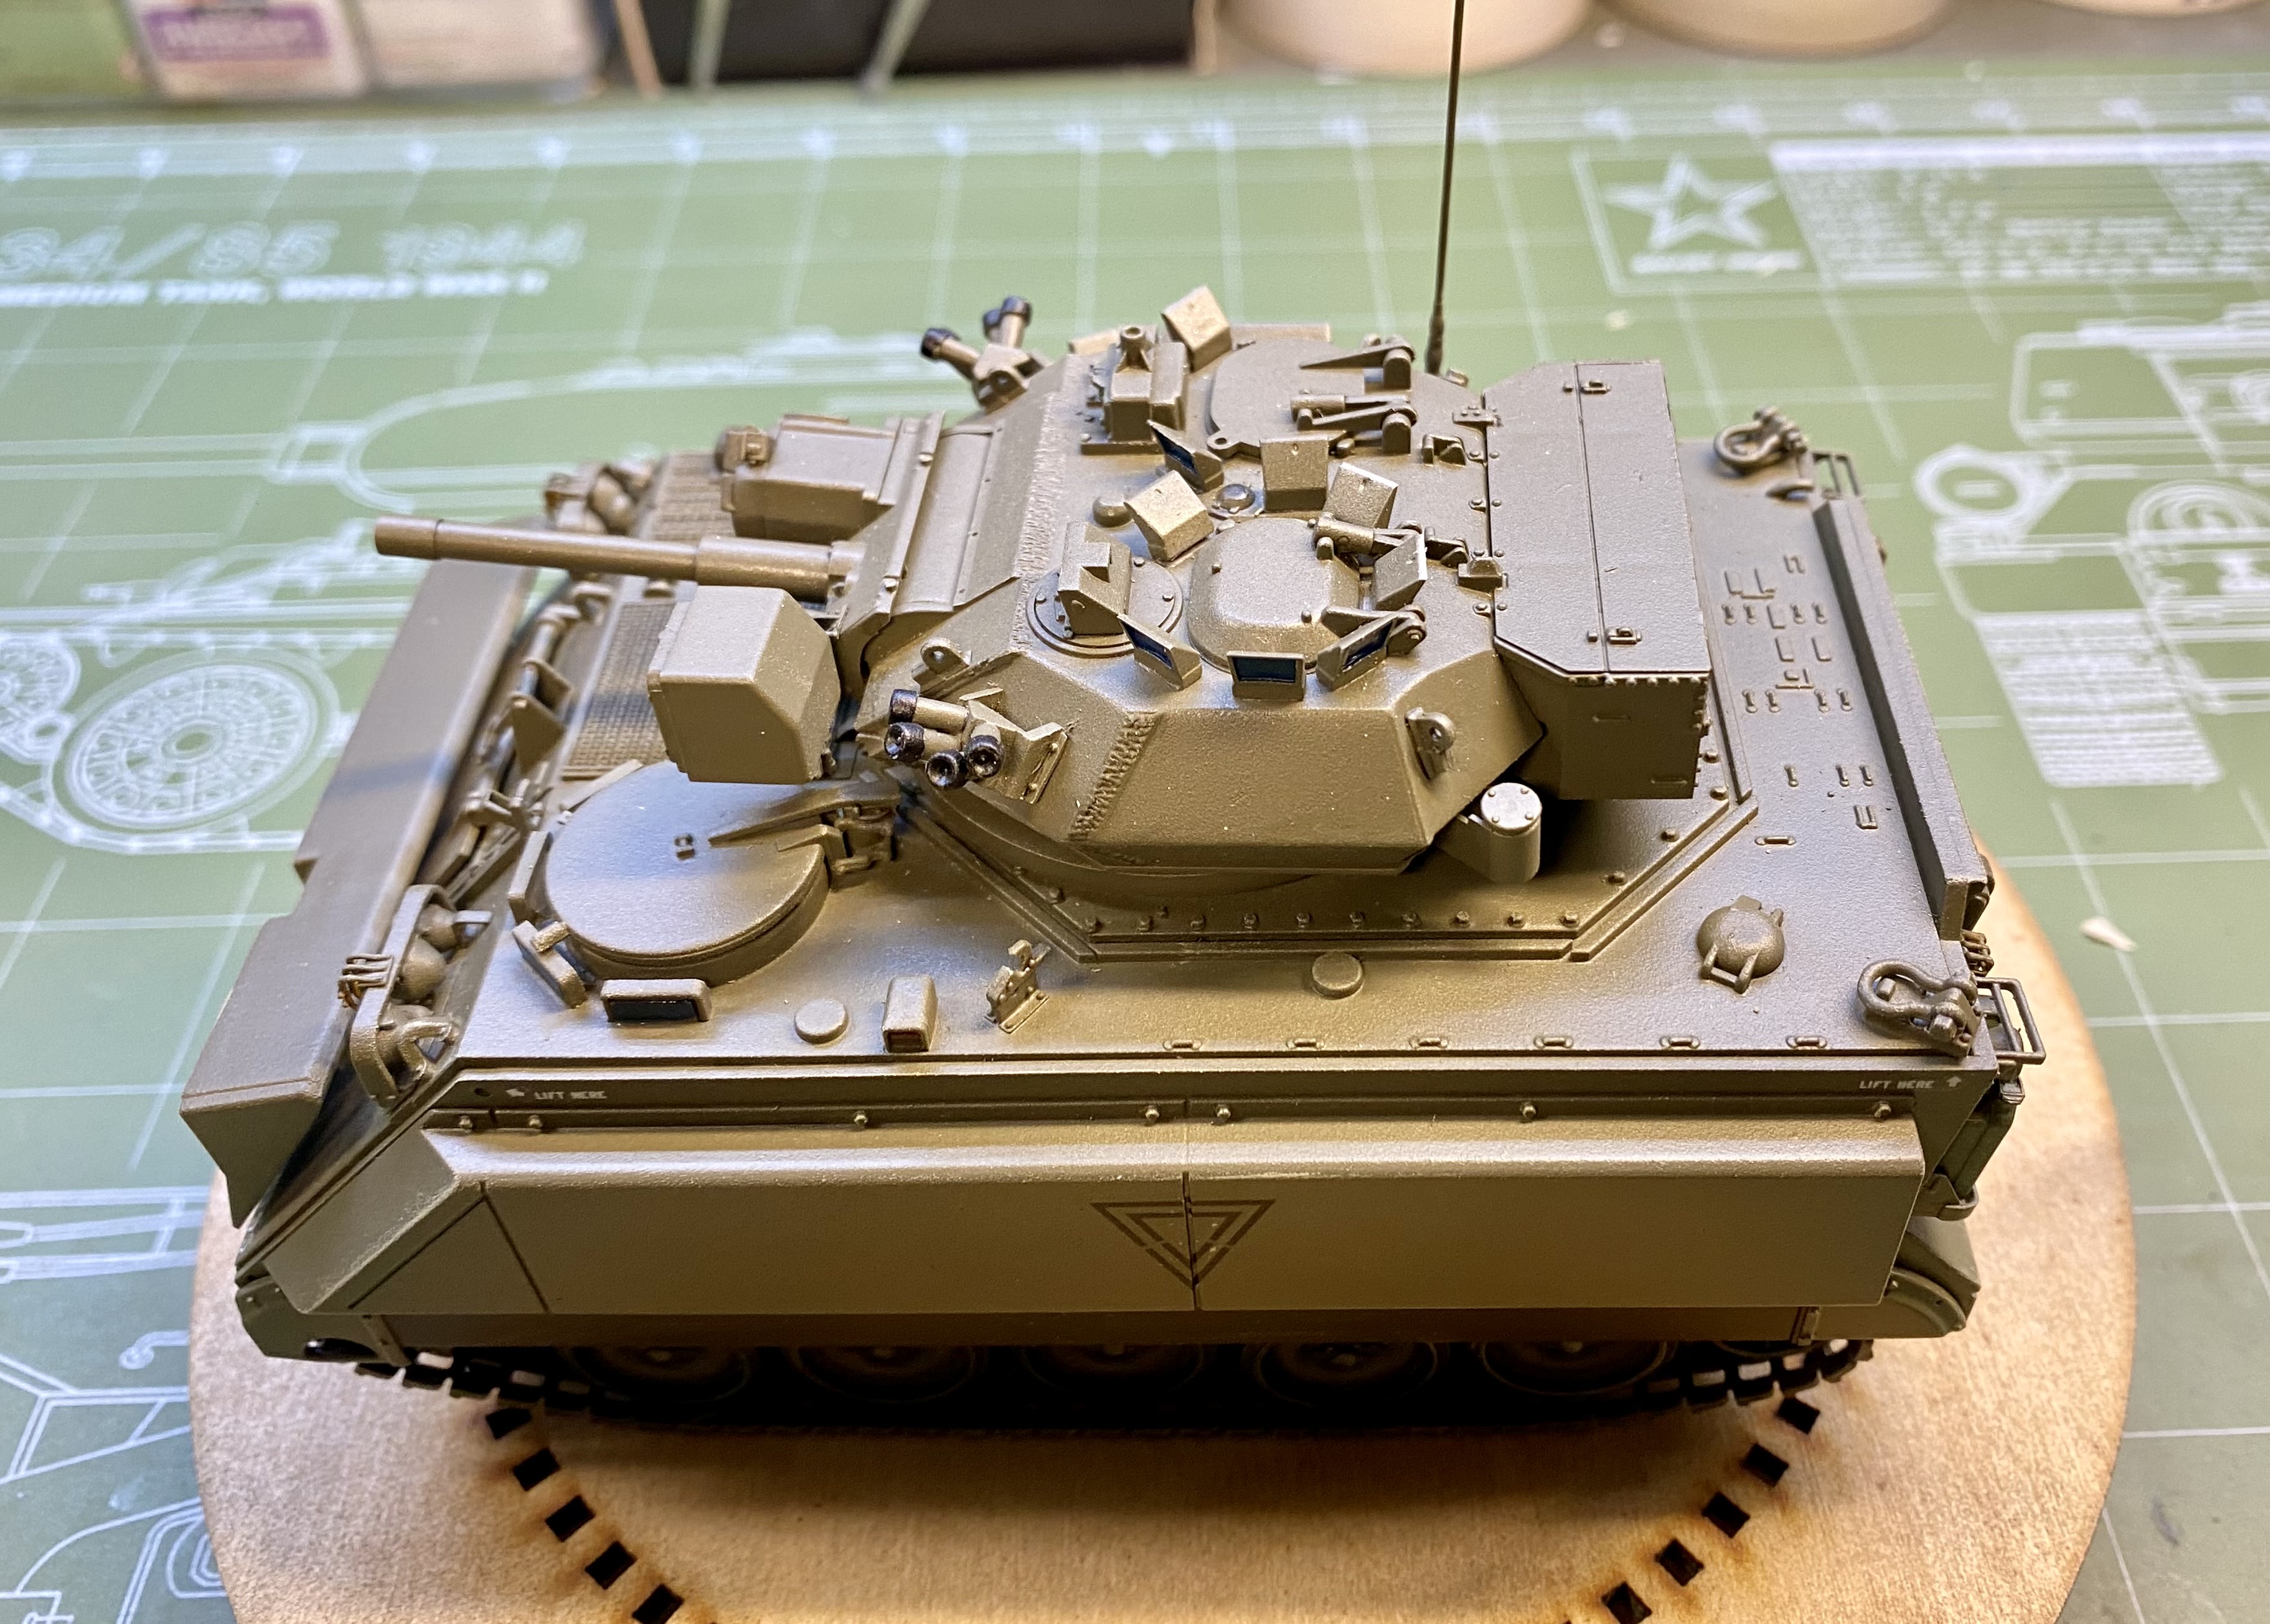
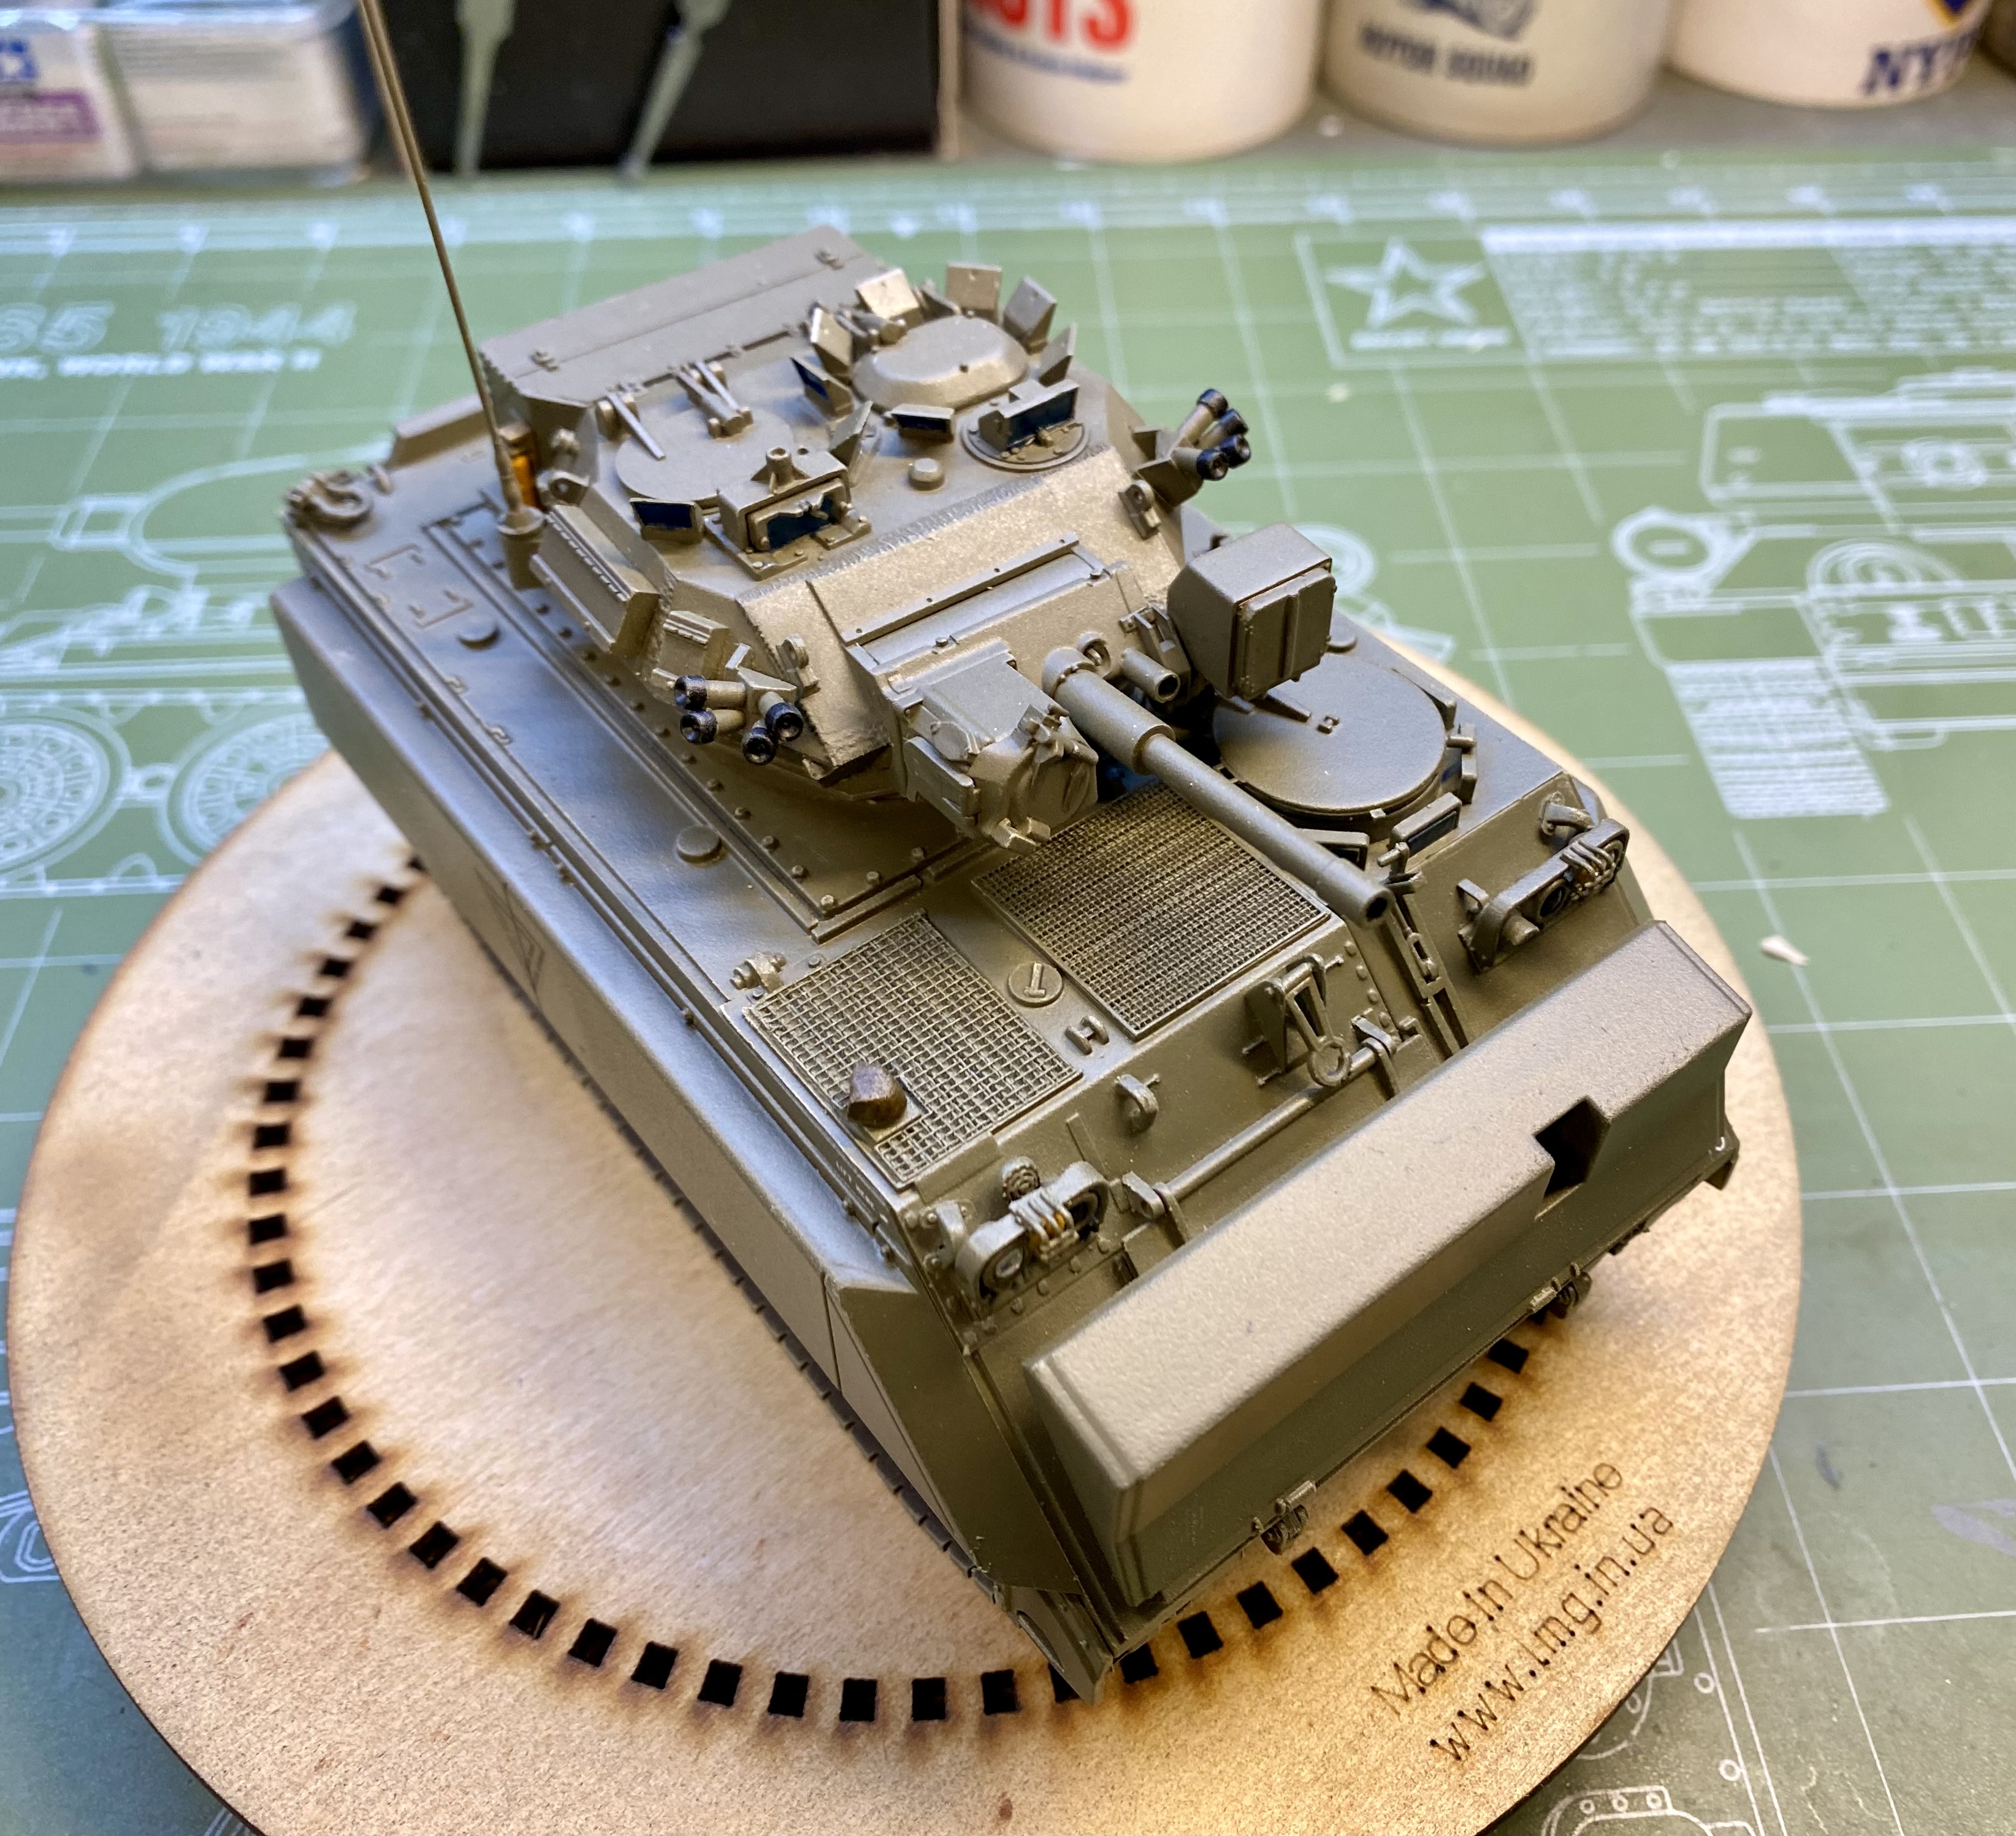
The AFV Club/Academy Australian M113A2 Fire Support Vehicle is just about done.
Finally got around to adding the headlamp lenses and brass antennae.
Citadel Nun Oil shader and some oil pastel dry brushing.
Industrial lighting and iPhone photography. ![]()
Great build on both those Al. They look great.
Bert @bwilt … that pair of Merks look super in the snow … not a scene you think of in the middle east, but a nice change to the usual rock and sand ![]()
Angel @ayovtshev your scratch building wizardry scares me … that looks amazing and sweet detailing …
And talking about annoying scratch builders lol … Hello Nick @Stickframe … seriously though, that drill rig is a work of art in its own right … stunning work guys.
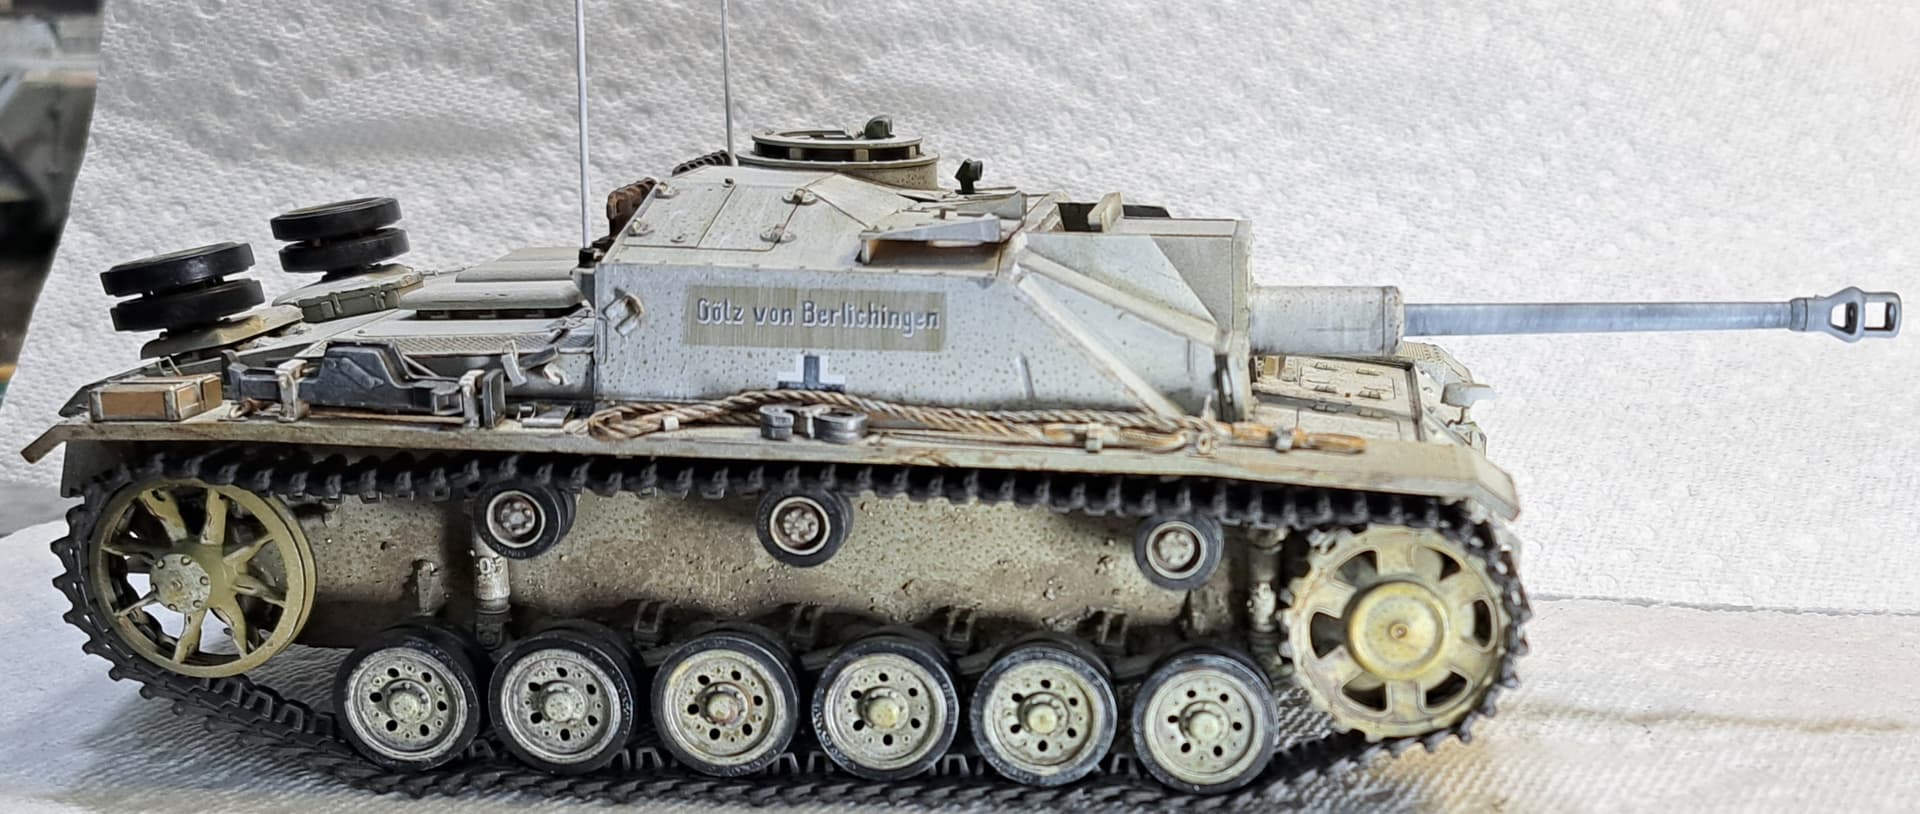
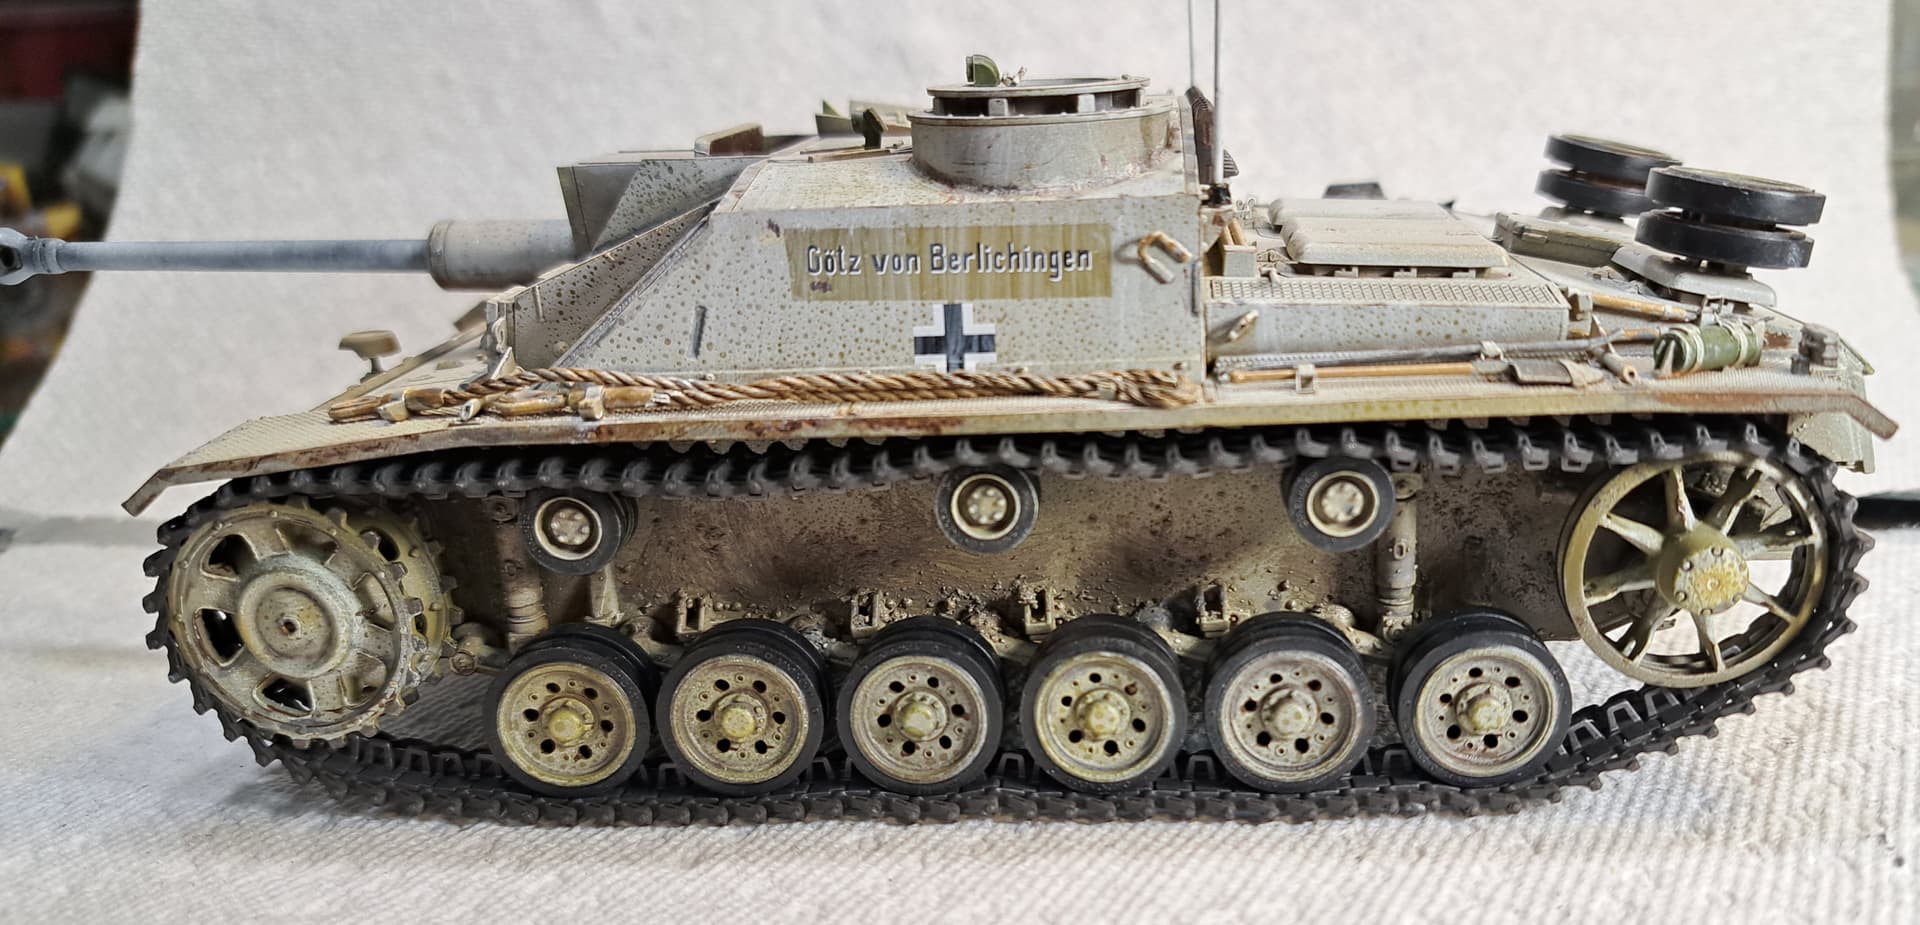
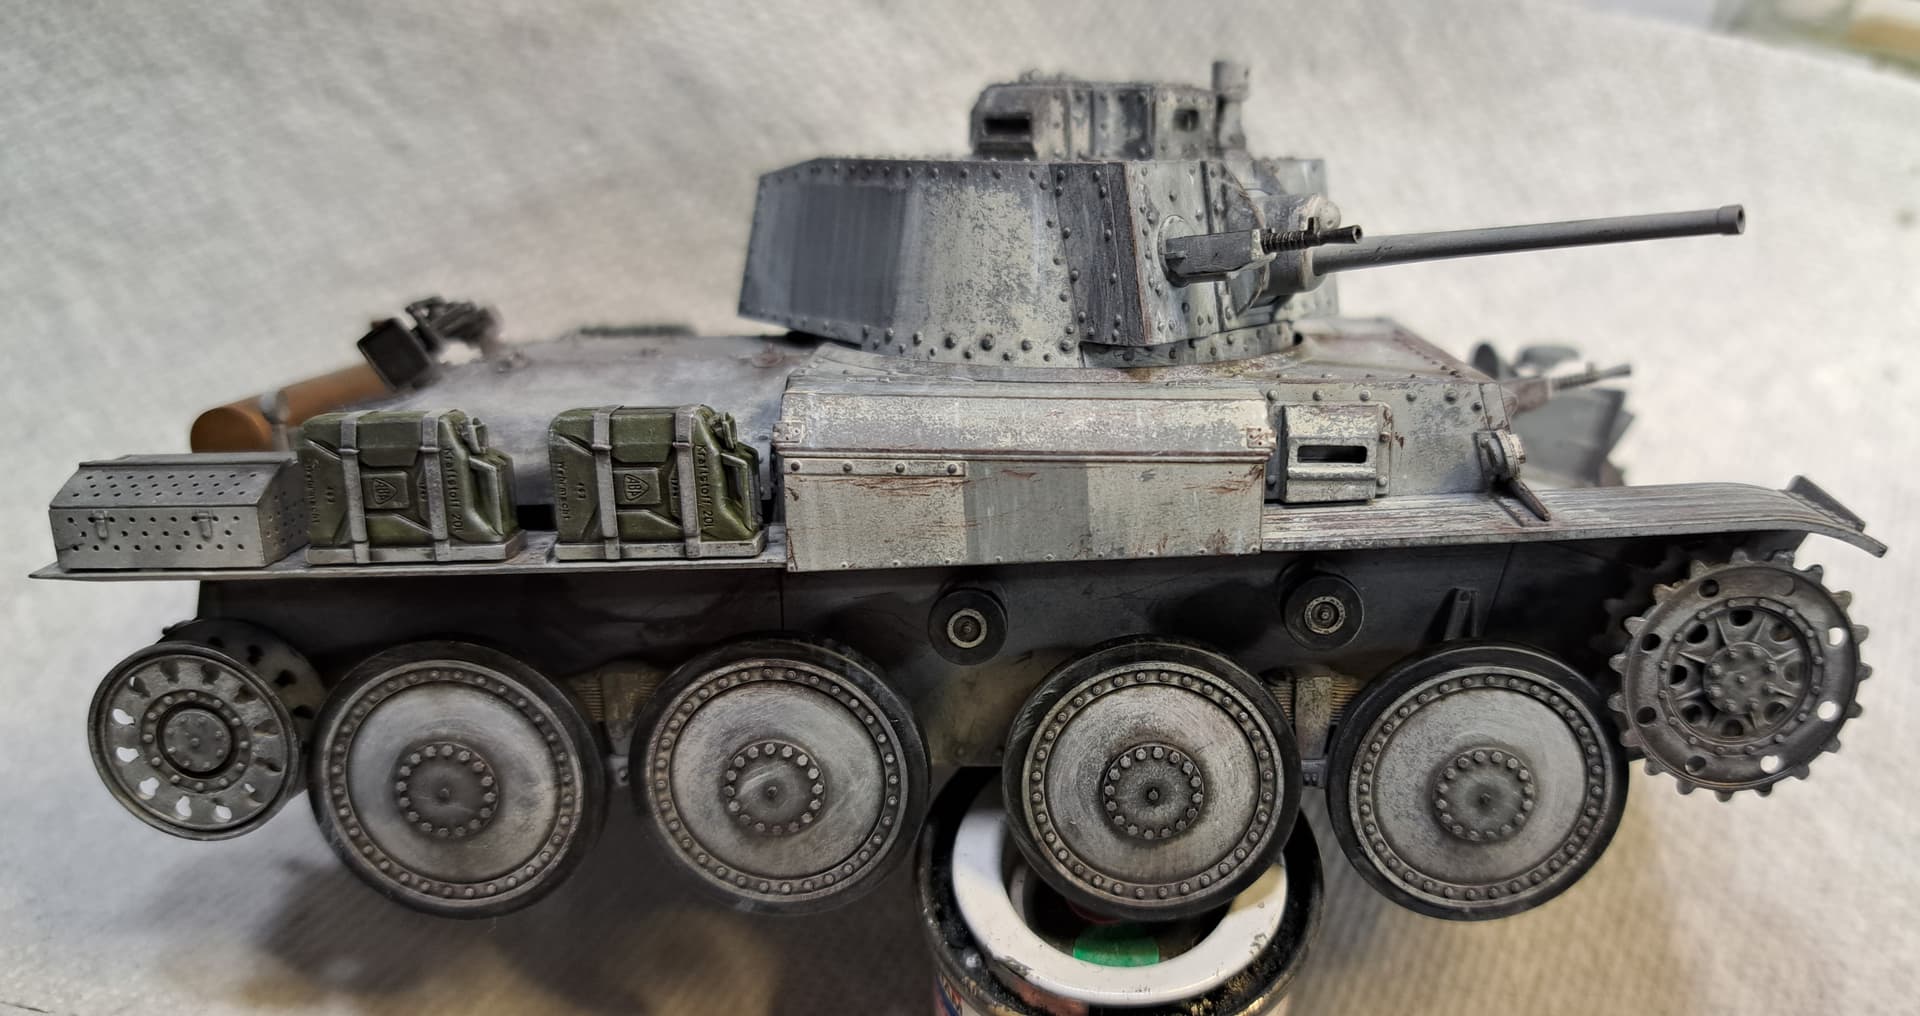
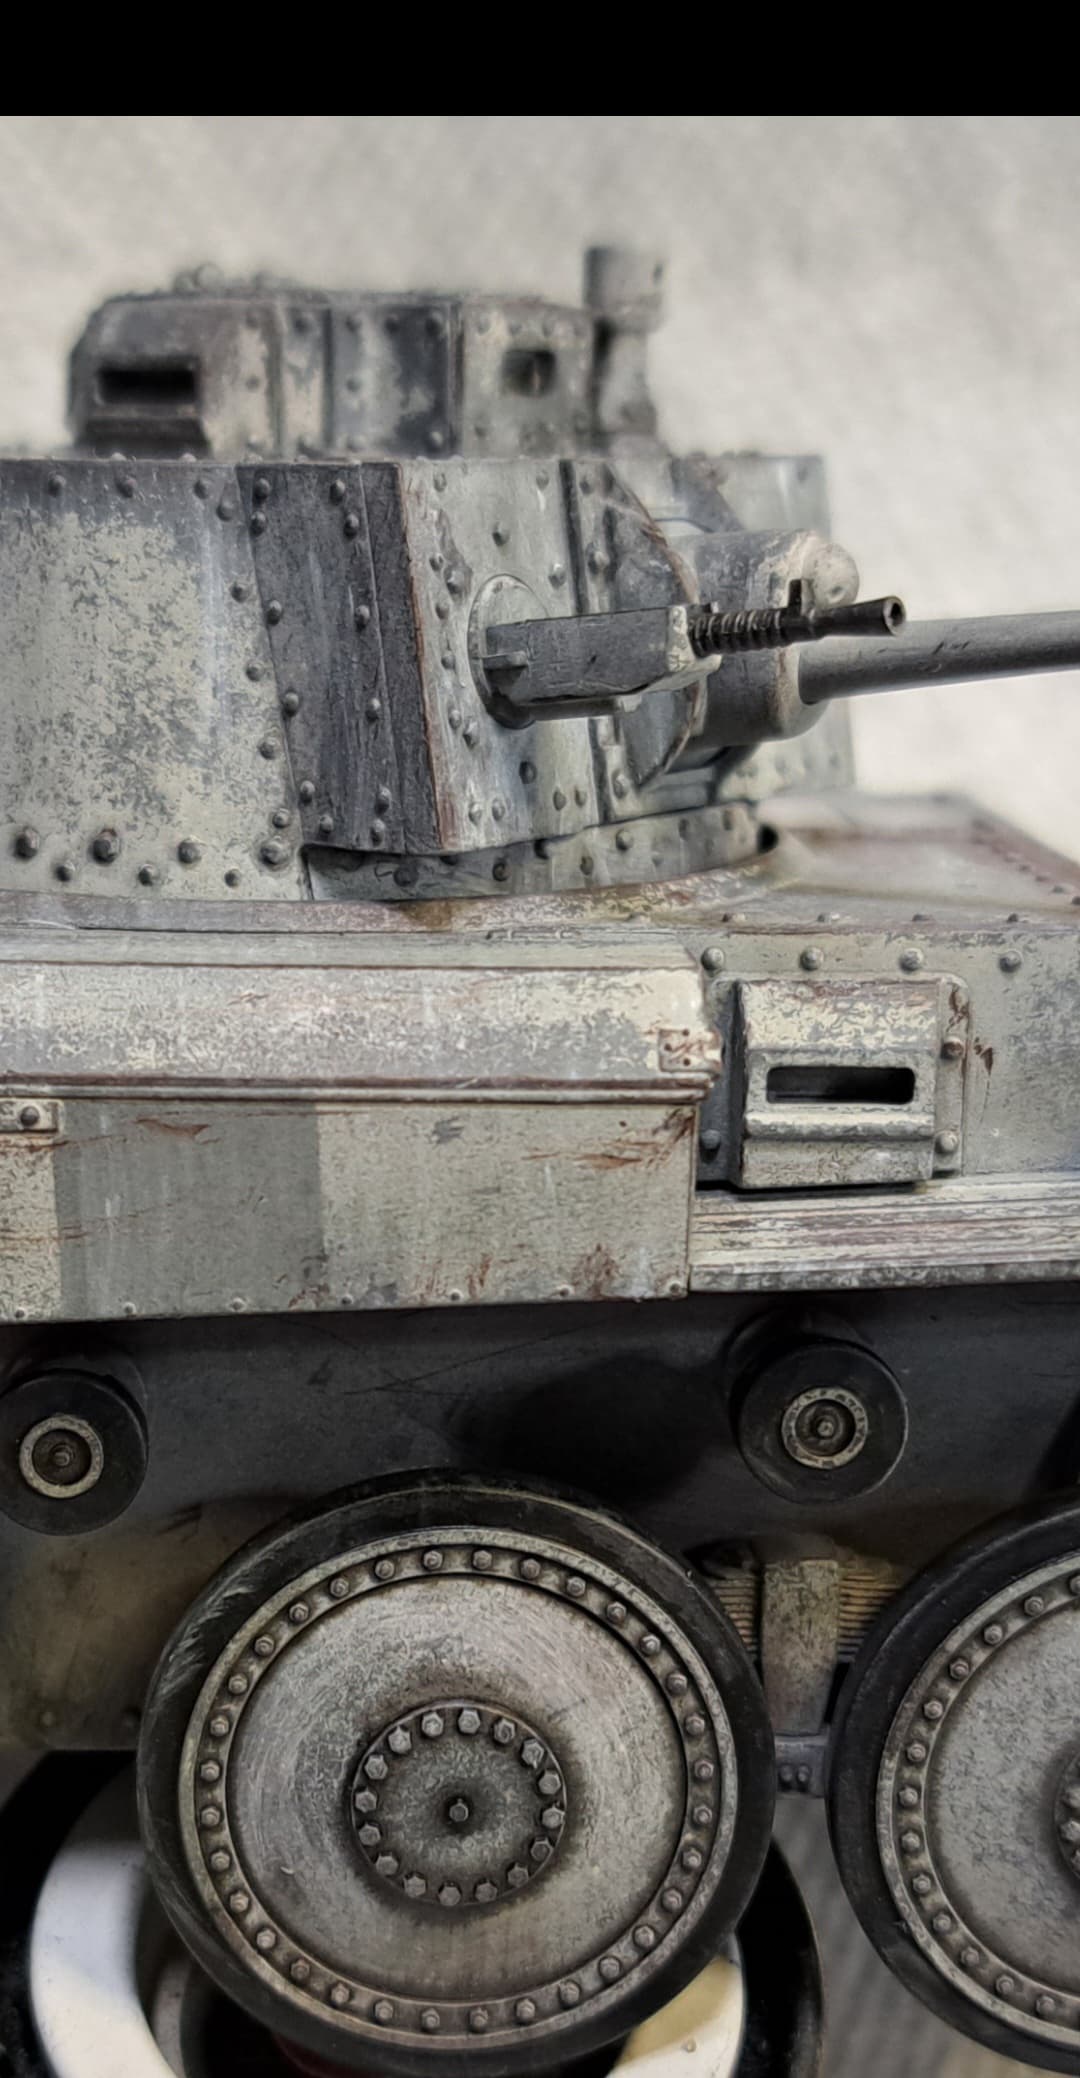
Stug wise, the RFM workable plastic tracks went on with less hassle than a set of Fruilmodel. Still have adjustments to make and some weathering to add etc.
I tried a premixed wash for the first time ever, Tamiya Panel Liner. Followed with a light dry brushing of Winsor Newton Titanium White.
Those RFM tracks look pretty okay good Wade.
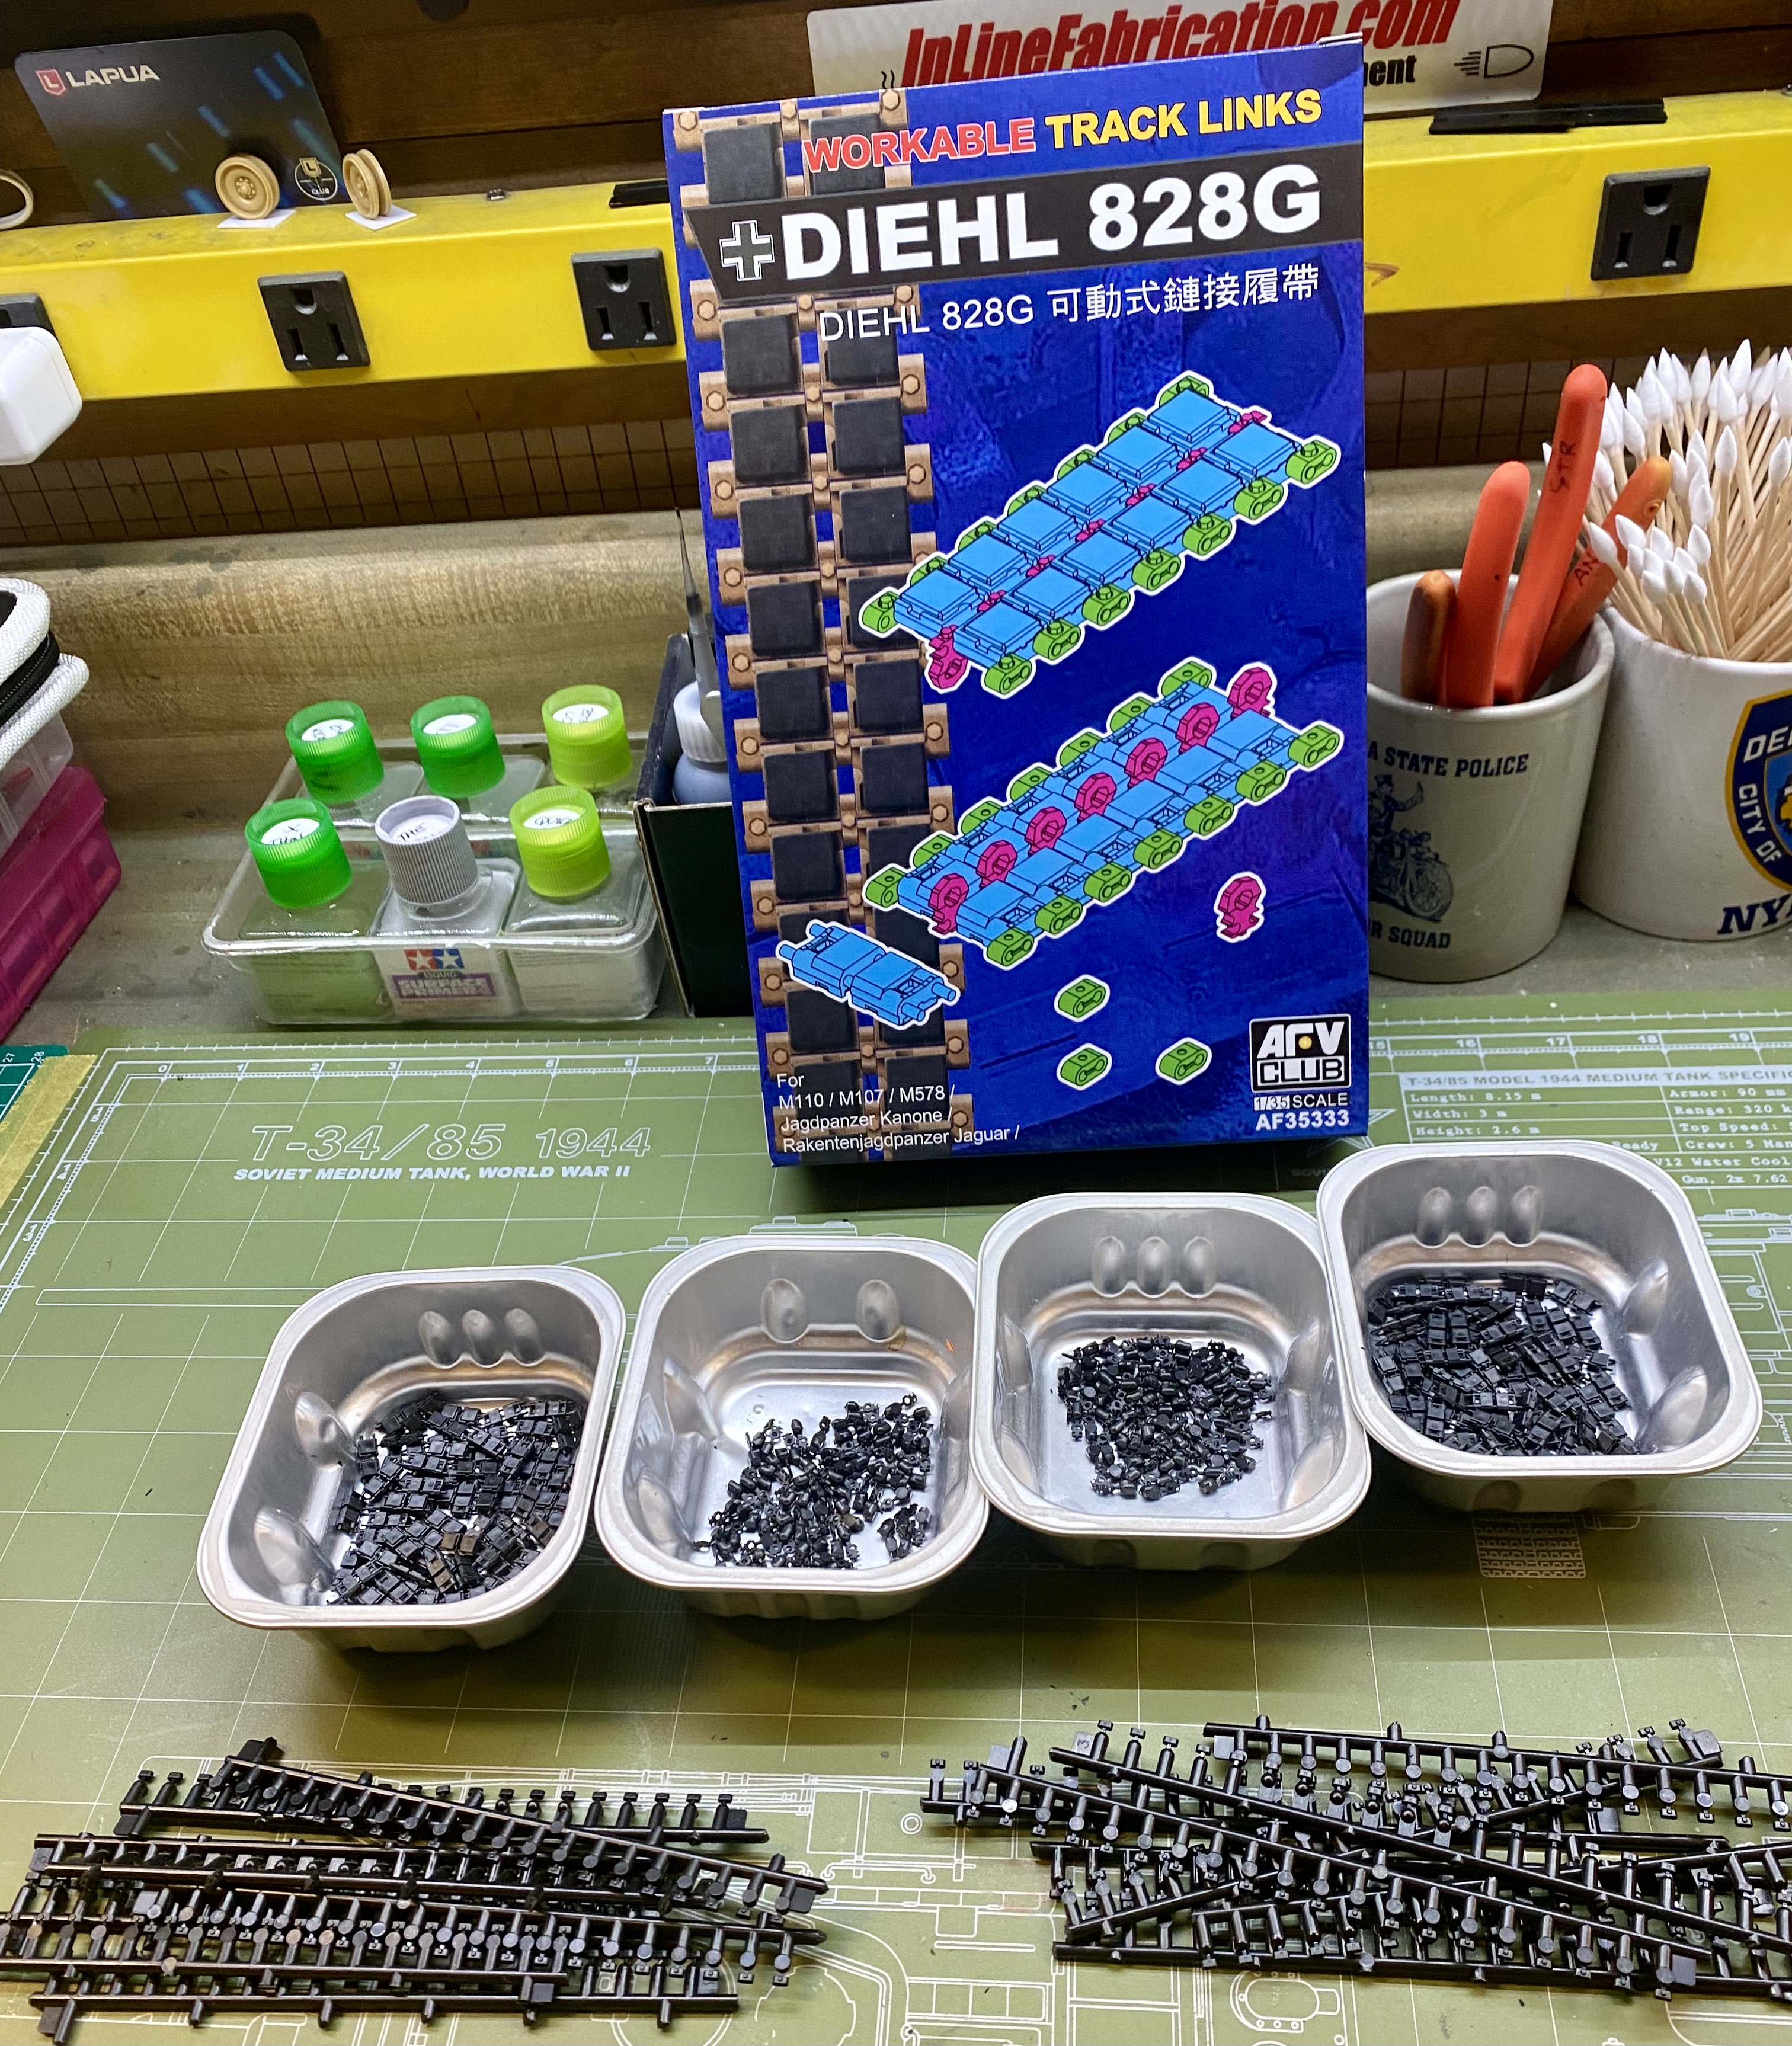
Speaking of tracks:
I thought I’d slog through these while I was waiting for crooked decals to shrink. For the next project.
It was pounded into my head when I was a 14yo apprentice to a bunch of crazy German mechanics in a VW shop: Always do the hard stuff first because everything is gravy after that.
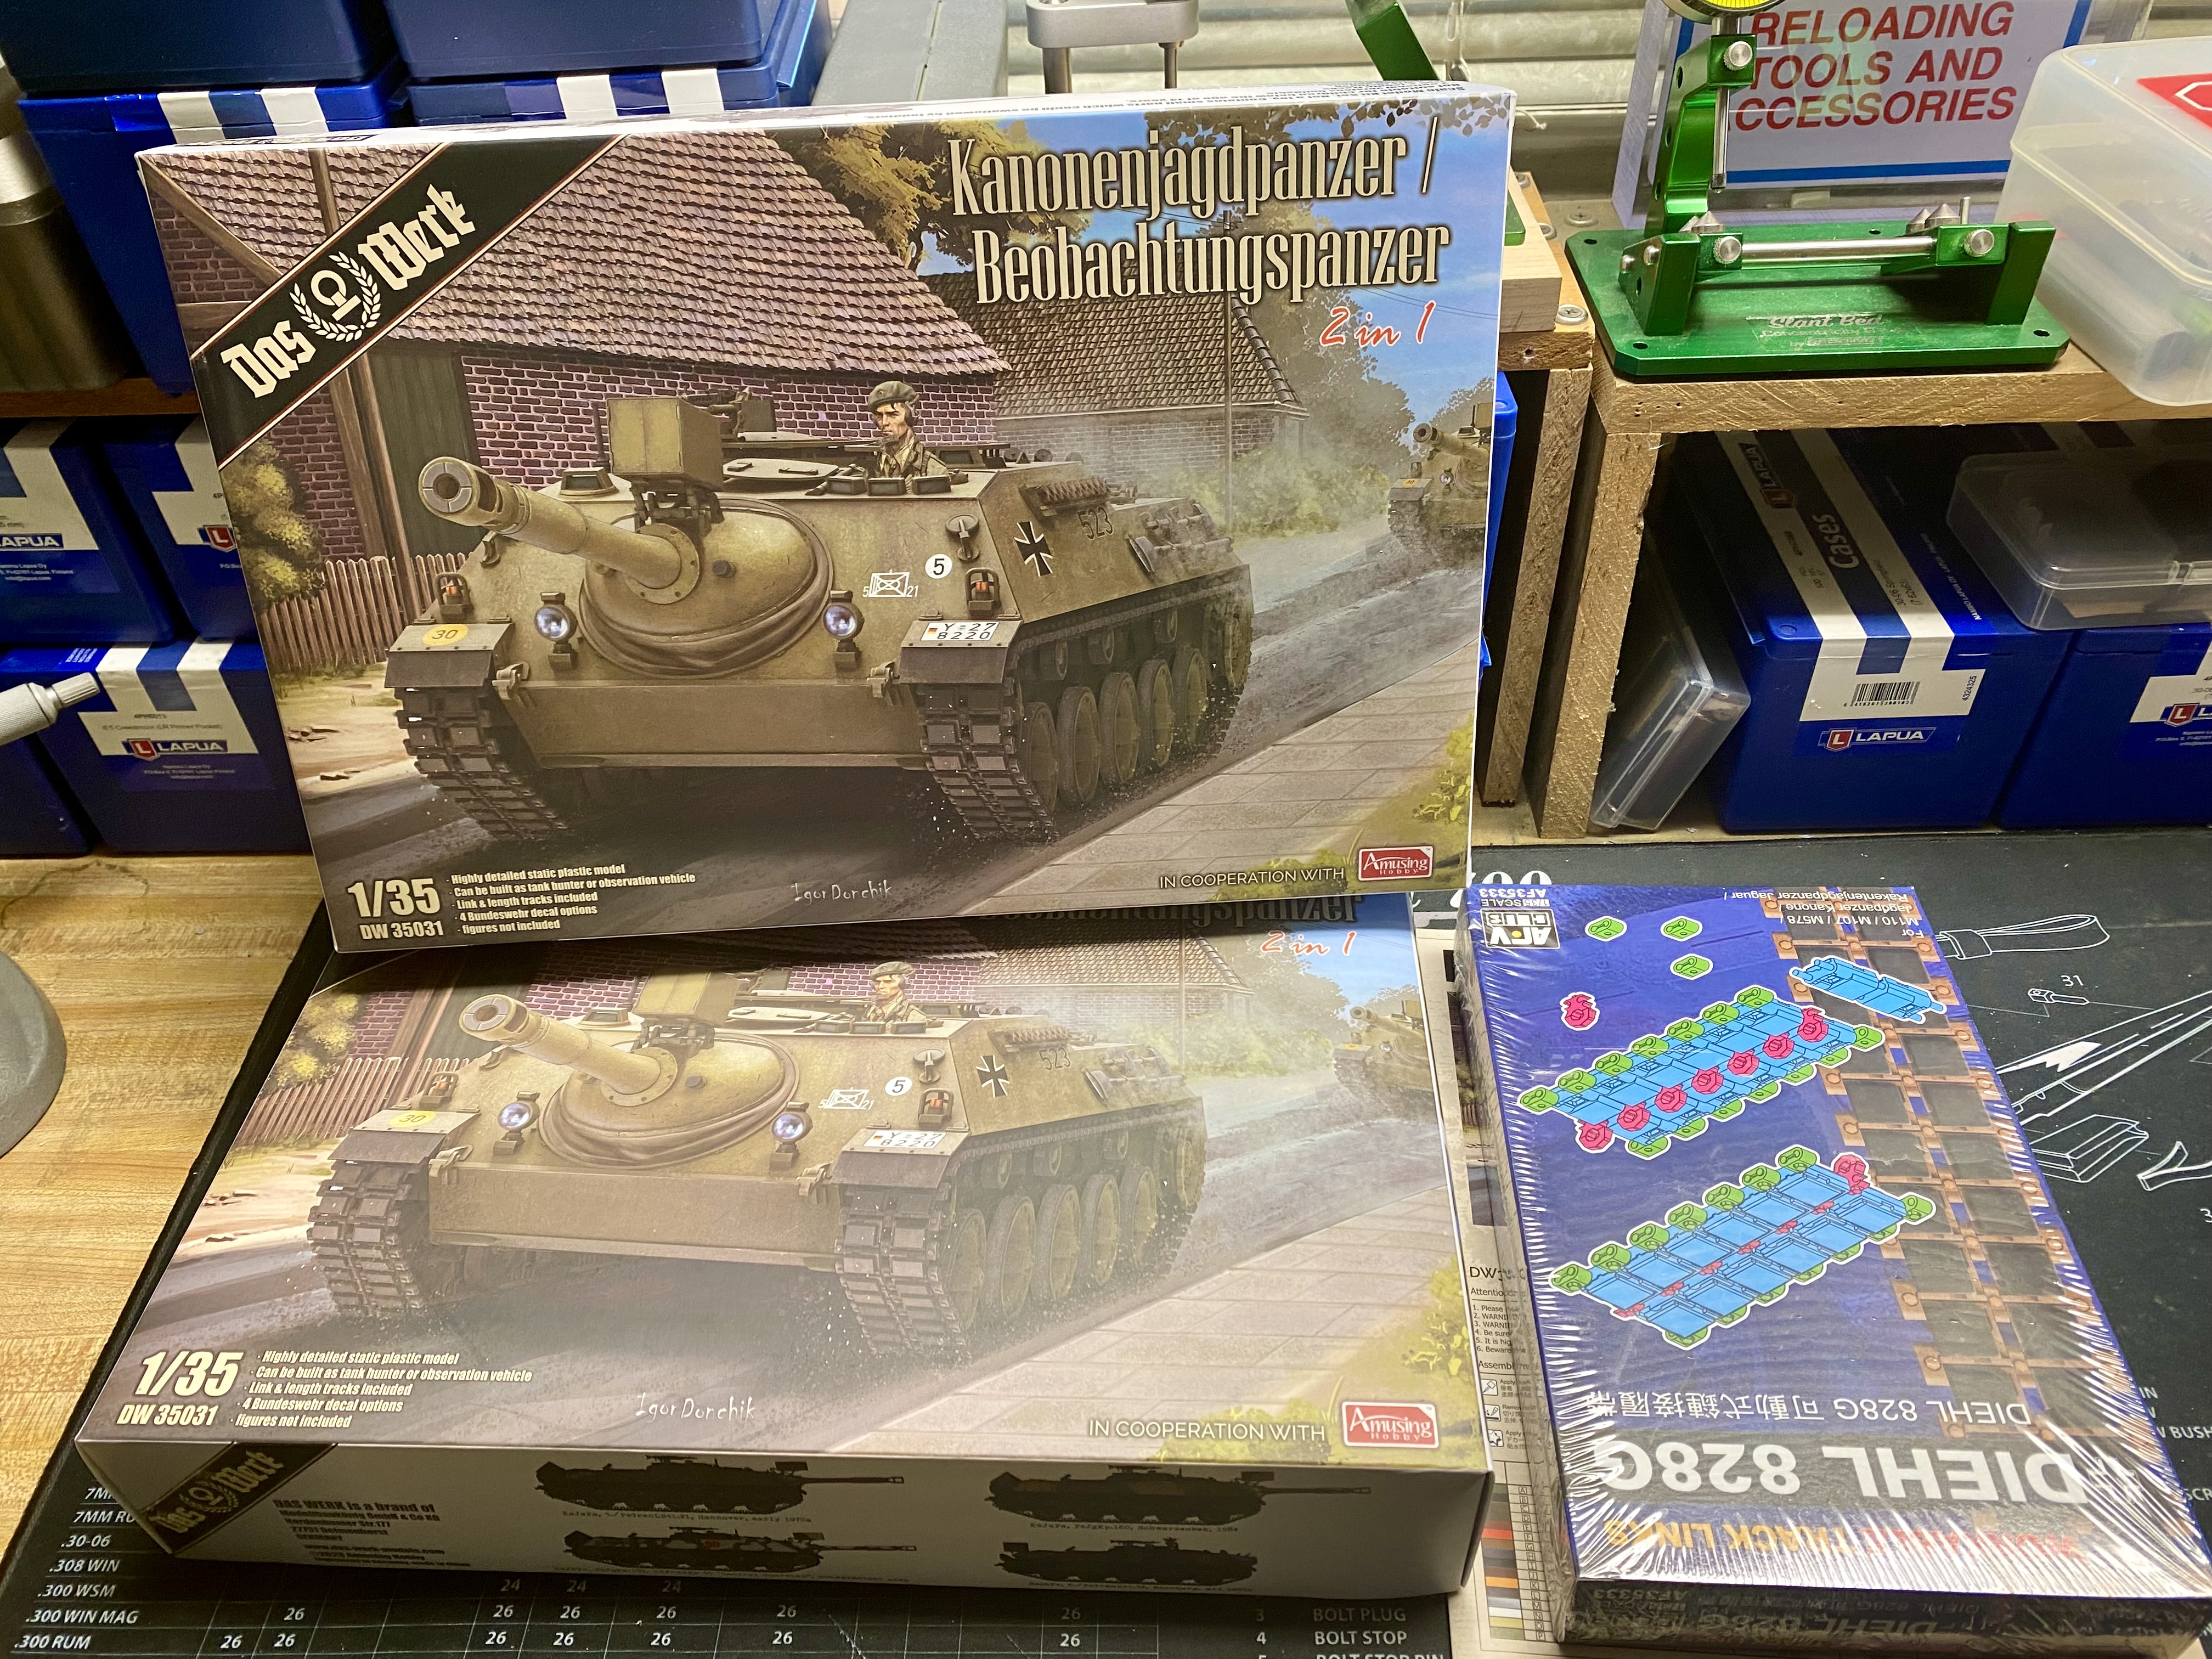
I’m gonna build the Kanonenjagdpanzer version and the Beobachtungspanzer version.
Well, i have been building again for the past two weeks.
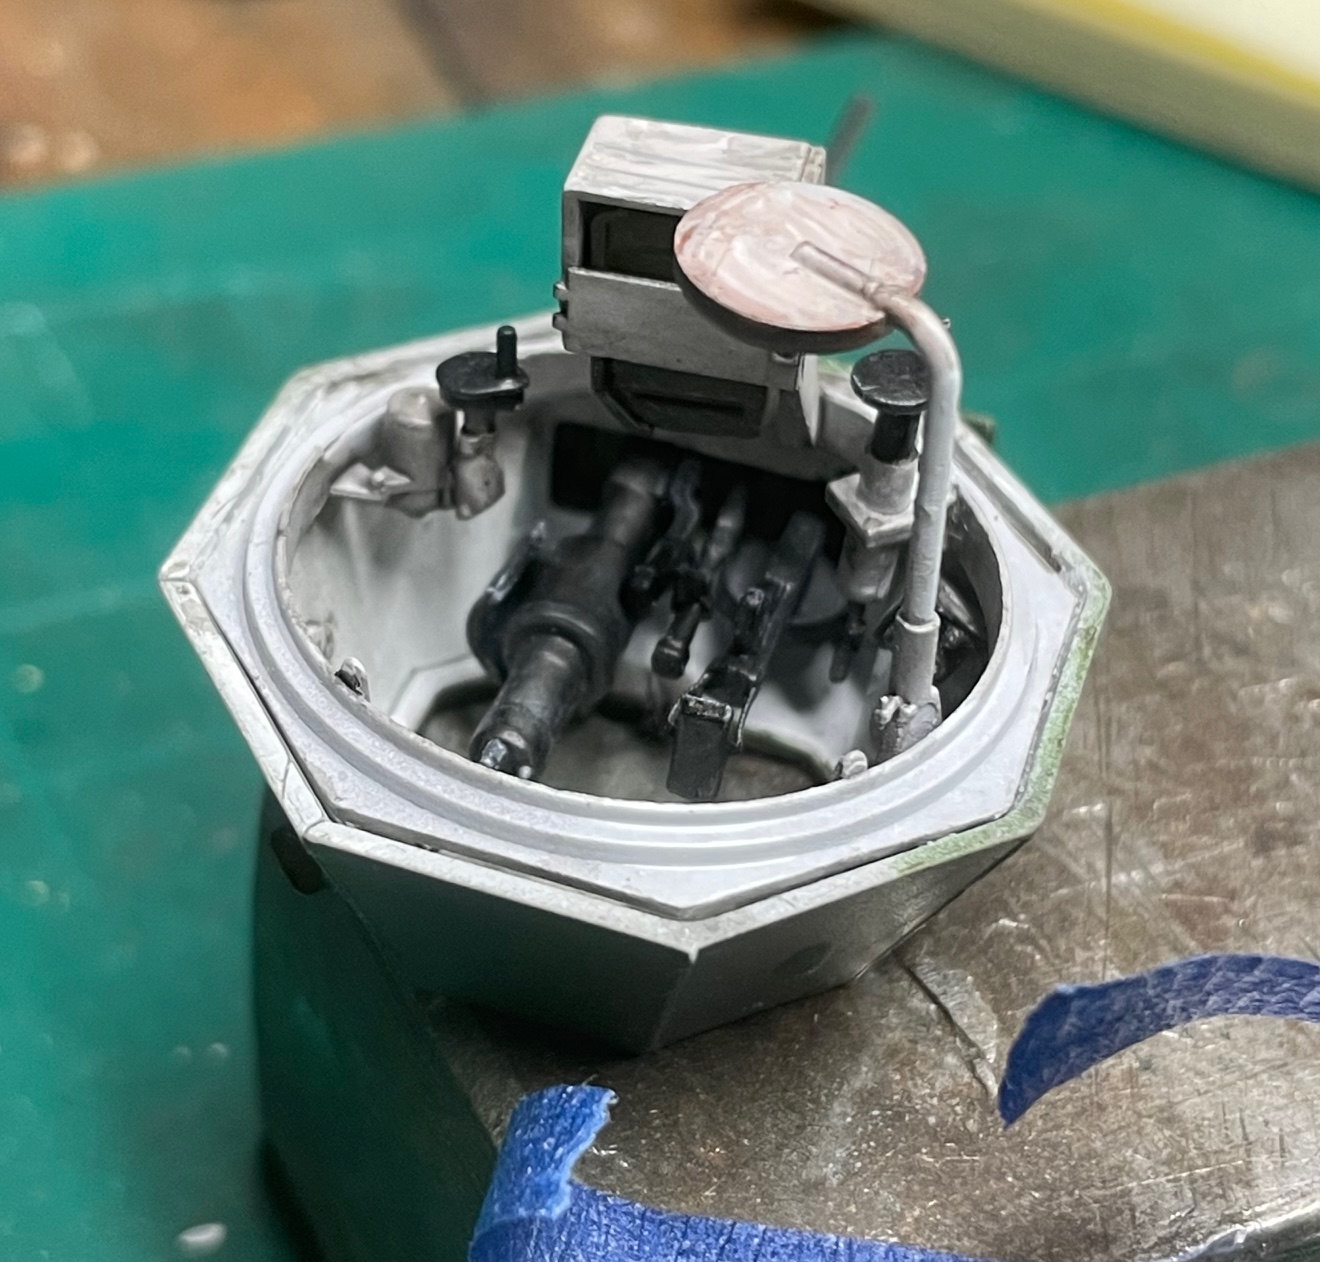
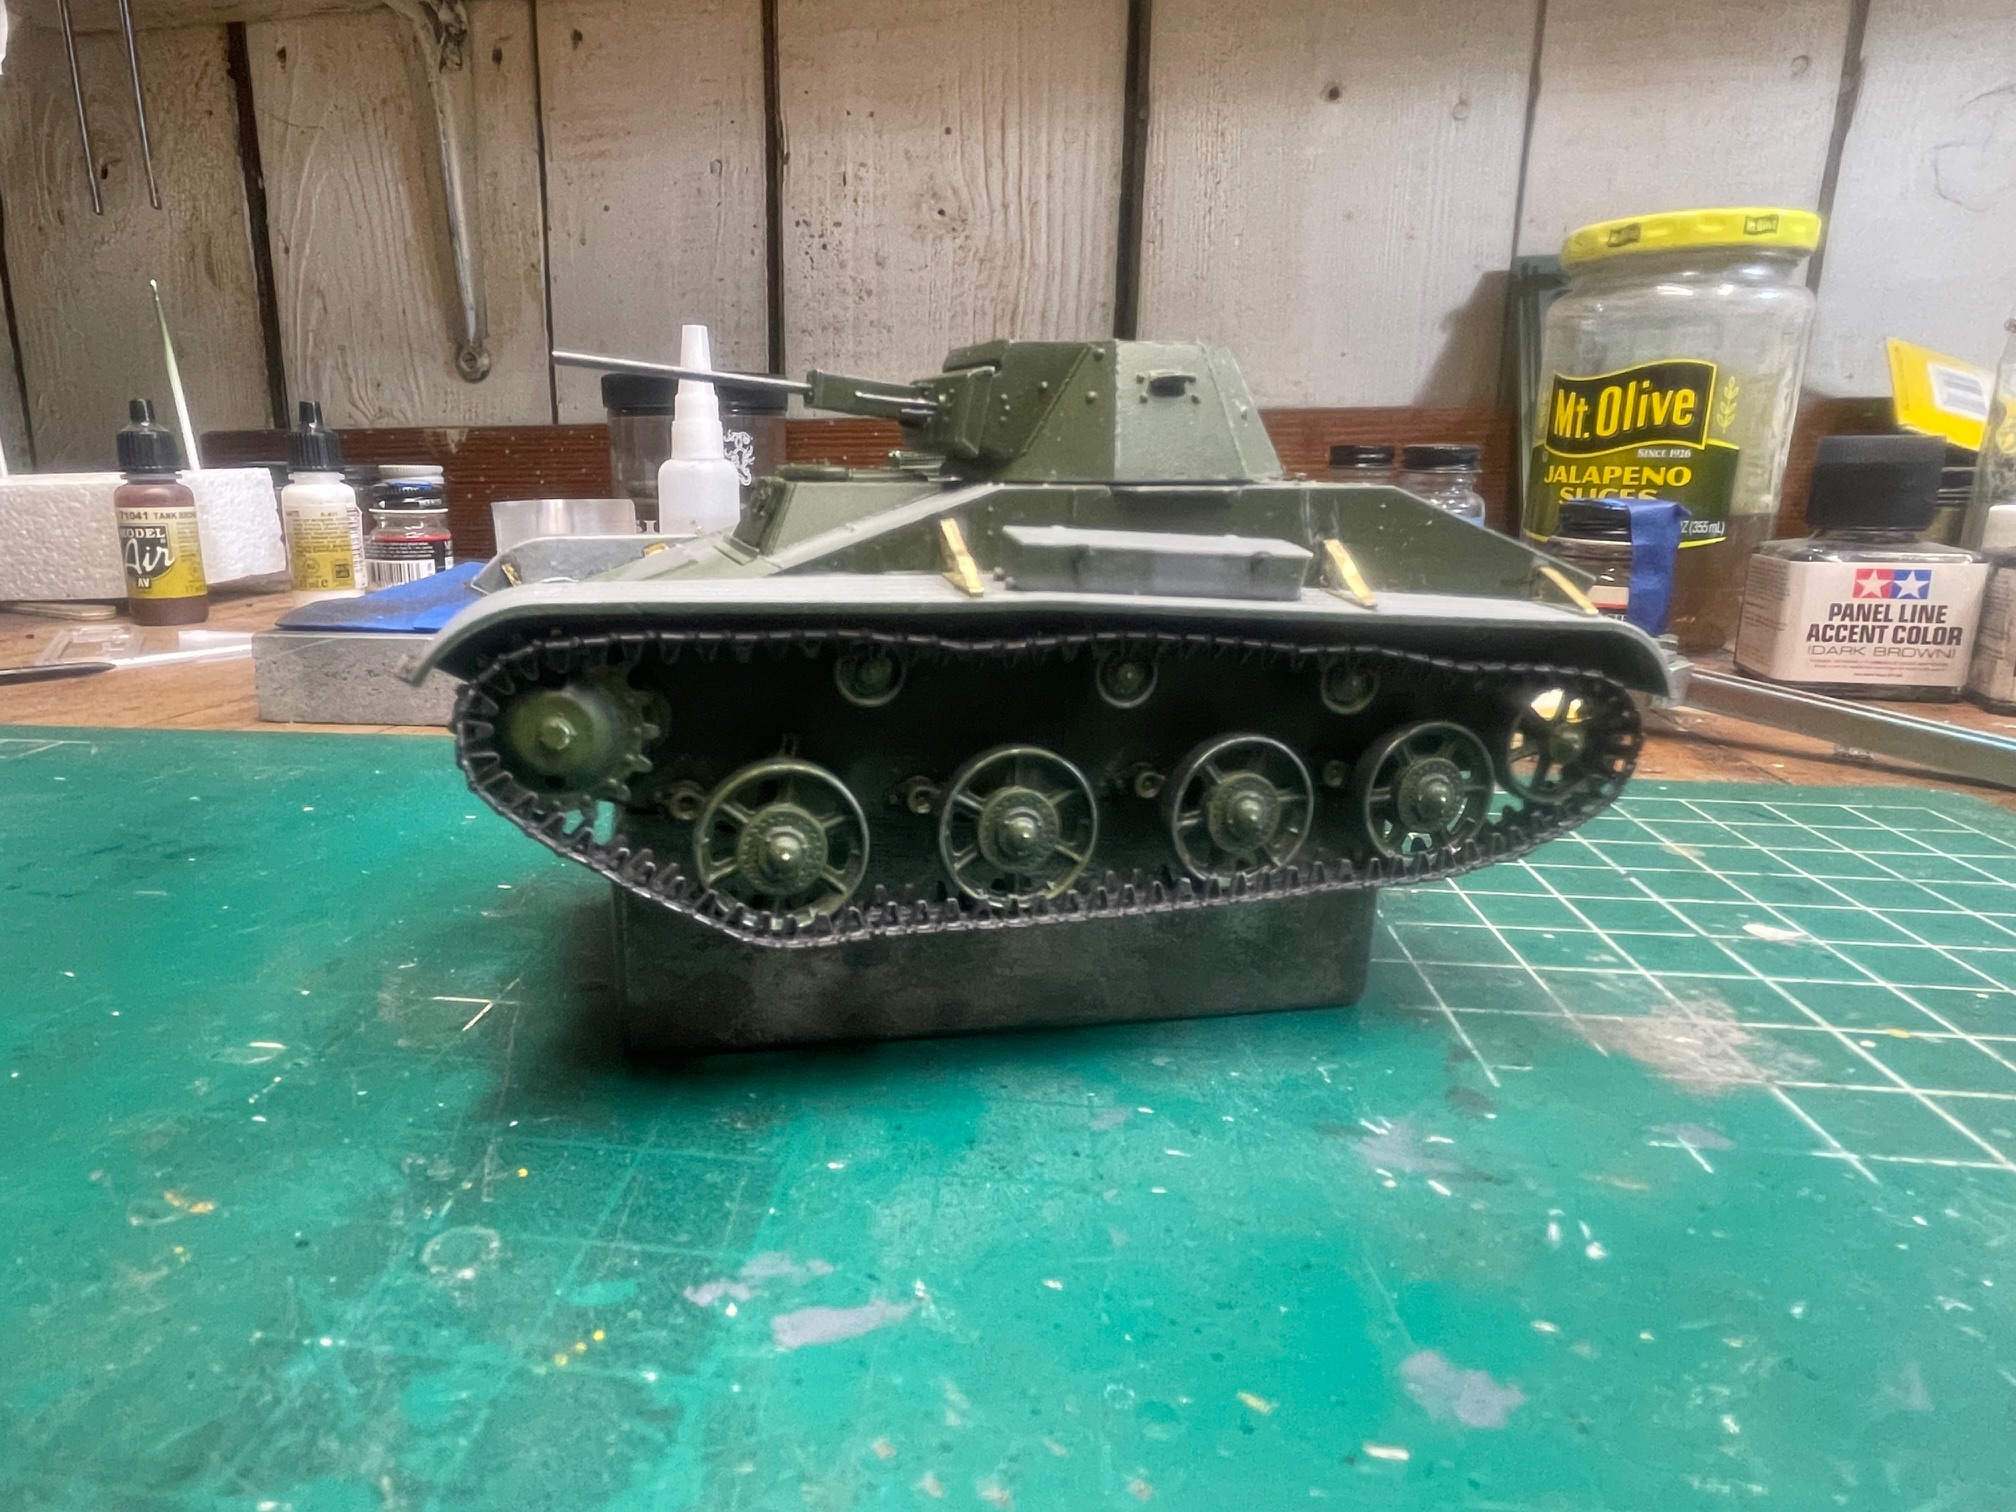
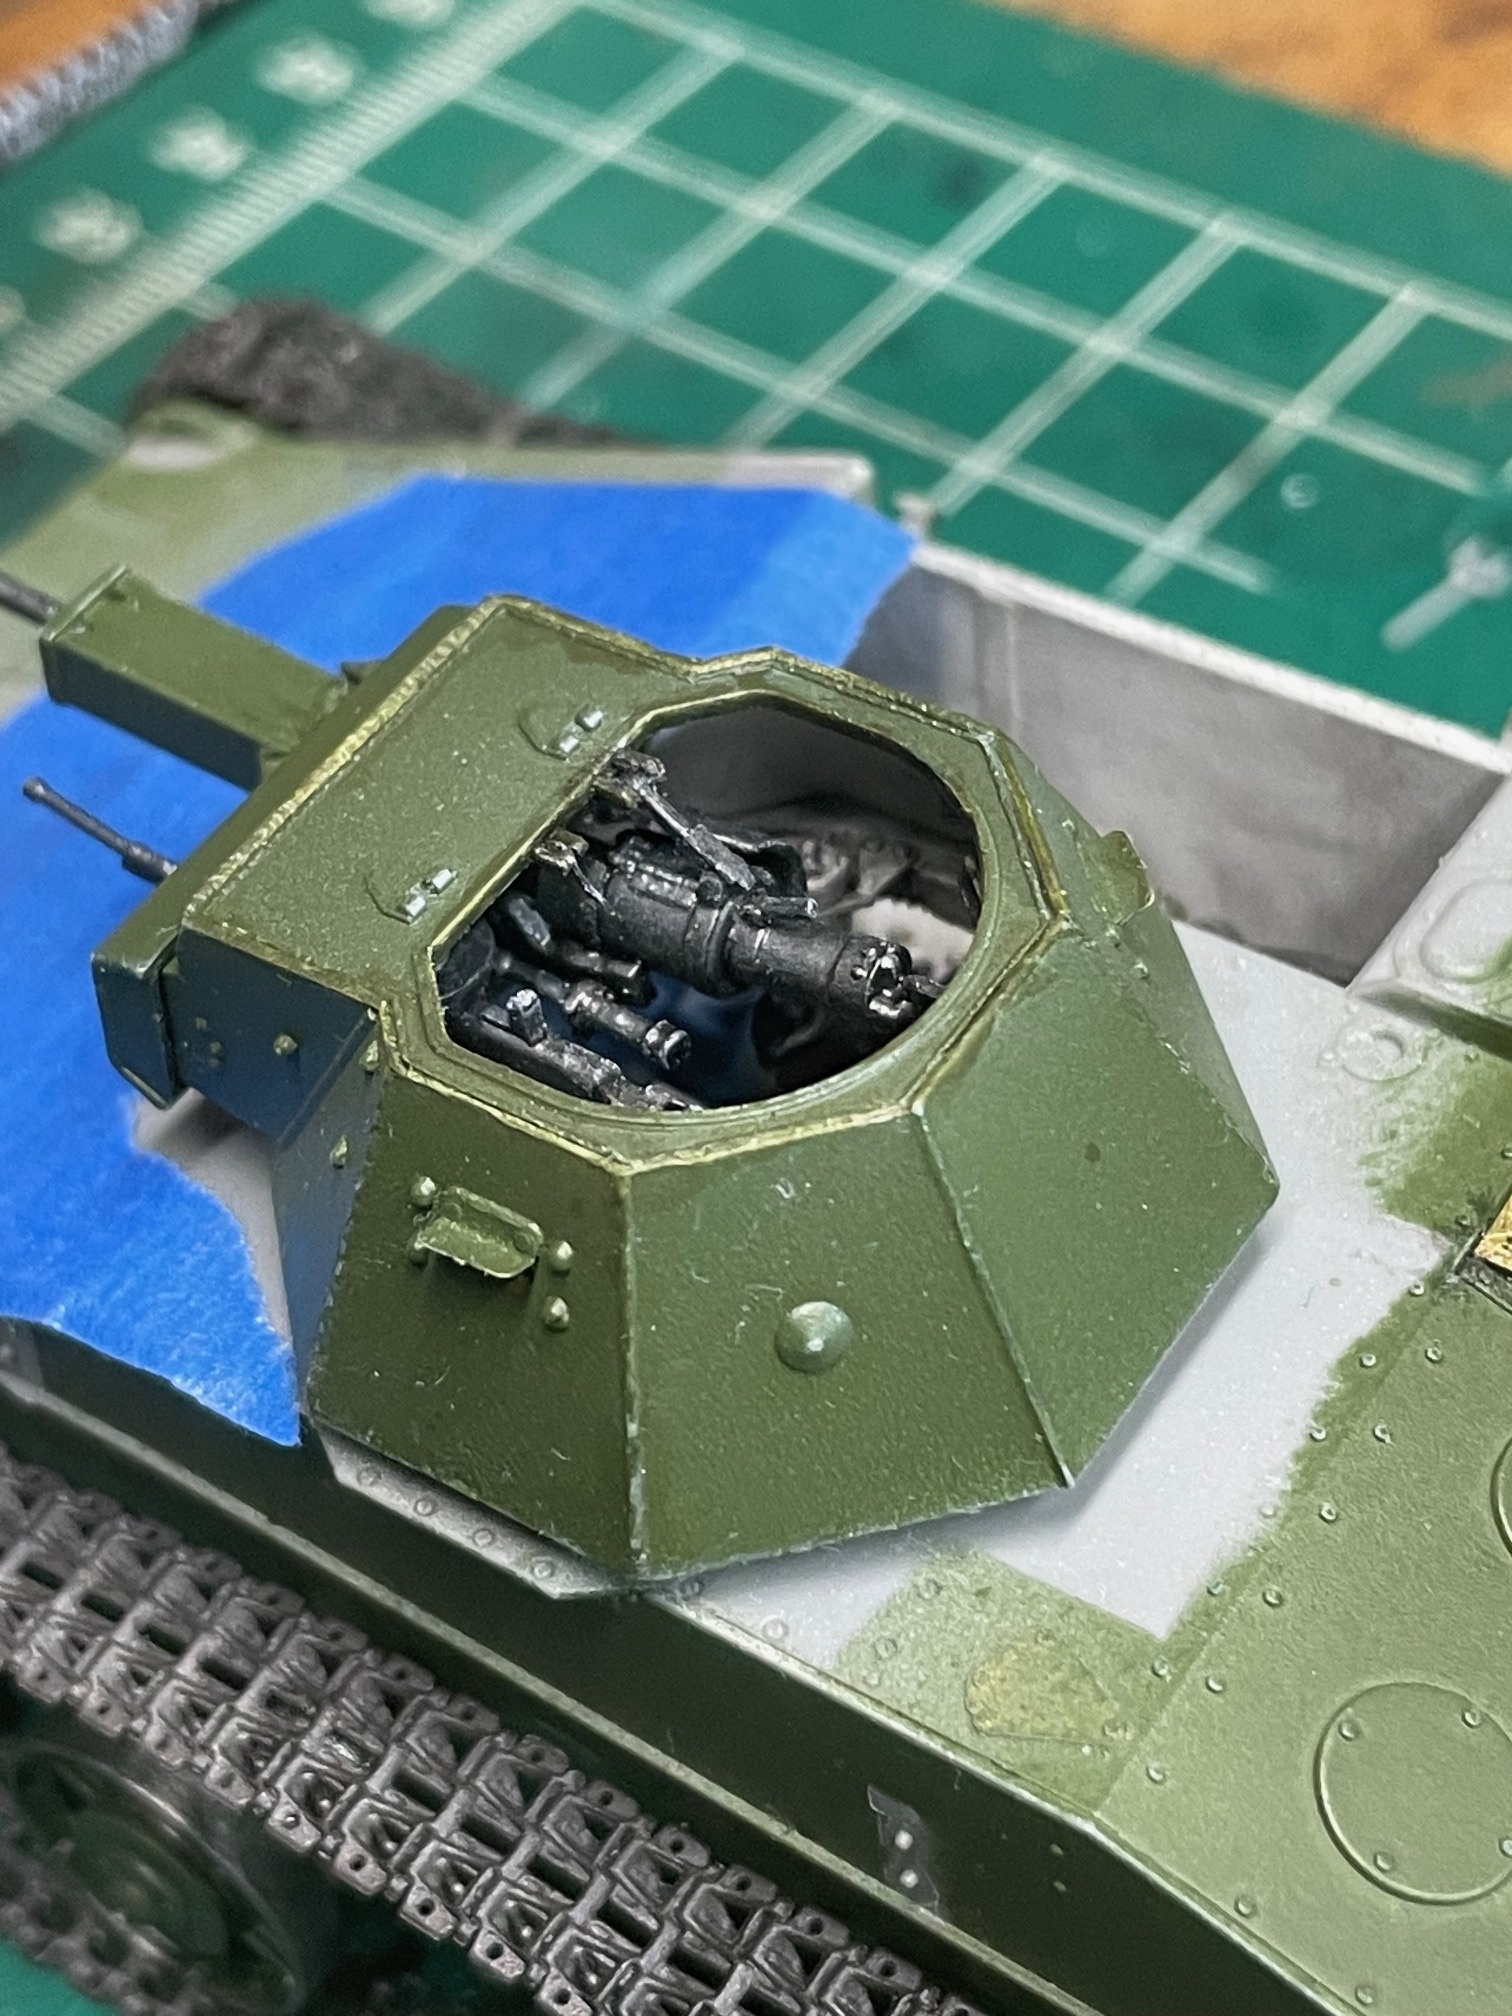
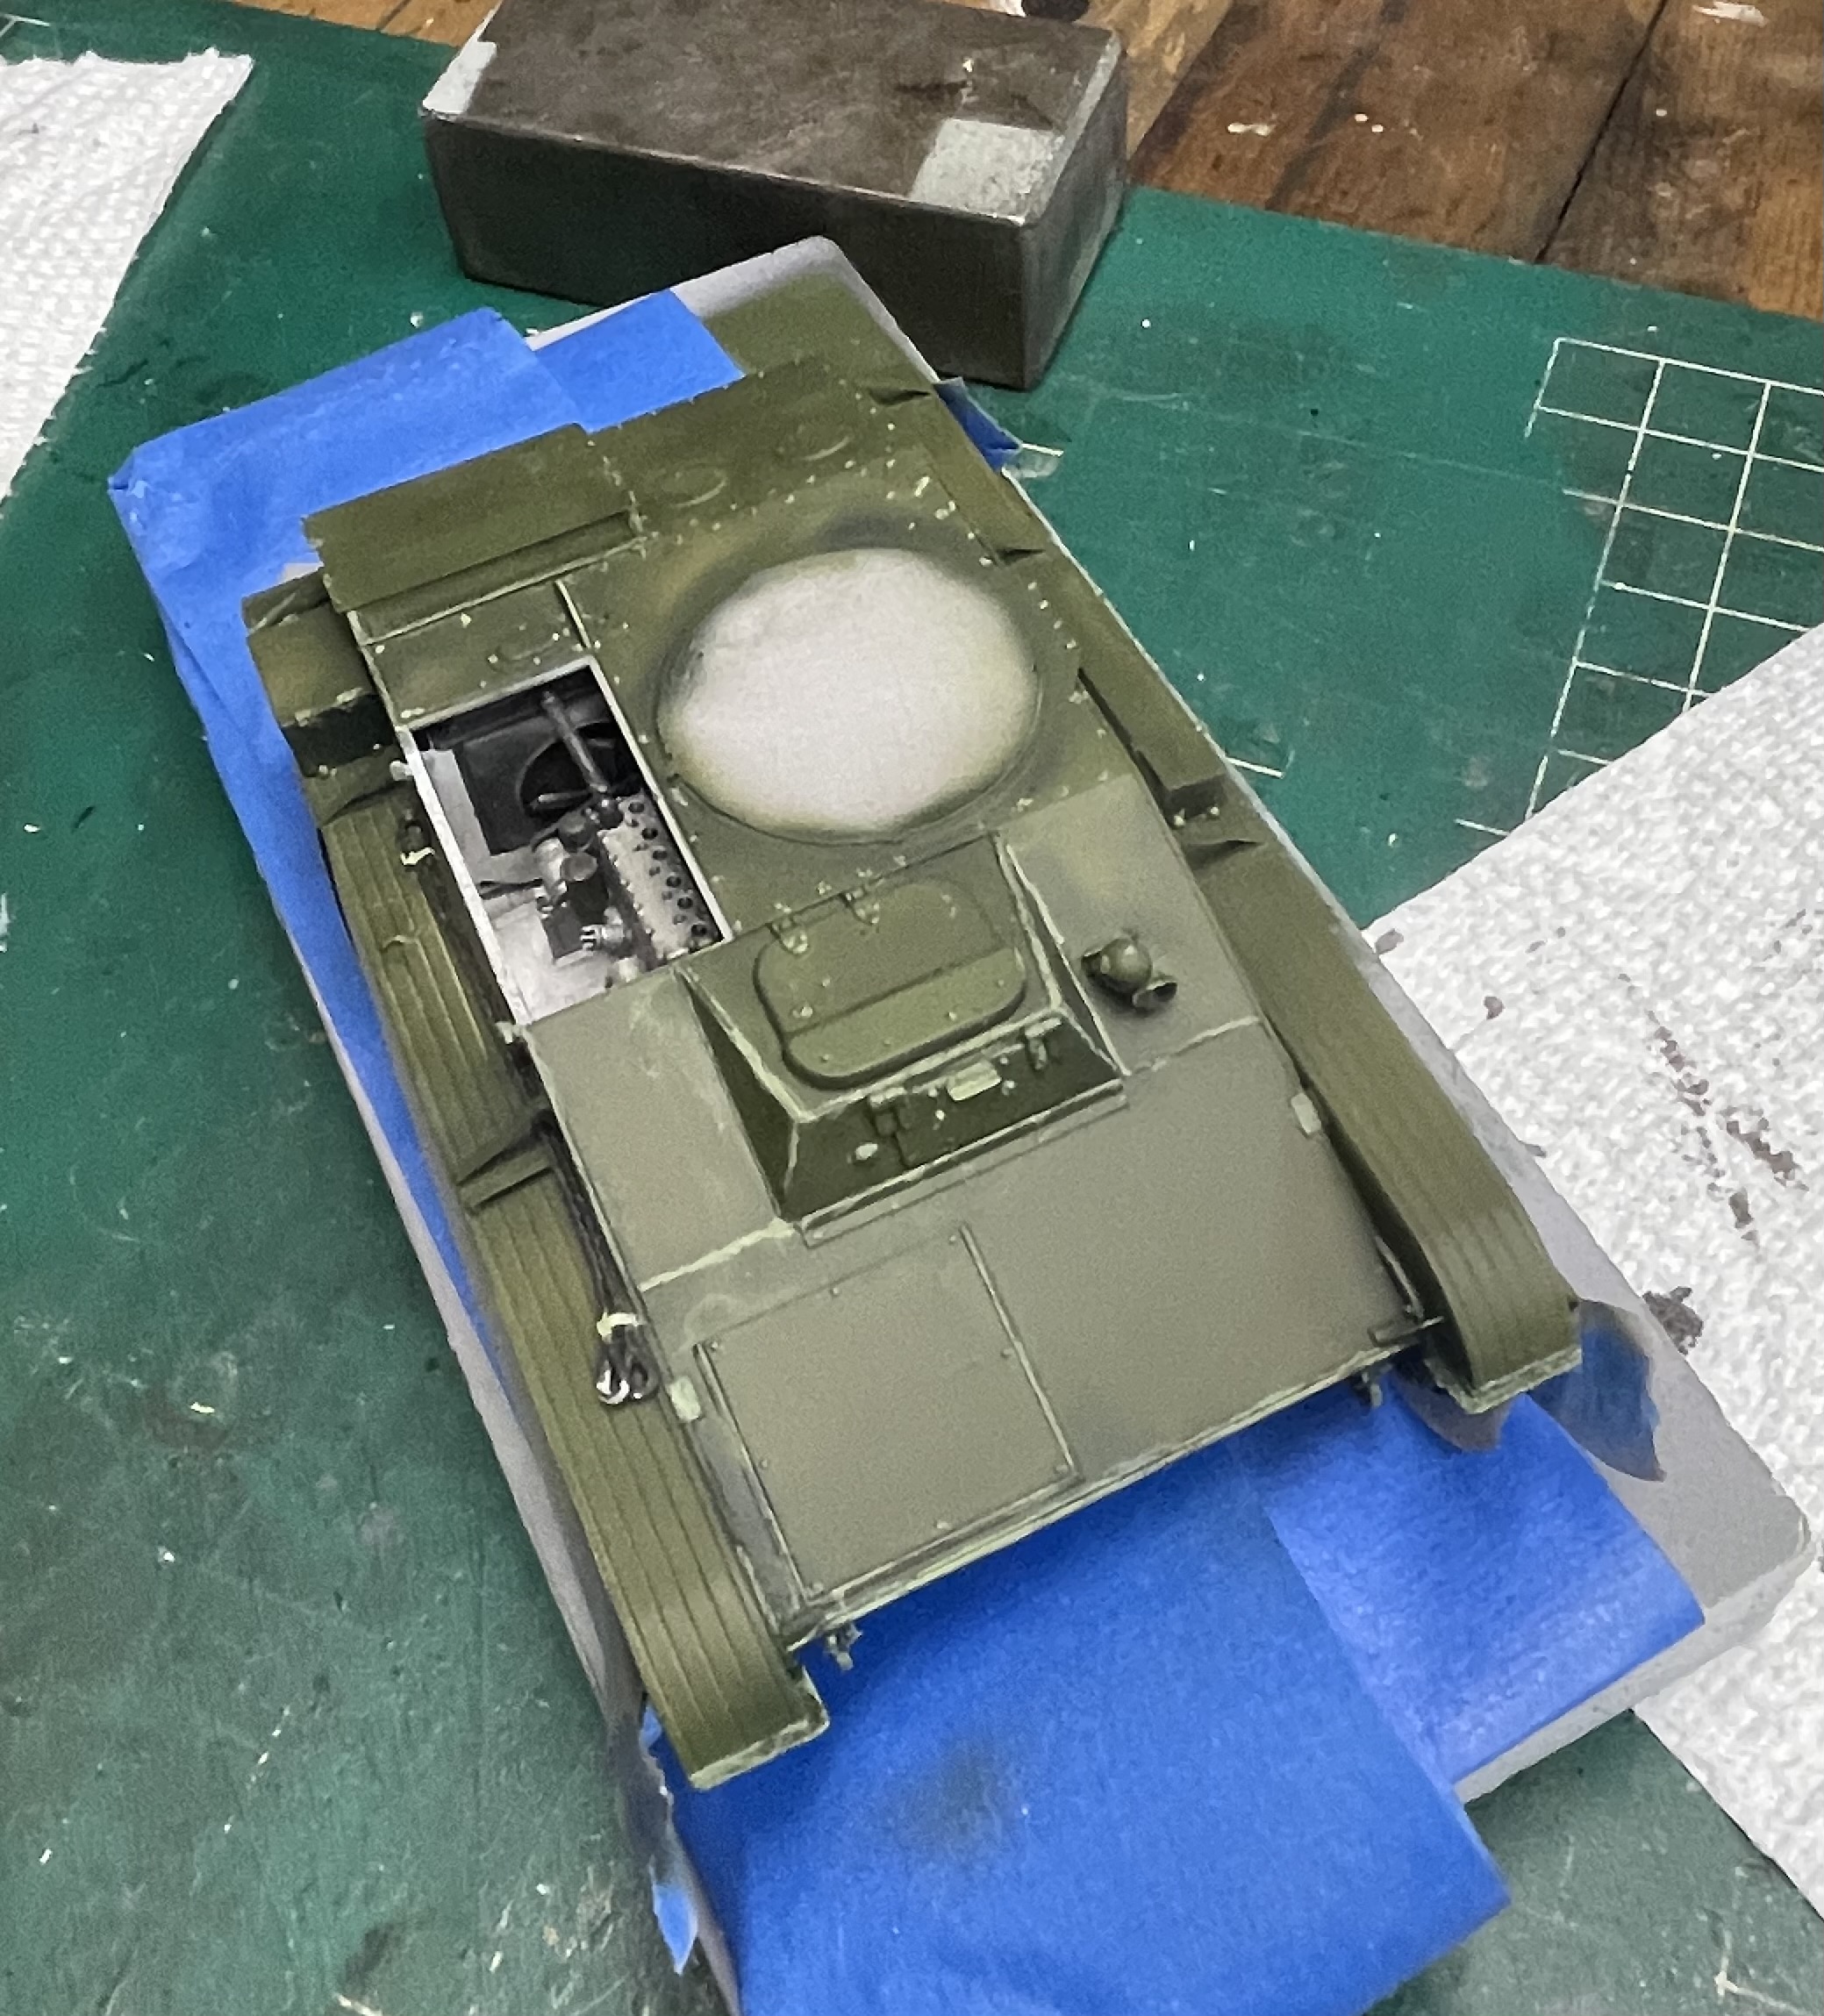
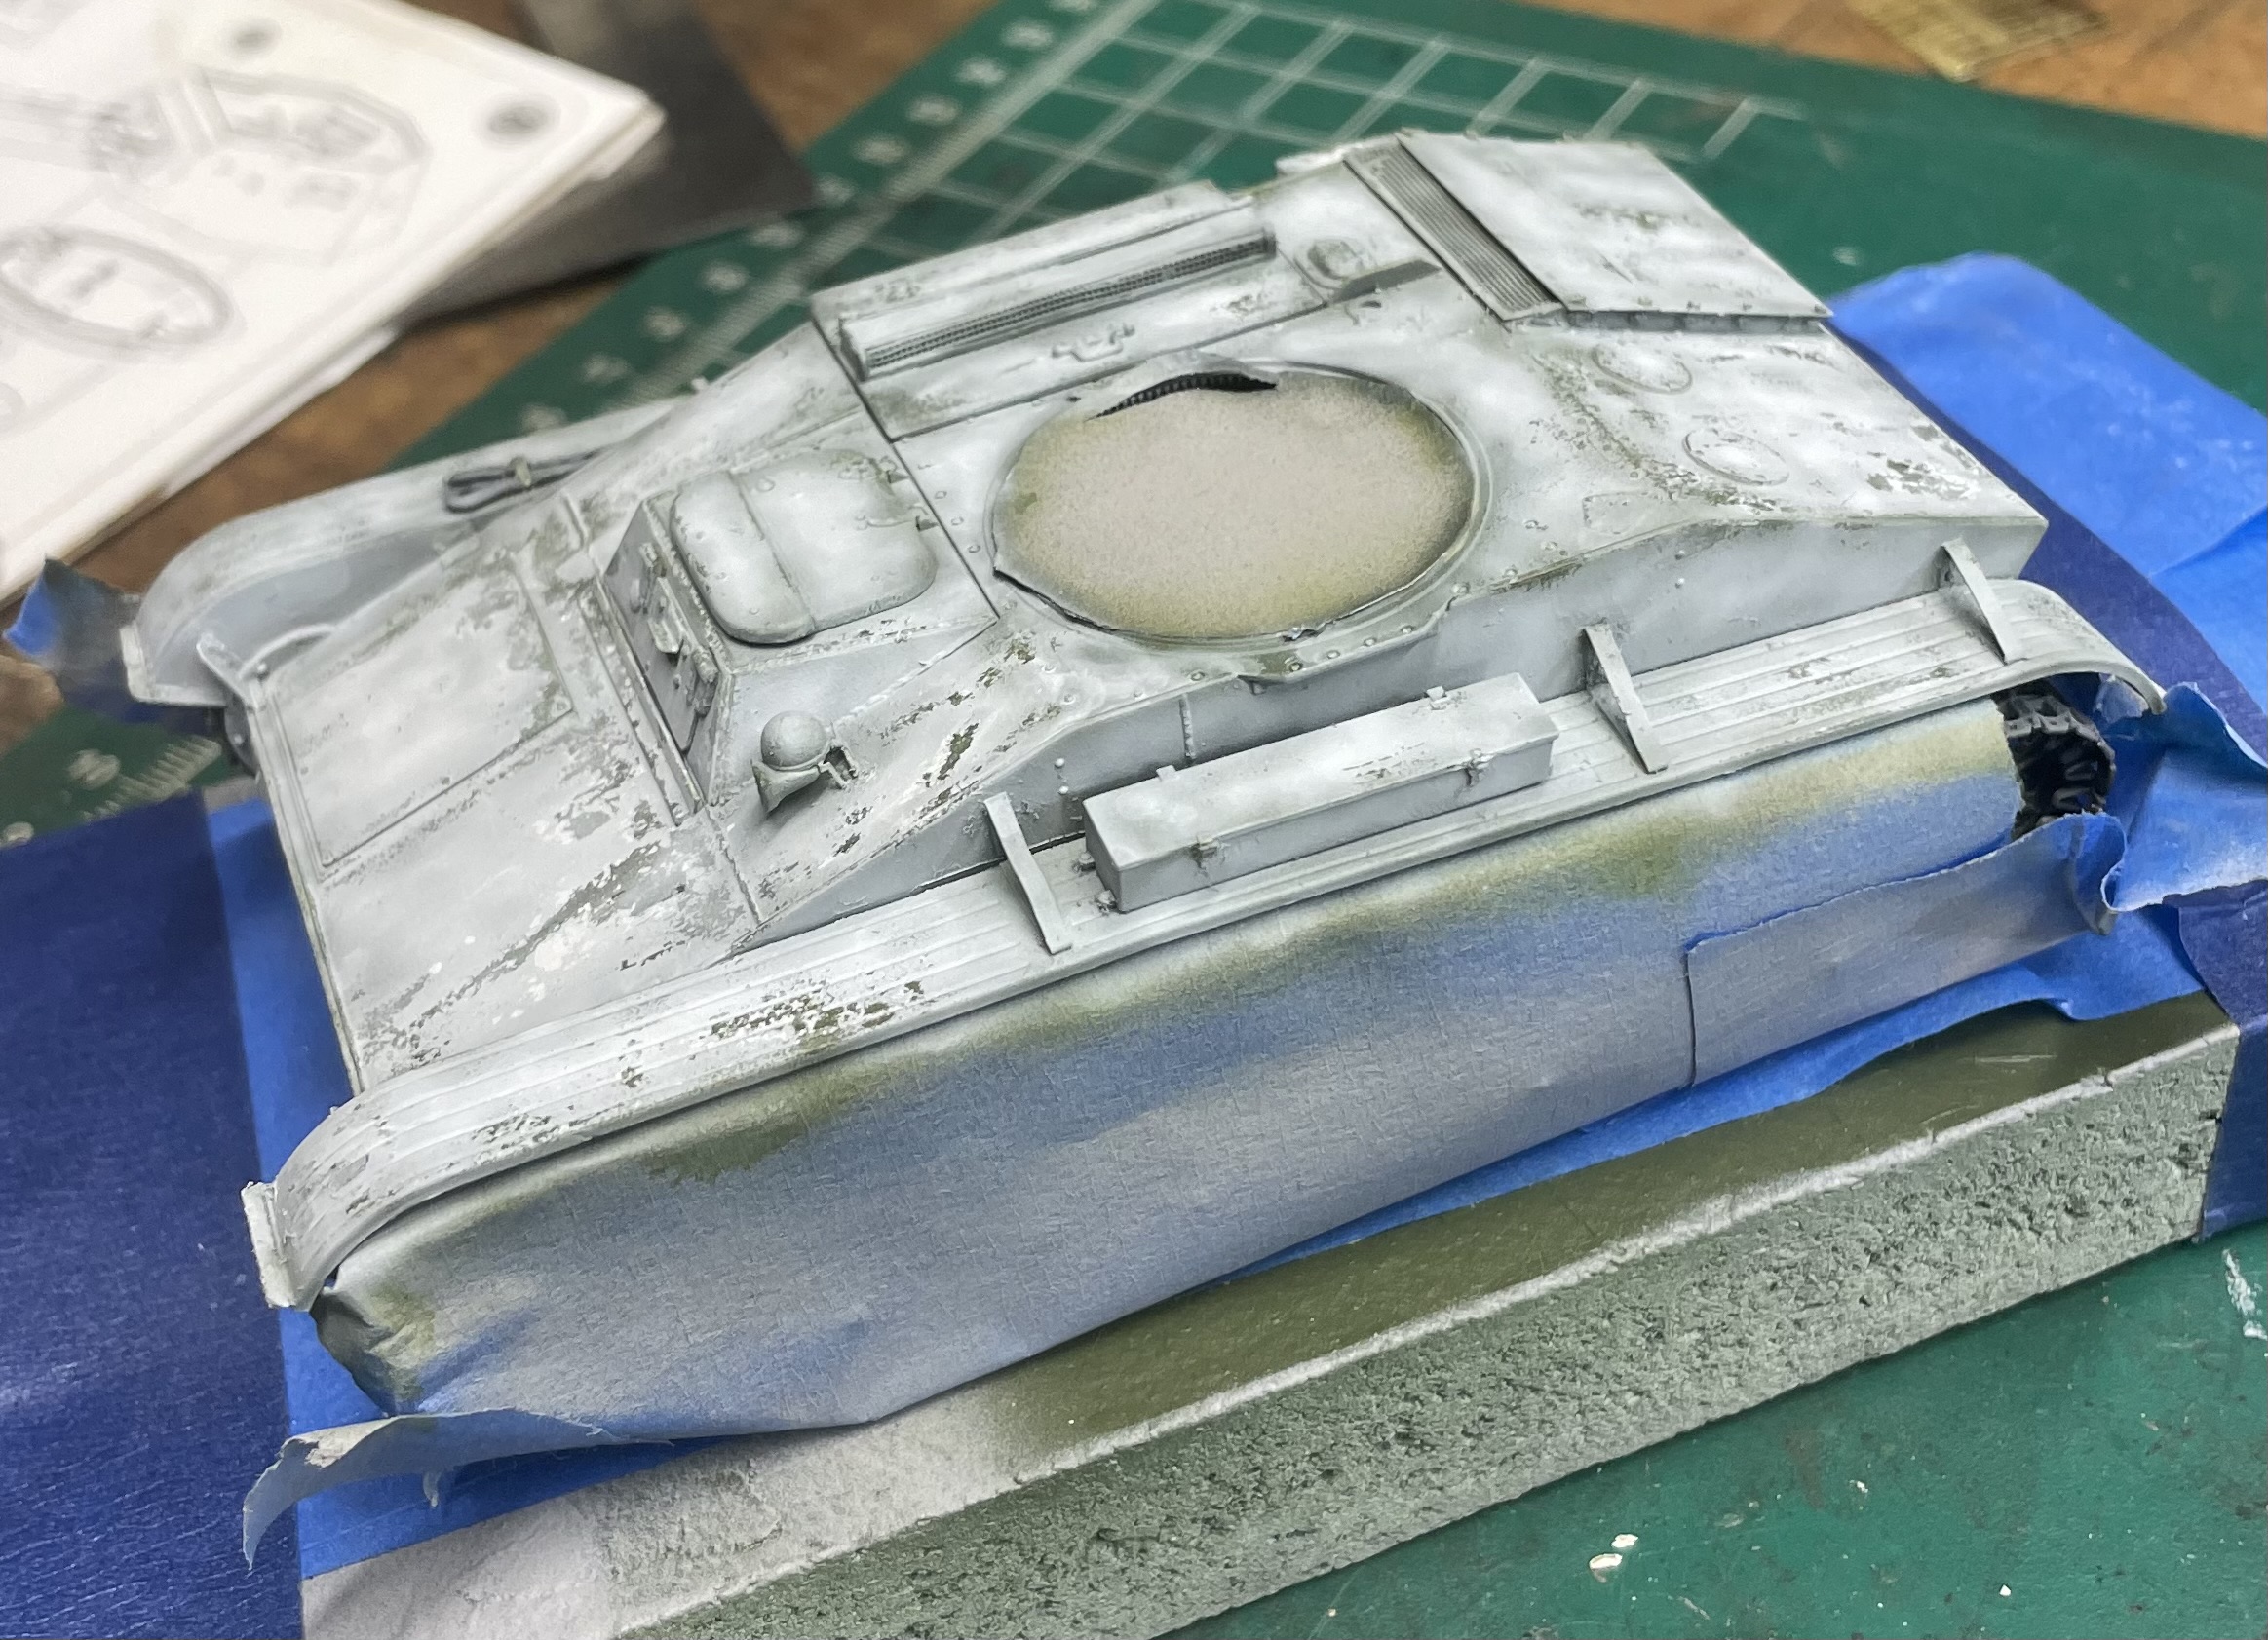
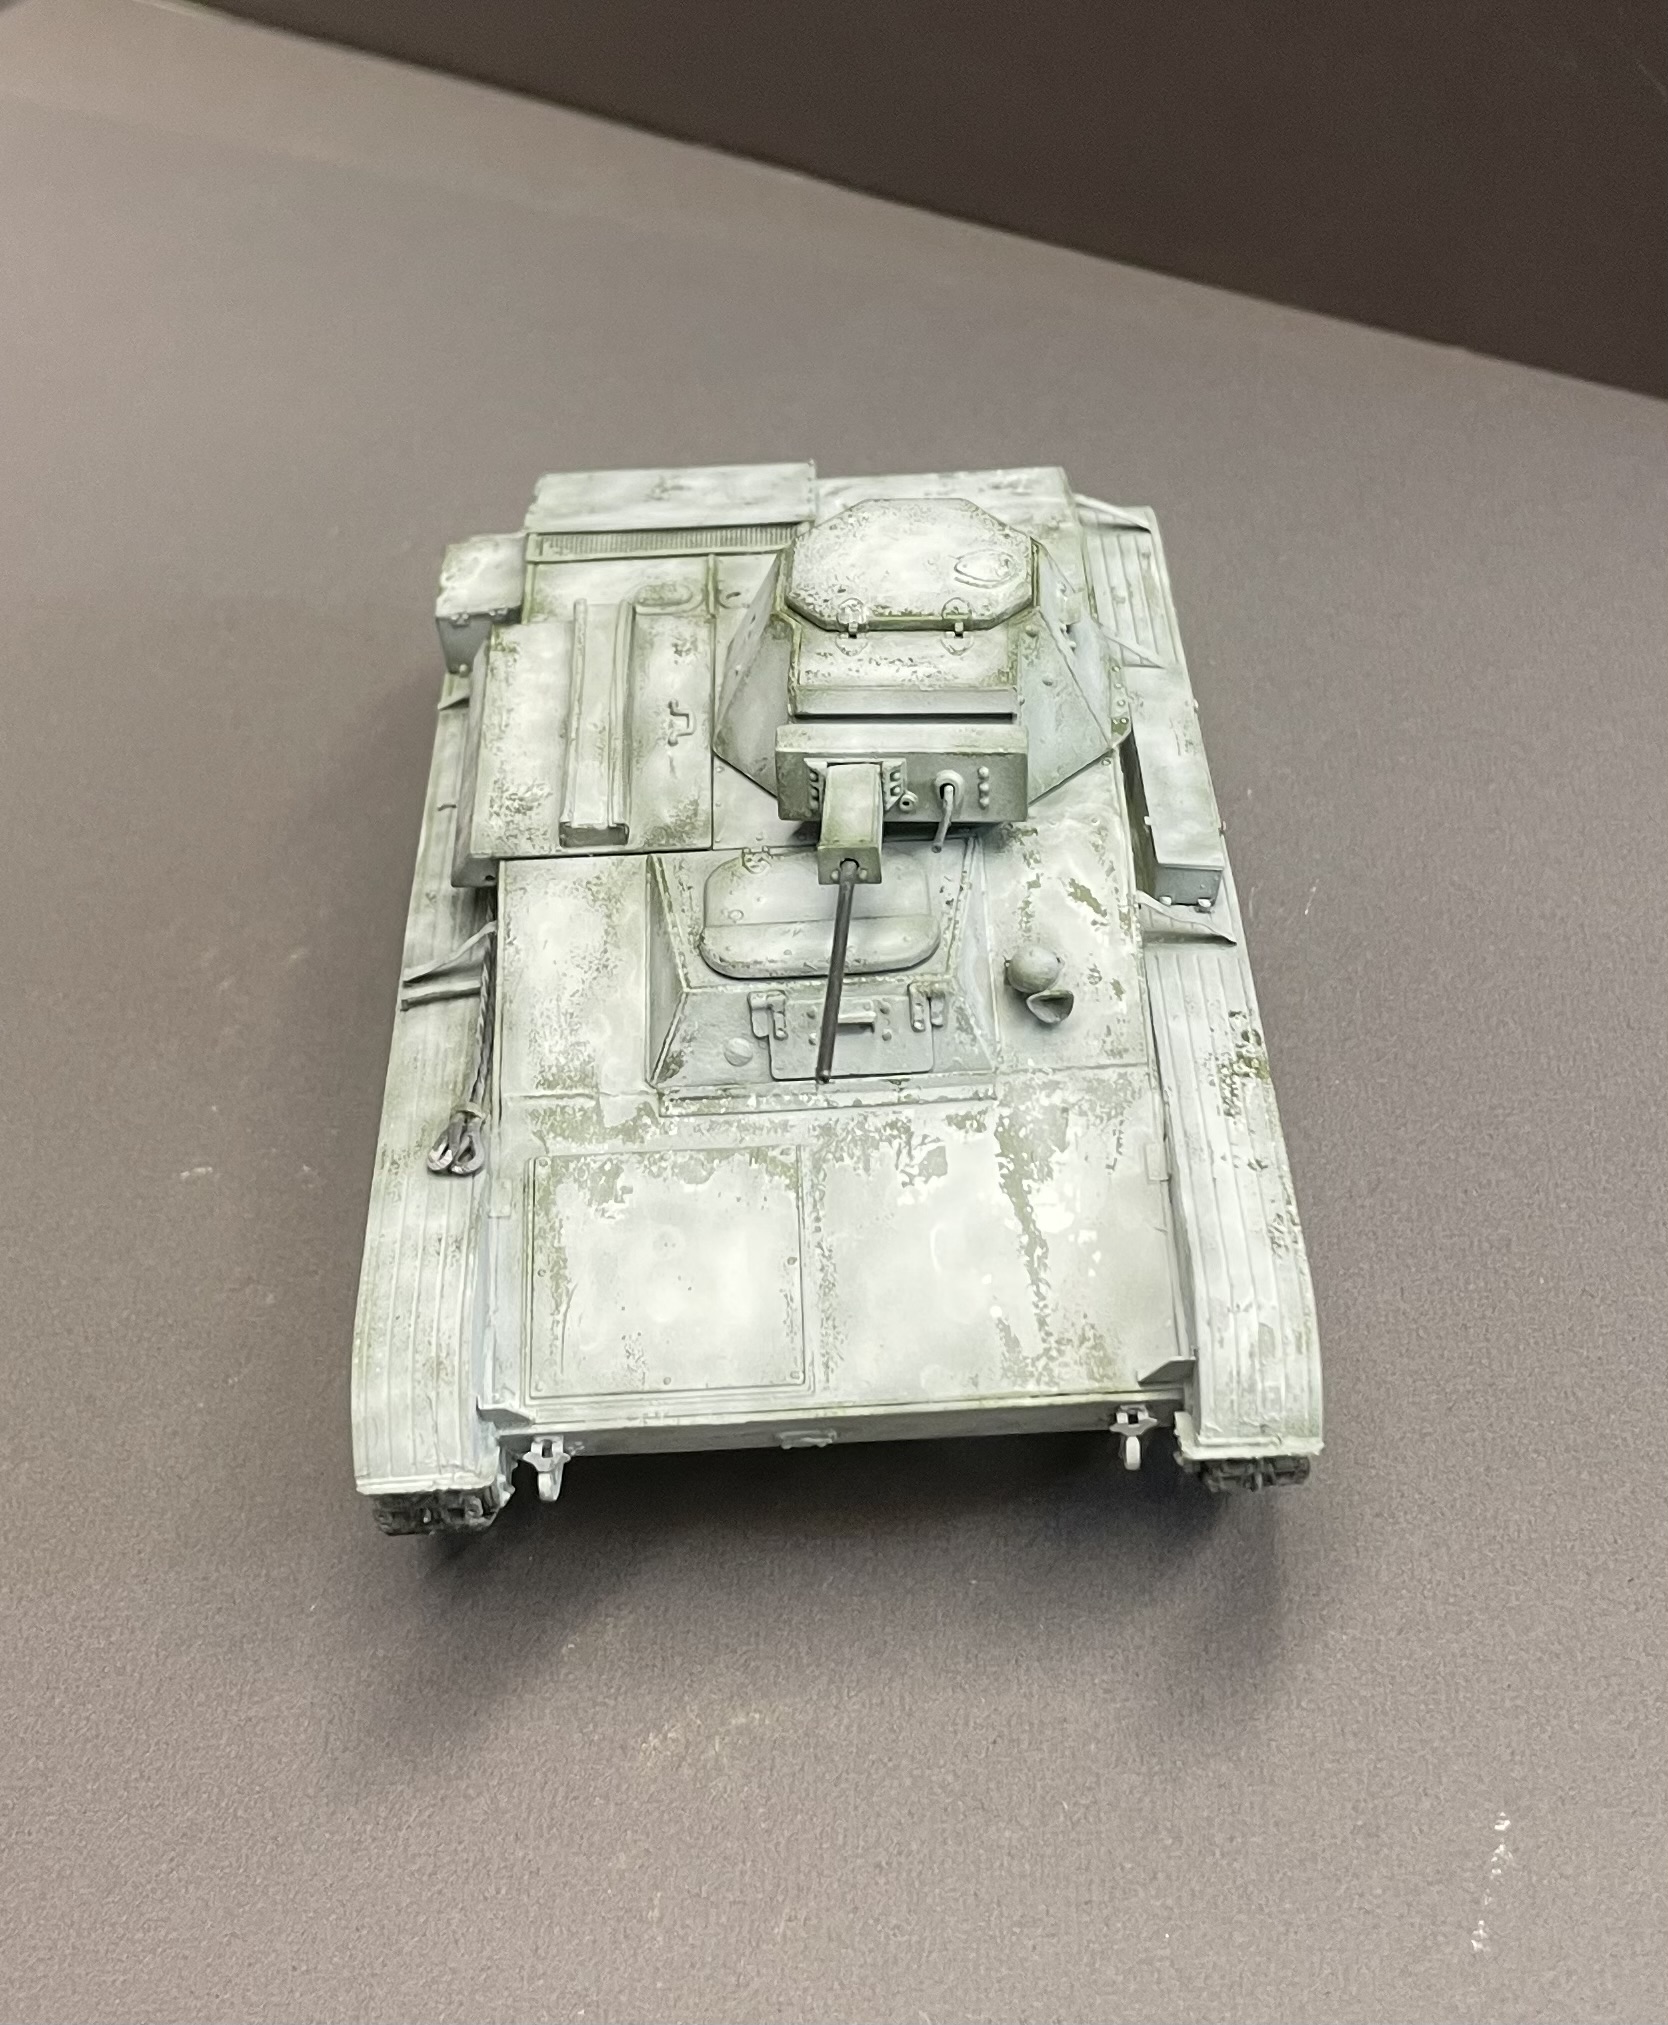
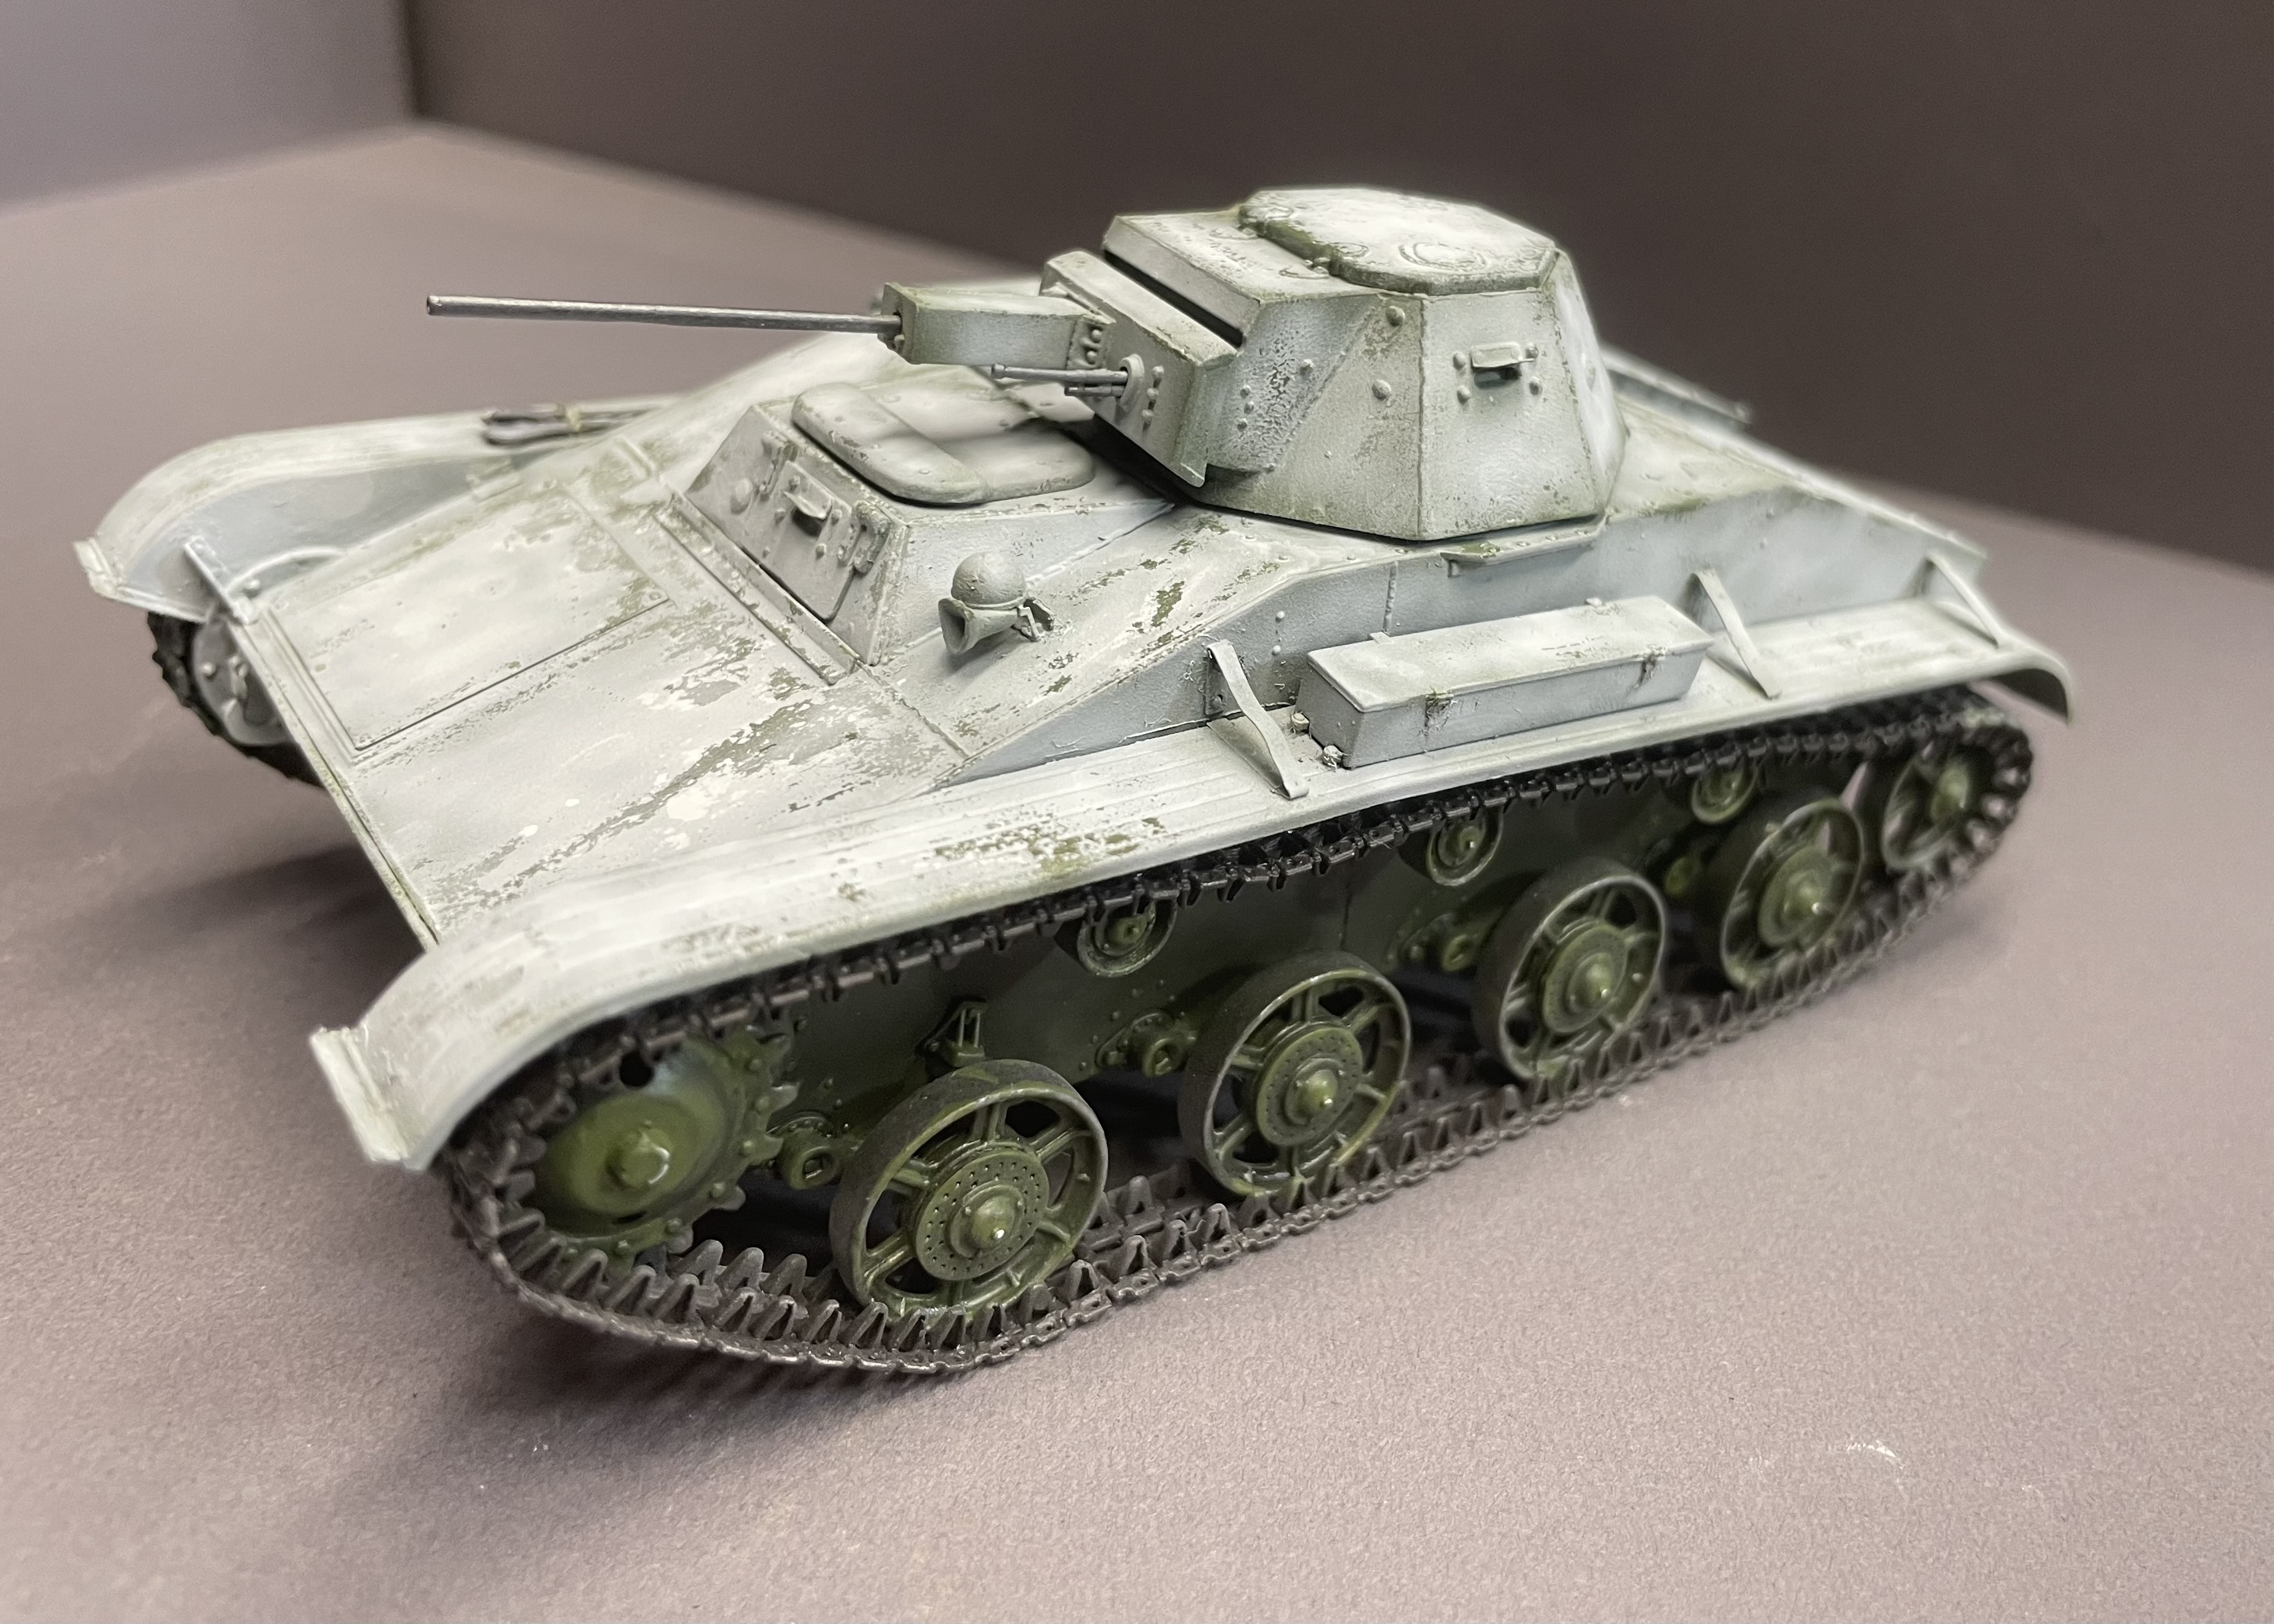
A Miniart T 60 i started for the minart campaign in 2021.
Applied my first attempt of a winter white finish.
Tamiya paints for white over Ak chipping fluid.
I watched a Nightshift video for advice and can say i am quite pleased with it.
Very nice chip & white wash!
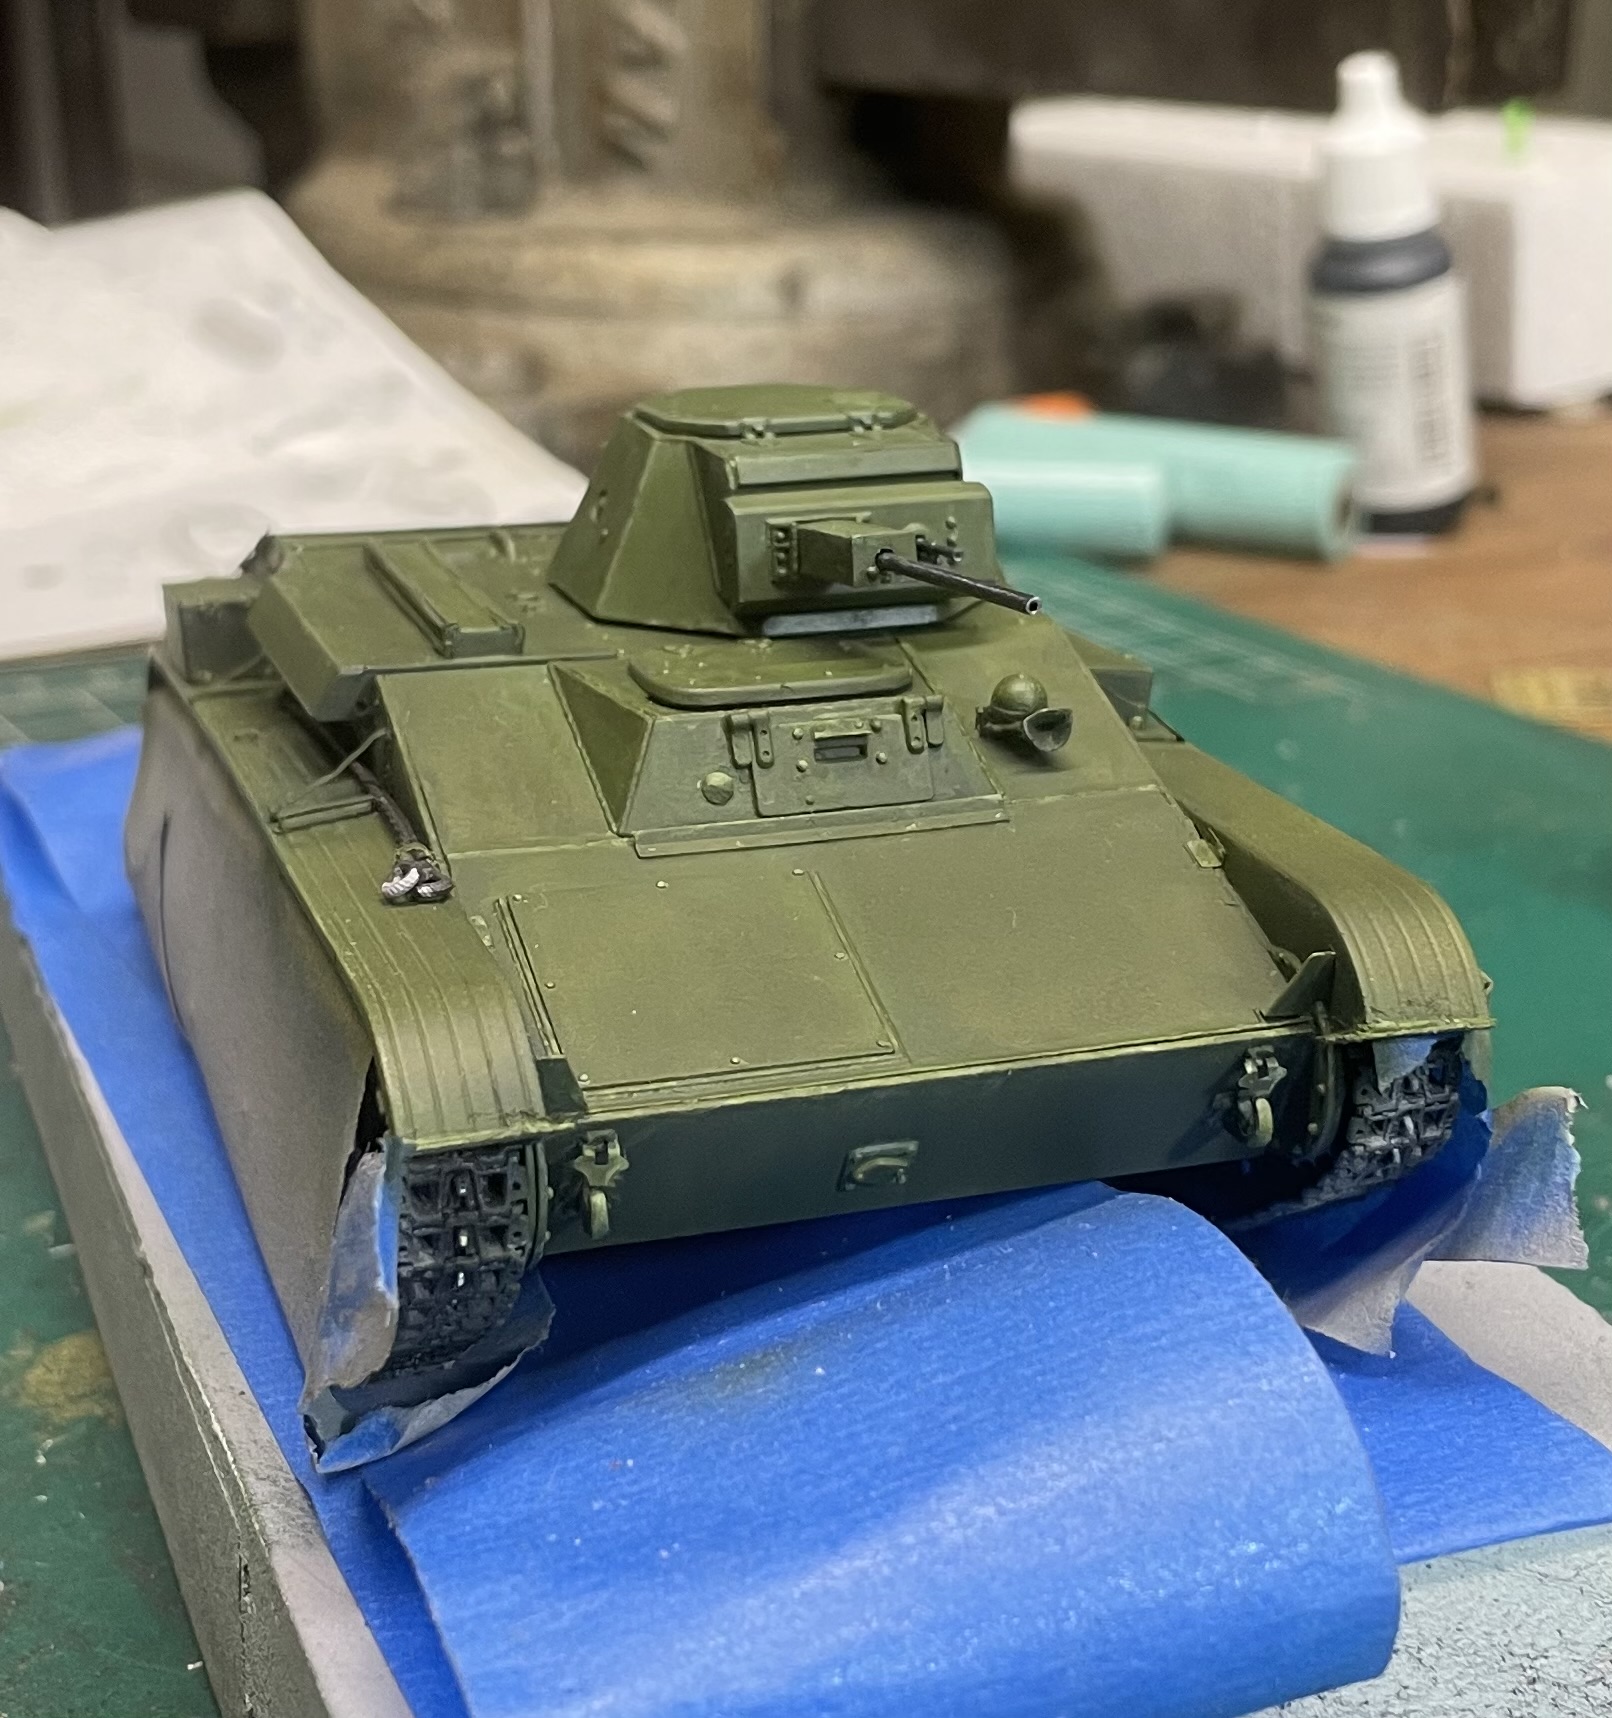
If you squint and tilt your head, it’s hardly noticeable! ![]() Just kidding. I can’t see any off bits, it looks great.
Just kidding. I can’t see any off bits, it looks great.
Love the logic, and totally agree. Nice upcoming list.
Looks great. A lot of interesting stuff from Nightshift. But beyond ideas and techniques, you have to actually pull it off, and you did!
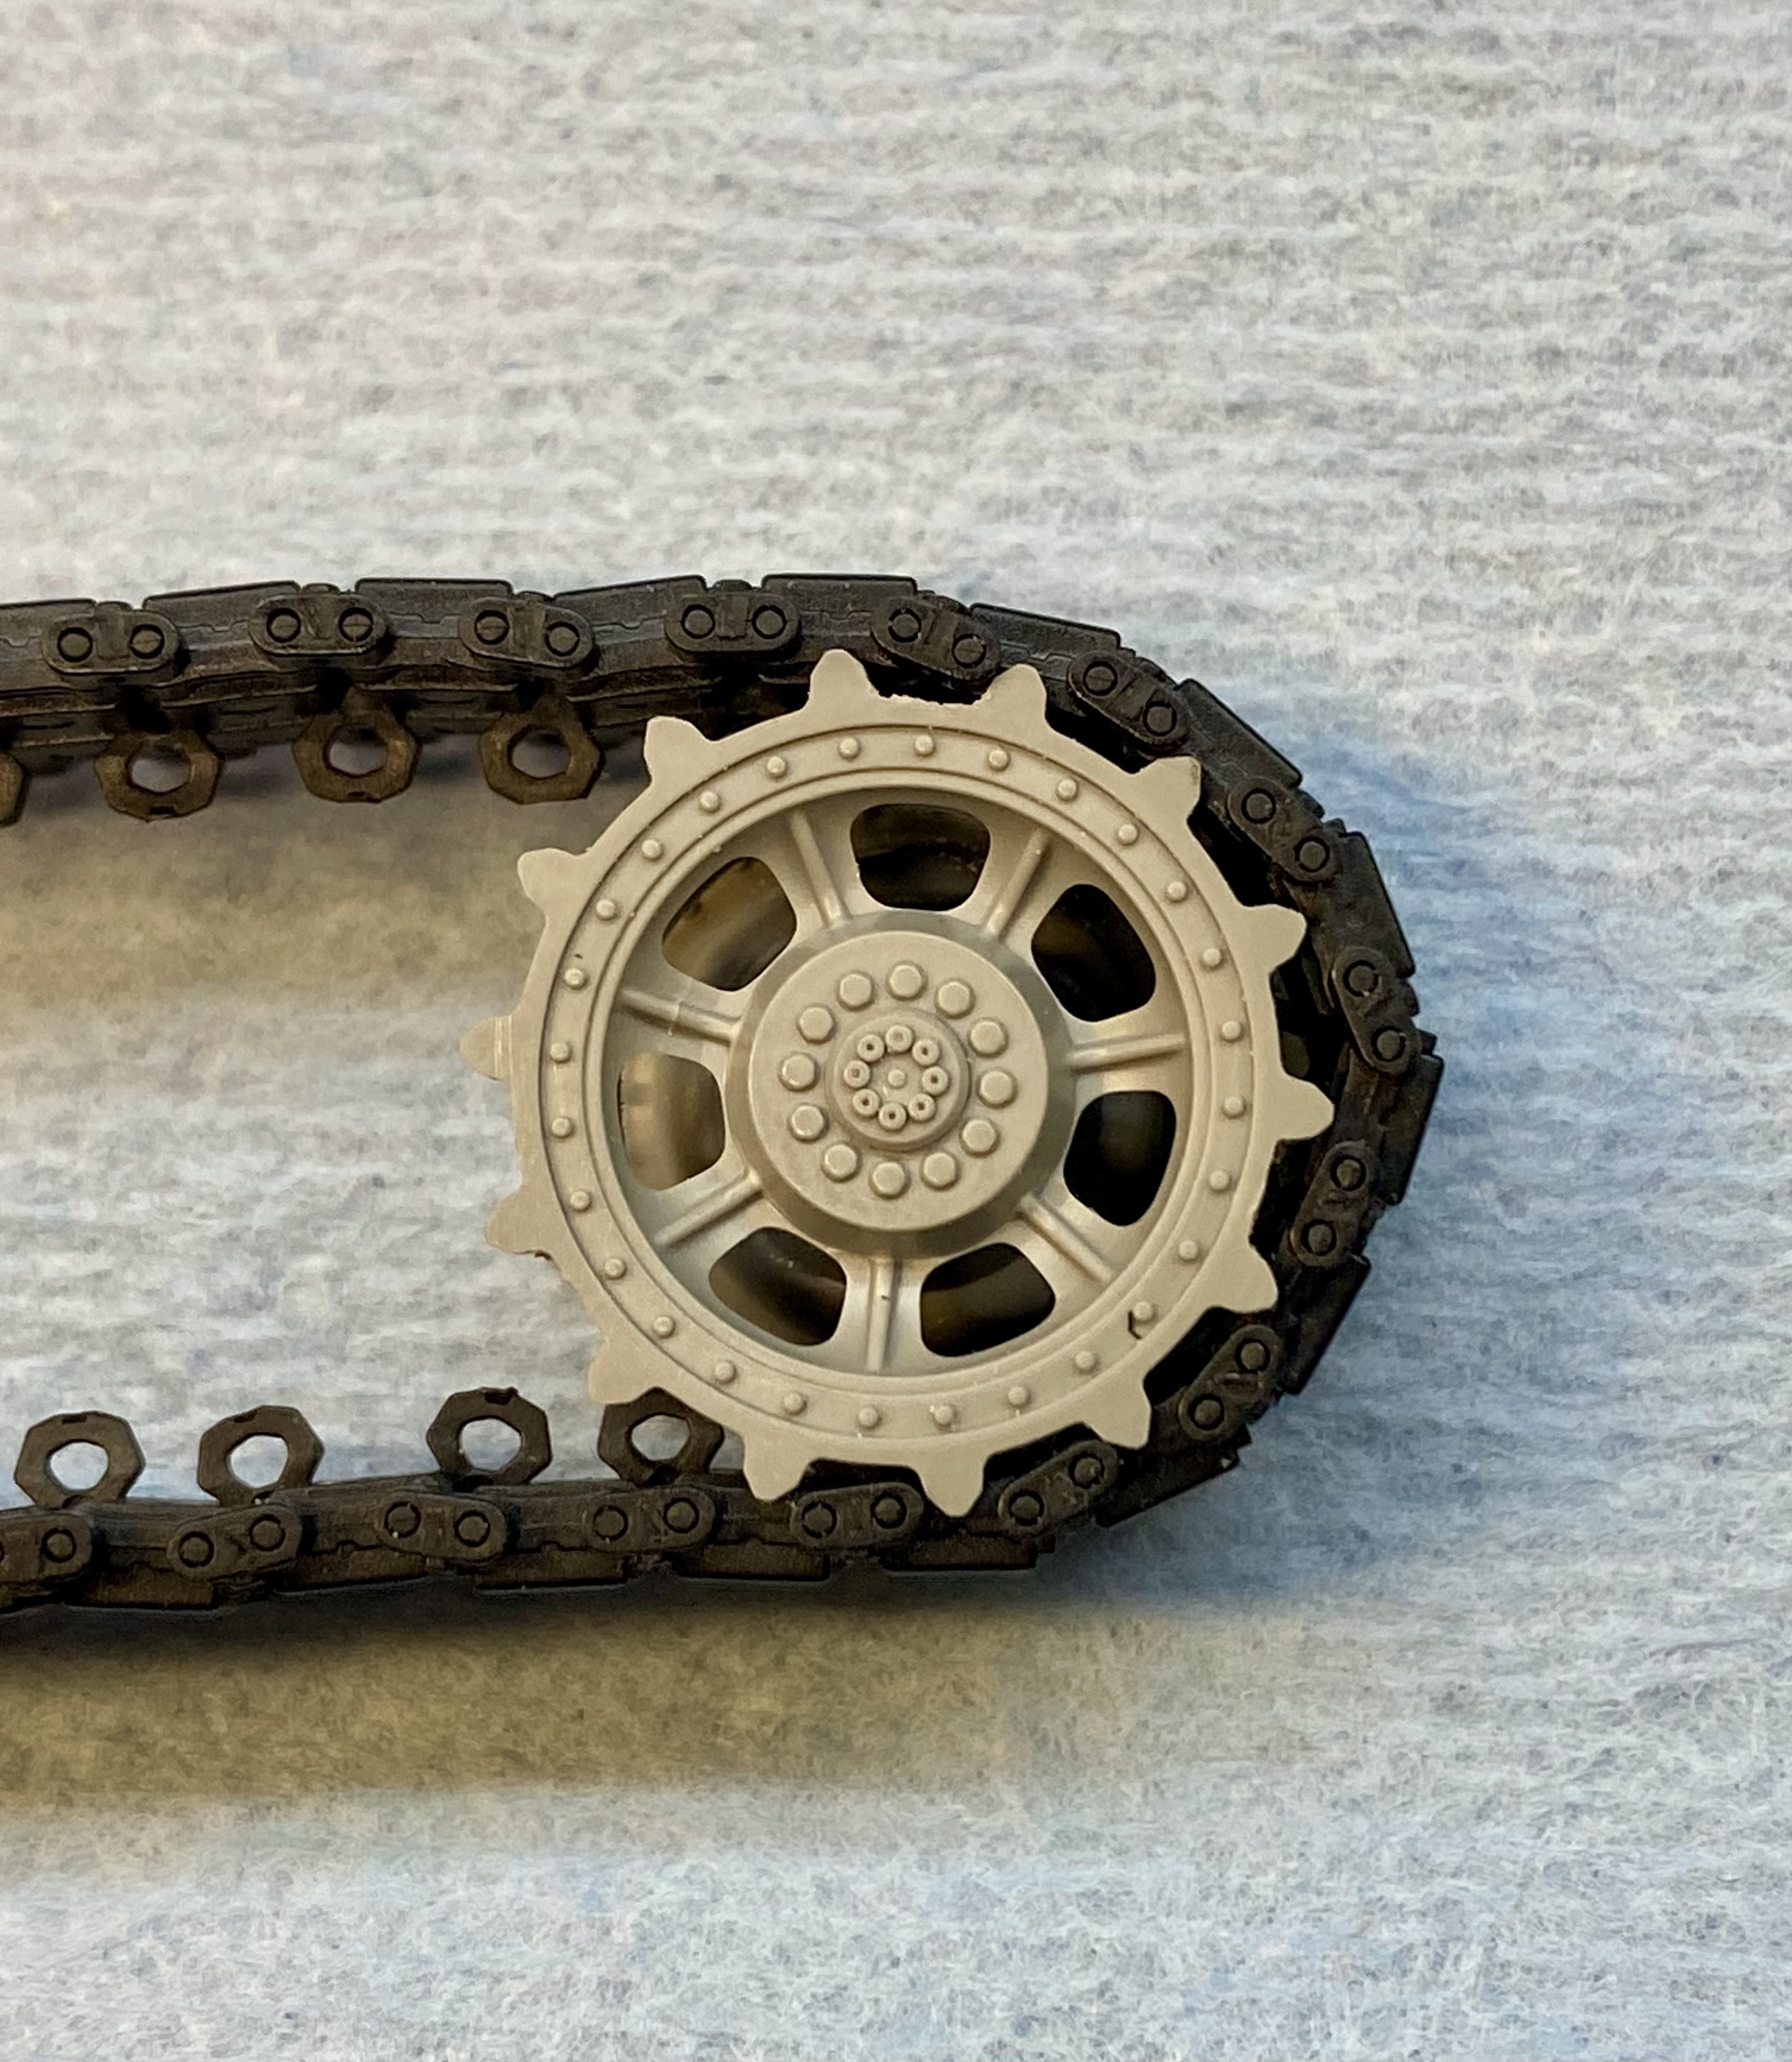
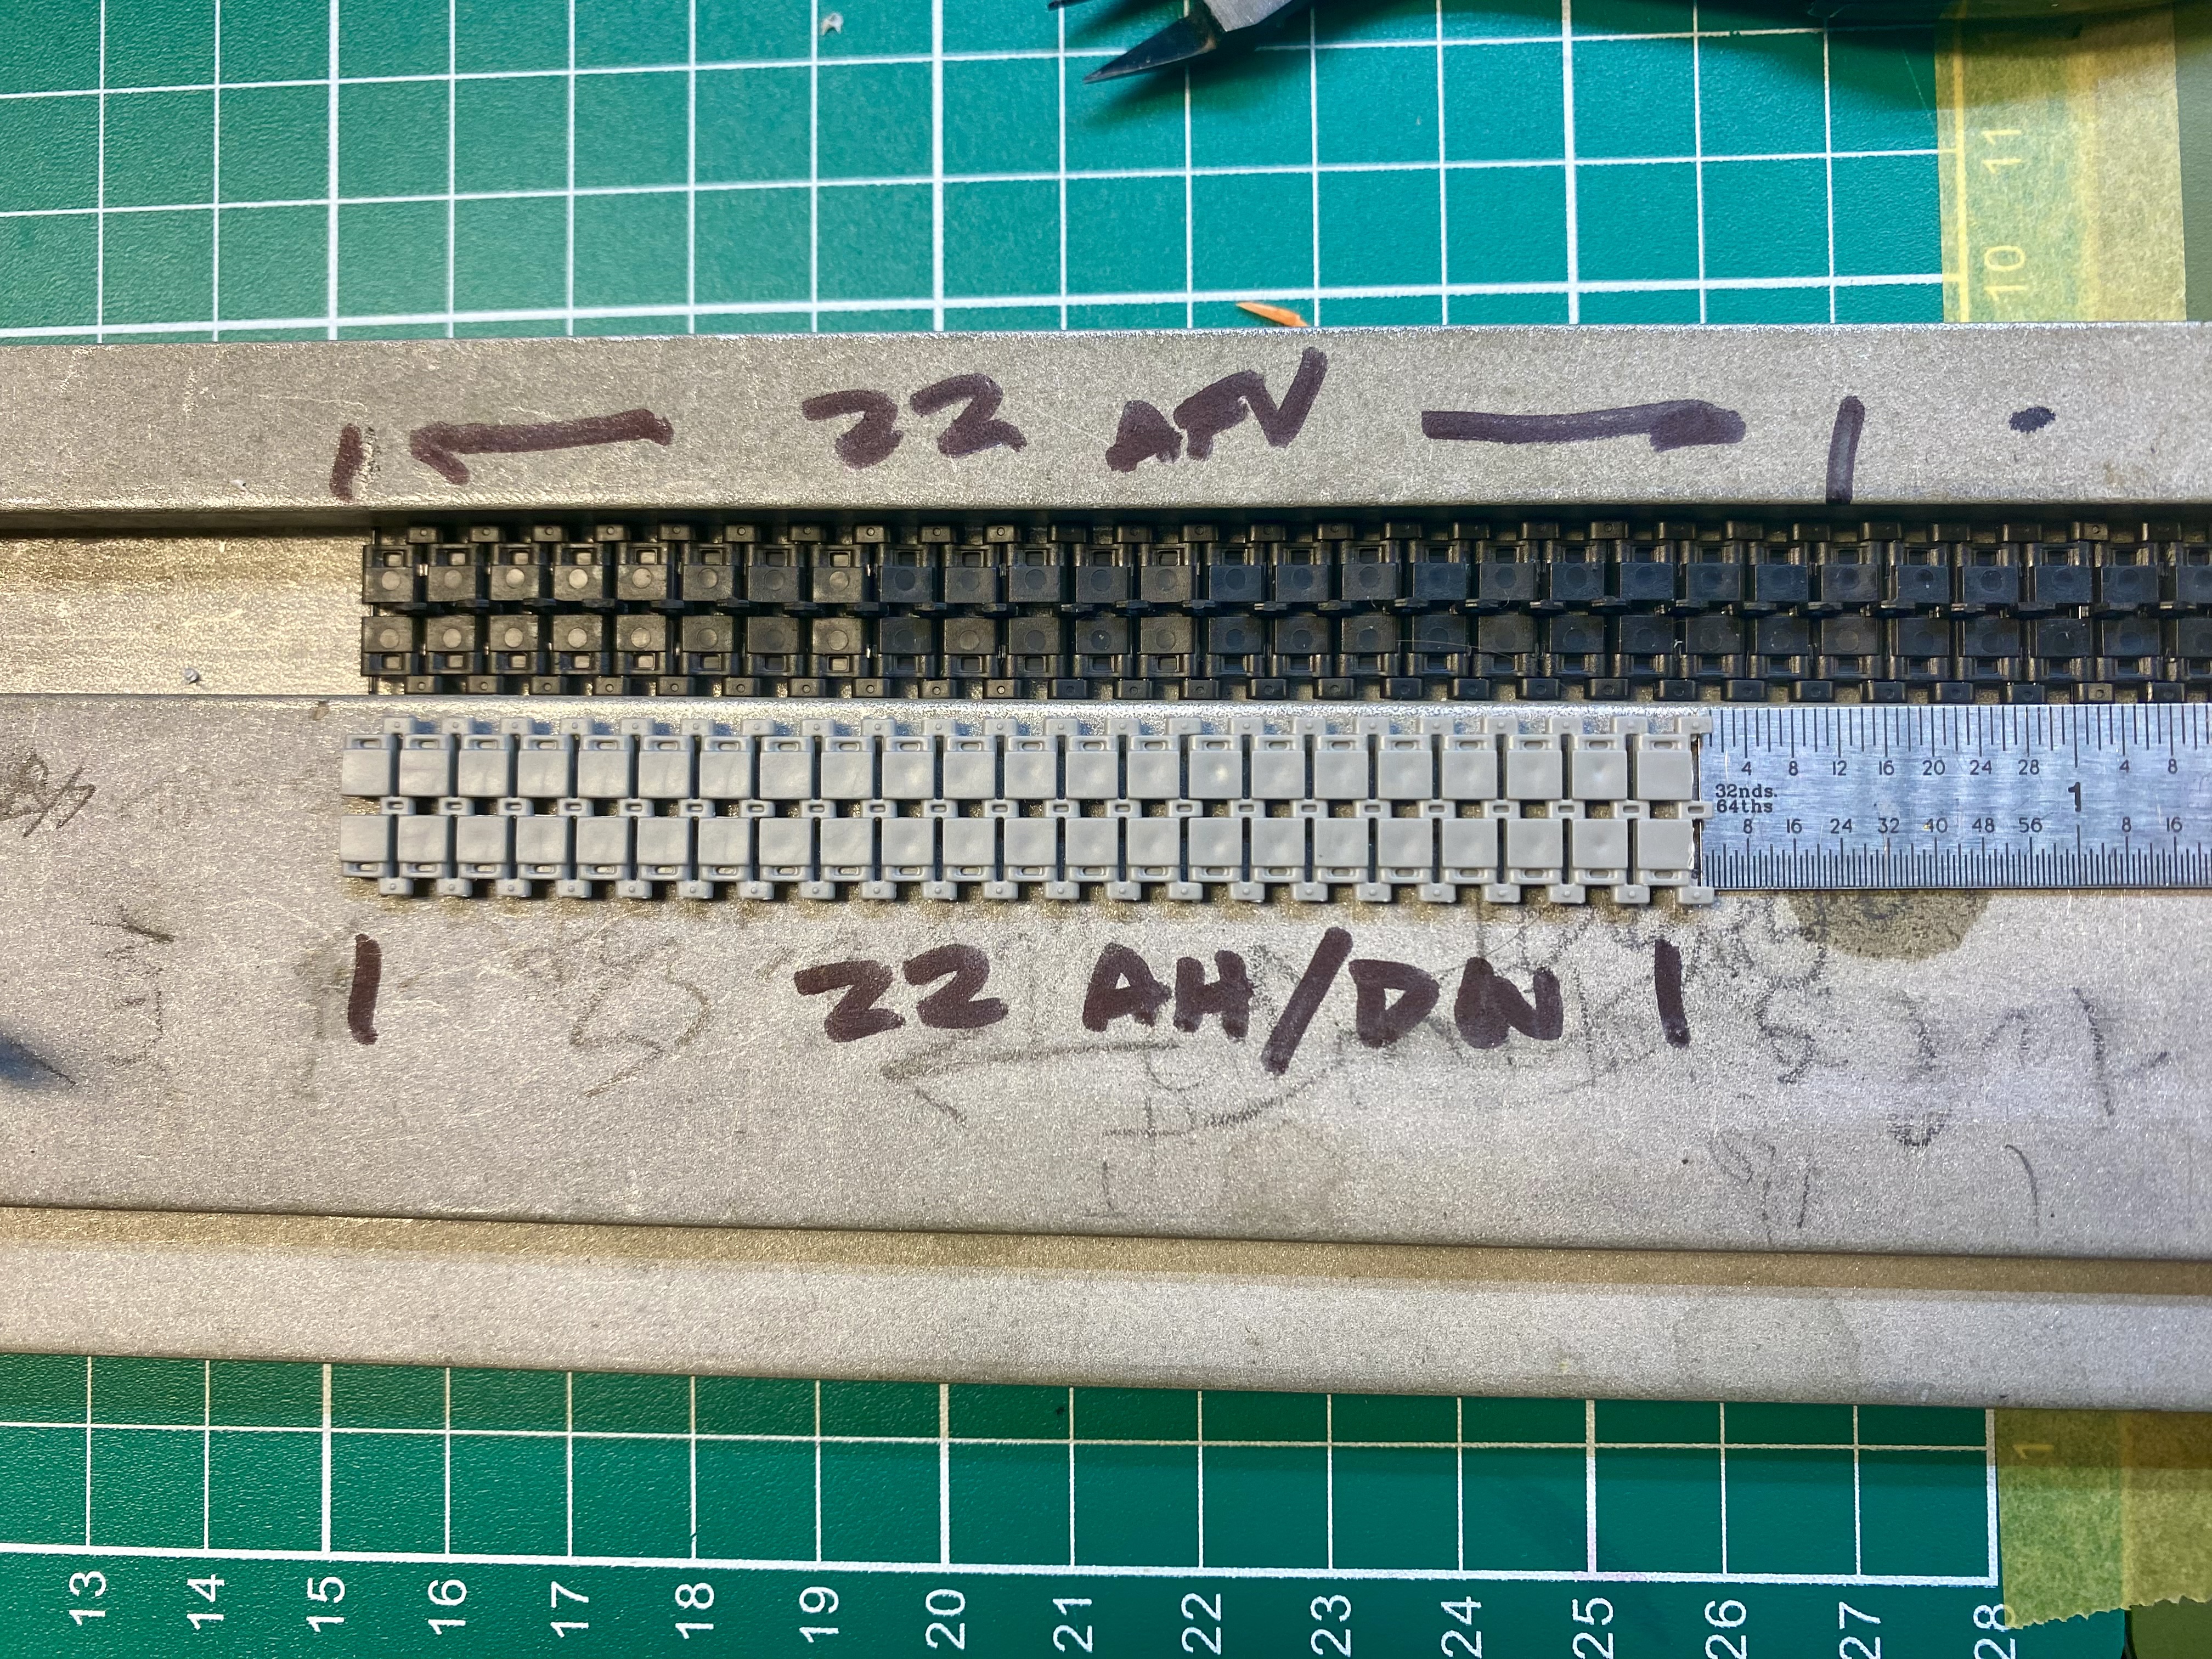
It would be better if the AFV Club track’s actually fit the Das Wart/Amusing Hobby Kanonenjagdpanzer drive sprocket
Also note 22 link Das Wart 22 Link section (gray) vs marked 22 link AFV Club (black)
Maybe Das Wart designed their track and sprocket to fit each other?
Just a thought …
I had a horrible time putting RFM tracks together, and in the end were unusable to me.
I had mega pin breakage, excessive glue which made a lot of the tracks un-workable and tracks breaking apart after glueing.
I thought I was following the directions and even watched a Youtube vid on assembly. I first tried Revell Contacta glue which was a no no, because excessive glue, melted pins into a mess and became brittle. Then on to Tamiya Extra Thin which I had more success with, but not ground breaking. I ended up with a lot of loose pins, moderate excessive glue if I followed directions by inserting pins then running the glue over them and lots of pin breakage trying to dry fit.
Would you explain to me how you assembled them, or help me with what could be my obvious erorrs?
Barney,
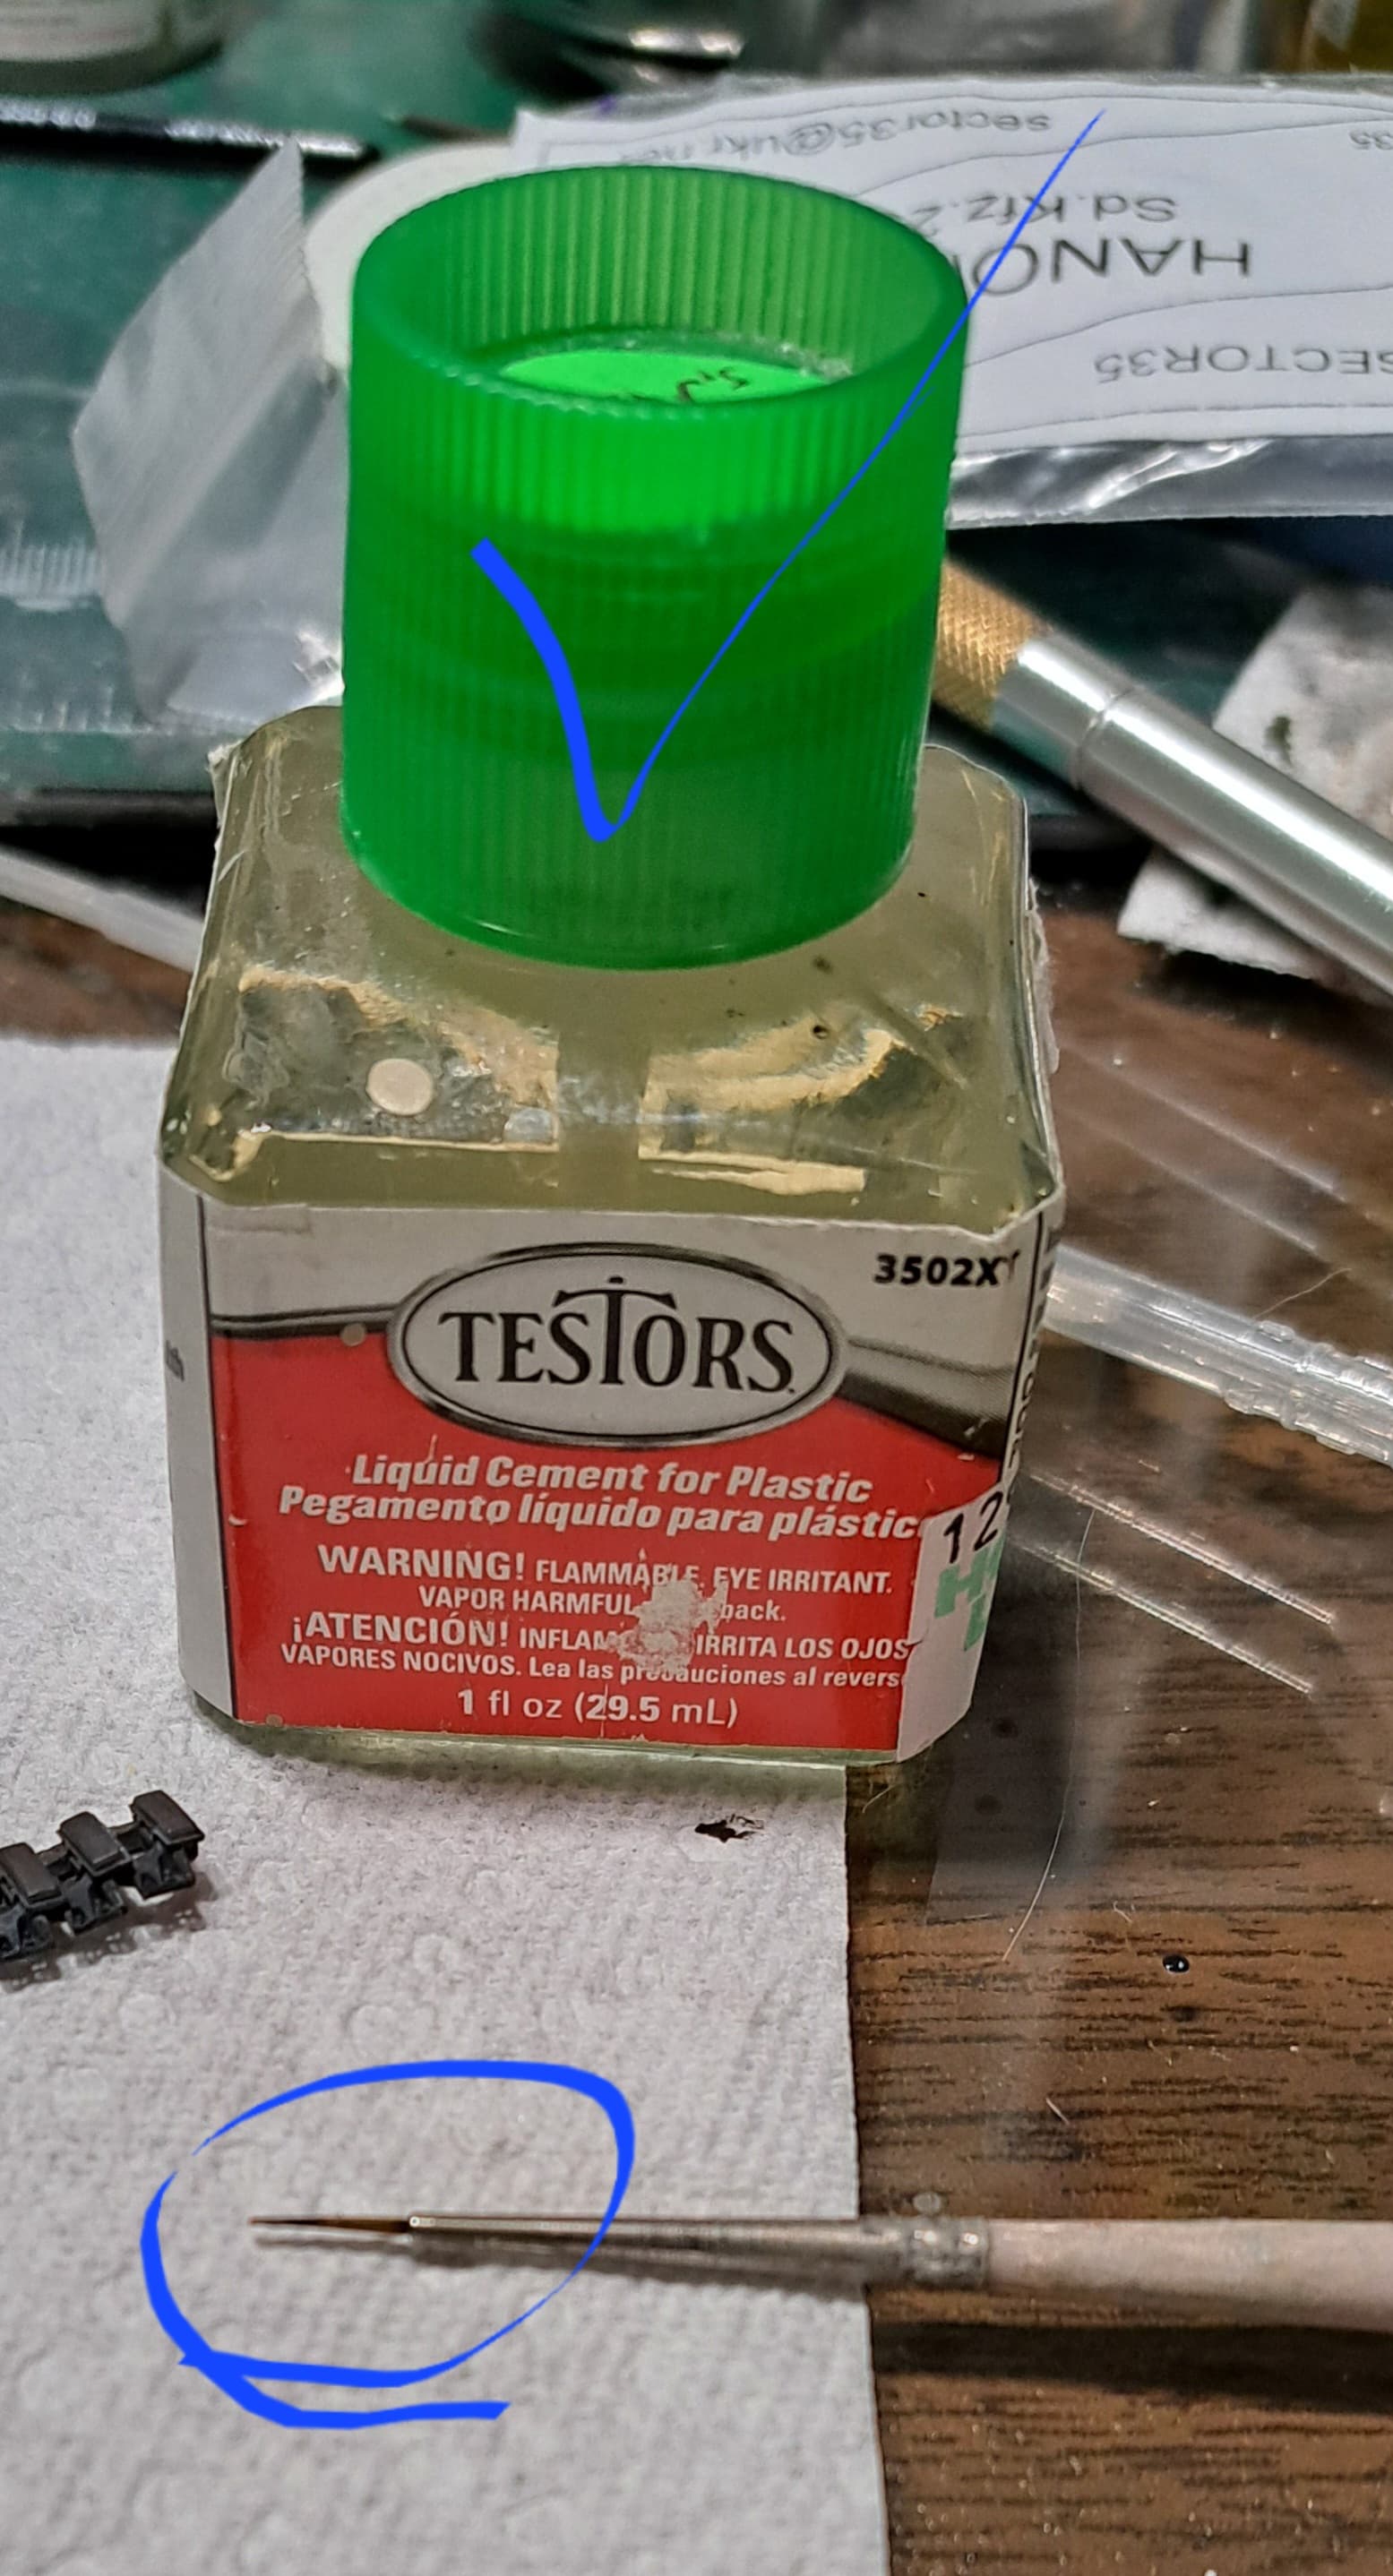
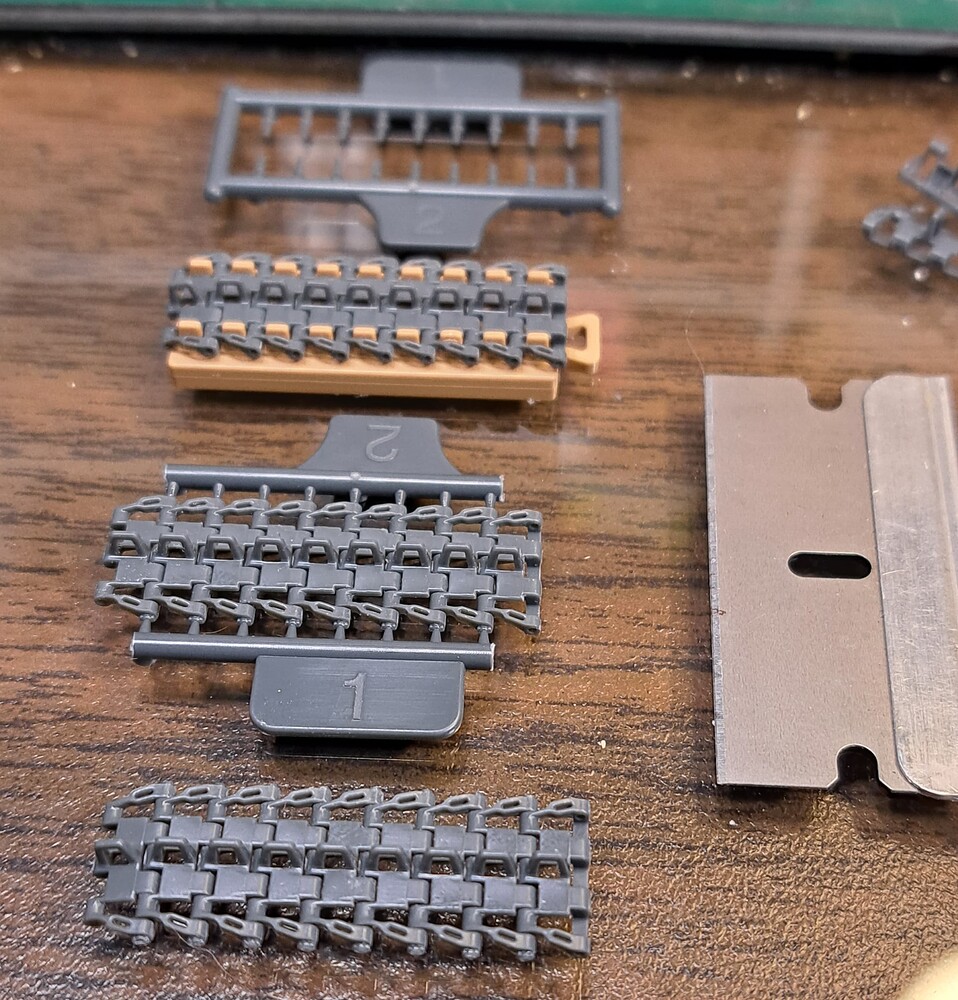
Sure here’s my view of how to do RFM’s Pz IV workable plastic tracks. There’s other ways etc but the following has worked very well on several sets of RFM tracks for me.
I have assembled a run of RFM’s with Extra Thin but its 5x harder to get a good result.

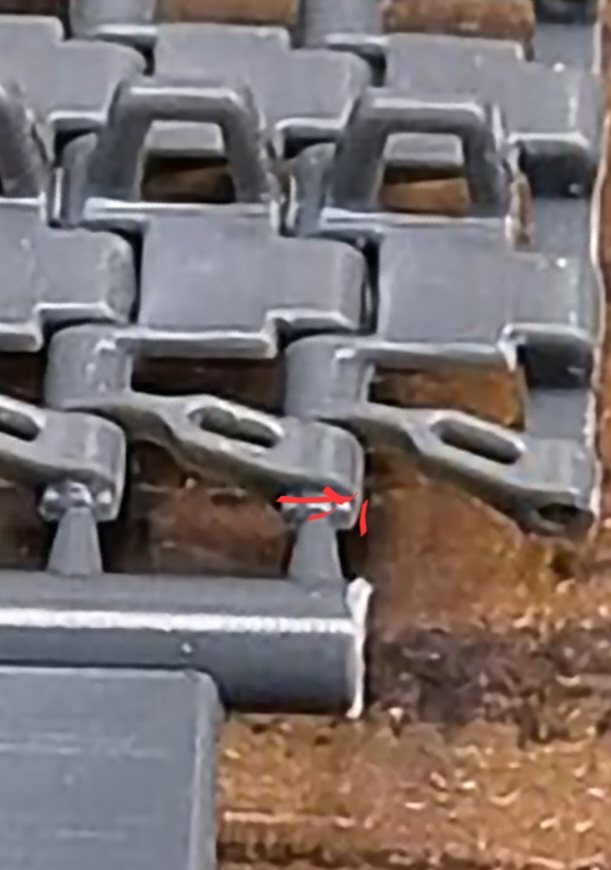
I like to place links on the jig then pin accordingly on both sides. Before applying the LC touch the brush against the inside of the bottle neck to wick away excess LC. There will be enough left to just touch ~3 to 5 track pin heads where they join to the link. Wait ten minutes remove from jig. Wait three hours and cut sprue loose. Fine point nippers work like Zoukei-Mura or in my case a straight single side razor blade.
Just touch of the brush where marked.
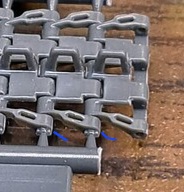
I like to sweep across the top and flick down the side as marked in red. This helps secure the pin better so it’s less likely to fall out.
Typically out of nine links & 16 pins, one falls out after the sprue is cut free and the track section articulated. I just put the pin back and reglue. It’s better to use too little LC and have to redo a few pins than to use too much LC.
HTH
FWIW - IMHO
The RFM Panther tracks are much harder to work with in my opinion. They require more clean up and the pins have to be cut free with Zoukei-Mura nippers or a fine point blade as the pin heads recess slightly.
The RFM KV-1 tracks are much easier to do than the Pz IV links.