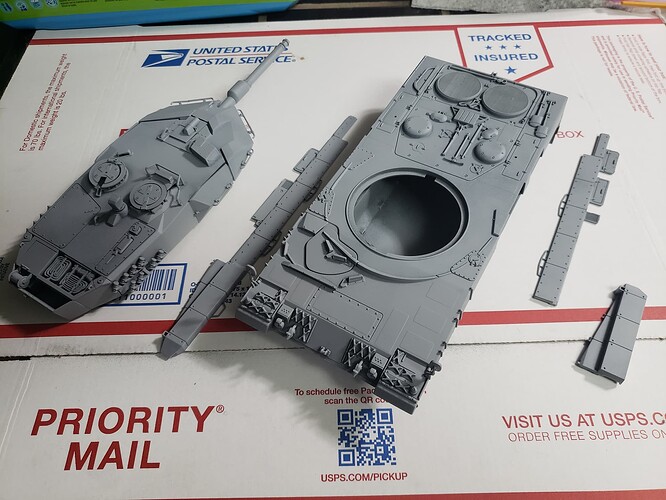
After see the picture,I like to see “a bridge too far” again.Imagine this movie today,not a leopard attacks the bridge,it’s a jagdpanther like in “band of brothers”.I really like the movie,but every time I see the leopard driving over the bridge,it does’nt feels good
That would be awesome!
With a little CGI and editing could probably be added fairly painlessly to the original movie.
Seeing the movie in the theater in the ~mid 1970’s, I recall being very happy to see a Leopard for a German tank instead of an the fairly typical M47 or M48 etc. Focusing on the Leopard it wasn’t too hard for me to imagine it was a Panther. In any case it at least it was a big cat of some sort.
Okay,that’s a way to be more happy with the scene ![]()
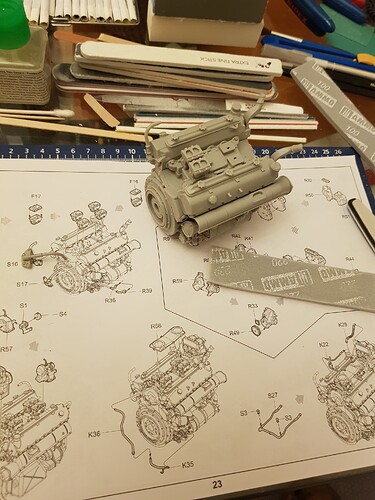
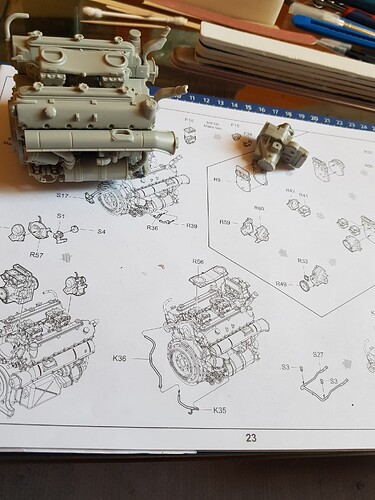
One and a half page of the instructions later it looks a little different then yesterday.some parts still to come today.have a nice week
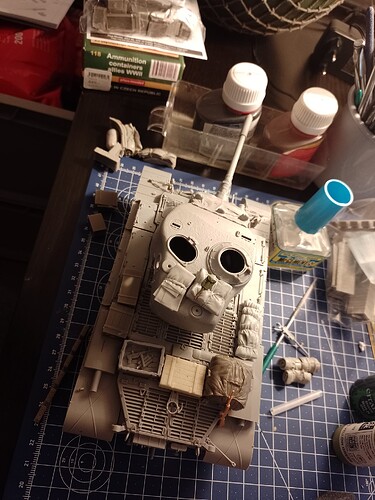
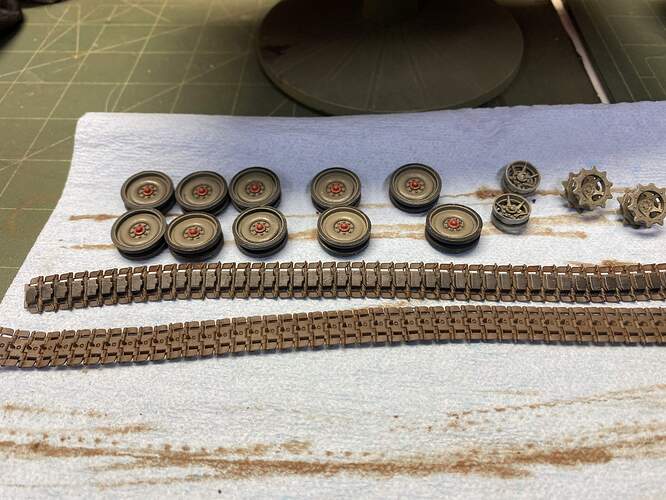
Its time to start thinking about the additional gear… Oh and if you are wondering, no the Takom tracks didnt fit well. Its not tragic, but its not great either.
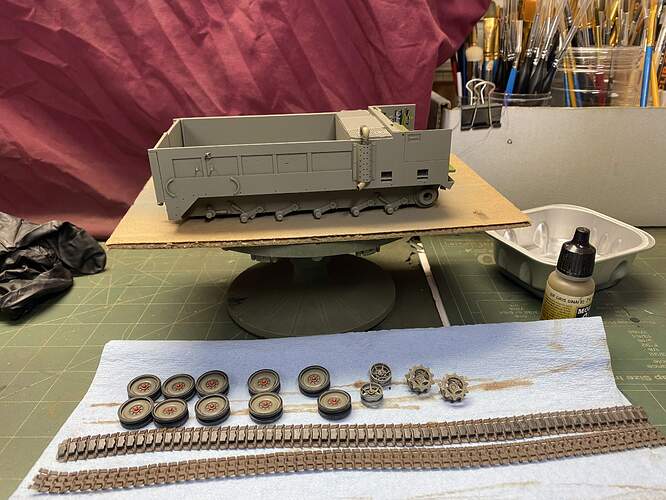
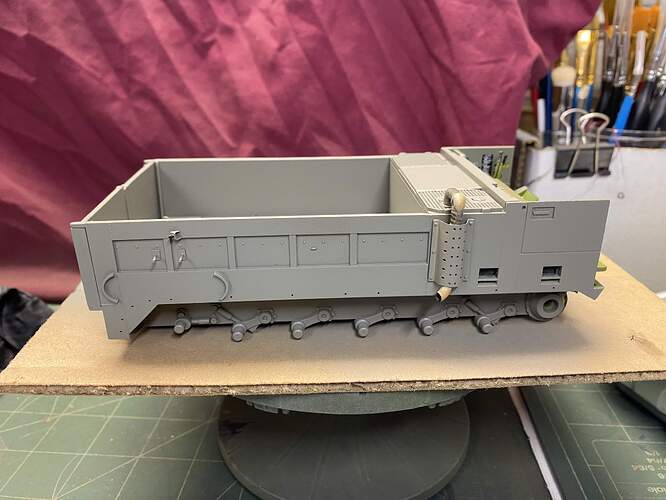
Some more progress on the M548 Alpha. I think it’s just about time to permanently install the running gear and my way cool Fat Frog tracks after I give the torsion arms the Citadel treatment.
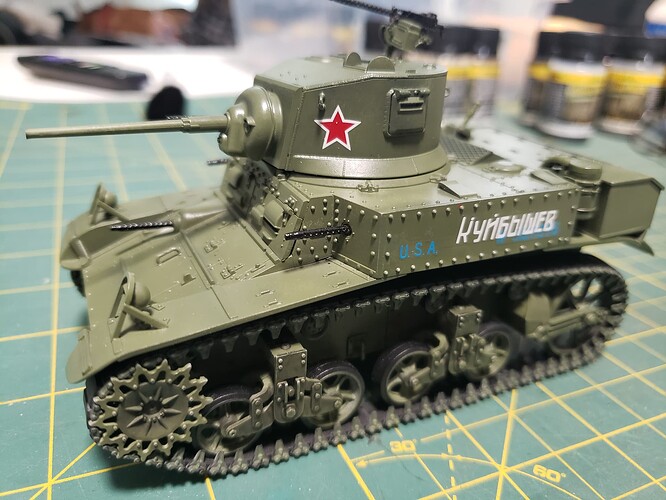
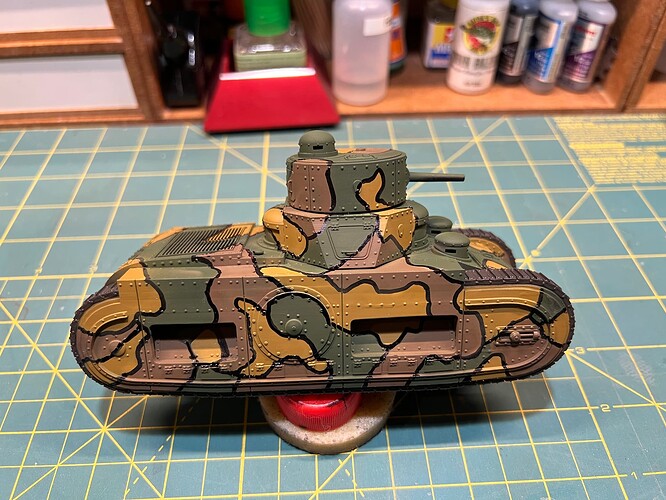
I painted the Vargas Scale Models Oberschlesien 1918 in 1:35. I used the silly putty technique to put down the camo pattern of AK RealColors late WW1 German colors. I used a Sharpie marker for the black interline.
@ Rick (taylorrl). That’s gorgeous camo work! ![]()
![]()
–––––––––––––––––––––––––––––––––––––––––––––––––––––––––––
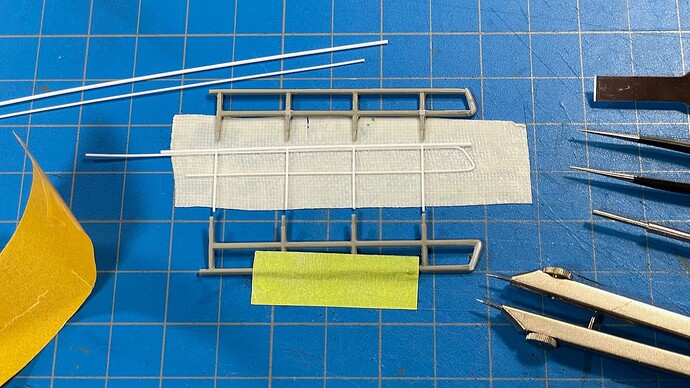
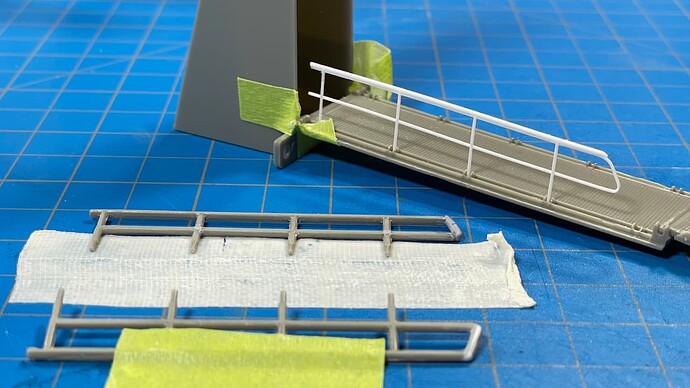
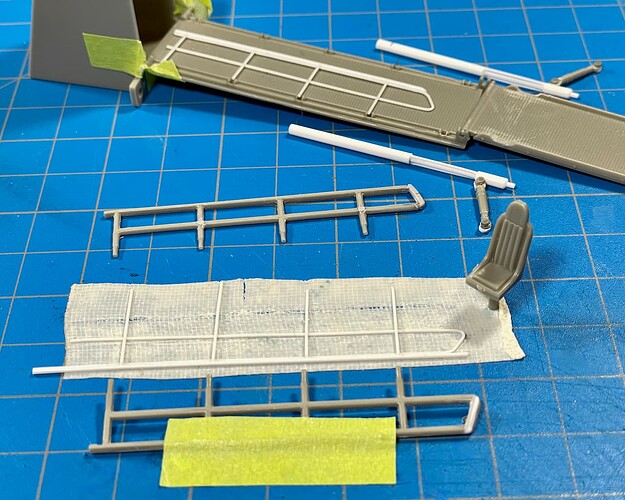
Working on the second railing. Have a seat while the glue dries. ![]()
![]()
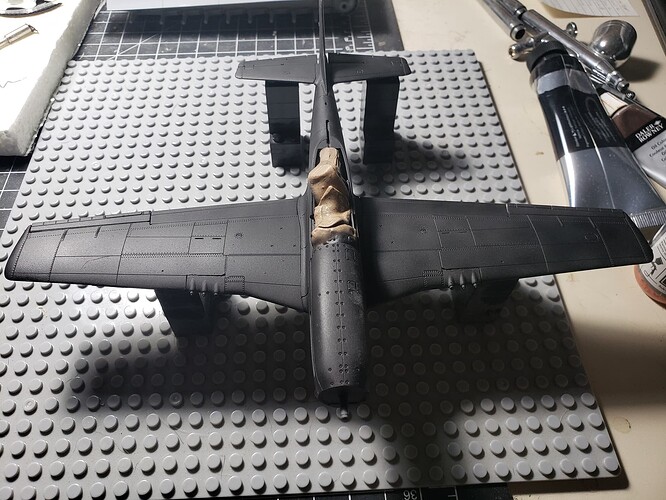
I’ll be called to the bomb room later today, where I’m expecting a resupply. ![]()
![]()
![]()
![]()
![]()
![]()
![]()
![]()
![]()
![]()
—mike ![]()
I really believe 3D printing is the future of our hobby.
I keep eyeing the Vargas M777…
and for those poor uninformed souls who don’t know what the Oberschlesien
tank was,
or wasn’t,
or never had time to become …
Thanks Mike! The camo pattern is fairly simple using the silly putty technique. I first pencil in the pattern with a grey colored pencil. I roll out bits of my bright orange silly putty into spaghetti sized rolls, cut them into pieces with a hobby knife, and press them into place with a flattened chopstick. I first outline each color block and then fill in the area with more silly putty. Spray the color and immediately start adding silly putty for the next color. I’ve never had the silly putty pull up or discolor paint. You have to do the entire camo pattern in one session as the silly putty will tend to “drip” off the model if left overnight. The Sharpie is the best method I’ve found for the black interline. I’ve tried just a fine brush, Gundam markers, Testors enamel markers, etc., but none work as well and quickly as a Sharpie. I touch up areas around seams and rivets, etc., with a 3/0 brush and flat black.
@Arch-Stanton, the Vargas M777 is a great kit. I won a fist place at the Omaha Nats with my build of it.
Great paint job on that camo… Very nice indeed.
