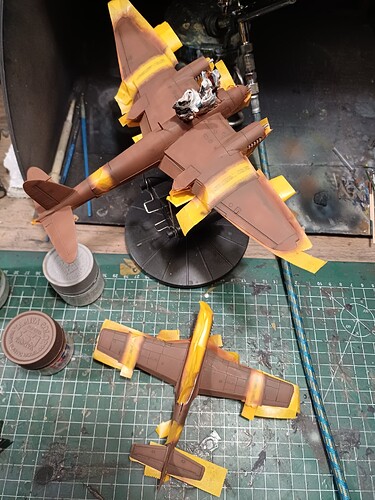
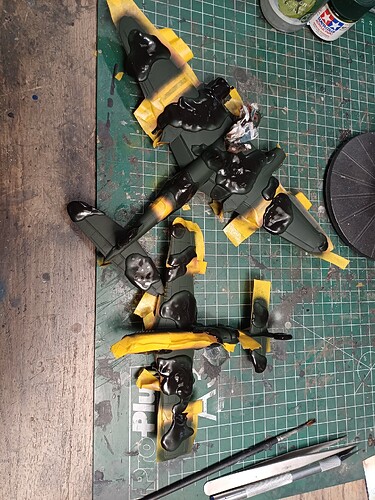
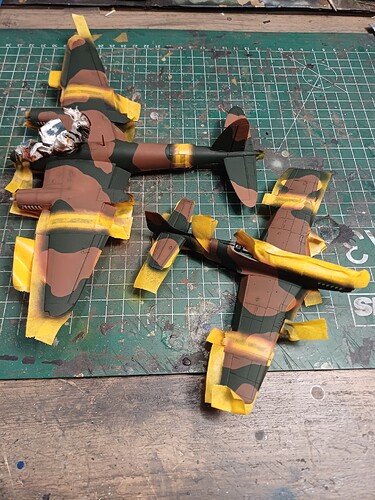
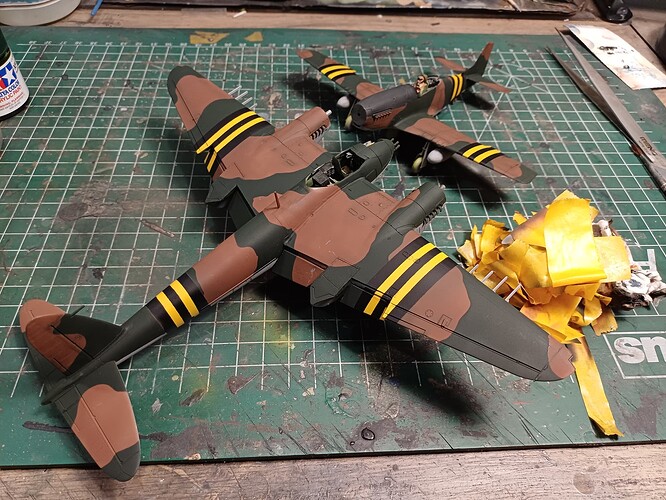
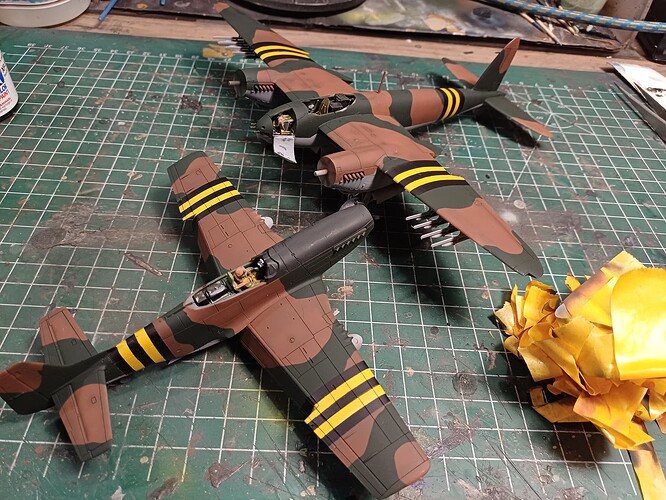
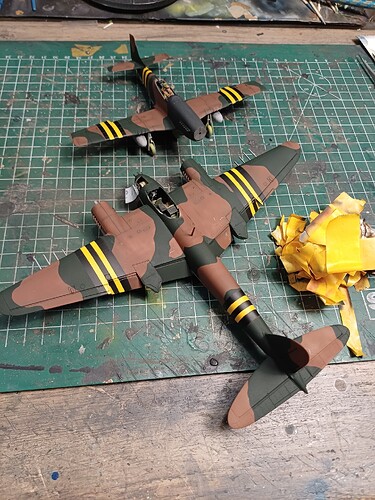
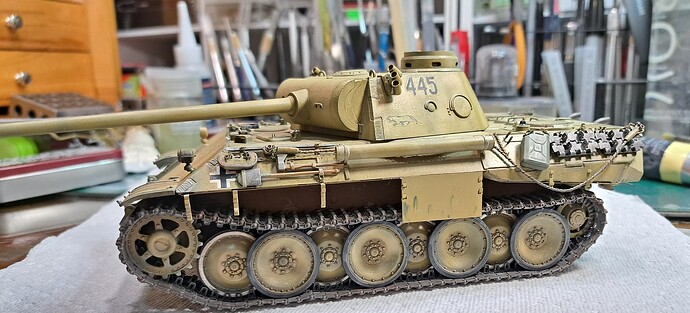
First layer of colour on the Mustang and Mosquito…
Great looking chains!!
More colour on that couple of planes…
And then unwrapping…
Some more unwrapping, and this reminds me of caterpillars turning into butterflies…
And more colouring…
Magnificent beast!!
Looks terrifyingly awesome!
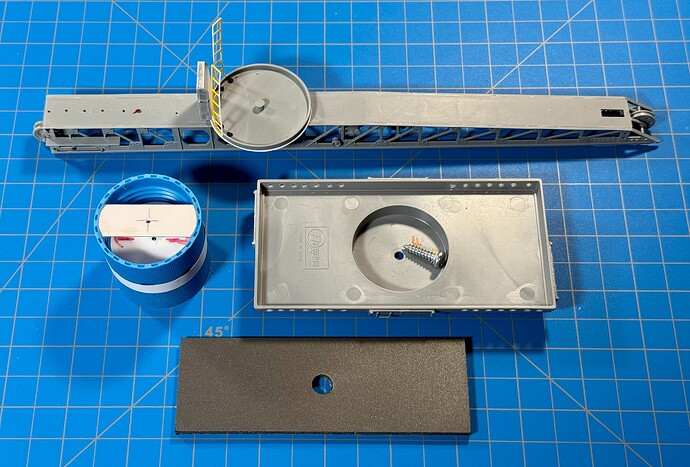
Bake to the Jake’s catapult build…
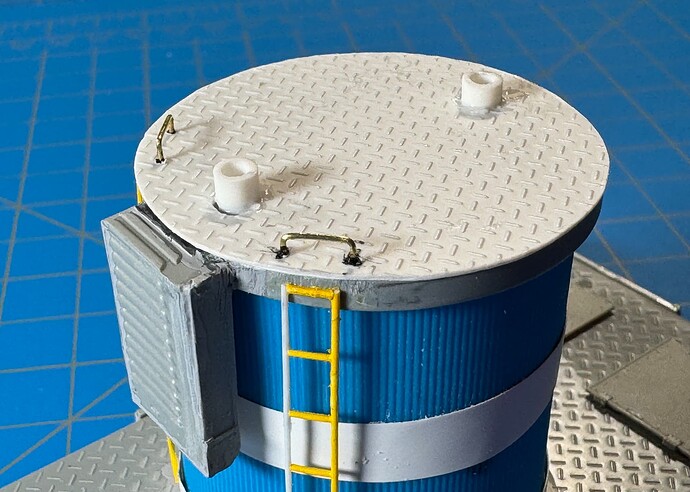
Added diamond tread to the tower platform, redid the grab-handles and extended (beefed-up) the catapult mounting lugs. ![]()
Here’s a look at the new deck — pretty good tread match, I’d say. ![]()
![]()
• Green Stuff World – ABS Embossed Plasticard A4 - Diamond 1 mm Single Tread
––––––––––––––––––––––––––––––––––––––––––––––––––––––––––––––––––––––––––
[EDIT] Additional image.
This image shows the catapult sub-assemblies with weight (3M Adhesive Tape back) which will be added to the base.
フライネイビー! ![]()
![]()
—mike
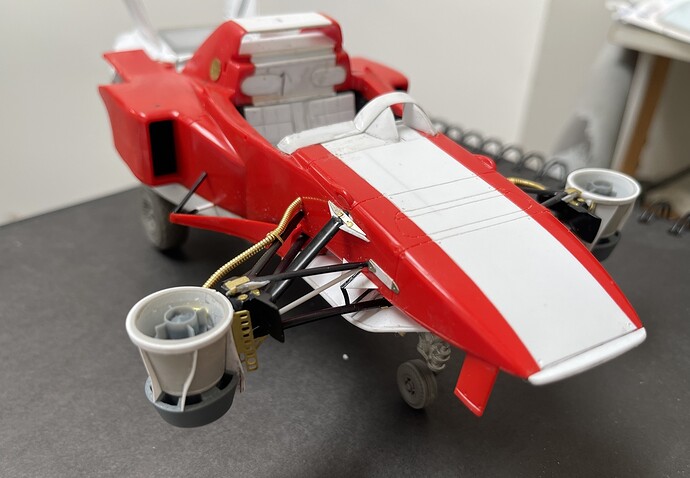
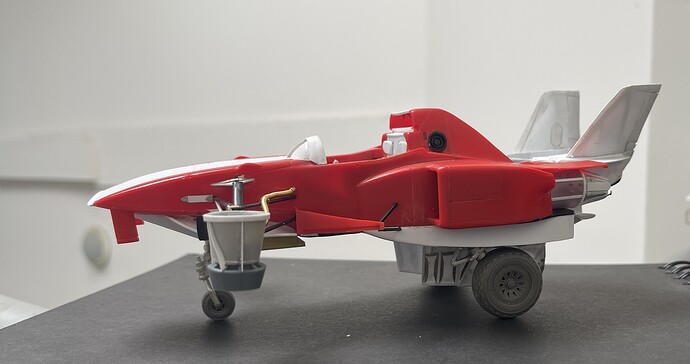
I’ve stayed on the sci-fi ride:
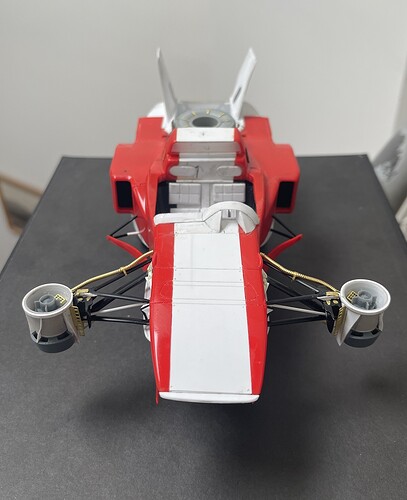
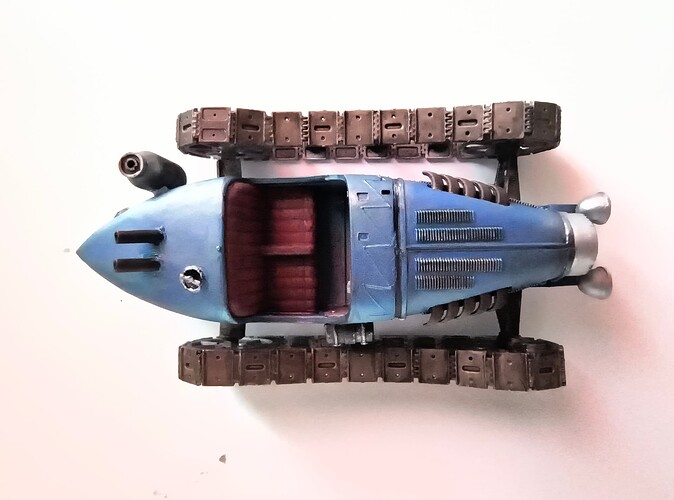
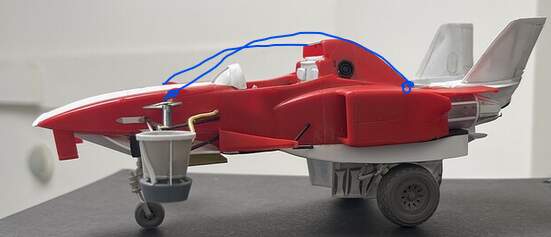
As you can see in the last pic, there are two anti-g thrusters in the front, and a large one in the rear, and for propulsion, two engines on the outside of the fuselage.
So far so good, but, I’m not fully convinced. I’m pondering some changes, but want to be careful here - I don’t want to pursue a weak idea and wind up with a mess - so, slowly but surely -
Cheers
Nick
Some ideas.
Side thruster up front for steering when the speed is to low for the small rudders to have any effect and for those rapid turns and twists in a pursuit situation or when navigating forests, citys and winding roads?
I would also add some kind of rod from the nose curving around the outside of the front lift devices.
This assists with sliding past obstacles (instead of getting stuck and coming to a sudden stop), compare with the extended fenders in front of the wheels on some off-road trailers.
Safety cage for the cockpit? Chromed!
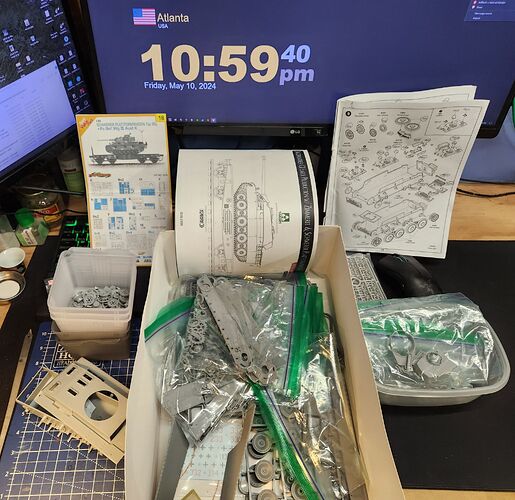
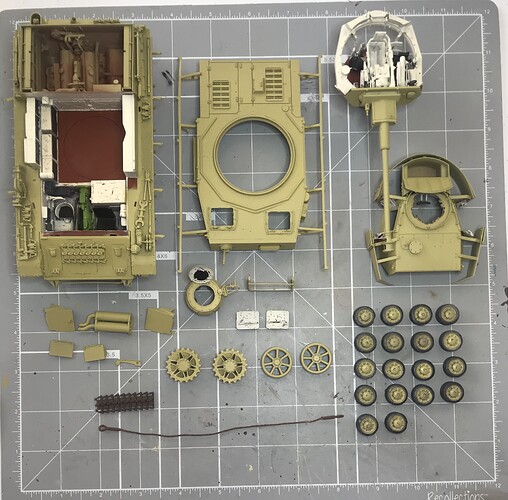
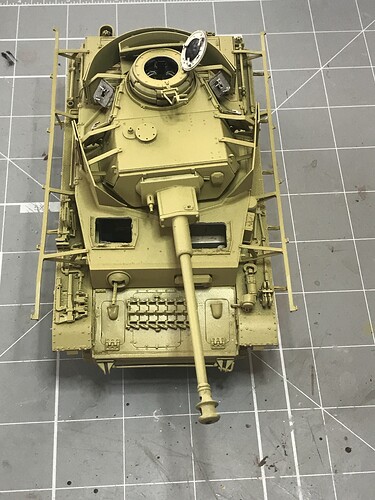
So I decided along the way to go ahead and build the vehicles that were included in the railcar kits I built/am building for the Workin’ On the Railroad 2024 campaign. This week was finals, so while the kids tested and I watched them on camera and through our security apps, I removed everything from their sprues and cleaned everything up, so now I can jump into assembly Starting tomorrow.
So I am adding a Pz.Bef.Wg. III (DML/Cyber Hobby), Jagdpanther (Takom), and Pz.Kpfw 38(t) E/F (Trumpeter) to my work pile.
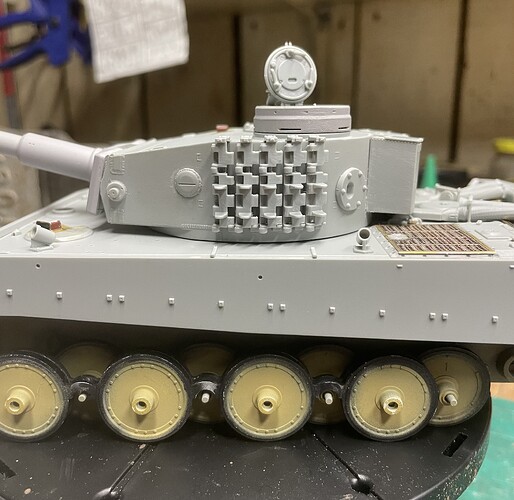
I’ve been working on the Tiger here and there.
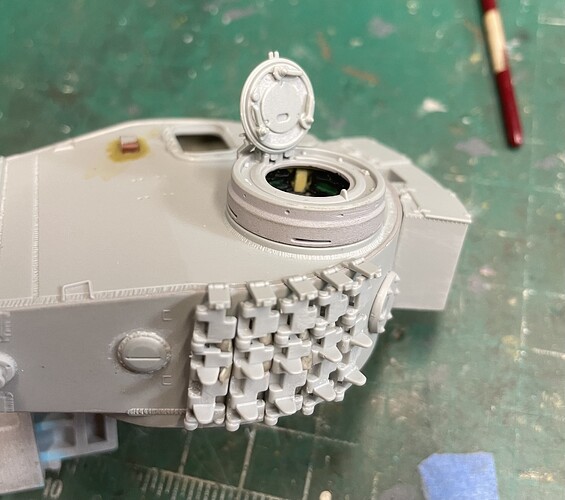
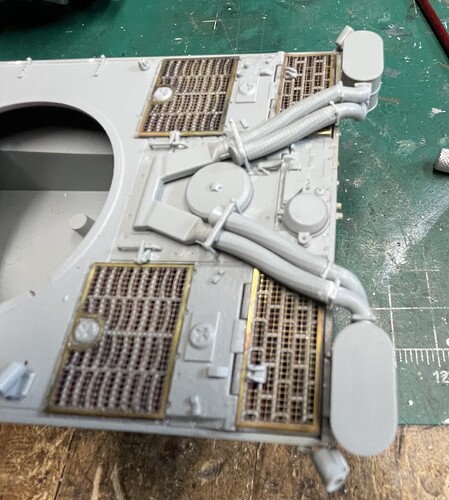
Smoke launchers, having to the putty the intake hoses and I installed the extra track links on the turret.
I used some poster putty to figure out how they mount and glued them up.
And i began building the tracks. I ‘ll update that when i have more assembled.
Well Robin, I might just do some of that ! I already went ahead and cut off and remounted the front anti-g thrusters - they now sit about 1/2" narrower, and look better!
Cheers
Nick
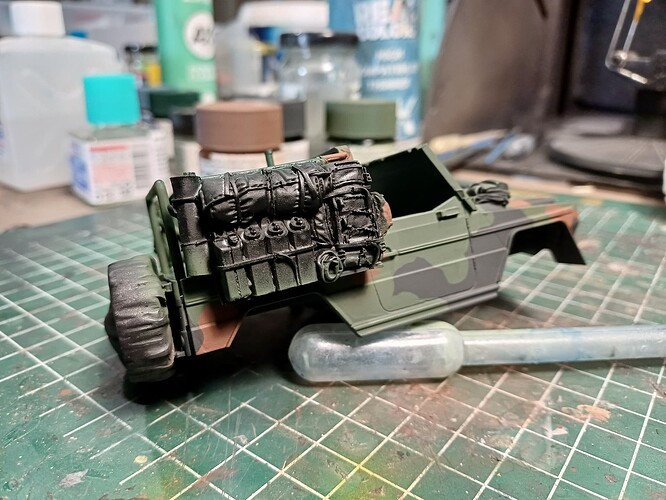
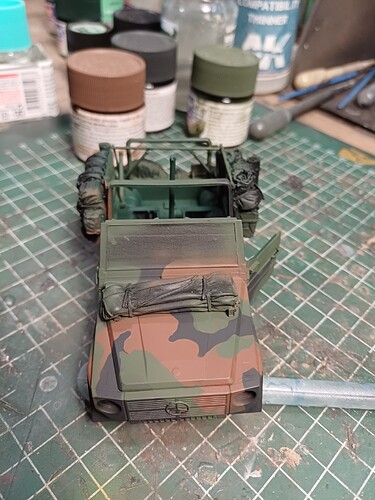
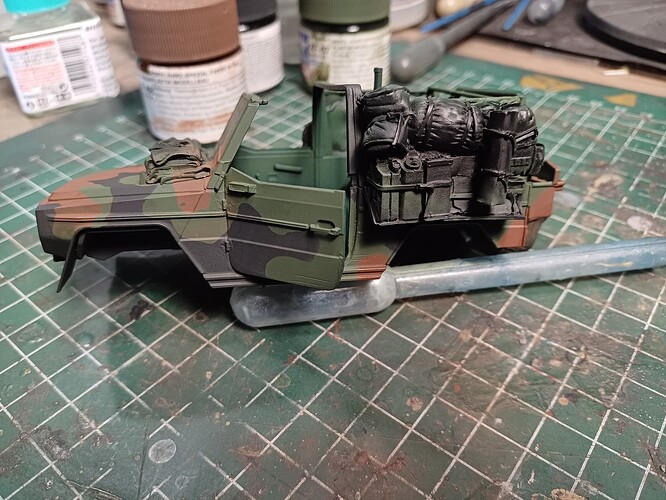
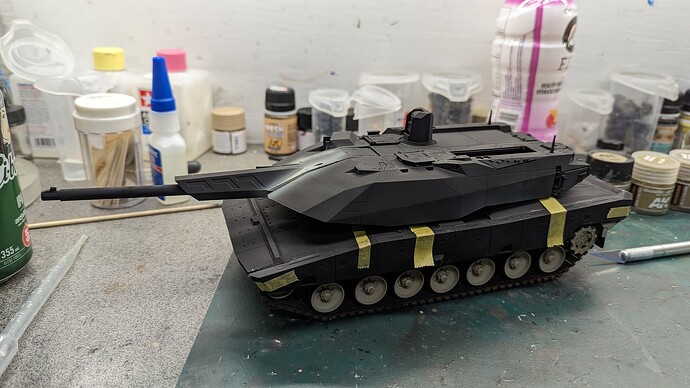
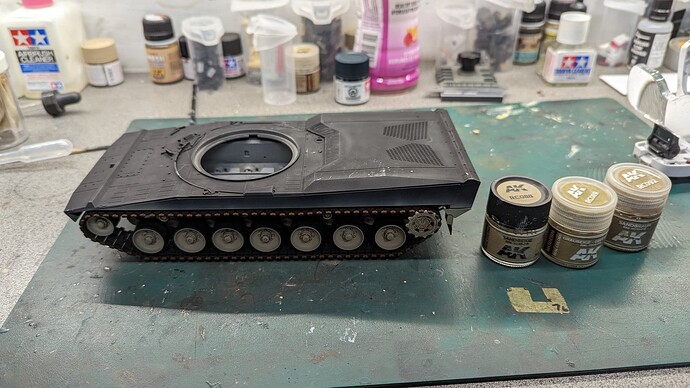
Put the base coat on today. A bit more colour to do in the interior and basket, I’m not planning on going nuts and over detail it. Then the weathering procedures…
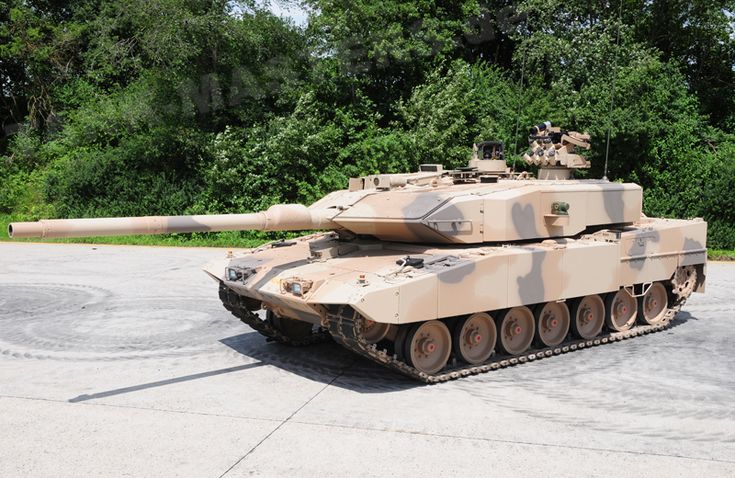
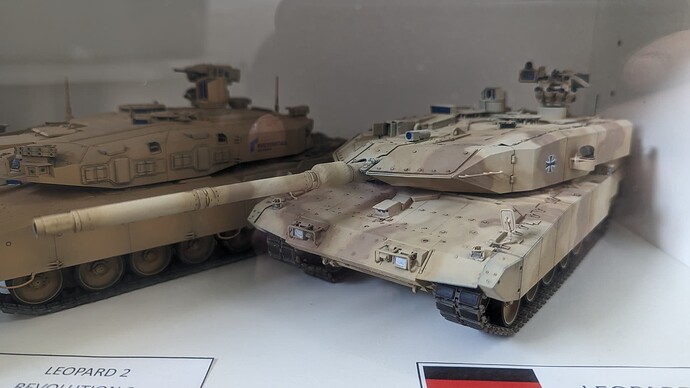
the progress on my KF 51 panther I decided to do a desert pixel camouflage the camouflage of the prototype is not really beautiful and is not very functional with almost fluorescent green
since it is a tank which is not in active service so I am going to make a camouflage inspired by the prototype of the leopard 2a7+ the colors are all in the same shade the contrast between the colors should be correct
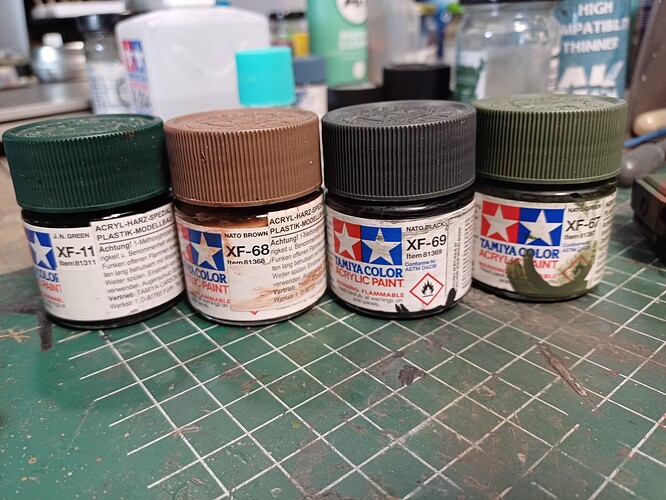
I have seen several photos of modelers who used the colors NATO green black brown but I want to do something different different
So, after yard work, i did a little track building.
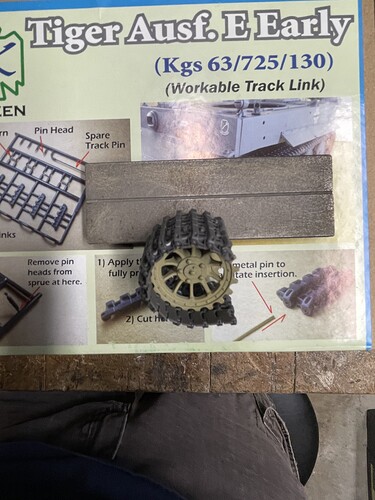
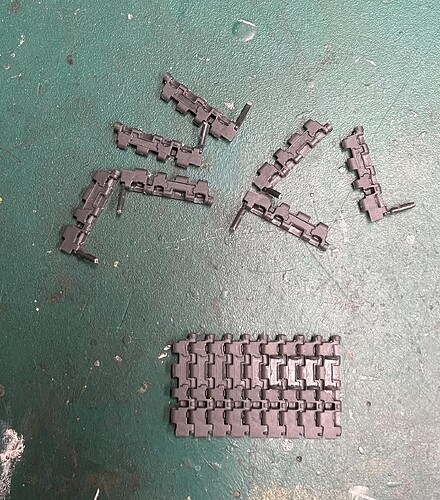
Kaizen Early Tiger I tracks. Injection molded Plastic, 4 parts per link, which are Link, Bolt head, a tooth set and wire.
The sprue gates are pretty small. Easy cleanup. 6 on each link. The plastic is pretty hard, but strong.
No ejection marks on the links.
Yes, it’s tedious but they go together easy. They are not very “ fiddley” like i would have expected.
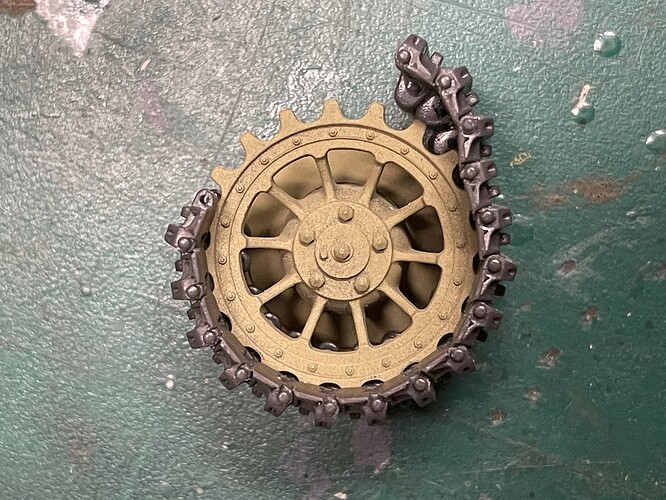
Look like they fit the sprockets alright.
They have hollow teeth. I am not sure if this is correct. And for me, no big deal.
This is my first after market set of tracks, i like them at the moment.
It looks like the sprocket is a wee bit too small for full depth? They do look like superb tracks, lots of details.
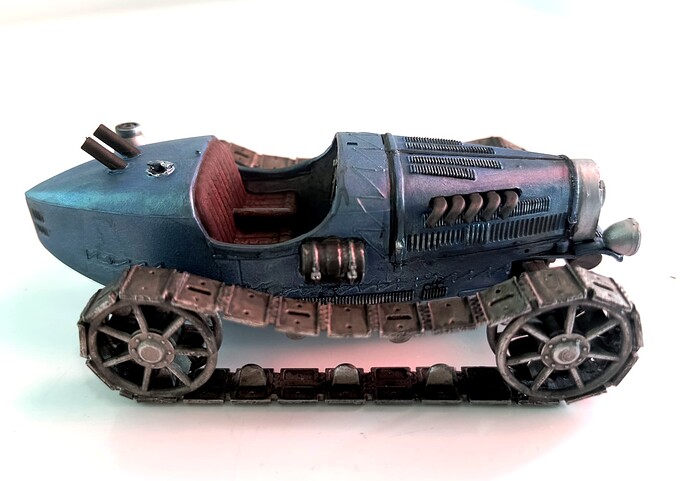
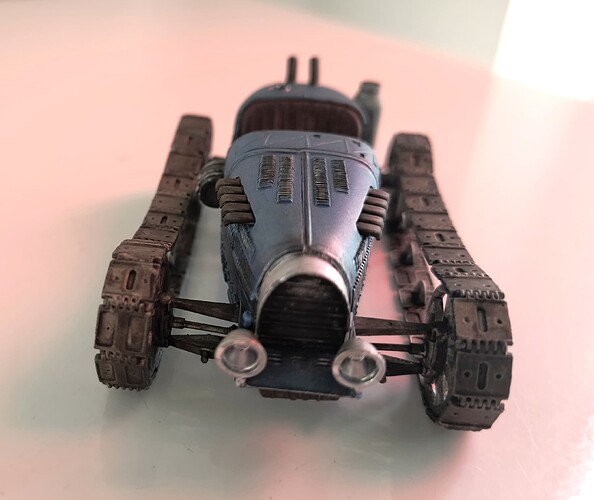
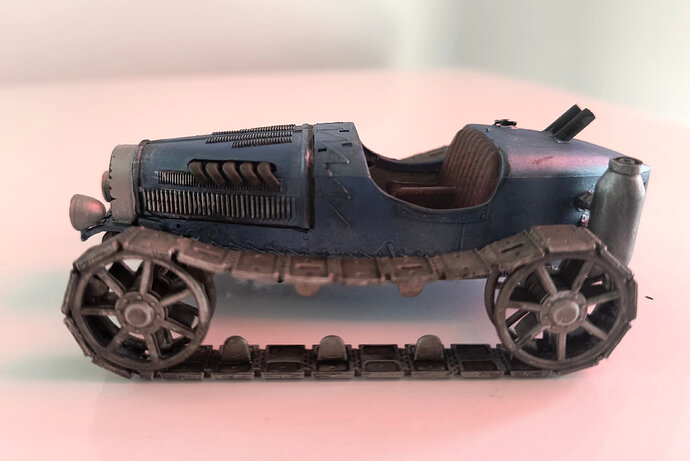
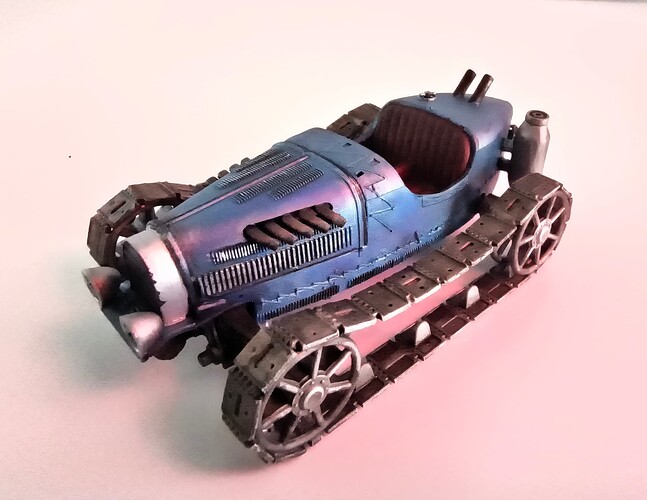
You can’t mistake a Bugatti grill.
They actually fit better than the picture shows. It is just the tracks springing back to shape due to them not having any weight. I’ll take a pic later
