Hi Jack,
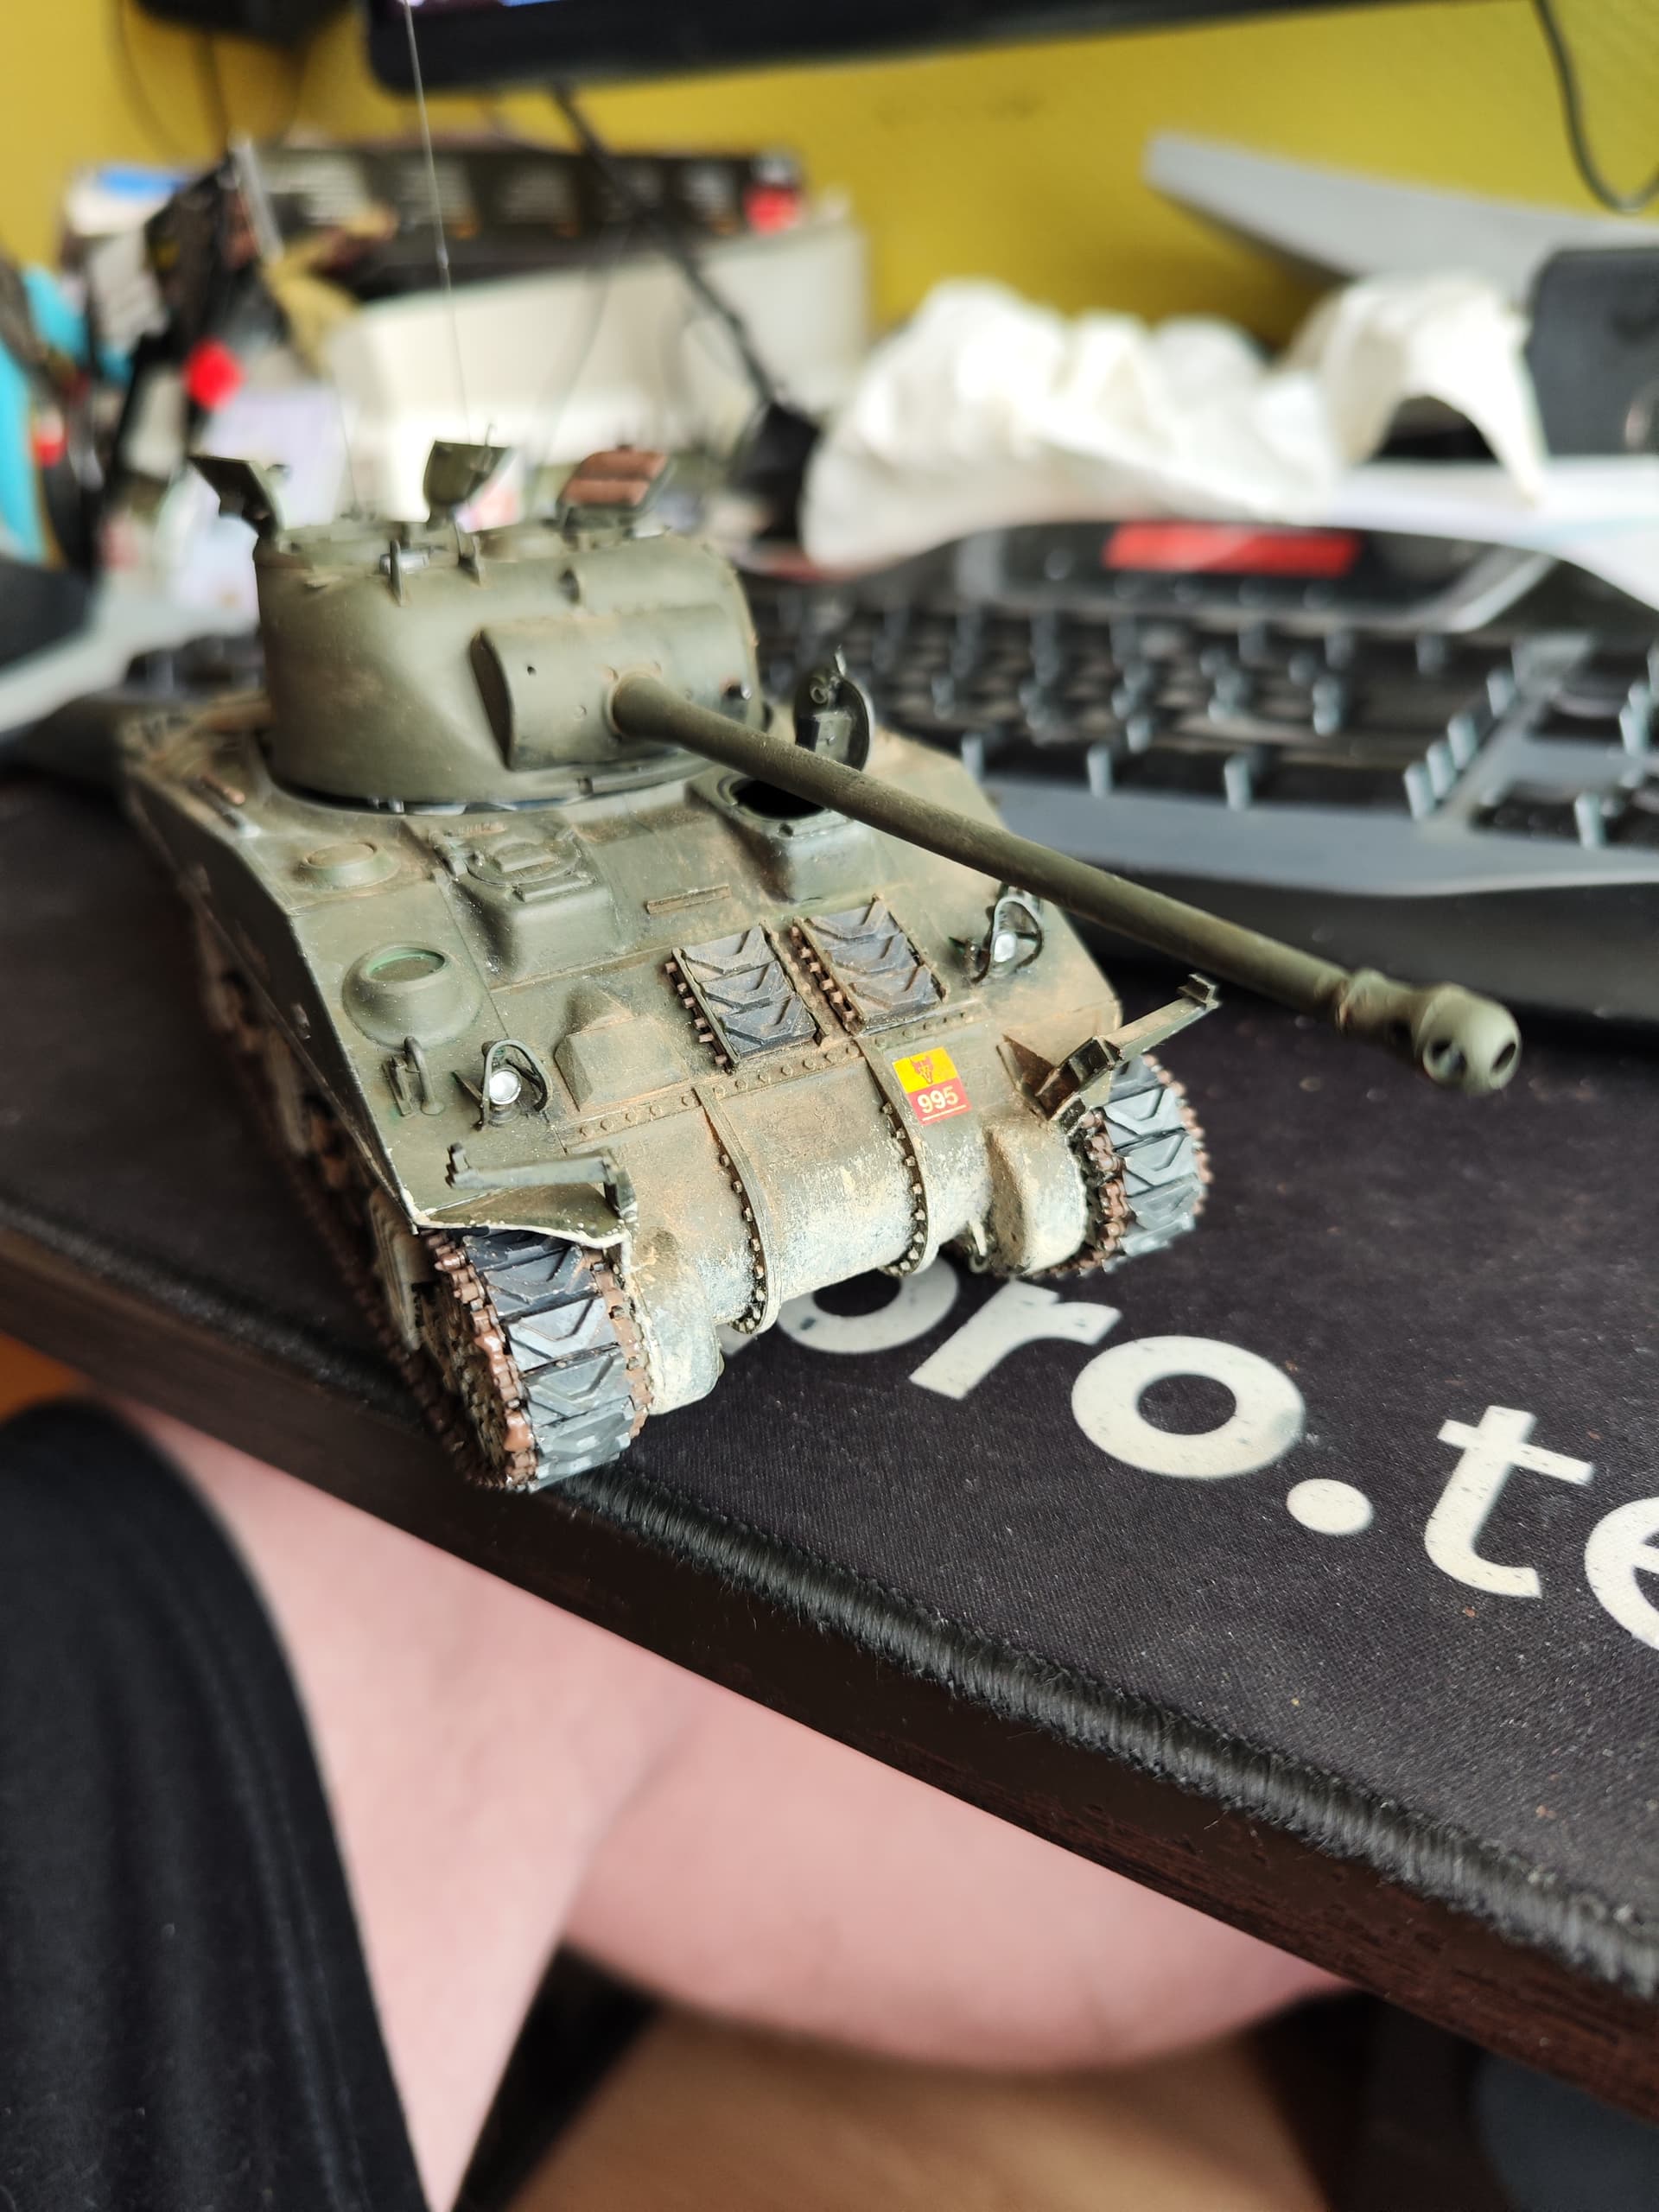
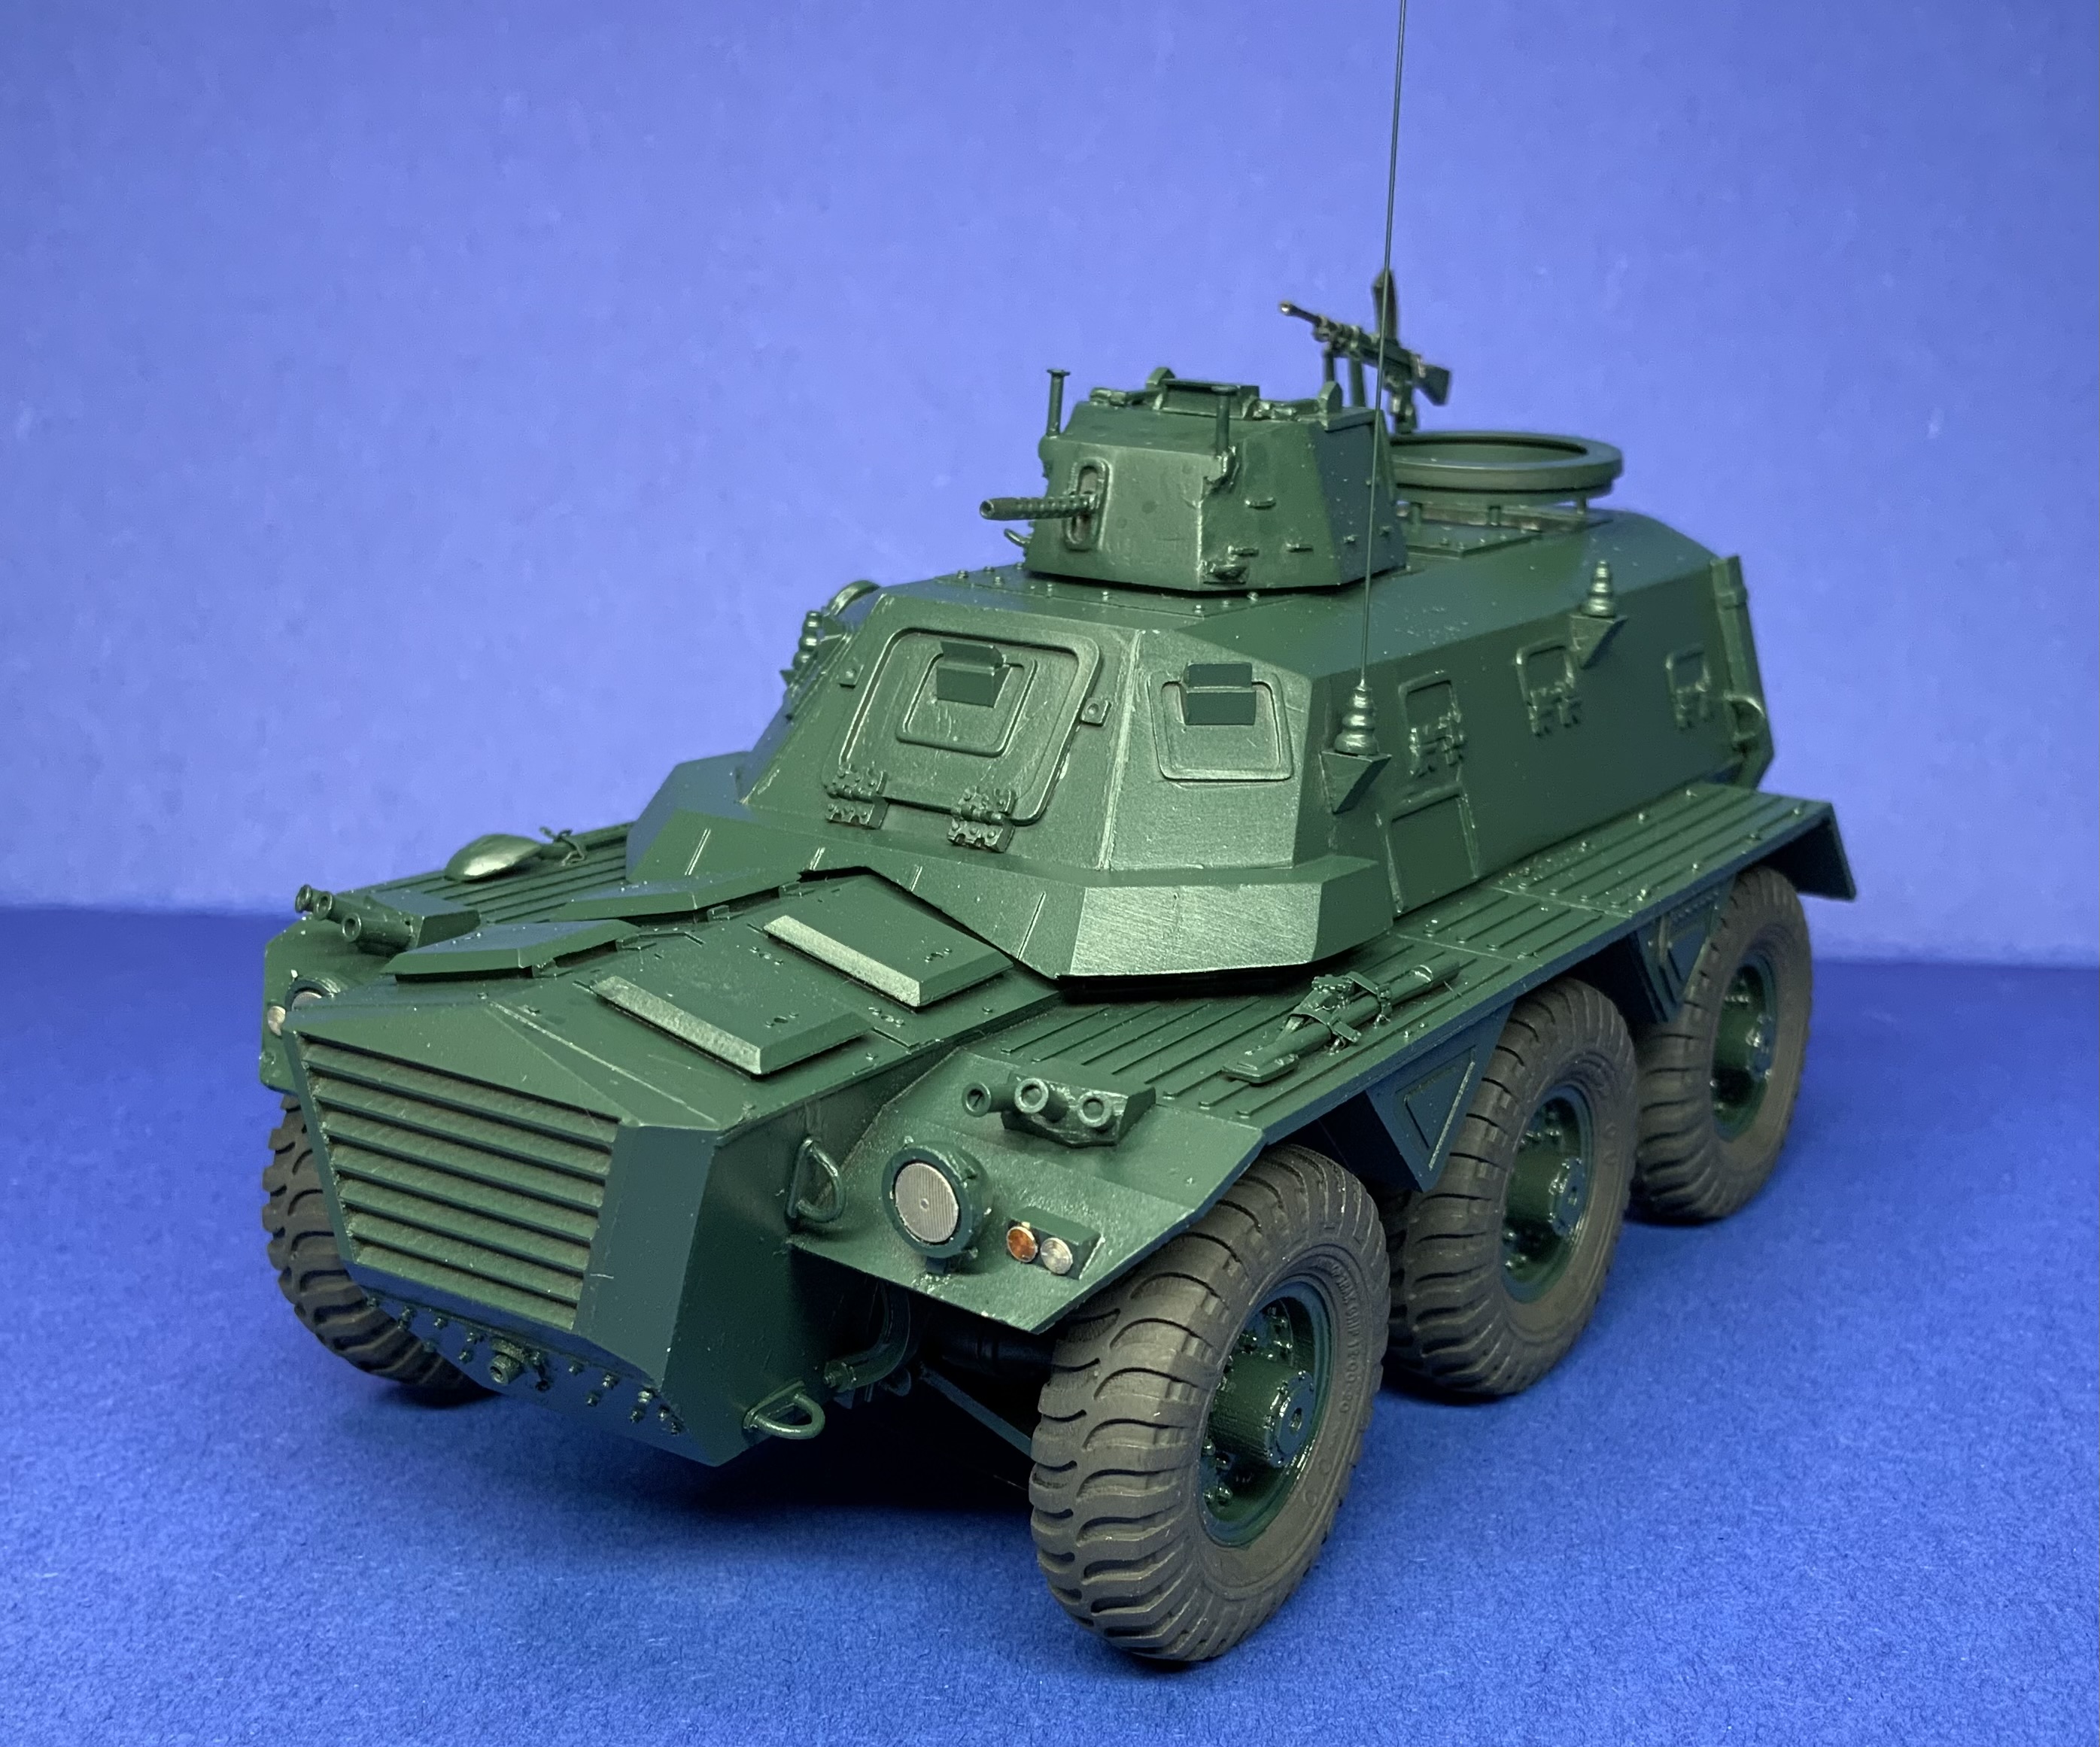
For the paddling on the hatches: the loaders’ hatch was made when the tank was converted from a regular Sherman to a Firefly. My line of thought is therefore that the padding of the commanders hatch would be the original color as it came from the US (I used the same on the drivers hatch), while the newly created hatch would have a different color. This also gives a bit of visual interest.
The reason that the tracks have no mud is simply that it has fallen off after the weather changed.
To me, it seems logical that the rear has more mud than the glacis. Though muddy (there has been a spell of bad weather) it wasn’t the WW1 Western front.
Around the battle for the Falaise pocket, it was hot and dusty…
6 Likes
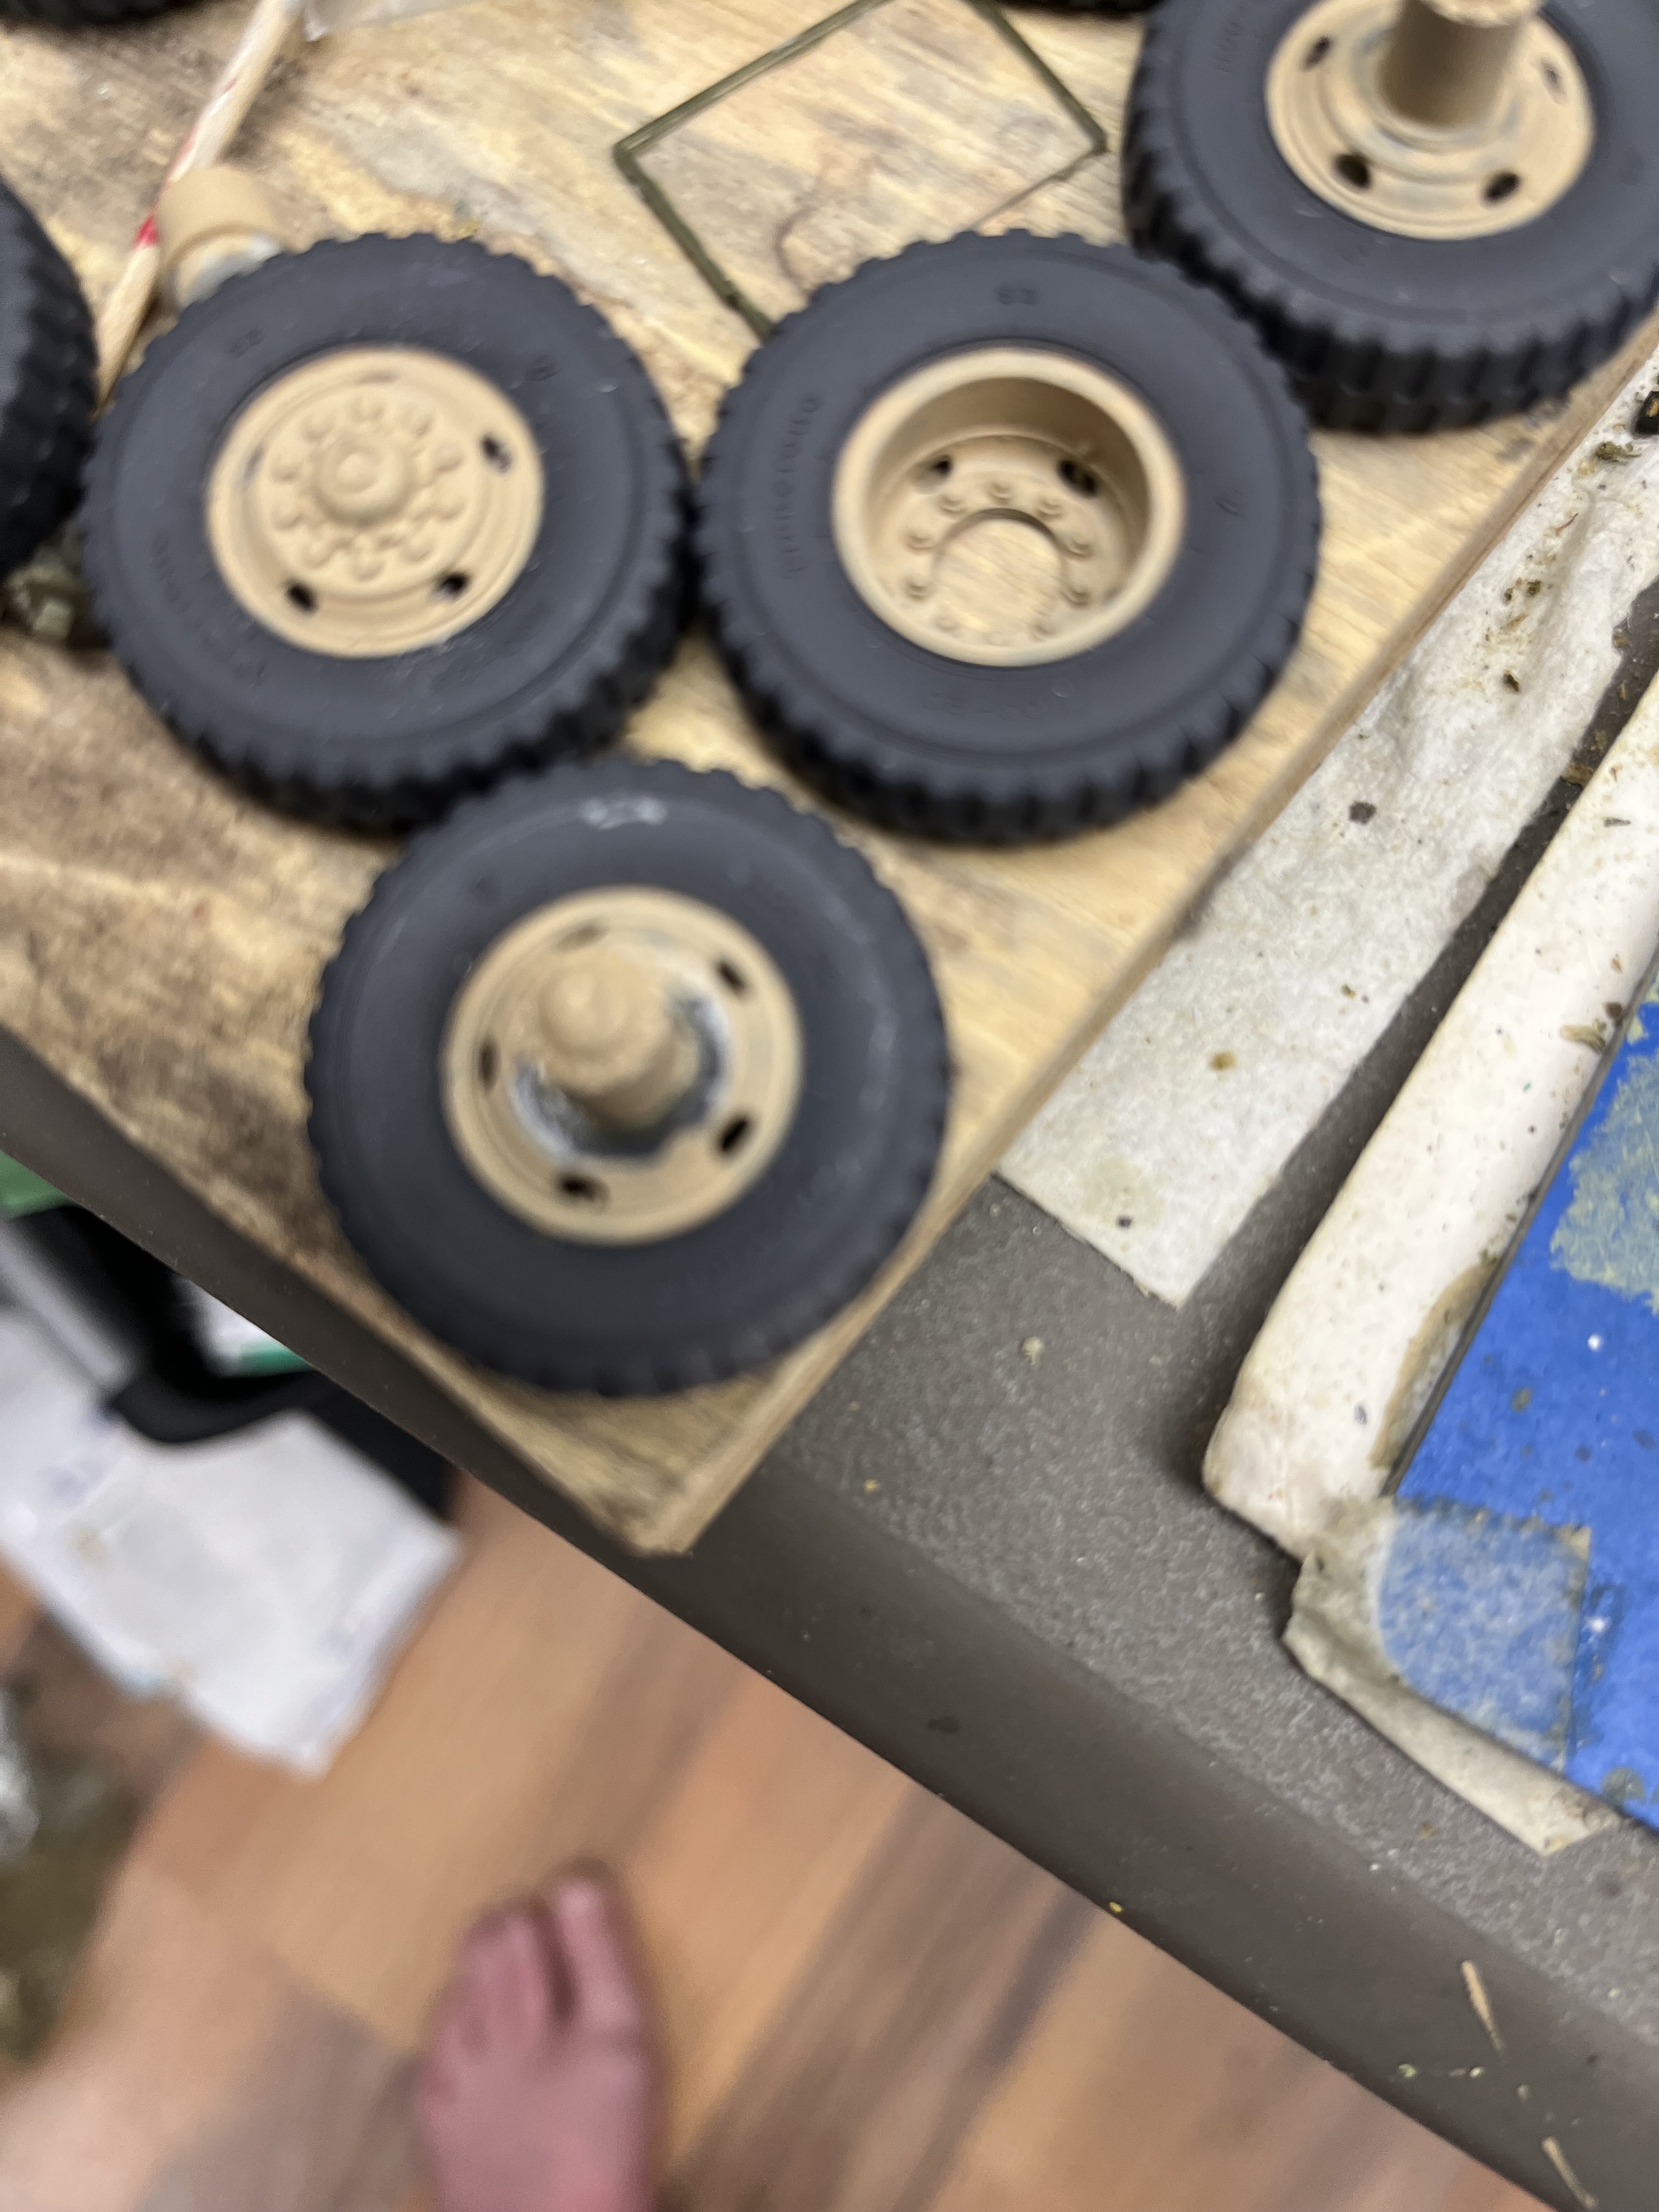
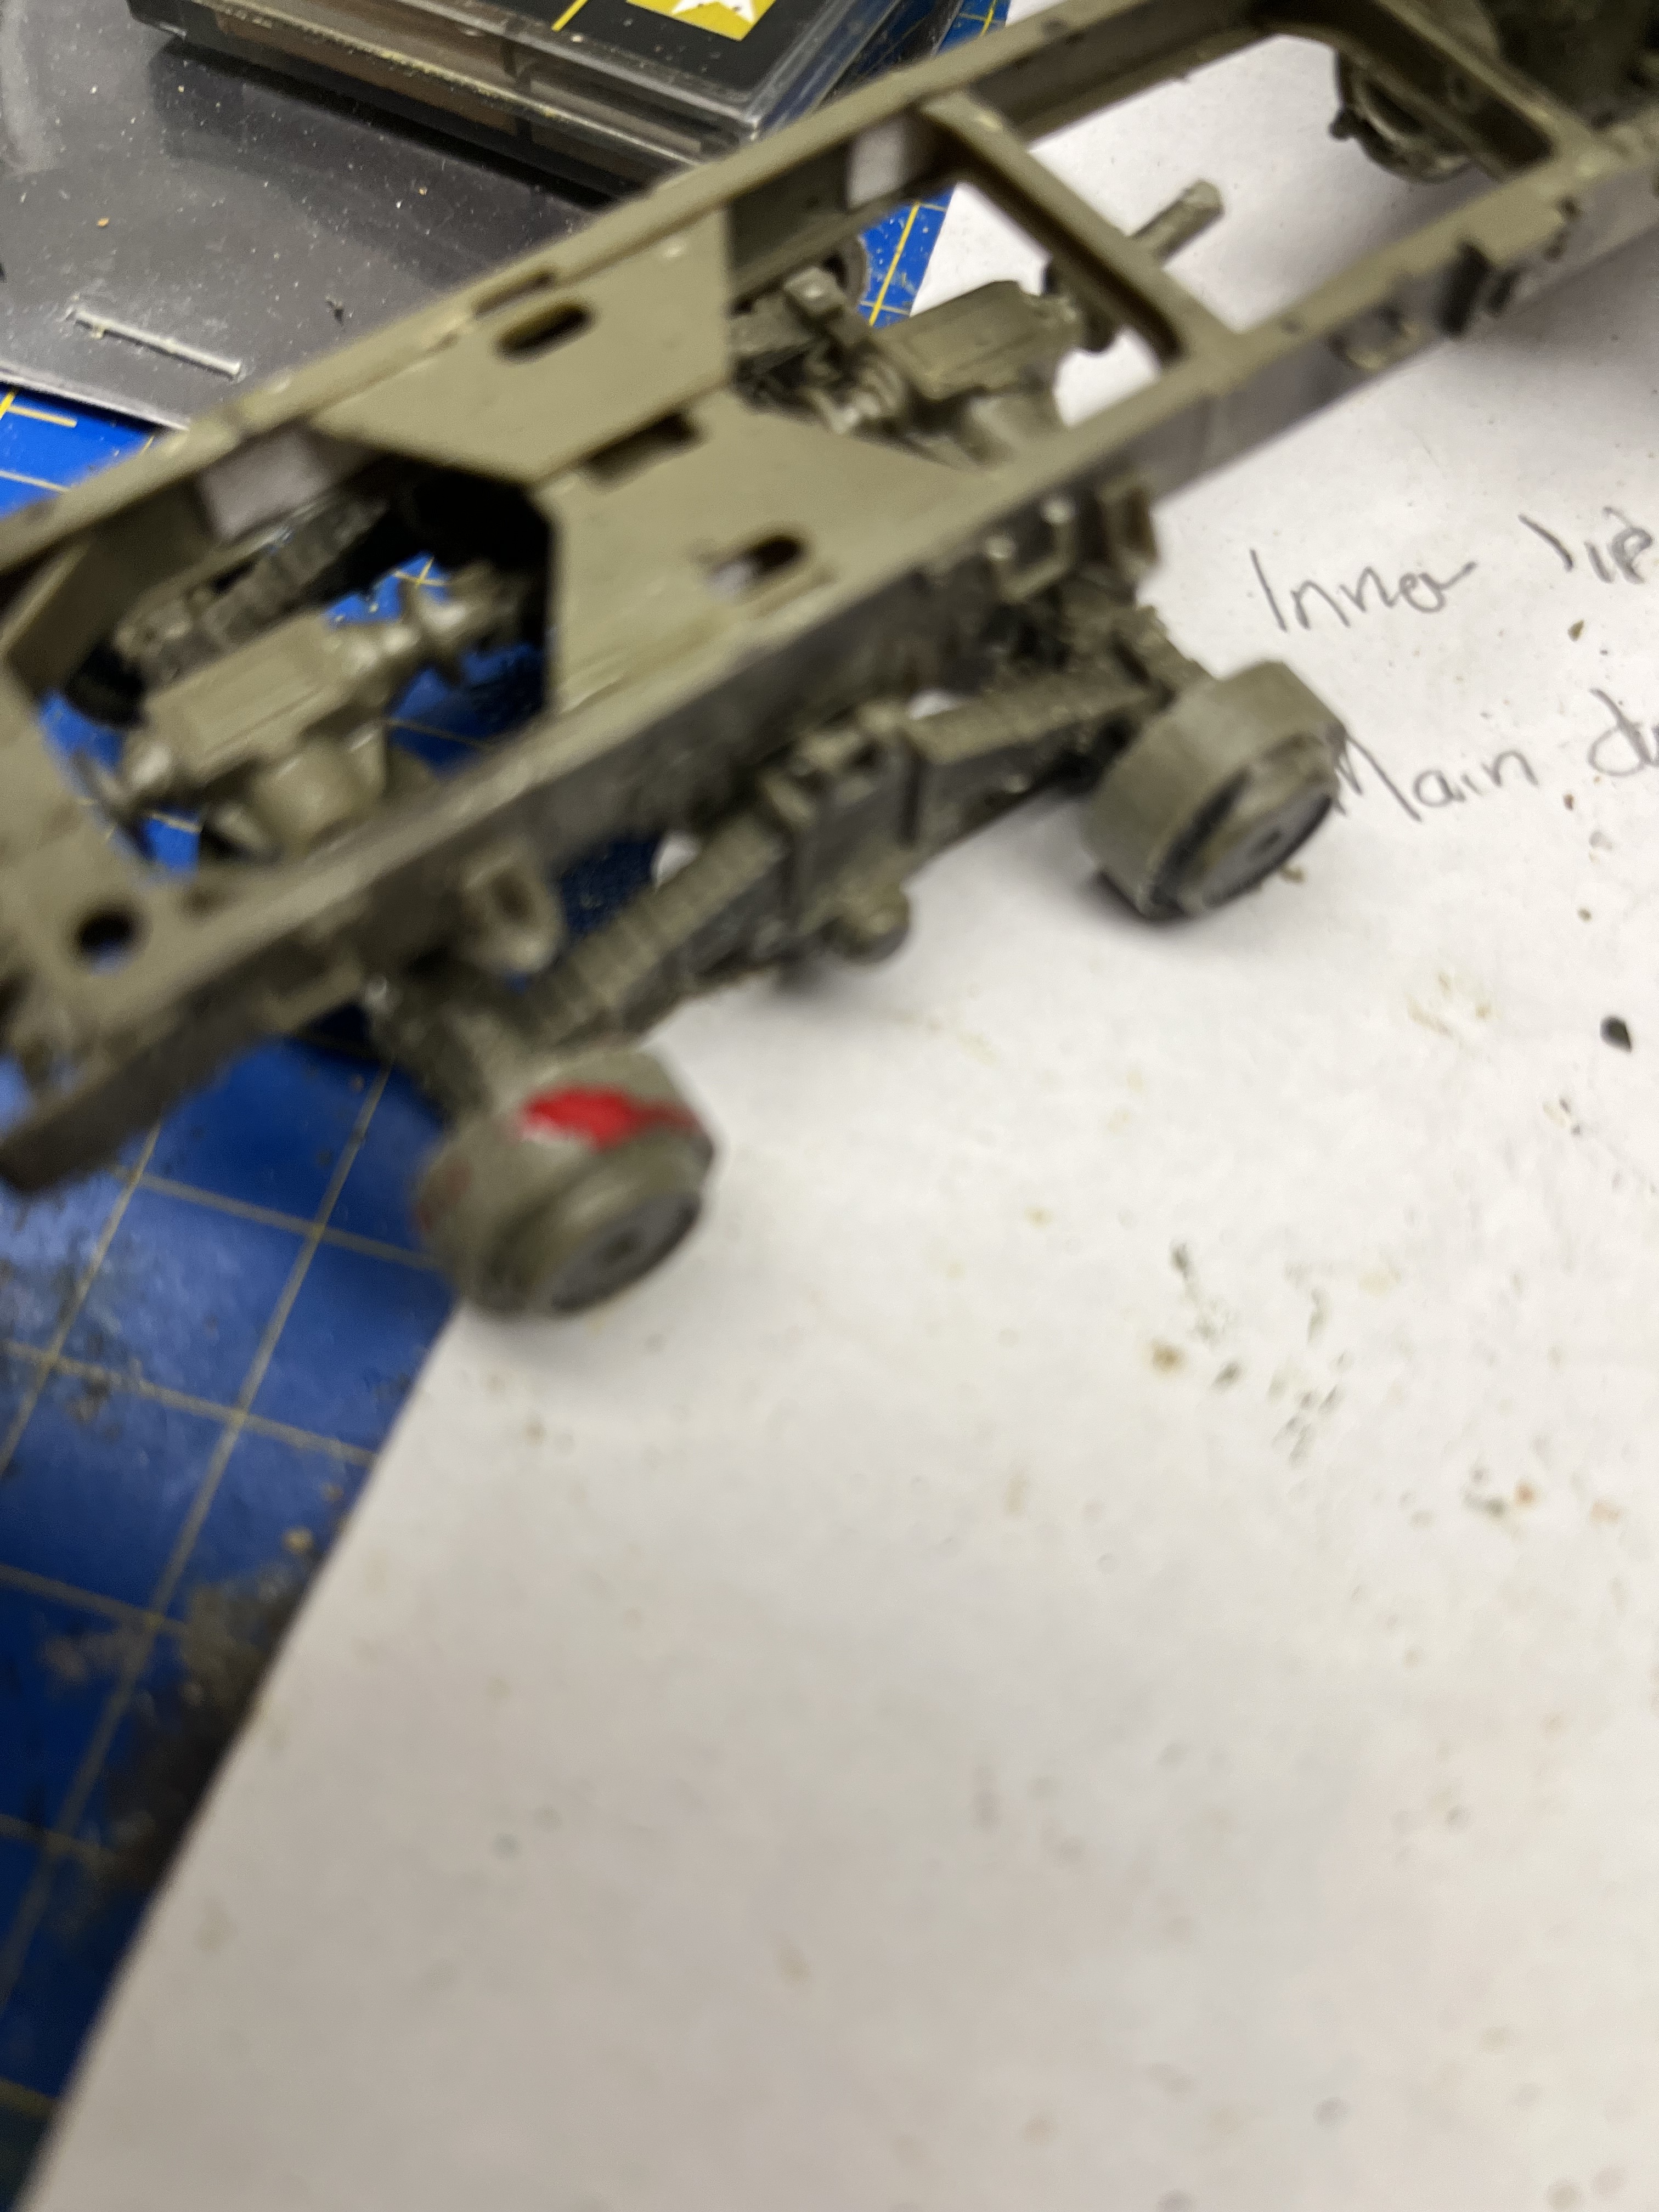
Ground down the brake drums from 13.86mm to 13.46mm to fit the PA rims, taking off the inner ring at the same time. (Figured this was safer than blowing resin dust from the rims alles uber den platz)
Wheels to be added after dump box, ancillary items and paint.
ETA. I used the kit hubs, the inner PA rims have a nice cut out for the kit’s disc/locating pin on the inside.
5 Likes
Its a 10 from me…![]()
Watto.
1 Like
Looking good. Nice job on the brake drums.
2 Likes
Thanks Nik!
1 Like
Really nice job. The weathering makes perfect sense to me, looks great.
1 Like
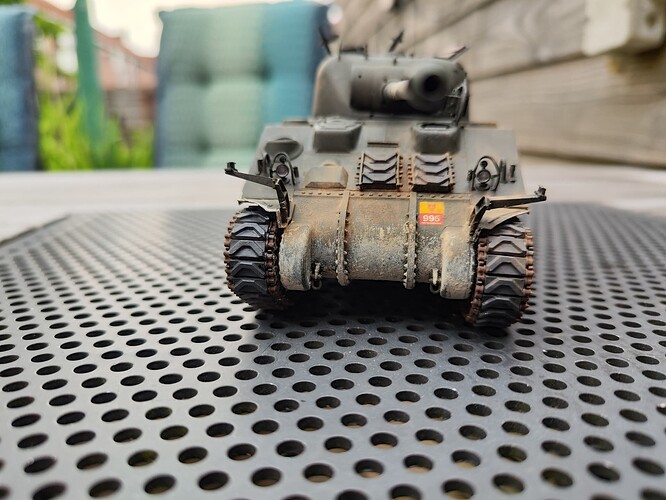
Cheers! In the meanwhile I changed the tracks in that they were reversed and shorted them 1 link.
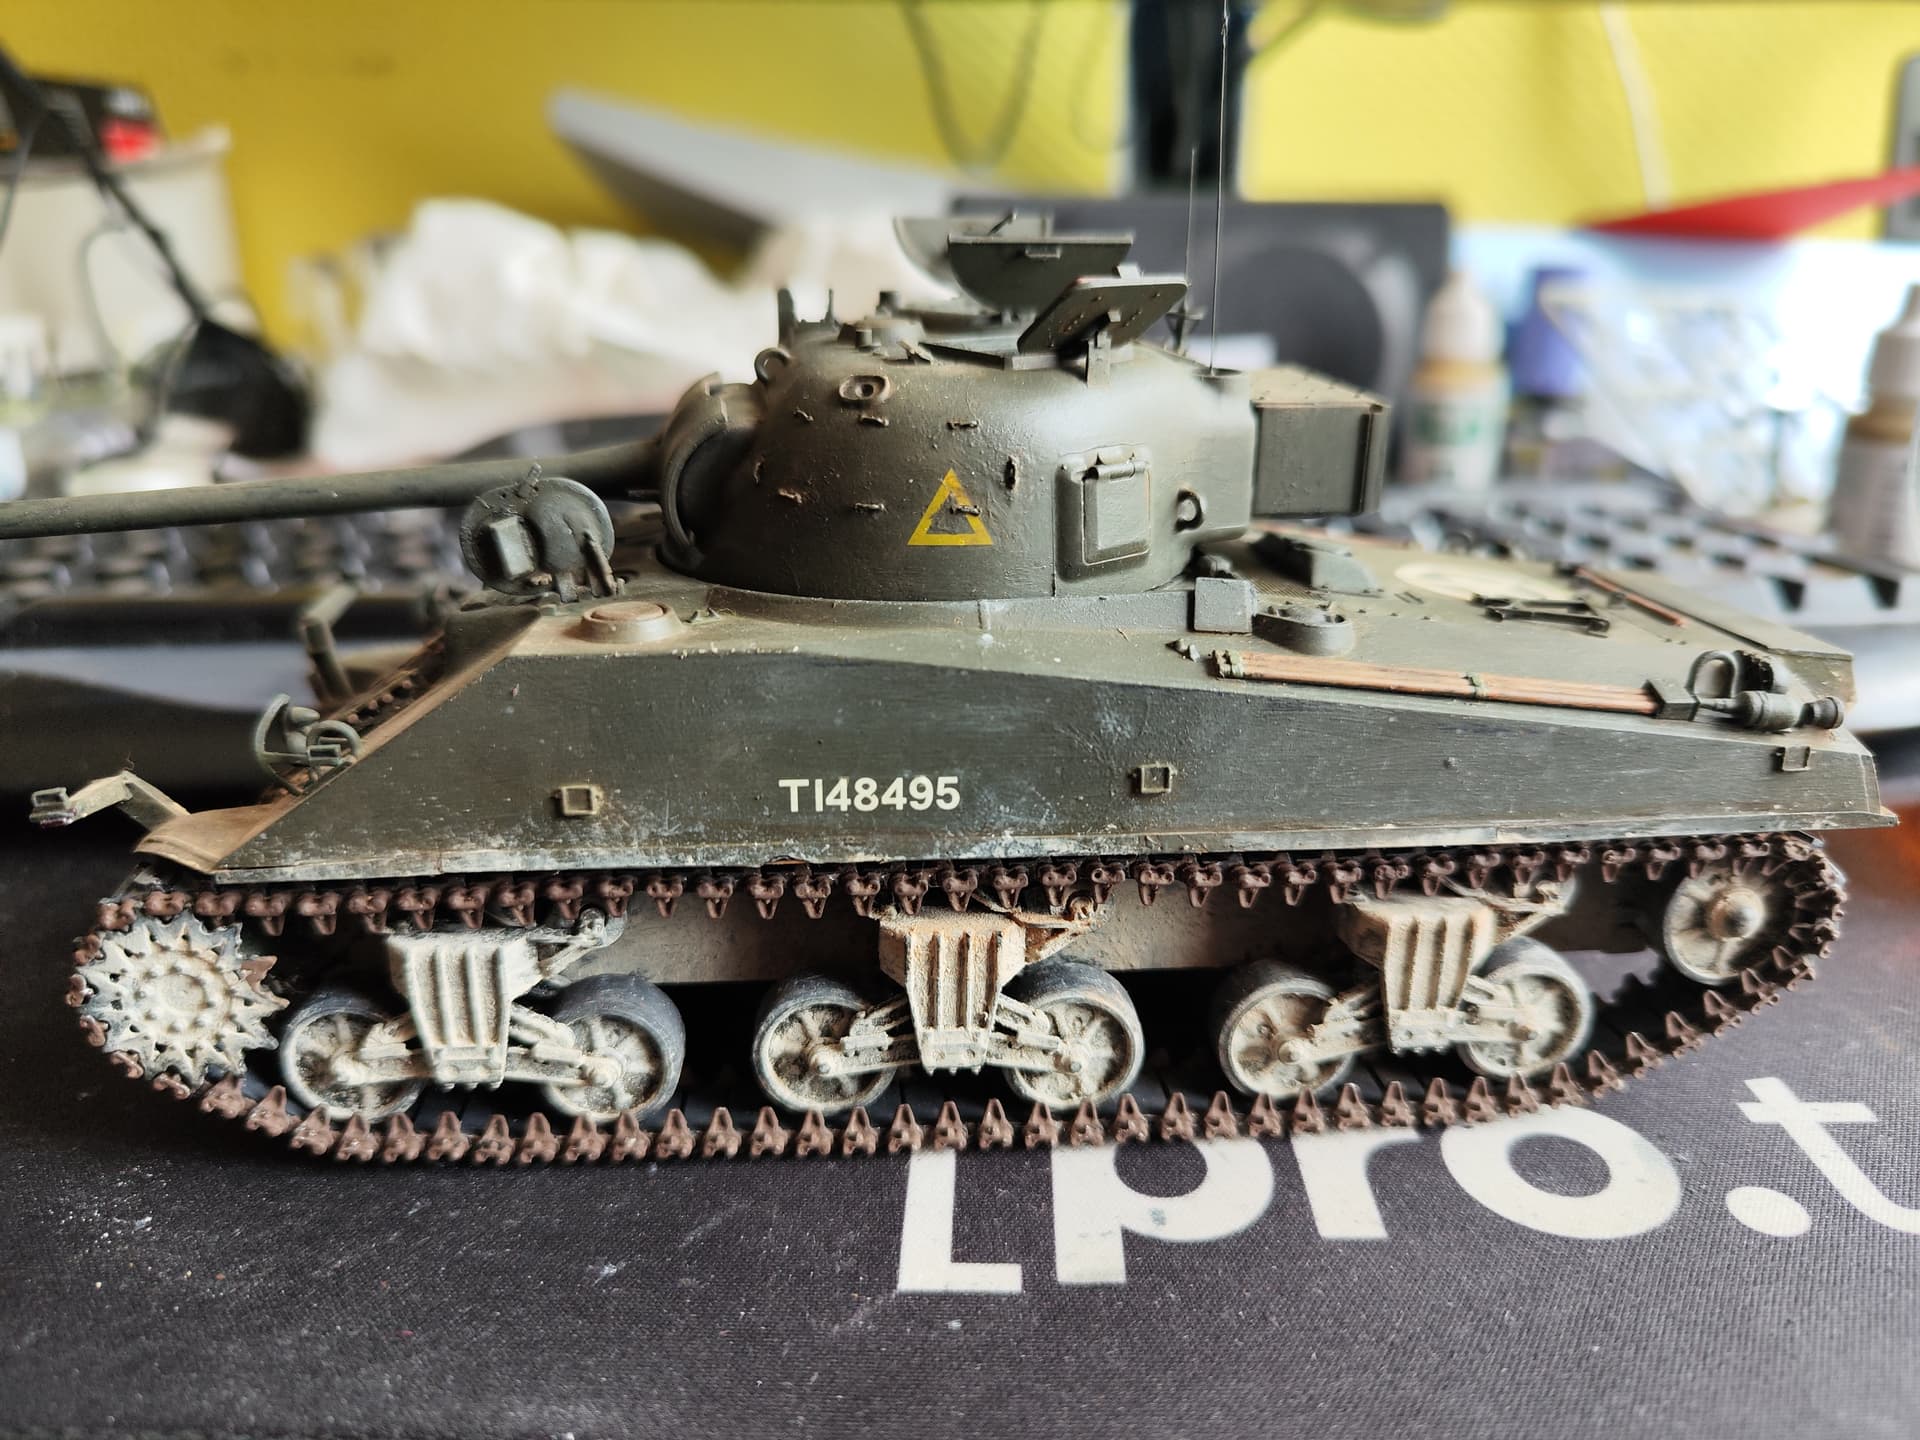
Now it is really done!
14 Likes
Quite nice! Just a question about the tracks, I thought you wil see a “v” shape with the T-48 tracks if you are standing af ront of the tank. That would mean you put them the wrong way around?
2 Likes
The V’s were pointing upwards… ![]()
6 Likes
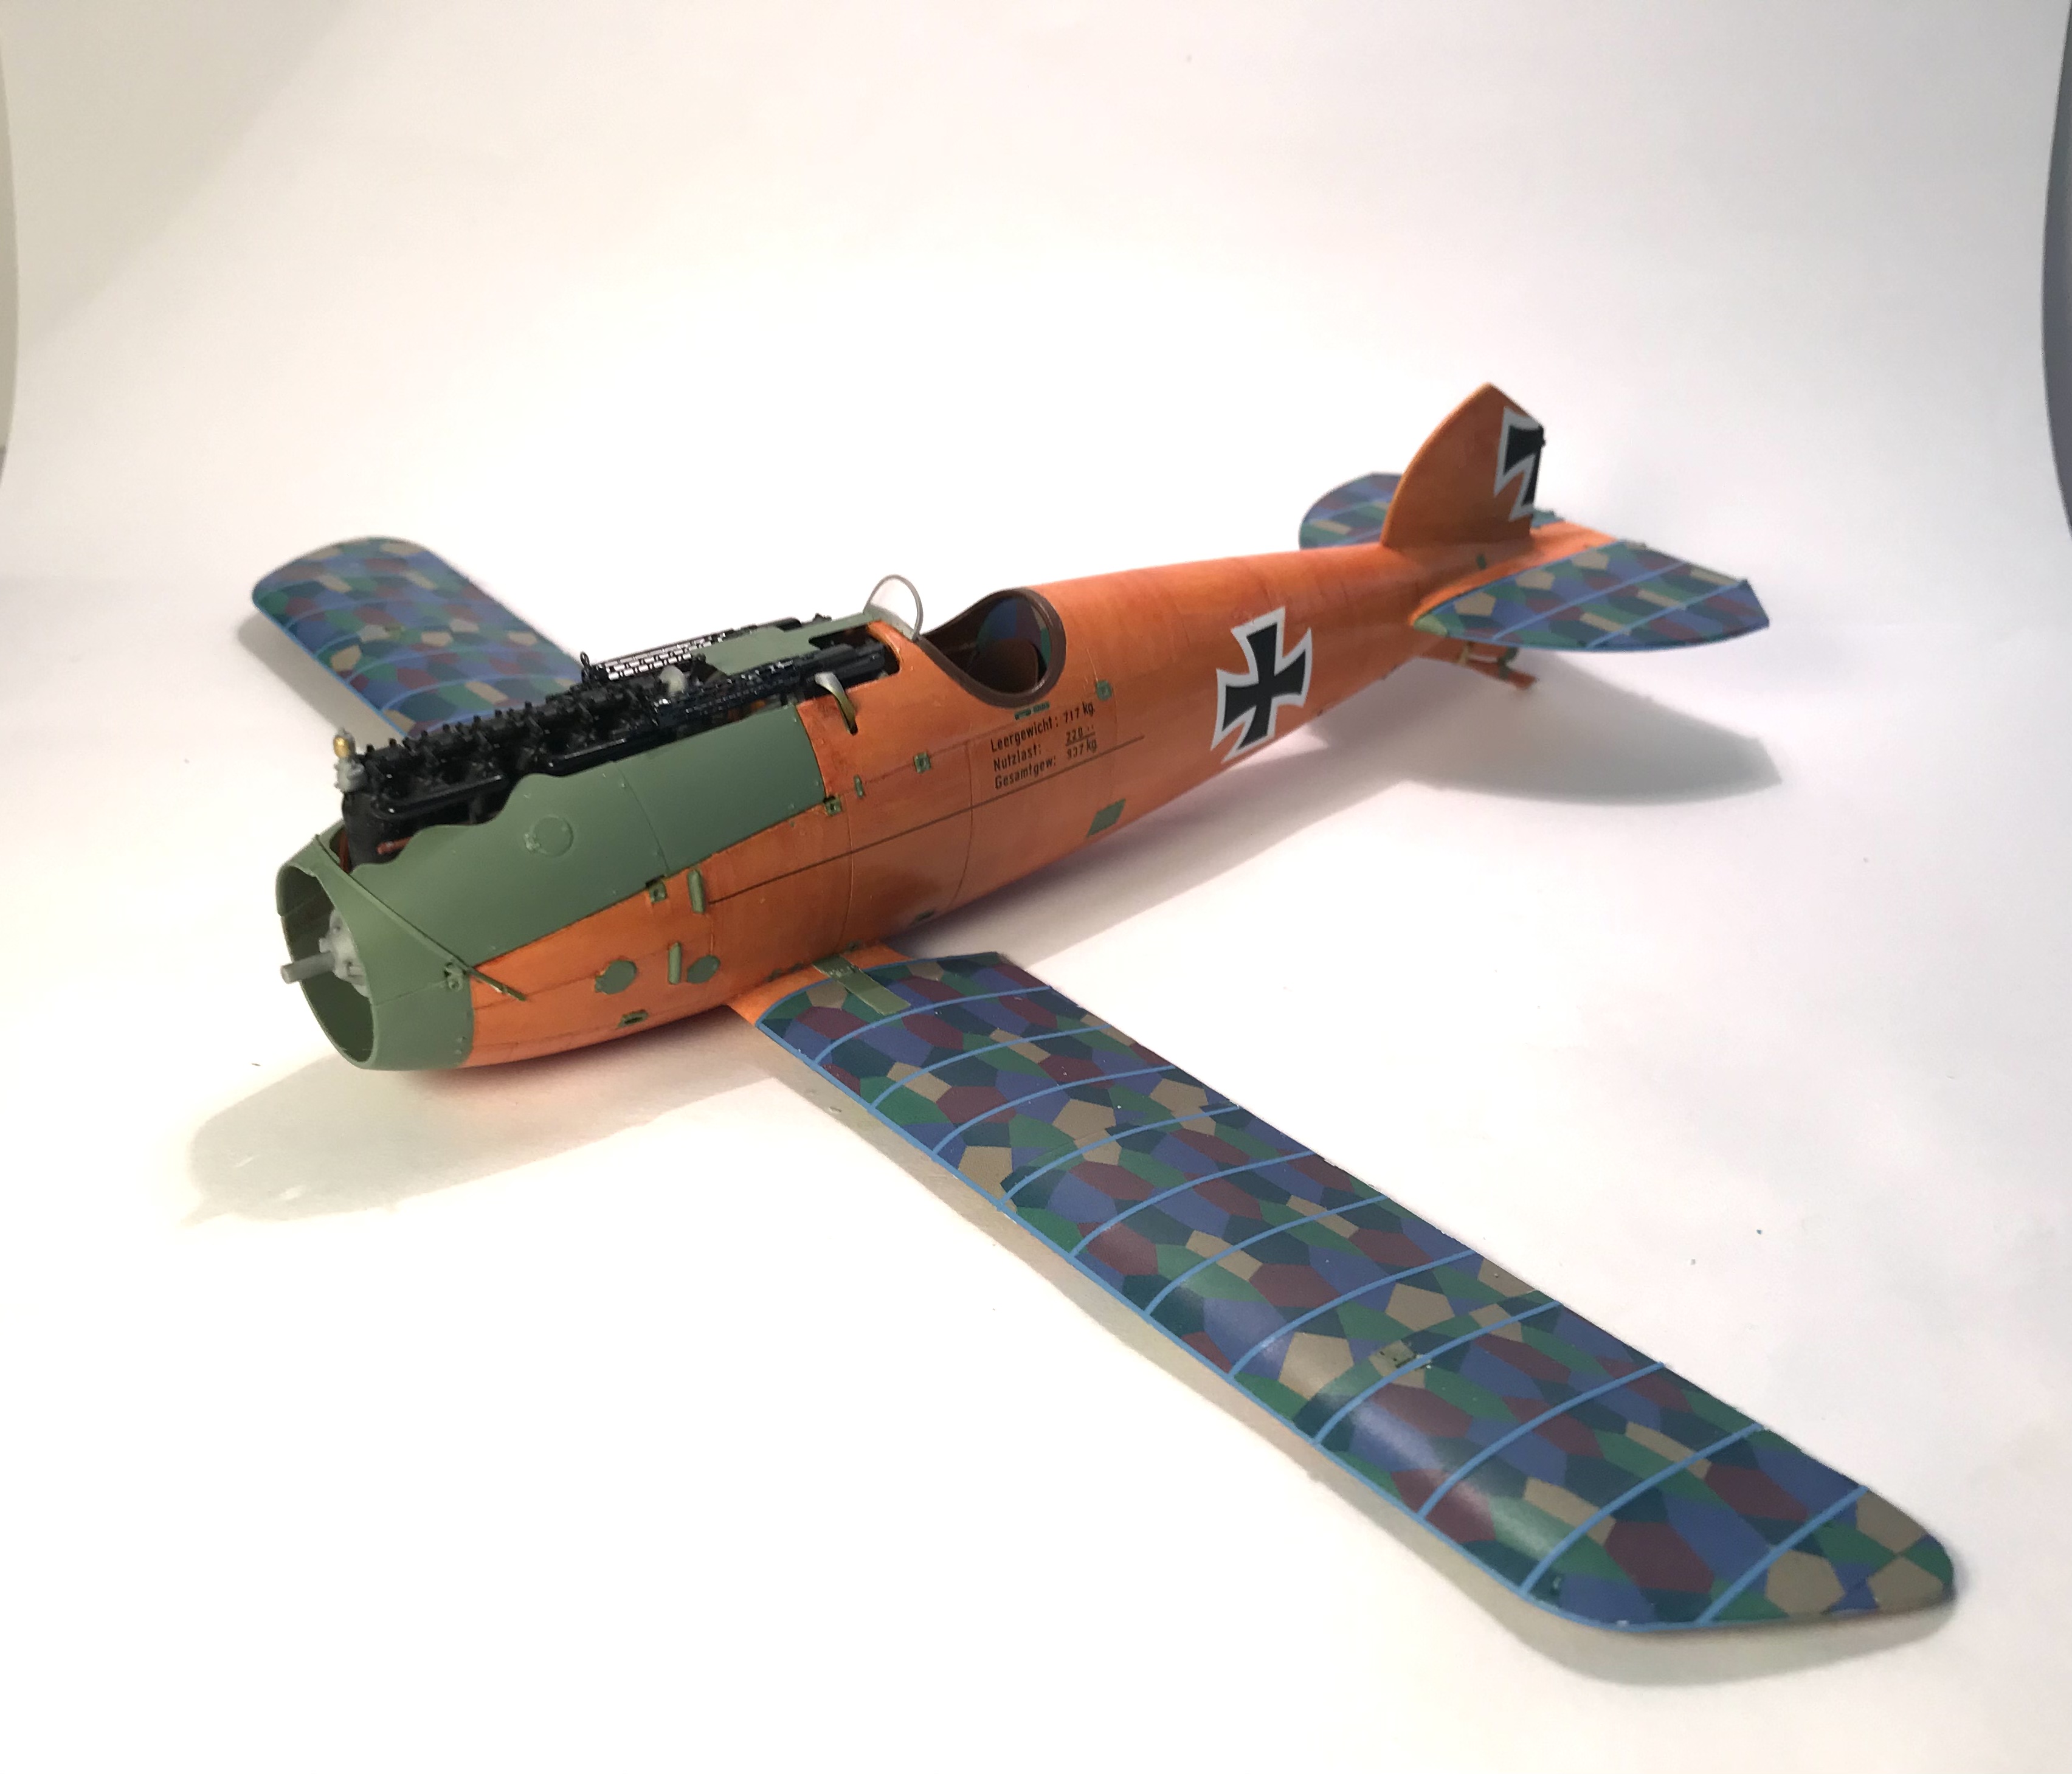
Progress on the WnW Albatros.
Fuselage largely done . Lozenge decals done everywhere. Only rib tapes on top surface of upper wing left . Met with disaster on fuselage. I masked off the gloss coat on the wood grain areas around the Balkenkreuz to dullcoat the crosses. The wood grain decals lifted when removing the tape . The area in question had two coats of clear yellow acrylic which dried for a week. I used very low tack tape which was stuck down to cutting mat first but it wasn’t enough.
I saved it to some degree by wood graining the same way I did the interior.
15 Likes
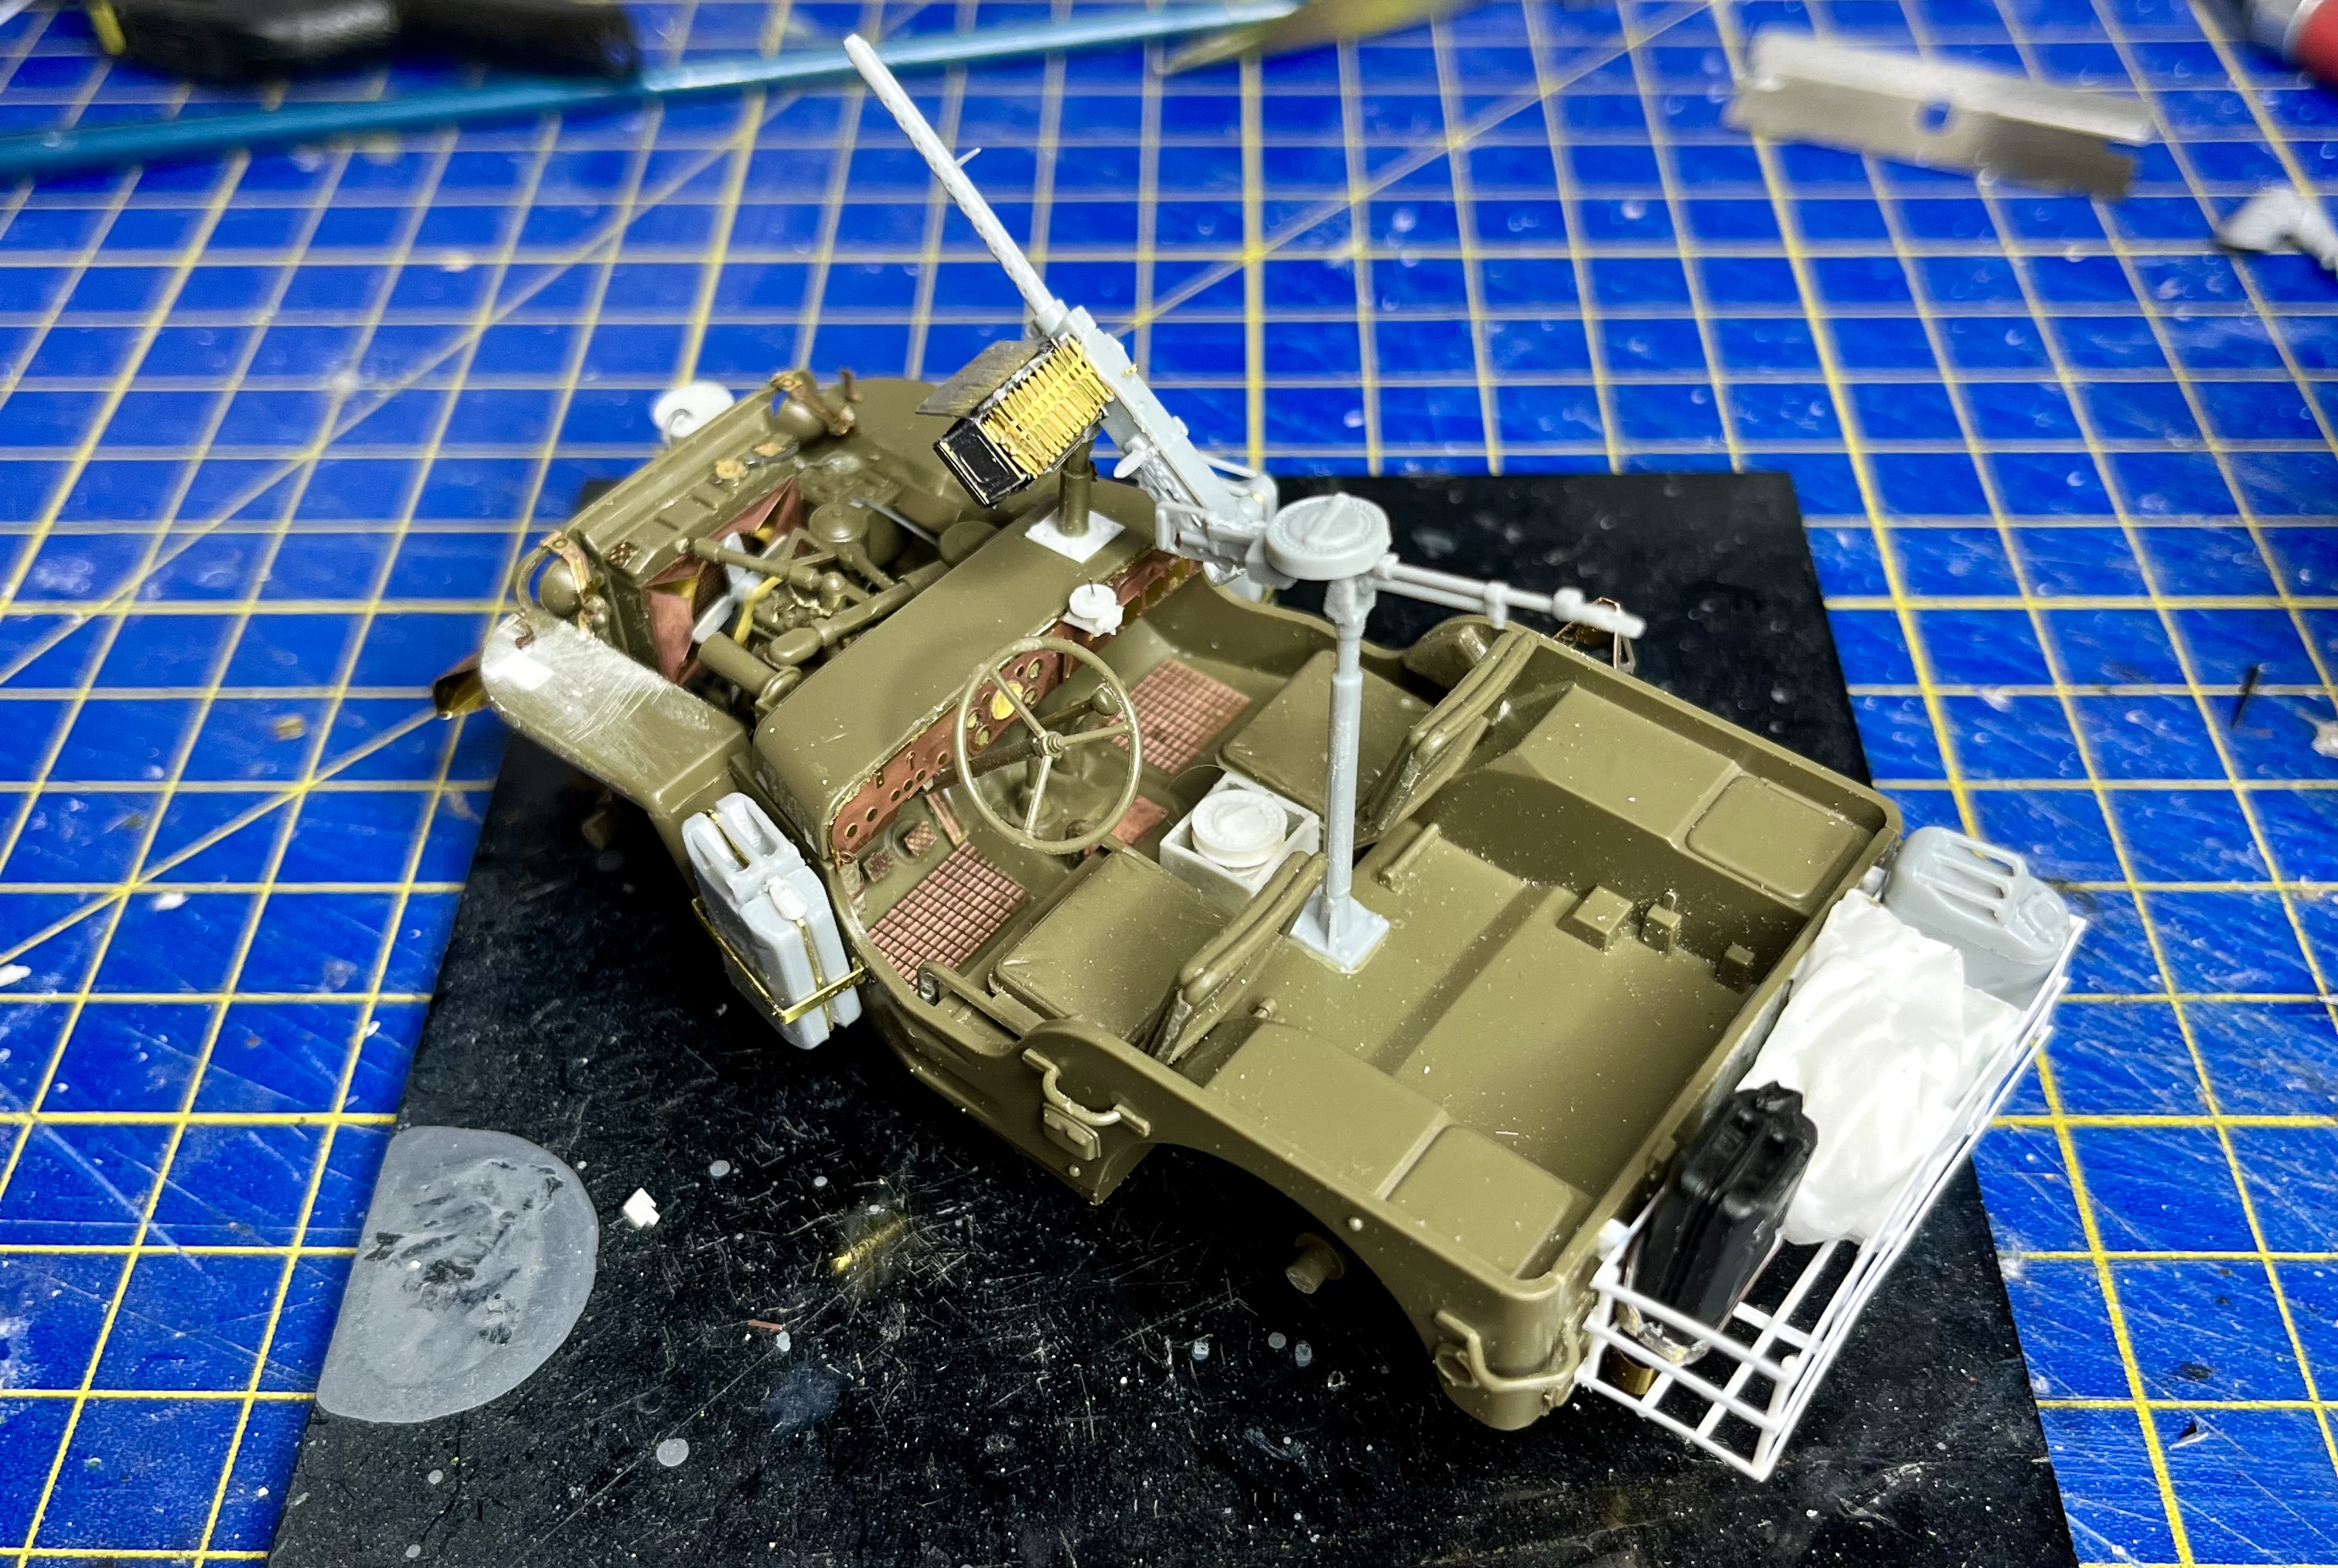
This does not affect painting I believe, but the pictures of the sun compass that I have show a center stylus that is slightly longer than the diameter of the compass base. At least in this picture, the stylus seems short. The book, “Fighting with the LRDG” by Brendan O’Carroll has some excellent photos of the compass and the jeep and the Vickers K .303 dual mounted machine guns. I only wish I knew how to take those photos from the book to here.
1 Like
The sun compass is close enough. In 1/35 scale the diameter is about 3,4 mm. I ran out of dual Vickers, and I have to admit I may have taken some artistic licens with this one, but these jeeps were re-configured all the time. Nobody can say for sure what they looked like all the time through their service.
2 Likes
glad to hear you were able to salvage the decals.
The BattleScale Collectica Show
1 Like
Thanks - this build has turned into a decal nightmare.
1 Like
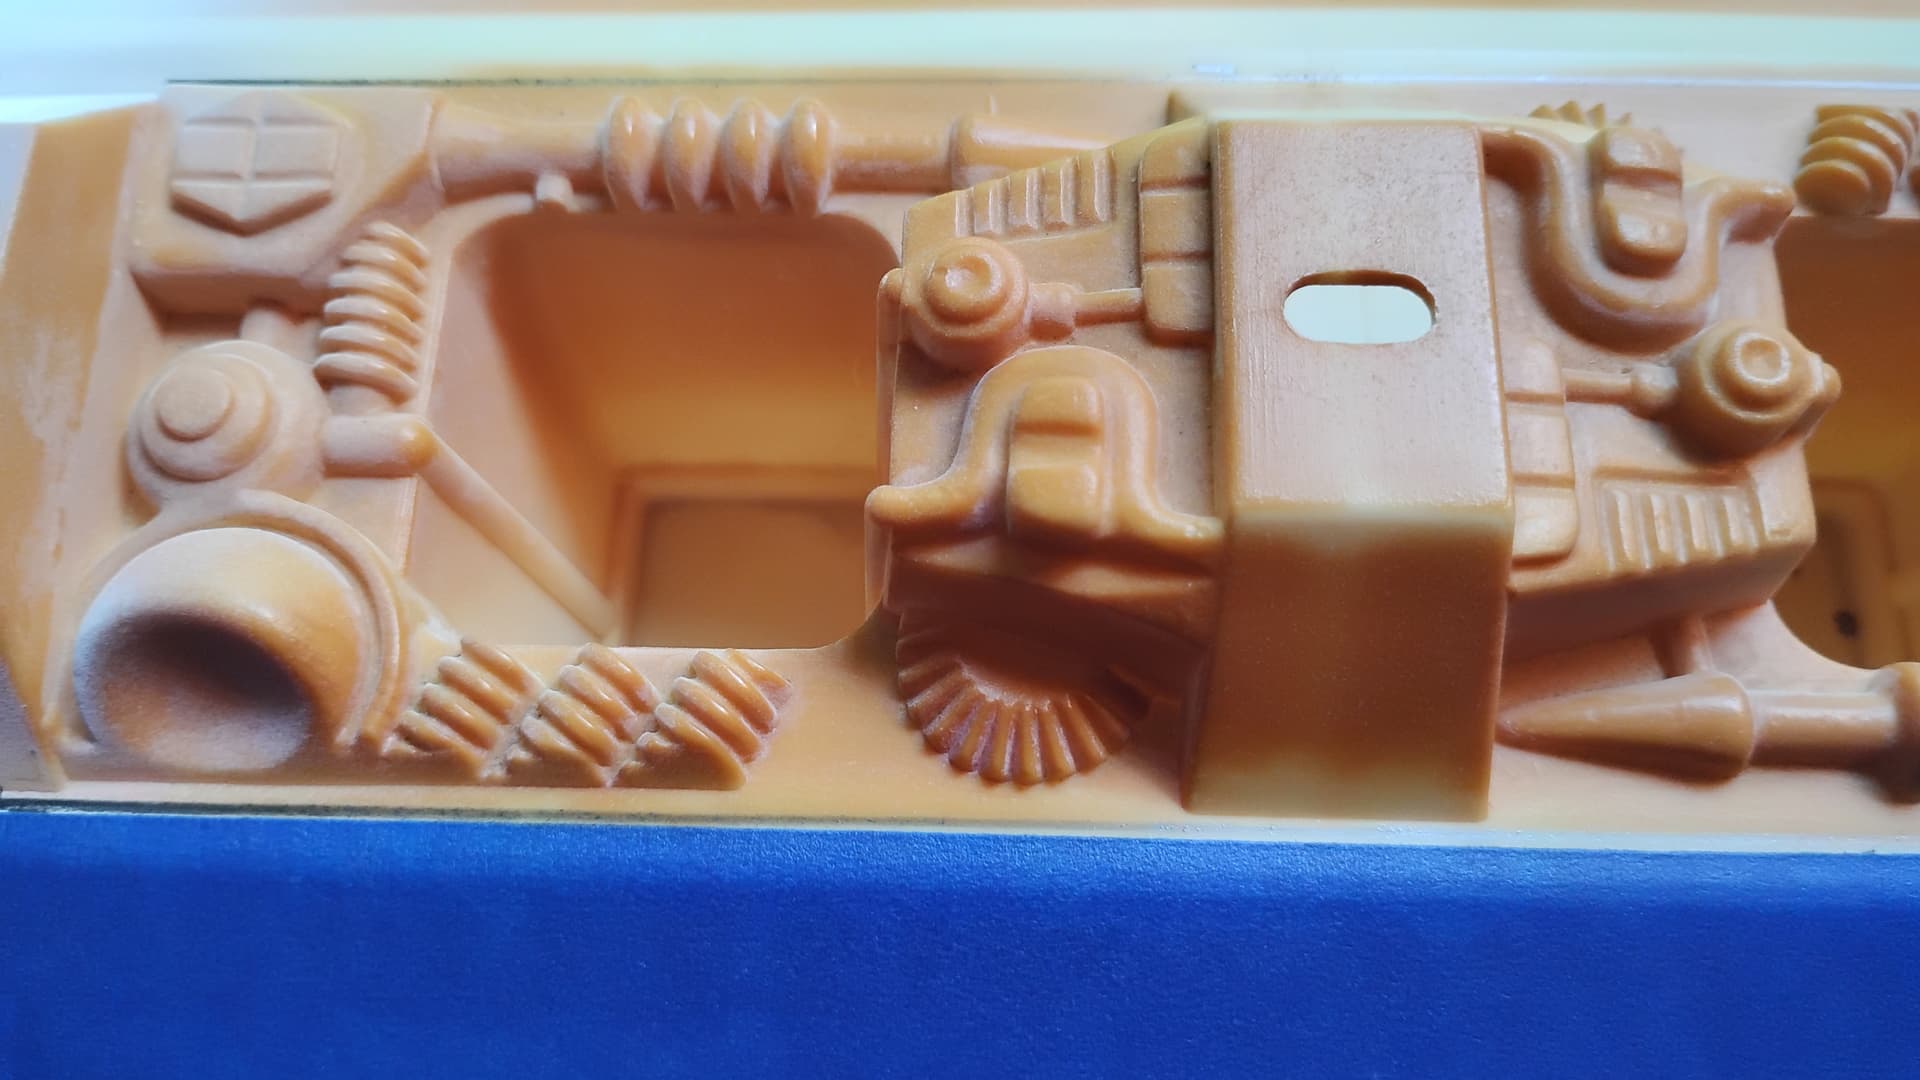
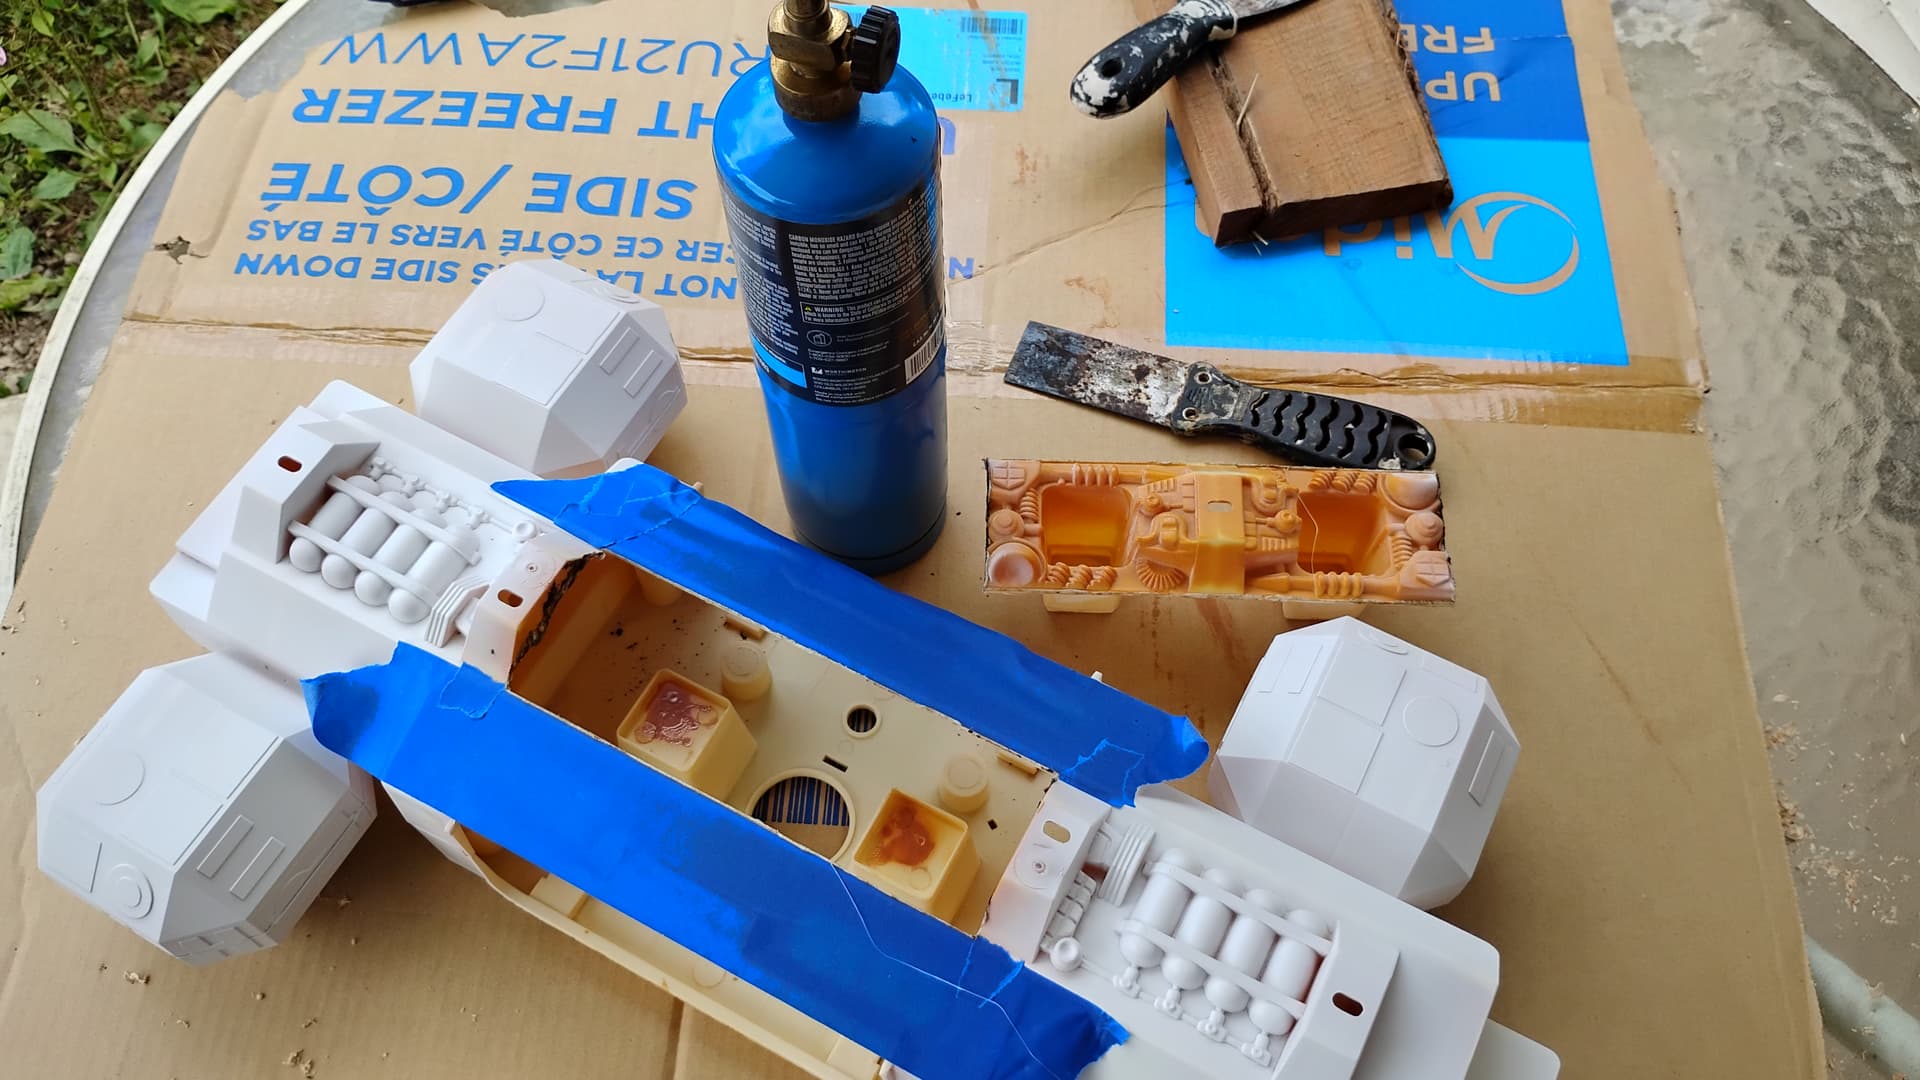
Phase 1 for removing the ugly top cup holders and inside cabin columns in the Mattel Space 1999 Eagle was a success. Used on old hack from my youth when installing after market stereos in dashboards molded for radios with knobs. Now onto the interior mods.
The BattleScale Collectica Show
6 Likes
Working on the M817, I got the rams, subframe and ‘box together. As usual, some of the smaller parts are quite delicate but HL include spares for the more vulnerable stuff. I noticed the tailgate is missing a pin, but that’s OK as I’ll be building it closed.

![IMG_1796|375x500]
(upload://nxclpFFCuRxFwgWg5L8x7NPWL93.jpeg)
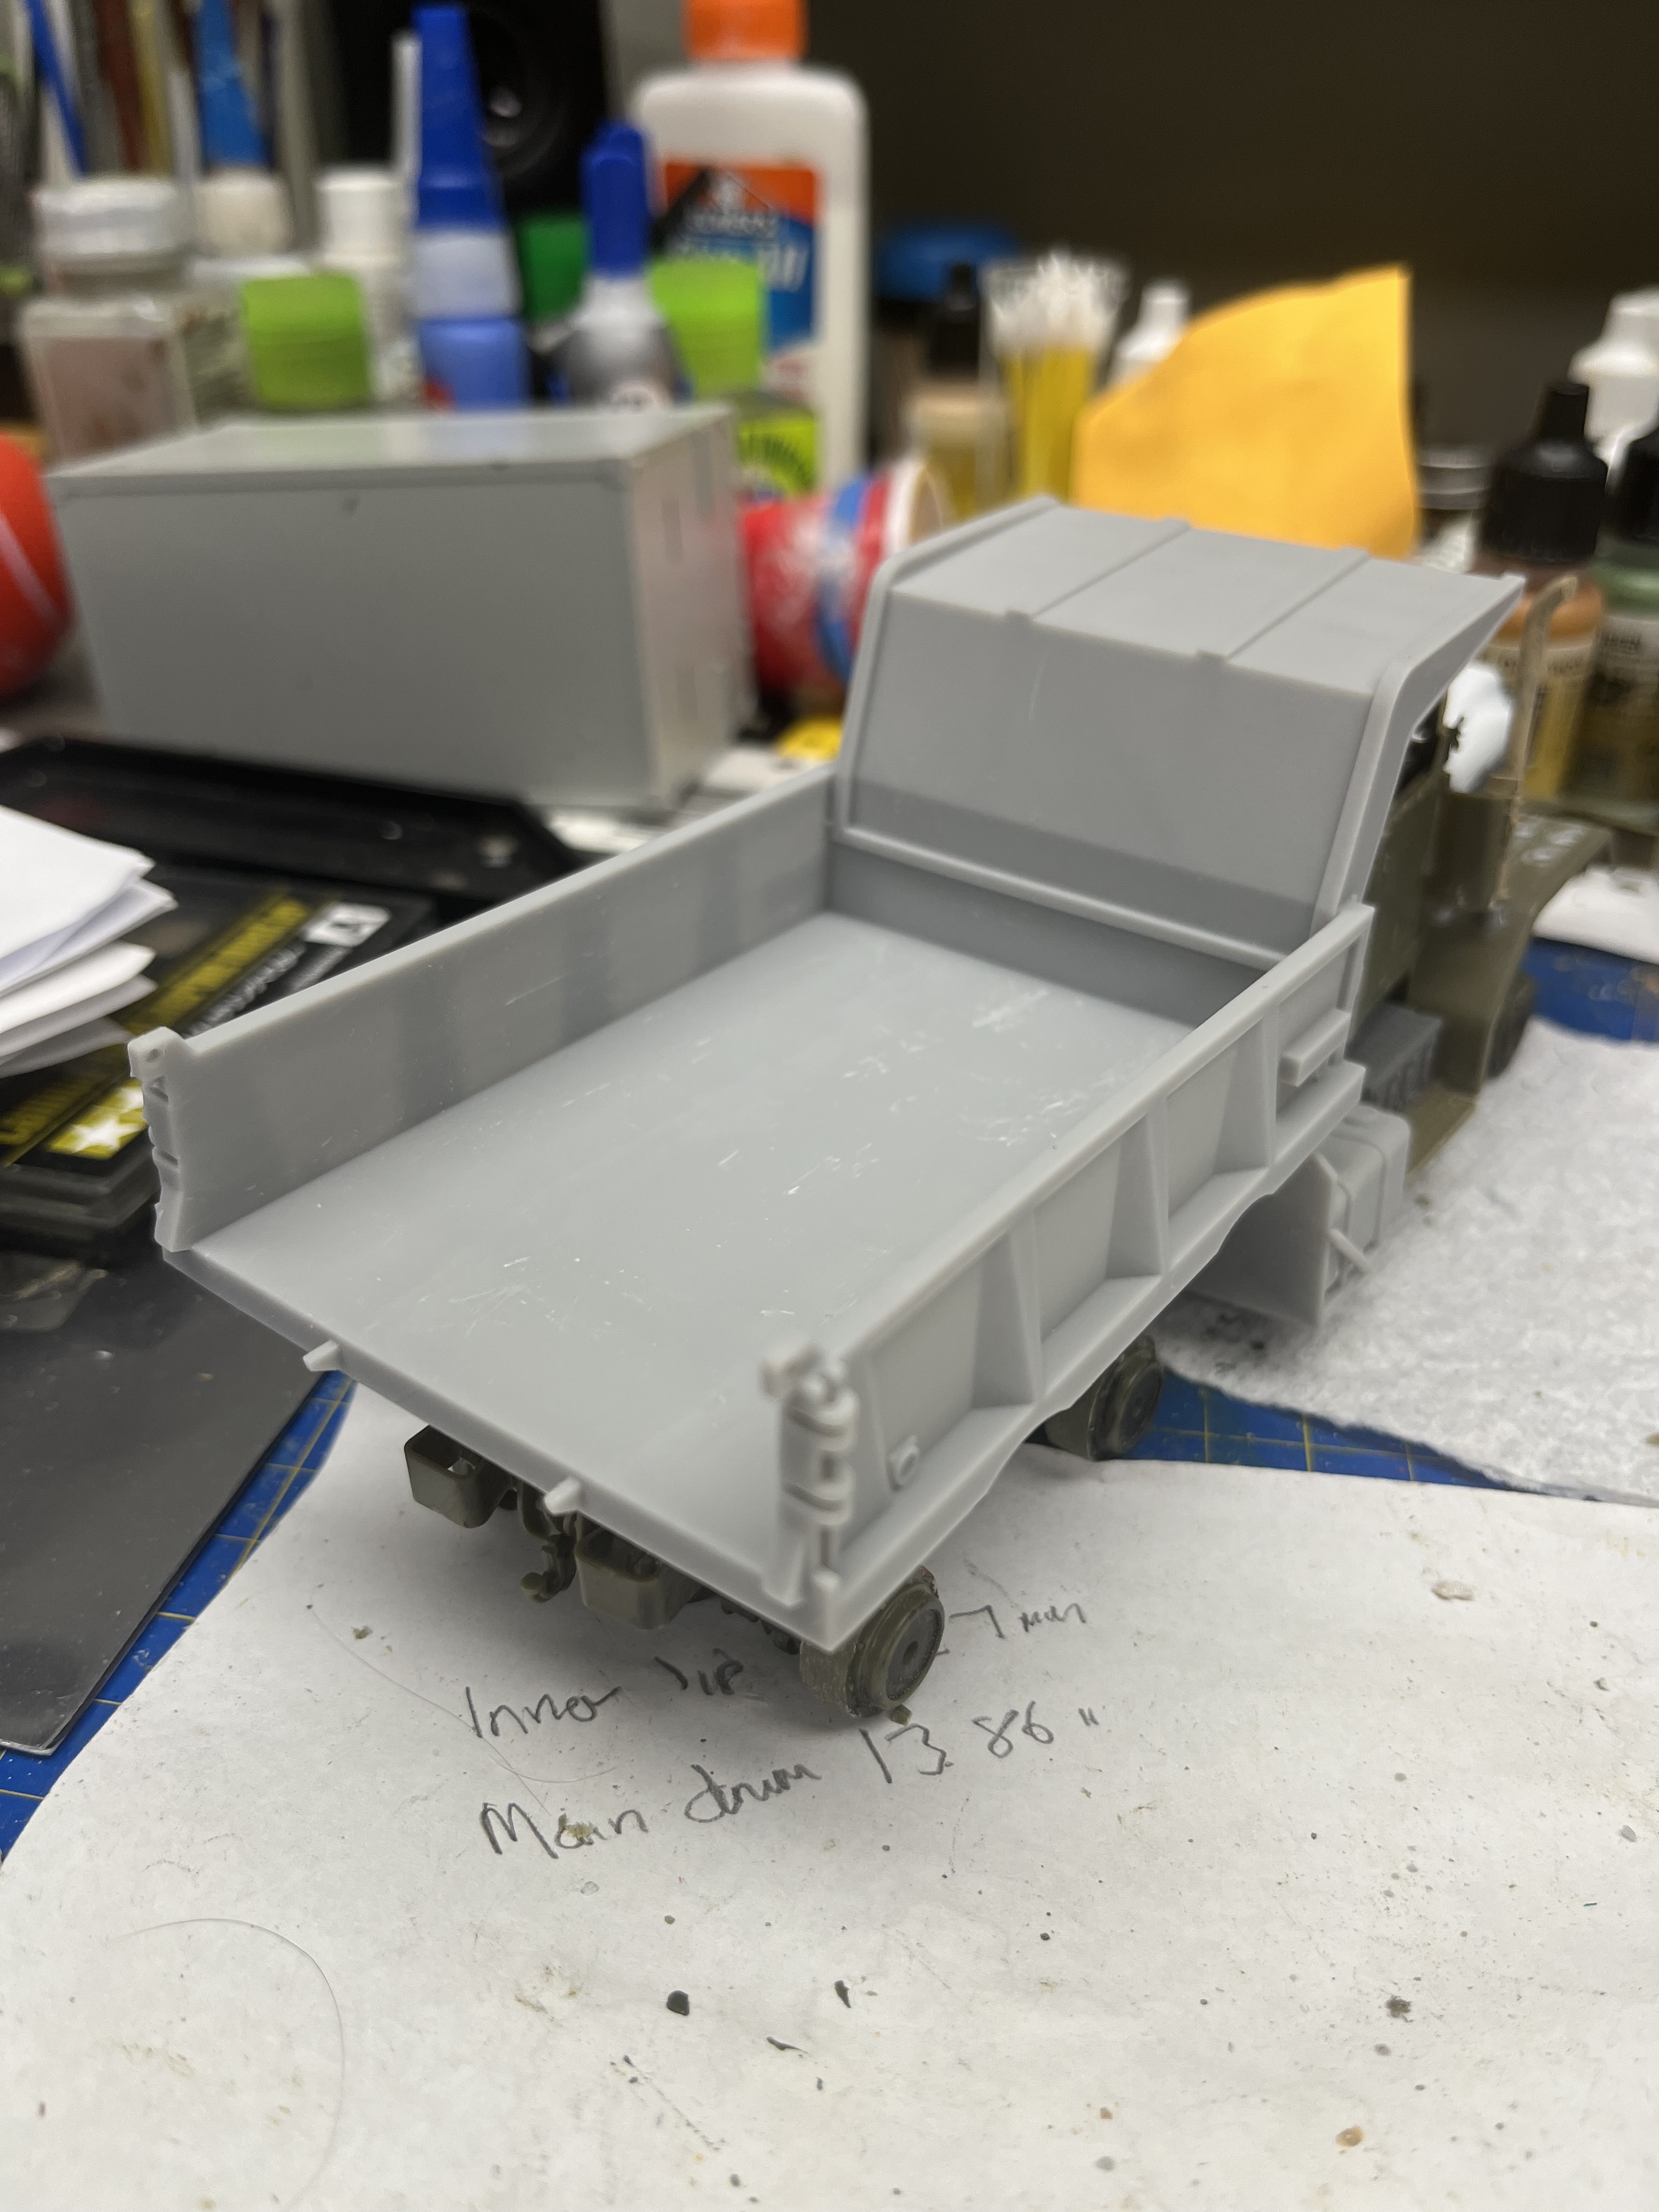
Dry-fitted the box for this pic.
10 Likes