You can also drag/drop or copy/paste them into the Reply box.
4 Likes
Or if you’re a weirdo like me and use your iPhone to post everything, click on the little picture icon in the lower right corner of the box and it takes you to your photo albums. Or camera.
8 Likes
@Arch-Stanton Al, thank you! The Gunzy decal set & softener make that decal play nice on the zimmerit.
@Terry1954 Terry, thank you! Very kind words, much appreciated! The forum greatly helps weathering ideas!
Hopefully, the Centaur sees the bench before the end of the year.
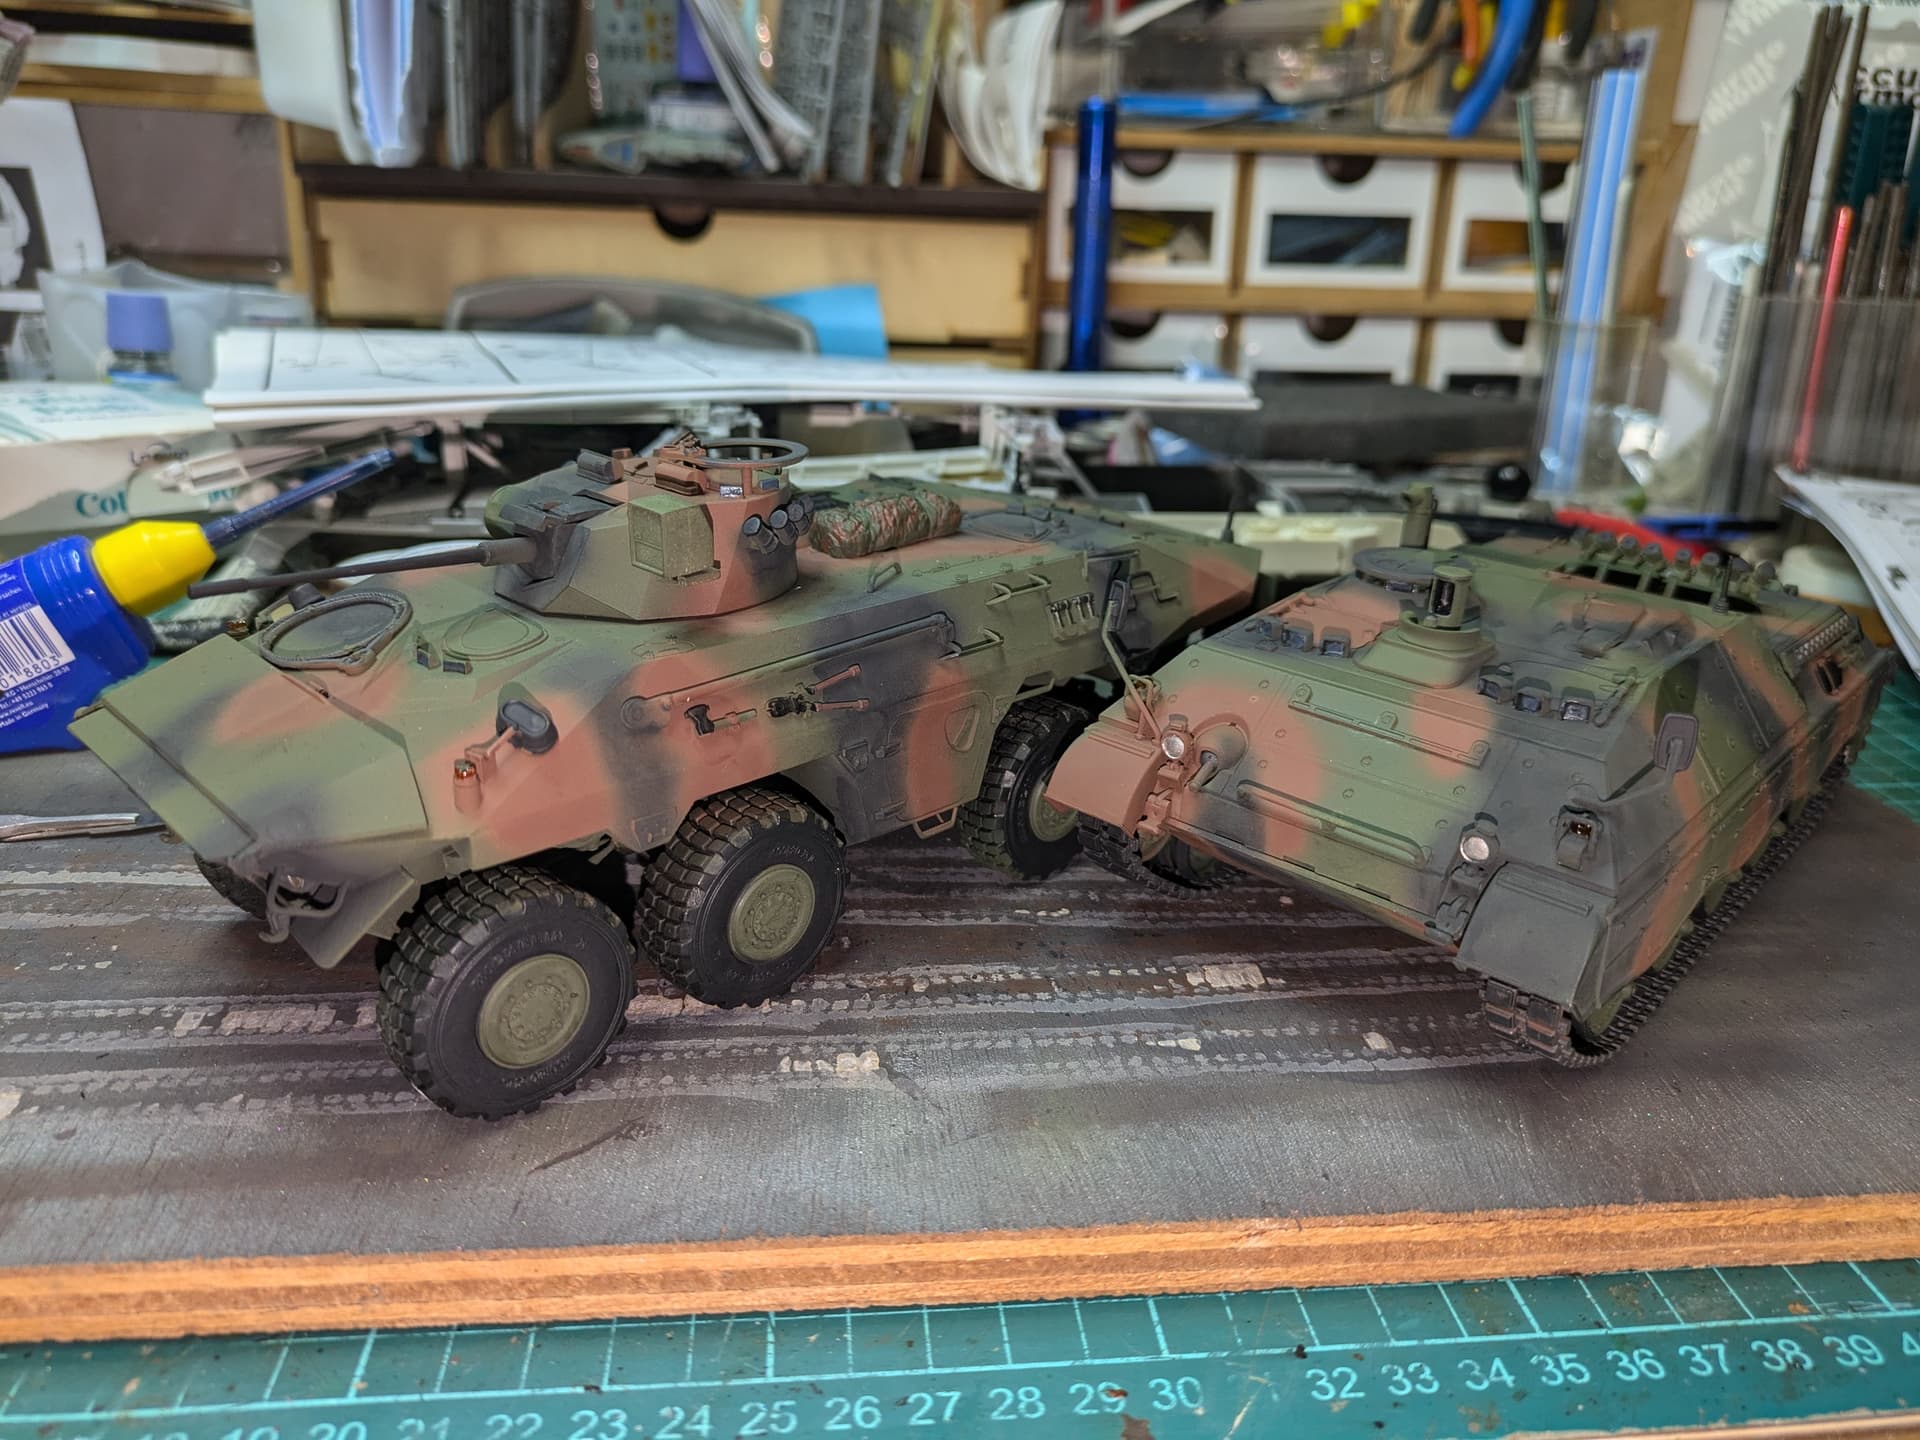
Today, this 30 year old Shelf Queen wrapped!


Will do long term base later when a more appropriate base is finished for the model.
34 Likes
Way cool Wade. I’ve been away for a bit and I’ll have to stumble over to the main forum to check out this build. F’n stunning….
Meanwhile in the bunker, two down
Two to go

10 Likes
You really do build some very nice-looking models Wade.
Cajun ![]()
5 Likes
oooo! Those are pretty Frank ![]()
Cajun ![]()
5 Likes
@Arch-Stanton Al, thank you!
I’m amazed at the bridge layer/engineering vehicle you’re working on, it’s looking good!
A+ ![]() too!
too!
@agincajun Terry, thank you! That’s very kind of you.
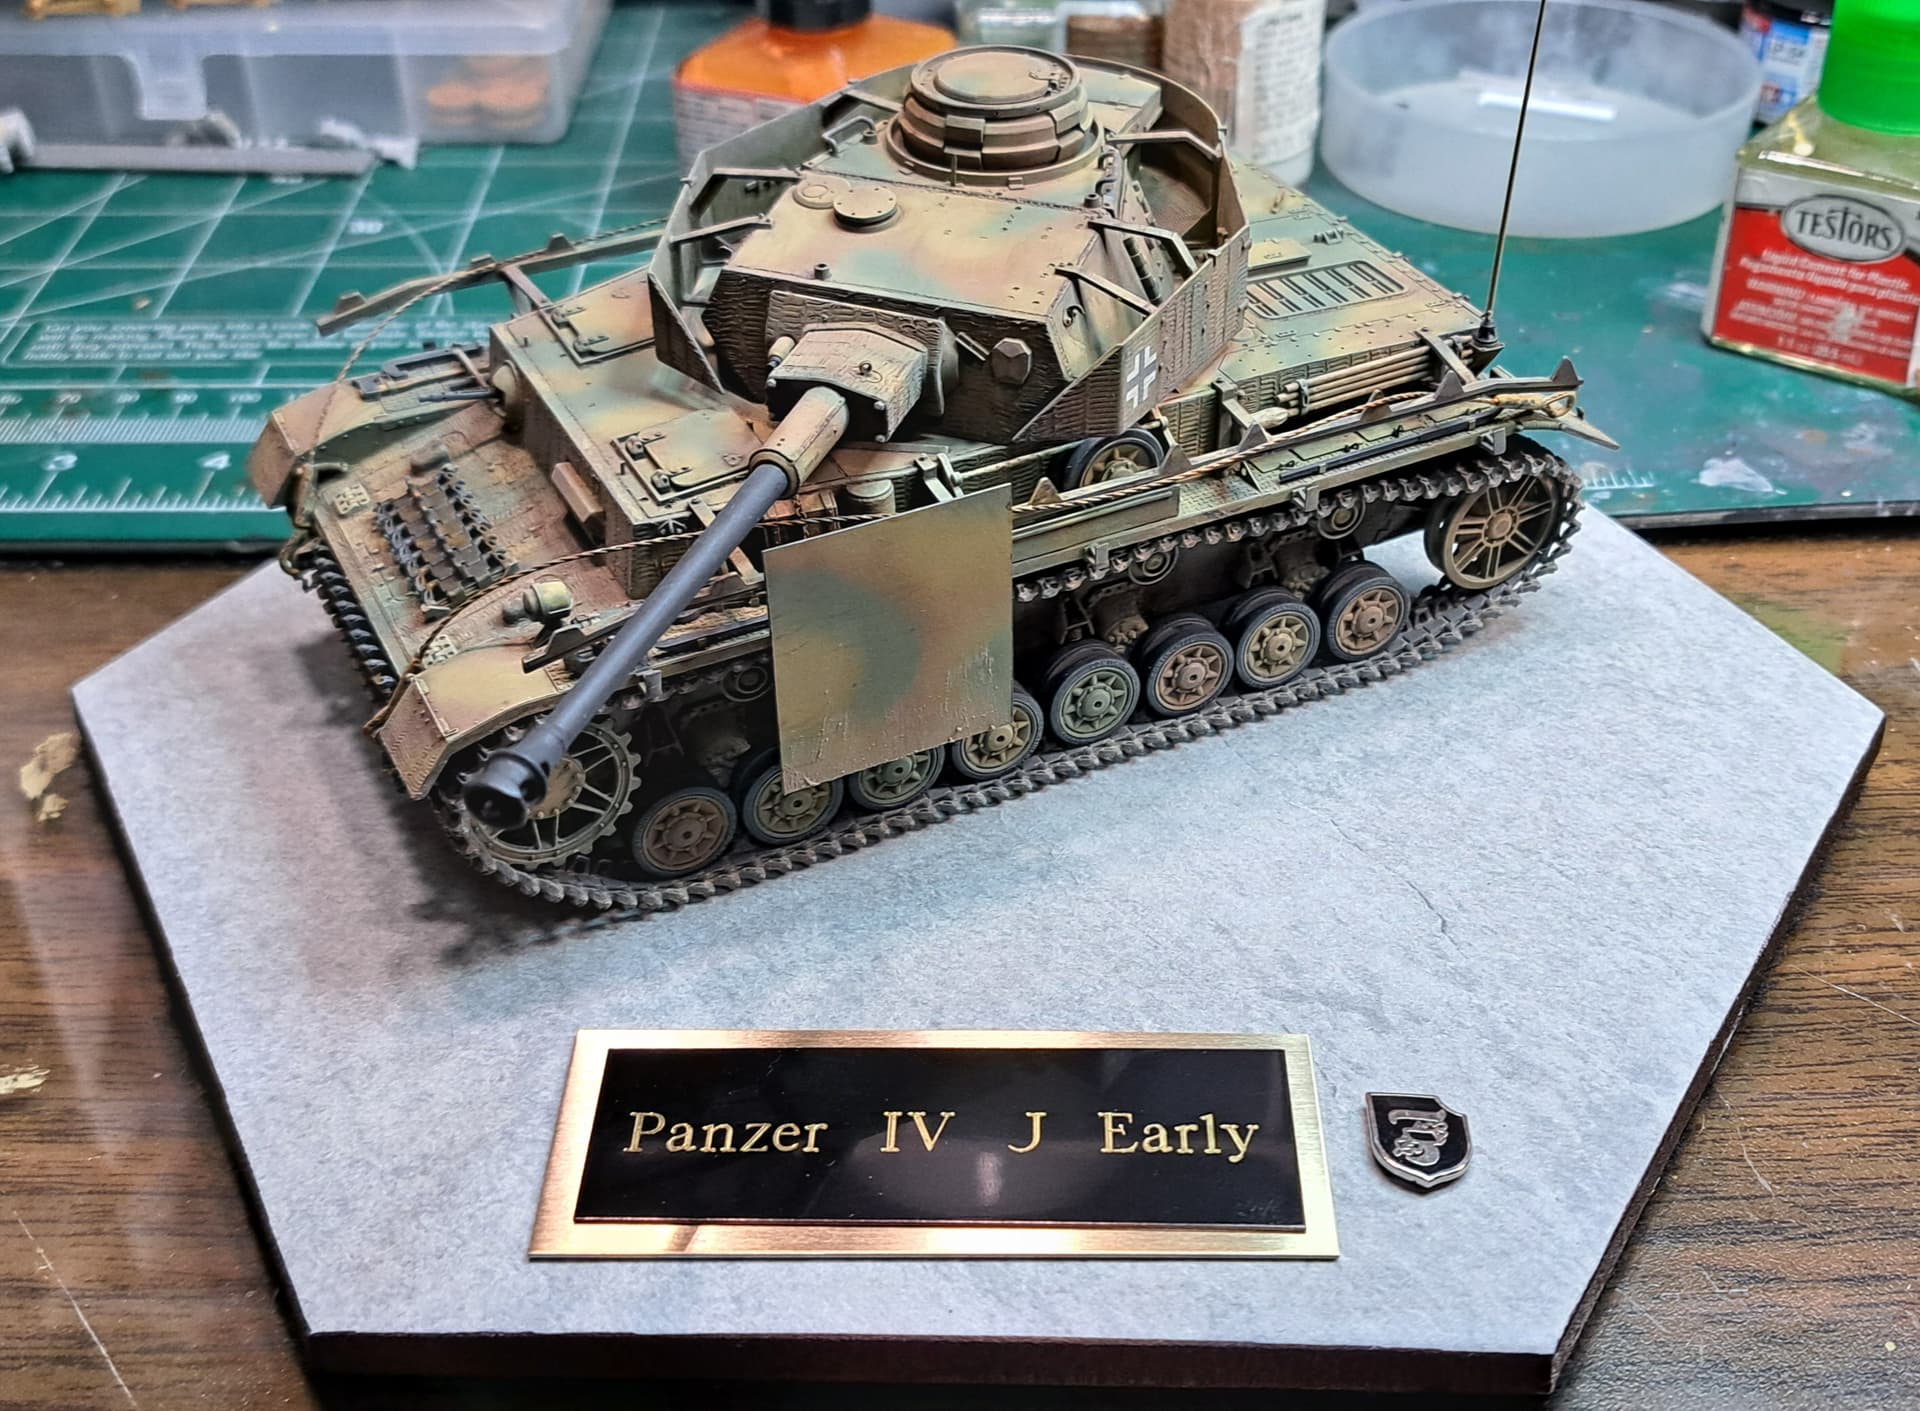
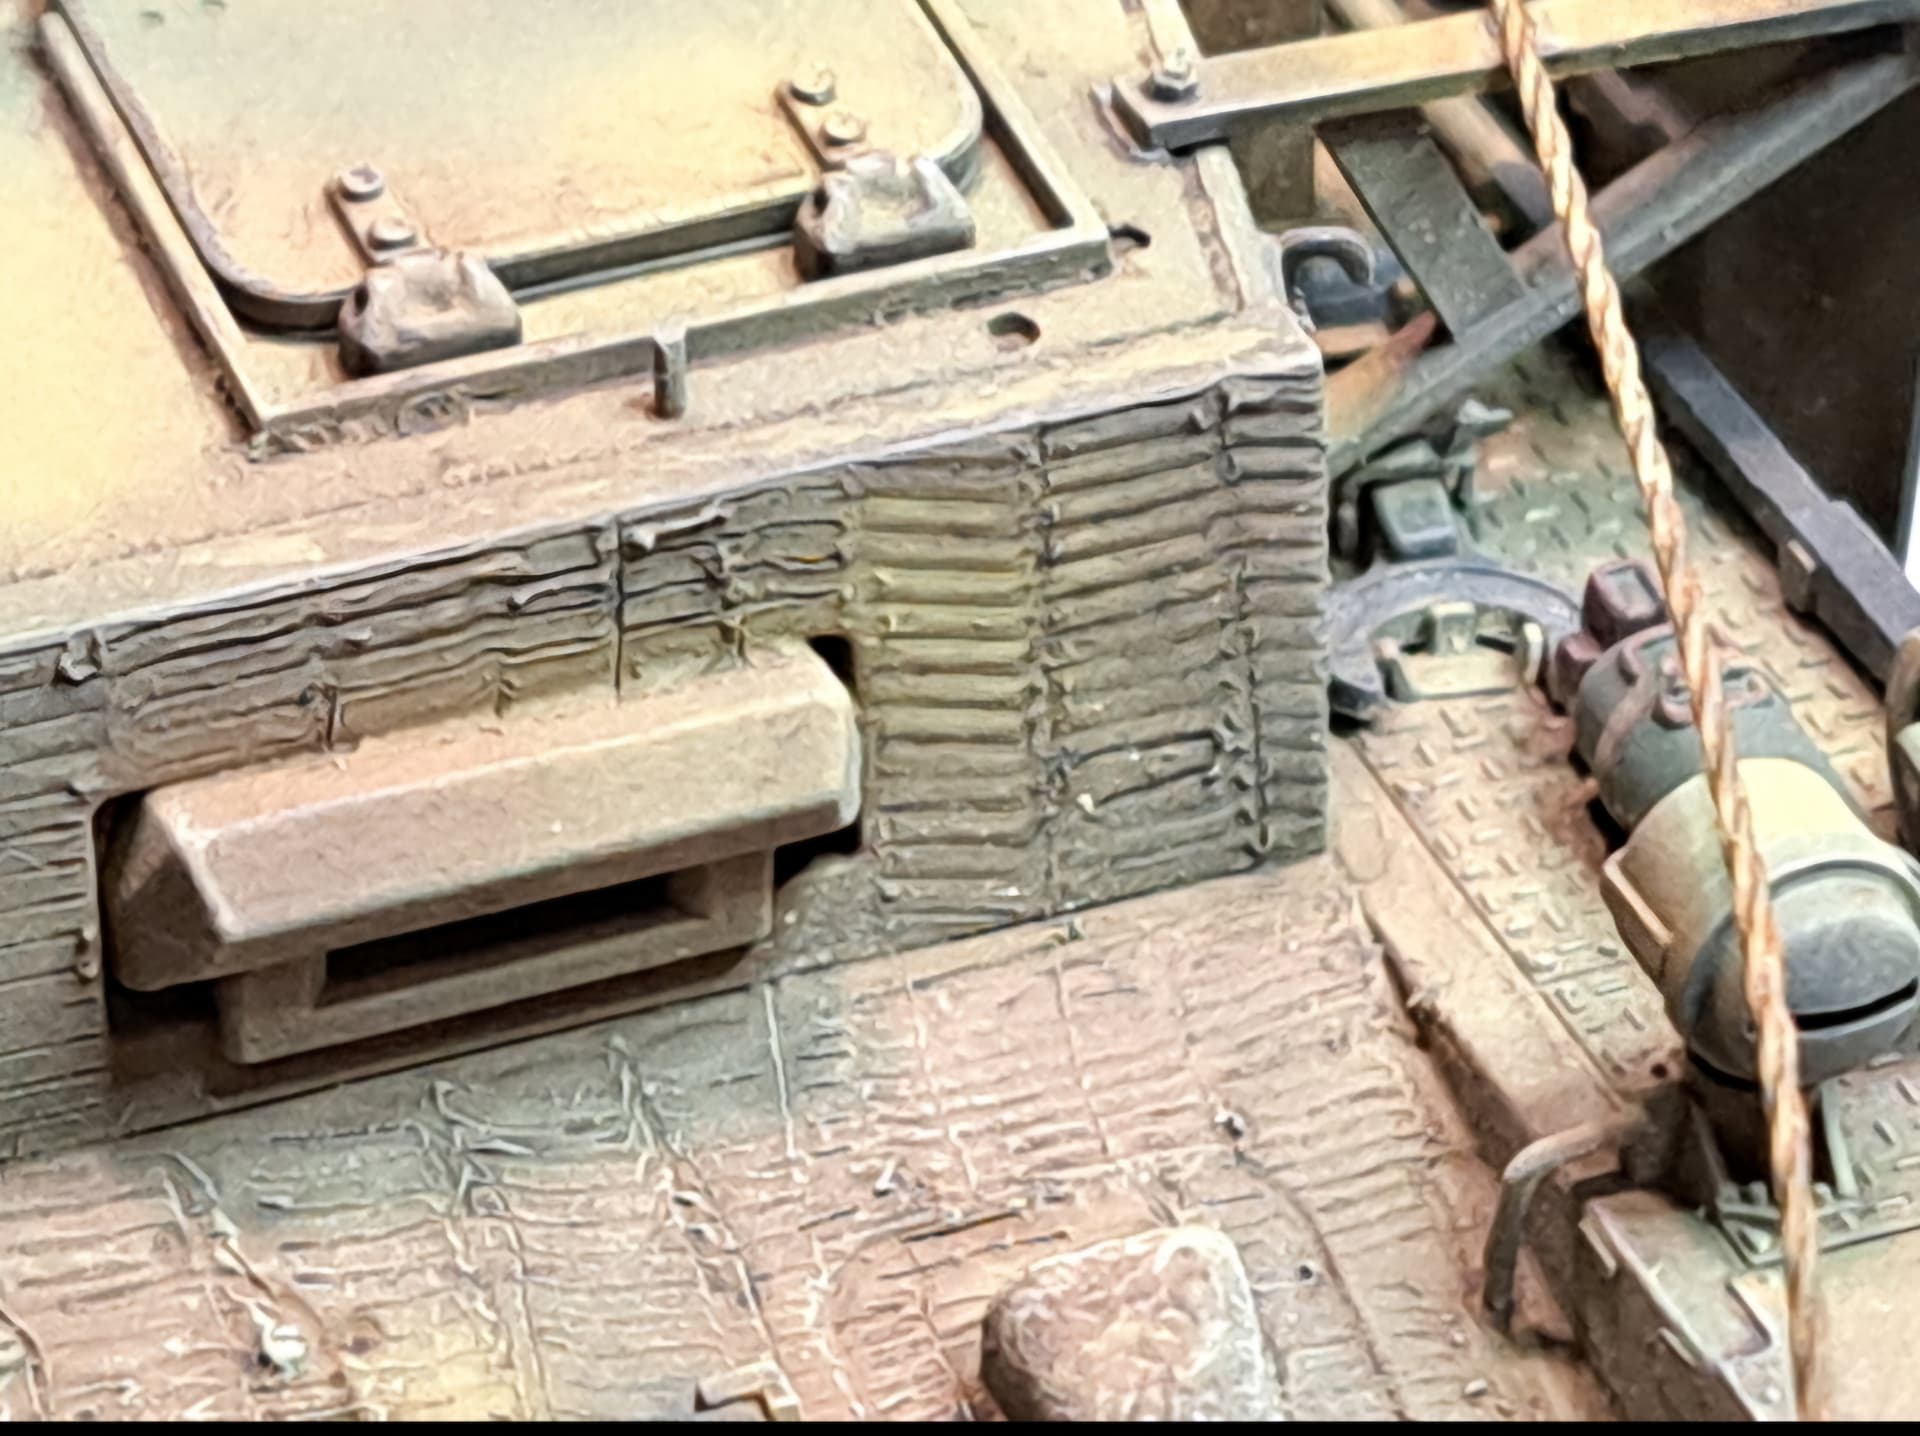
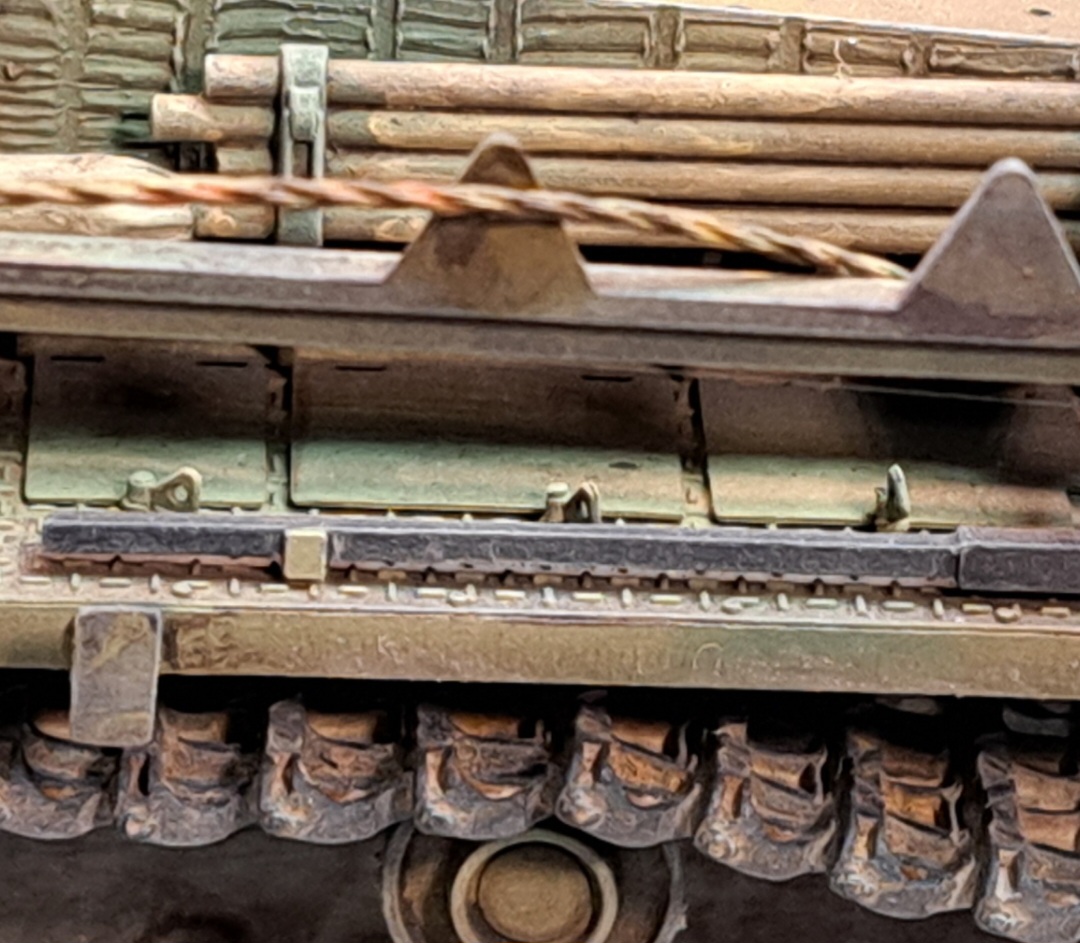
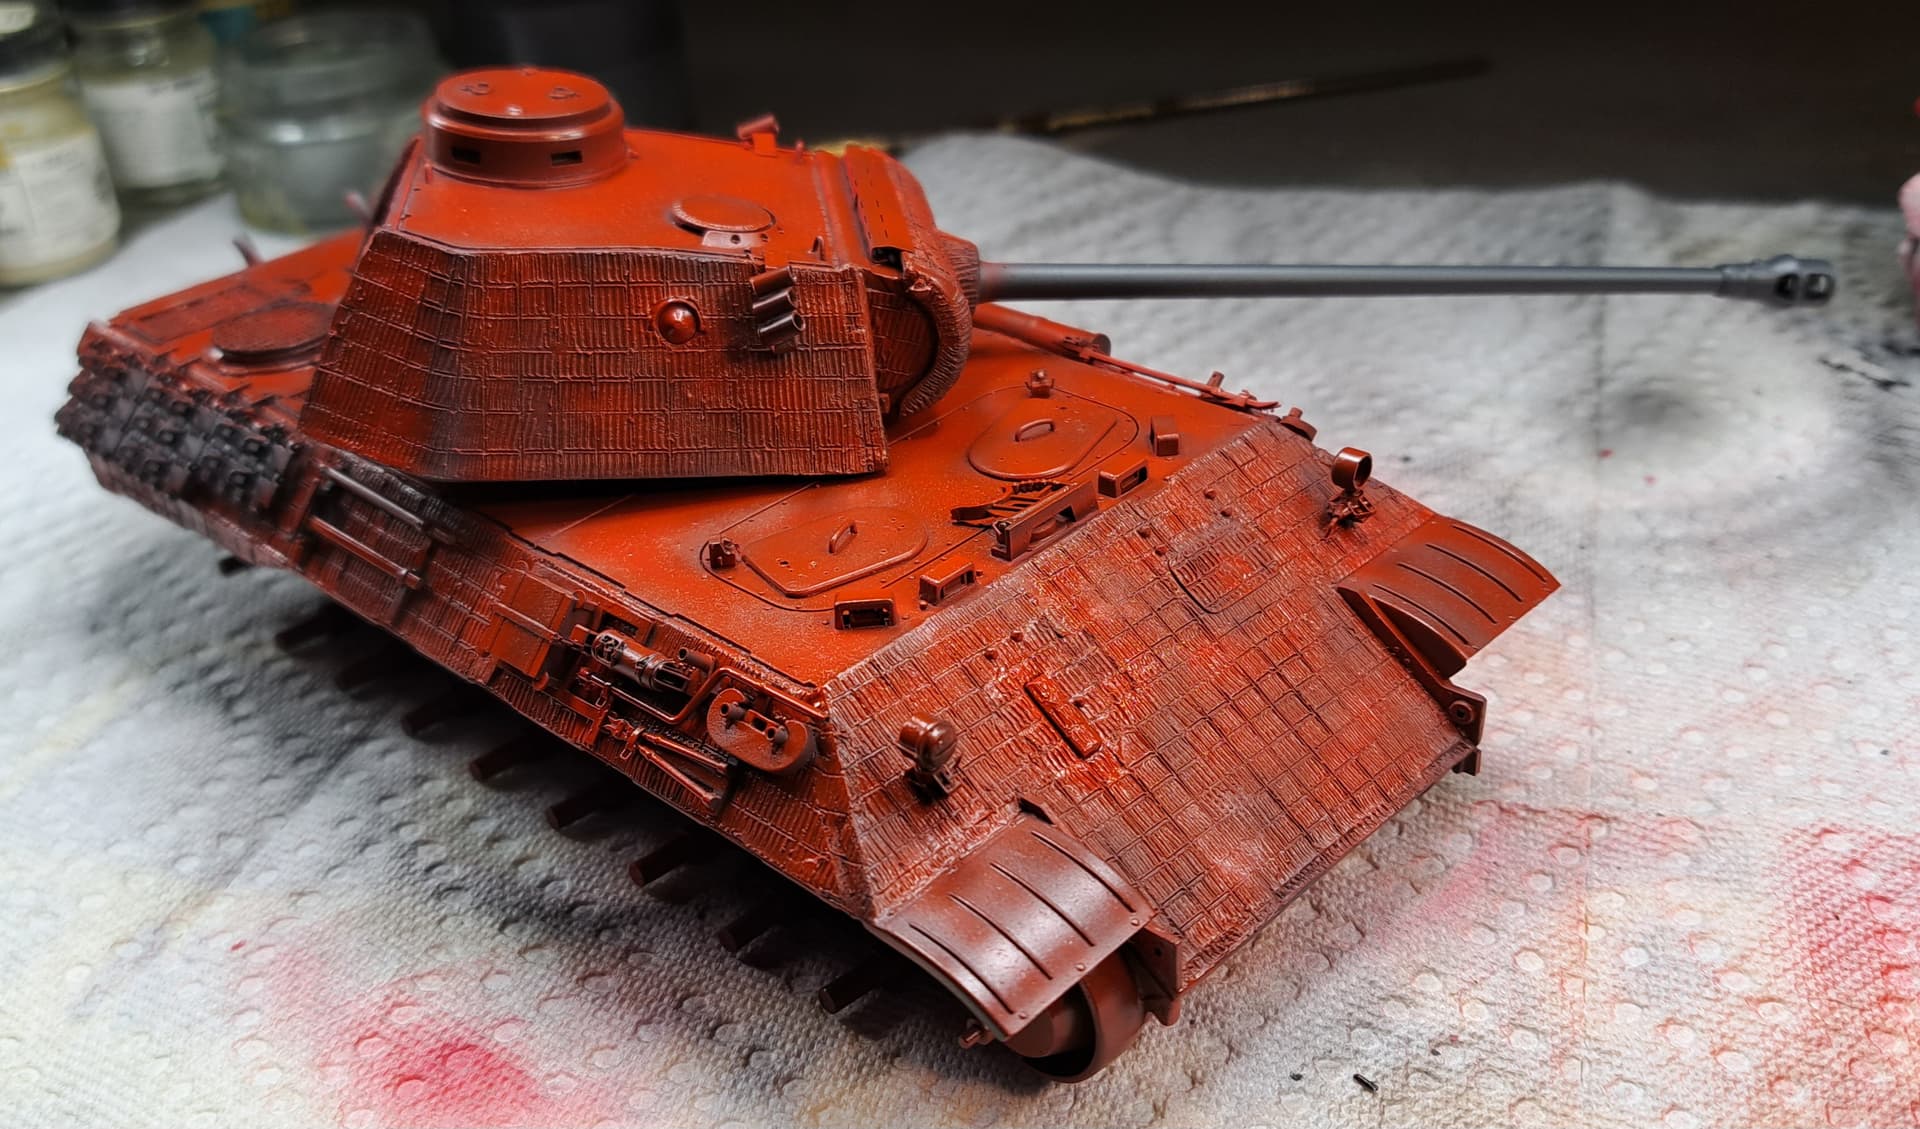
Turning to another old shelf queen from 1997. Last worked on February this year, an Italeri Panther.
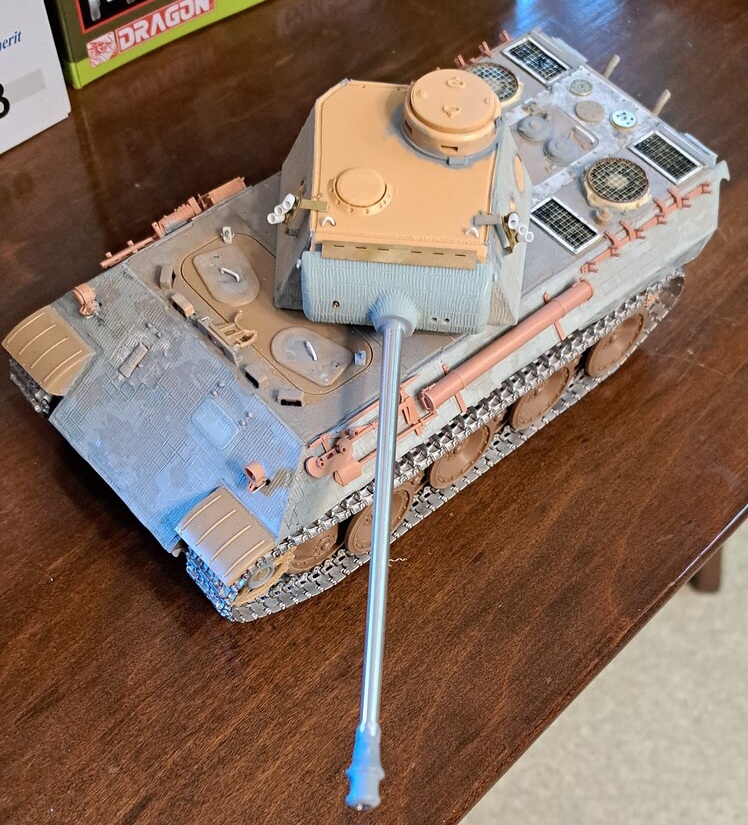
Spare track, chains for the spare track pins & pins will be first order of business.
The extra QuickTrack links fit the Heavy Hobby spare track rack perfectly! Expected this to be difficult but it all fit perfectly. Speaks volumes of good about Quick Track & Heavy Hobby in my opinion.

Tomorrow hopefully the chains & pins plus some painting…
12 Likes
Is this one in the Litter of Cats thread? I will follow along…
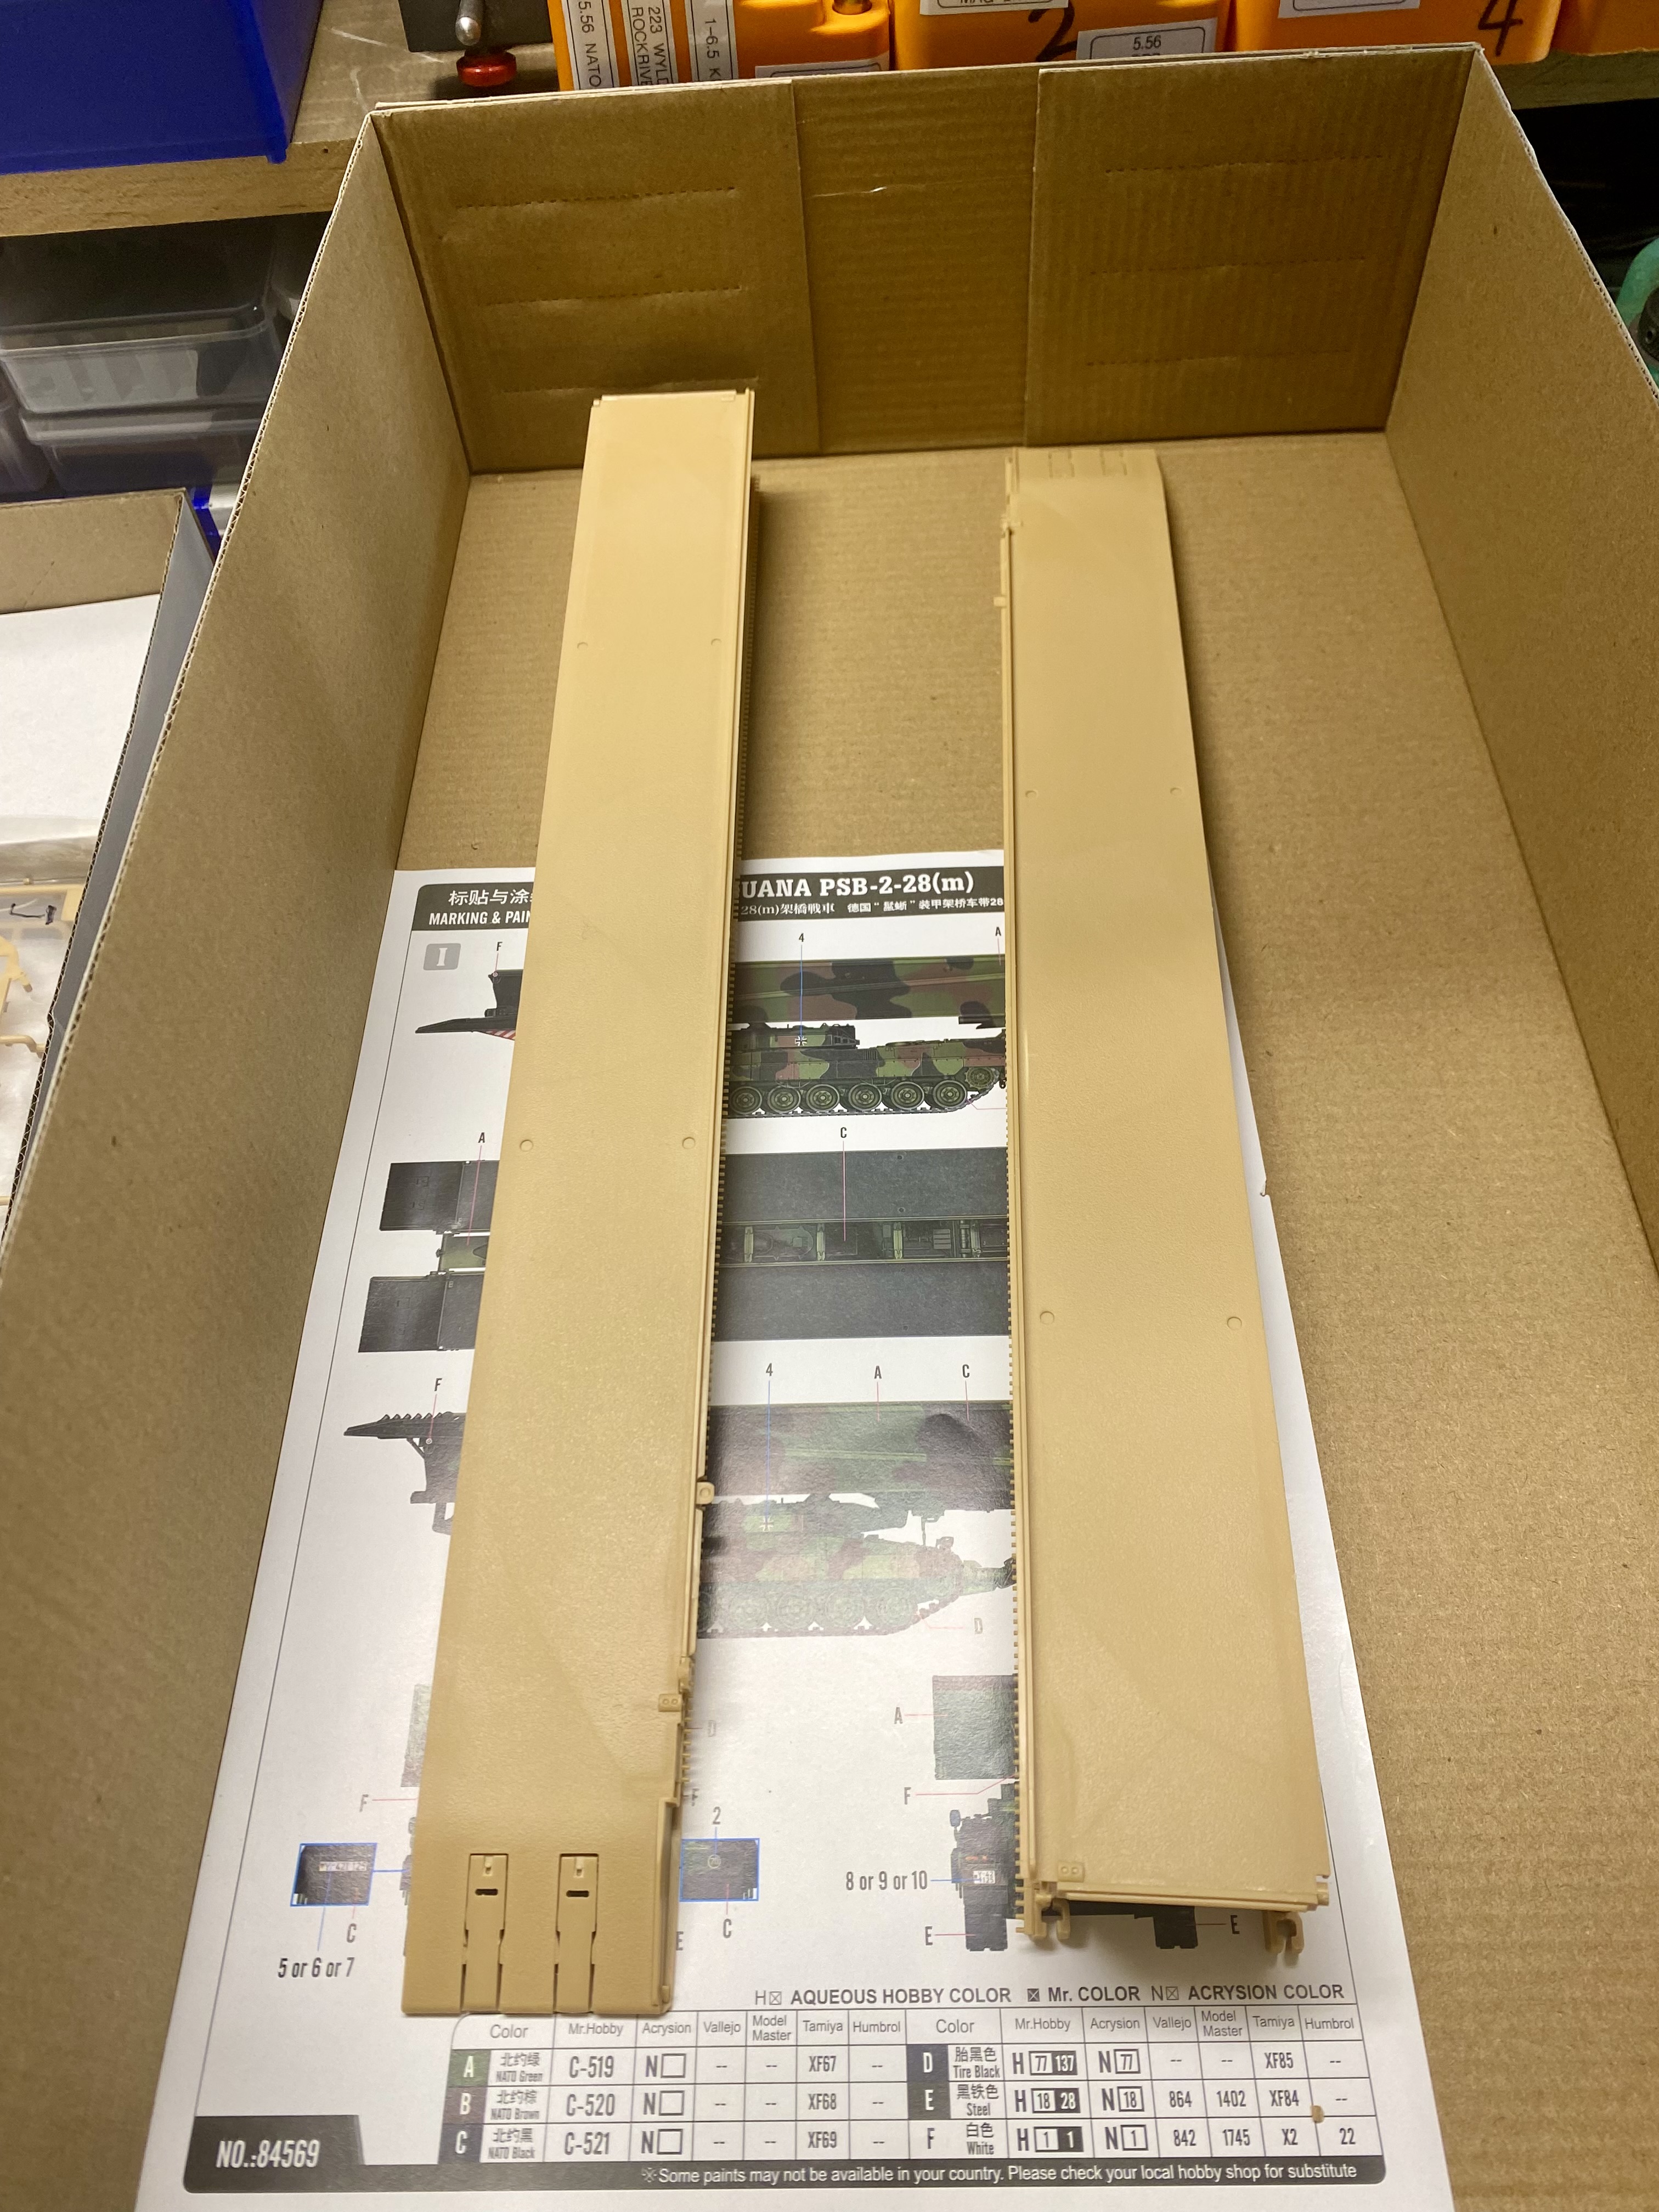
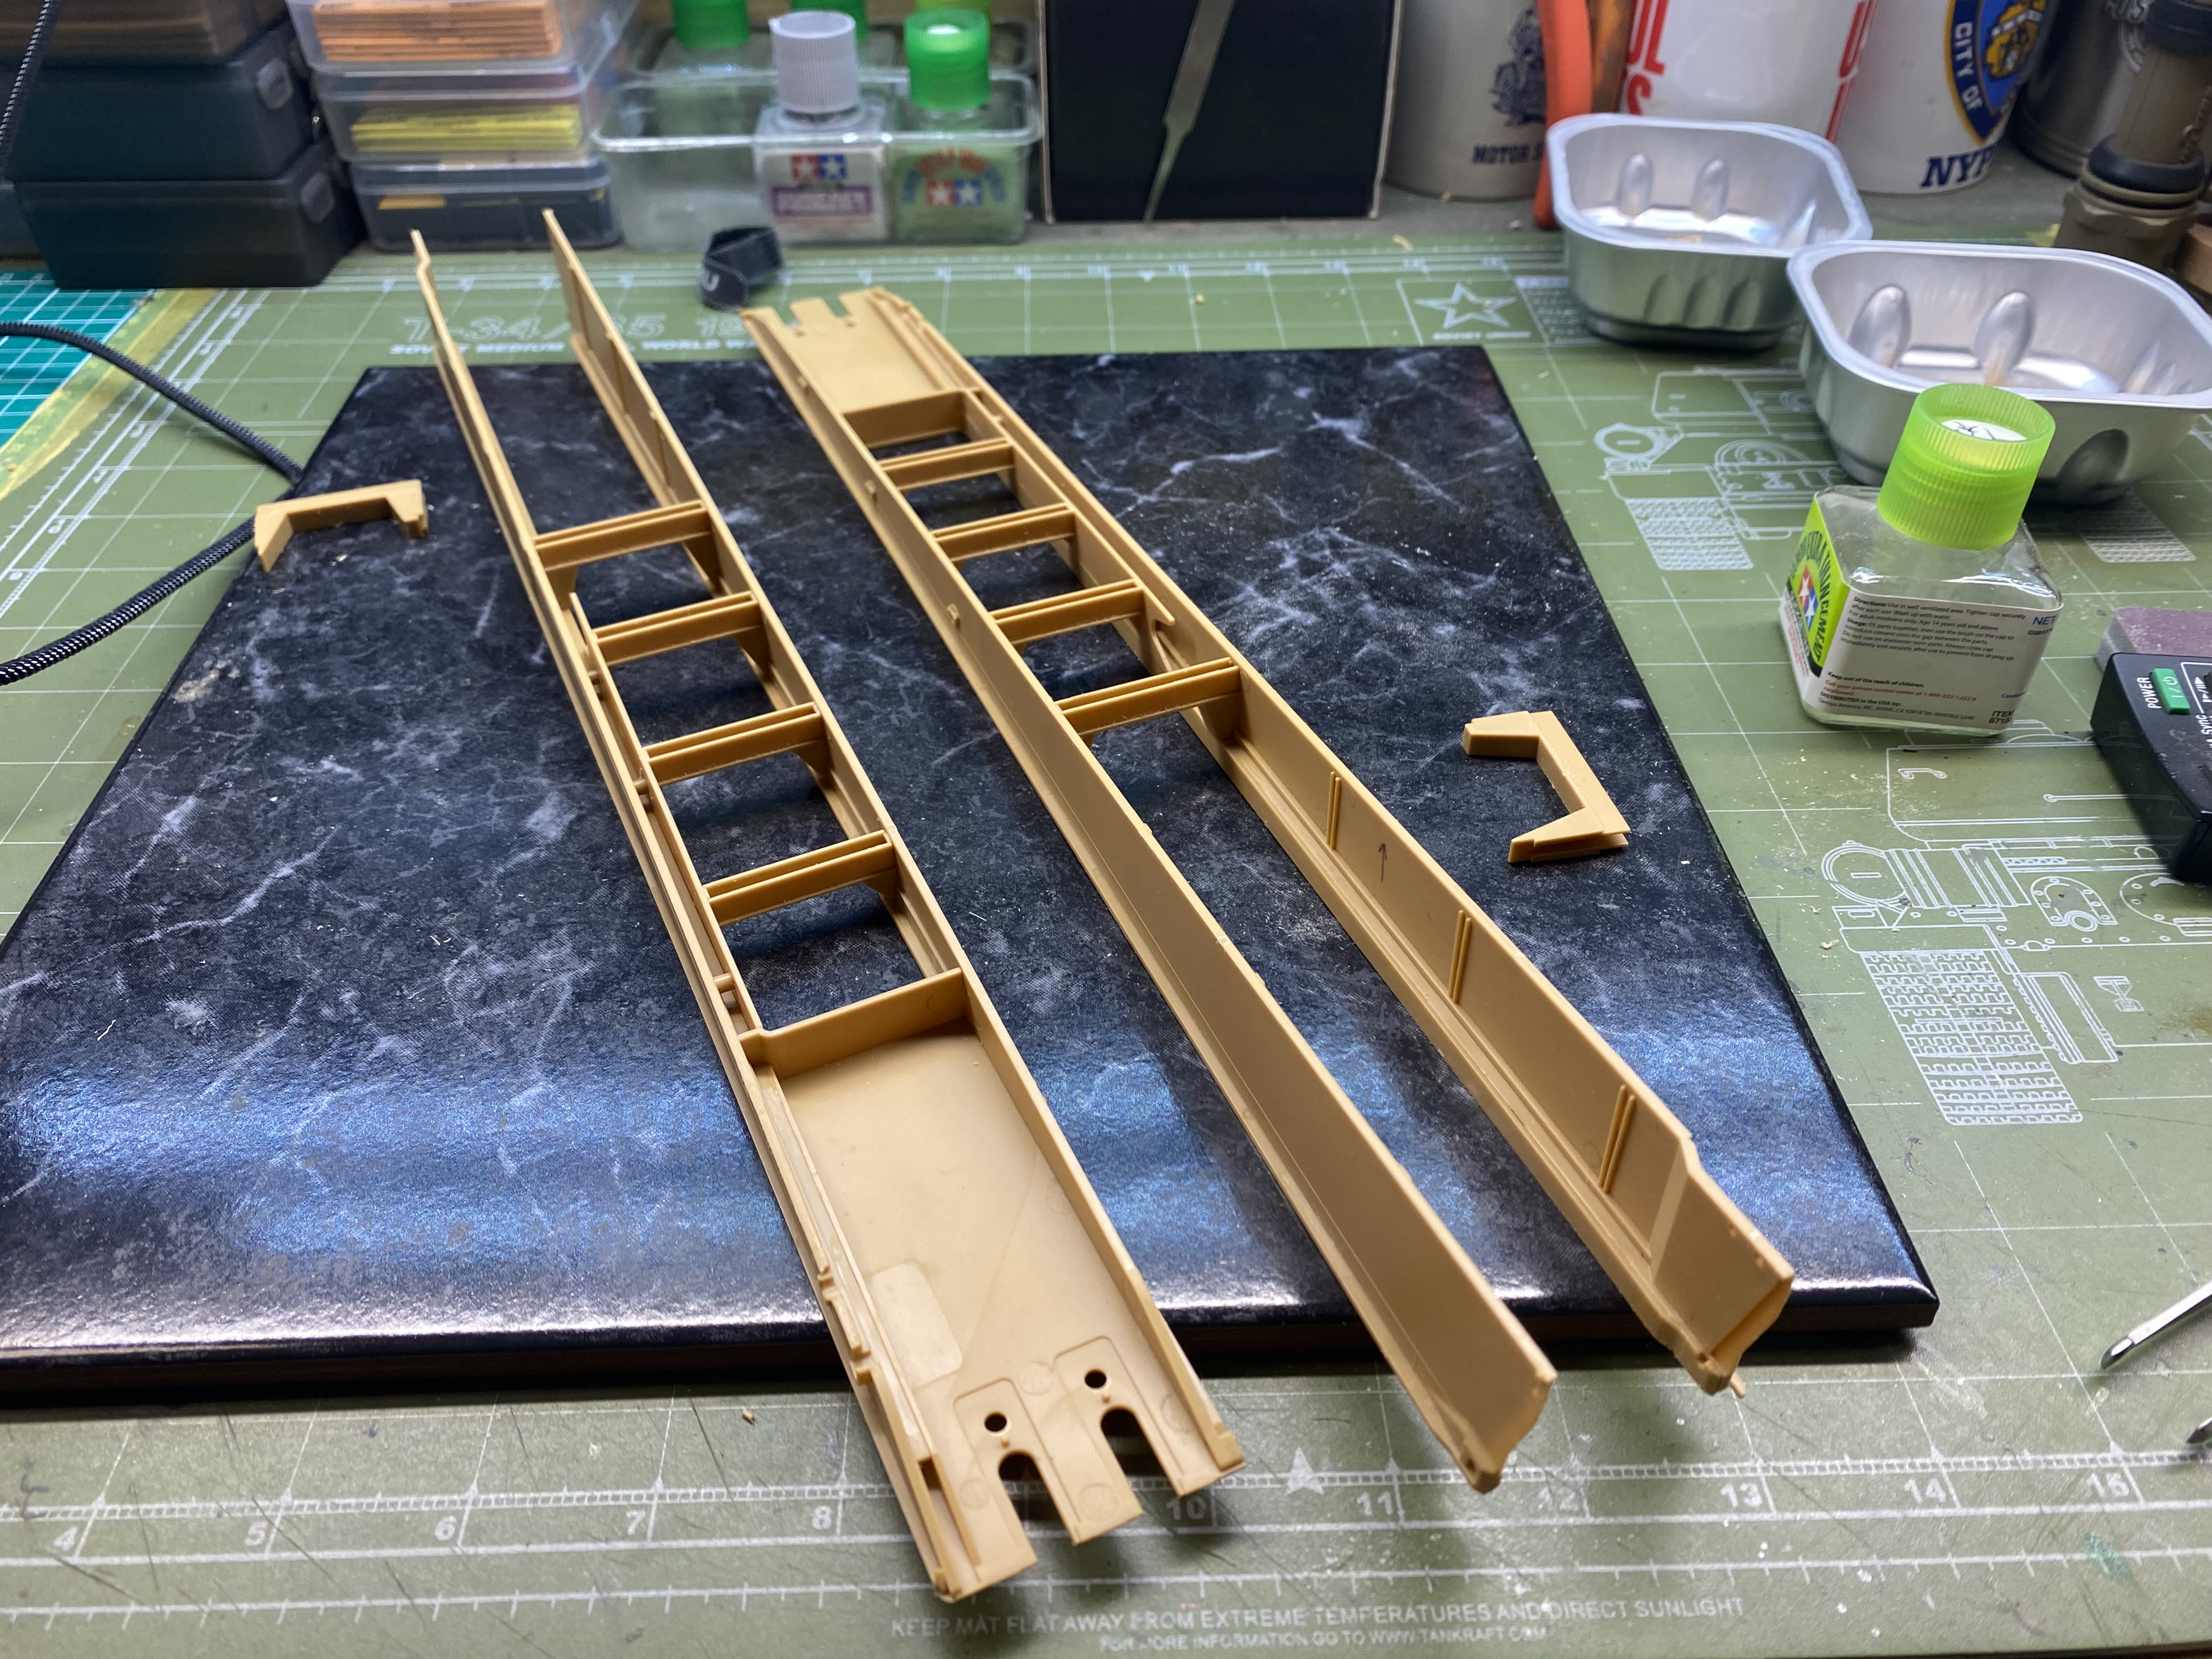
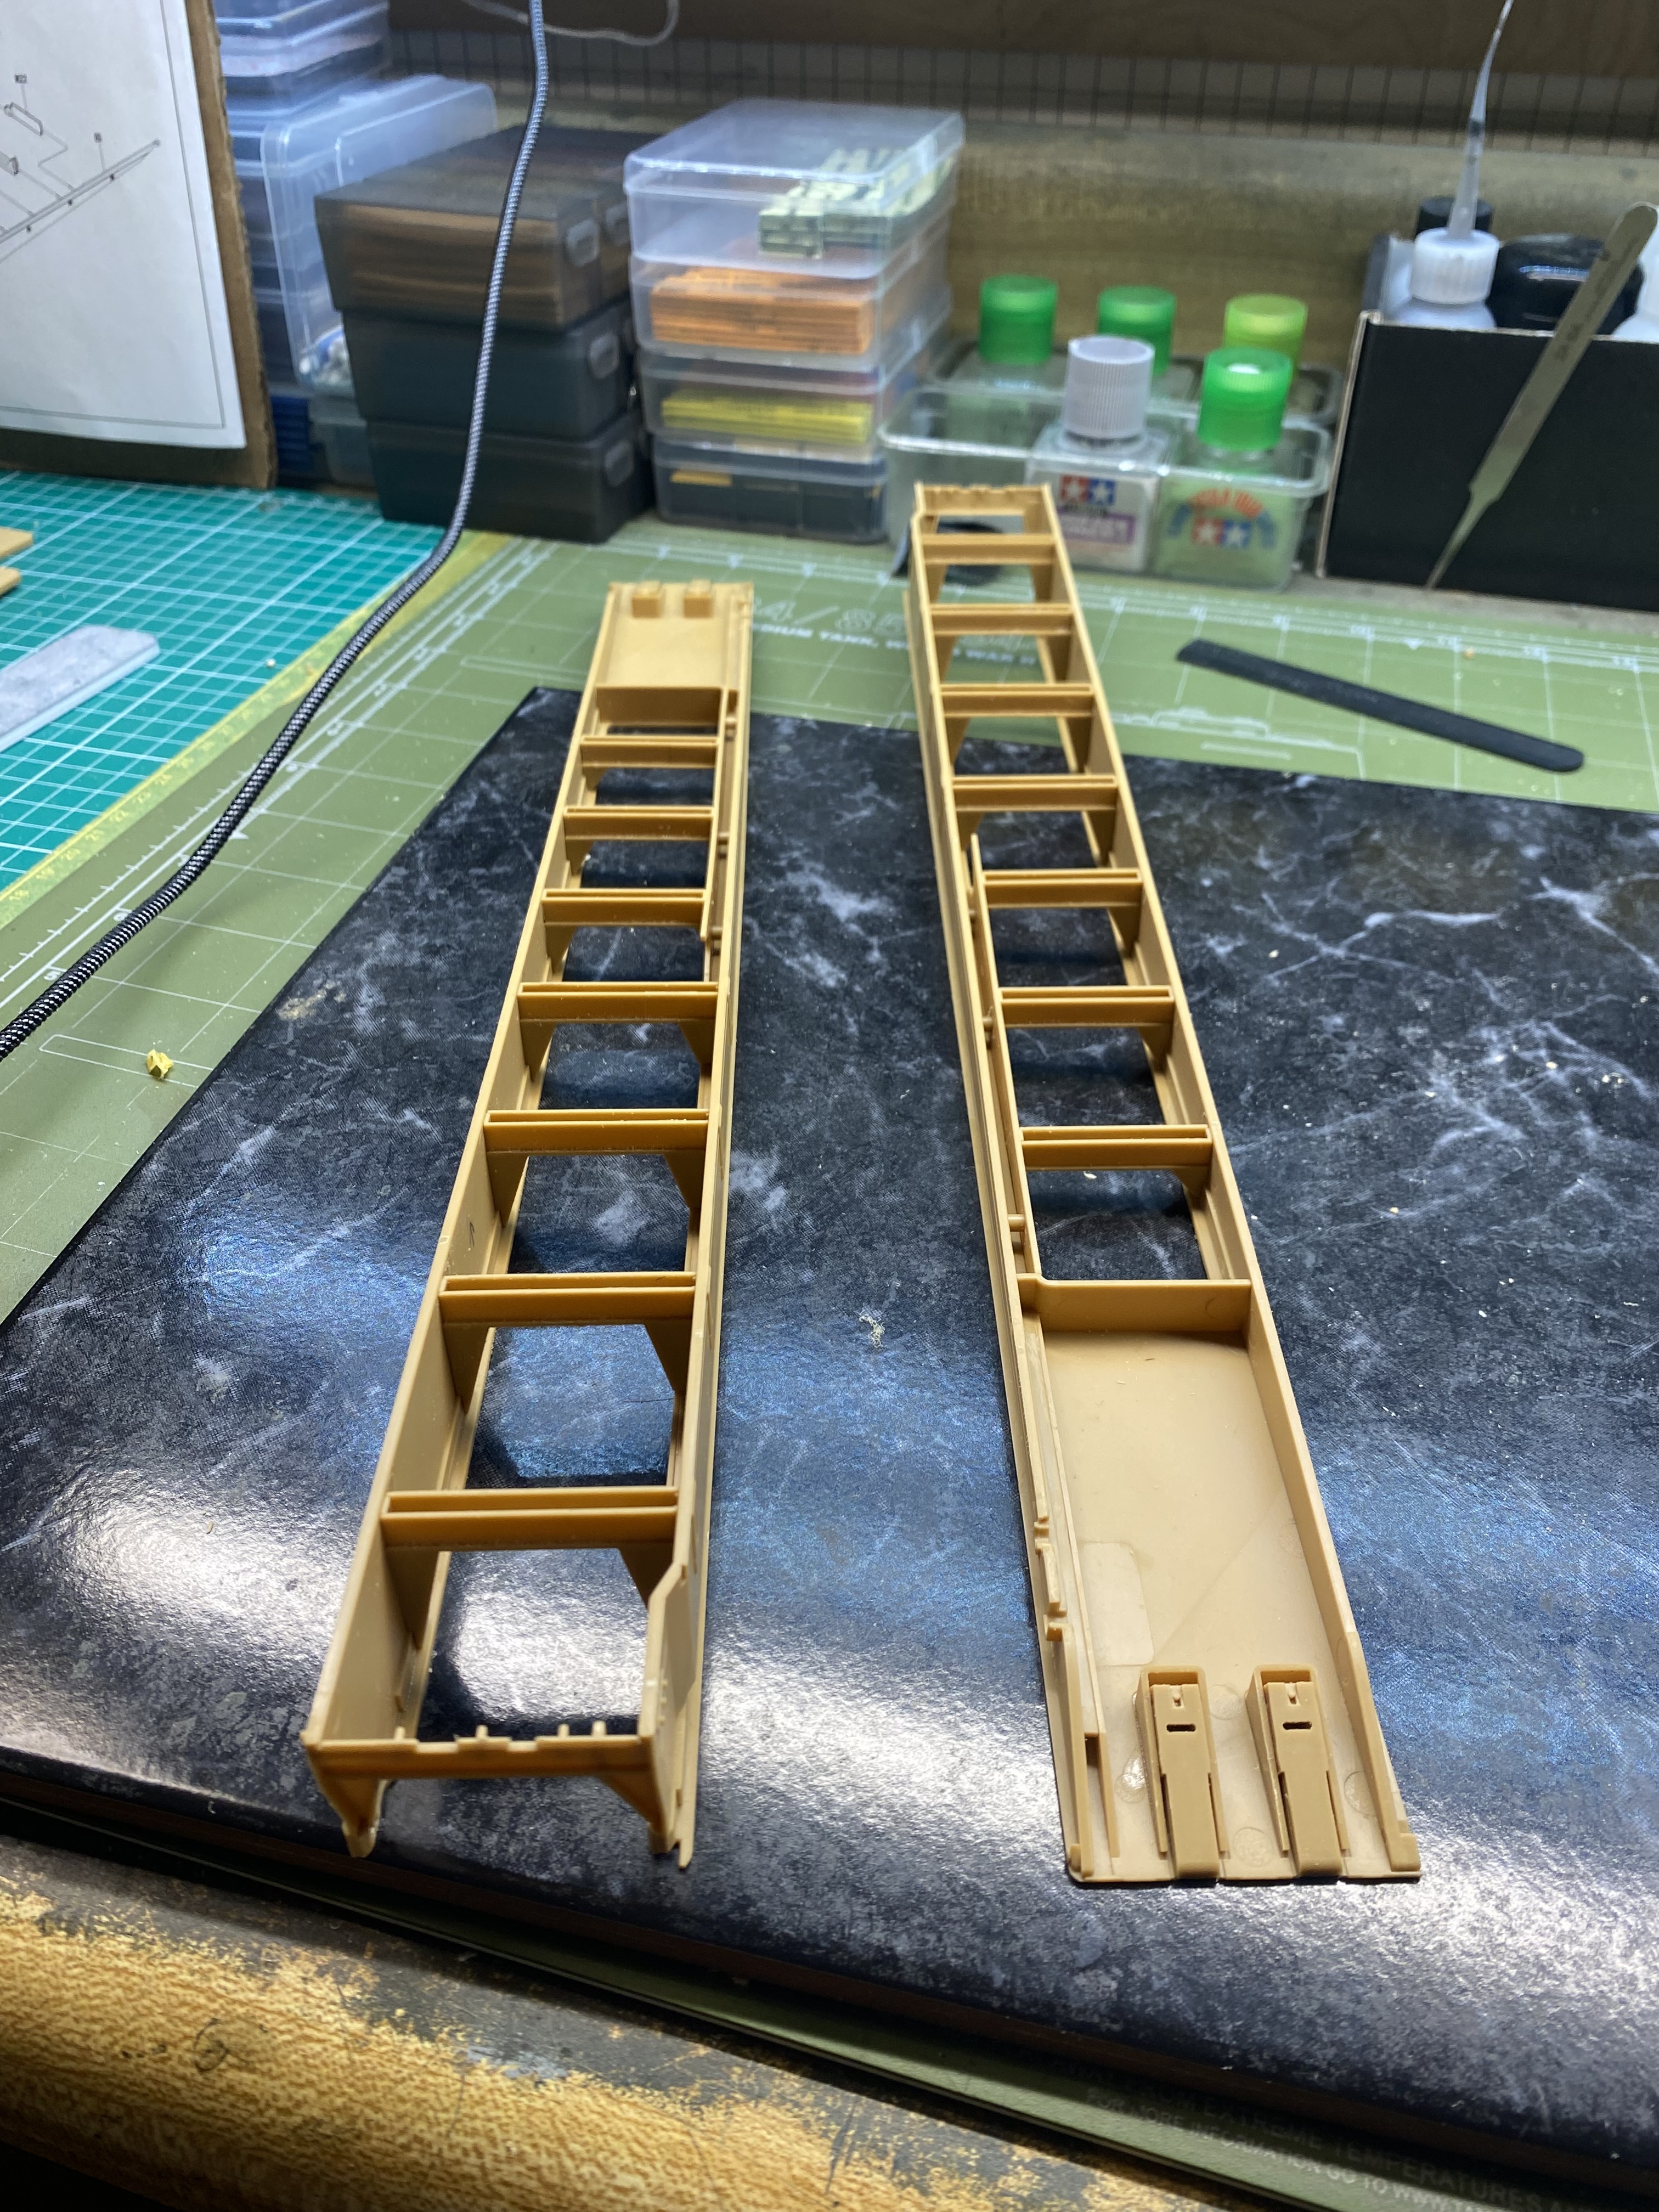
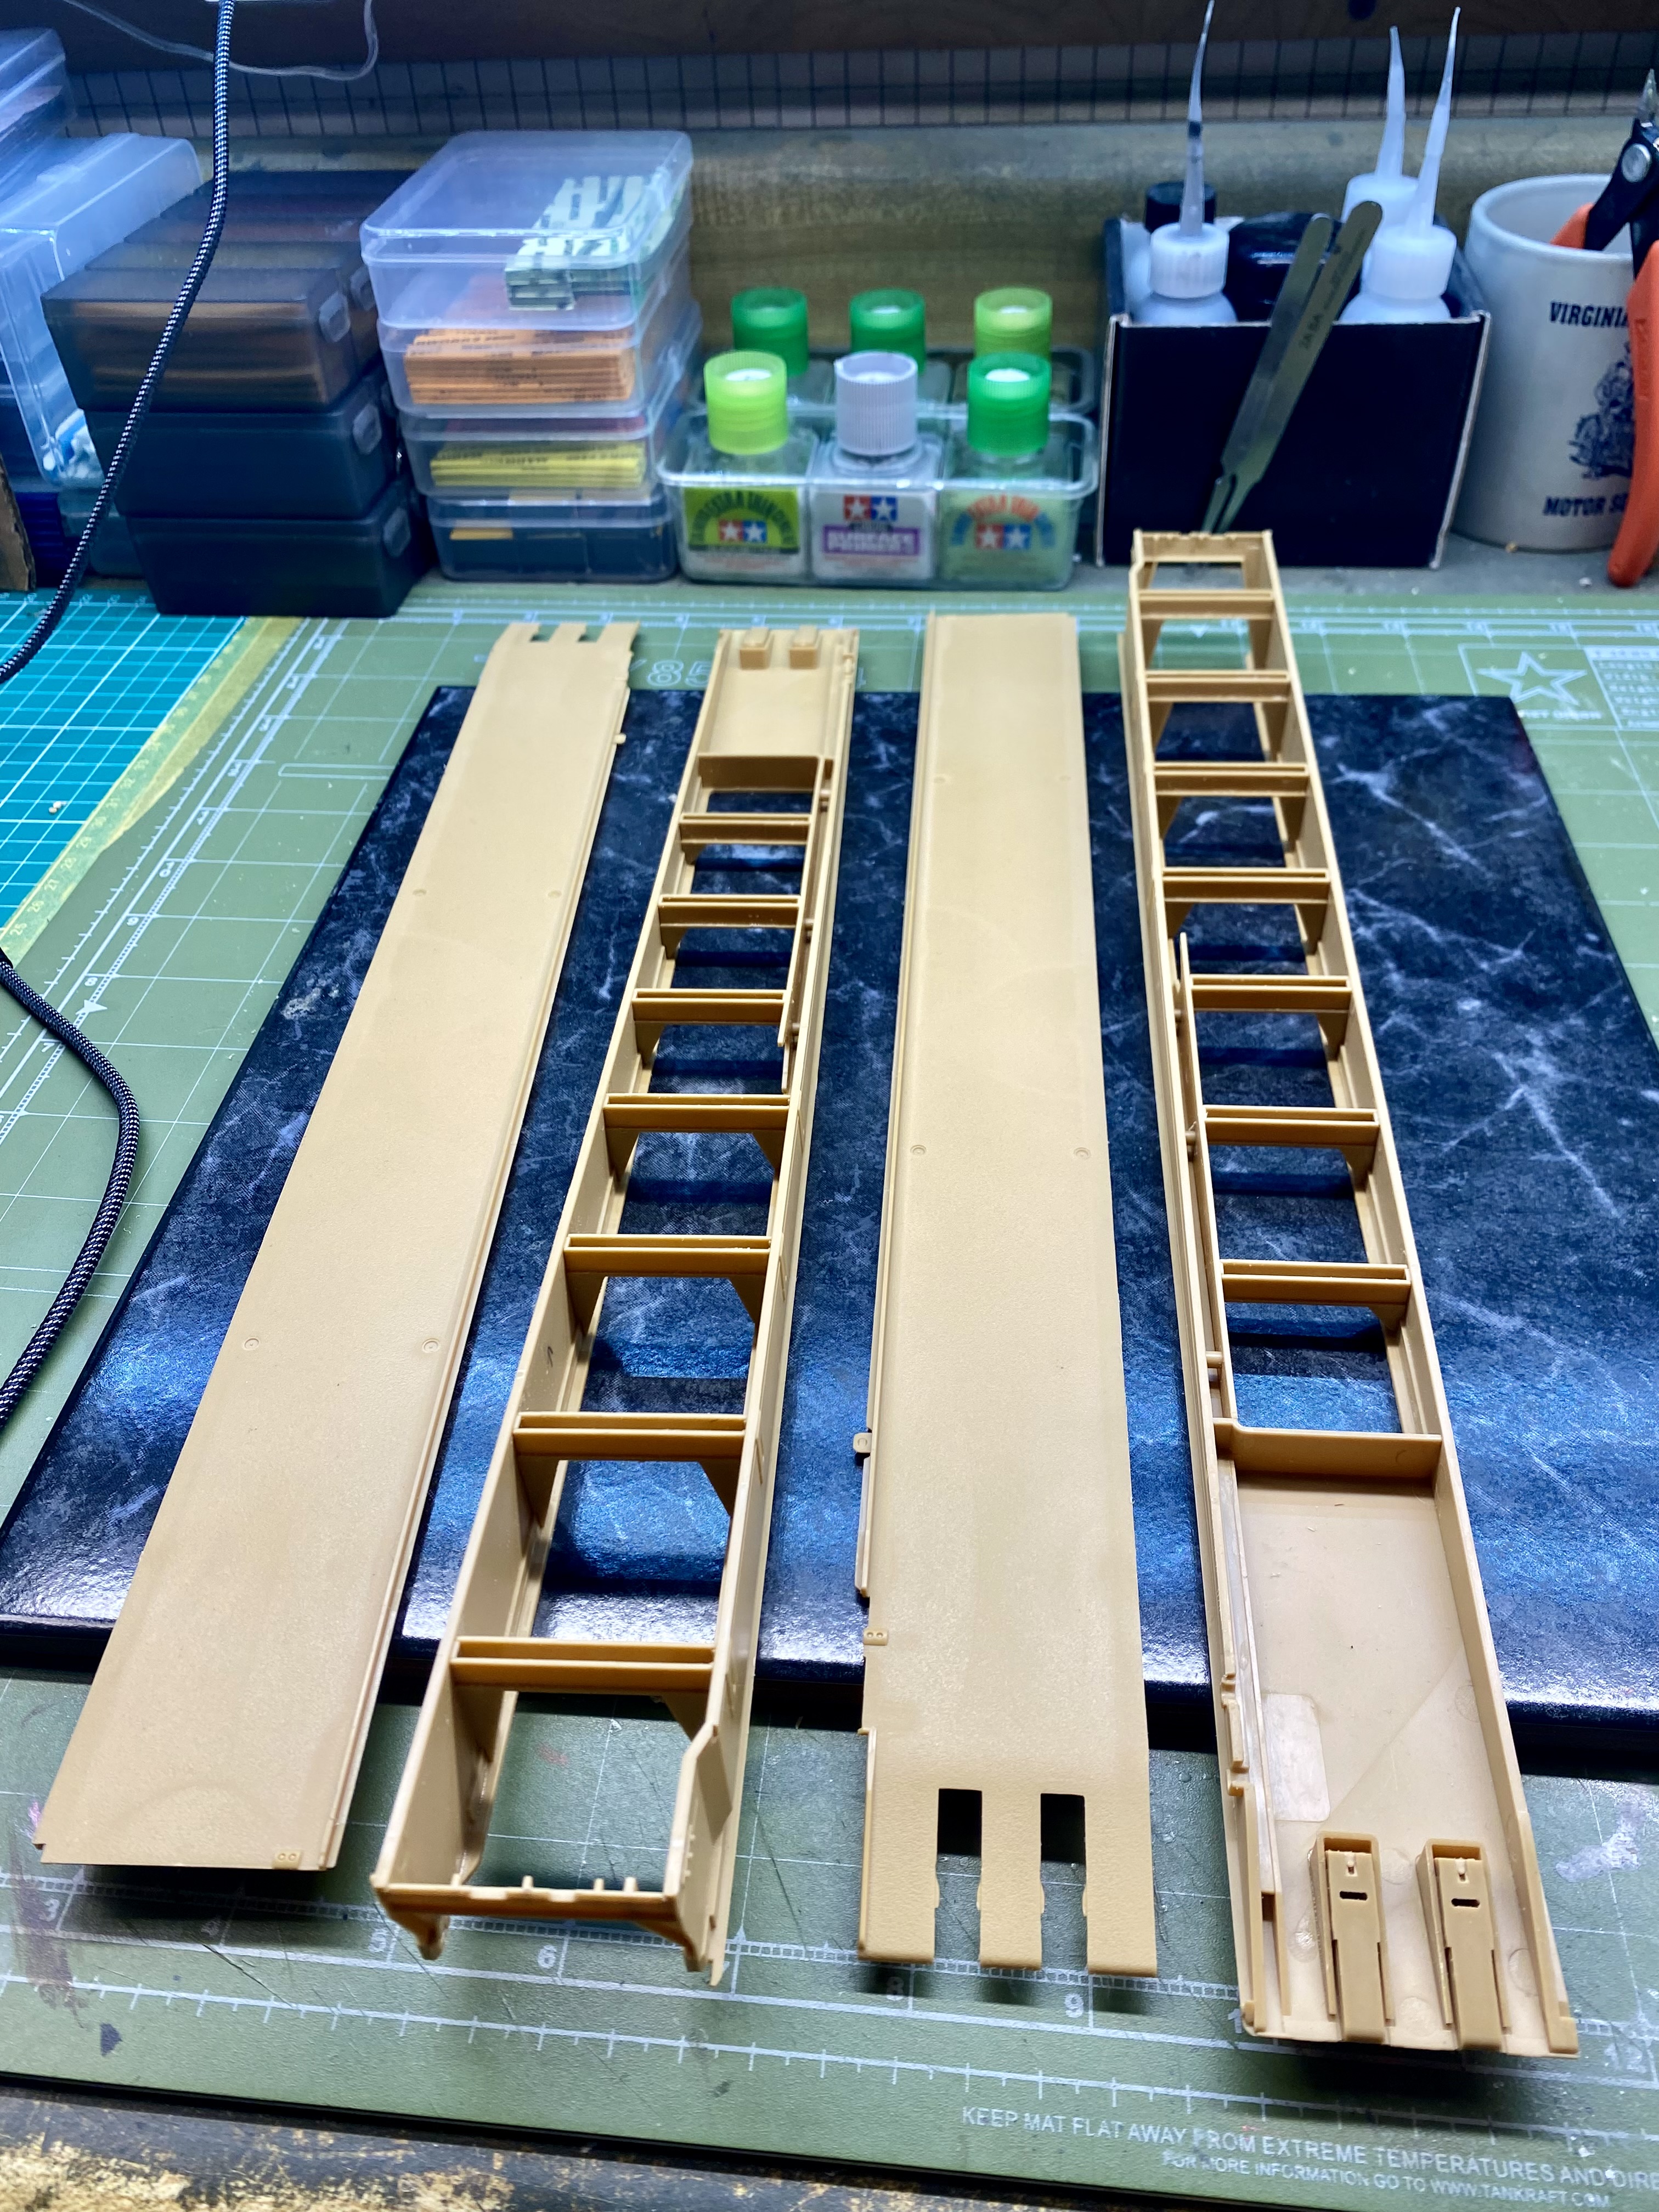
Everything is usually easier the second time around. Two more bridge sections for the 28 meter bridge…
12”x12” tile
10 Likes
Thank you, Al. Yes, it’s one of the turds in the cat box litter!
There will questionable judgements made, providing entertainment…like a base coat of Tamiya Lacquer Red paint as RAL 3000 primer to see what that does with the Dark Yellow top coat…I could get an orange ![]()
![]()

5 Likes
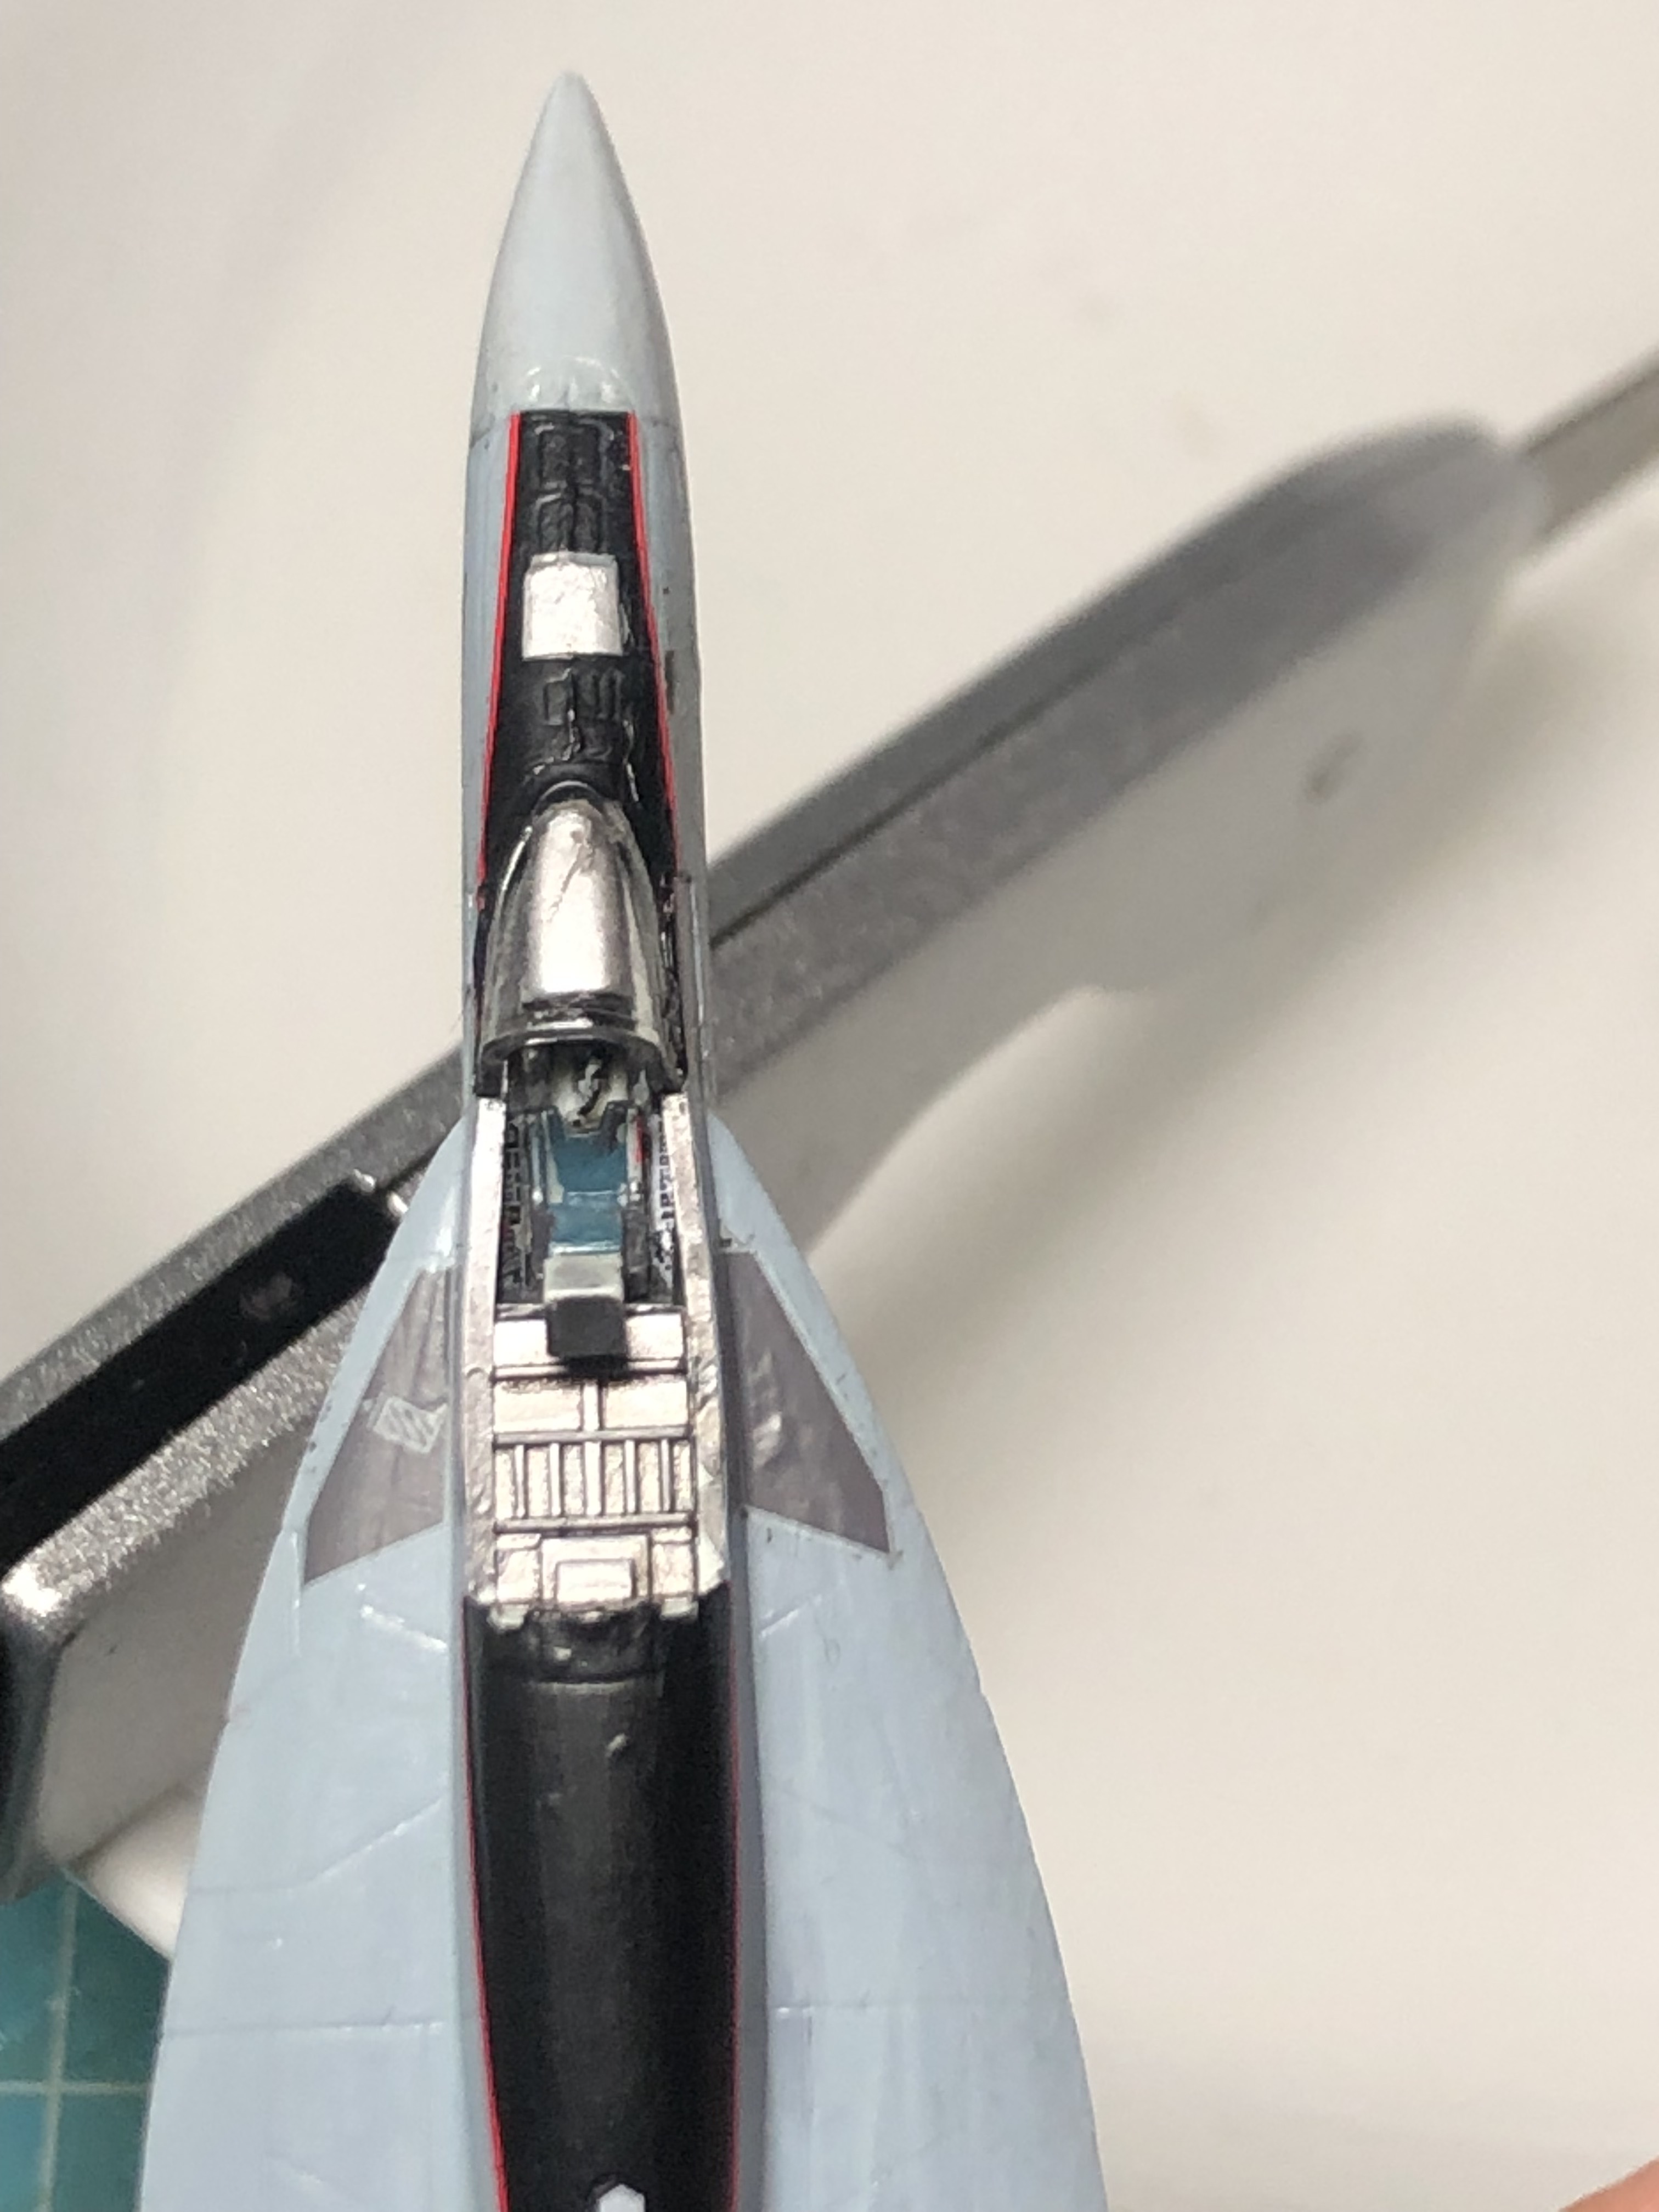
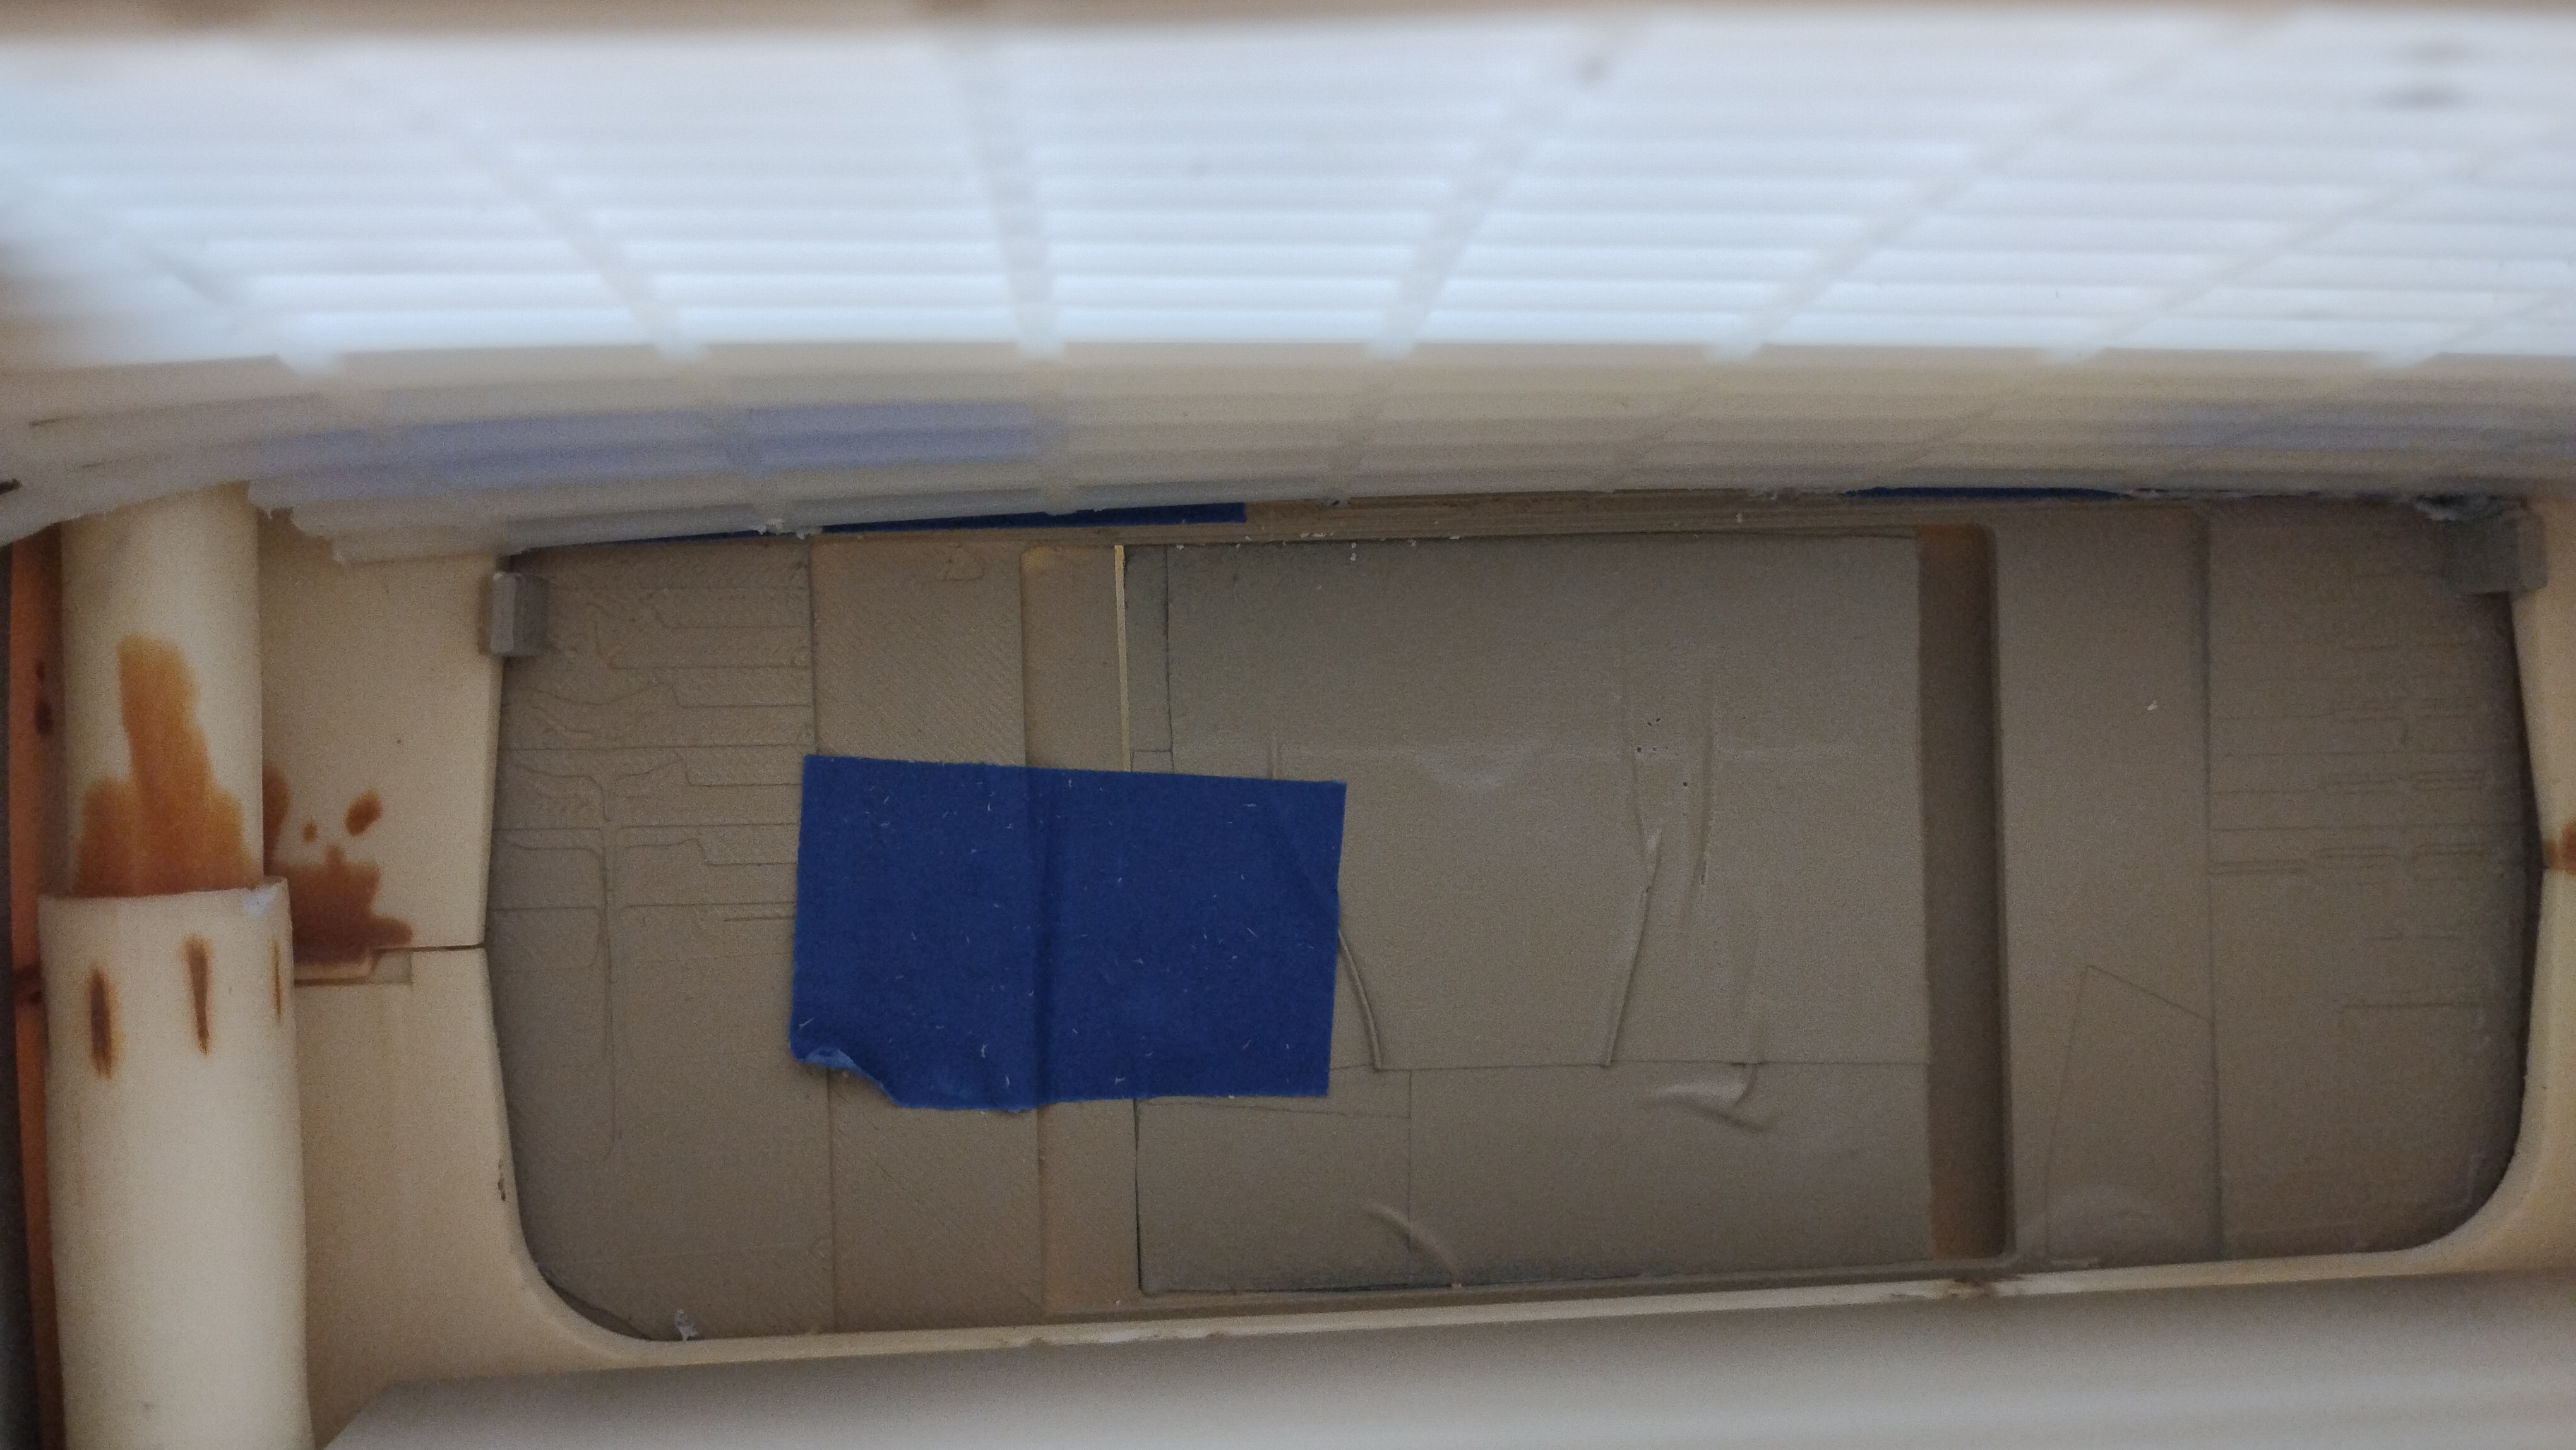
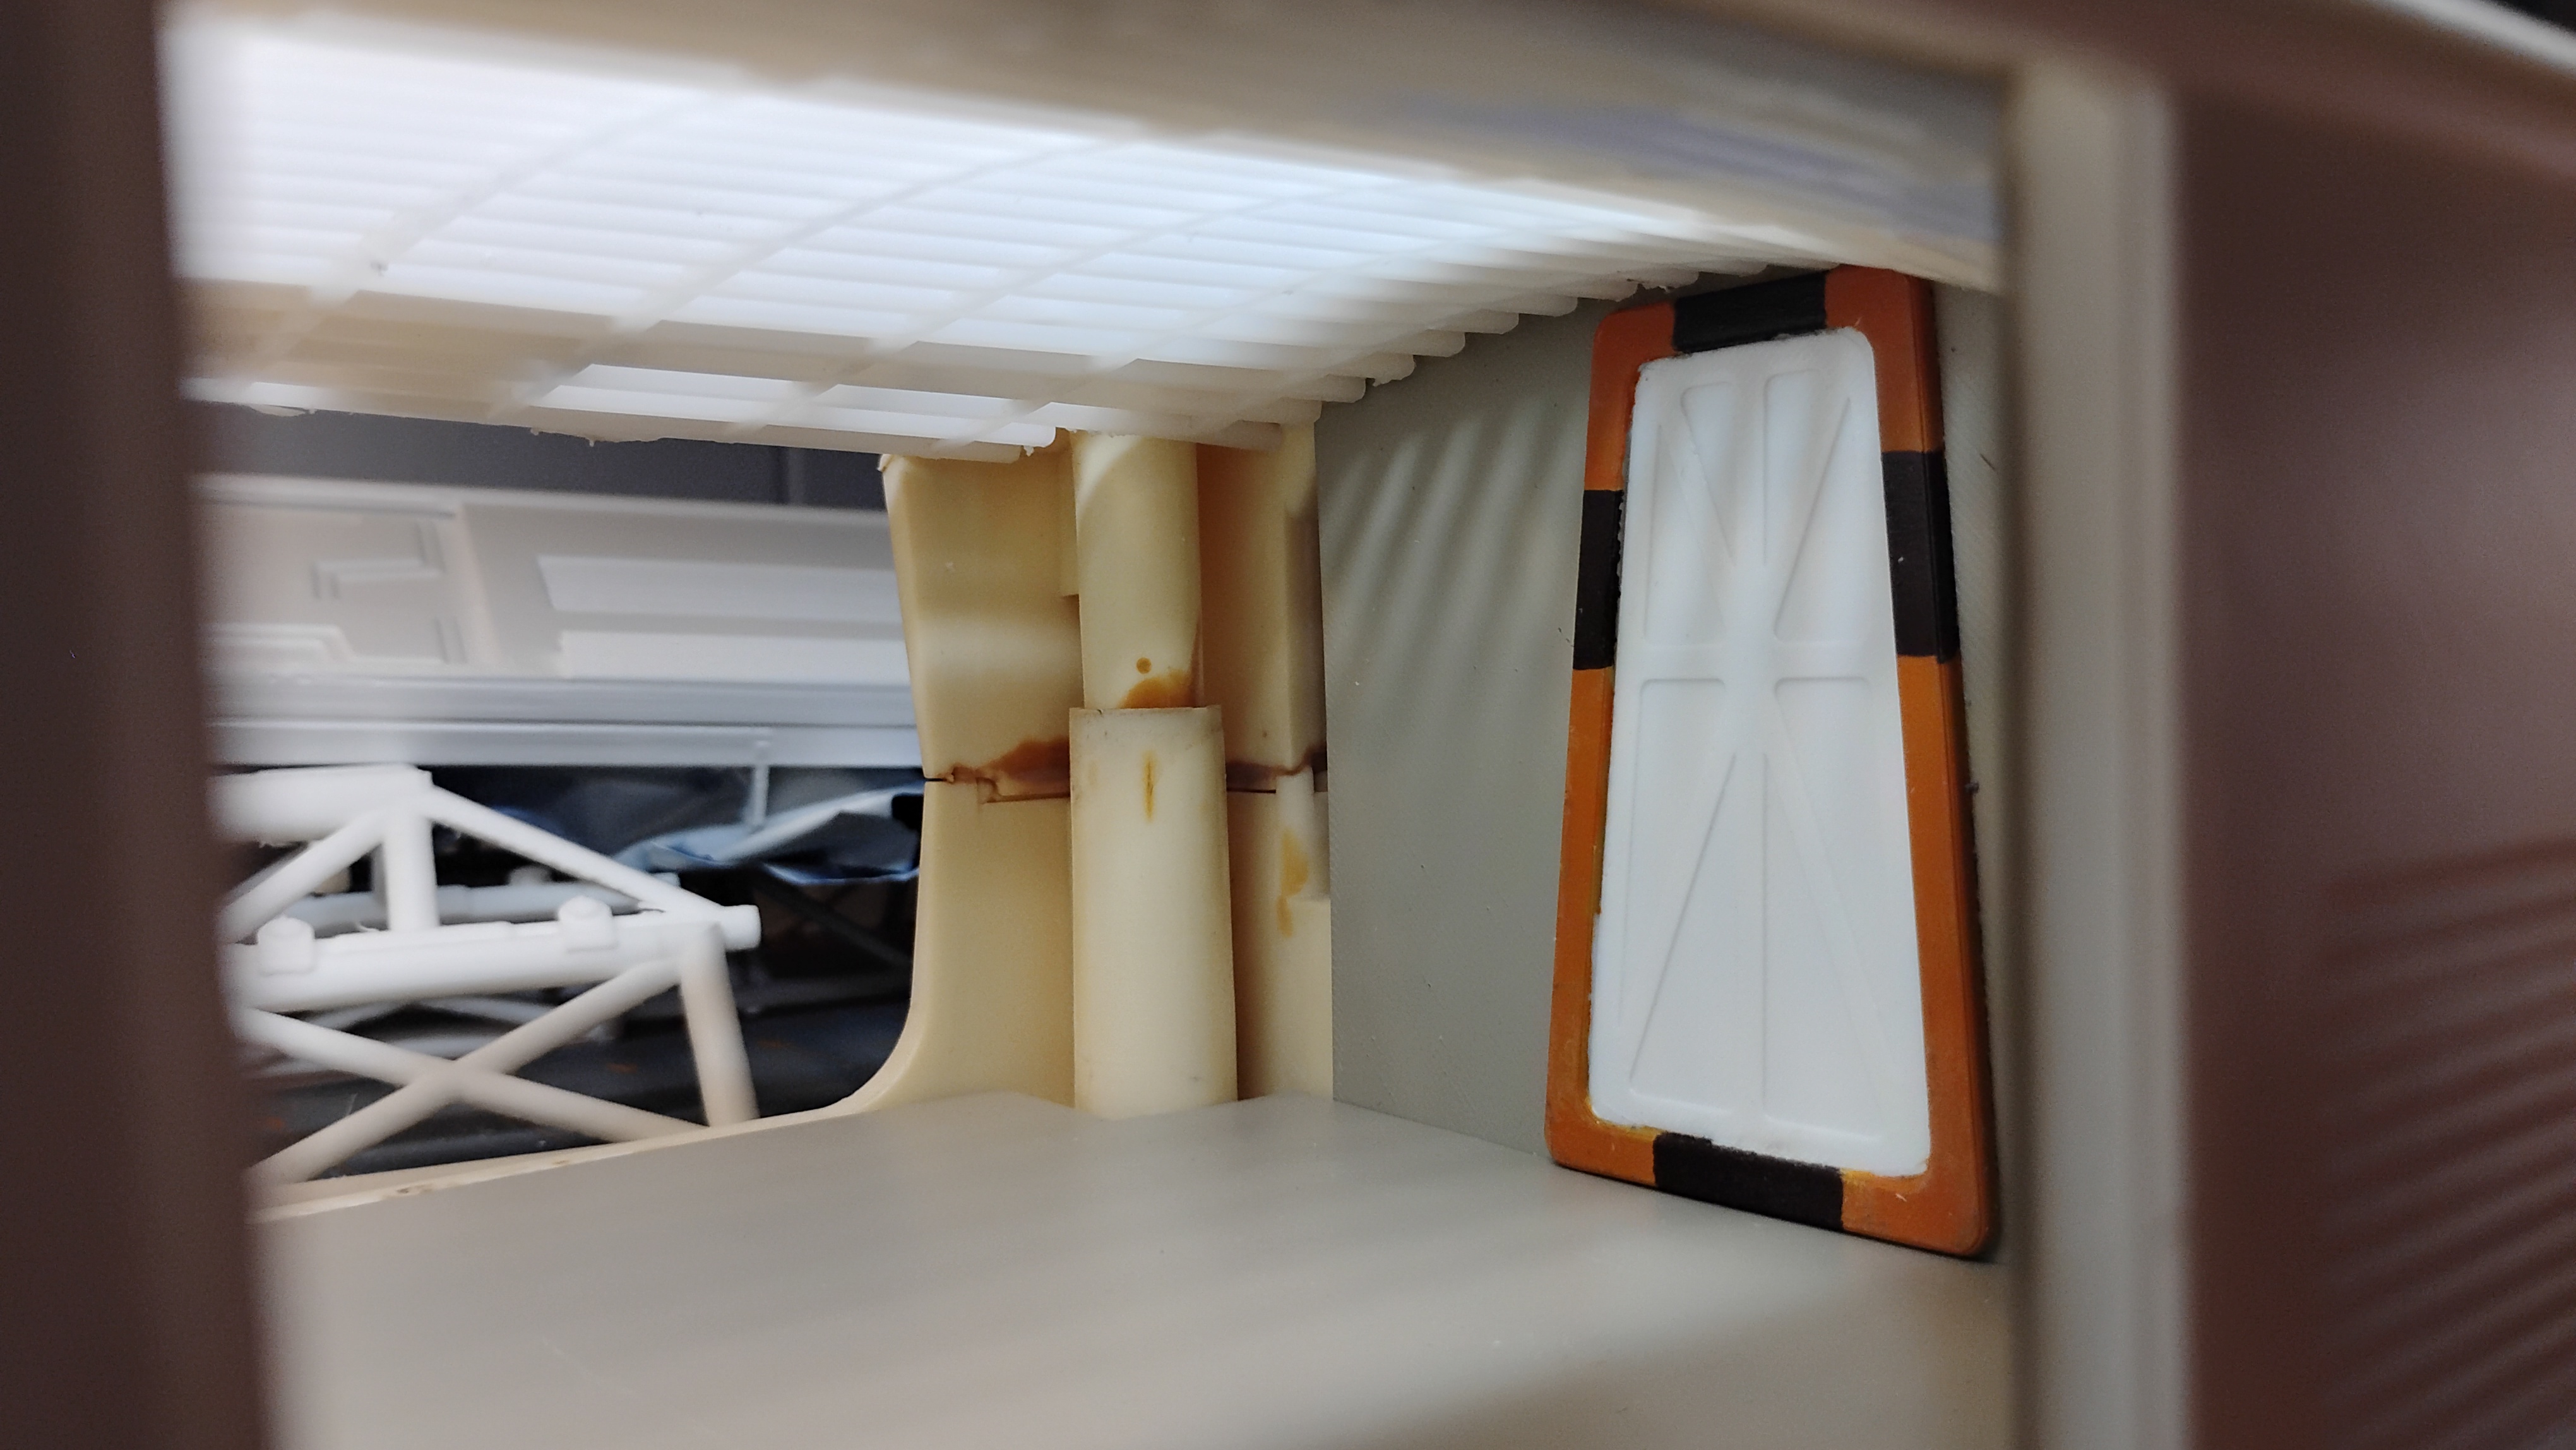
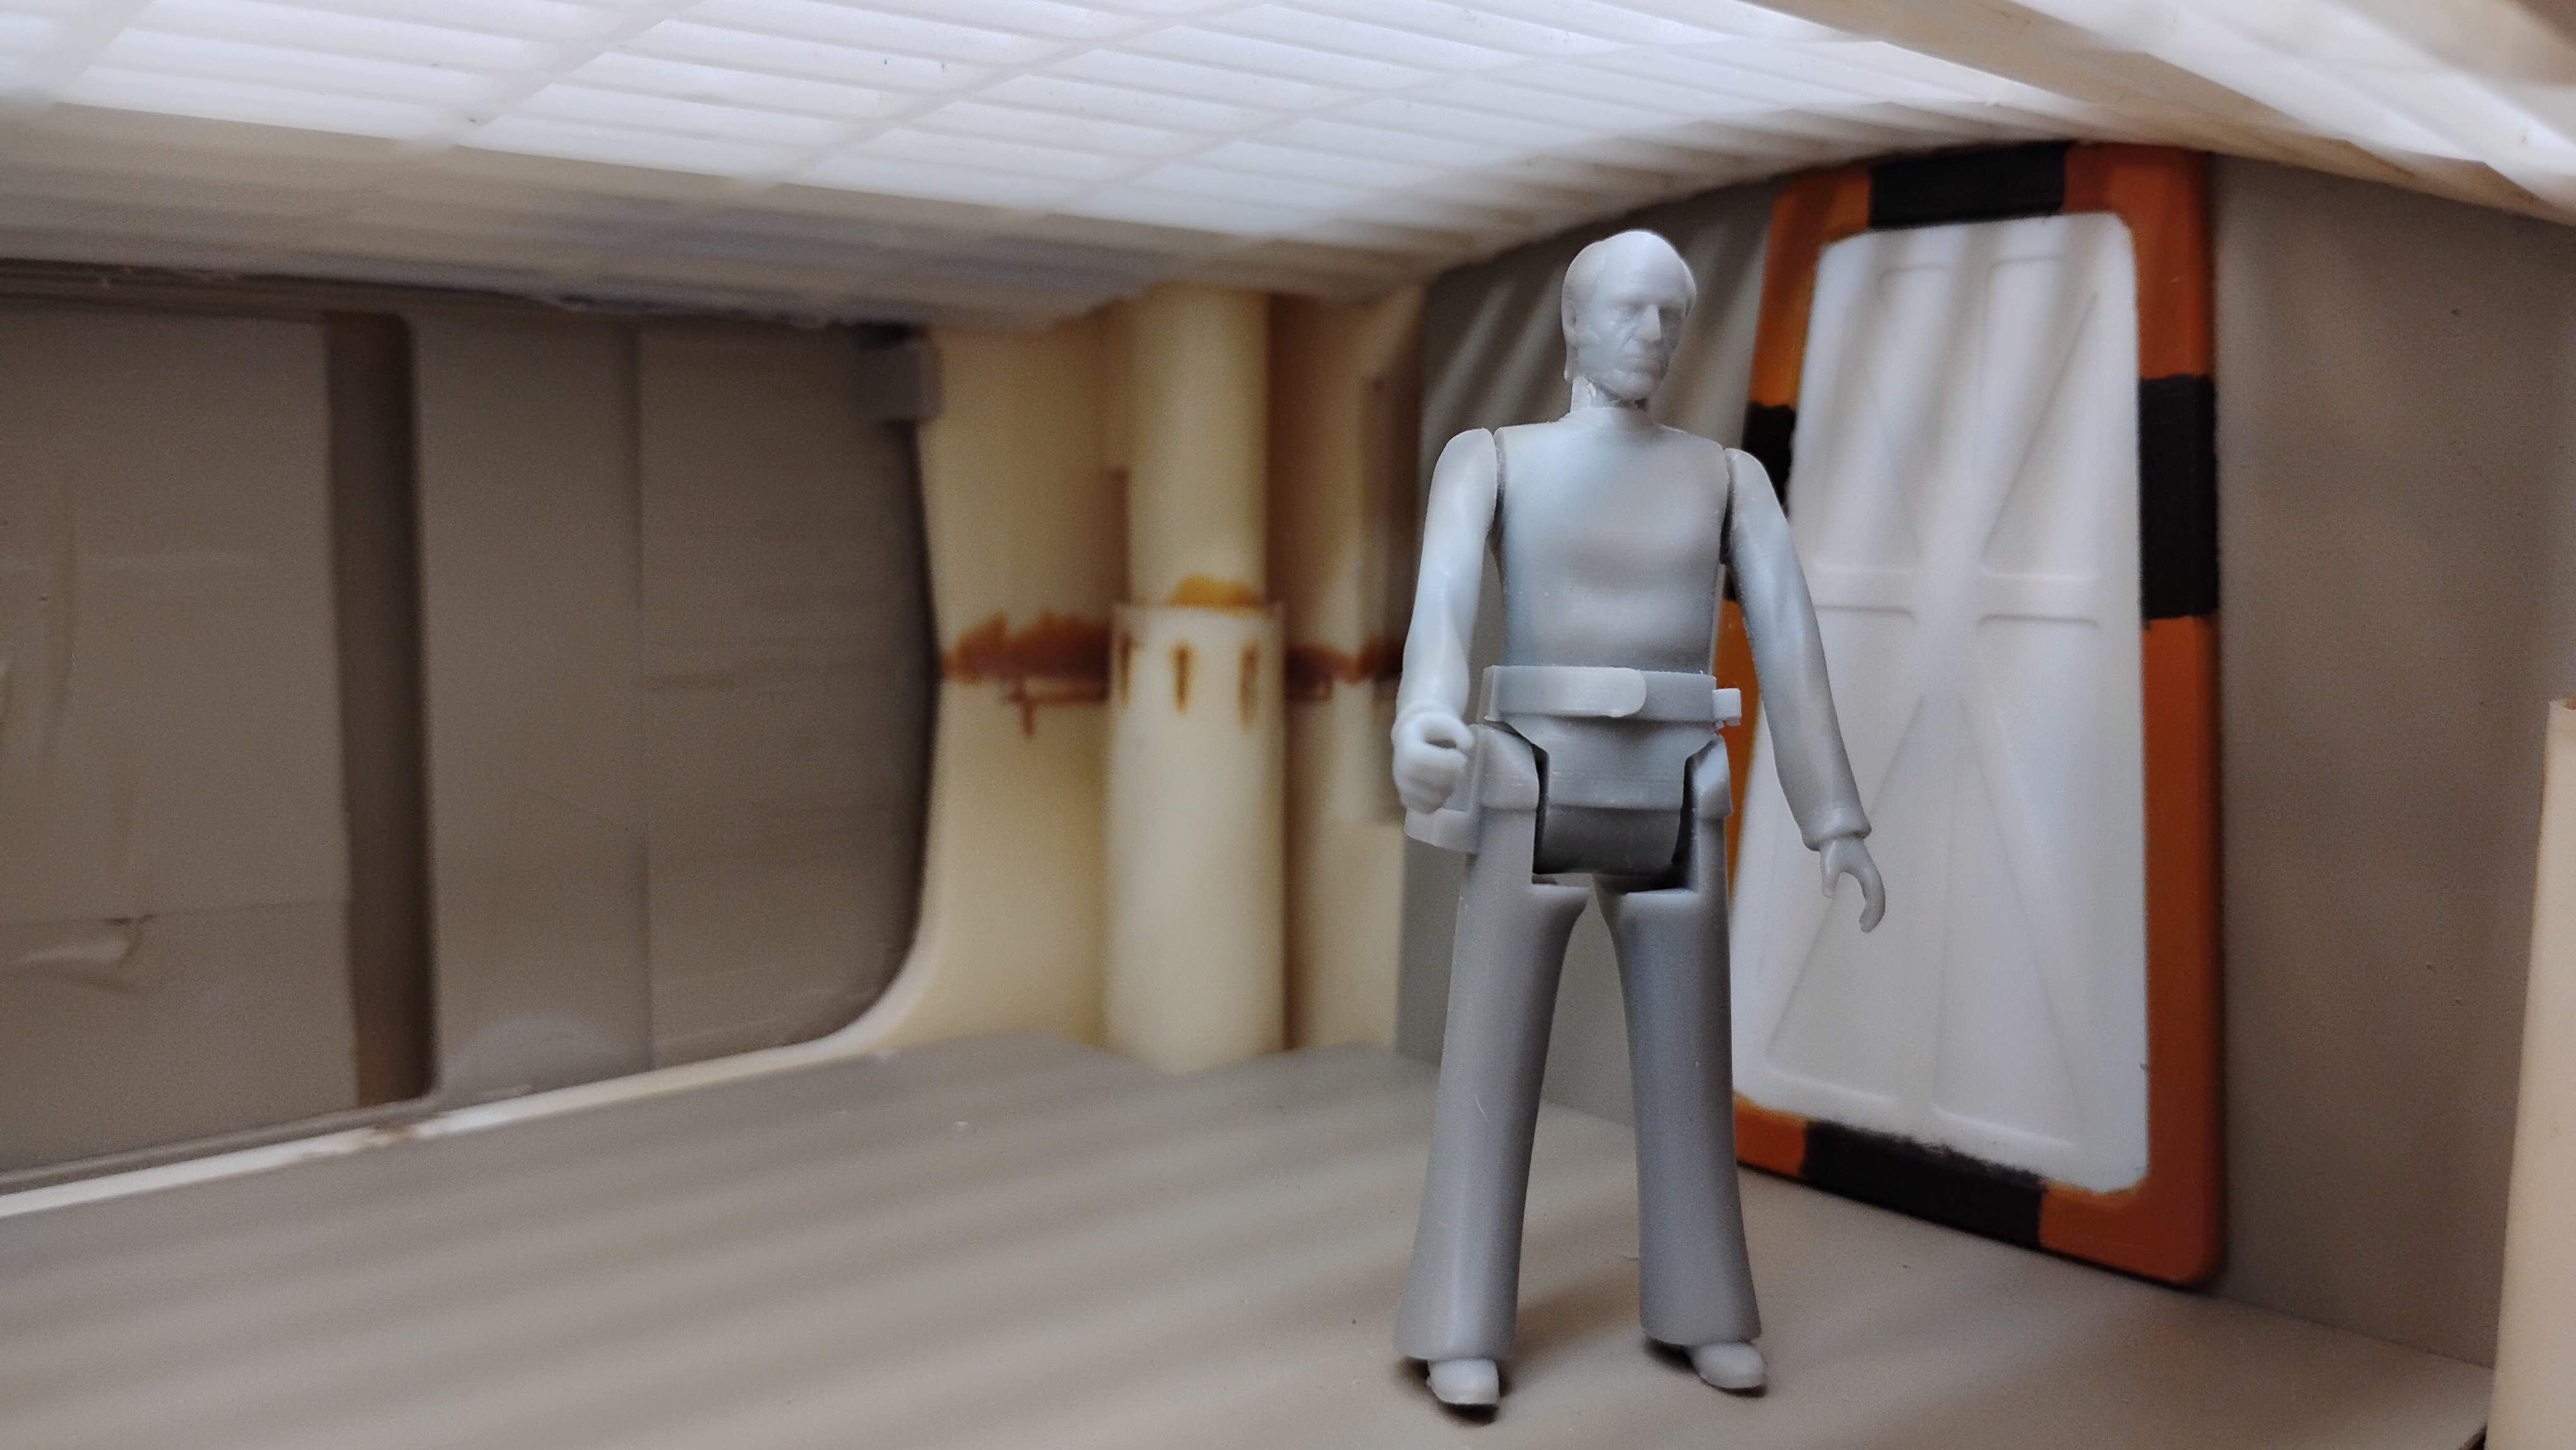
Today I’m test fitting the new grid ceiling for my Mattel Eagle One “refit”. After I’m happy with the trimming/fitting I’ll move on to the new interior side walls.
11 Likes
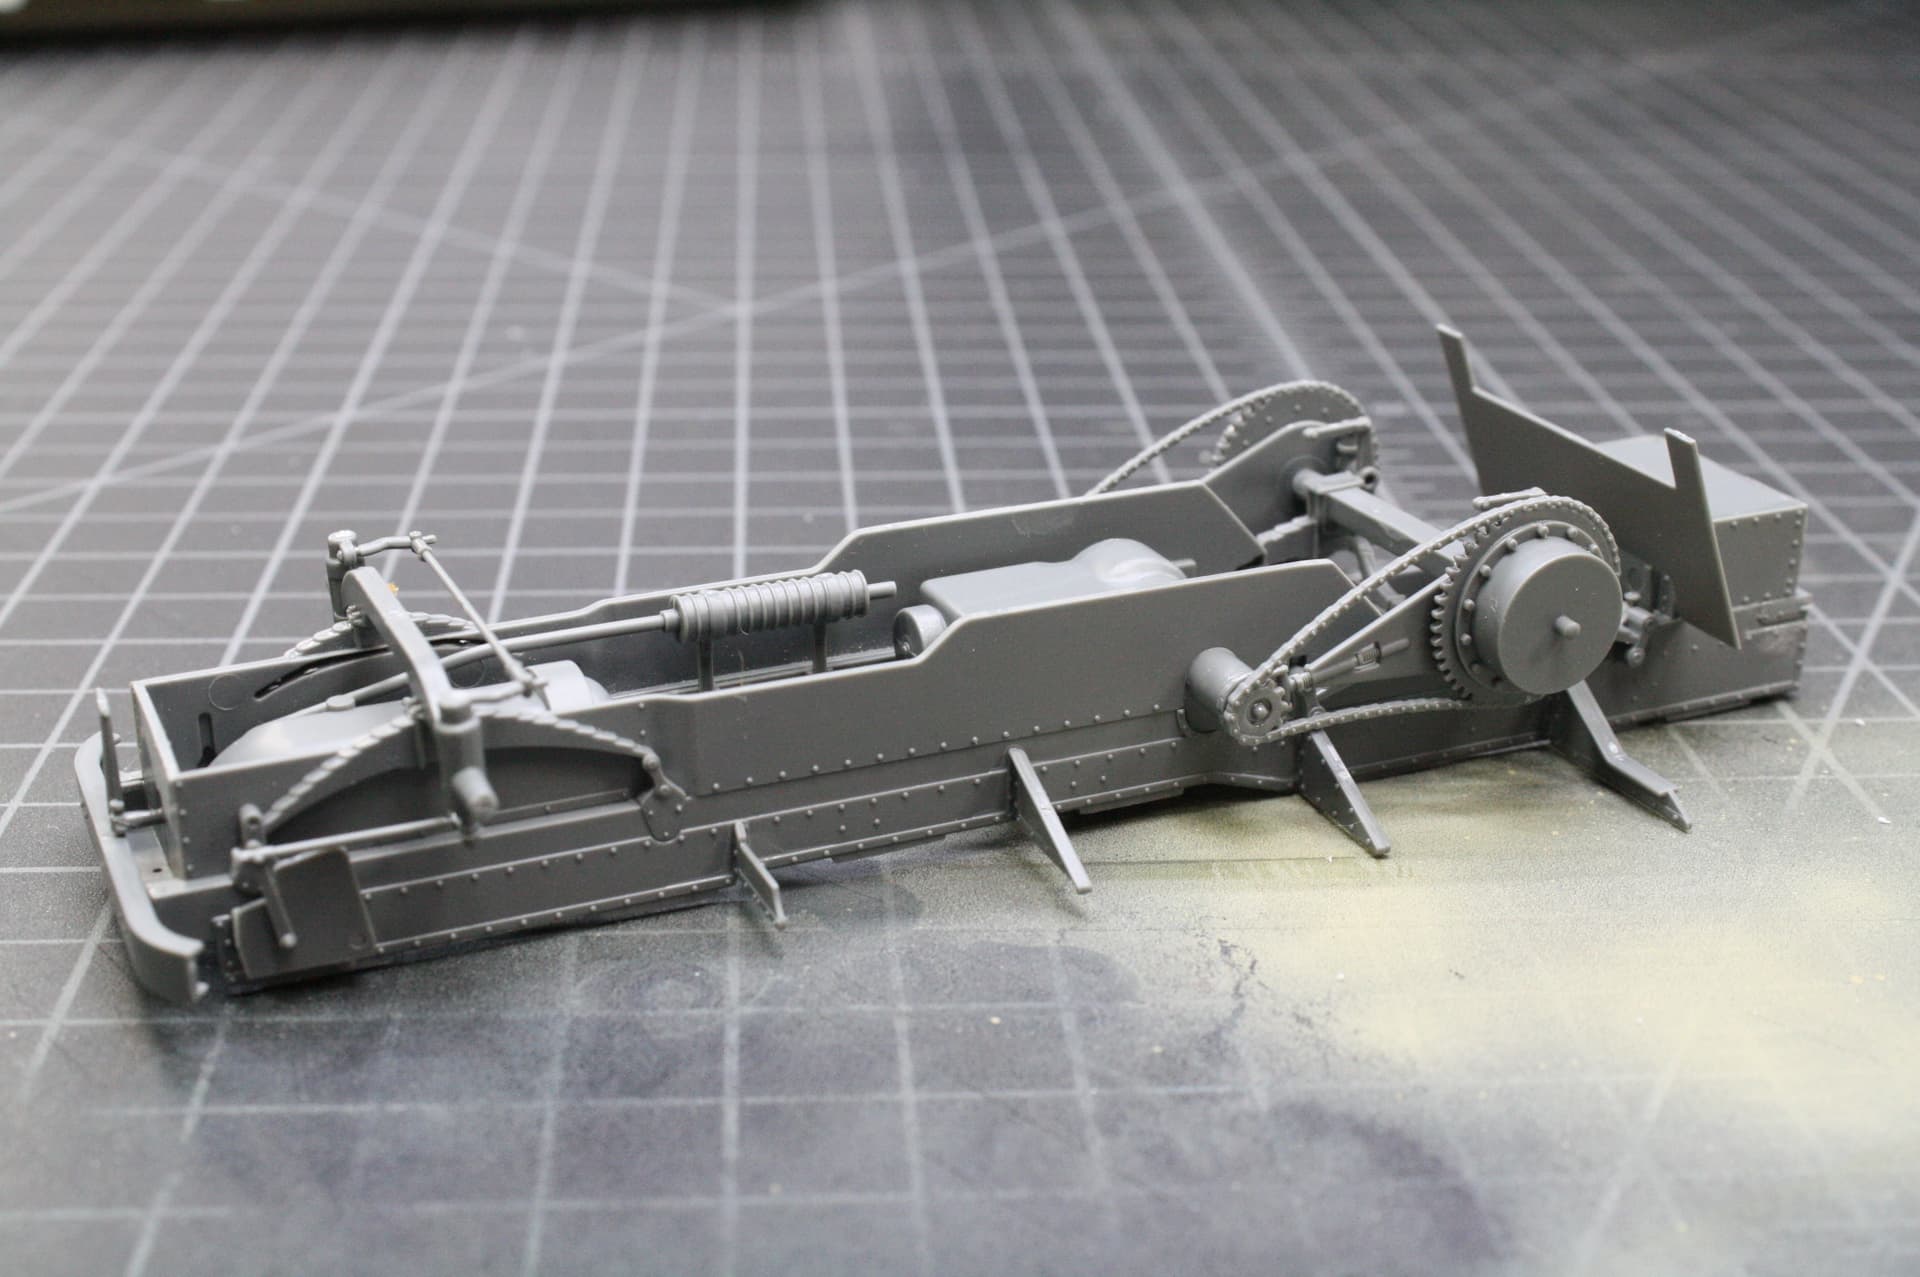
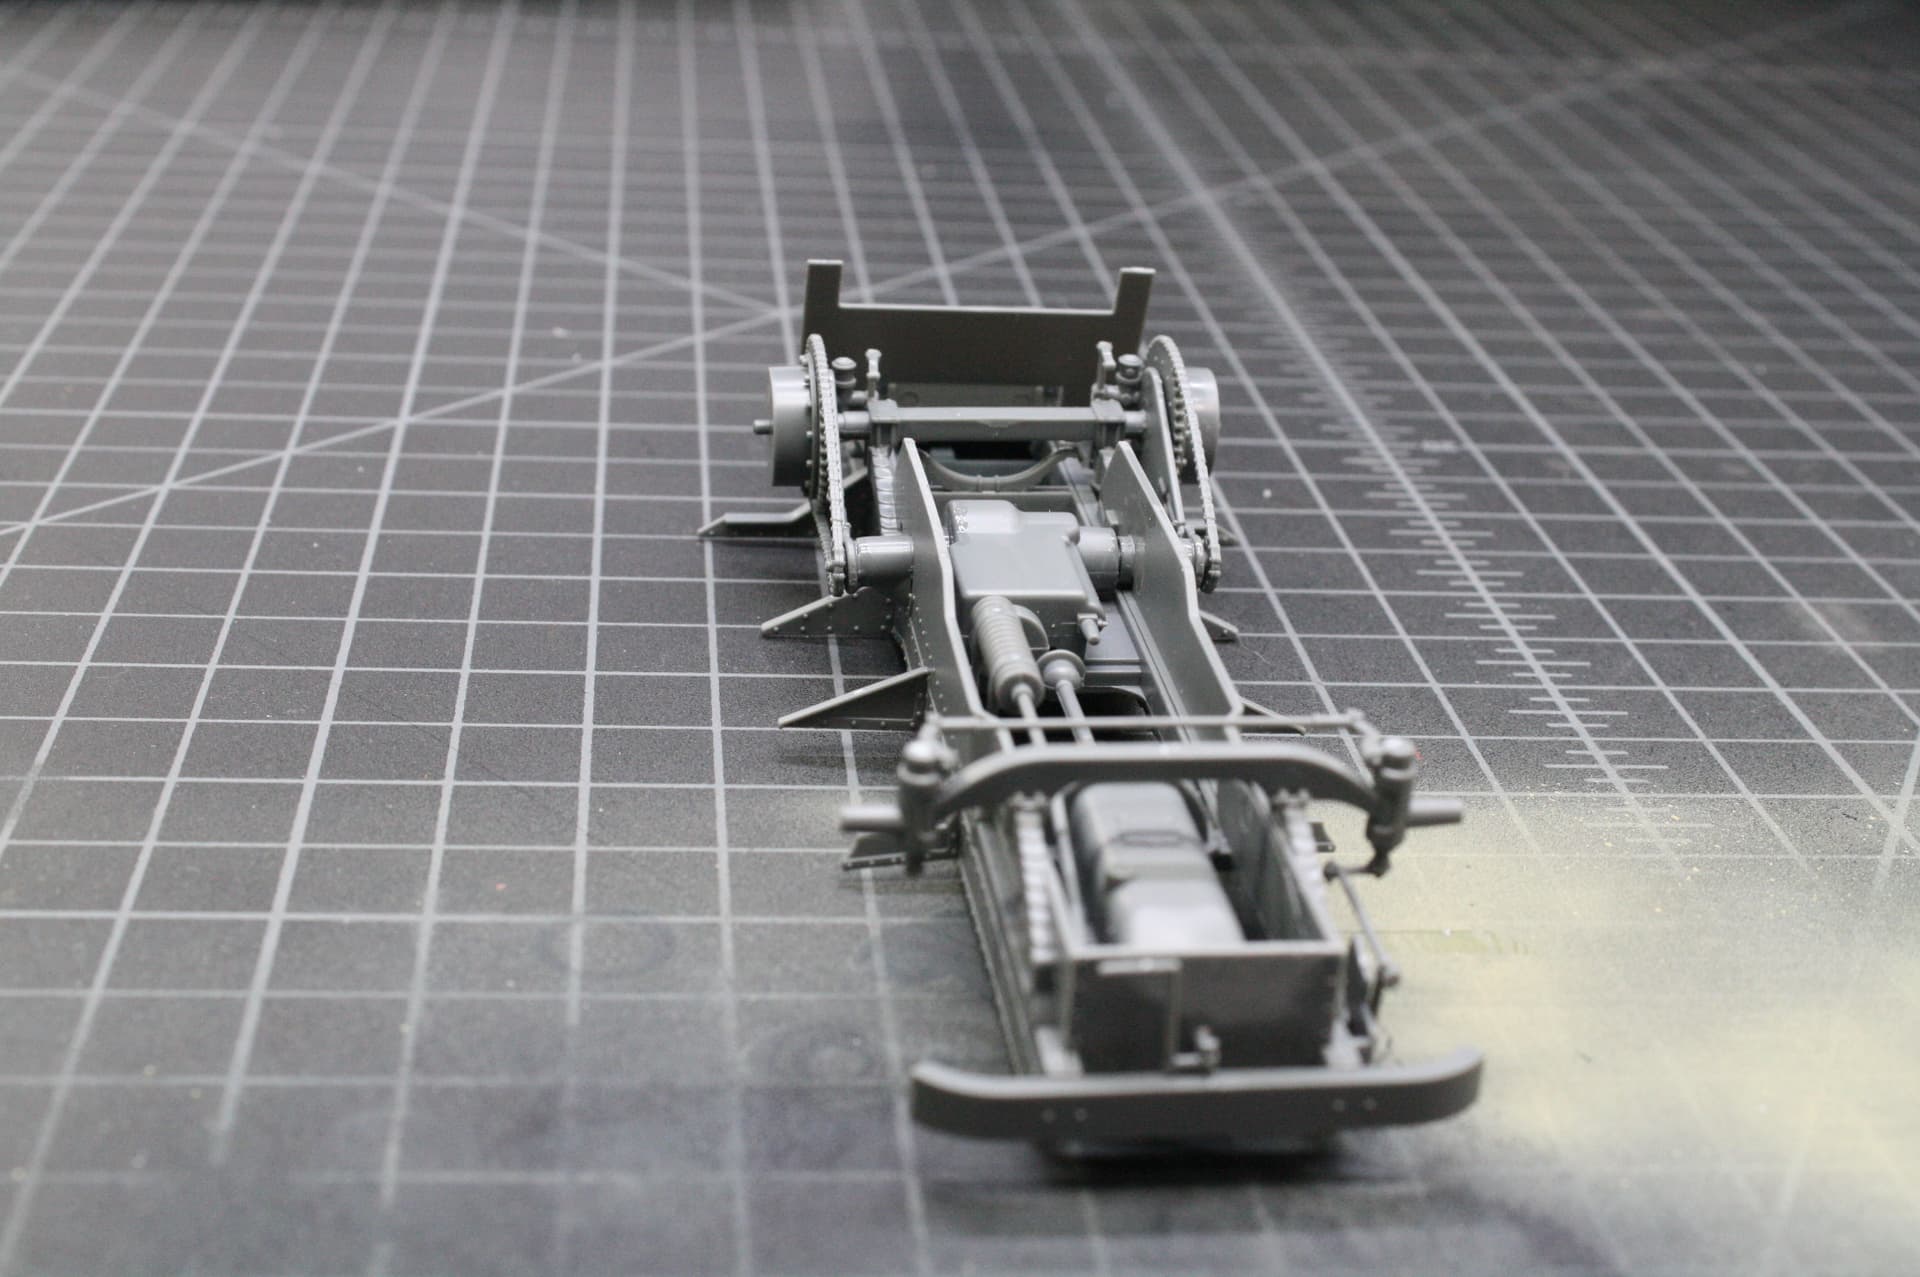
Working over the course of two club build days, I’ve gotten this far on the Copper State Models Garford - Putilov armored car.
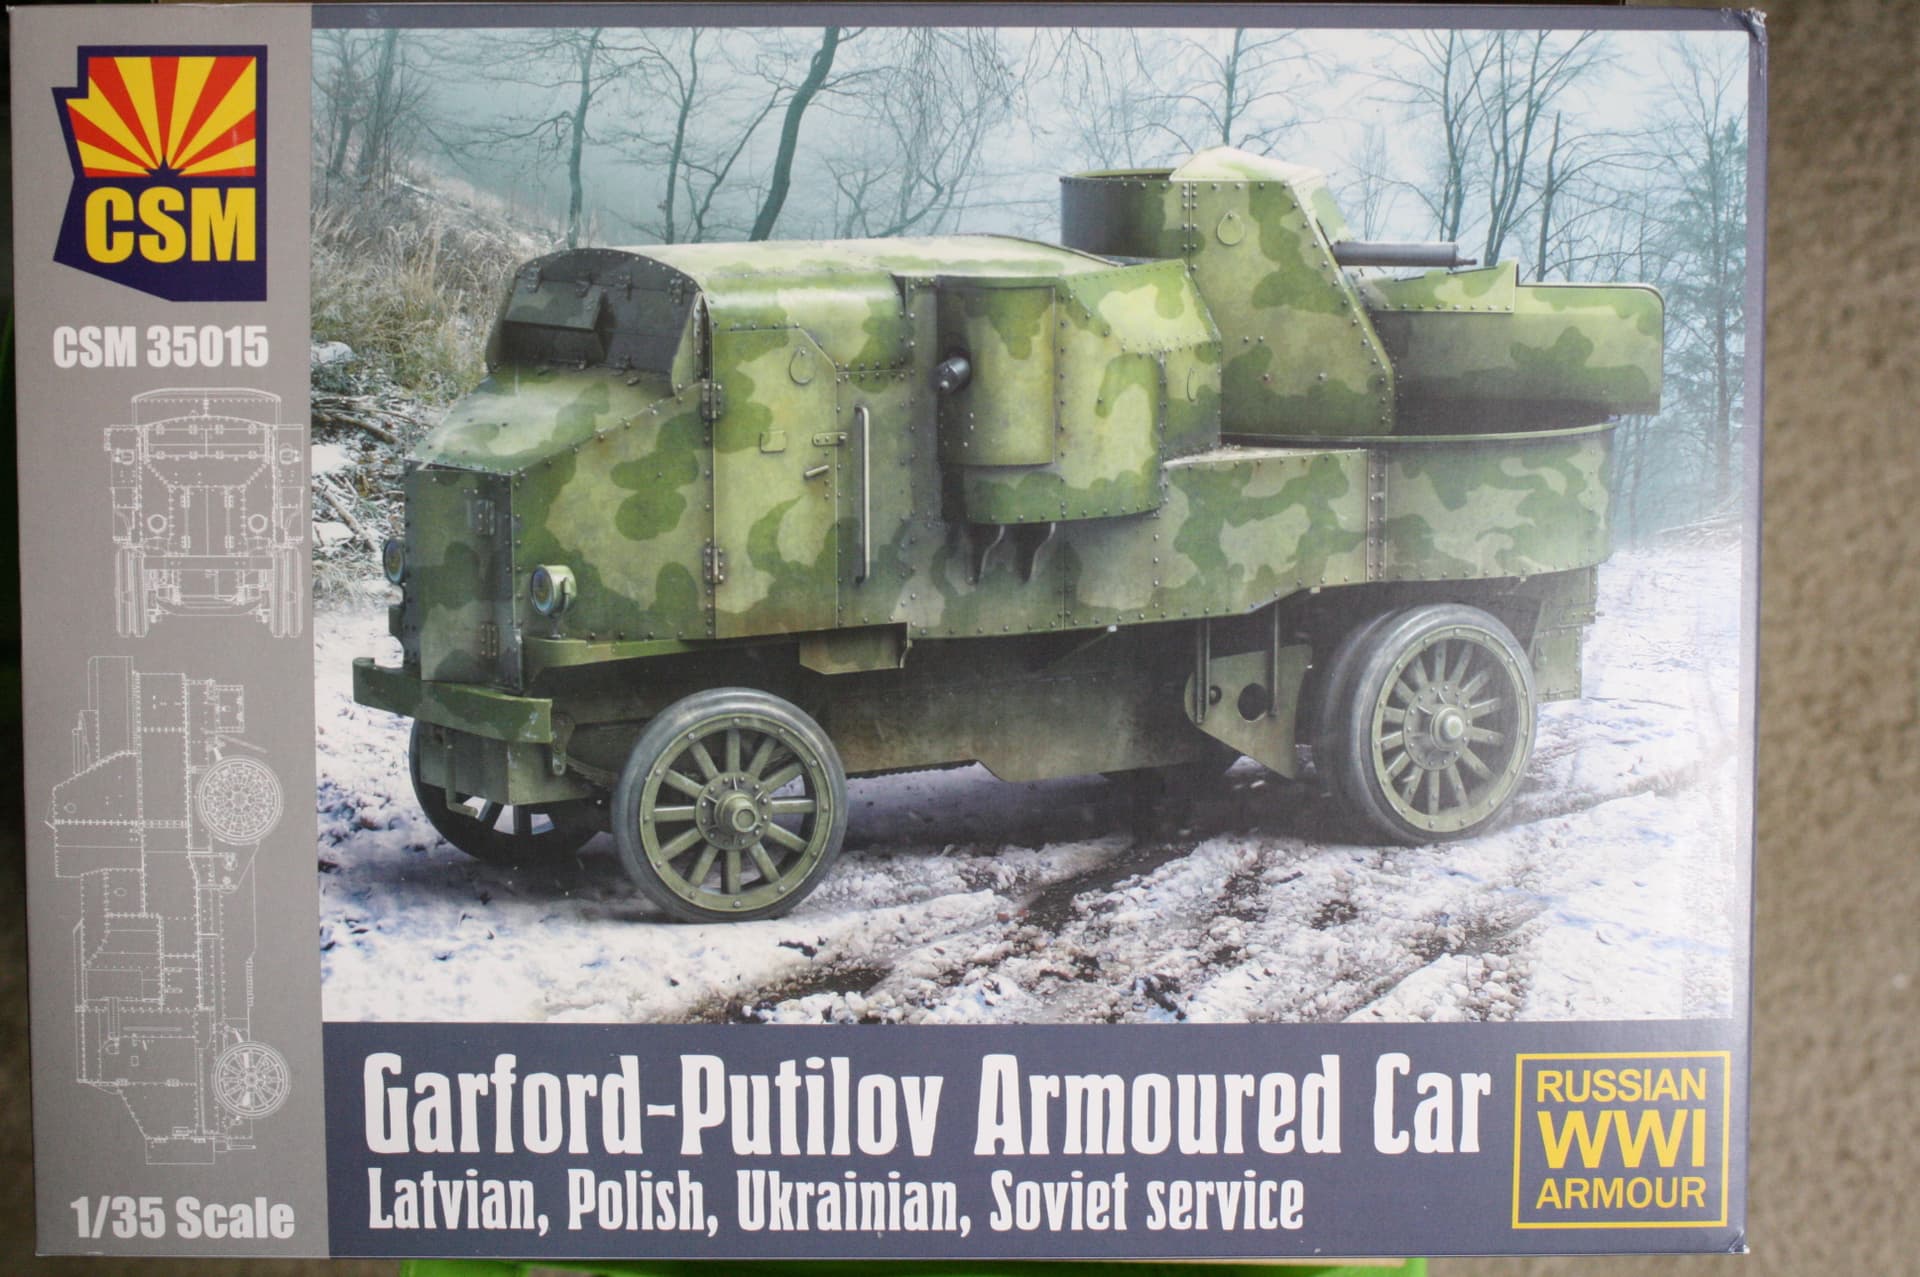
This is a beautiful kit, as are all the offerings from CSM. I also purchased all 5 3D printed sets for this kit, so I have lots of detail parts. The kit is not complex but the detail is phenomenal. This is an exceptional model.


20 Likes
Matt, that’s an amazing subject, the chain drive with the natural sag is eye candy ![]()
4 Likes
Thanks Wade! It’s a great kit.
2 Likes
I once used Tamiya purple as a preshade. You may be pleasantly surprised.
3 Likes
Very nice!
On the other hand, this is getting ridiculous:

Cross brace/ span ties next. I think I’ll have to stop and apply primer and paint on the bridges before long, otherwise I’ll have to face weeks of shooting paint when I’m done…
11 Likes
12 Likes
DV, thank you, that’s good to know.
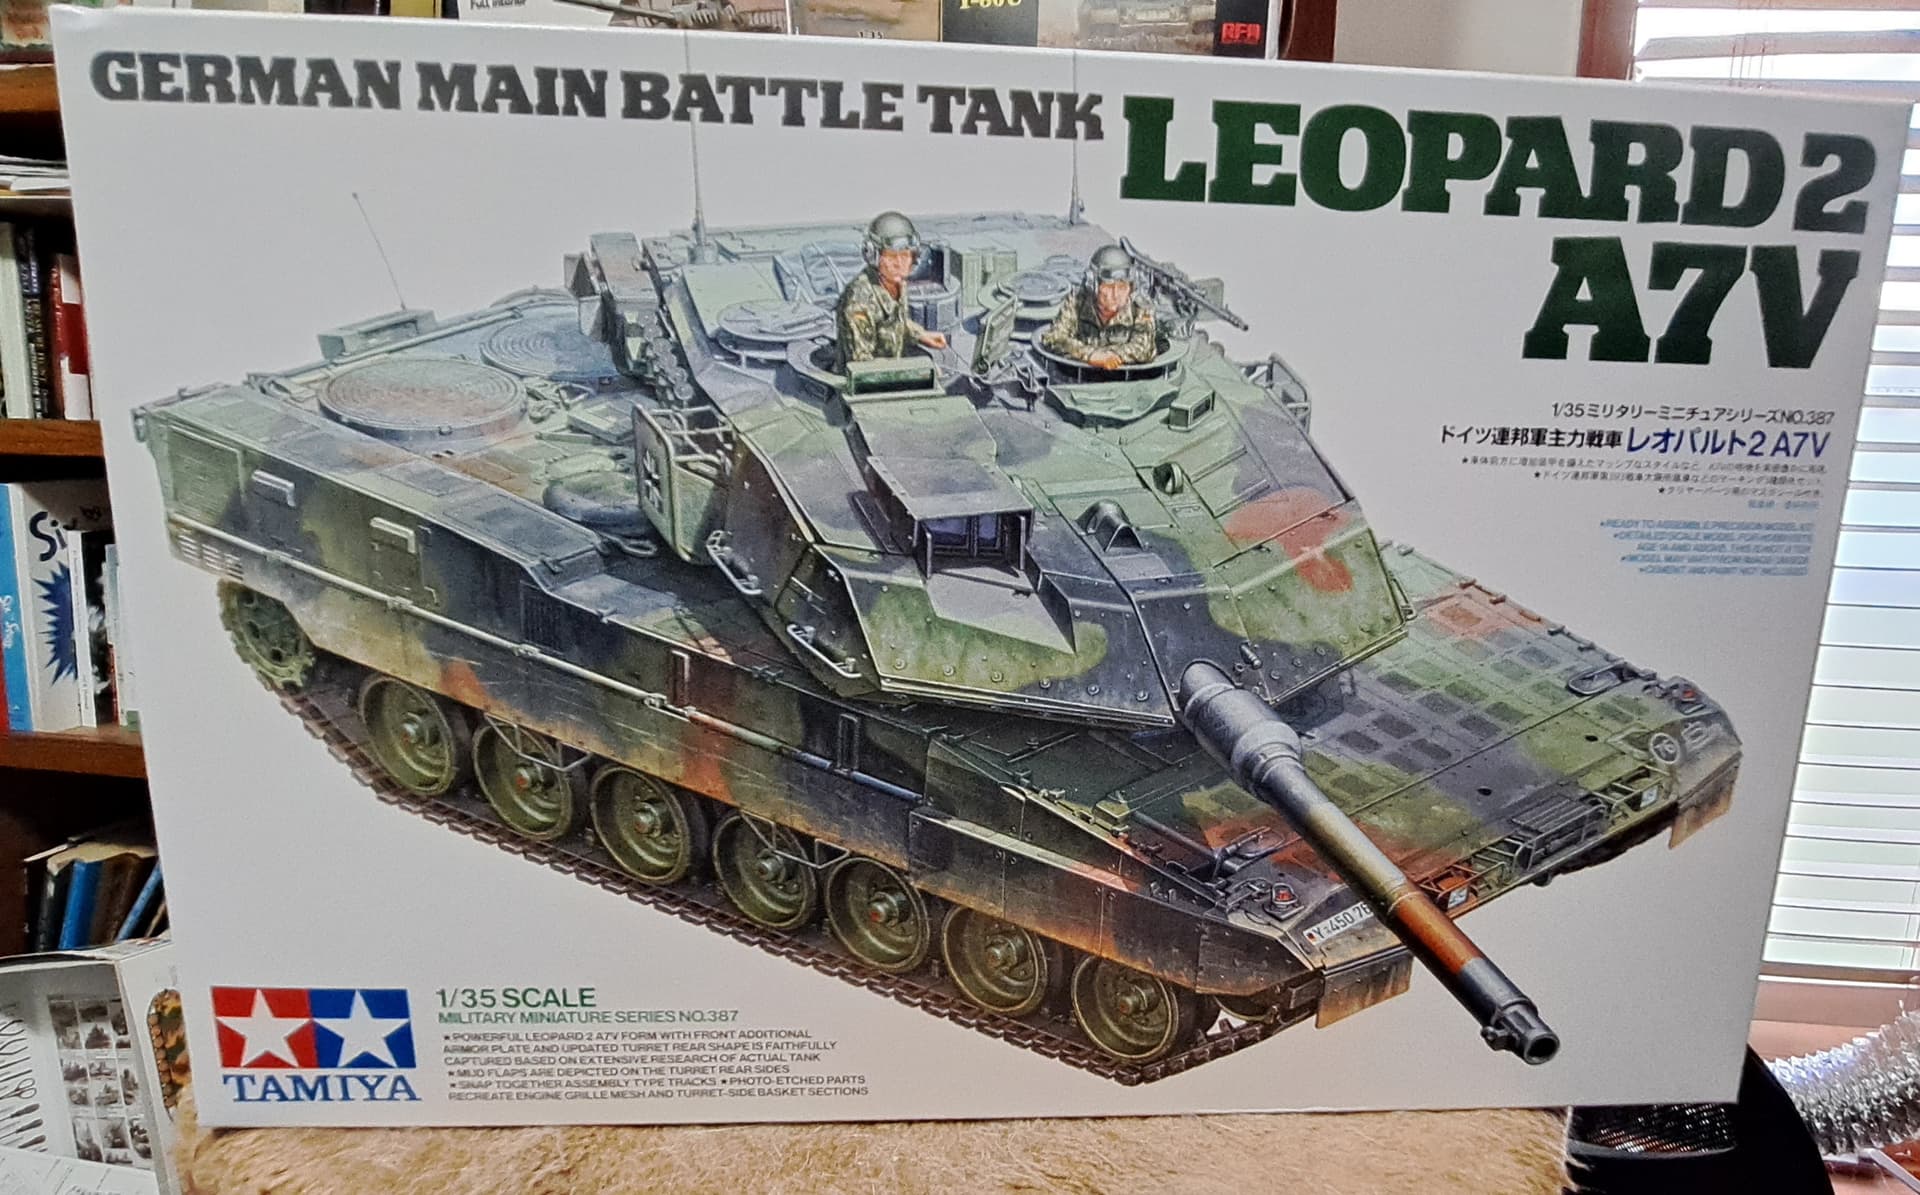
This is most impressive 1/35 AFV kit, I’ve seen, including top notch efforts by Ryefield Model, Dragon, etc.
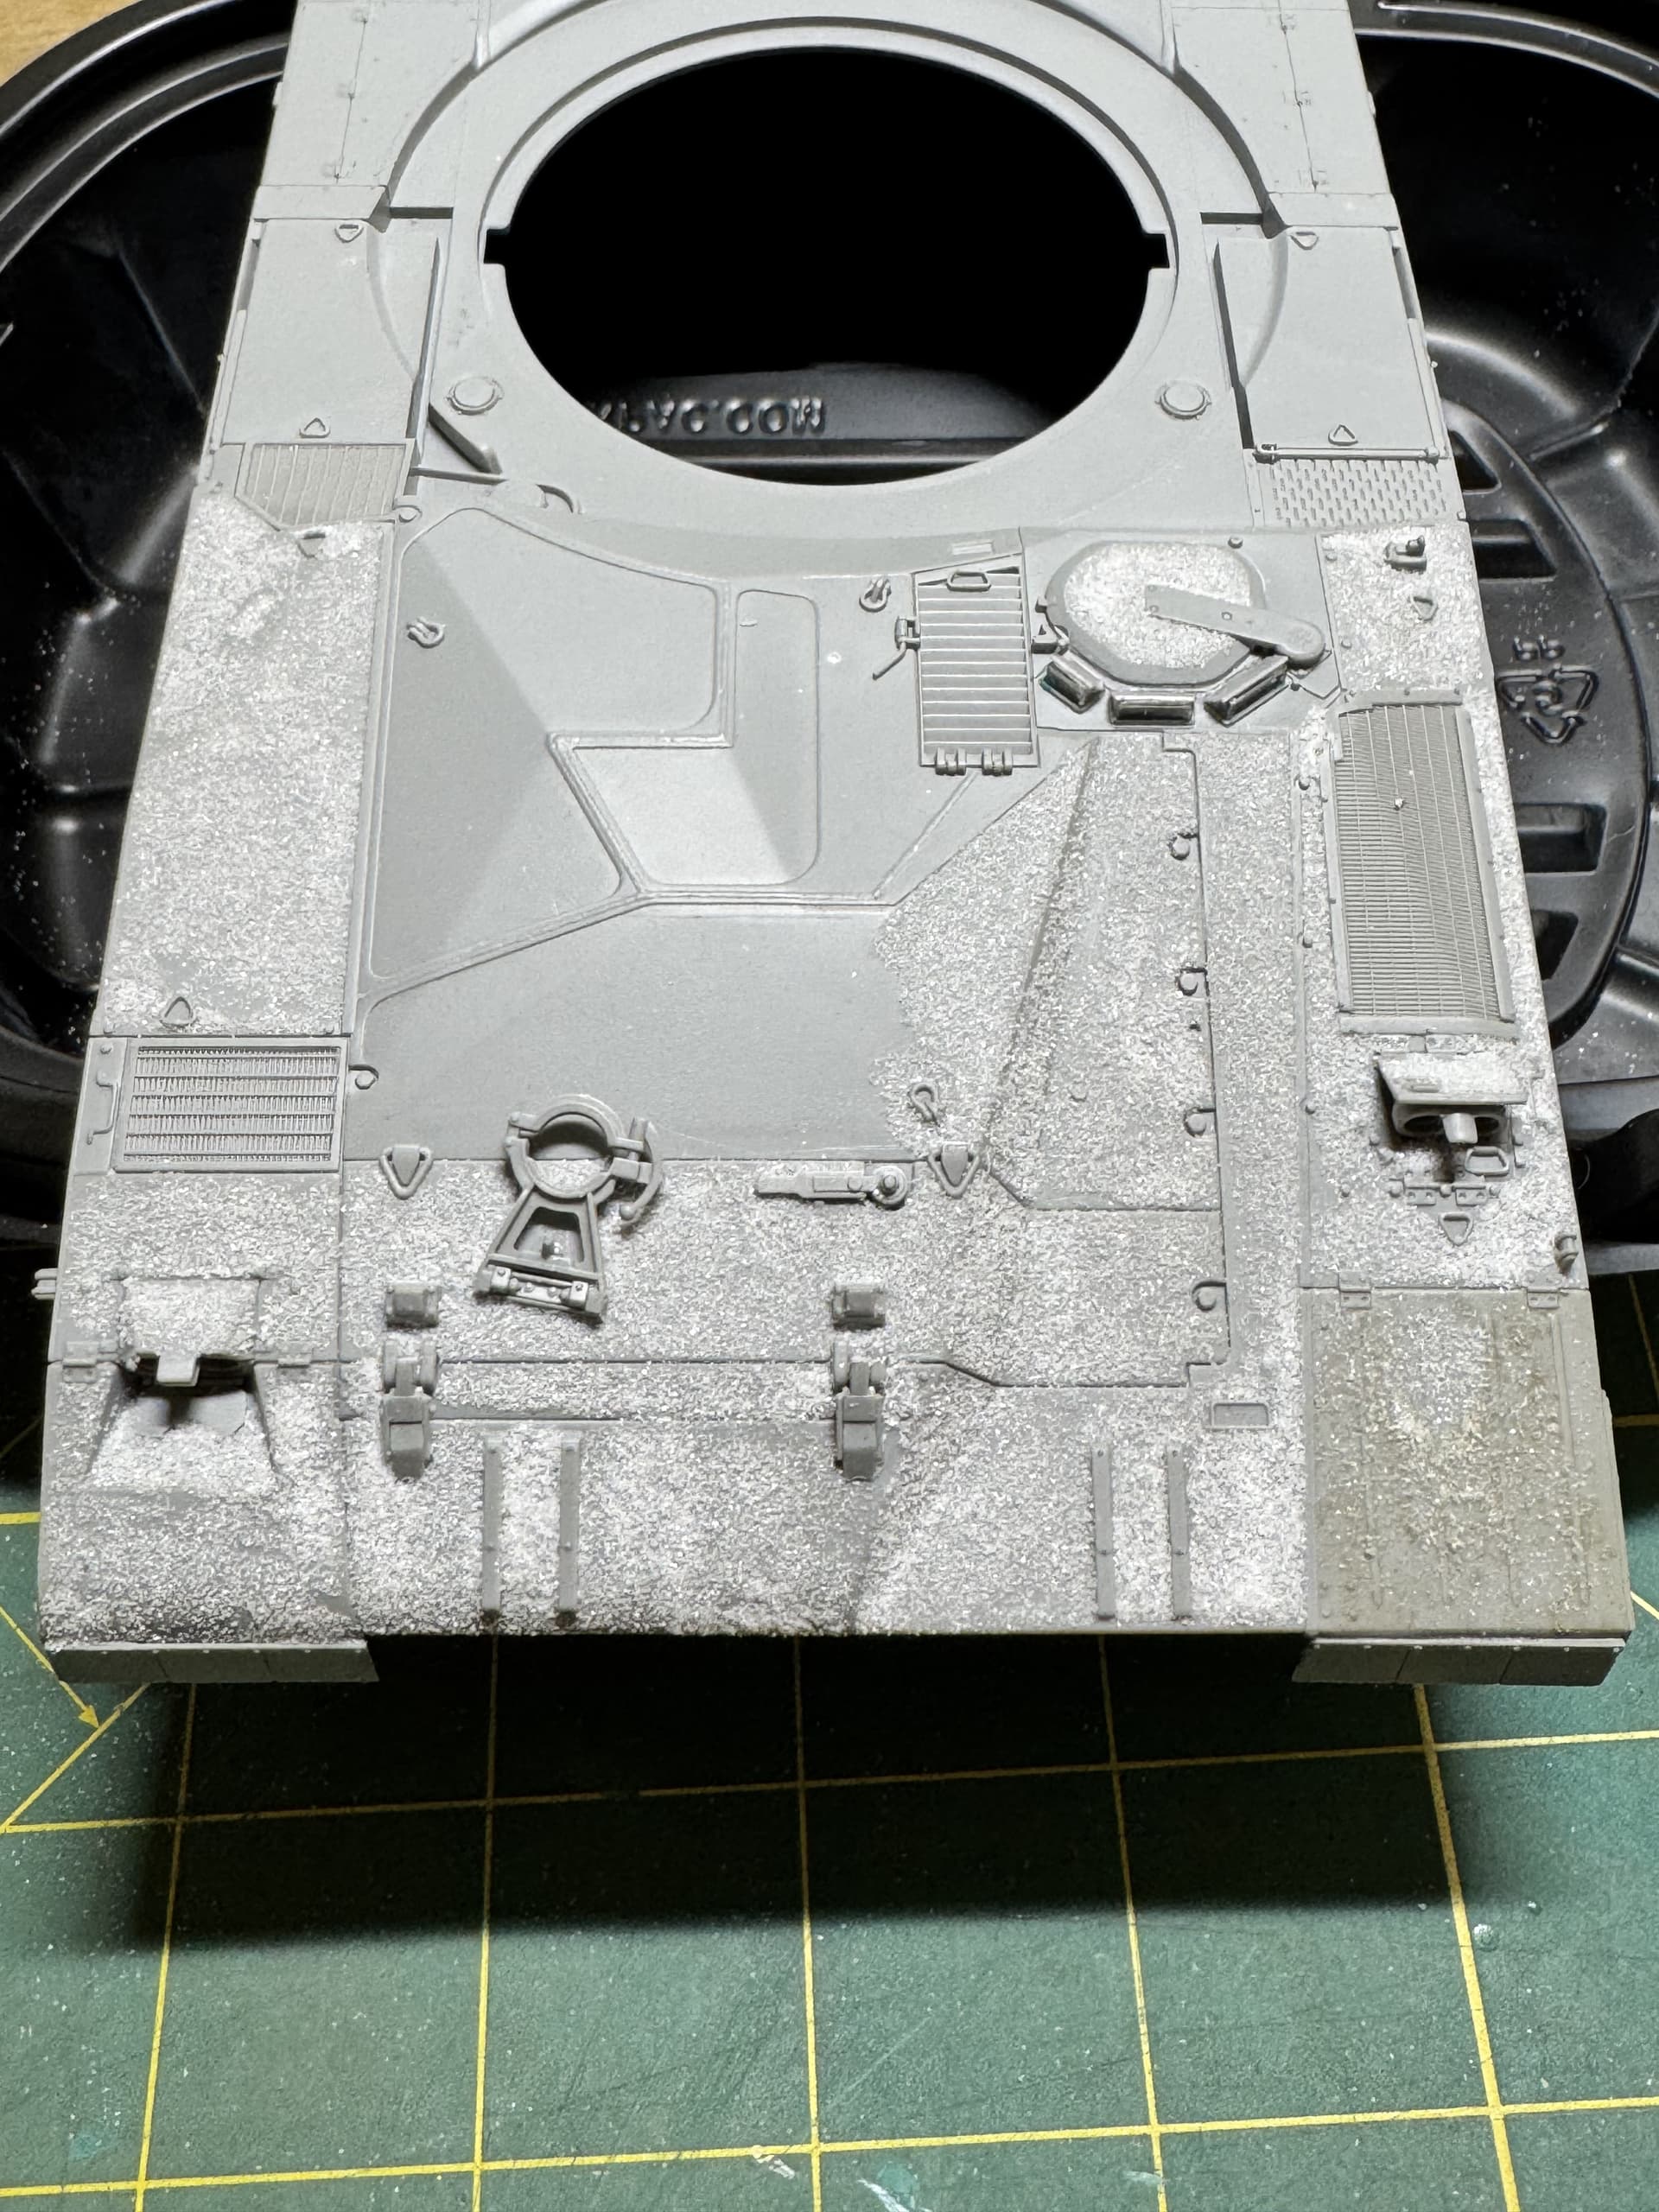
Small sample of mold quality.
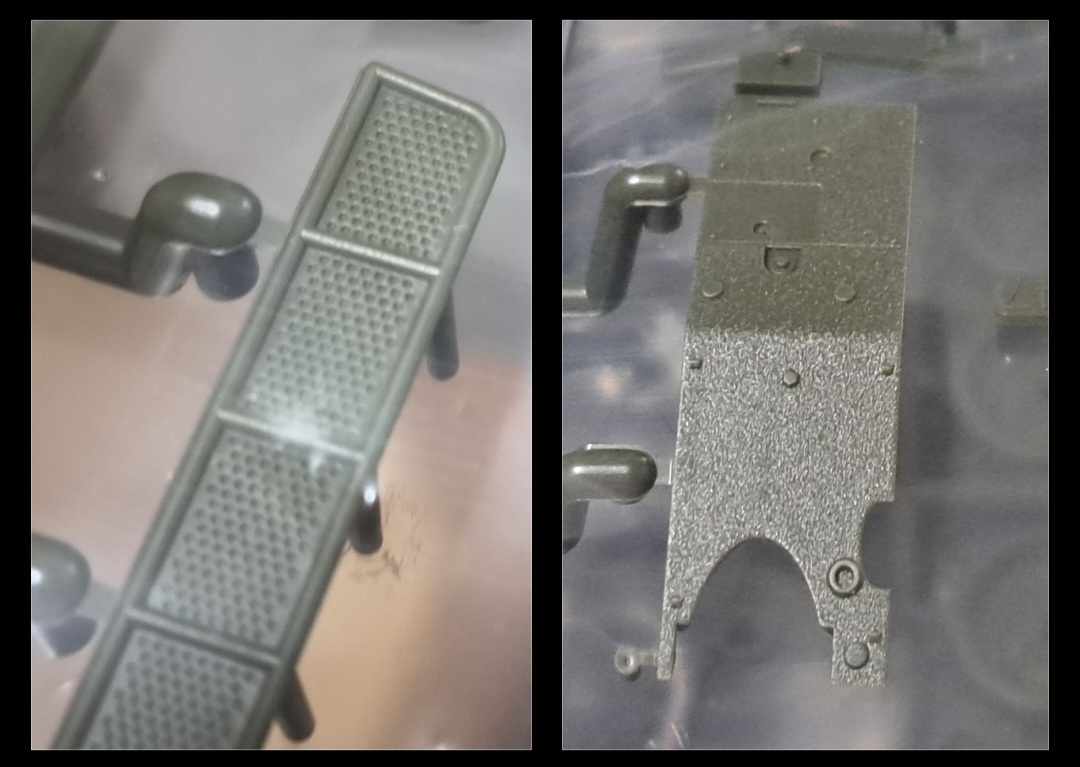
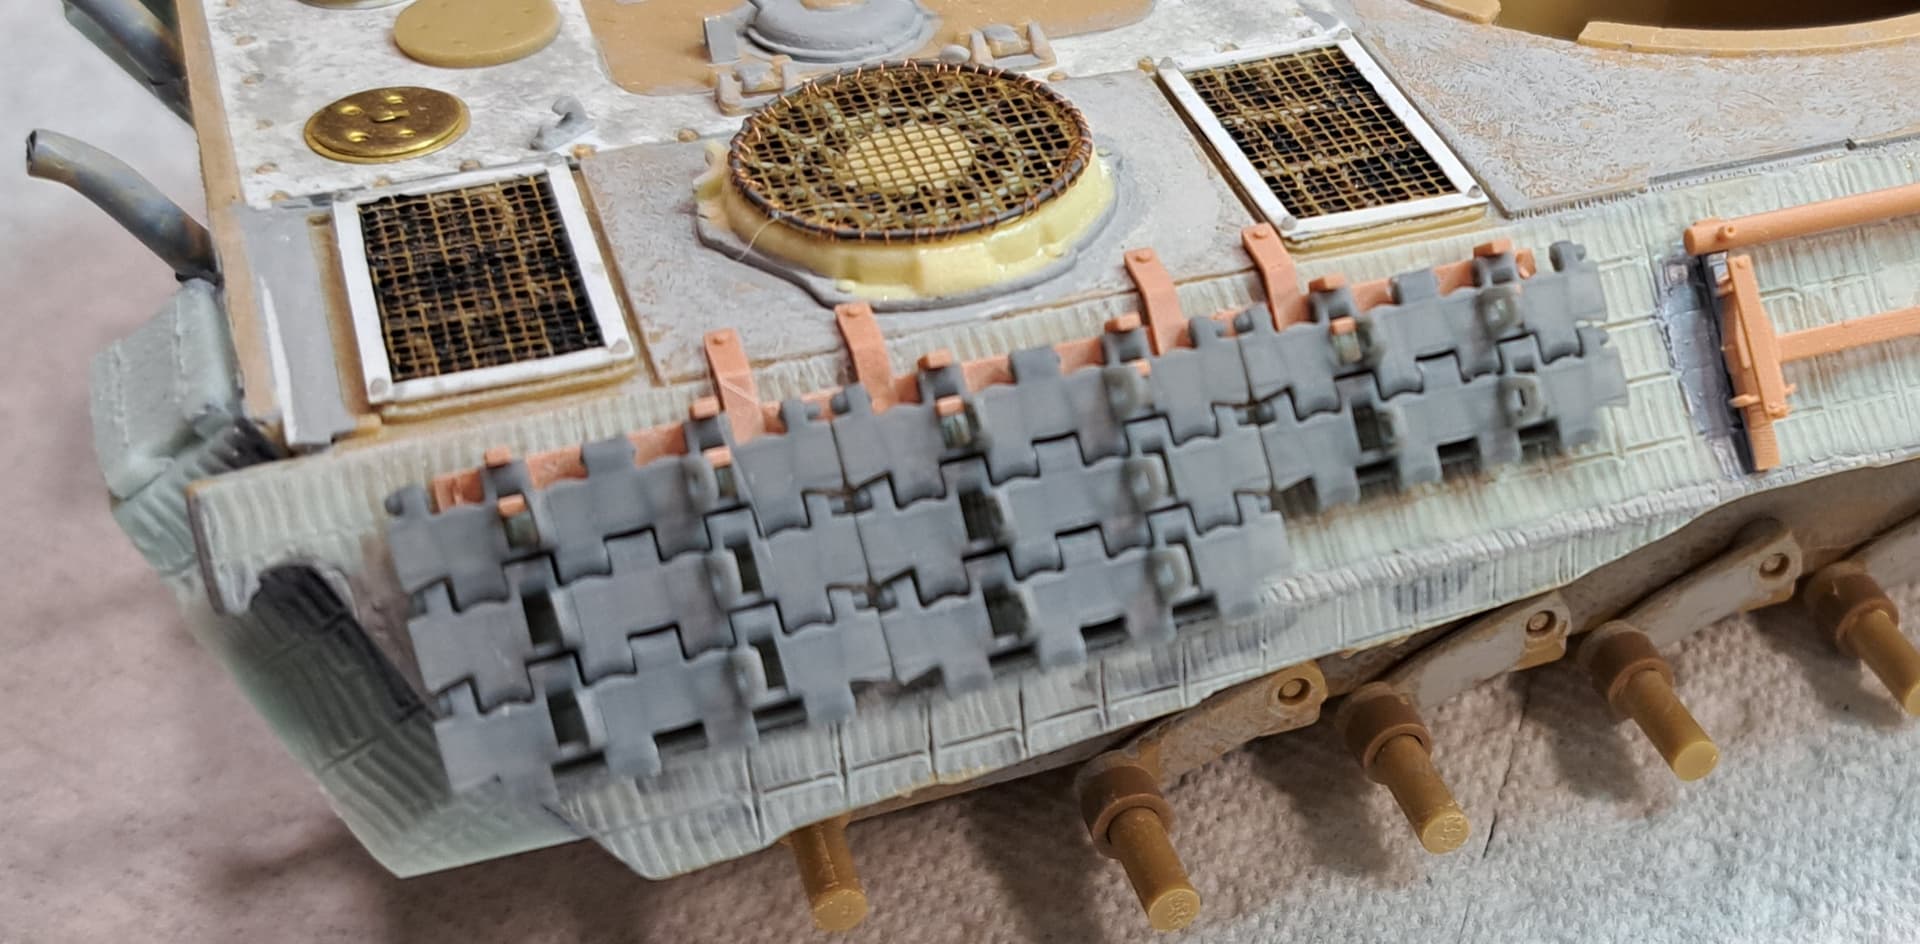
I hate link & length tracks because they dont sag properly below the sprocket & idler but Tamiya has engineered an ingenious fix. The front and rear section around the idlers & sprockets are workable!

Play by play…
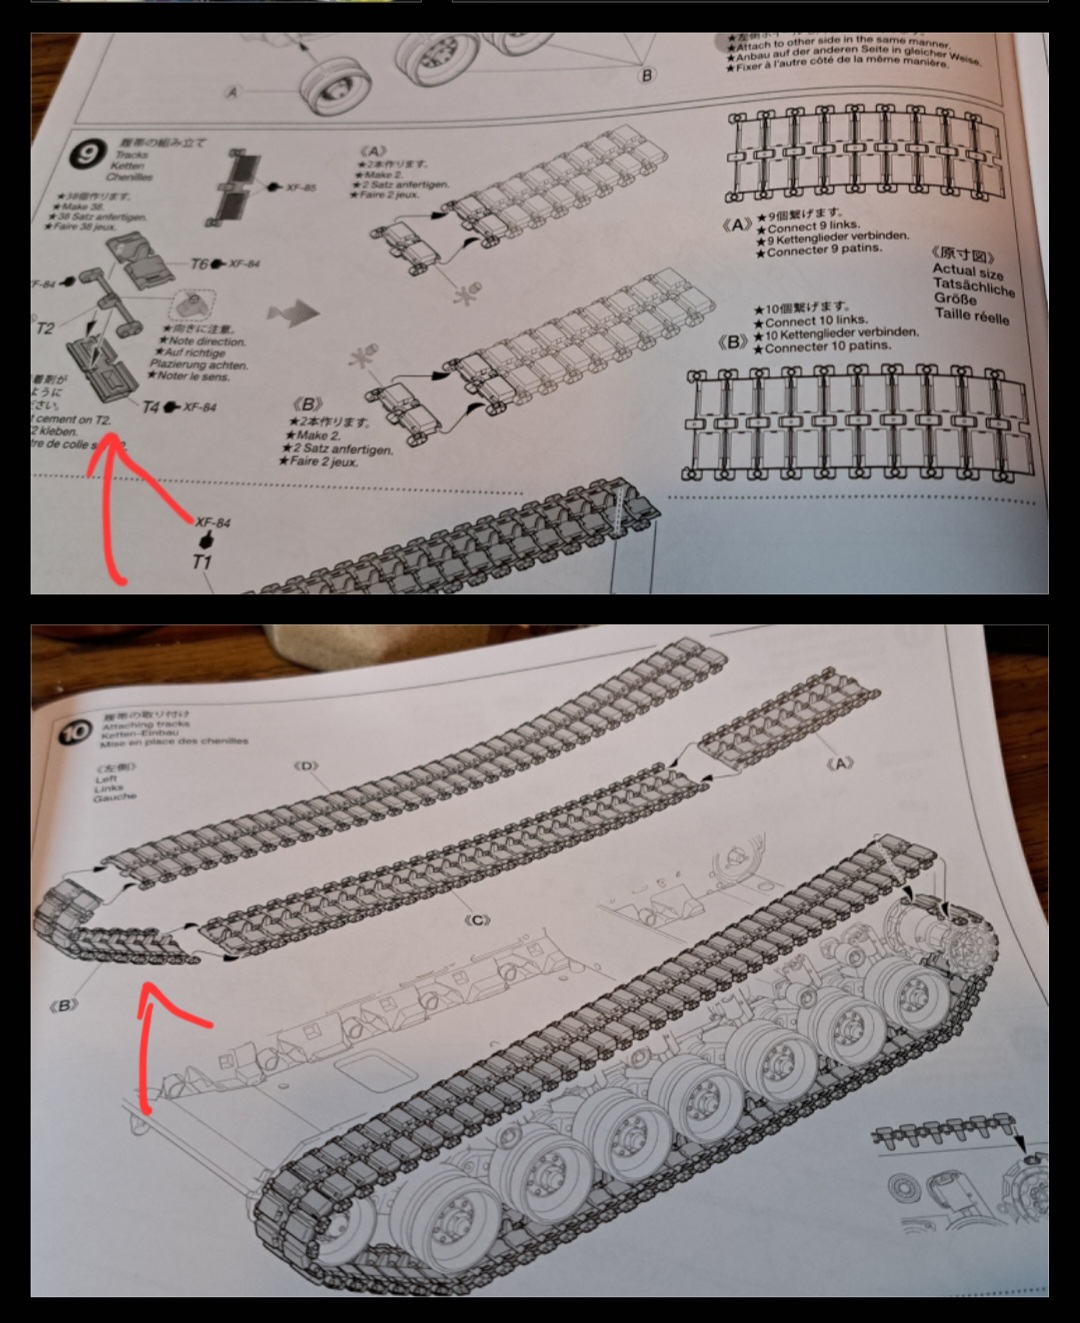
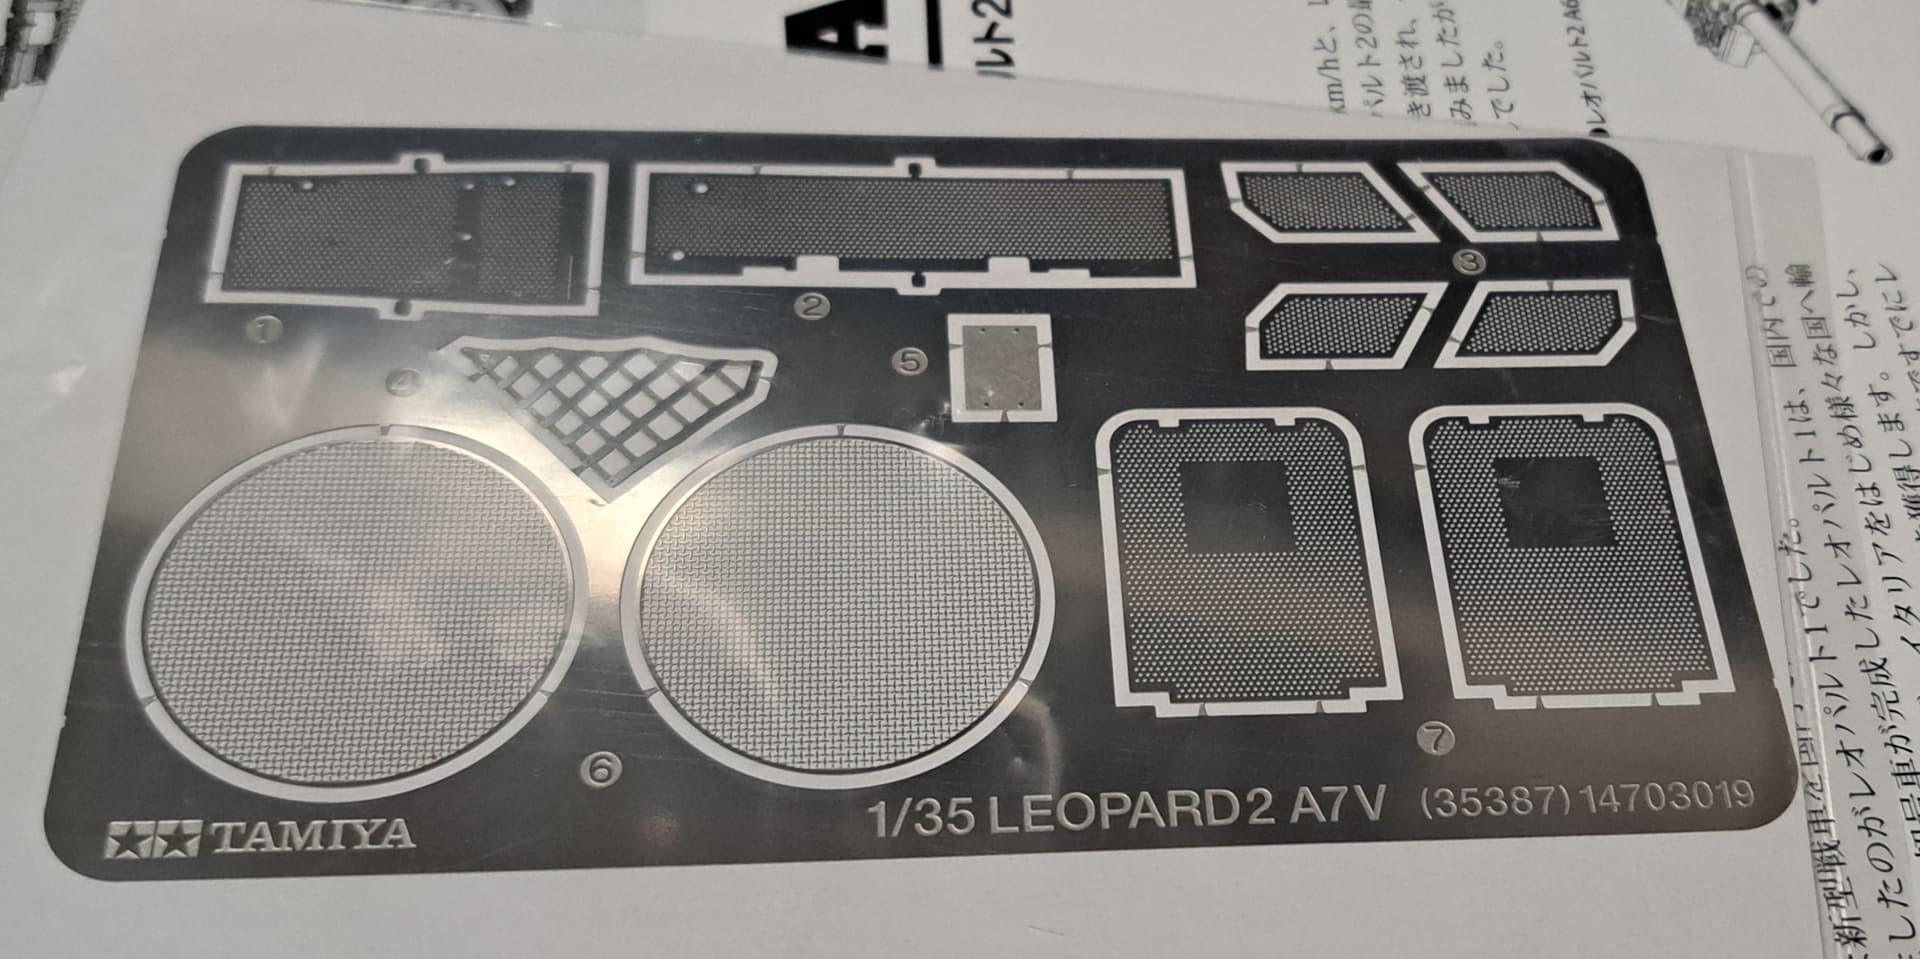
Photo-etch & clear partsxlook sweet.
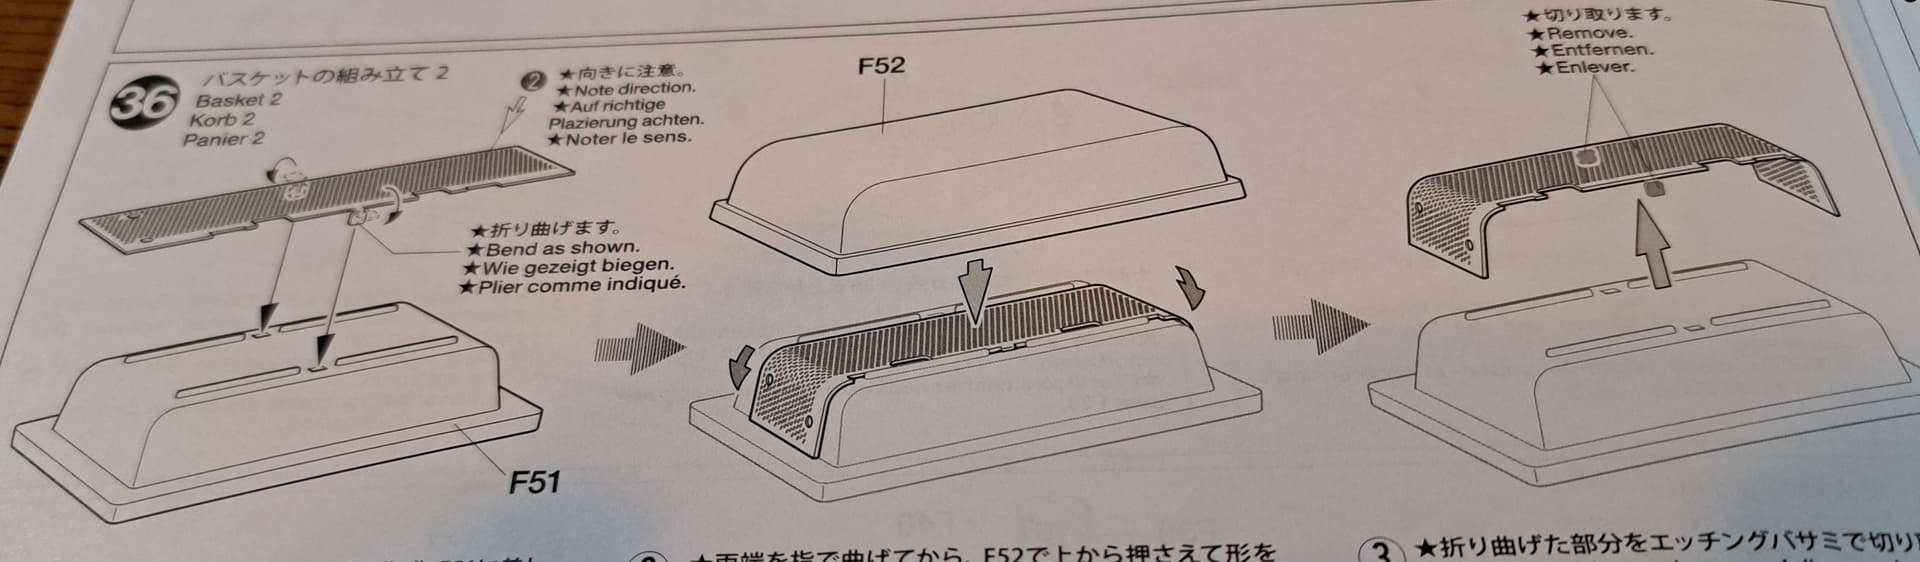
Don’t like bending PE? The kit comes with bending guides to make it easy.
As always the truth is in the building of the kit, not it’s appearance in the box.
Cheers ![]()
Edit - in the hobby room, airbrushed weathered black and over sprayed wirh my version of red oxide RAL 3000 (Tamiya Red Laquer).

13 Likes
