Still fighting with tools, tool racks etc…
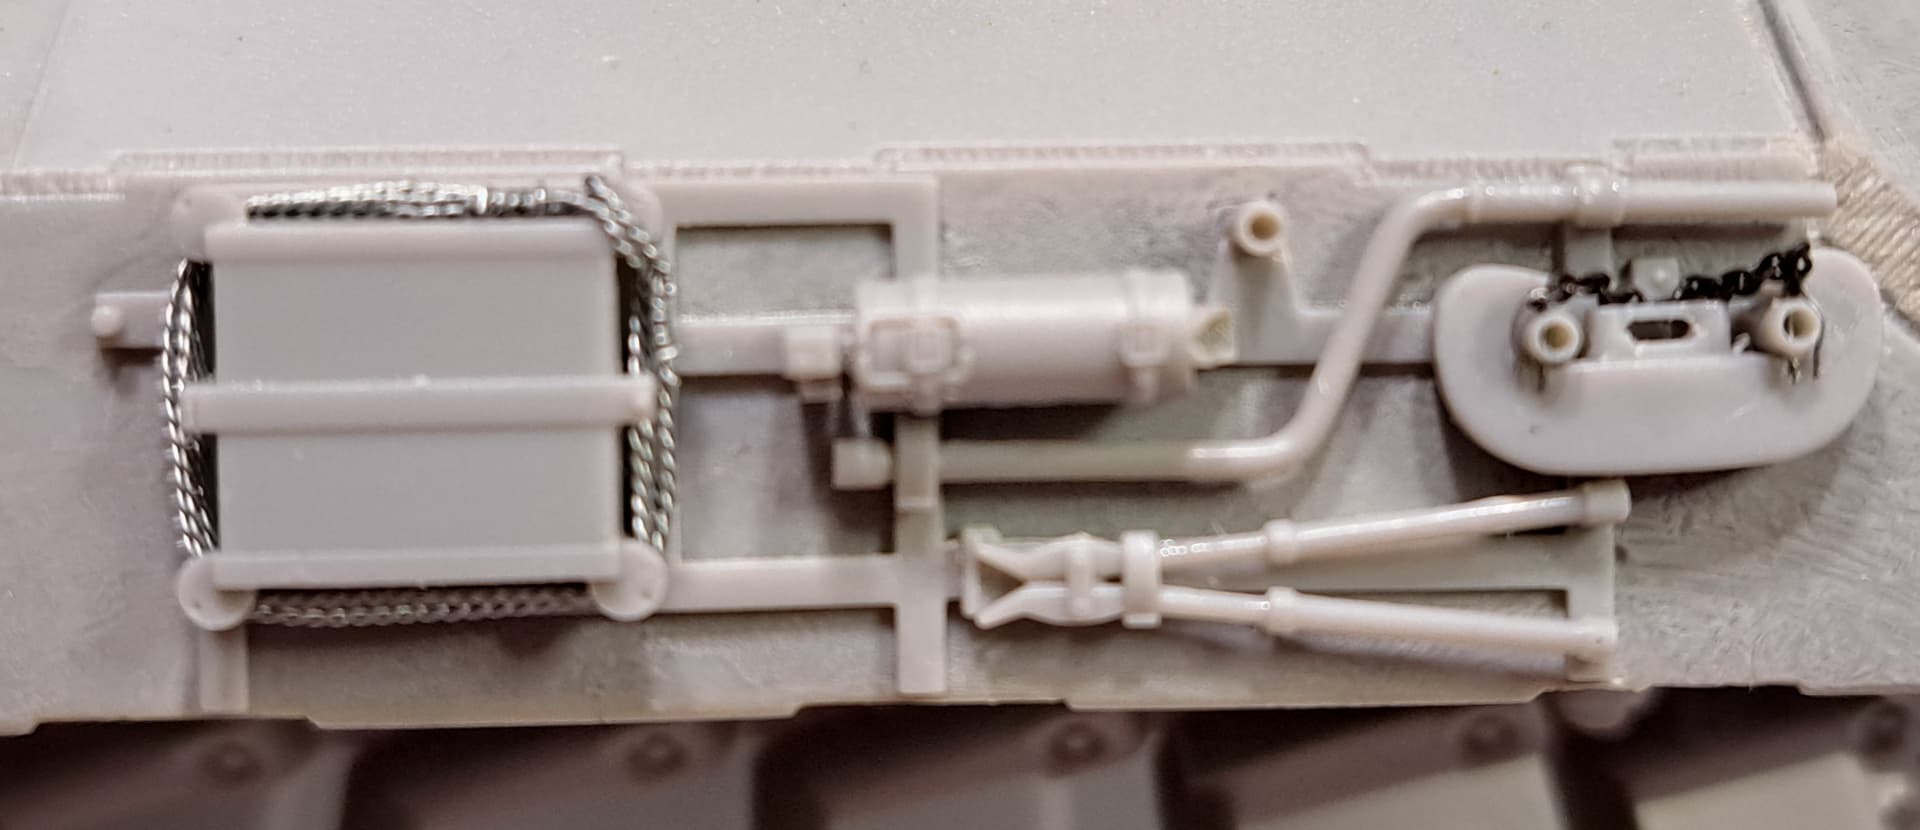
C hook mount, drilled out, made flat pins with retaining chain, tapped pin holes & C hook pinned in place.

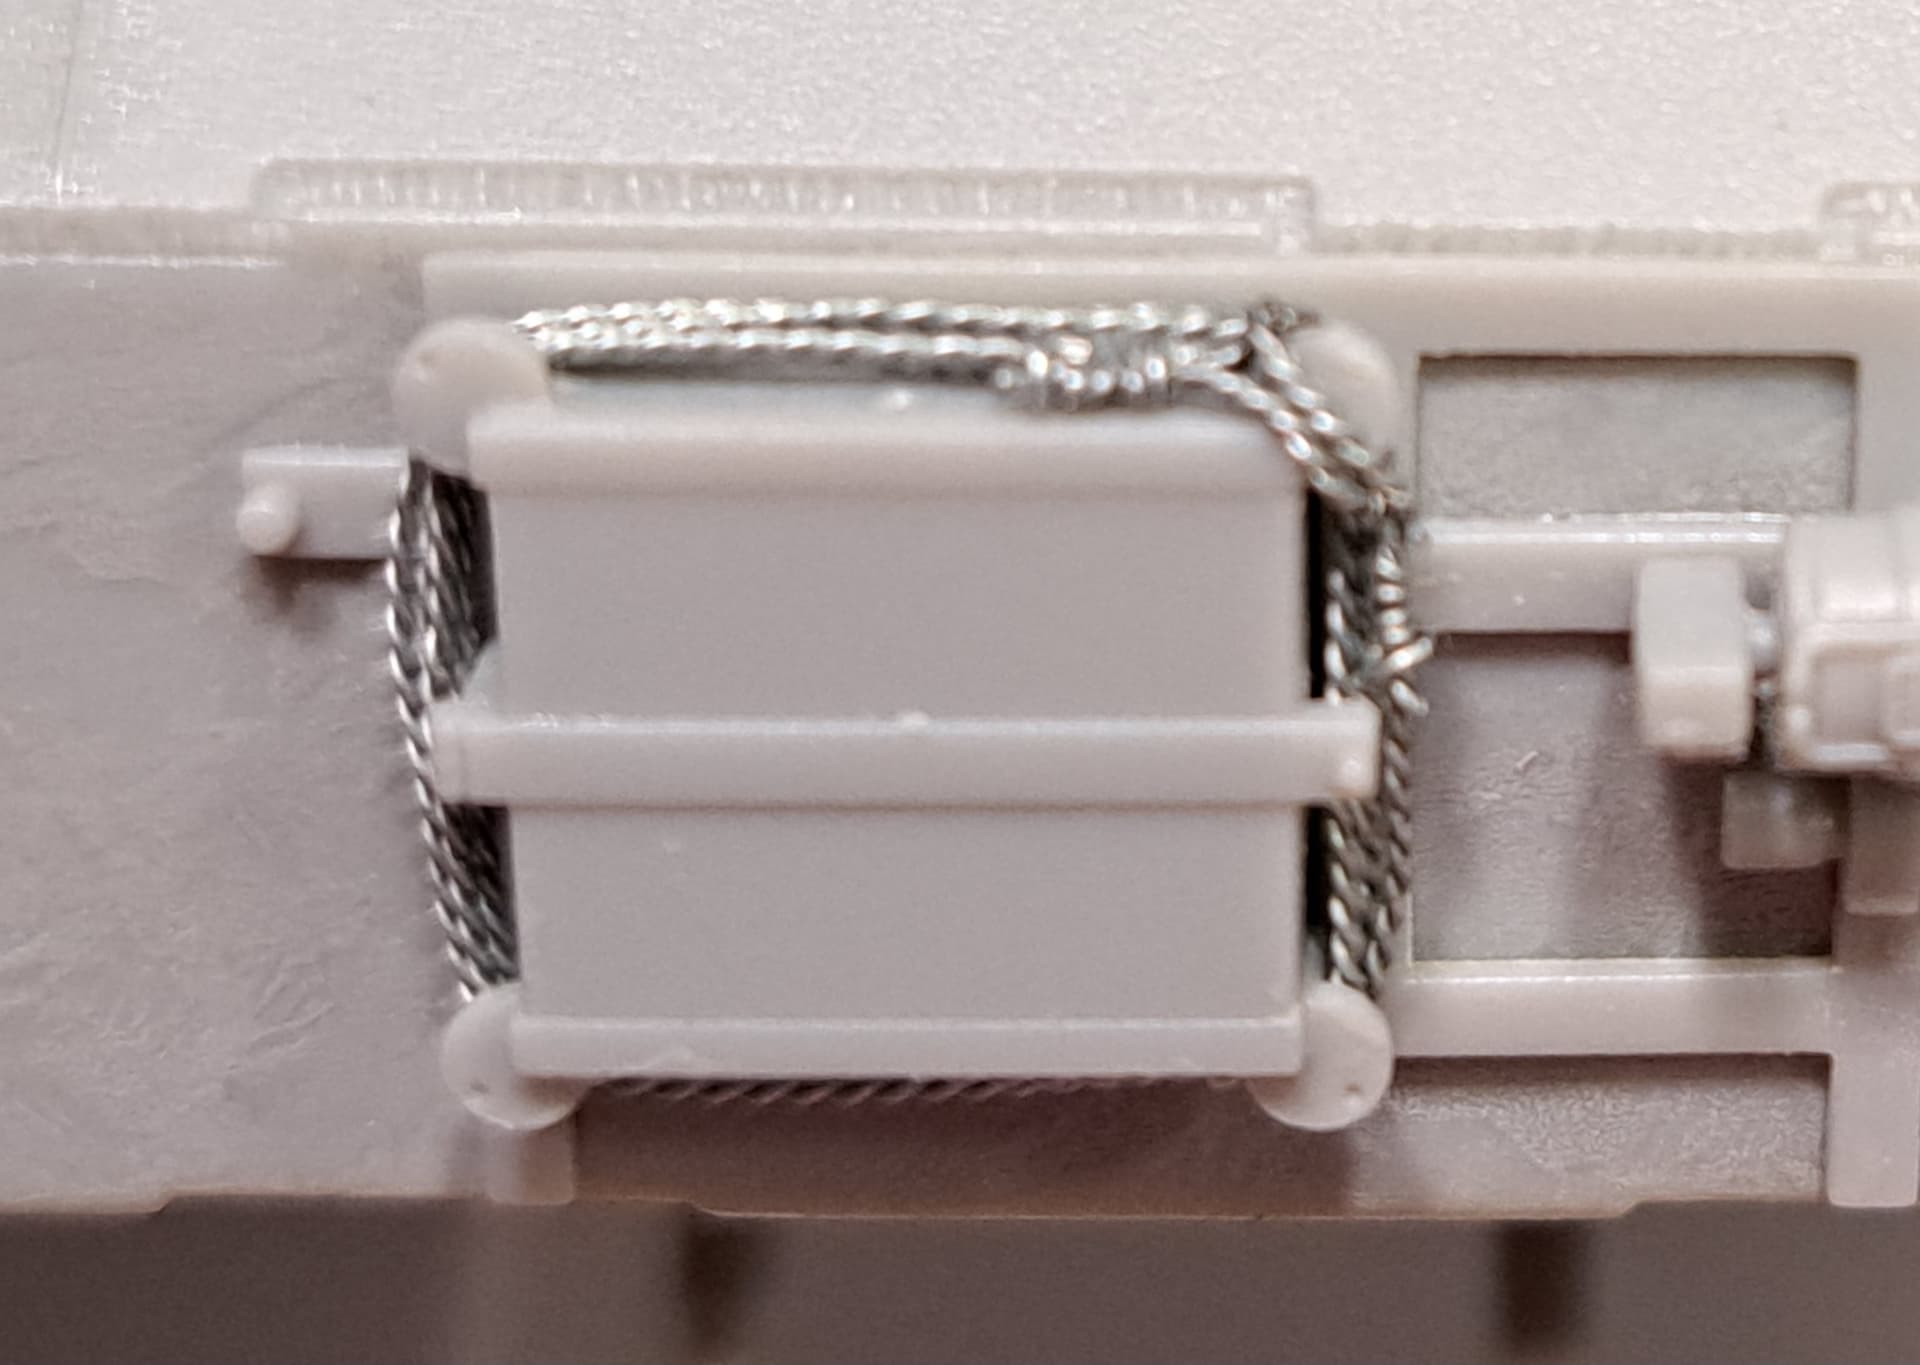
Track cable spun from two strands of #32 gauge beading wire on jack block.
The other side
Still fighting with tools, tool racks etc…
C hook mount, drilled out, made flat pins with retaining chain, tapped pin holes & C hook pinned in place.
Track cable spun from two strands of #32 gauge beading wire on jack block.
The other side
A productive couple of days here:
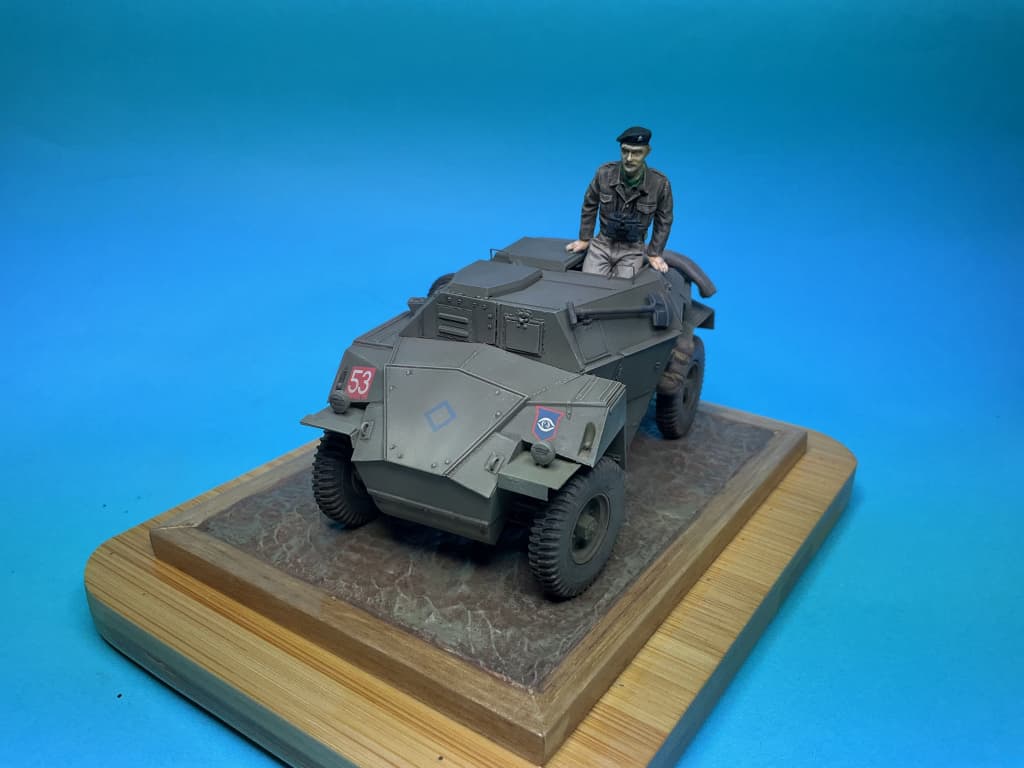
Finished the Humber Scout Car for the Movie star Group build:
Brought the AFV Club SdKfz 263 closer to the finish line:
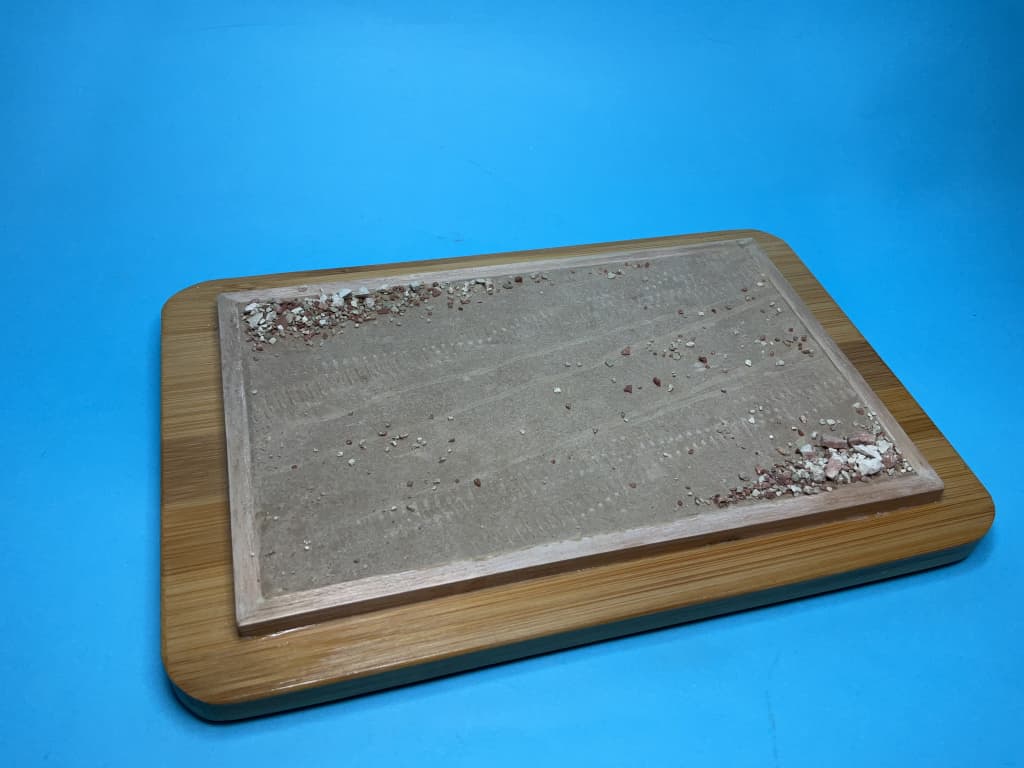
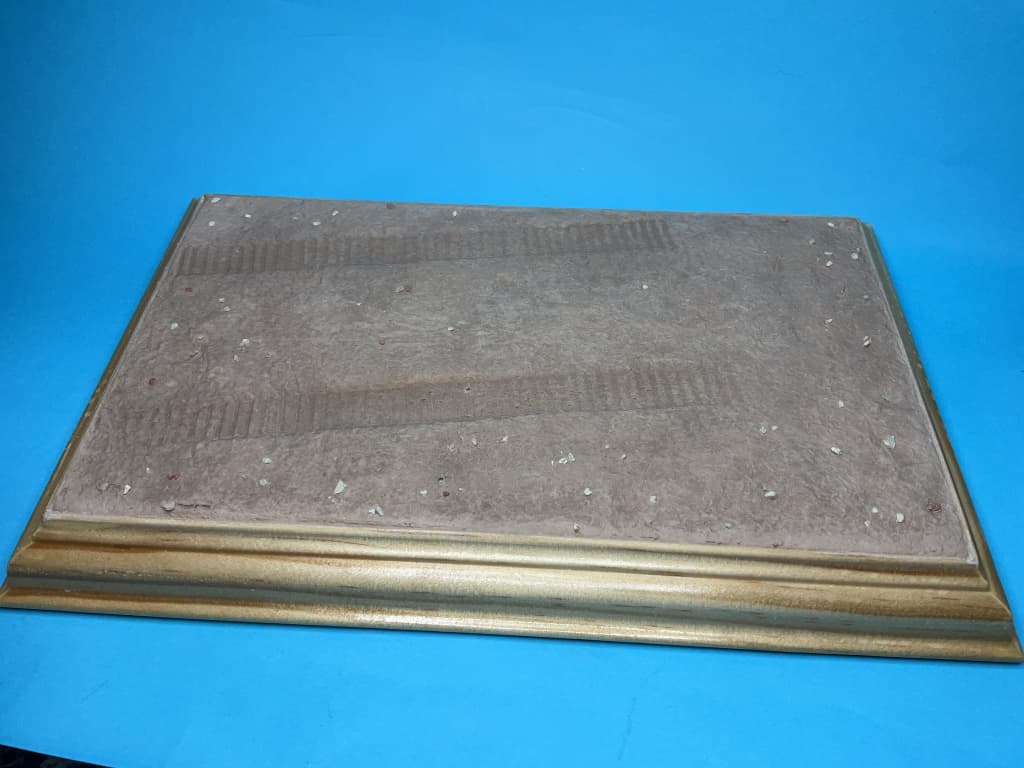
Laid some plaster down for my Aussie Centurion build:
Started the greenery on another base (careful he must be a German in disguise, as he is pointing!):
Also laid some paint on the groundwork for my ASLAV-R:
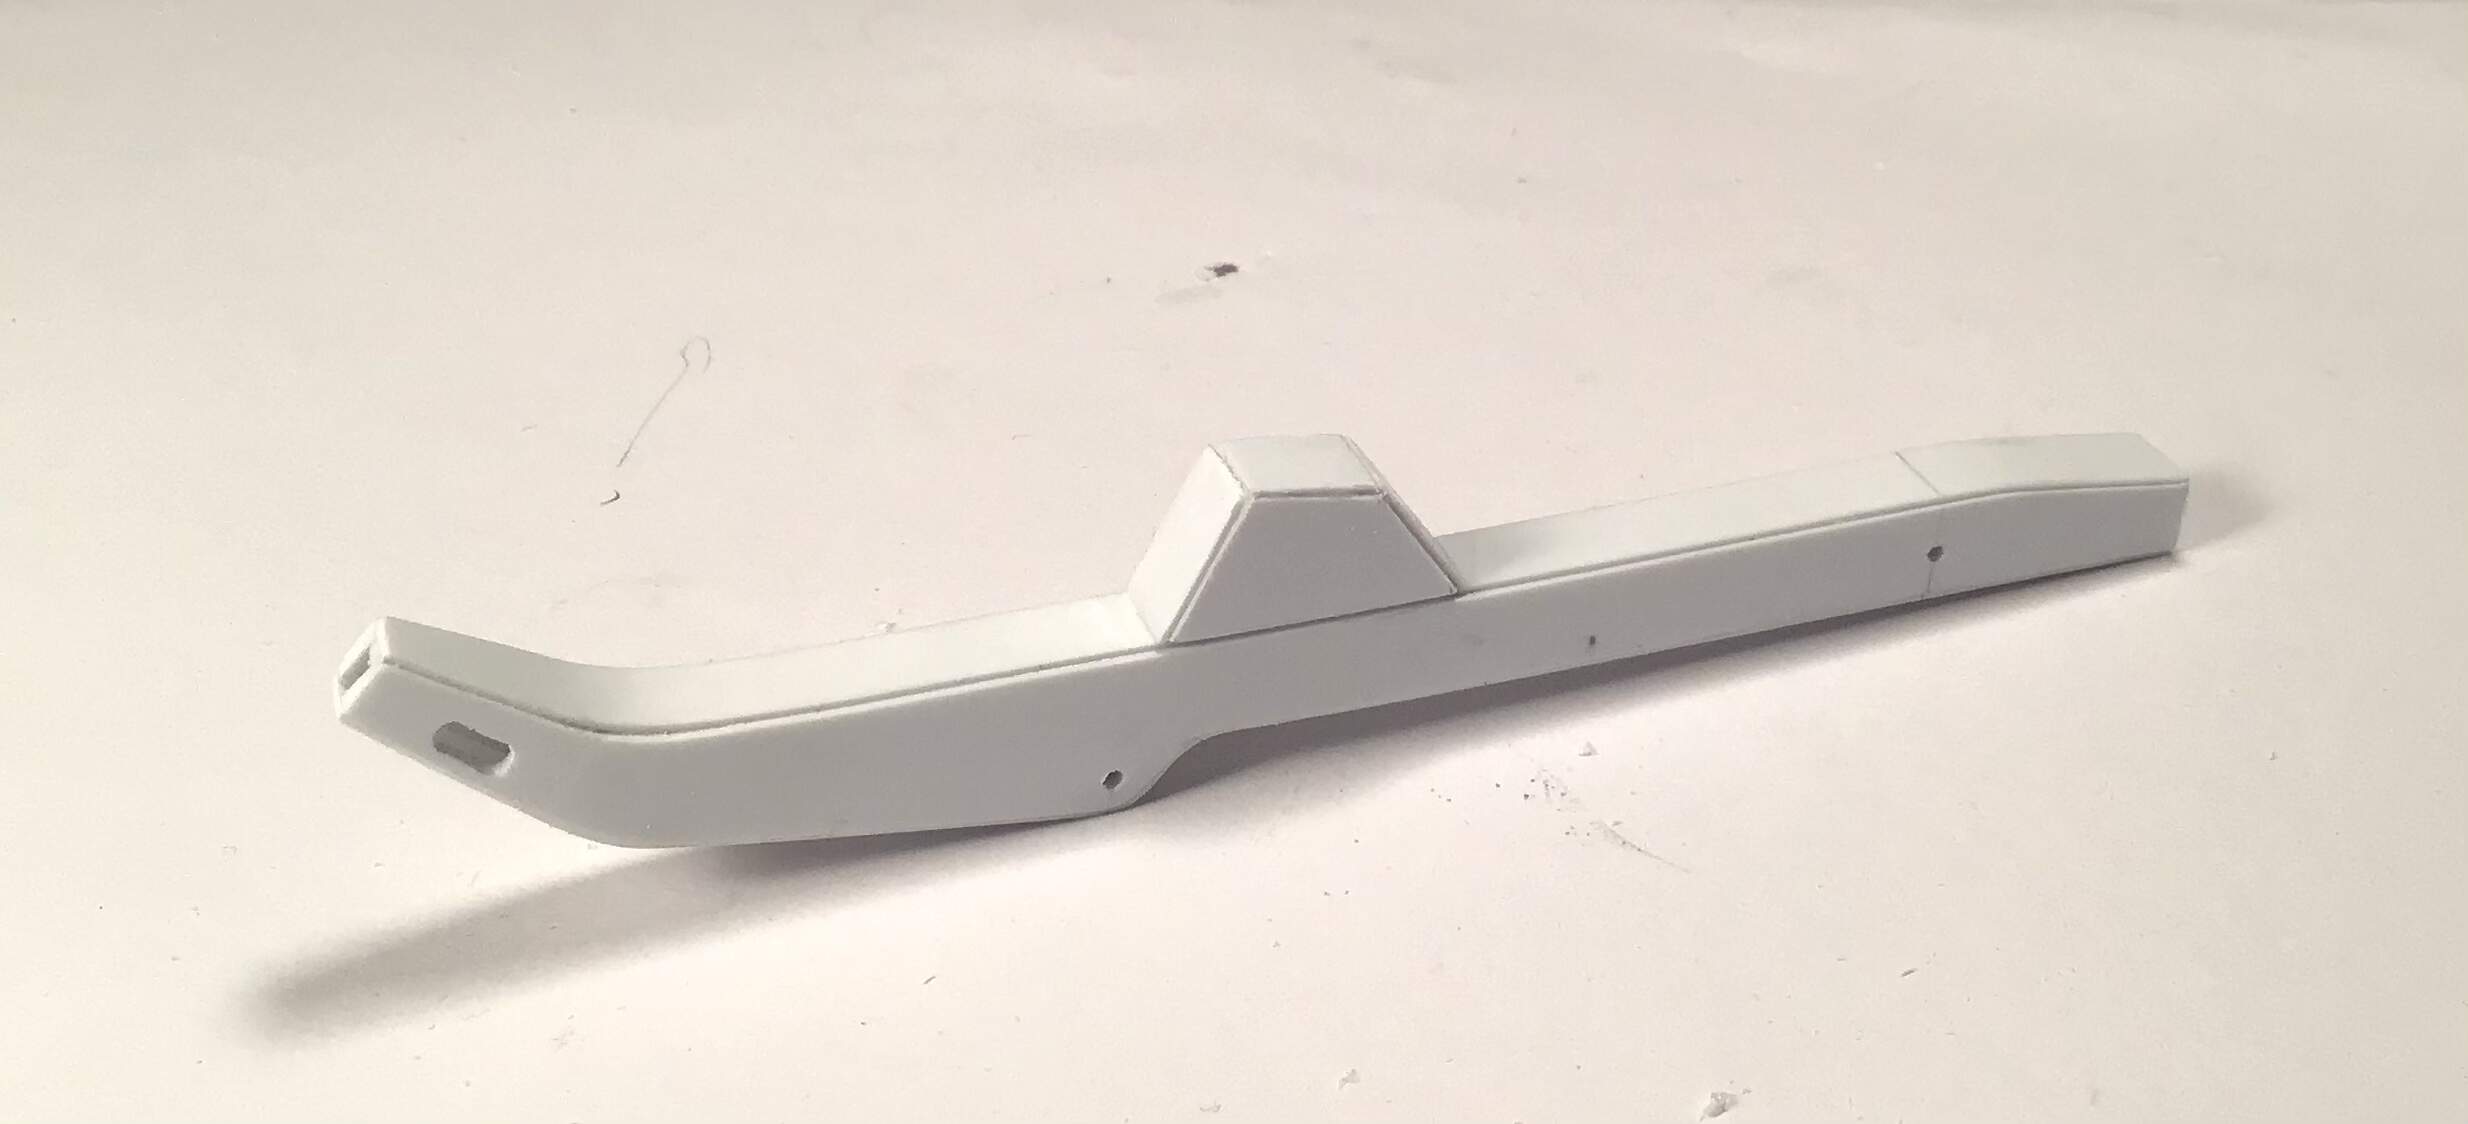
Built up the main boom -
… and started on the flat work for the fairlead roller system and connecting link for chassis/boom .
A different bomb-delivery system, I see…
Where will the launch tubes be? (this is still a terribly complex and inefficient way to store/fire bombs, imo. Too much space to necessitate the carousel, really. Could just go for regular racks that move around. The chain elevator and push rod are fine, since you have to get the bombs inside and loaded, though.)
Fantastic scratch work, Mike! ![]()
![]()
I like the humber car, last weekend there was “a bridge too far” on german tv, I like this movie and I like to see some more pictures, if you like to present some more ![]()
The figure looks like the “movie colonel vandeleur” ,well done
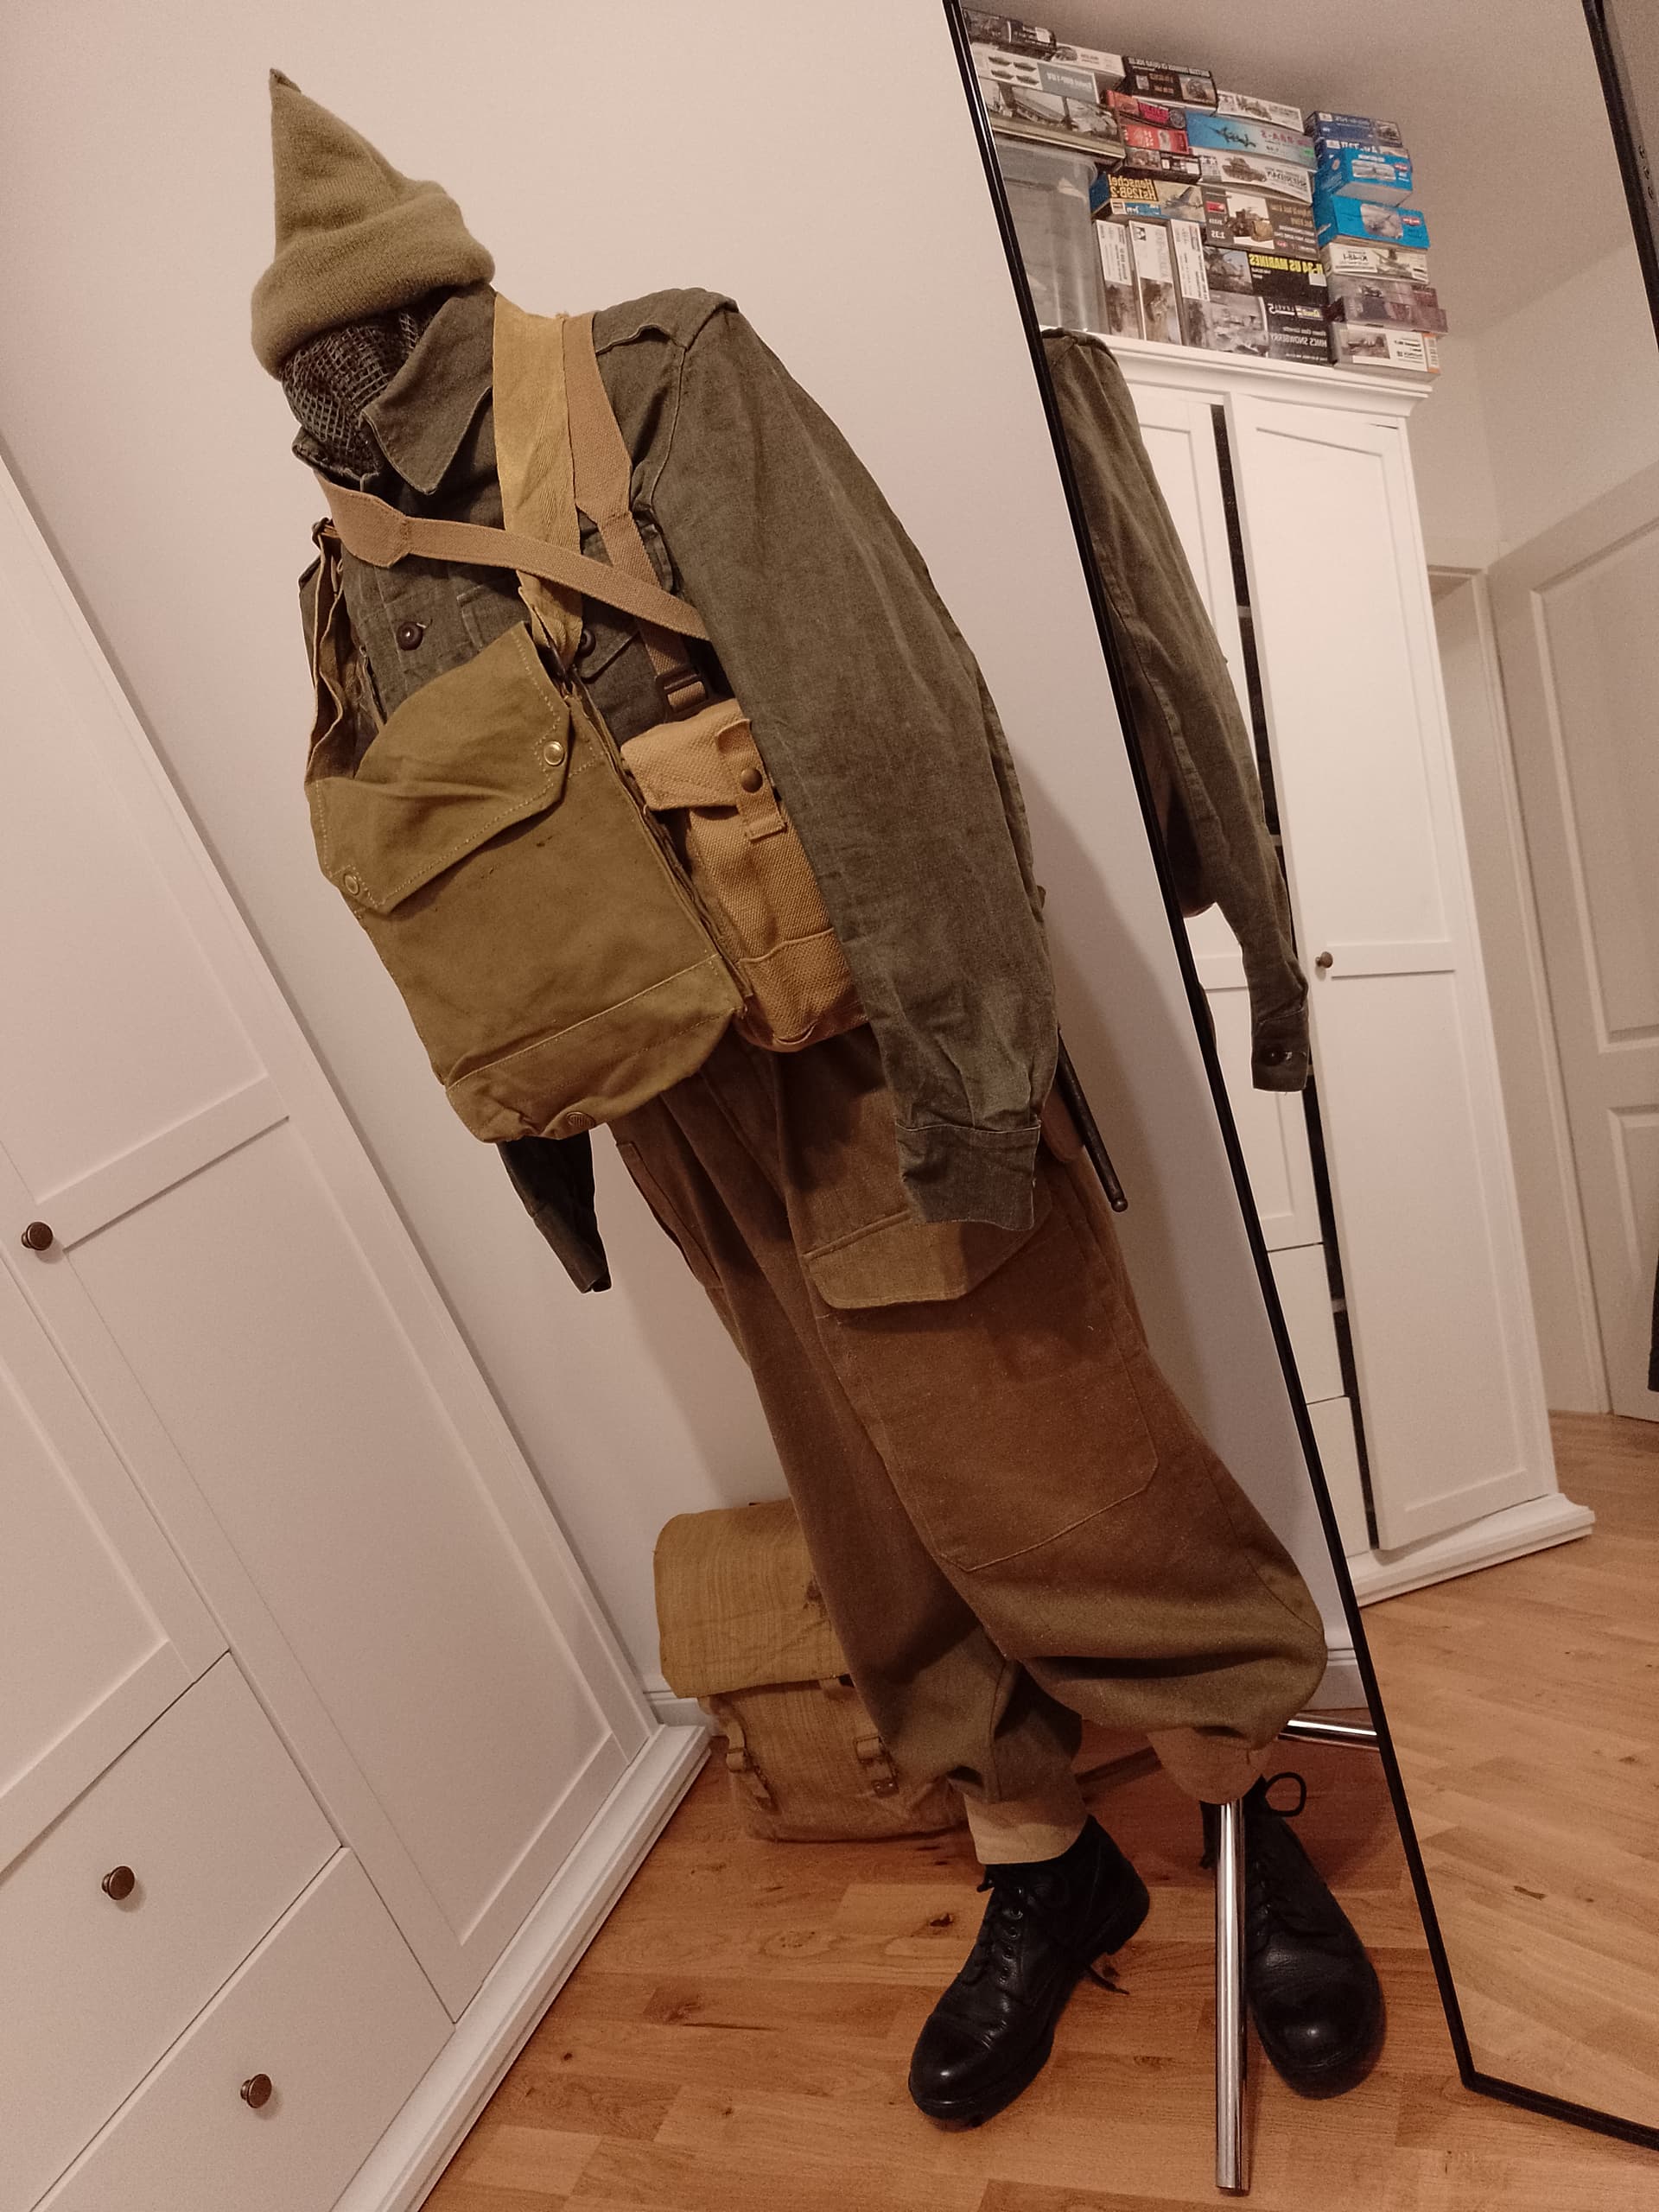
Fihished this small display today. Unfortunately I have space for just one figurine and my collection literally split betweenntwo countries
There are a couple more pictures here, plus the references from the movie and some in progress pics earlier in the thread:
Today looks like a Hobby Room R&D day…trying to scratch an acceptable tow cable for ye ole Dragon Panther D which doesn’t even included tow cable ends.
Proof of concept attempt with stainless steel tubing & spun beading wire. (Taper wrong at rear and opening way too big.)
5 stands of #28 beading wire spun
Hollow plastic tube cut and sanded to shape for tow cable.
Spent yesterday sanding the crinkling that resulted after I put down a second coat of paint on the final Mustang in my spectrum of colors. This will be the ‘V’ in the ‘ROYGBV’ and is Revell’s 1970 Boss 429 built as a street rod. Put a new coat on about 5 minutes ago and hopefully it will be good to go and the car will be done.
Going to paint the OVM tools of the German SPG trio and apply the decals. Then all they will need are the tracks mounted and a light dusting and sealing coat.
That’ll leave the Me262 and Bf109 to finish painting and then the Bergepanzer.
Thinking of either the 1/16 Panzer III J, all my remaining Pz IV tanks (excluding non-tank roles), or my remaining Stugs as my next project.
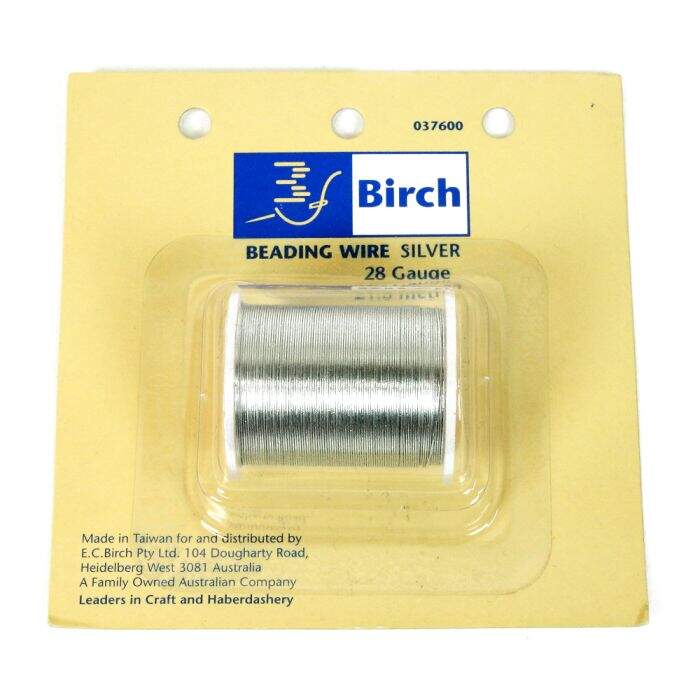
what thickness wire do you use, and how much do you spin it?
By this he means 28 Gauge beading wire:
Craft shops sell wire of varying gauges for beadwork. The higher the gauge the thinner, e.g. 32 gauge
You can also find such wire in DIY electronic shops and online:
https://www.ebay.com.au/str/temcoindustrial
Copper based wire is the best as it is more malleable.
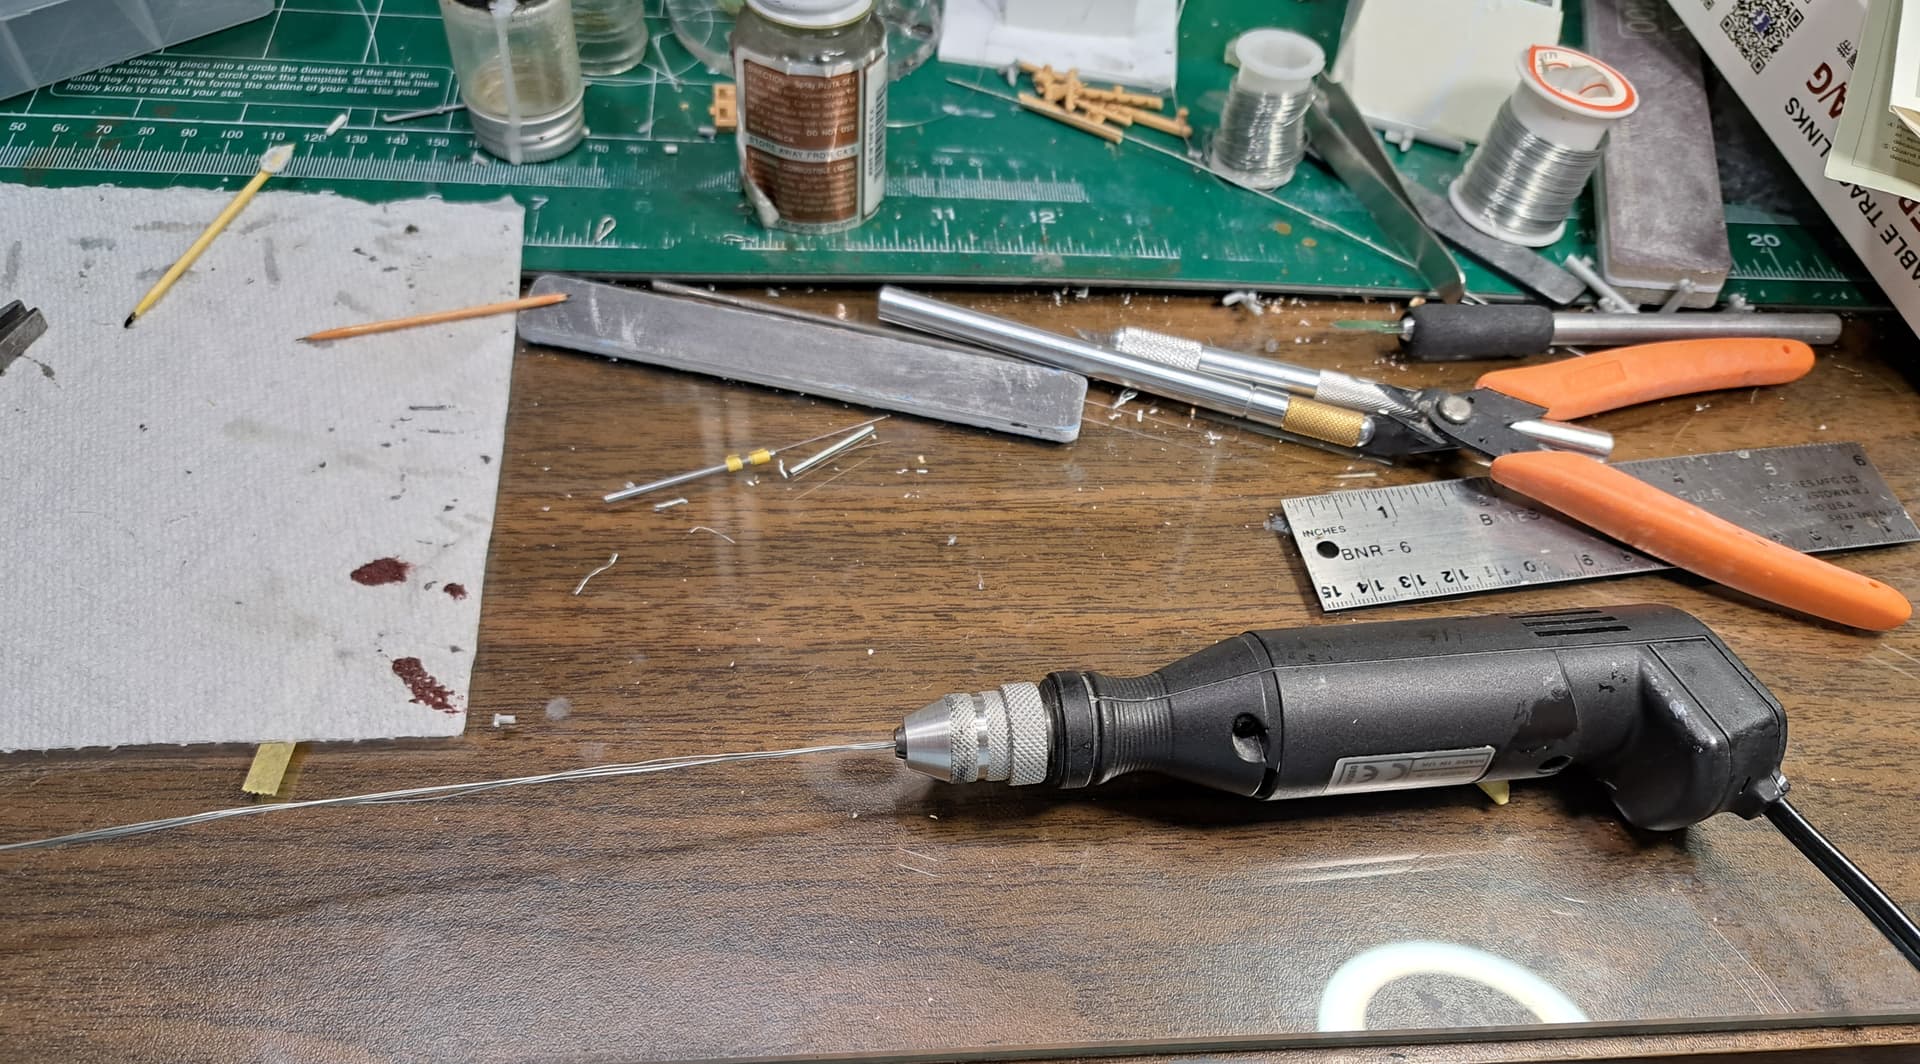
The trick is to fix one end (twist around a nail in a block of wood, etc) and insert the other end in a Dremel. Keep enough tension to keep the lines straight and let the wire draw the Dremel in as the twists shorten the length. Use the Dremel on low power to turn the wire until the twist looks about right, then turn the last bit by hand. If you wait that bit more you are likely to over spin it. Spin too much and the wire will start to twist upon itself and kink badly.
For the really thin track repair cables, you can buy wire from an electronics shop that has many ultra fine copper wires in it. Just cut away the insulation. These are normally already slightly twisted, so a bit of unravelling is involved.
Hi RougePilot,
“Terribly complex”… Yes.
“Inefficient”… Absolutely.
“Too much space to necessitate the carousel”… You betcha. ![]()
I am merely expanding upon a 1/72 scale plastic model kit of the German ‘Haunebu II,’ a concept which is clearly ridiculous in the first place. ![]()
So anyway, it would seem we’ve been on this merry-go-round (carousel) before. ![]() I’ll attempt to explain again: There is only “one” (1), i.e. “singular” Launch Tube, not “tubes.” Hope the following will clarify:
I’ll attempt to explain again: There is only “one” (1), i.e. “singular” Launch Tube, not “tubes.” Hope the following will clarify:
Bomb Room arrangement. ![]()
Launch Tube location. ![]()
Note: The excess tubing will be trimmed-off later, after which the anti-gravity box can be removed. ![]()
Bomb exiting Launch Tube (Belly Dome area).
Note: All images are WIP until they are not. ![]()
Reminder: No rivets should be counted for accuracy… this is “Science-Fiction”… or is it? ![]()
![]()
Lastly, thank’s to all for your interest and for having a look.
—mike …![]()
As has been said previously, Dr Ferdinand Porsche would be proud of you.
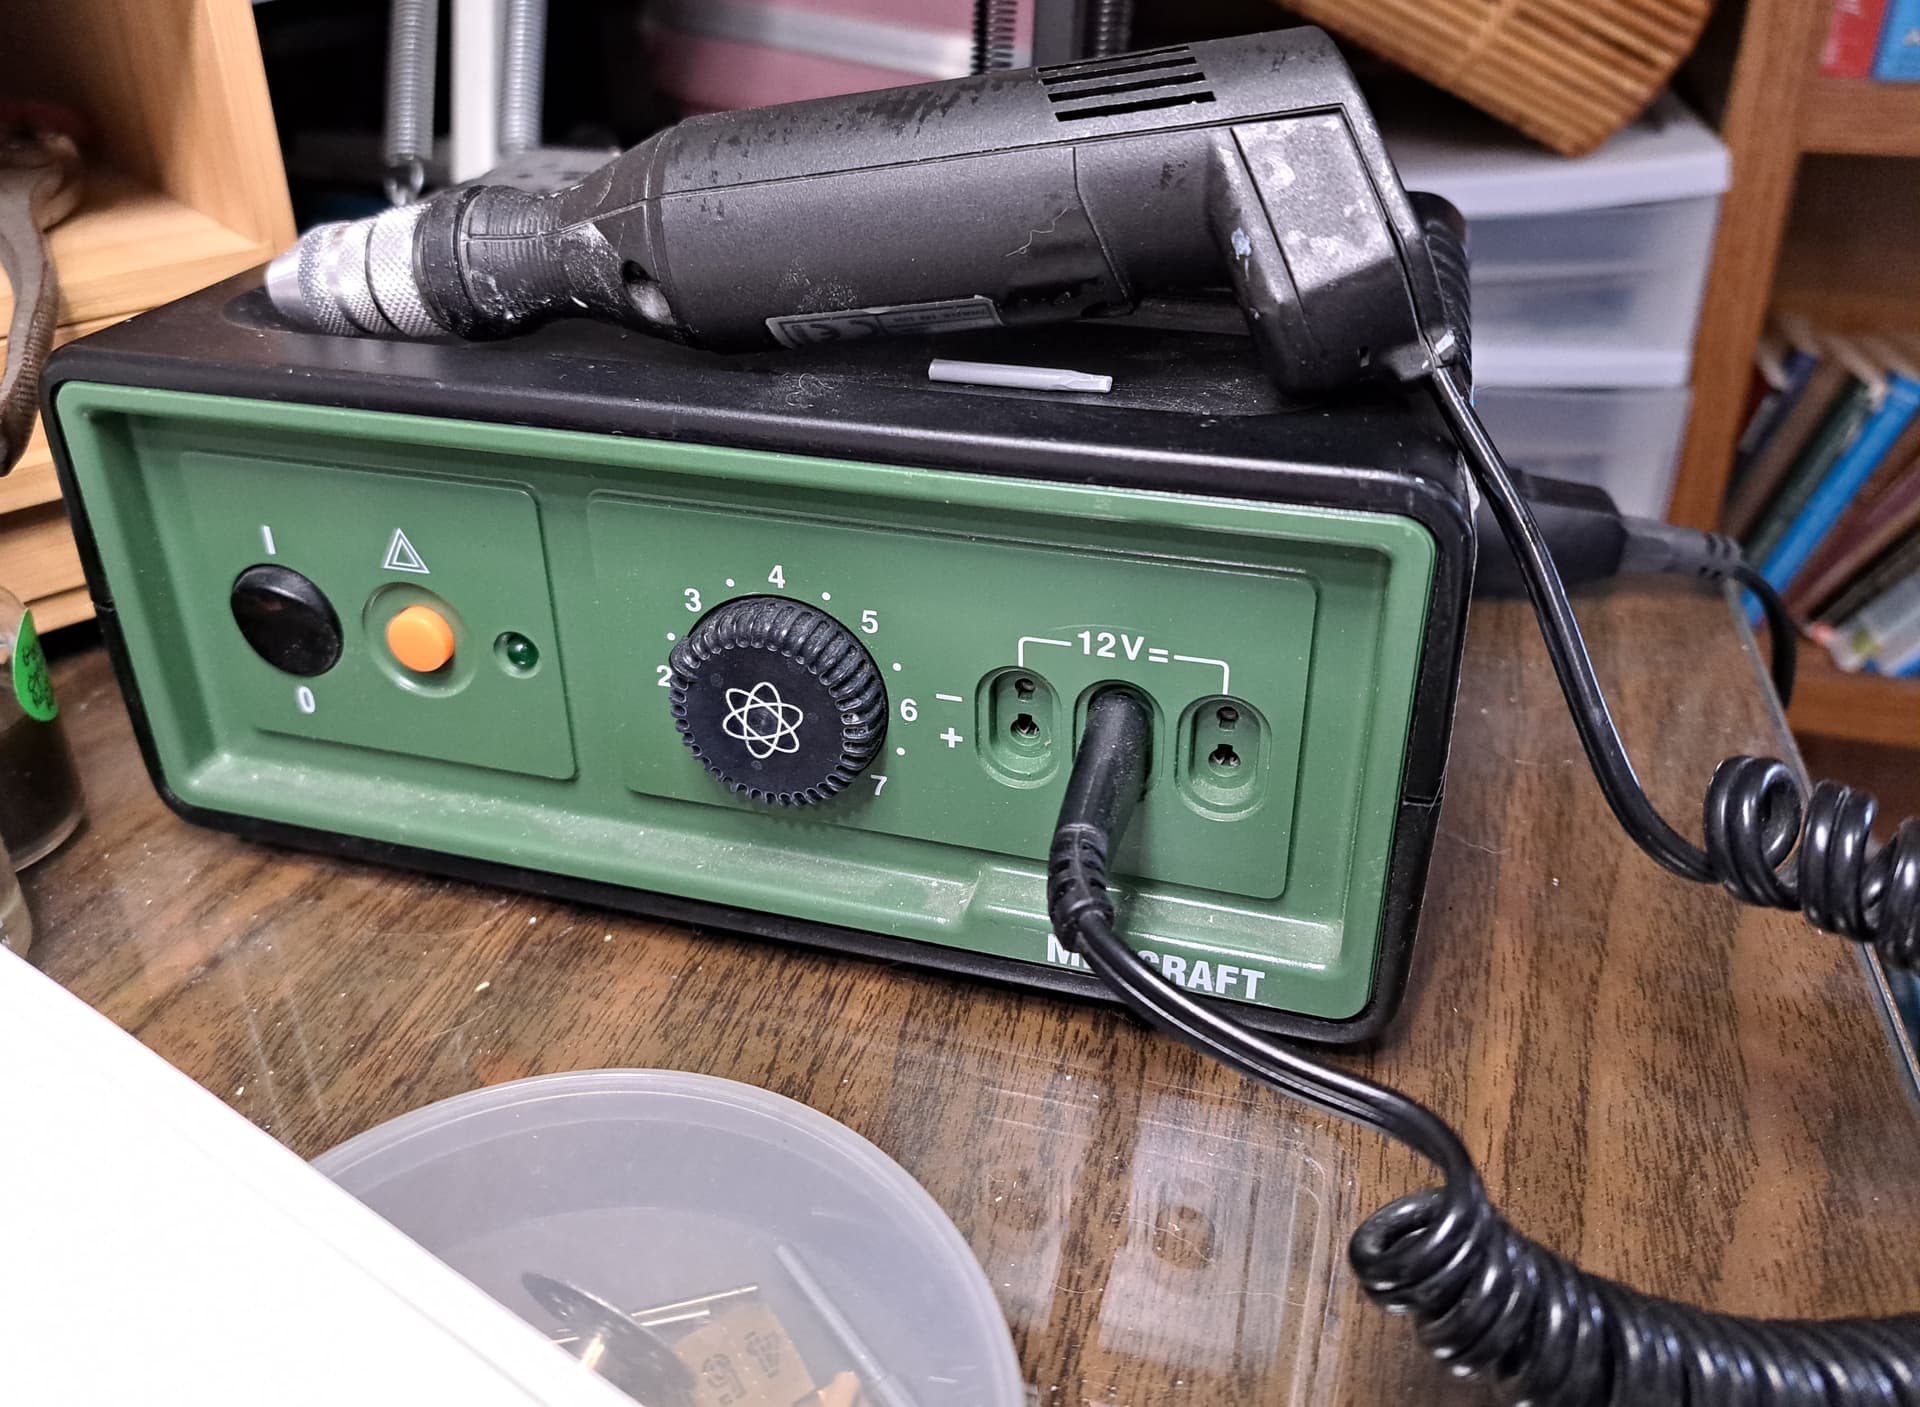
I’m using #28 gauge beading wire. I tried #32 but it was too small for tow cable. #32 worked well enough for the track tension cable.
As for spin, I set the MiniCraft on low ( ~1,000 rpm) flip on drill for a couple of seconds, inspect flip on drill etc until it wire looks good enough. I pull wire tight with pliers in one hand & operate drill with other keep tension on wire.
Love the MiniCraft, it can go low & slow with lots of torque so it allows great control.
My Dremel only knows two speeds… FAST! and STOP! You should’ve seen the Styrene flying… and/or melting the other day. ![]()
—mike ![]()