Got that old kit from Matchbox but don’t think that i will ever build it …
Or is that a different plane ?
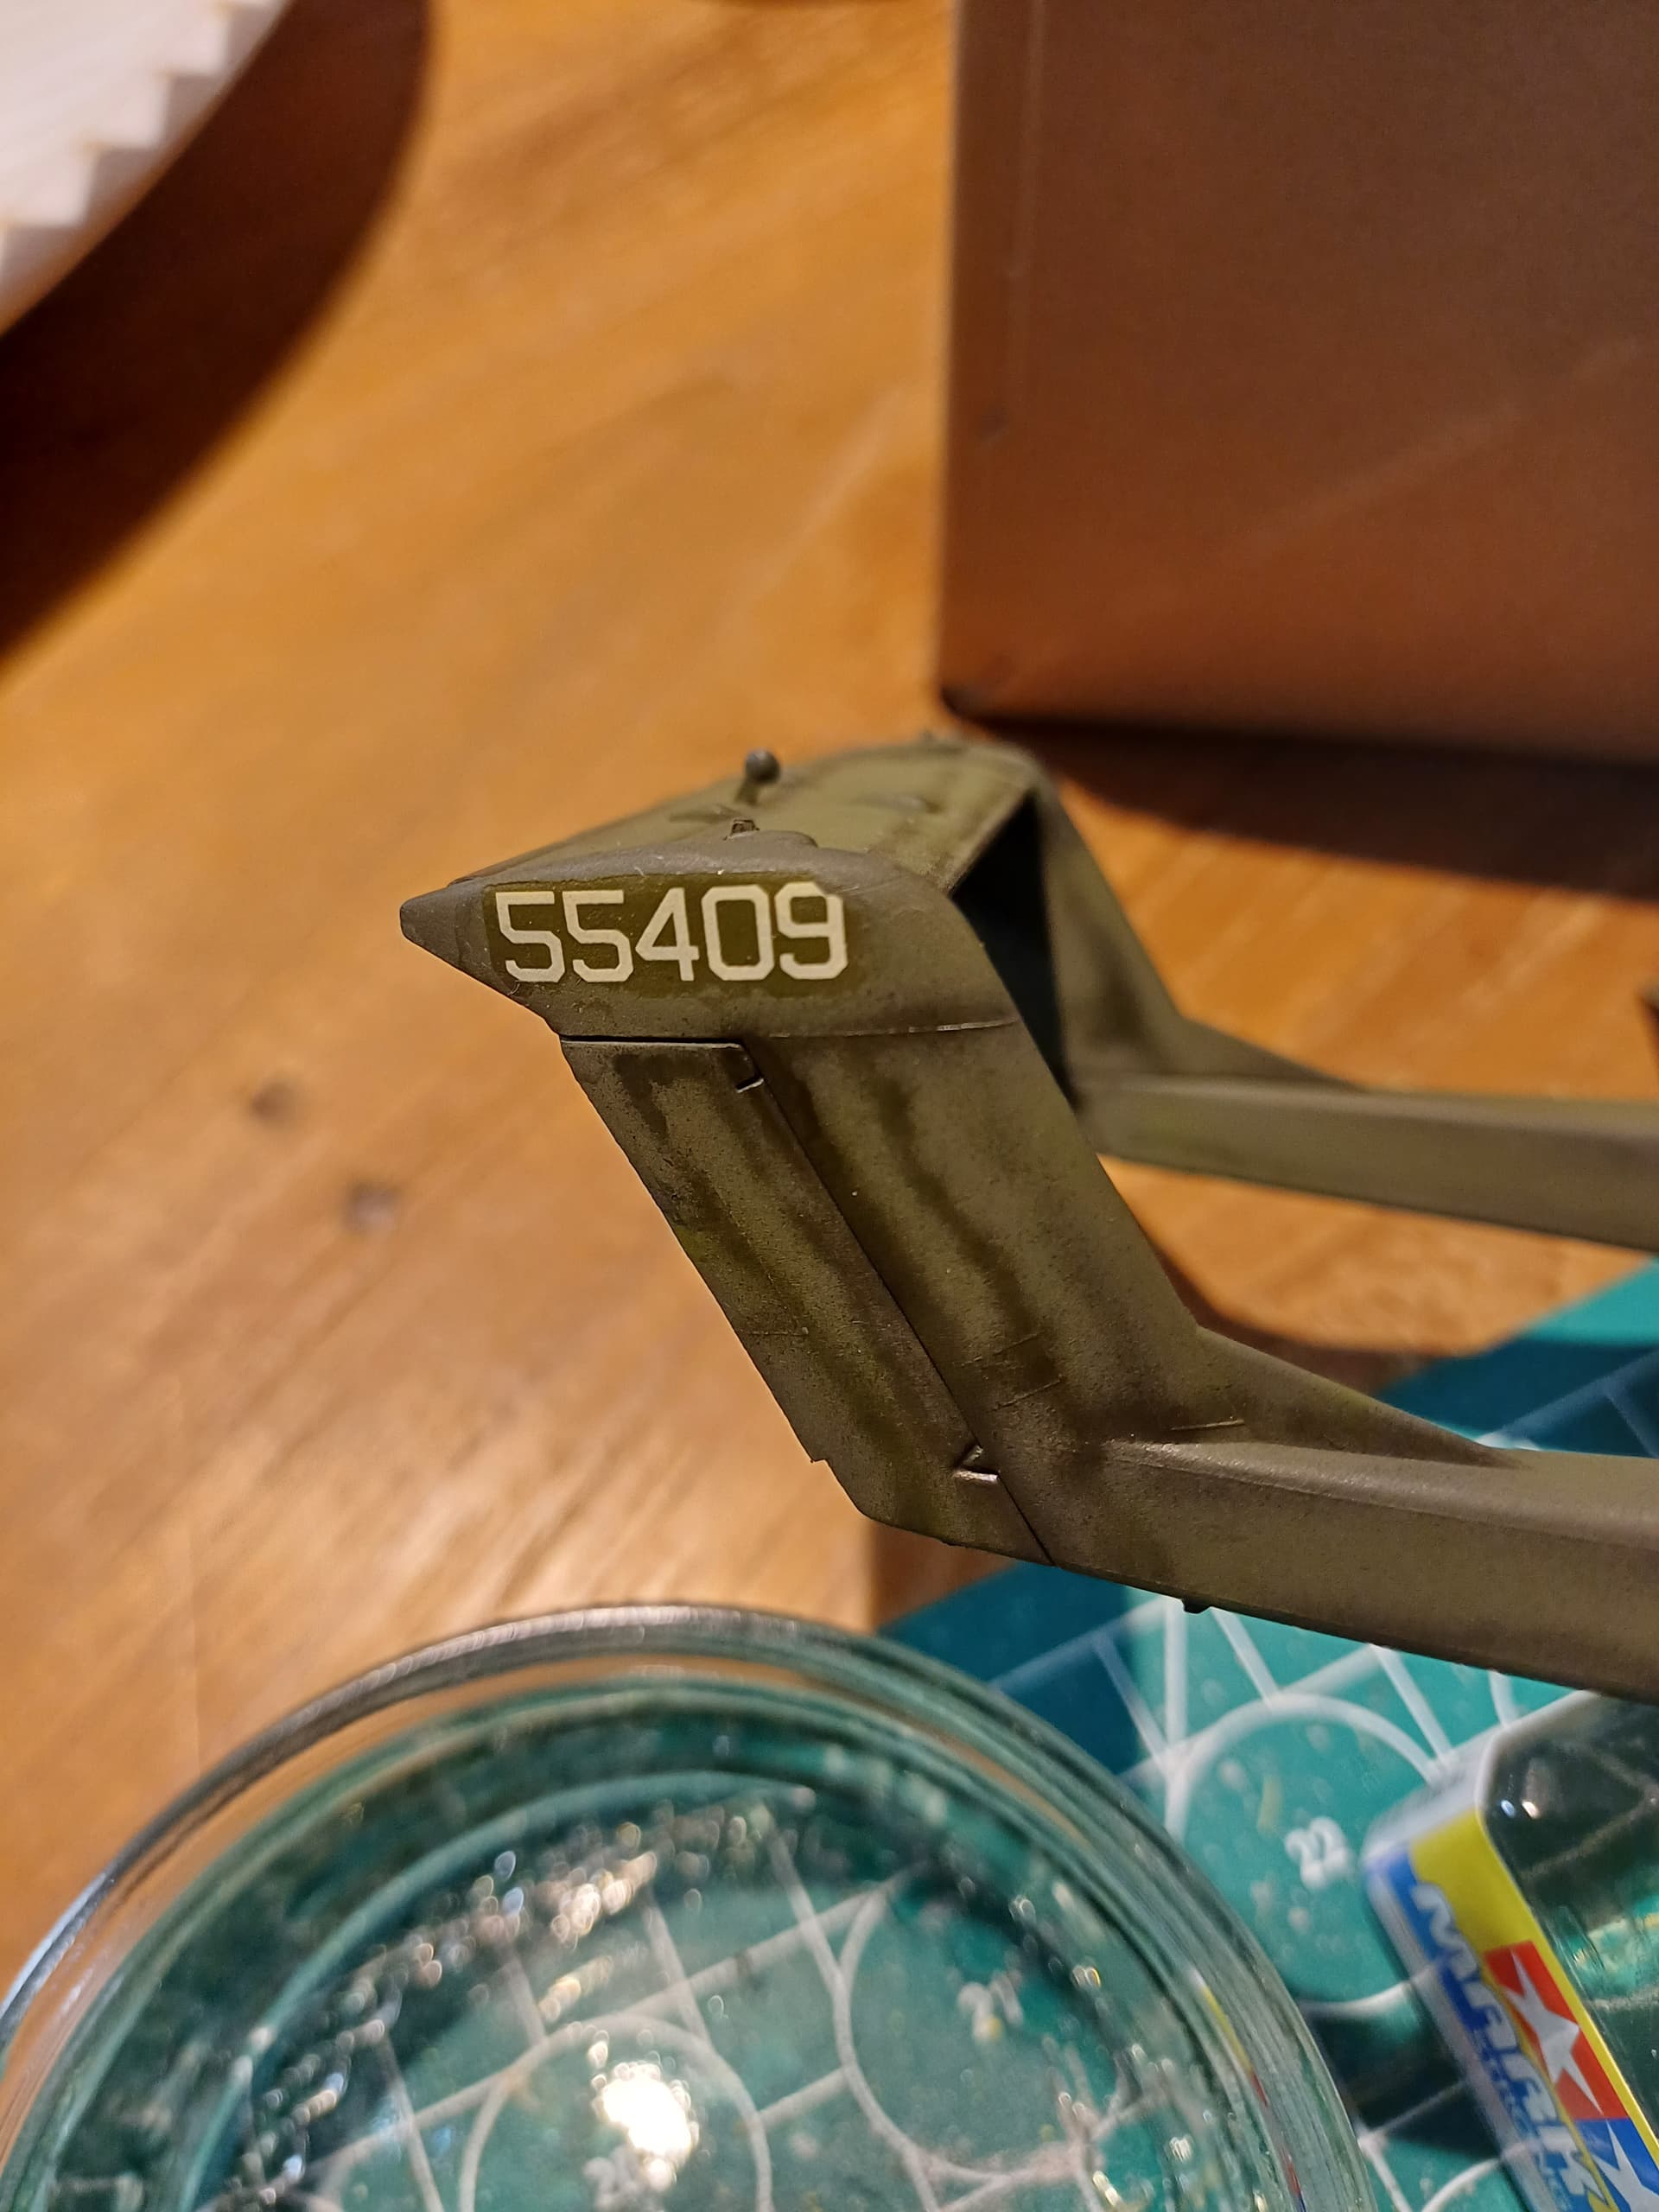
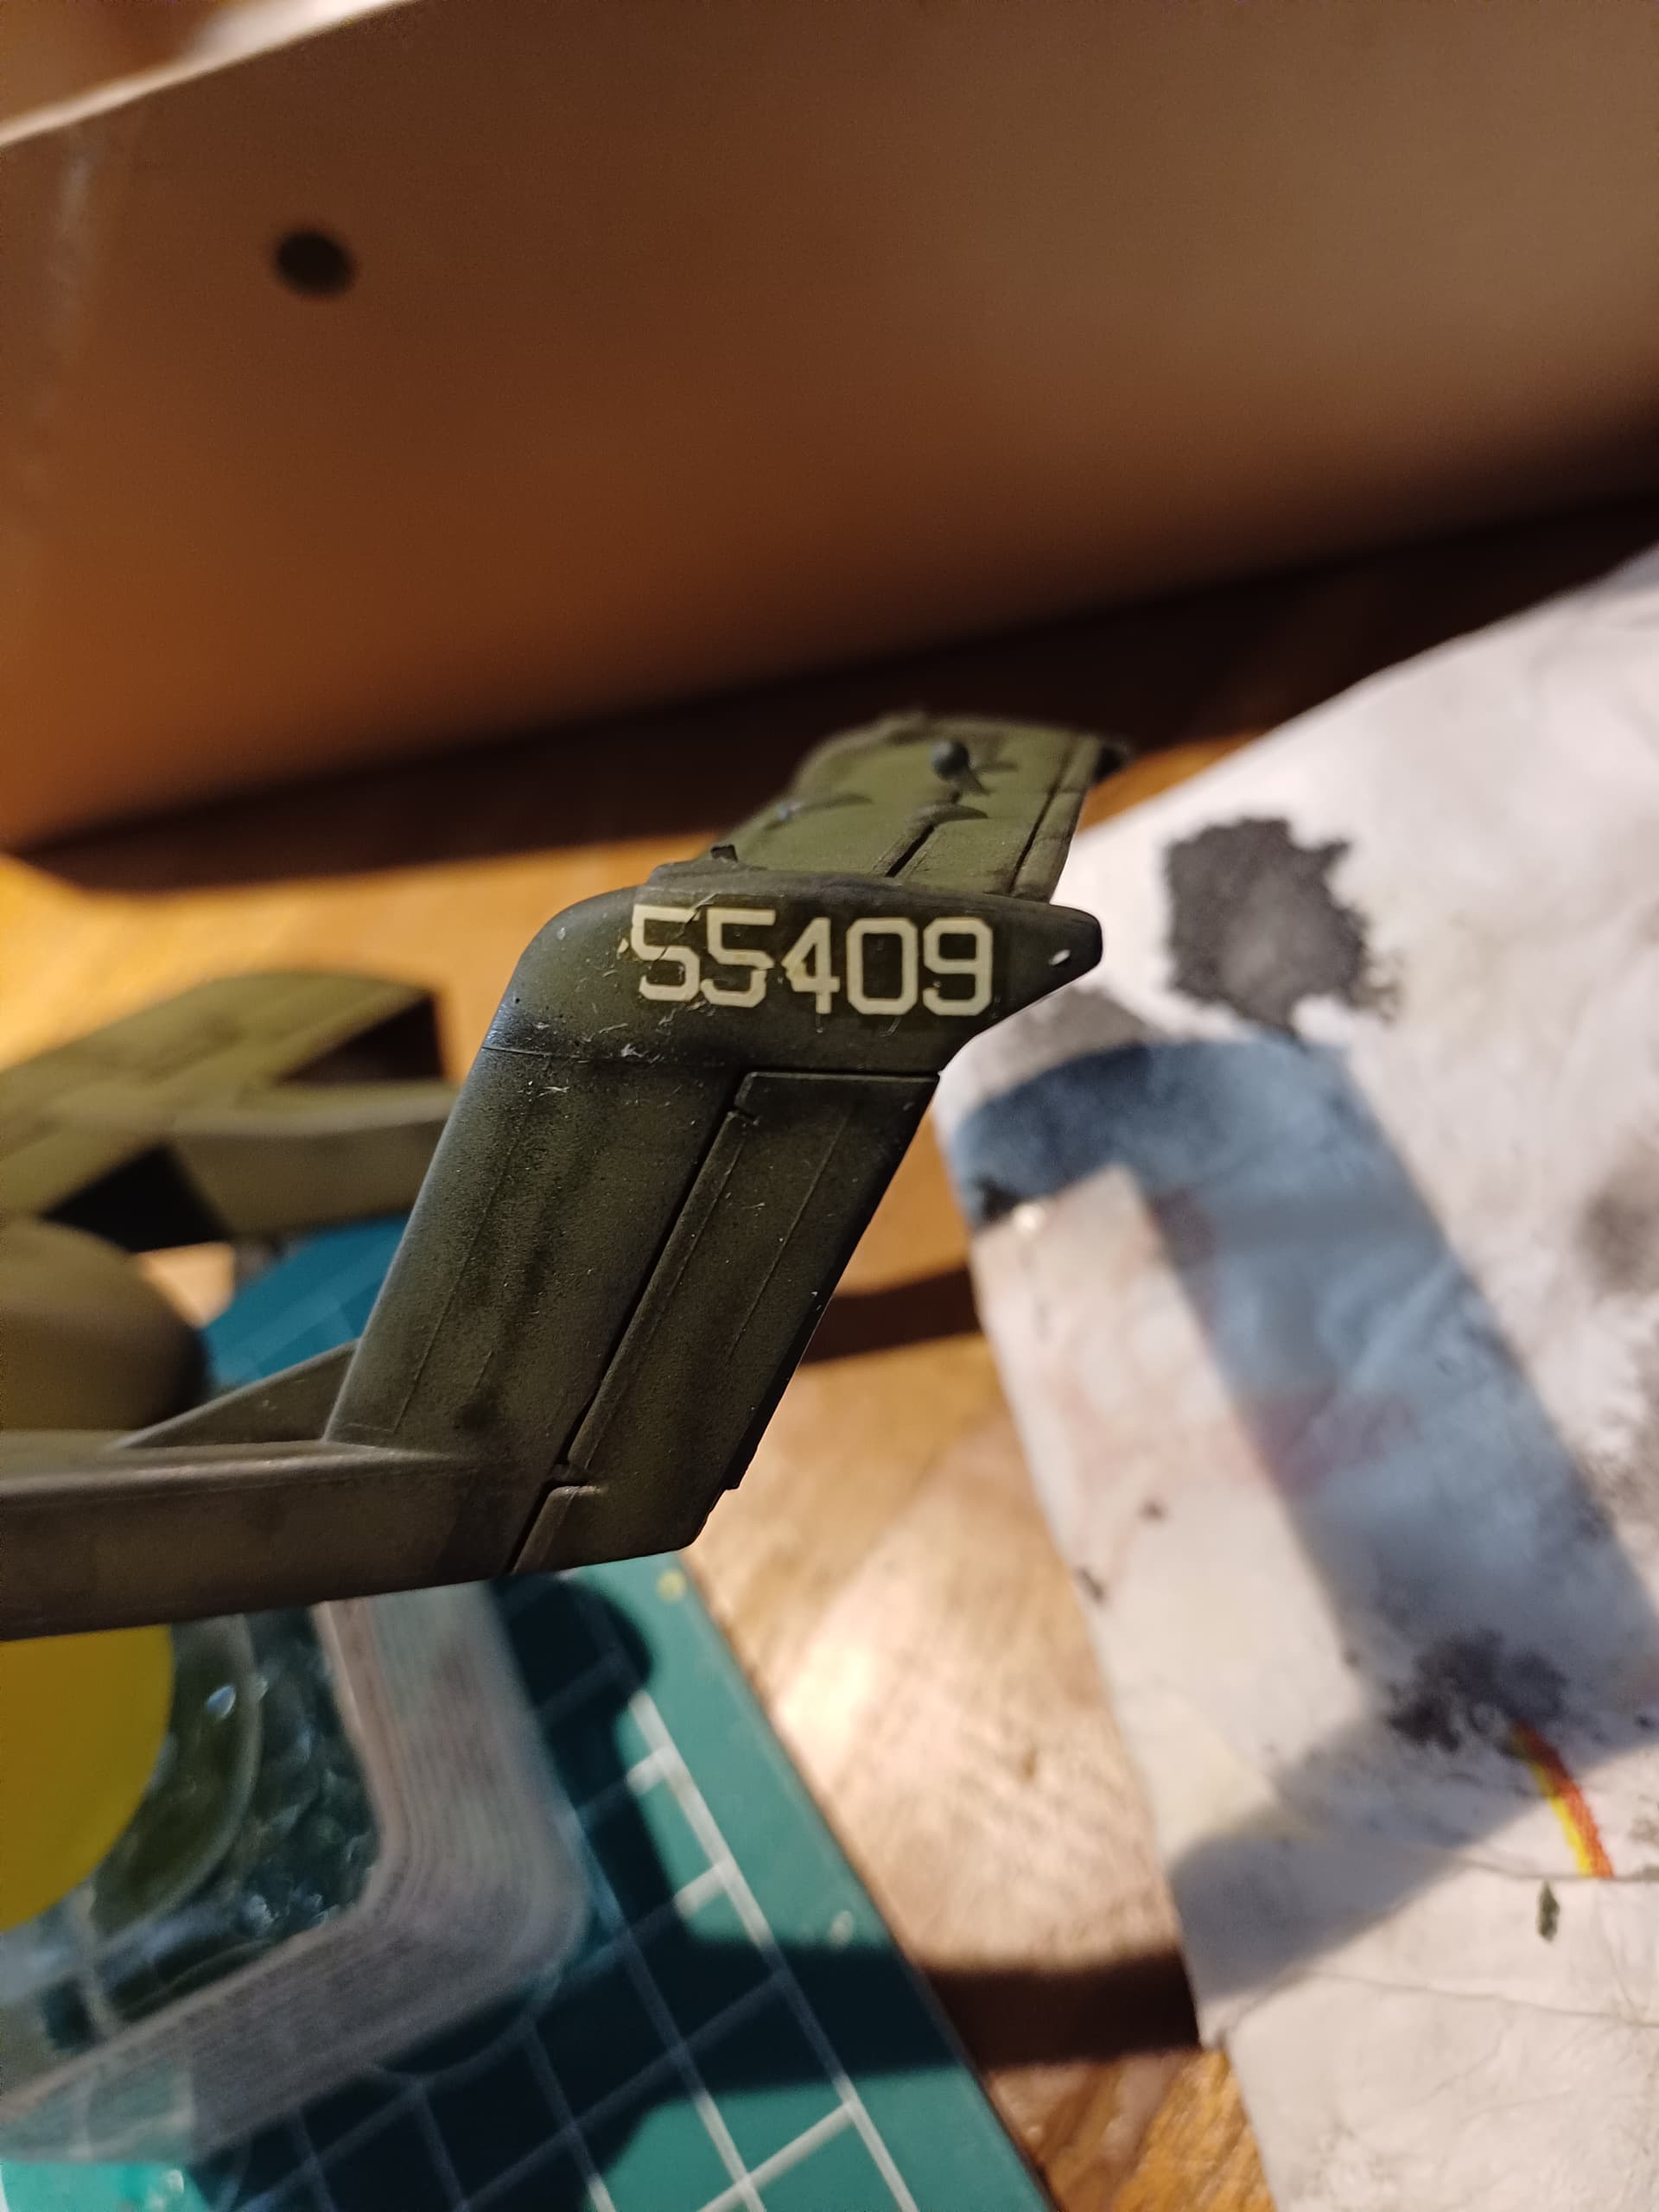
Yesterday i need to replace the cabin hood on my poor vintage Yak 15 project.
The original part was produced very bad so i decided to feed the carpet monster with it .
2 more things:
-a regular white glue is the perfect glue for latex gloves,
-fold and glue the ends, that will show up before rolling your tarpaulin.You can even run a thread/wire through the glued fold and use it to tighten the tarpaulin,
Different aircraft. The SBD Dauntless vs the SB2C Helldiver.
The Dauntless was a pre-war design that soldiered on with pretty good success (Midway being its greatest moment) until replaced by the Helldiver later in the war.
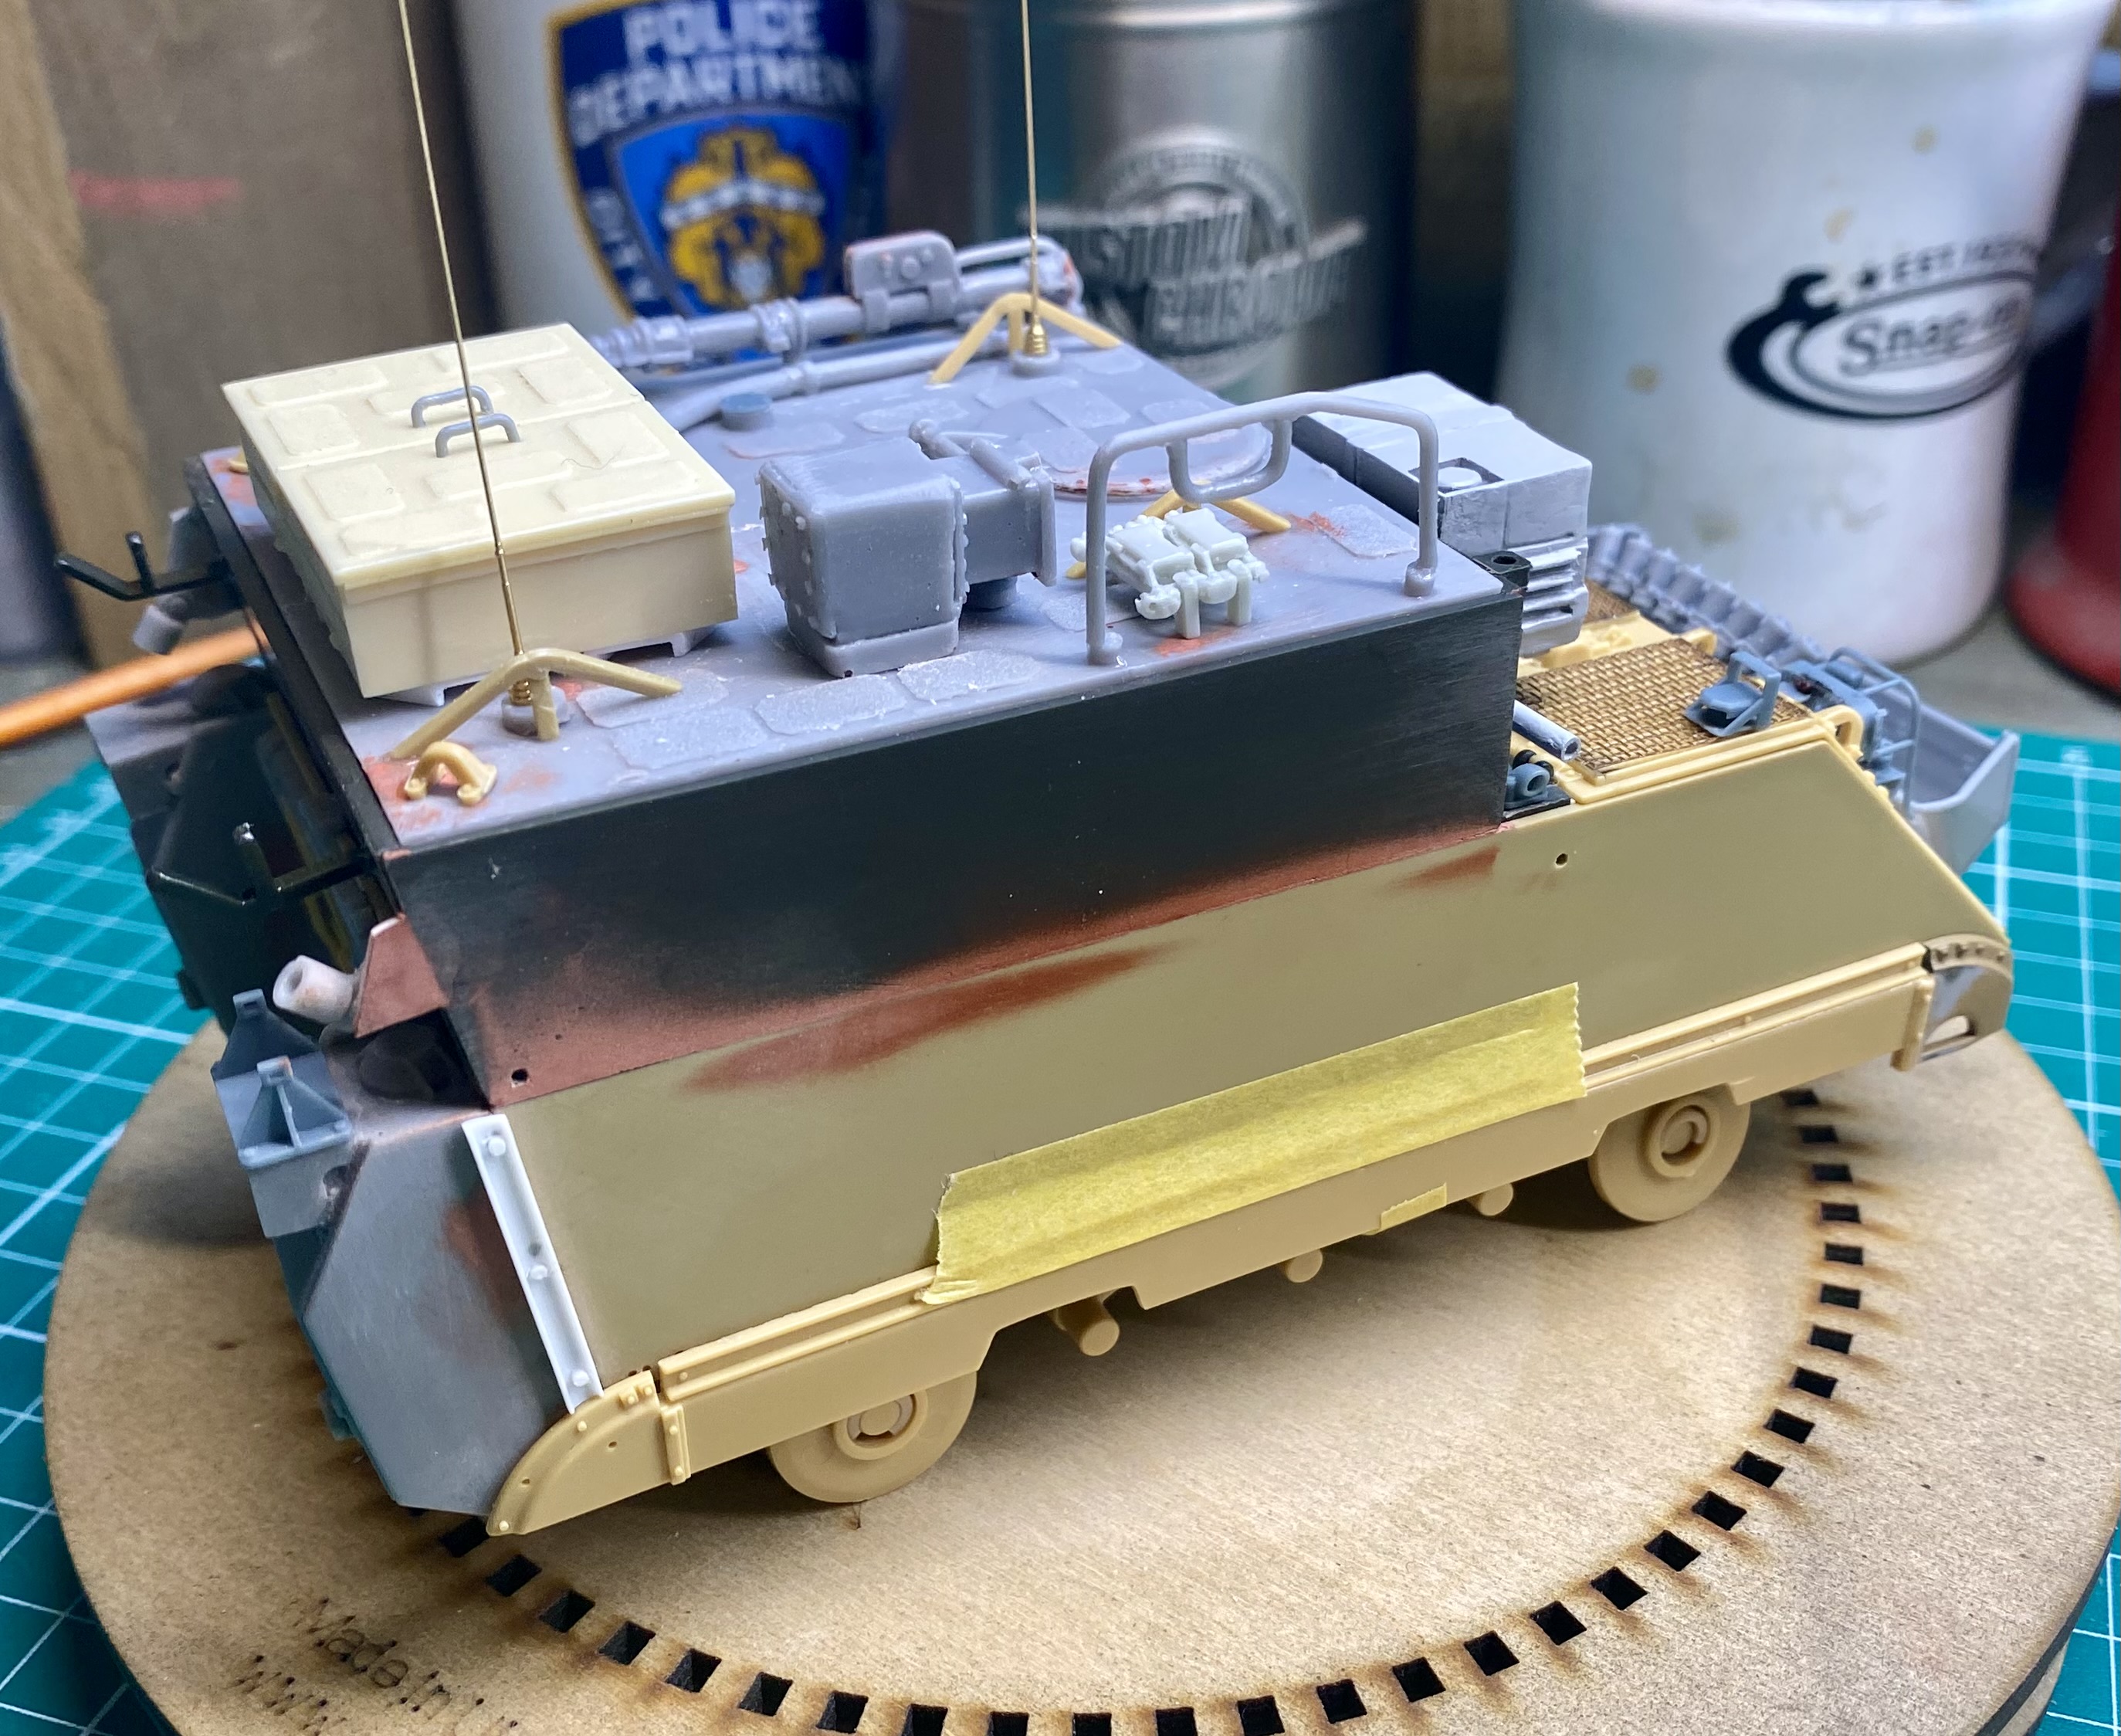
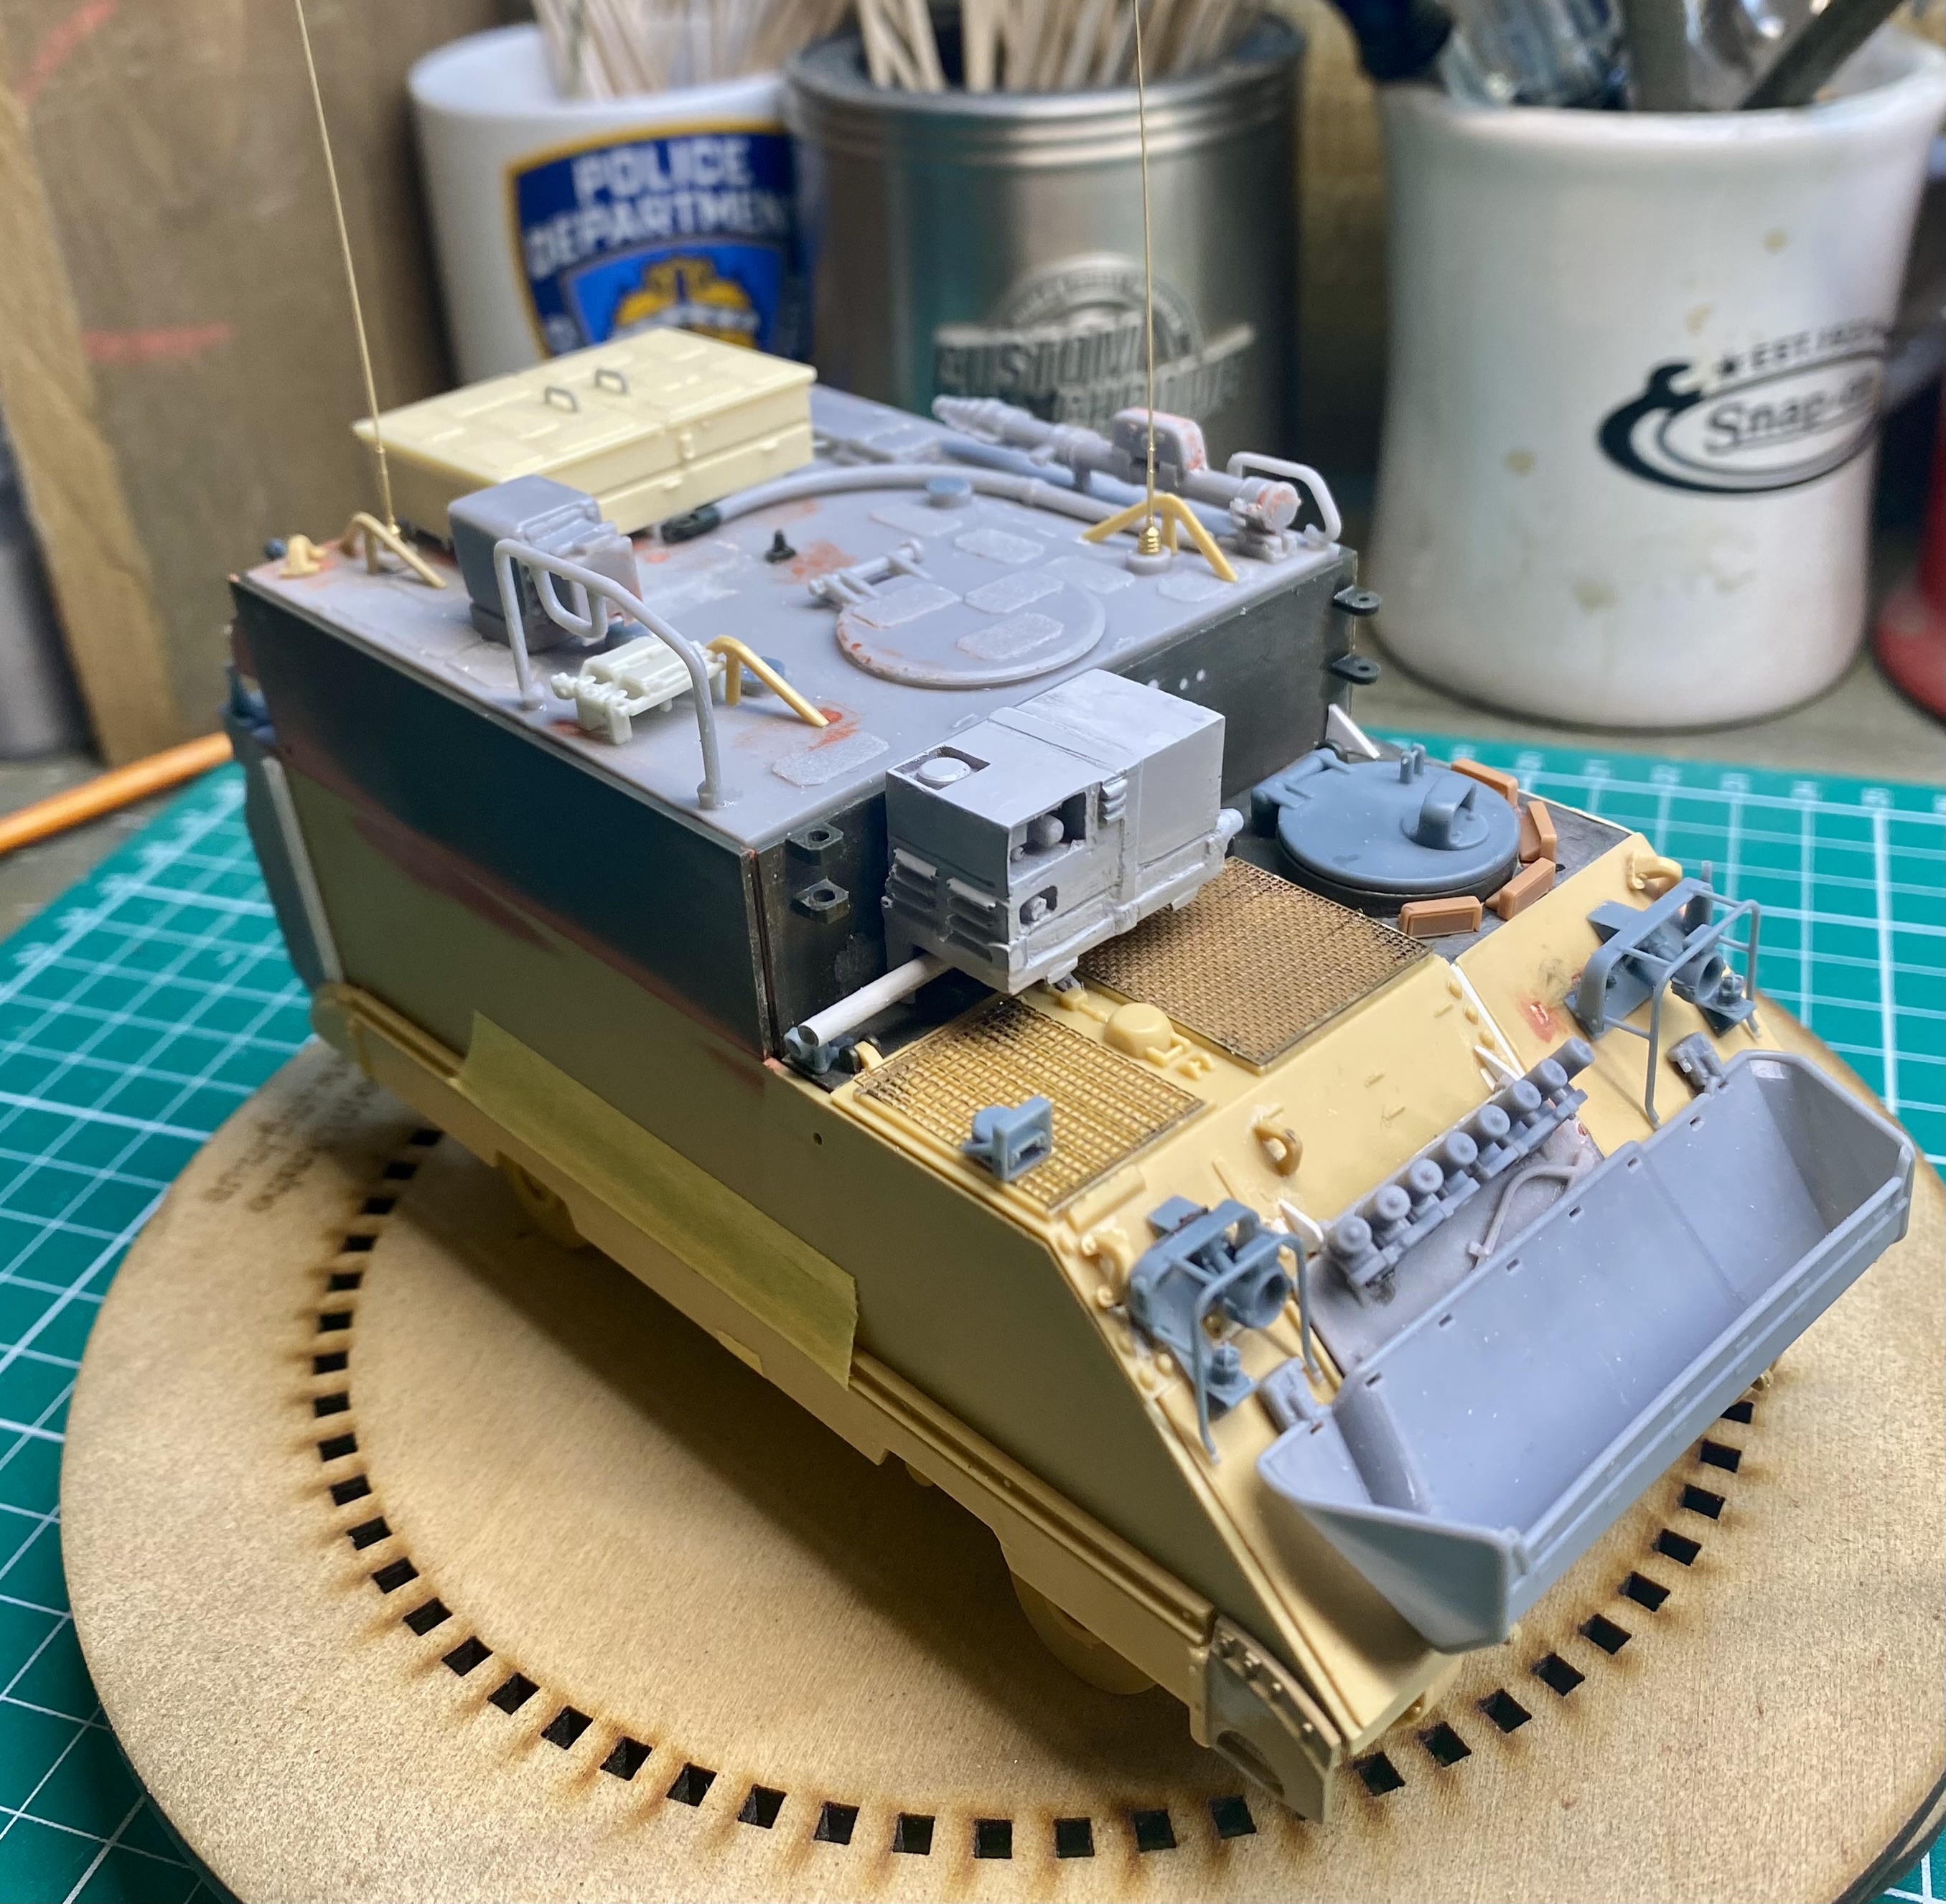
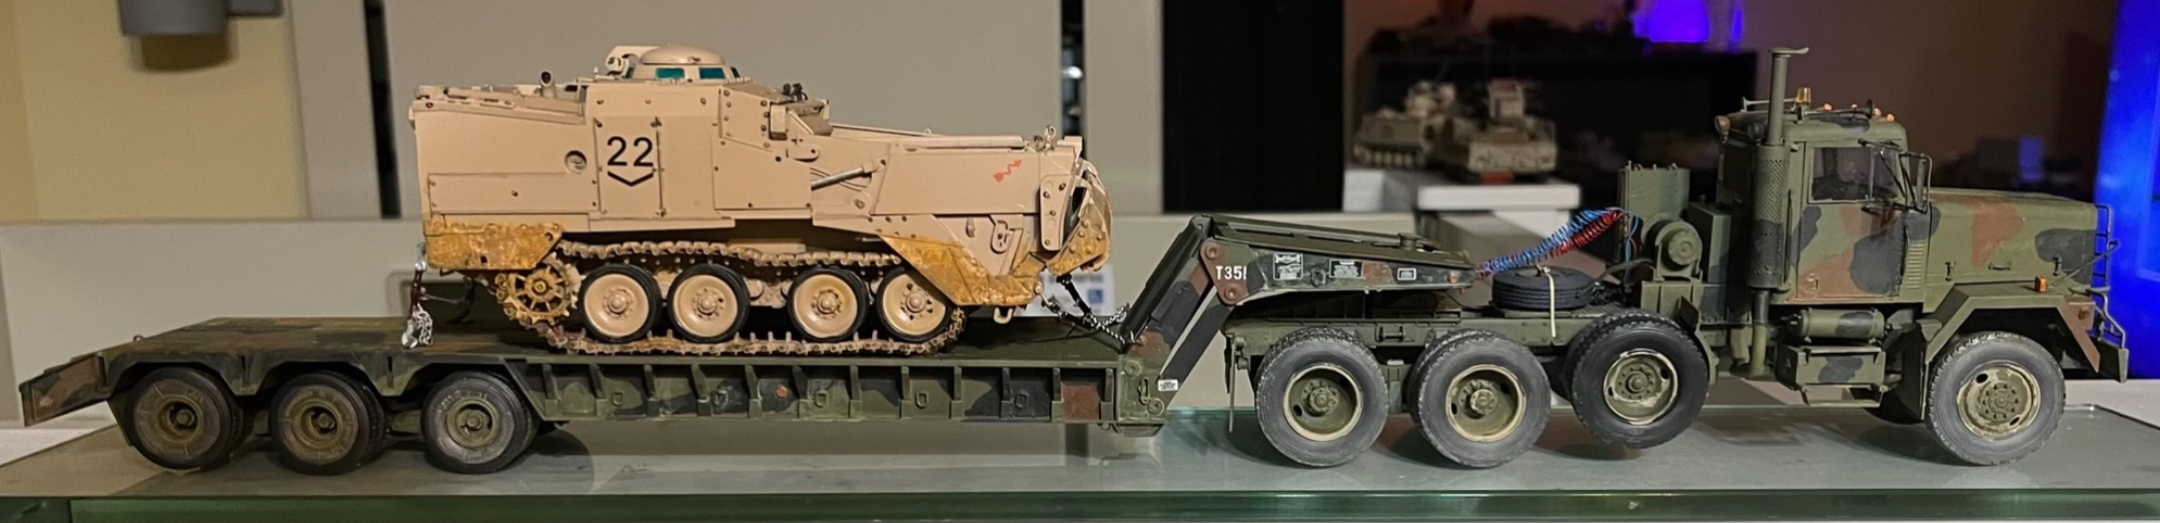
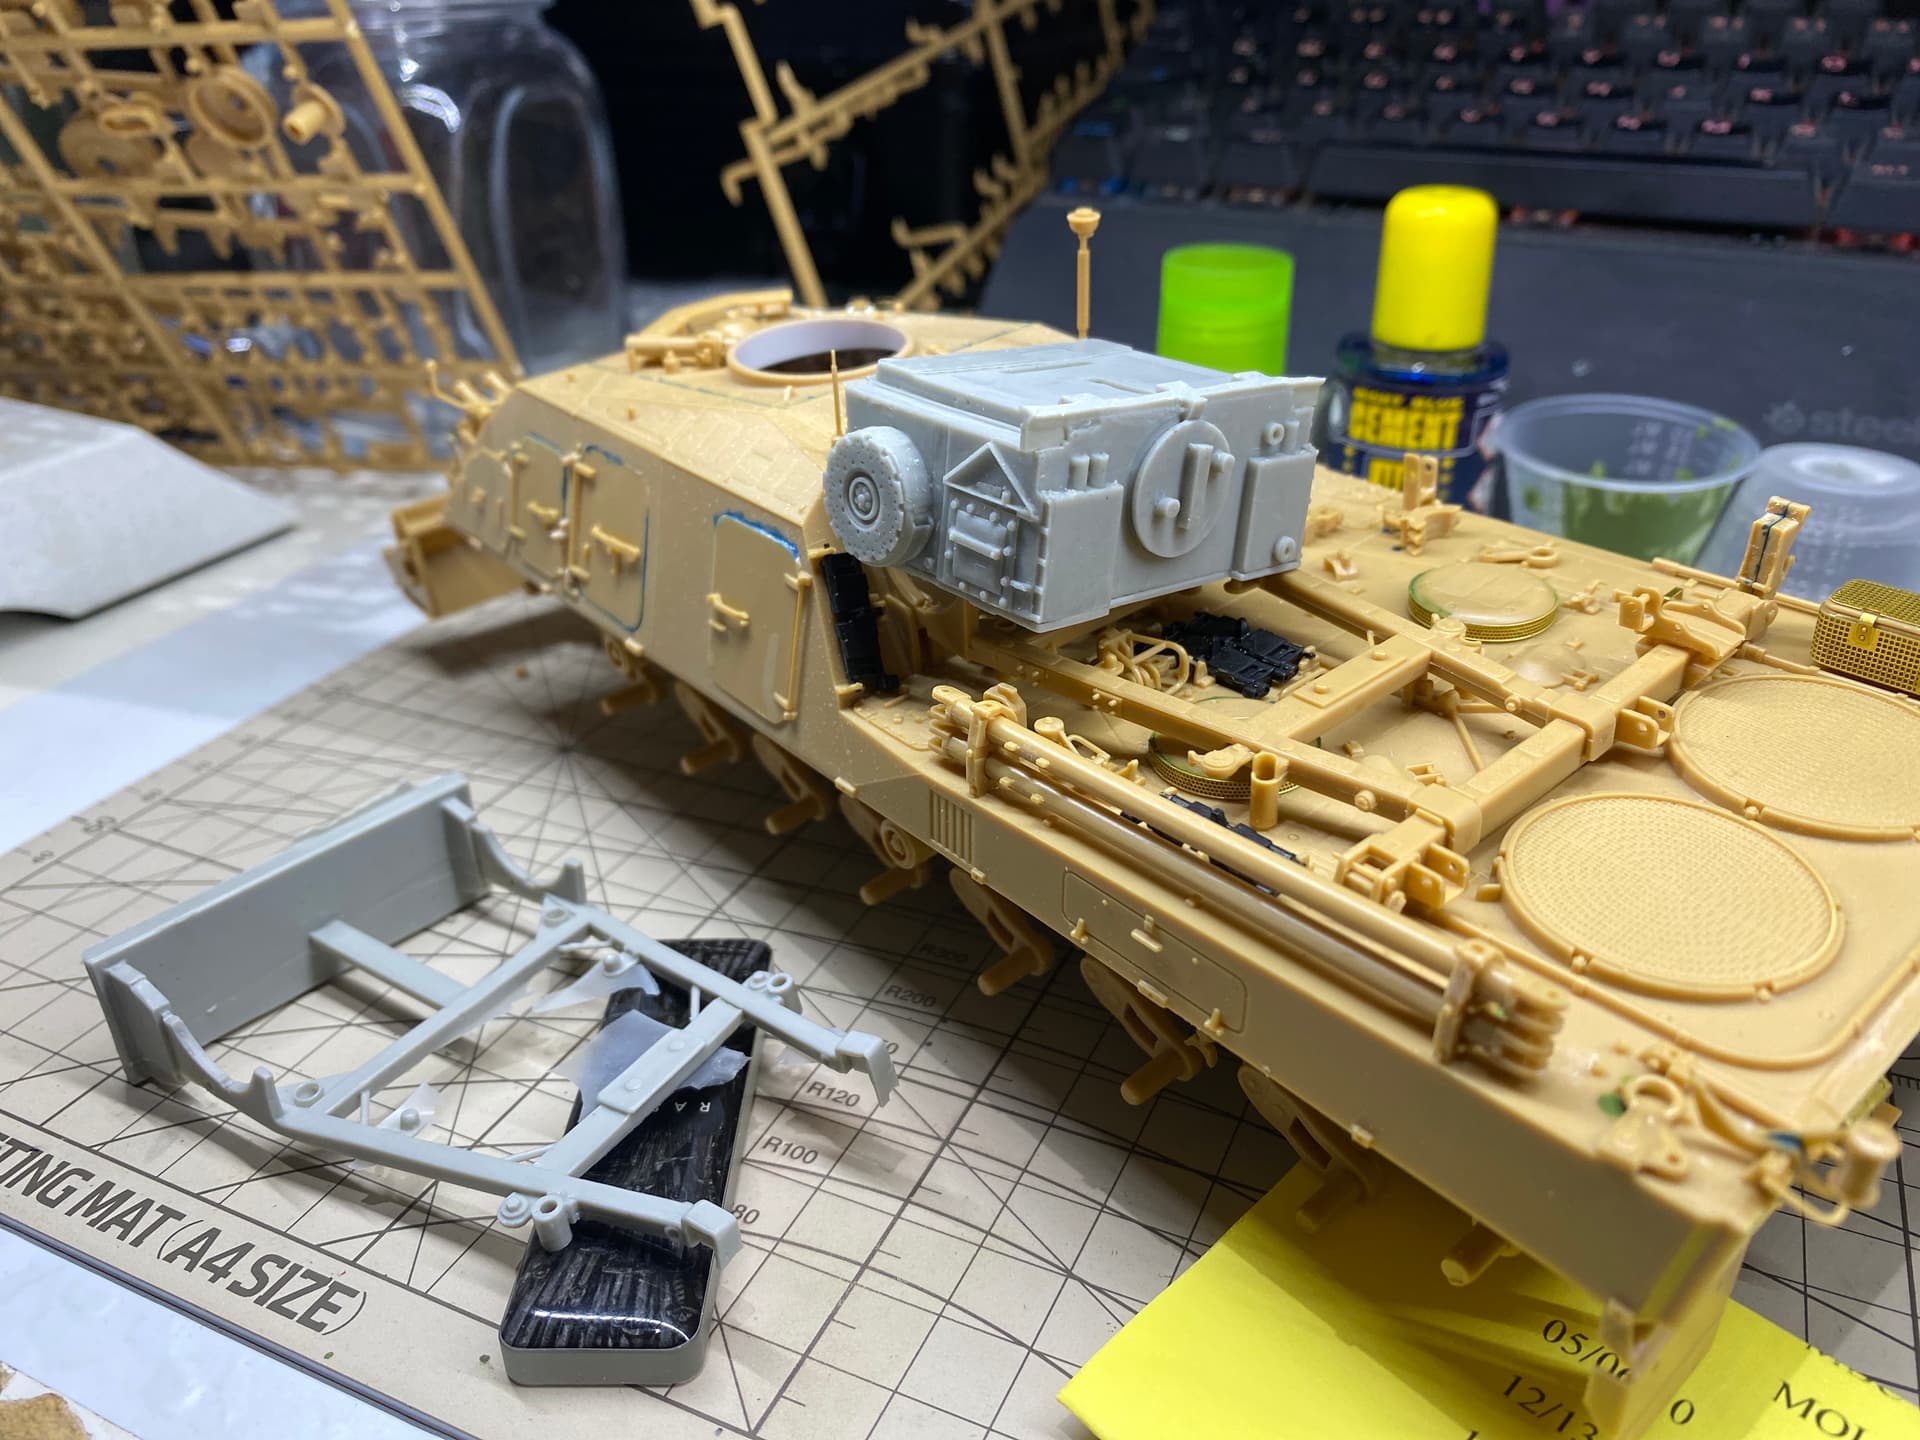
I wonder how many dudes had to fall off the roof while using the gantry to dismount the APU/generator before the Bundeswehr decided to add a railing to the roof?
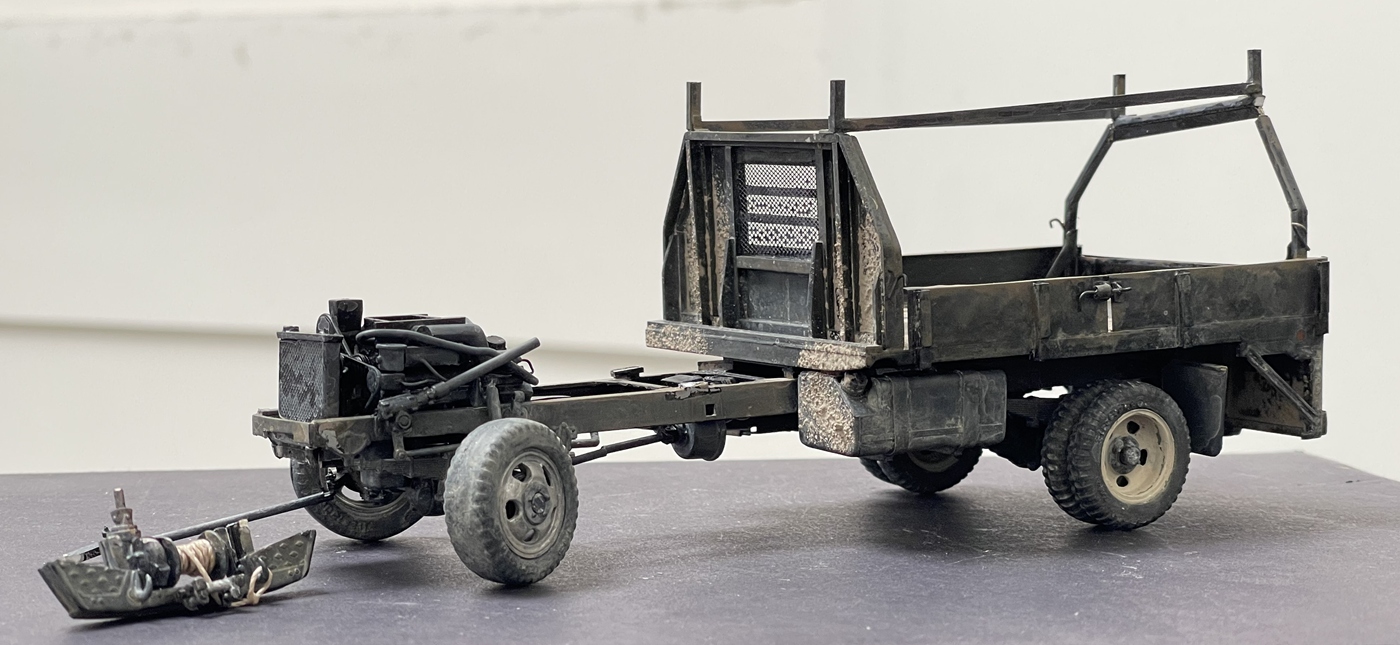
Today has been unusually exciting here in the shop. After addressing some body alignment problems on the flatbed Ford, disaster struck! How much of a disaster? All of it!
Oh what a treat! lots of broken parts - as a result of me dropping it on the floor. Yeah…the good times indeed. So, off to the repair shop and now it’s back and better!
Ahh! that’s better. I took the opportunity to relocate the front winch, which was lower before (like you’d see on a utility truck) - meh - I didn’t like that look anyway, so now it’s higher, like you see on most other applications. That alone made this mess worthwhile
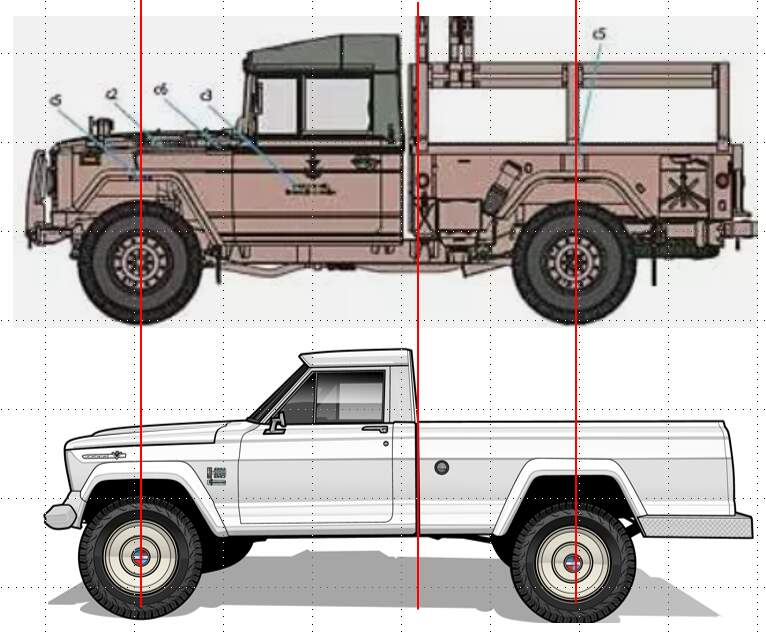
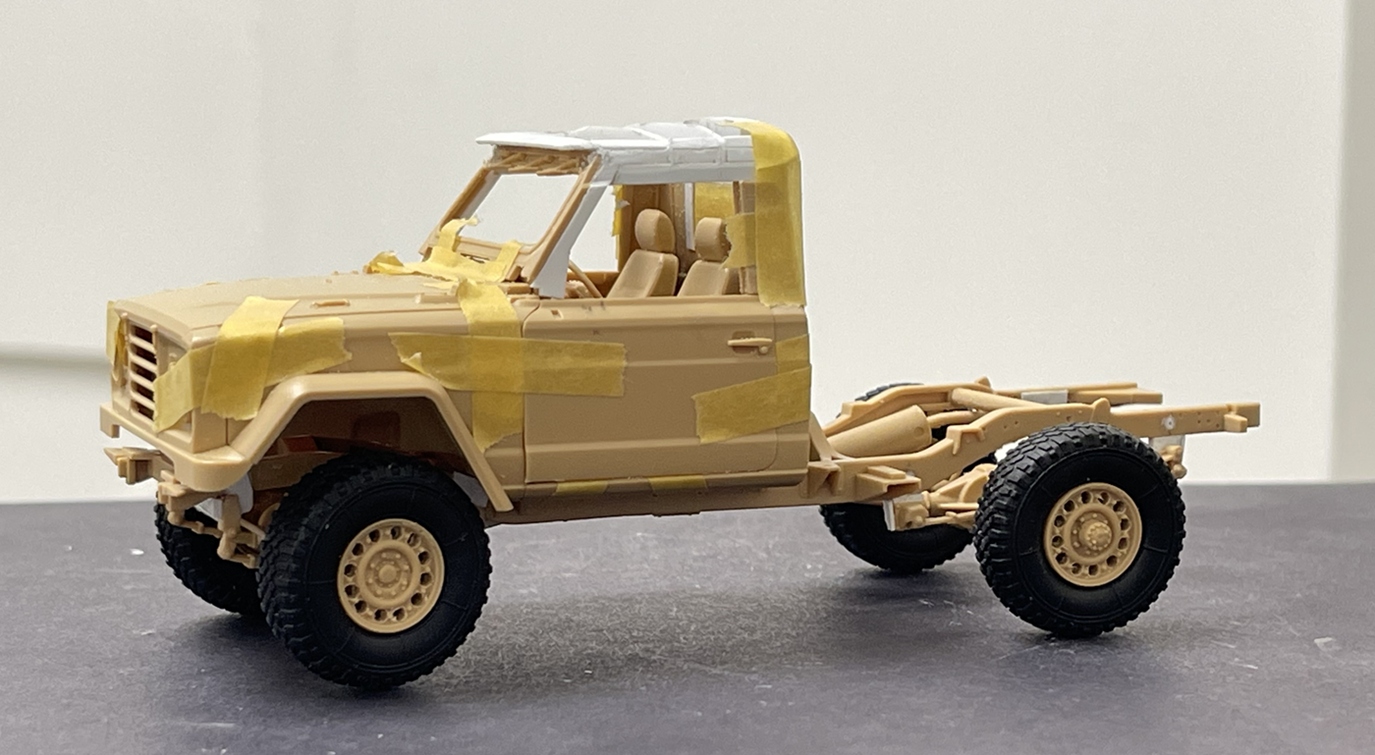
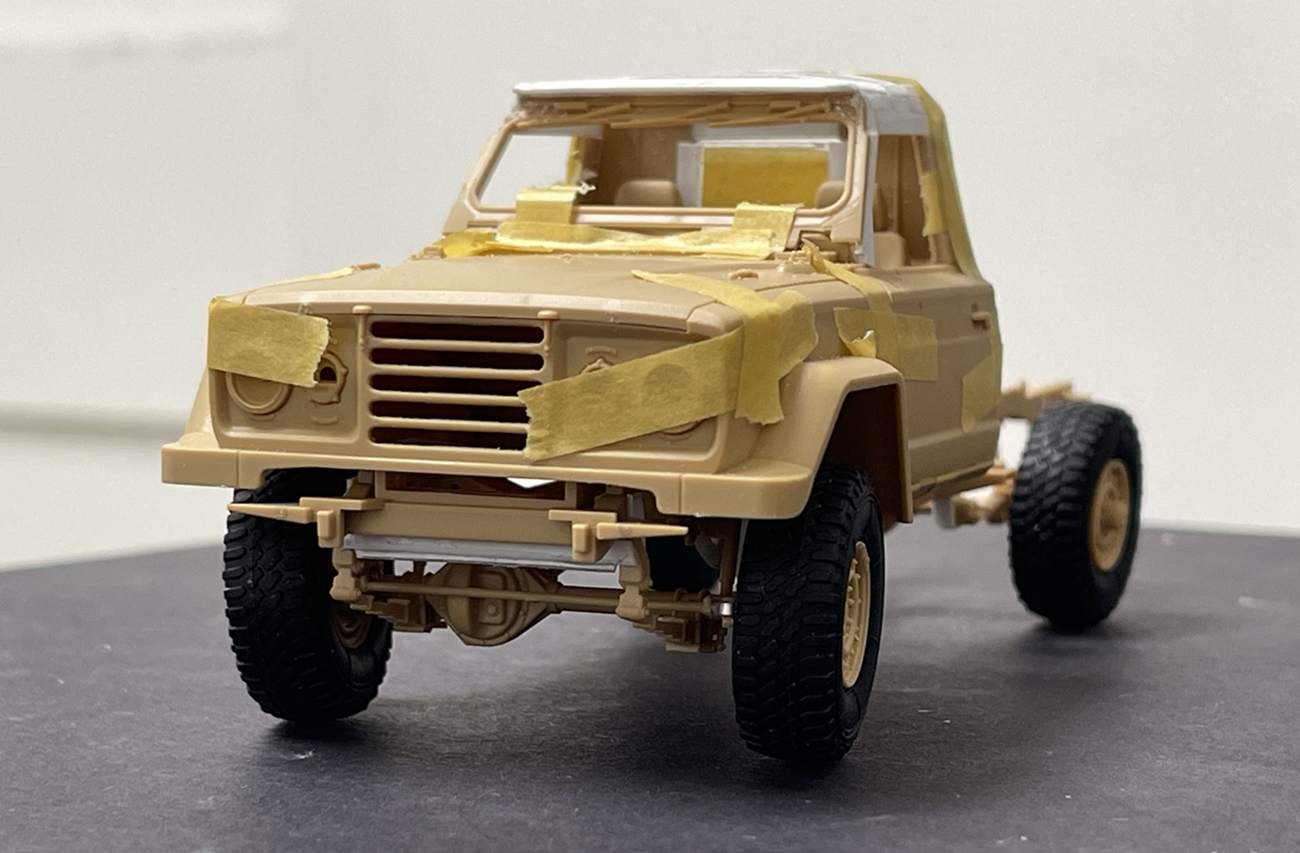
And, yesterday, thinking the Ford was done, I started an attempt to convert a ROK K311A into a Jeep J10. I built the chassis with a mild lift kit, and have begun work on the cab. As a reference, this is what I’m trying to do:
This is the Academy kit which is pretty nice. An unusual feature of the kit is the body is made up of several parts, rather than a typical shell. leading to scratch building and eventually painting challenges. To address this, I made the windshield and roof as a one piece unit:
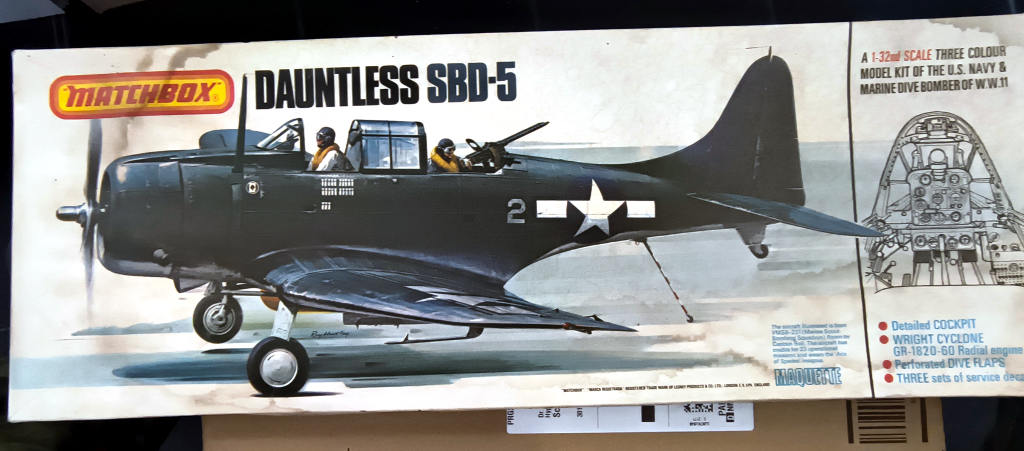
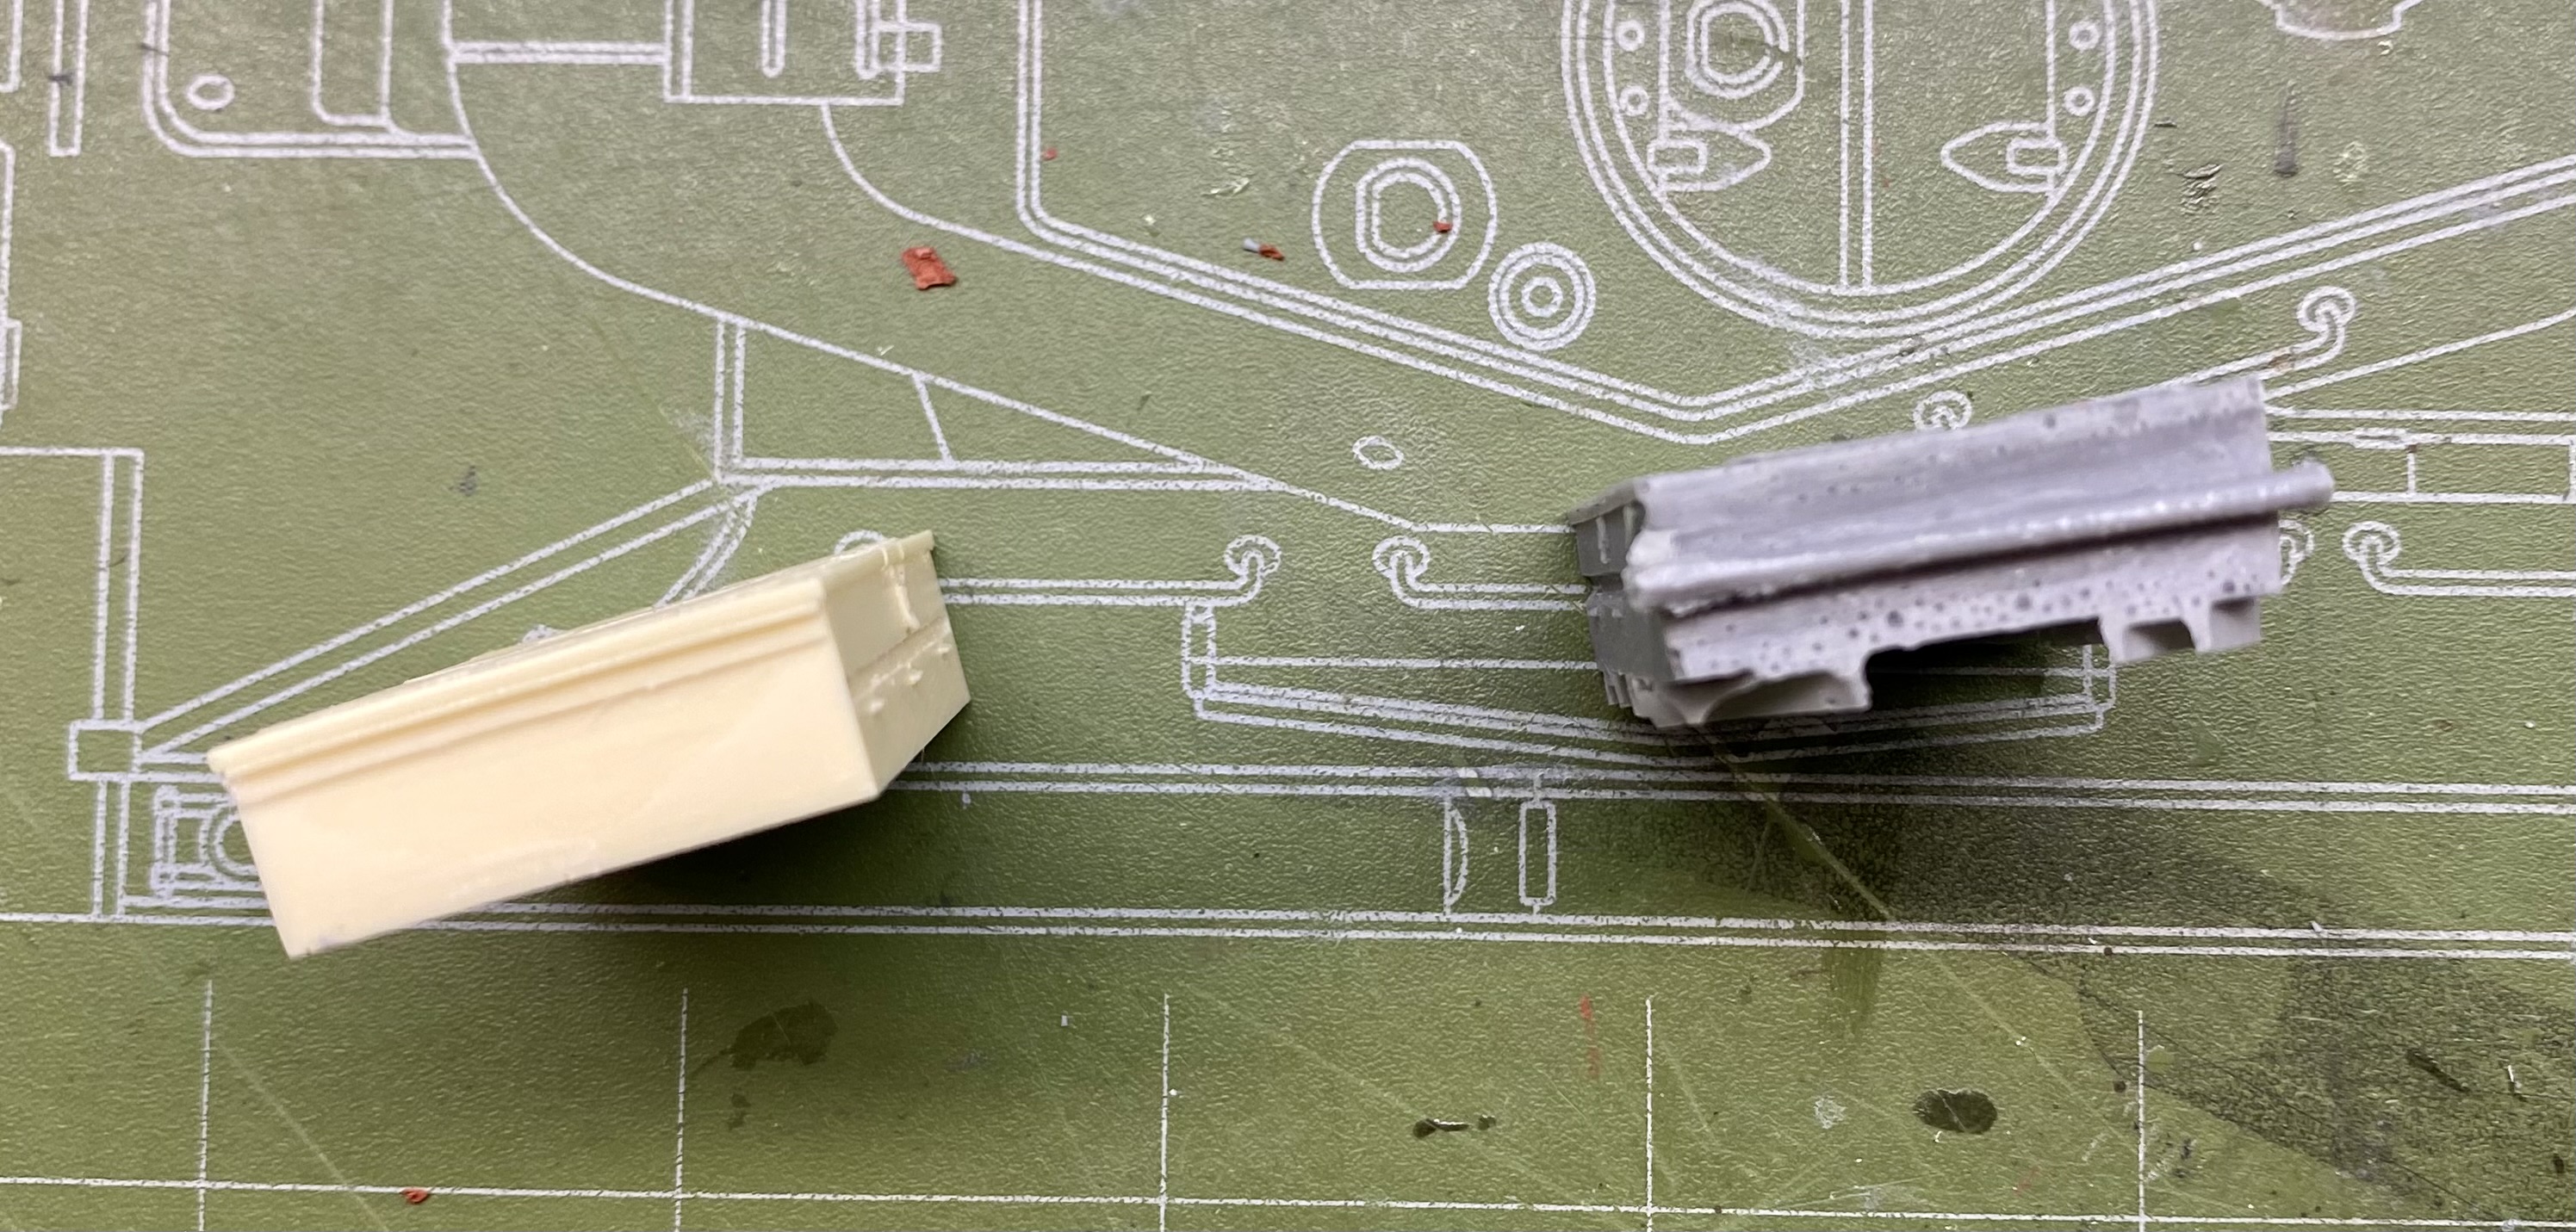
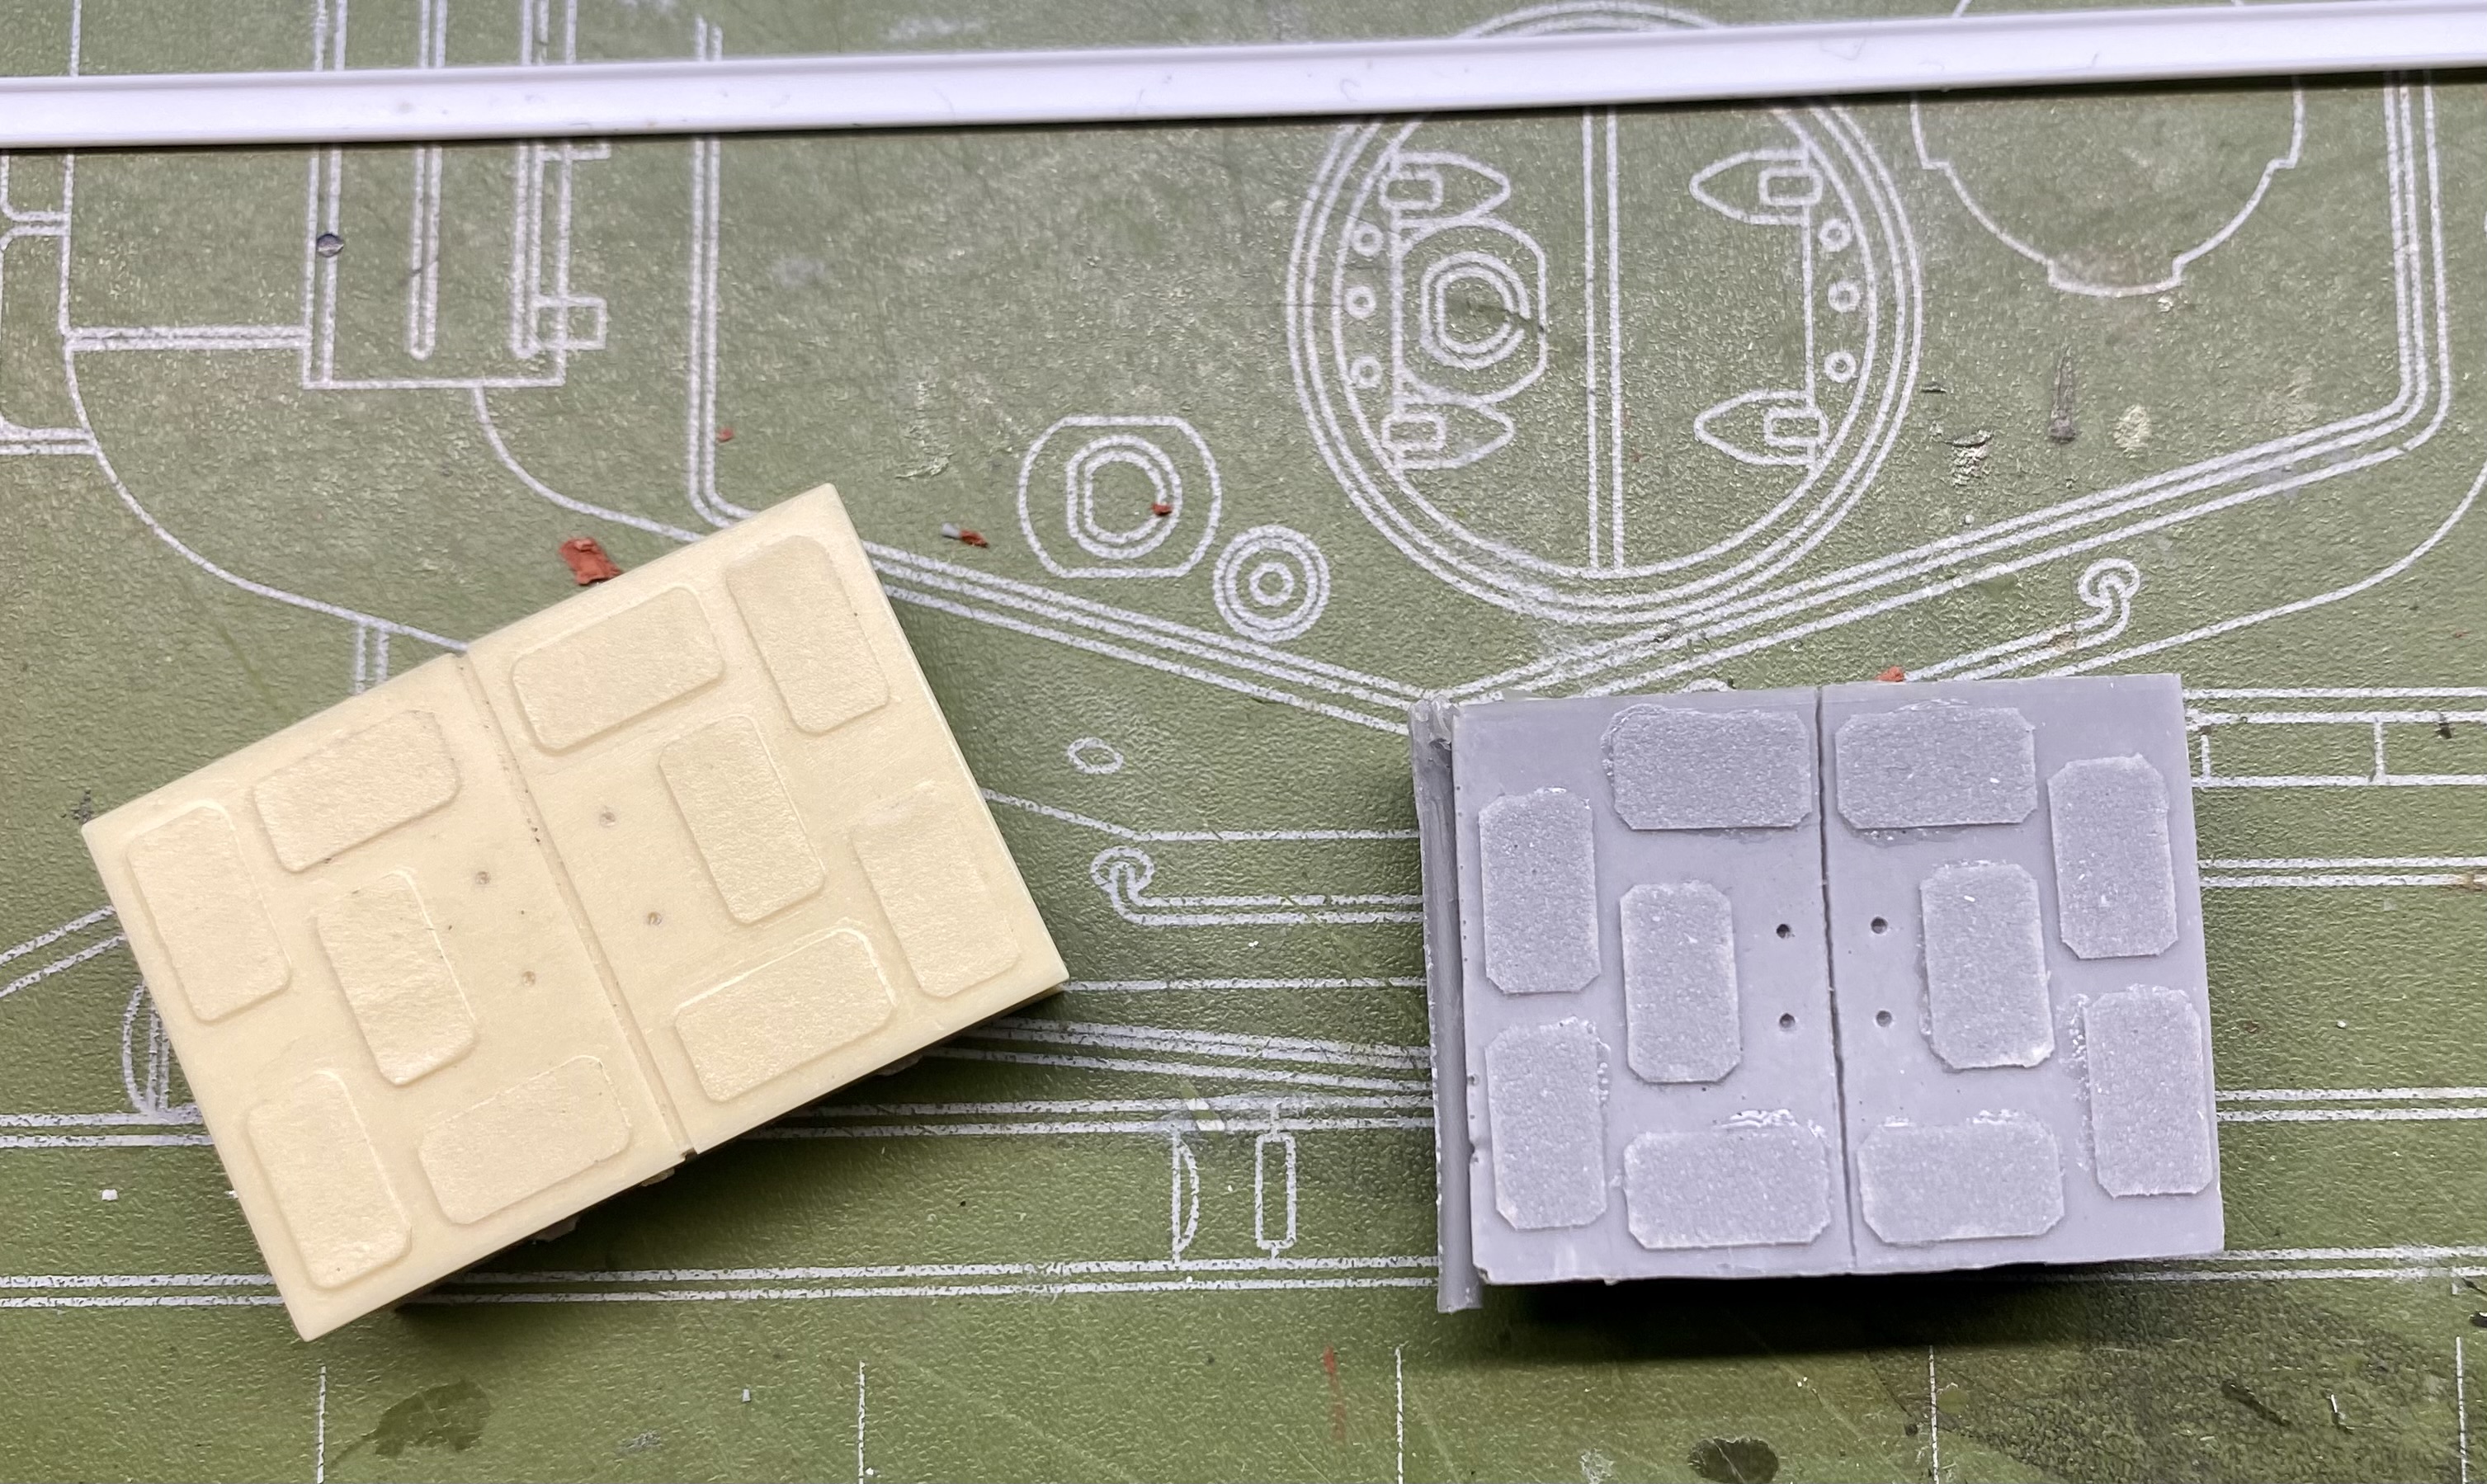
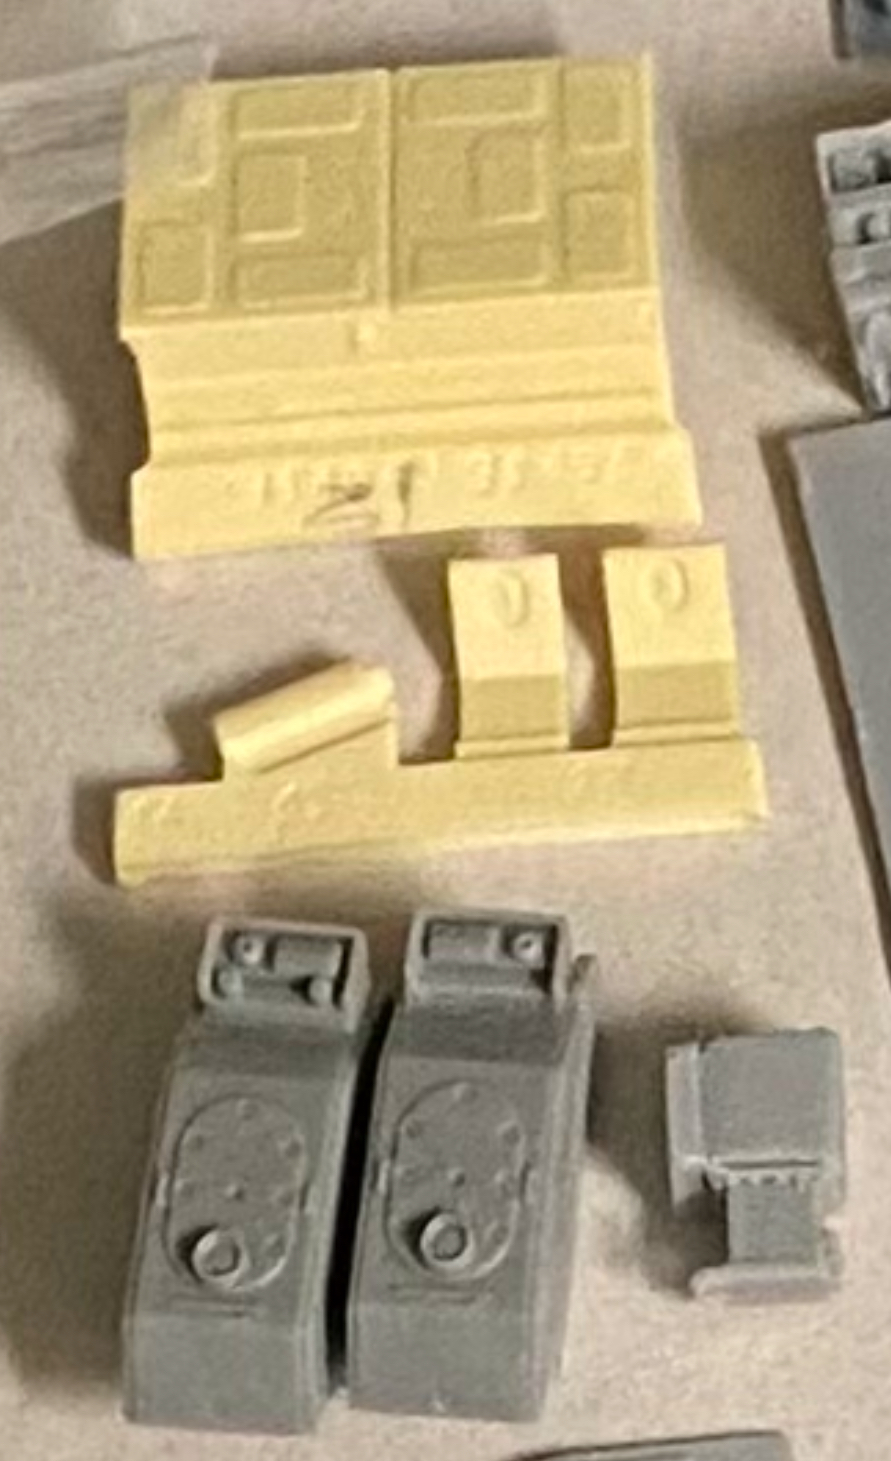
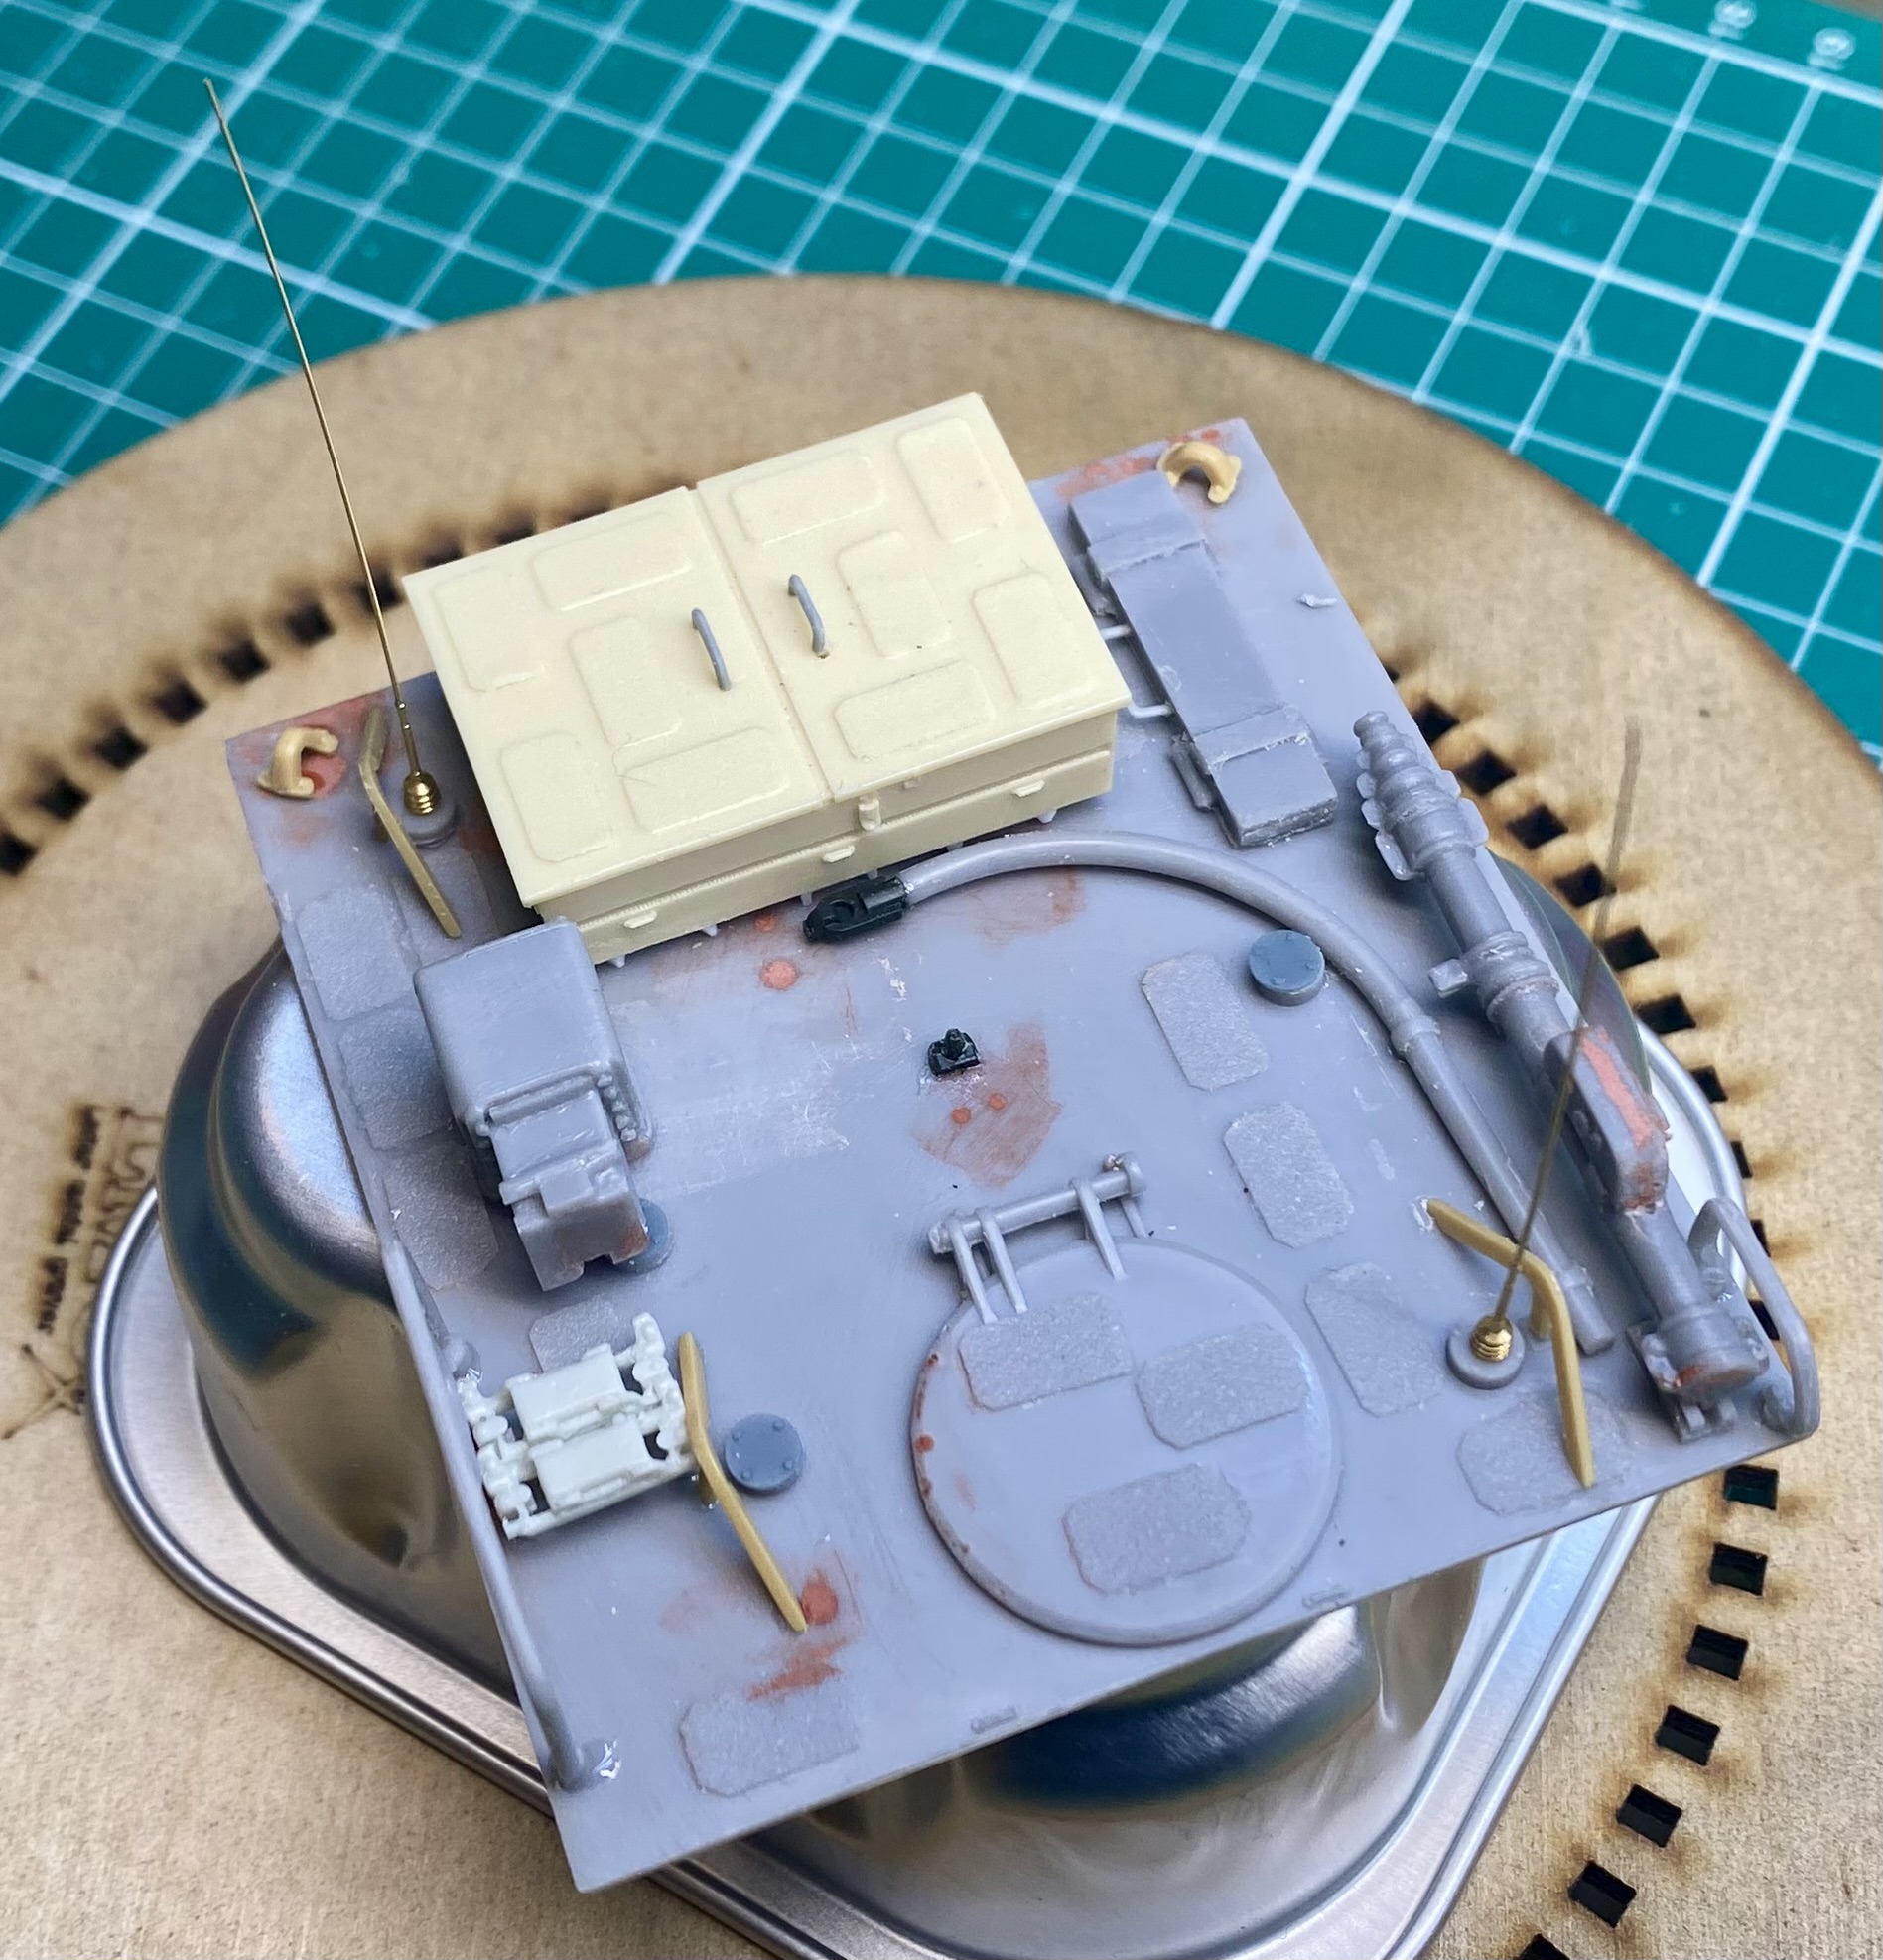
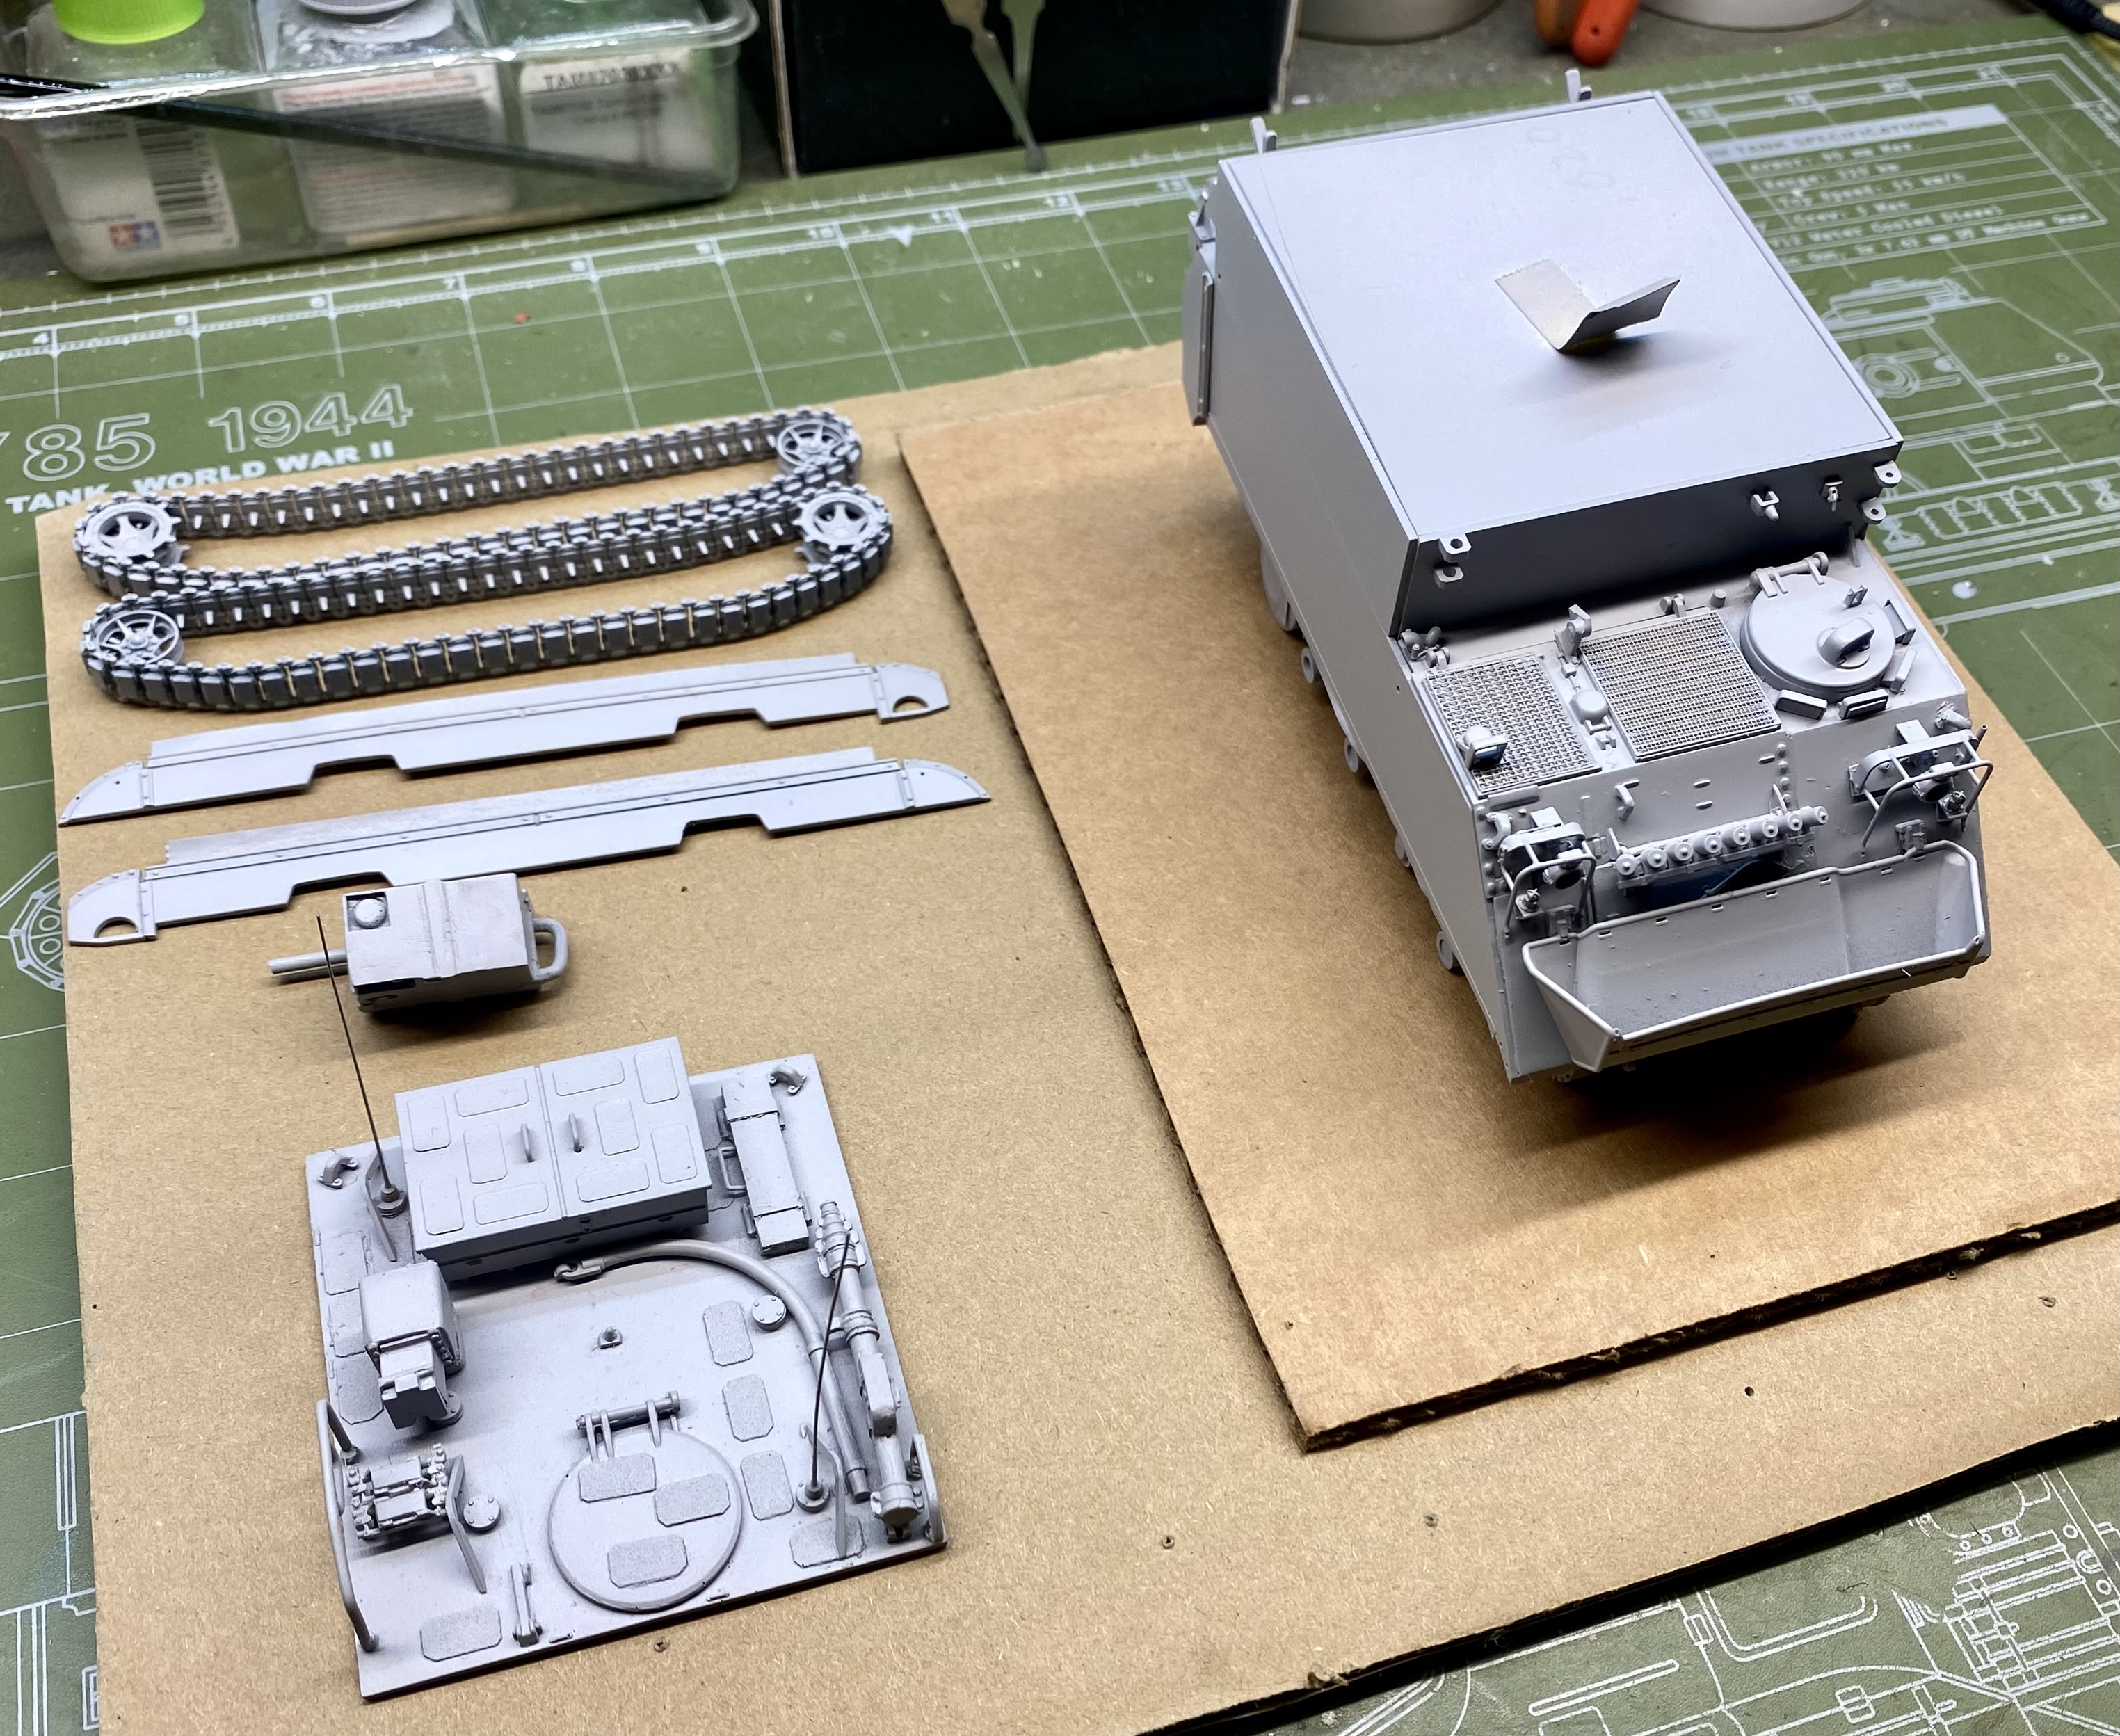
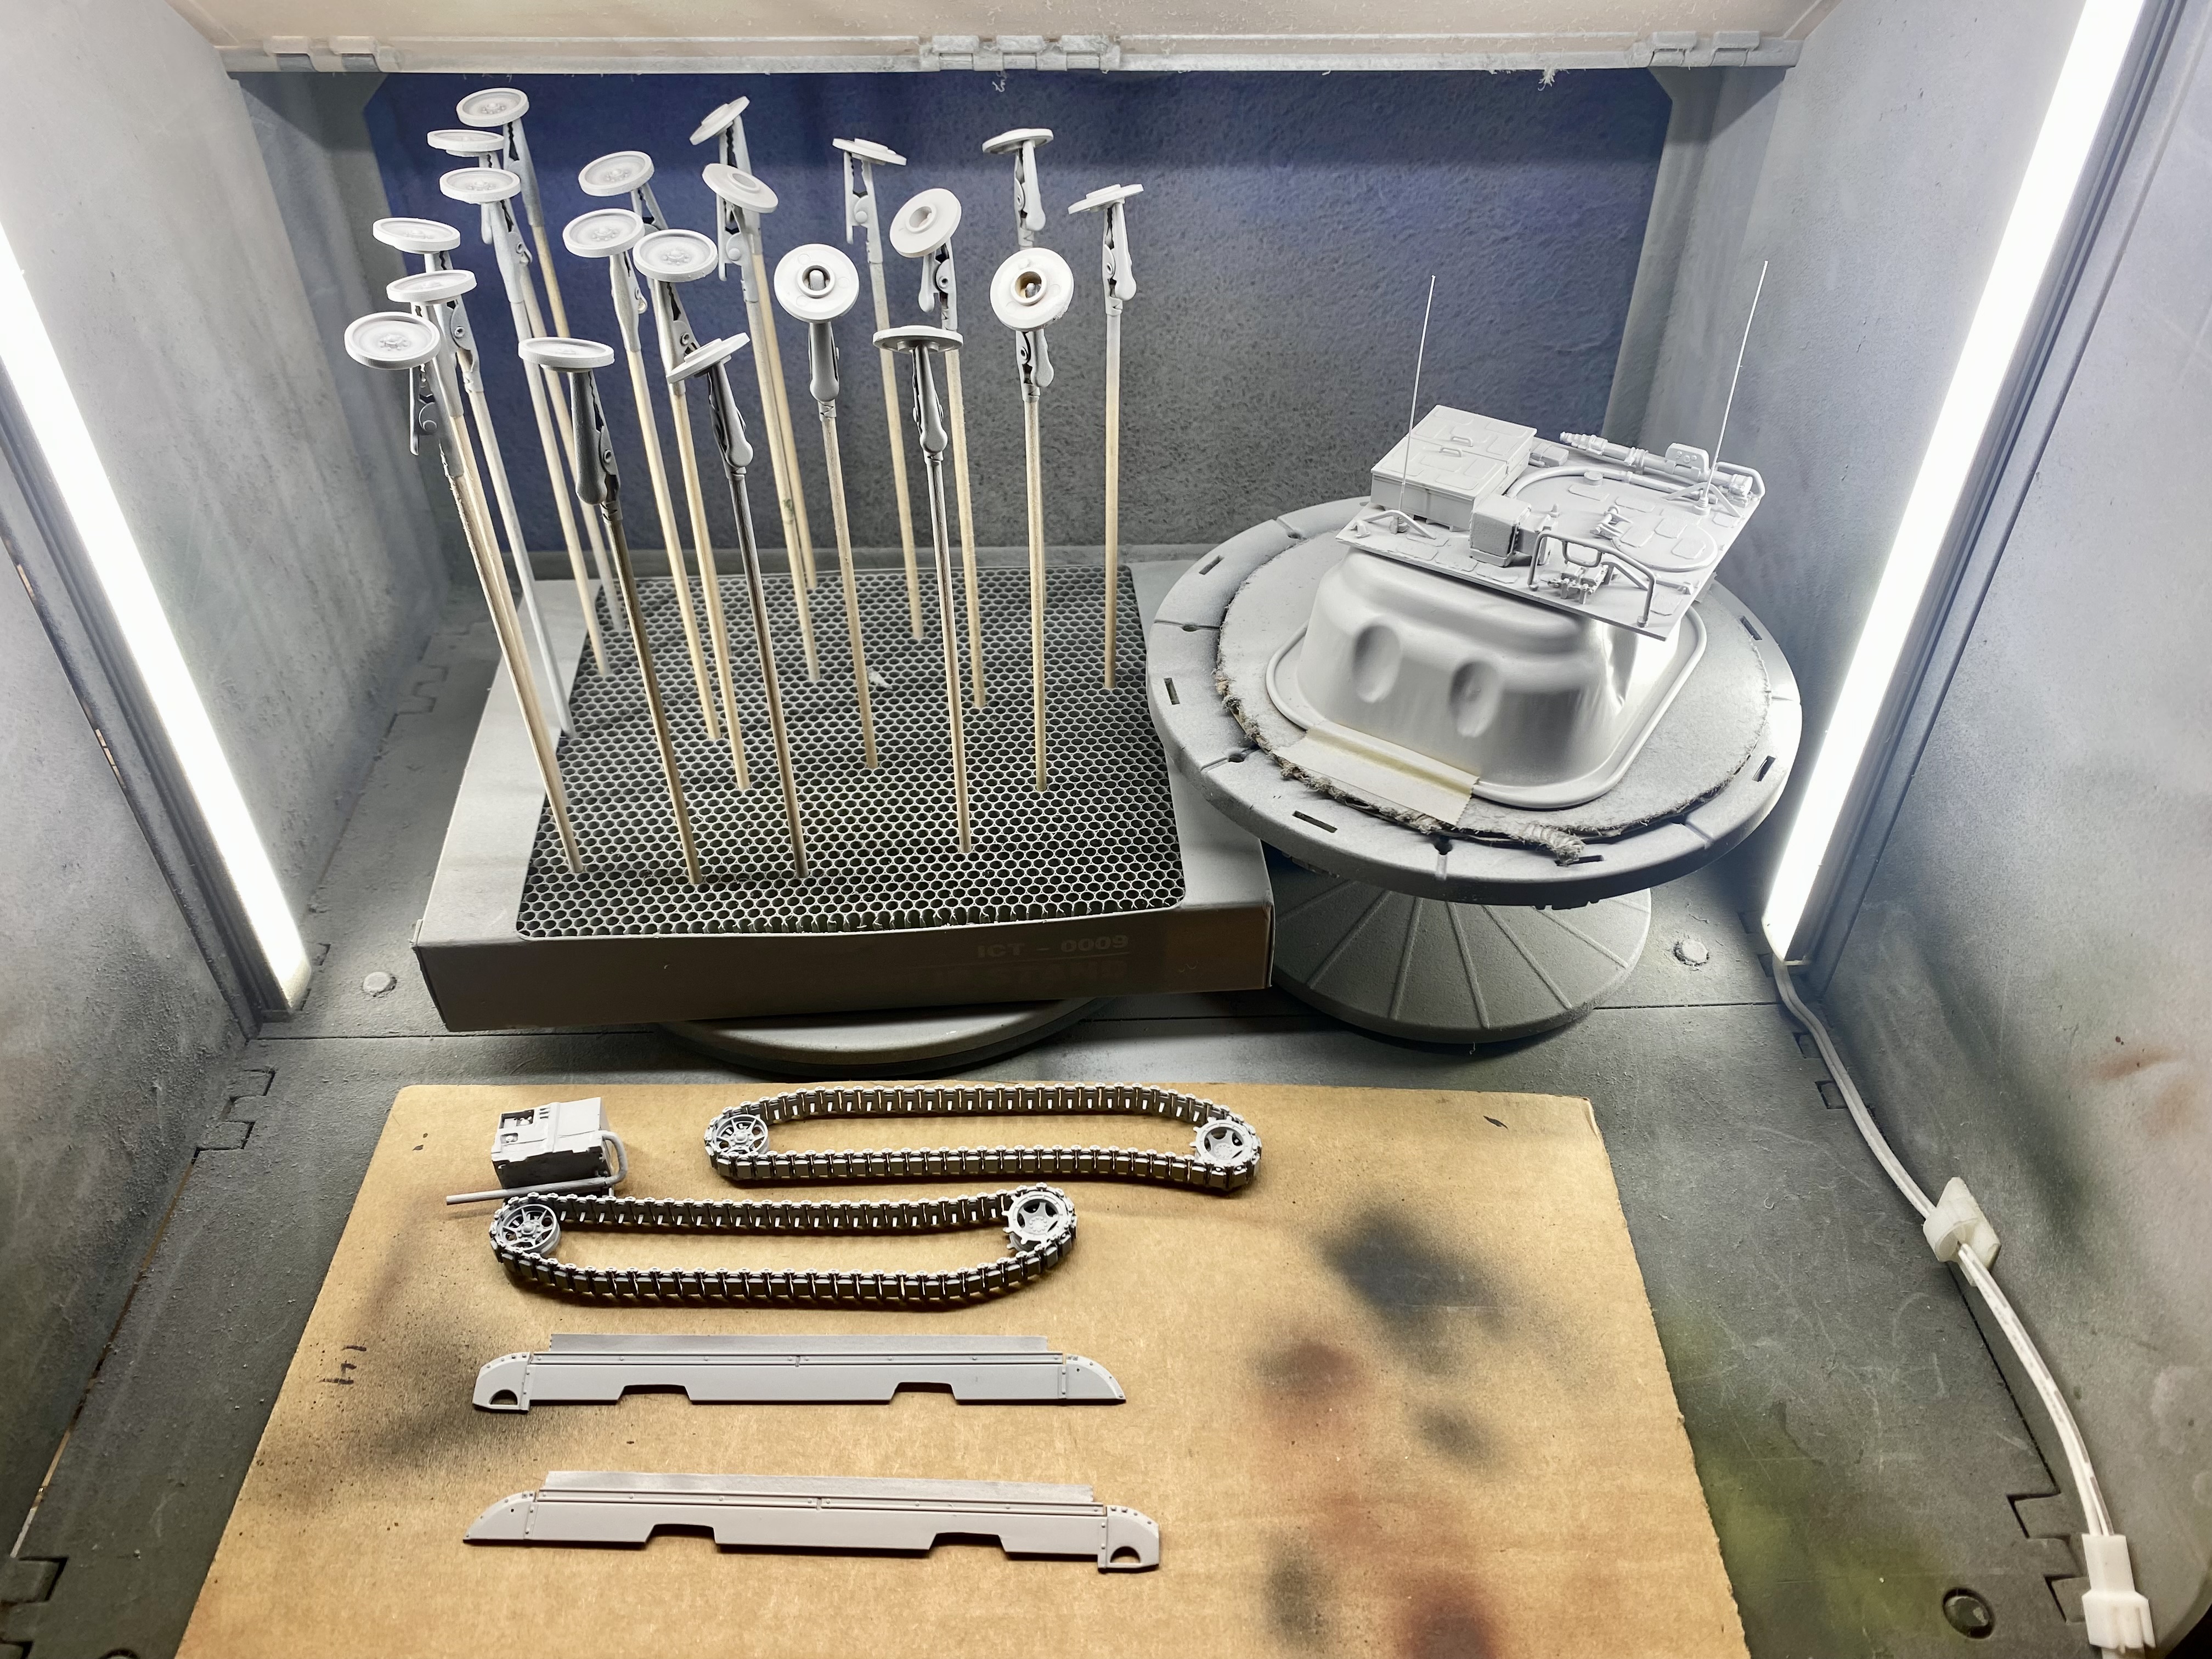
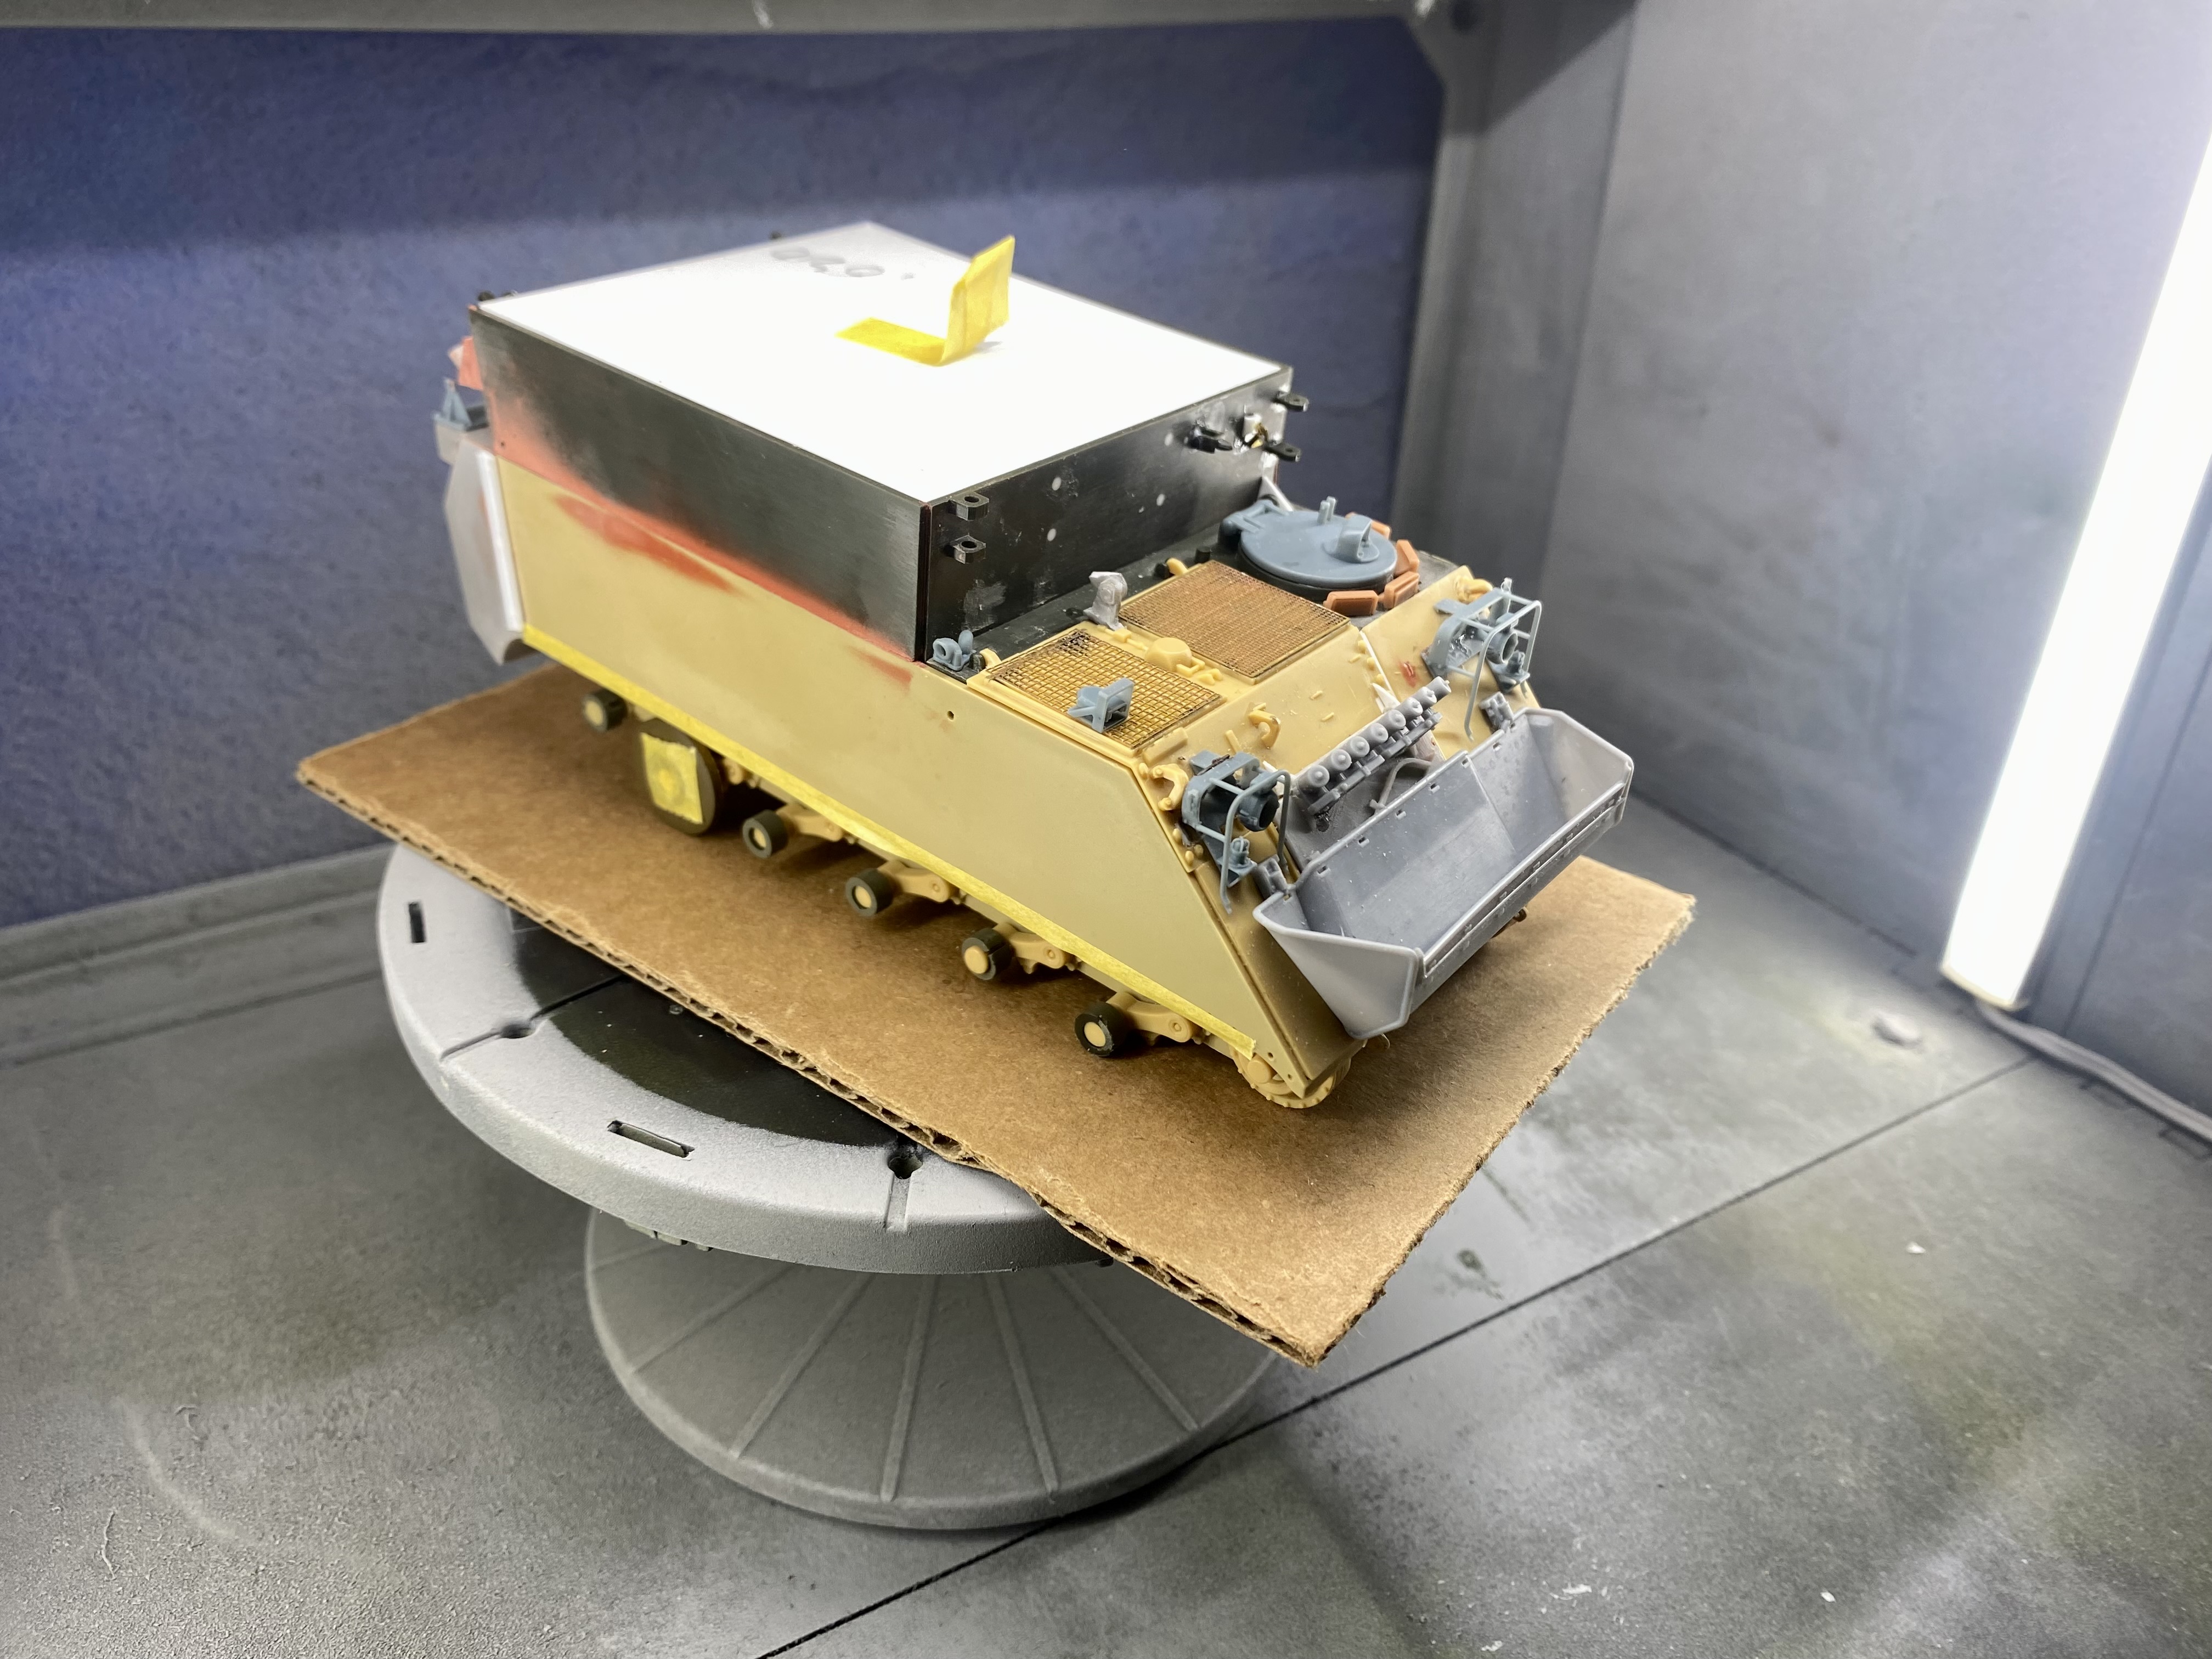
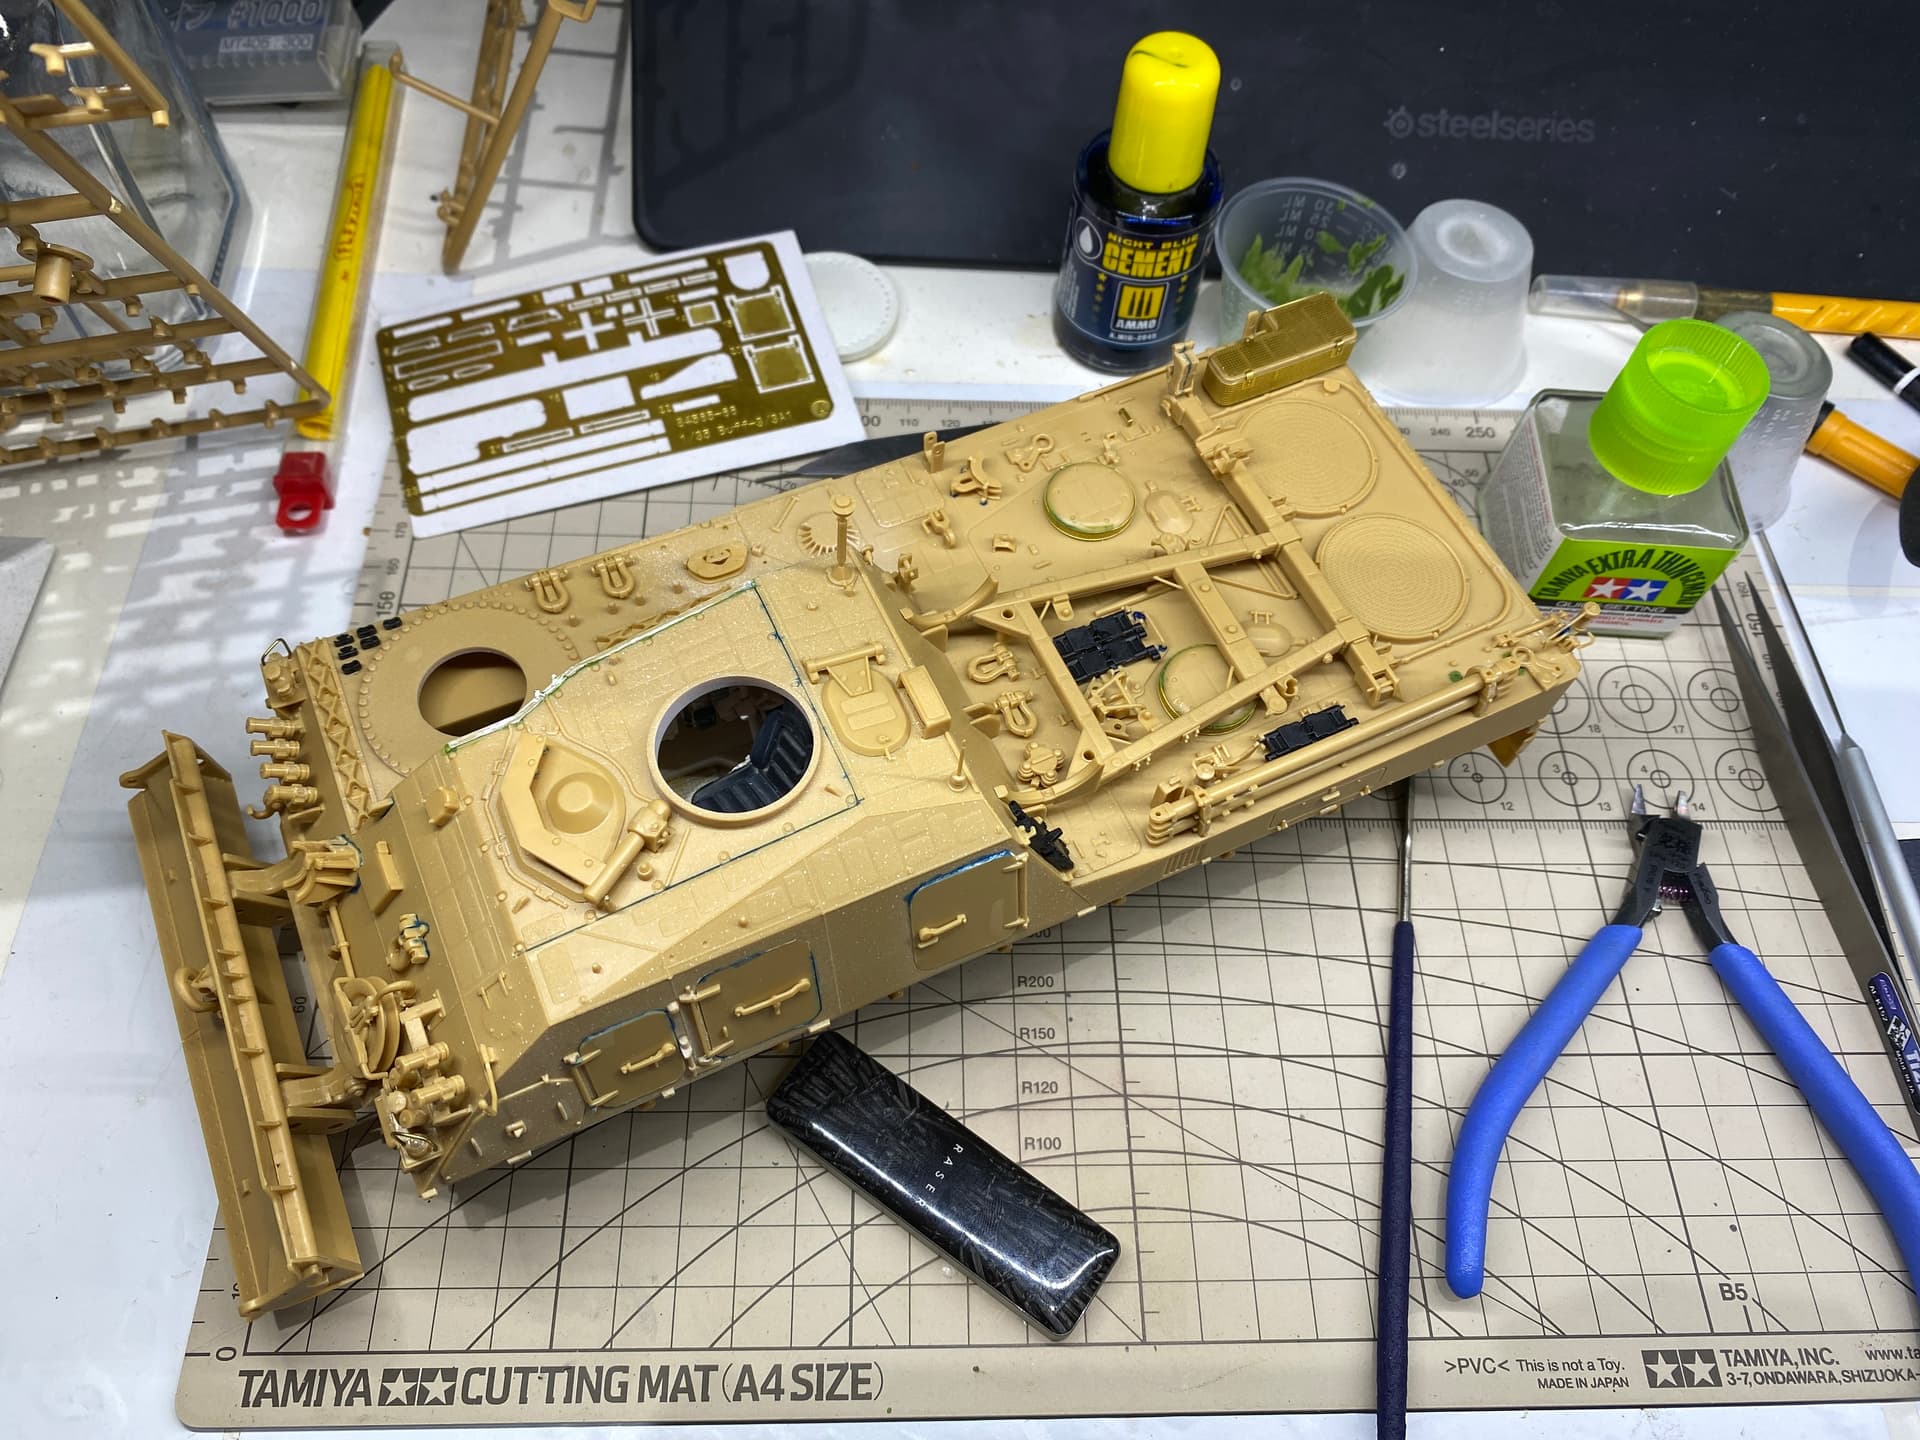
Just carried on with releasing and cleaning up the parts for the M125.
First impression: This part of the job adds around 30% more work to the overall build. Tricky, very easy to break the parts, needs a lot of concentration and “stick to - it - ness”.
Figured if I was going to paint the motorbike and rider I should first finish my figures for the tea time diarama and paint them in bulk. The standing figures are from Bronco and Railway and Armour in Scale (in white). The sitting figures I found on Temu.
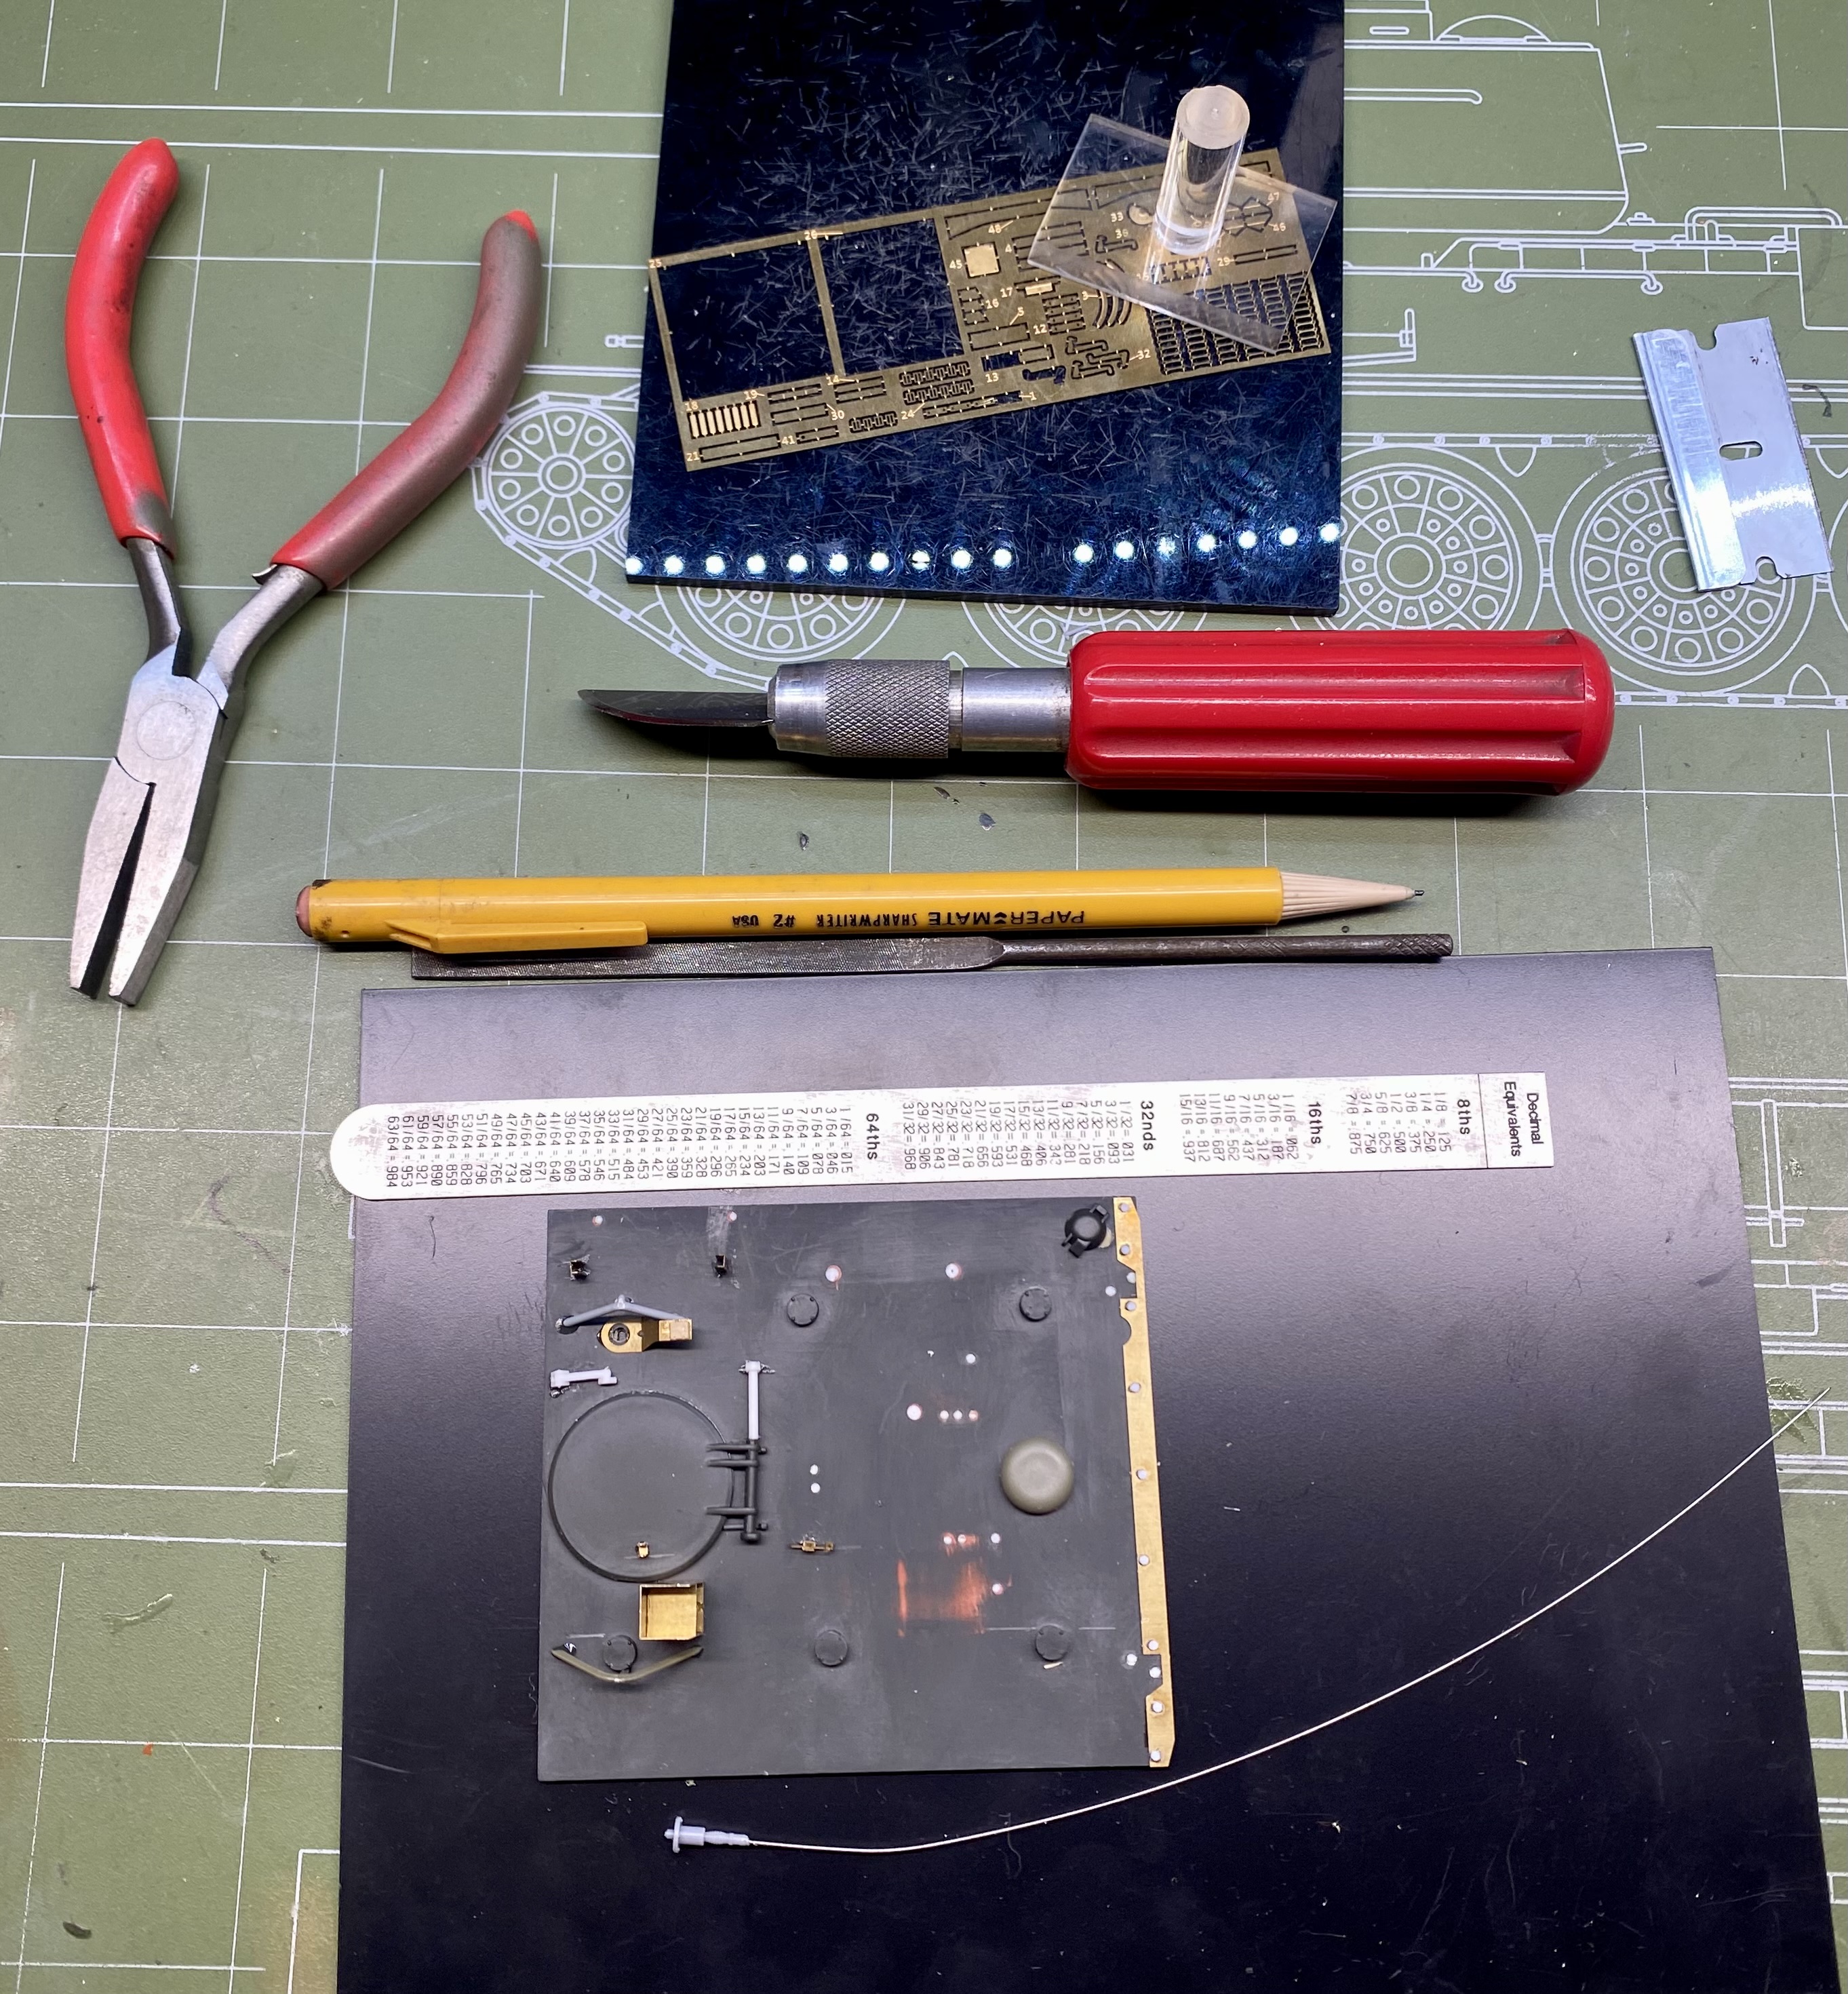
This is a mean and sleek looking vehicle. The tiny clear bulbs from the kit were a tweezer launch danger, so I used a wax picking pencil to install them. They have to go in before the box is closed.
This is turning out to be a slow build, as family is constantly pulling me away from my bench. Yesterday it was an 80th birthday party for an in-law I hardly know. Then a dangerous drive home through 4 inches of snow and ice. Made it home okay though, at 10 MPH. I need more bench time!
Thanks Wade, it was certainly white - knuckle driving last night. I live near the top of a steep hill. I’ve got 4 wheel drive but more than once I got sideways, was looking out the passenger window to see where I was going!
More on the Booker soon. This is an outstanding kit. The parts fit is like a Swiss watch. No filler required!