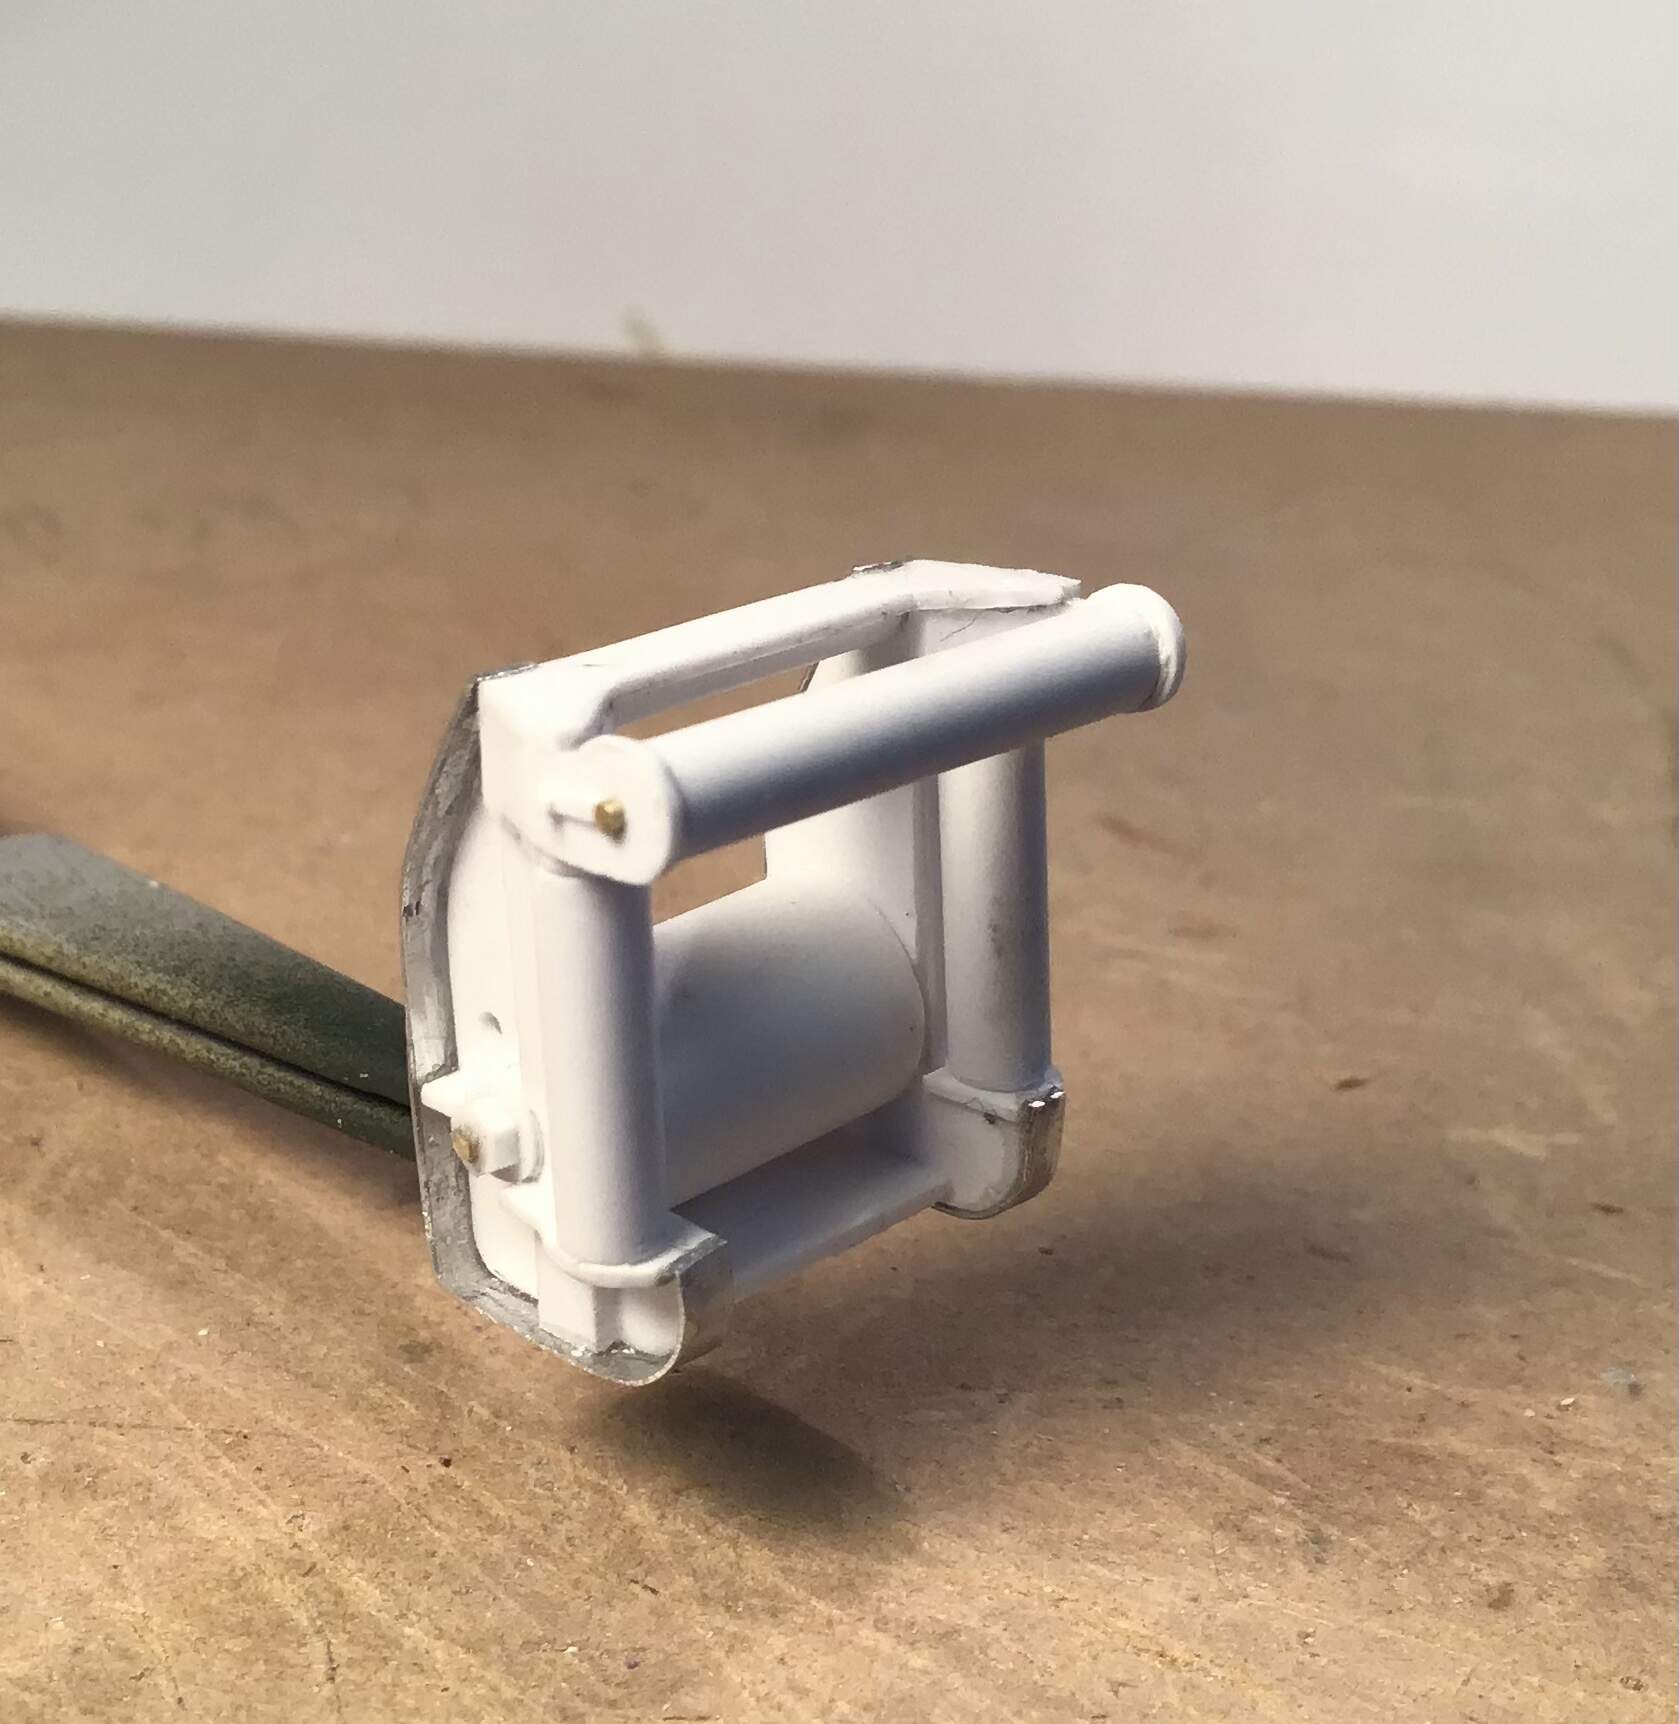
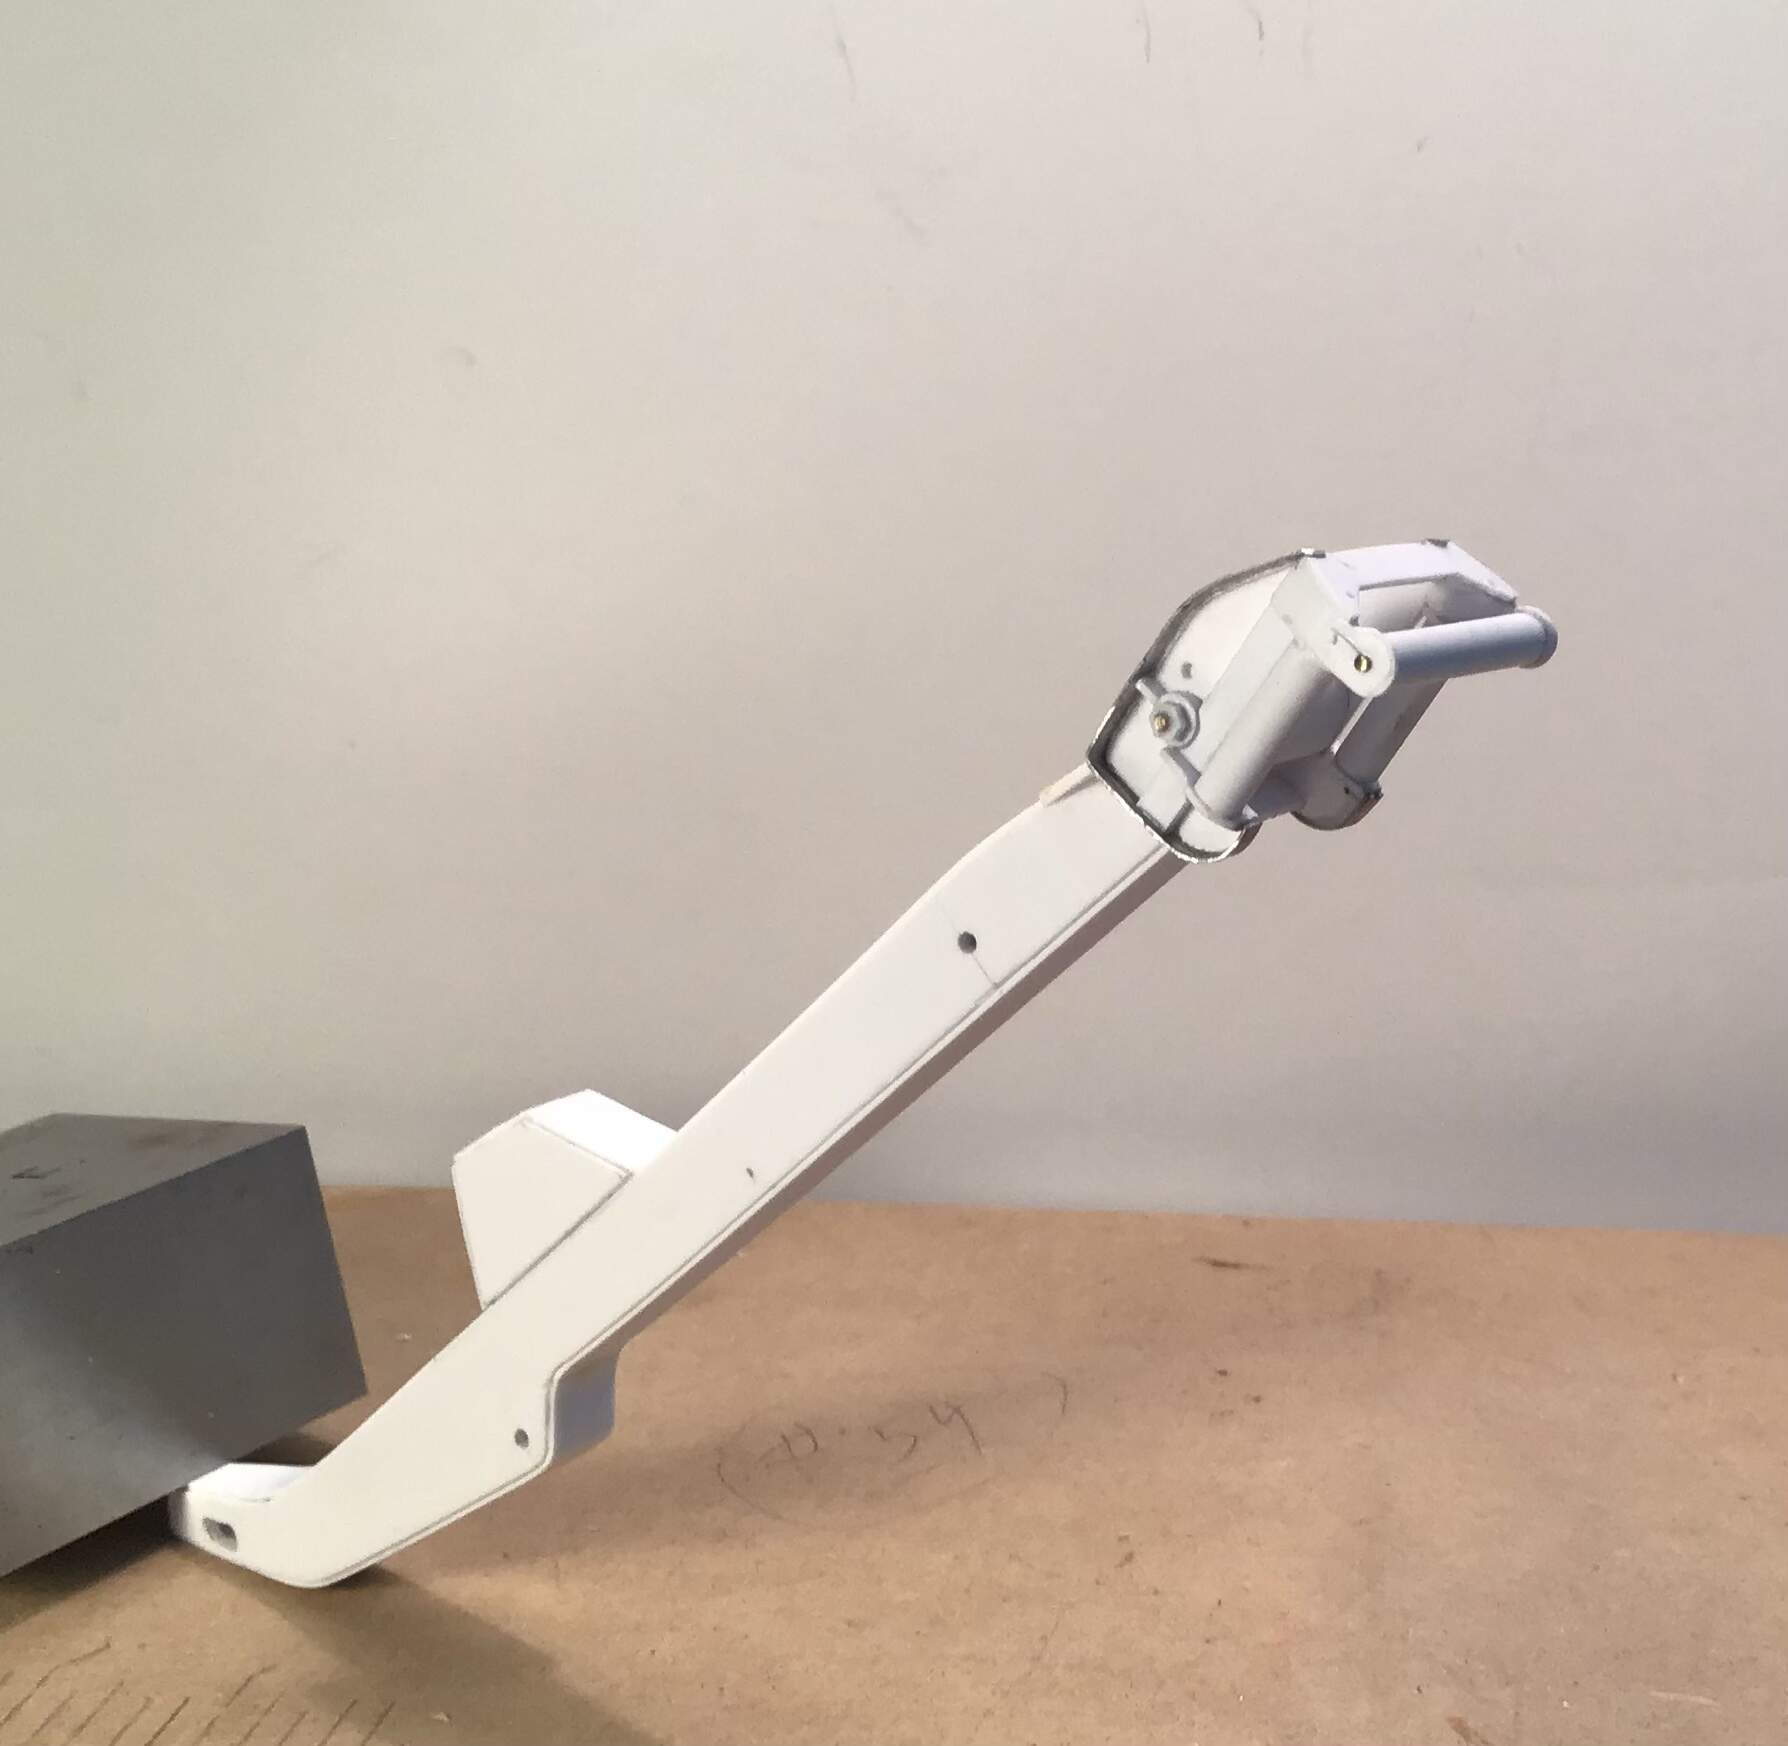
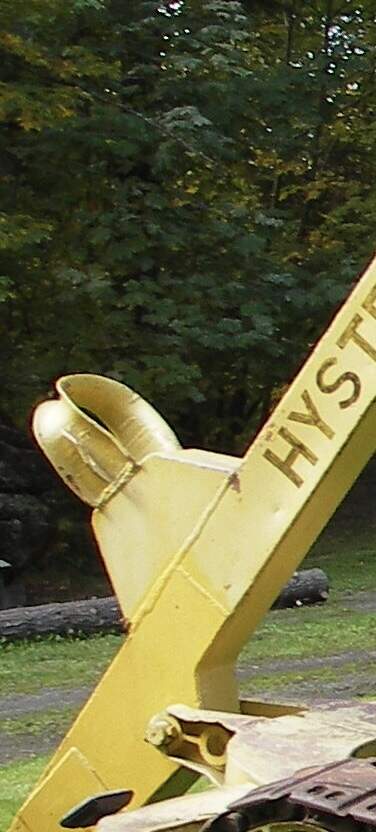
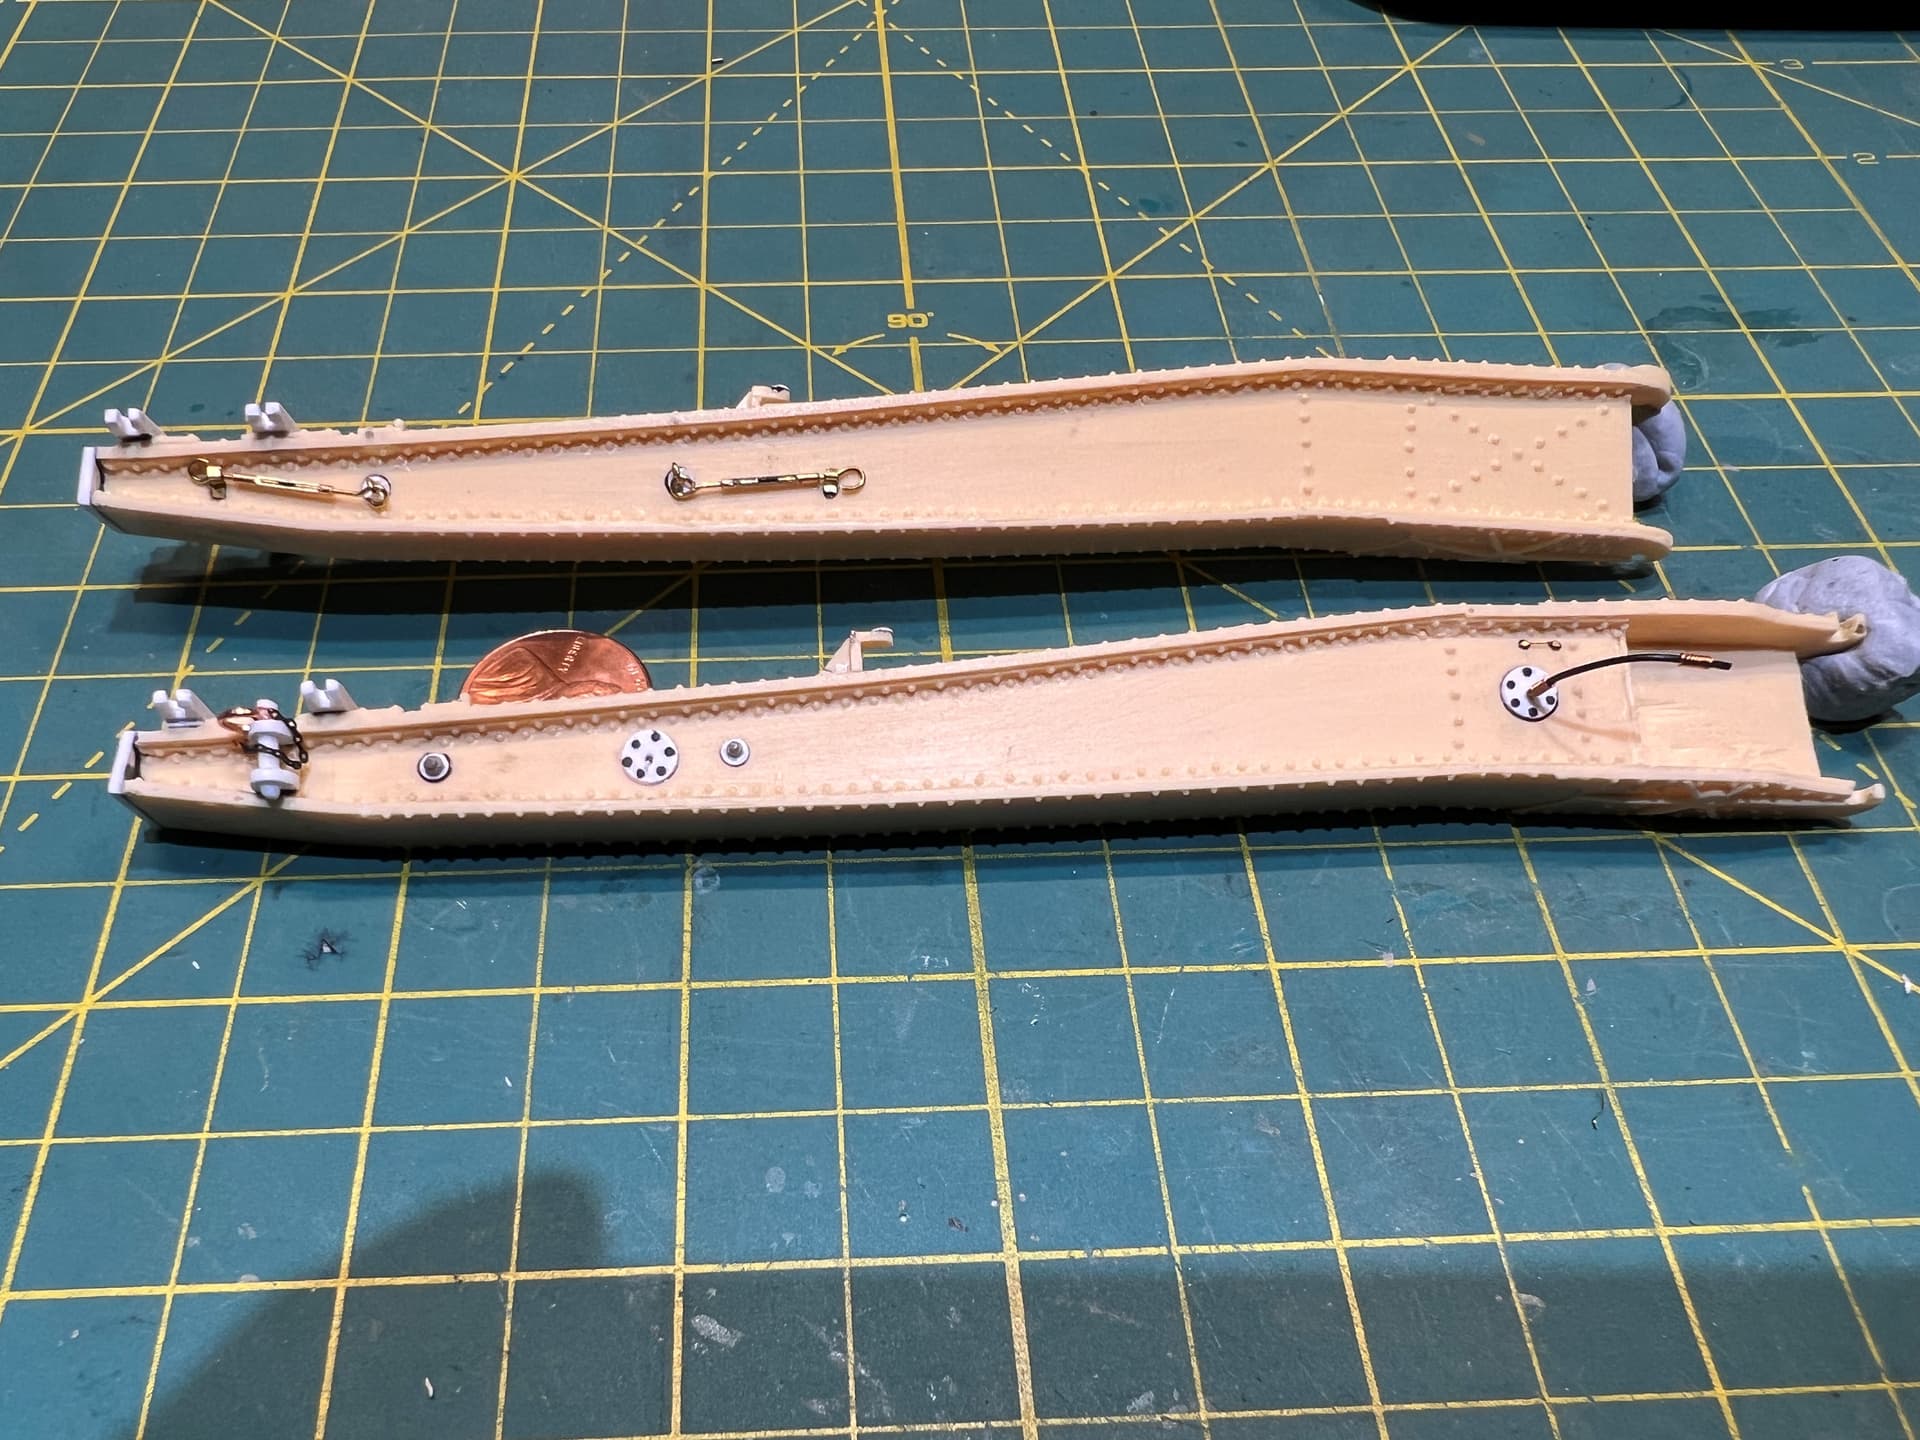
Made up the roller / fairlead system for the logging arch boom -

9 Likes
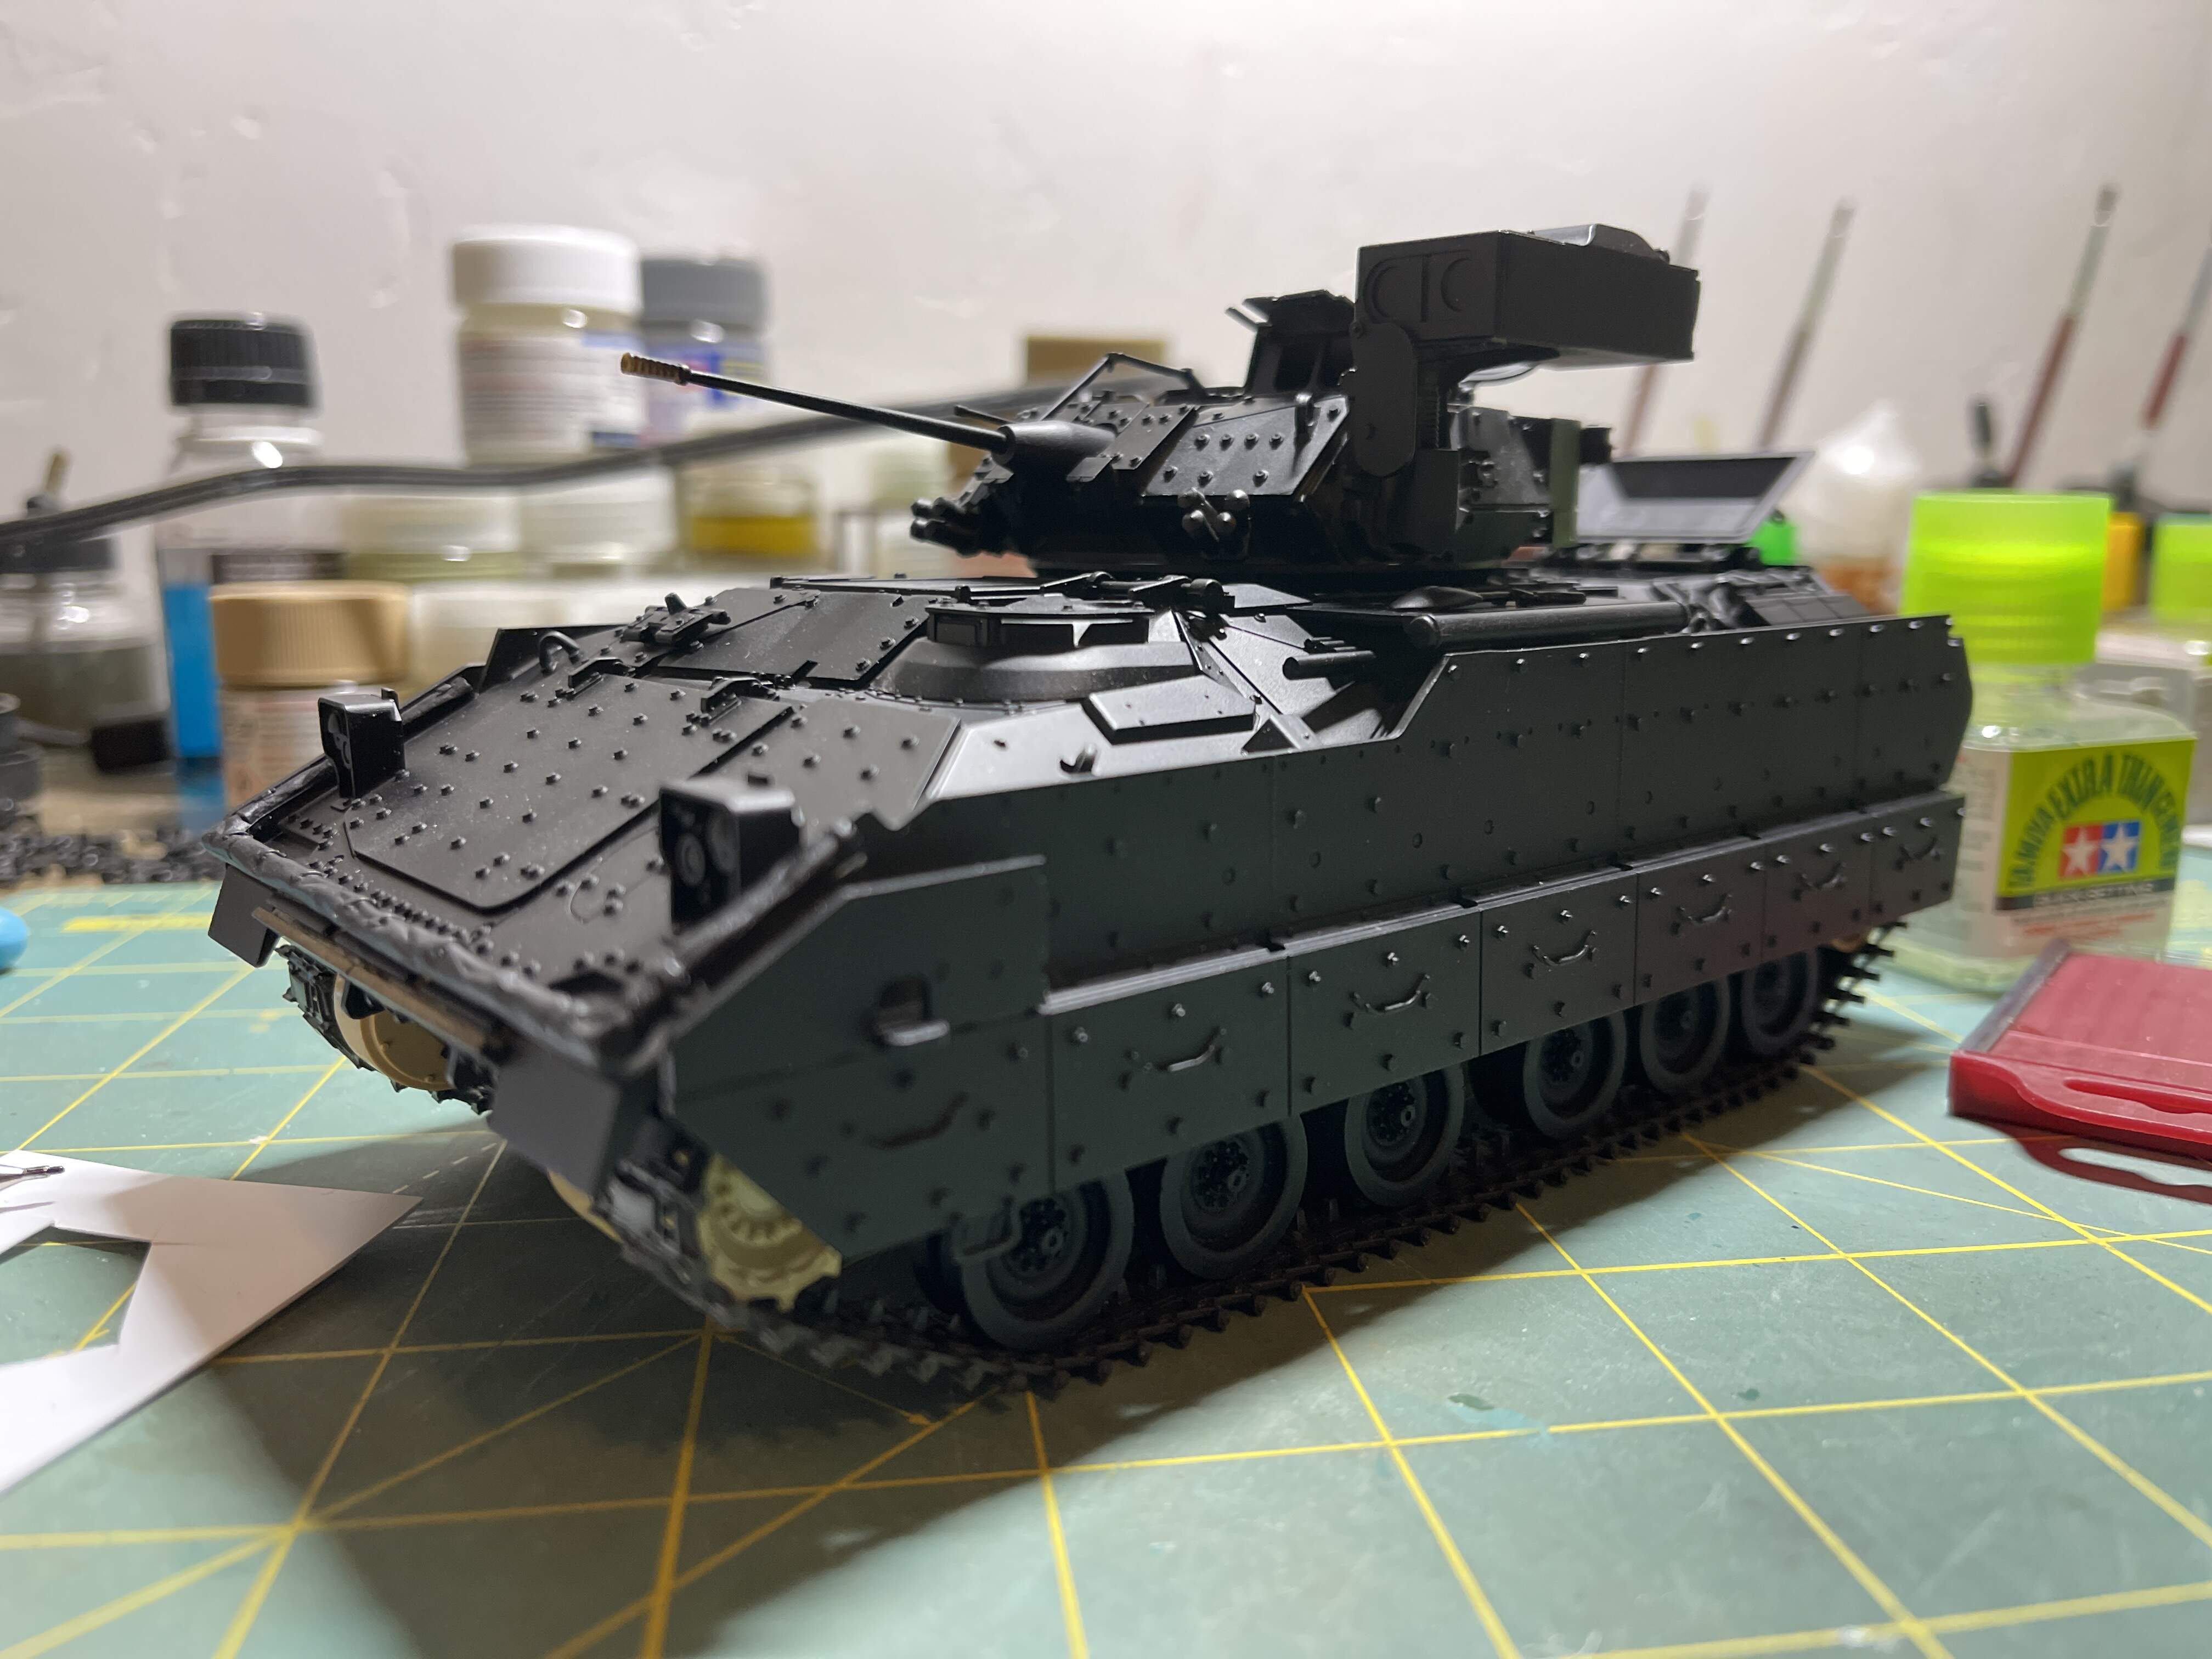
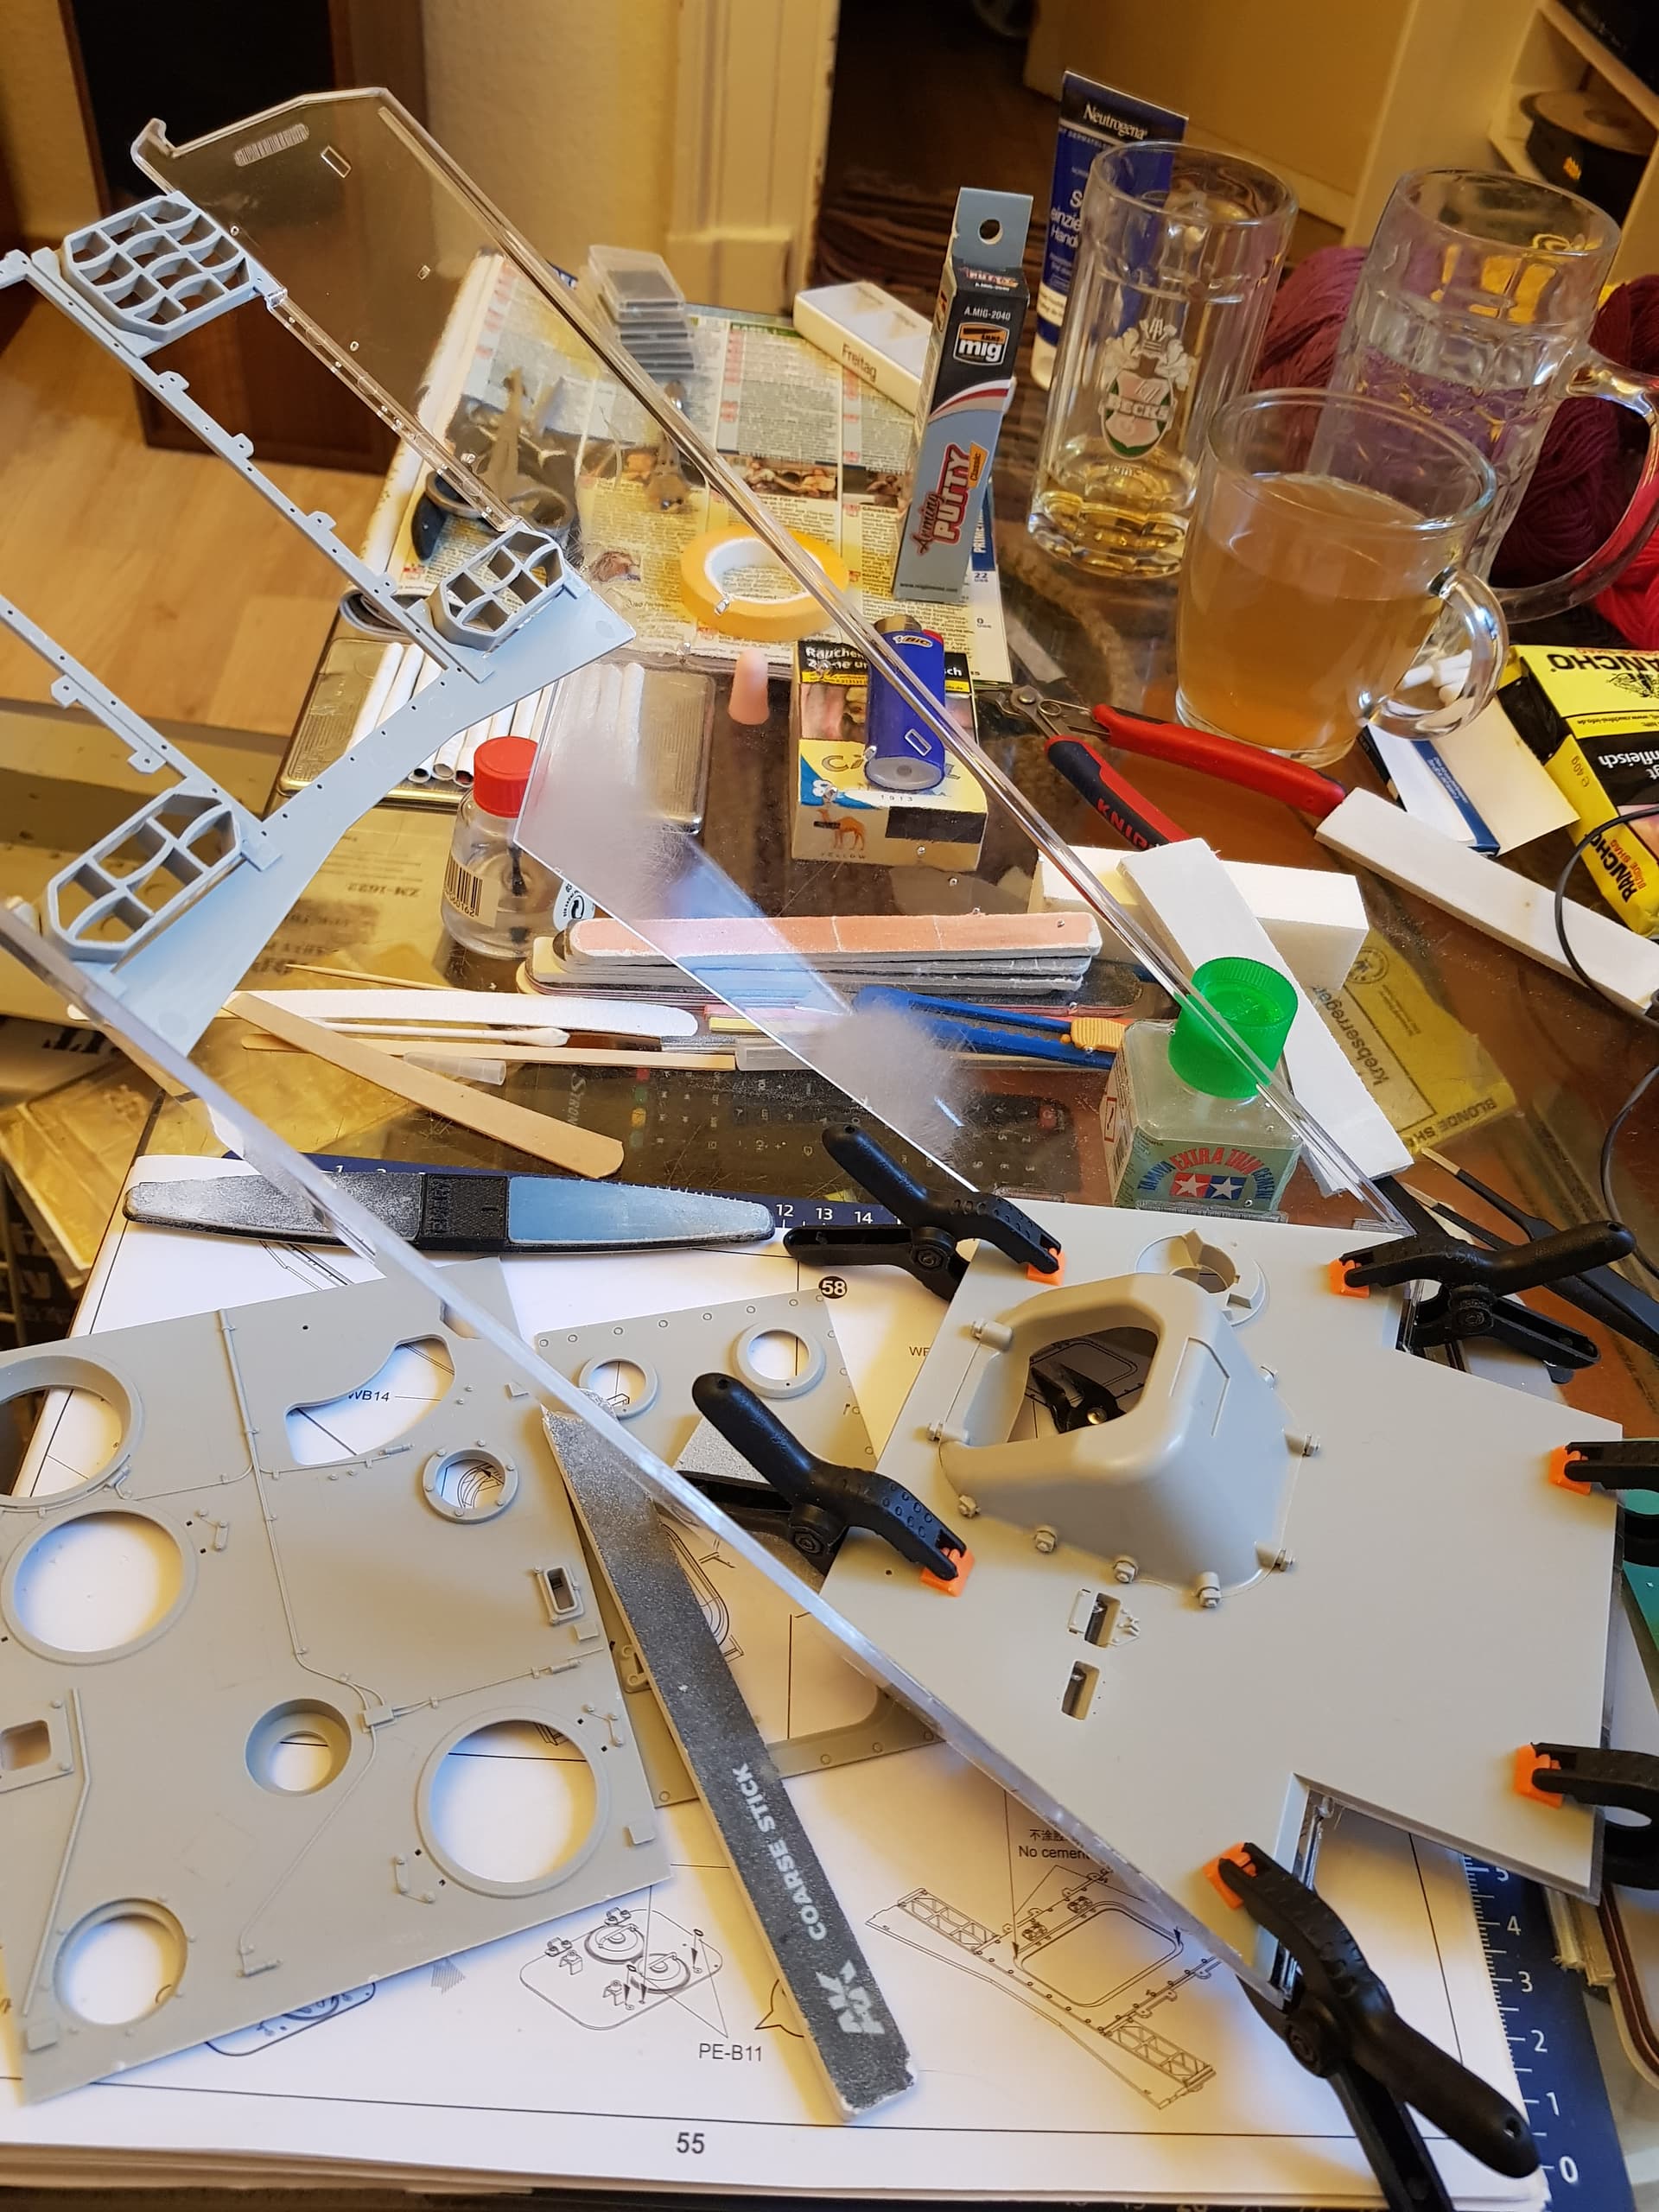
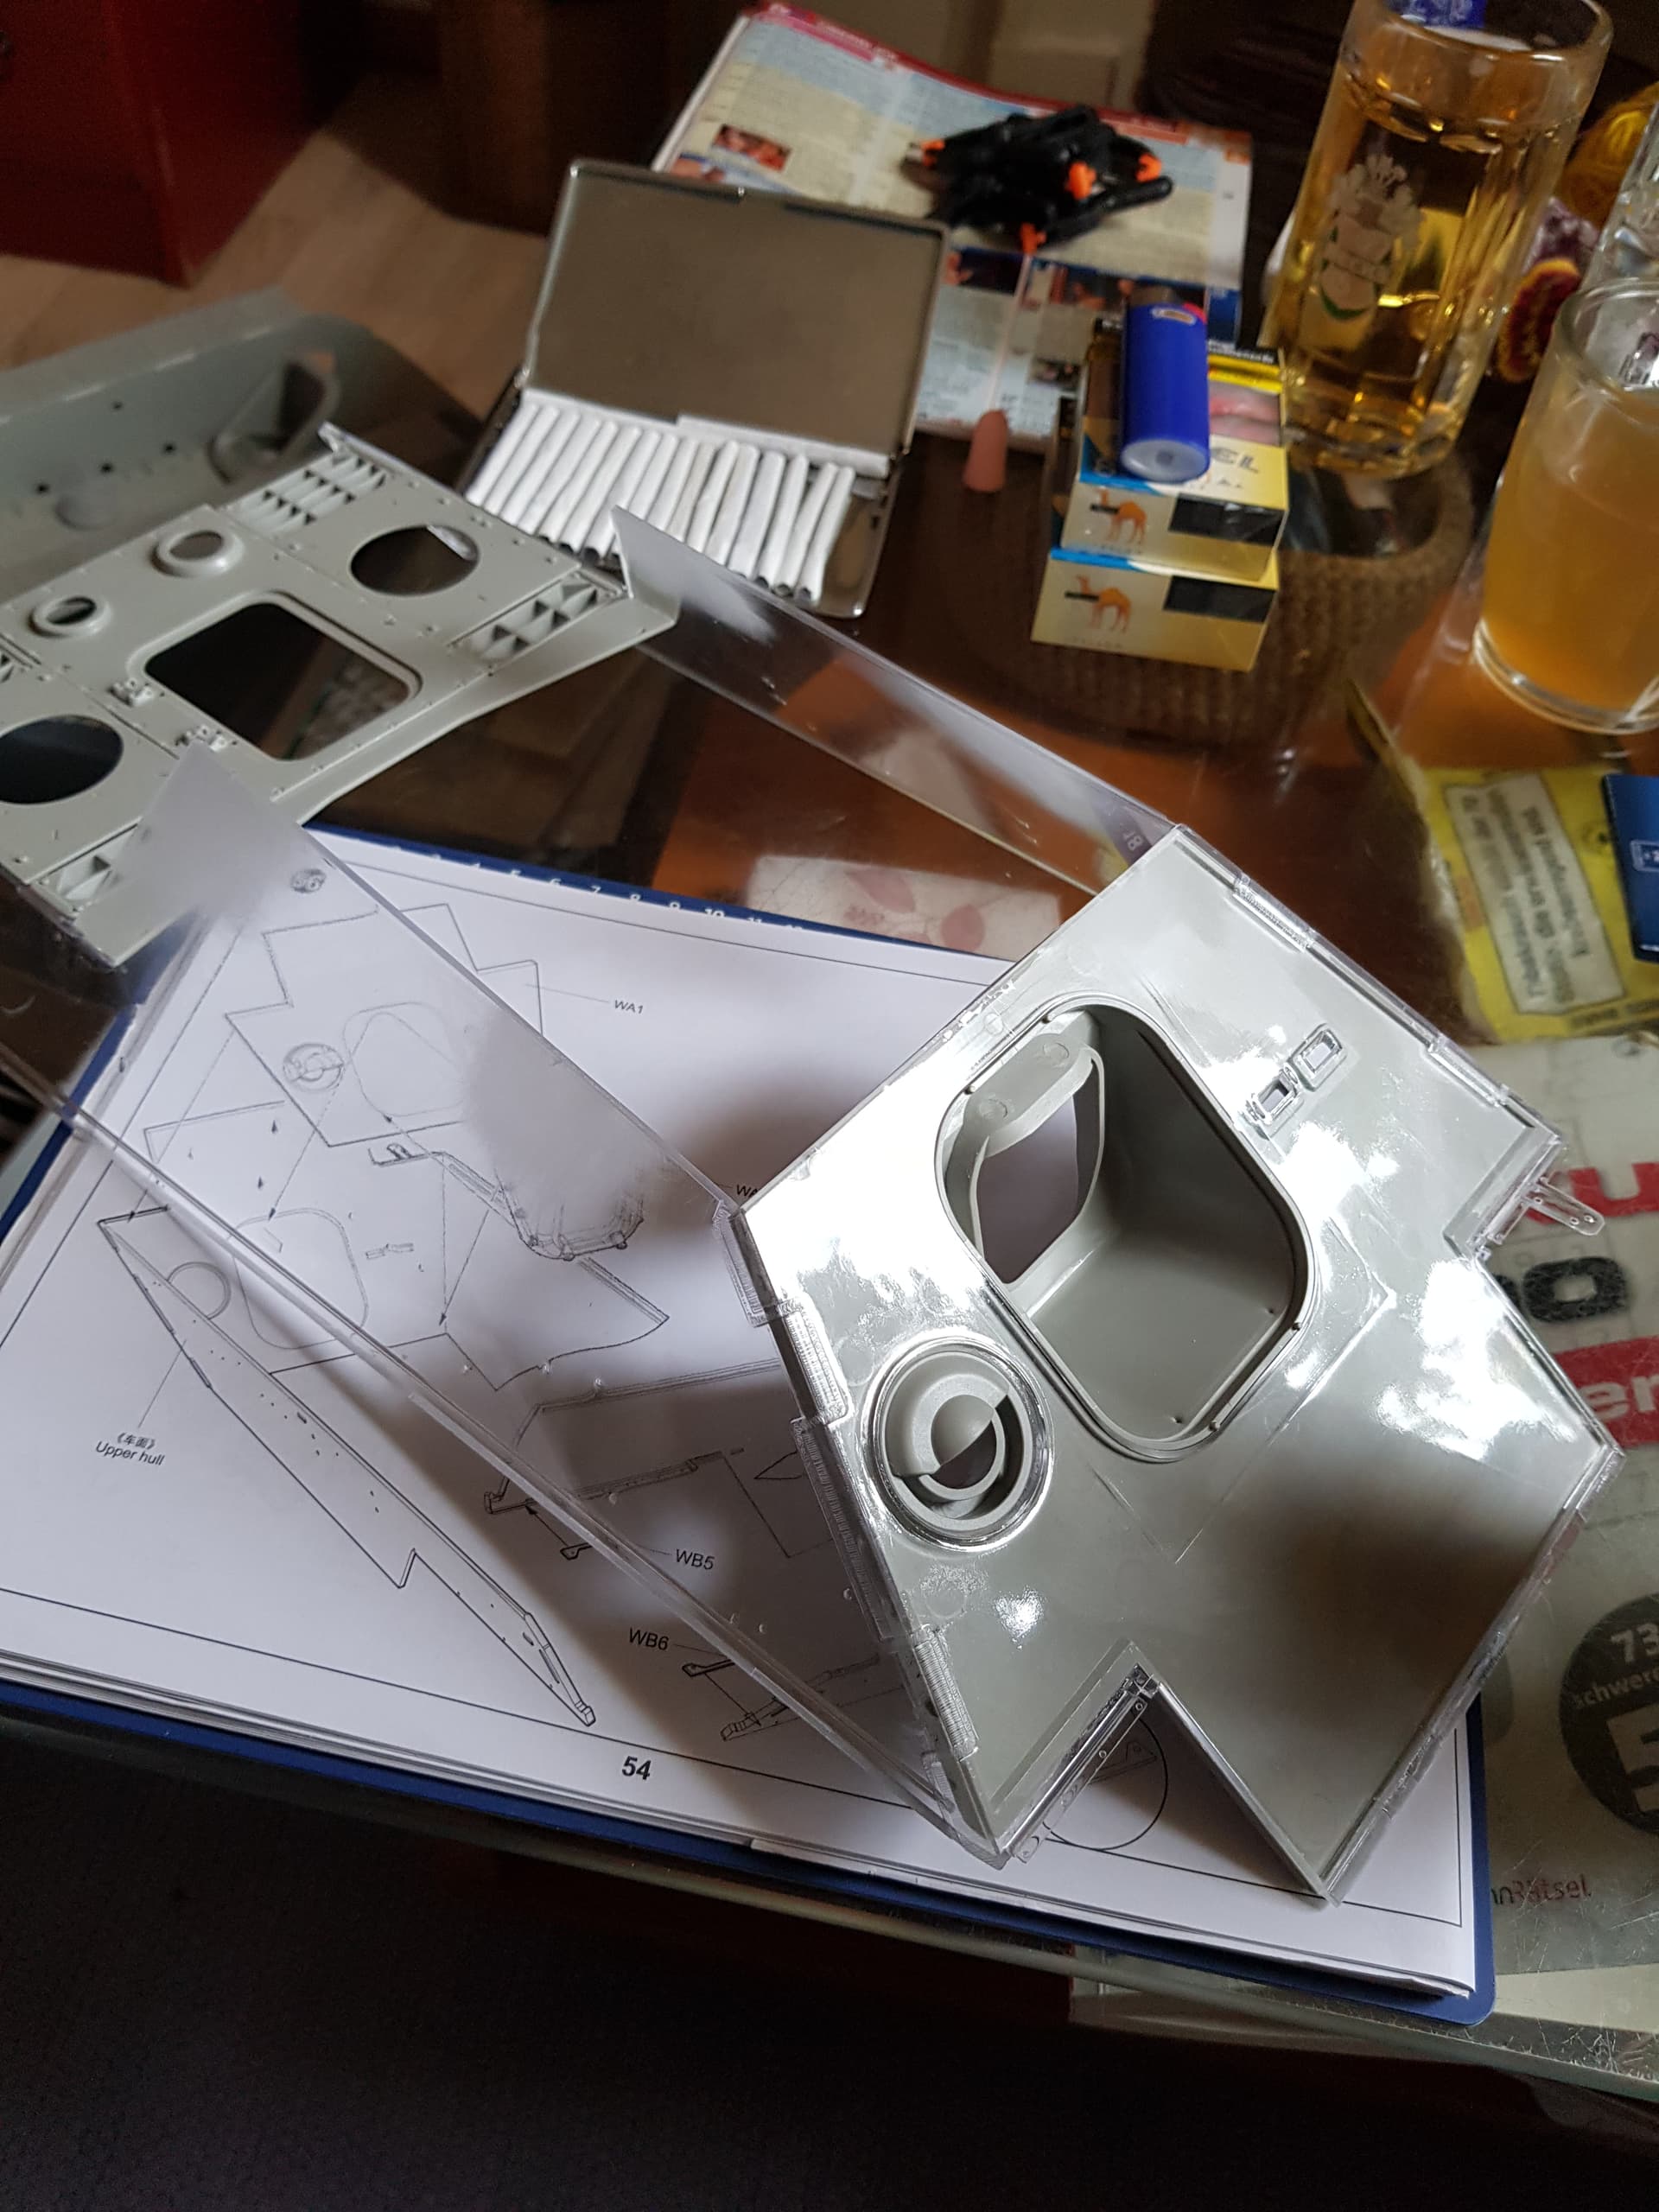
A little setback on my M2A2 “Somalia” build.
While attempting to redo the rear wall of the vehicle; I accidentally broke the 3D printed rear idlers. After some choice cuss words. I decided to redo the lower hull altogether, which gave me time to start again fresh and using some of Gino’s advice on the rear wall.
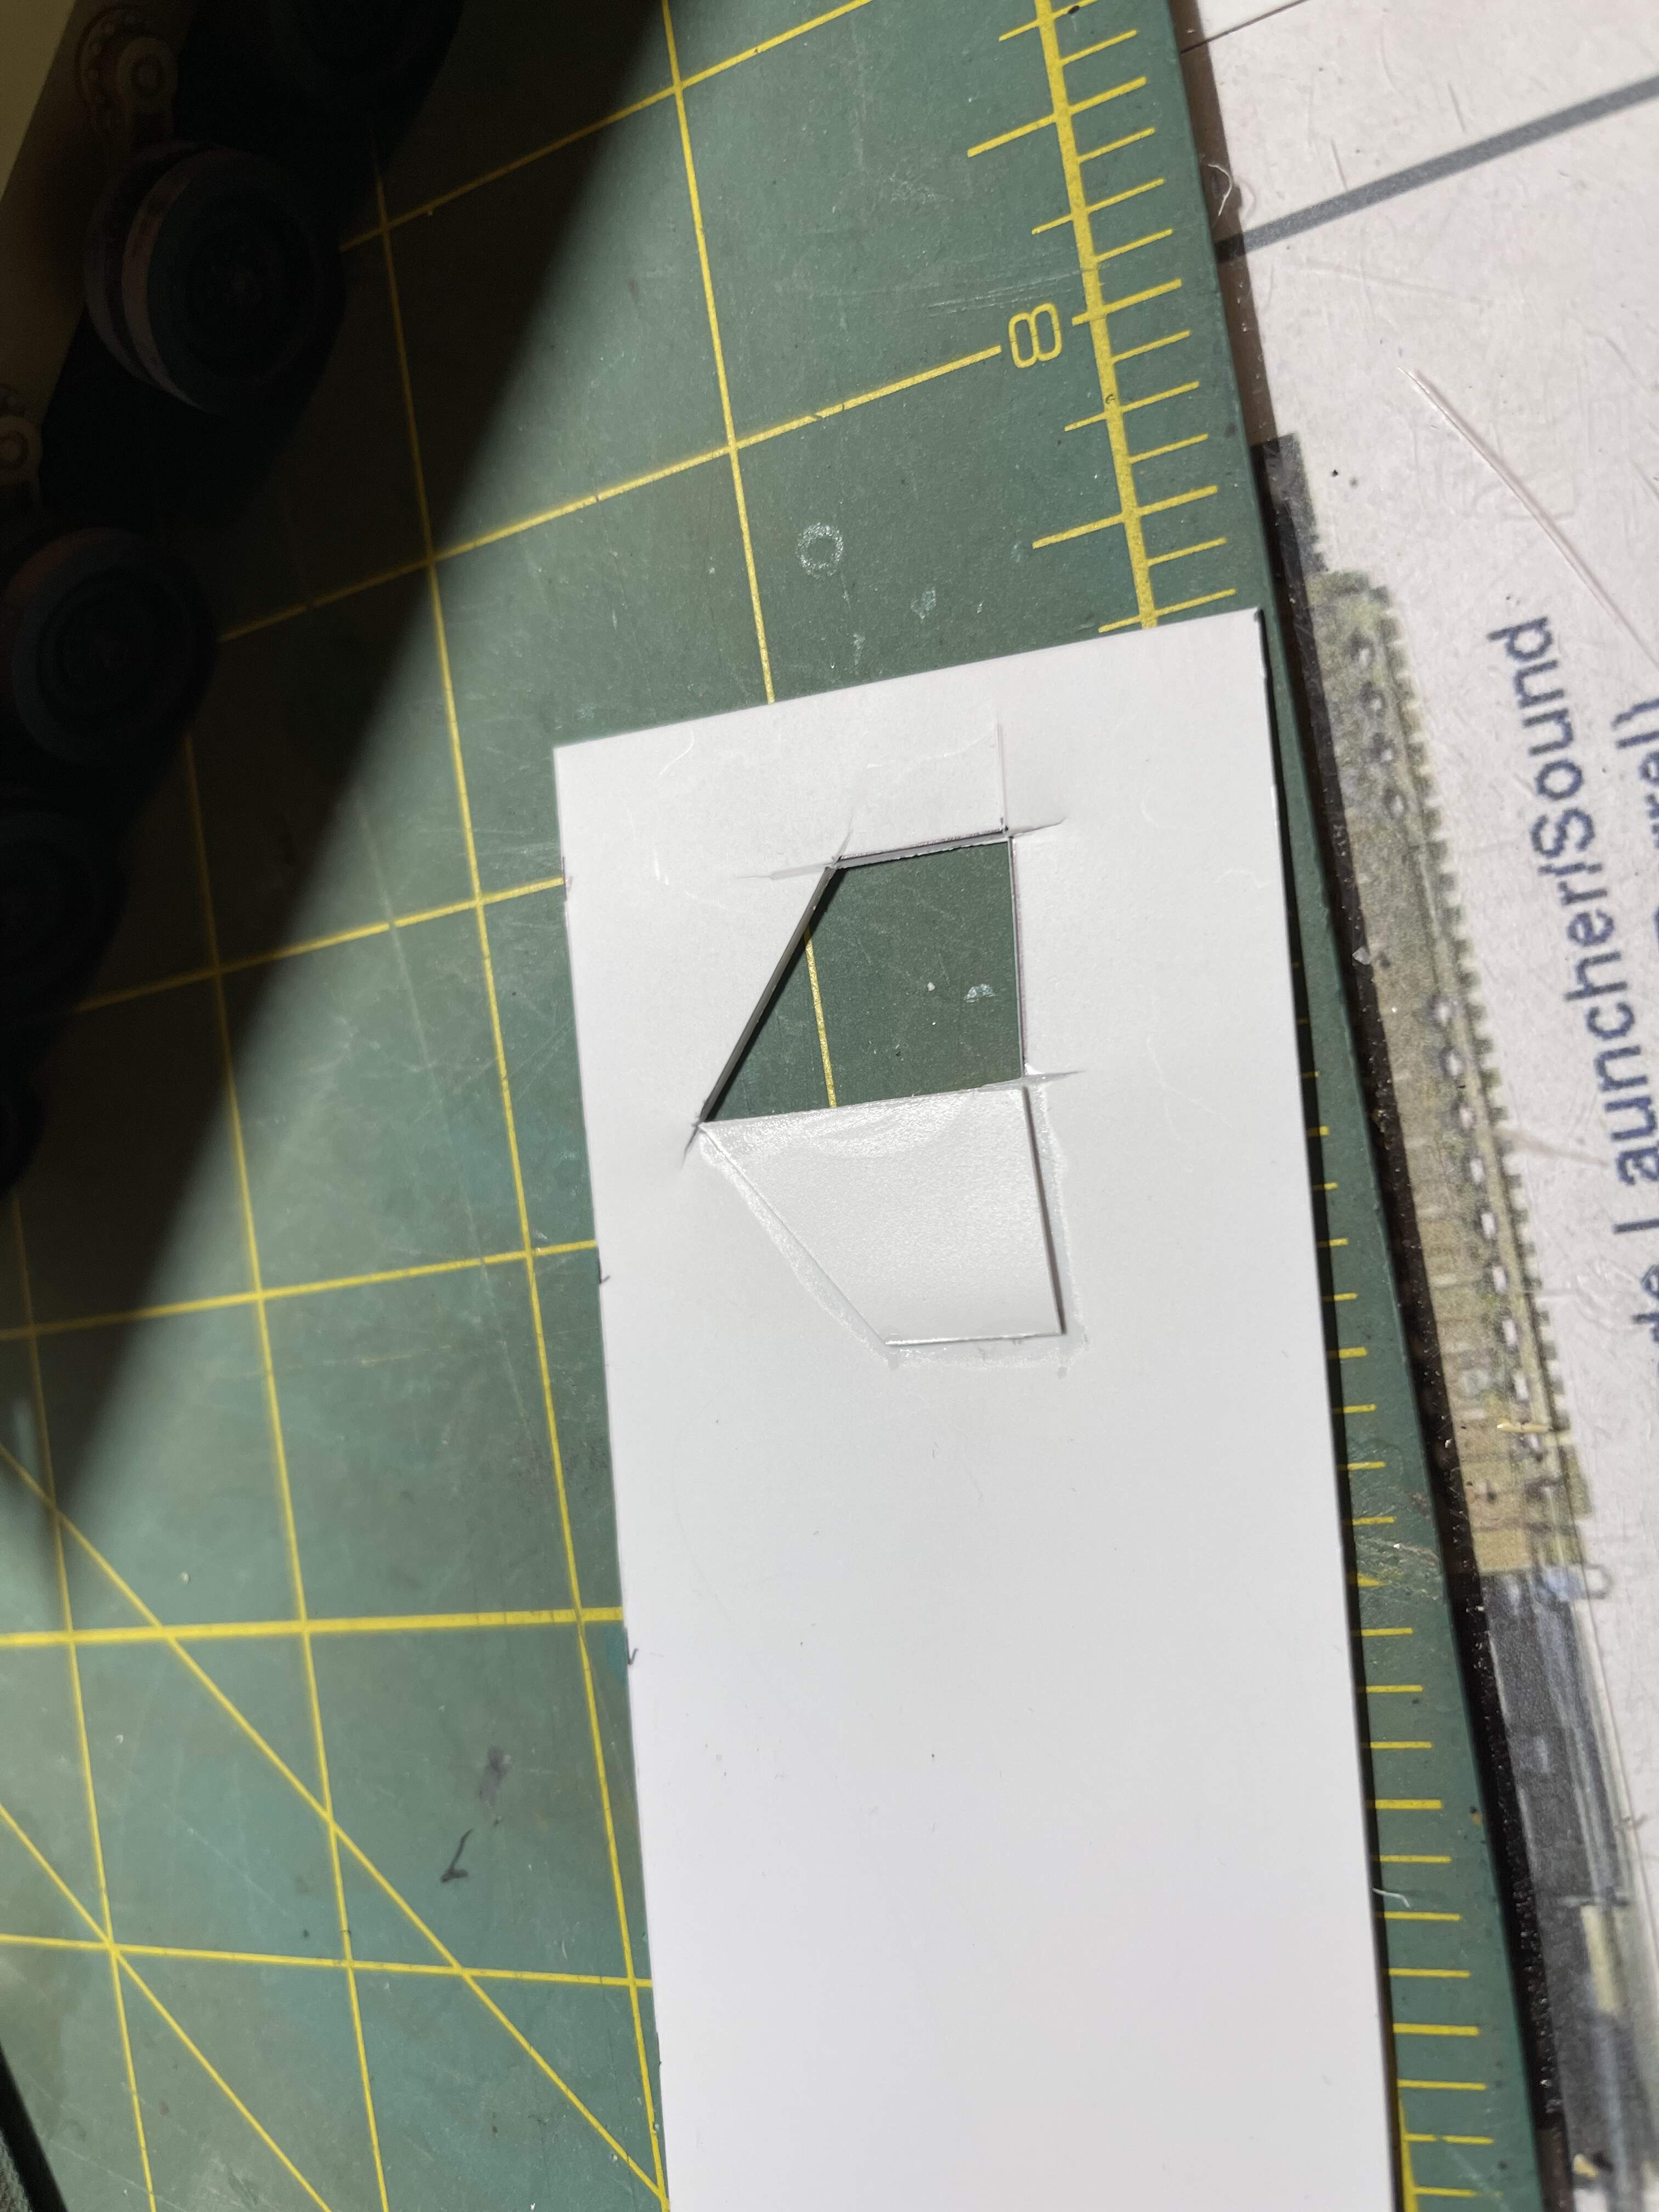
I fashioned new walls from two pieces of 0.20 styrene glued together and sanded to fit, rather than chopping up the rear wall and risking a screw up on my part.
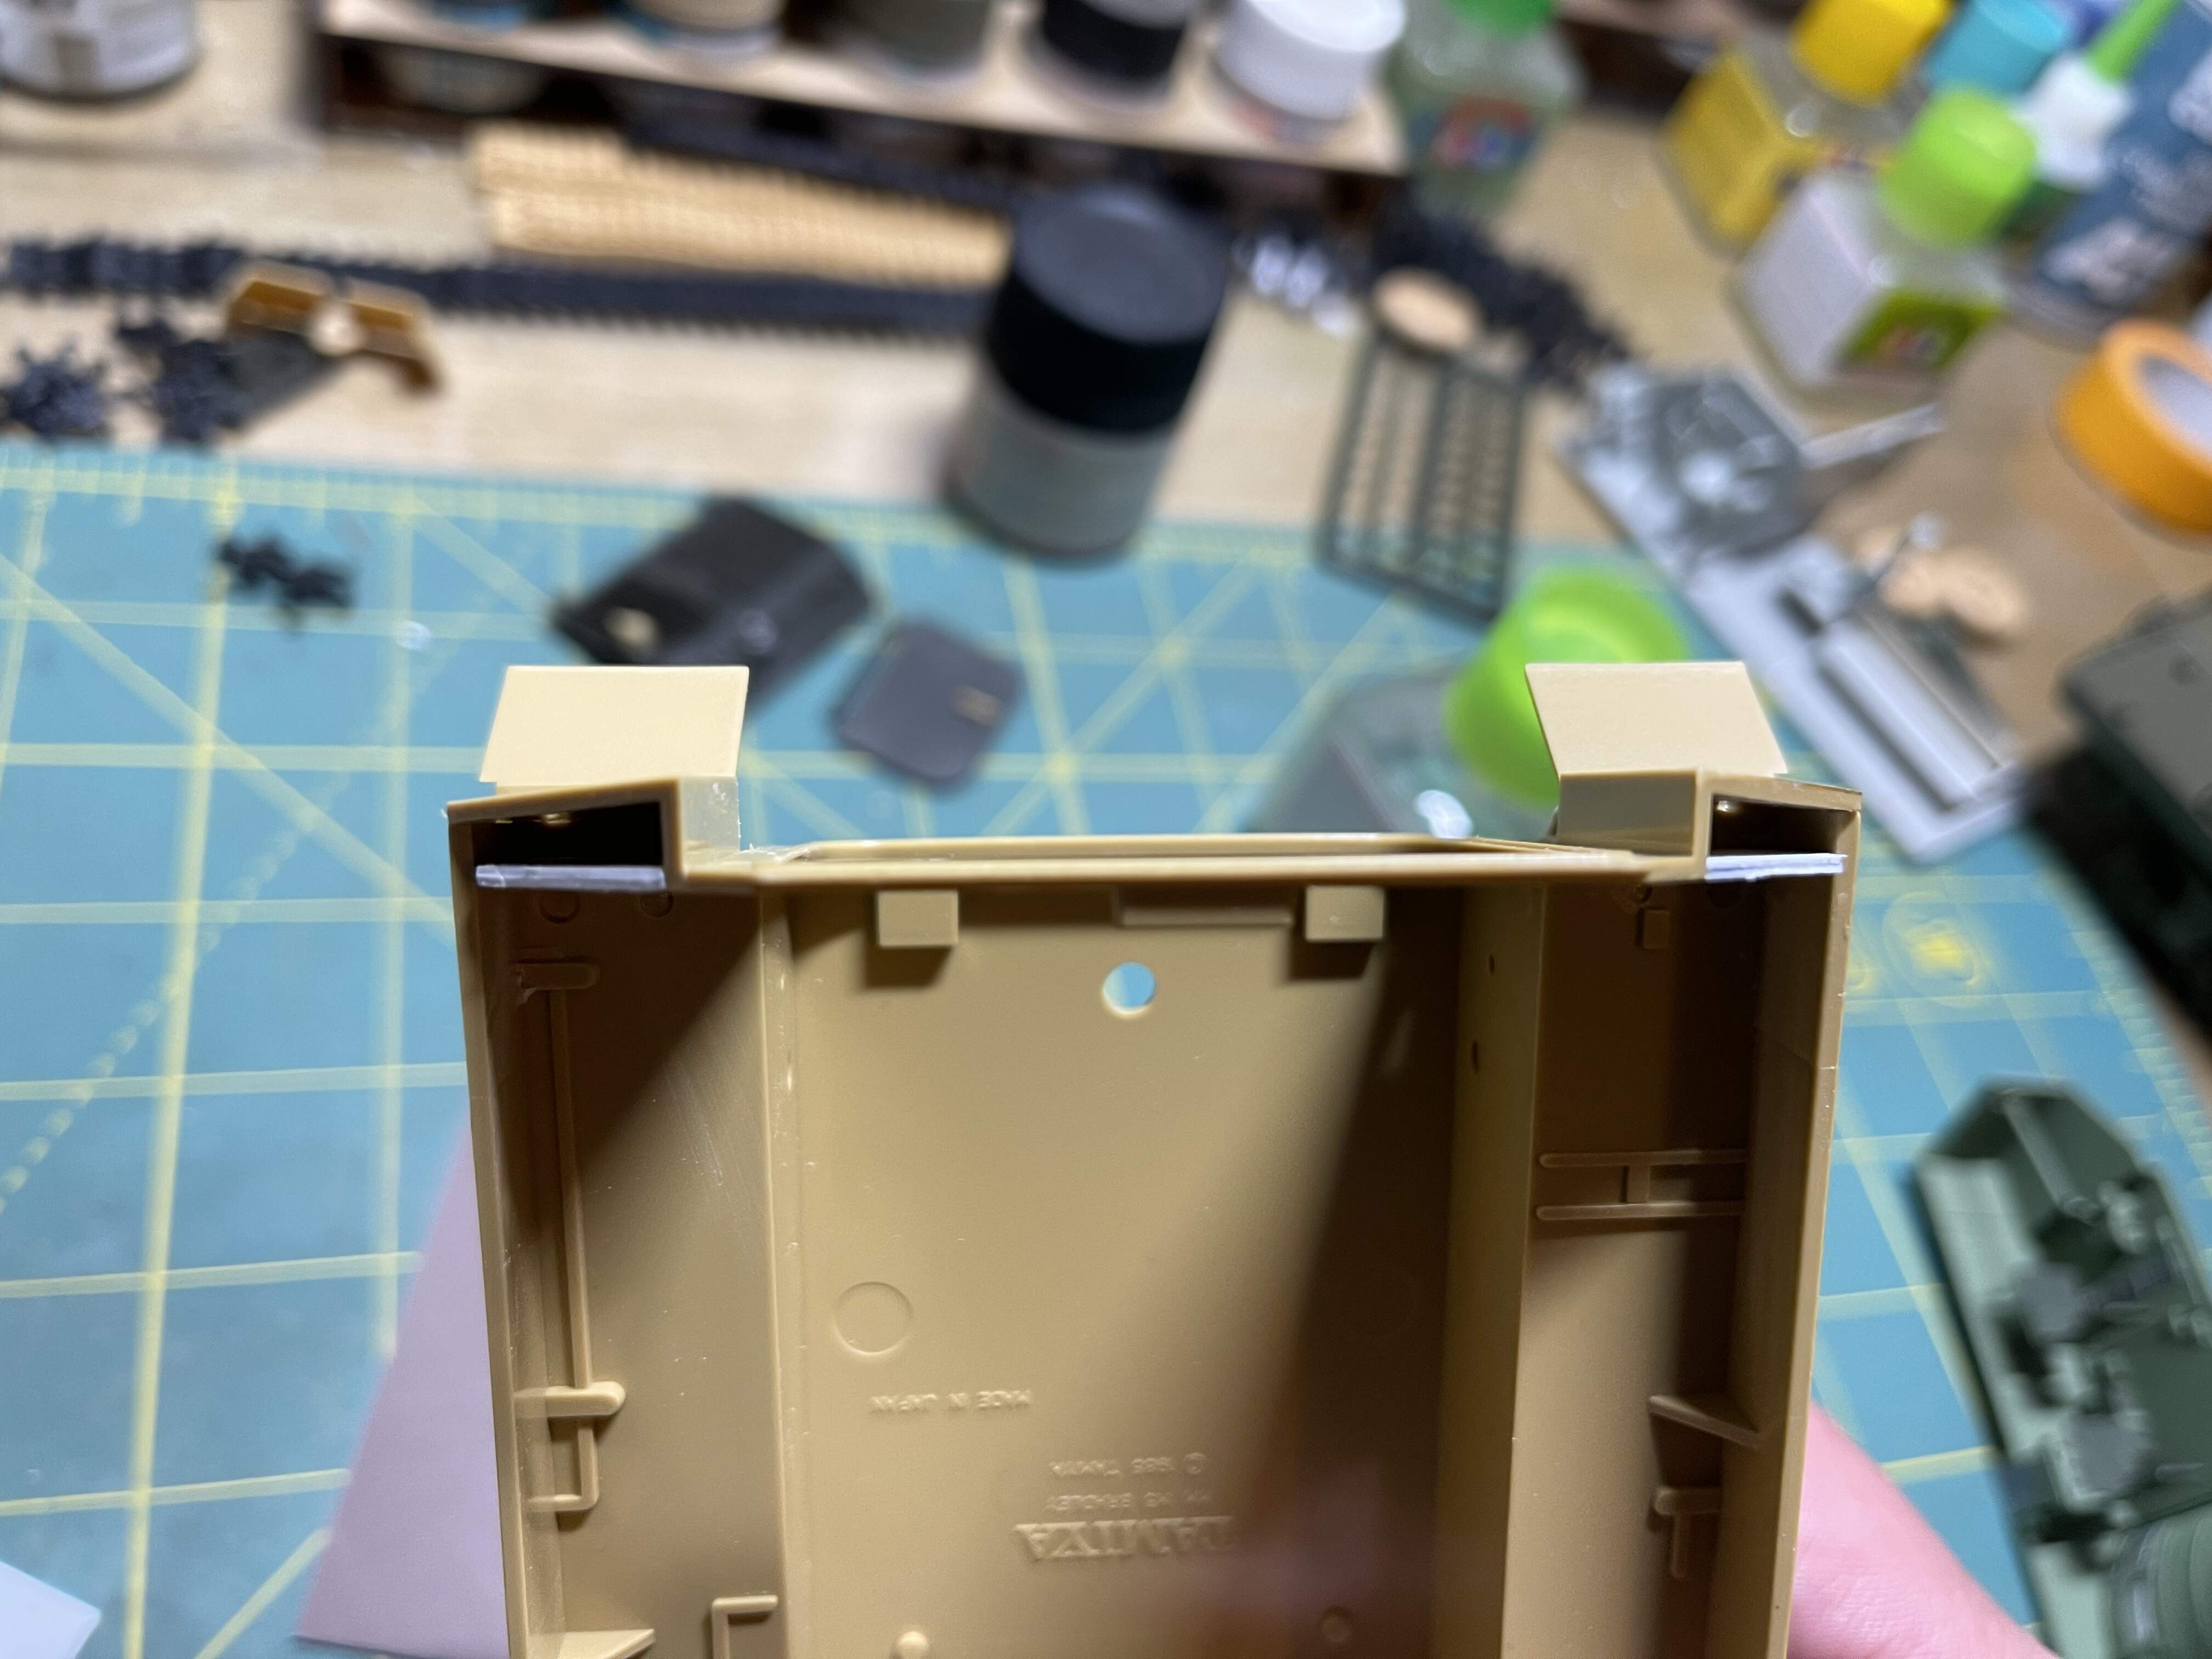
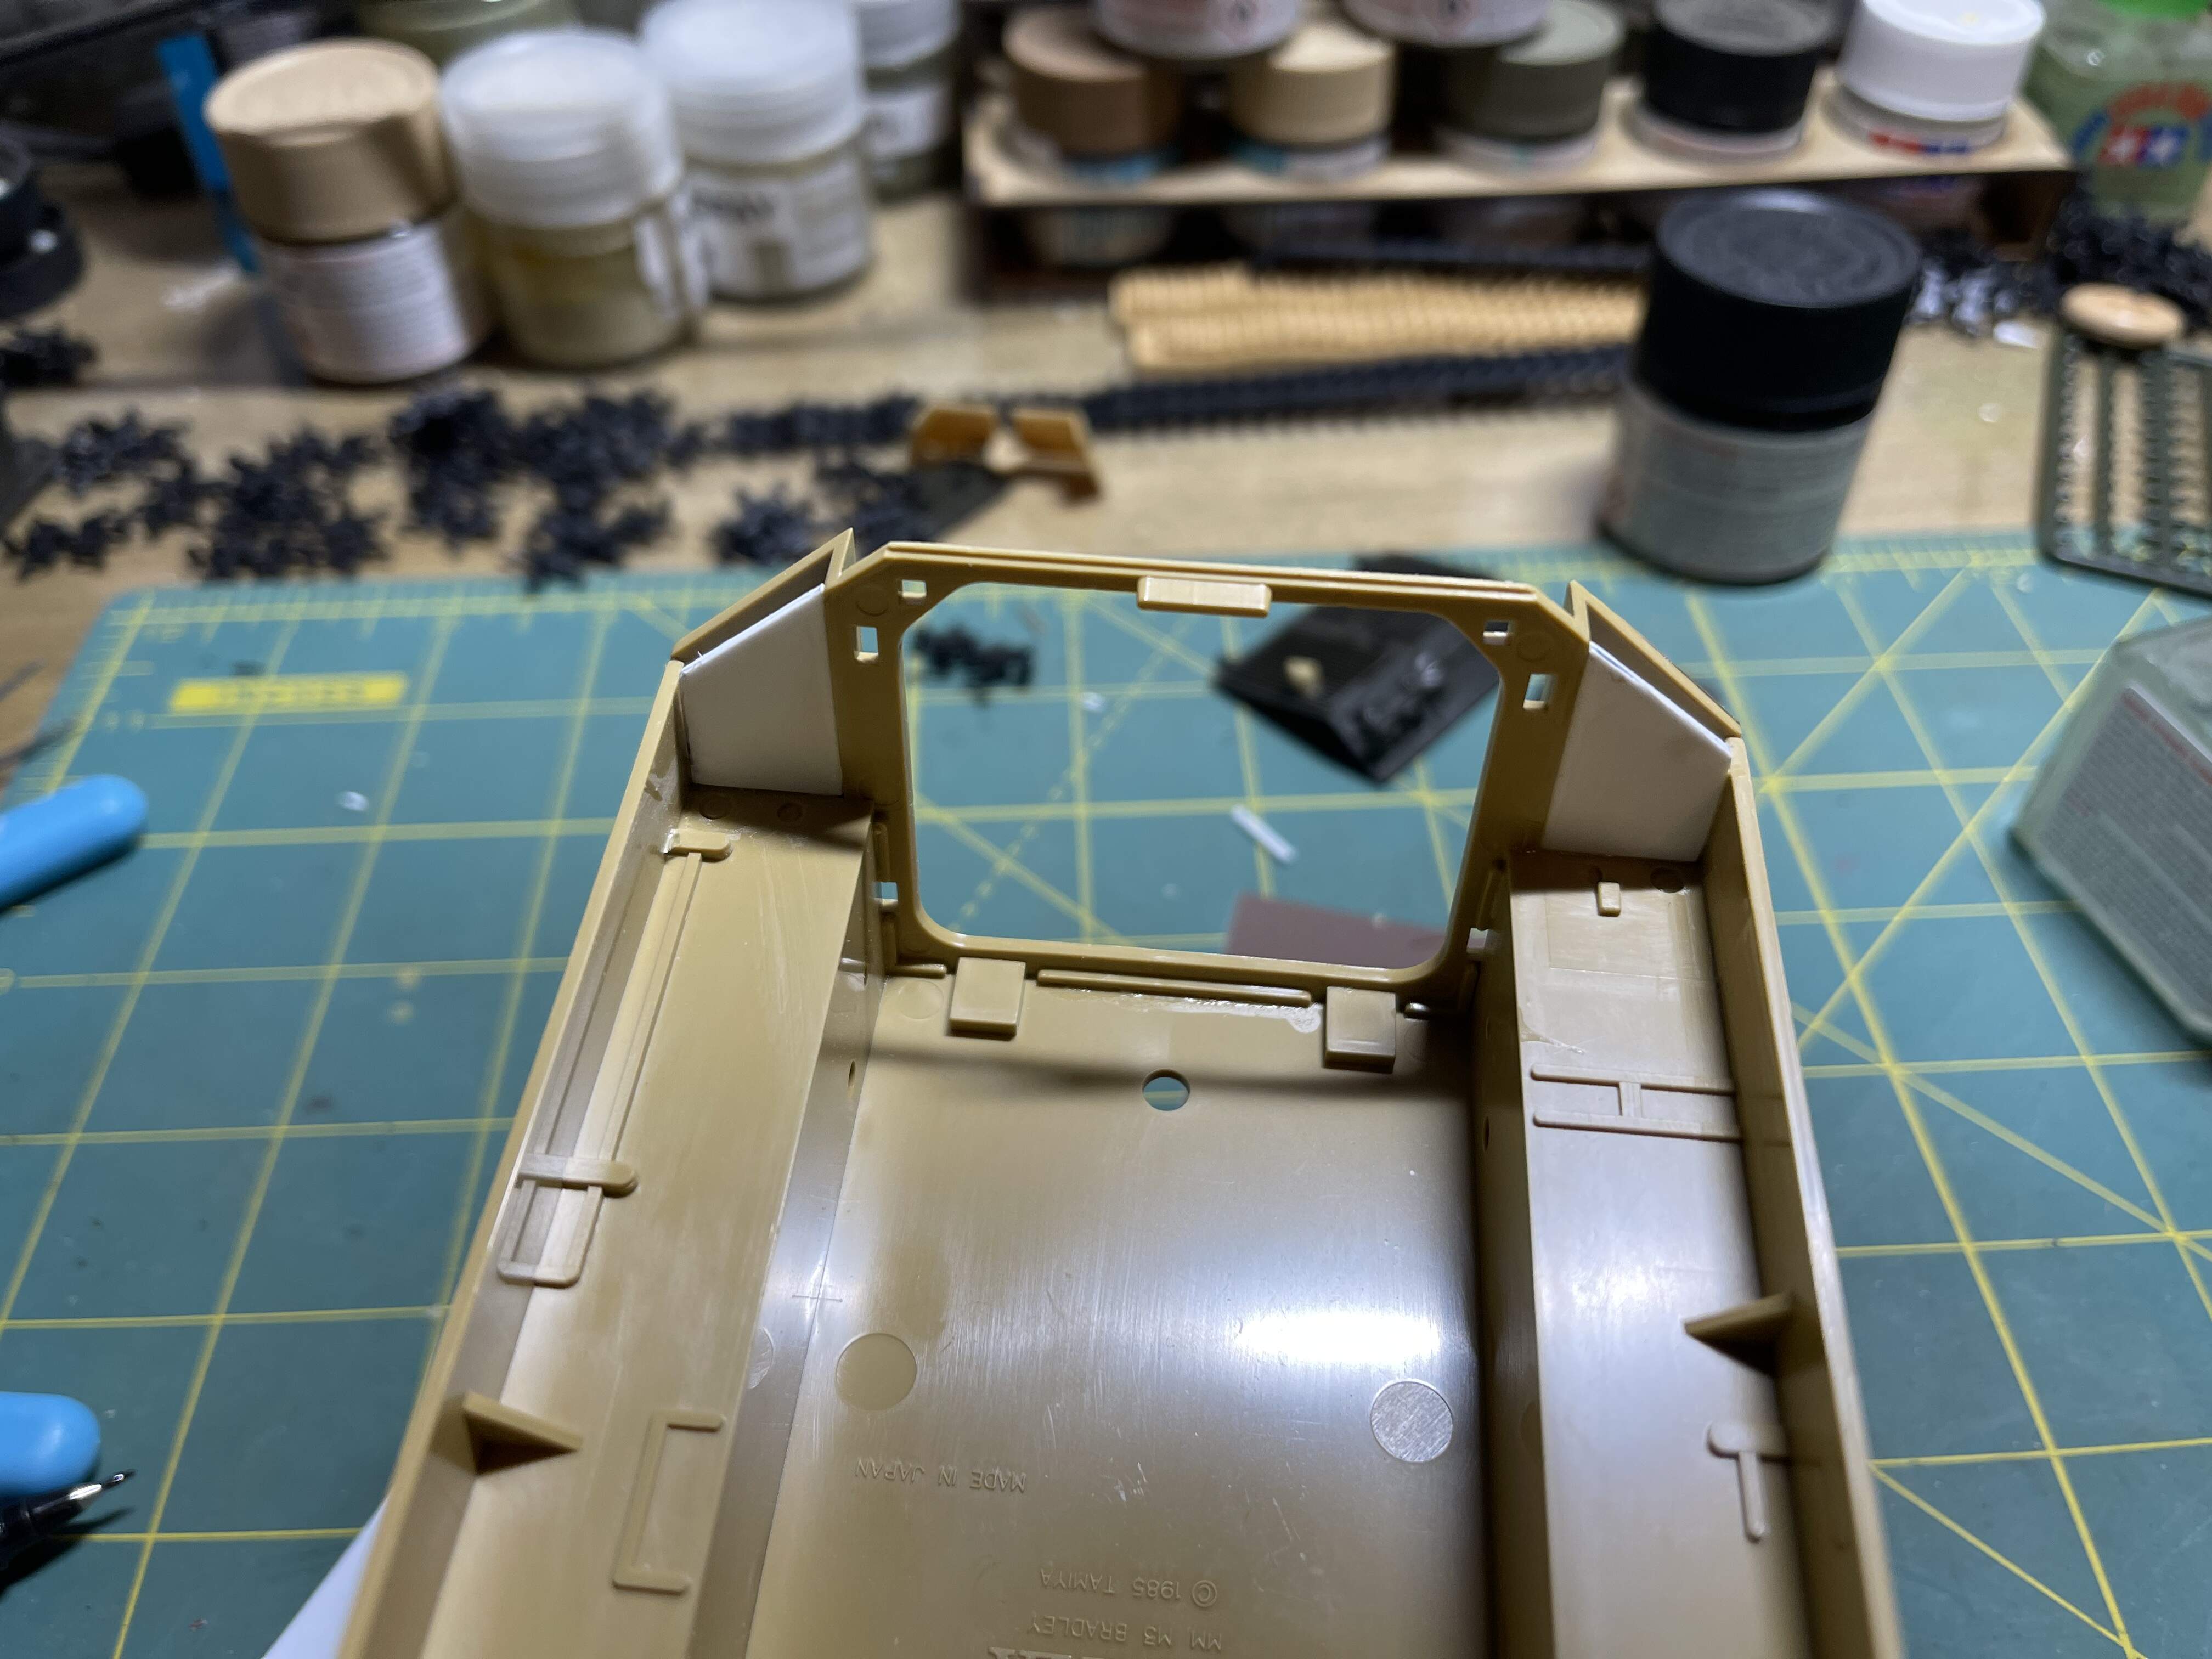
Also trimmed thf top hull per Gino’s advice.
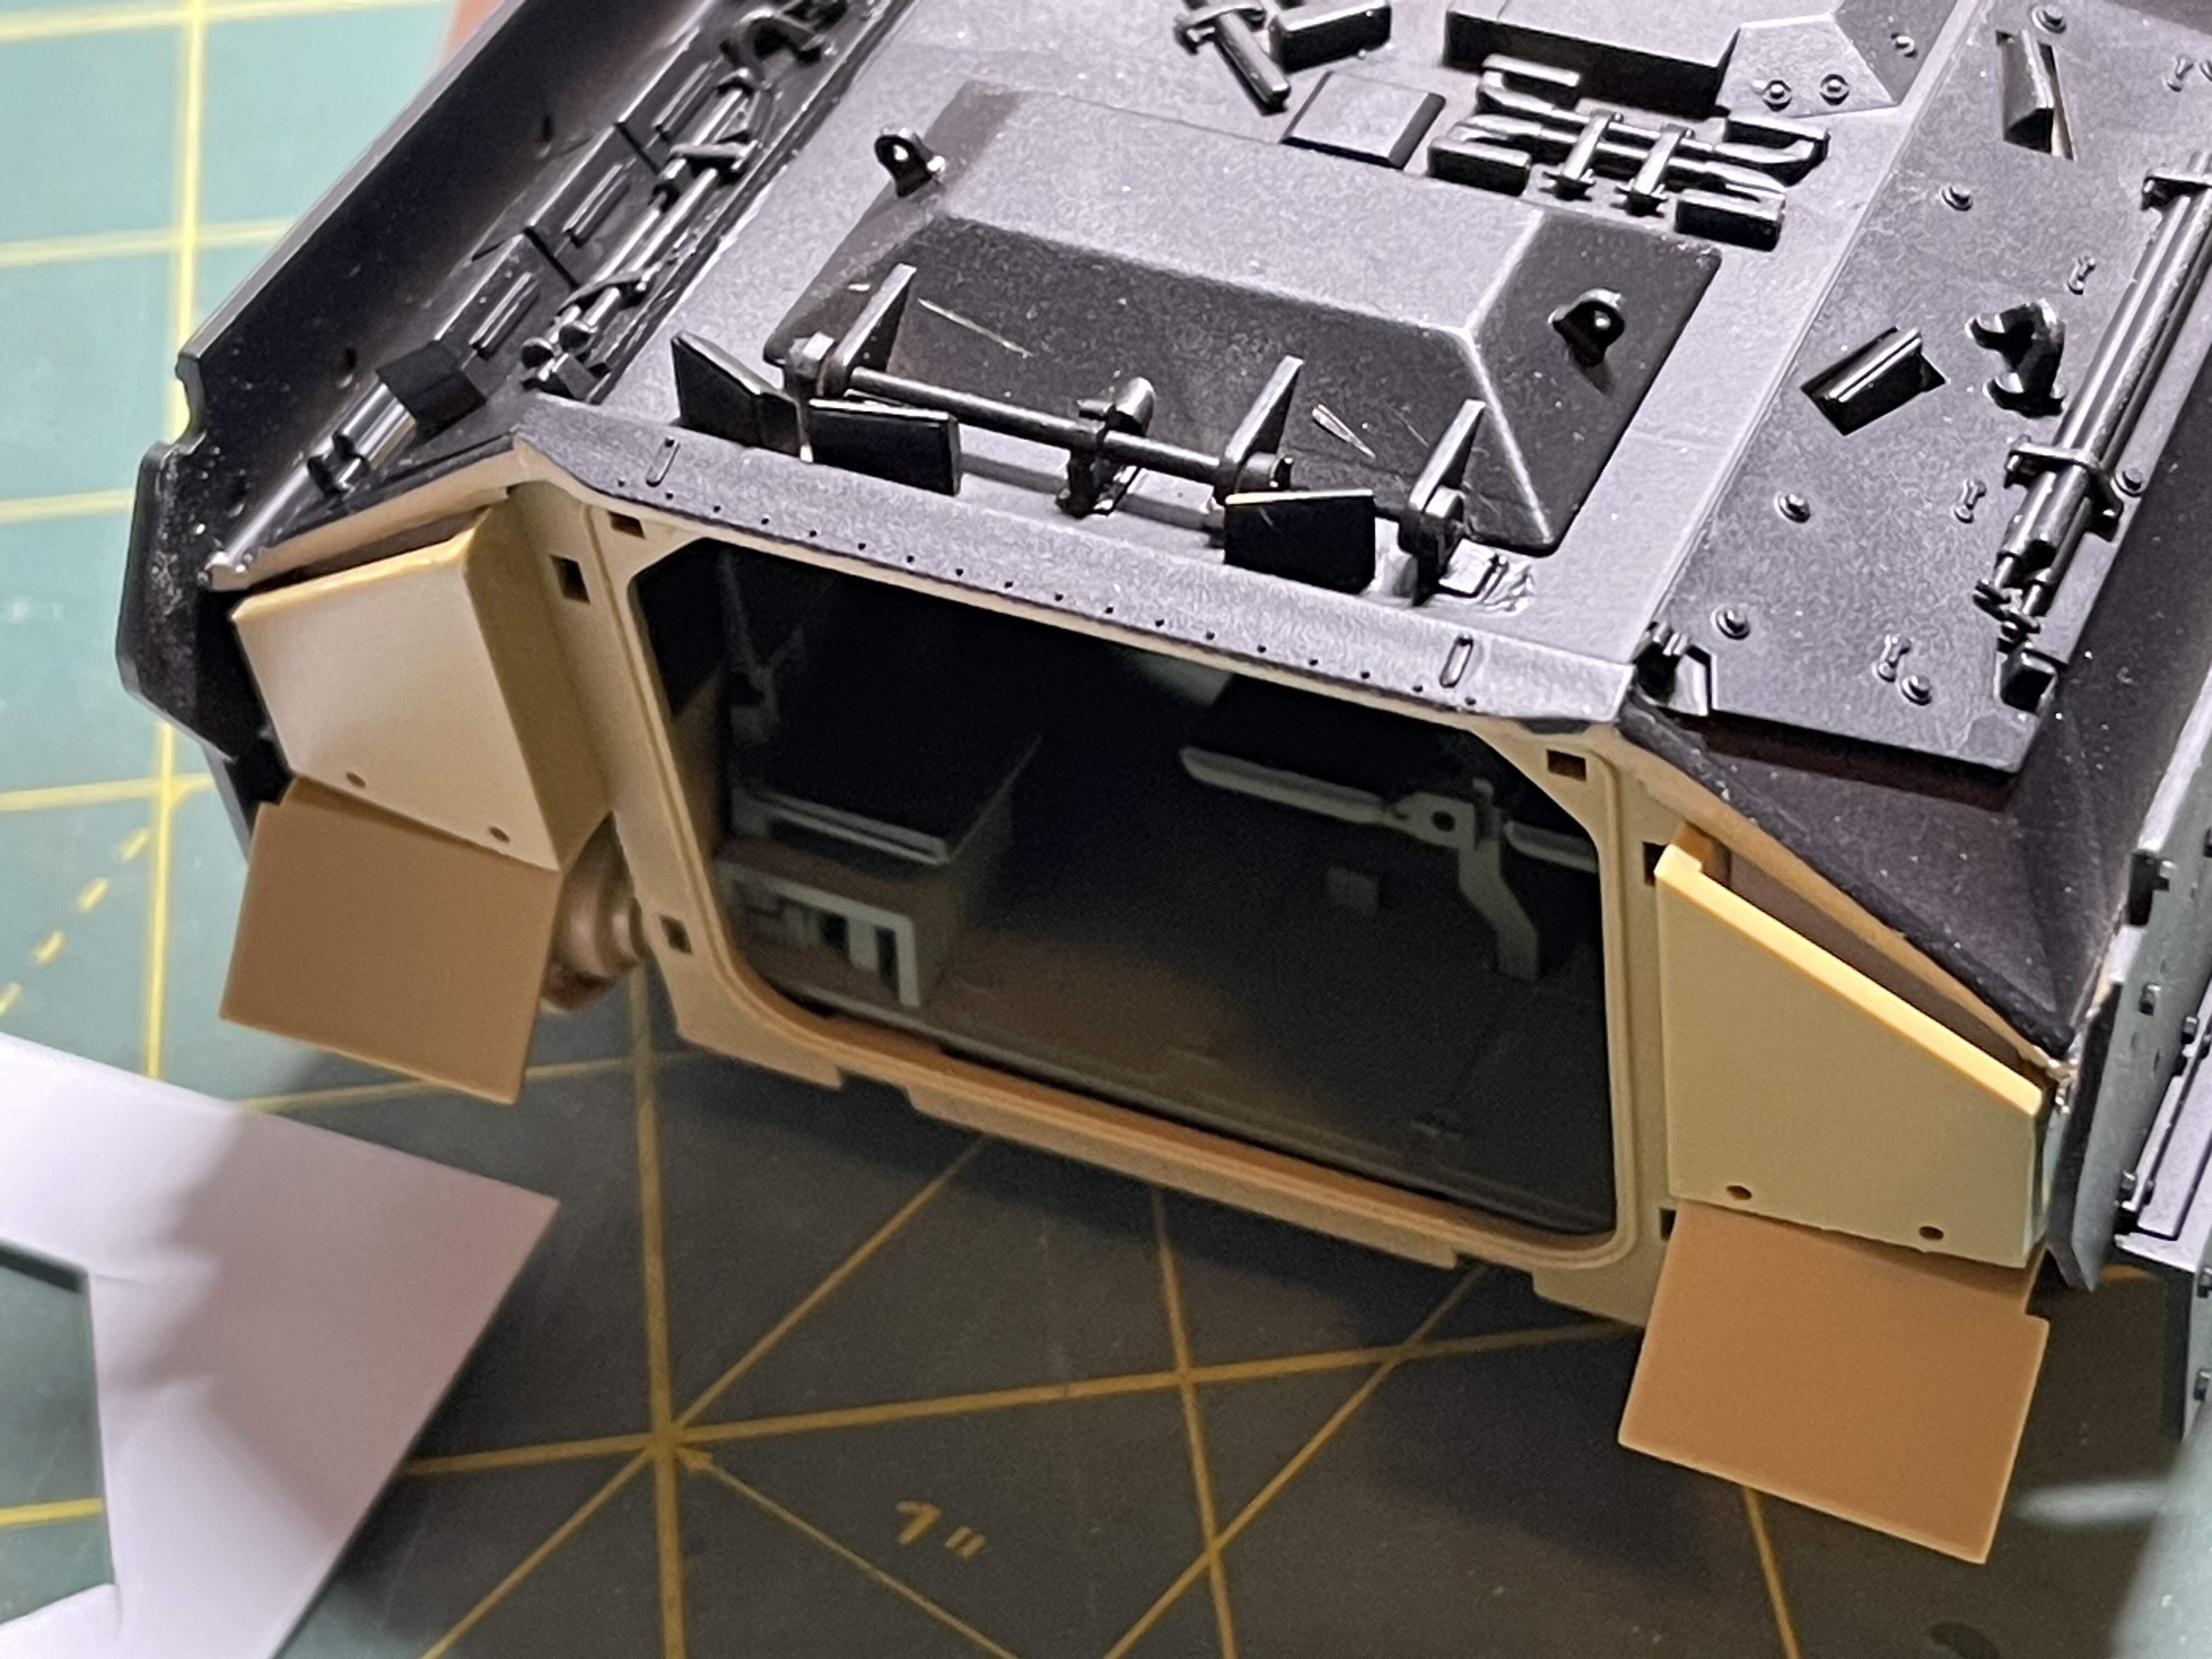
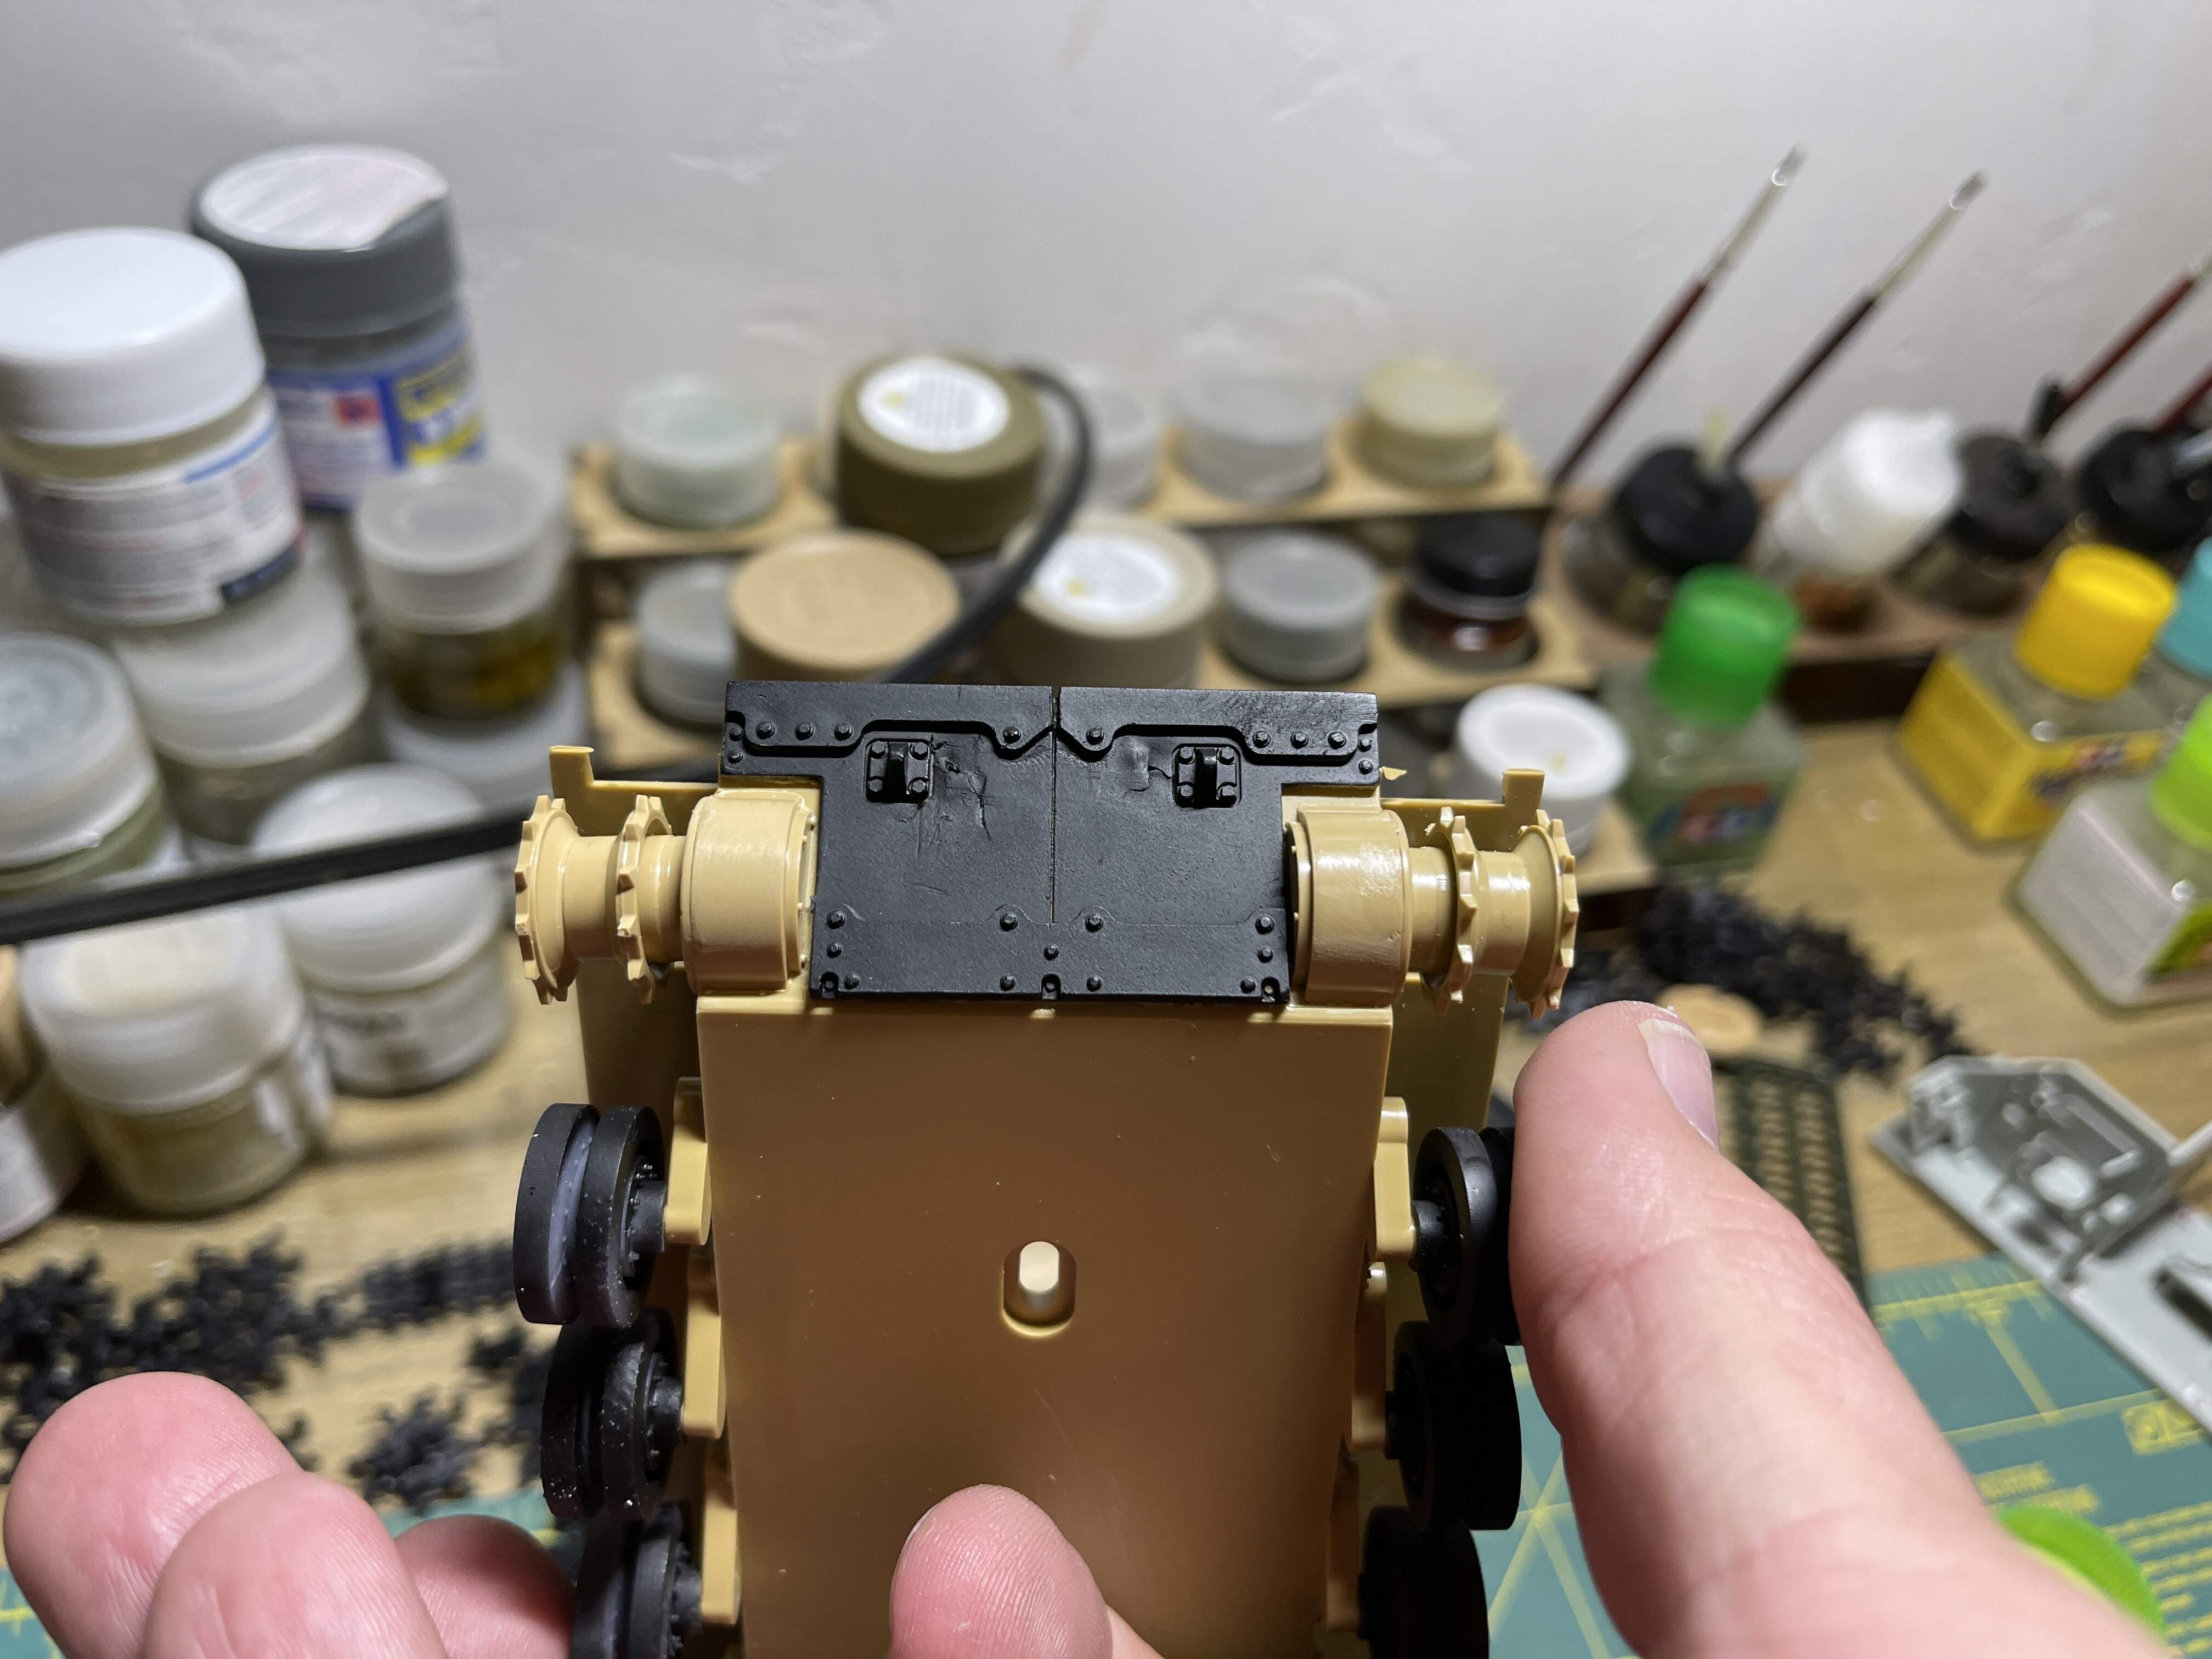
I’ve decided to just leave the lower hull as Tamiya made it, so as not to drive myself crazy. Everything will be covered by the rear skirts, so nobody will care.
I’ll reuse the road wheels and maybe the drive sprockets (after drilling and gluing to fit).
Also had to pry the front lower glacis off the other hull and slightly damaged it in the process; hopefully I can fix that with some liquefied putty and elbow grease.
I’m not going to lose this build to my fat sausage fingers.
13 Likes
Oh, that’s cool. I guess I’d like it to be more accurate, but this is still just an idea that is far in the future for practicality…
1 Like
They were difficult sort of. BUT I finally got them in place. So all I need to do now. Is detailing and decals. And its finished.
1 Like

I think, there is a special mash-version of this helicopter, I think it’s from revell, but I’m not sure. I just see, you still got the info, first reading, then writing…
1 Like
As I said above, the Revell 1/35 M* A* S* H version is not correct for either the TV show nor an actual helo used in the Korean War.
6 Likes
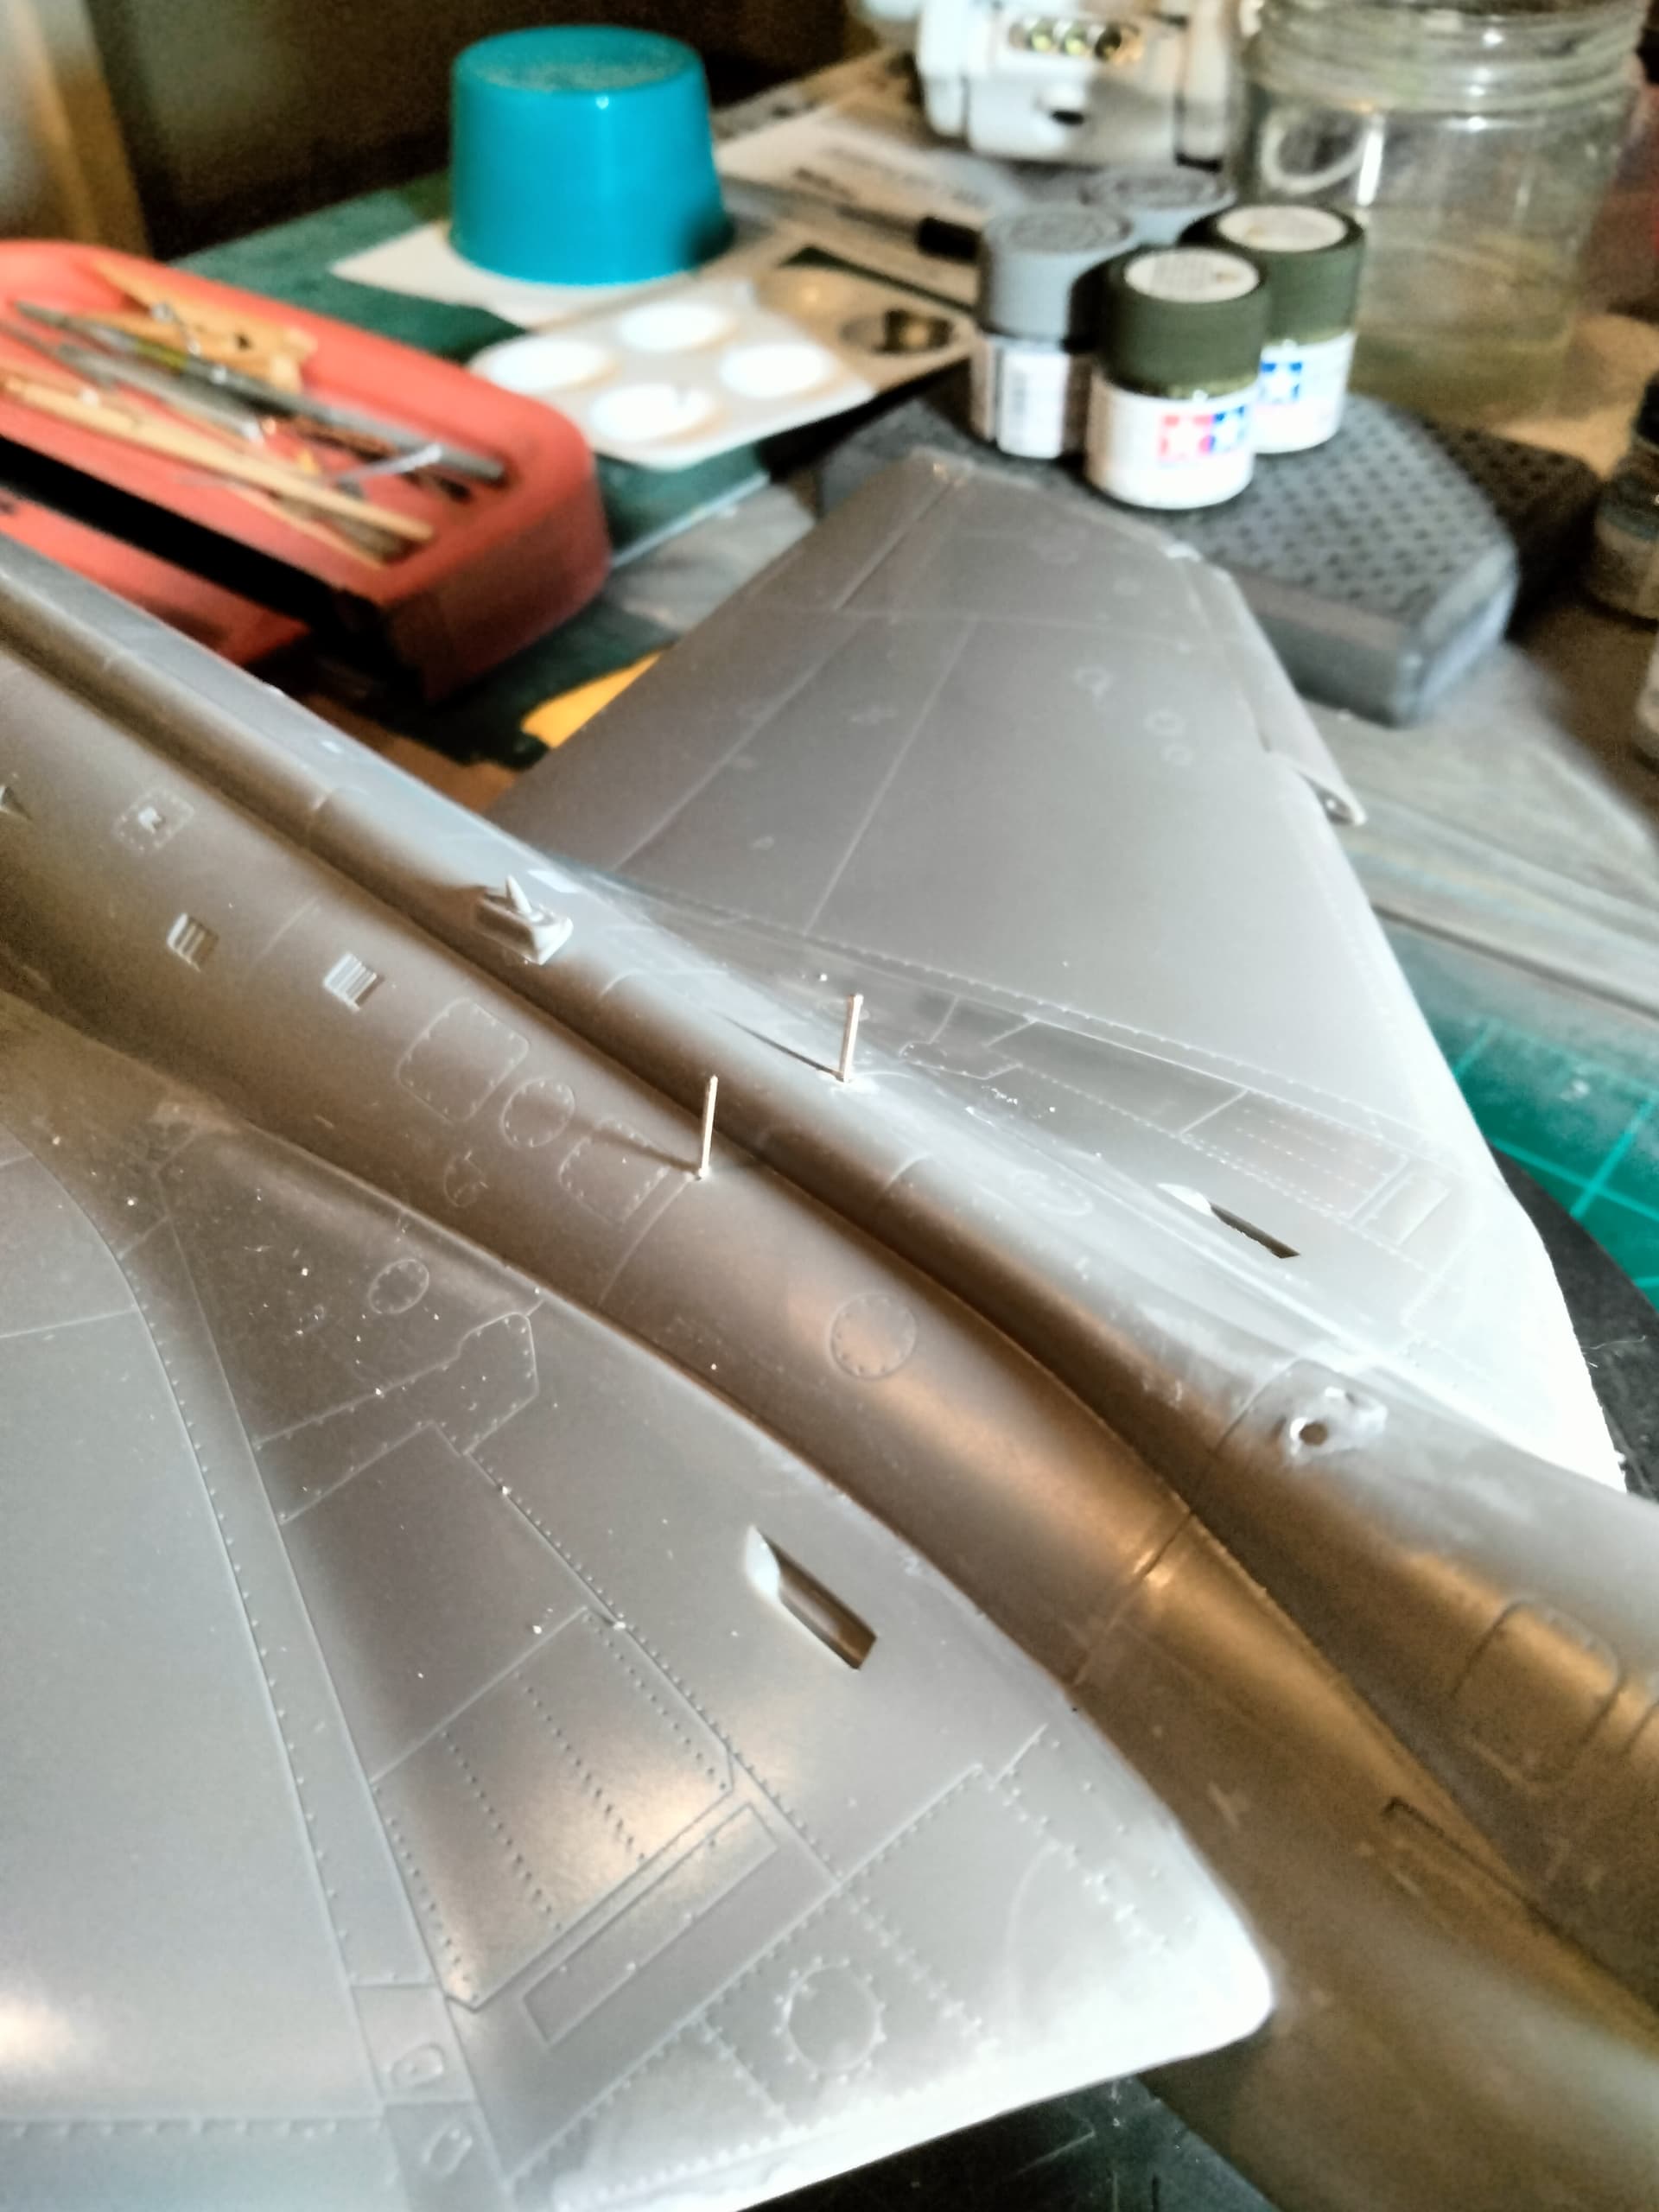
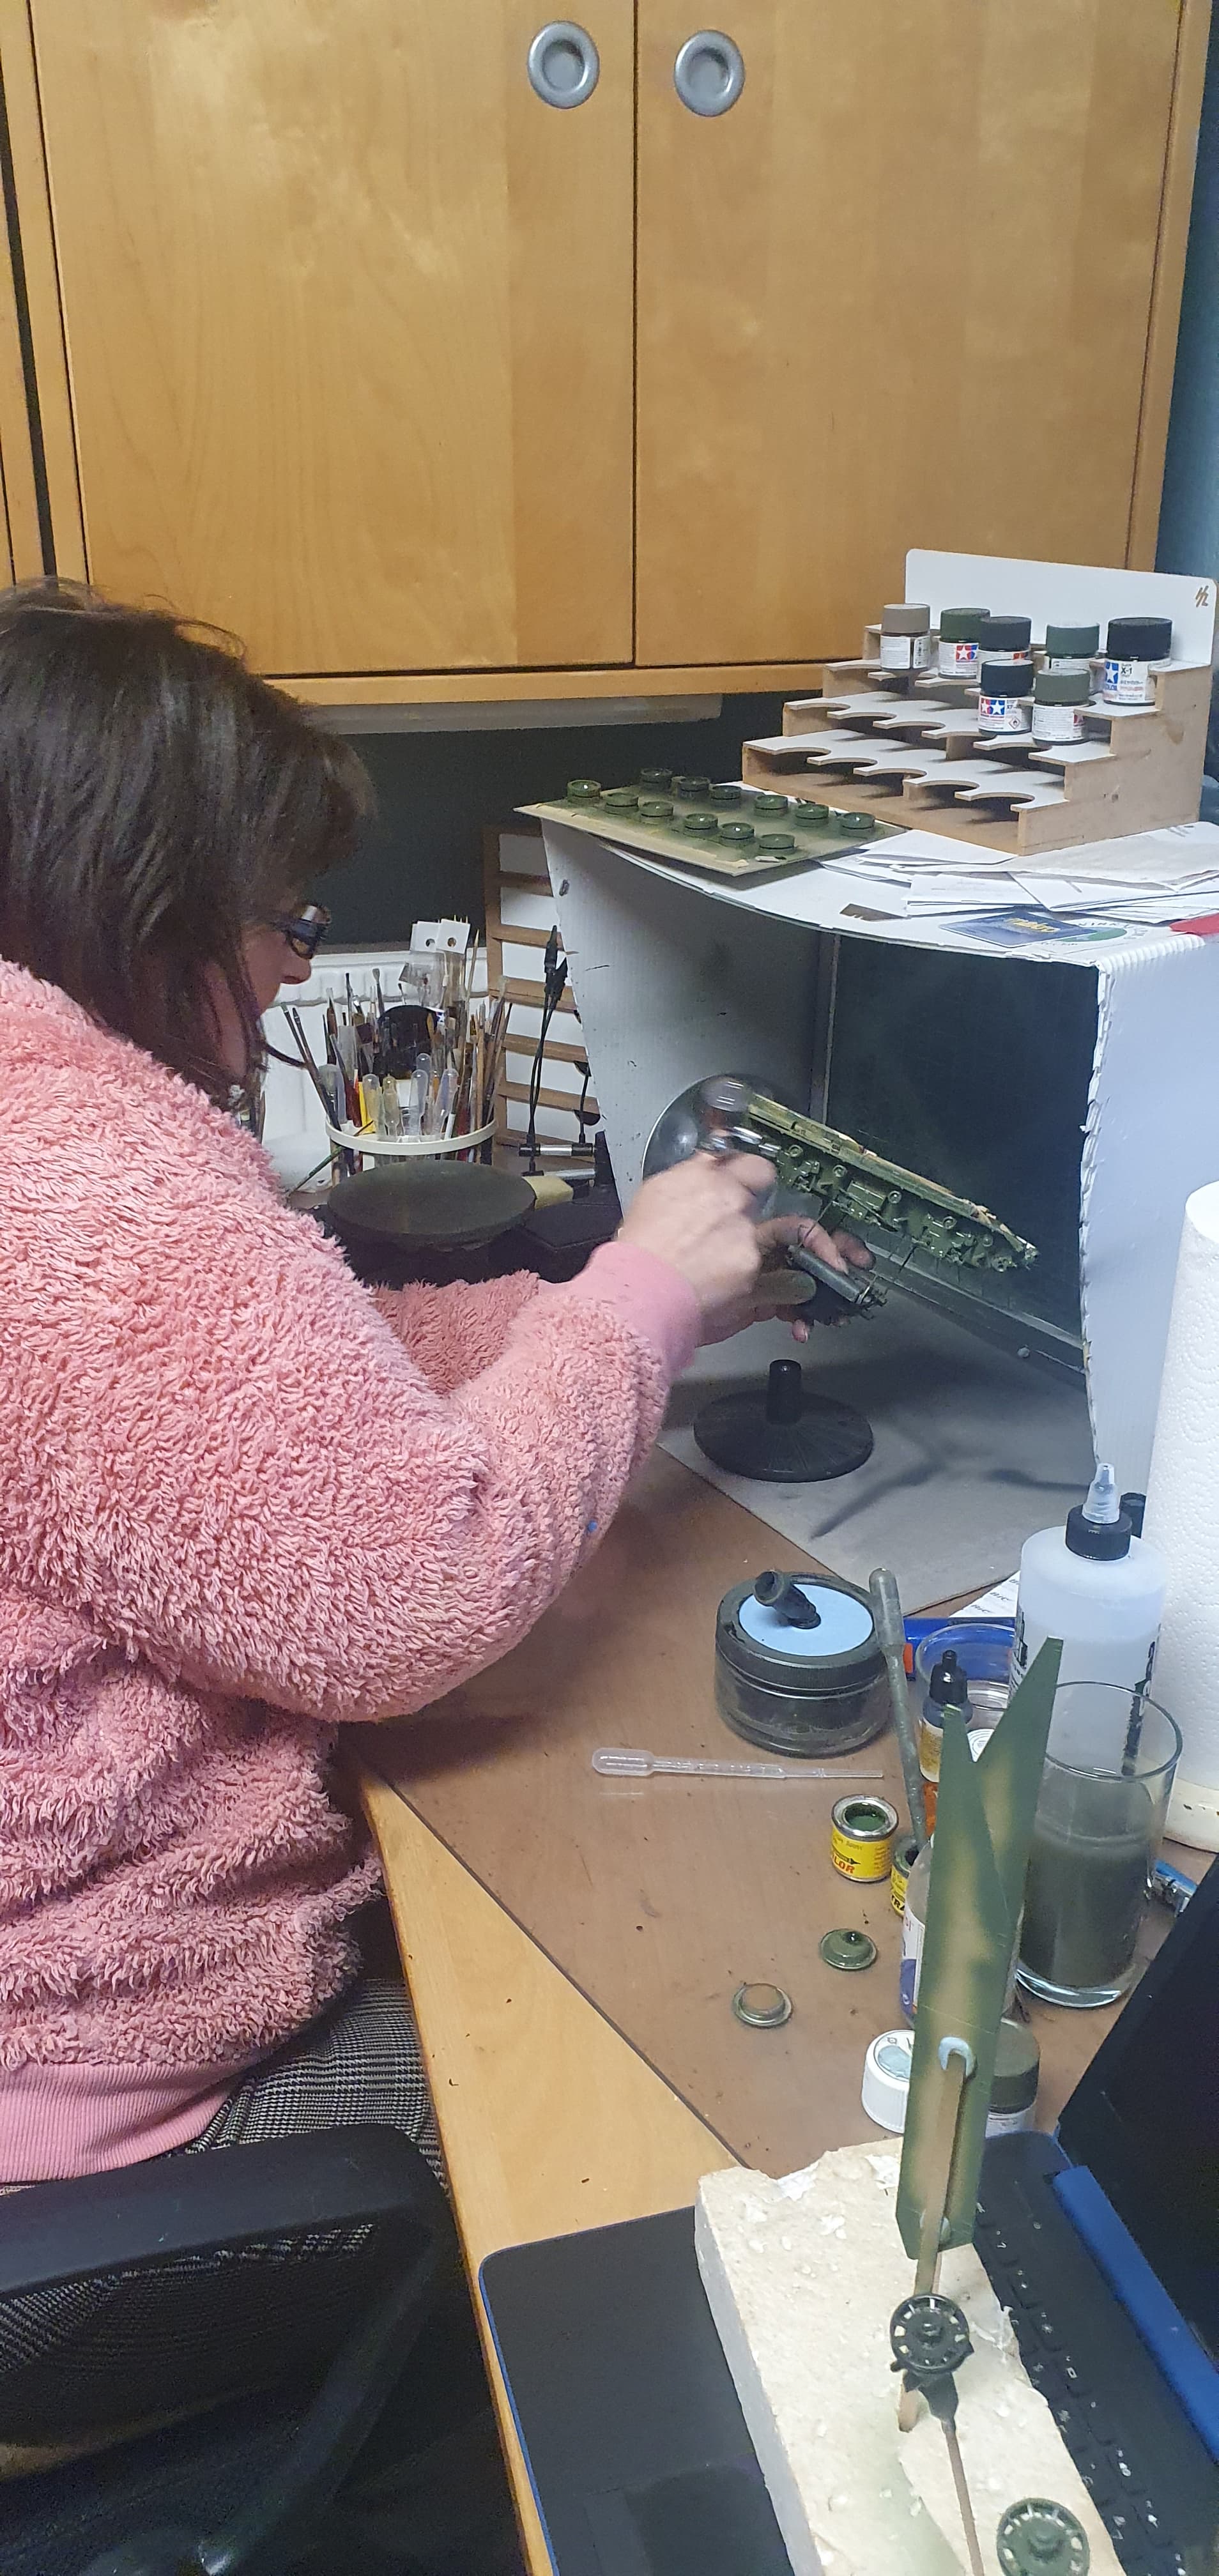
Today and tomorrow I will preper the upper hull for zimmerit, saturday I will get some “no more nails” and fix it

Tomorrow and Monday is public holiday in germany, so it’s enough time, I hope.
Nice weekend to you✌
6 Likes

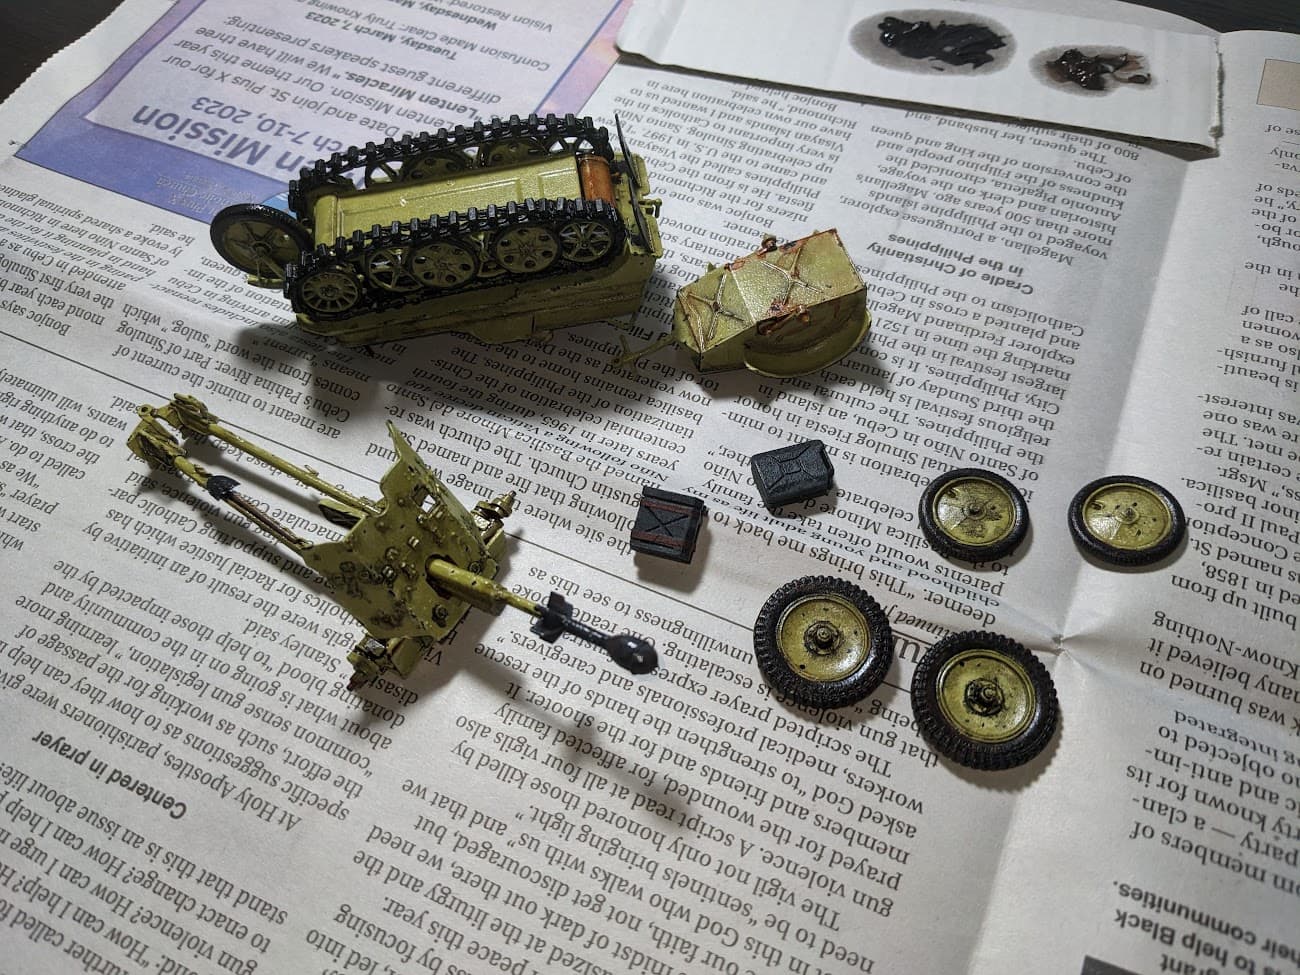
Today I did a try on a packed Gr. Floßsack 34:

Took dimensions and packing procedure from a Bulgarian Manual I own.
Built the floor of the dinghy from wooden coffee stirrers, aligned them and tacked them with 3 strips of artist’s masking tape.The tape is grippier than Tamiya so I could roll the floor without planks falling apart.
Next I took a thin rubber glove, cut all the fingers and cut the palm part open.
I used the fingers to represent the inflatable boards and to give volume to the rolled up dinghy, while the tarpaulin was made from the palm piece.For gluying I used only PVA glue.
The packed Gr. Floßsack 34 will go into the load bed of the Bulgarian Magirus S330 truck I’m building for the Convoy GB.
Cheers,
Angel
13 Likes
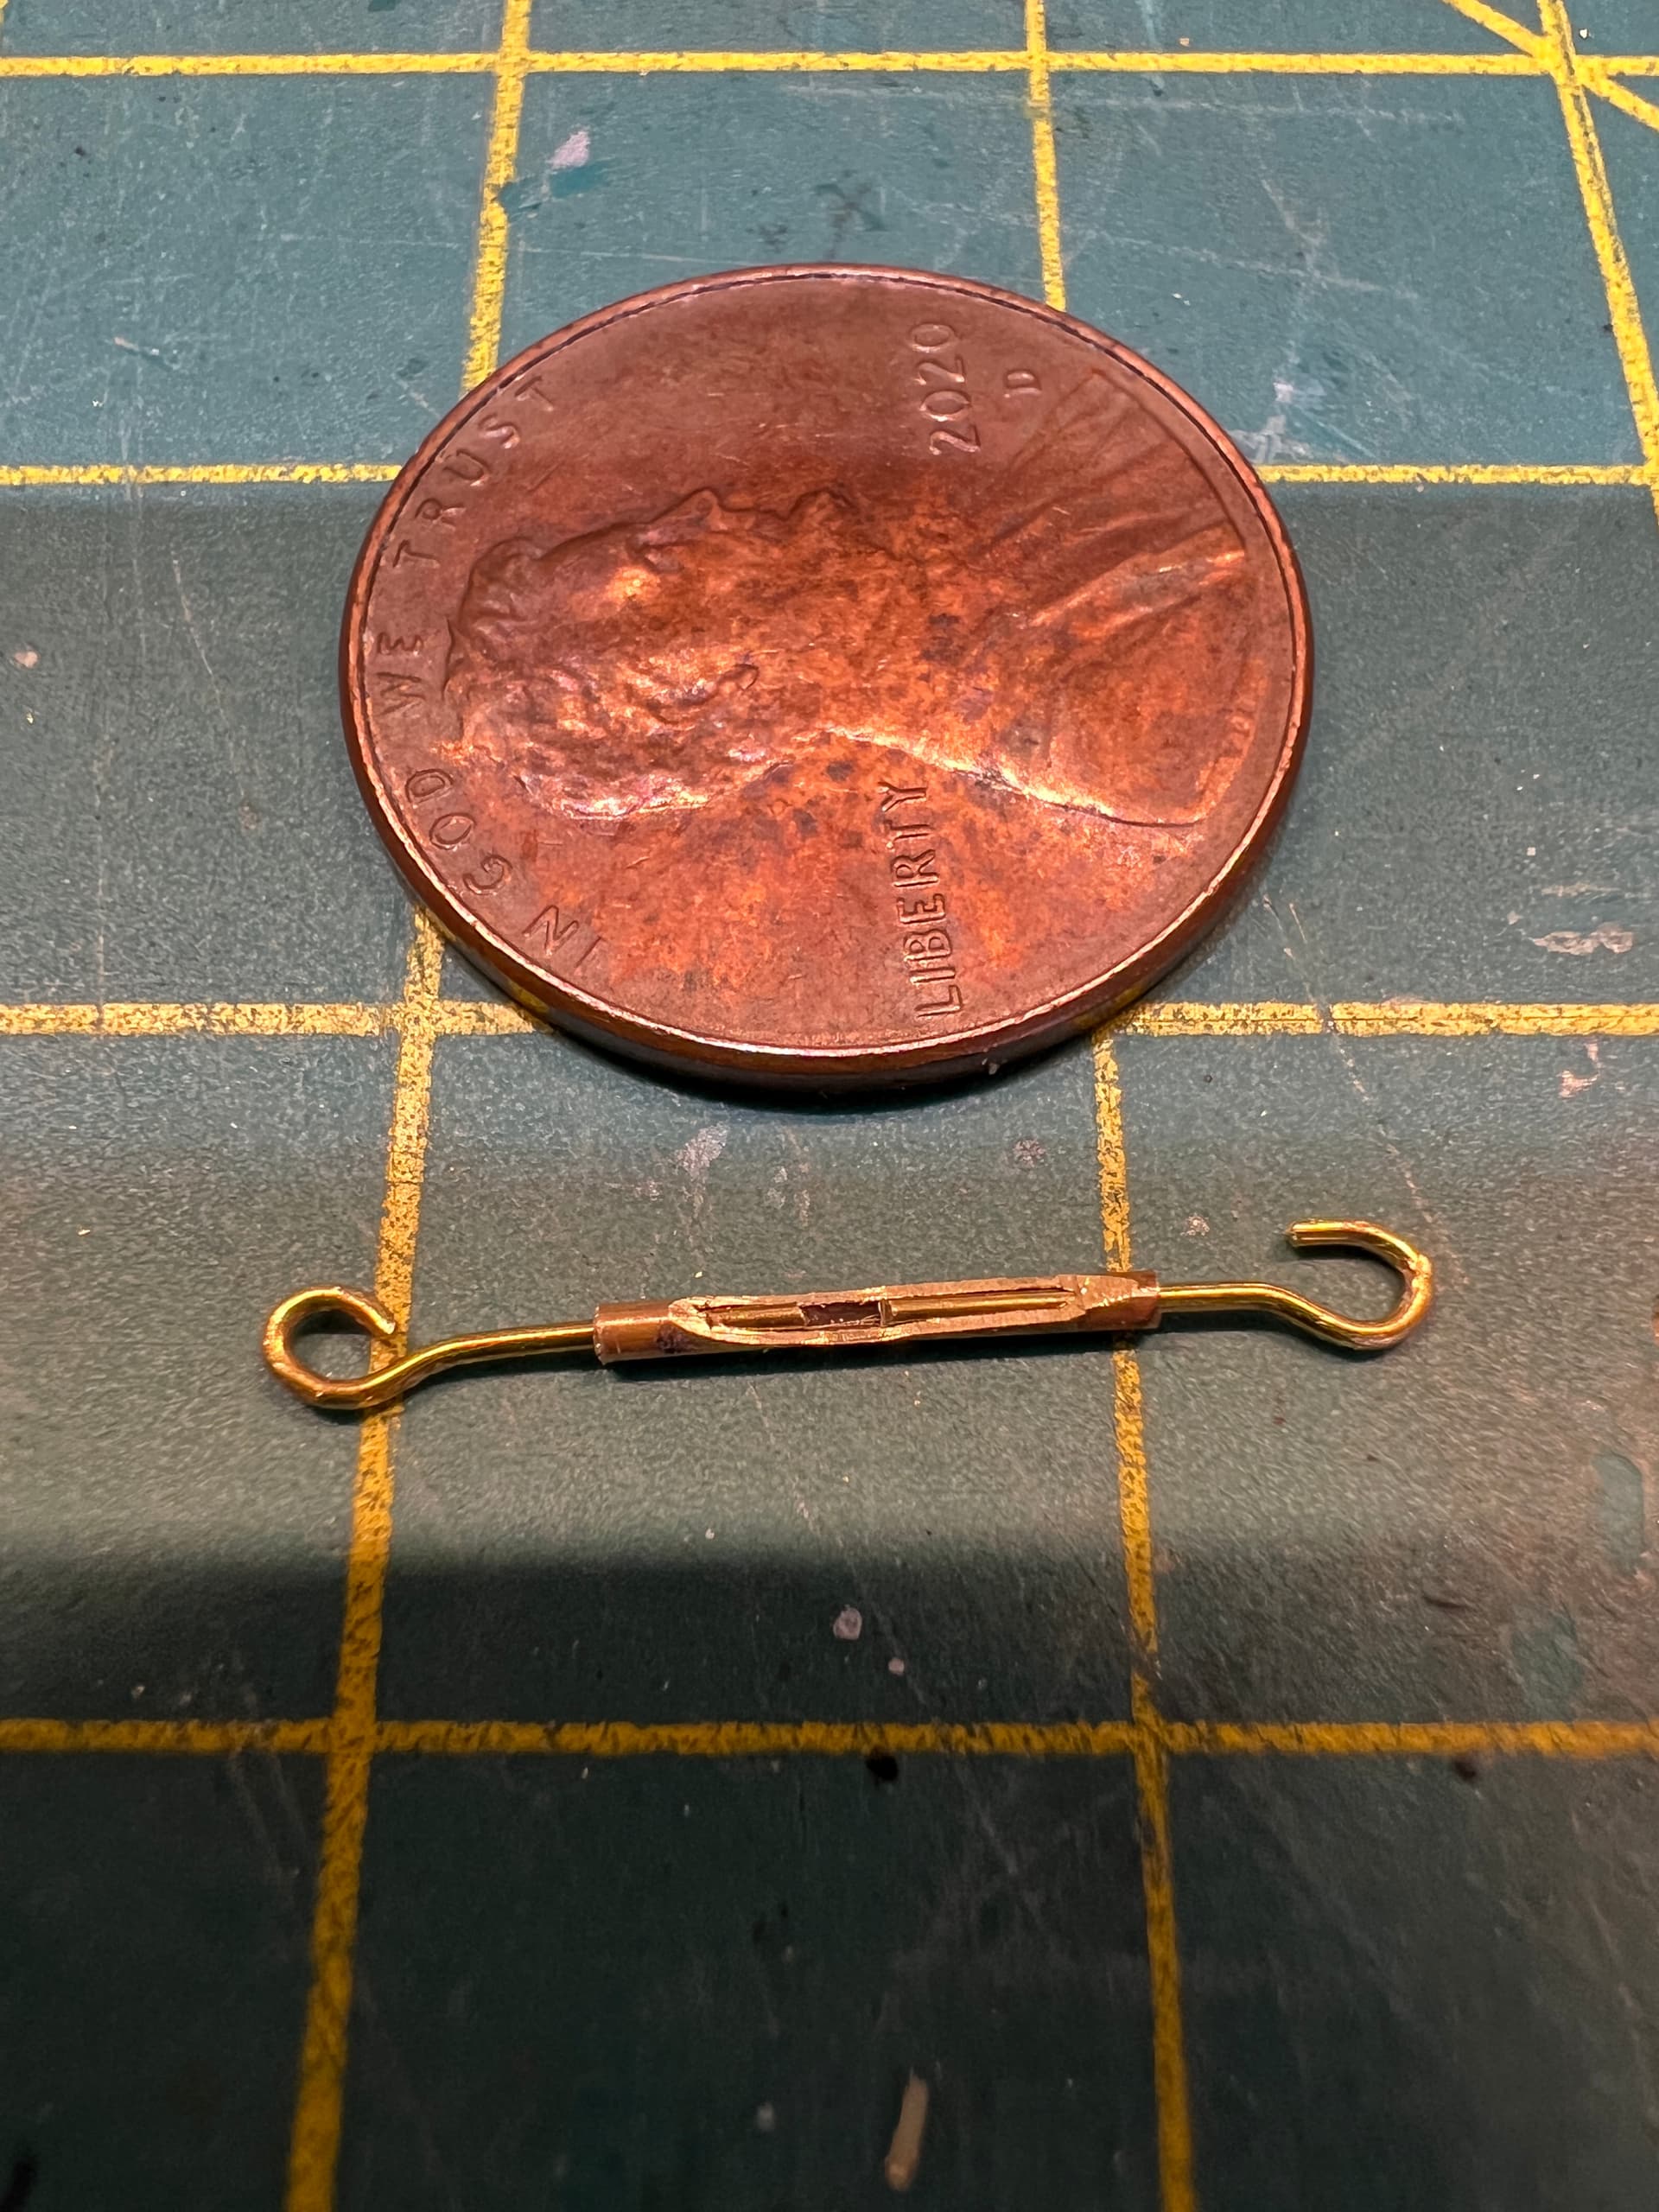
Nice ! I like the filed through tube for the turnbuckle body .
1 Like
Still things to preper but monday is also time to build, so I’m confident to can fix the zimmerit this weekend
I watched the video again, it seems to work very well and easy.
Have a nice day✌
5 Likes
@ Angel. That bag technique is cool! I need to try that. … Just gotta’ remember to take the glove off before hacking at it! ![]()
![]()
—mike
5 Likes