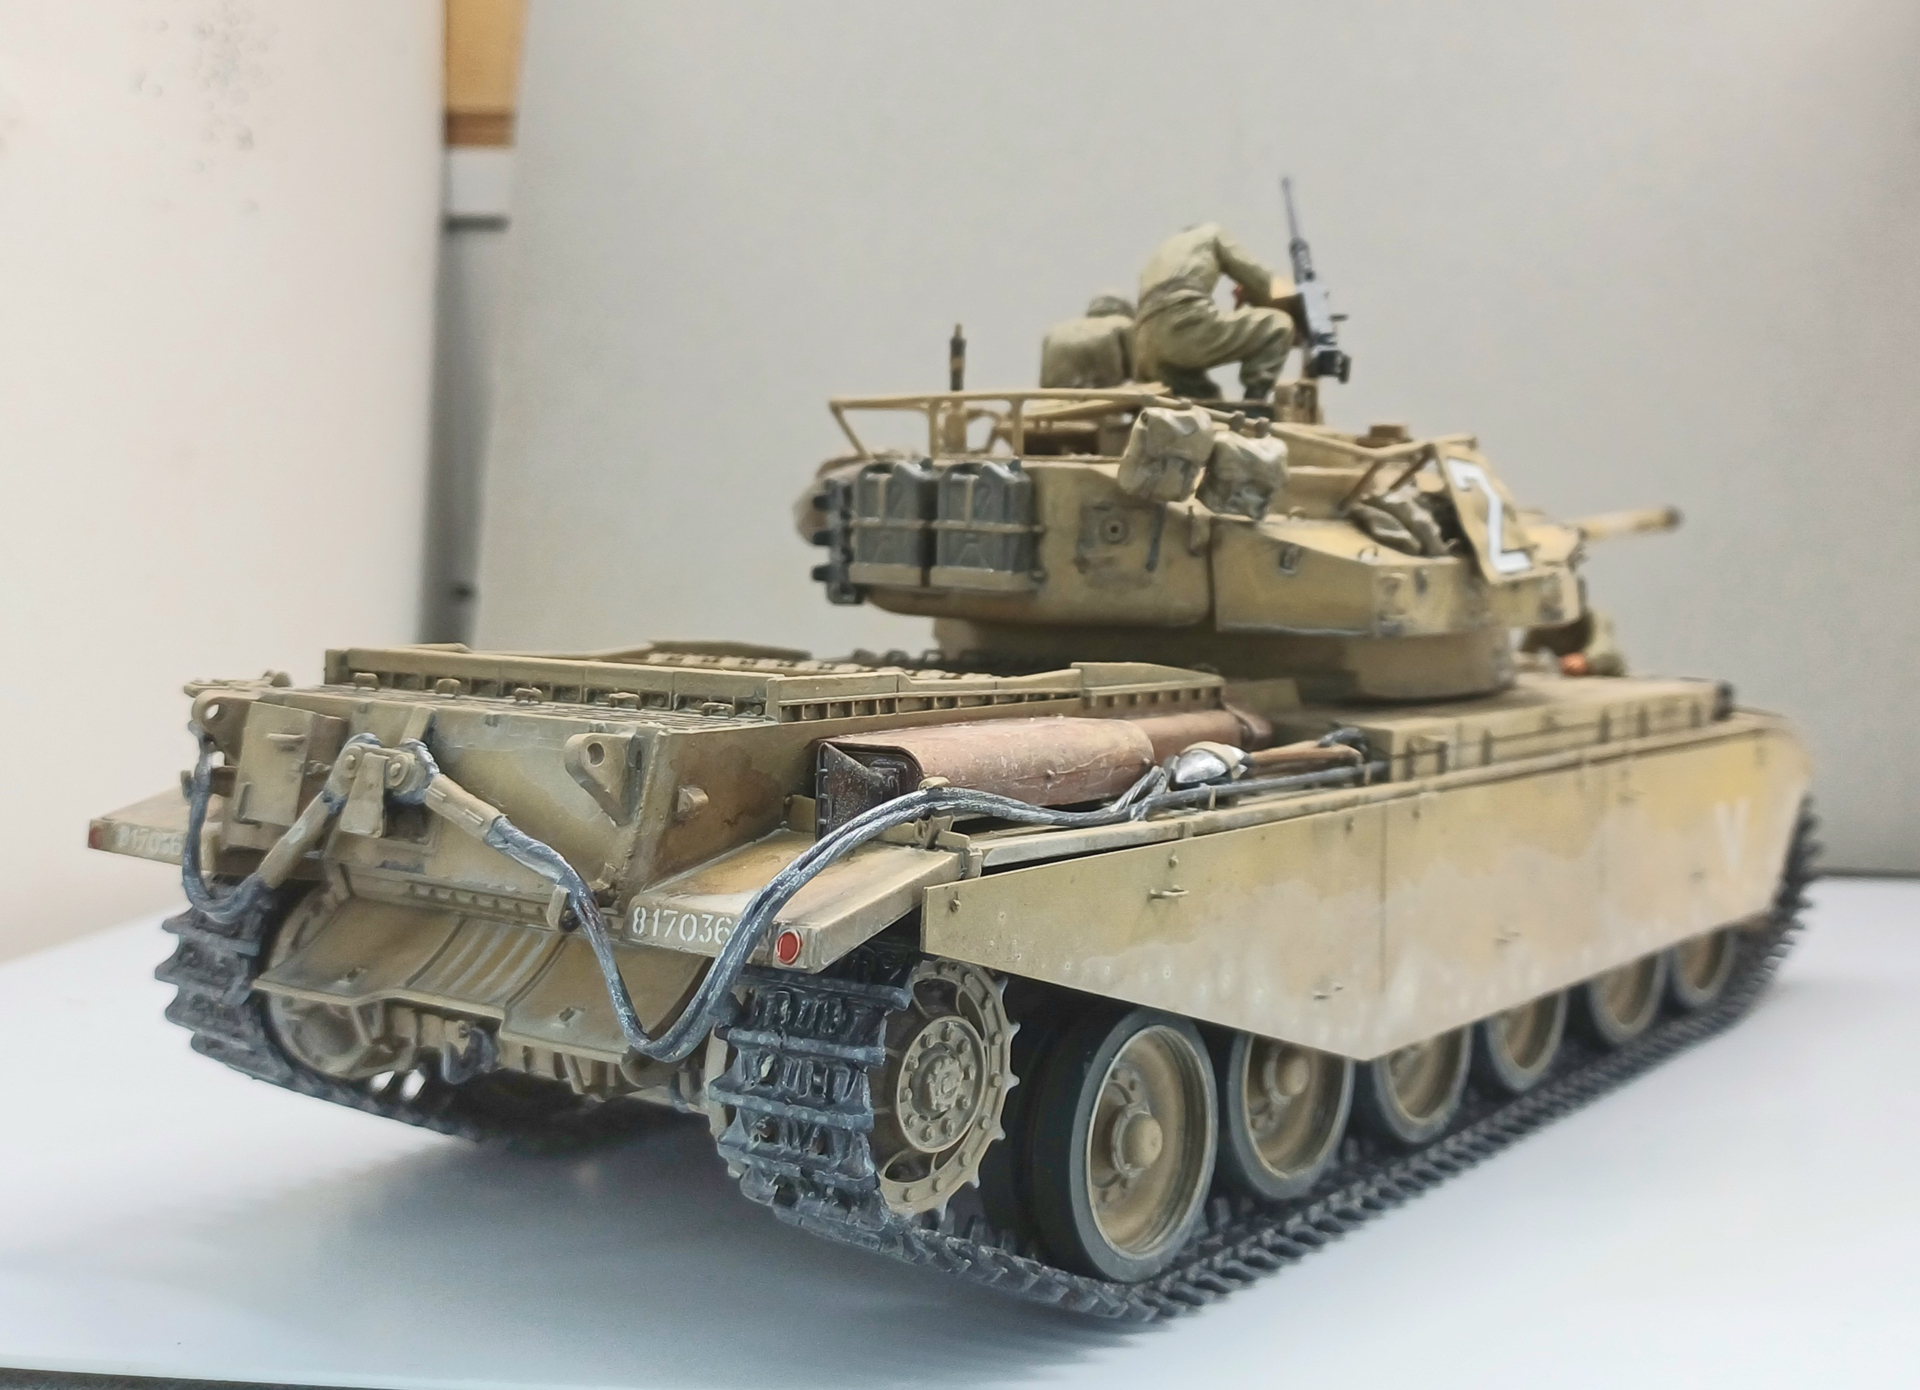
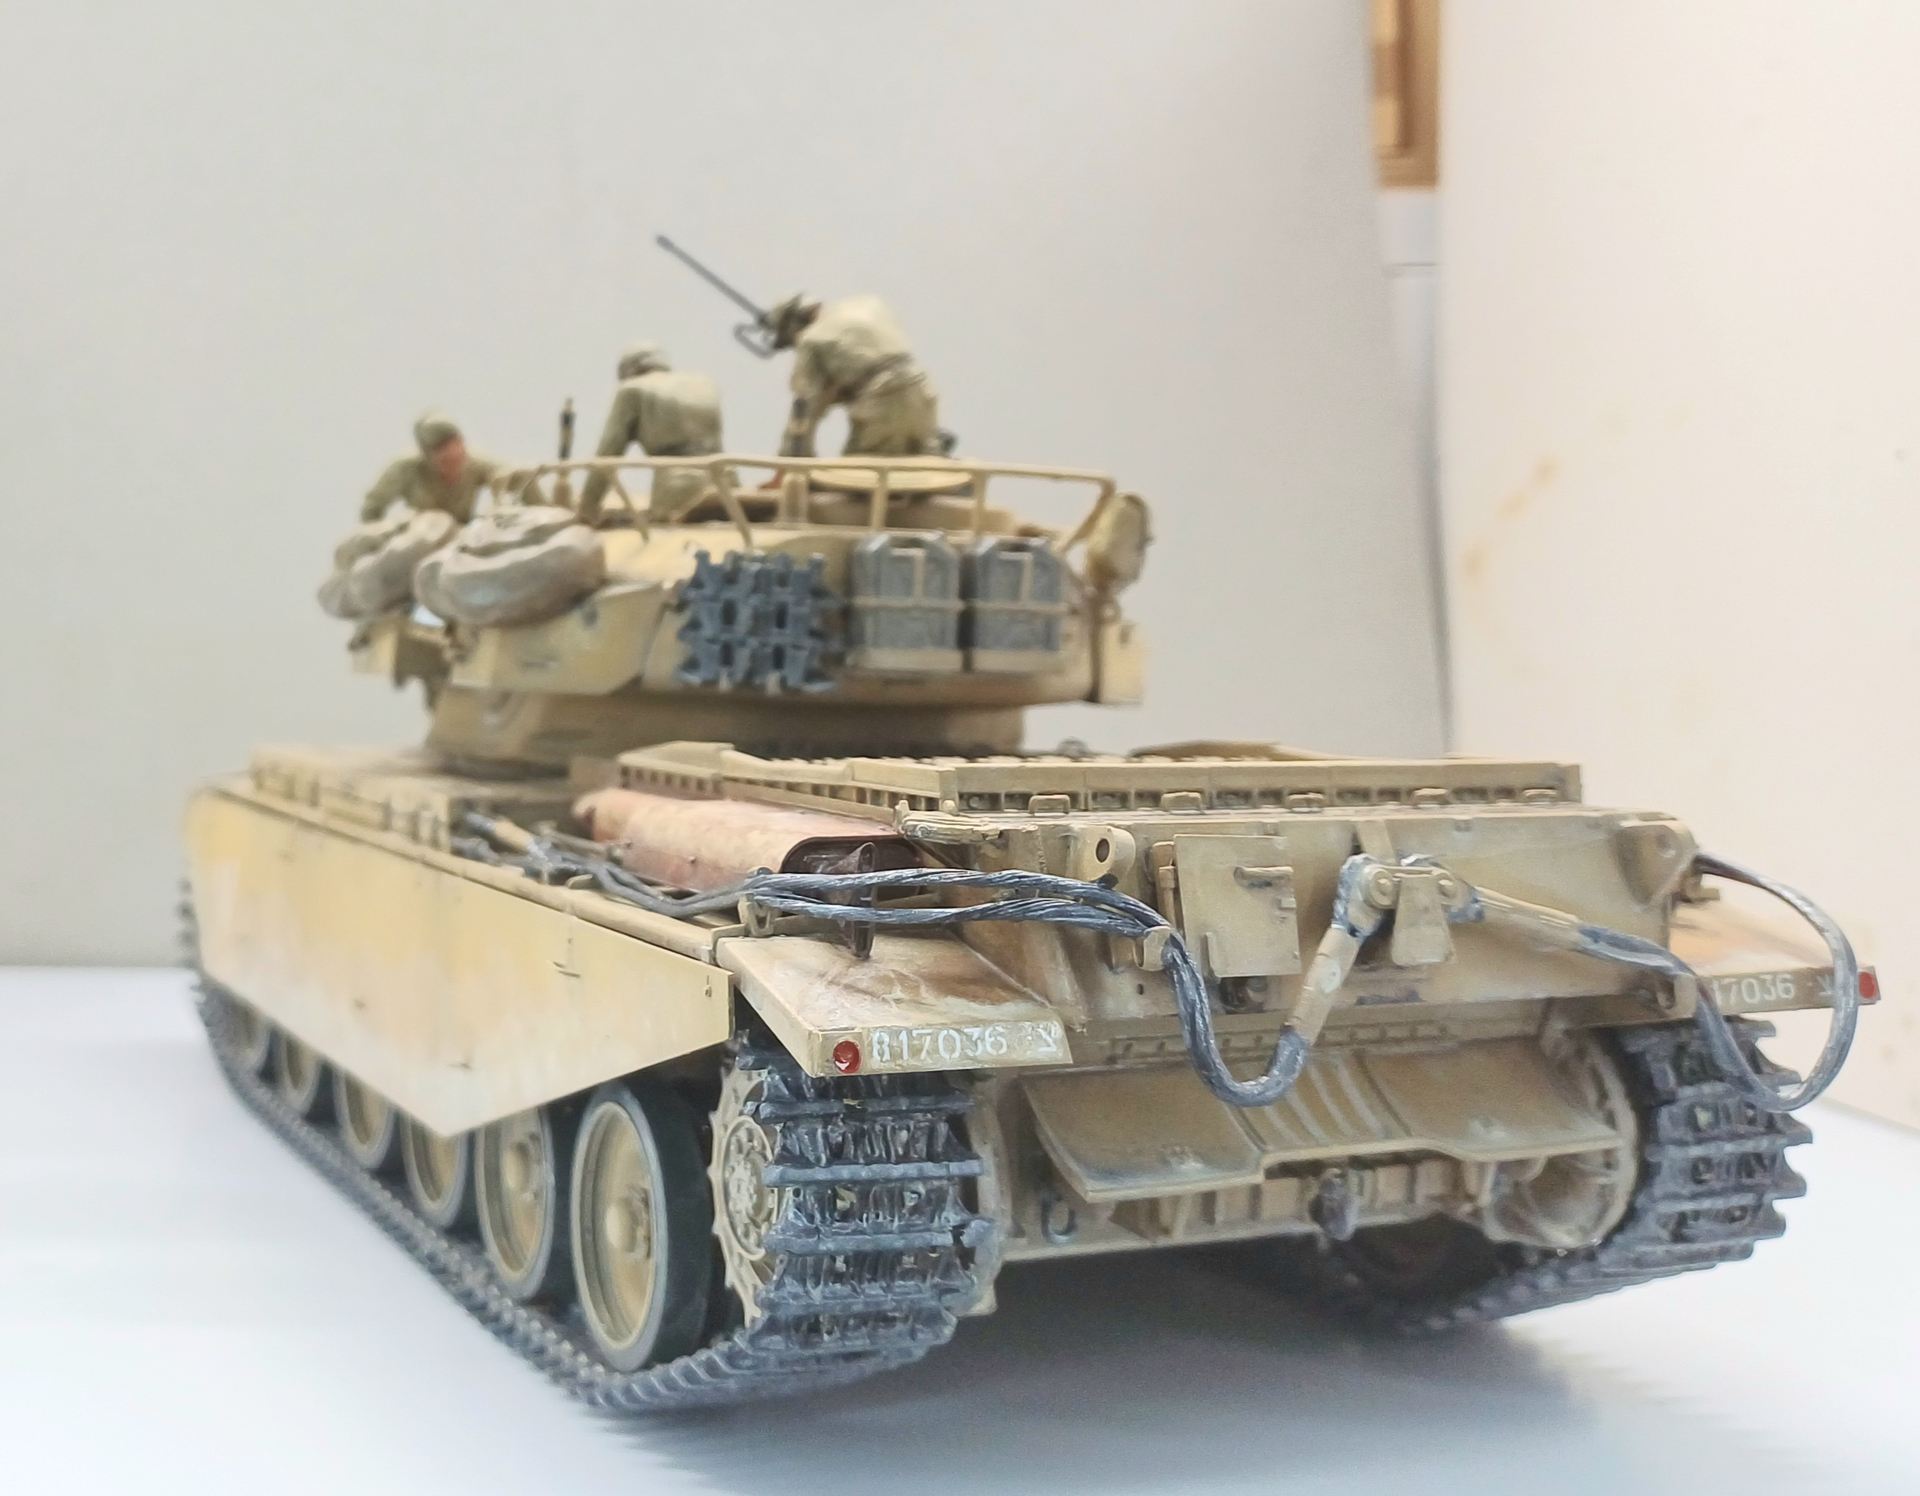
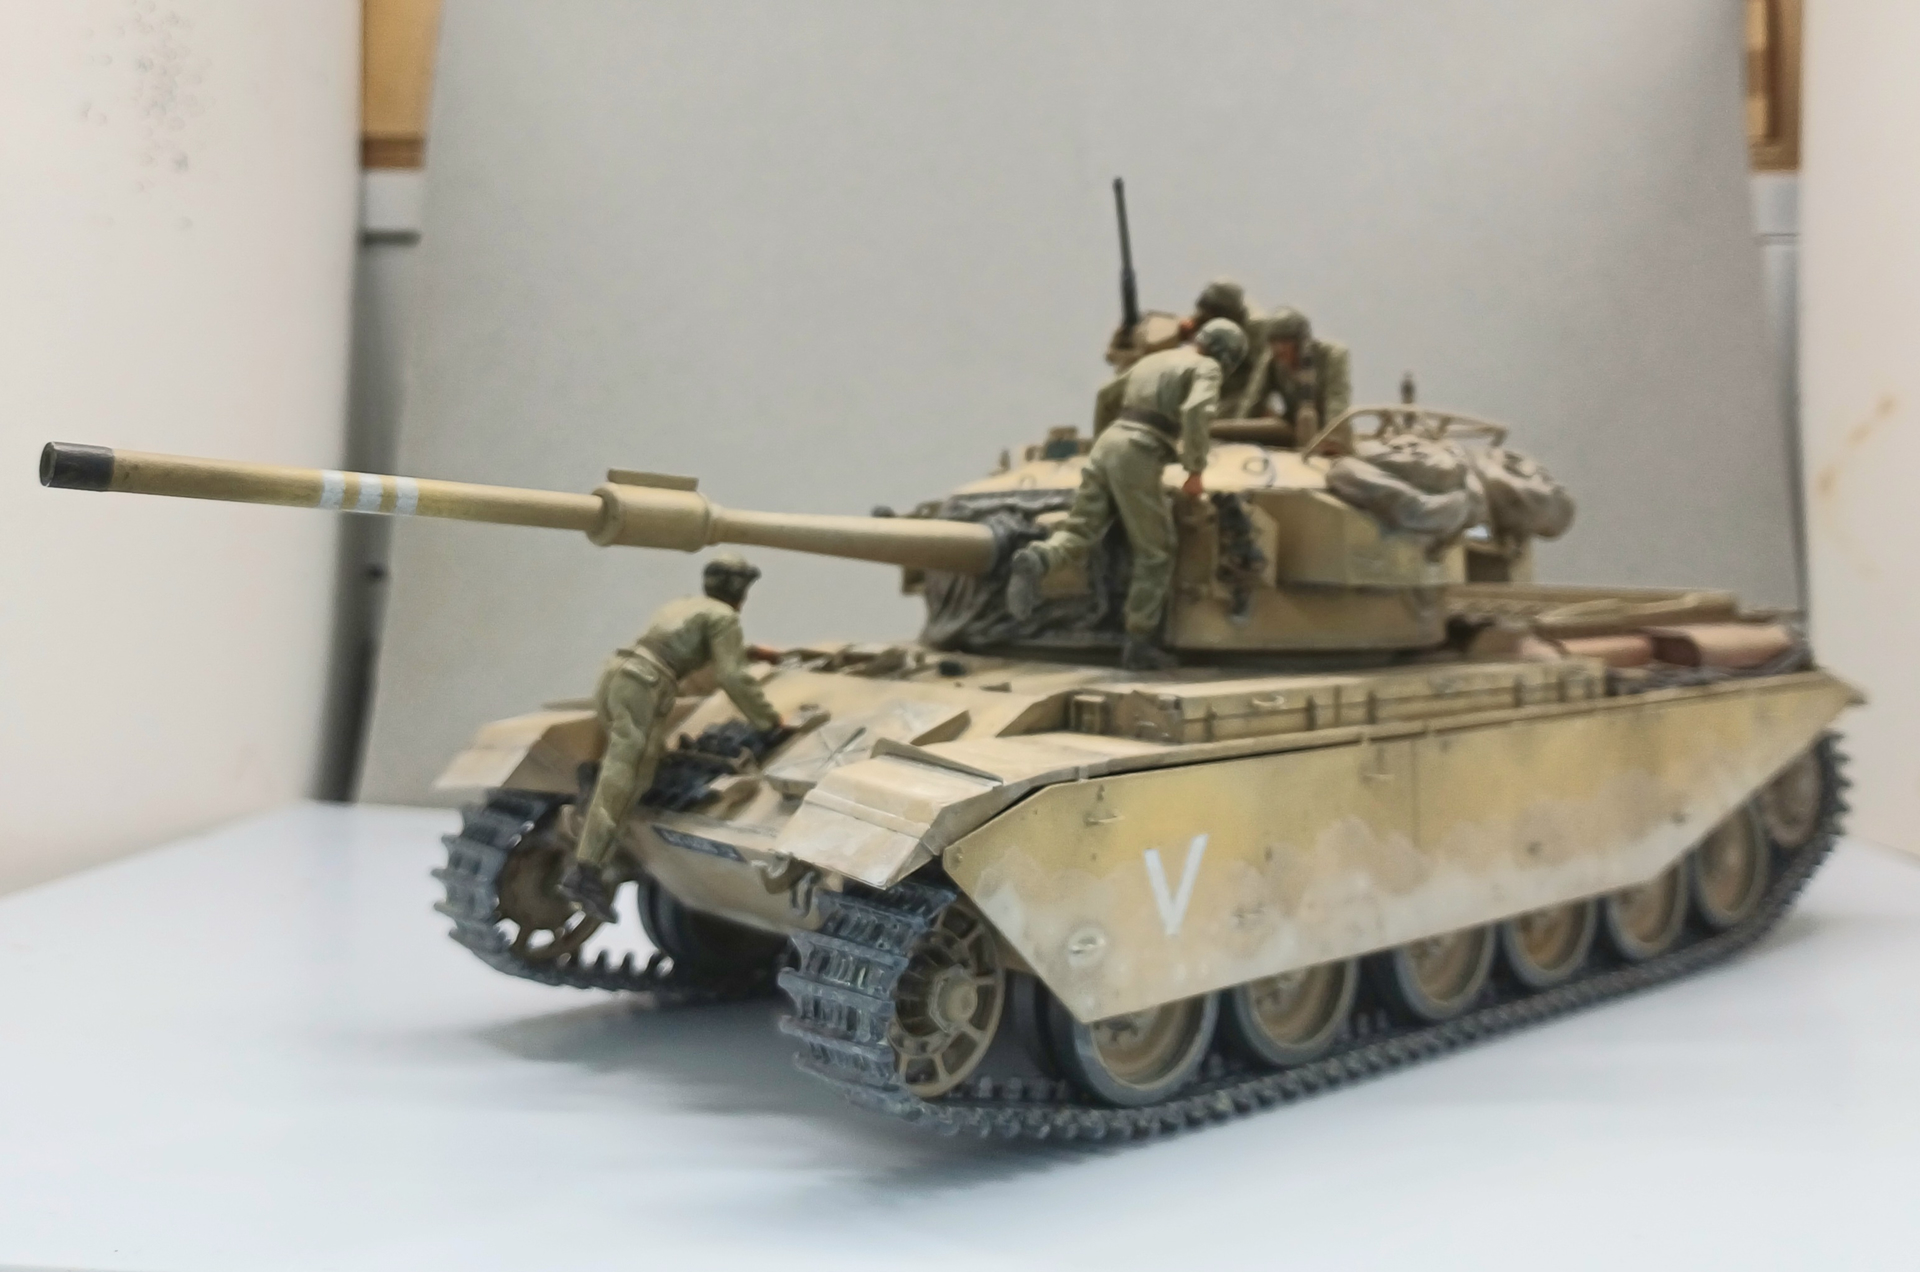
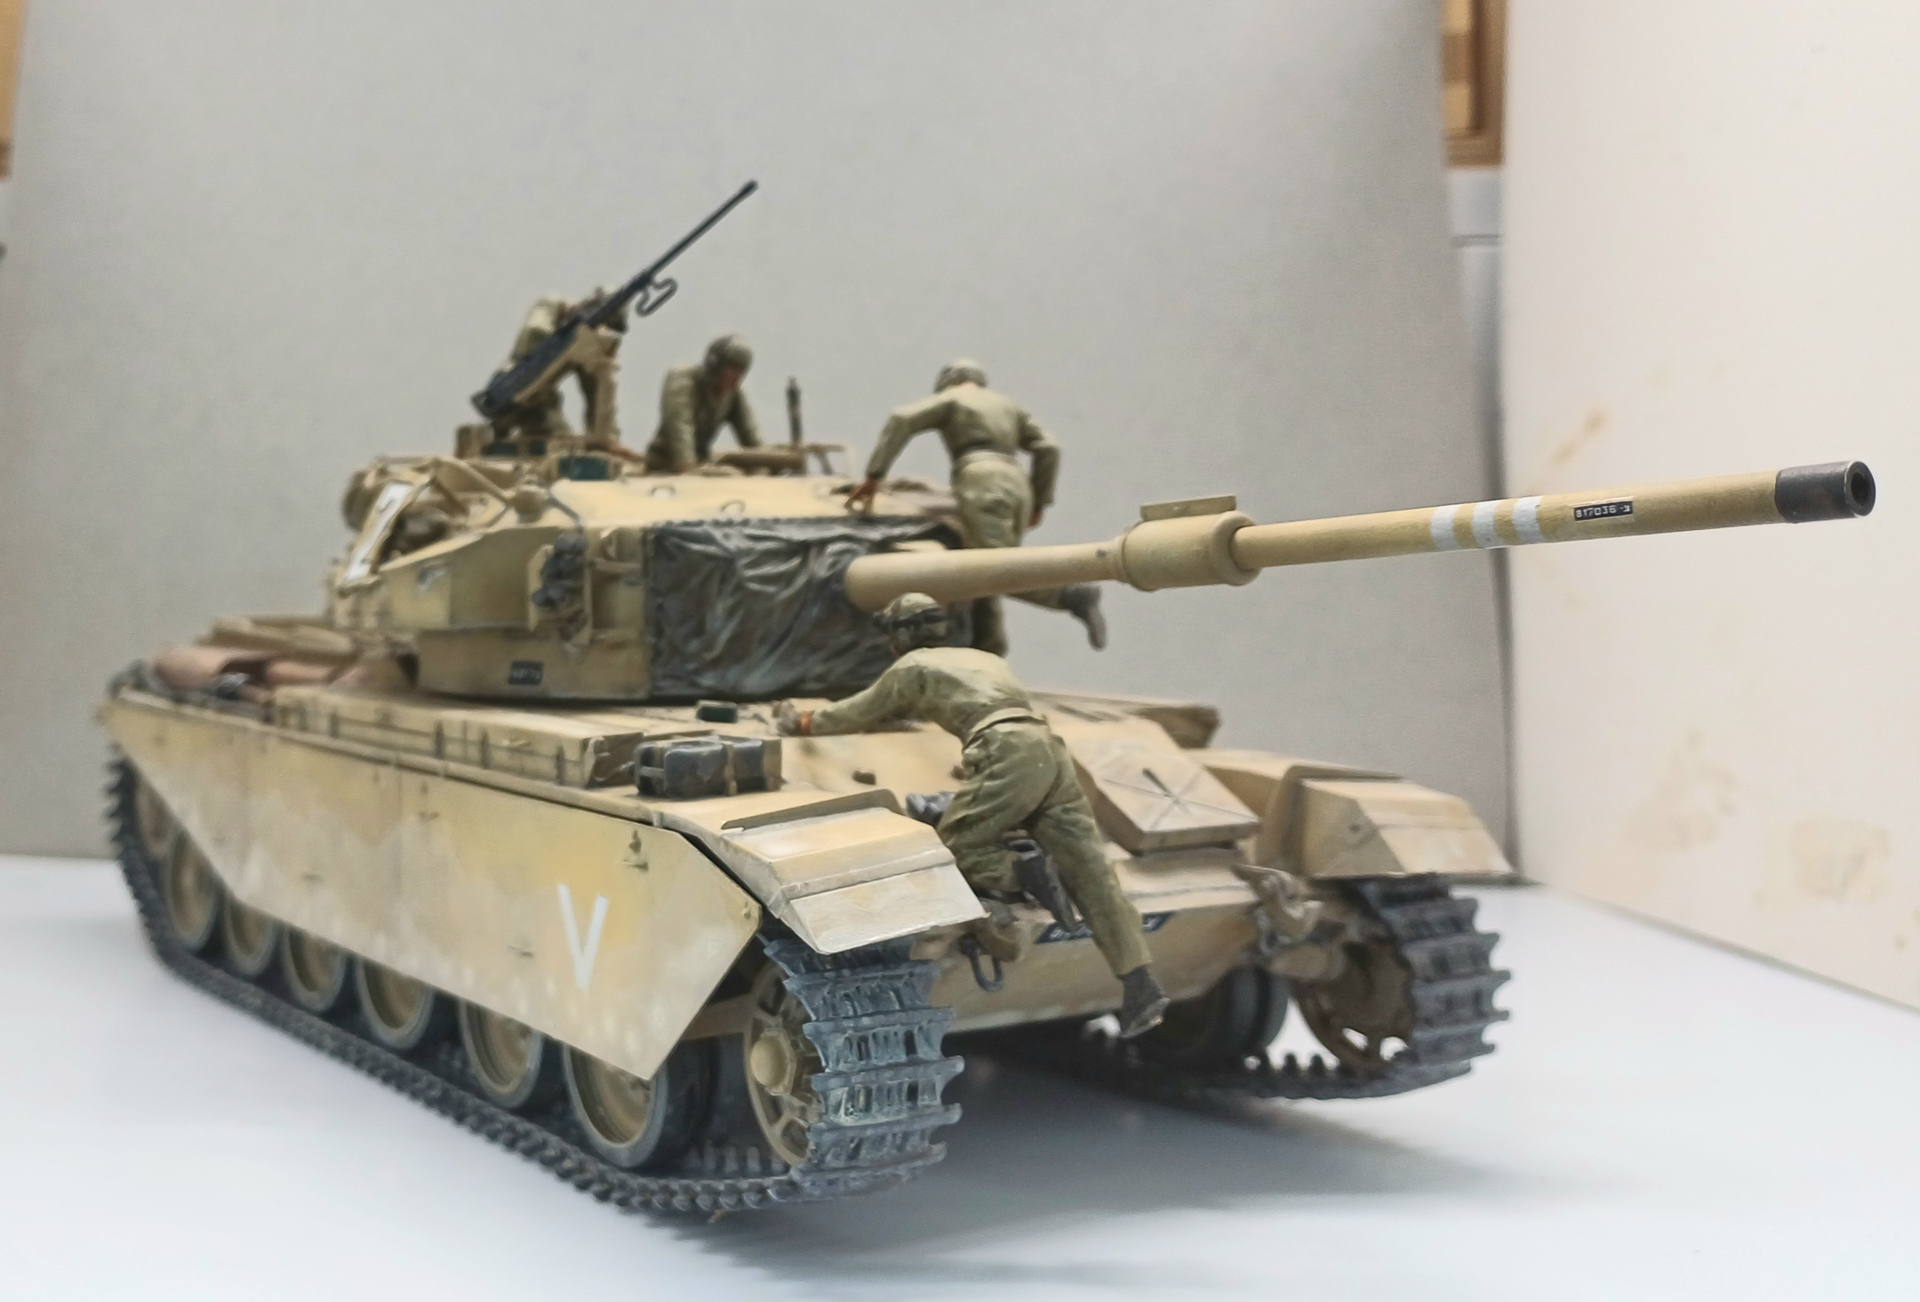
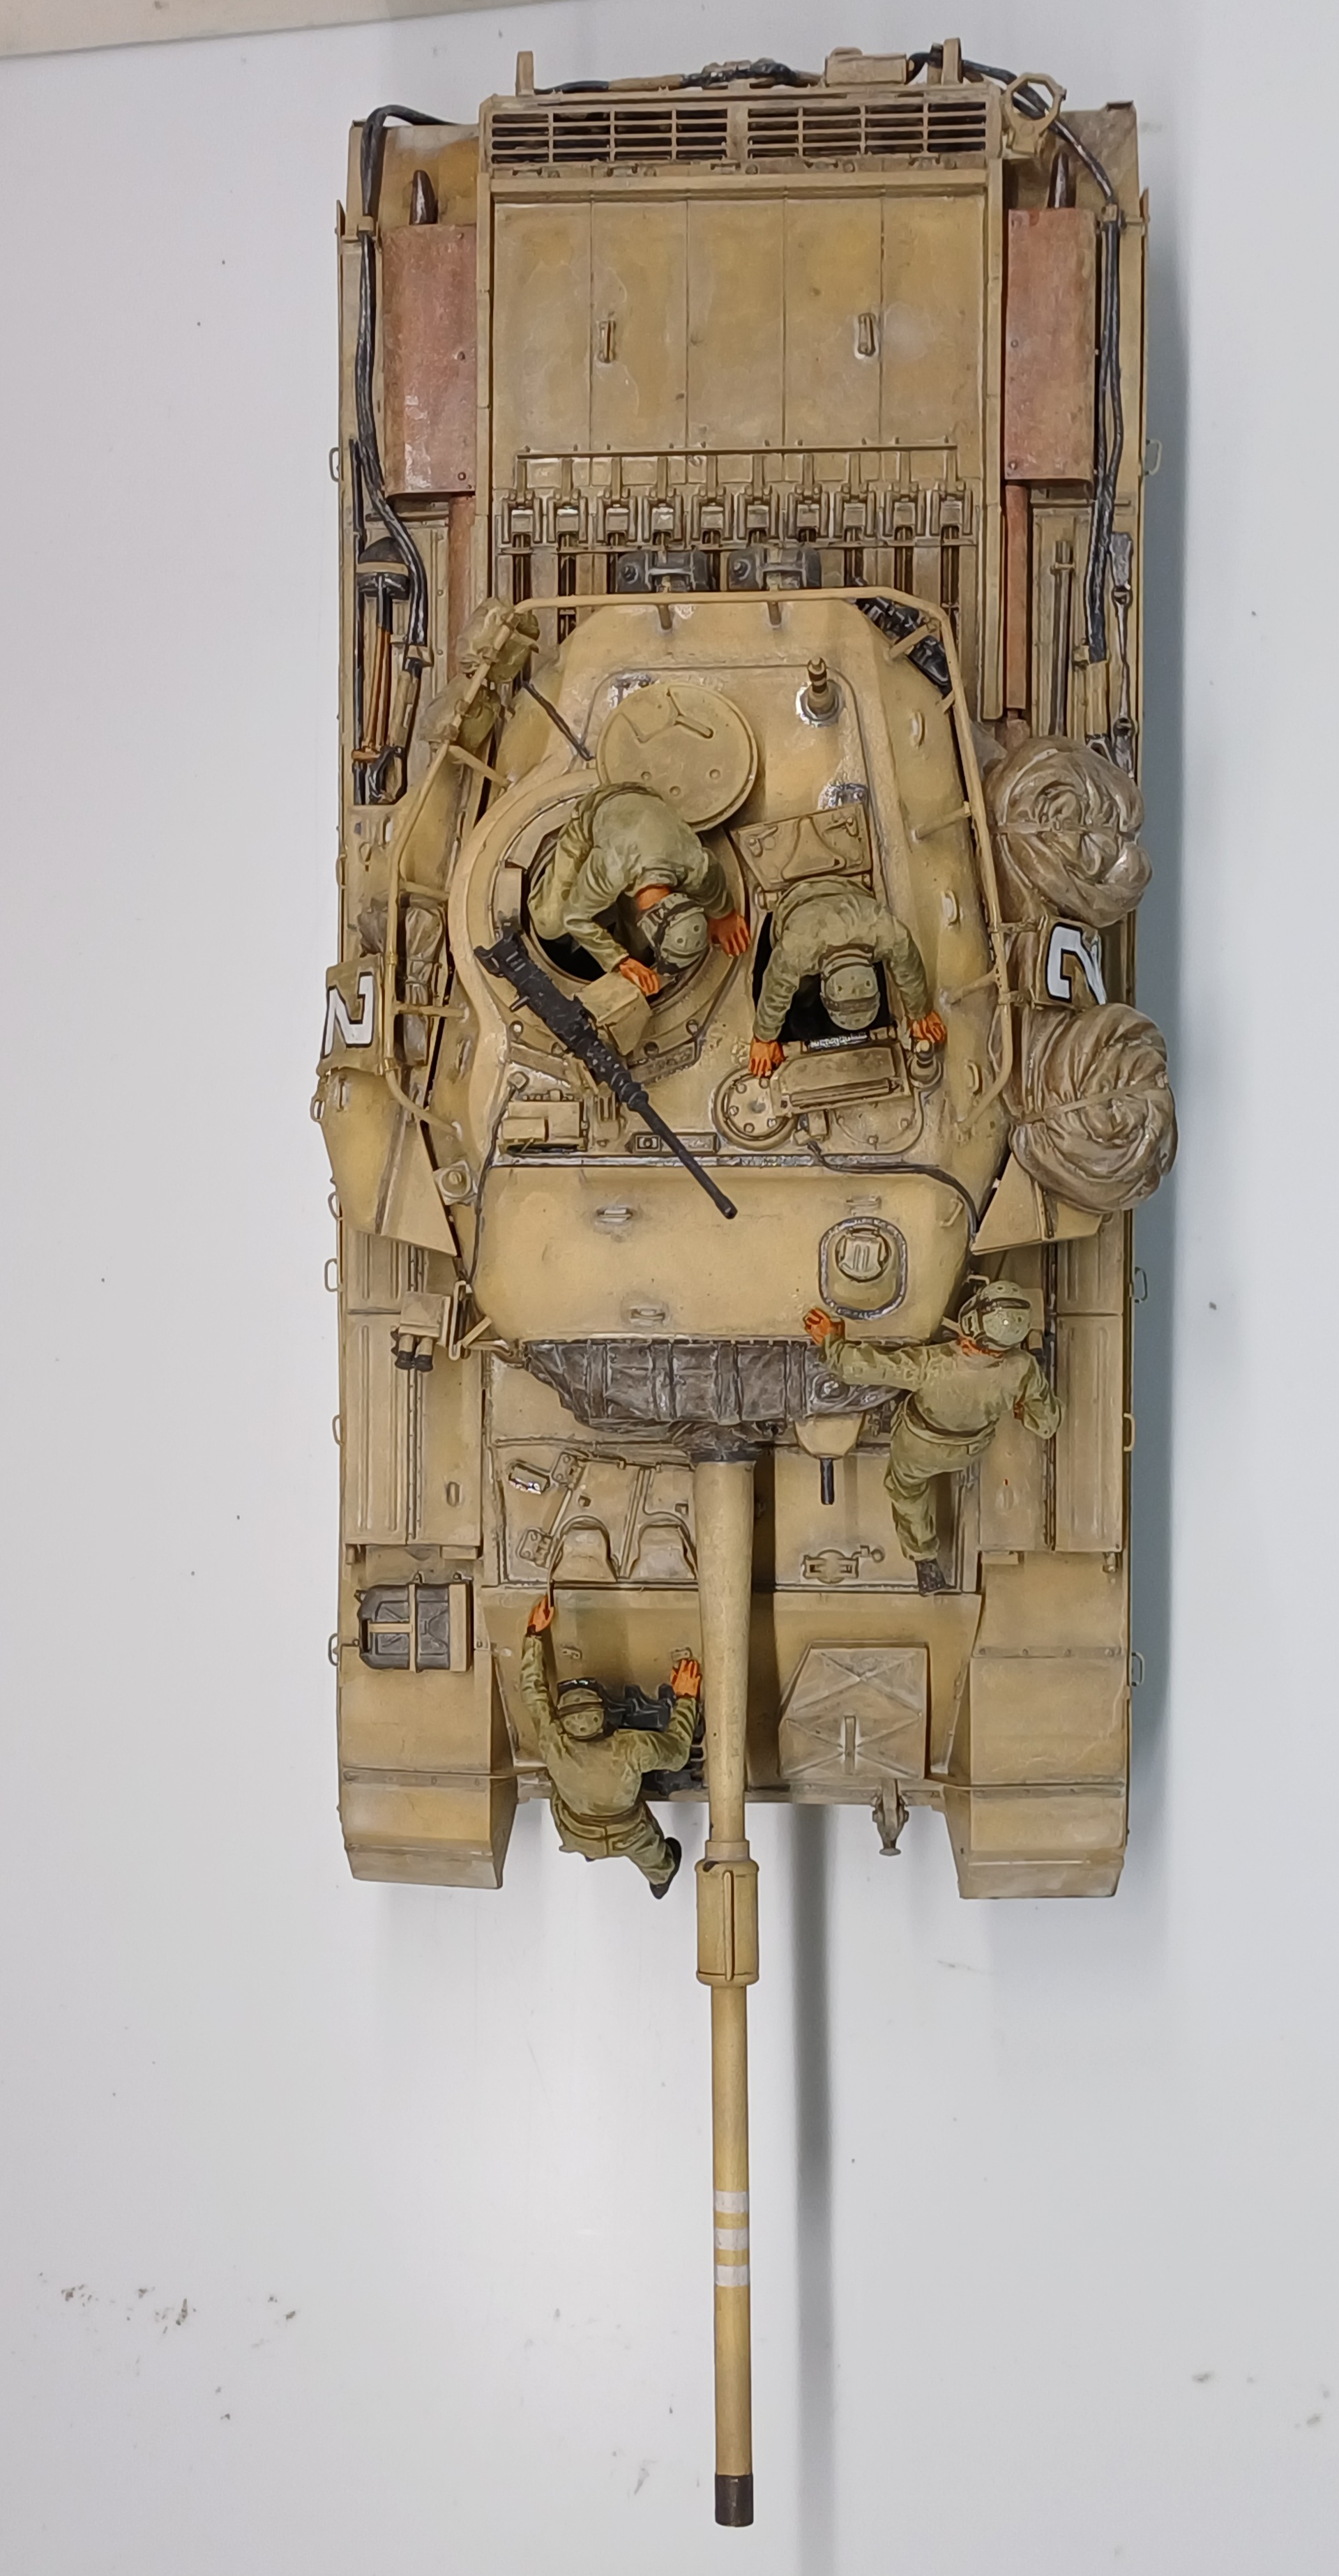
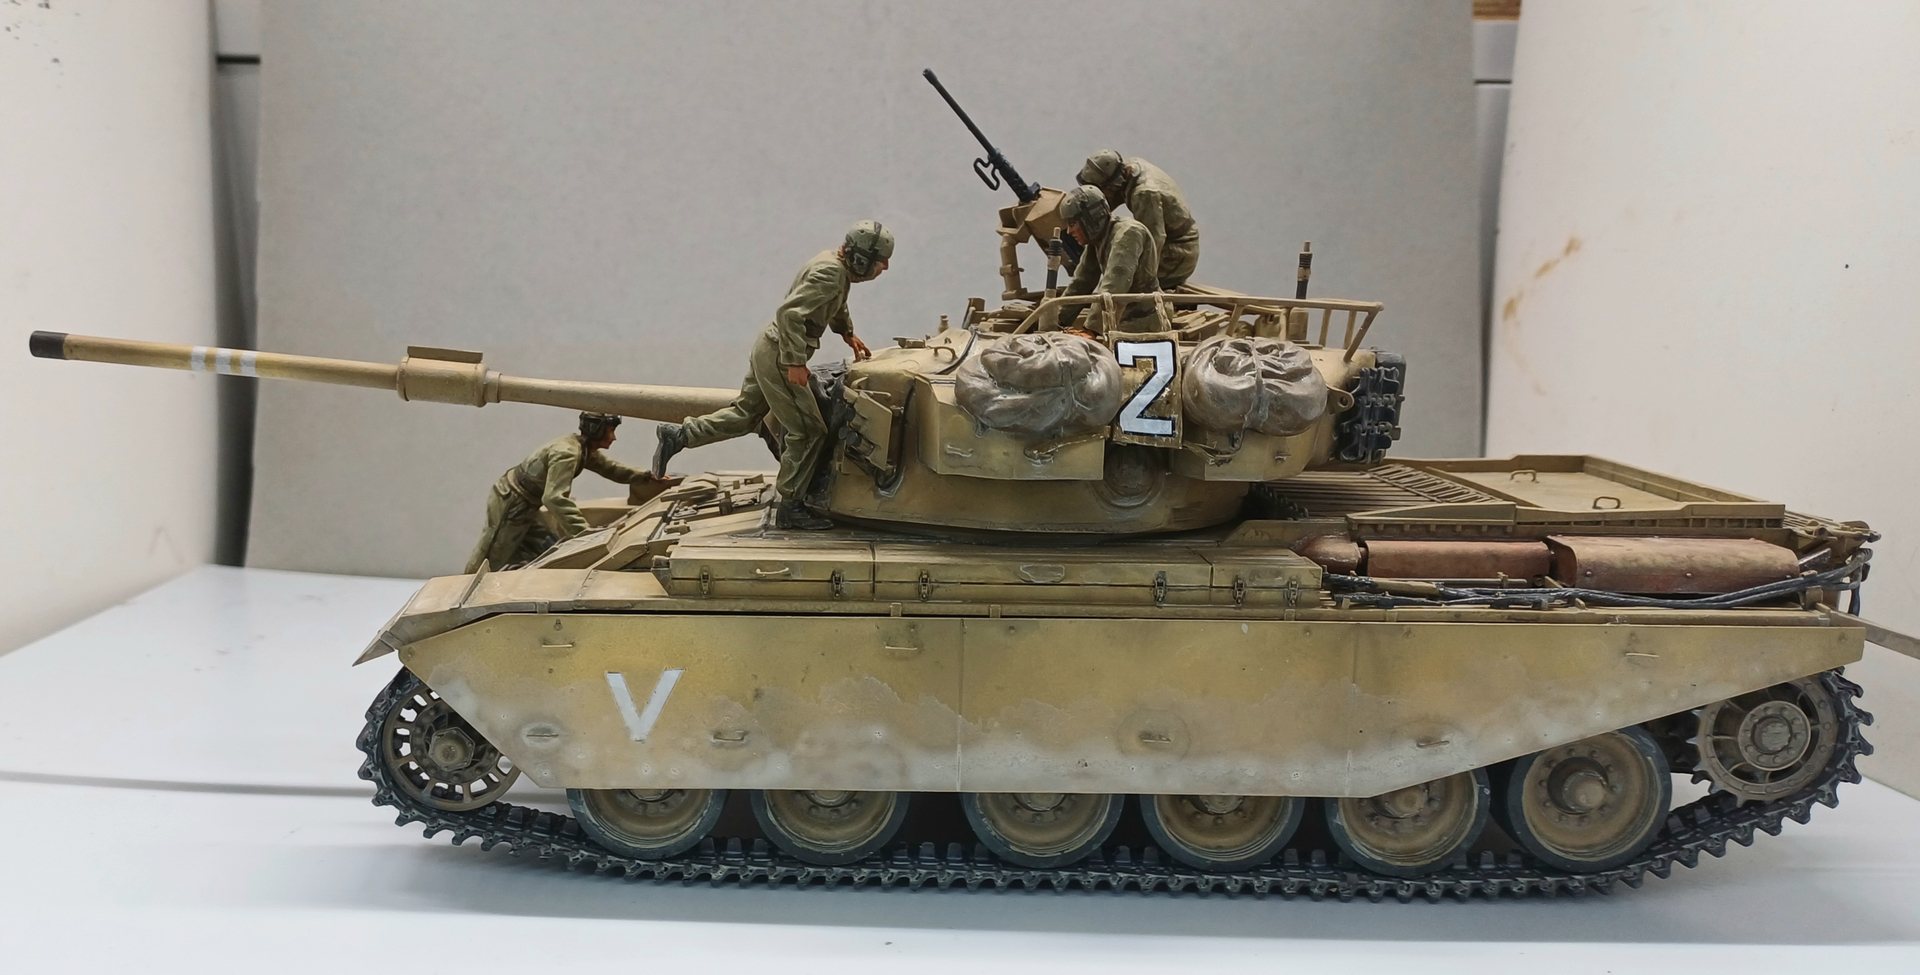
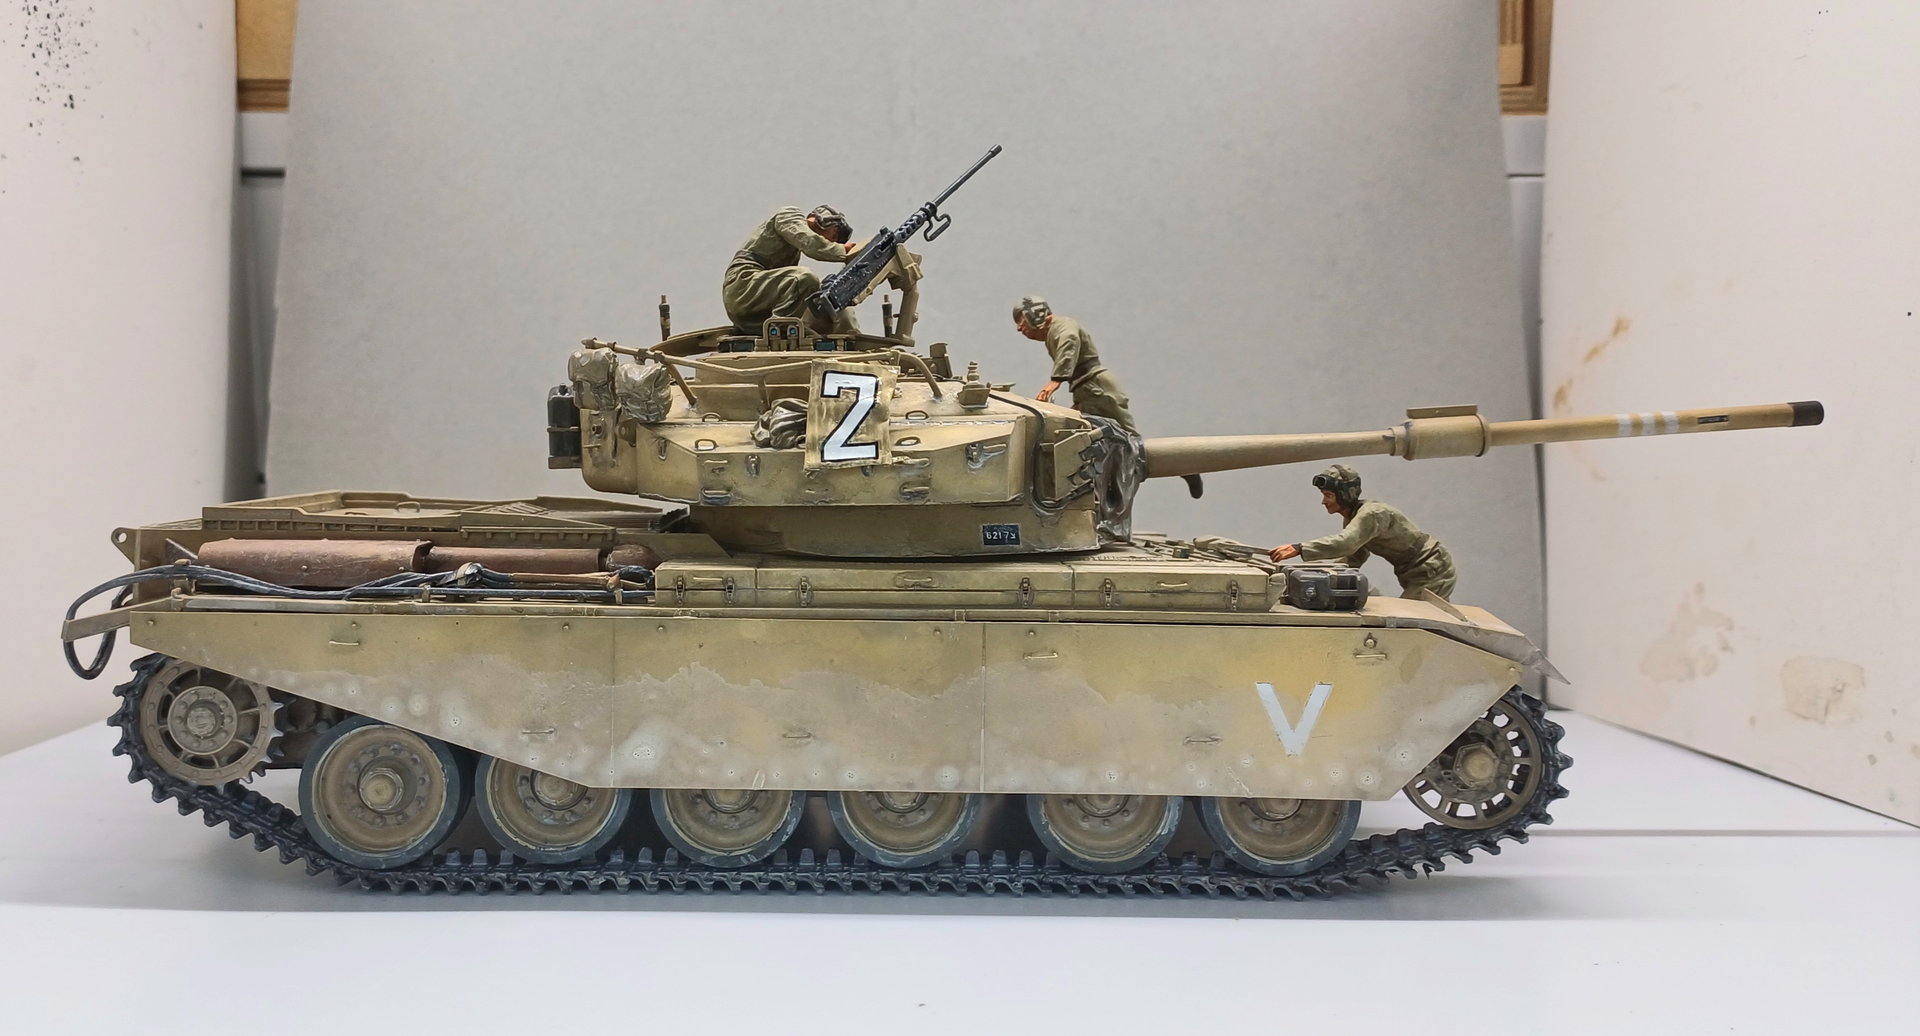
Finished my 1967 Sho’t..


18 Likes
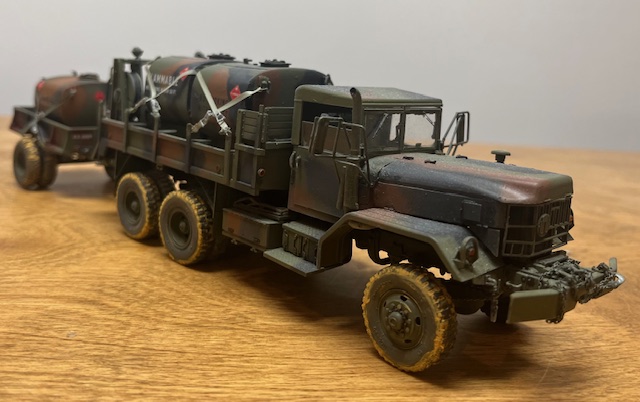
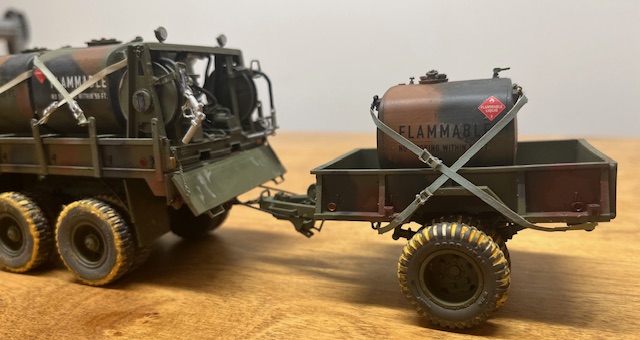
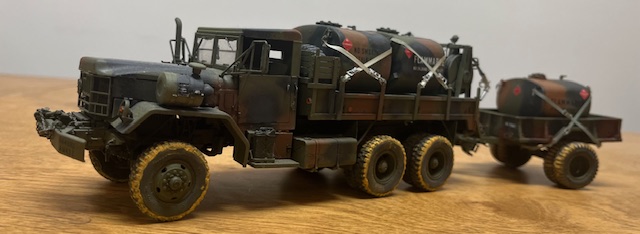
Finished the M105A1 trailer with 600 gallon Pod. Attached as planned to my M813 fueler that joined the fleet in early ‘25.
New project starts tomorrow!
22 Likes
Lovely work Bert!
2 Likes
Nicely done. It looks good.
2 Likes
That’s a nice finish, and overall an attractive build.
I’ve been a lot of Centurions in my day, and I’m curious about two features -
The first is the rail around the top of the turret. I’m not doubting you’ve seen it, but where? I’ve never seen it.
The second is the idler. I know it’s adjustable, but I’ve never seen it that far forward. Again, do you have a photo showing it in that position?
2 Likes
I’ve been plodding along since my last update.
I mounted the rear fenders. I really didn’t like the instructions for these pieces.
You have to shave off pieces of it. It’s absurd and unclear. And i had to remove after initially mounting them, which broke them.
I painted the track guards and did some touching up.
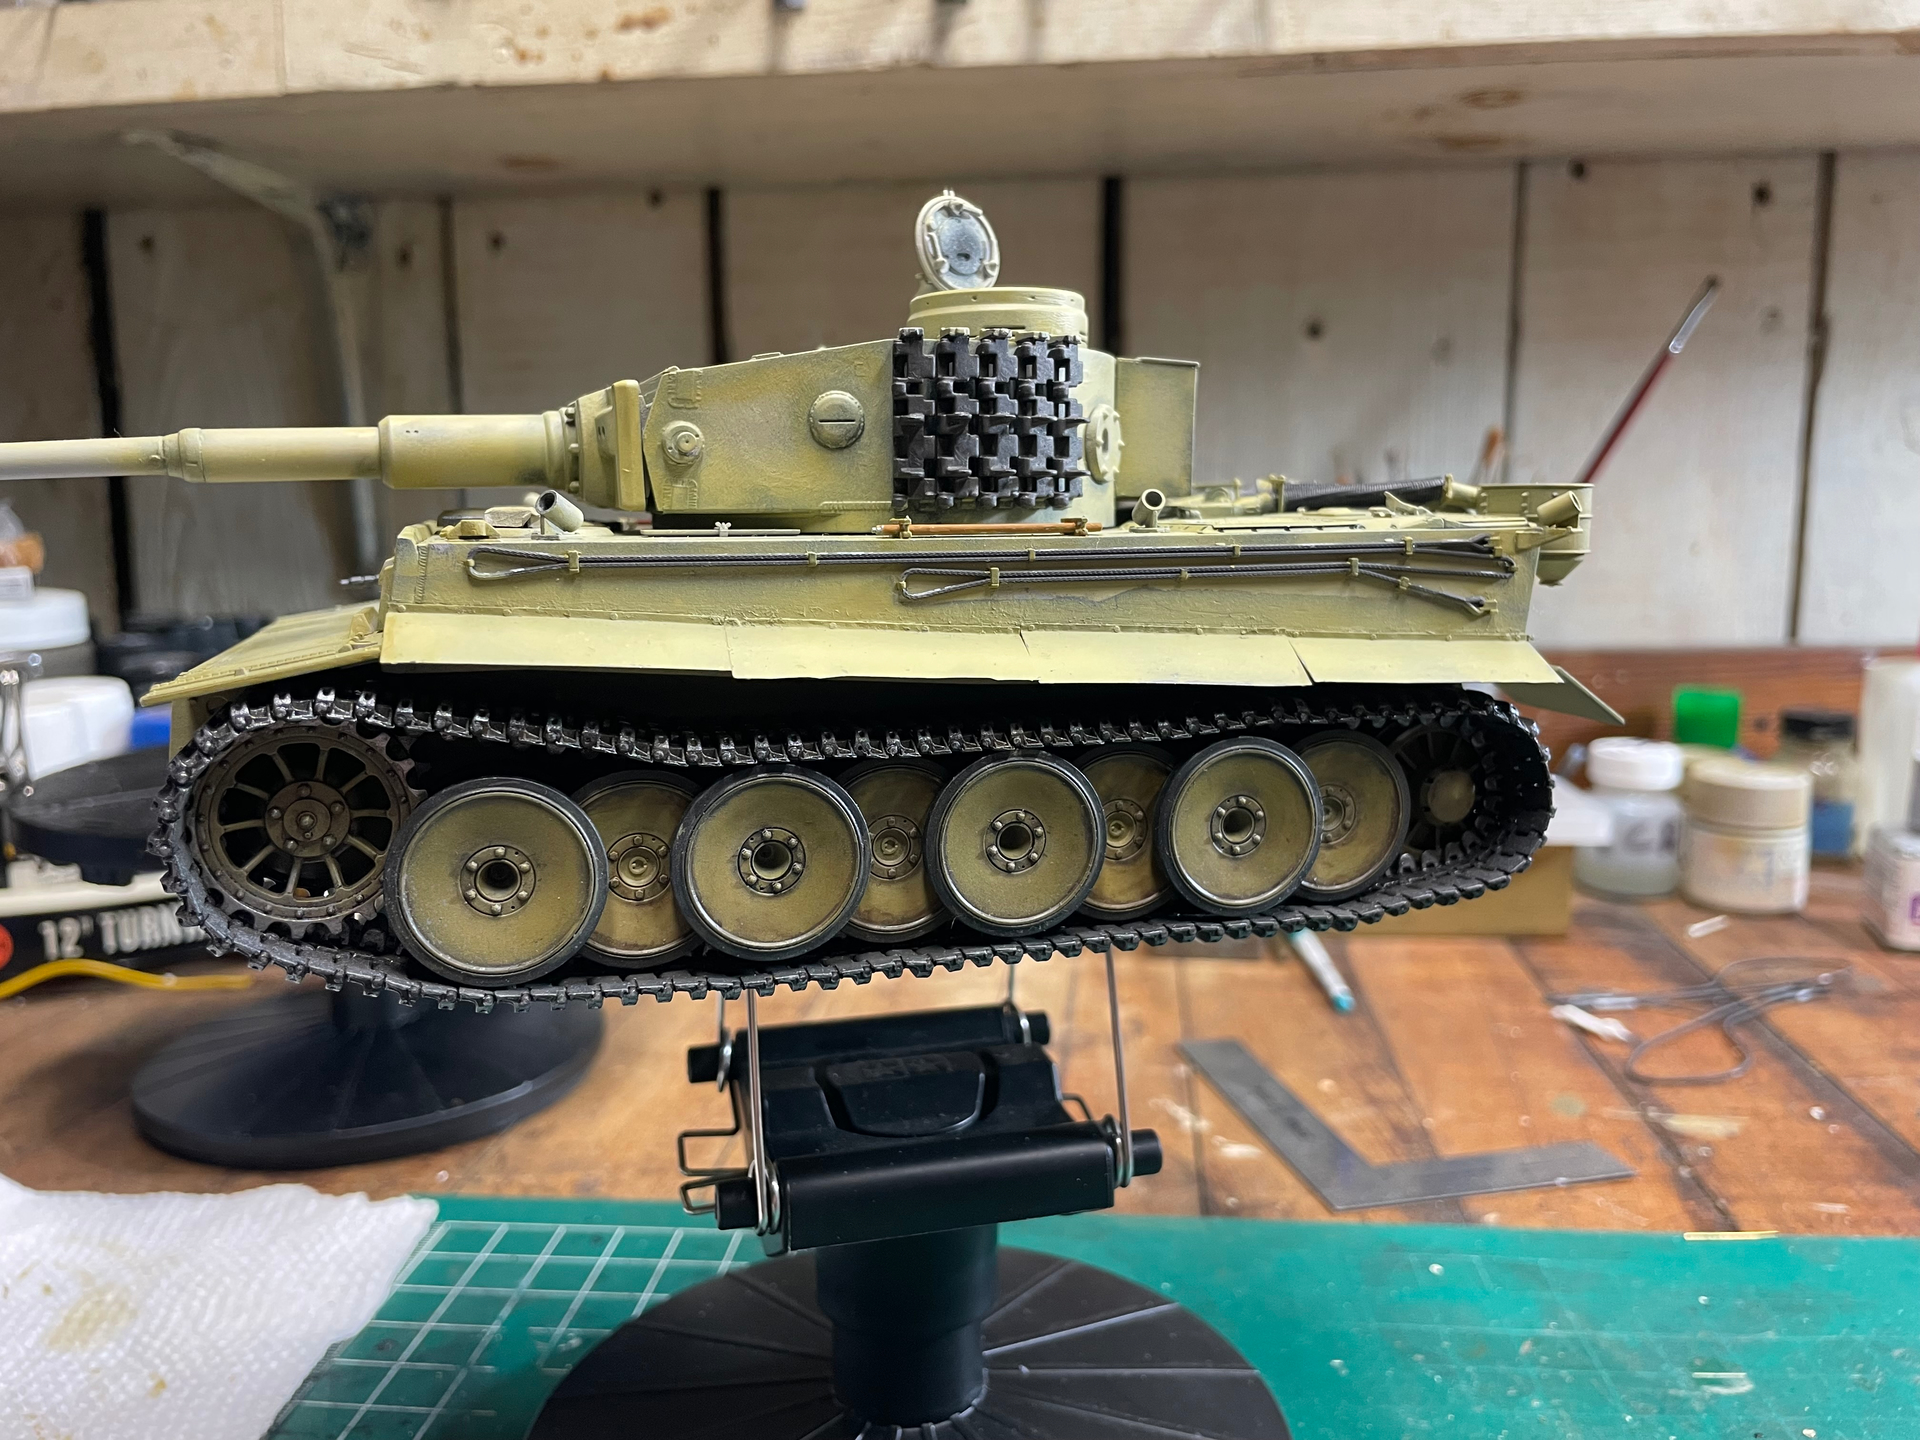

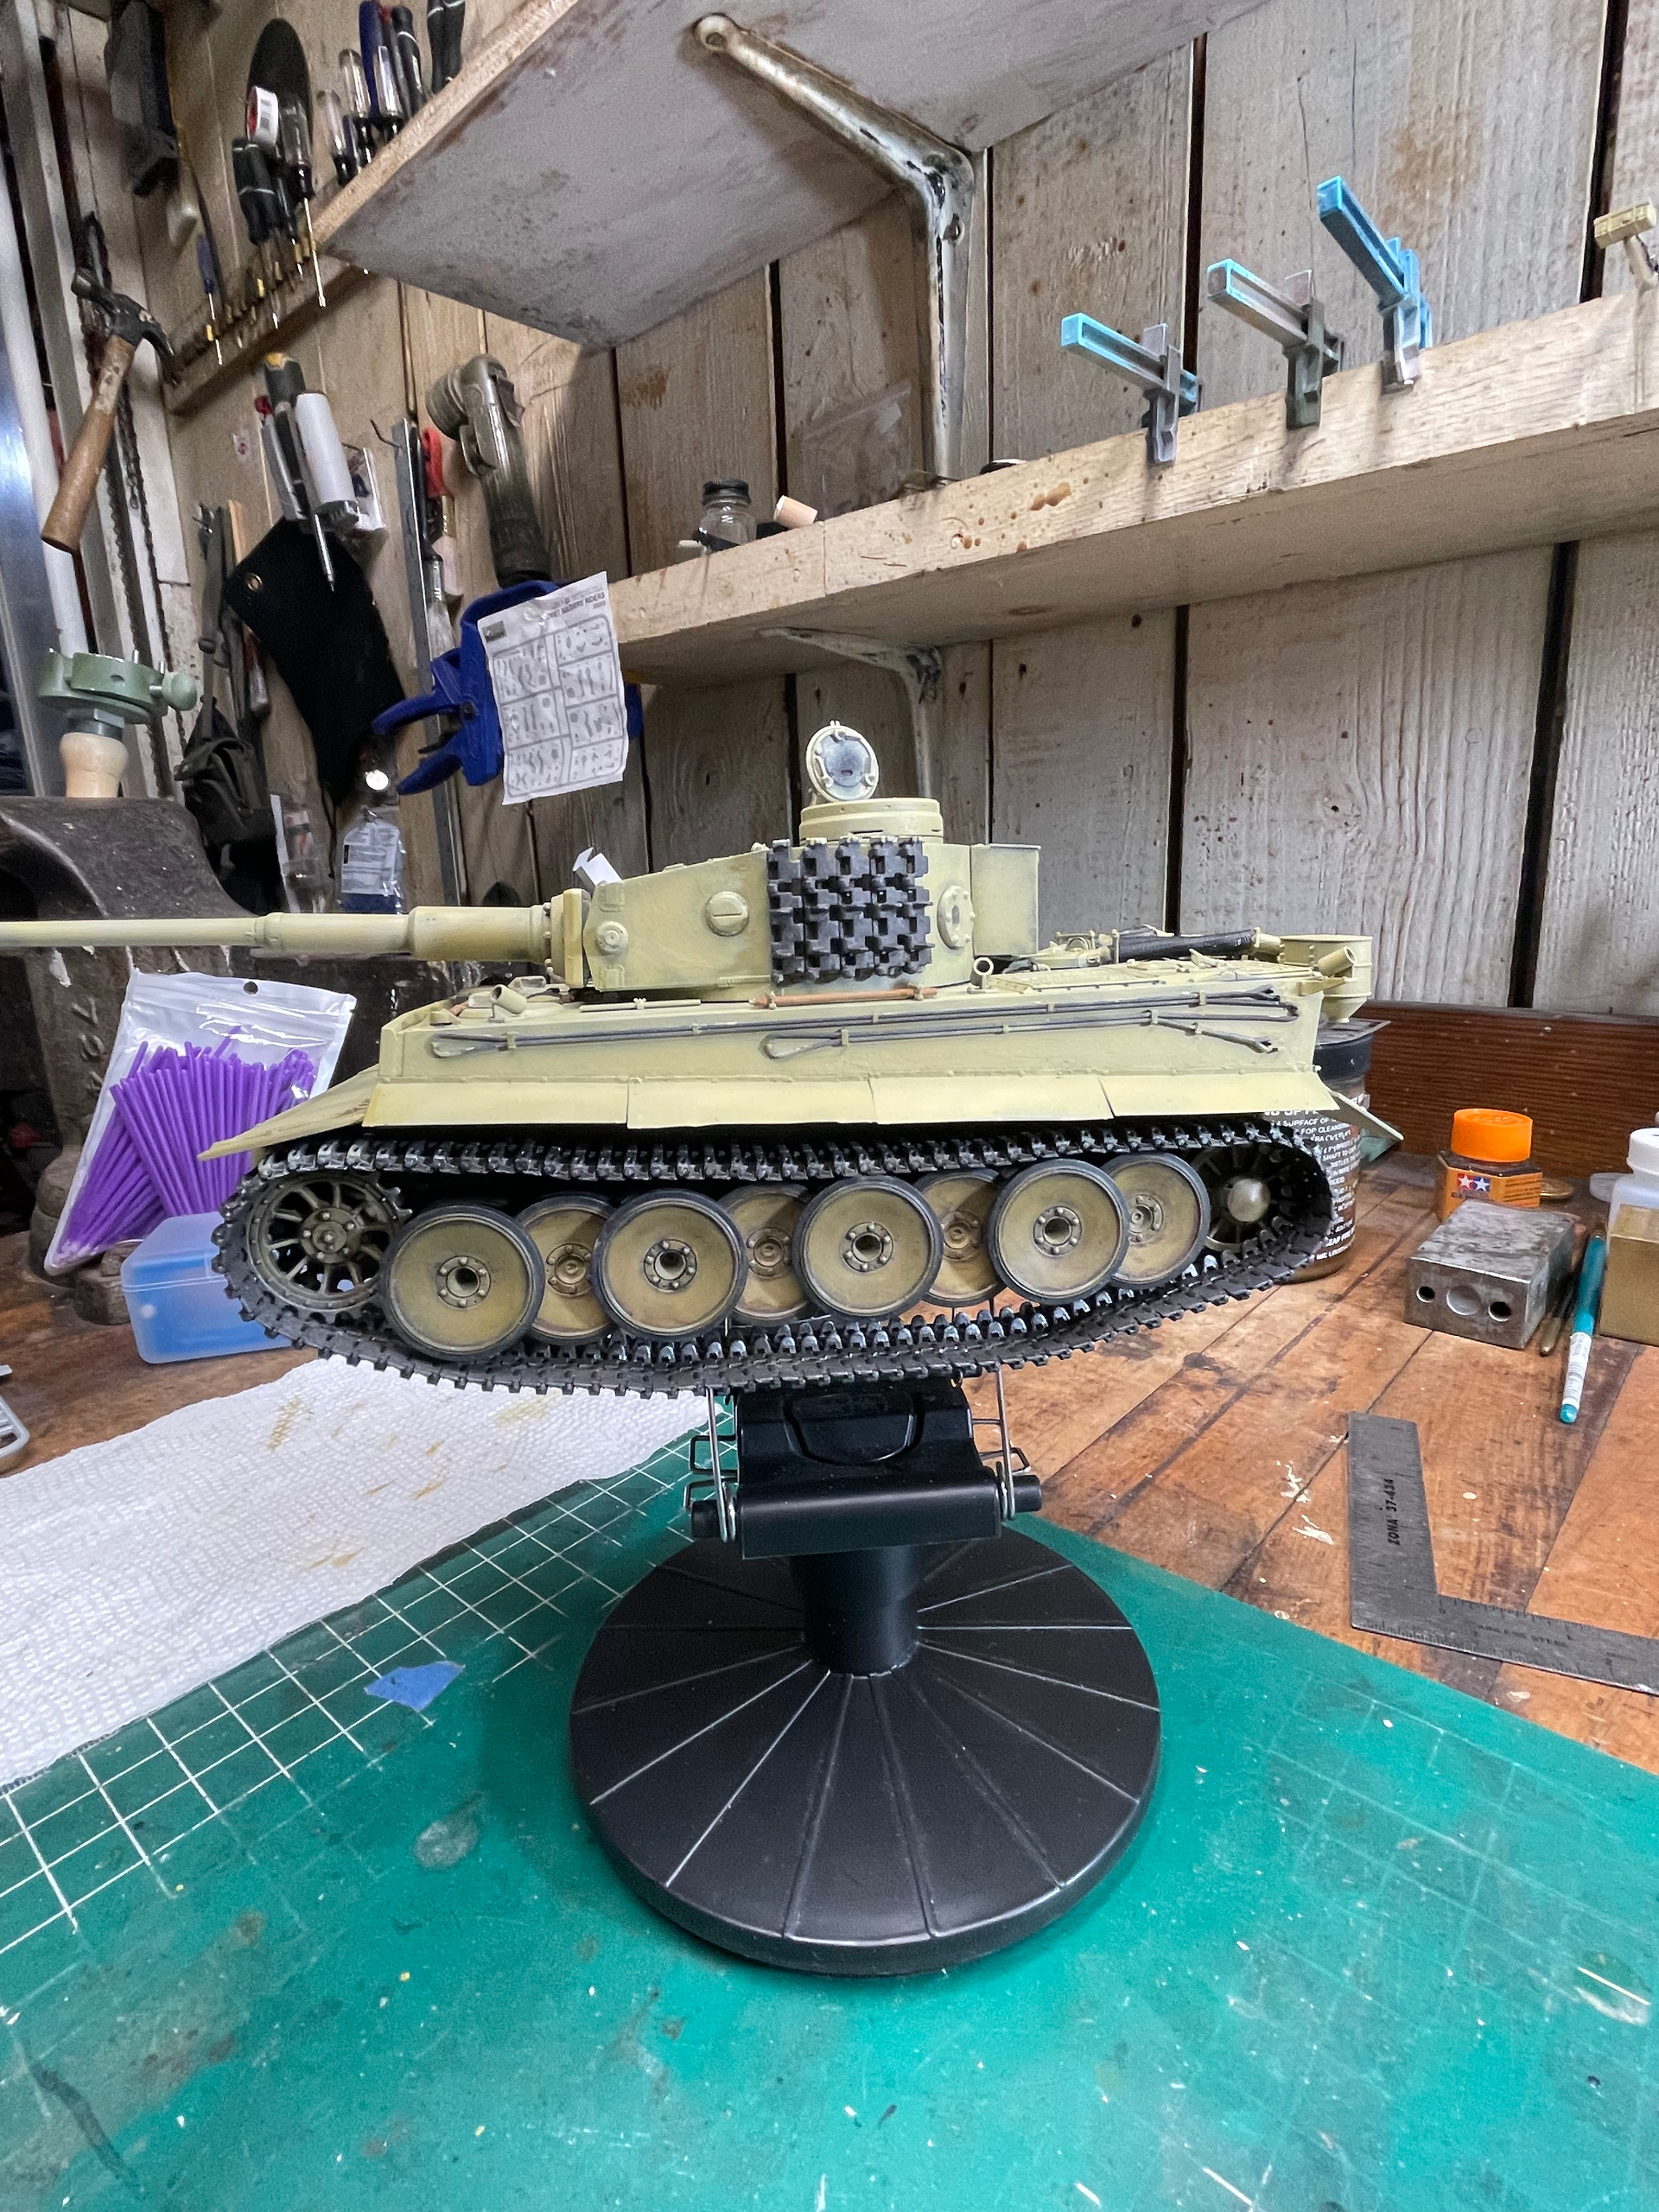
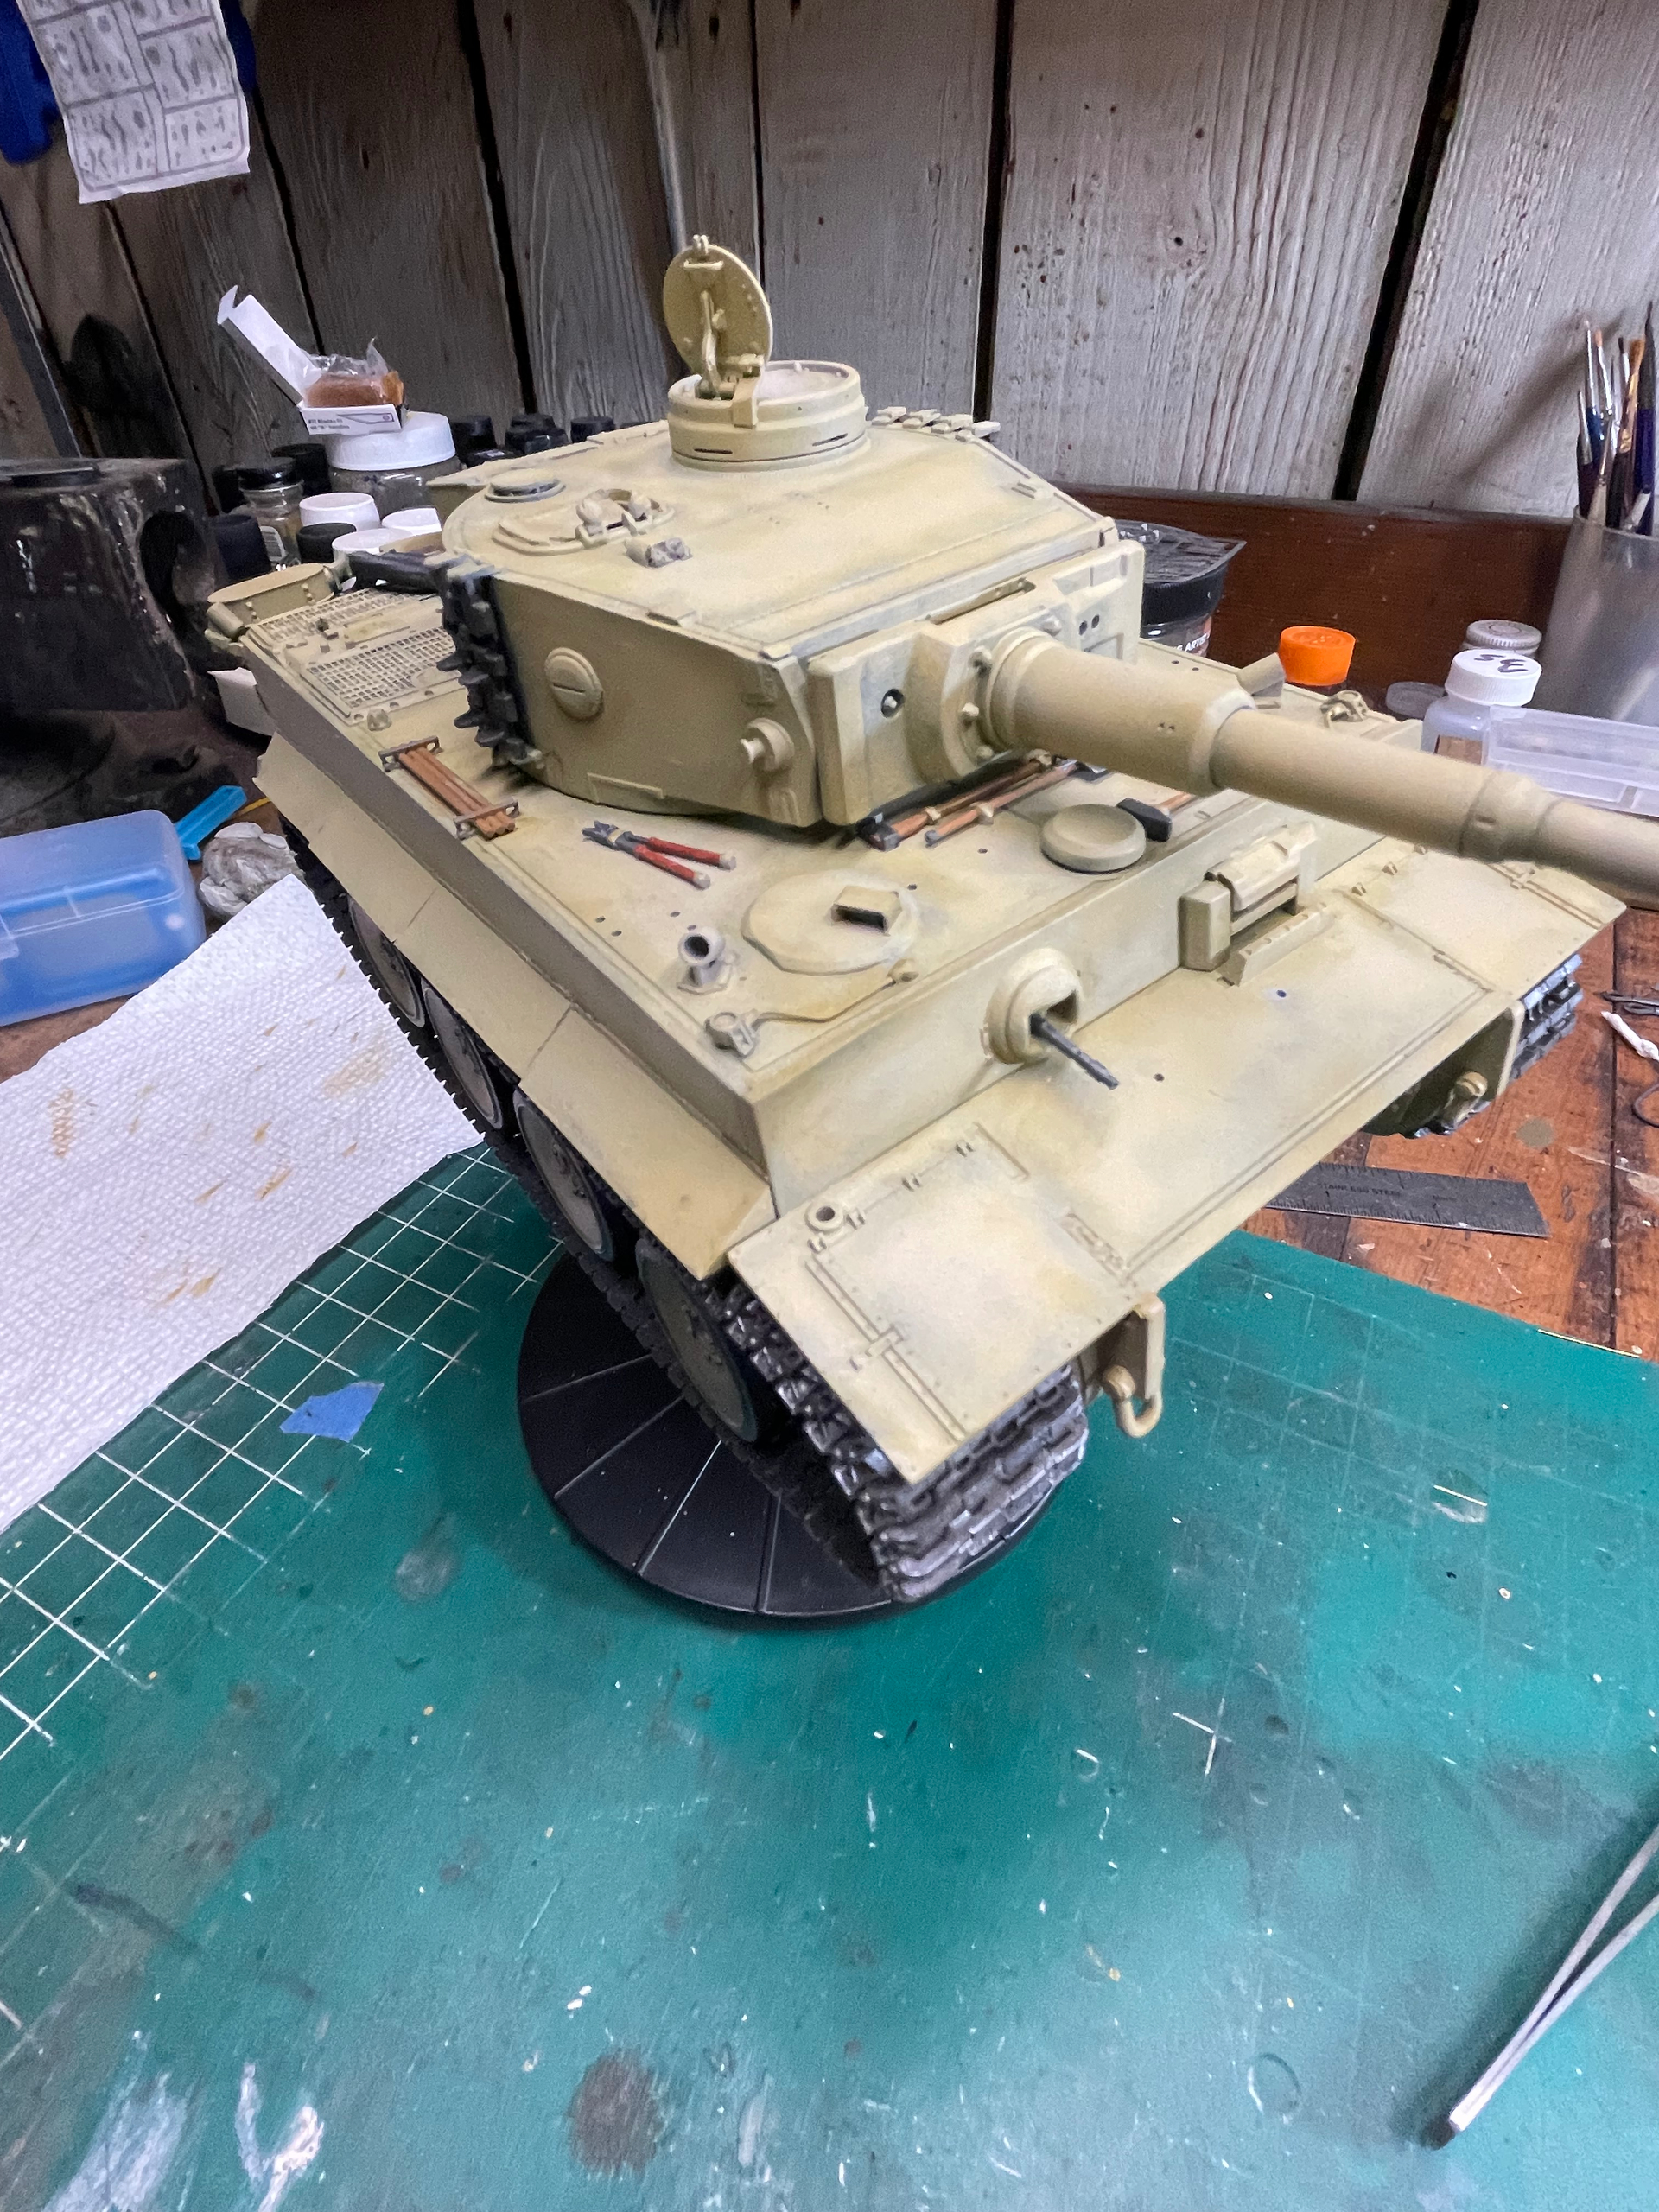
Almost ready for camouflage.
PS- what color to paint the fire extinguisher?
13 Likes
Thanks Gino. Hobby Link, as you know, makes great kits and this trailer and tank combo was a simple and fun build.
1 Like
The extinguisher would be Dunkelgelb to match the base color. If it wasn’t removed during the camo application process in the field then it would also have whatever color was sprayed over it.
1 Like
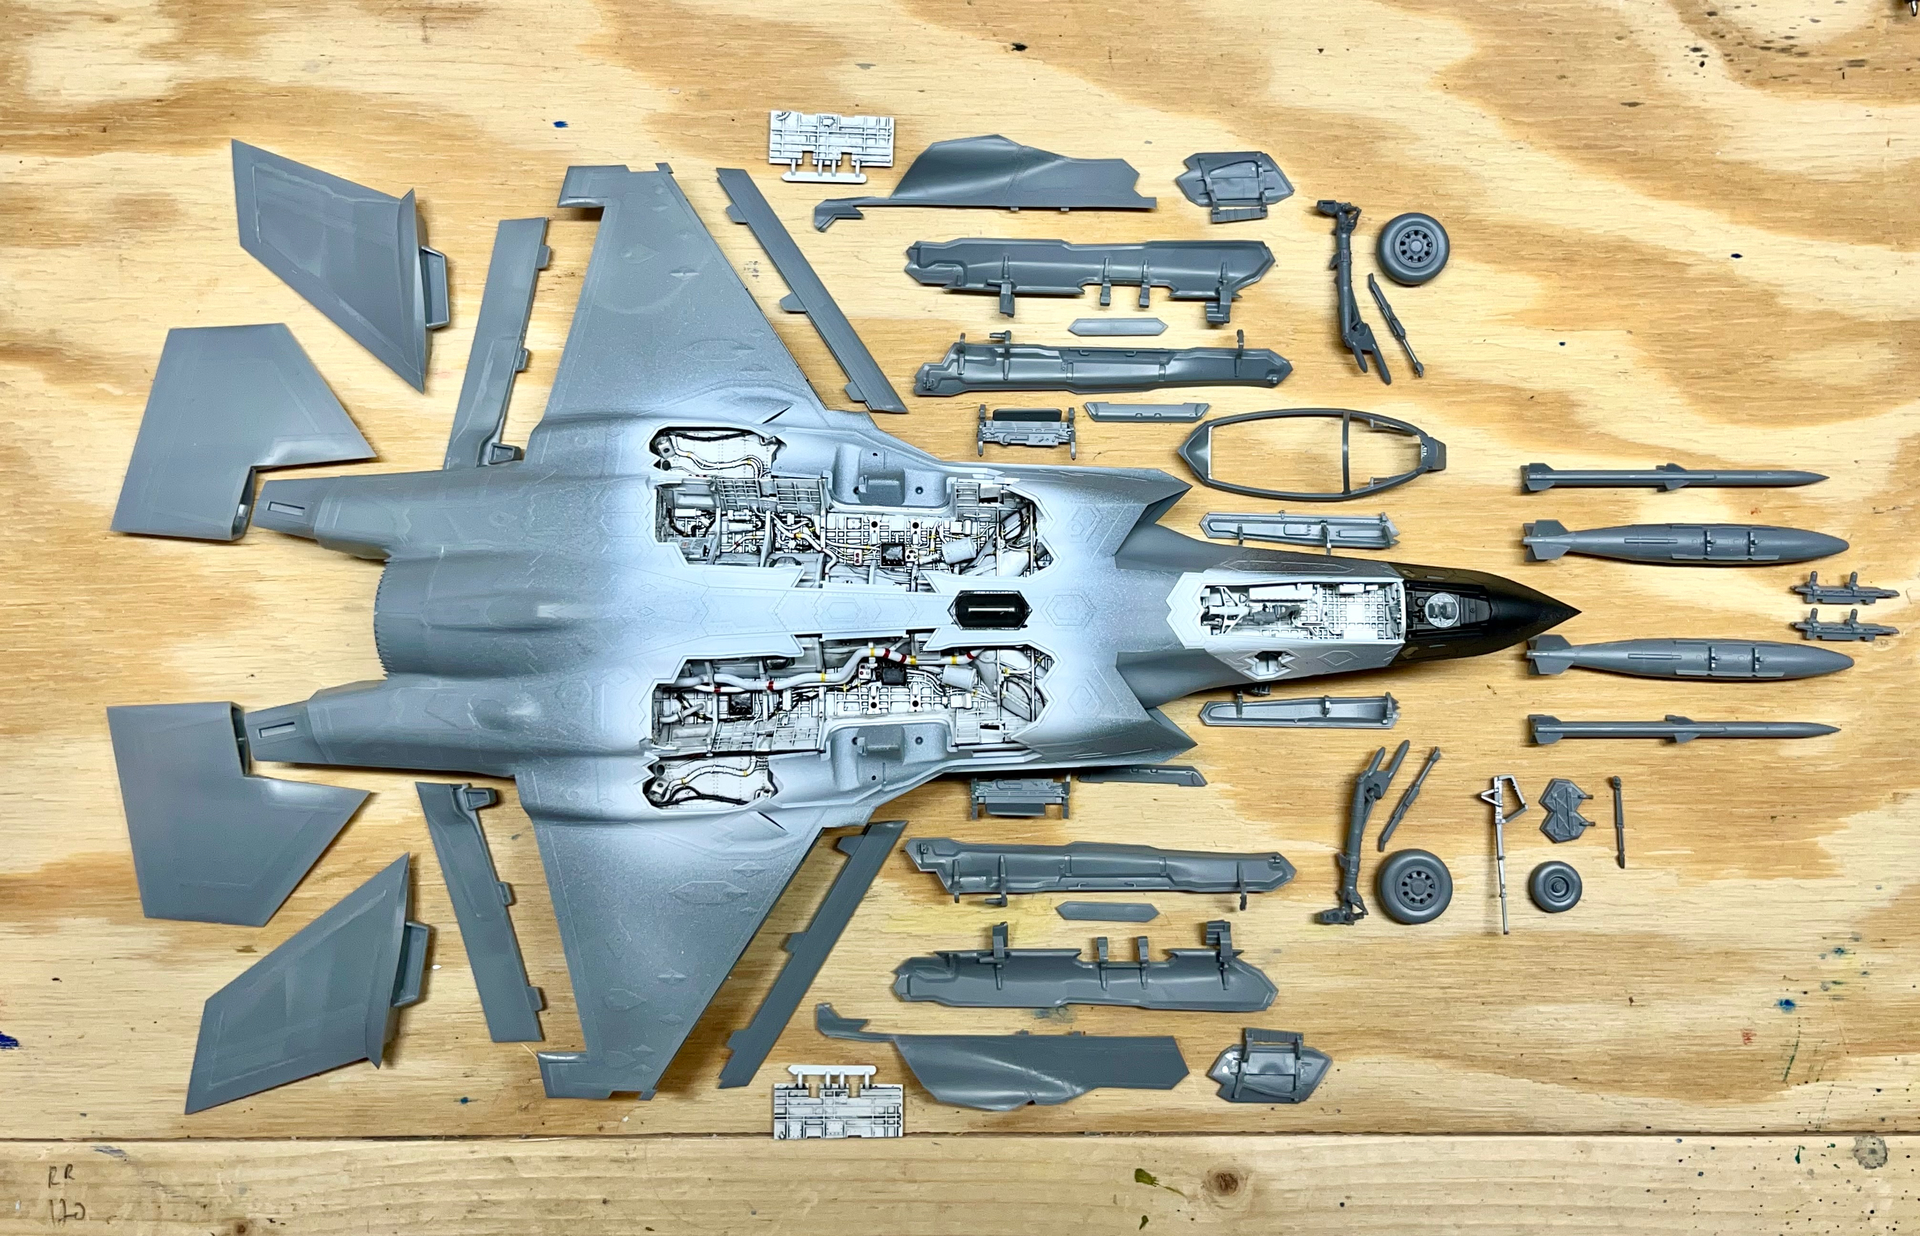
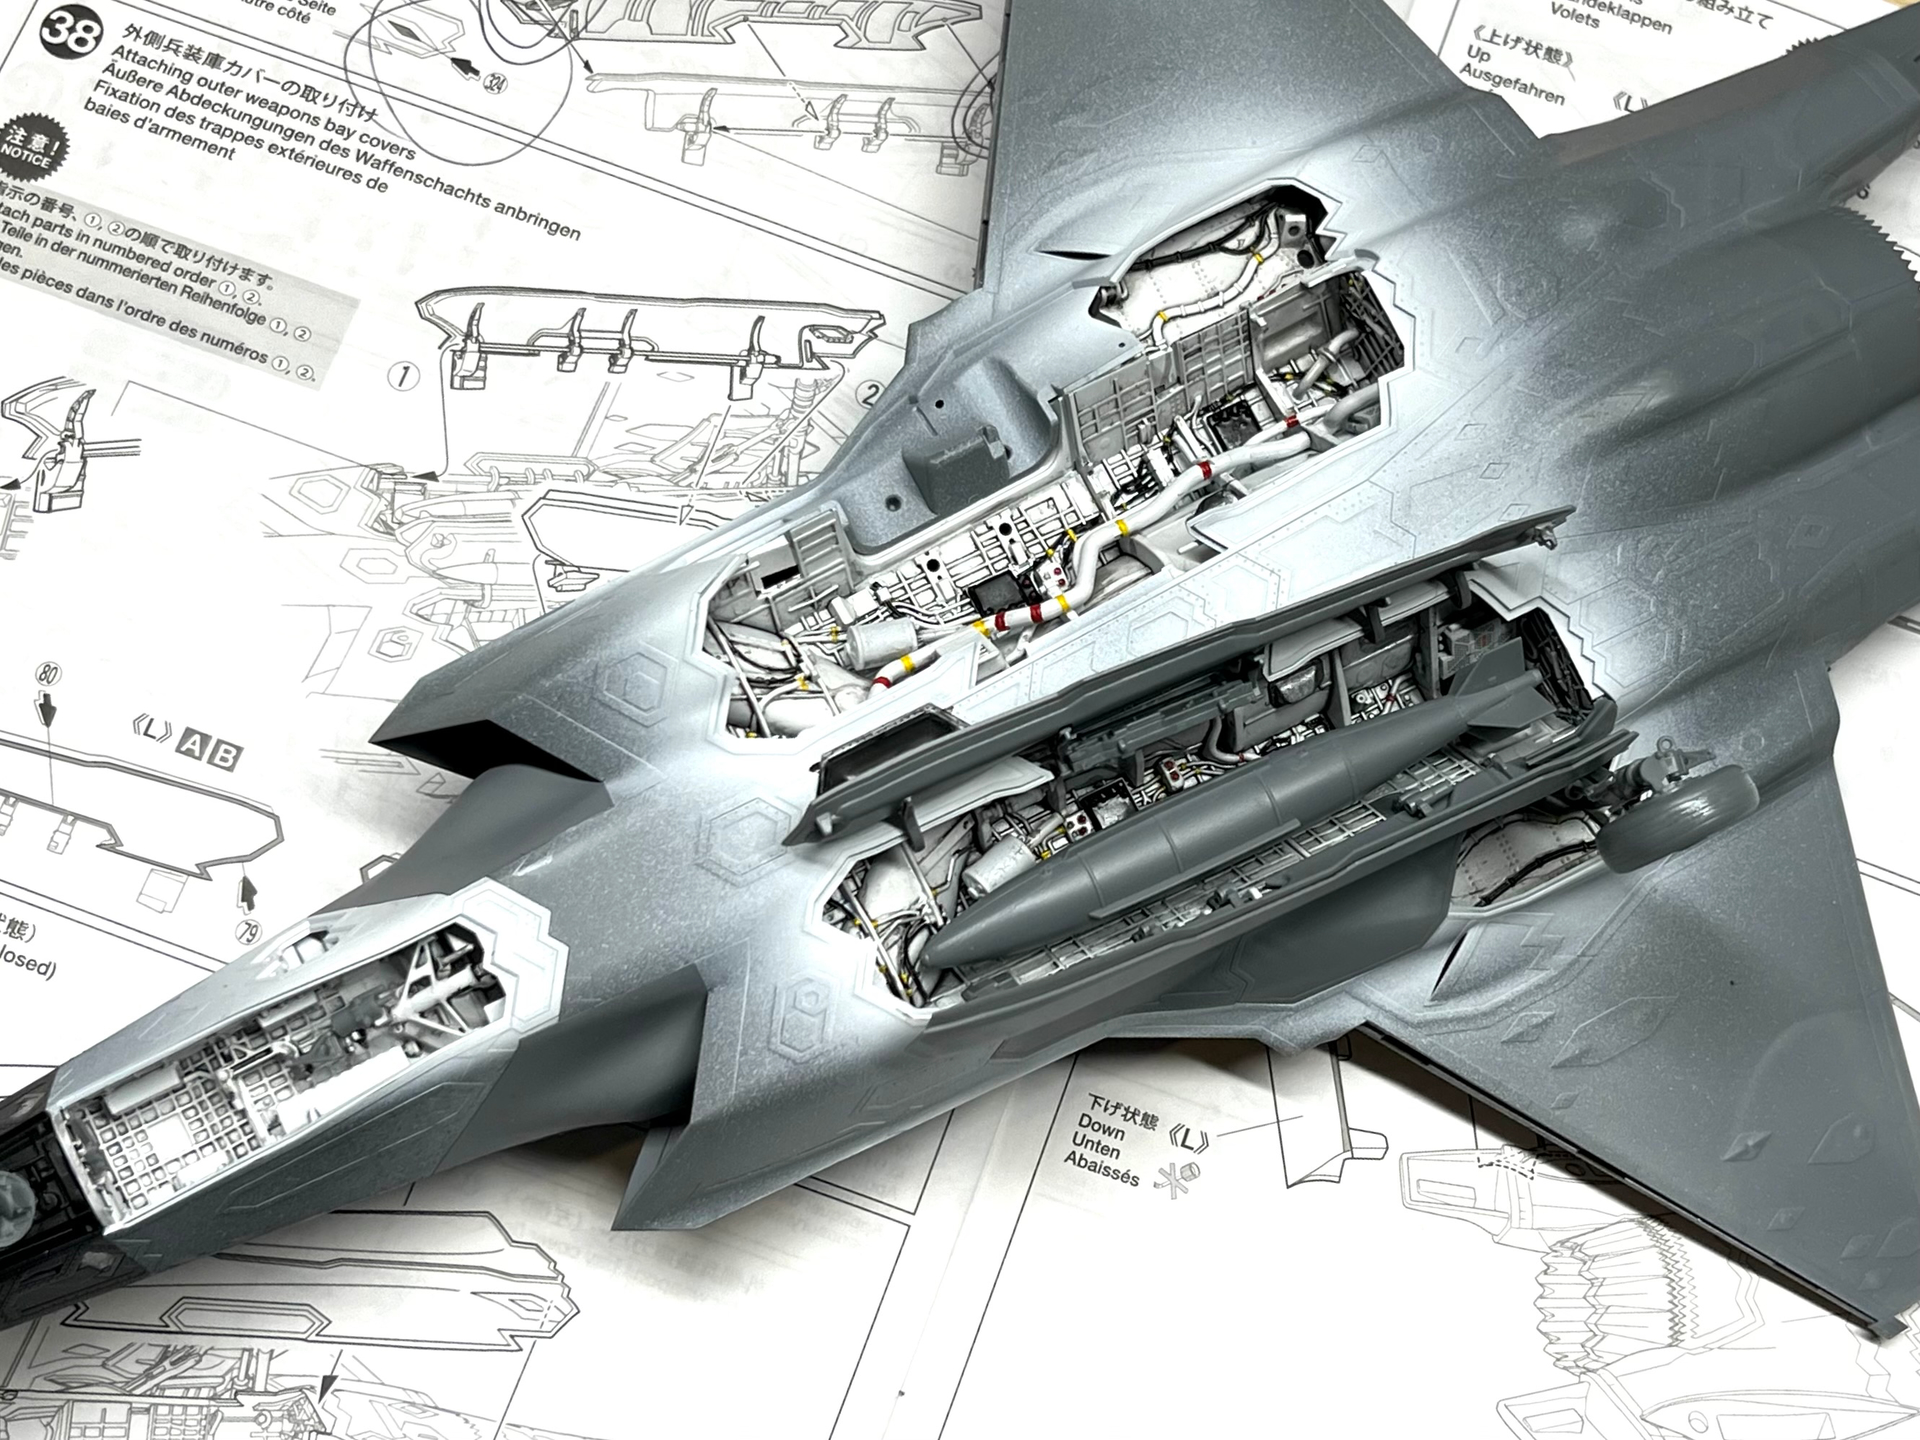
In the thick of painting prep with Tamiya’s amazing 1/48 F-35A. Parts cleanup is mostly done, just a few pieces to install and then it’s more gray and white than I’ve sprayed in my entire life.

24 Likes
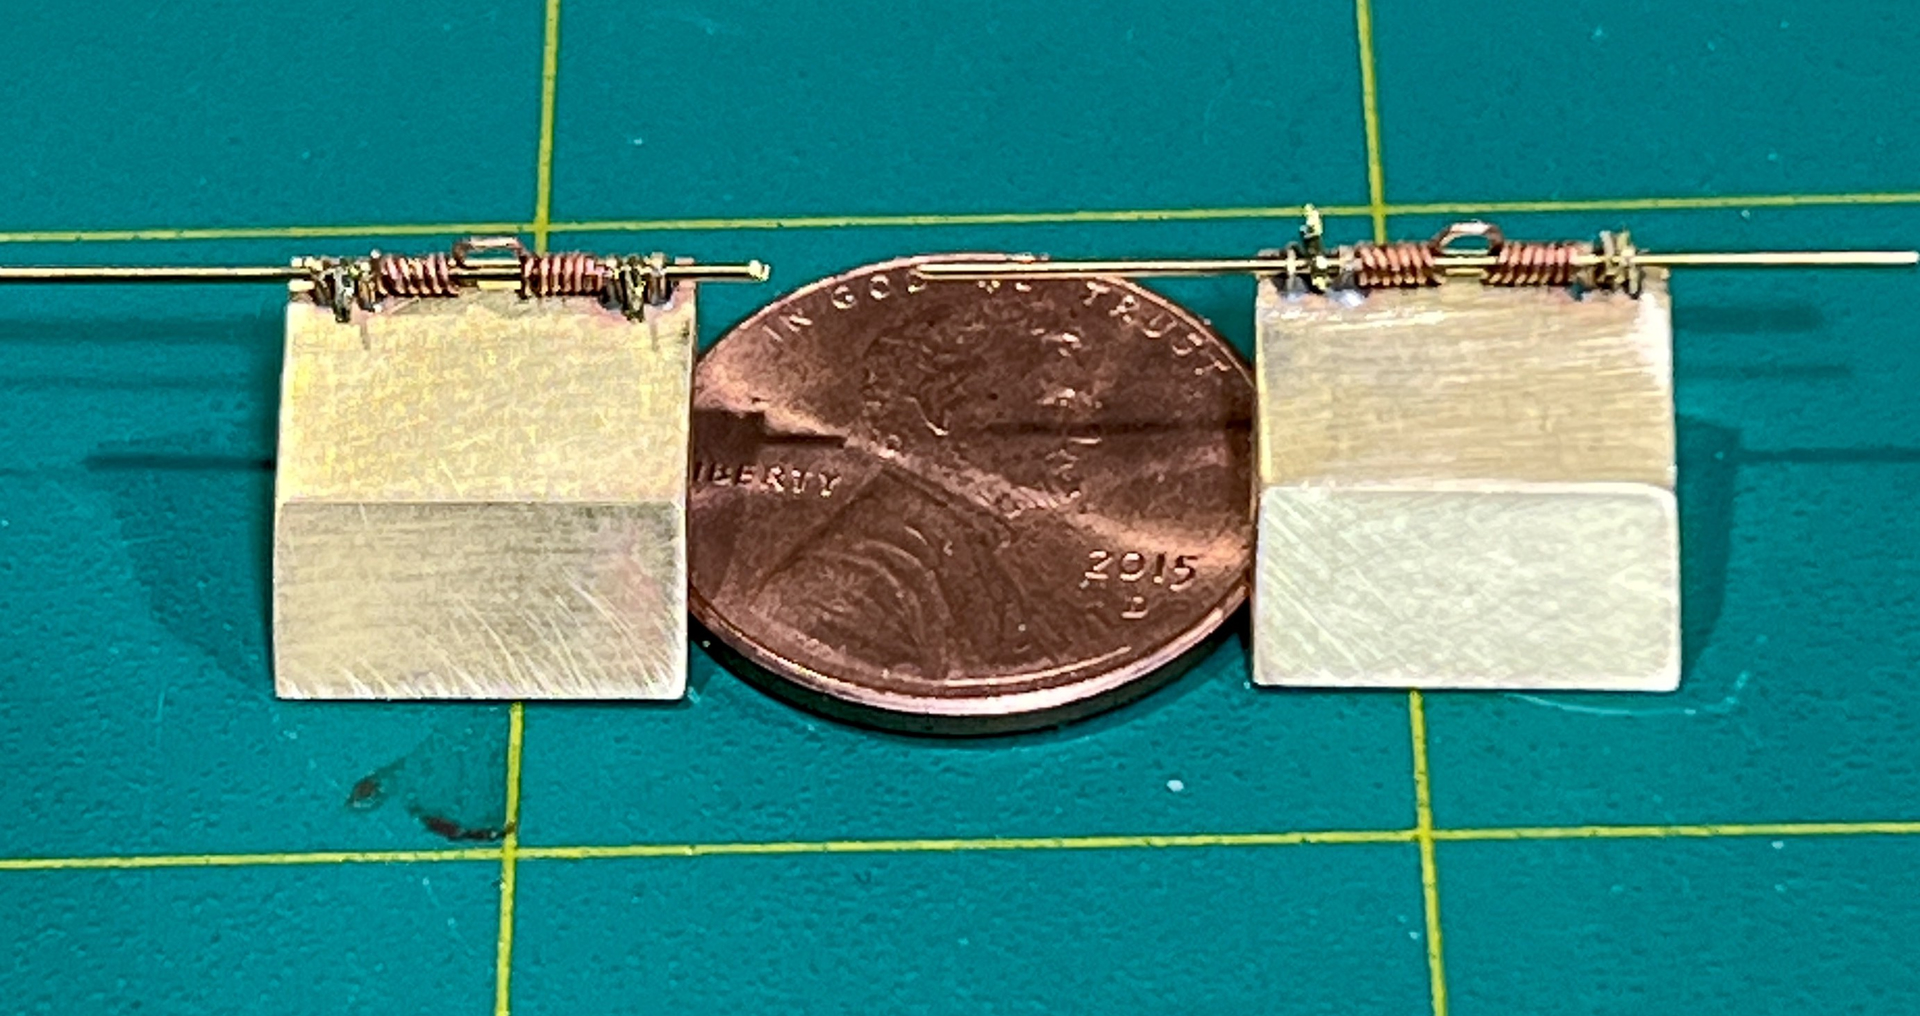
I spent the afternoon bending and soldering PE fenders, workable hinges, and springs for my M109A1 kit bash conversion. I’m trying to improve my PE skills.
15 Likes
Thanks, the rail is based on these and ‘artistic interpretation’ as I don’t son’t strive for 100% historic accurasy……
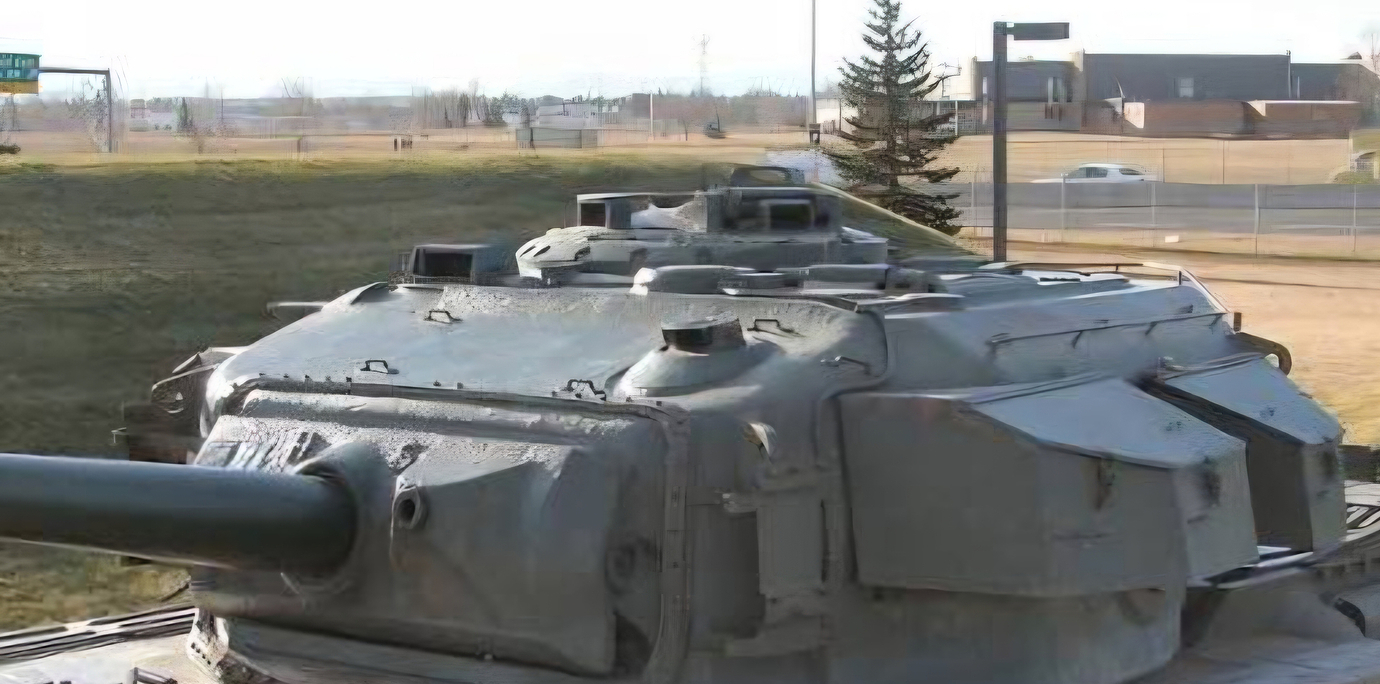
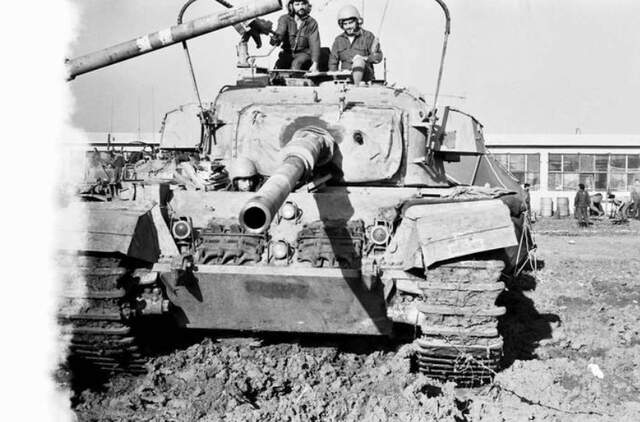
The idlers is actually just a case of mounting them wrong….
3 Likes
Hi, did you make the camo net yourself? It’s nice…
1 Like
Yes I did. It is pretty simple, just gauze drenched in diluted white glue and sprinkled with tea leafs from a teabag.
2 Likes
Great to see this! I do similar with my grandchildren when they visit. Wonderful stuff.
2 Likes
welcome
1 Like
My work of yesterday was putting together 2 x 83 links, 2 x 83 teeth and 2 x 166 end connectors for my Takom Leo C2. Each link consists of 4 parts. Getting the parts off the sprues and cleaning them is very time consumpting but we are scale model builders, so we have patience … 
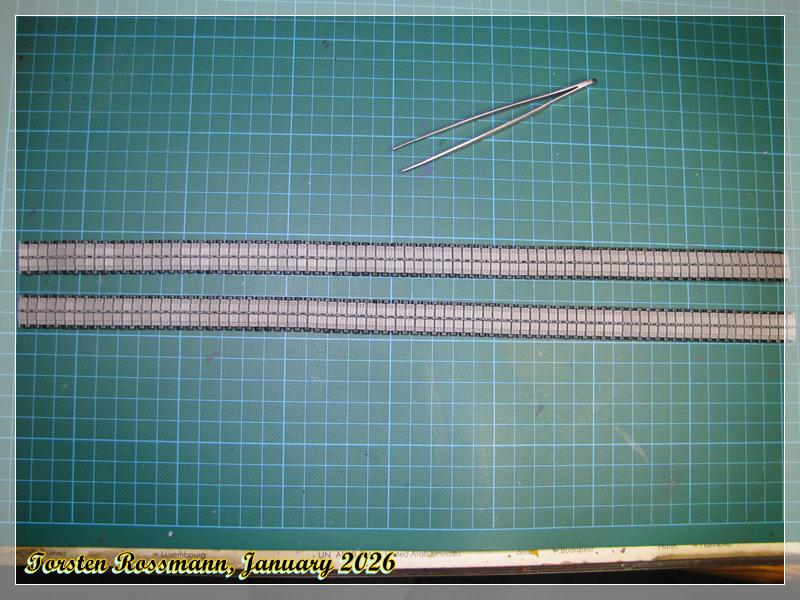
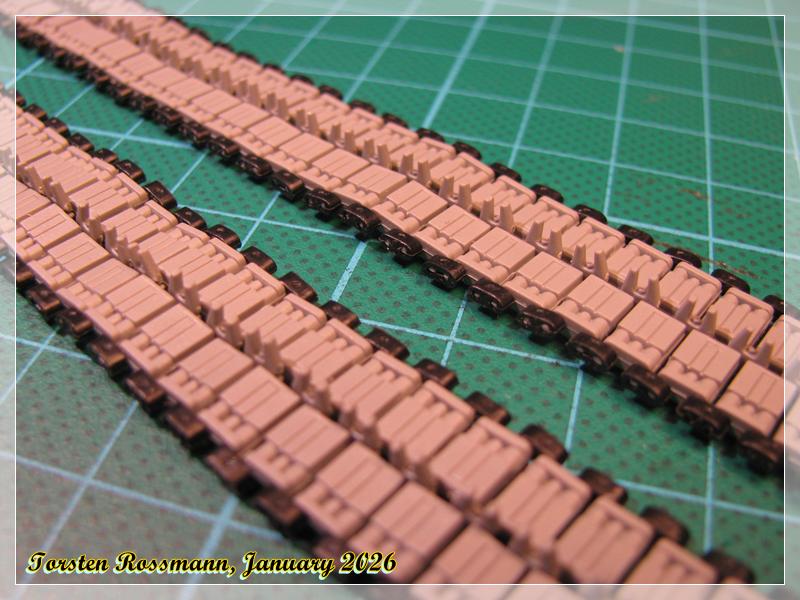
15 Likes
Laid out the various boxes for my next build. M54A2 as base for M543 Wrecker. Panzer Art wheels, M543 set from HobbyLink, winch detail kit from Mikey Bugs. Academy M113A3 to backdate to an A1, HL M125 mortar conversion set.
Miniart gas bottles for wrecker, finally a15 - ton Australian tilt bed trailer from Hobby Link.
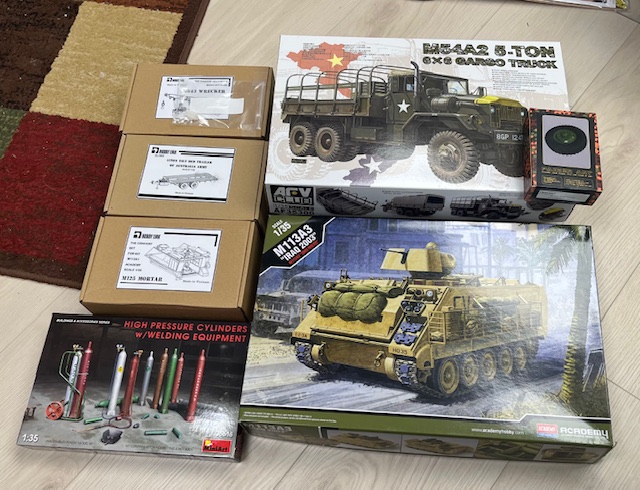
It’s for the Convoy 3 campaign and should keep me busy for a few months!
10 Likes


13 Likes
Yesterday, I took the work bench down to a clean surface. Added another large table and configured it into an “L” shape. Do I have the room now! But you know, I’ll still probably work in a cramped space.
Today’s project is to tackle the shelving units. Go thru the shelf queens and get rid of those kits that will never be finished. Then vacuum the work space and start 2026 CLEAN!
6 Likes
Thank you! Already thought that you did it this way, but your net looks better than most I have seen done this way.
2 Likes