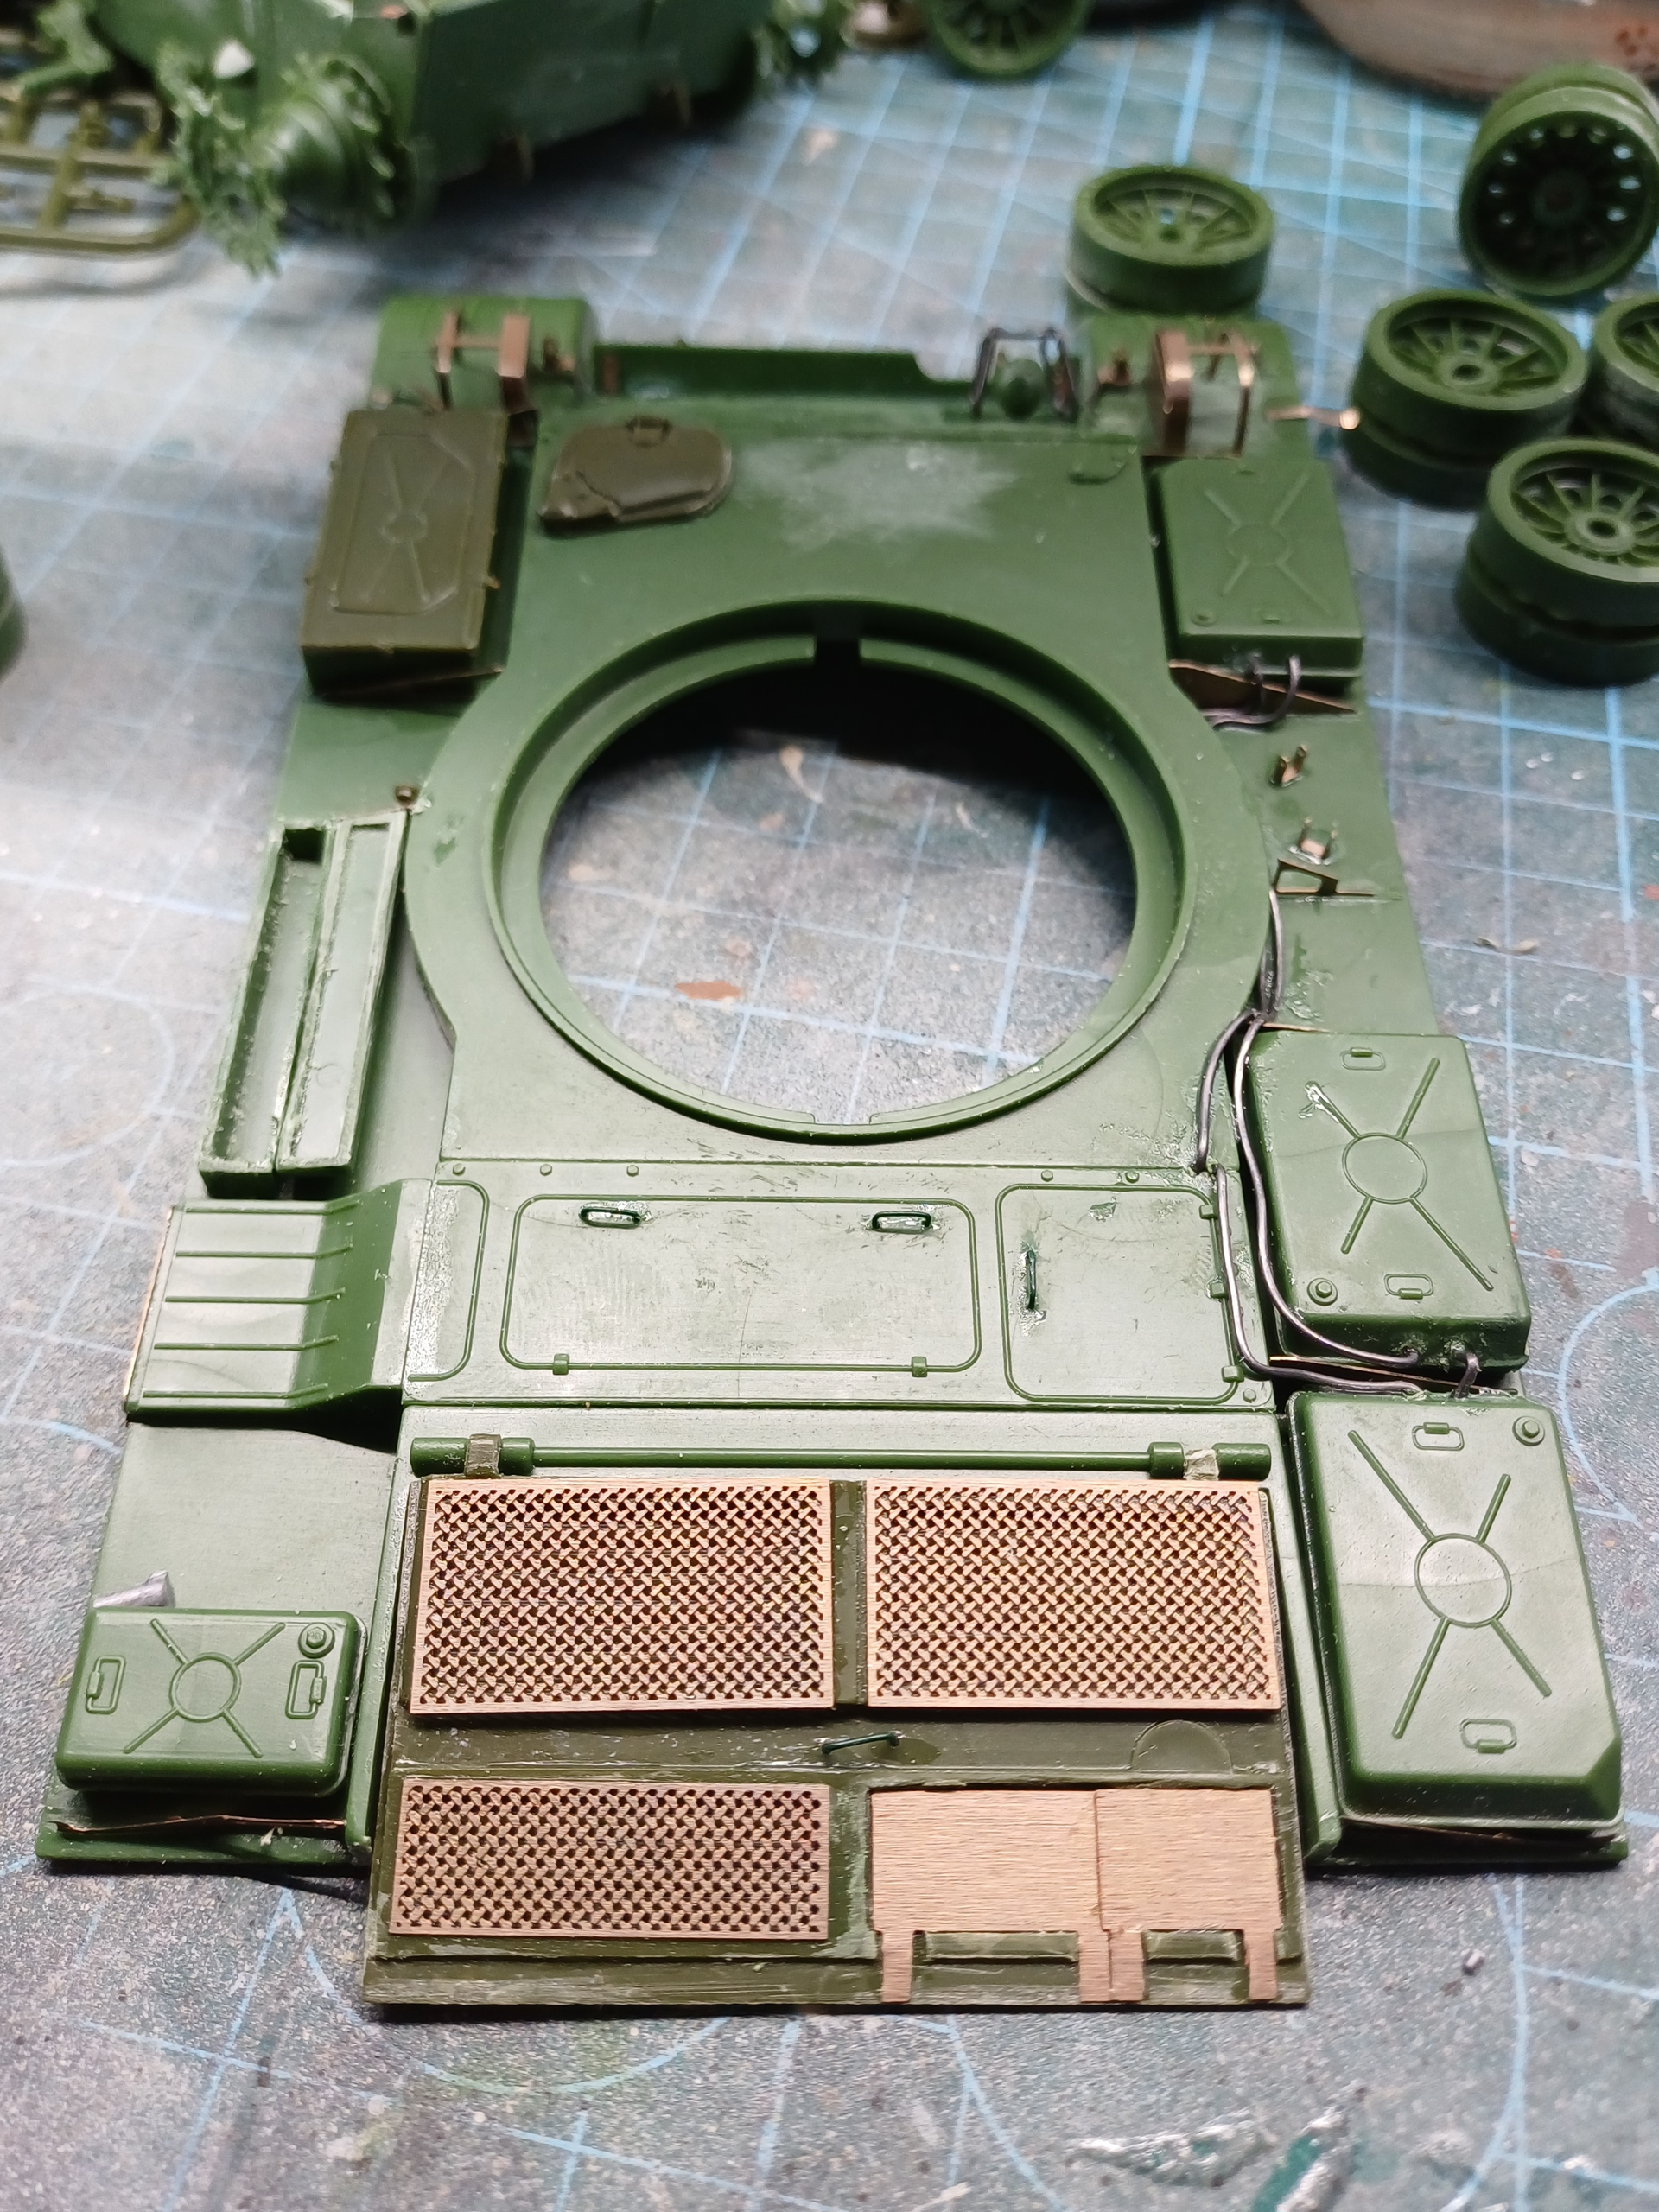
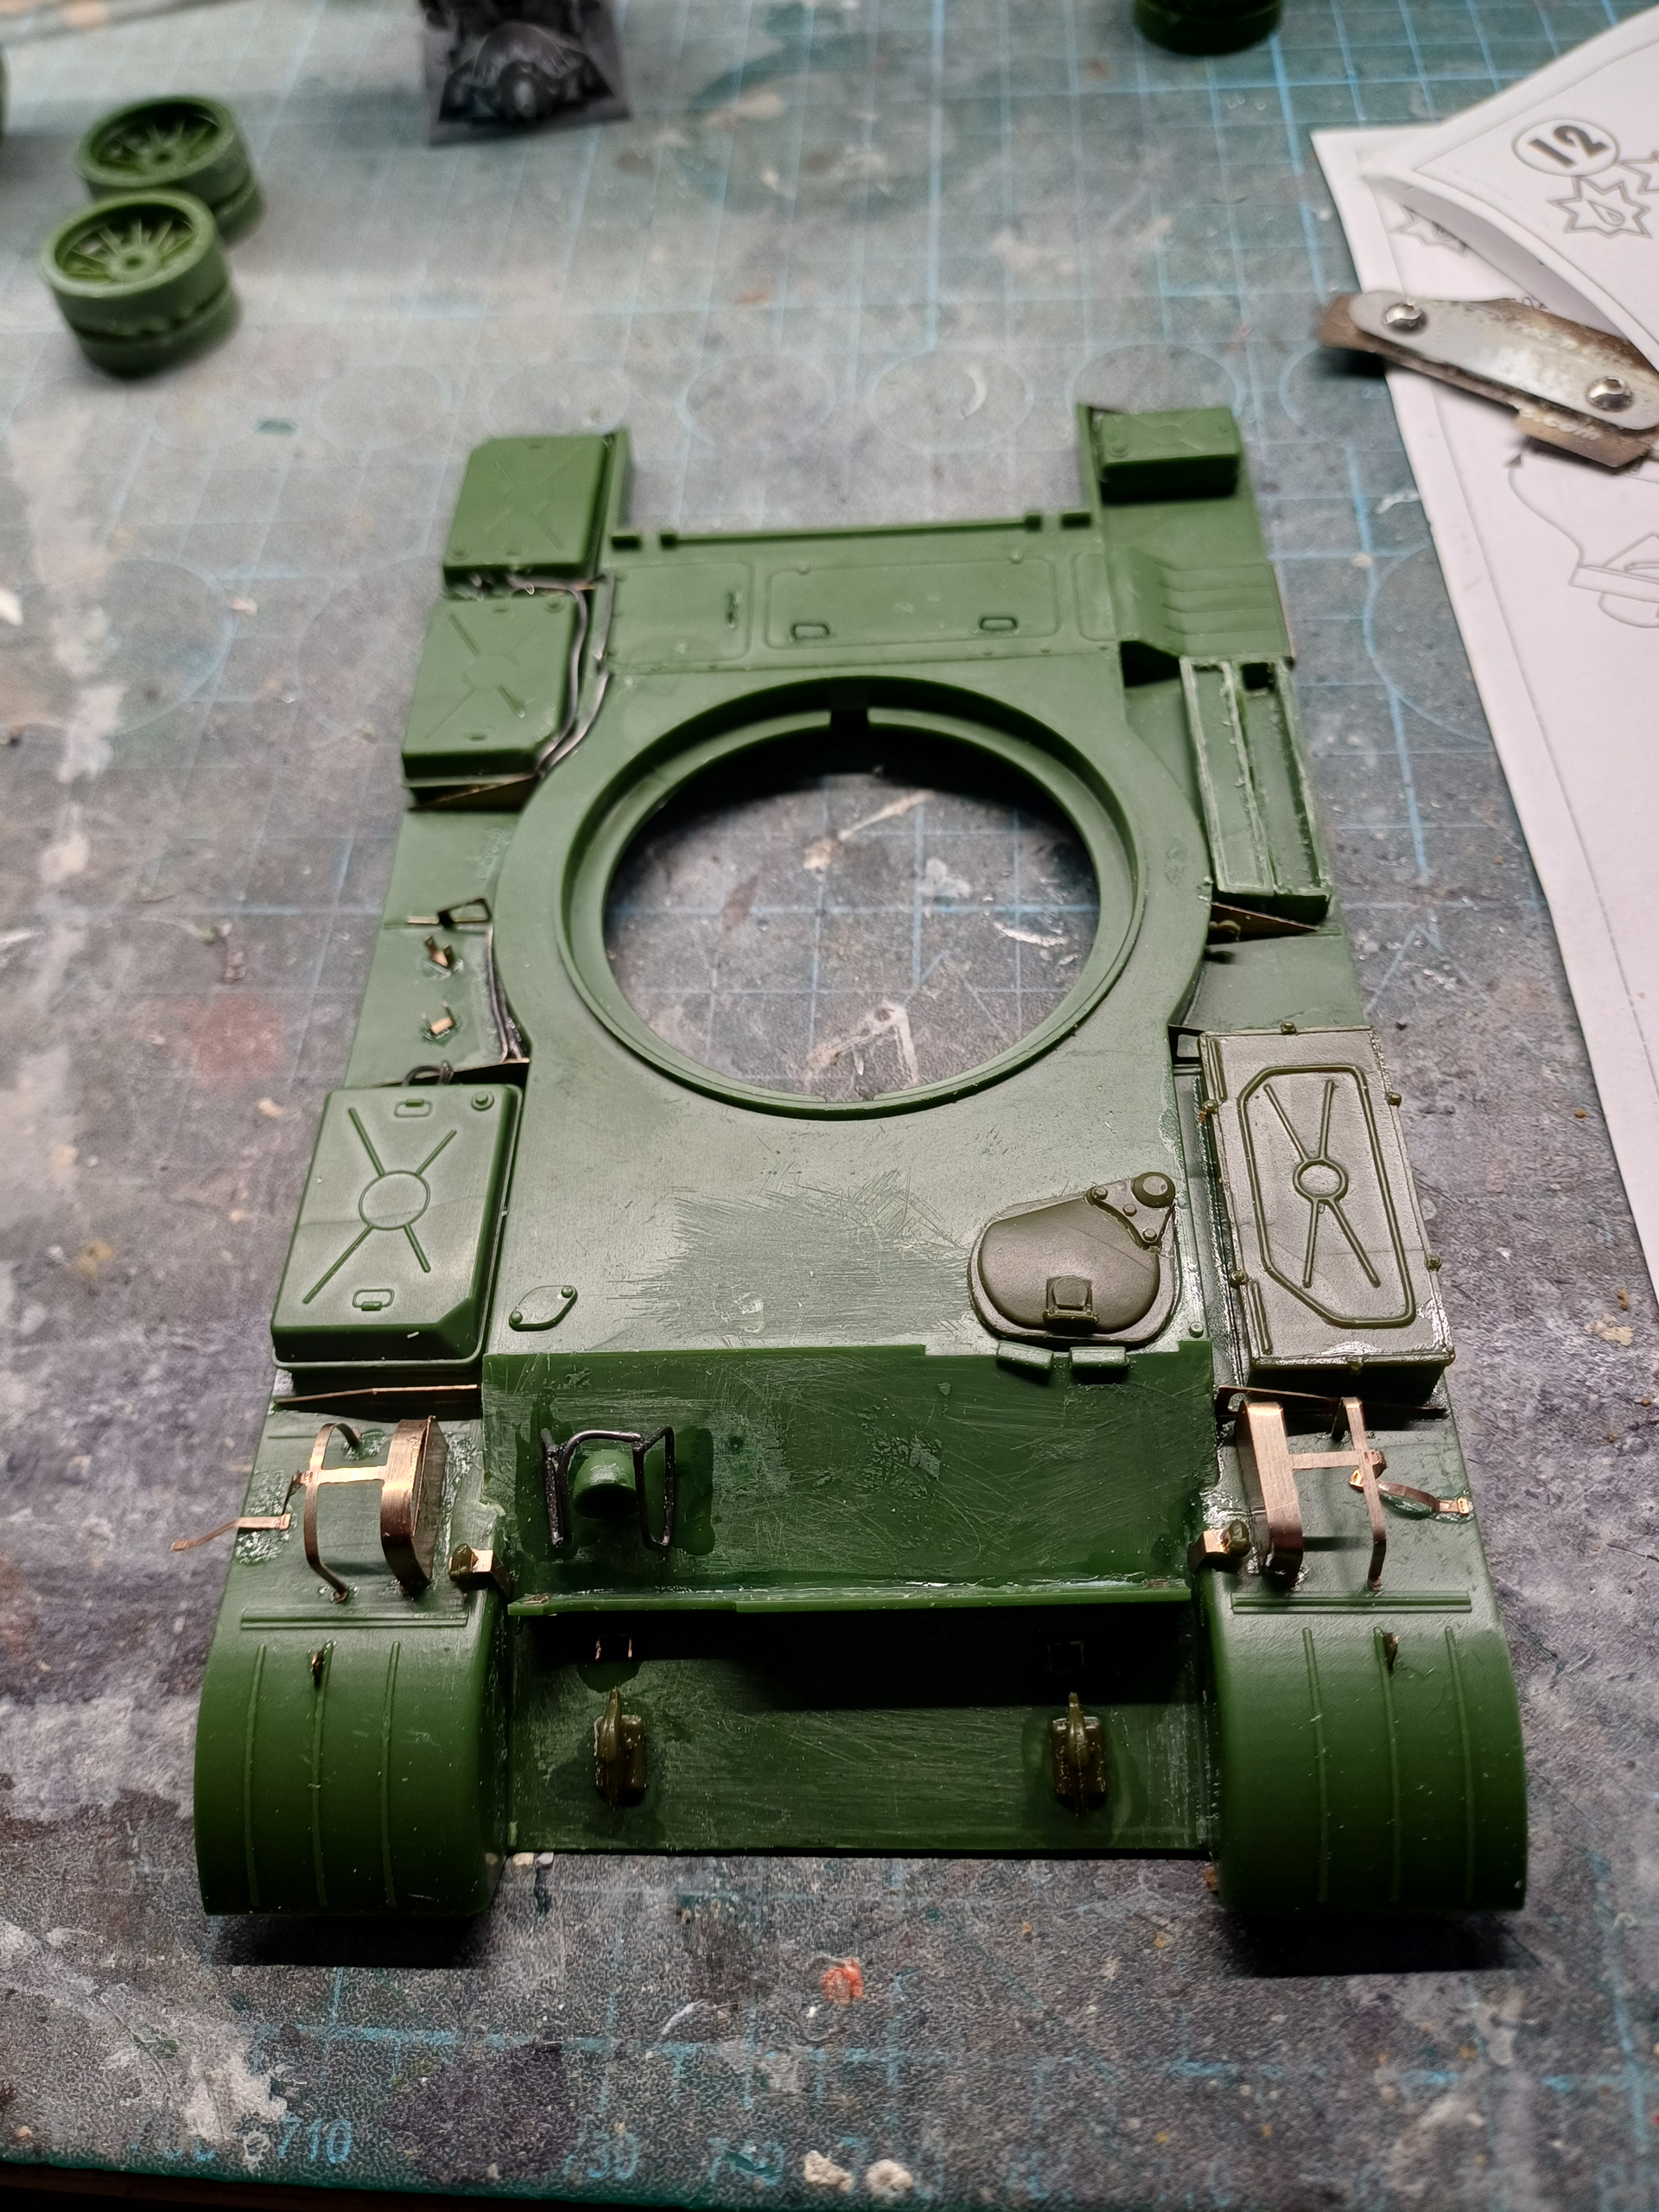
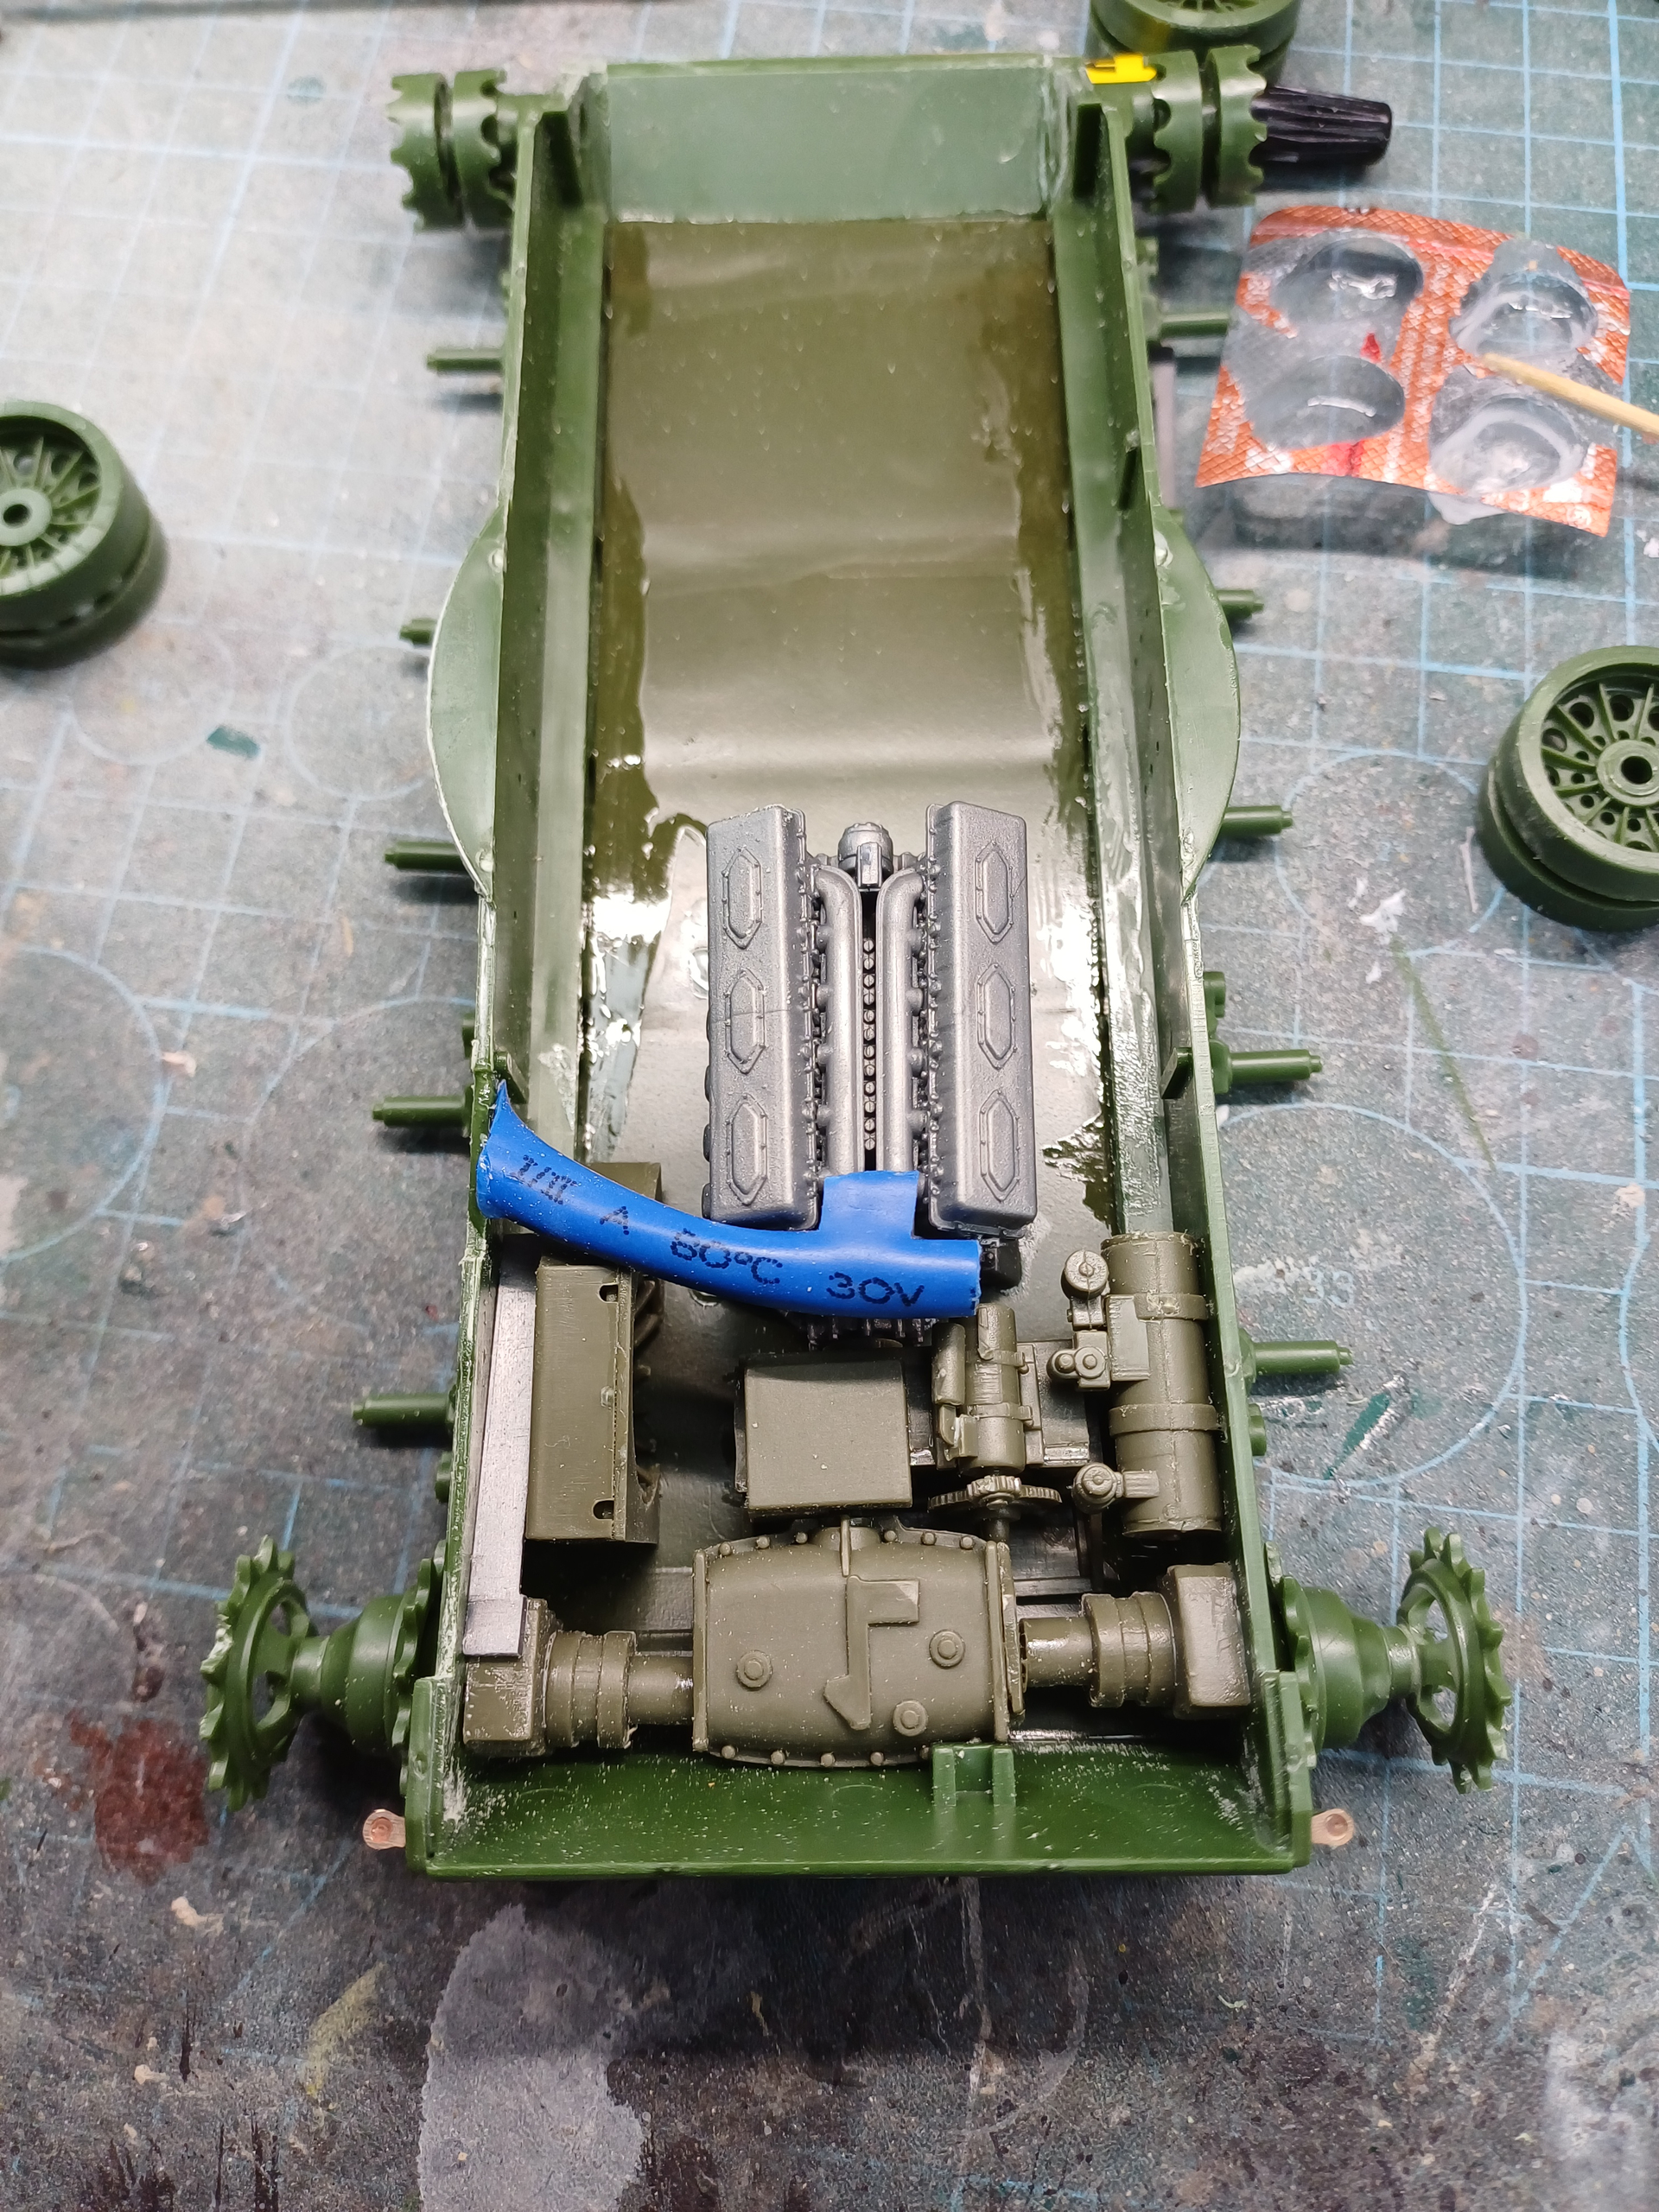
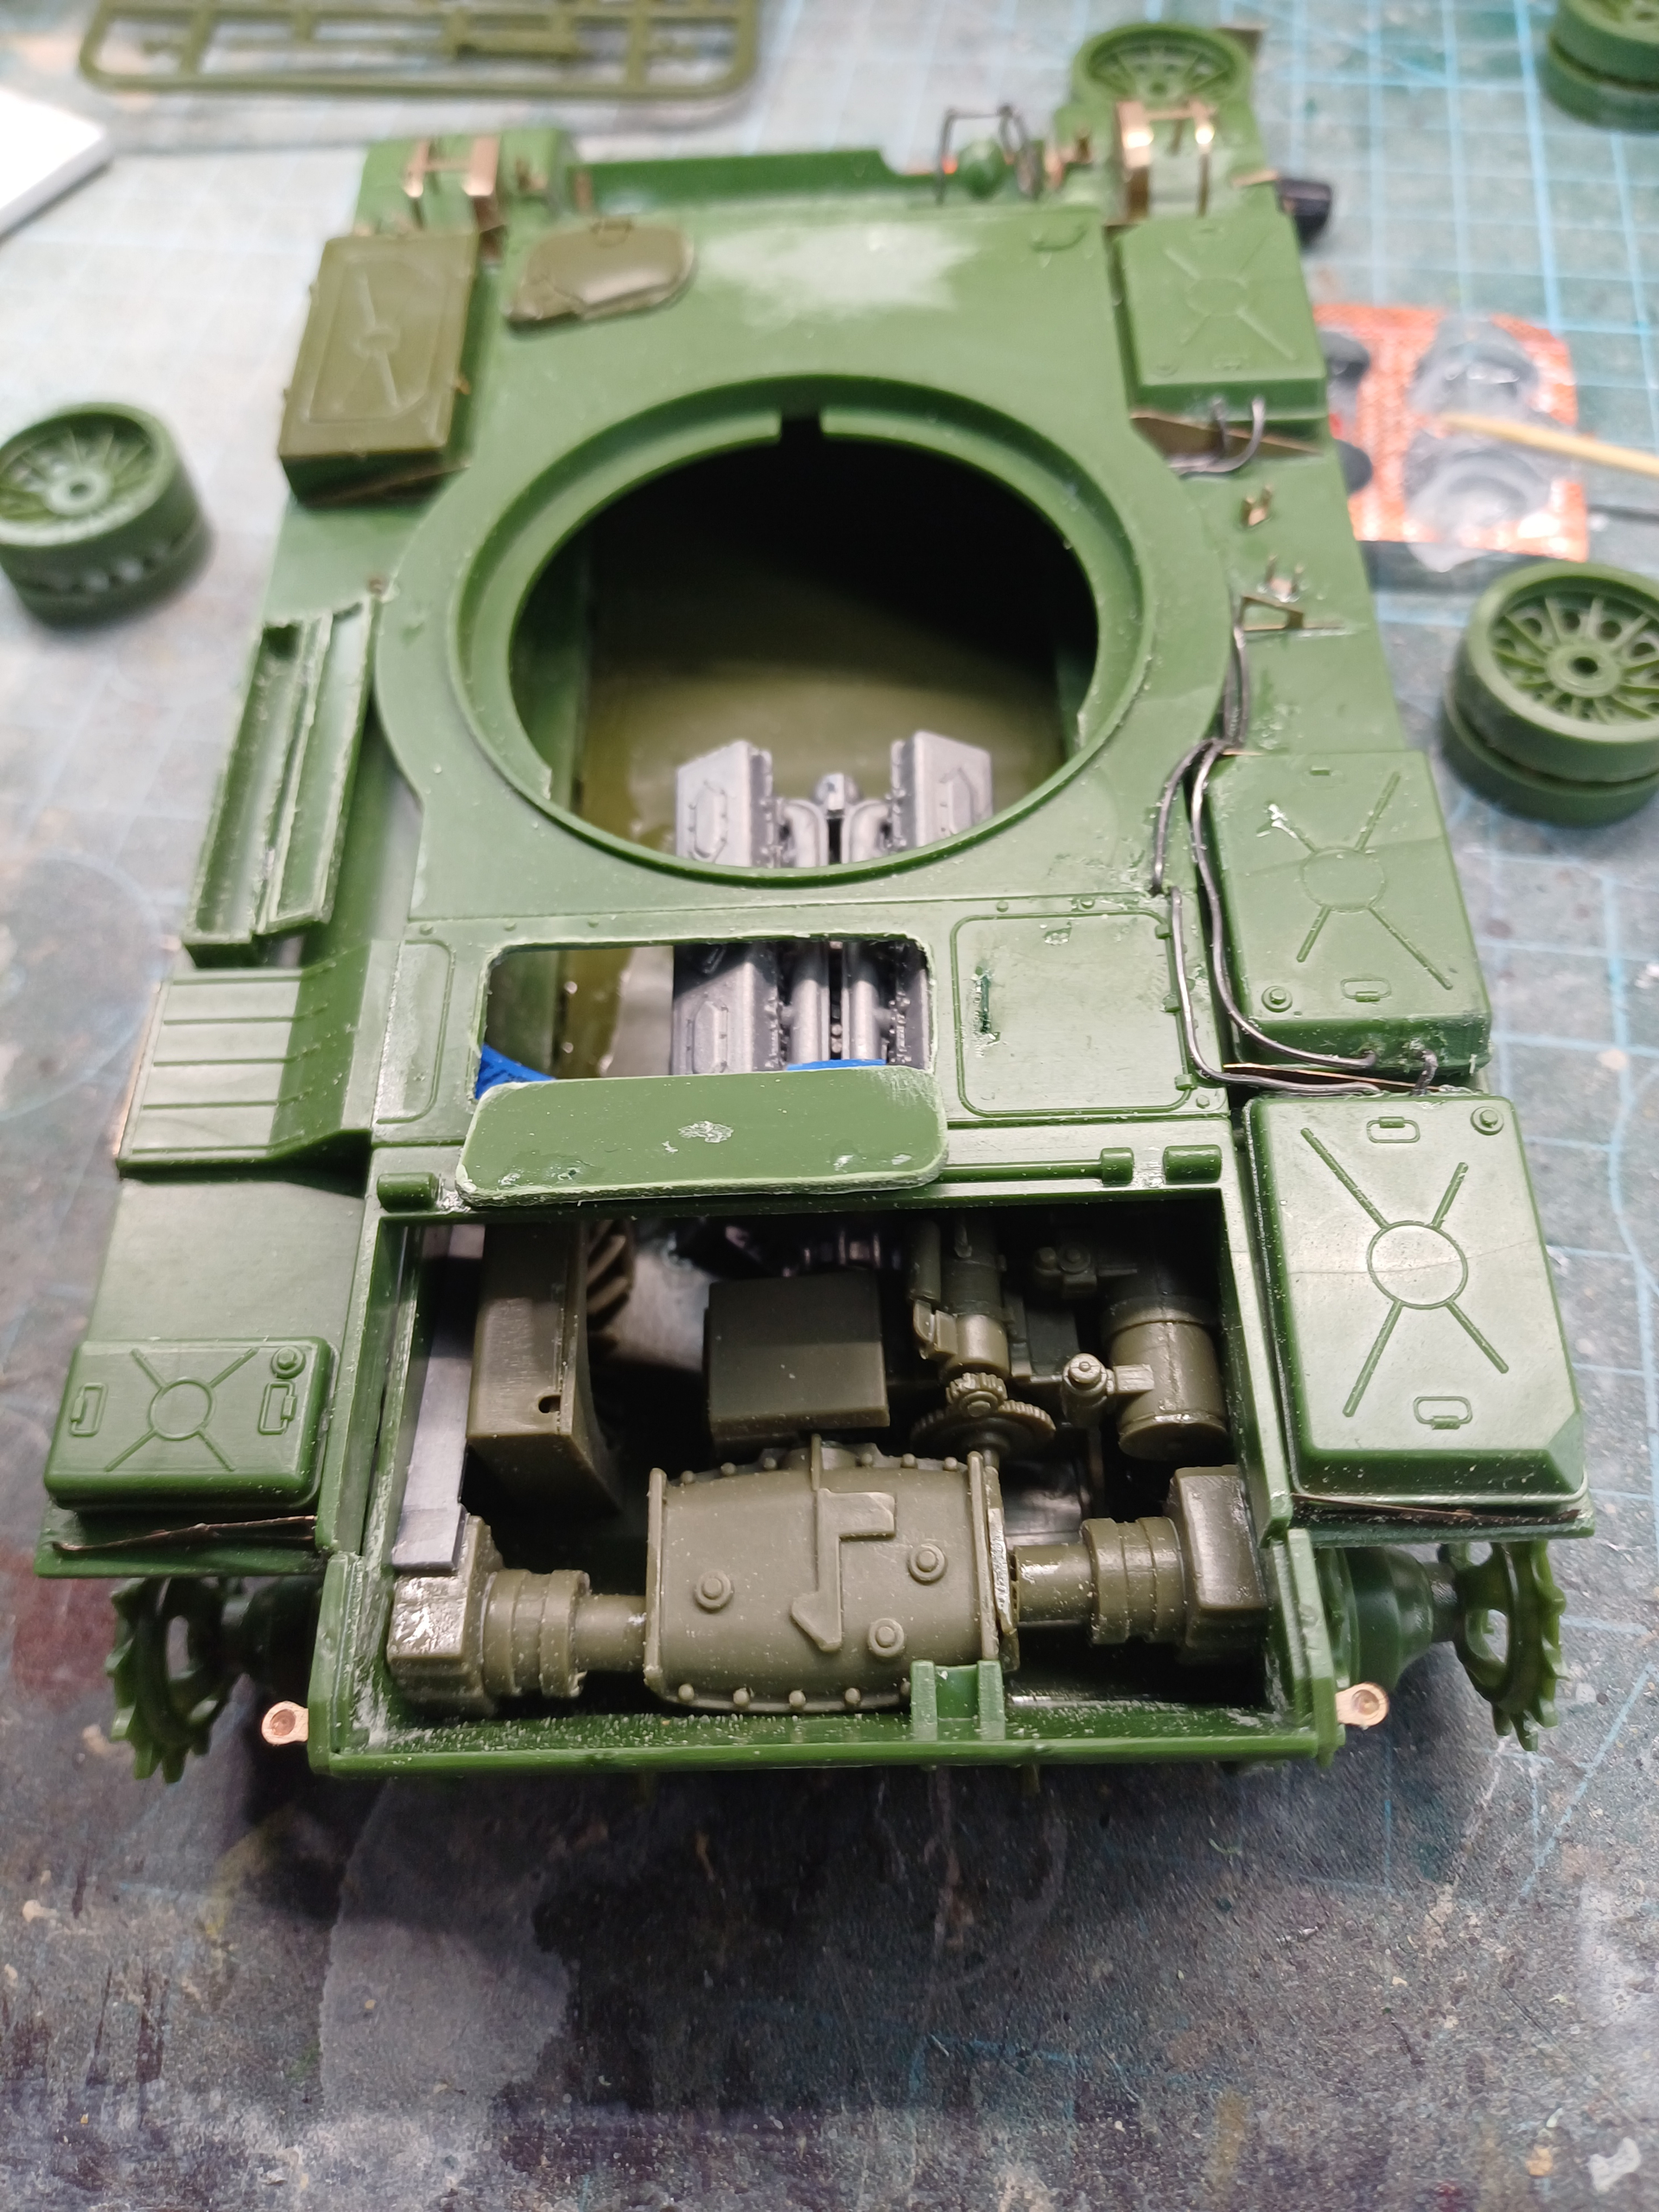
I’ve run into a stand still on models for this project, as I am stuck waiting for primer and paint. That said, there was plenty to do on the diorama, not the major elements, but adding the elements to try and tie things together:
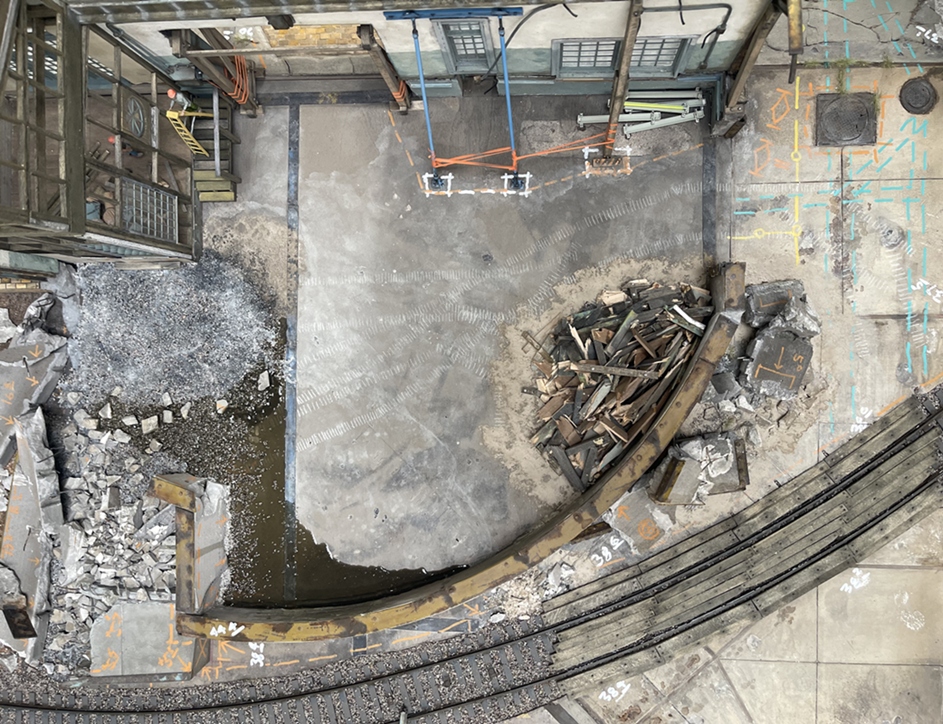
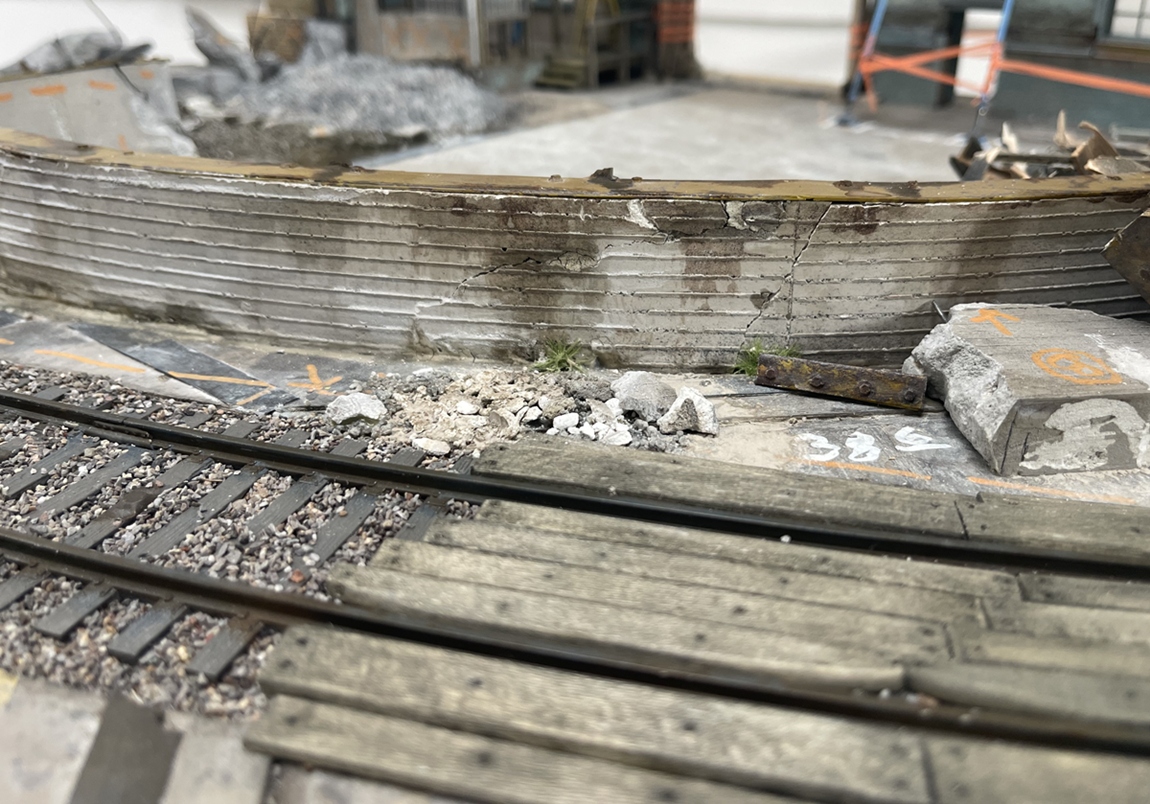
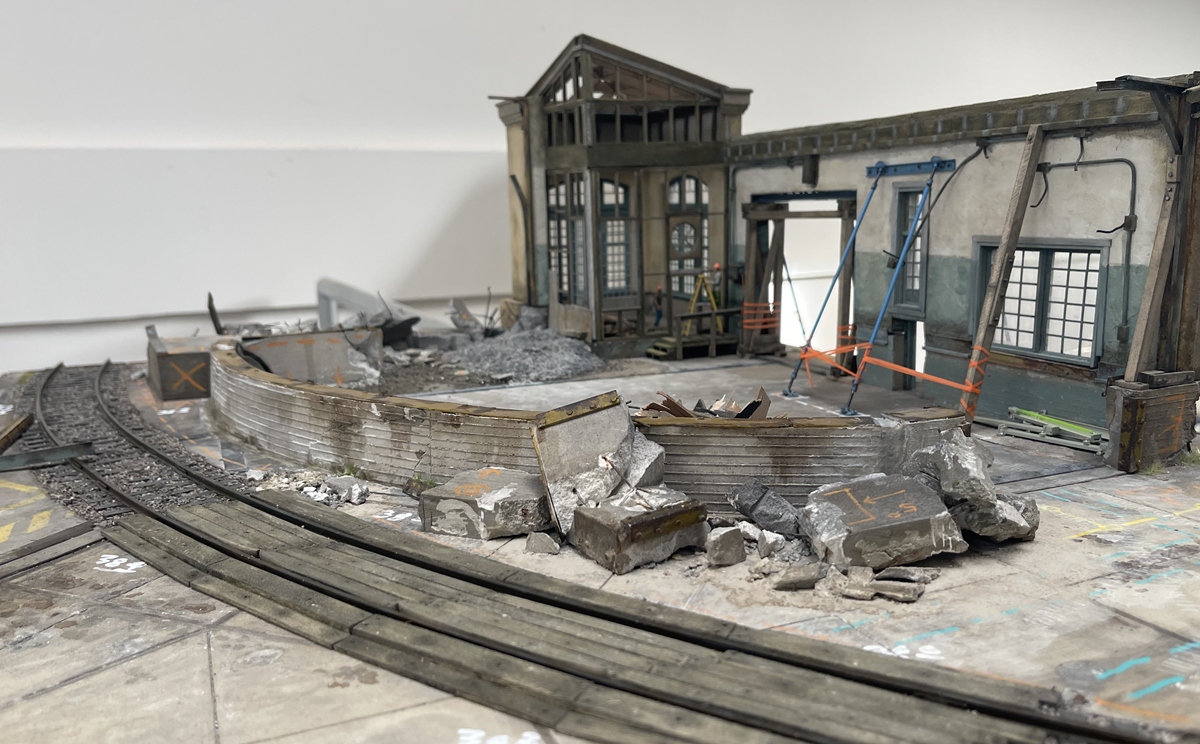
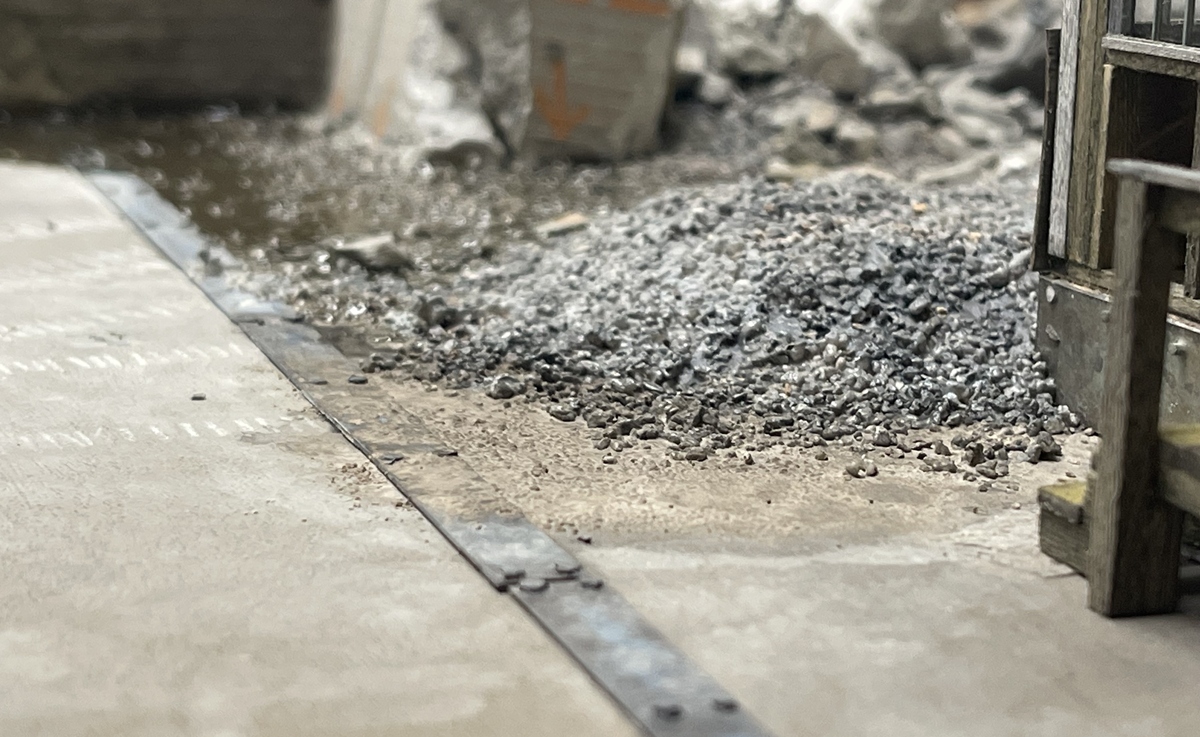
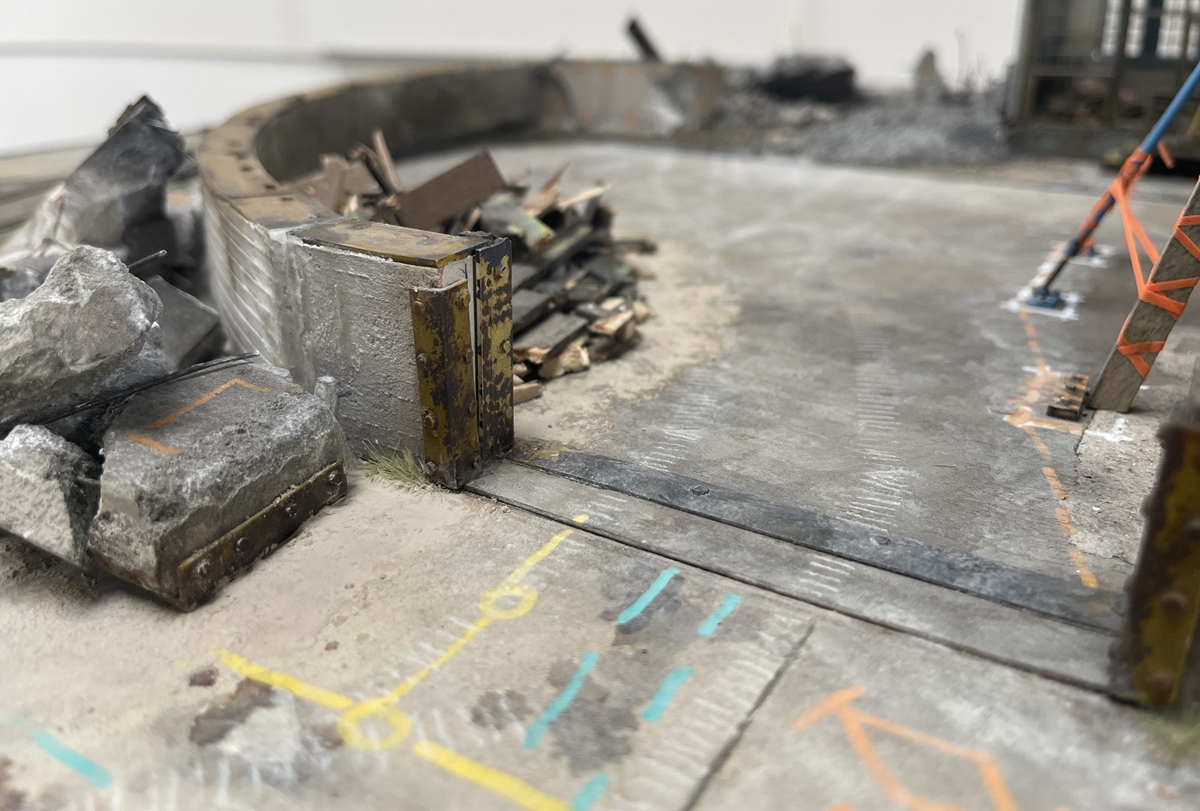
Work here began by adding a wash of dust to selected portions of the building slab, adding track marks from the small CAT, and another flood of dust wash. Then made up a pile of wood debris (on the right) and “planting” it to the slab with a surround of light dust pigment. Then, added some water runoff, and more pigment all around.
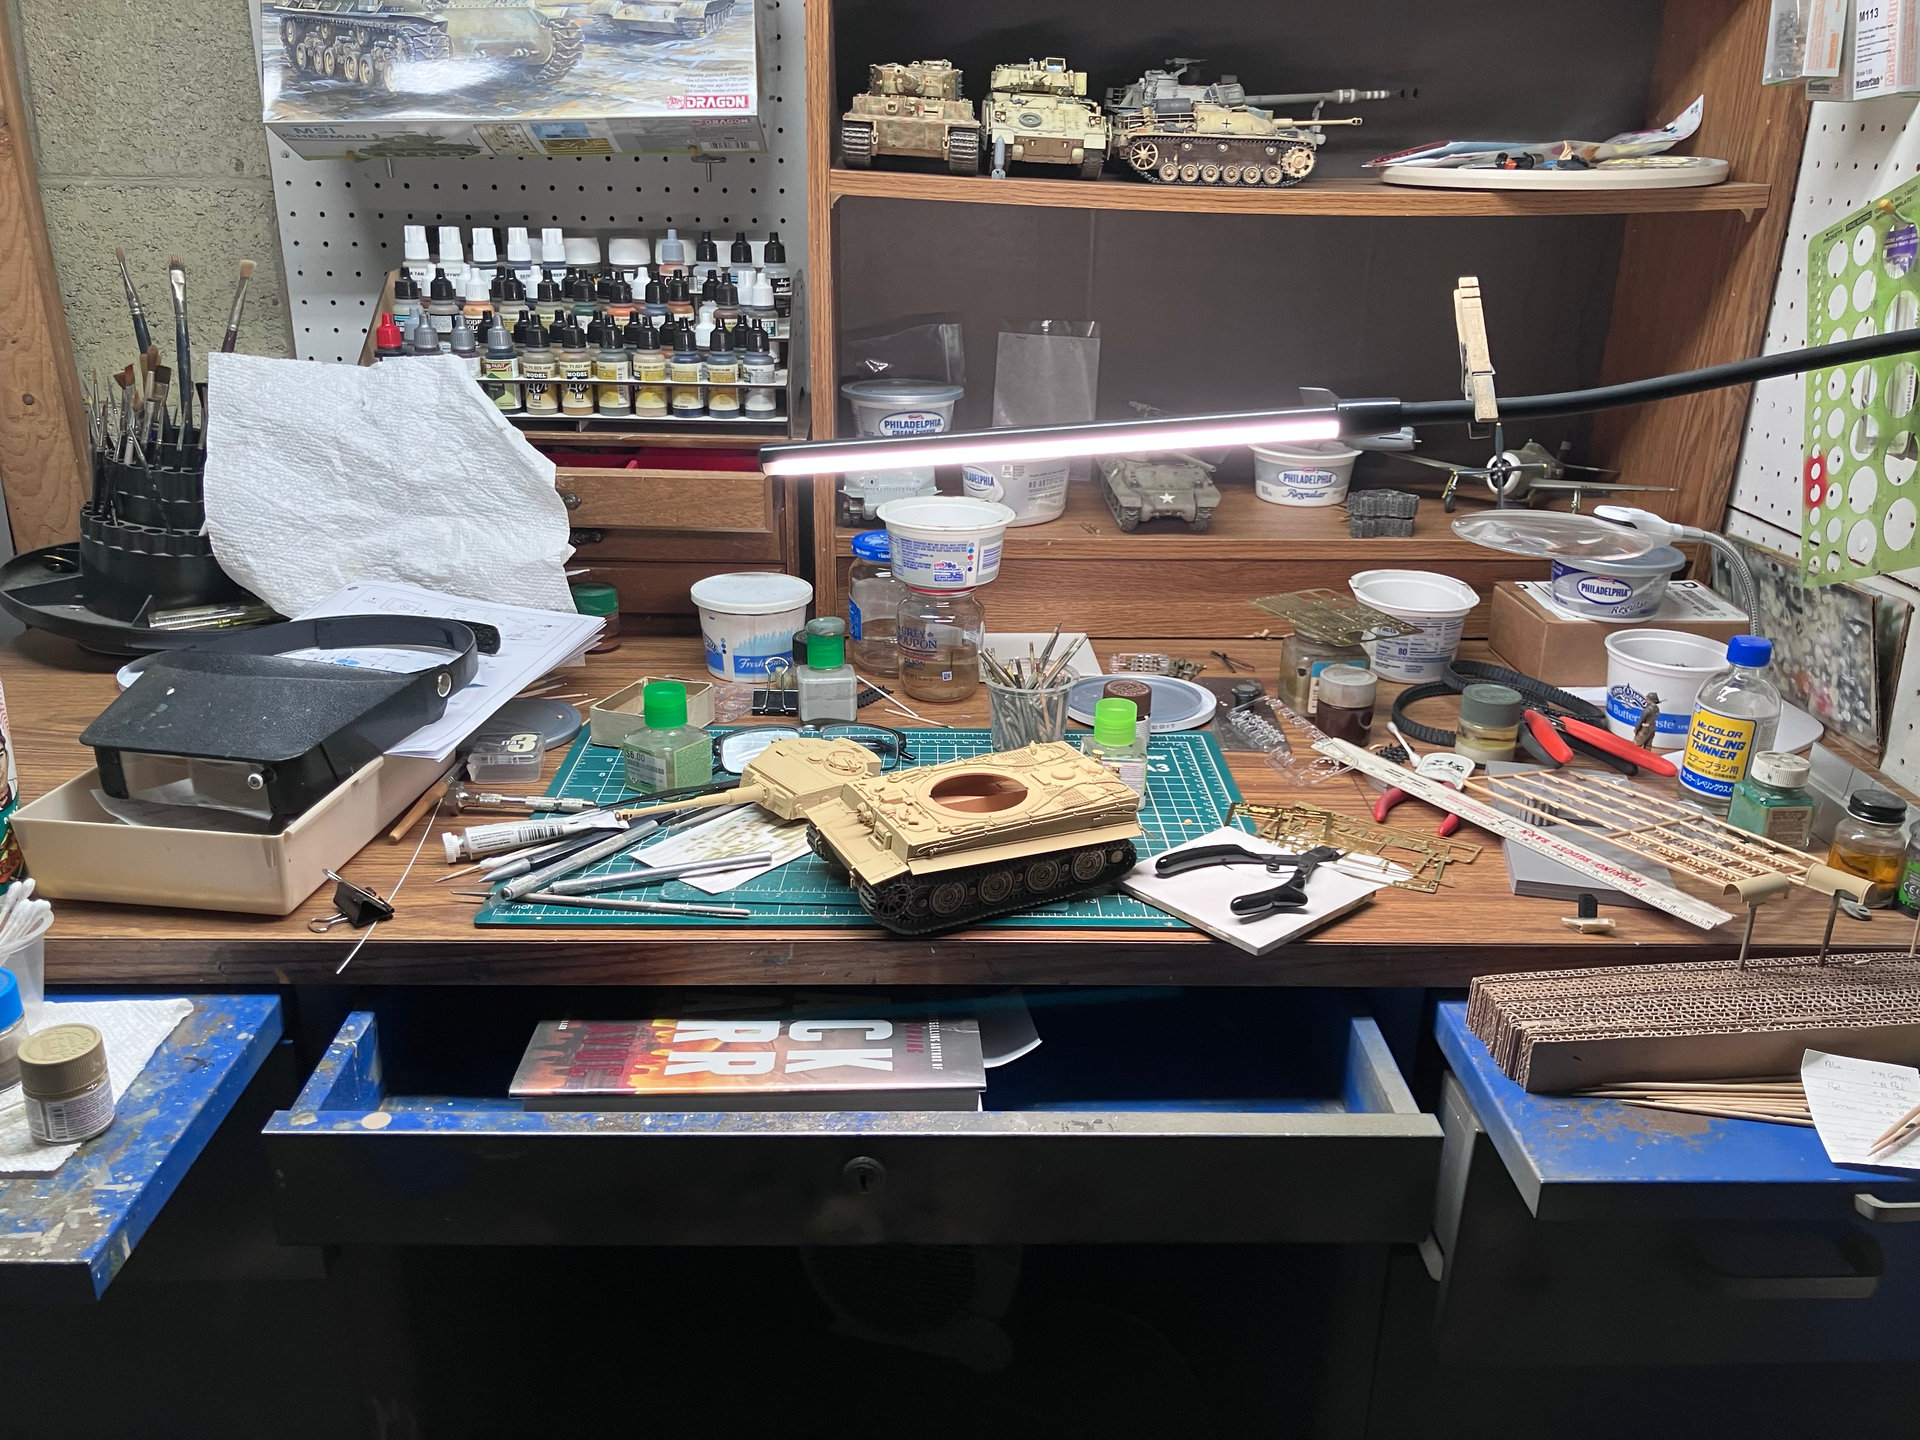
I hate to tell you this, but the amount of stuff you collect will expand to fill any new space; and no matter how big your bench is, you still do all of your work in a 12 inch square right in front of you. Modeling axioms.
Can definitely vouch for 12x12 work space, with everything else in reach, or just in case, always filling the airbrush area, with stuff for the on going project.
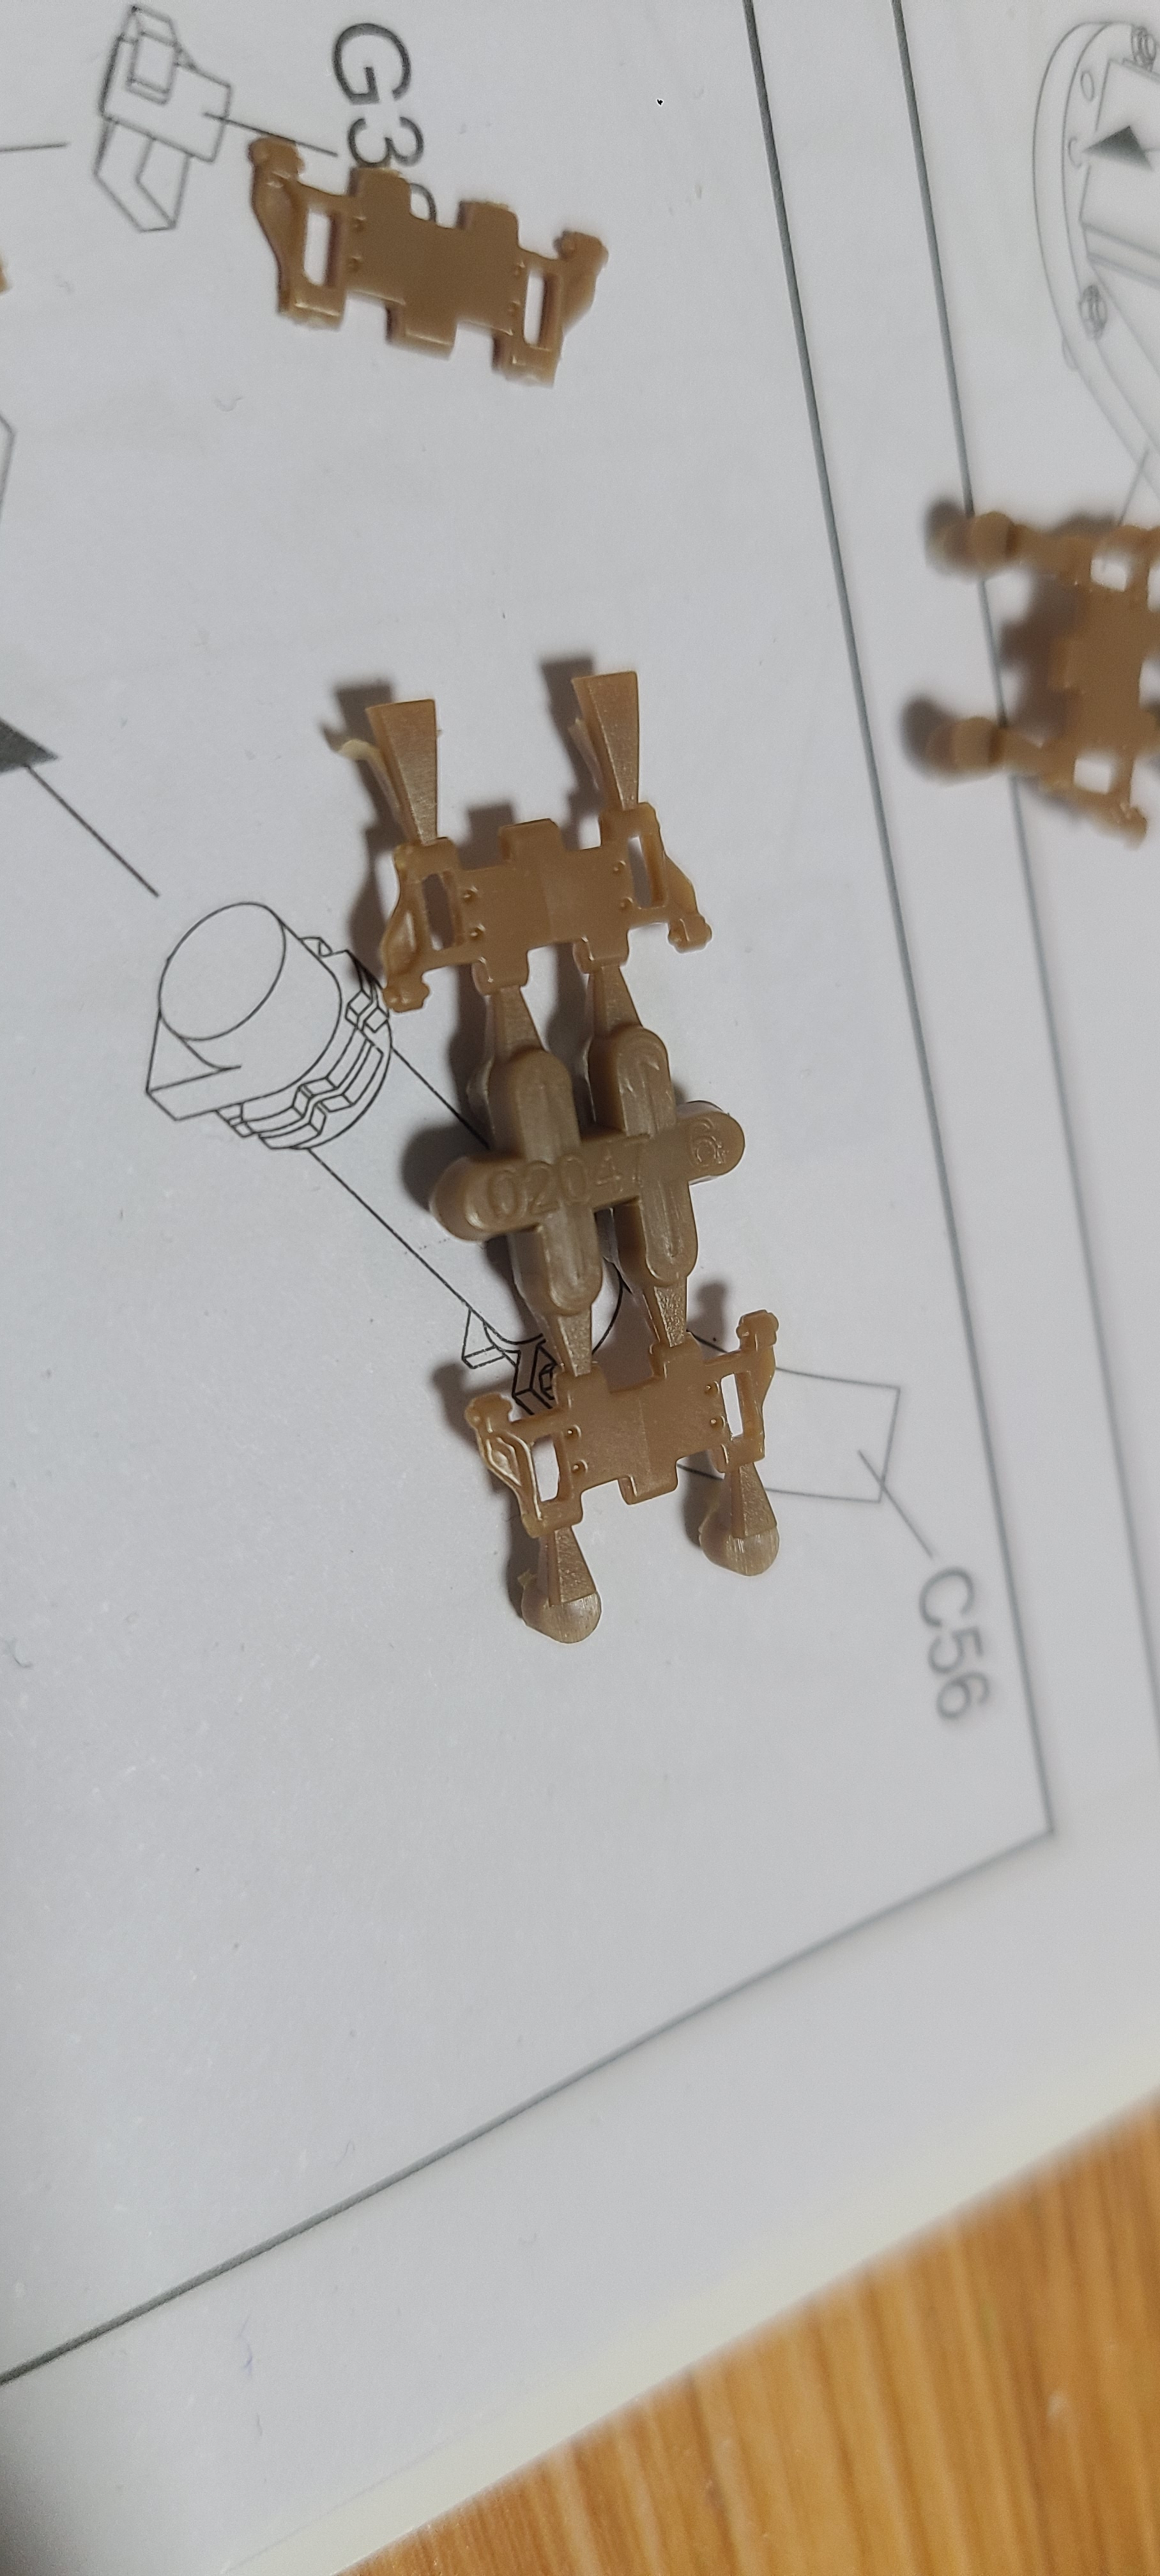
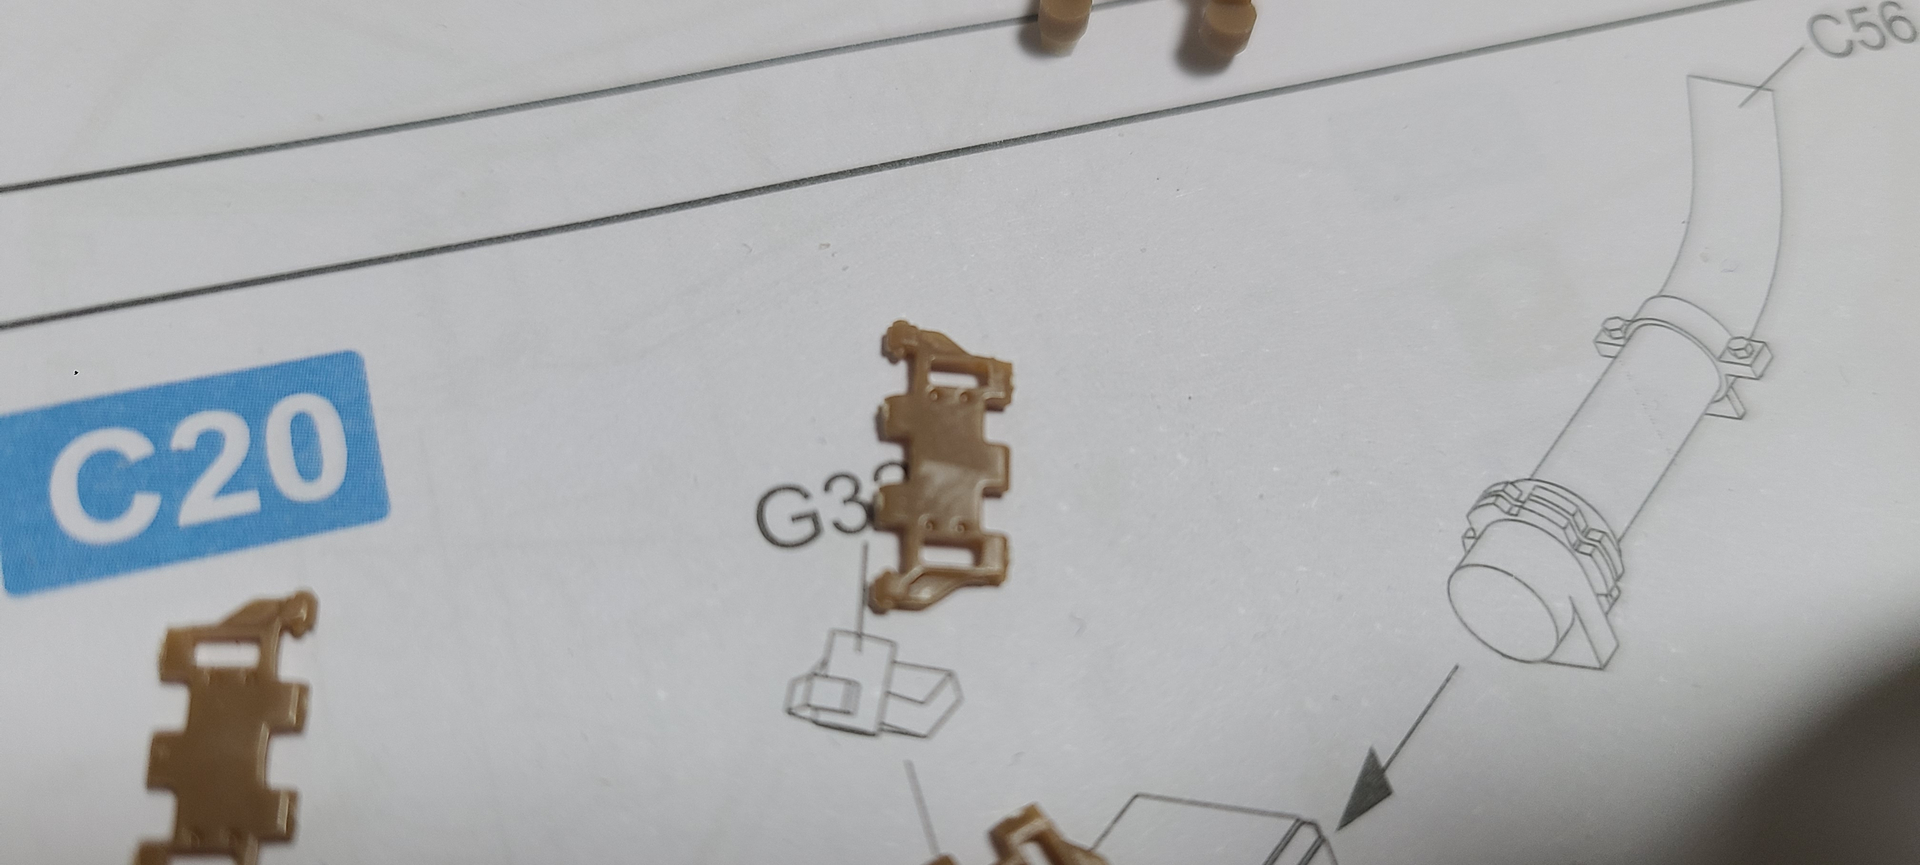
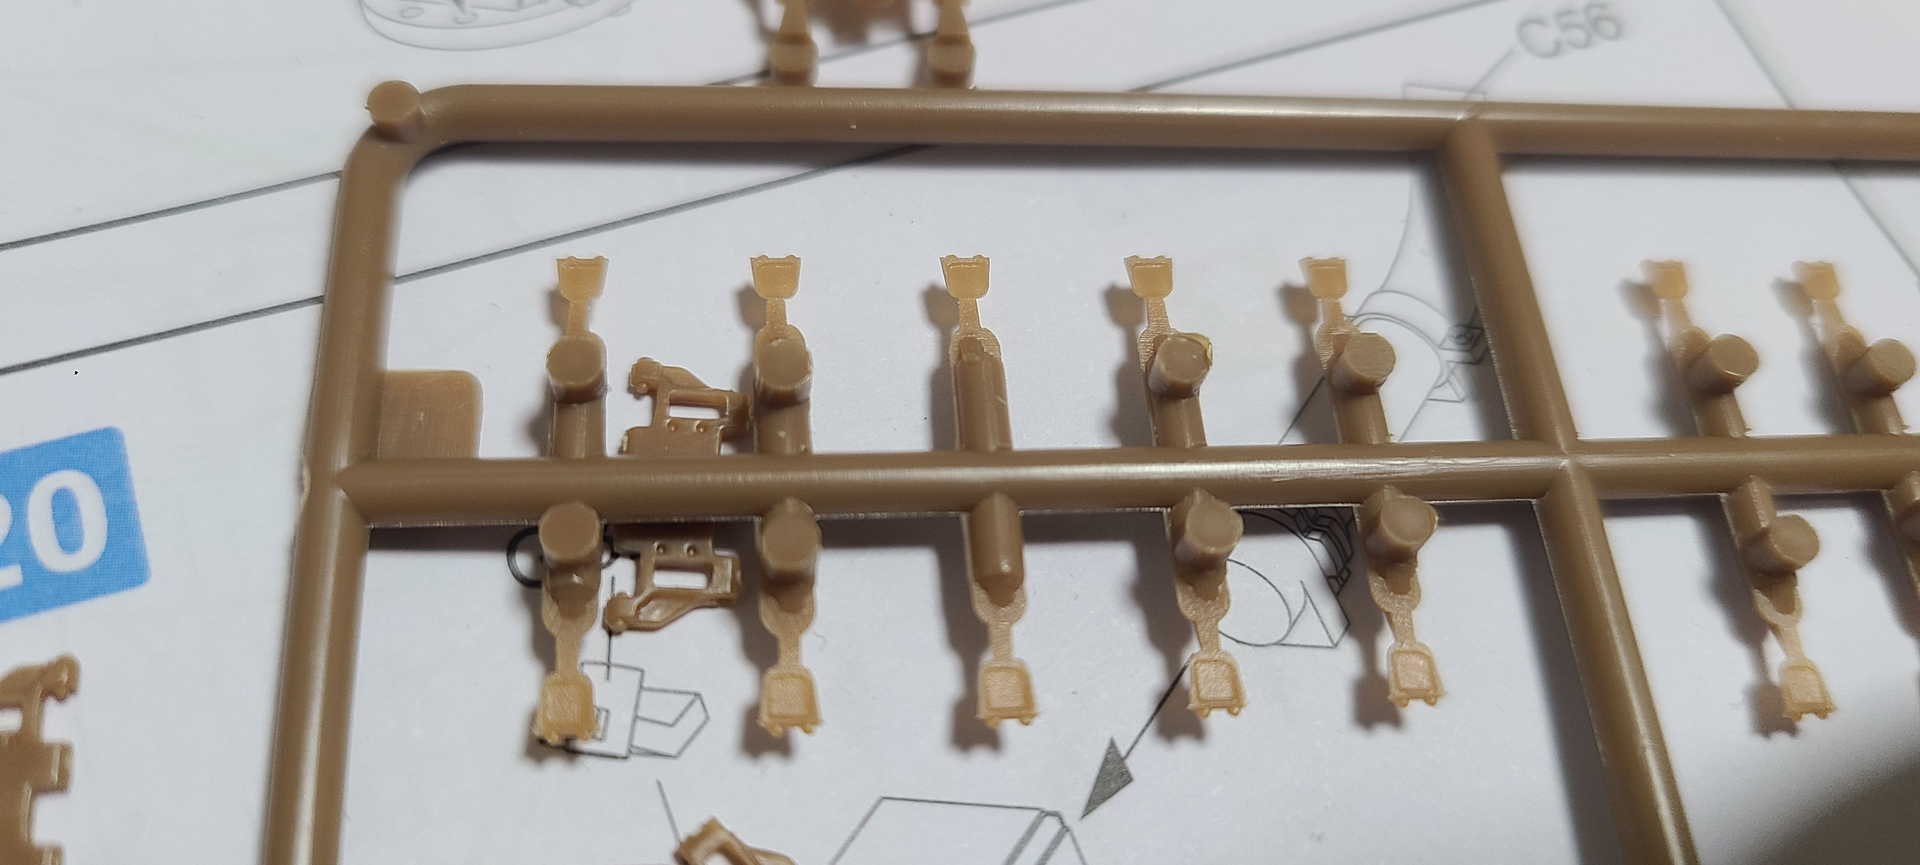
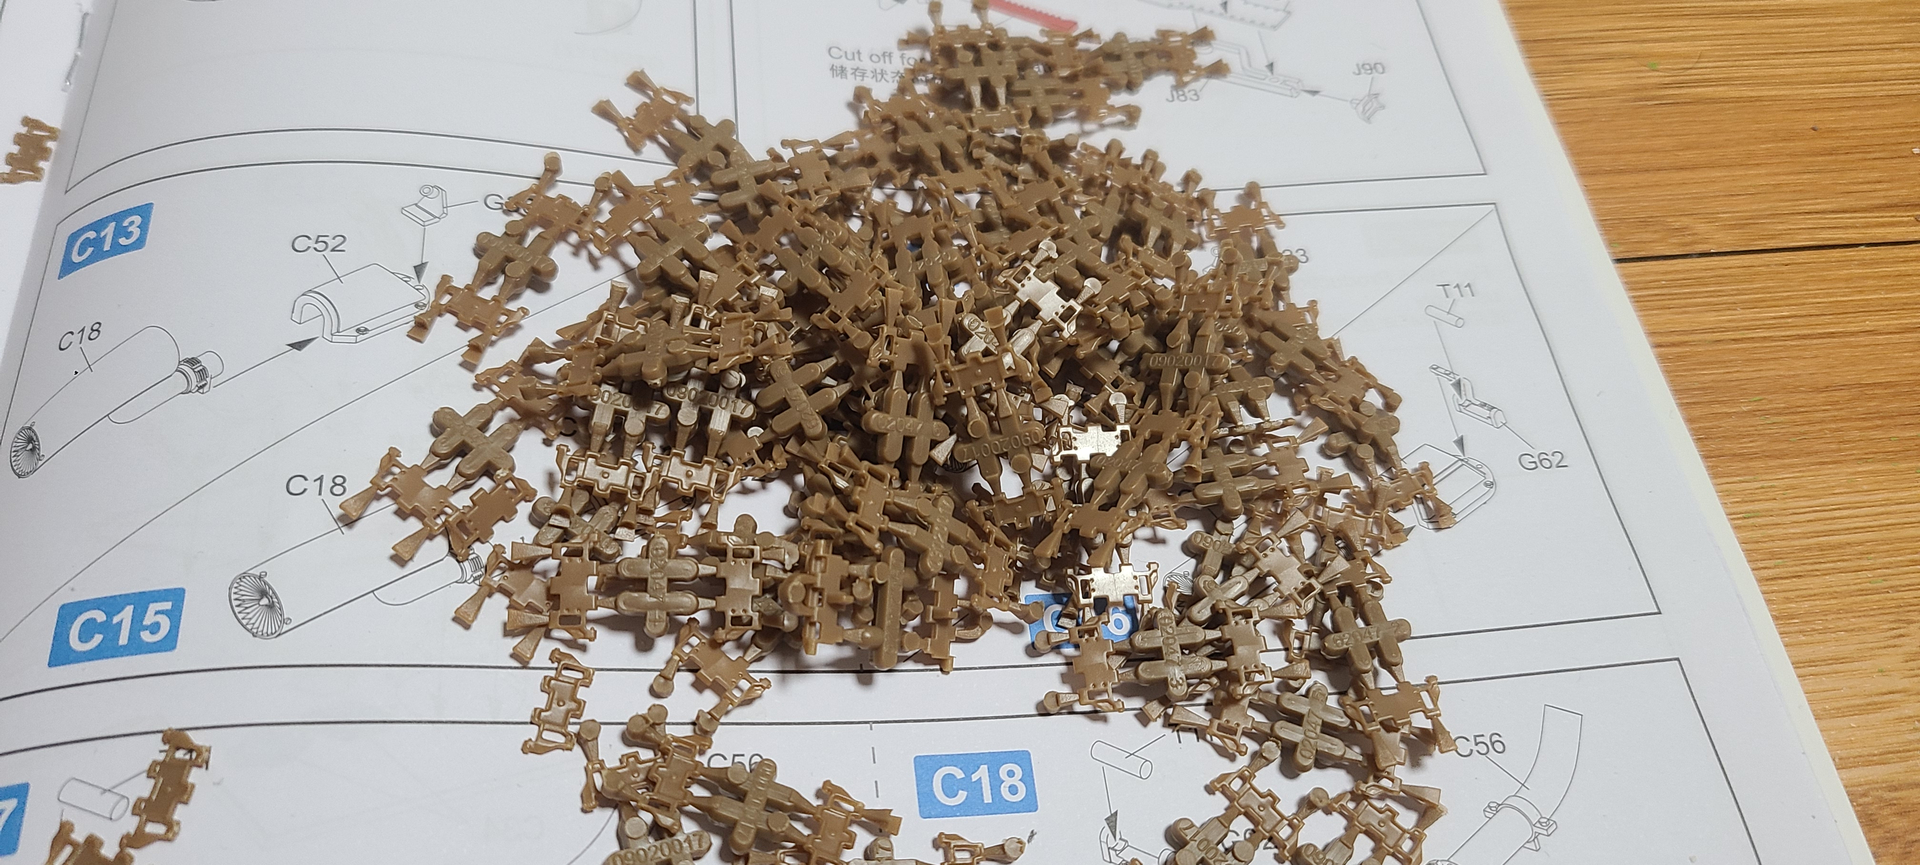
Matt, you & Armorsmith are right on! I spent an hour yesterday working on Indy track links. Huddled around my medium sized cutting mat. The same work area as before the re-vamping. The new empty space has yet to be cluttered up but I’m sure it’s day is coming!
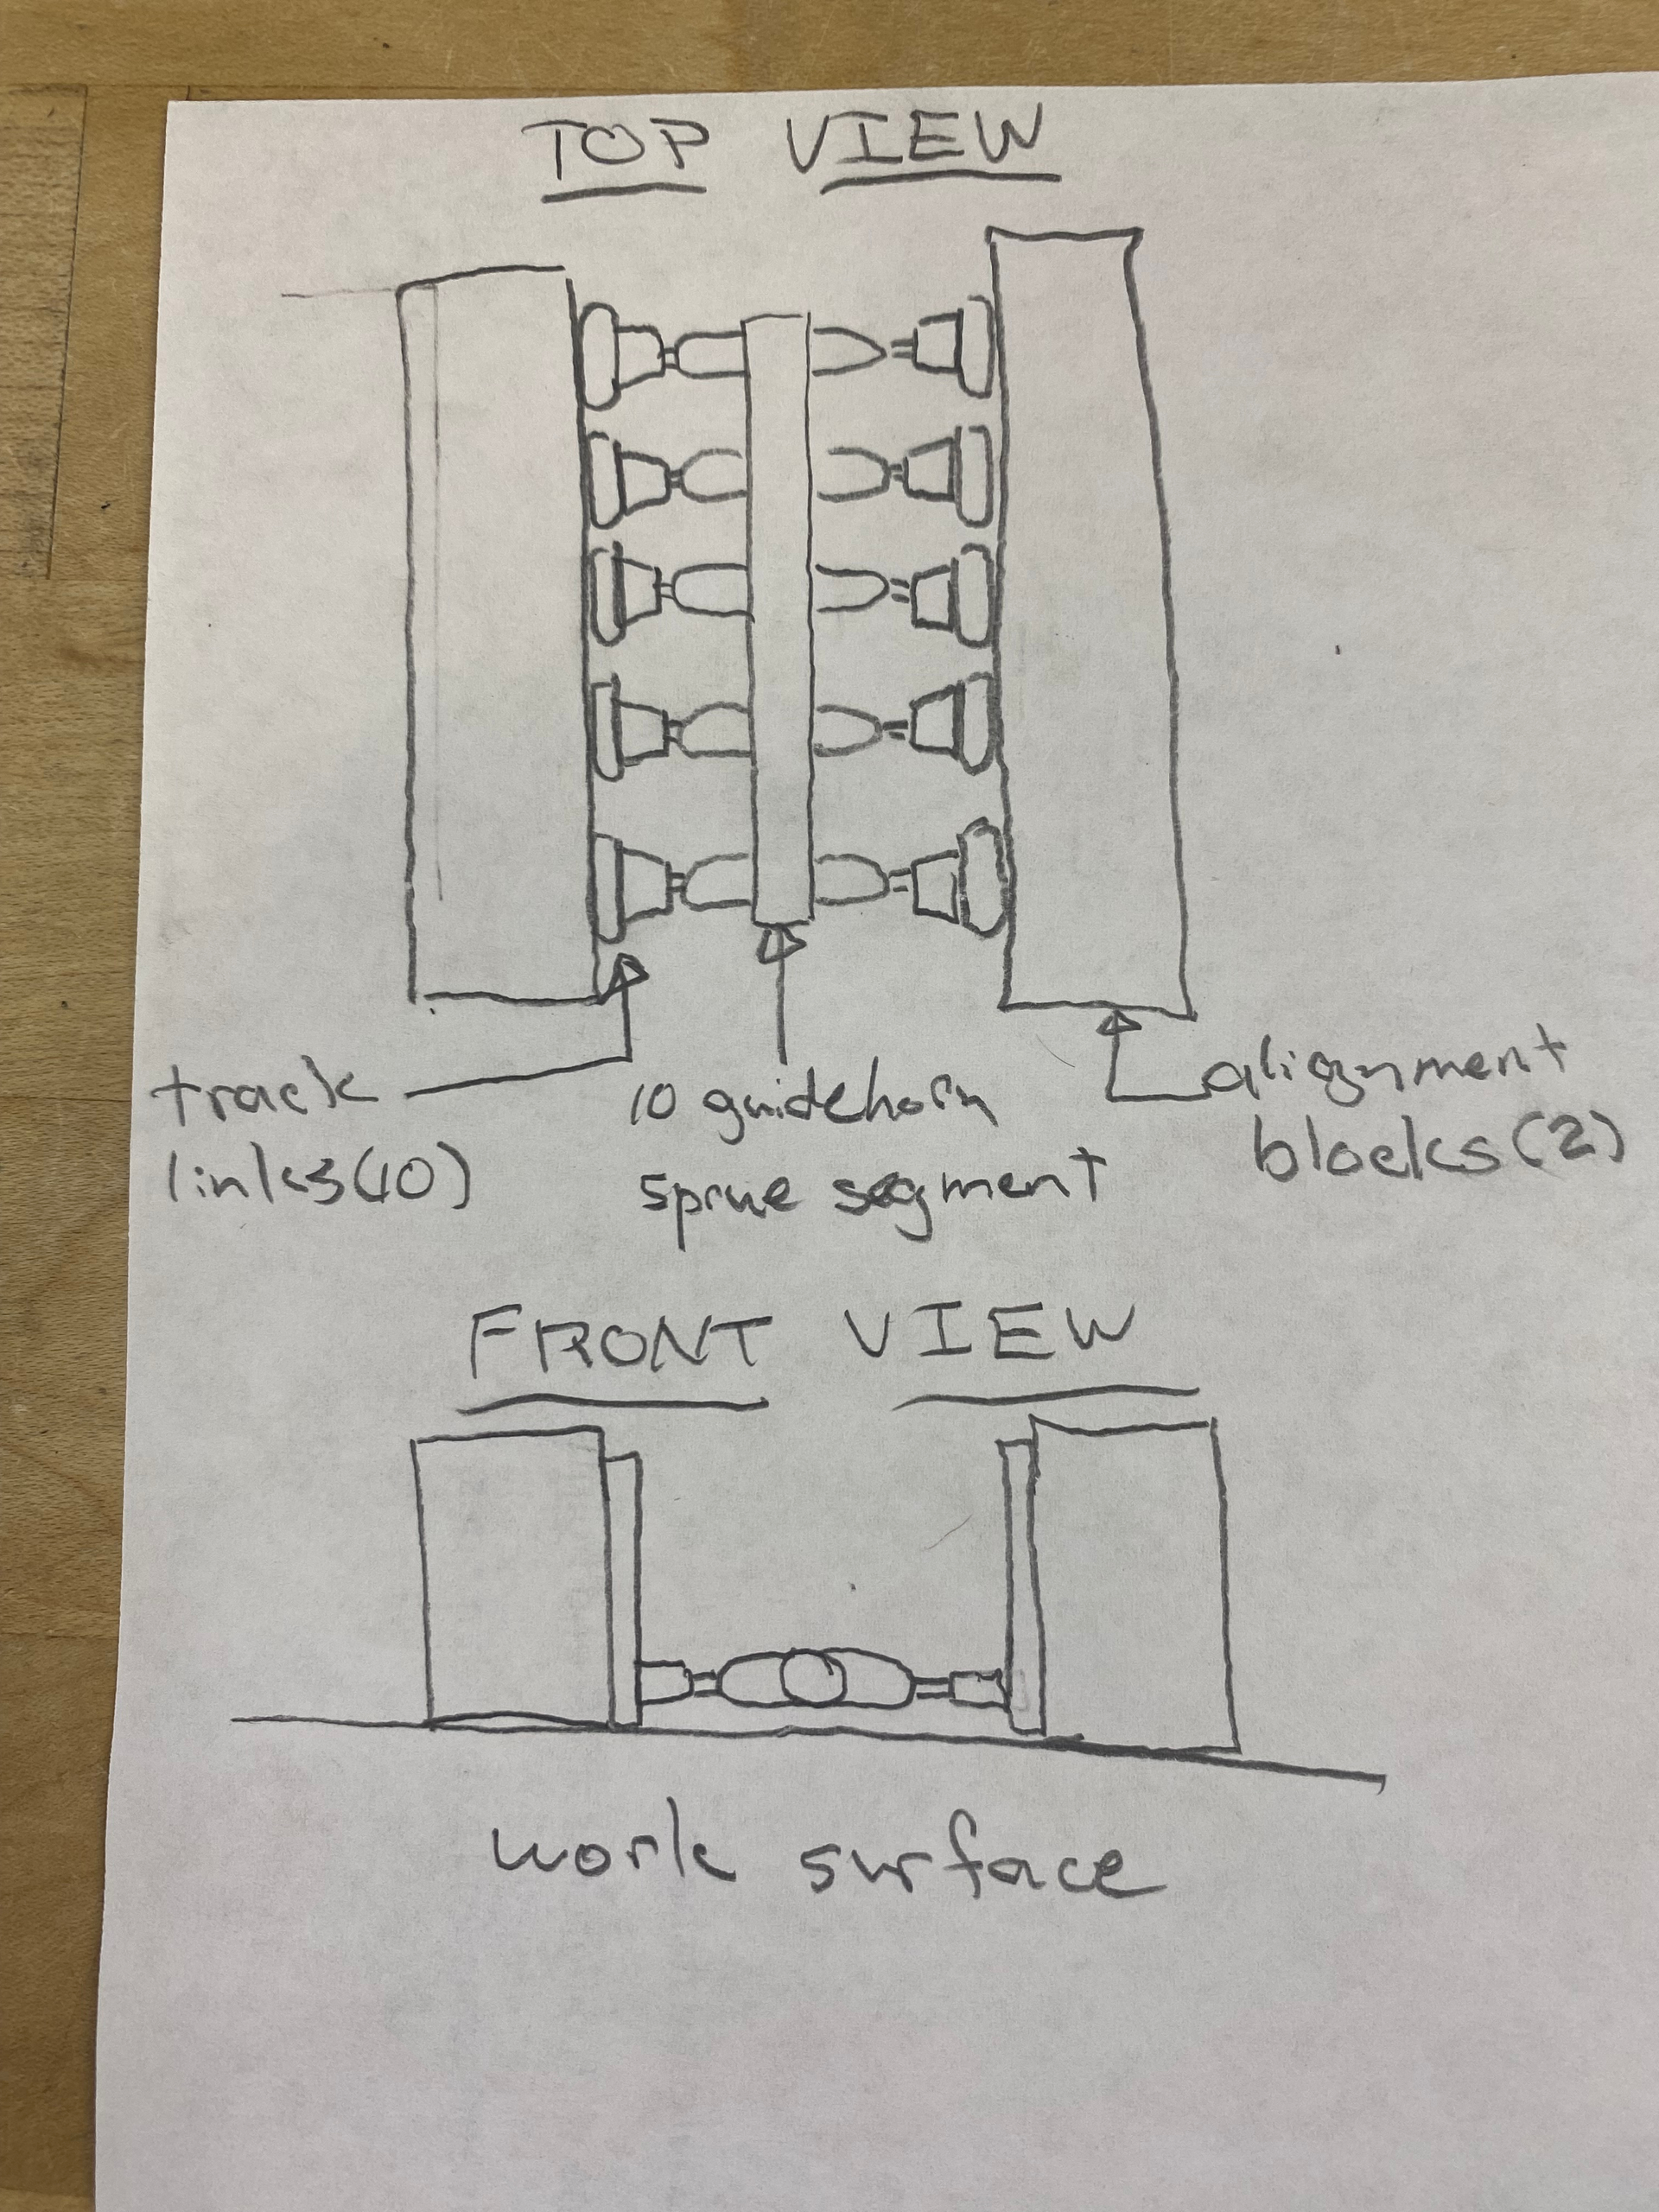
A suggestion to possibly simplify things. Remove a sprue run with ten guide horns and cement the links to the horns with some sort of blocking to keep them perpendicular to each other , then snip the horns free when dry.
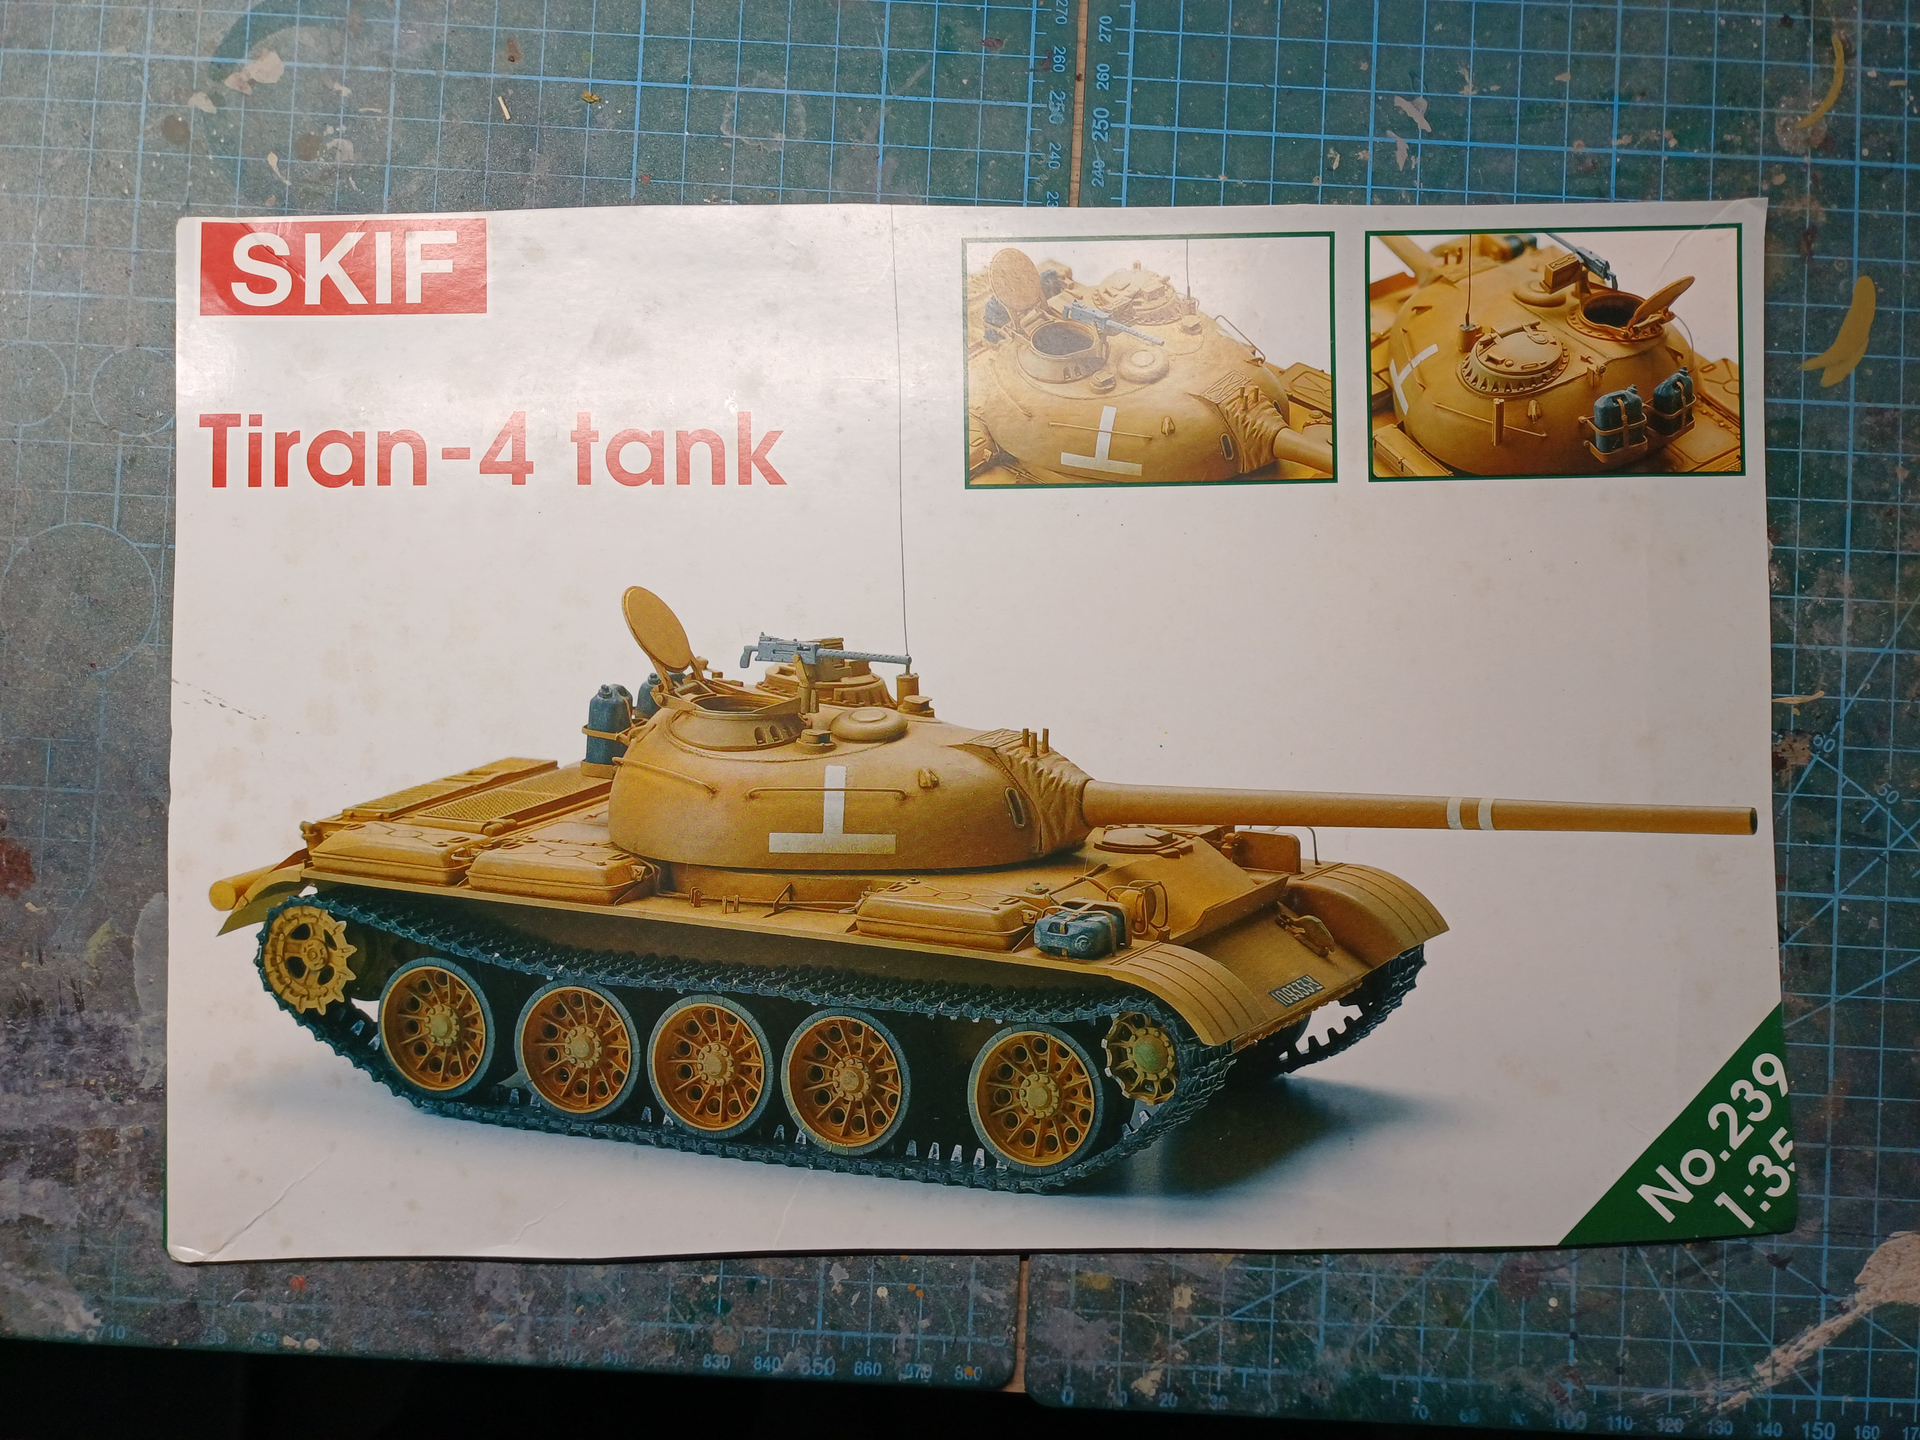
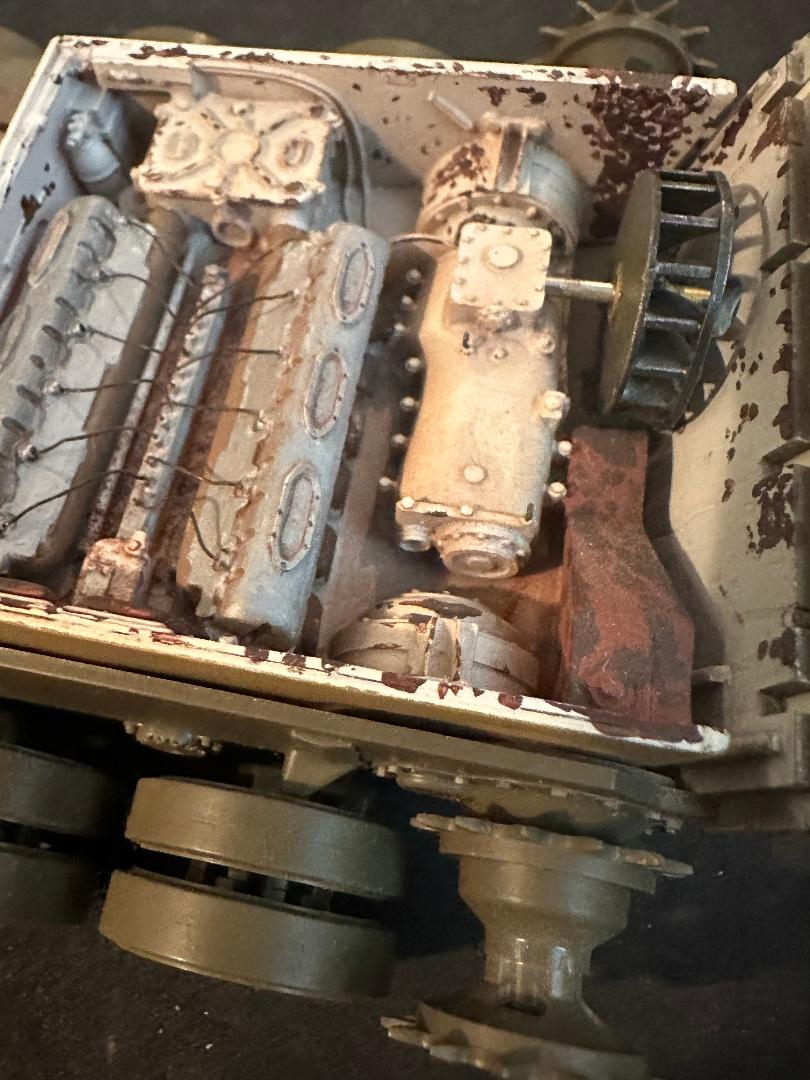
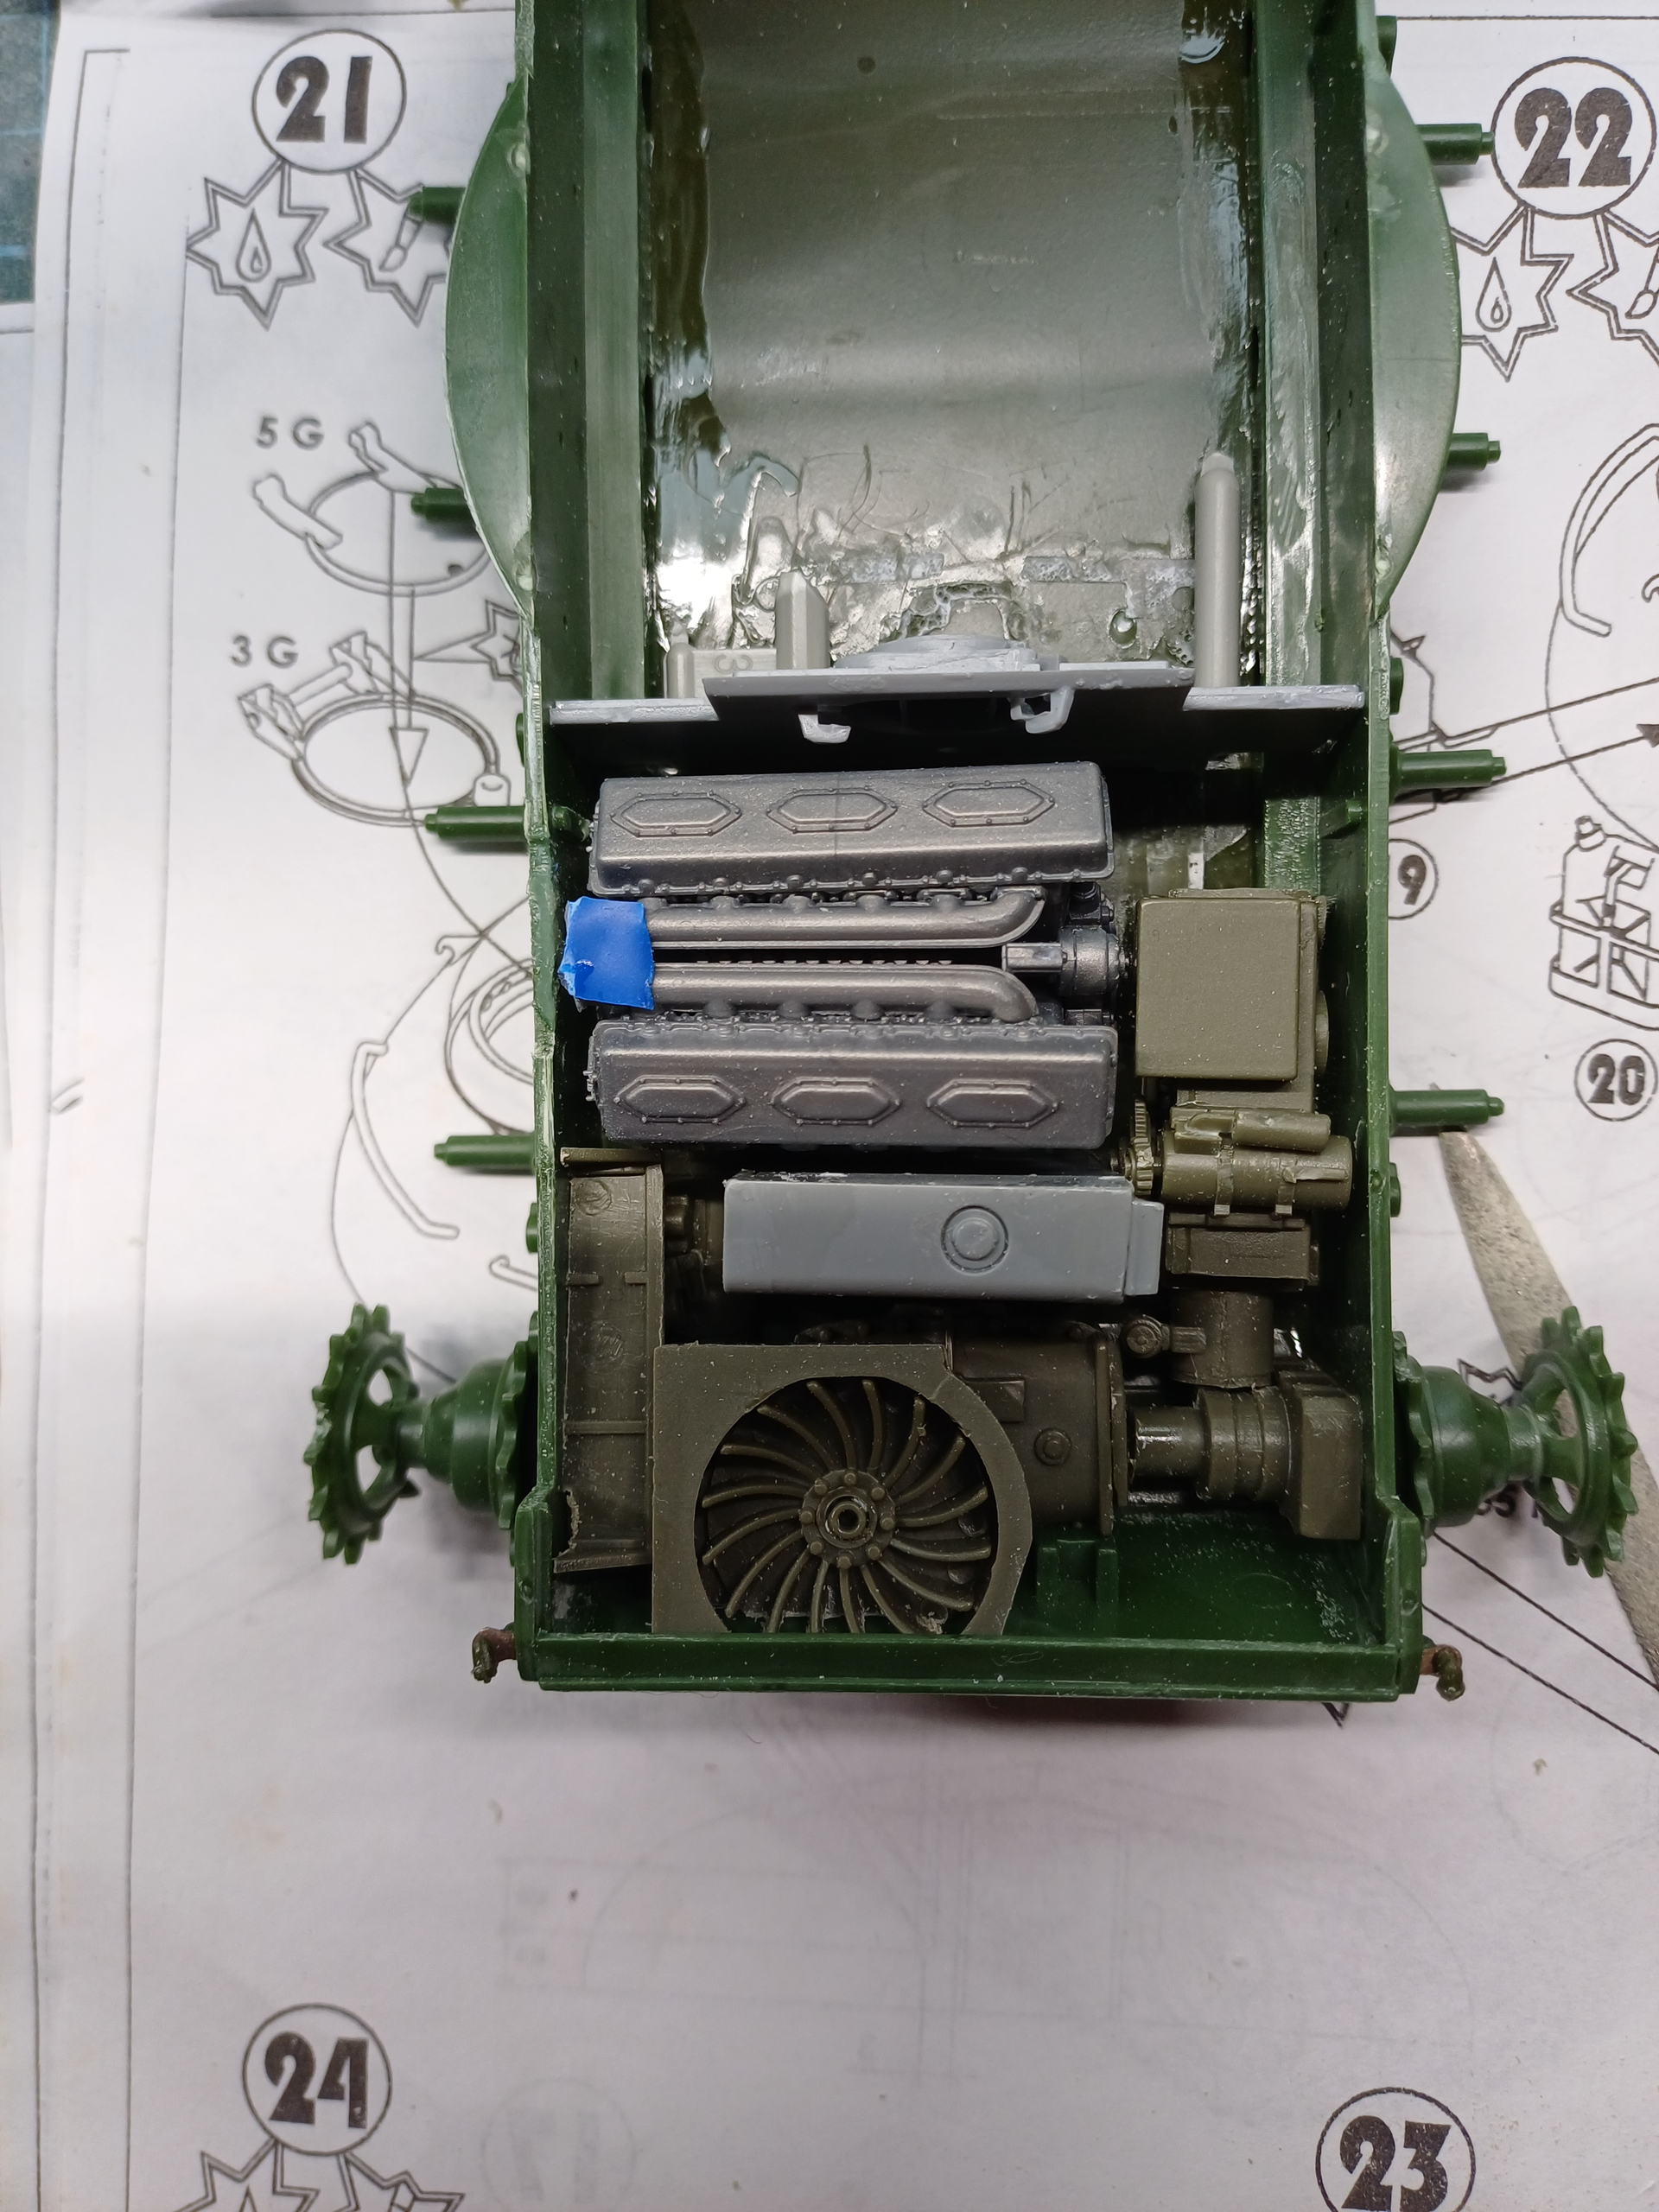
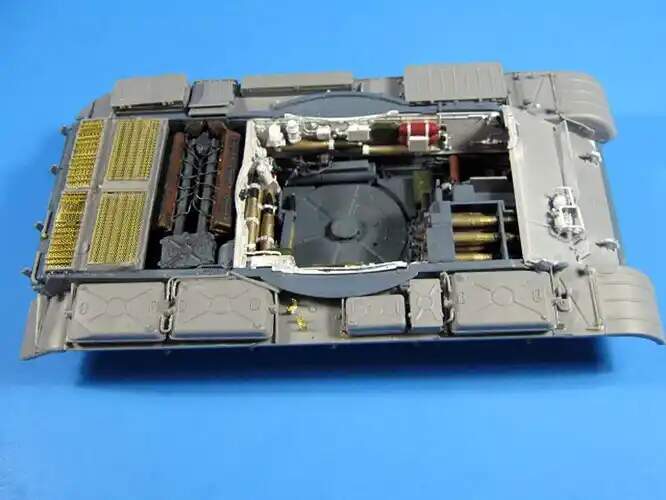
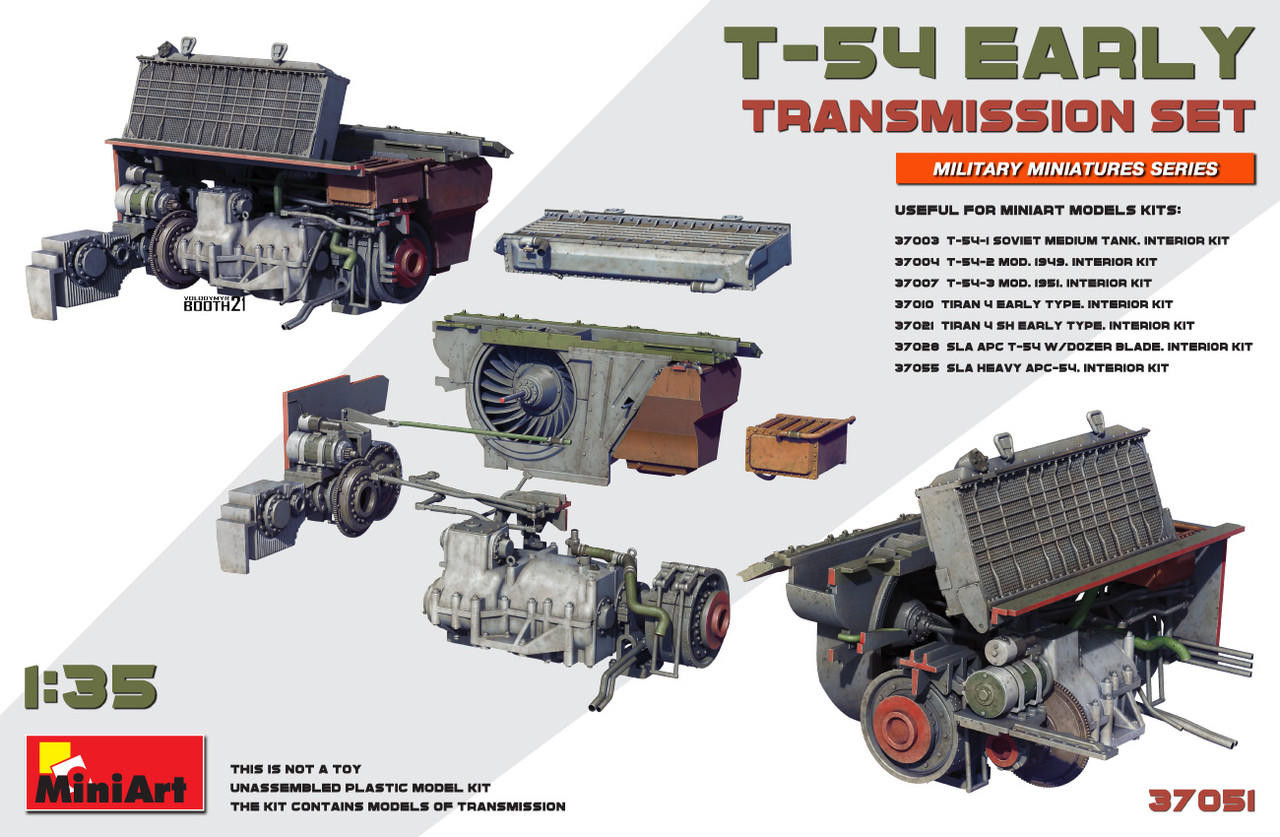
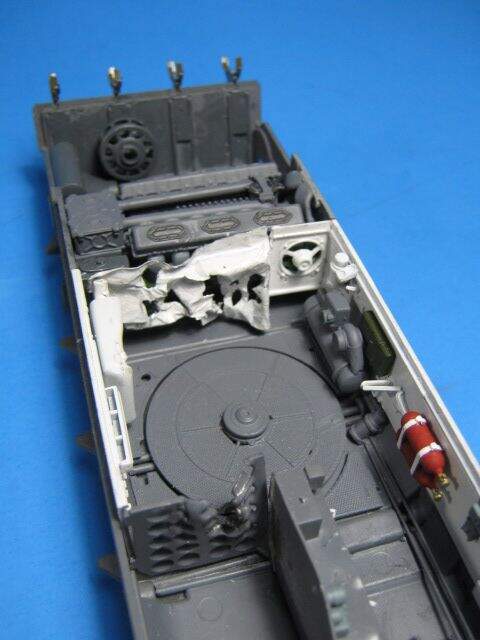
A fun looking build. At least the spider wheels are better than the starfish wheels that came in that kit. Of course you’ll need to re-orient the engine and add the fan.
Nope - I’m still no fan of using models as references. I only show this because I used the fan from the Skif kit over twenty years ago. It’s surprisingly good given how bad the rest of the kit was. Add a scratch built fuel tank and the awful Verlinden engine, and it might look good buried under a bunch of debris…
Update! The old work space was 24”X36”. The new table is 29”X 42”. In the “L” configuration gives me a run of 55”! The first clutter on the new surface is a tool box followed by 2 letter holders that I use to hold sprues. I now will have space for sub-assemblies instead of stacking them on that tool box. I will update the clutter in May.
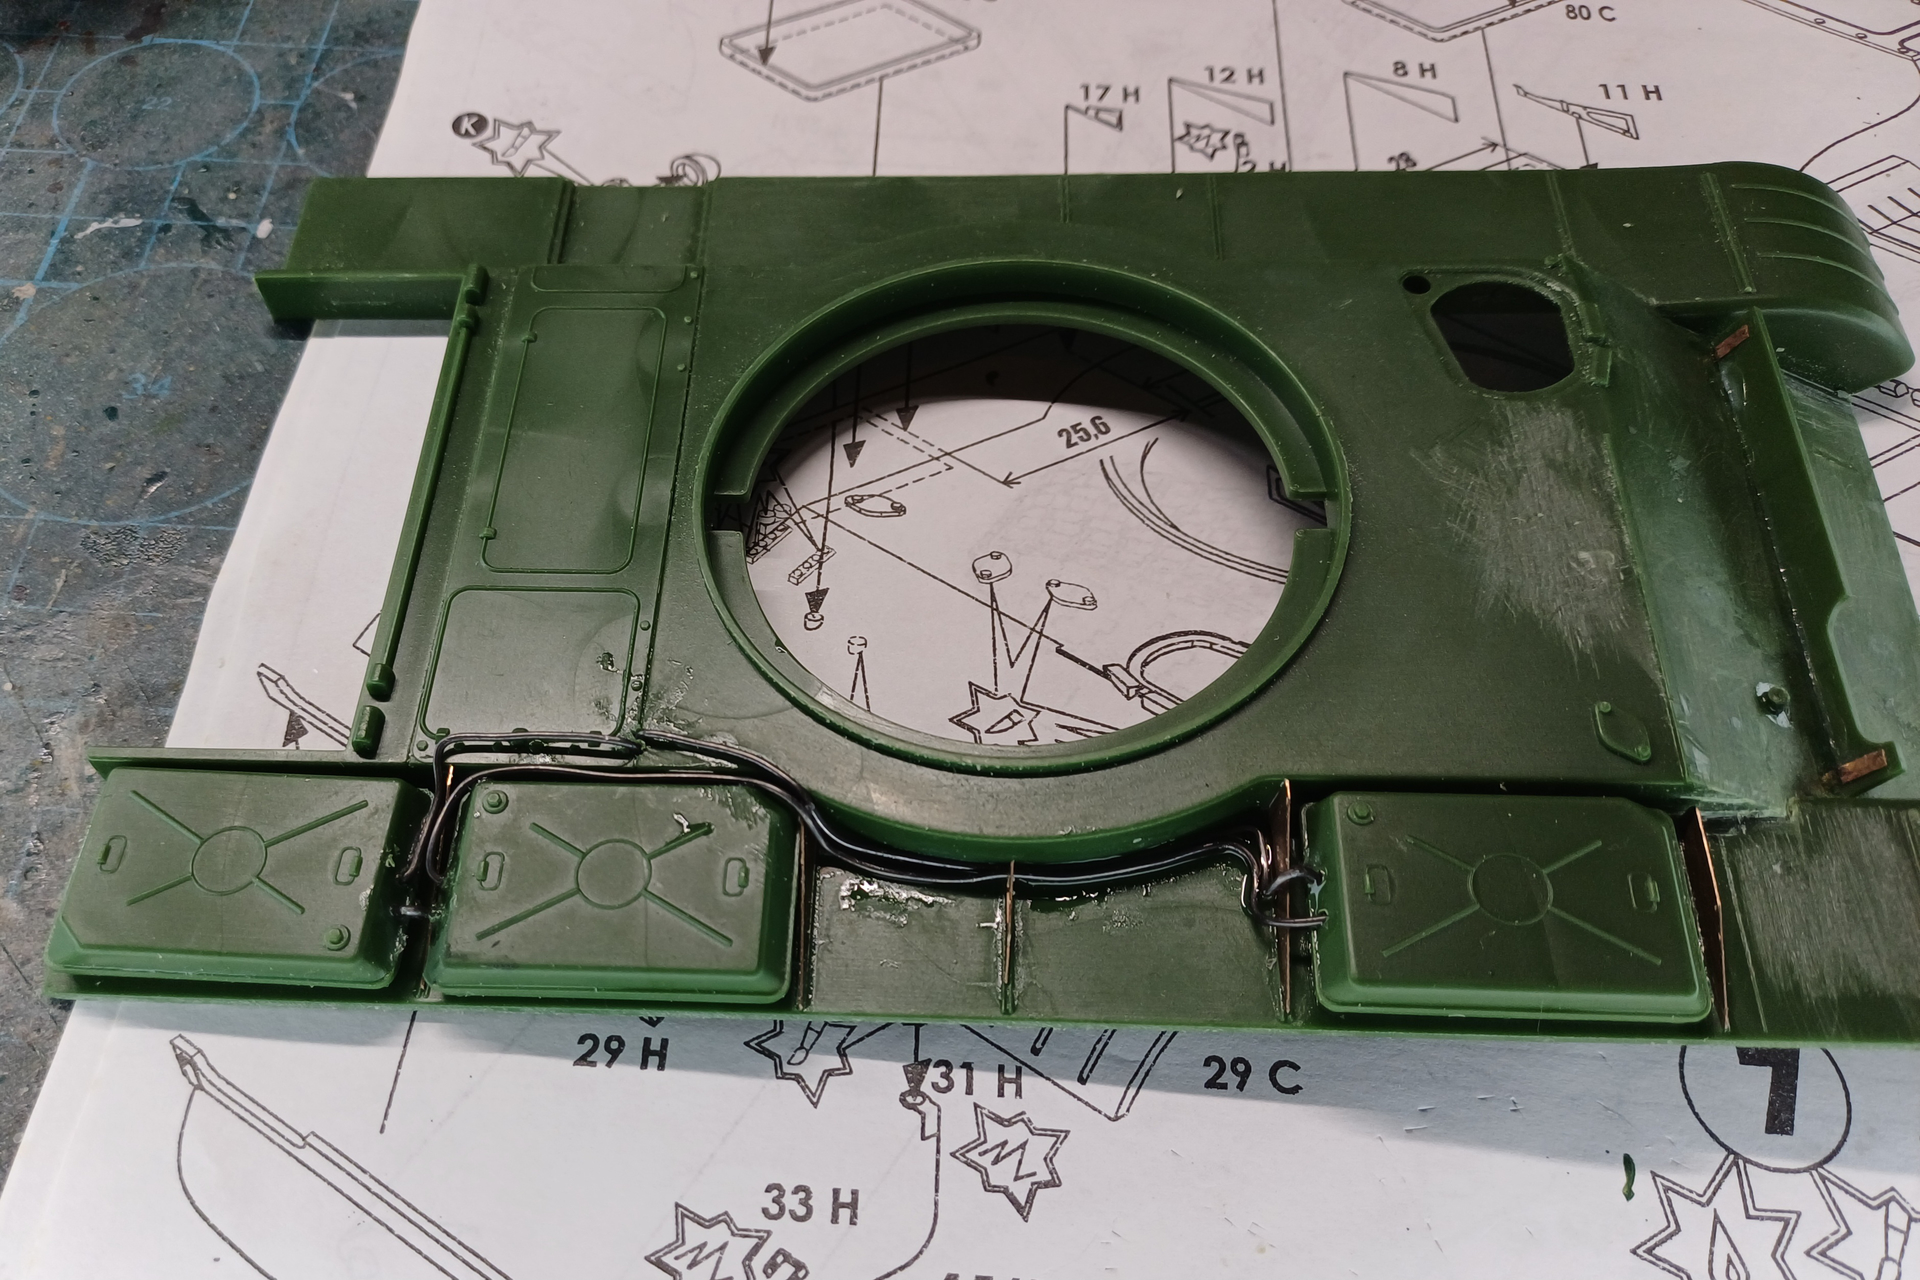
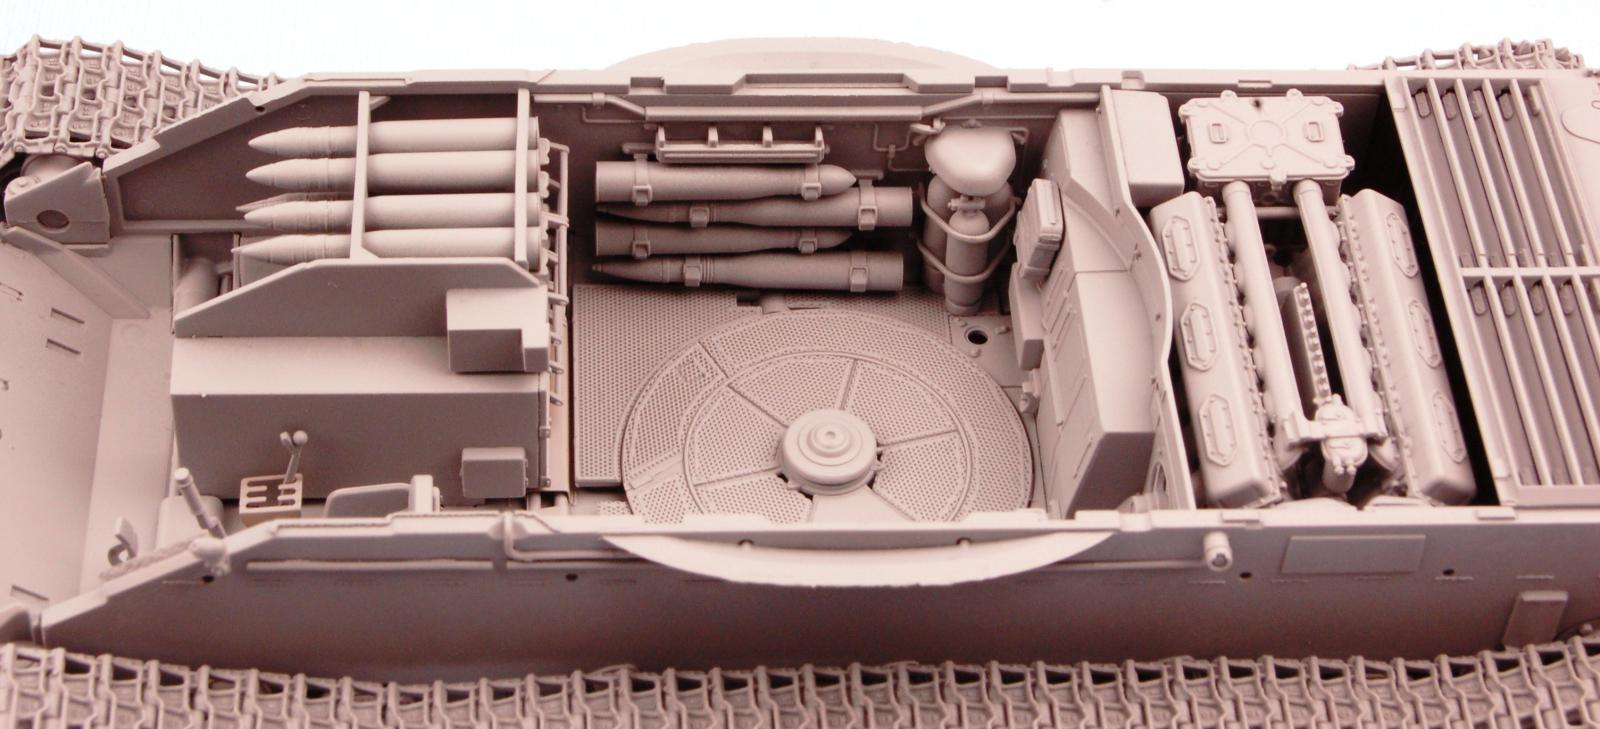
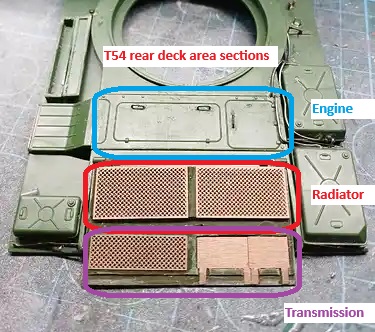
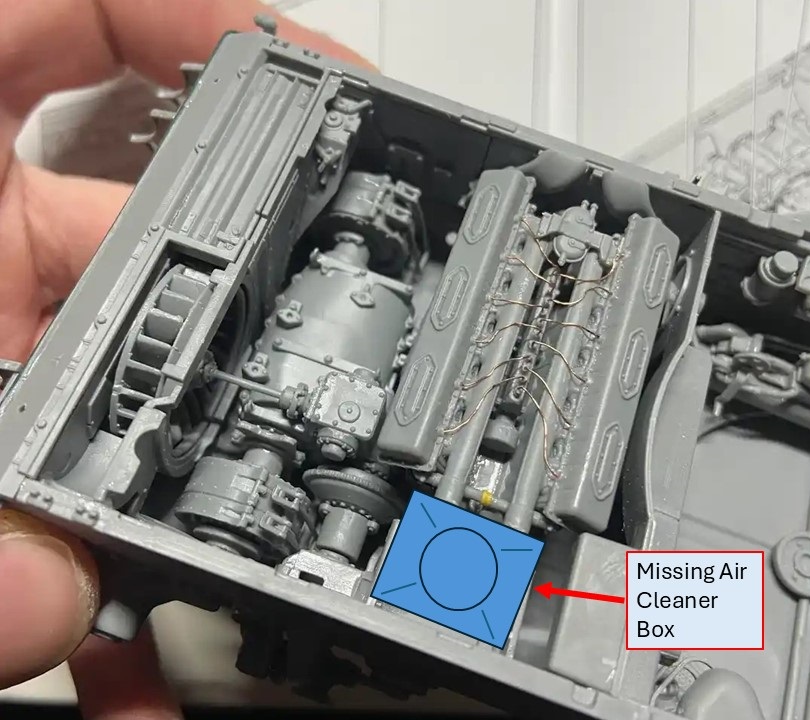
Looking better. A couple more tweaks and it will be perfect. First, the engine should be turned 180 degrees. The two pipes down the middle are intakes and should attach to the box on the other side which is an air cleaner/filter. The fan should be on the right side and turned 90 degrees so it is up and down along the rear wall.
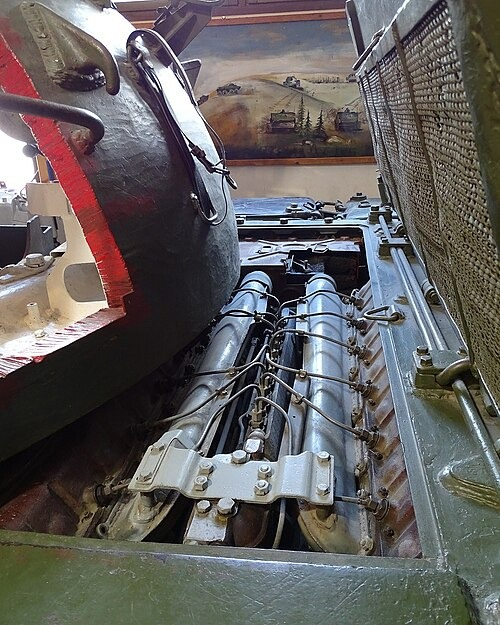
Here is a bad angle but shows the intake pipes and the air cleaner on the far side.
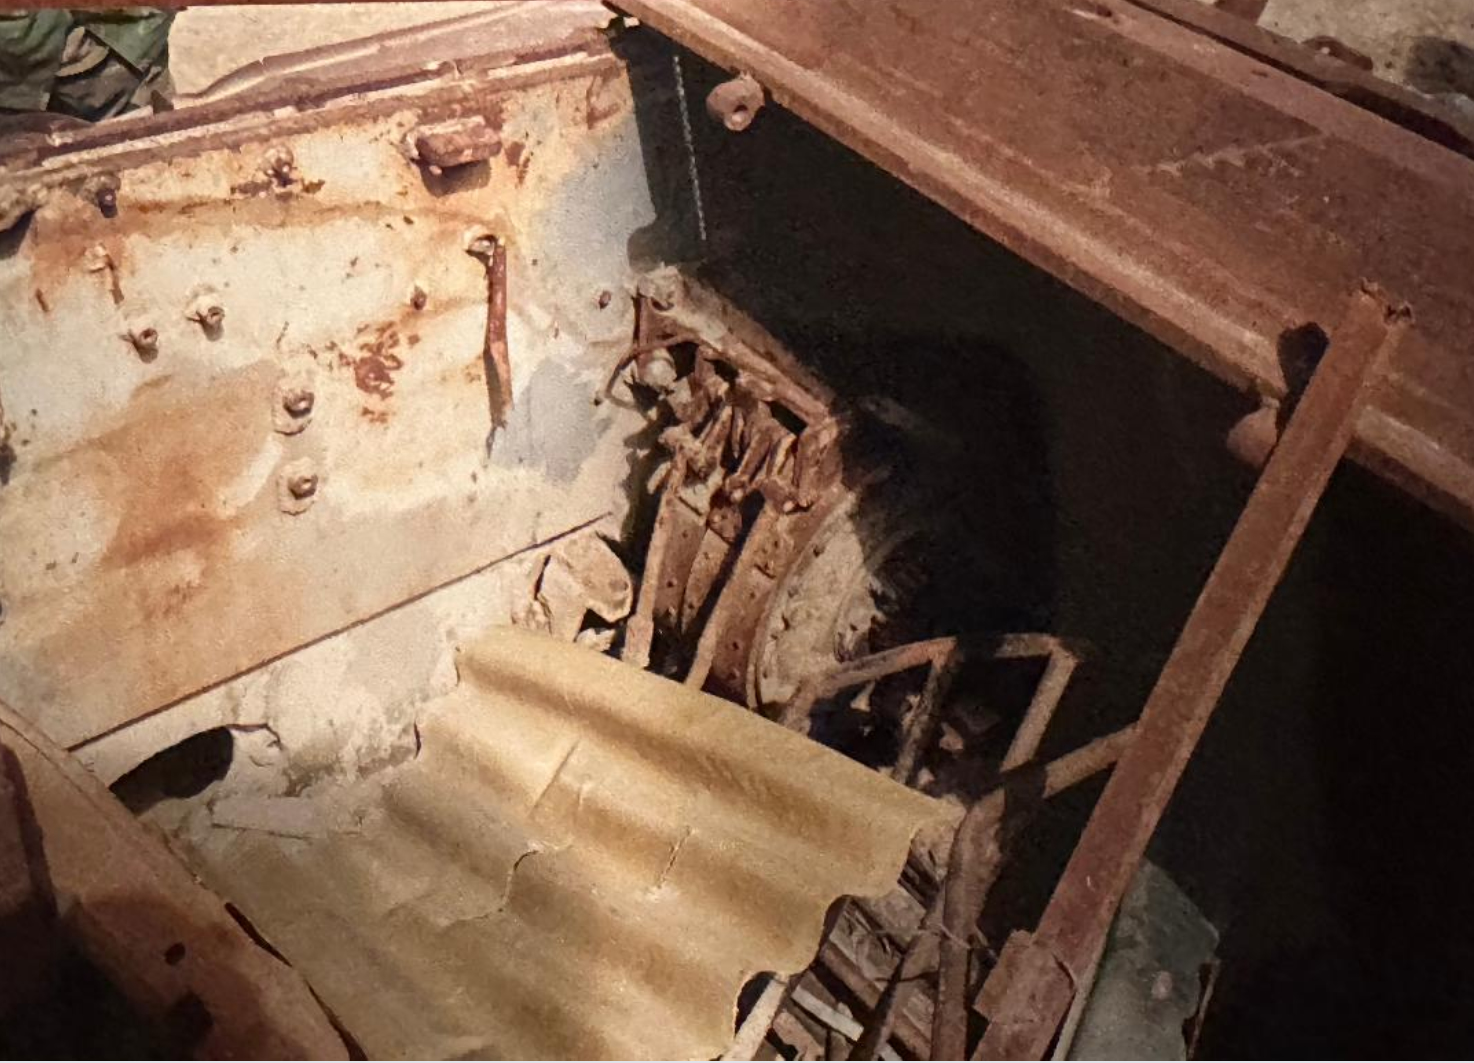
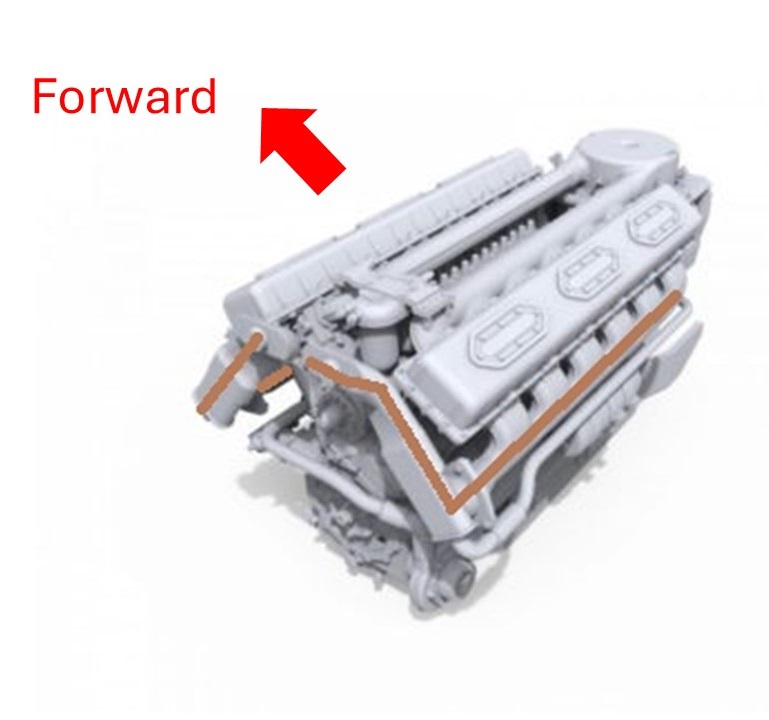
The engine is a standard v-style engine with the exhausts on the lower outsides of the engine, and they come to the left side of the hull. A couple small, flattened pipes come up and go out the side where the external exhaust outlet is.
Thanks for the extra advice and clarifications, when I do a proper interior I will keep that in mind. But as this was just made up with spare parts from other kits, just to fill up the engine arrea I am going to leave it like this.