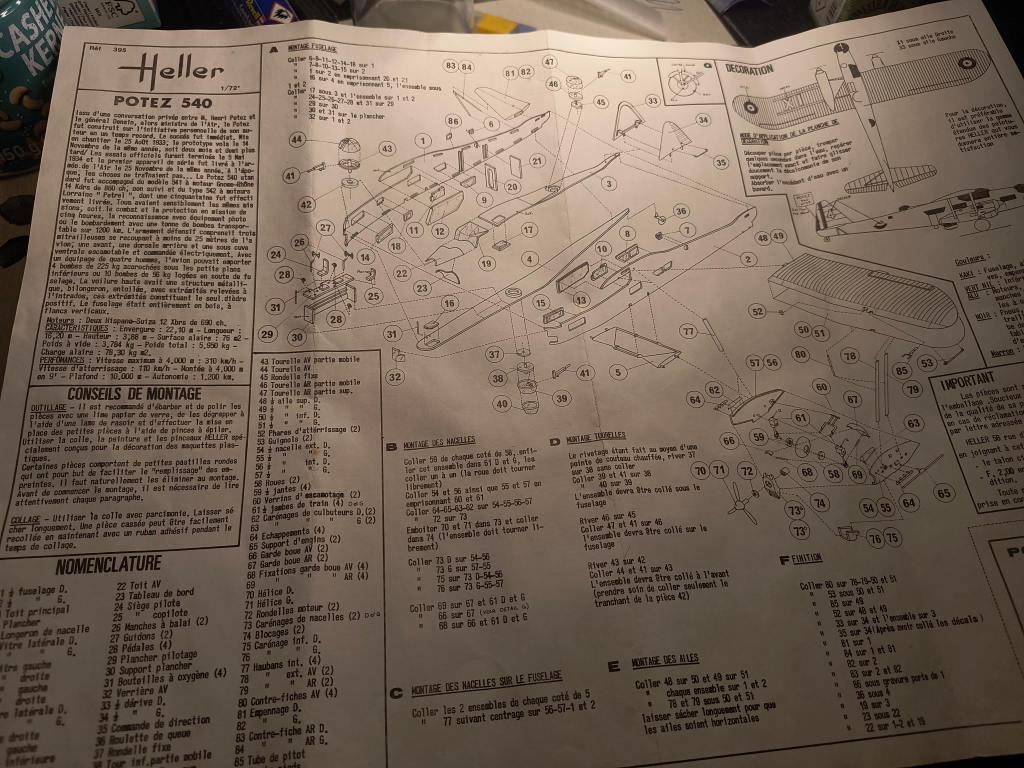
Outstanding today, i real read the Manual for a old Heller Kit. I never read any manuals. NEVER  .
.
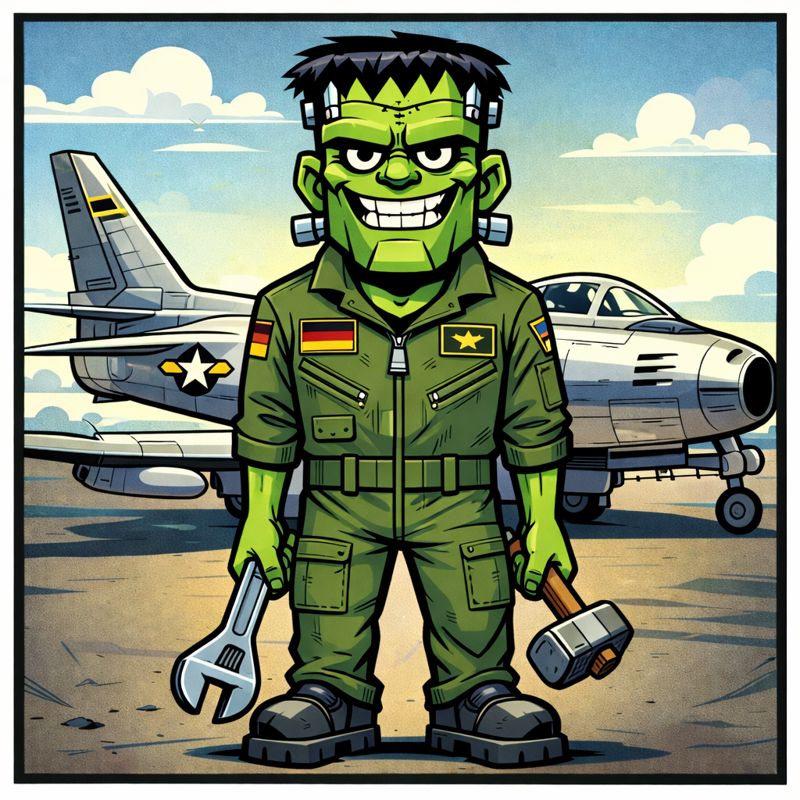
Than i use the stupid Chat GPT to create a picture for my FRANKENSTEIN MODELL WORX.
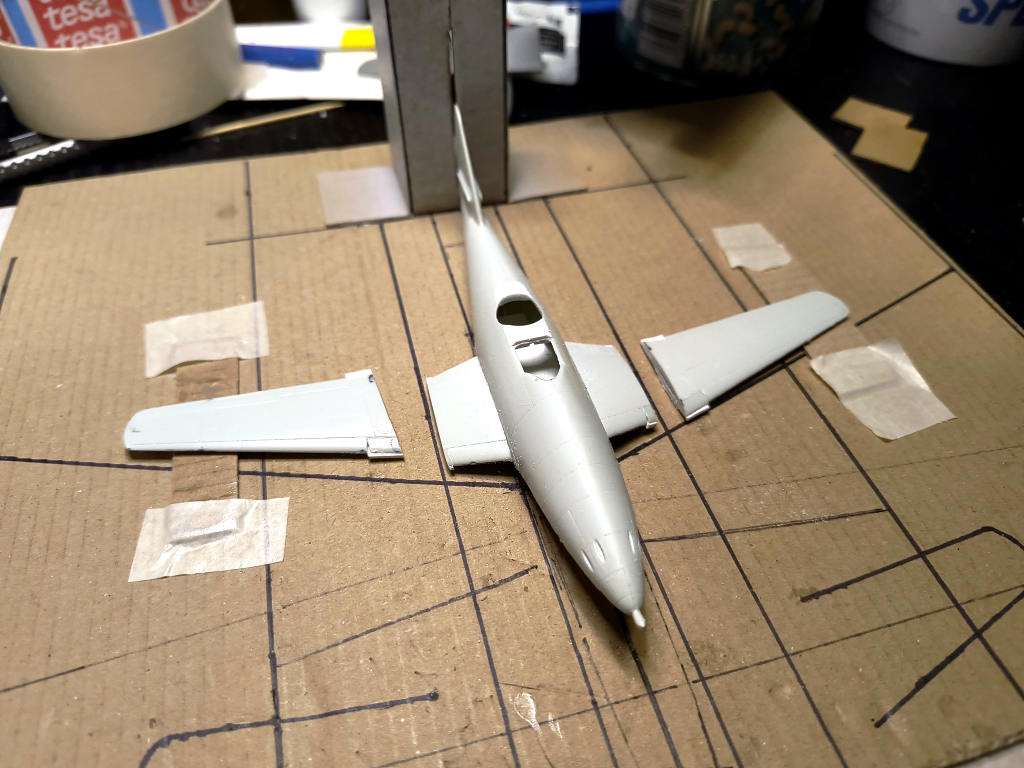
And continued with my Messerschmitt 626 Triplane Project.
Outstanding today, i real read the Manual for a old Heller Kit. I never read any manuals. NEVER .
Than i use the stupid Chat GPT to create a picture for my FRANKENSTEIN MODELL WORX.
And continued with my Messerschmitt 626 Triplane Project.
Managed a reset on my worktop and added some laser cut paint storage sourced via eBay. I’m four kits in finally returning to this awesome hobby after over 30 years away. I gotta say they did NOT have kits like this when I was a teenager.  I mean….. look at this RFM kit!!!
  THICC.


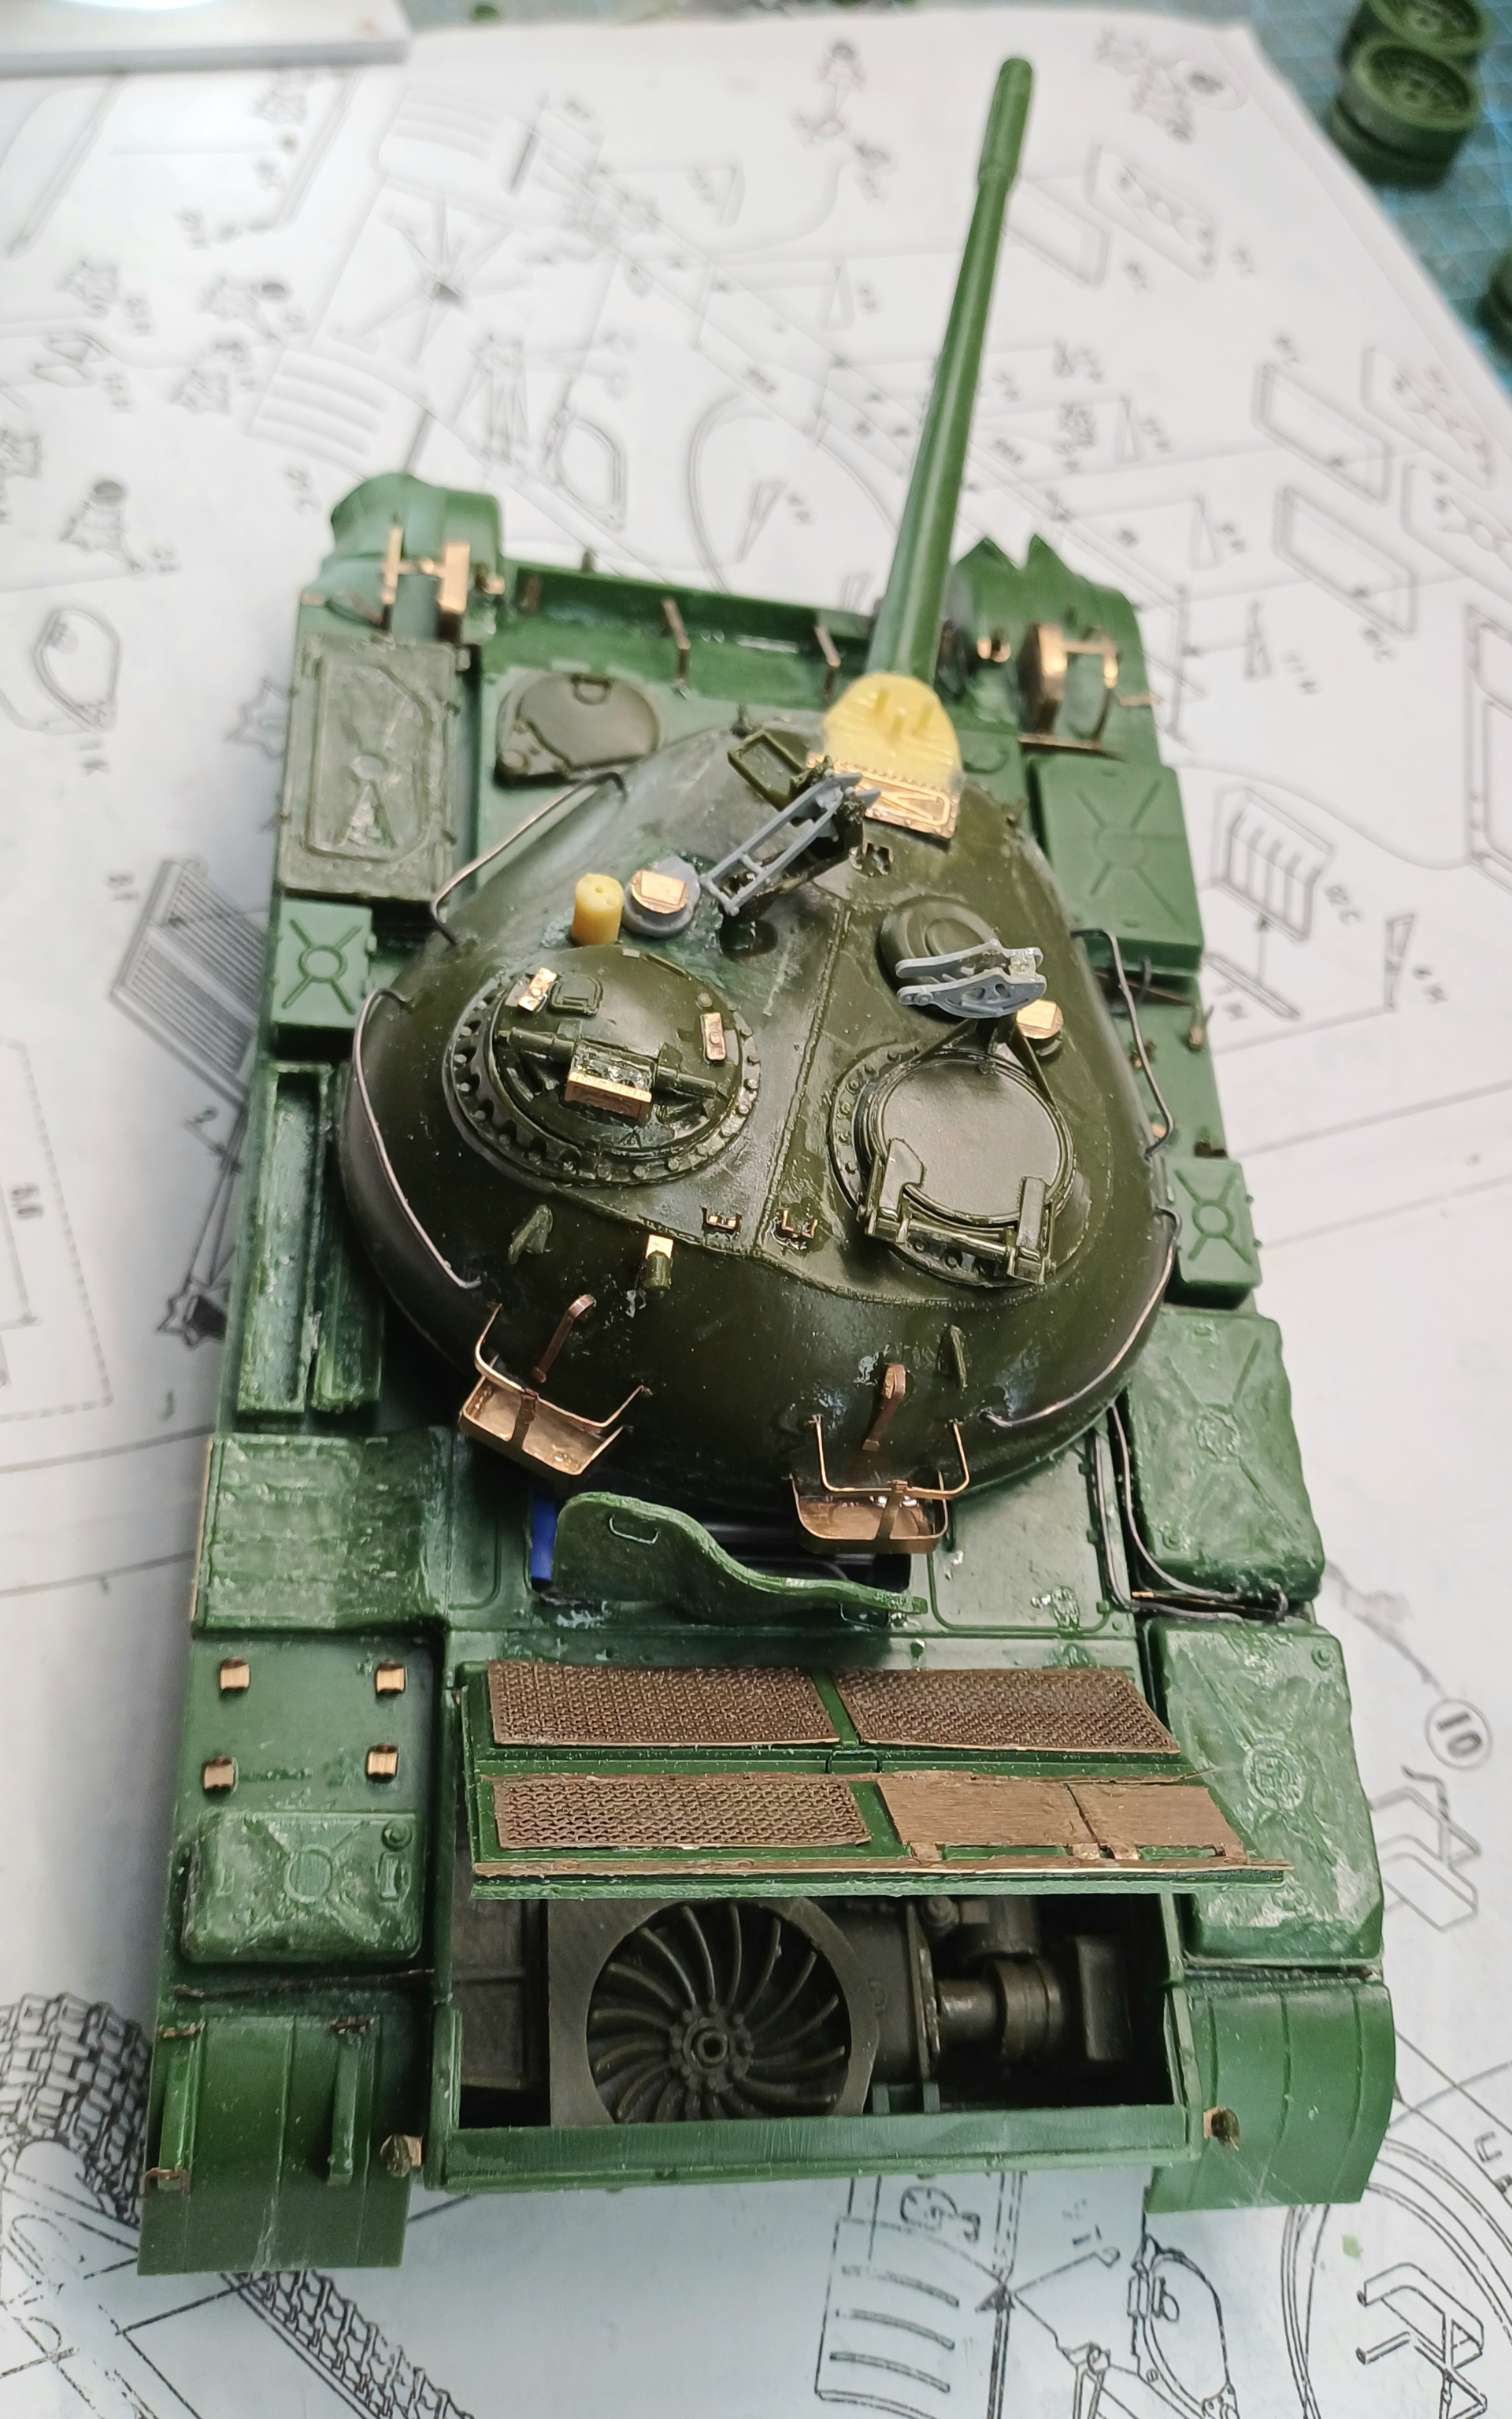
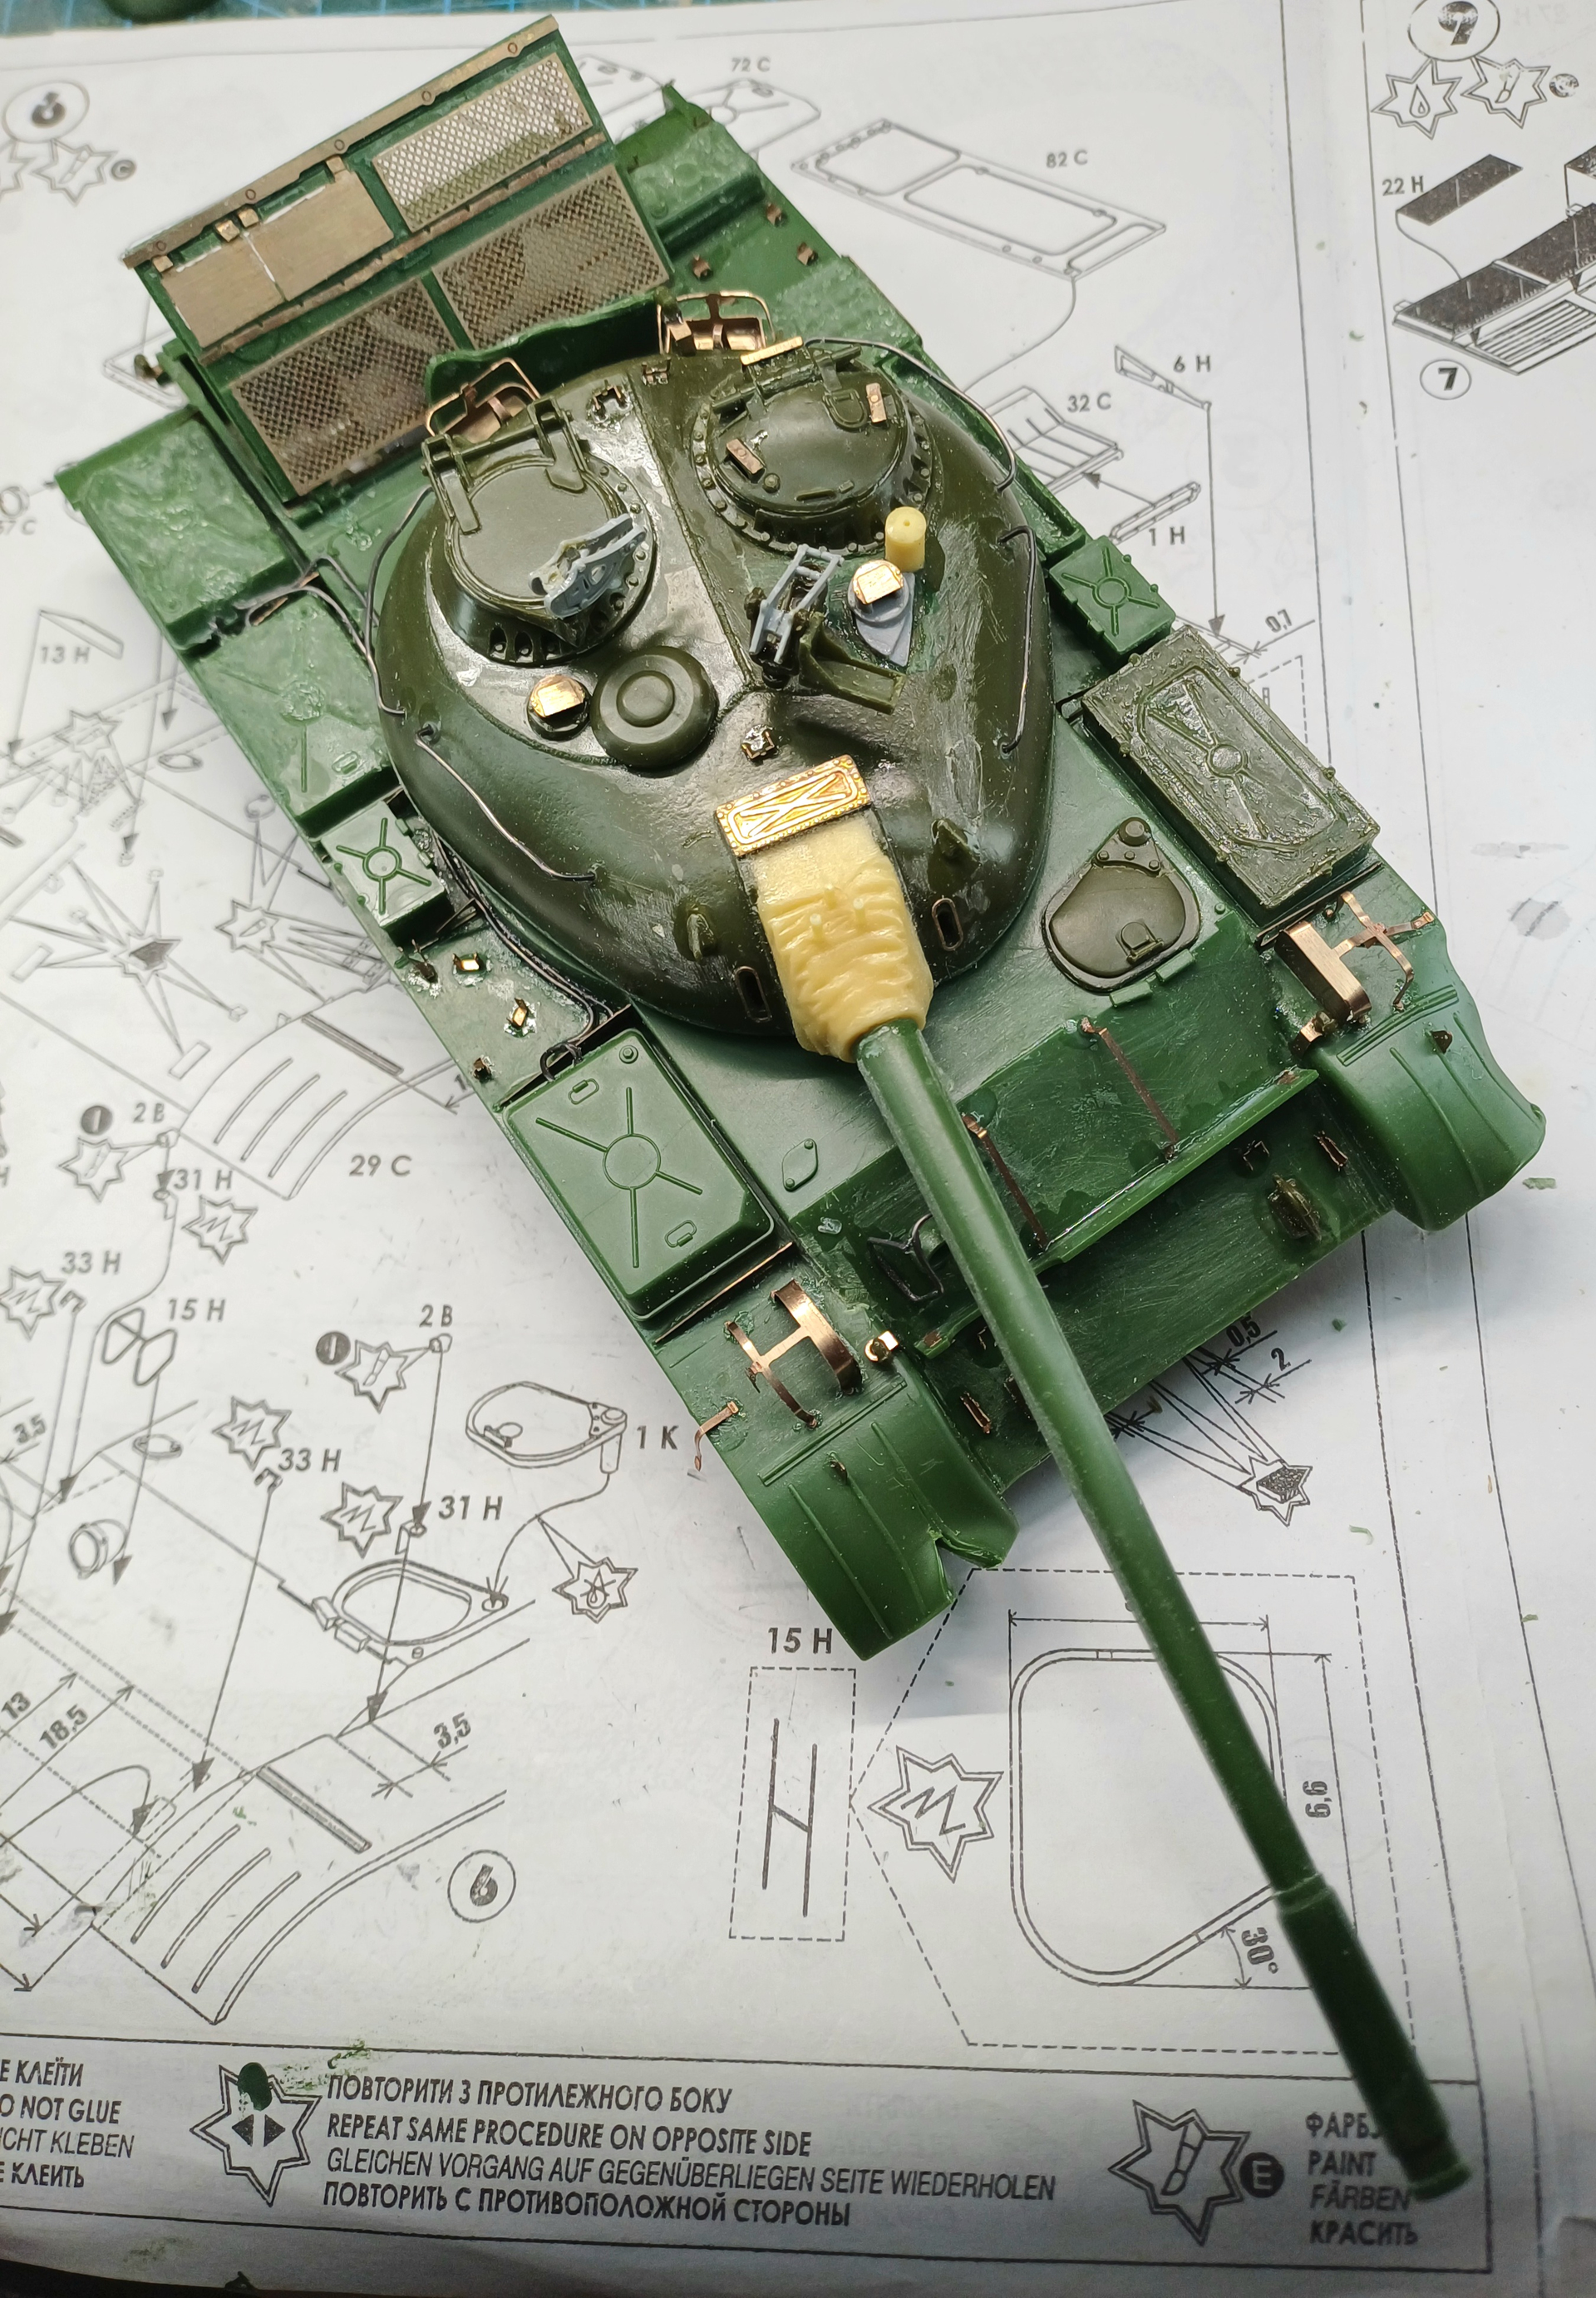
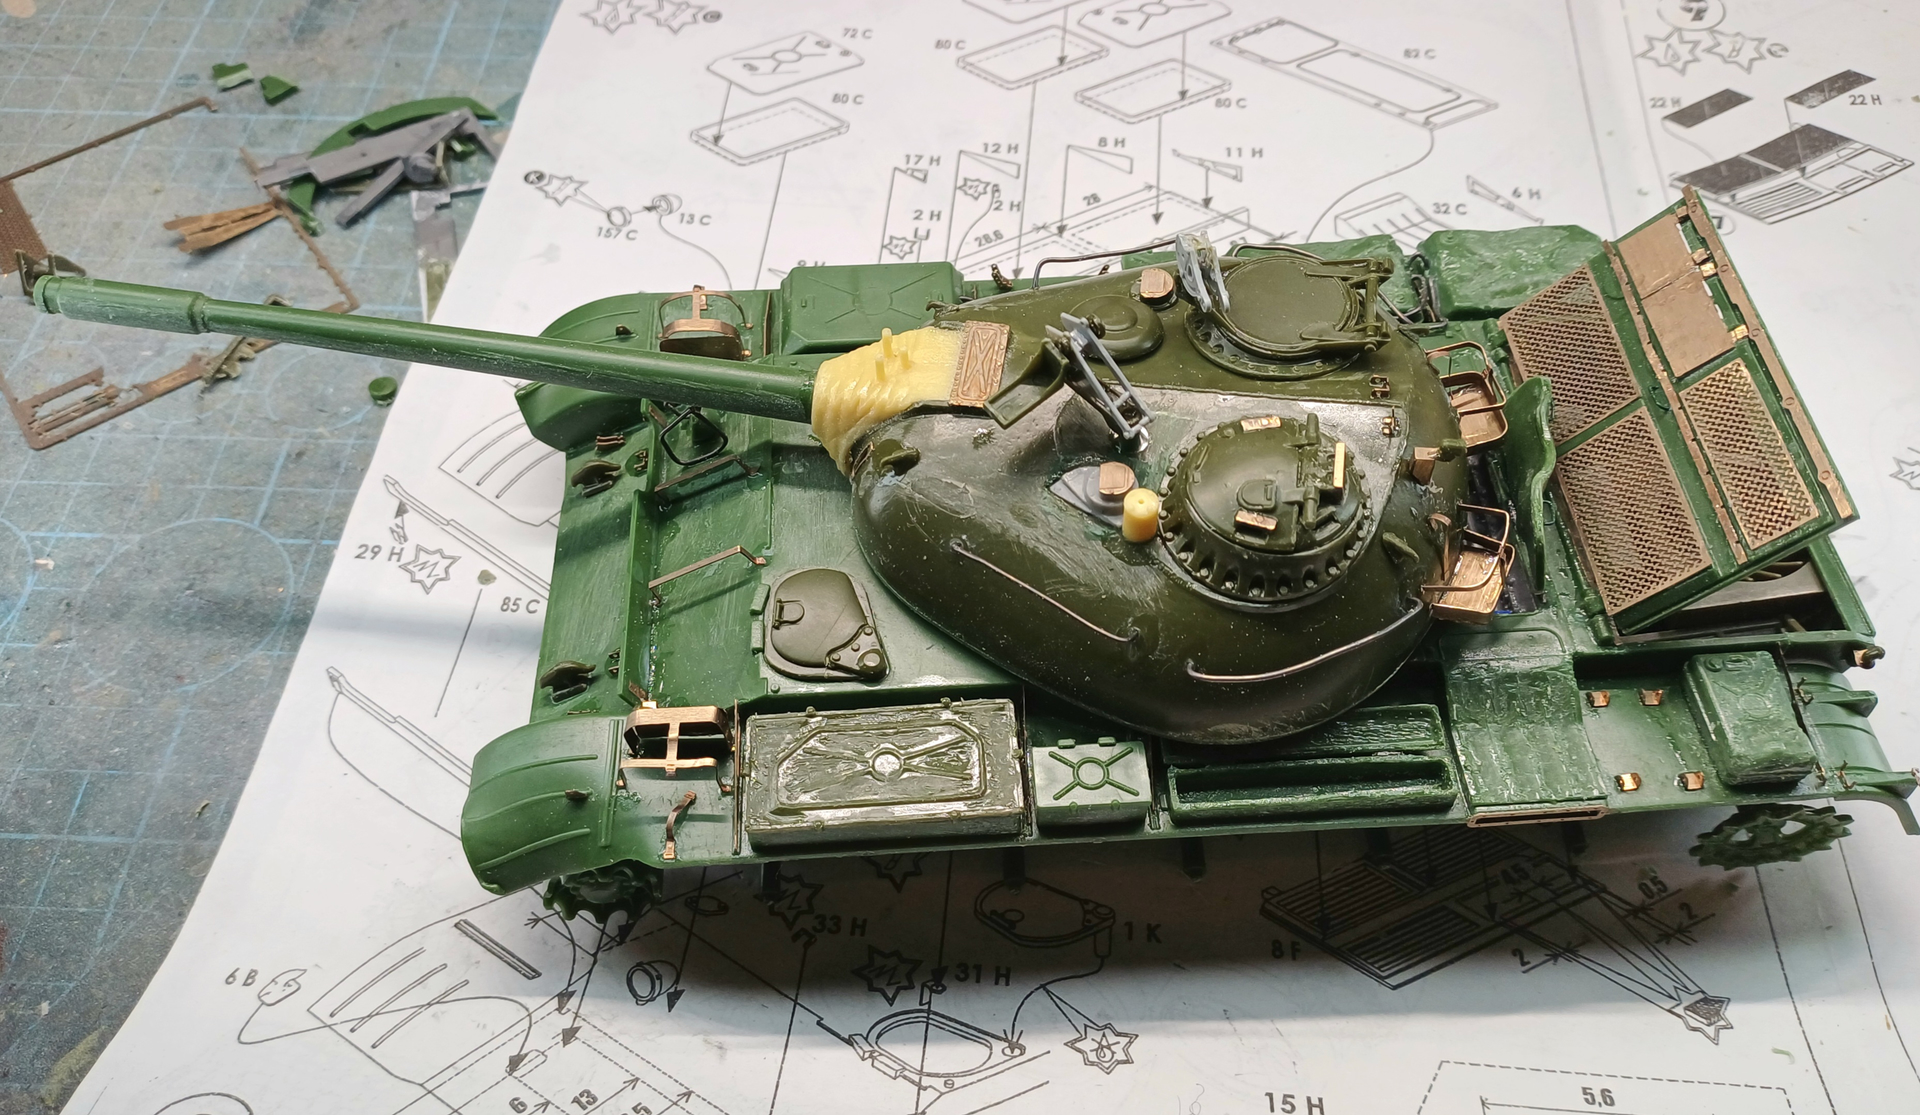
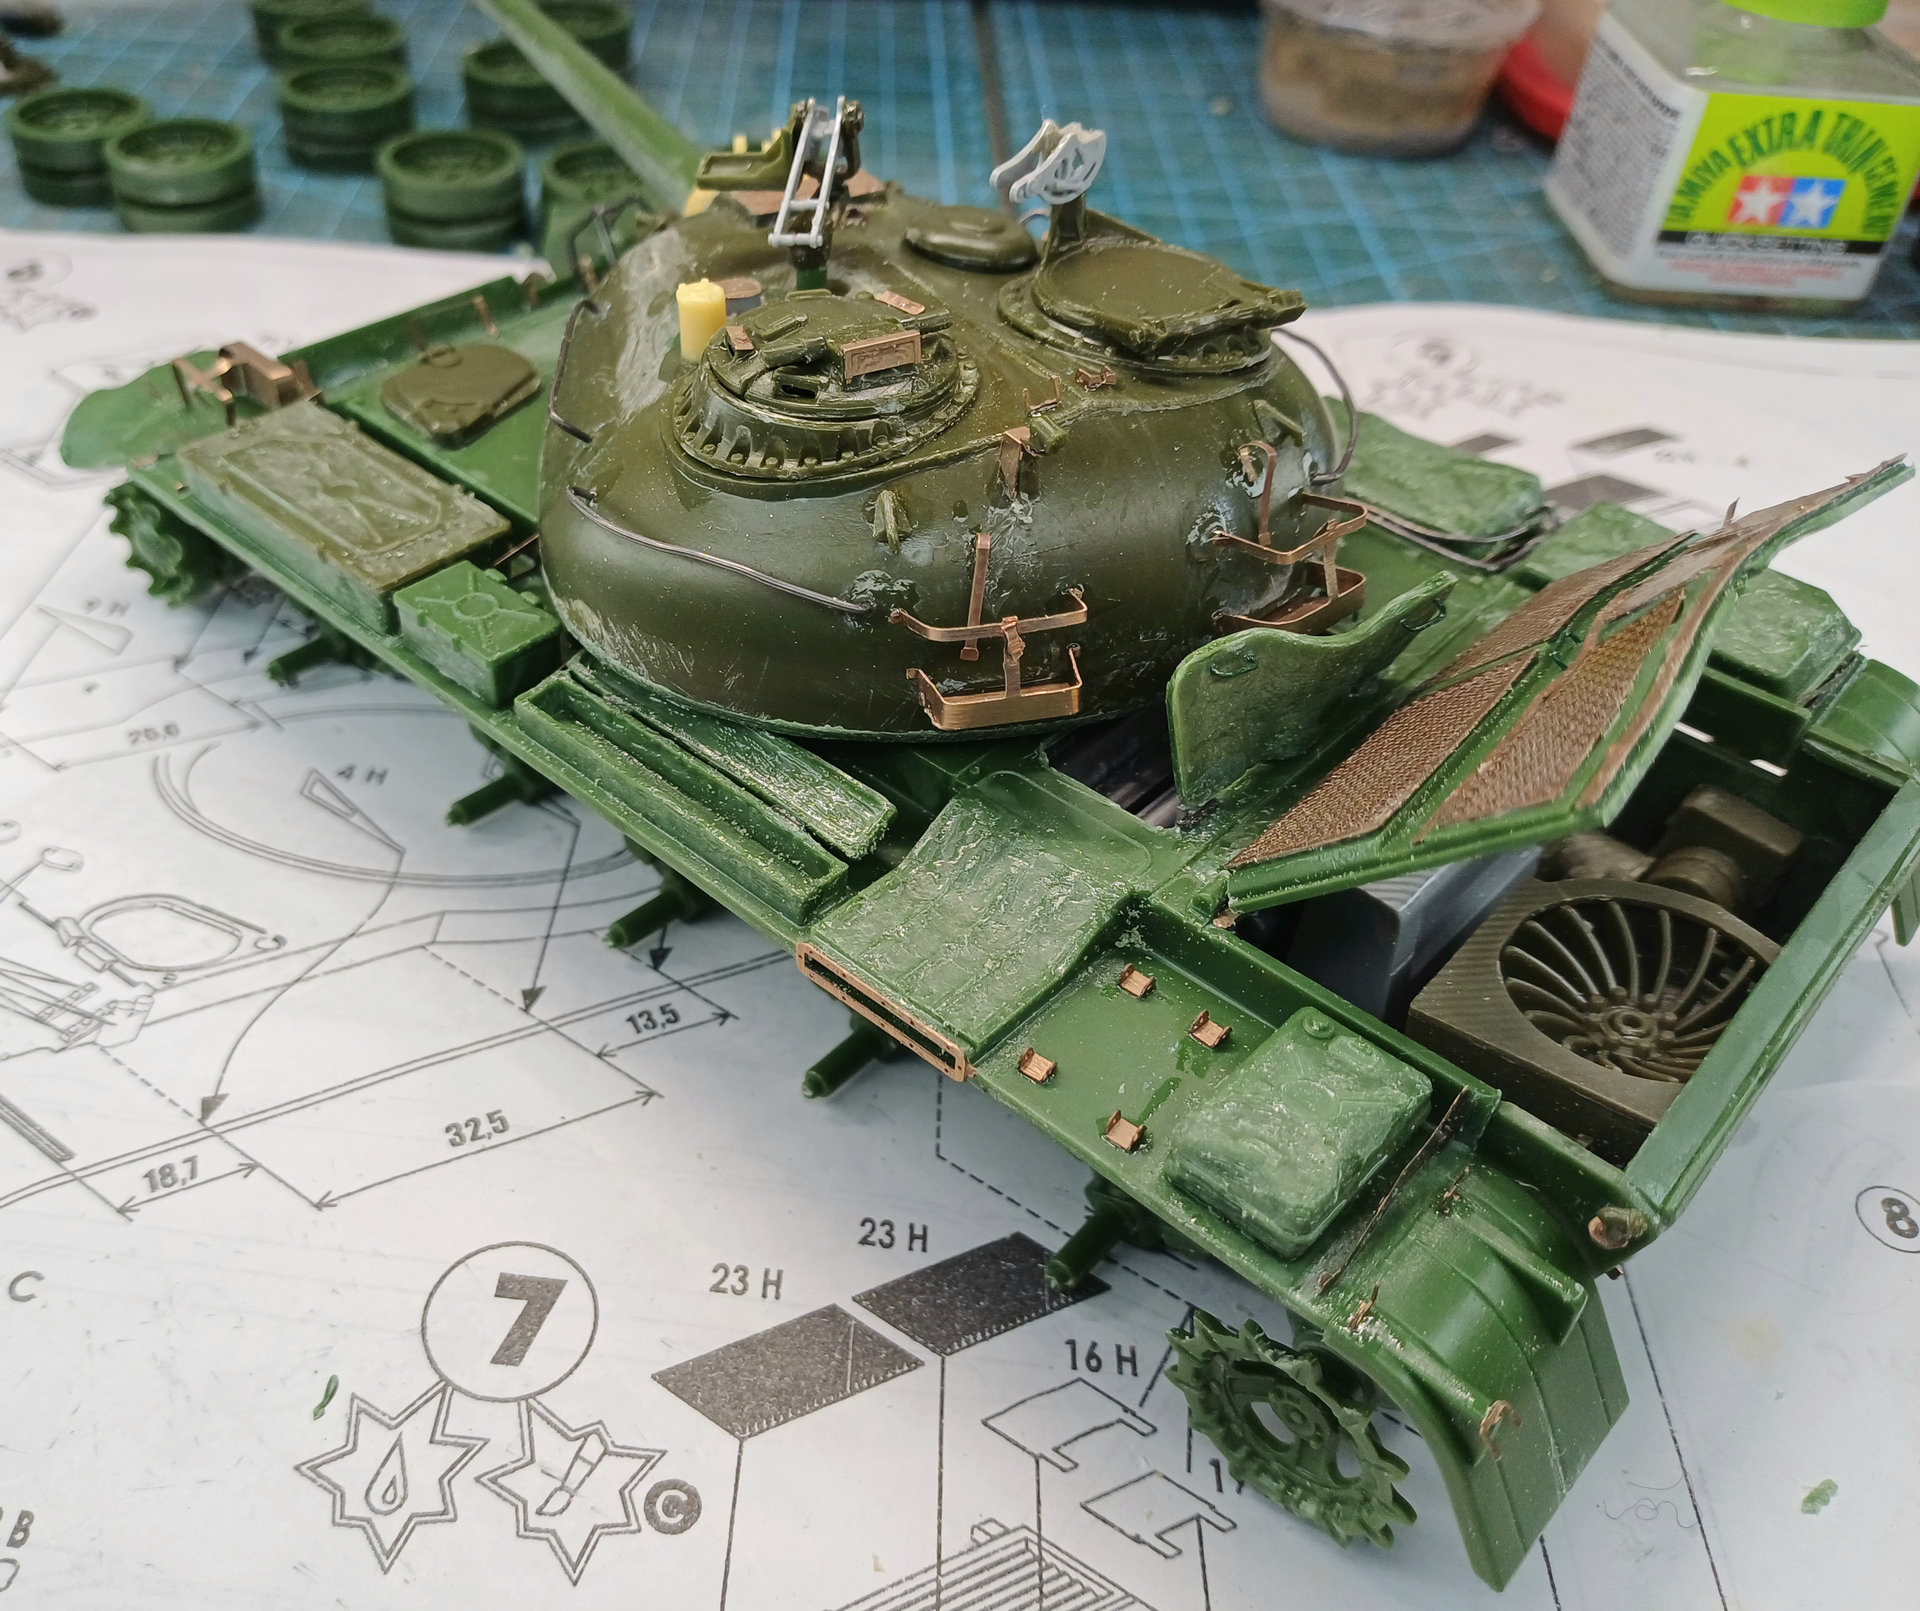
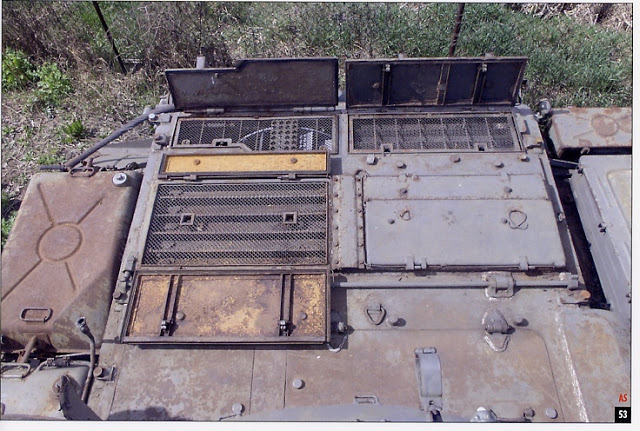
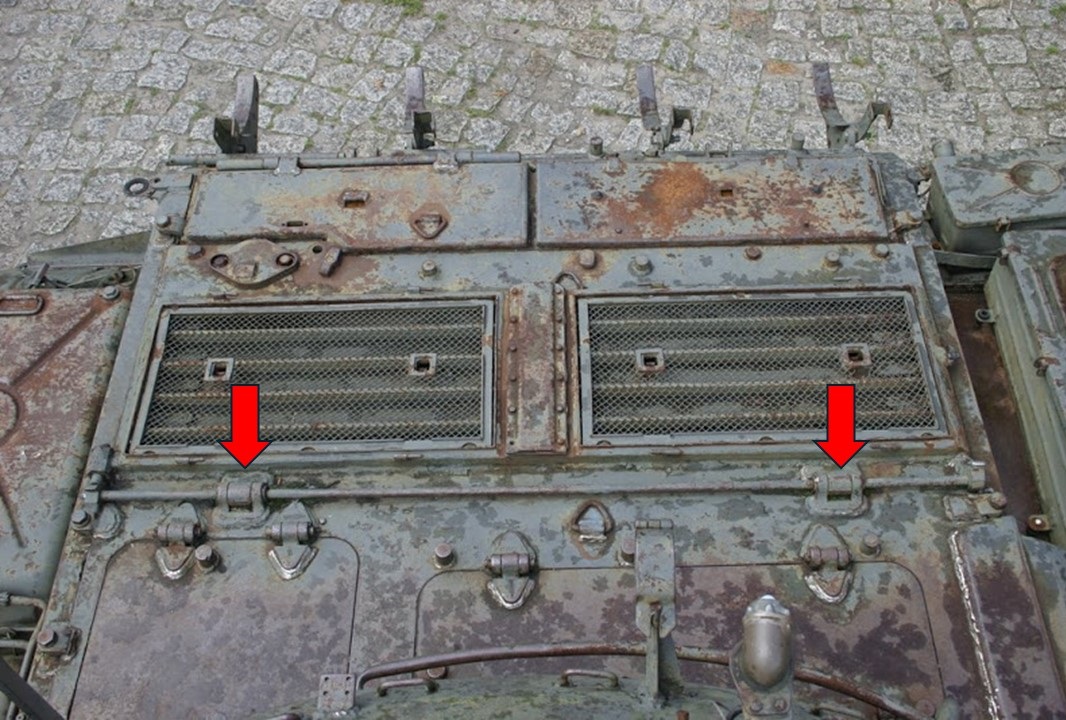
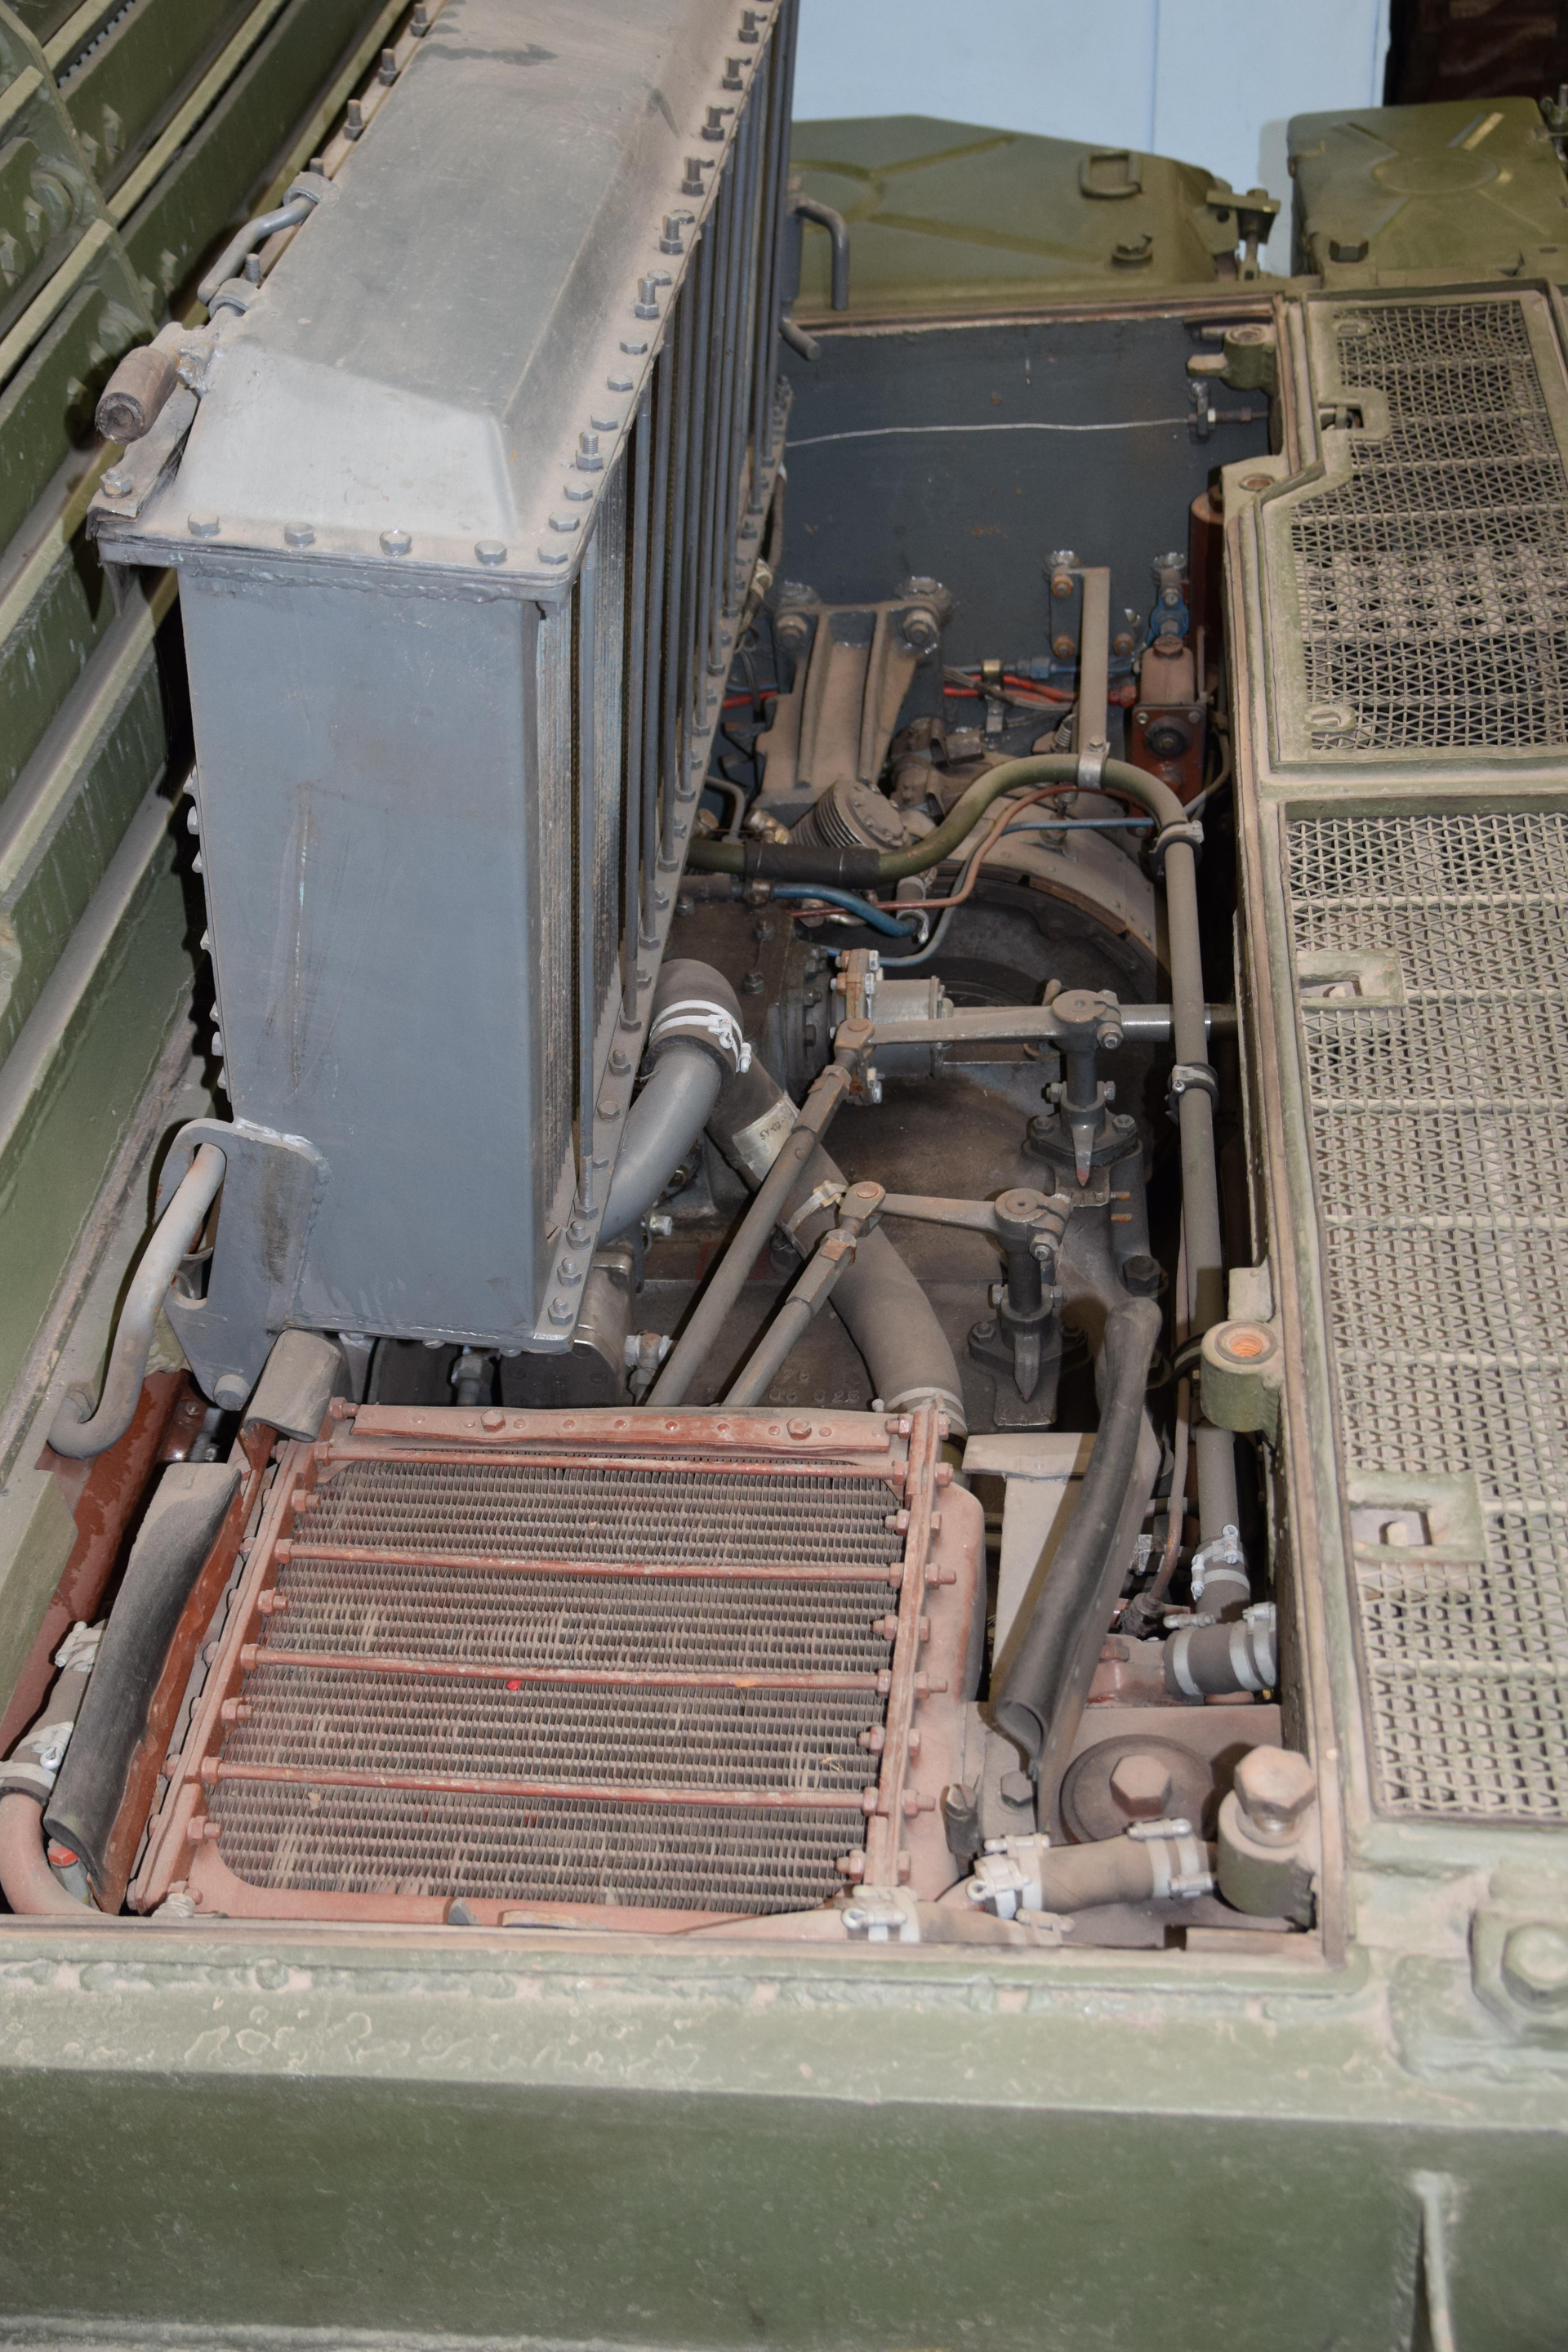
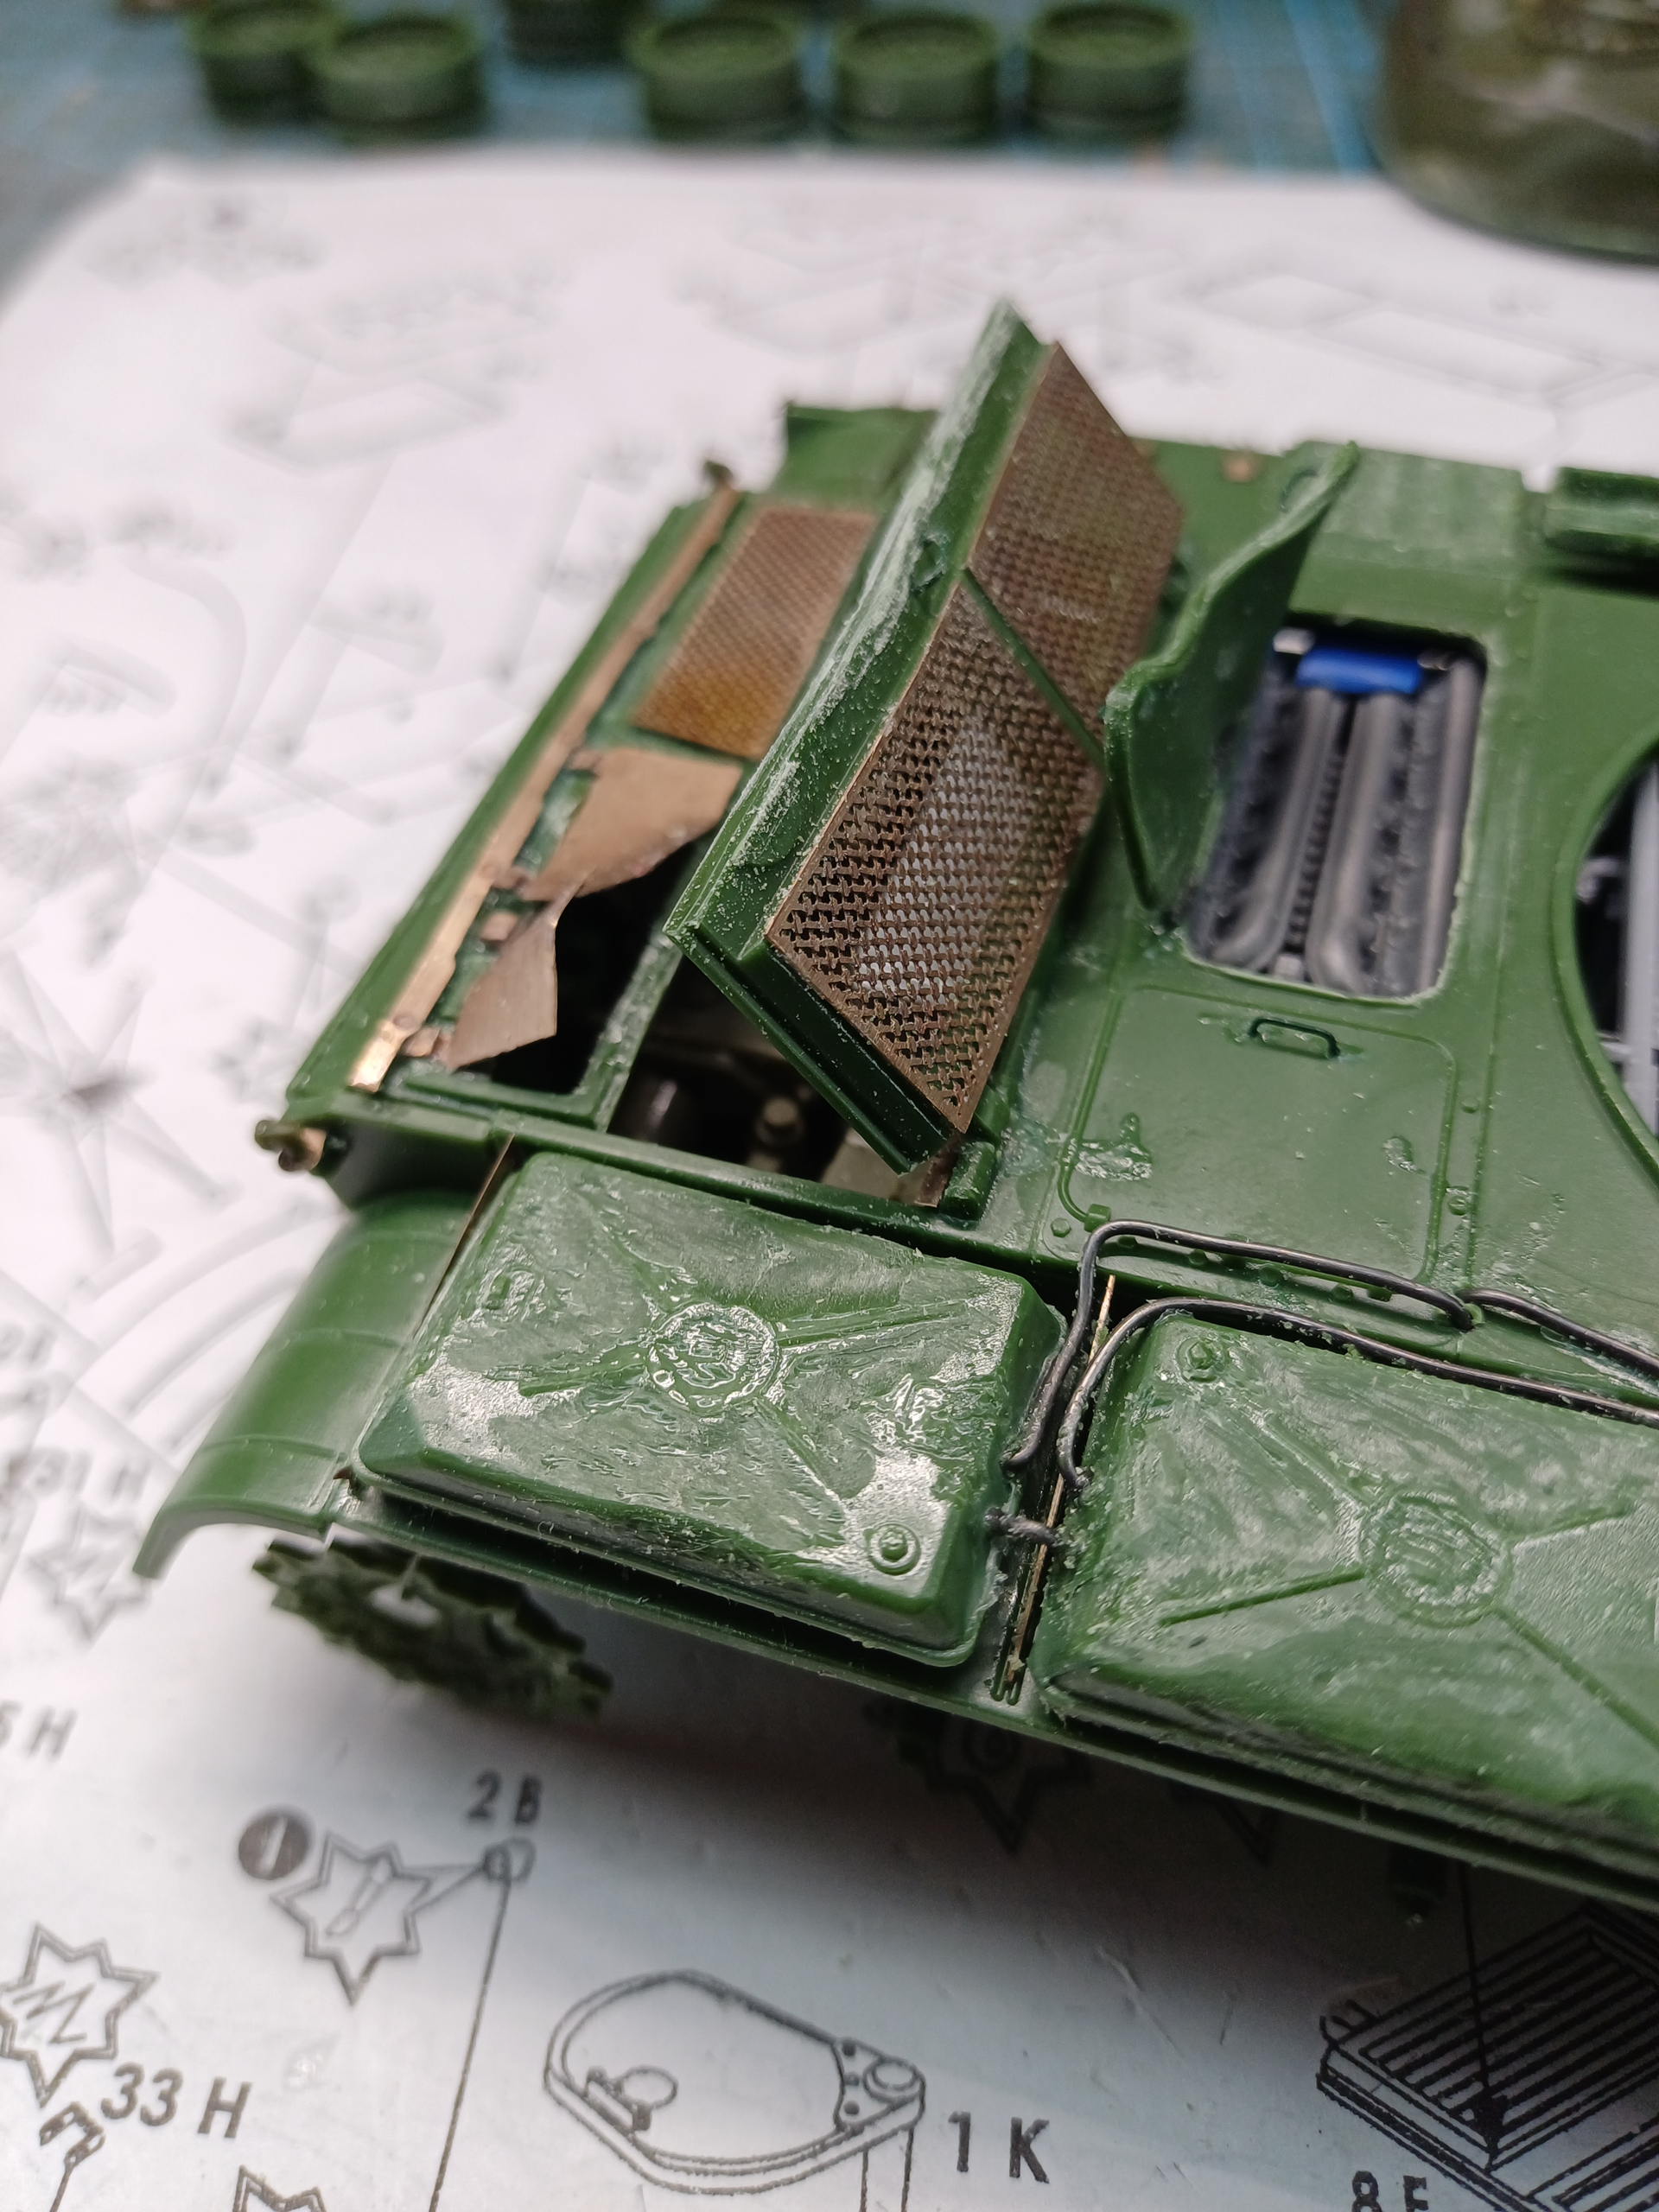
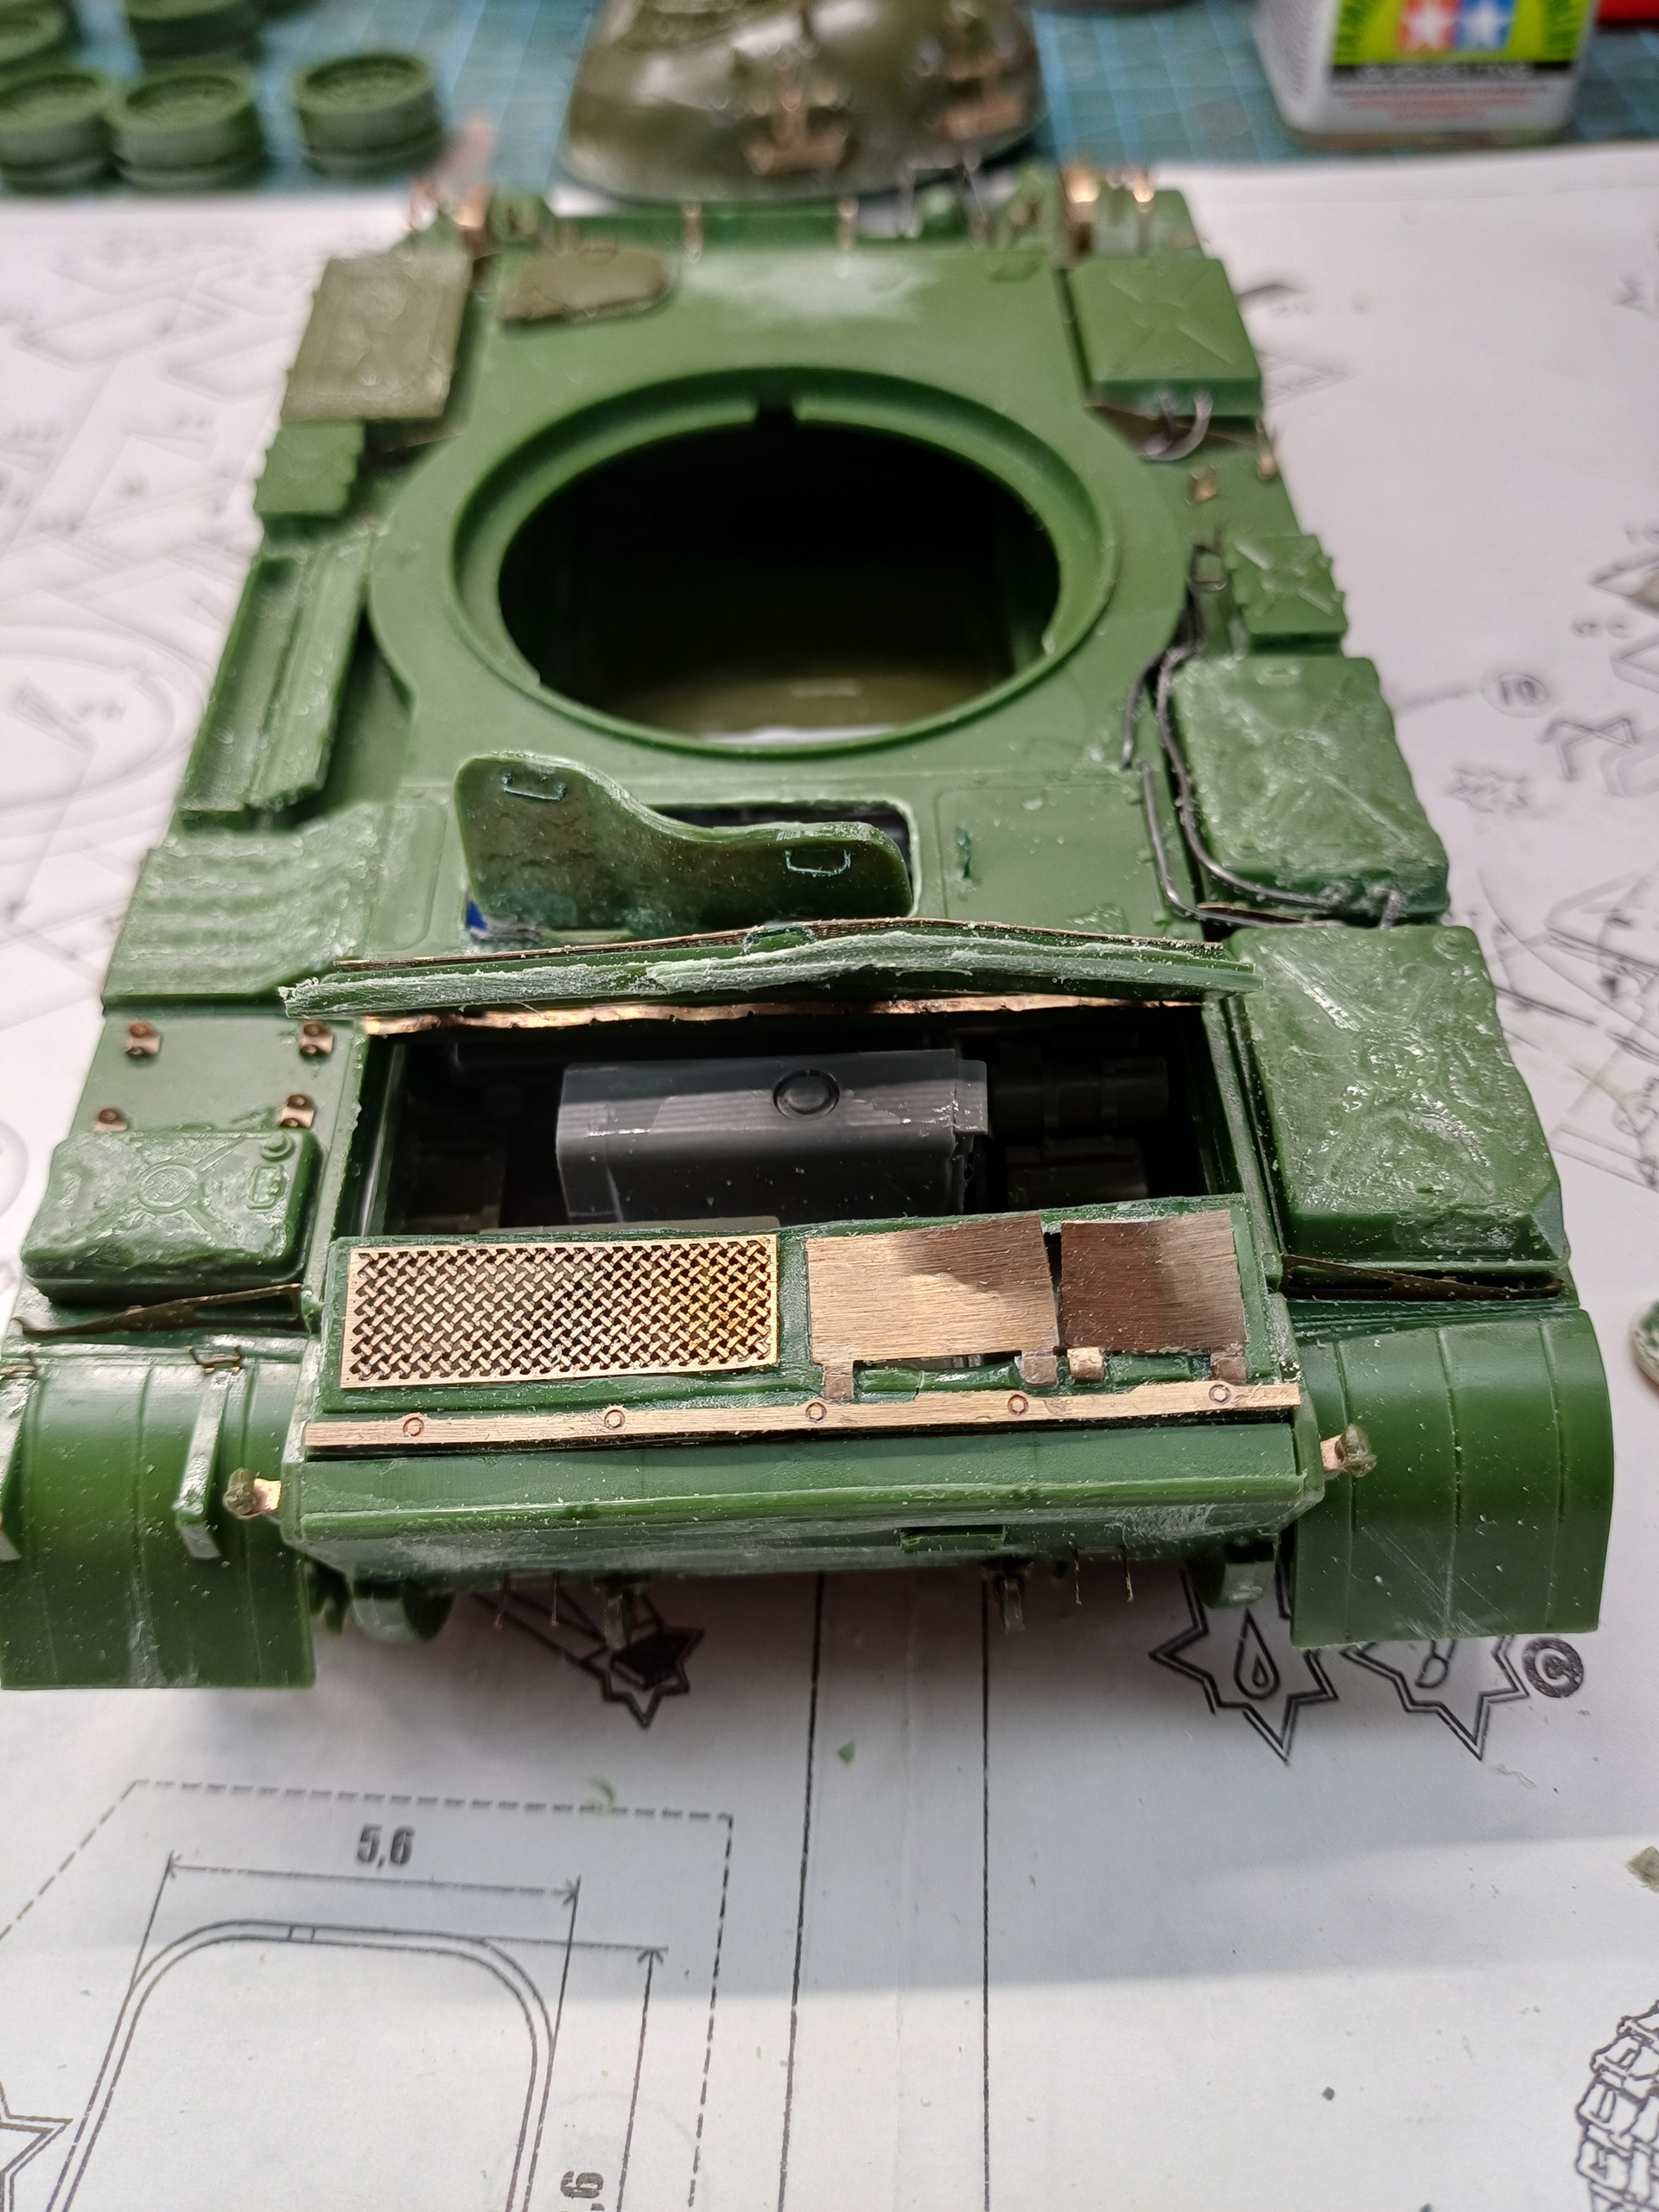
You probably don’t care, but I will point out that is not how the engine compartment opens. The rearmost part over the fan is fixed and only the two covers open to access the fan area. The center section over the radiator opens to the front (swings up and forward) on the hinges highlighted below. The engine hatches do open as you show them.
I’ll have to remember that one.
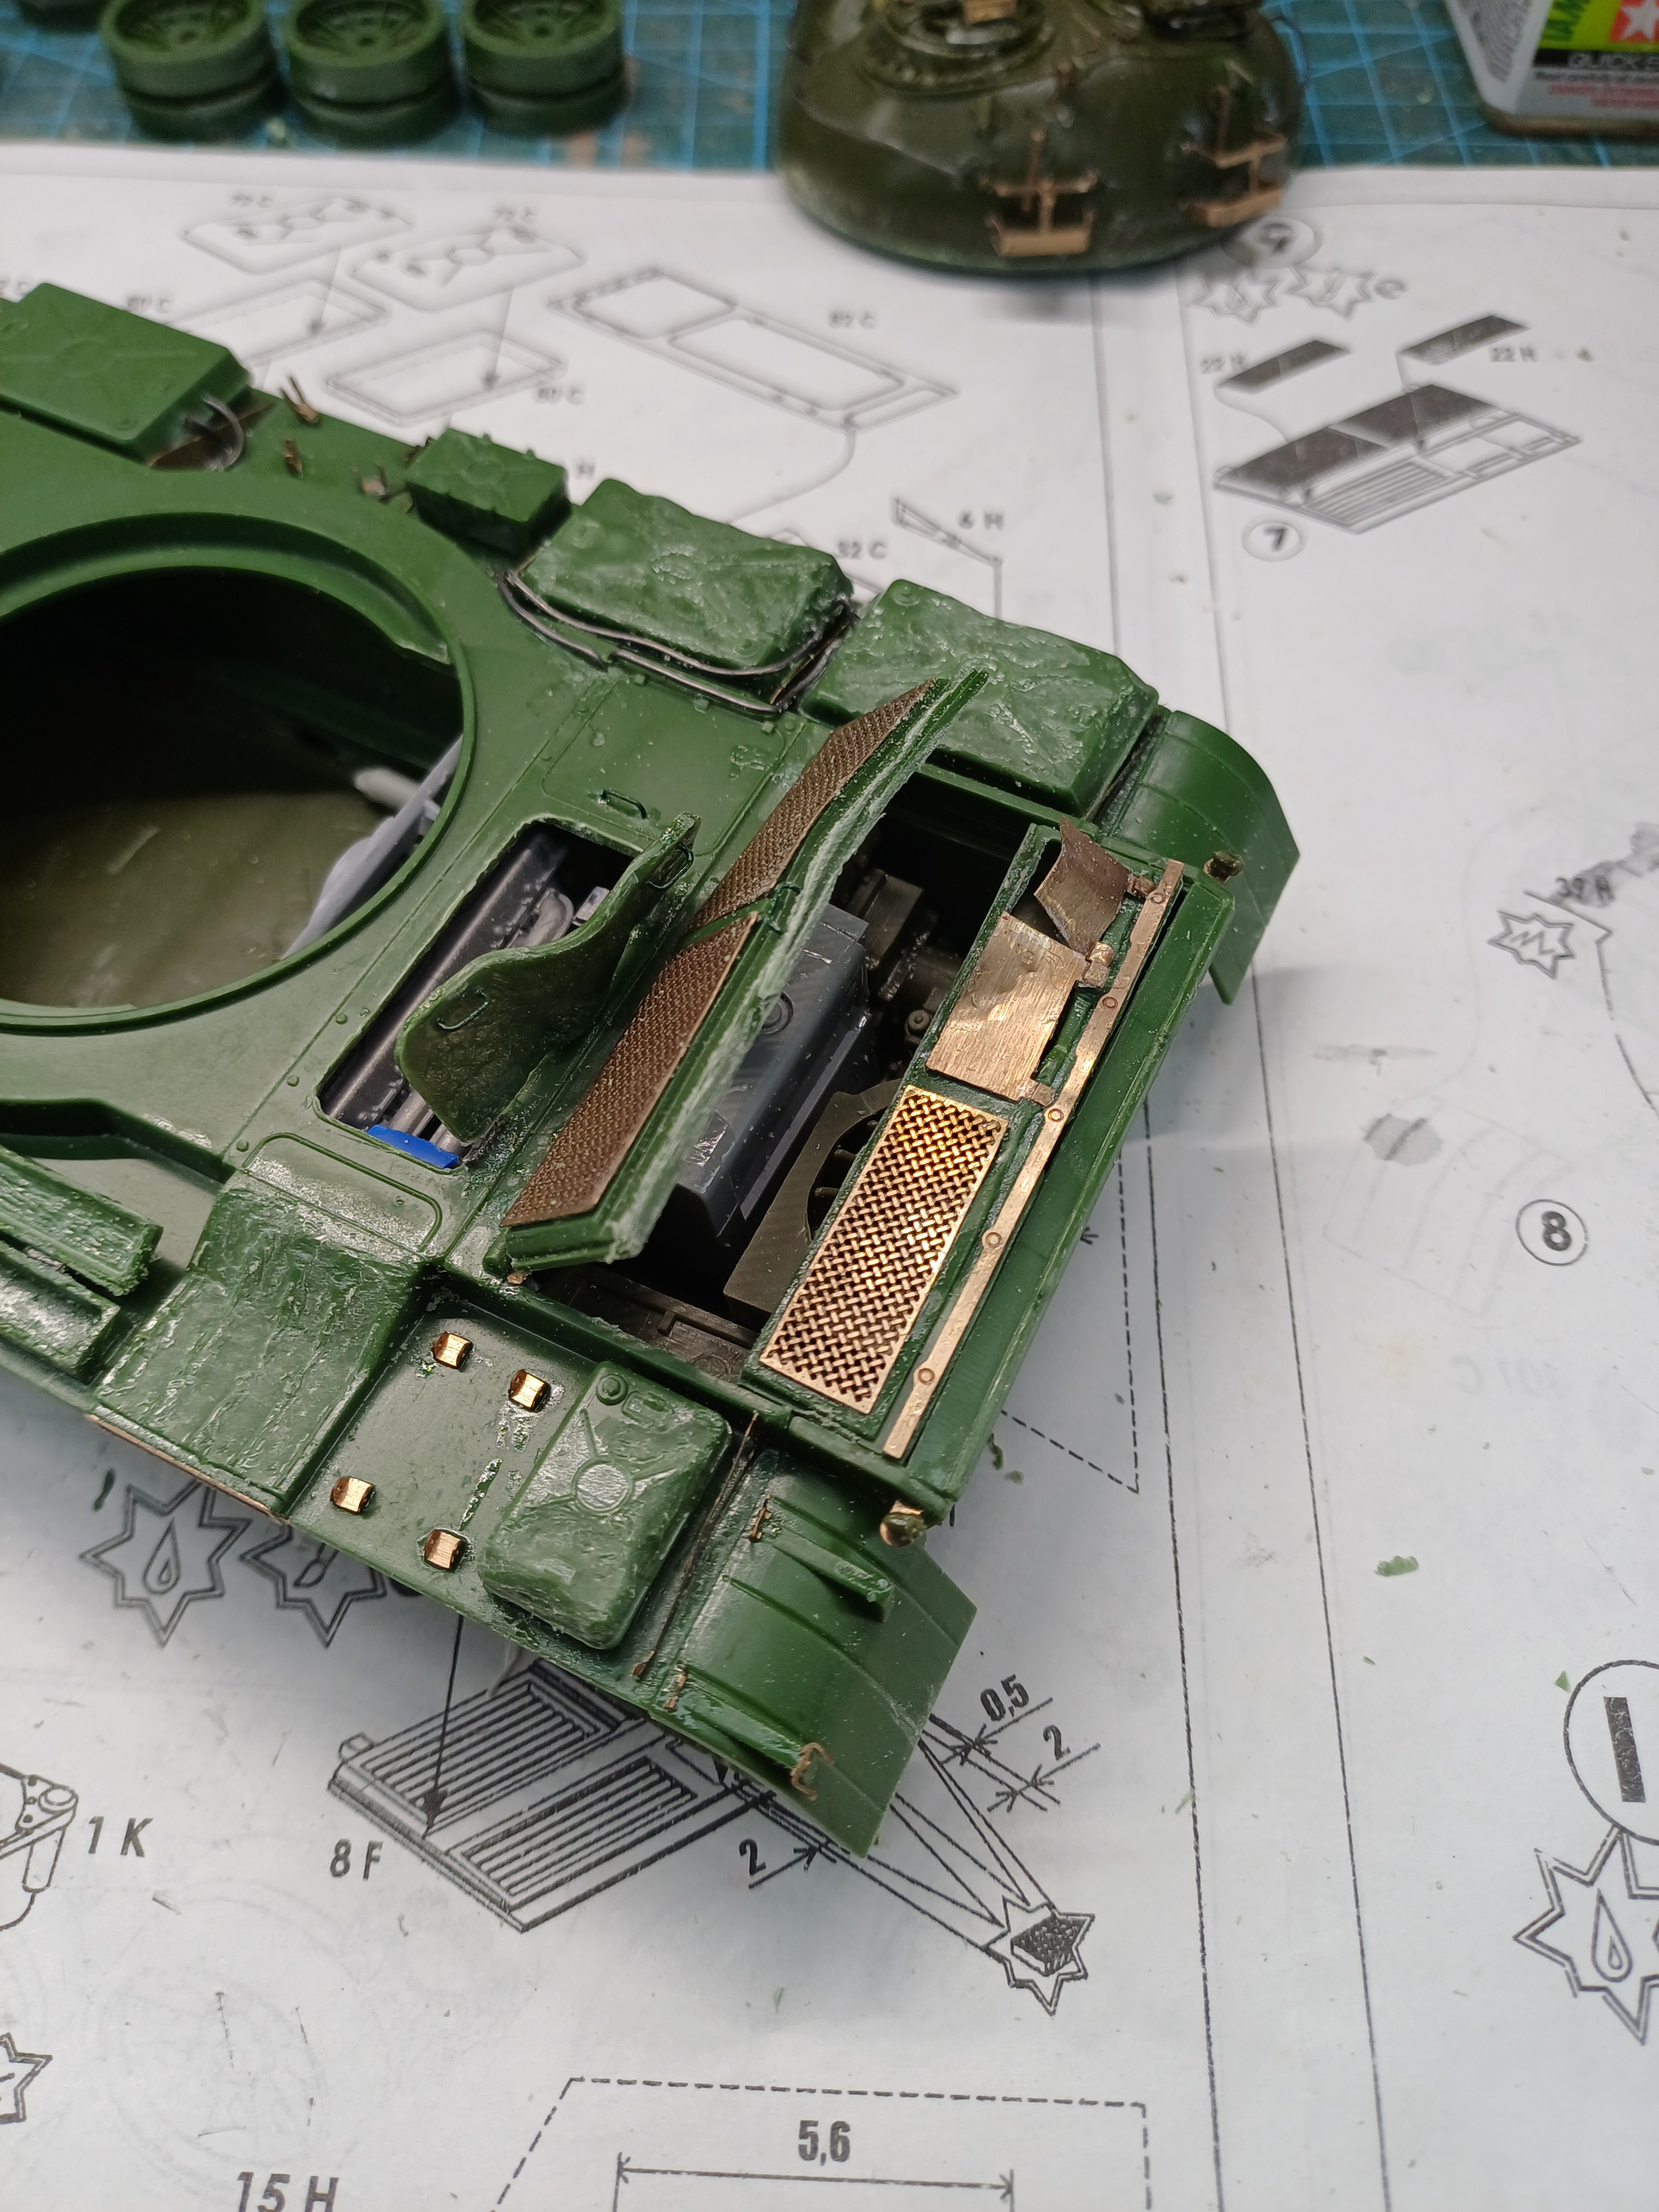
Hmm, thanks, I might try to adjust that  .. the Skiff engine cover plate is just one solid piece, that’s why I thought it would go like this… and you are absolutely right, if I can’t fix it than I will be happy to leave it like that..
How about this?
Nice job. It looks much better.
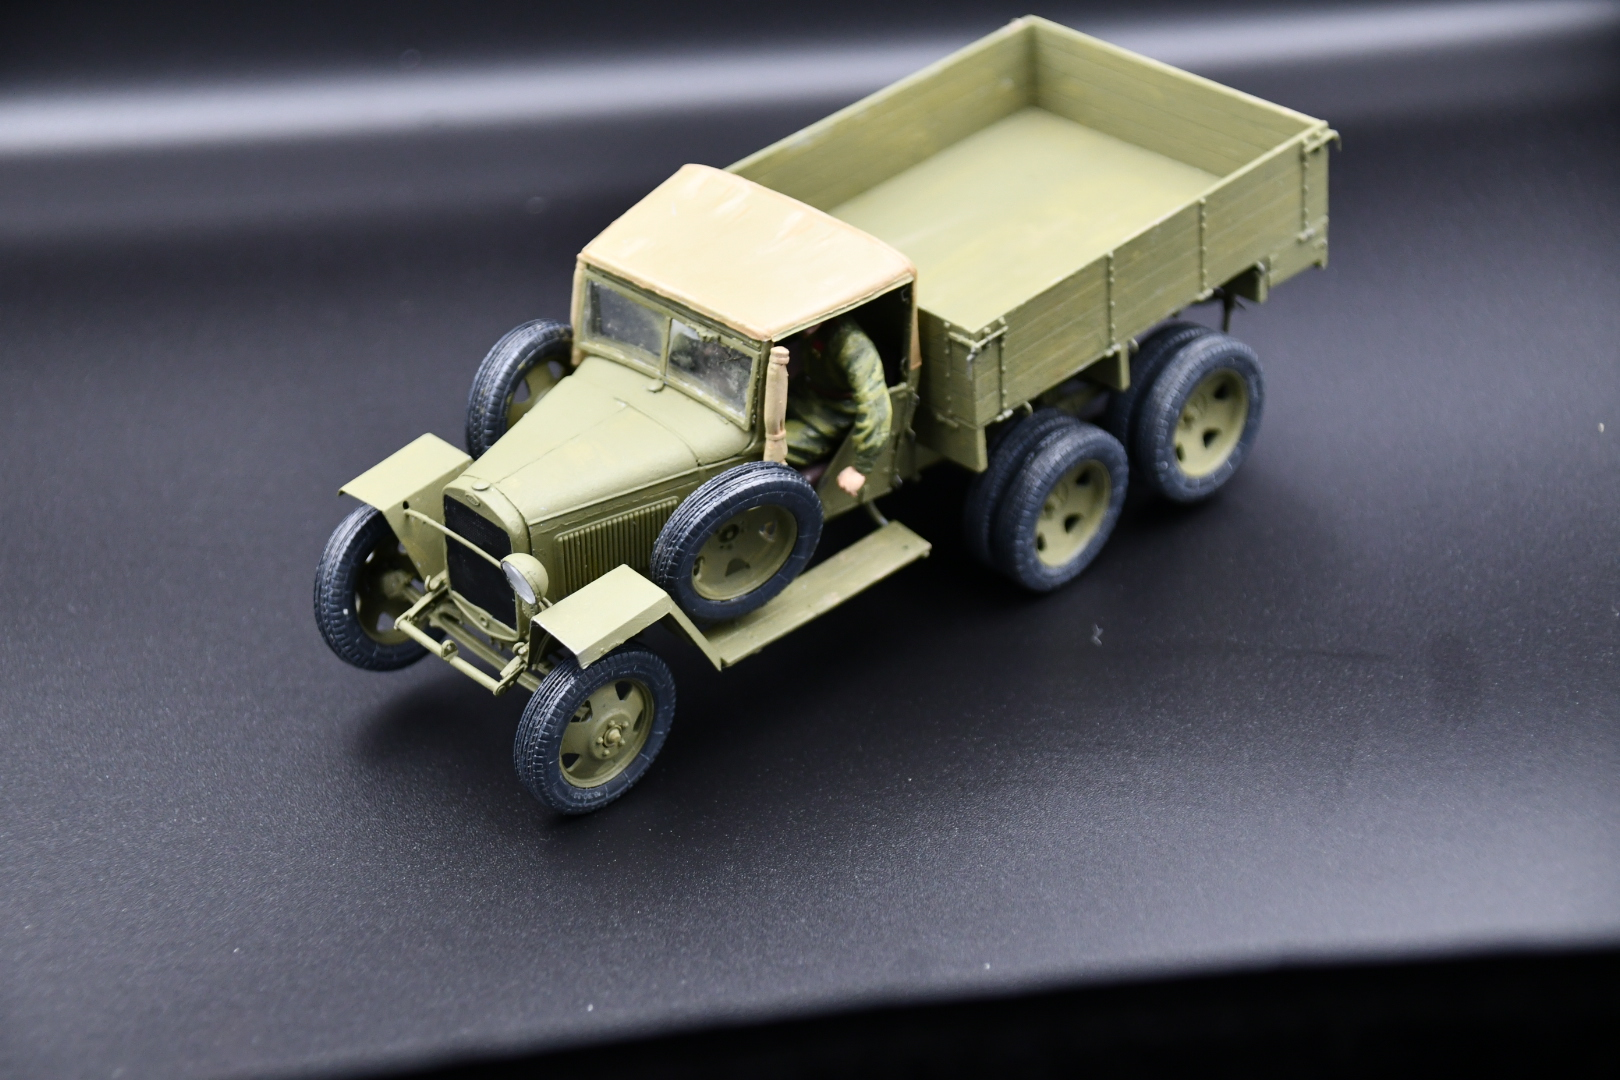
Grabbed from the grave of unbuild kits, don’t know how old this thing realy is…
Half made nice, and half is cruel. .
That’s a good basic for a kitbashing project.
Molds - 1966. Boxing - 1967. Almost as old as I am.
Thank you very much for the research! That’s a lovely fact.
My wife asked me to build her a Ornithopter because she loves the DUNE story so much…
She is born in 1967, i am from 1966.
Goal!!
Thanks for the tip, I was able to finished faster.
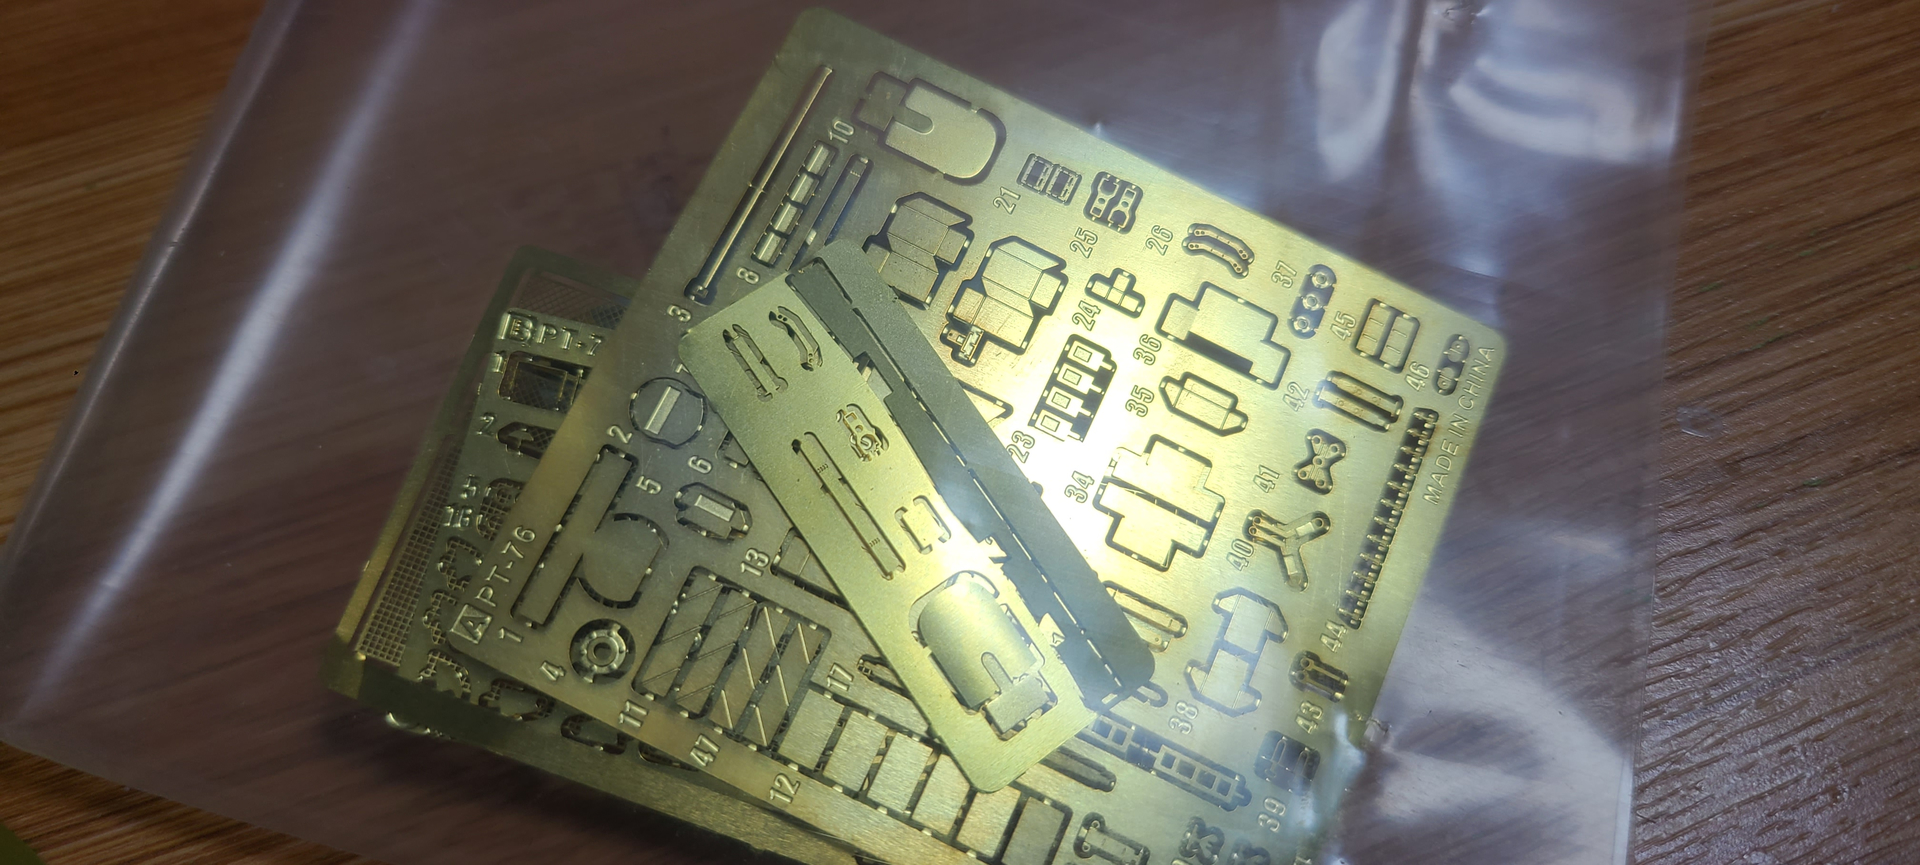
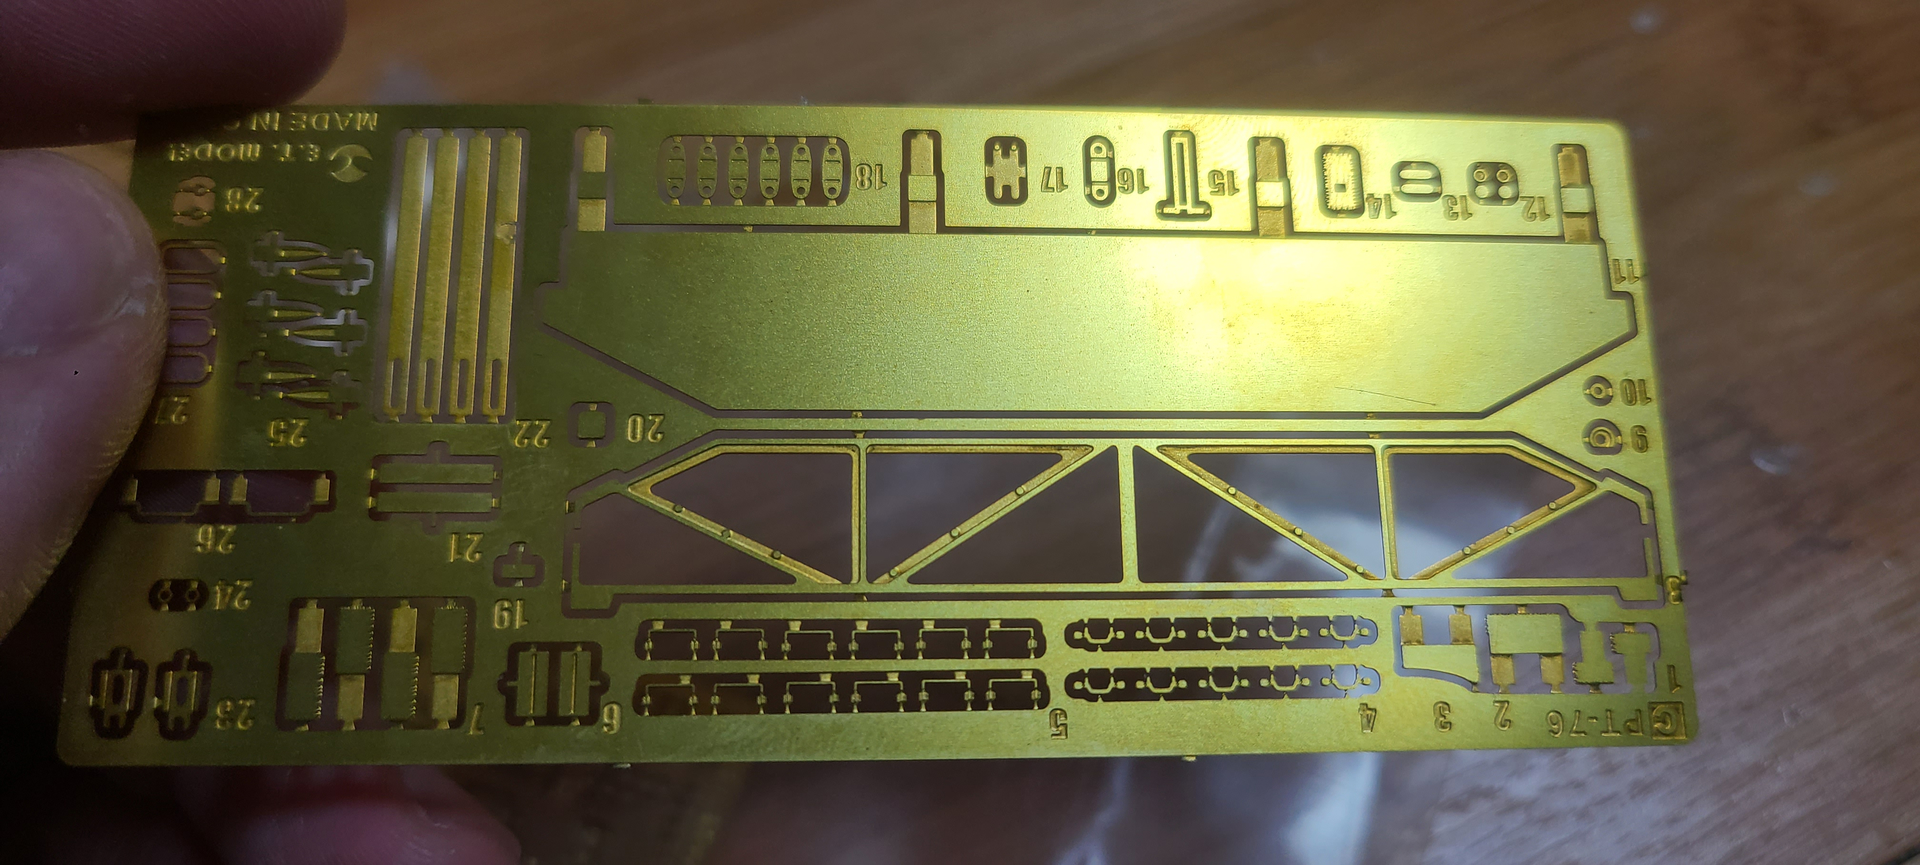
It’s shines so brightly. It’s like gold plated, lol.
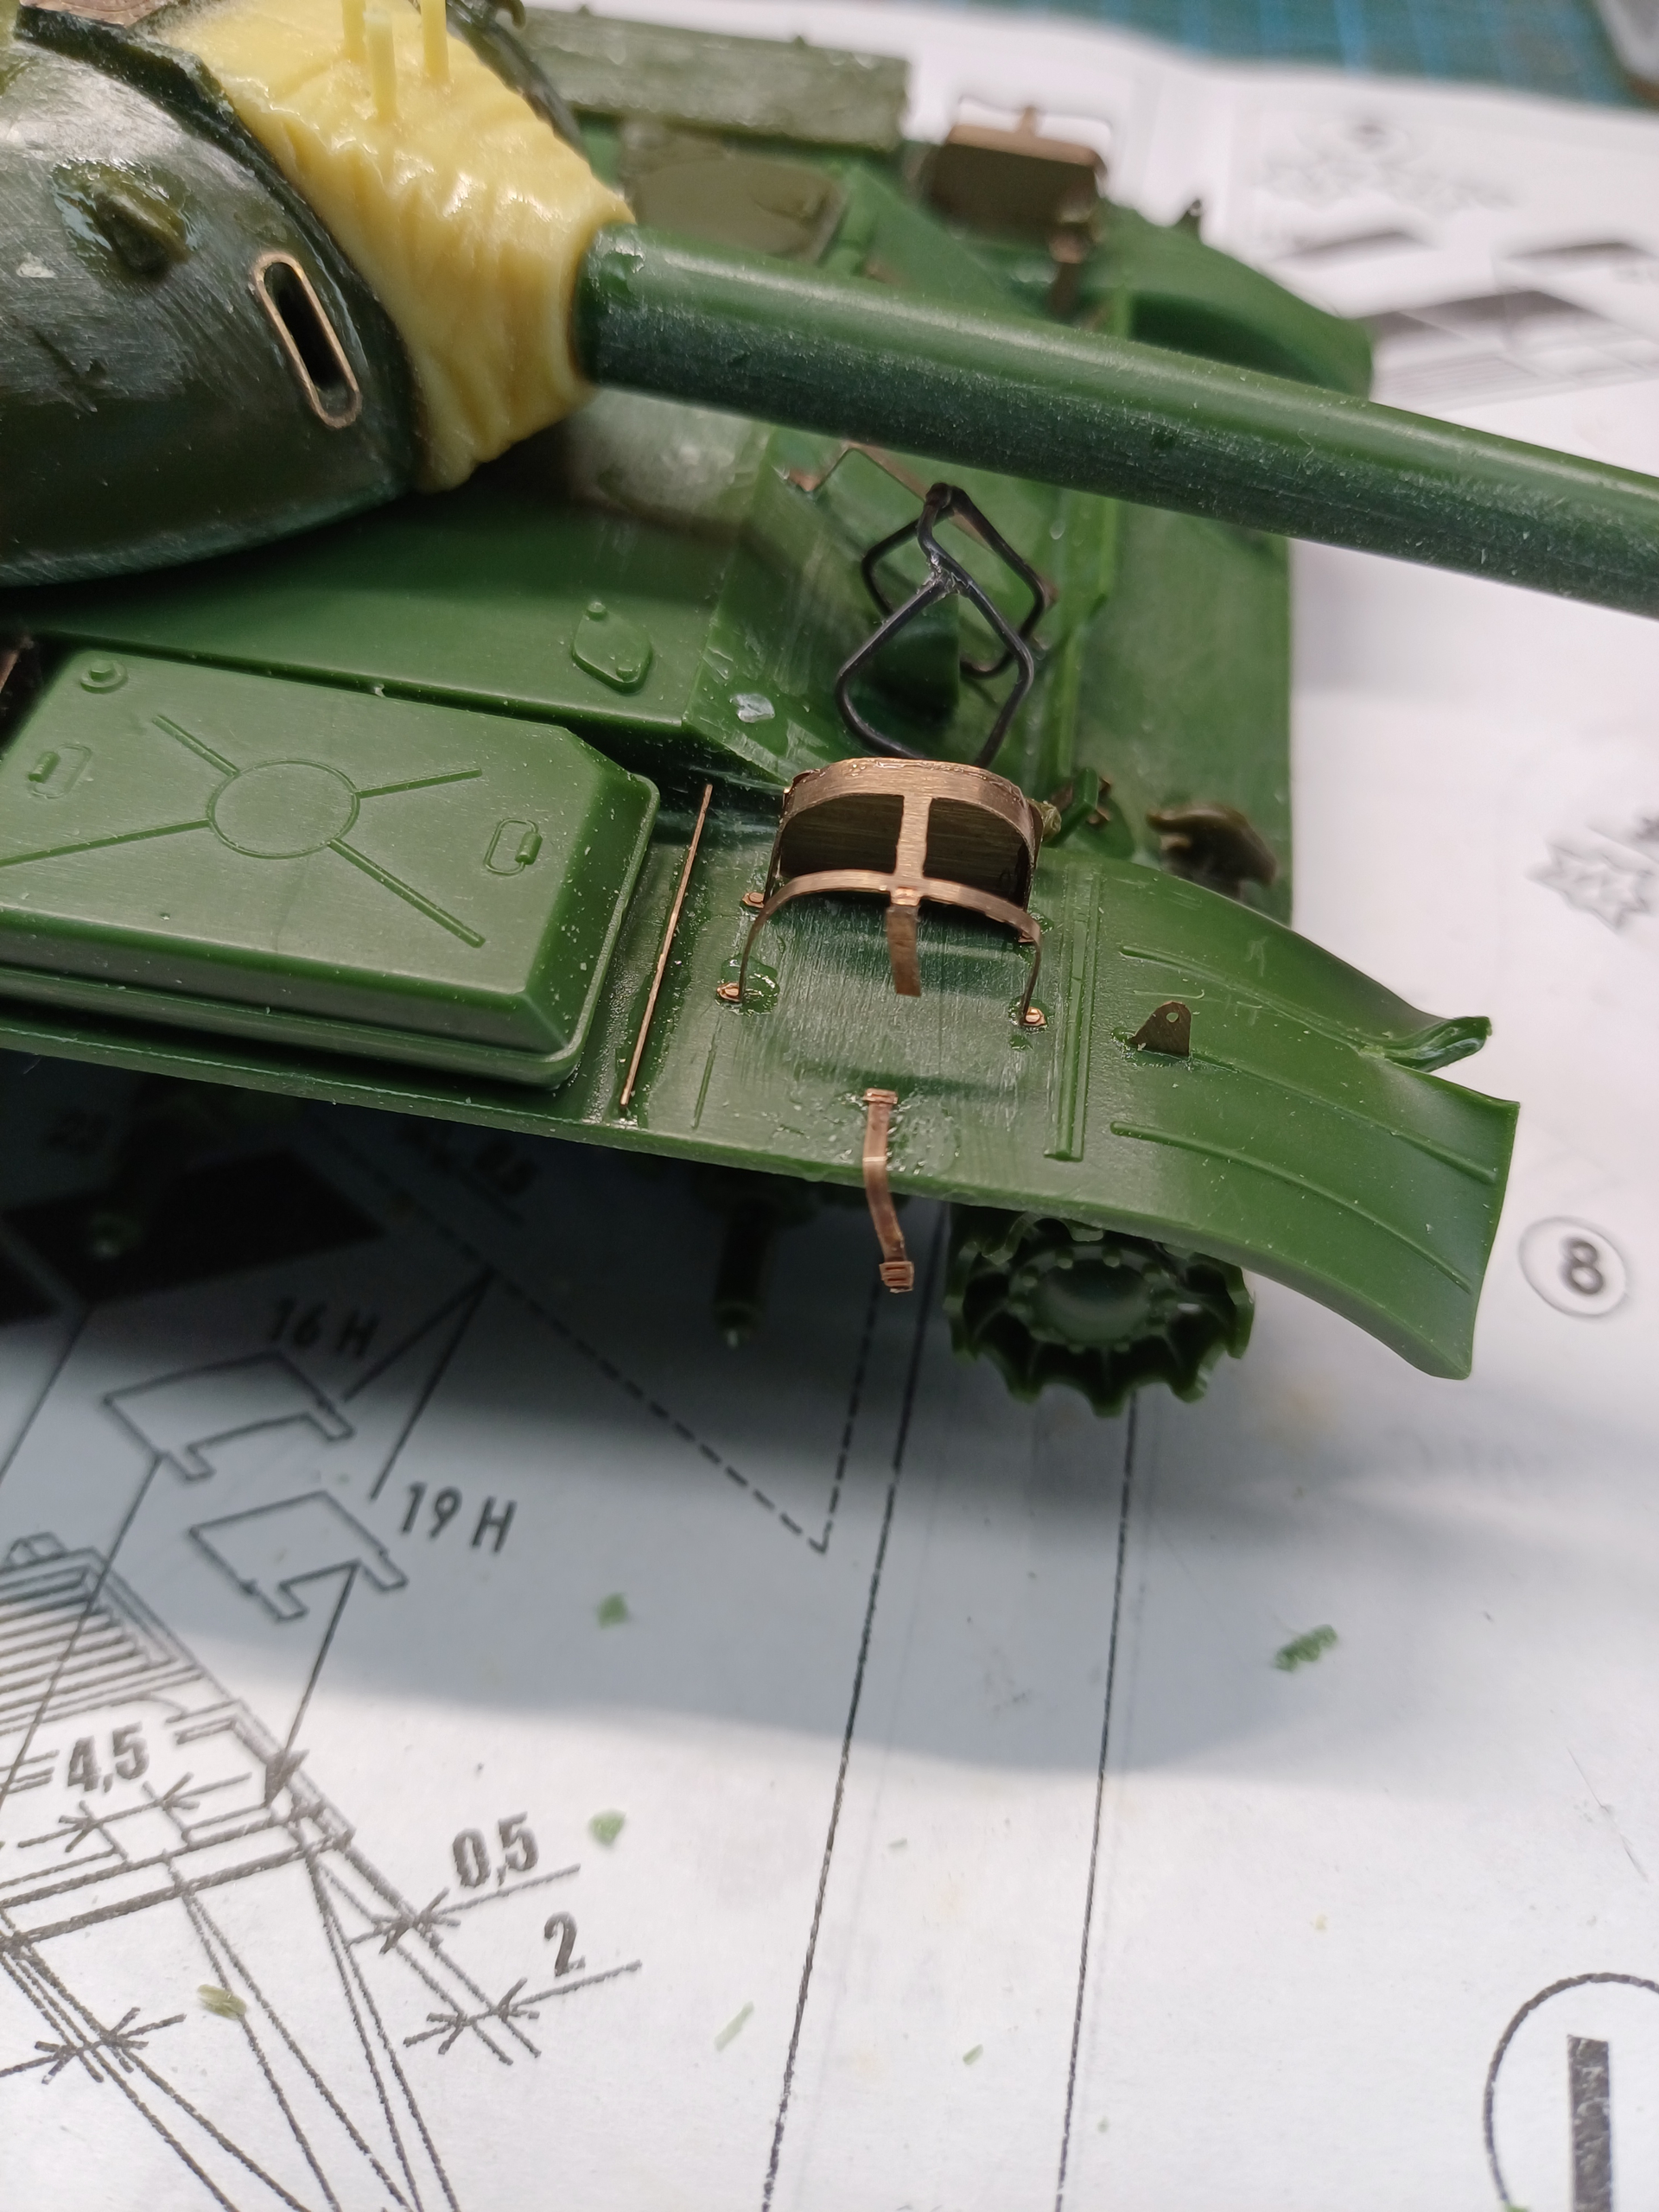
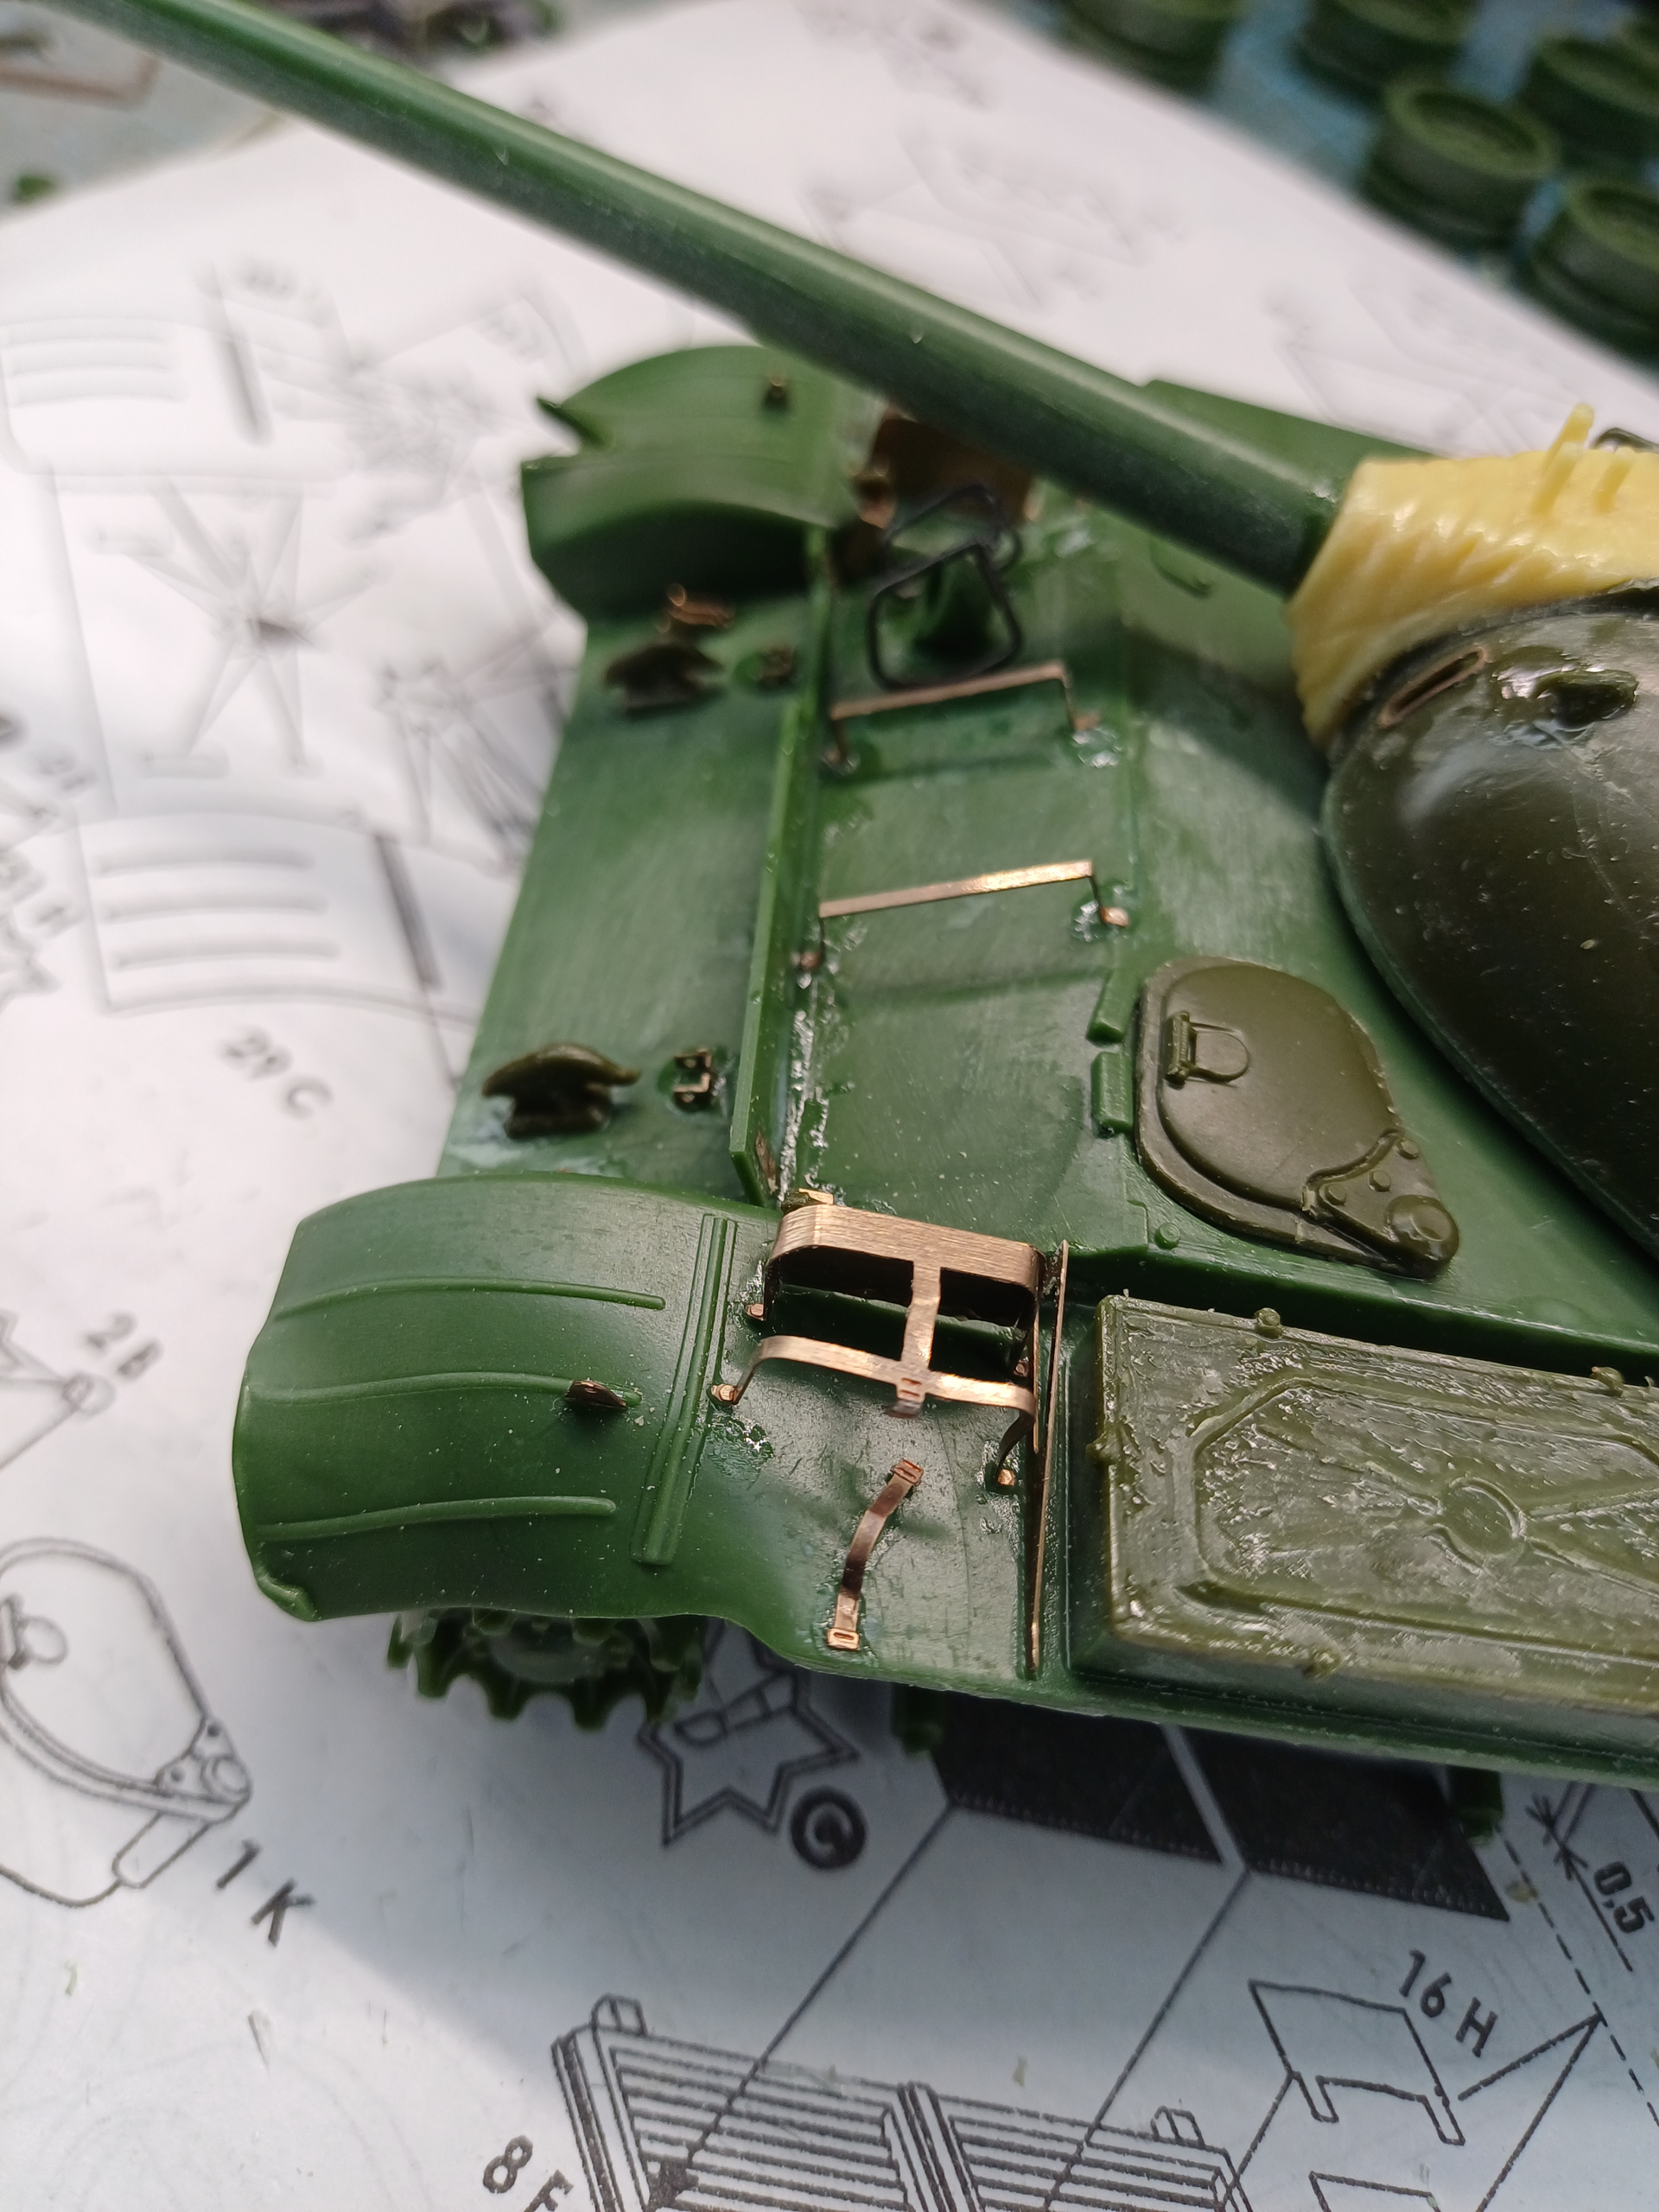
This is the very first aftermarket photo-etched part in my life. Of course, I’ve handled many photo-etched parts before, but it’s the first time with an aftermarket part for a specific model kit.
Now I only need to wait for the PT-76 kit.
My son moved out yesterday and while packing his stuff he shoved a box into my hands with the statement :”Perhaps you have a use for these”.
It was a box of models we/he built 15 years ago…. I already have plans for that ancient Tamiya Panther, I might redo the Italeri LVT-4 and Elefant, the 38(t) will become a parts donor for the Swedish version, but the rest is toast.
I am already dismantling the Panther and Elefant.
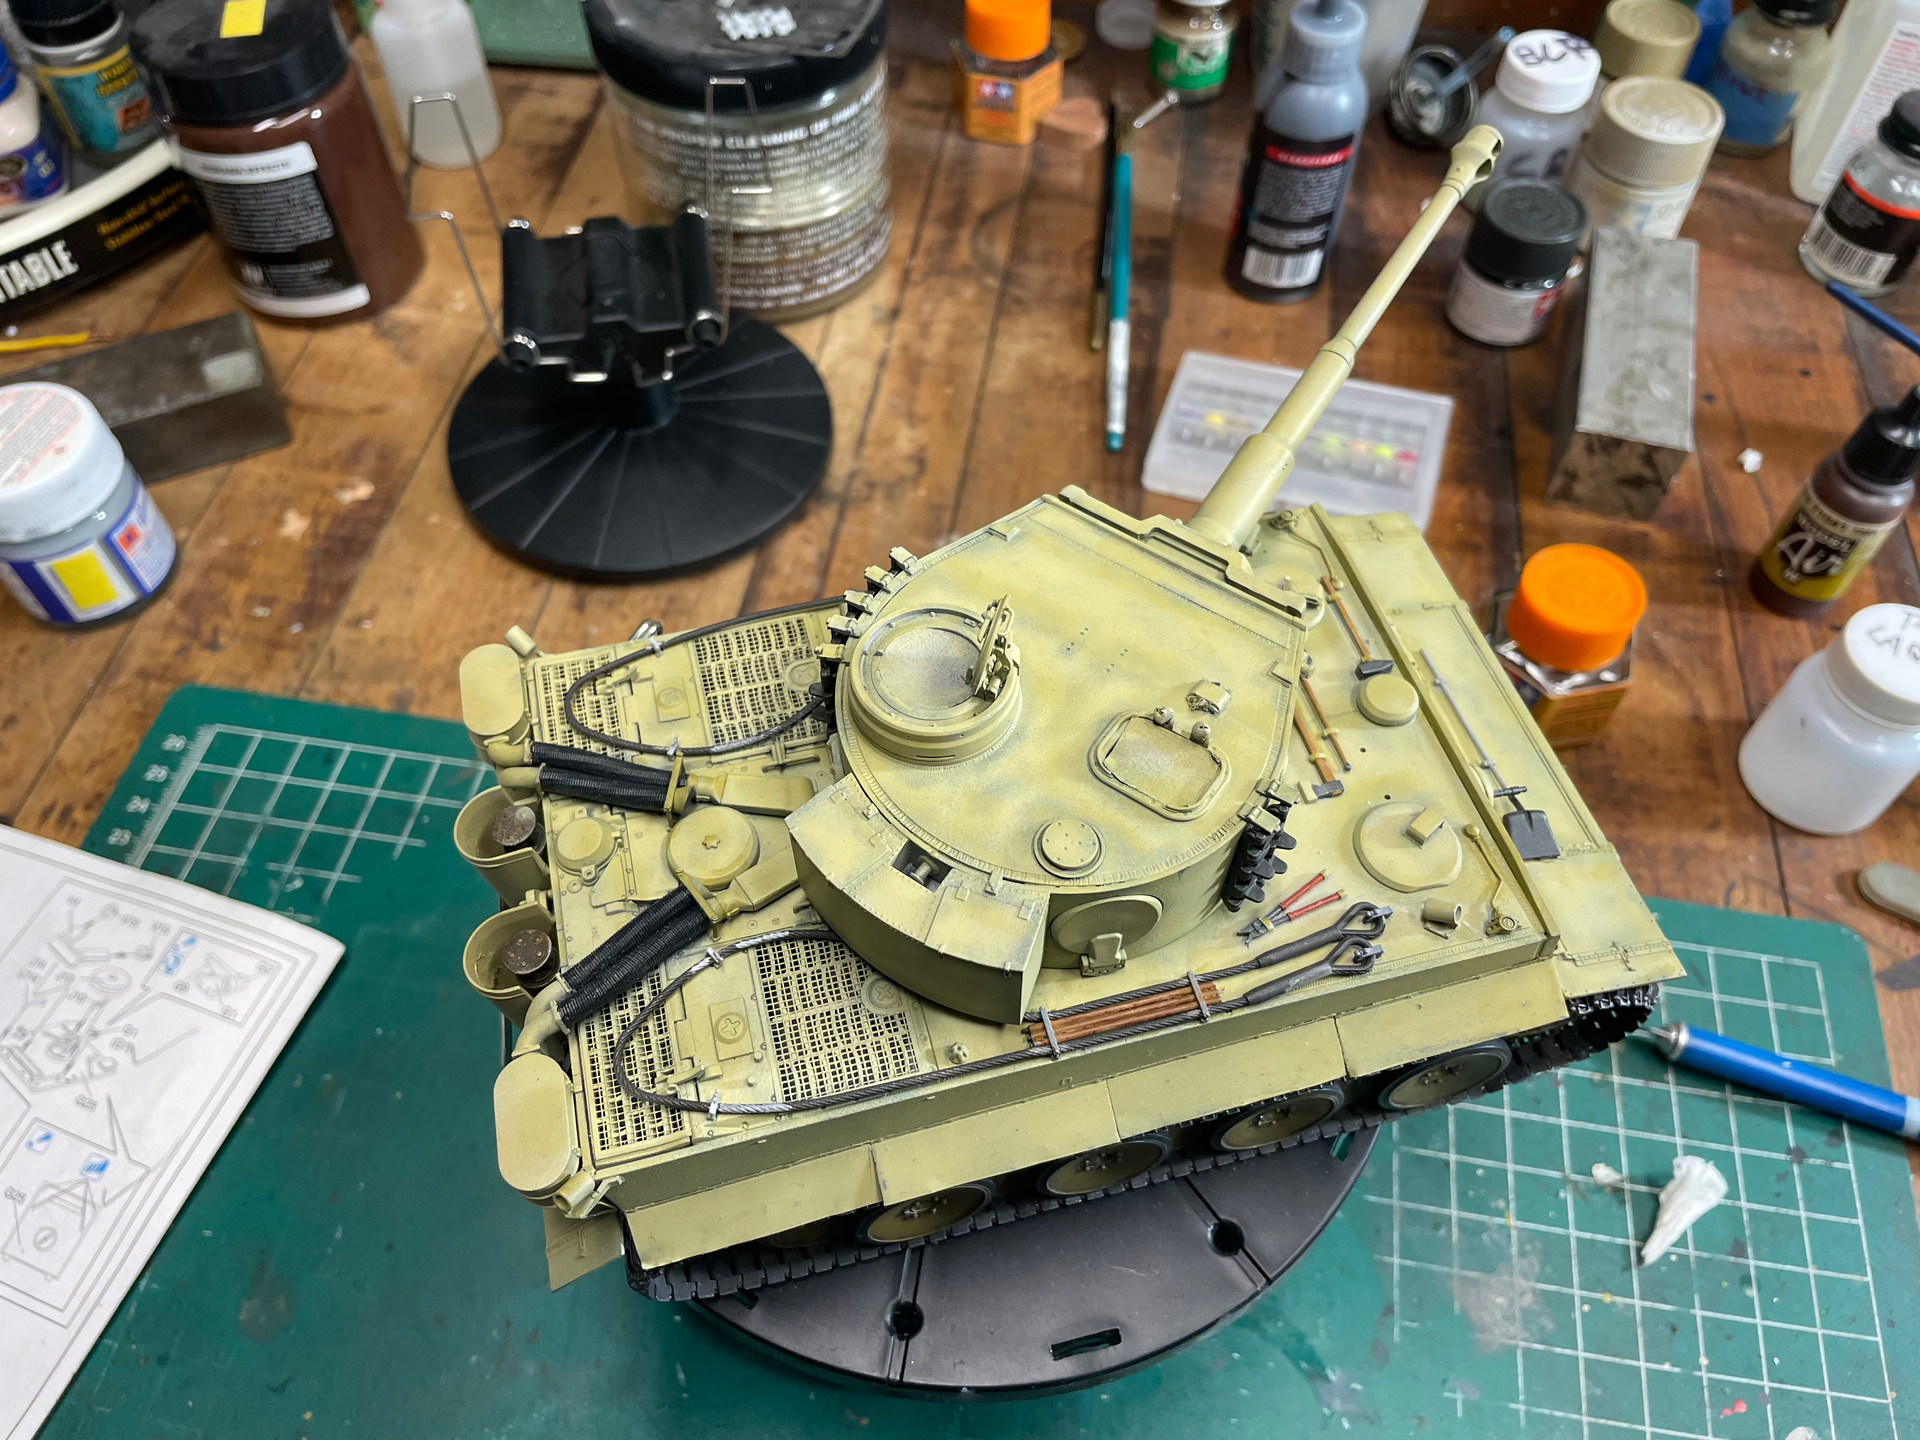
I have been adding and painting details the past week.
I am also trying to come up with a way to not handle the kit much.
Right after this photo was taken, i knocked off a rear mud guard. Between that and the track guards, my fingers have a habit of knocking off said items. ( i have a strong grip, lol, )
I am ready for camouflage paint to be added and start the finishing up progress.
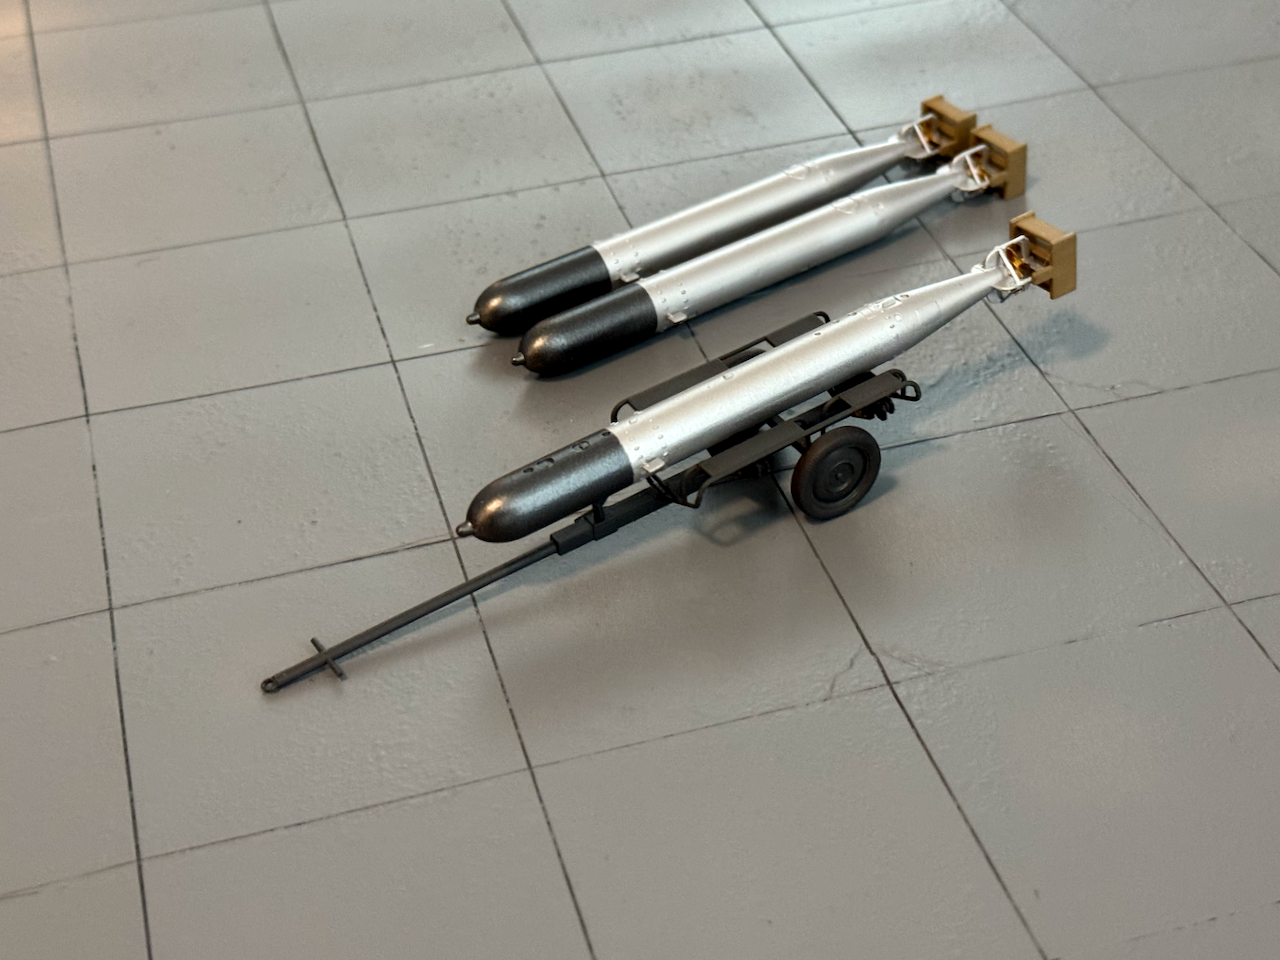
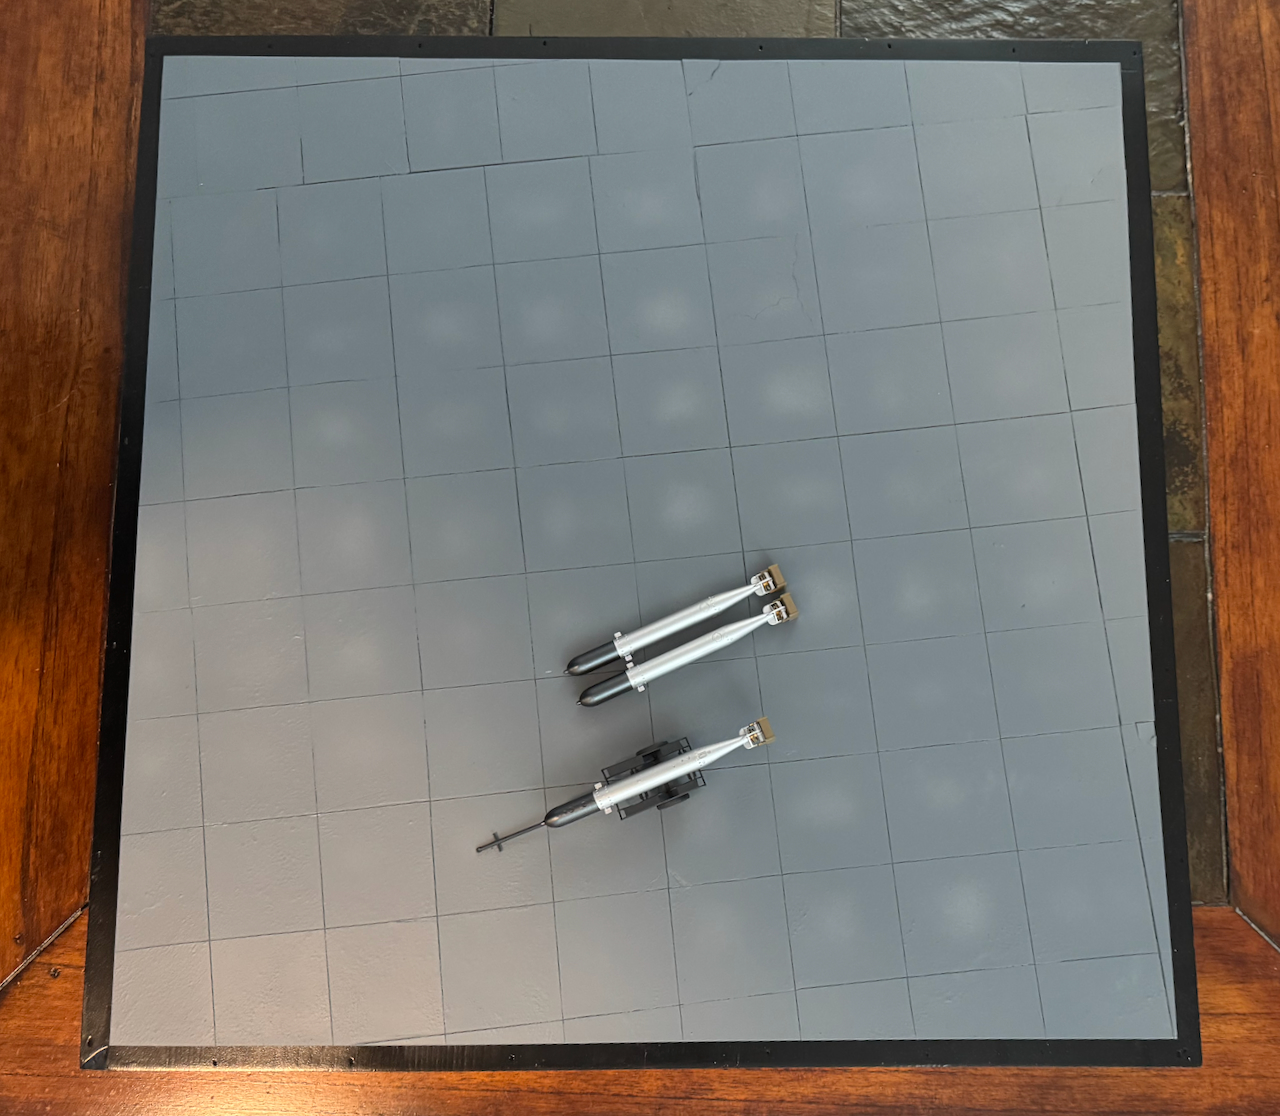
Finish fish… one for the trailer and two for the underbelly of the Ju 88A-4/Torp WWII German Torpedo Plane currently in the works for the ‘Torpedo Away!’ campaign.
Just need to add tie-down straps for the trailer fish.
This is a 20" x 20" x 2" tarmac base which I started last year for another build. Should come in handy for a number of model settings.
Thanks for having a look!
Torpedo los! …
—mike
They look pristine
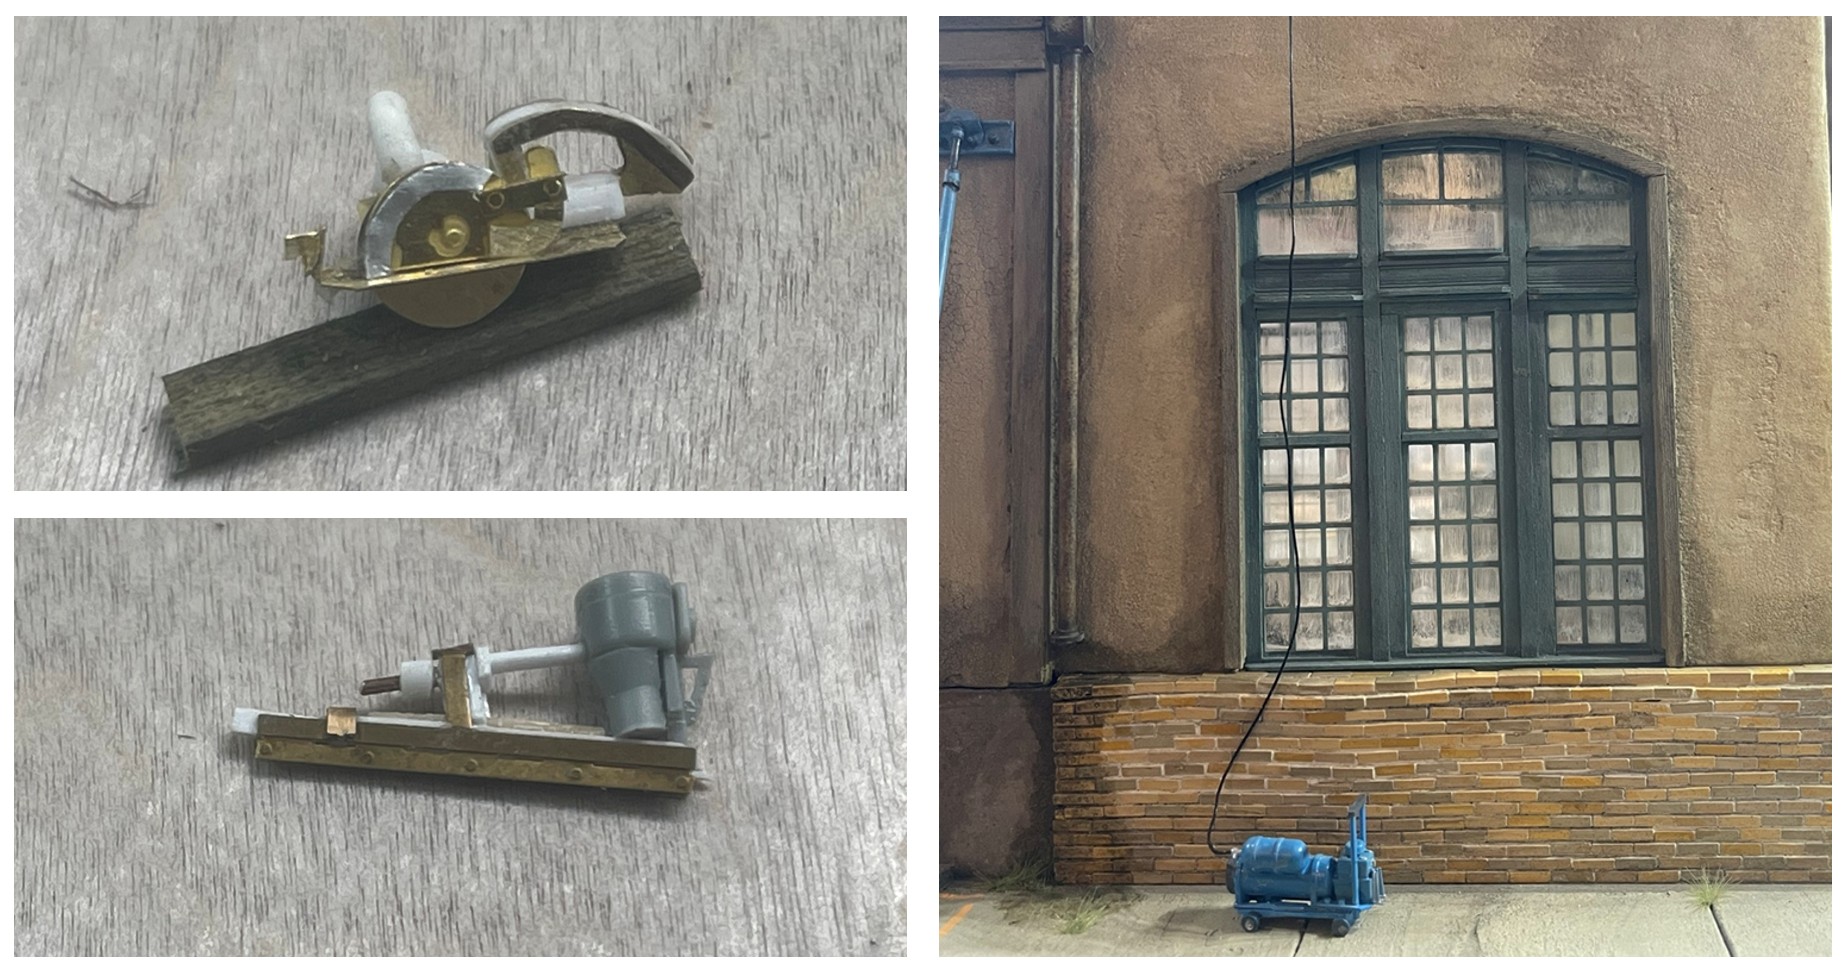
I’m waiting for paint for this project, but there are things that can be done - like making some 1/48 scale construction tools:
As you can guess these are really small, but in reality, likely not small enough. Good enough for me. In the upper left, a battery powered Skillsaw (a worm drive saw used commonly for framing etc), below it an air nailer, and on the left an air compressor. As is often the case, the remnant PE and sprues piles provide! I did this to get here:
A crew re-sheathing the roof section. I added a crew, some safety rails installed and not yet installed plywood and scraps.
While this took plenty of time, it did not take all the time, so decided to get going on the GP38-2 frame painting and weathering using the paints I already had:
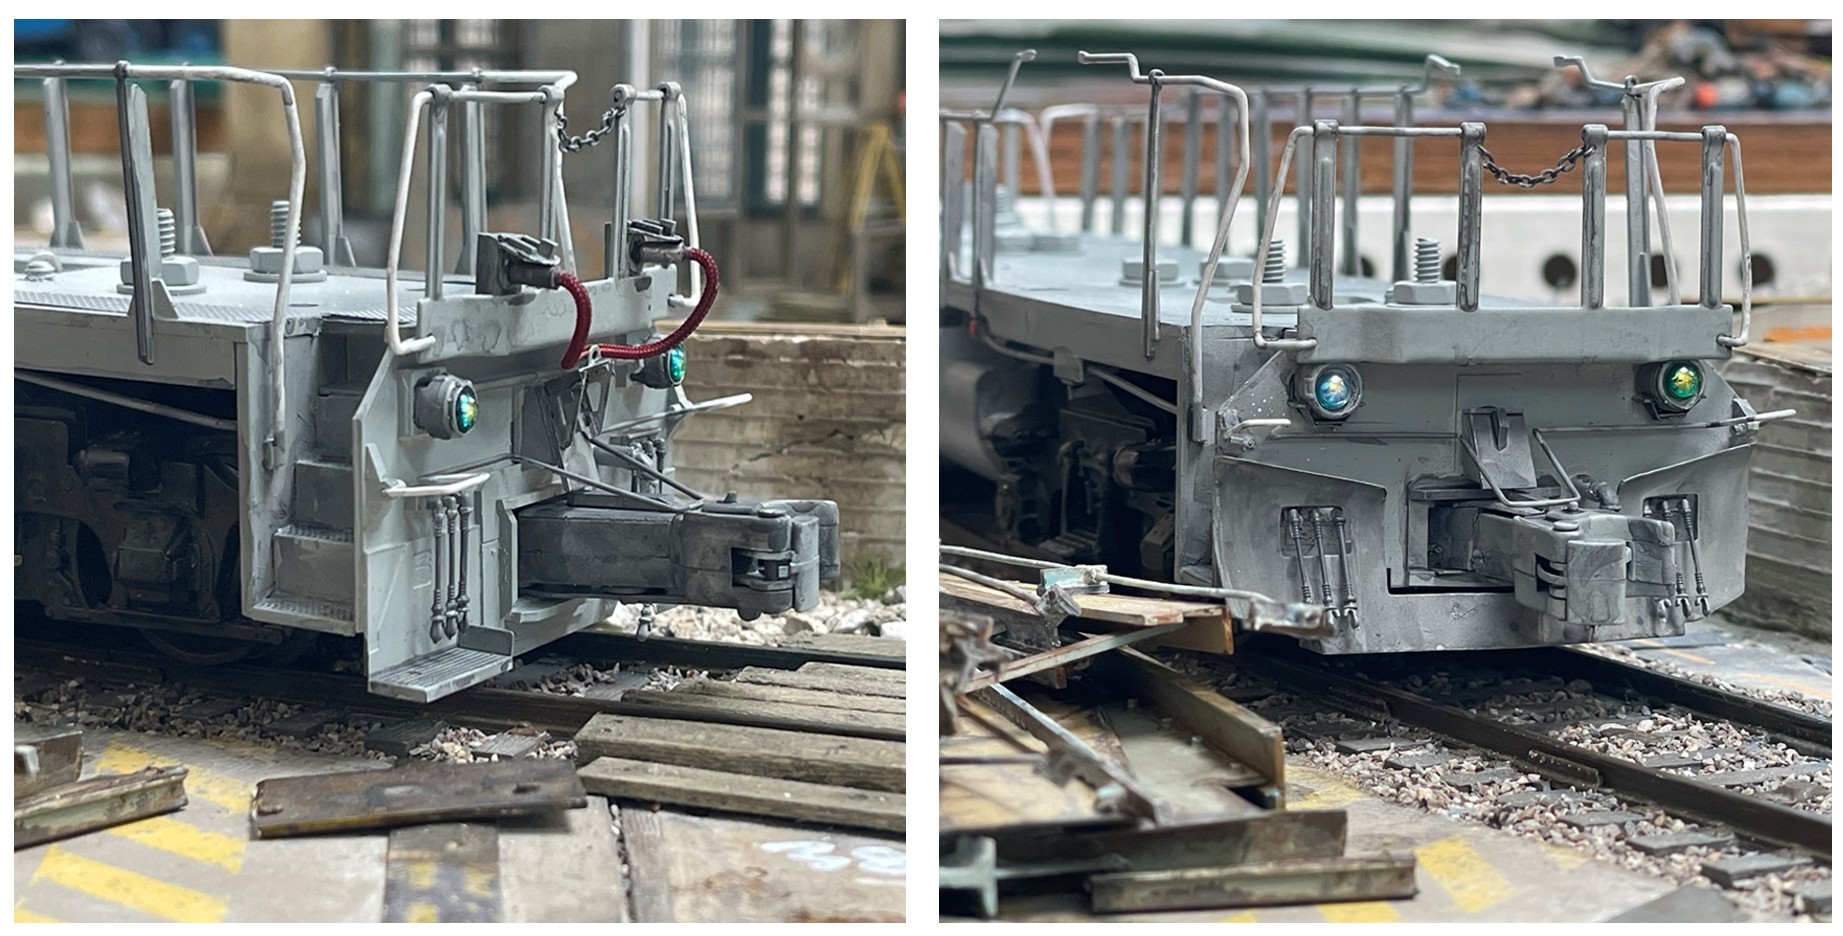
These are closeups of the rear pilot on the left where you can see running boards, lights, and MU cable etc, and on the right, the front pilot with a plow and various odds and ends. This was painted medium sea gray, but it looked a bit too light, so I added several washes of anthracite gray to darken it up and and to enhance the base color for weathering. You can see the stanchions include some gray rails and white on the ends.
The loco body has been primed and painted with the base yellow color, but I ran out of paint, so am waiting to apply the next brighter shade of yellow, and then some gray. I am pretty surprised by how well these turned out - they look pretty good in real life.
Cheers
Nick 
Everything looks really great, but not gonna lie that is one huge nail gun. More like a railroad spike gun.
Hey - it can drive 8d - 16 d nails!  but, you’re right! If this were a larger scale, even if 1/35. I’d have been more worried about it. At 1/48, well, this is as small as I could go