Finally I got a couple of hours at the bench the first since November. So my first wingy thing for a few years and even longer since I did anything in 1/48 so I’ll start my journey into “luft 45/46” but will also add in aircraft of other nations that were prototypes or entered service too late to take part in WWII like the DeHavilland Vampire F.1 which entered service in April 1945. So where better to start than with a trainer?
Hobby Boss 1/48 Me-262B-1a
Cockpit almost ready for paint and yes Tamiya blue extra thin - no odour version.
Matthew don’t worry I do have two pots of normal extra thin, two of normal white top, one of fast acting extra thin (light green), one of lemon extra thin (yellow top) and a bottle of MEK, so fumes are a plenty if need be.
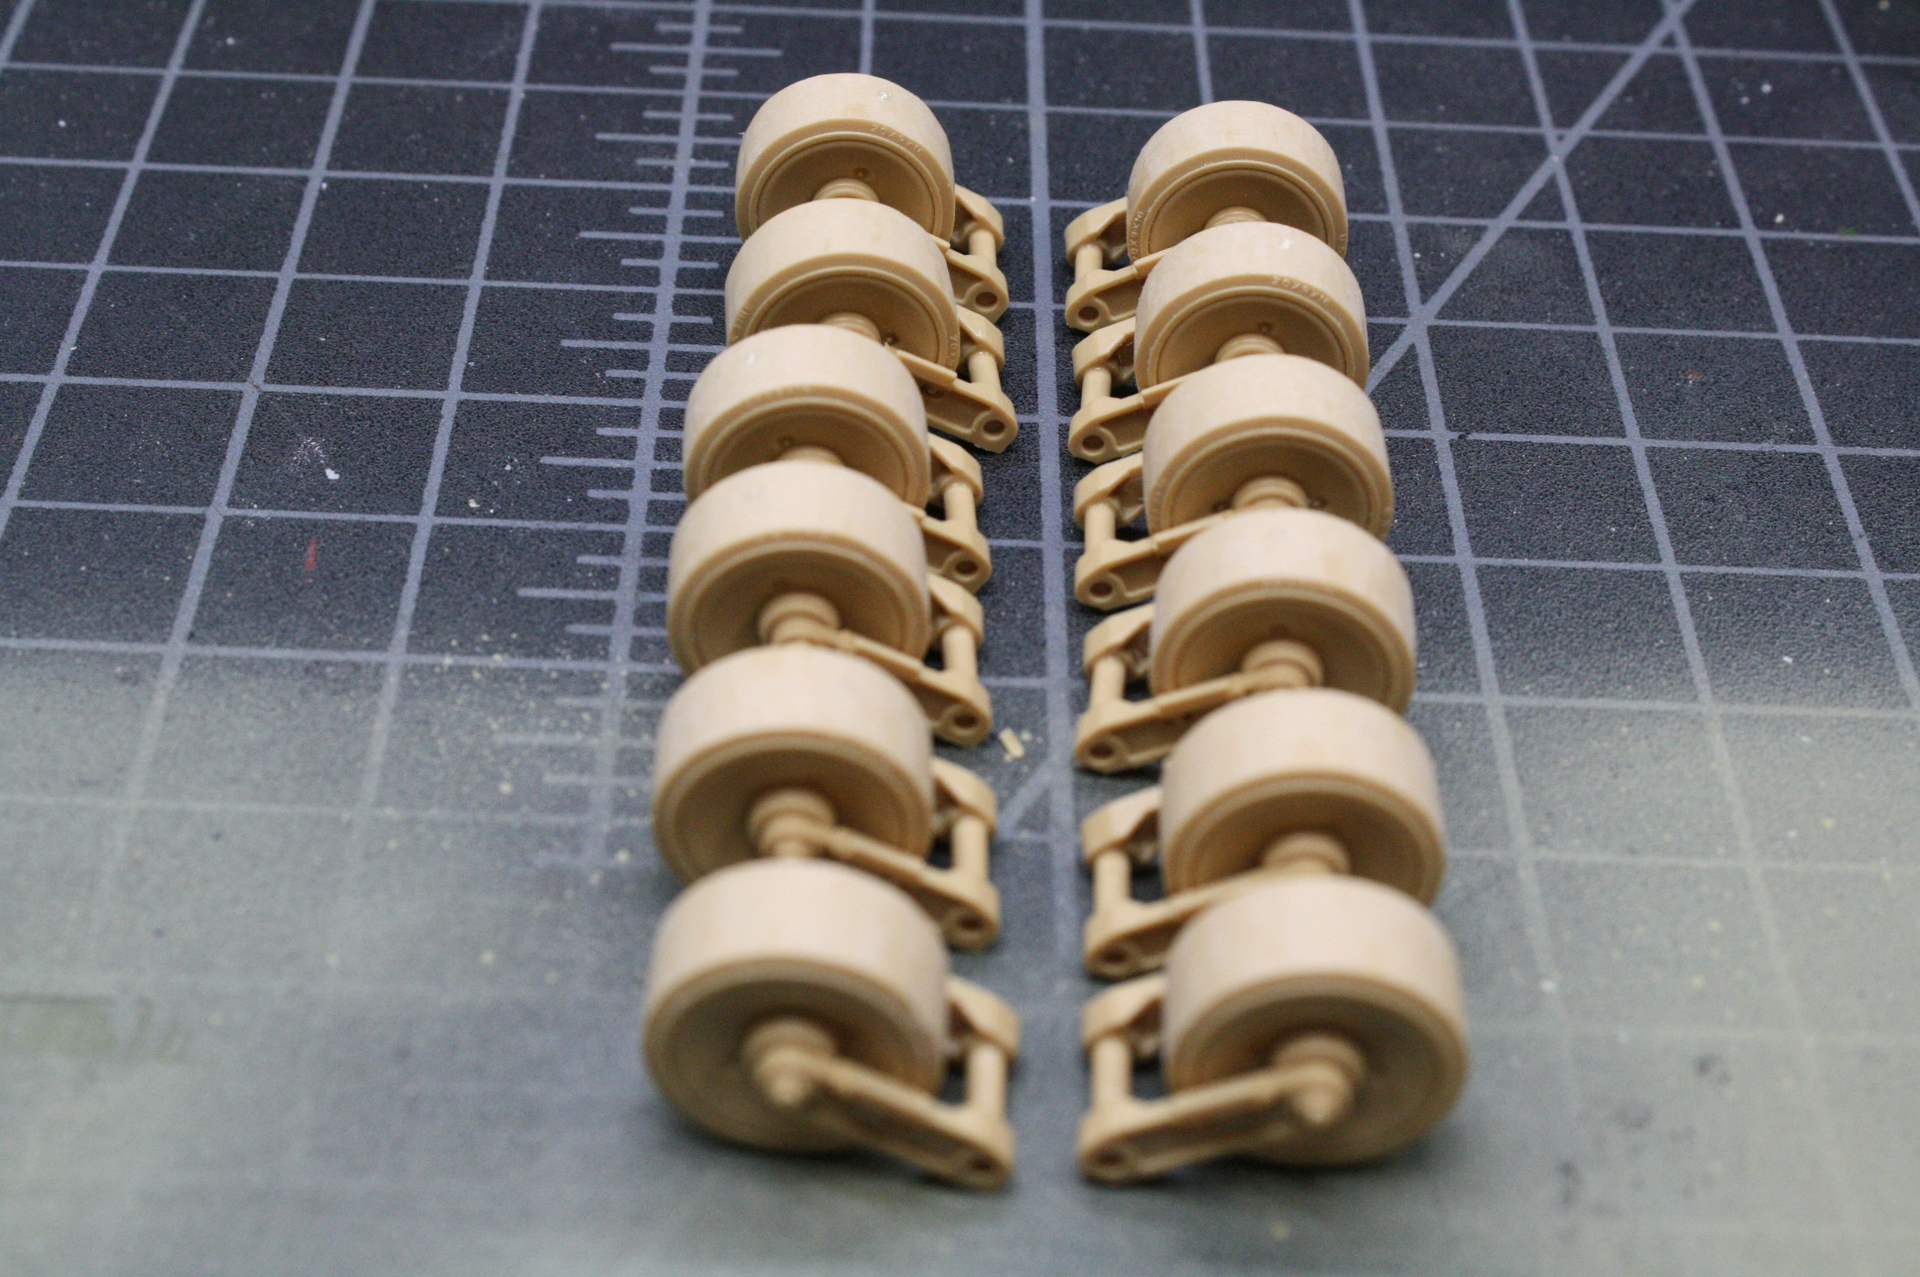
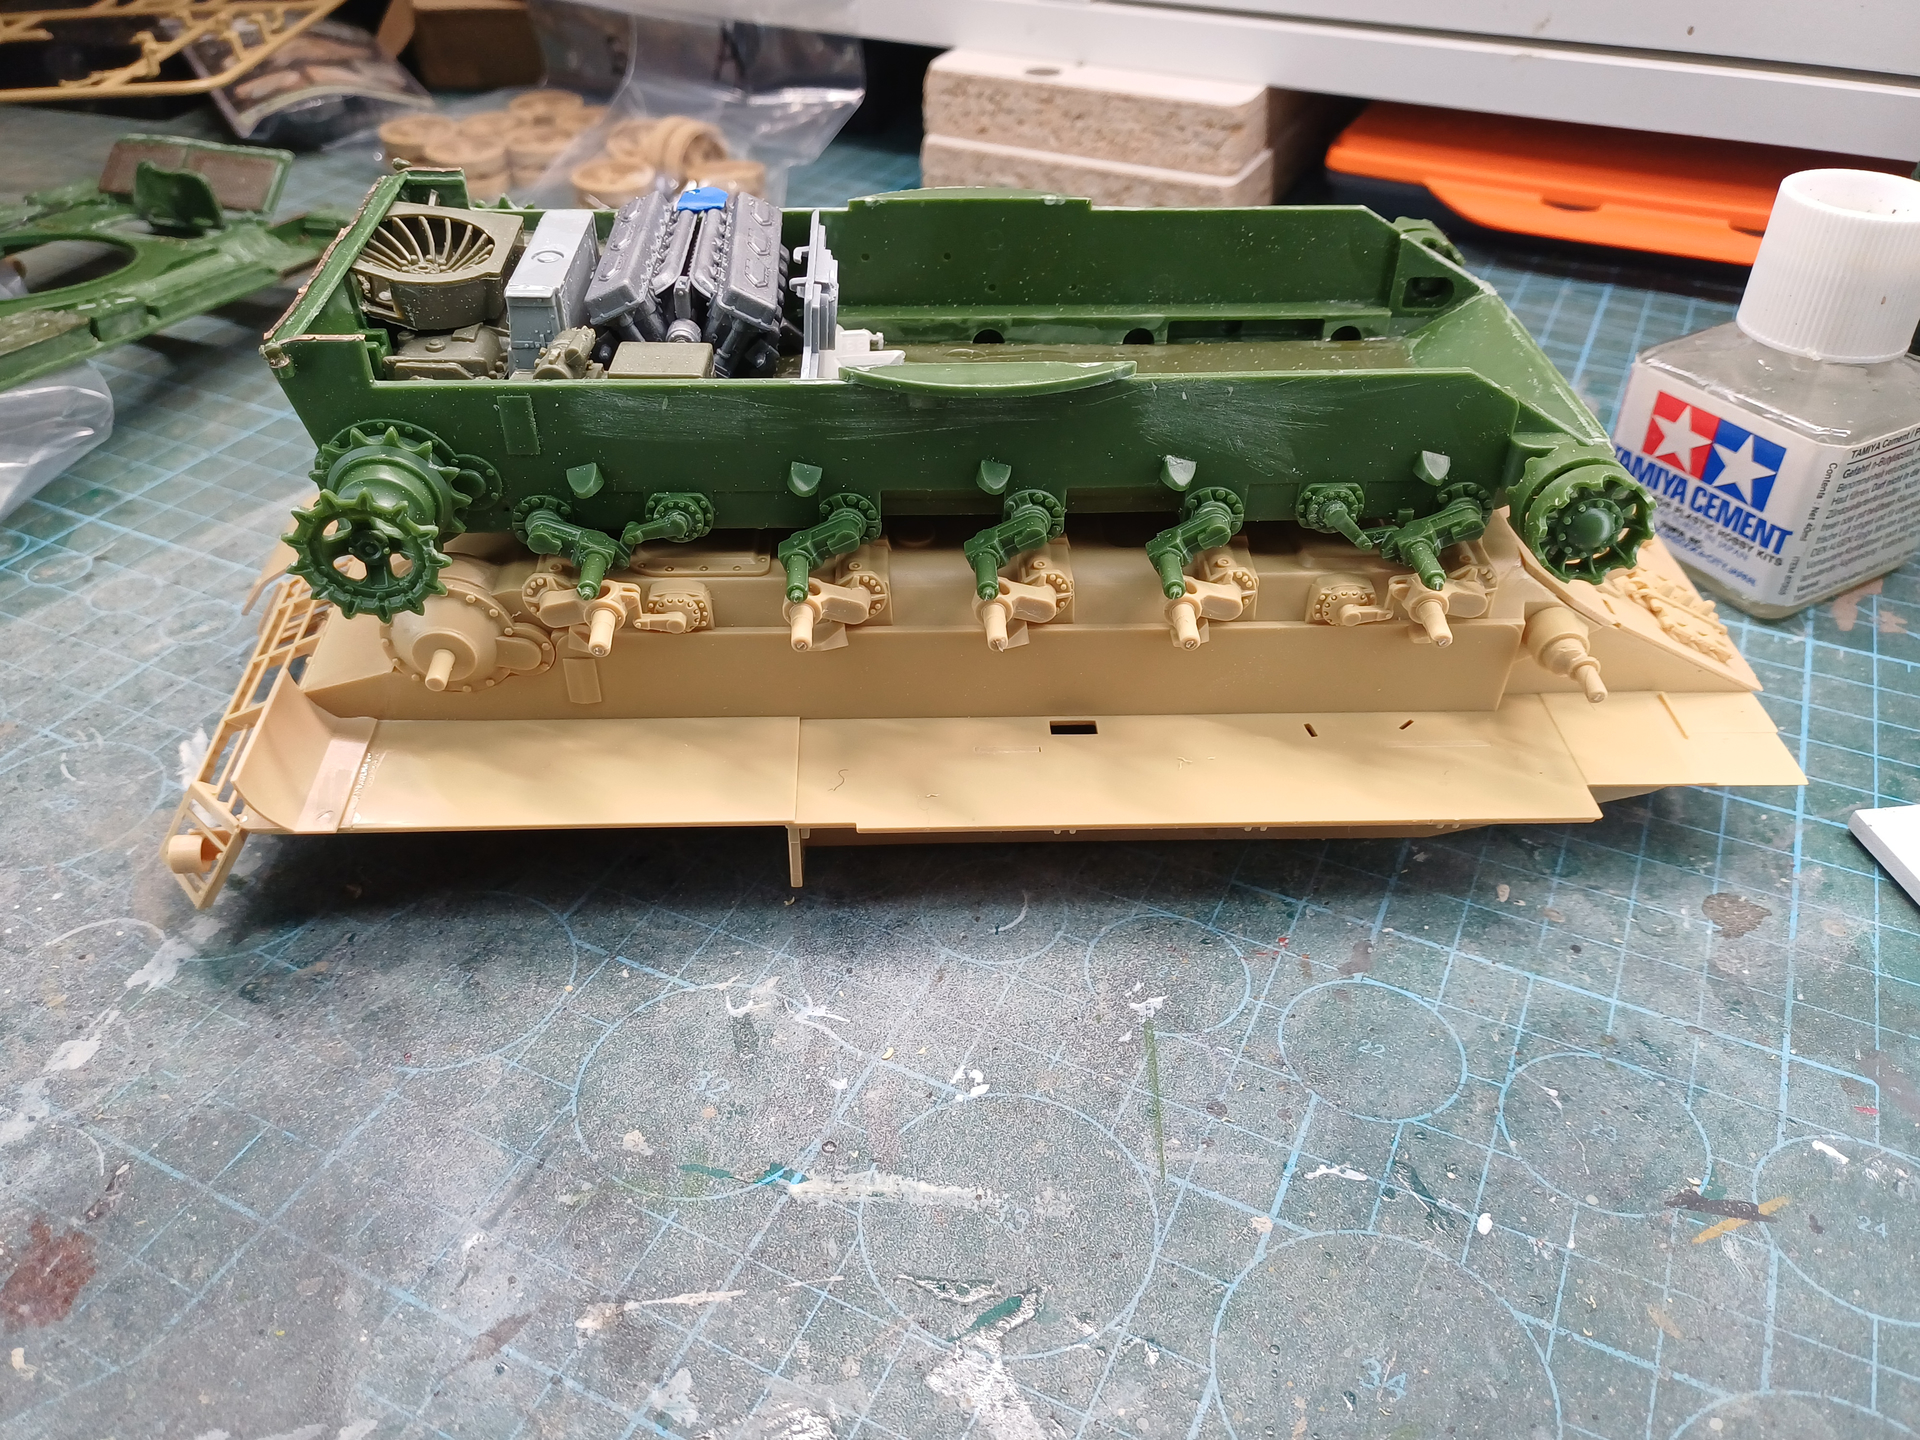
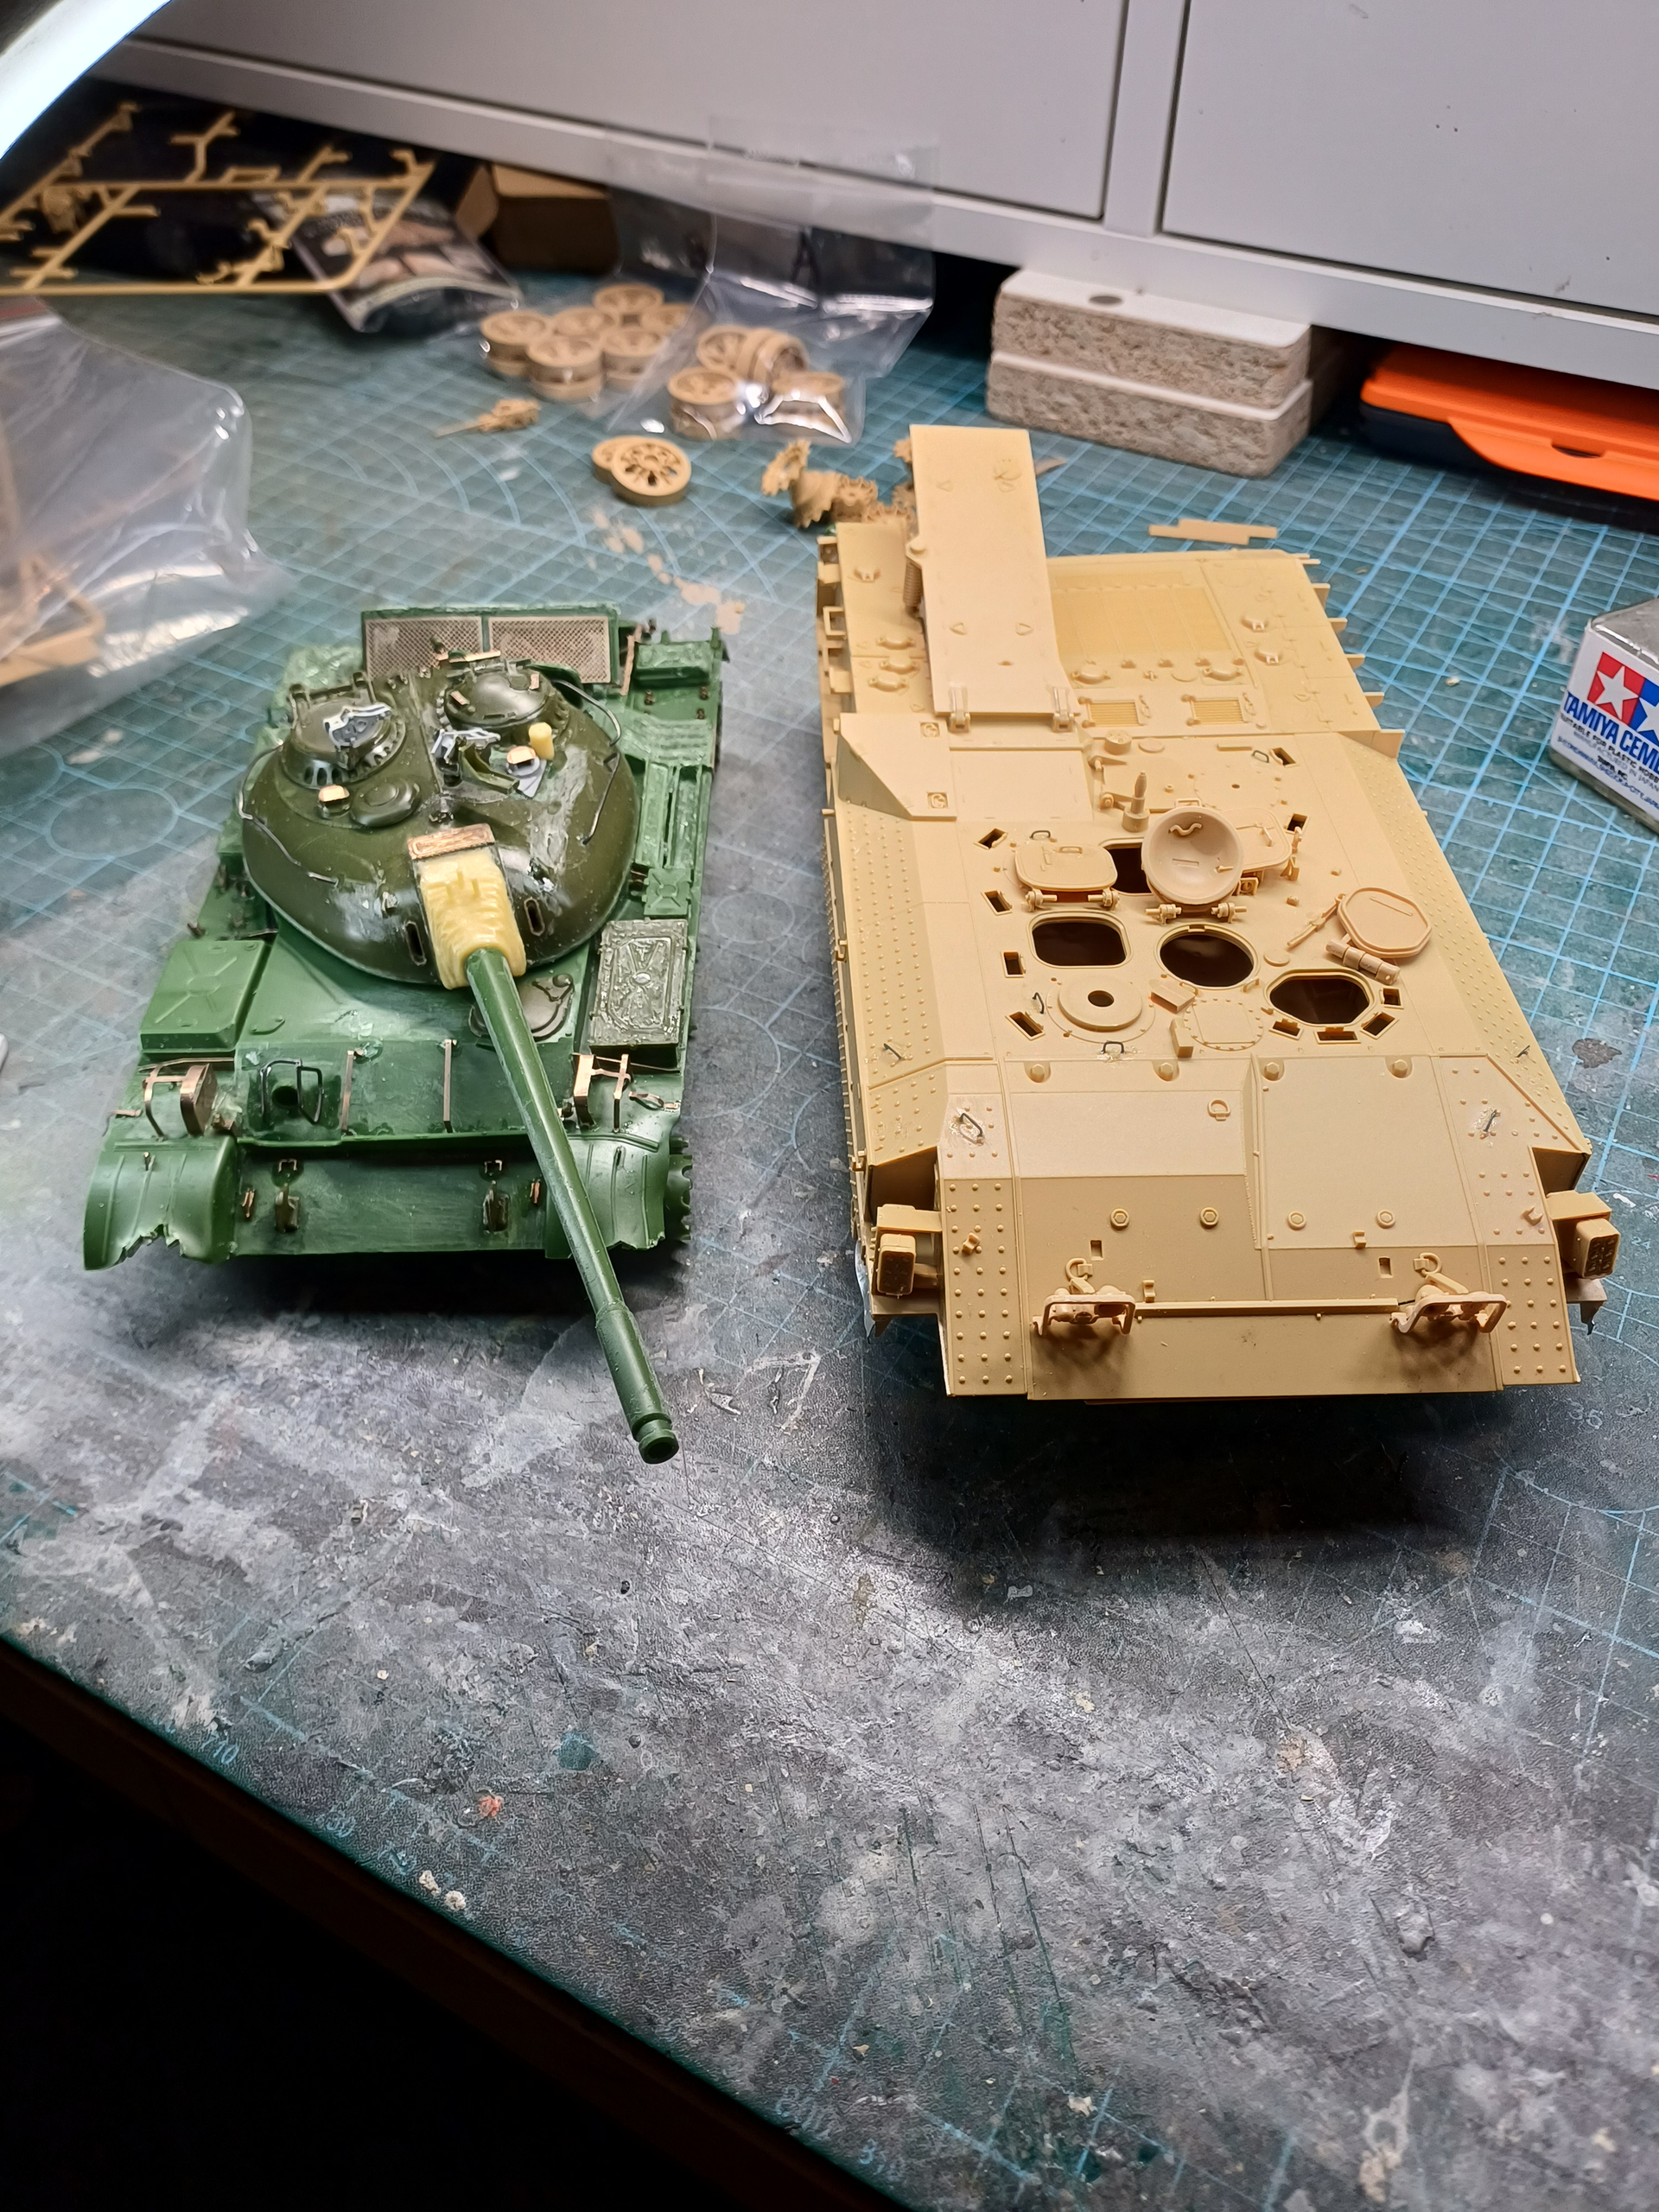
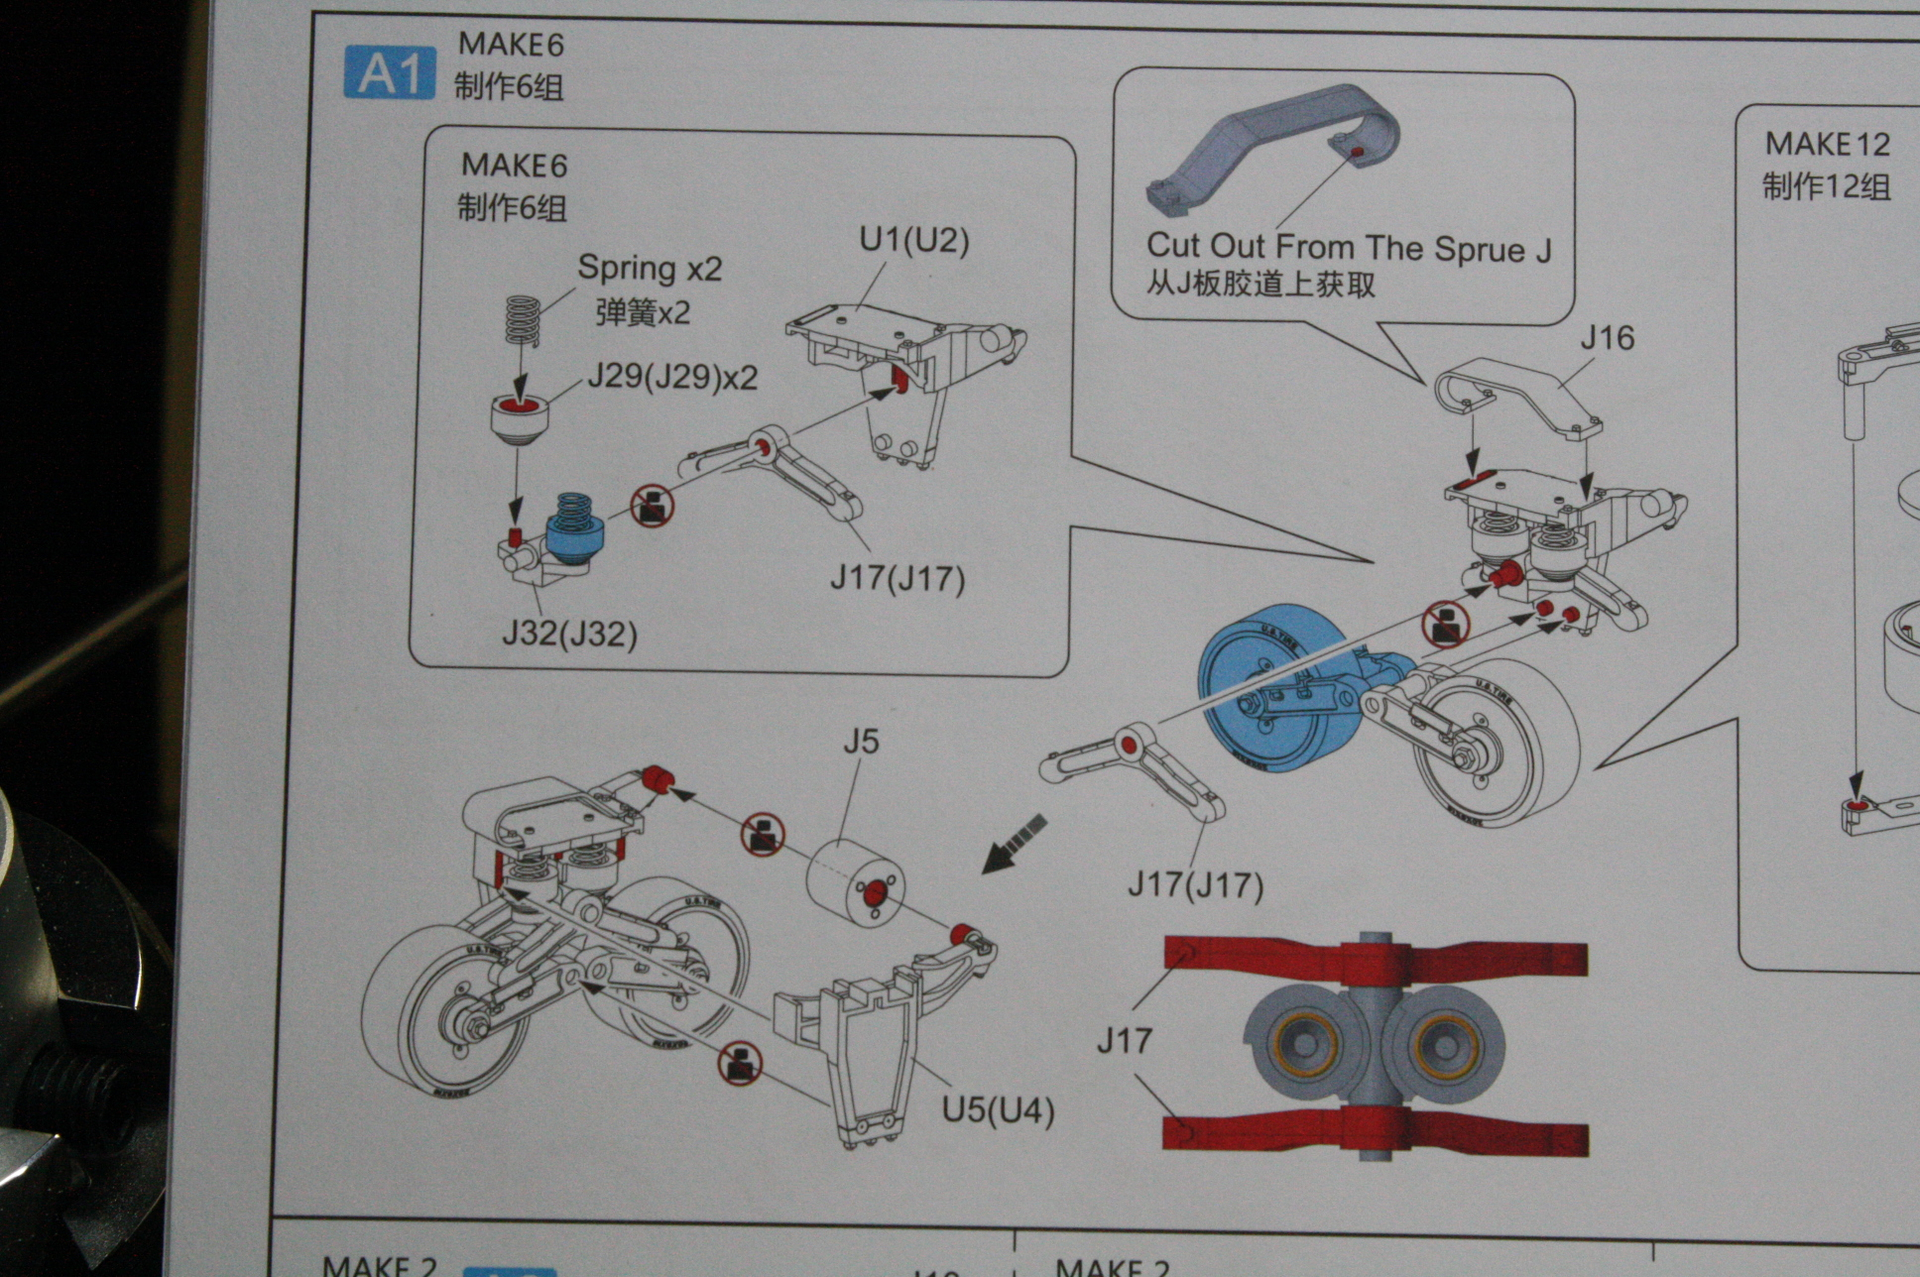
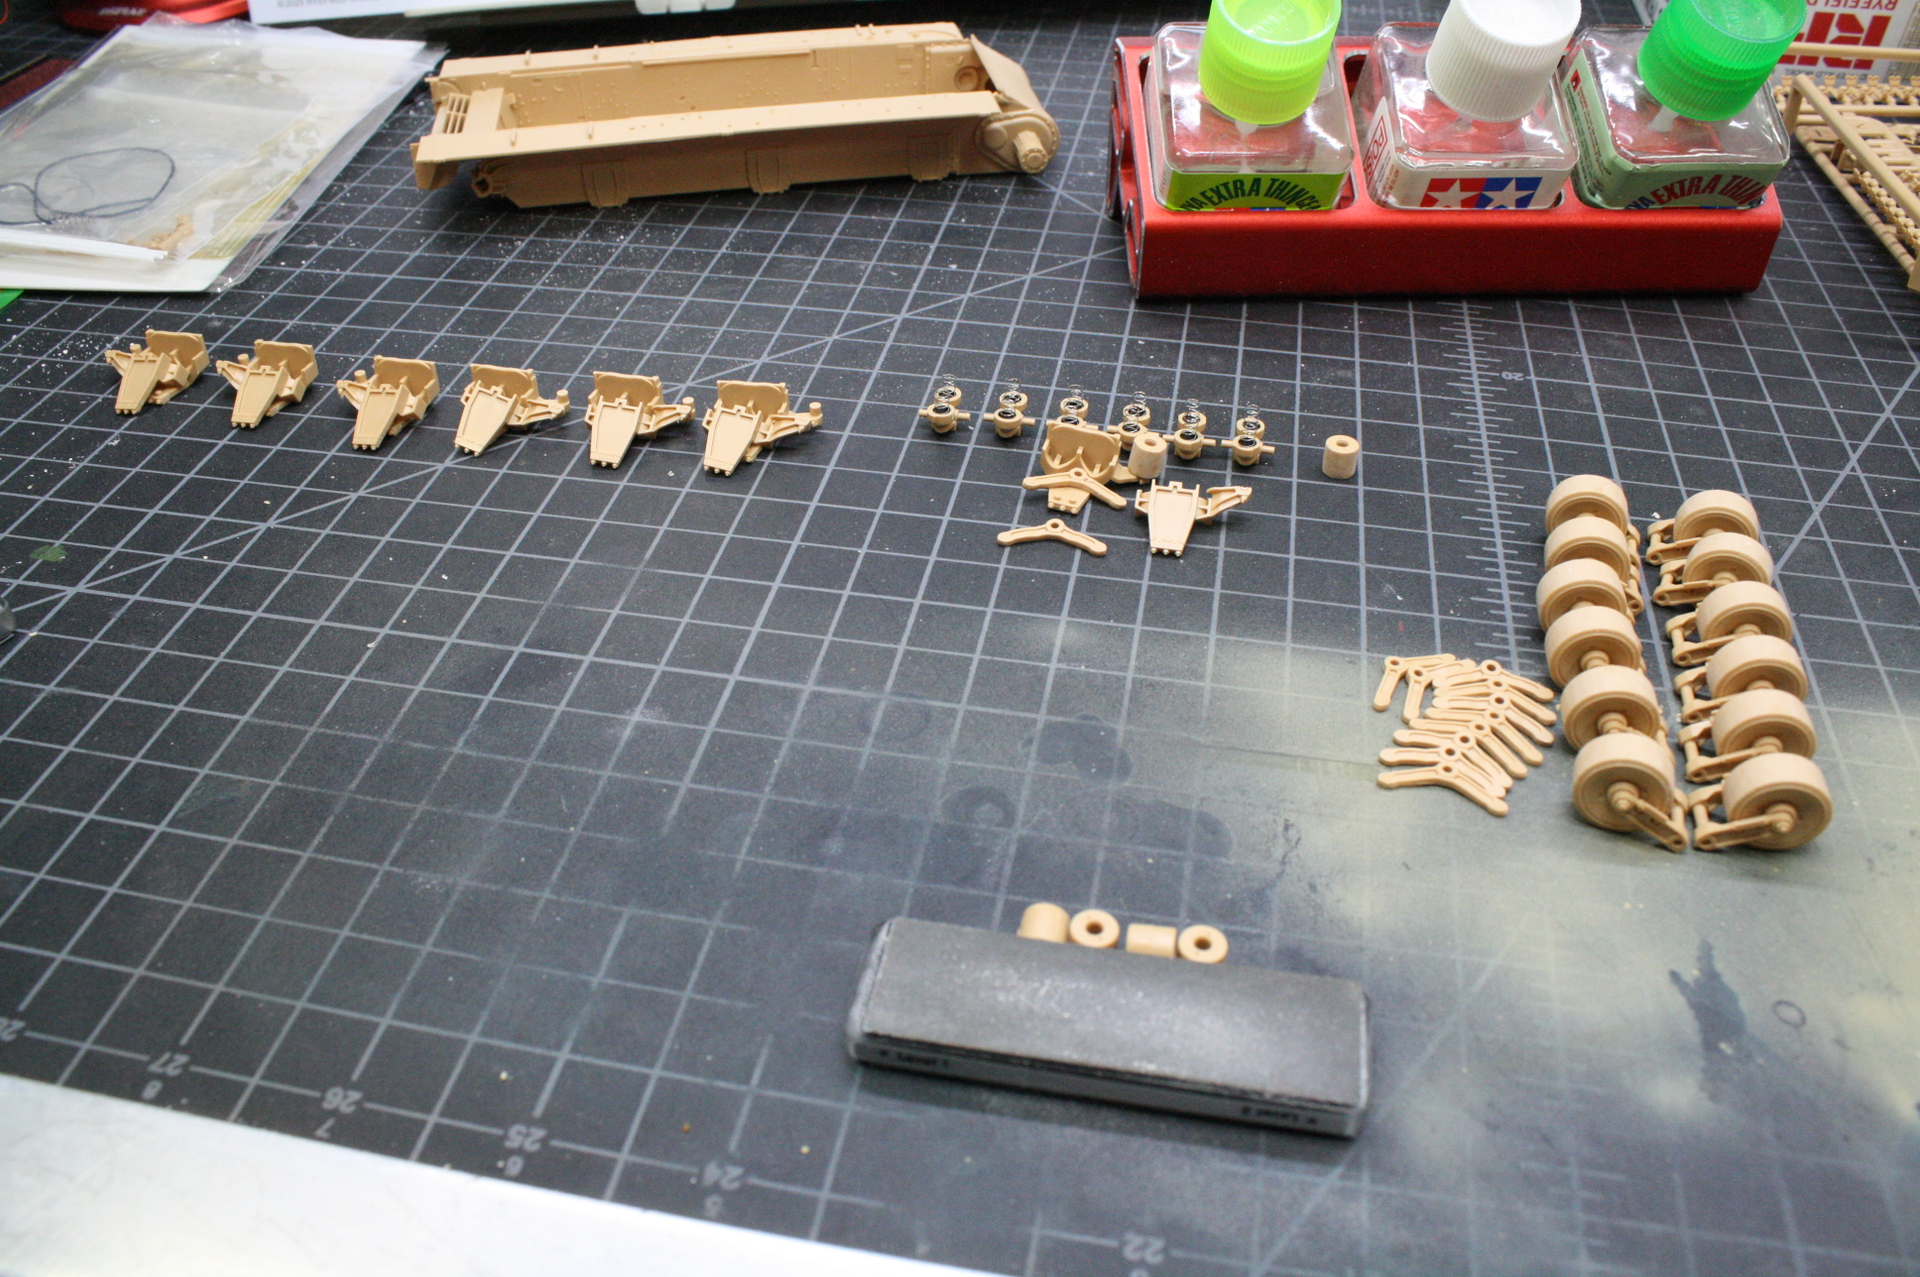
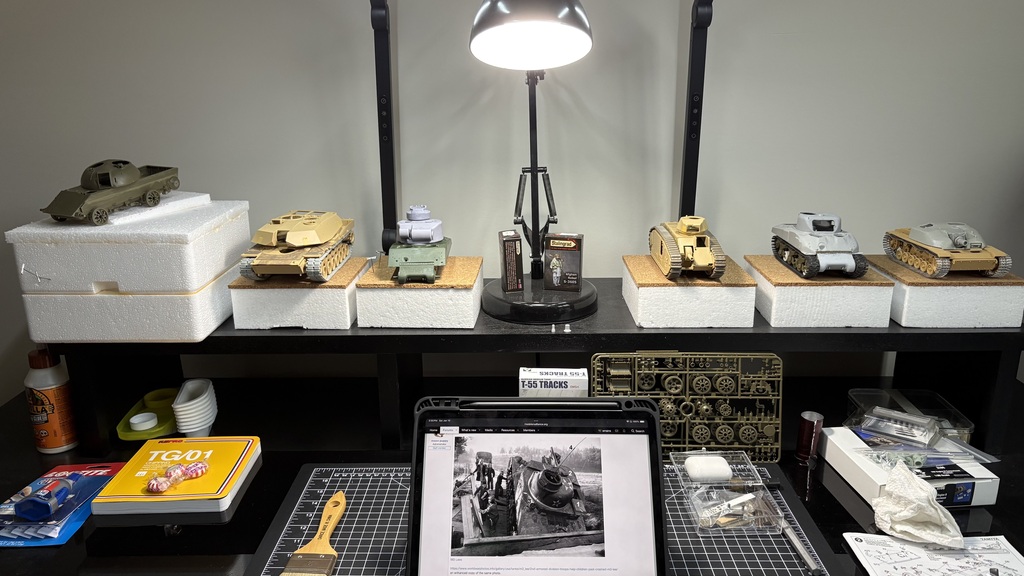
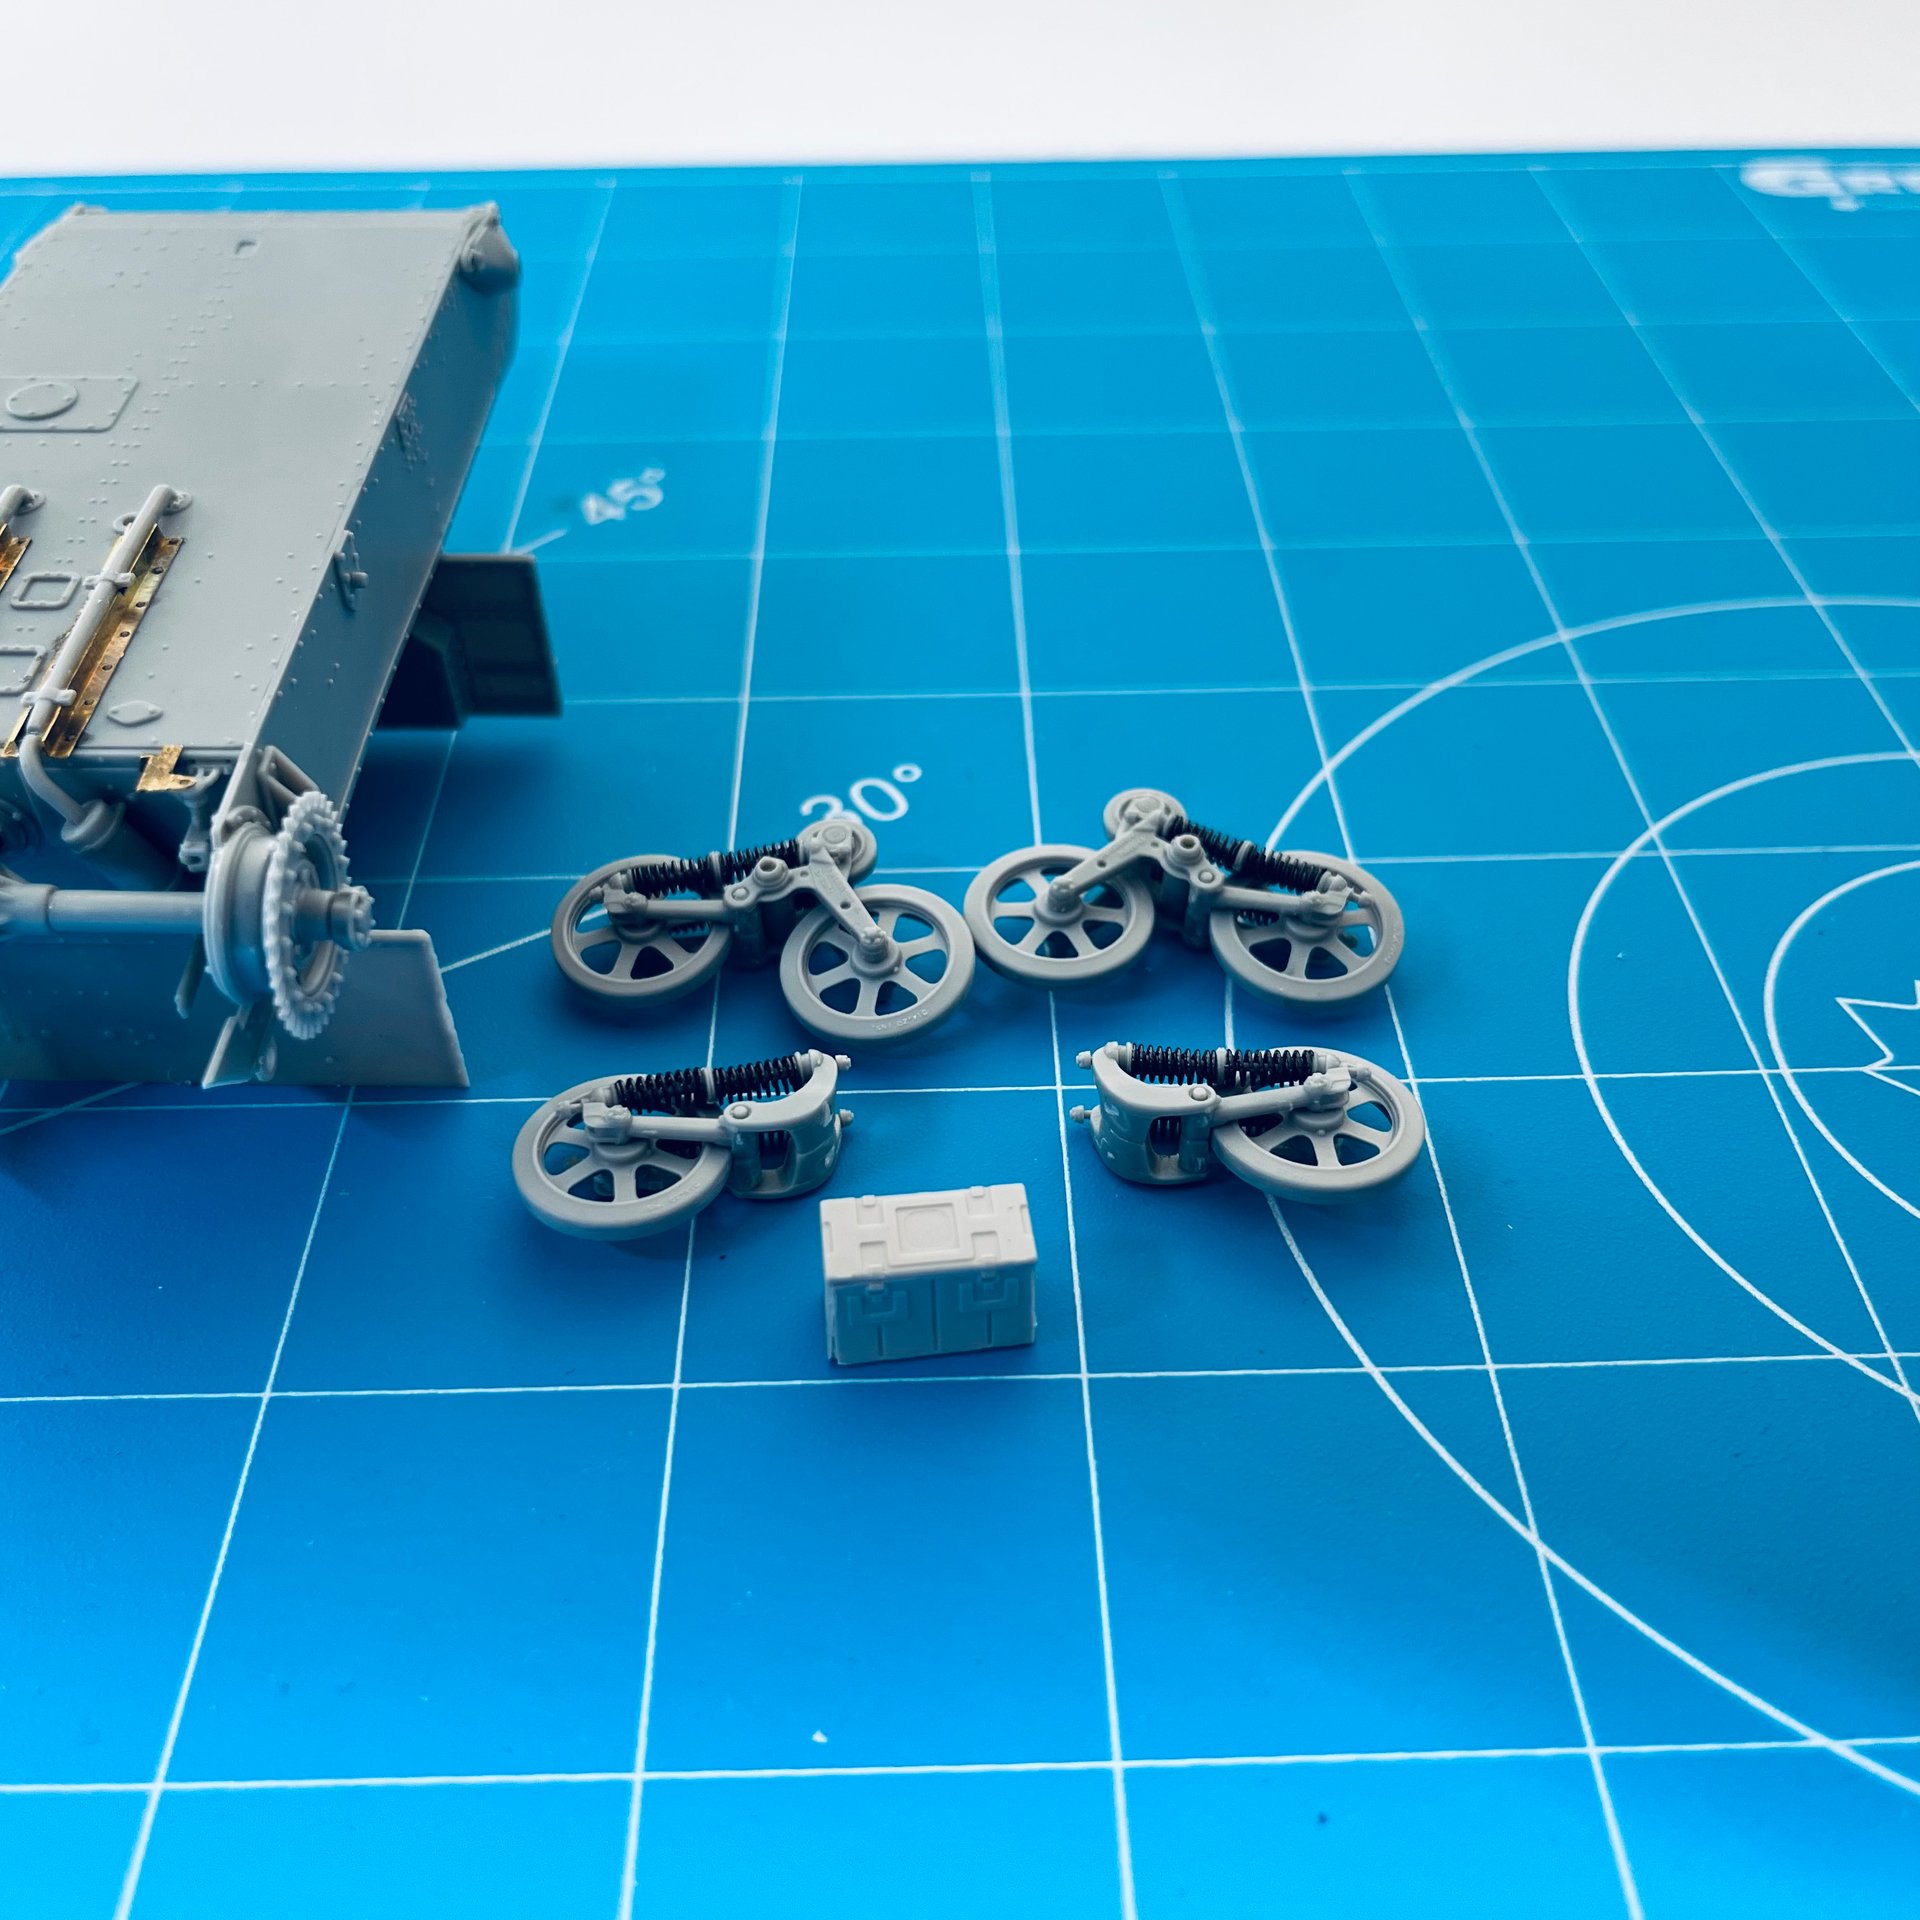
And started on the completely working VVSS bogies. These are going to be a RPITA to assemble. With the real springs and all the moving parts it looks like a “four hands and tweezers needed” assembly. I’m going to give it a go, though. Hope I don’t launch those springs. I wonder if anybody at RFM actually put one of these together.
I recently got a Hobbycraft Spitfire XIV and the previous owner had made some “modifications”….
The ailerons and the flaps were both cut from the wing halves, elevators untouched.
Various cockpit bits are started-ish.
Well, the Spit XIV isnt seen in period fotos with the flaps down, and almost never will you see the ailerons in anything but a neutral position. So the other person was trying to do something that was uncharacteristic for Spitfires
That it because the ailerons were balanced to rest at neutral. Rarely will you see them in another position.
Meanwhile, the flaps were ONLY used for landing and were immediately retracted once the wheels were in firm ground contact. SO they should be posed in the retracted position.
Why?
Because the flaps were pnuematically actuated and there was only two positions - fully retracted and 85% OPEN!
This means they were a bit of hazard for ground crews and subject to damage while on the ground, so they were immediately retracted upon landing.
By contrast, they were NOT used to take off….flaps weren’t needed on take off, as the excellent lift generated at take off speed by the Spitfire wingform was enough. In short, there was more than enough lift without the flaps. In reality, they were more of a drag brake than a lift augmentation, and their main purpose was to help the Spitfire come in hot and fast on the short, congested runways of the time.
It went something like this:
Steep approach
Drop flaps once over the wire
Descend rapidly on the flaps, touch down
Start rollout and retract flaps right away
So the flaps on a display model, wheels down and on the ground, should be up, ailerons at neutral. That means I have to reattach the parts the other person cut off and then fill and rescribe as necessary.
ELEVATORS
The elevators on Spits are usually seen drooped, on the other hand, because theyre mass balanced to be neutral inflight… and they tended to droop down when on the ground. So Ill have to cut them away to pose them drooped, as the next step.
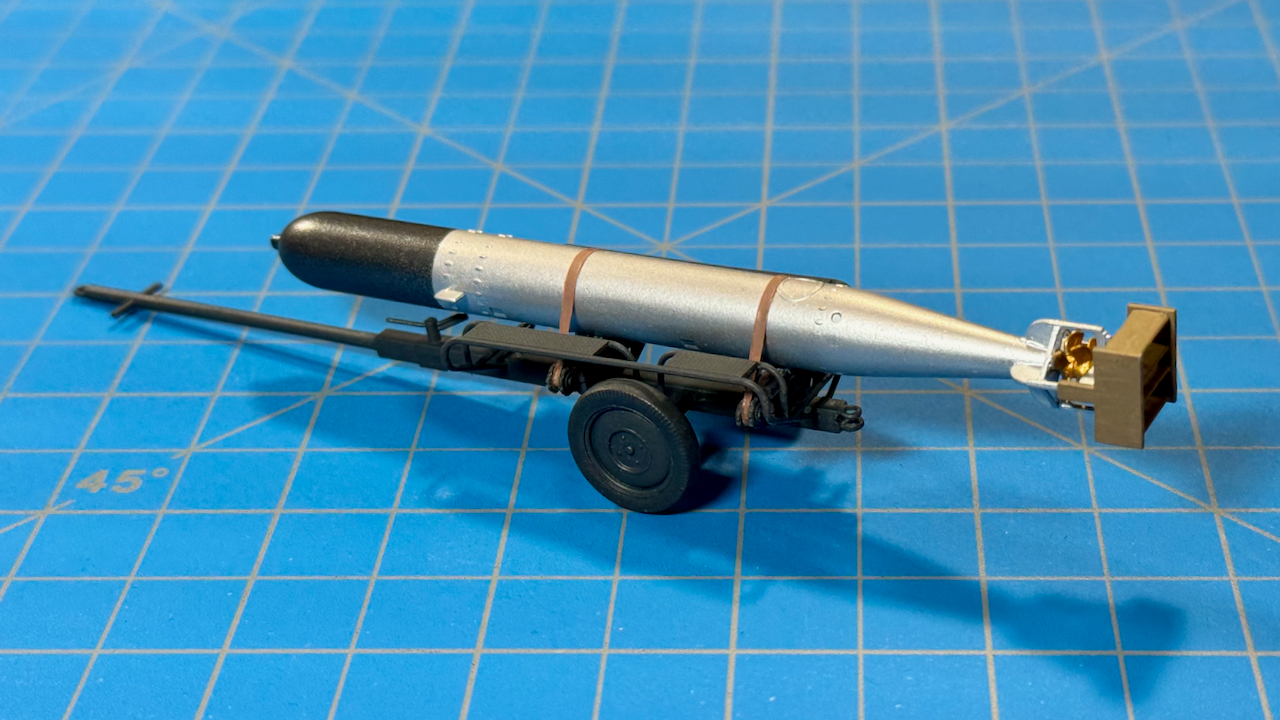
Made a bit of progress on the actual Ju 88A-4 torpedo plane today.
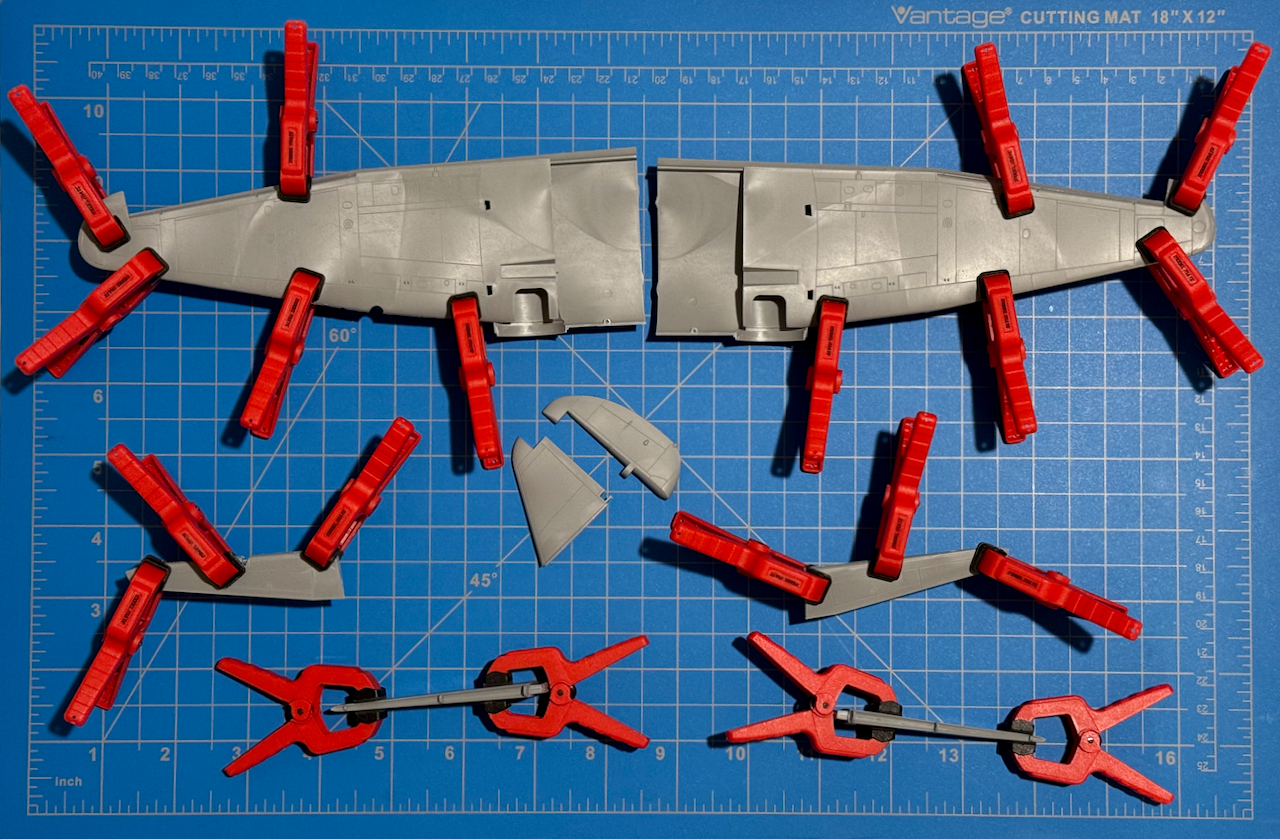
Fuselage and interior parts are being put on hold while awaiting a paint order. In the meantime, I jumped way ahead in the instructions and worked on some of the bigger chunks of Styrene. Here we have the wing and tail assemblies. Letting them cure for now.
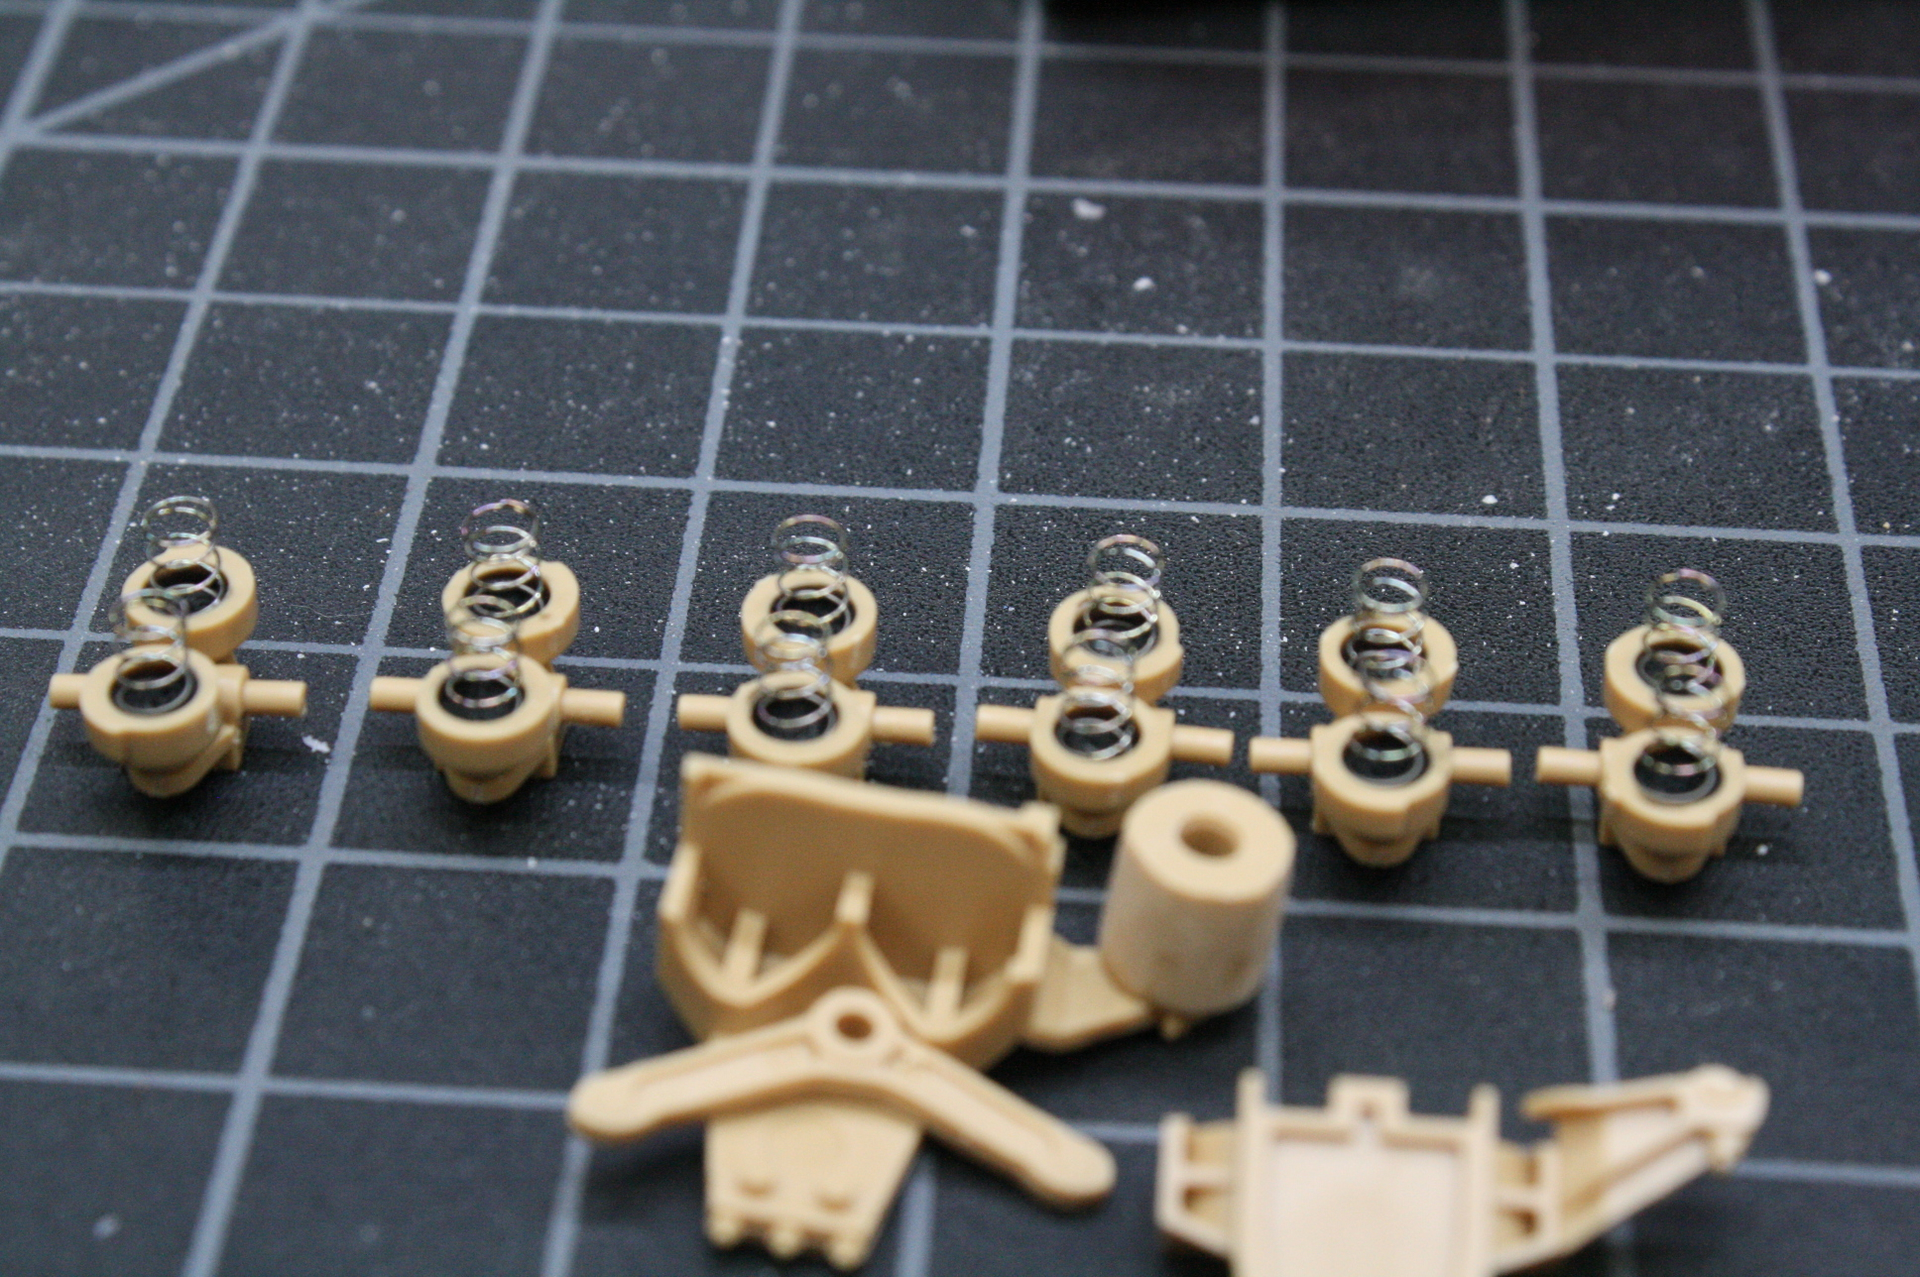
First I cemented the J29’s on the J32. Then I put a drop of Starbond Black CA in each J29 and inserted a spring. I let those dry overnight. Then I slipped the J17’s on the J32 and got the J32 in the slot in U1. I trapped the springs with U5 and glued it together with Tamiya Extra Thin Quick Setting. Once the glue had dried, I spread the bogie at the bottom and snapped the wheels into place. Ta-Da! Working VVSS suspension with all of those moving parts in place. Whew!
Also I found this CMK figure set in 72 scale. They look good but this crew is for U boats. I wonder if anyone has any insight into how the crew and uniforms compare between U boat and S boat in 1943?
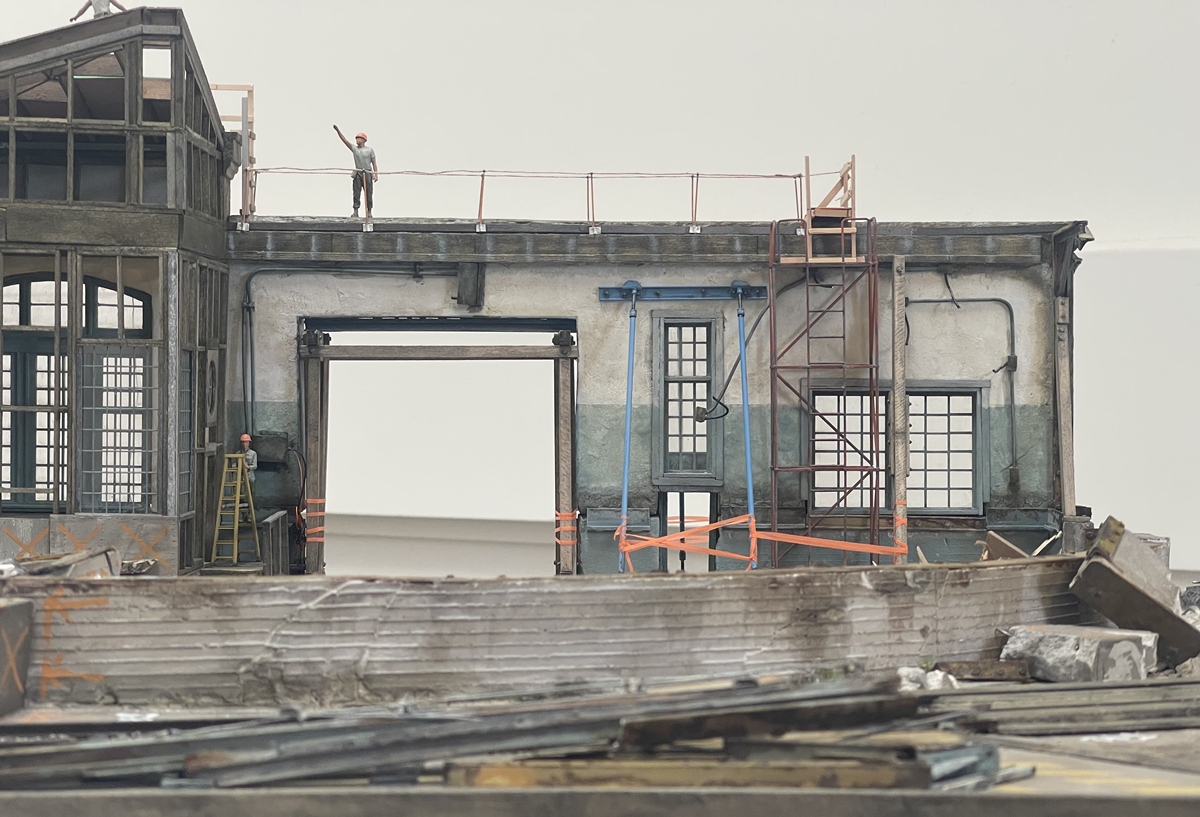
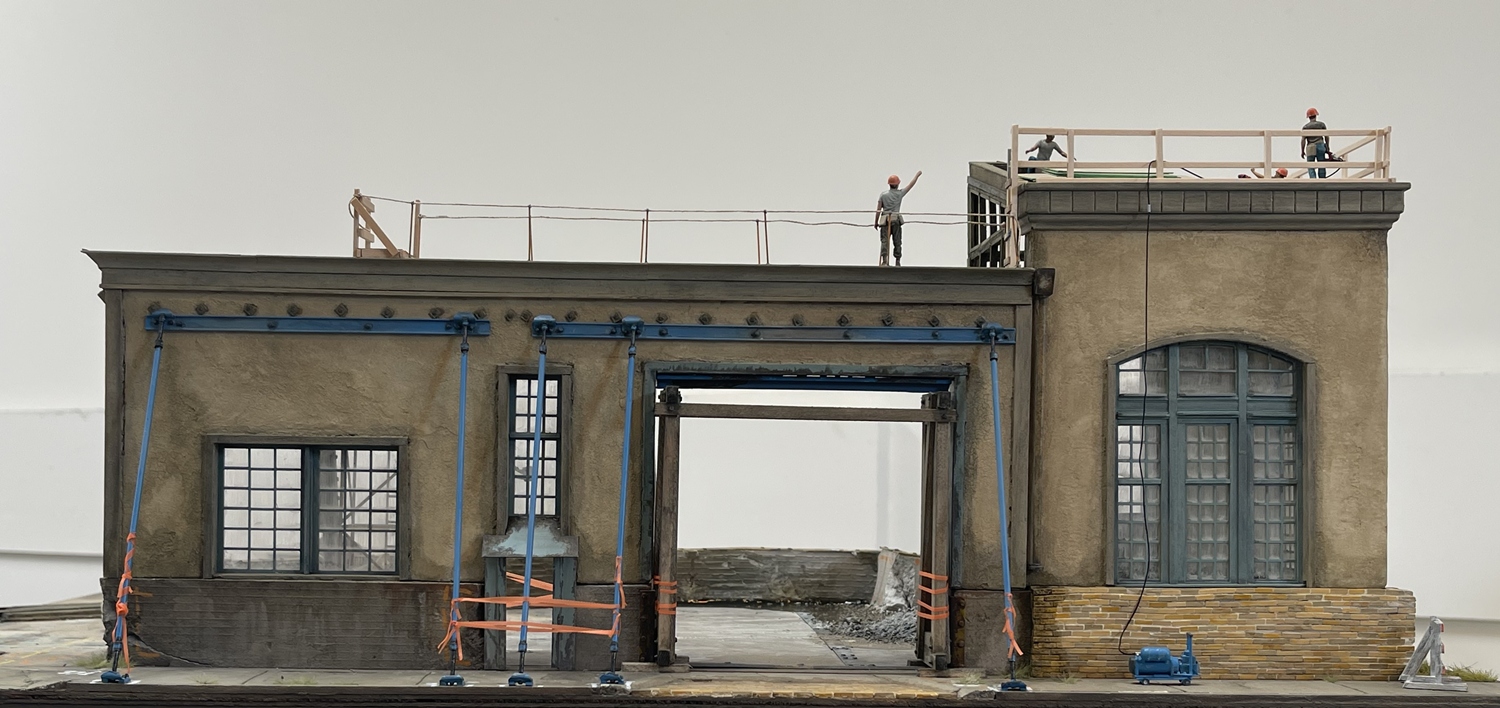
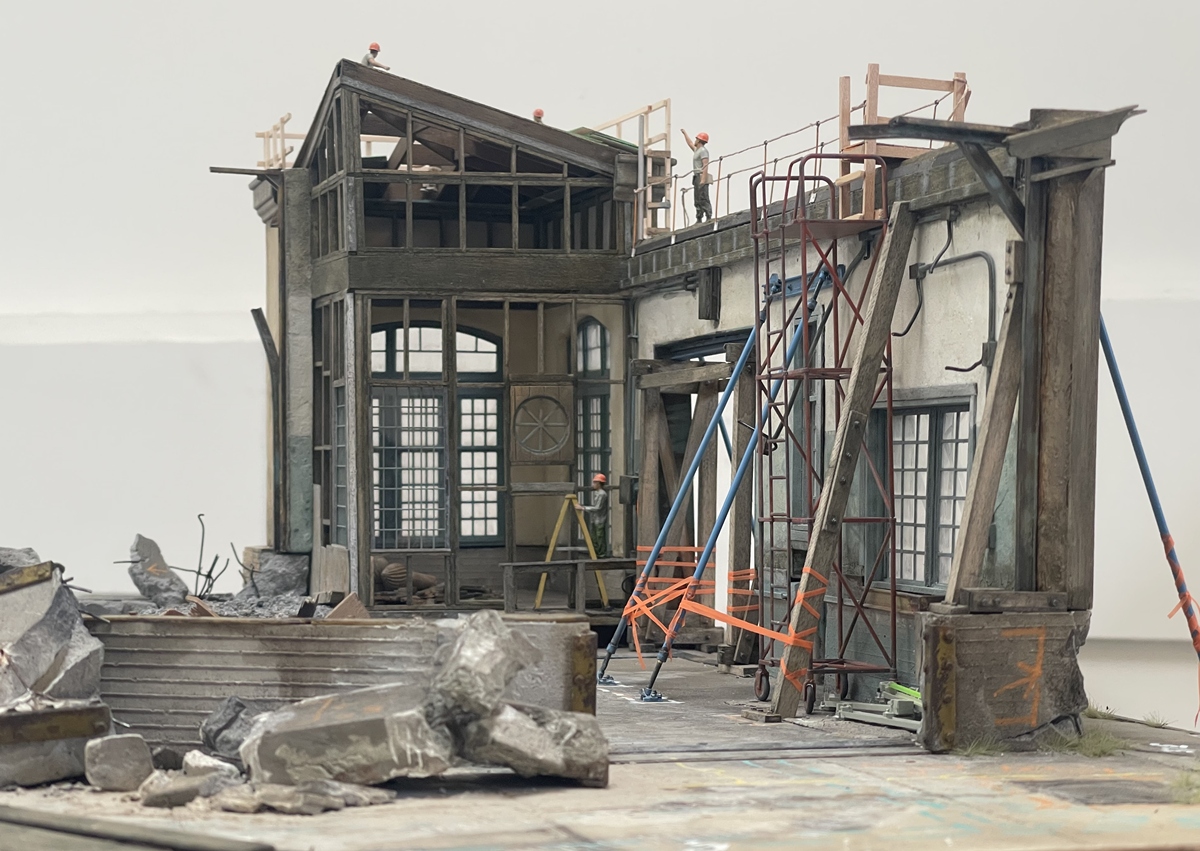
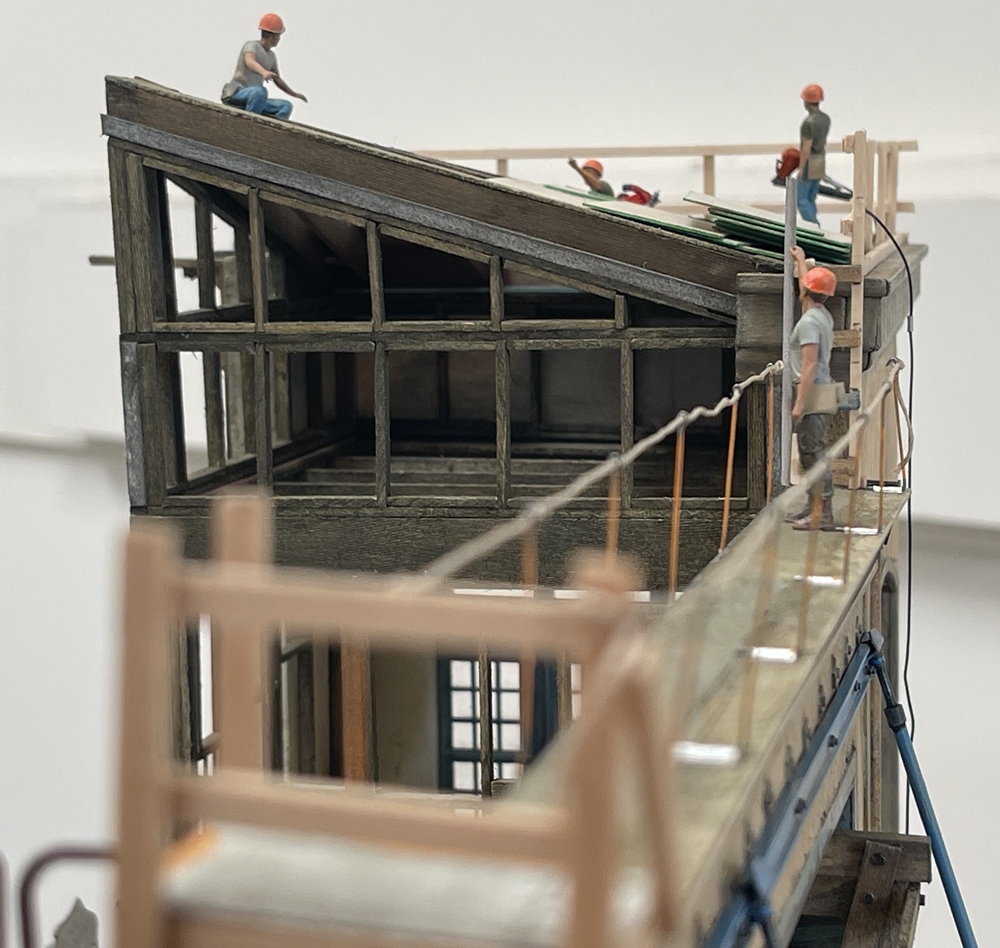
I wasn’t sure what colors I need for painting, so , I bought a few colors, but not at once, so, I’ve been getting one can every few days. This means I have been forced to take my time painting the loco, which is probably good ! So, with time on my hands, I’ve stuck with adding odds and ends to the dio, and specifically regarding the work crew on the roof:
We now have a safe path to work! All sorts of mixing and matching to get here. If you look carefully you can see a scaffold close to the wall - it was 1/35, but I cut parts of it down to 1/48 scale. Then used some basswood to frame in a ladder and deck, then used some extra metal stanchions and model sail boat rope to make up a catwalk along the top of the wall.