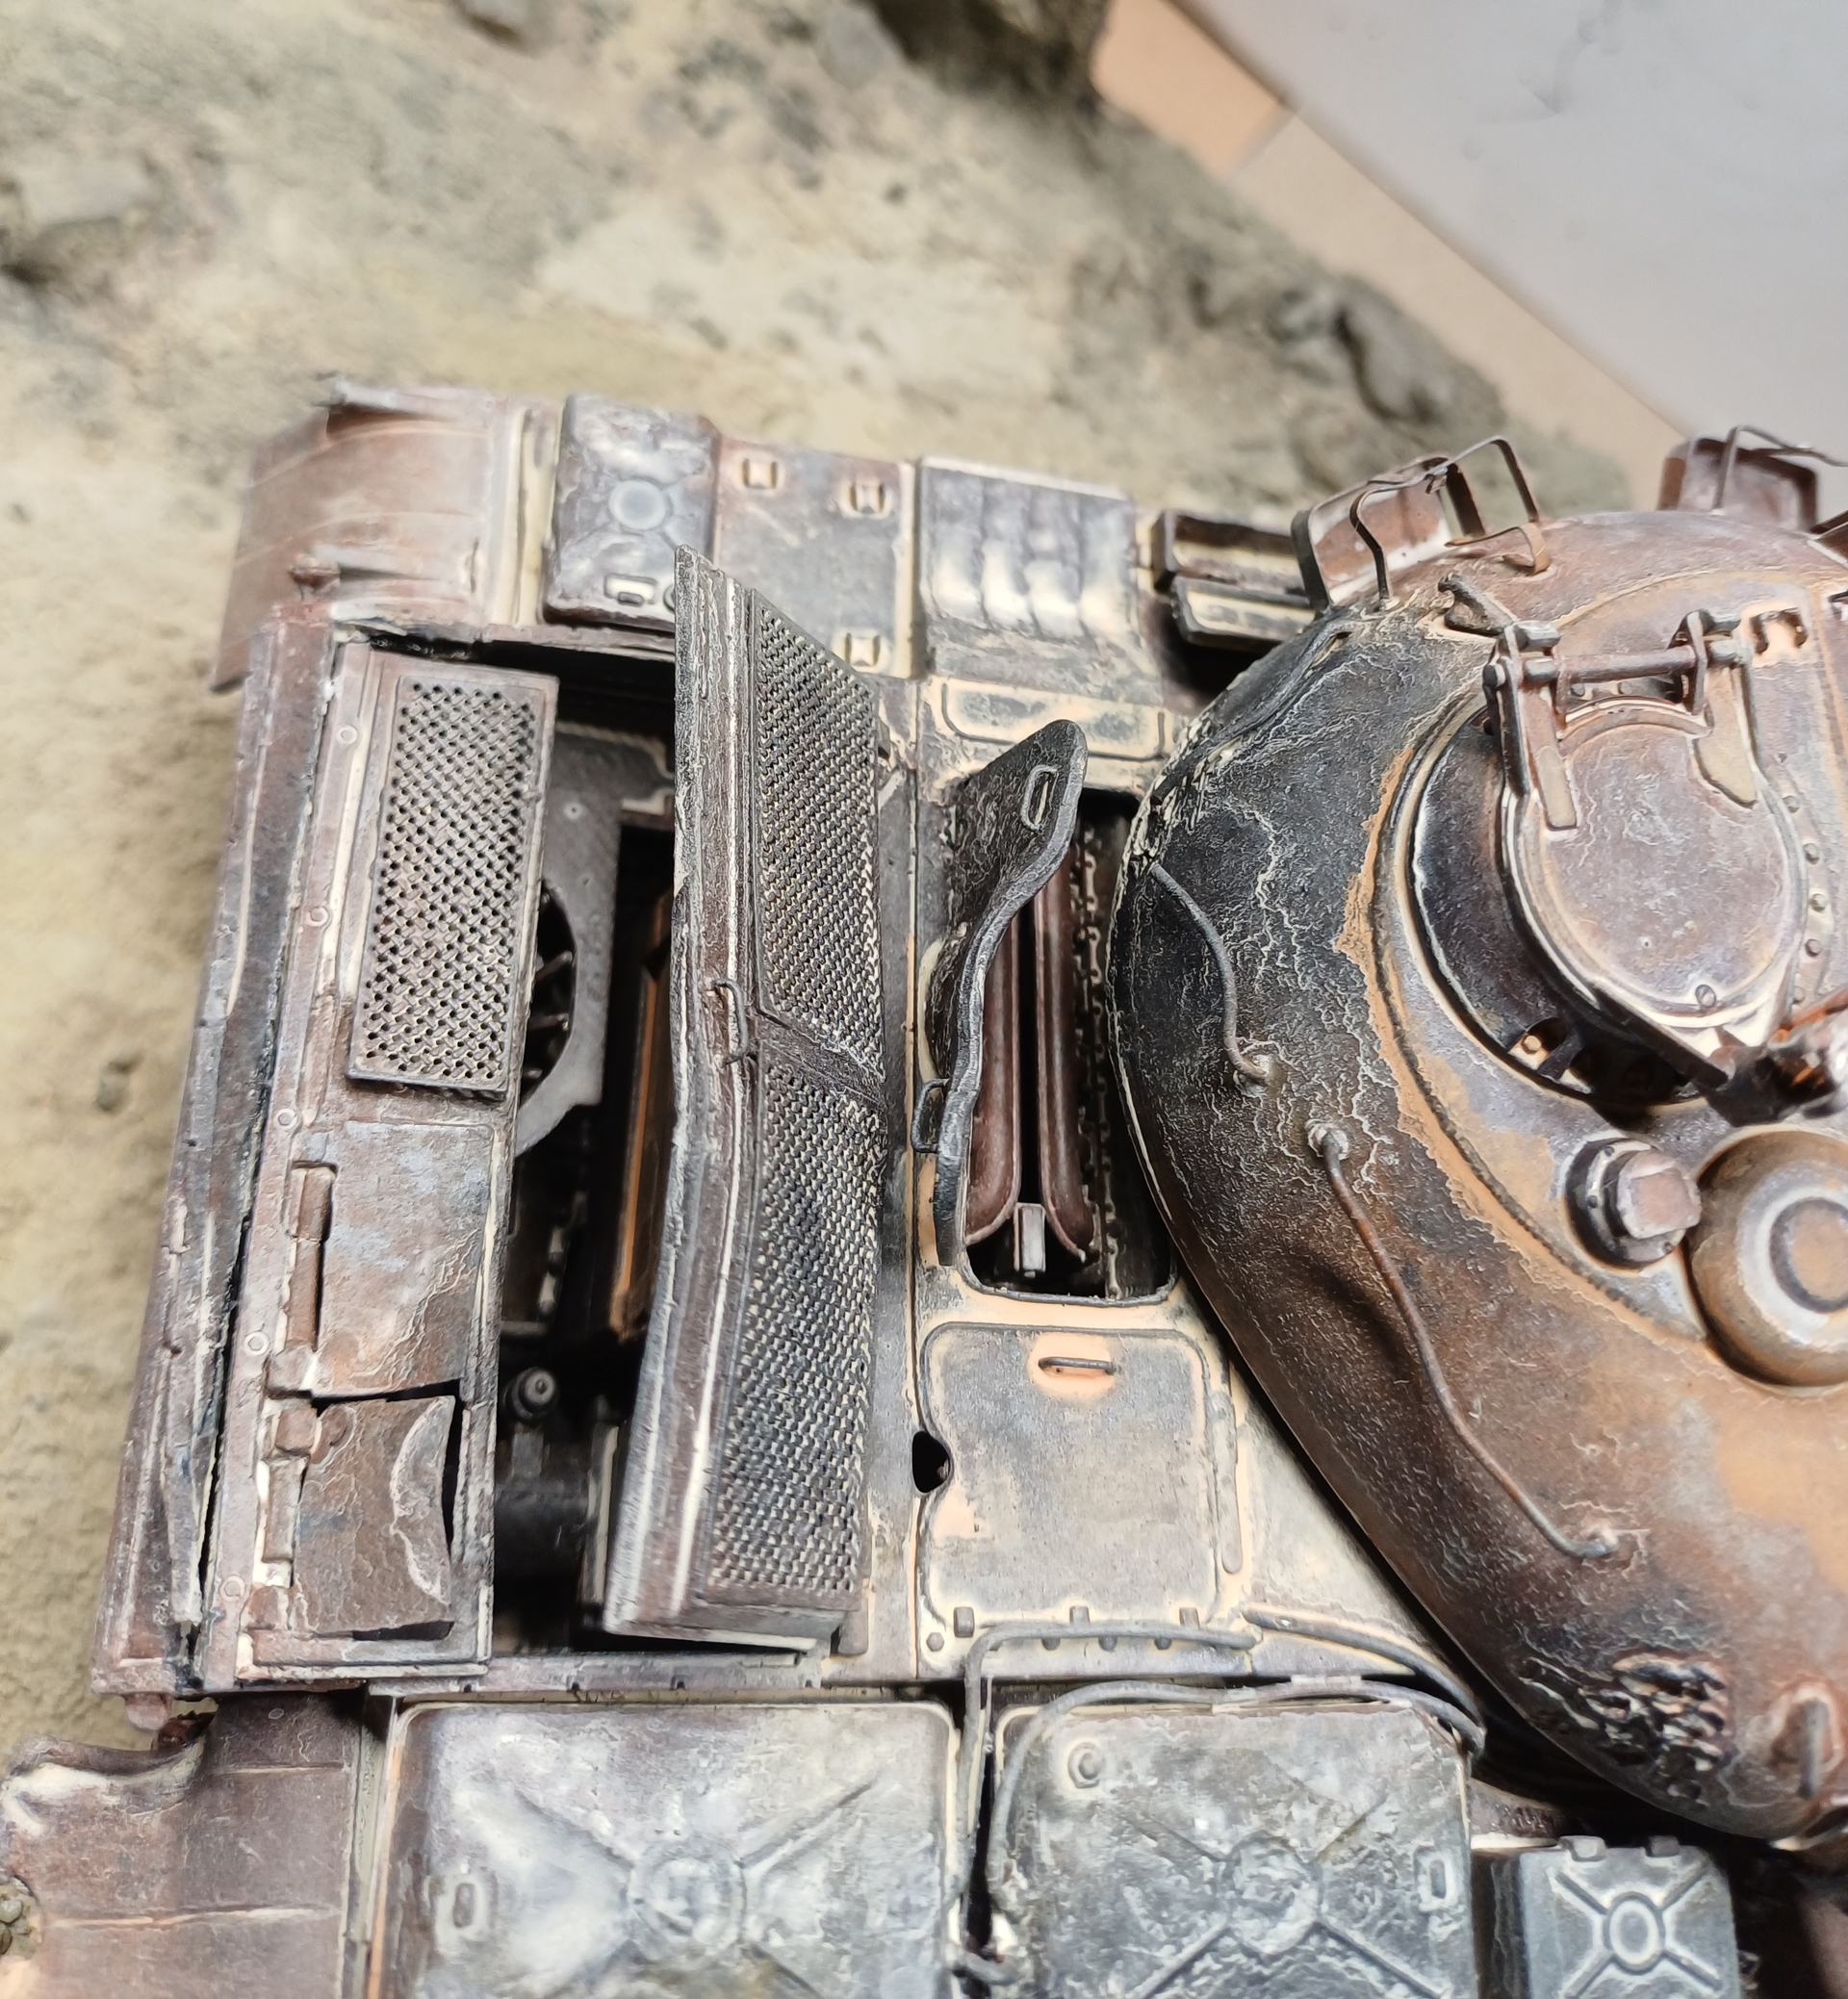
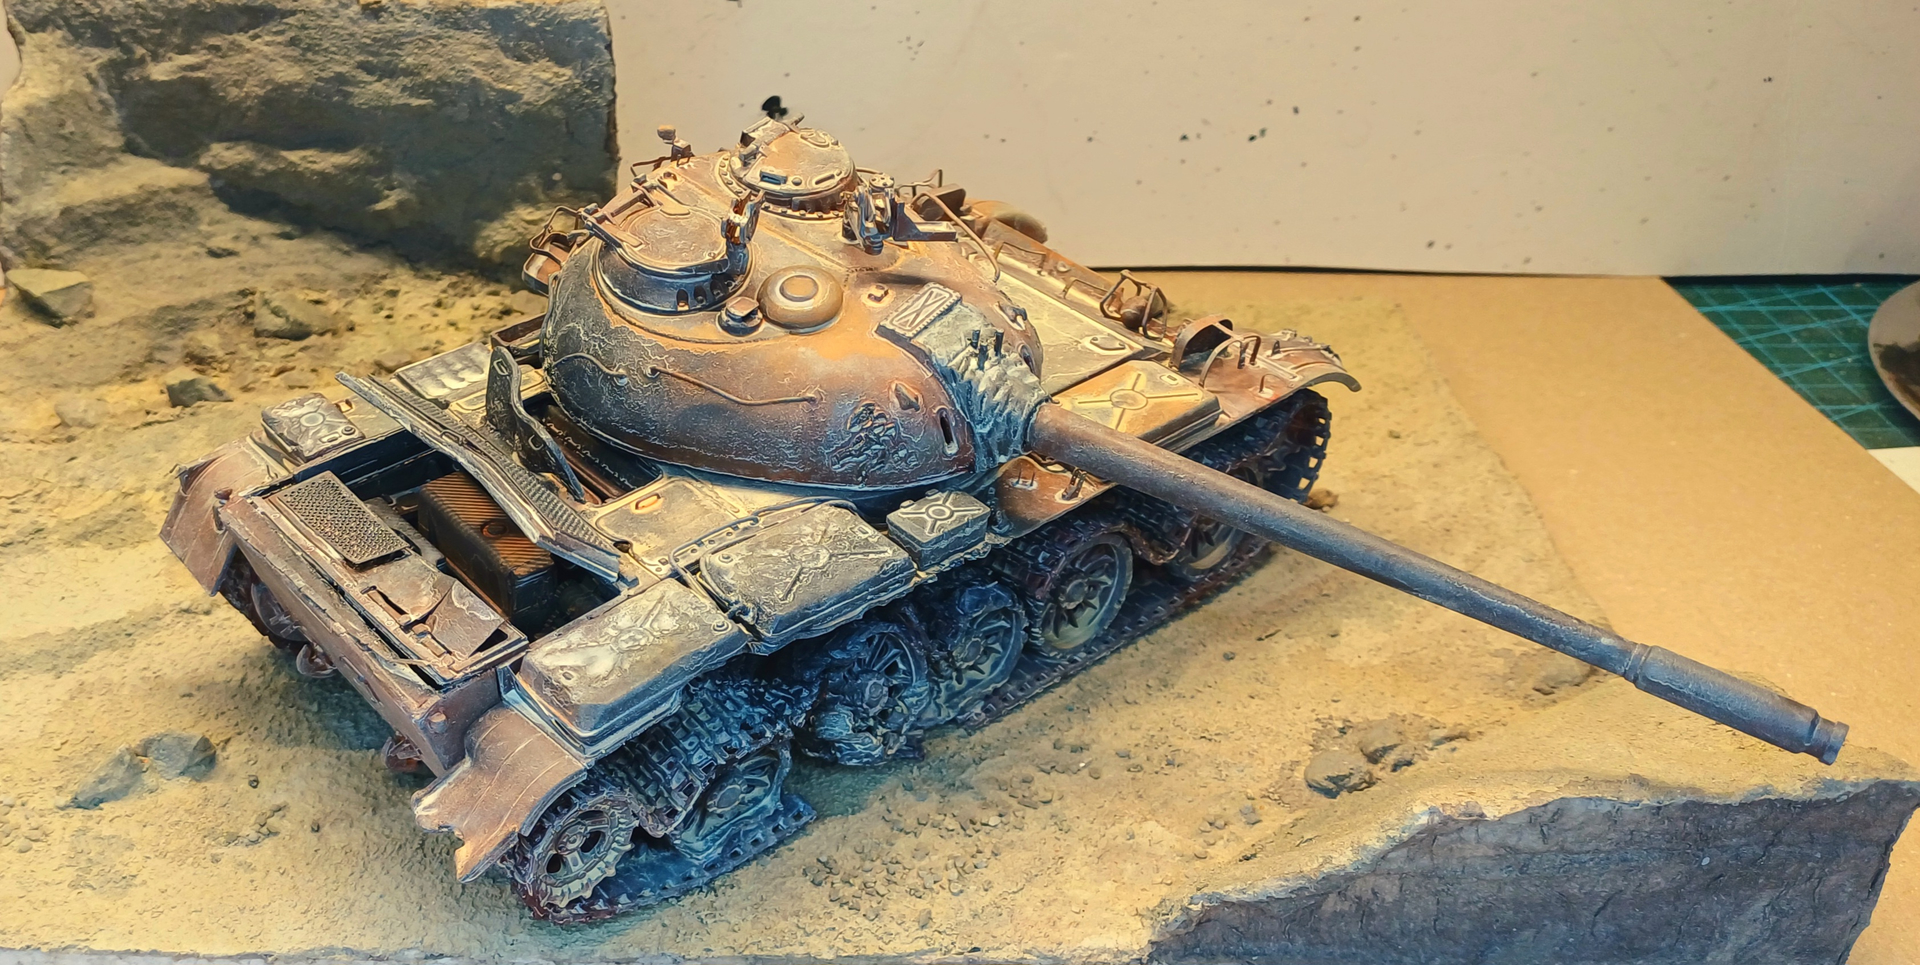
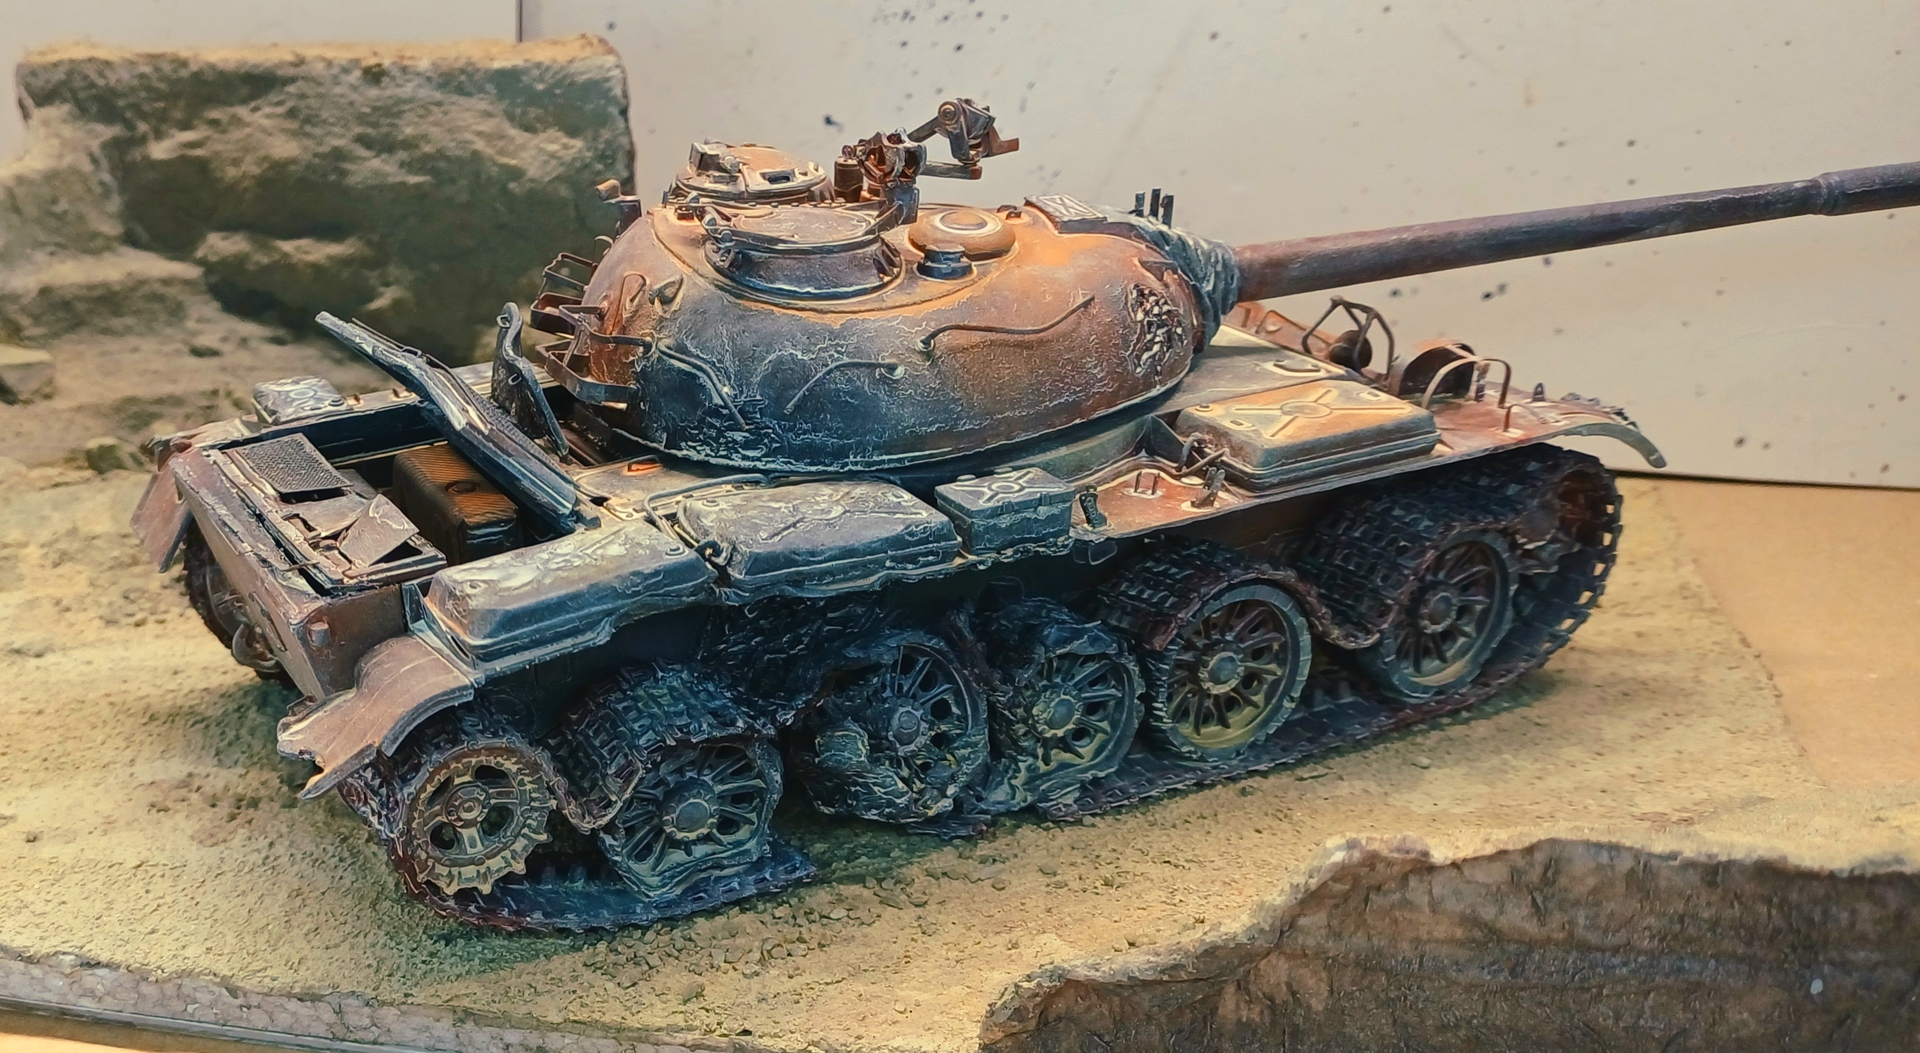
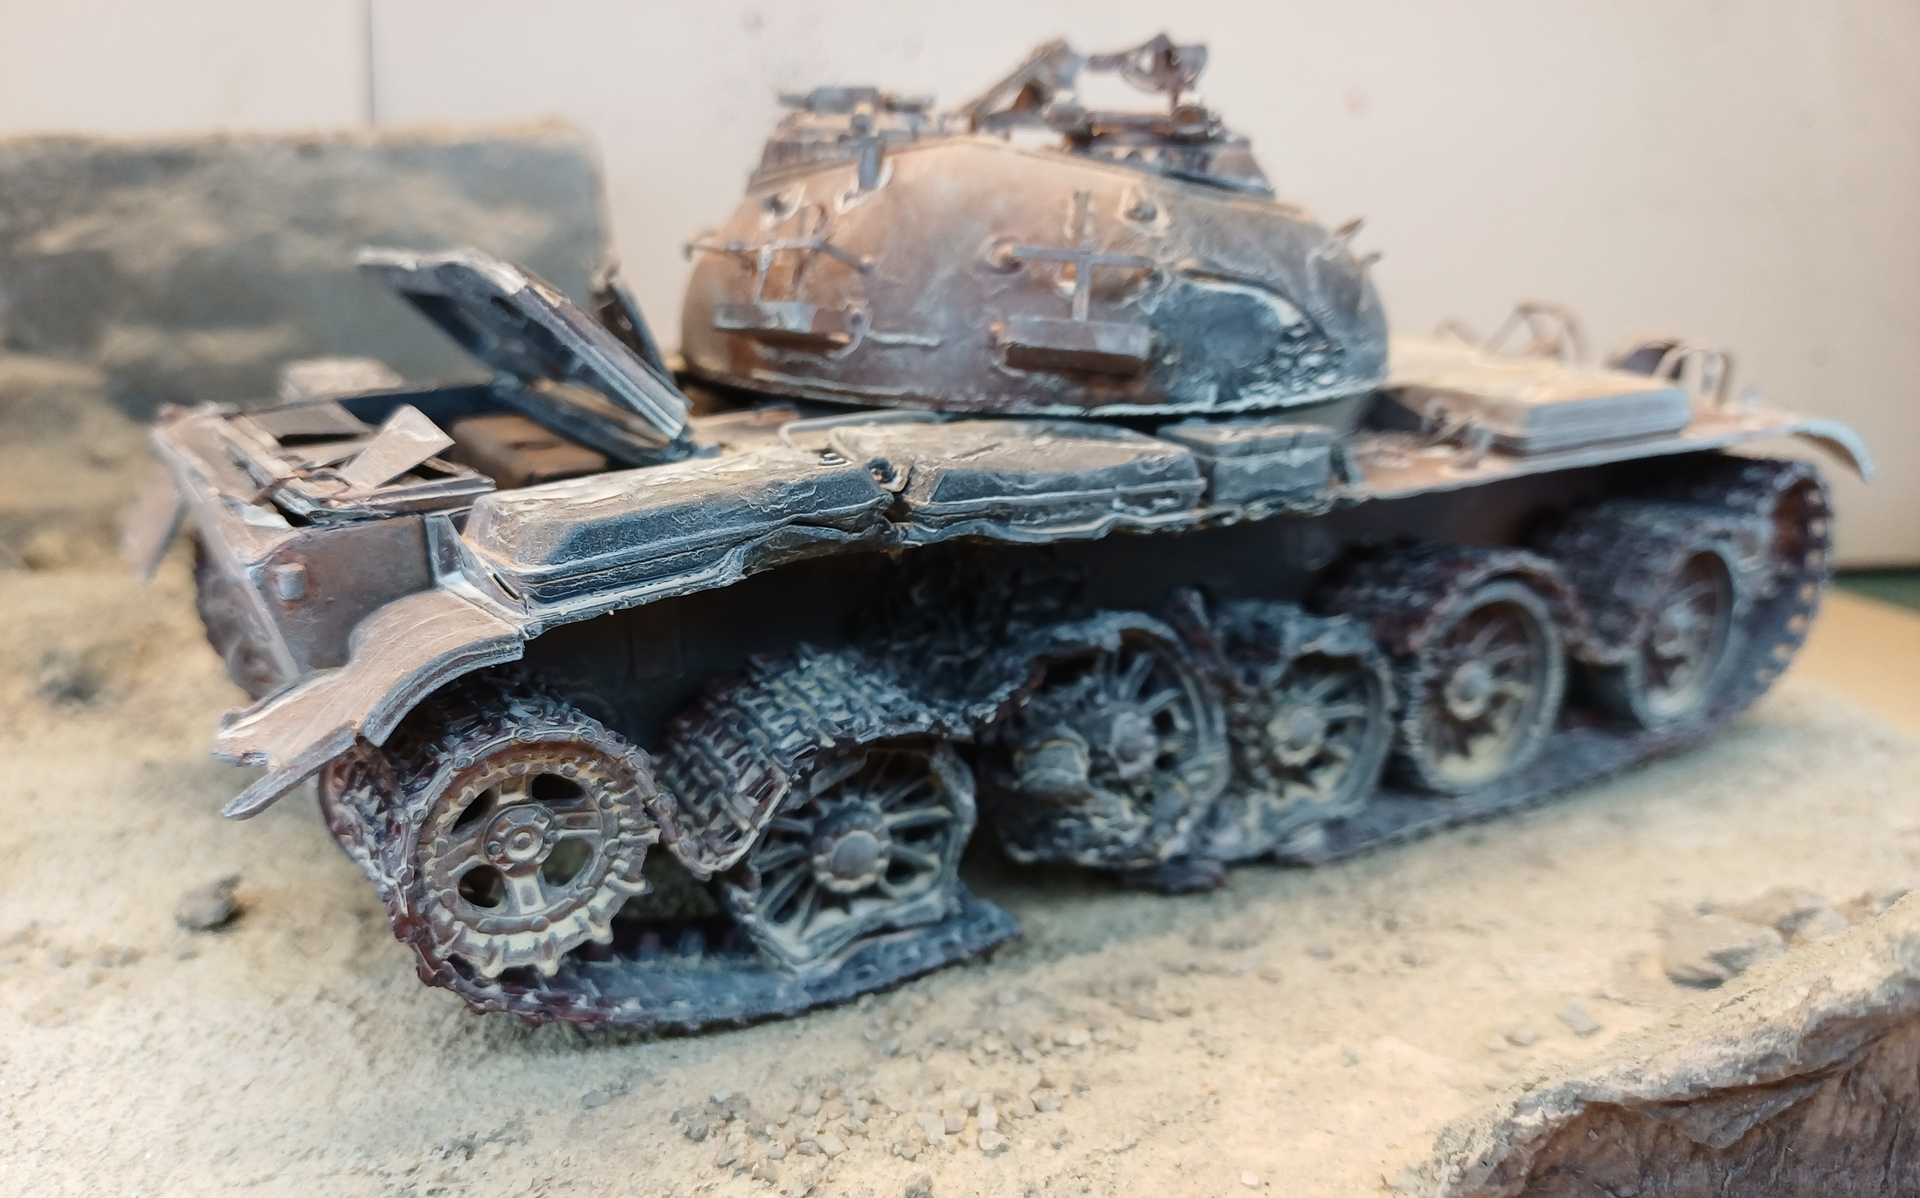
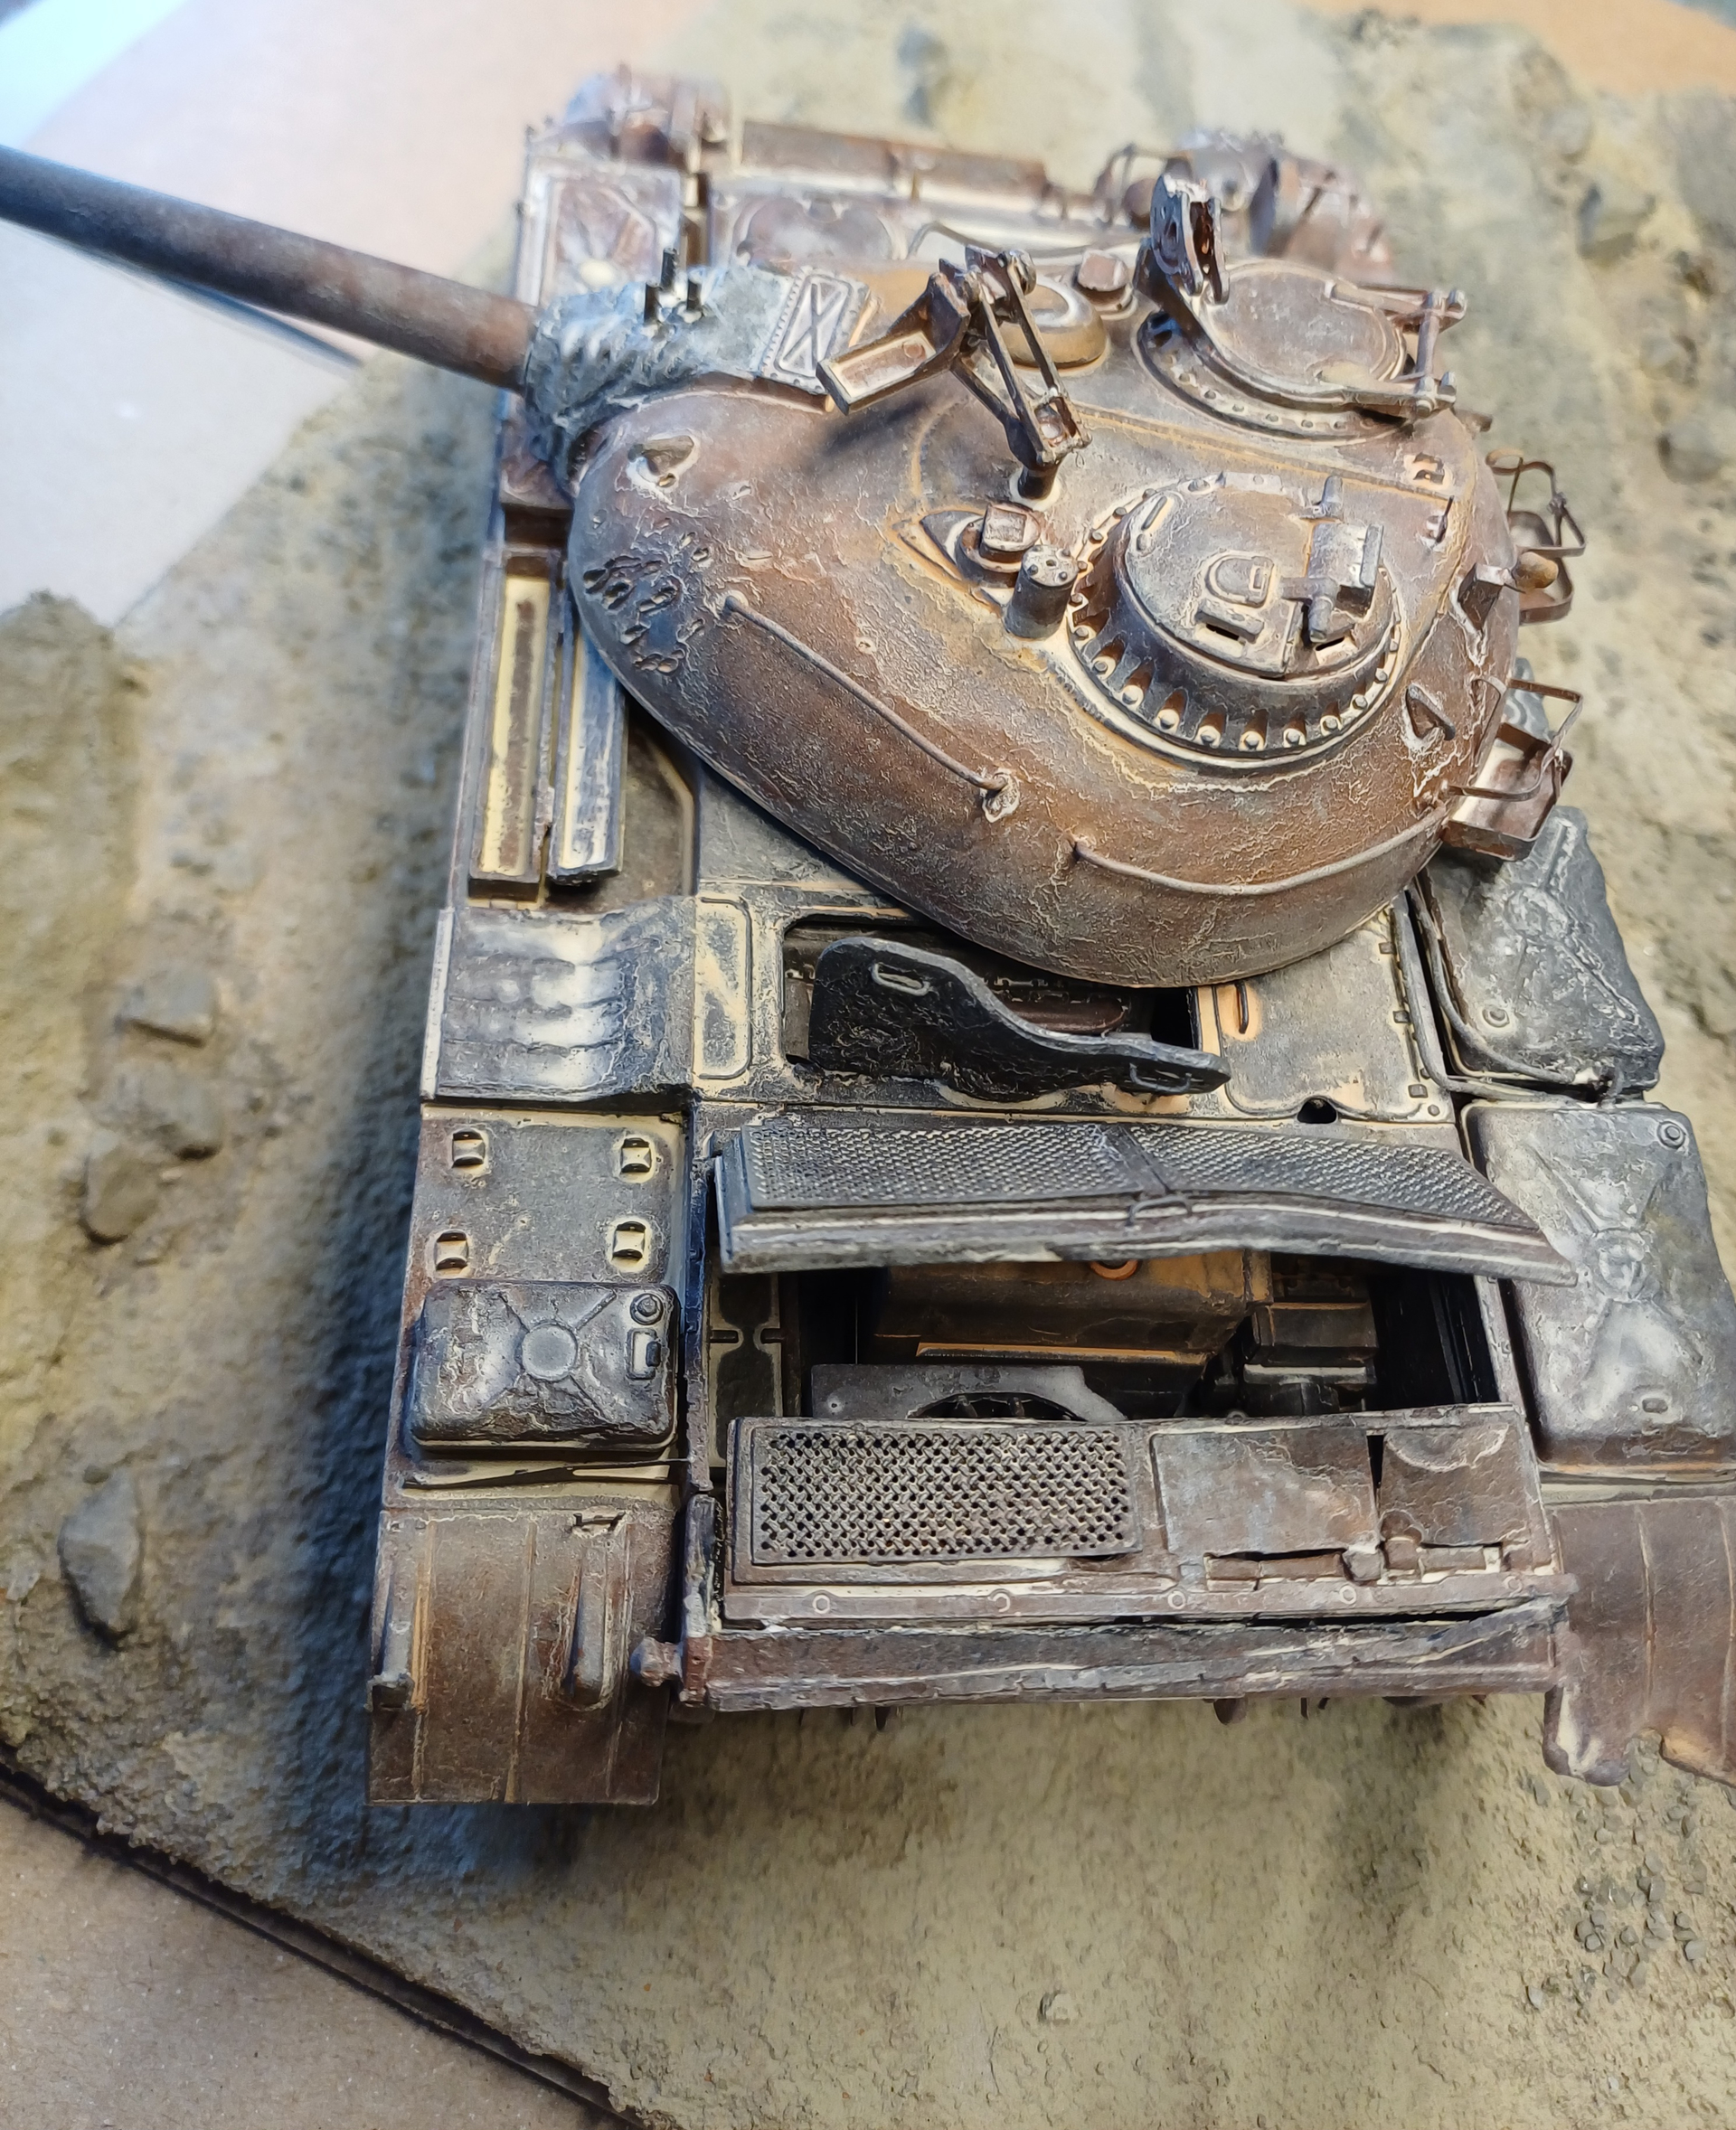
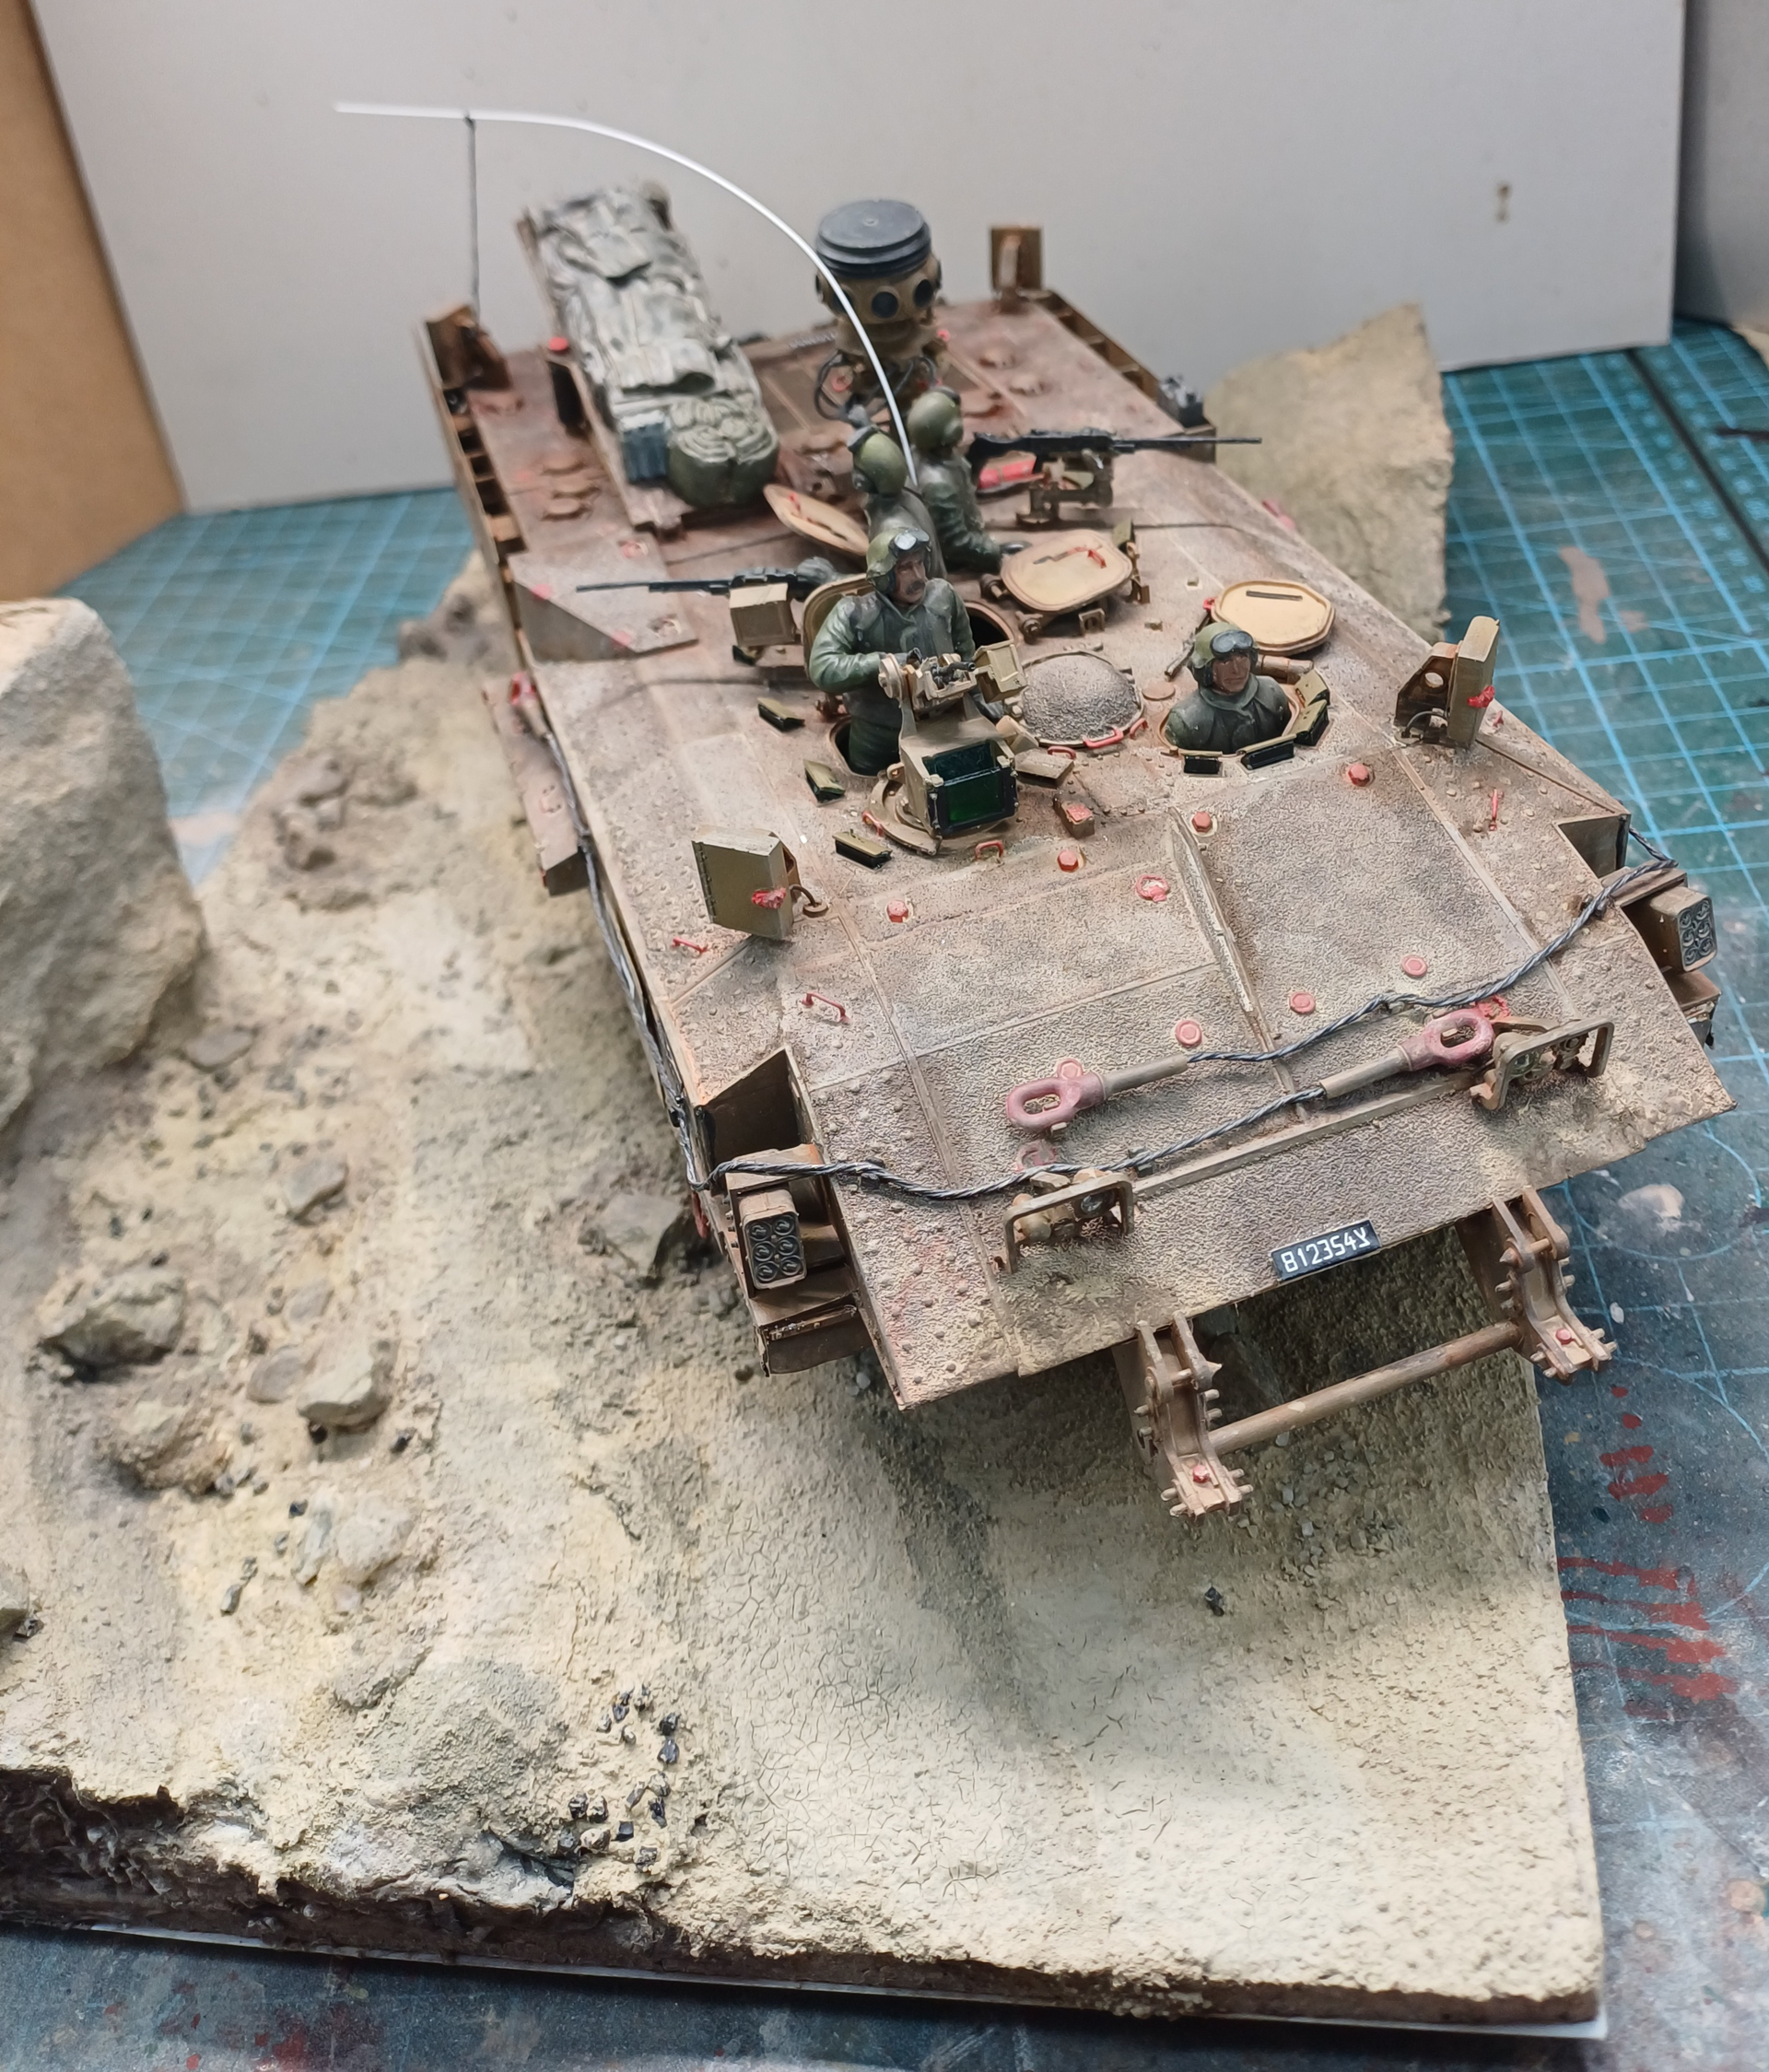
Finished my Tiran wreck…


24 Likes
What, no cigarette ash for the burned rubber on the road wheels?![]()
2 Likes
Another few steps for the M543. I will test-fit the cab floor to the frame in future builds. It was a real wiggle to get it to sit in the frame using the two locating prongs. Maybe paint getting in the way………


15 Likes
Sorry, I don’t smoke ![]()
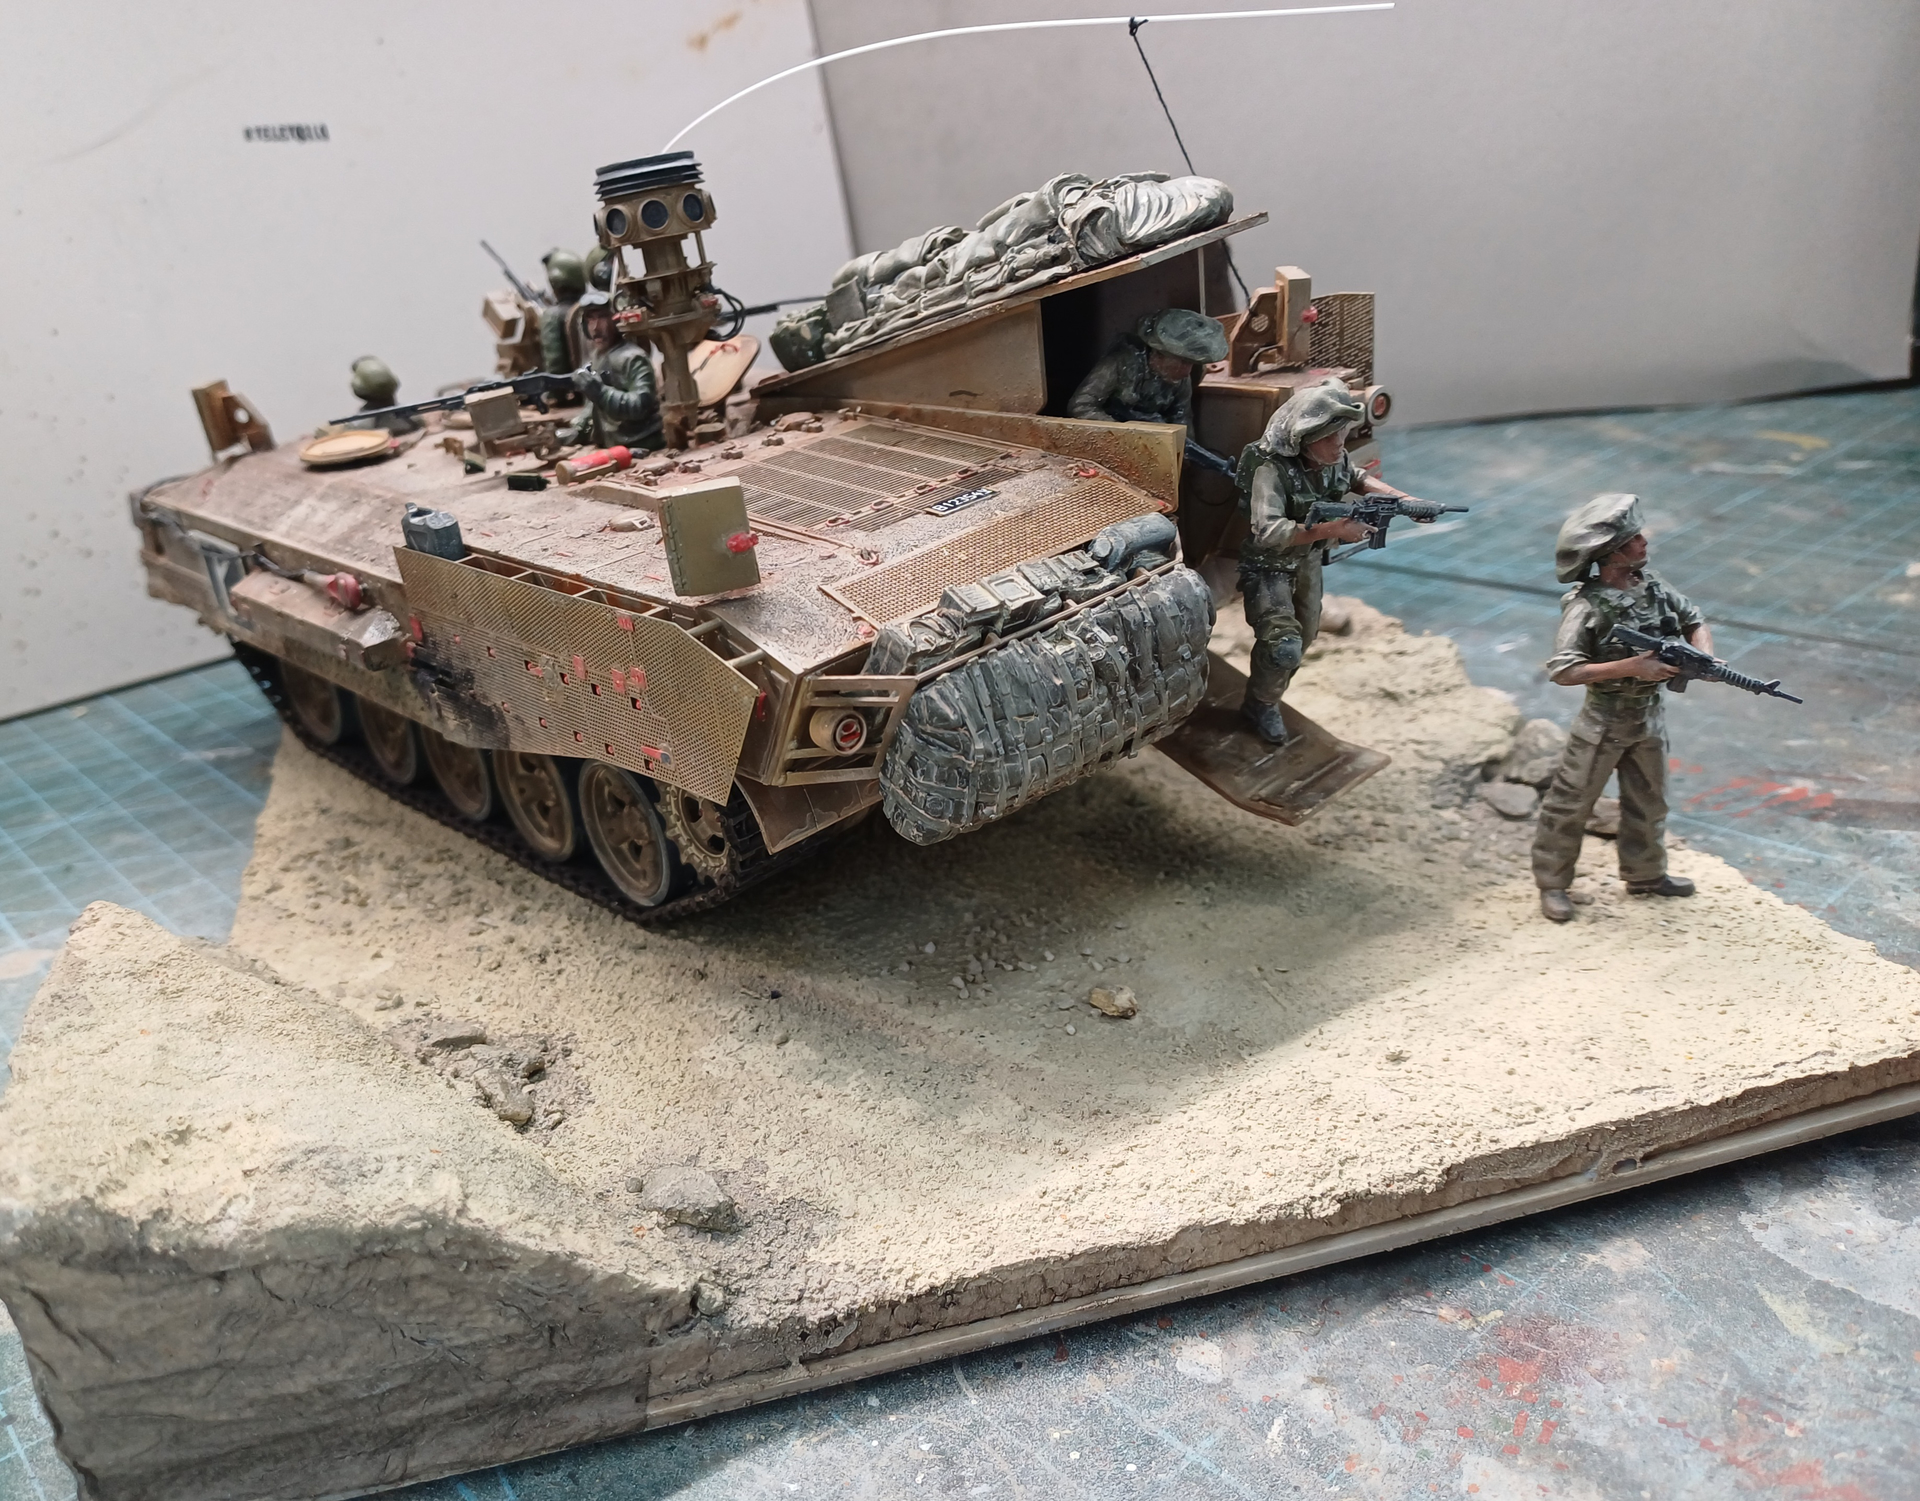
And this one has been out in the desert so long, I think the ashes have been blown away… ![]()
4 Likes
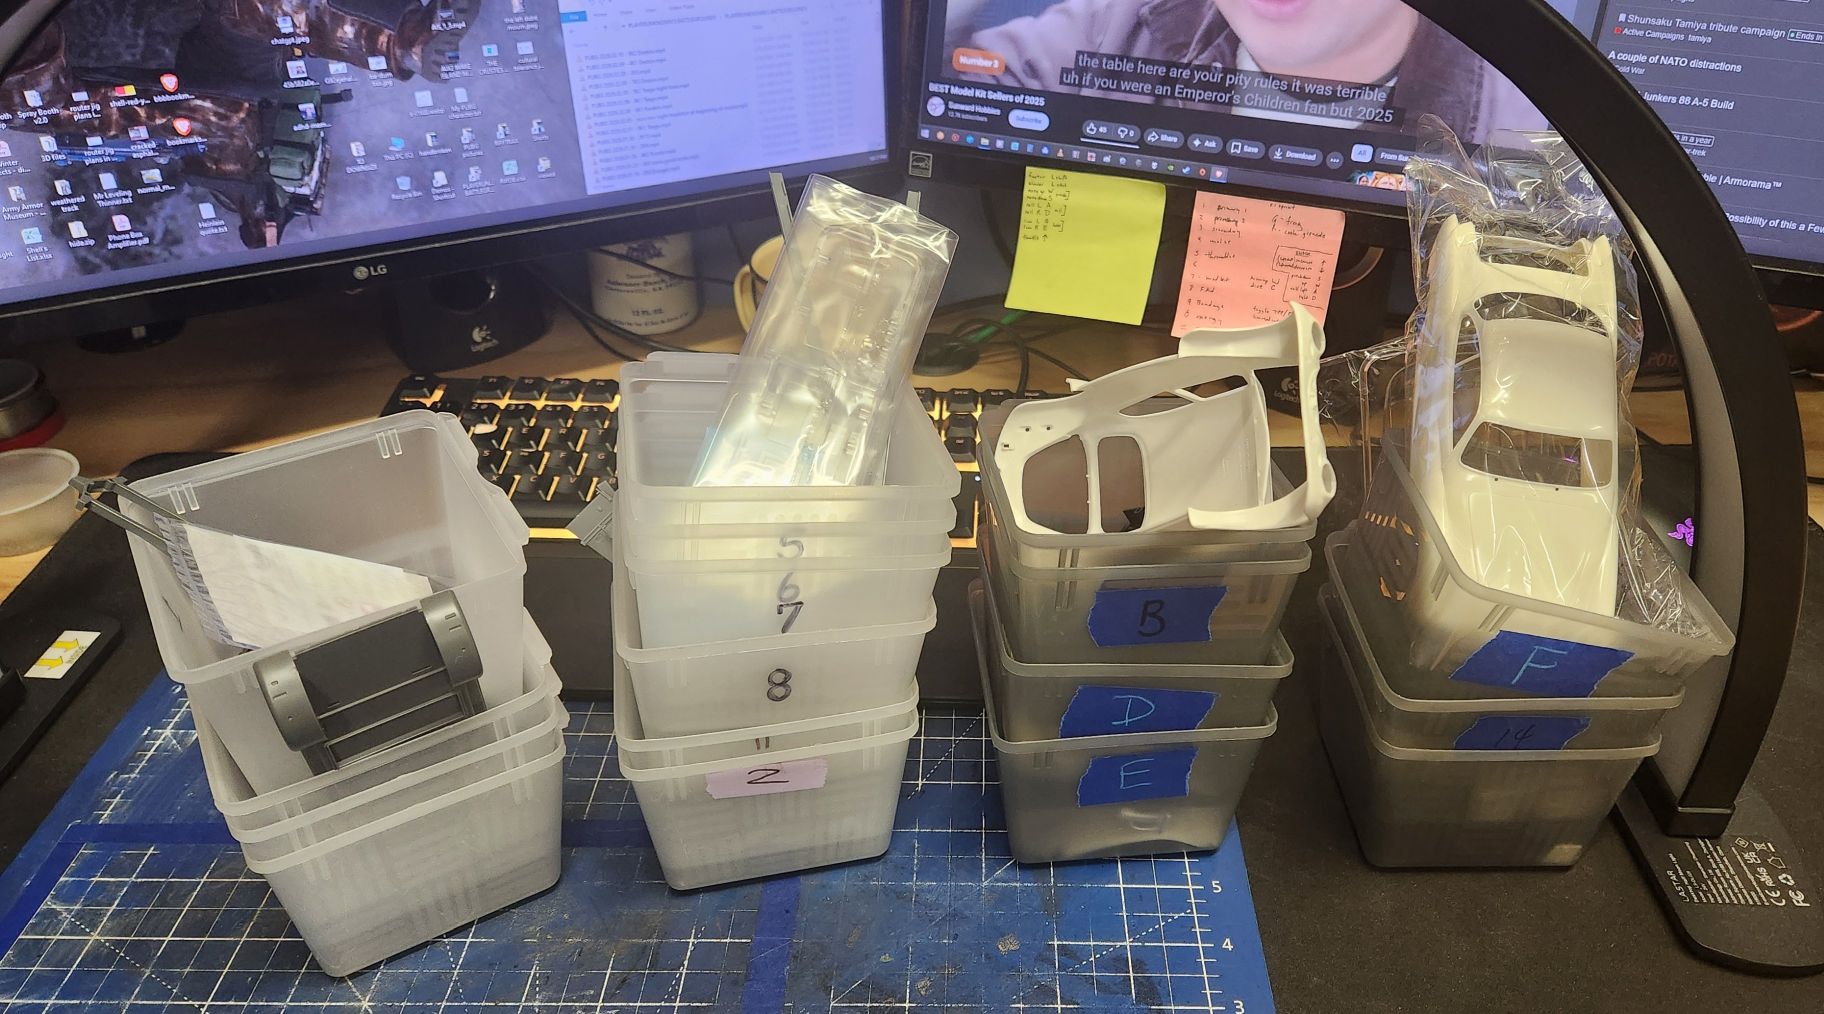
I have the Steyr 1500, Henschel 33D, 1300cc Beetle, and Karmann Ghia kits all cut from their sprues and separated out into the various build steps. Now I go through and clean up the parts. Once everything has been cleaned (fortunately no PE in any of the kits so that speeds things up) and notated in the instructions the build process generally flies by.
Then I will stall out on the painting step for a month or so, and rush them through at the last minute. The Steyr and Henschell will get bases as they go in my WWII collection; automobiles go in their own wing of the “museum”.
10 Likes


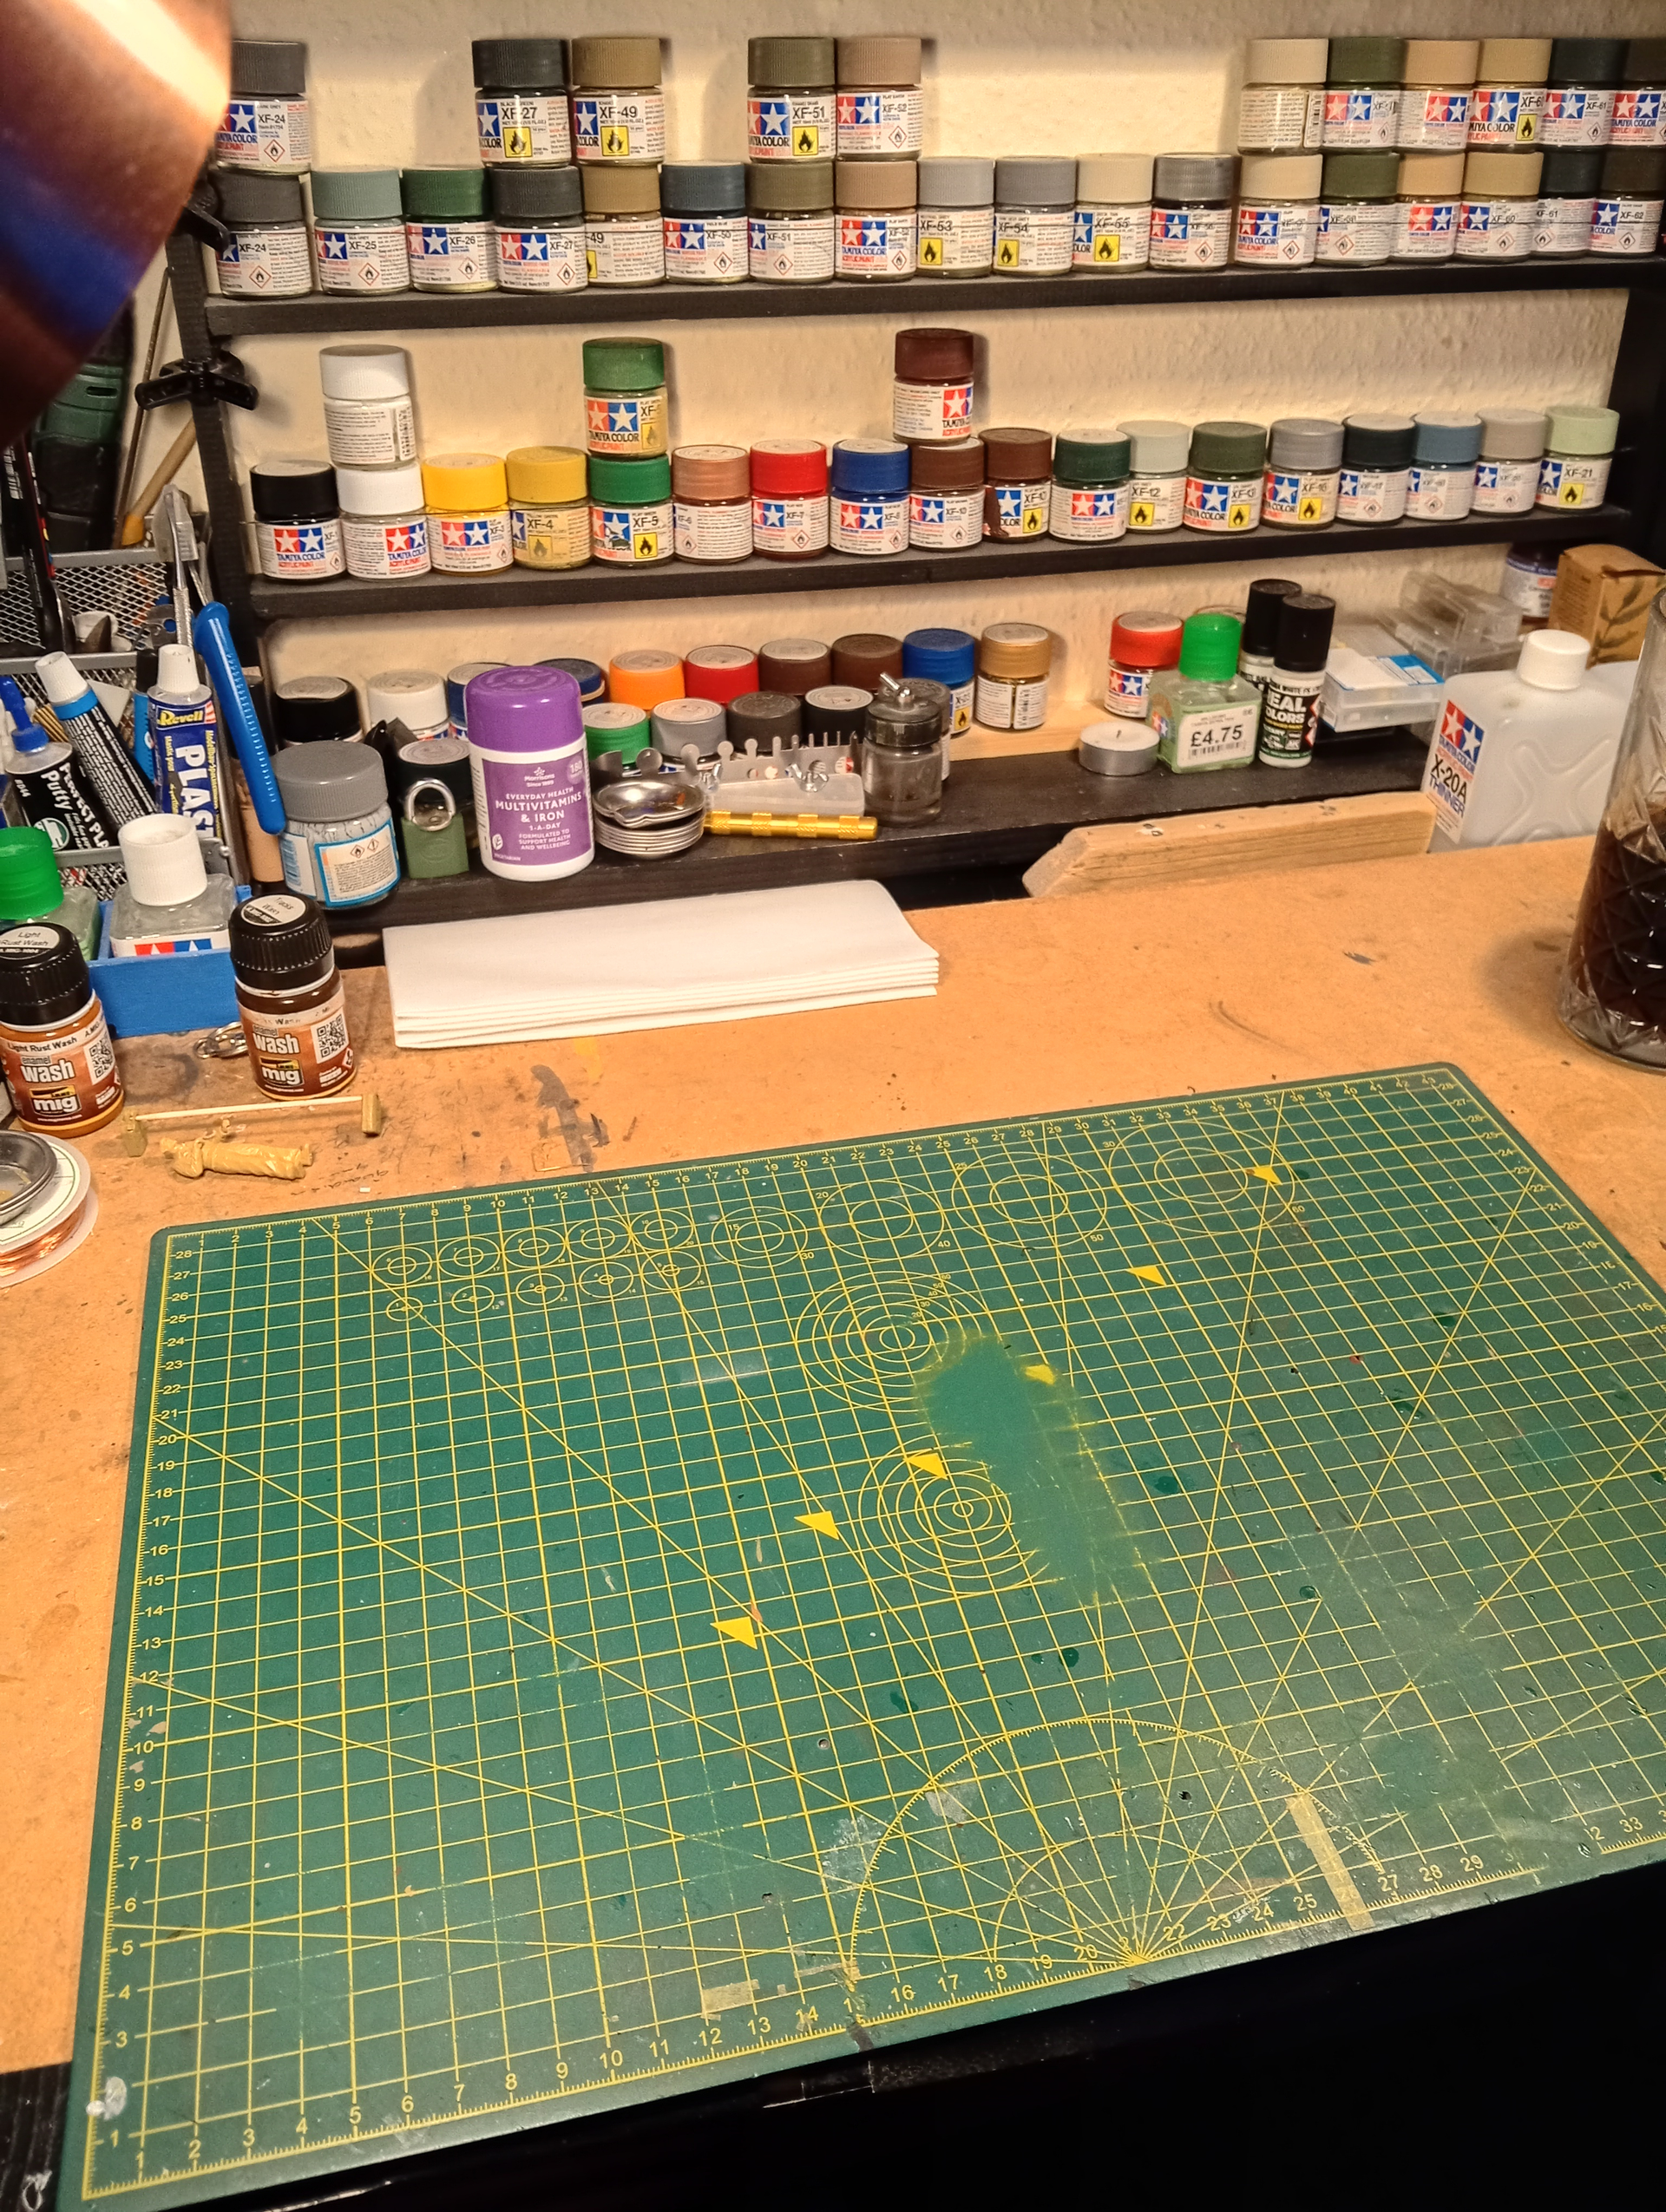
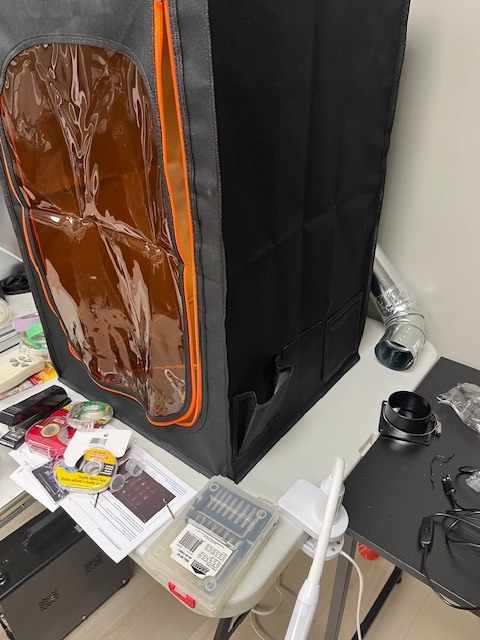
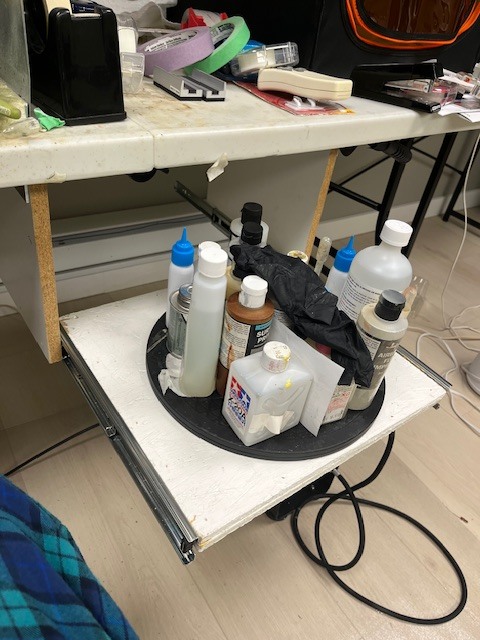
Today was about upgrading. My buddy Henry and I built a pullout shelf for the right side of my spray booth. This will provide more space for my 3D printing enclosure while giving better access to my spraying fluids, cleaners etc.
Last week we also did the ductwork to connect the printer’s exhaust into the spray booth’s ducting. Dampers on both “outs” to maximize efficiency.
Picture of both tomorrow.
Hobby on!
4 Likes
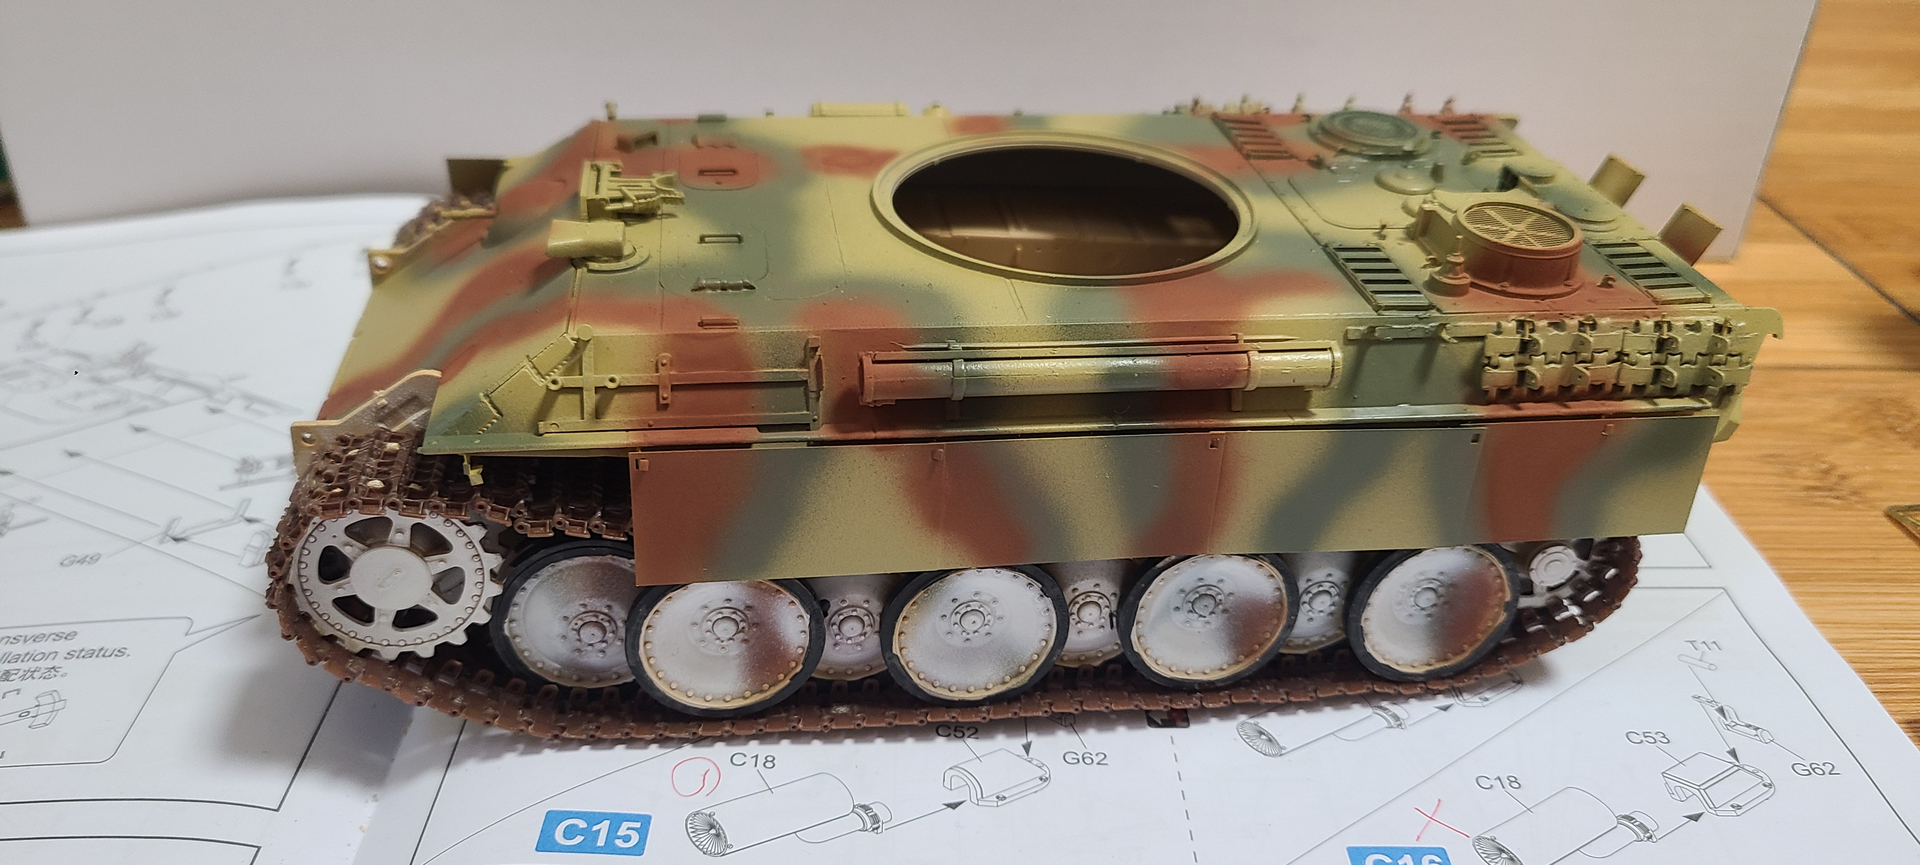
RFM Panther G. It looks good. I applied aftermarket RFM’s Panther Side skirt.
BUT, there is one problem. no two…


The tracks and the side skirts are interfering with each other, I can’t fit properly. It is not my fault. it is kit’s problem.

Because of this, the rear part can not aligned and not fit properly. Well, I guess I’ll just have to go with it as it is. sighhh
I must be cursed or something. Everytime I build a German armors, something goes wrong and I can never get it perfect.
12 Likes
are your wheels and sprockets fitted correctly ? the inside edge of the track over the sprocket looks to far away from the hull ?
1 Like
That drive sprocket does look to be sitting too far out.
1 Like
Either part C15 didn’t go far enough into P3 inside of C10 to close the gap, or the sprocket is not seated properly on part C16. I’m just basing that off a copy of the instructions and the pieces possibly involved.
2 Likes
I followed manual and I pushed hard the sprocket and road wheels before connecting the tracks. So I think it seems ok to me.


Right and left side.
But Anyway, it’s already happens.
8 Likes
Pics of the plumbing work for my 3D printer exhaust and new shelf for my airbrushing fluids;
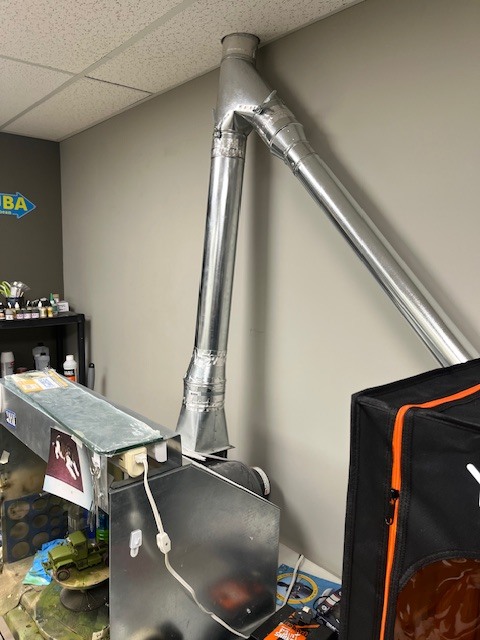
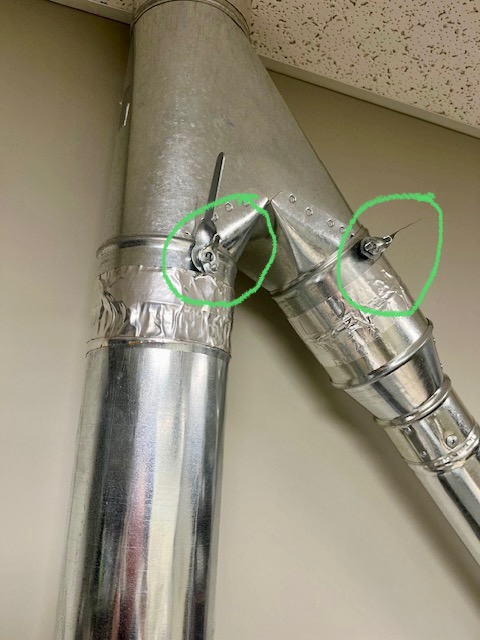
Pic 2 shows the baffles installed to control flow from the 3D printer and the existing paint booth.
12 Likes
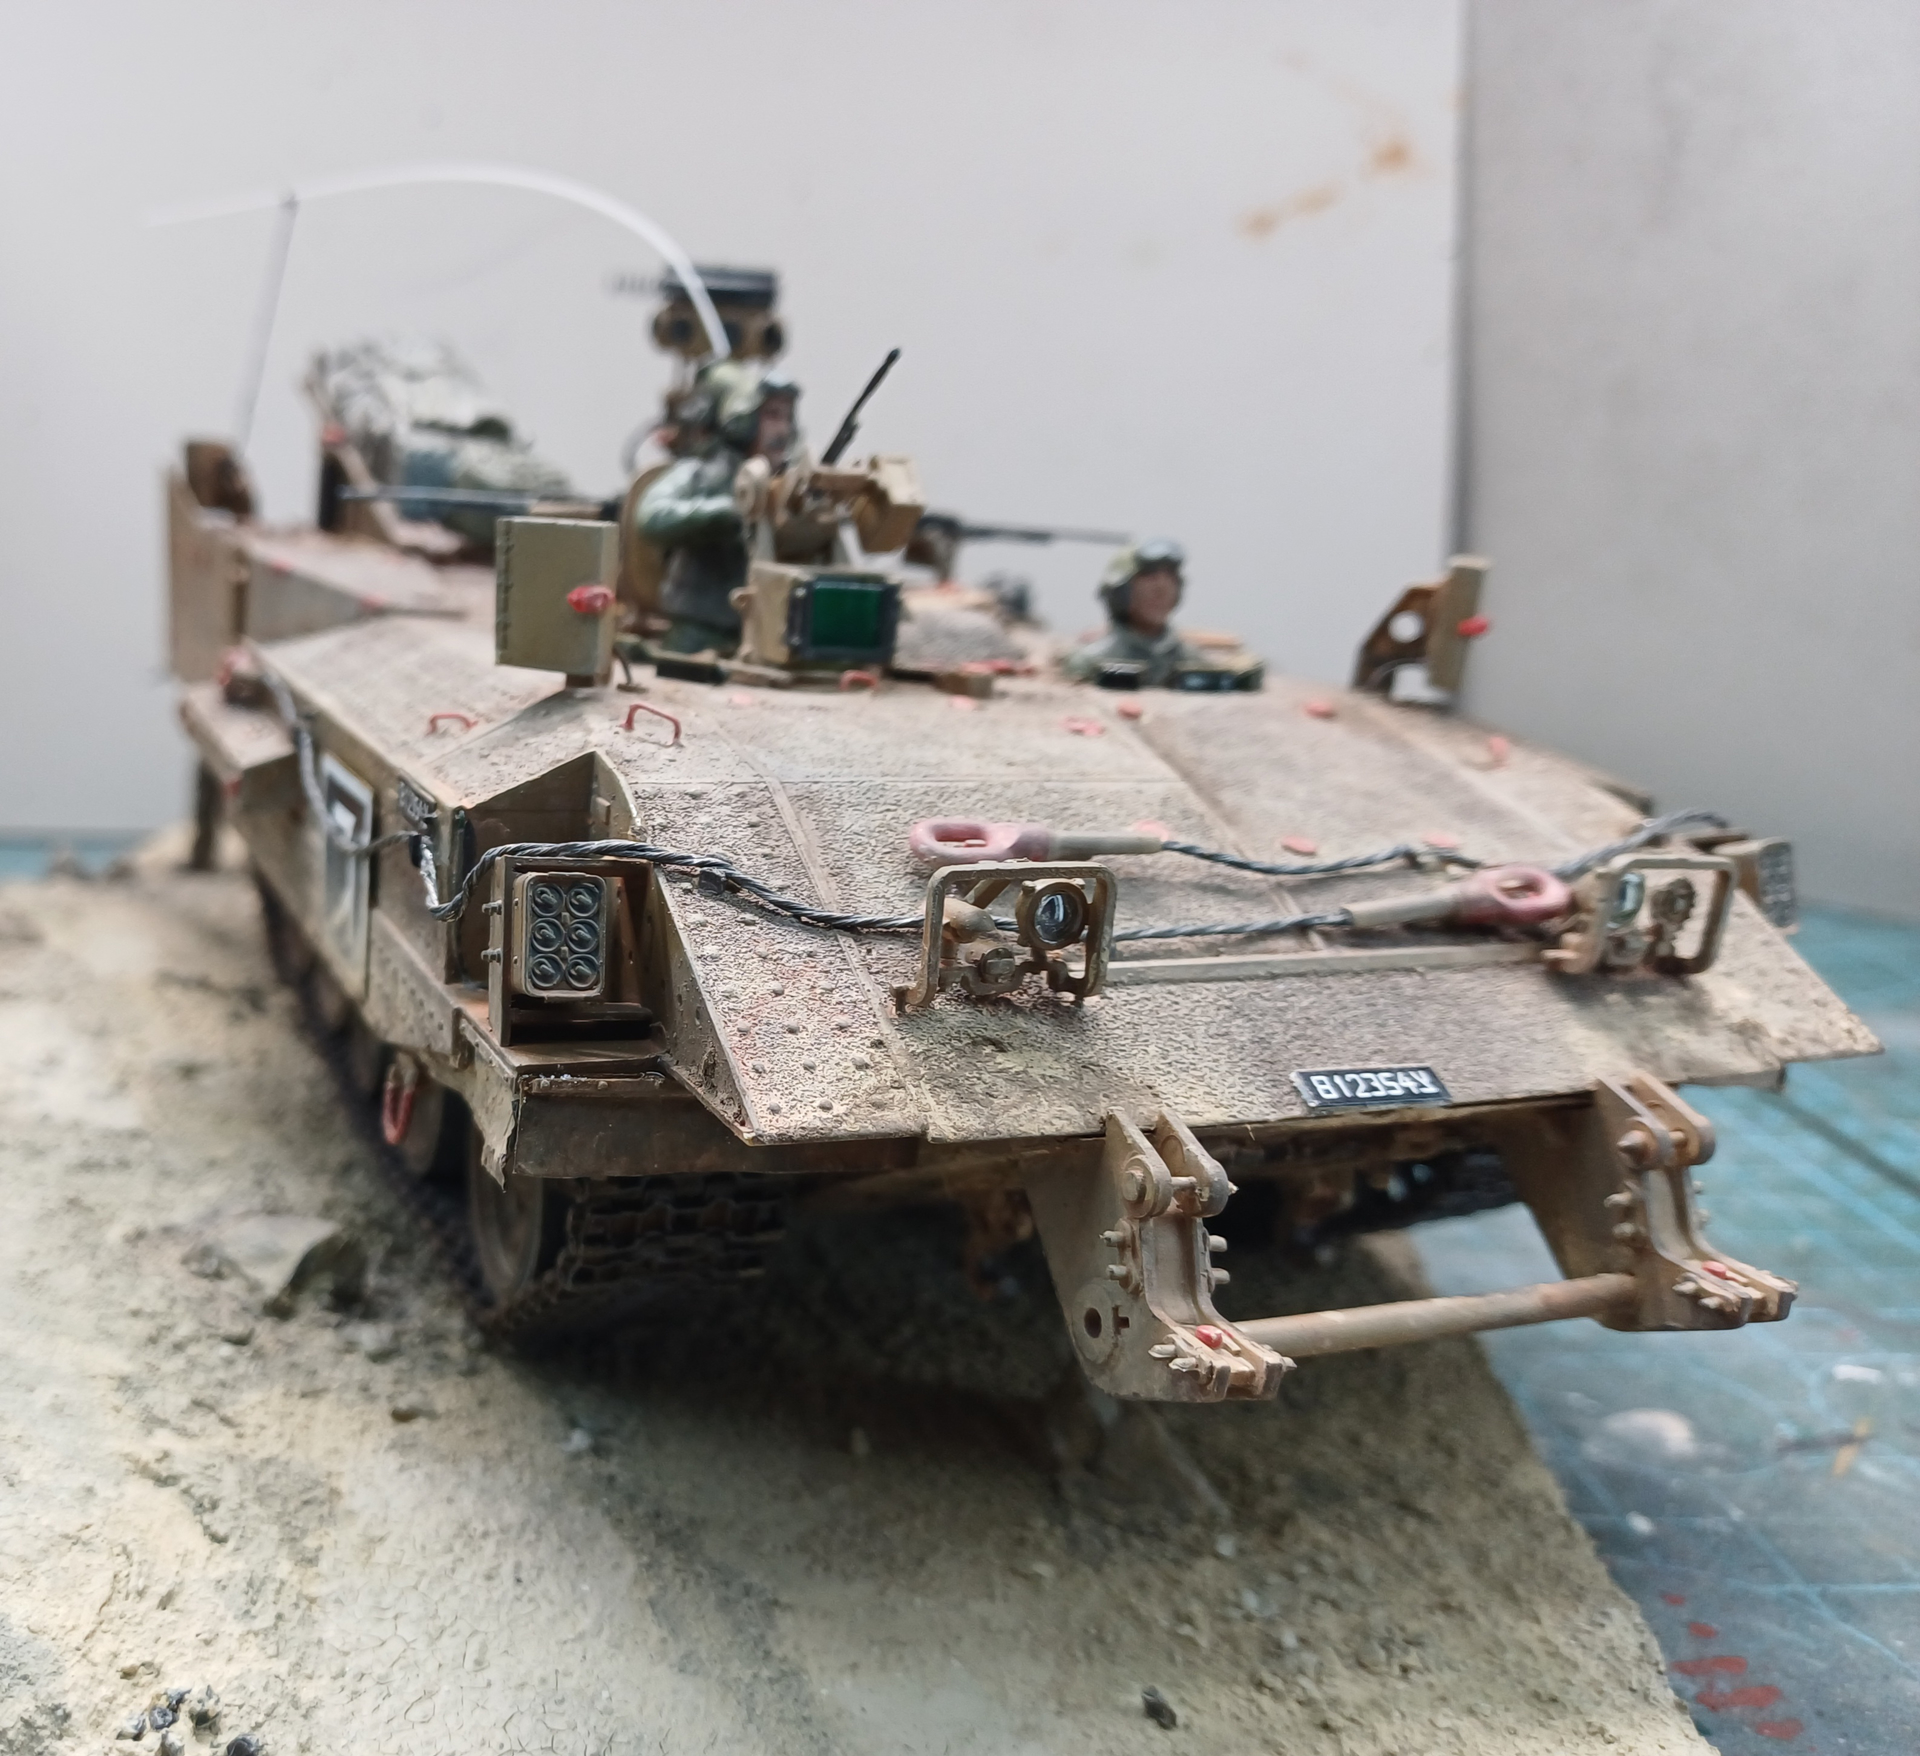
Nice faded lettering effect.
1 Like

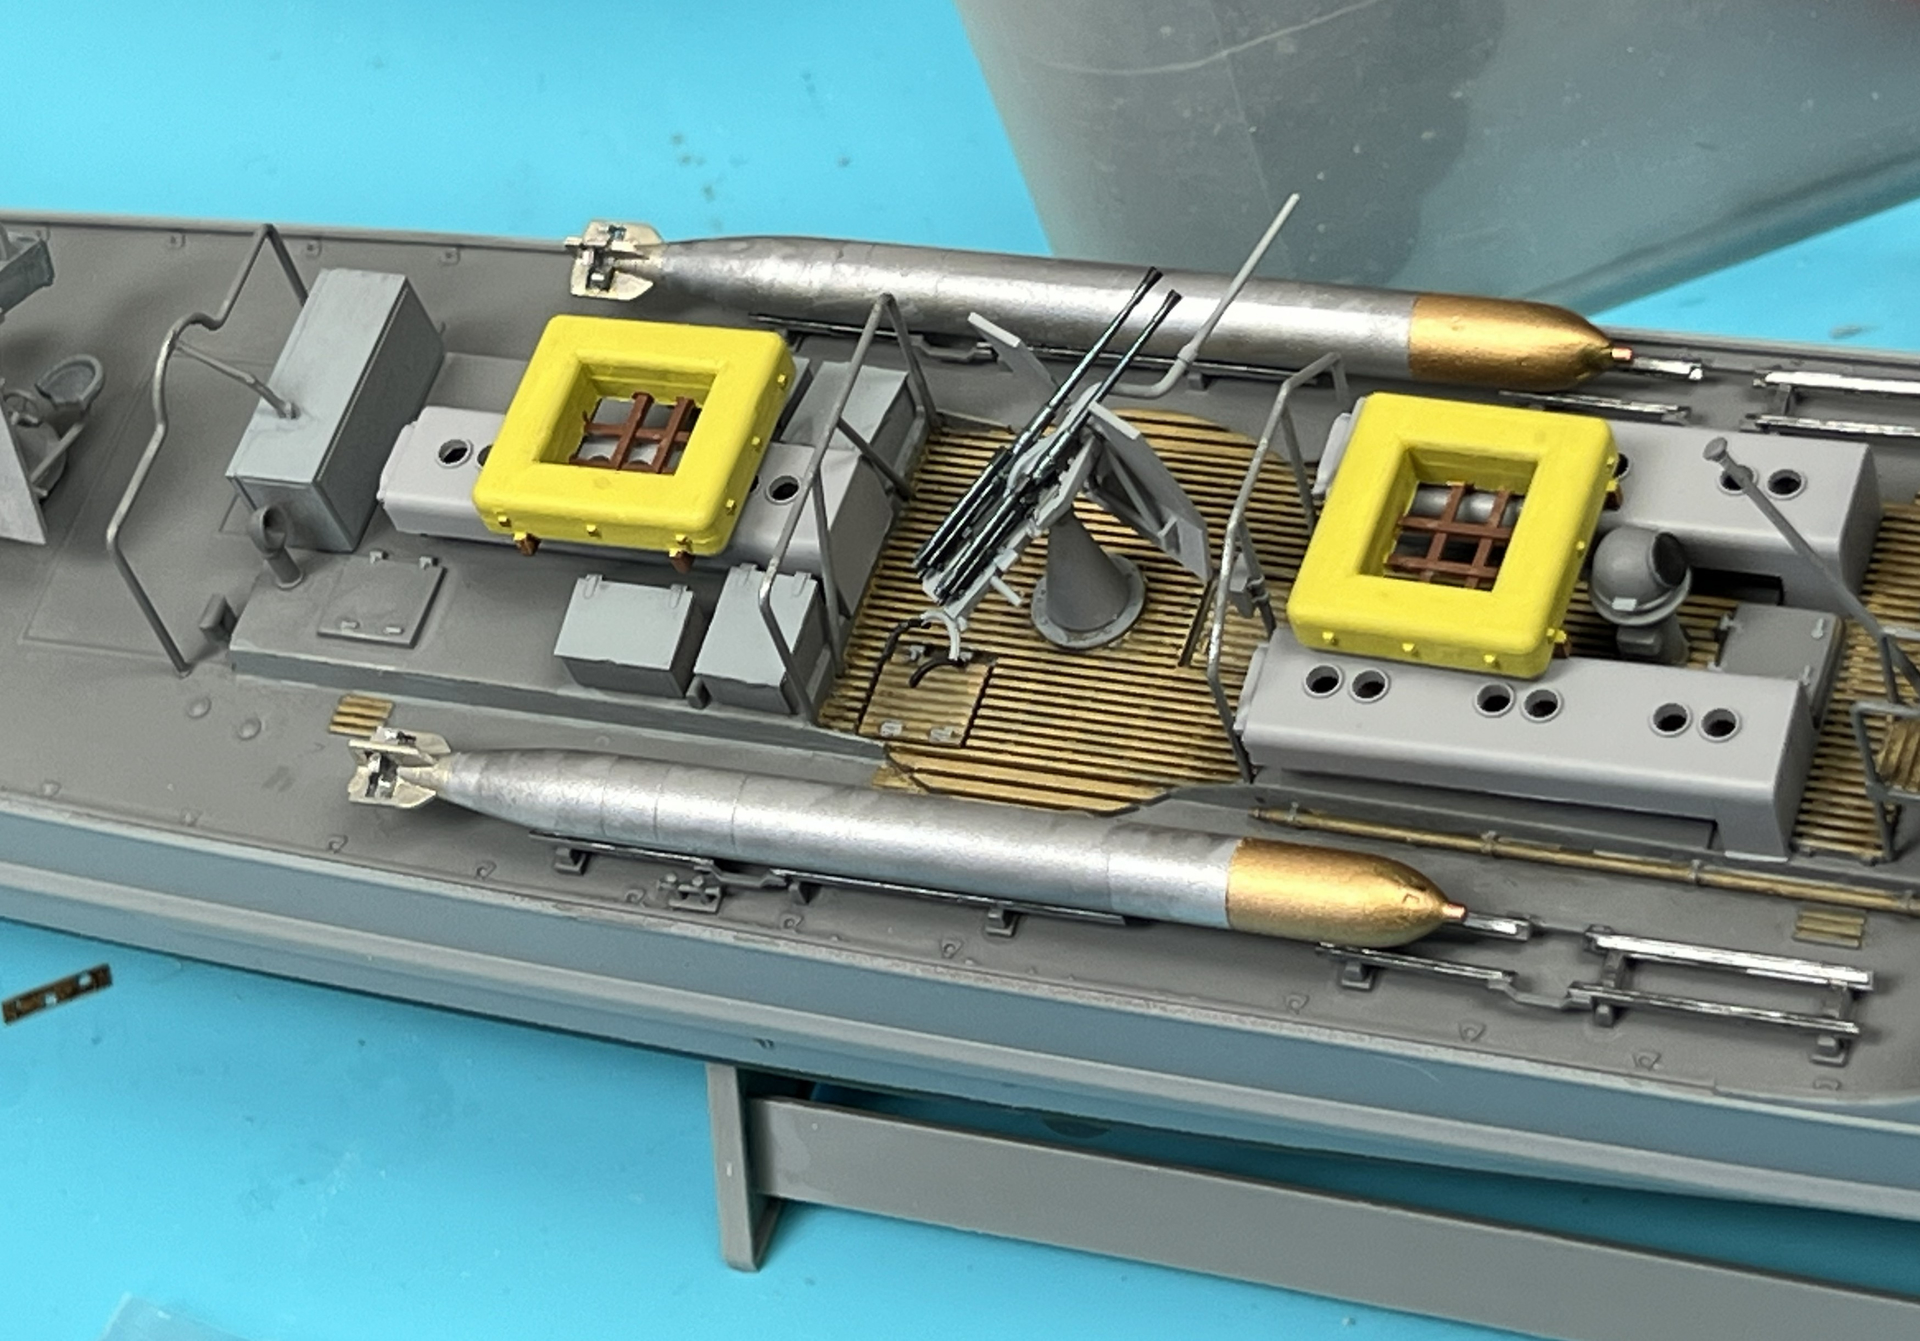
Seeing all this posting from others inspires me! I am still continuing to detail the Revell Schnell boot in 1/72 scale. Adding railing next.
Also reaching out to try develop new skills. Watching a lot of YouTube of more talented folks painting. With this, I finished up another of my sister’s figures from her Star Wars board game. I have recently learned that Darth Maul has red skin with black tatoos apparently applied by his mother. Please do not quote me as this is outside my typical study topic.

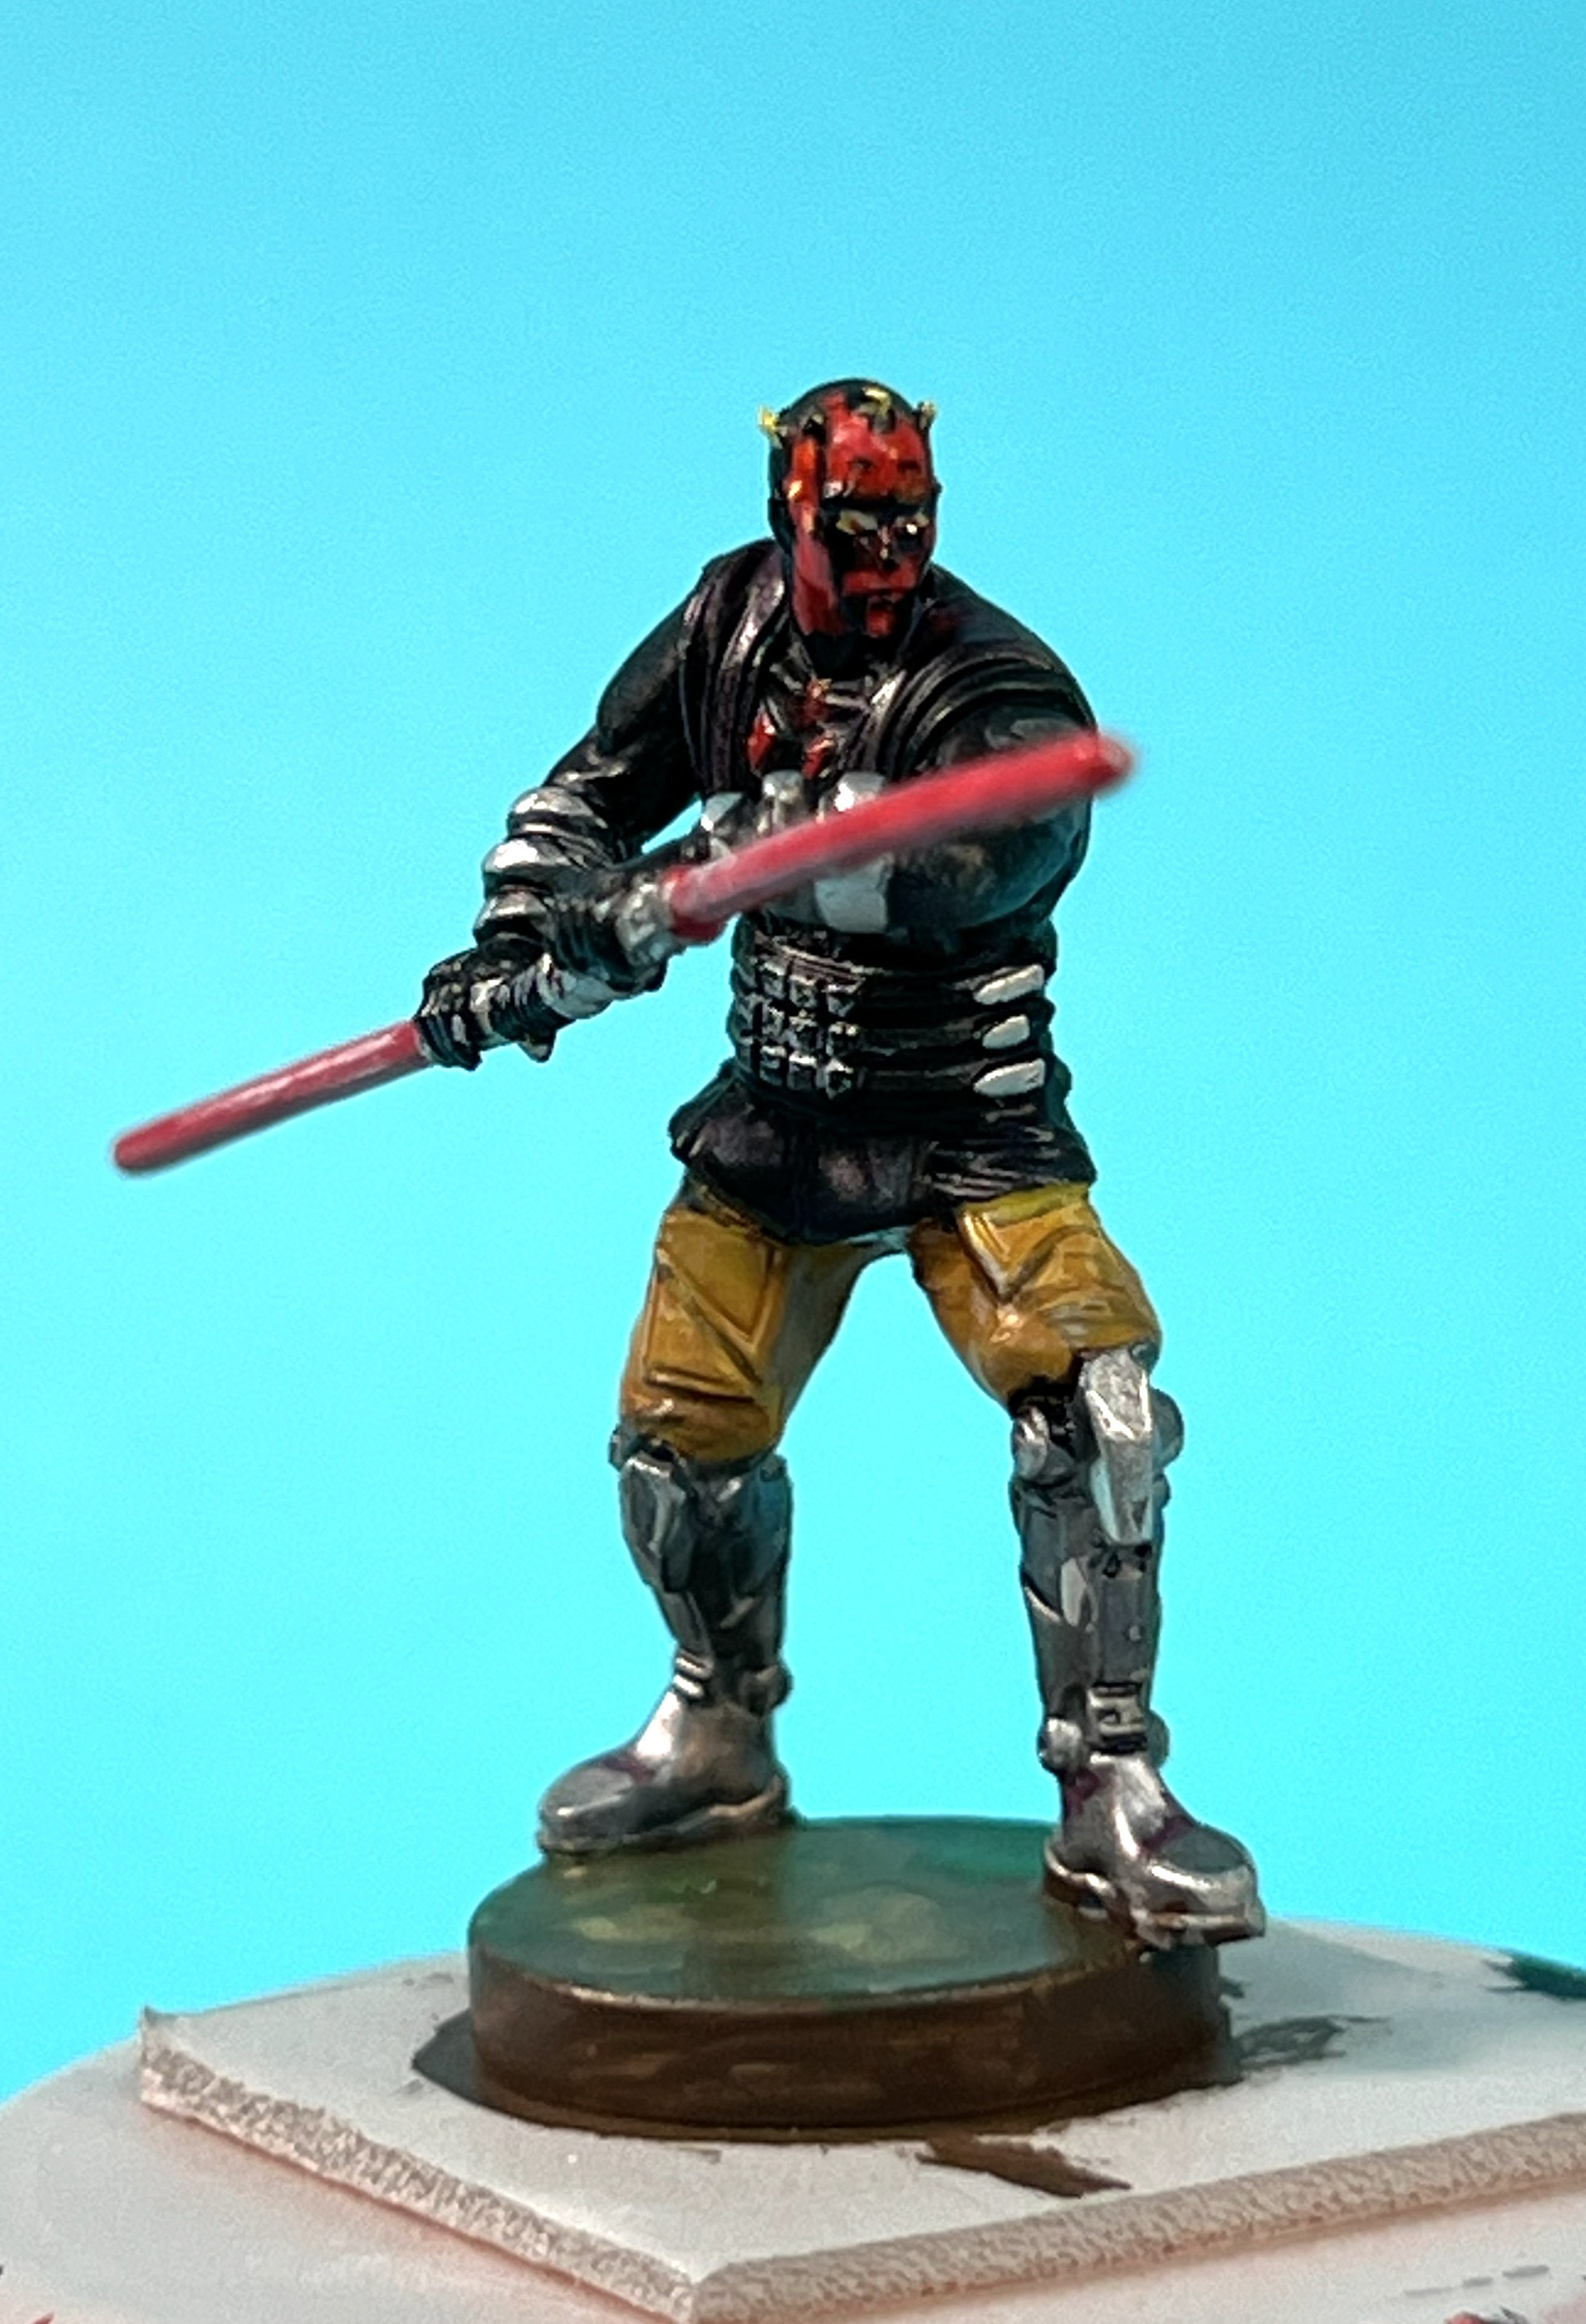

Still much to learn on figure painting.
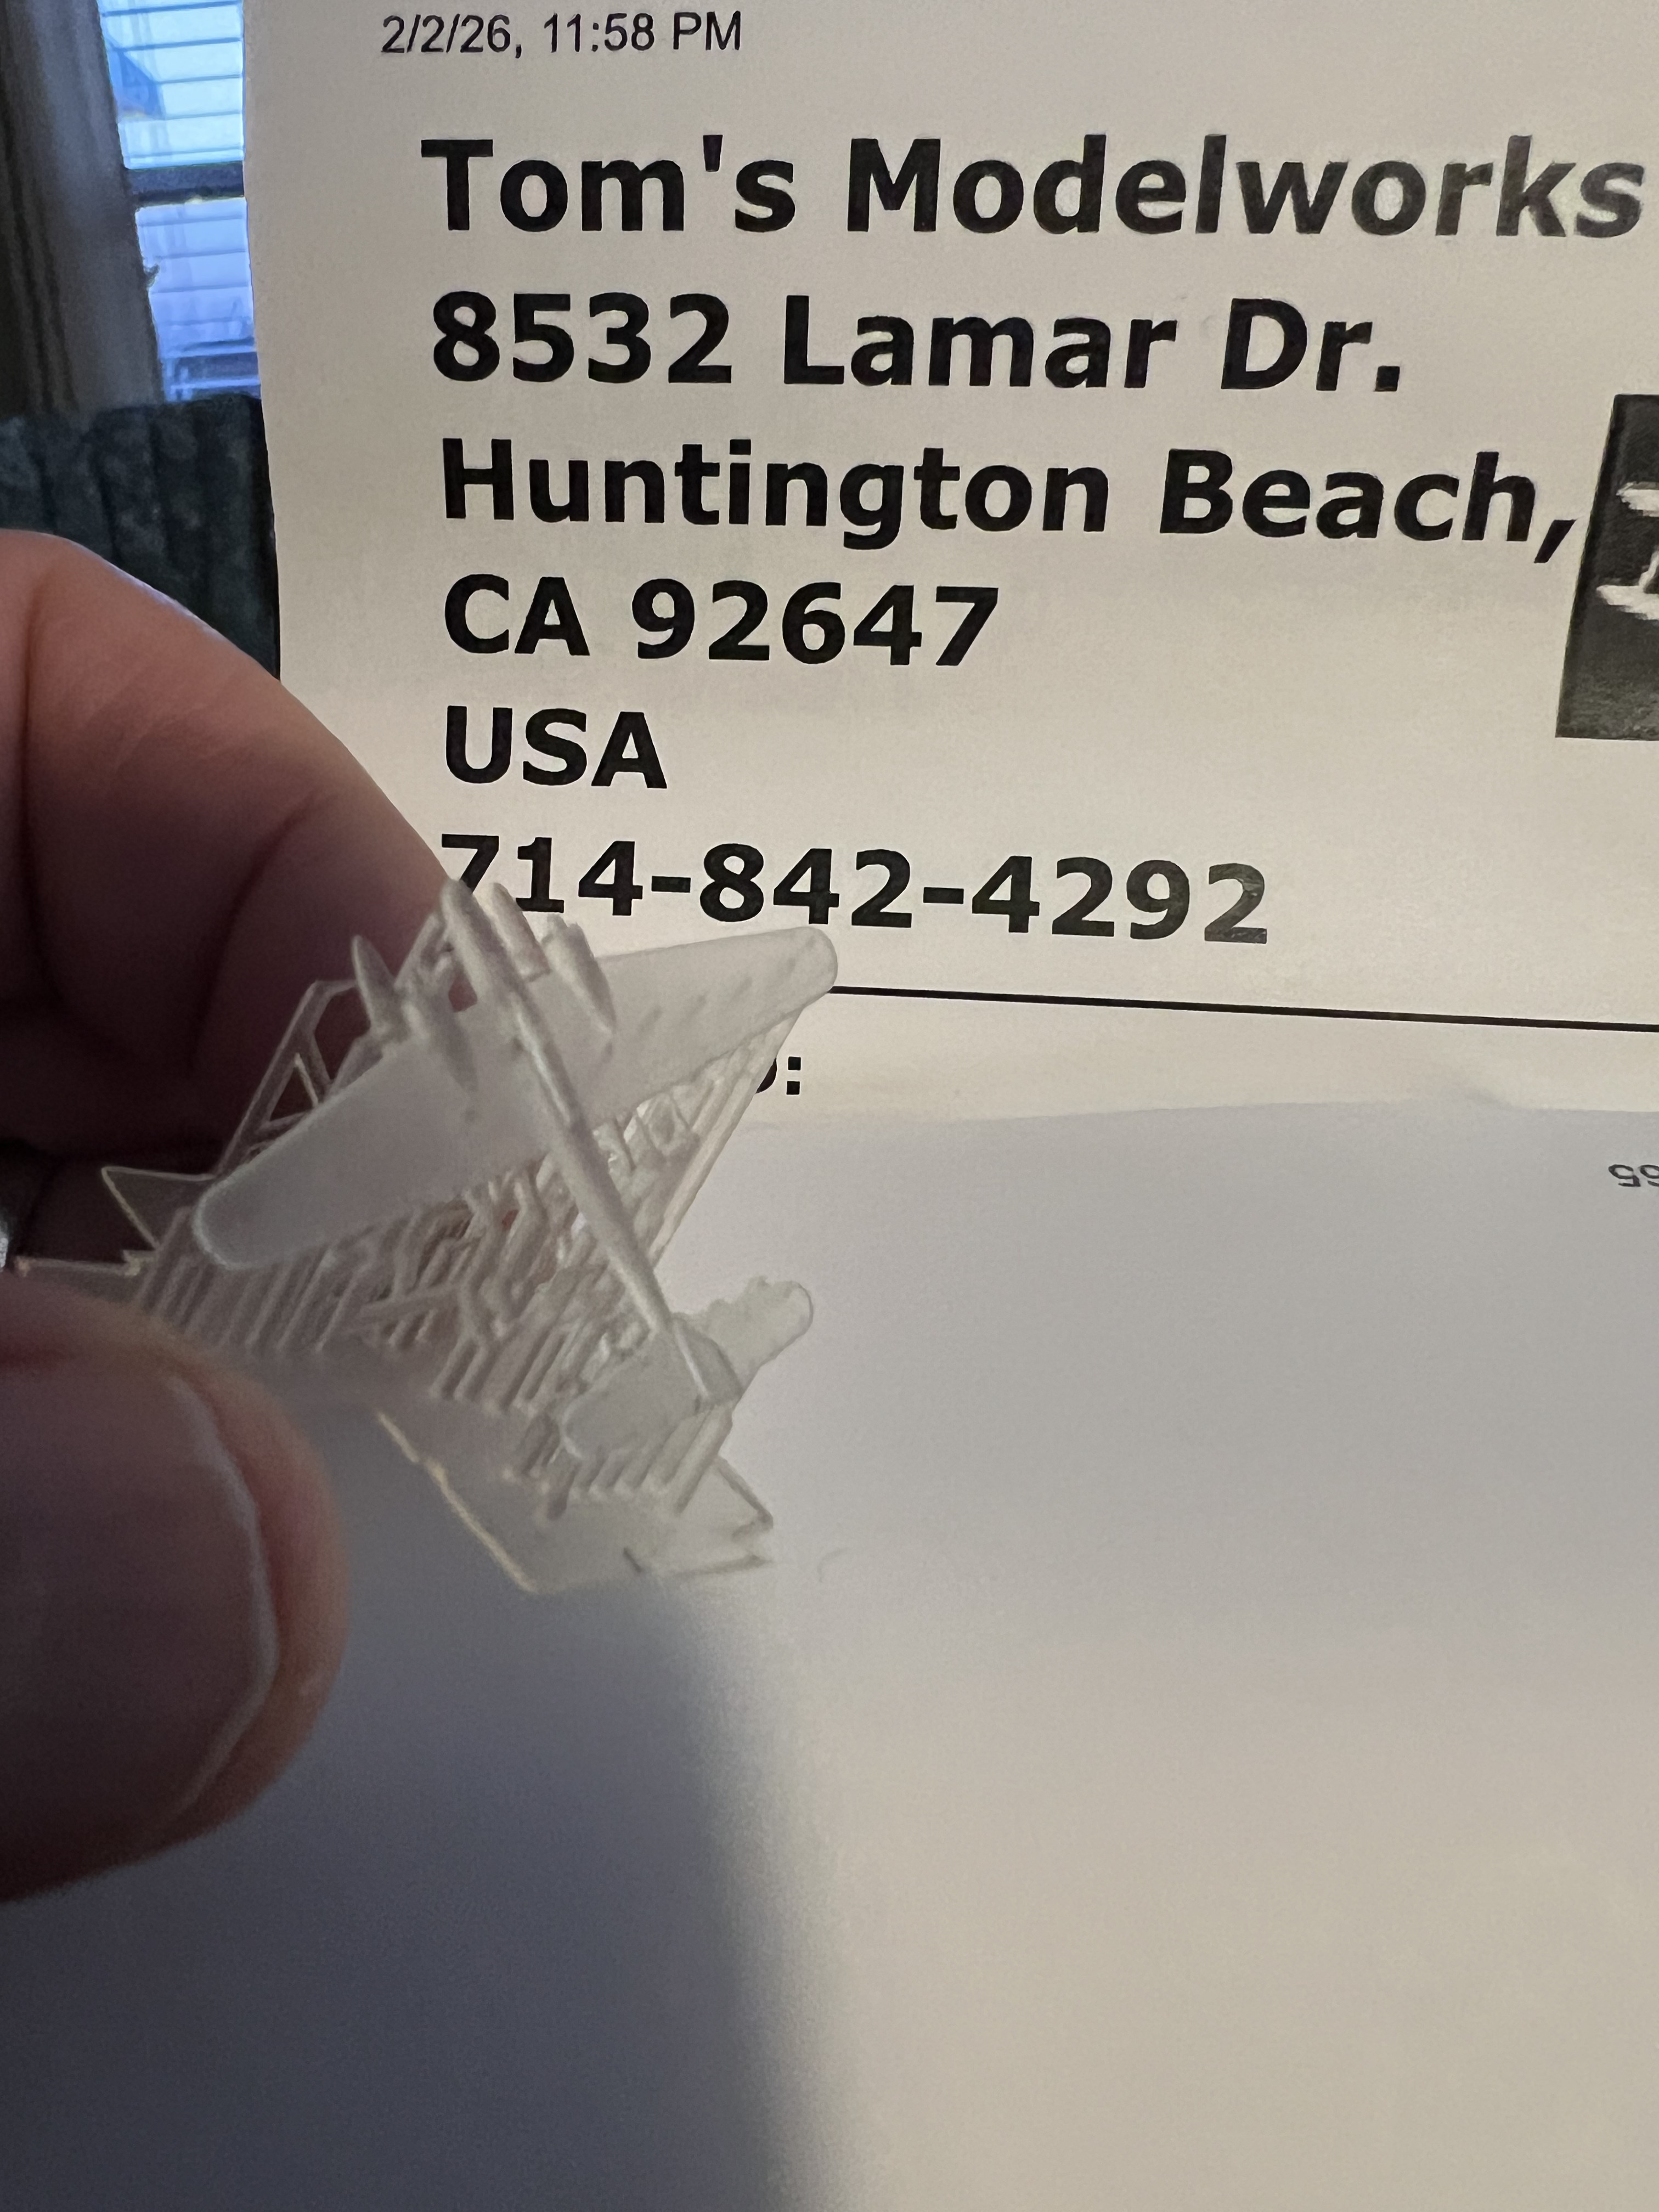
Finally I wanted to share an amazing 3D print of a 1/700 scale He-115B that just came in the mail. Wish I could learn to resin print like this!
13 Likes
Damn the torpedos and man the aftermarket!
I finally decided to tackle the ‘Quinta 3D Decals’ for the Ju 88A-4 build — really cool! They were easy to remove from the carrier and then apply… That is, until I decided to leave no lever behind, i.e. the port-side levers and pedal foot loops fought me tooth and nail — extreeeeemly fiddly! ![]()
![]()

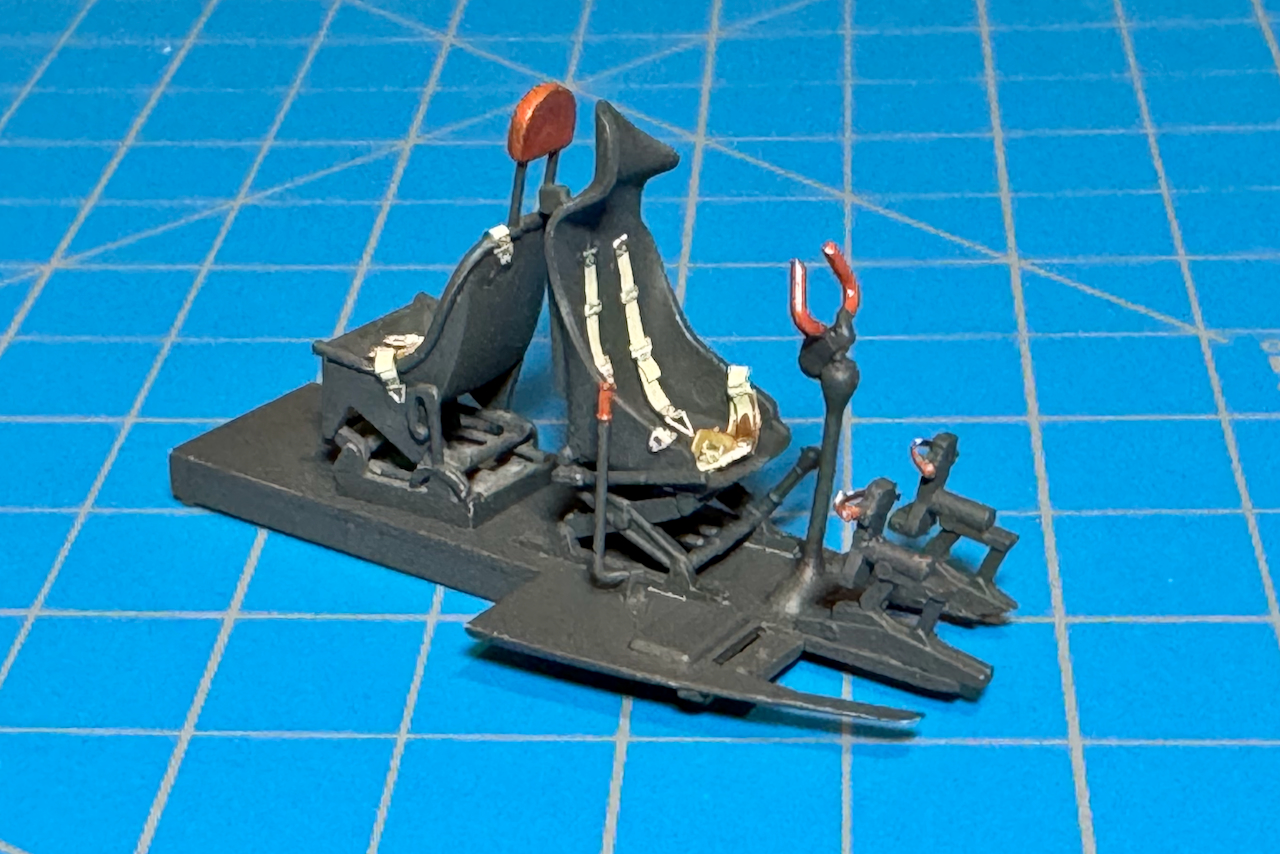
For the most part, I applied ‘Microscale (MI-9) Micro Krystal Klear’ and/or a dab of ‘LOCTITE Super Glue Ultra Gel Control CA’ when the going got tough… to keep the levers from going! ![]()
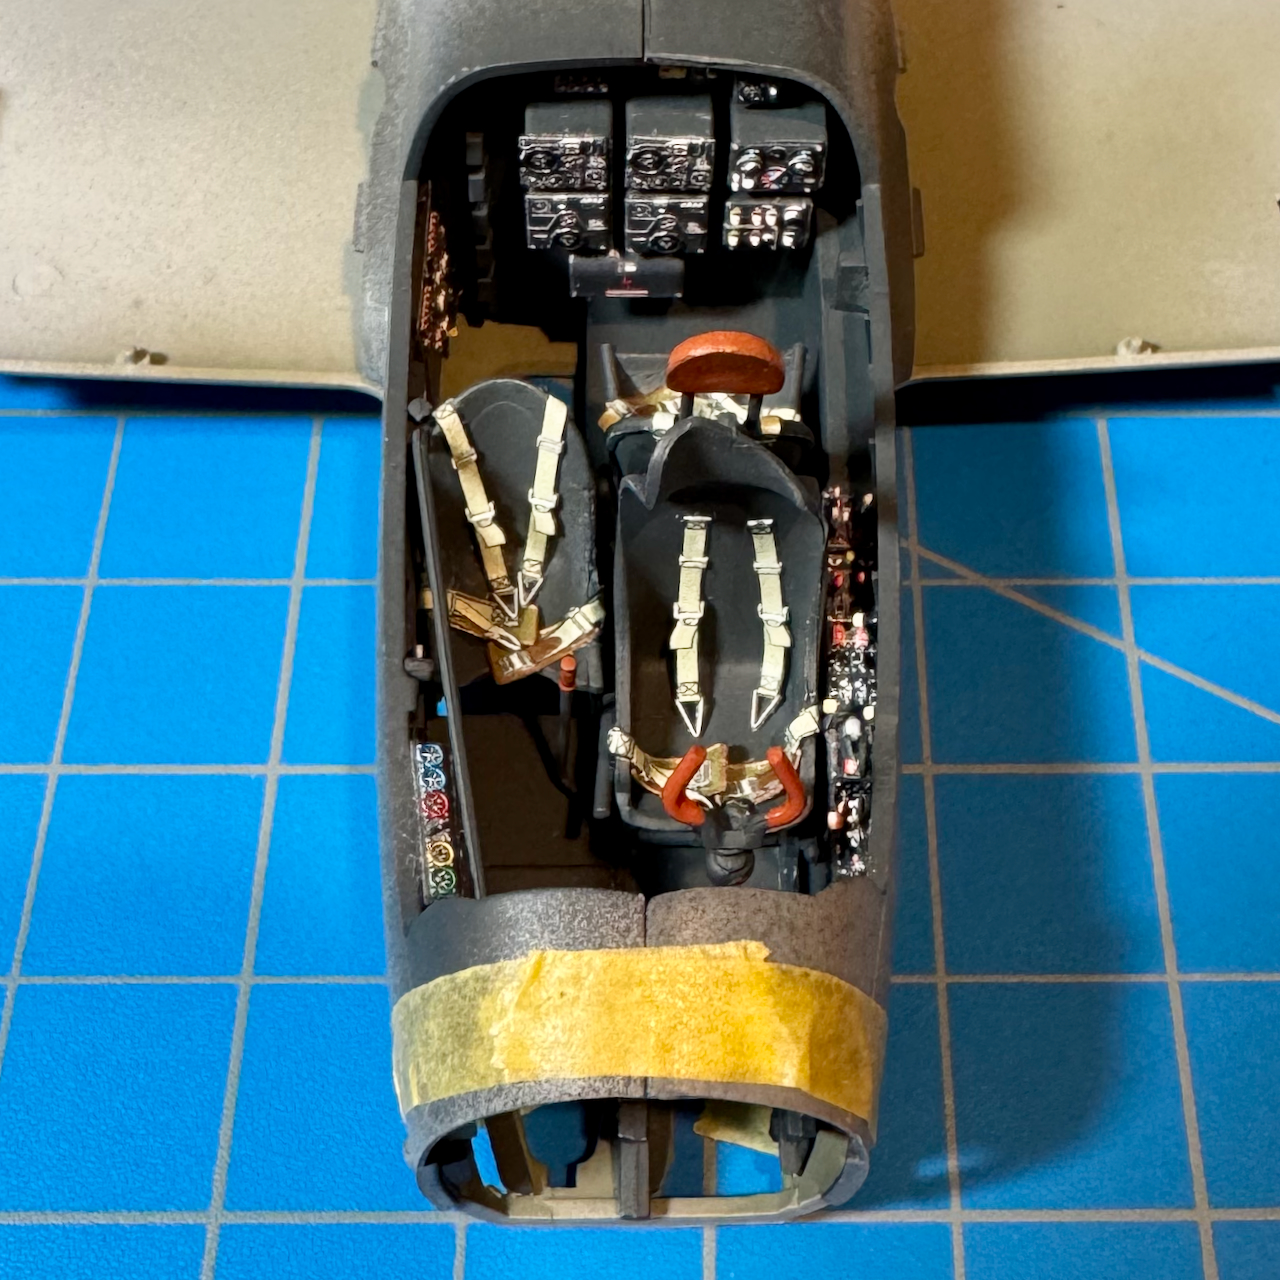
One minor note: I wish the seatbelt shoulder harnesses were a little longer. However, I’m still very pleased with the ‘Quinta Studio 3D Decals.’

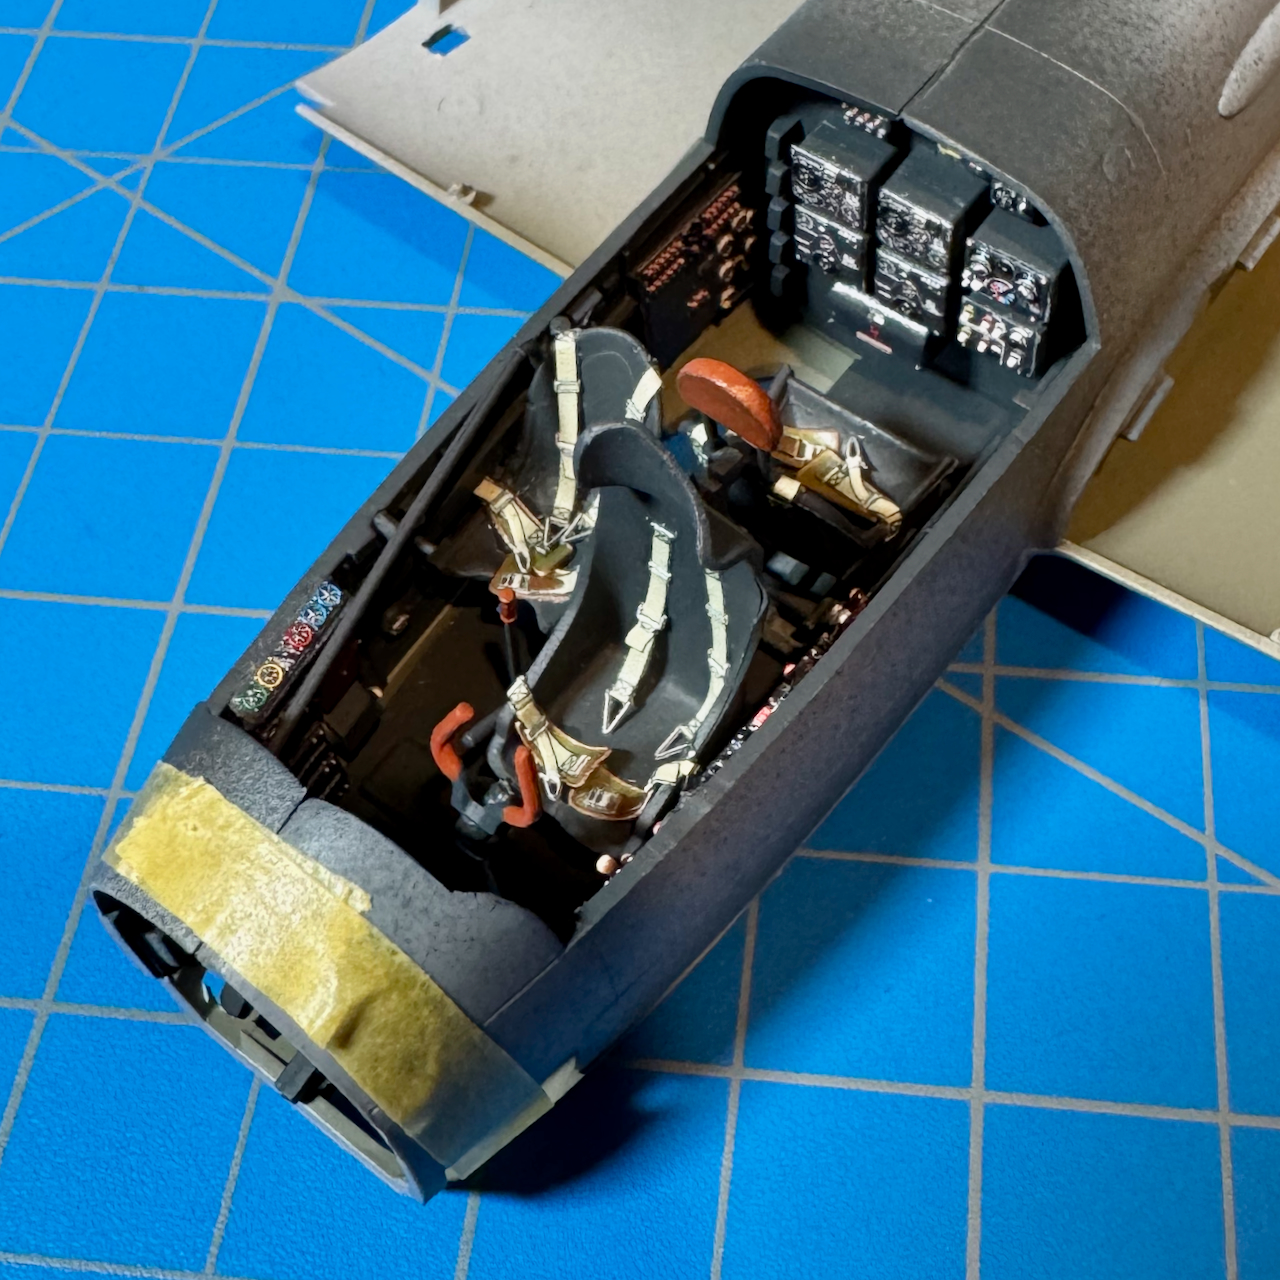

A little hard to see here, but the instrument dials look really nice as well.

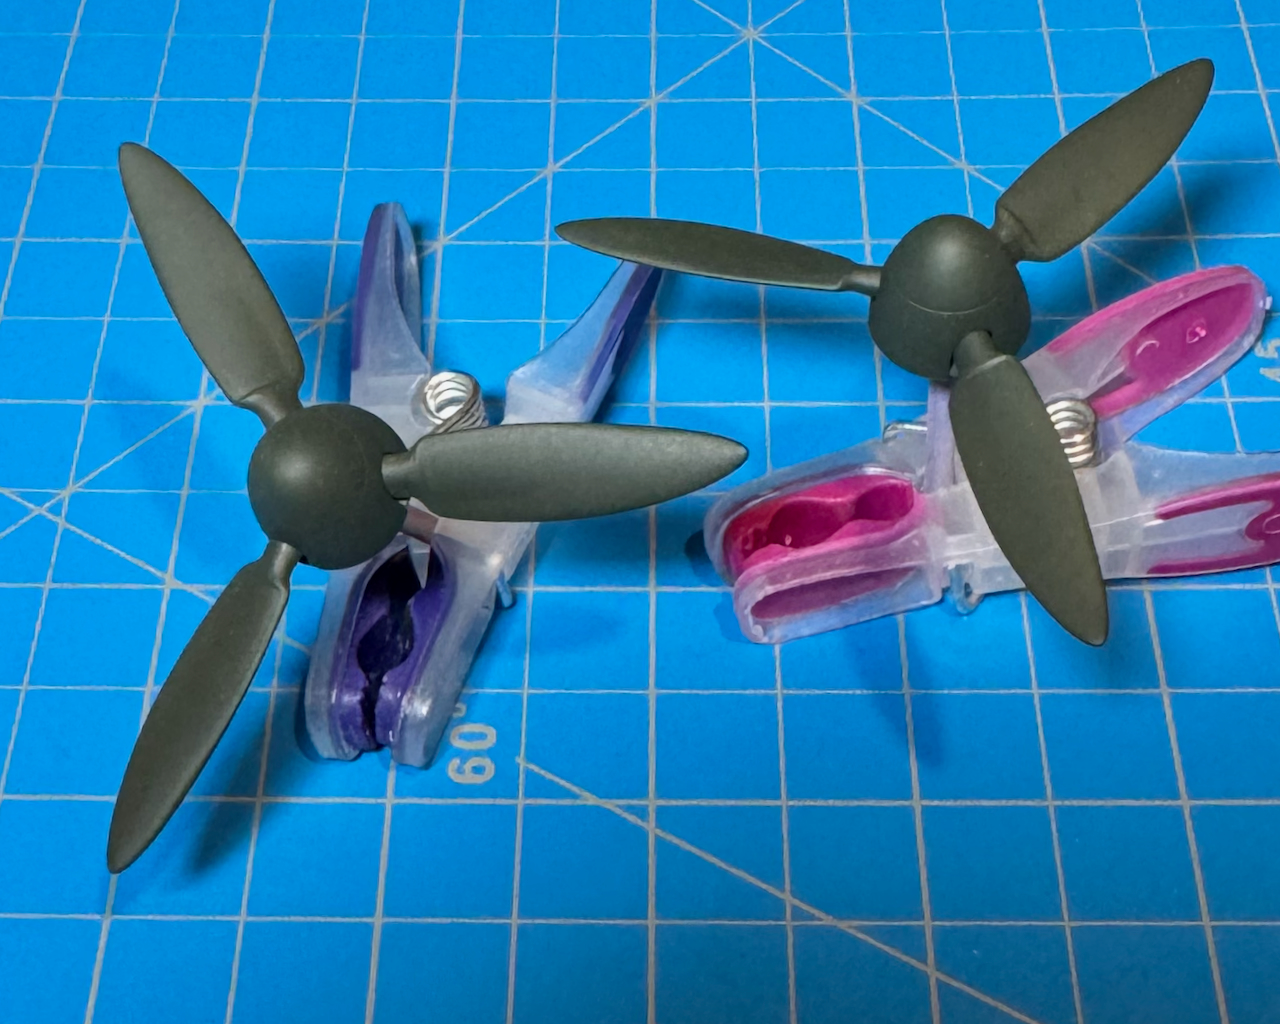
A bit more work on the engines. Still need to finish painting the exhaust, etc.

Props got their turn in the spray booth. I’m considering white tips for the spinners, although it may not be historically correct for this particular torpedo bomber. ![]()
![]()
I finished-off the landing gear by adding brake lines to give them a little more interest (HARELINE Lead Wire .015”). ![]()
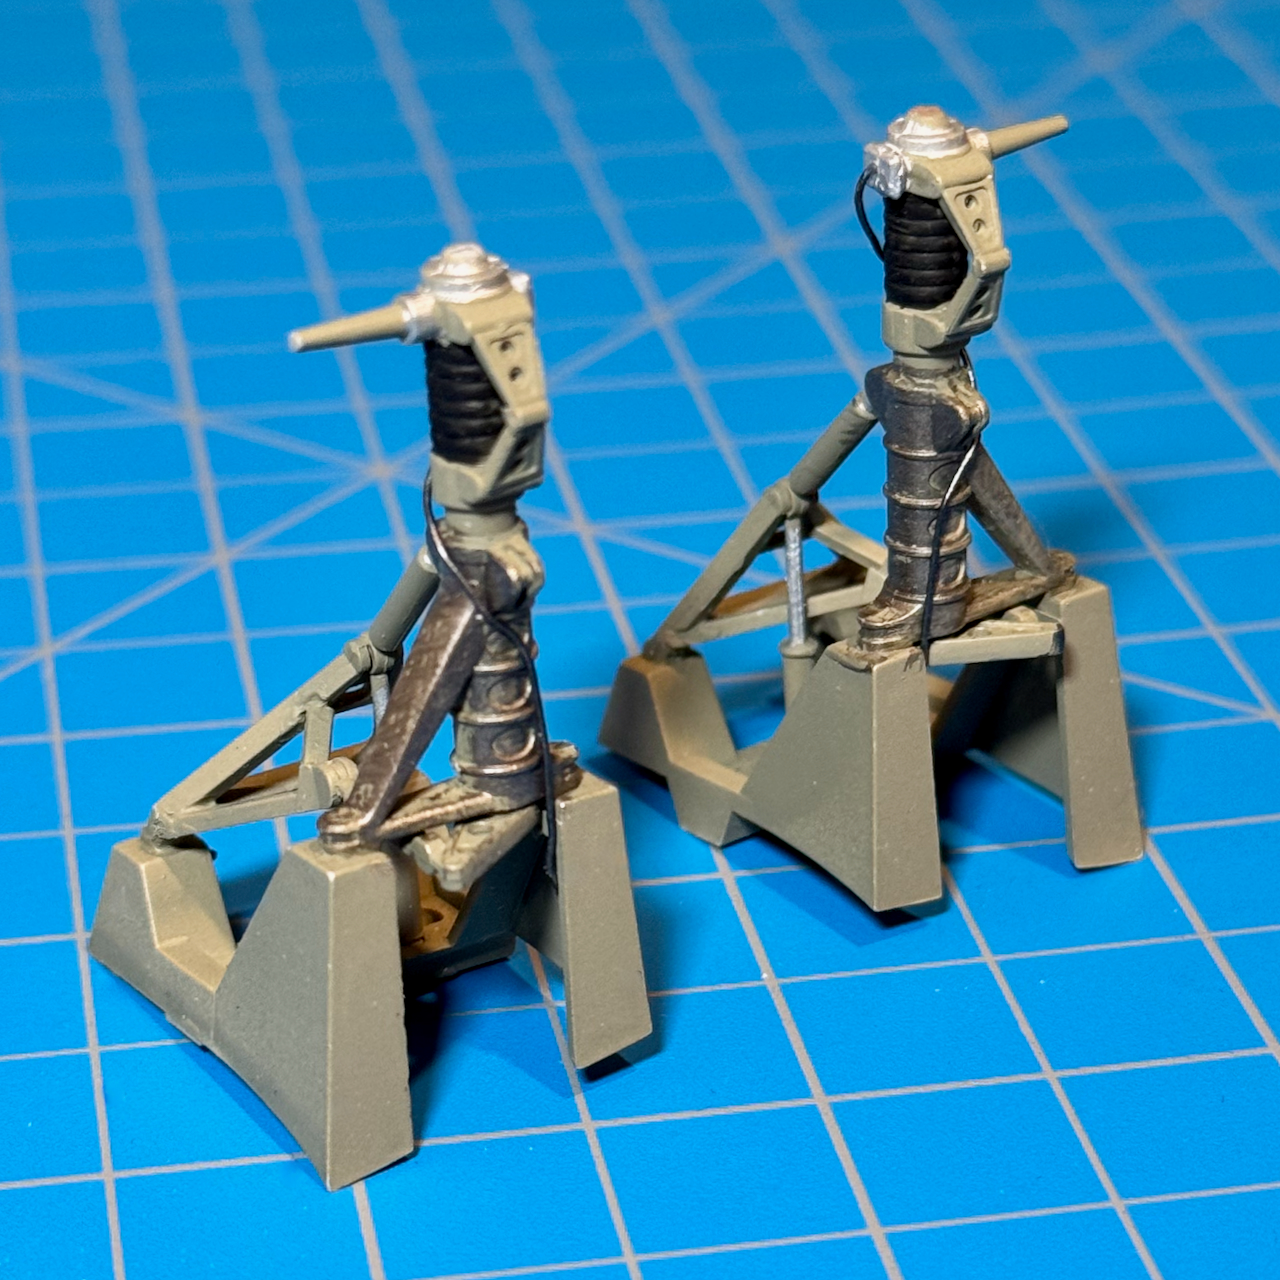
I really like the ‘Eduard Ju-88A Early Wheels (flattened).’ One touch I added (or subtracted) was to sand-down the outer wear surfaces. Bottom is ICM’s nice representation of the tailwheel. However, it was a little tough to paint, as the assembly is one-piece.

That’s it for now. Thanks for having a look!
Torpedo los! …![]()
—mike
27 Likes
Great work, Mike!
![]()
2 Likes
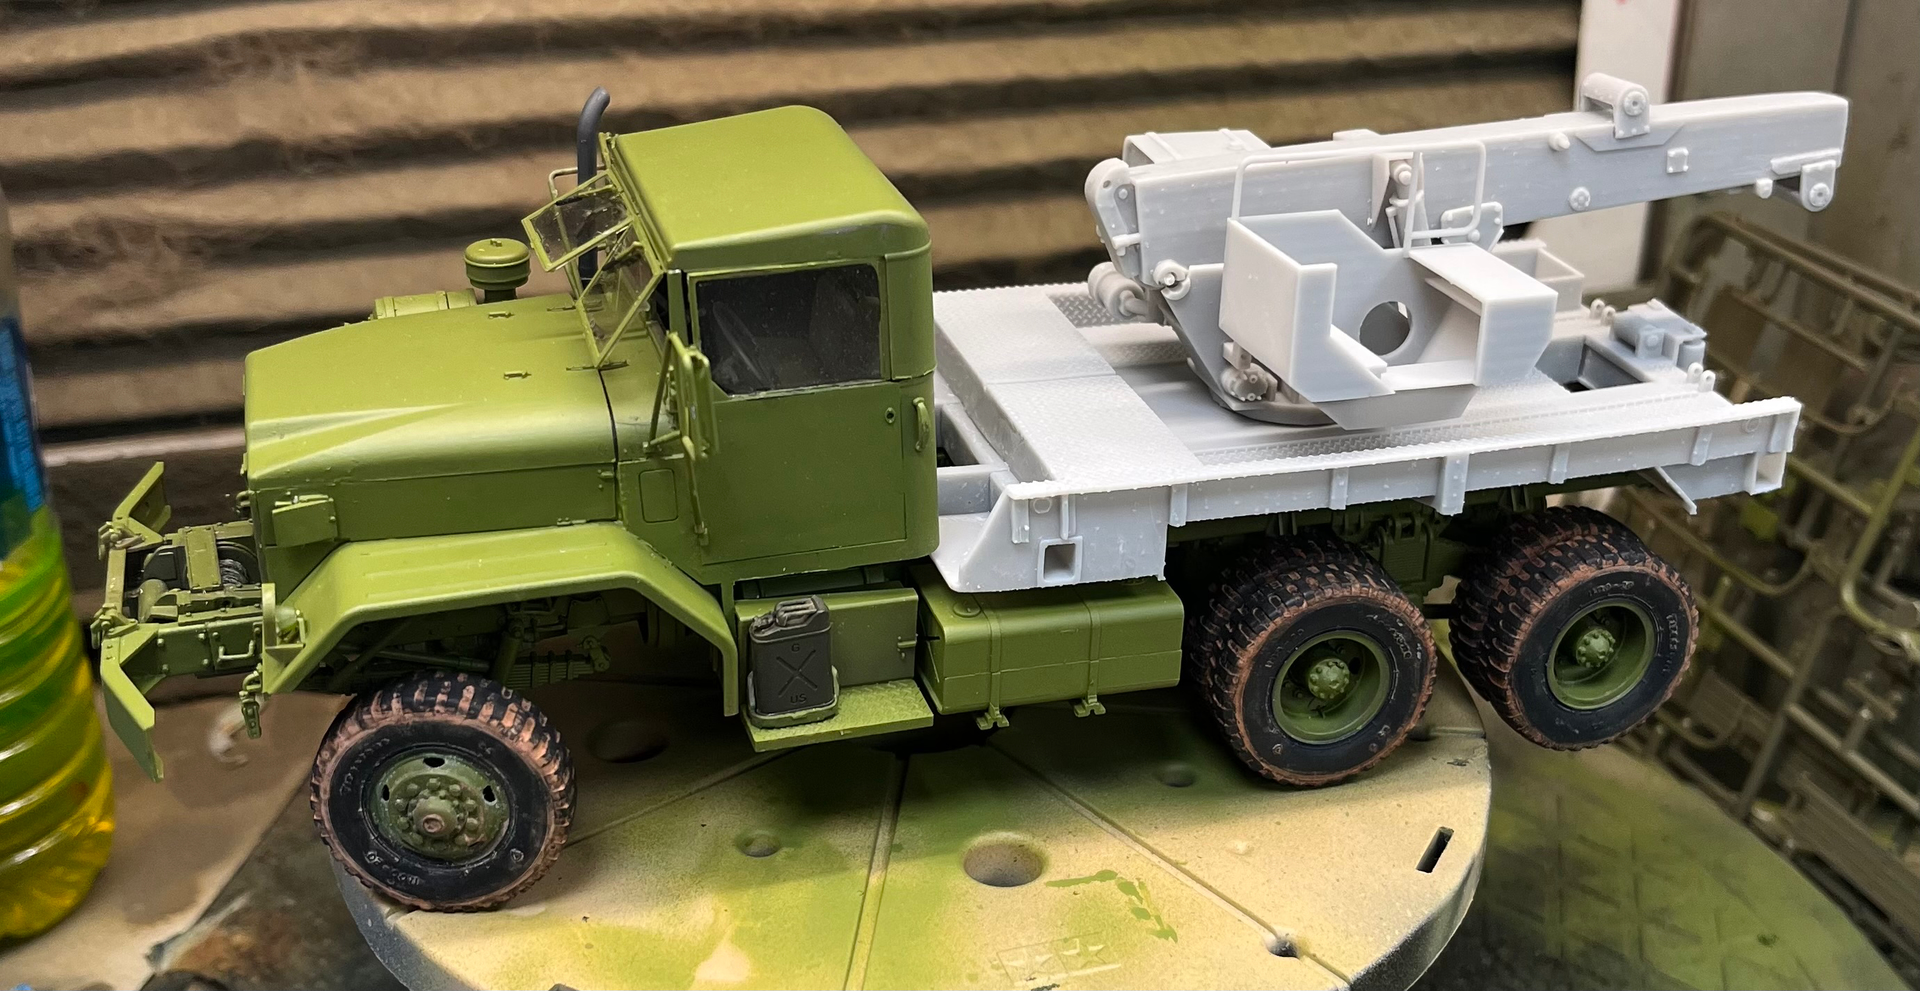
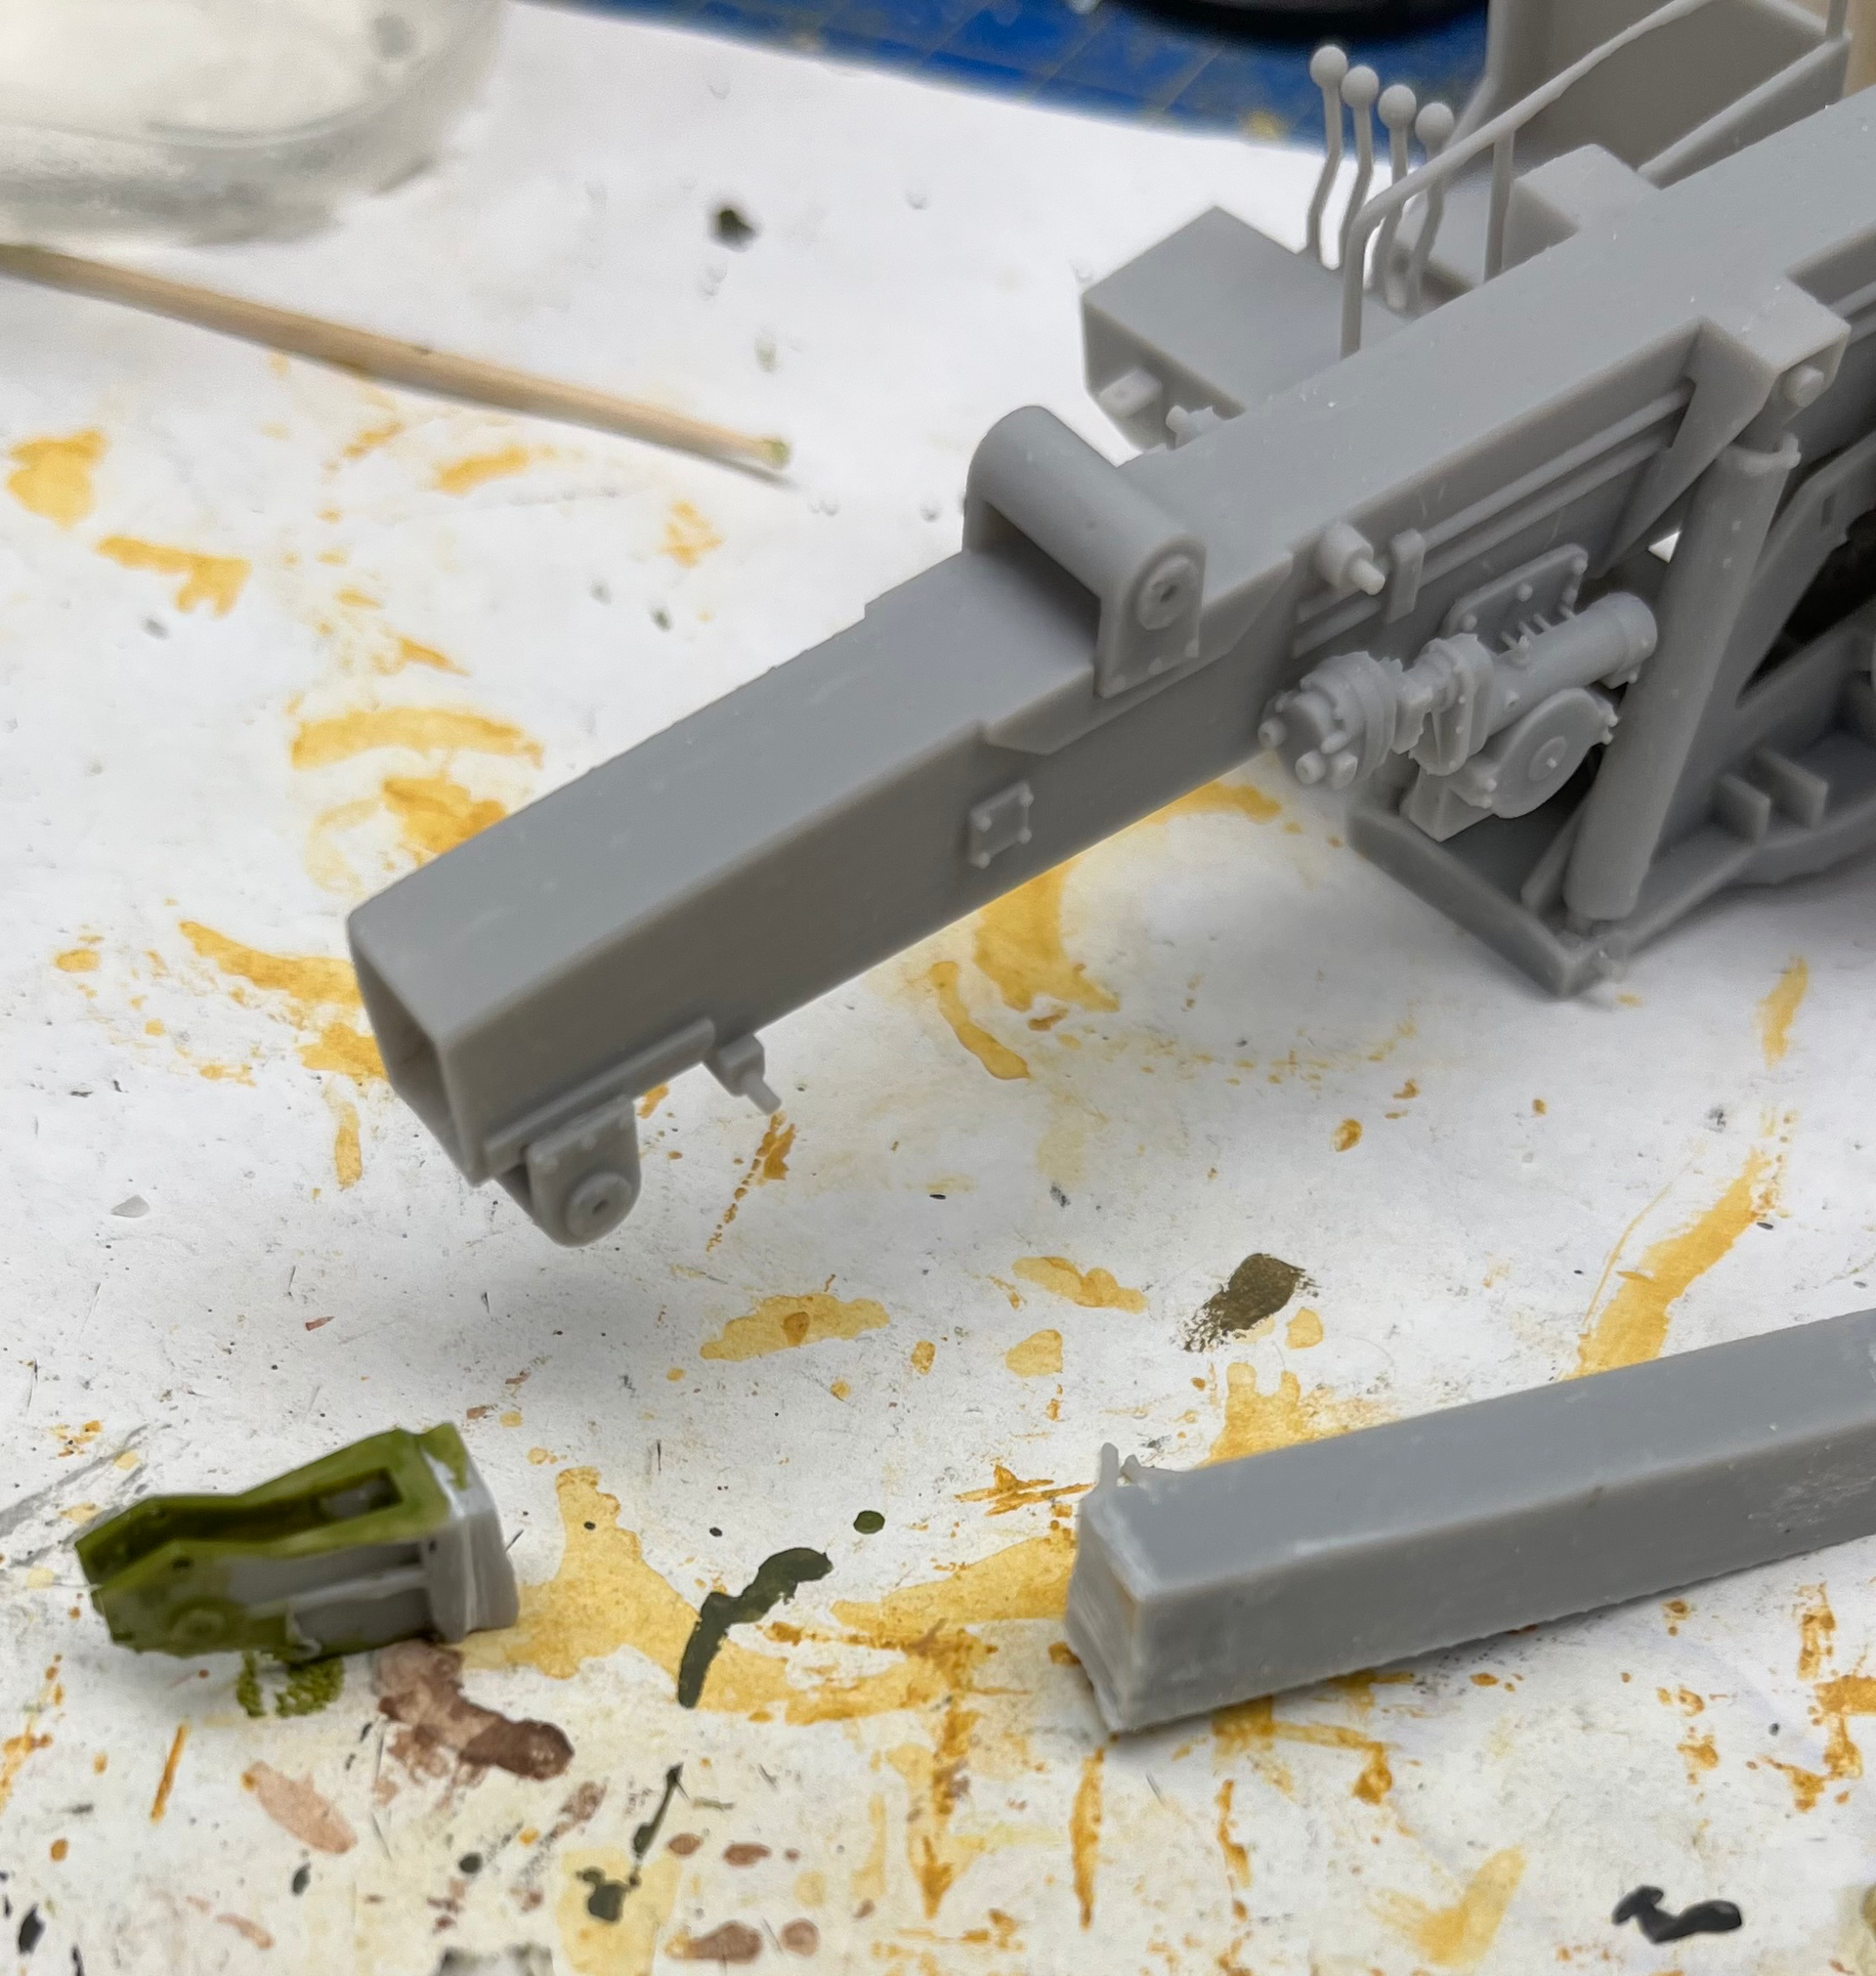
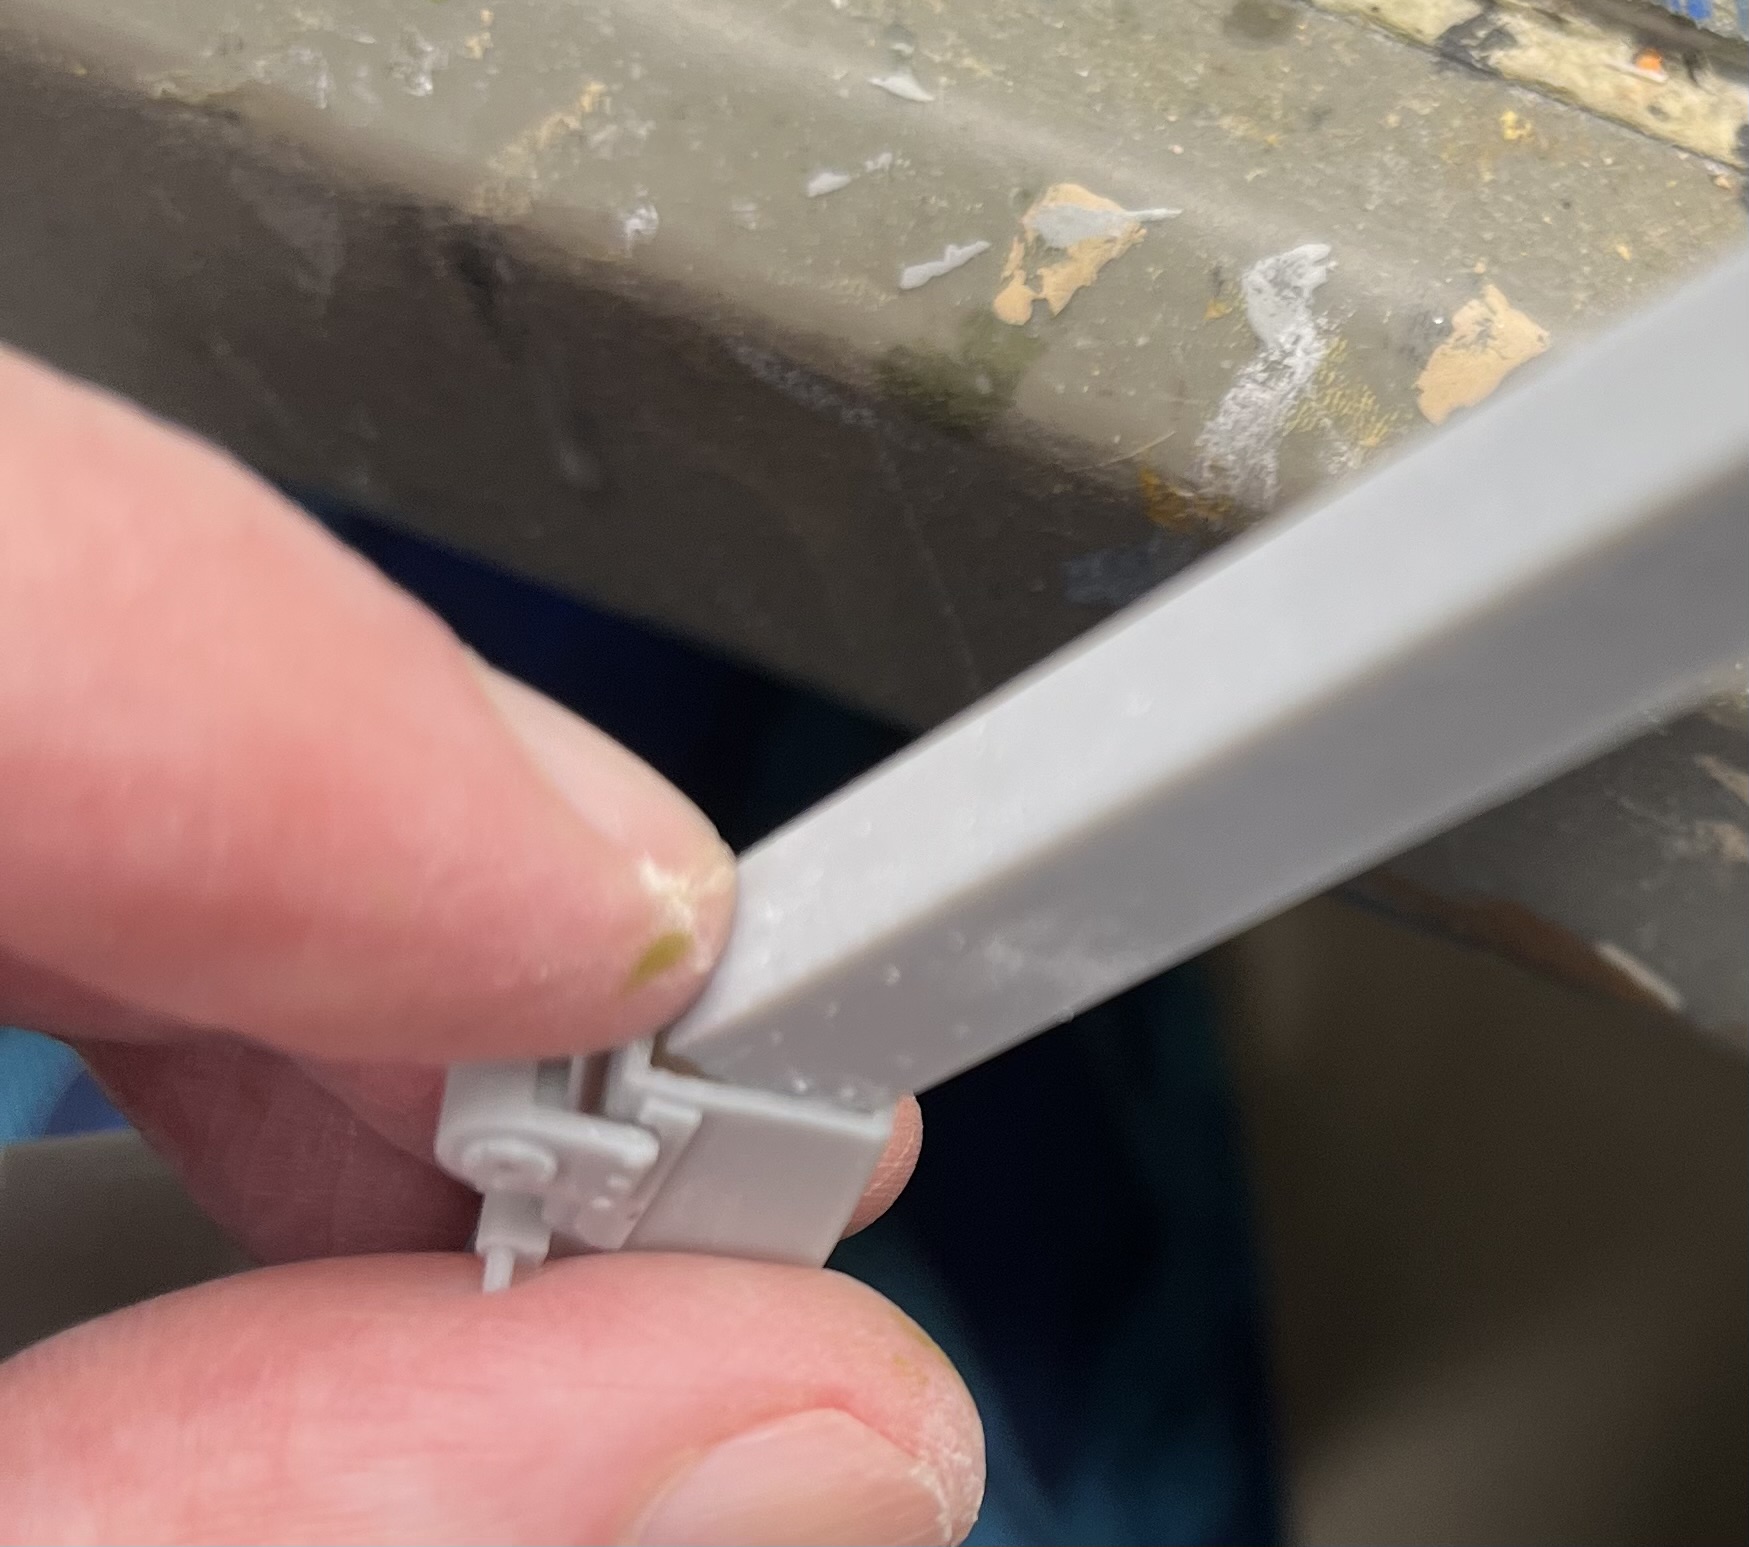
Some paint on the crane and deck. Dry fit for now as I need to weather the deck plating some and clean up the surface of the side panel on the deck. The extending boom was not going to fit into the main boom due to a sizing problem. I will let Khang know about this. Necessary to use a razor saw and a small metal file to fit the trimmed boom-end as can be seen.

17 Likes