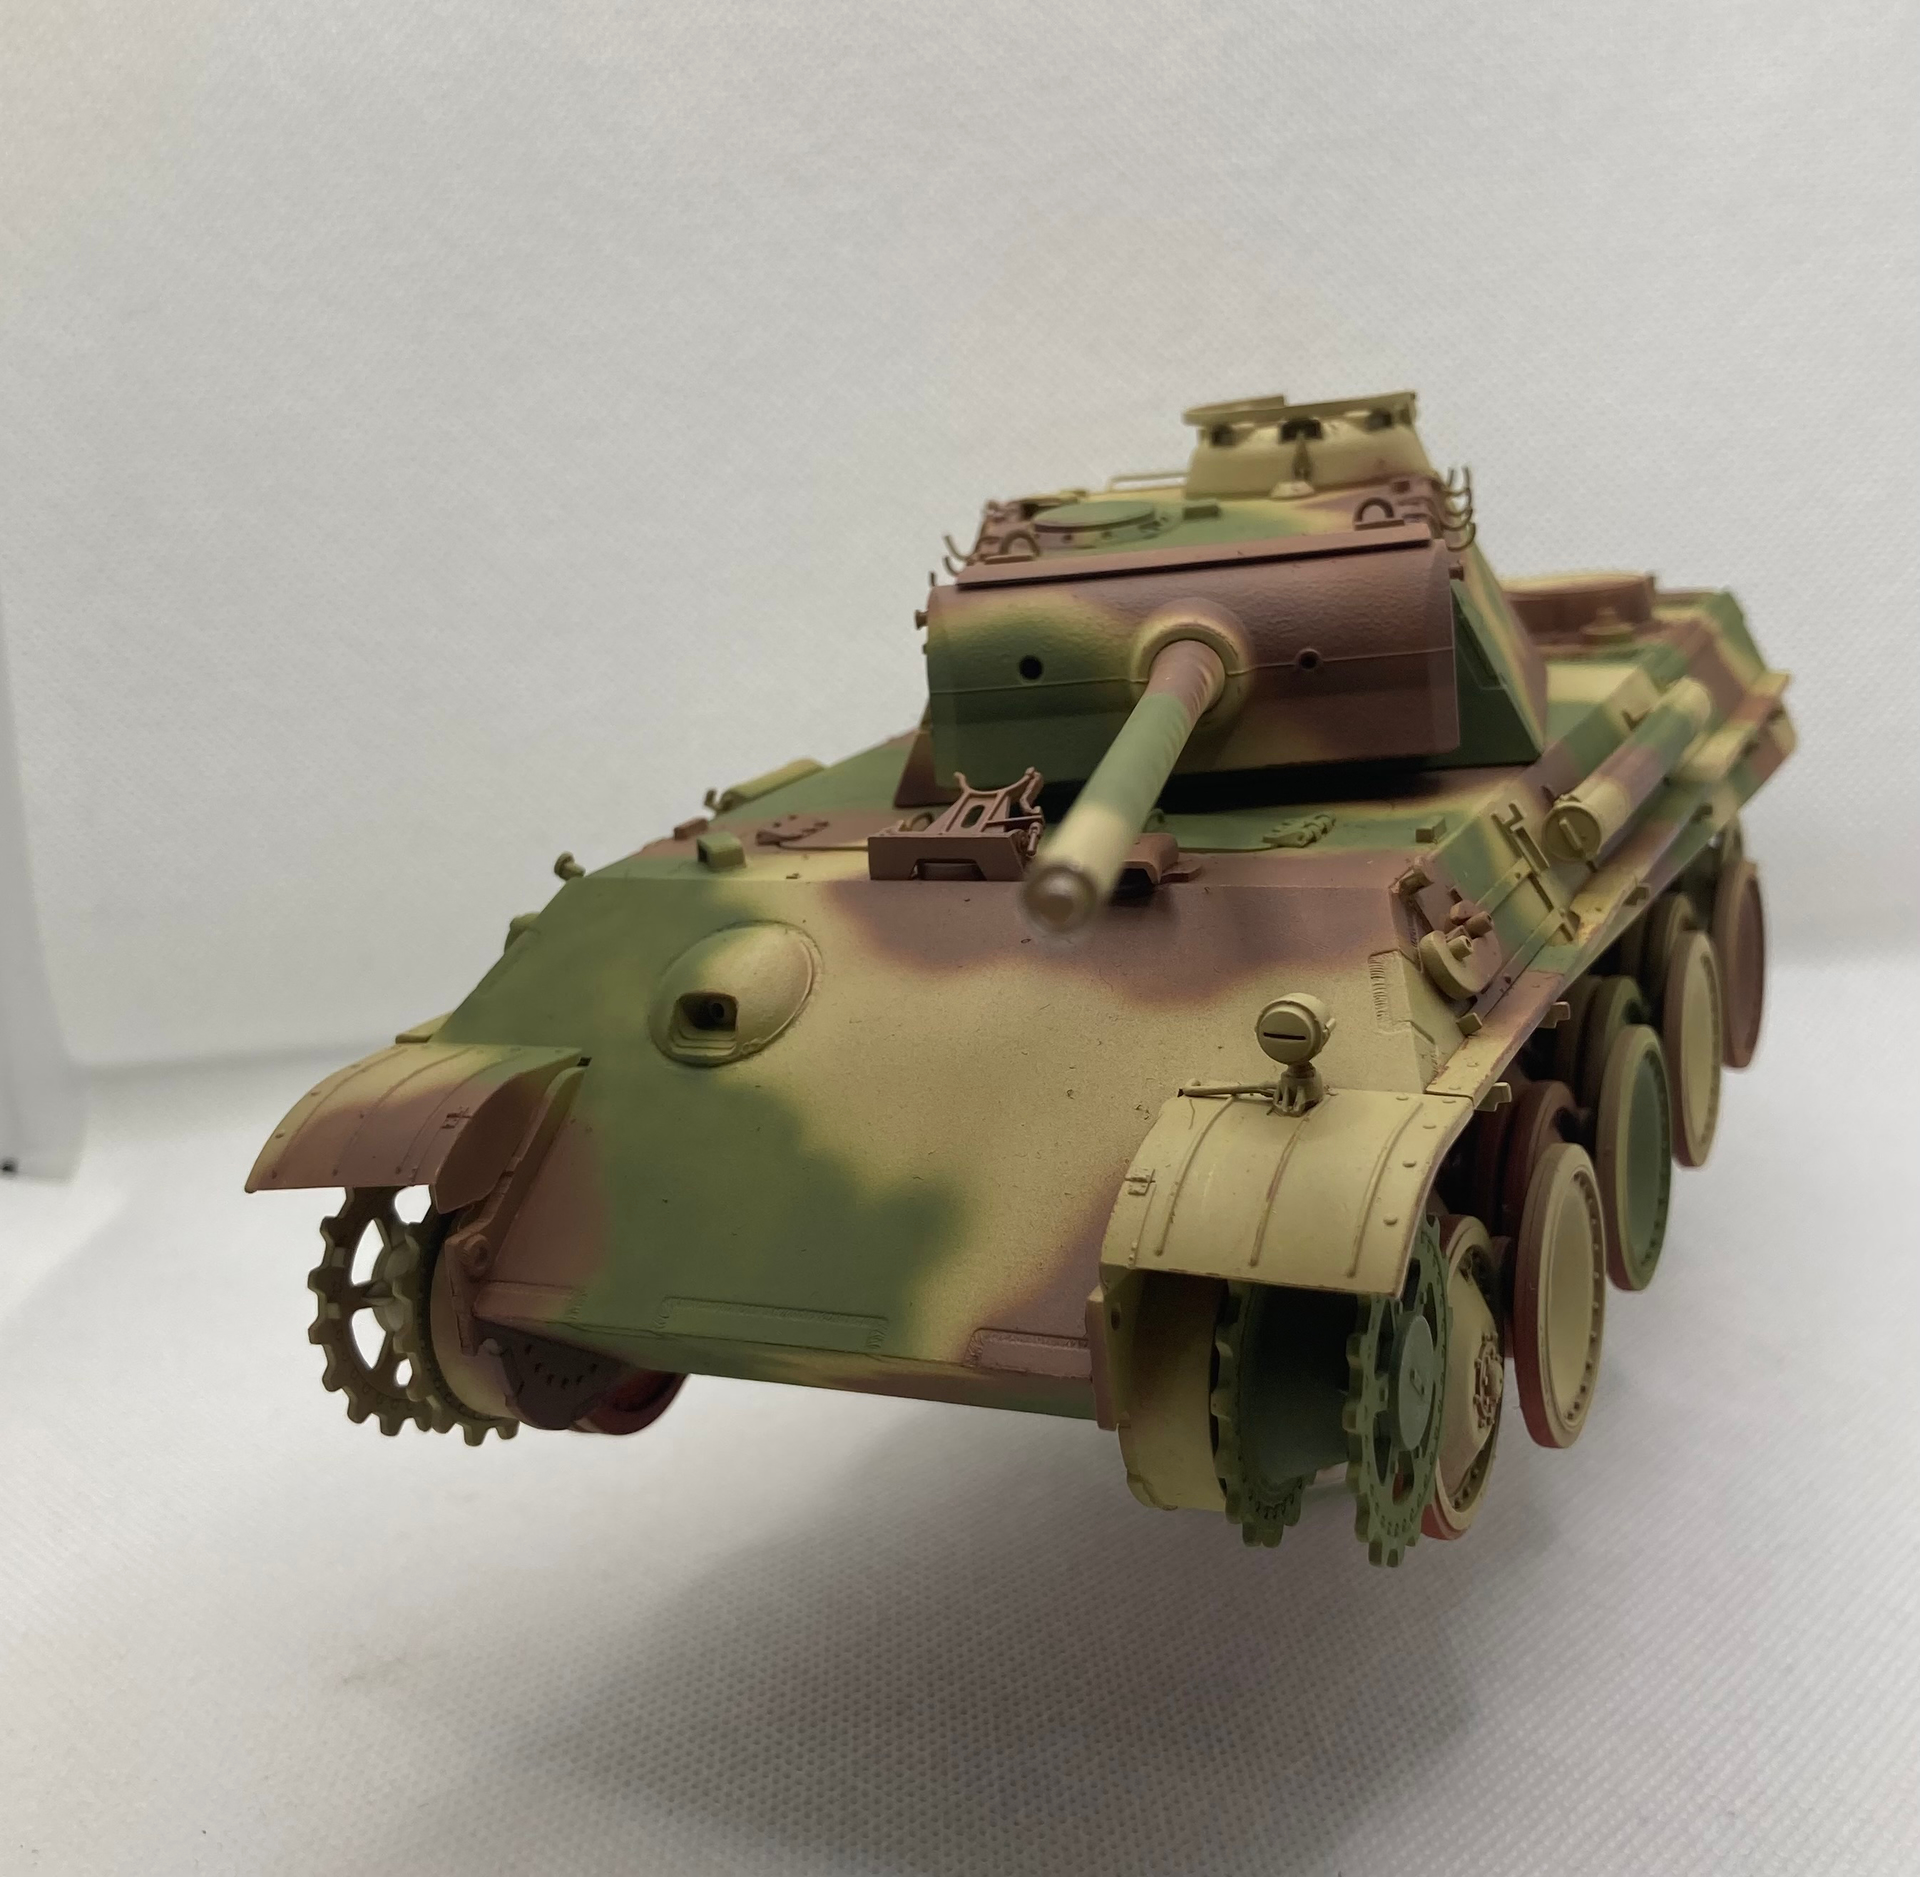
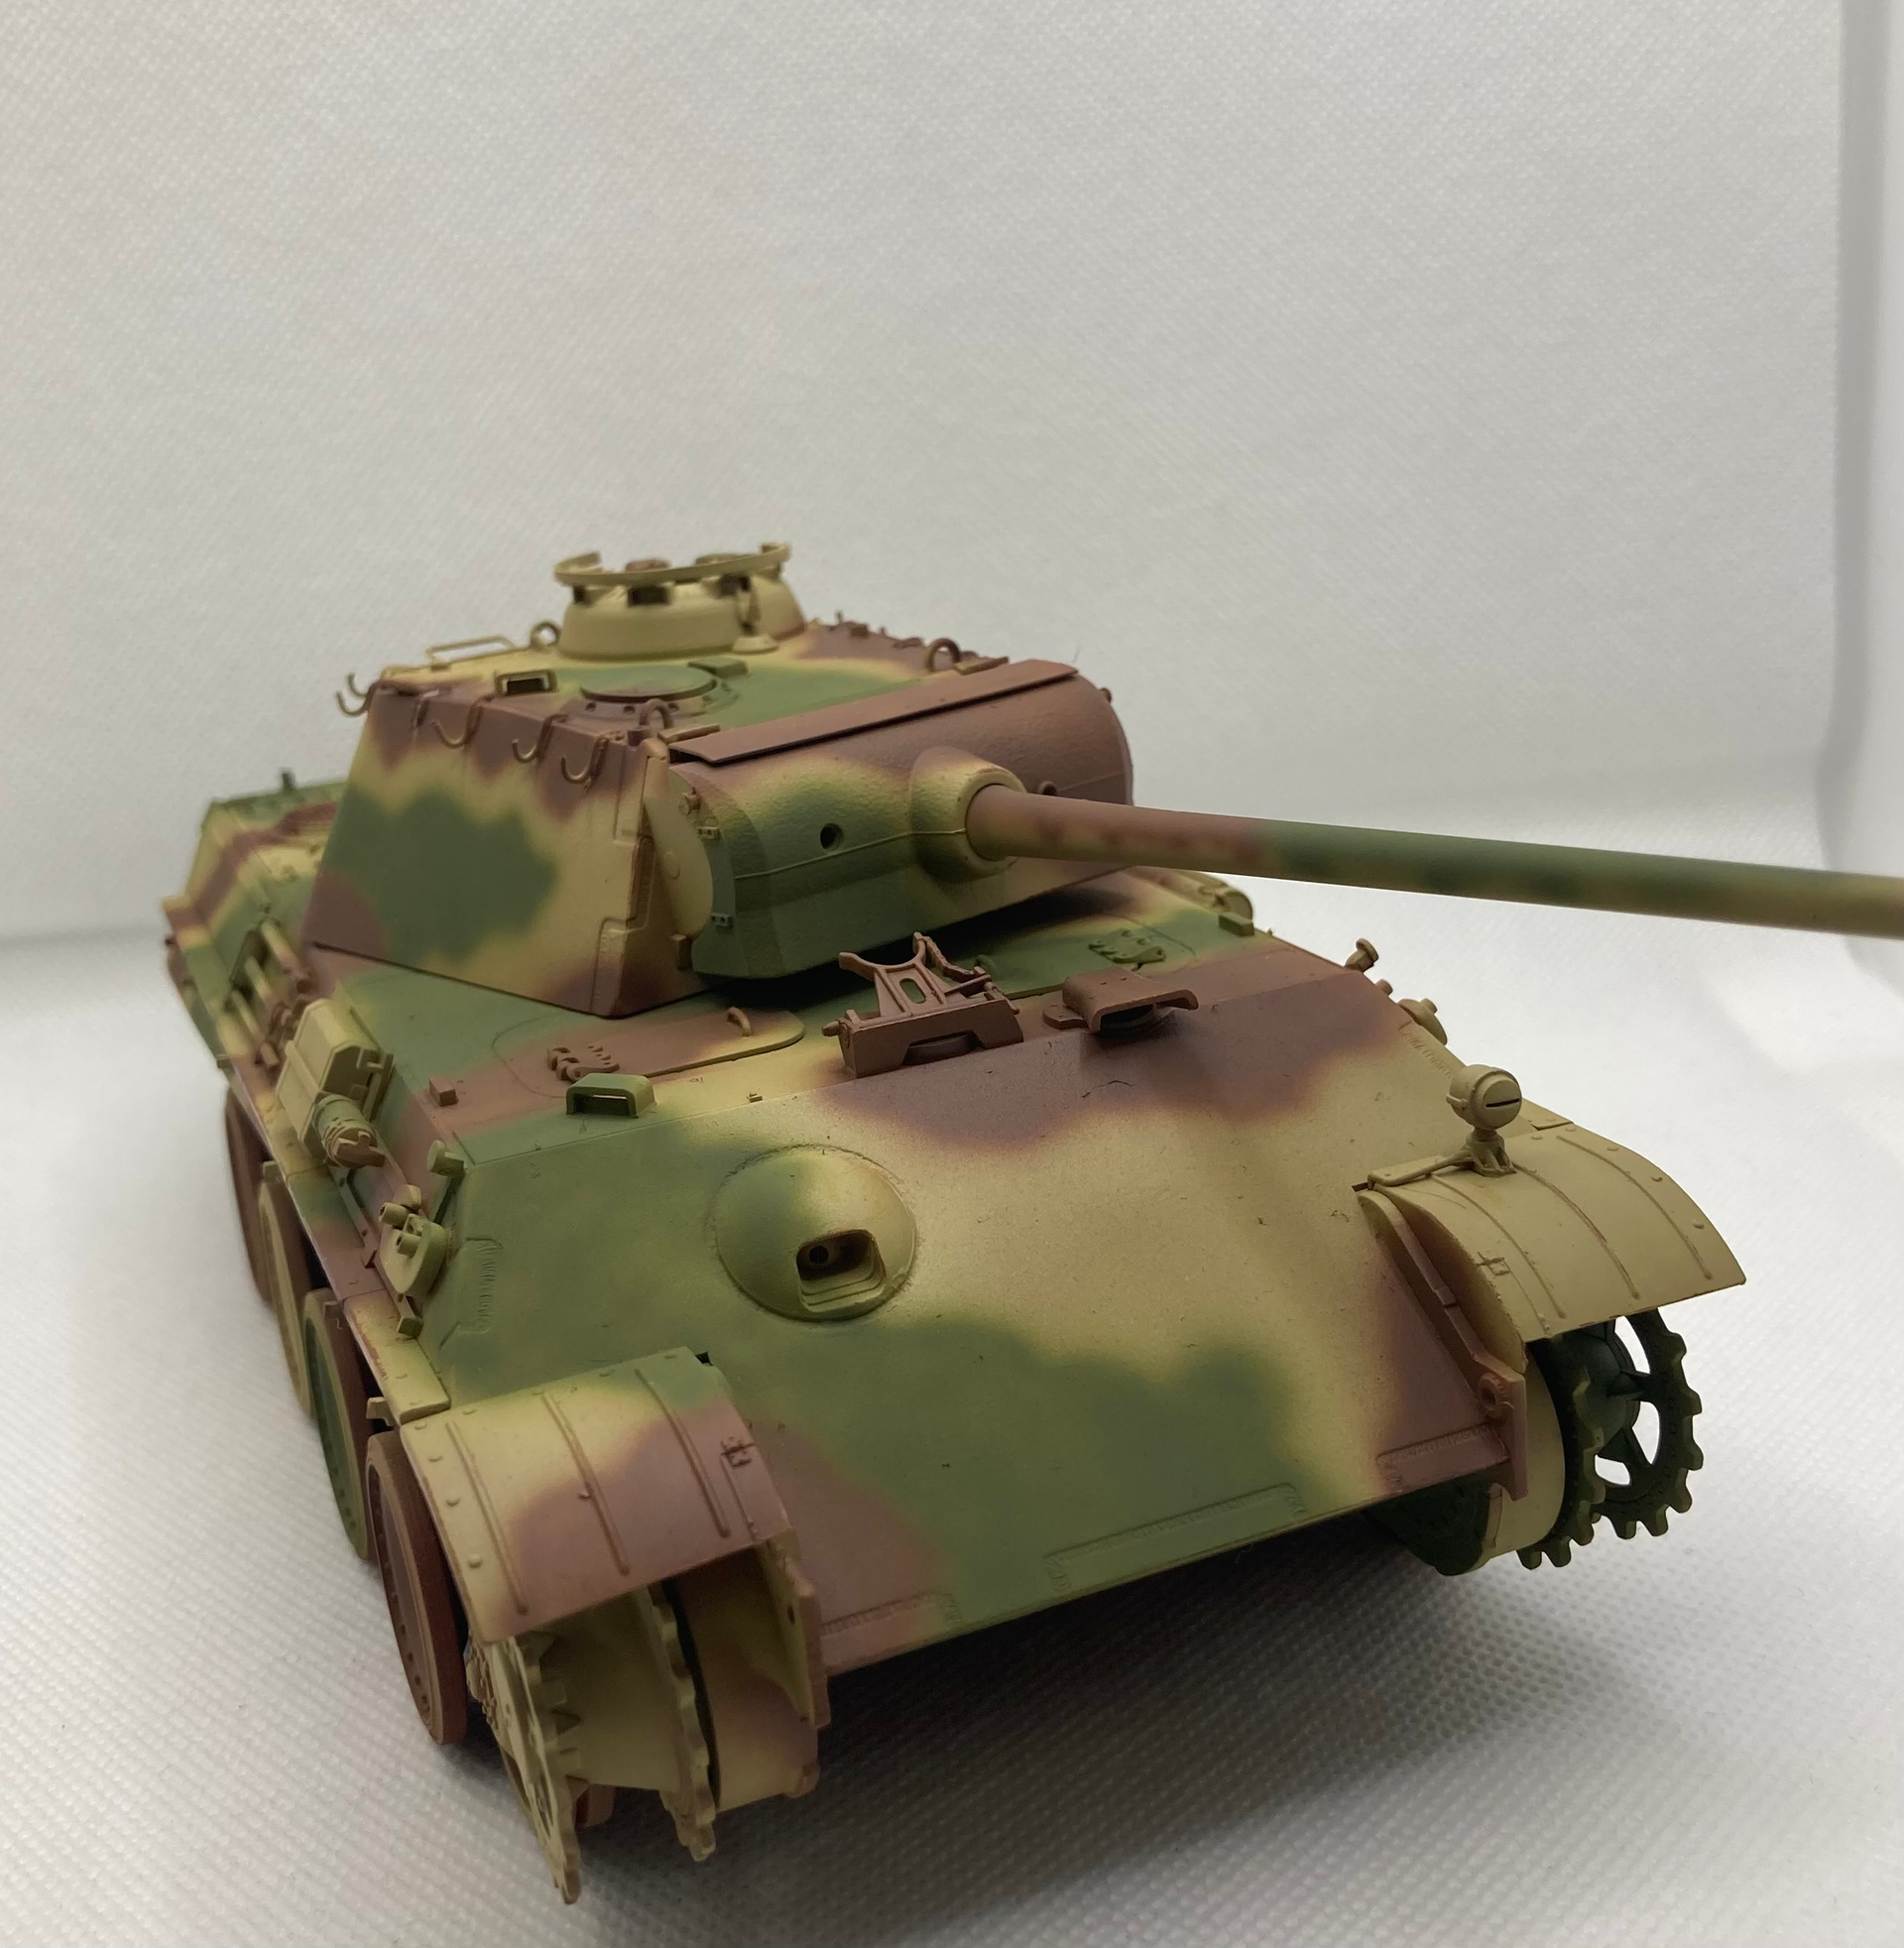
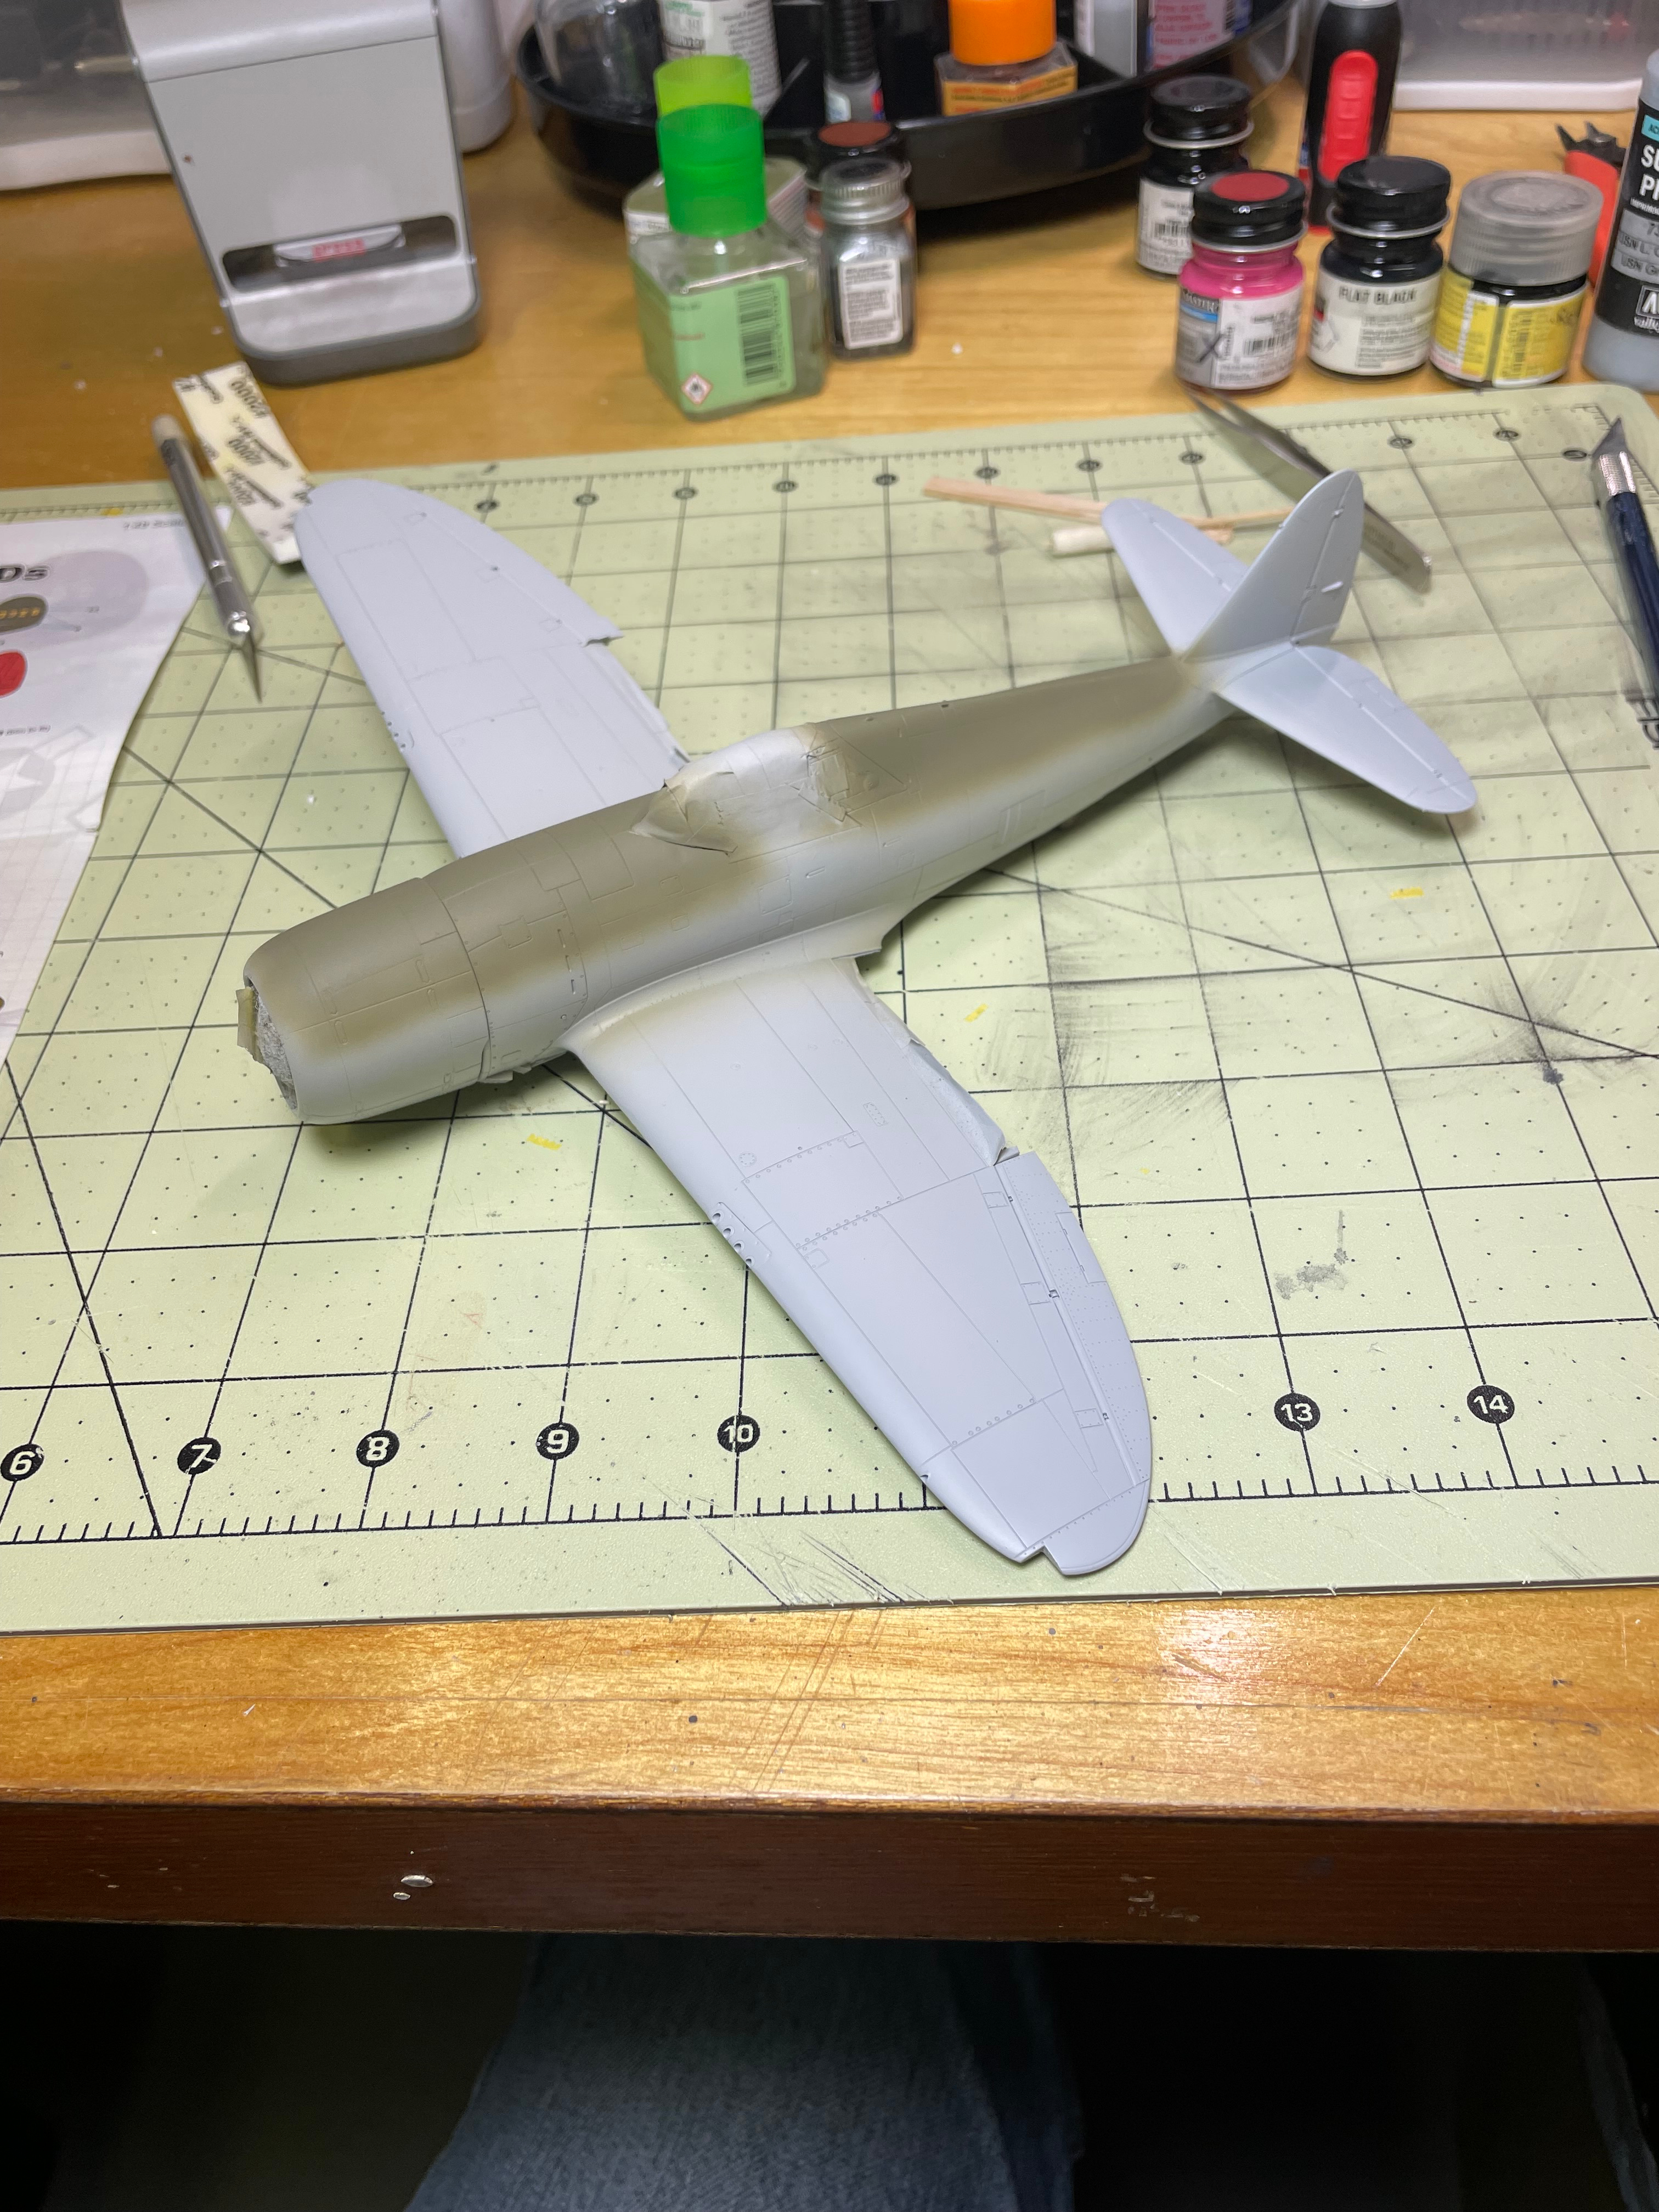
Started on camo for Panther Ausf. G late from Das Werk


27 Likes
I finished today scratchbuilding both “bridges”, that stop the ZIL-131/PR-11 TEL trailer combo at the right spot to load the Volchov launcher:
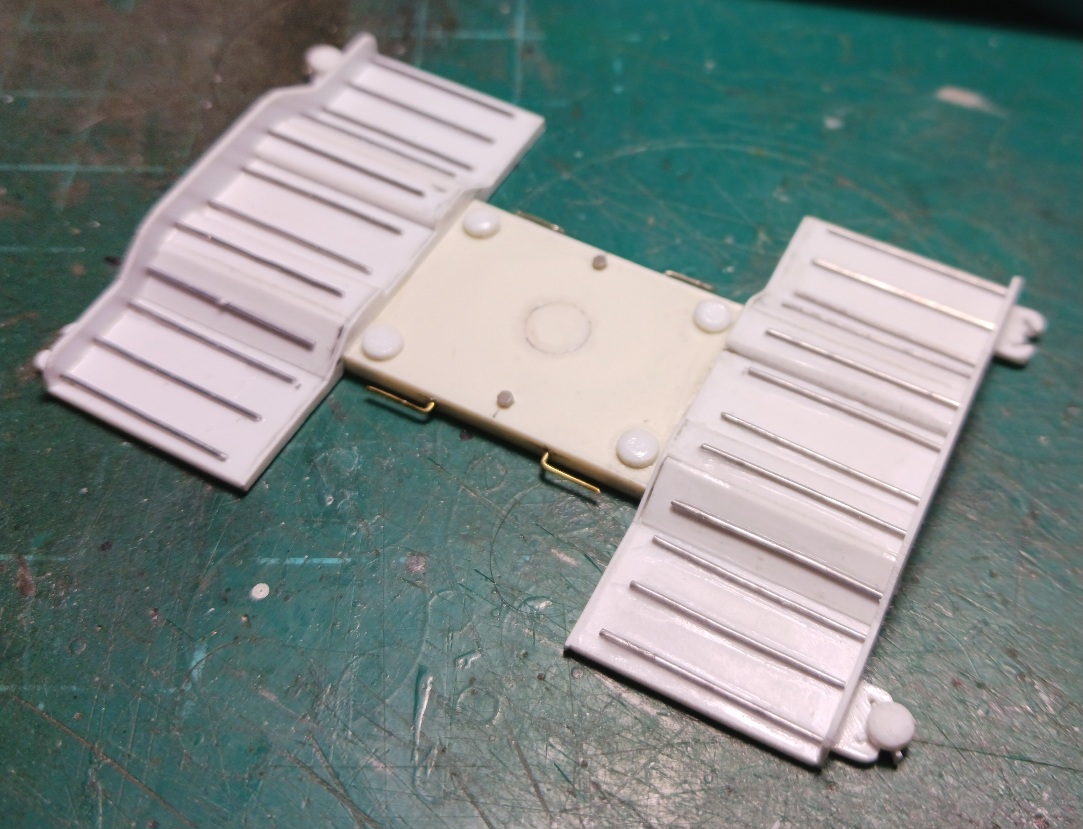
The one on the picture is the rear bridge, it blocks the wheels of the PR-11 trailer:
And while waiting for the metal primer applied to the handles to dry, I added the long waited PE engraved floor to the loadbed of the Breda 32 heavy tractor:

Cheers,
Angel
23 Likes
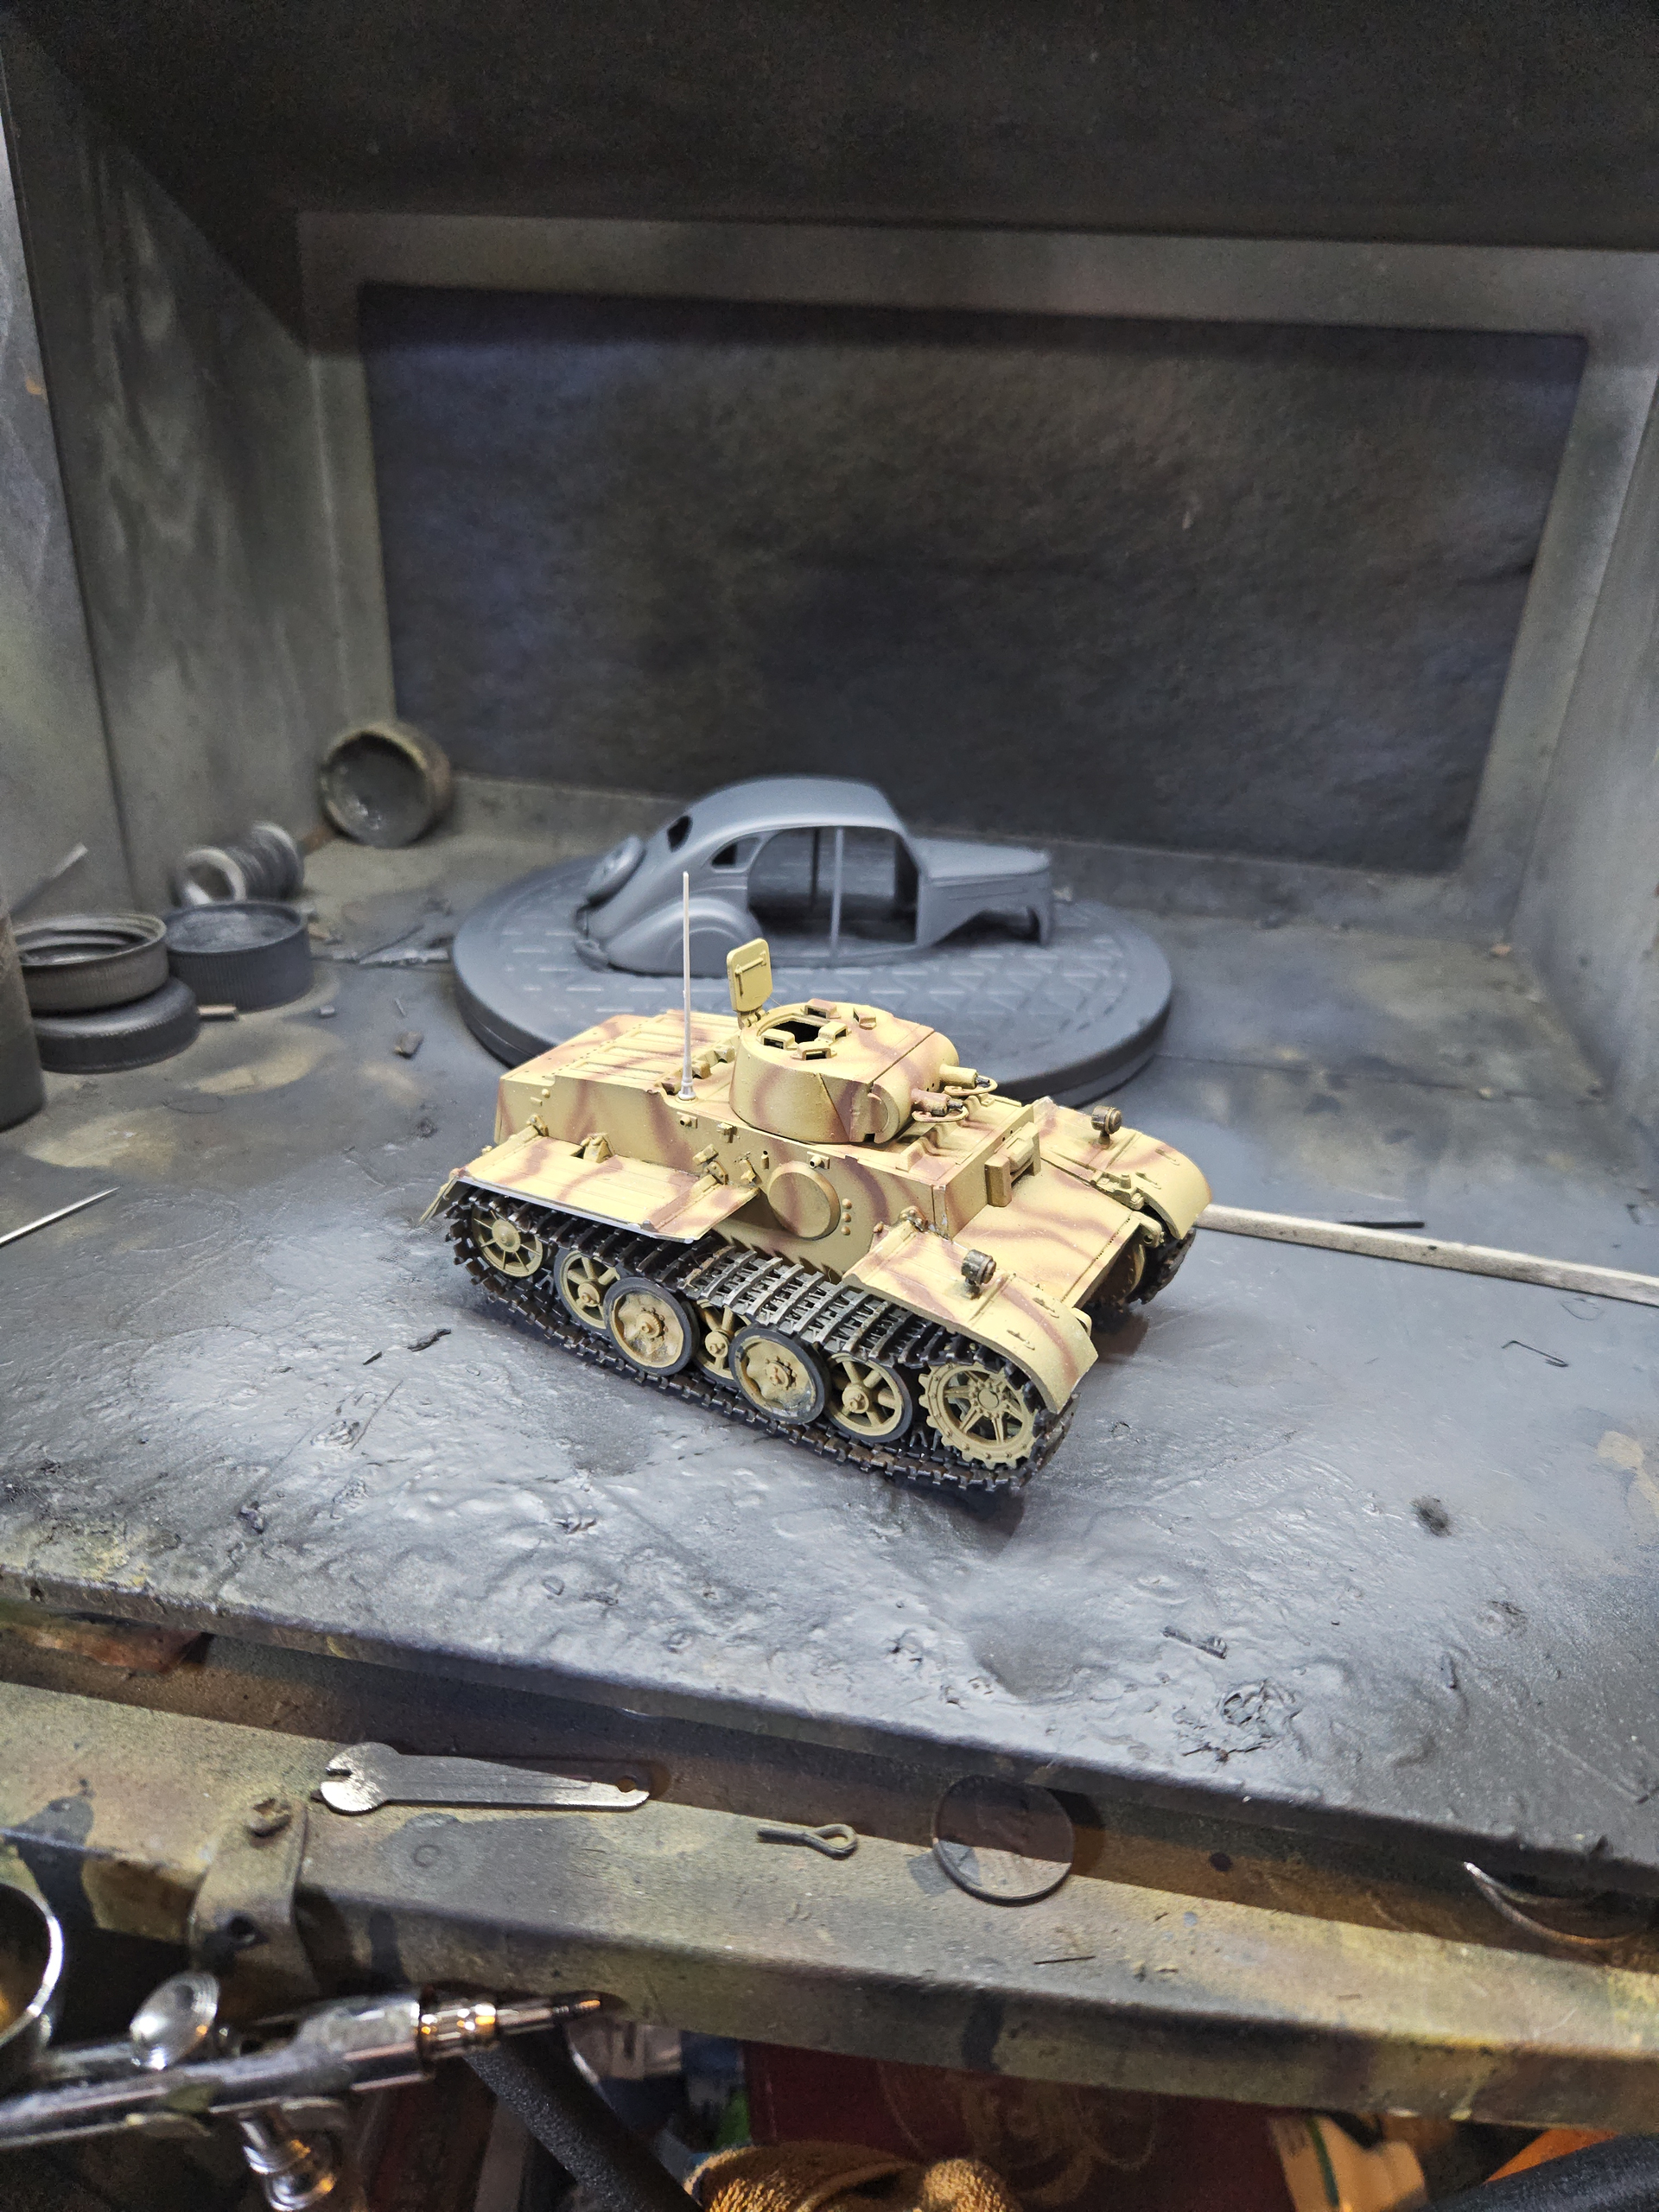
Very nice camo. Airbrush setting used ?
1 Like
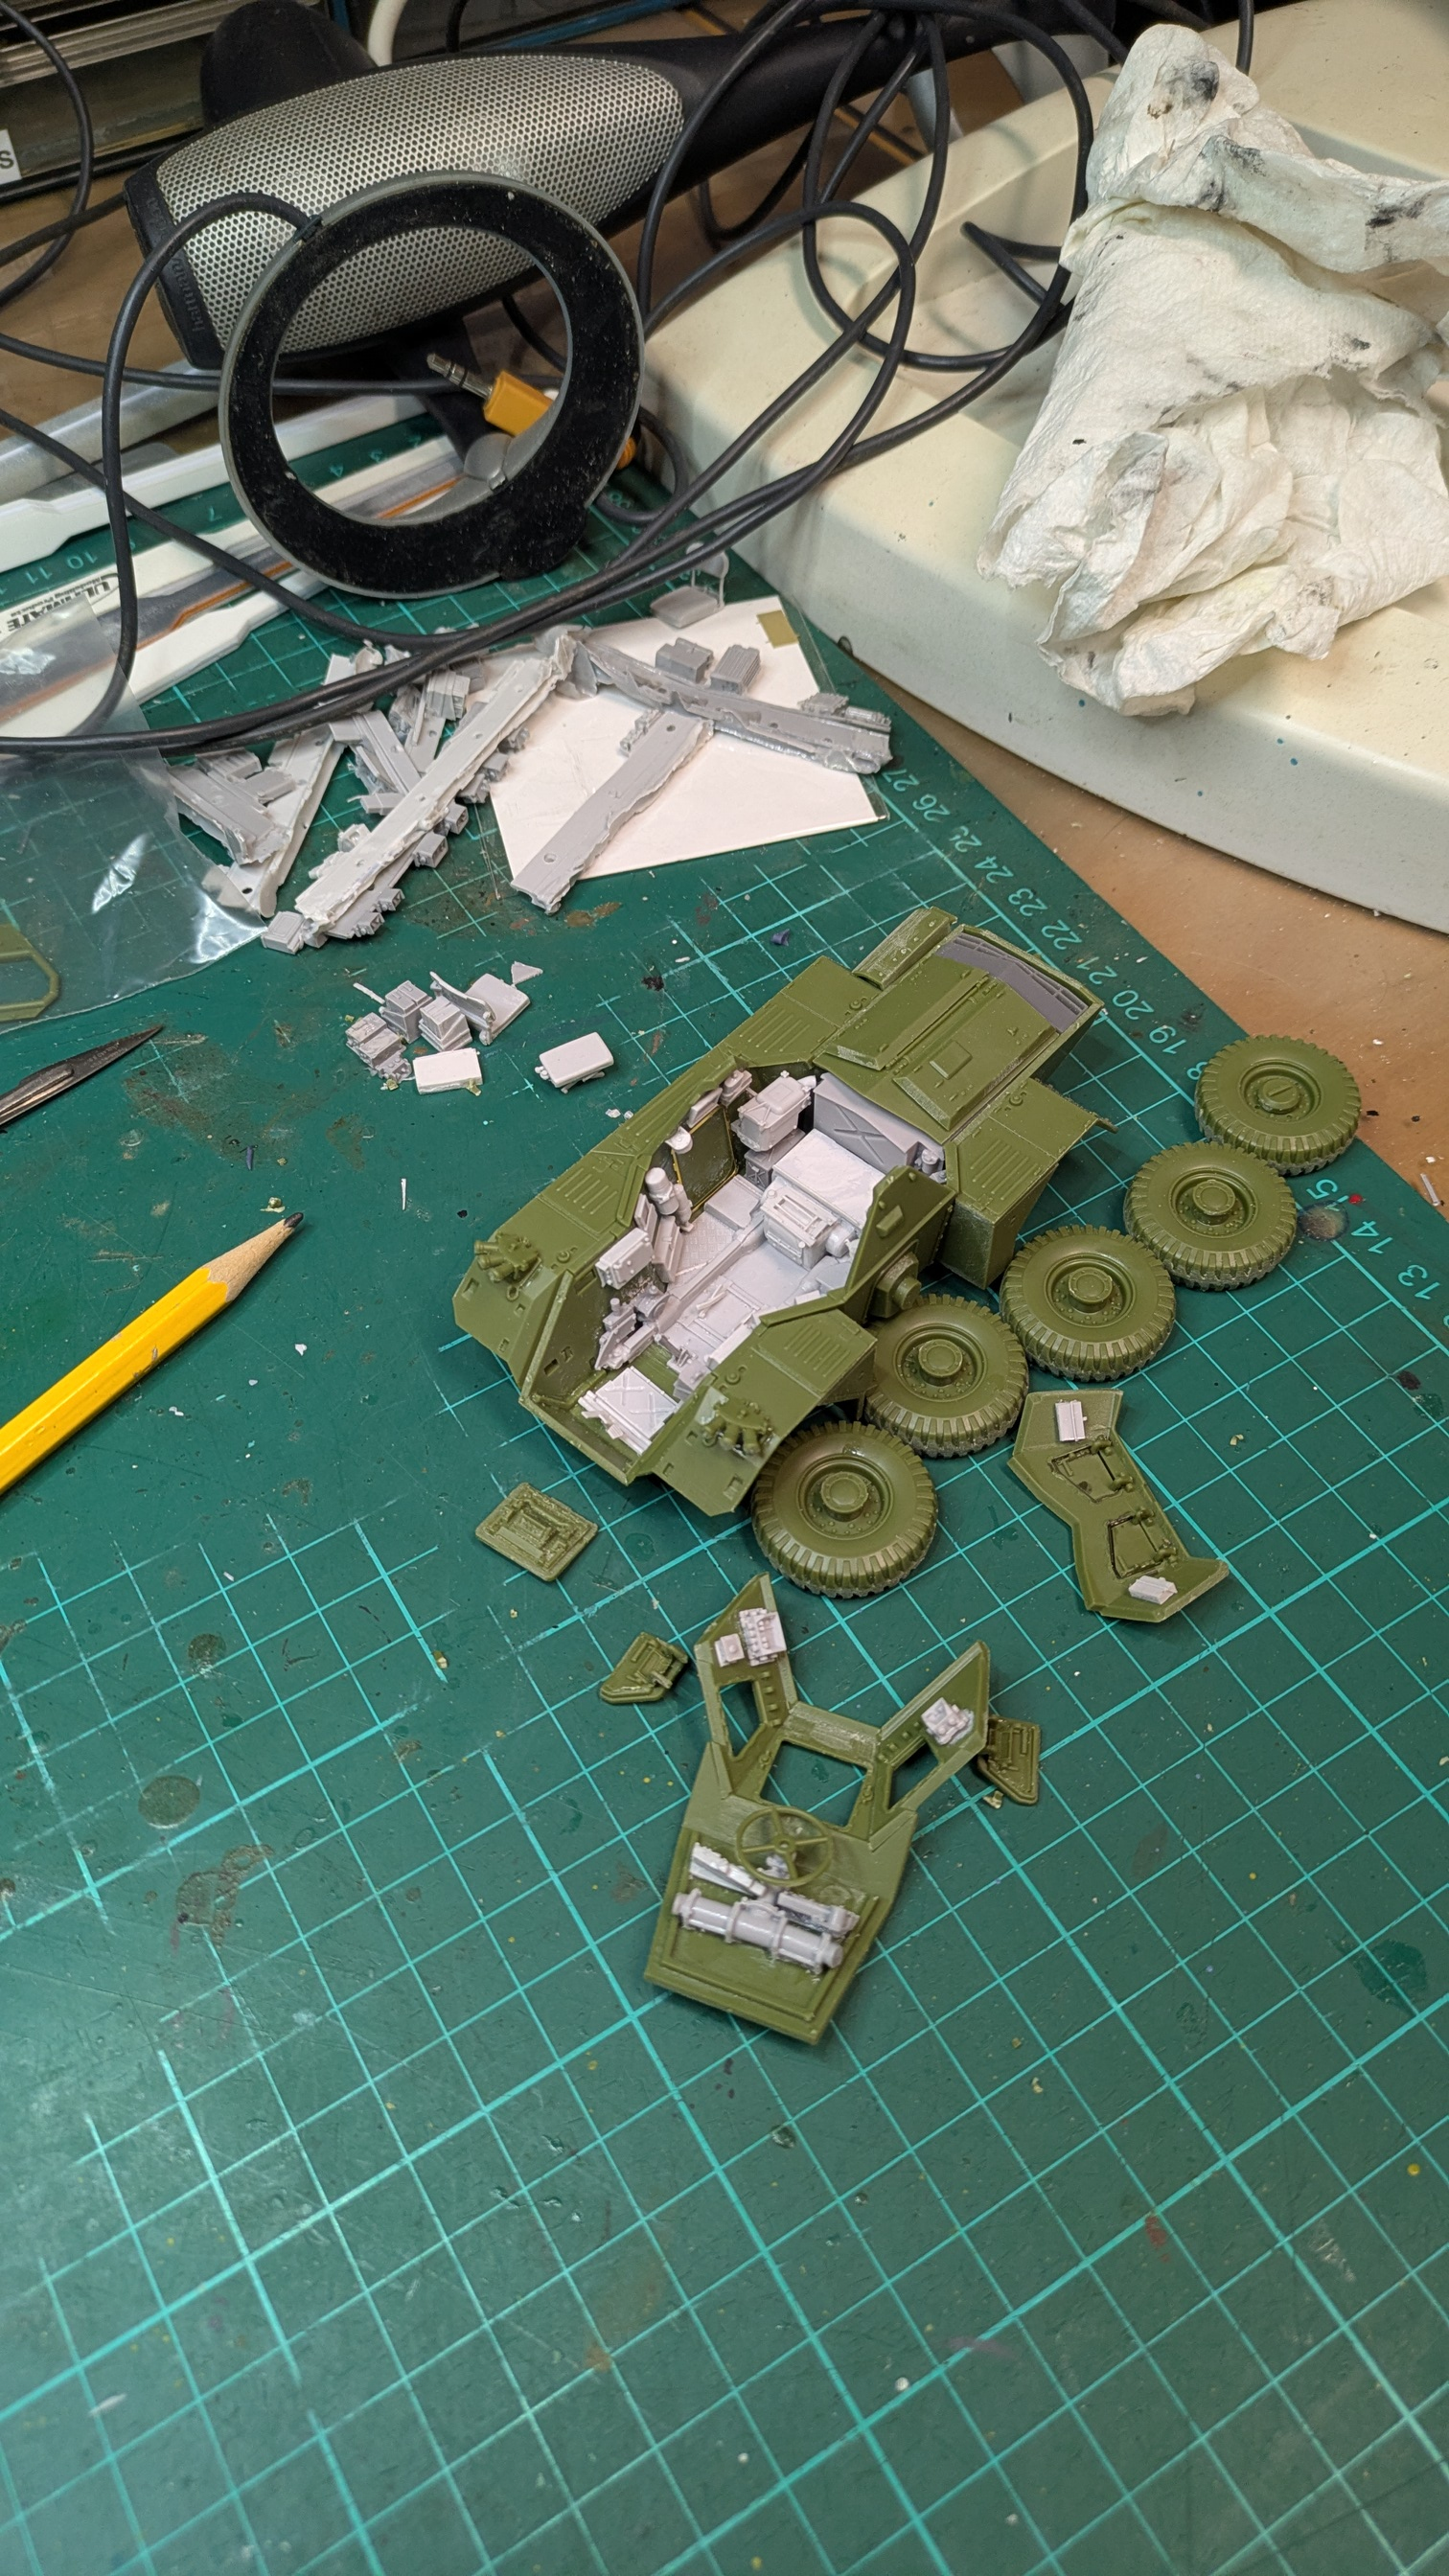
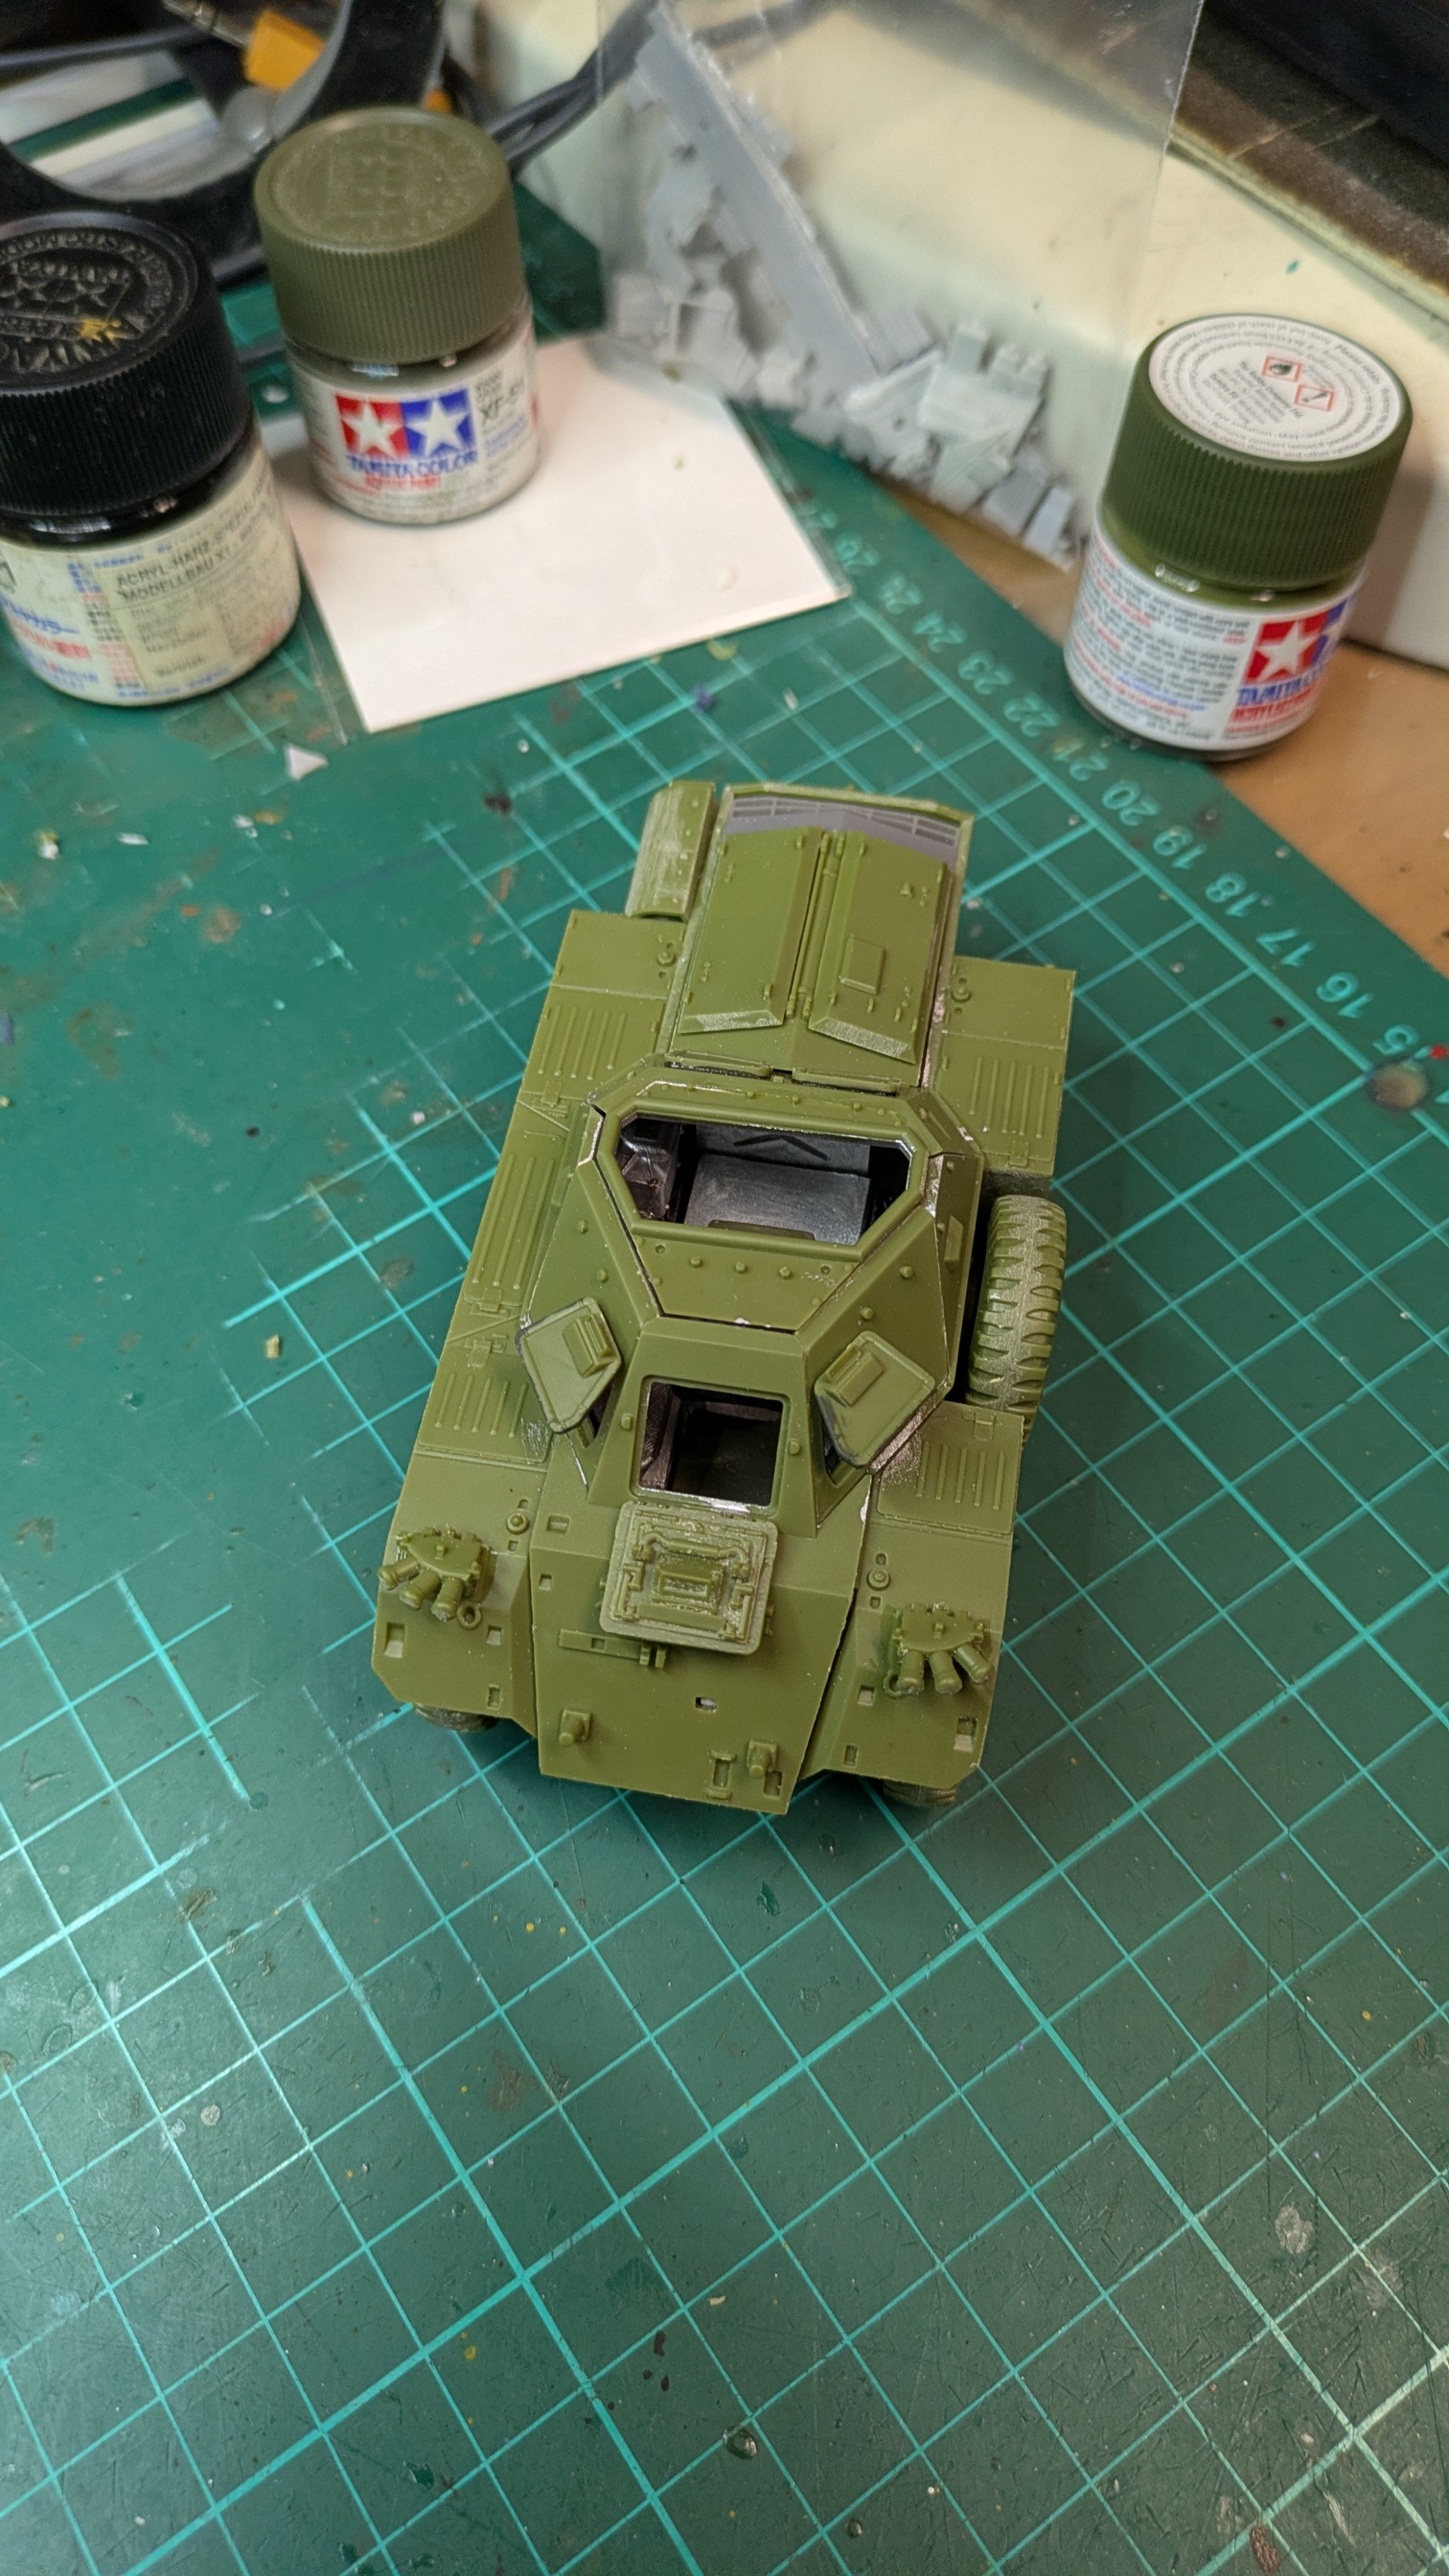
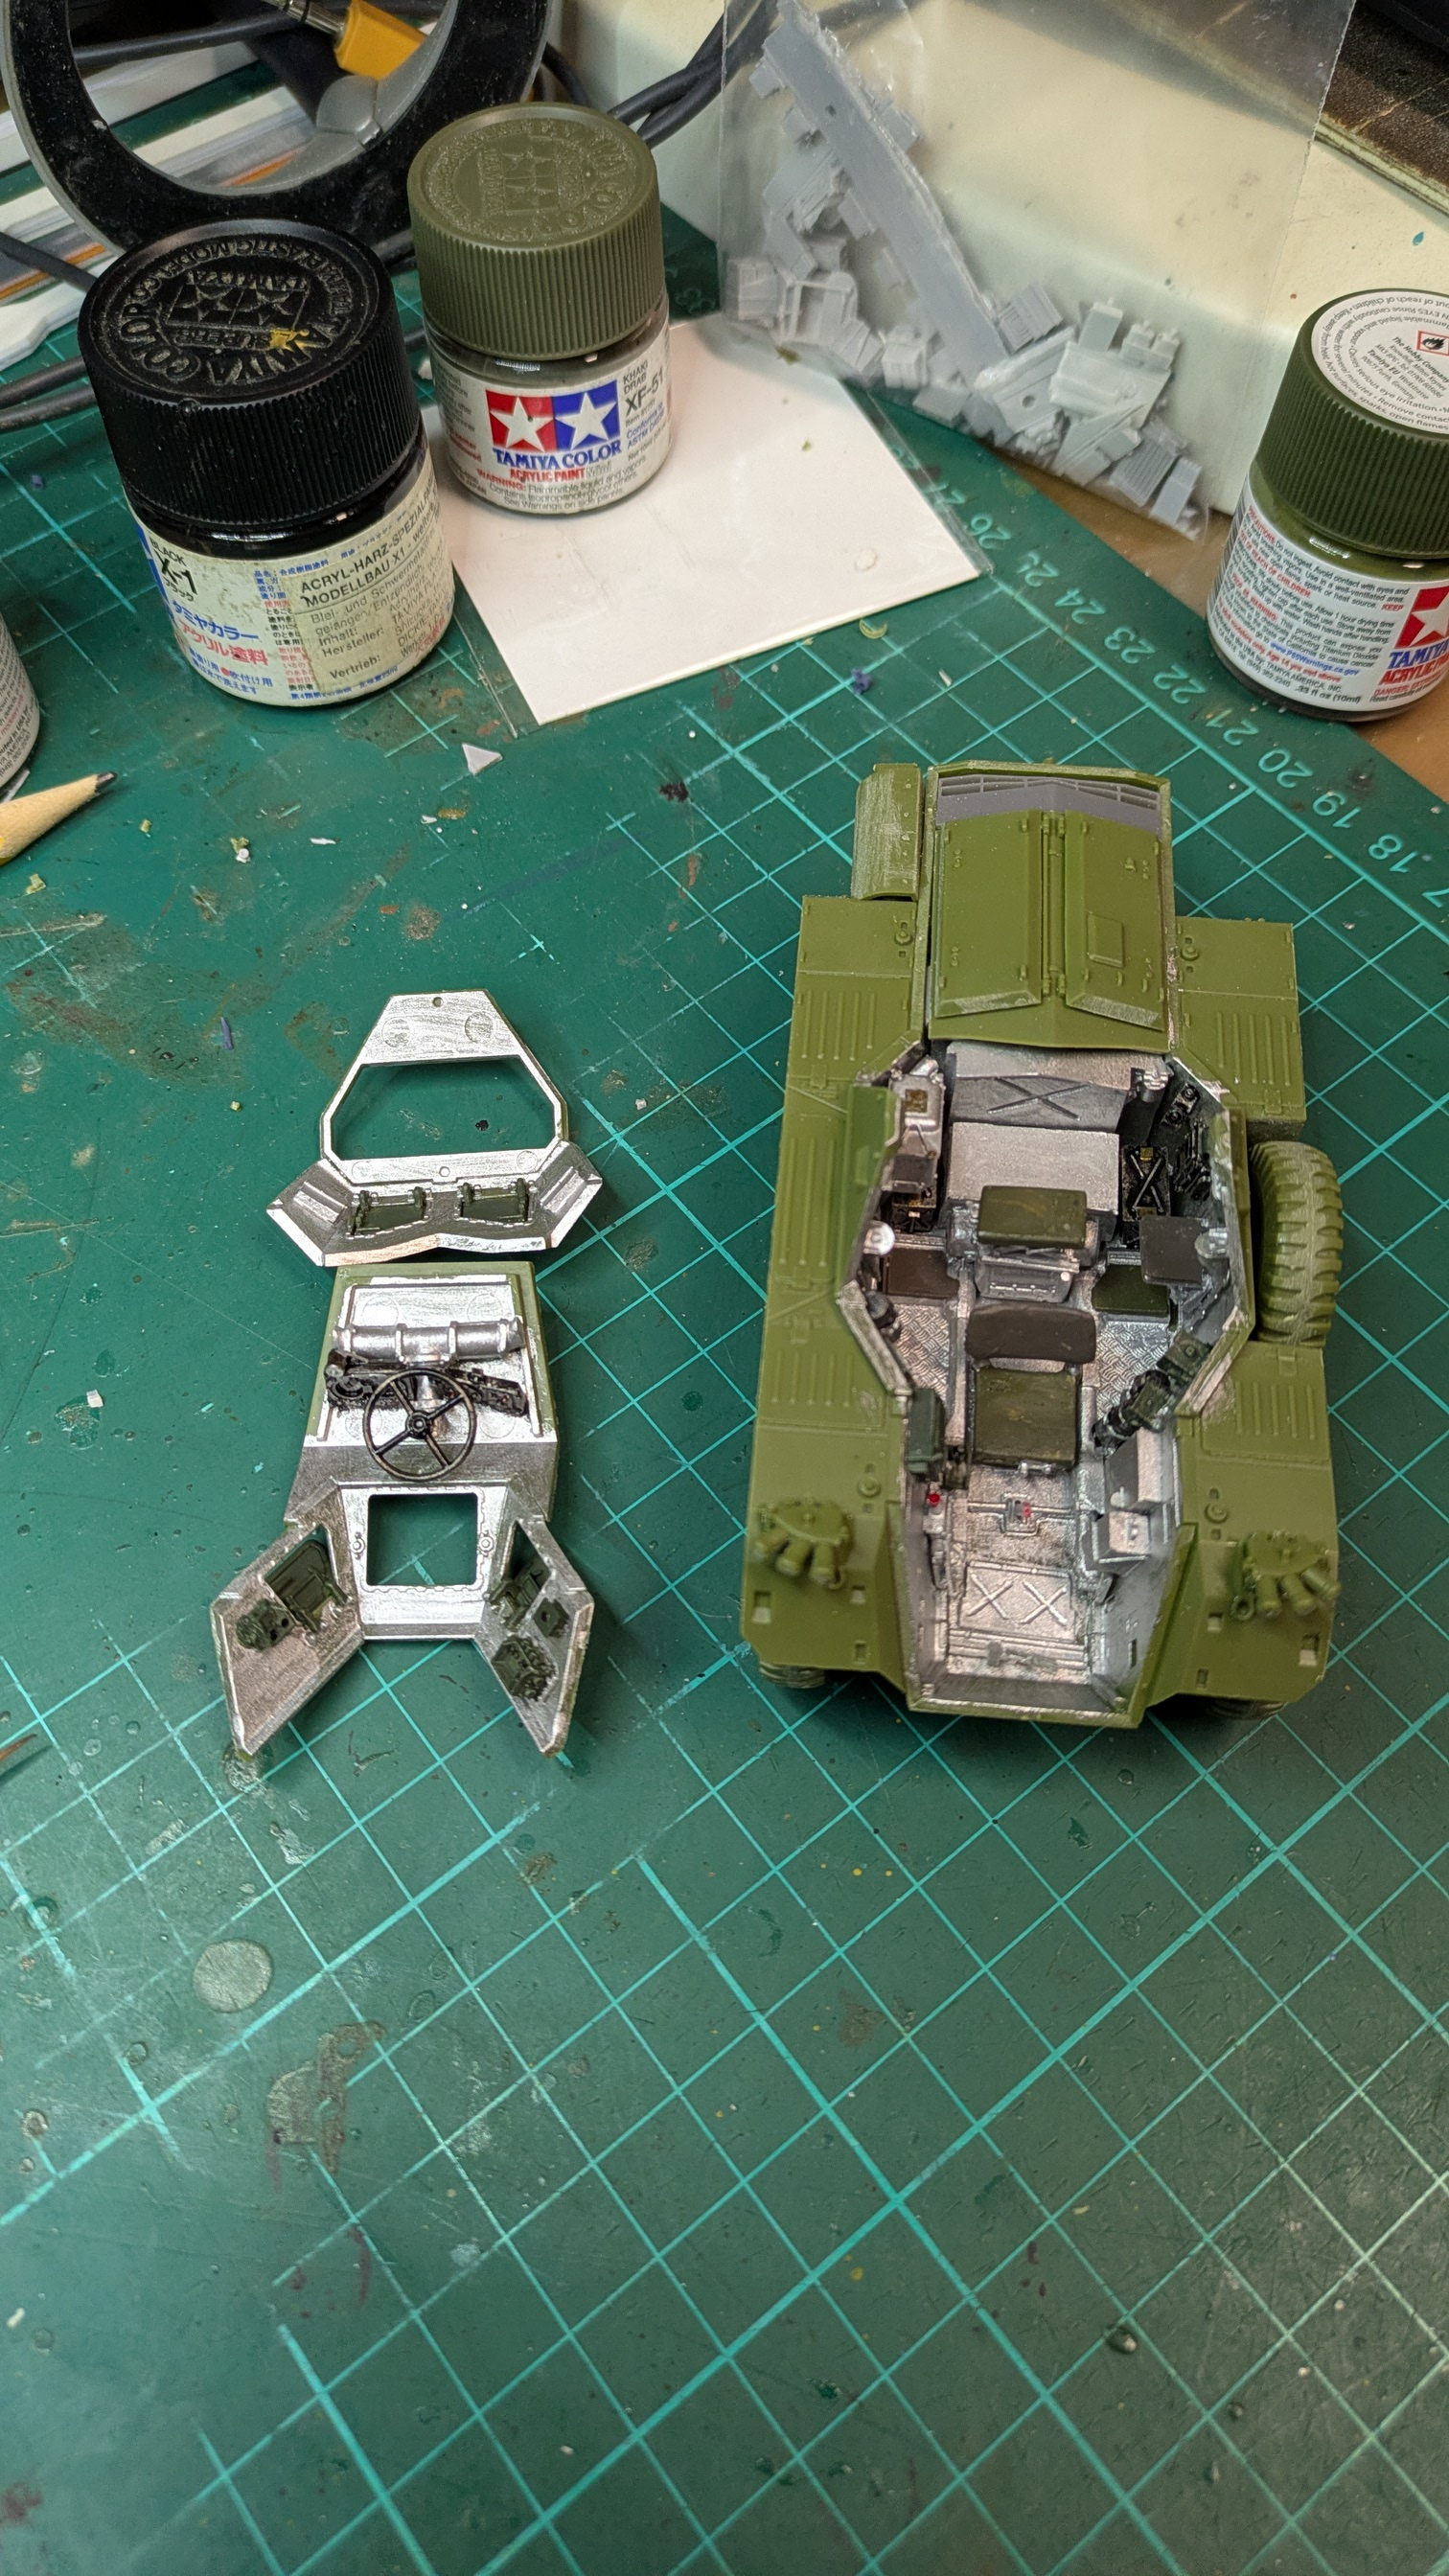
a little scout car in the works,
Airfix 1/35, ferret mk 1, with SMM interior and corrected rear grill.
Lots of aluminium paint inside tomorrow.
10 Likes
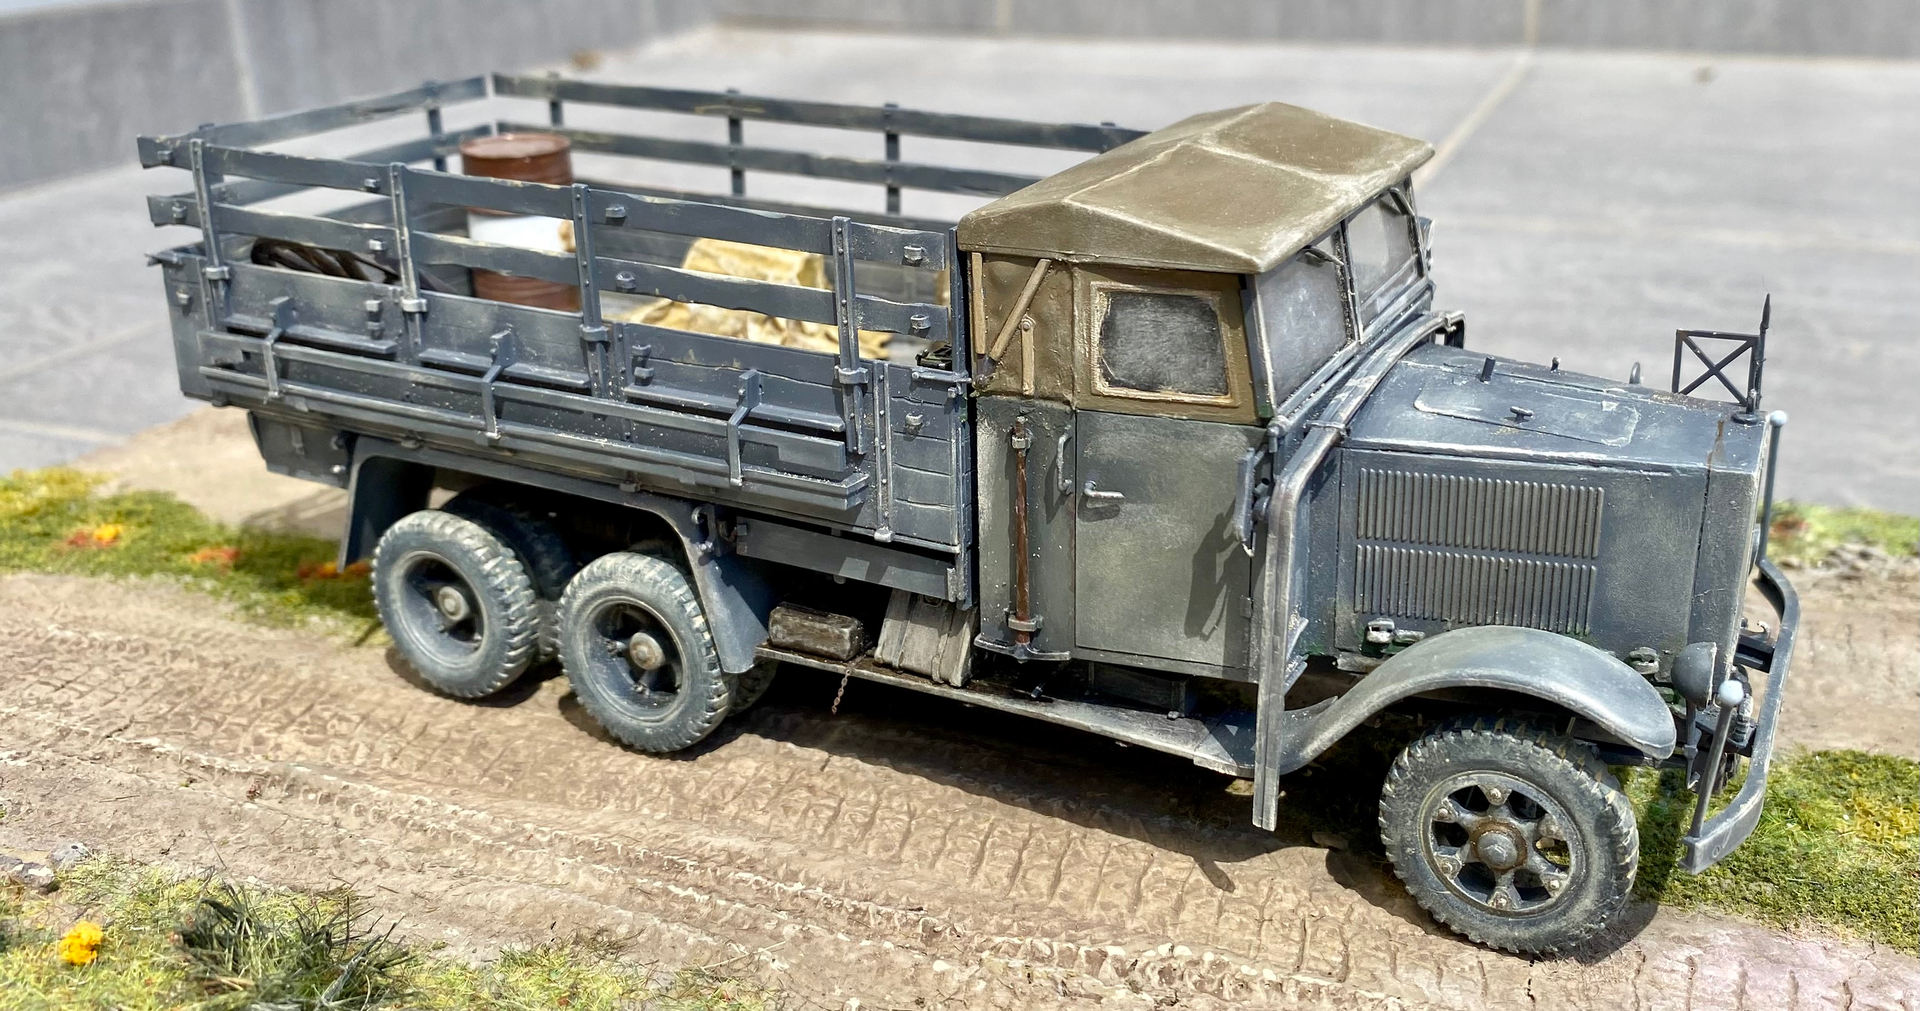
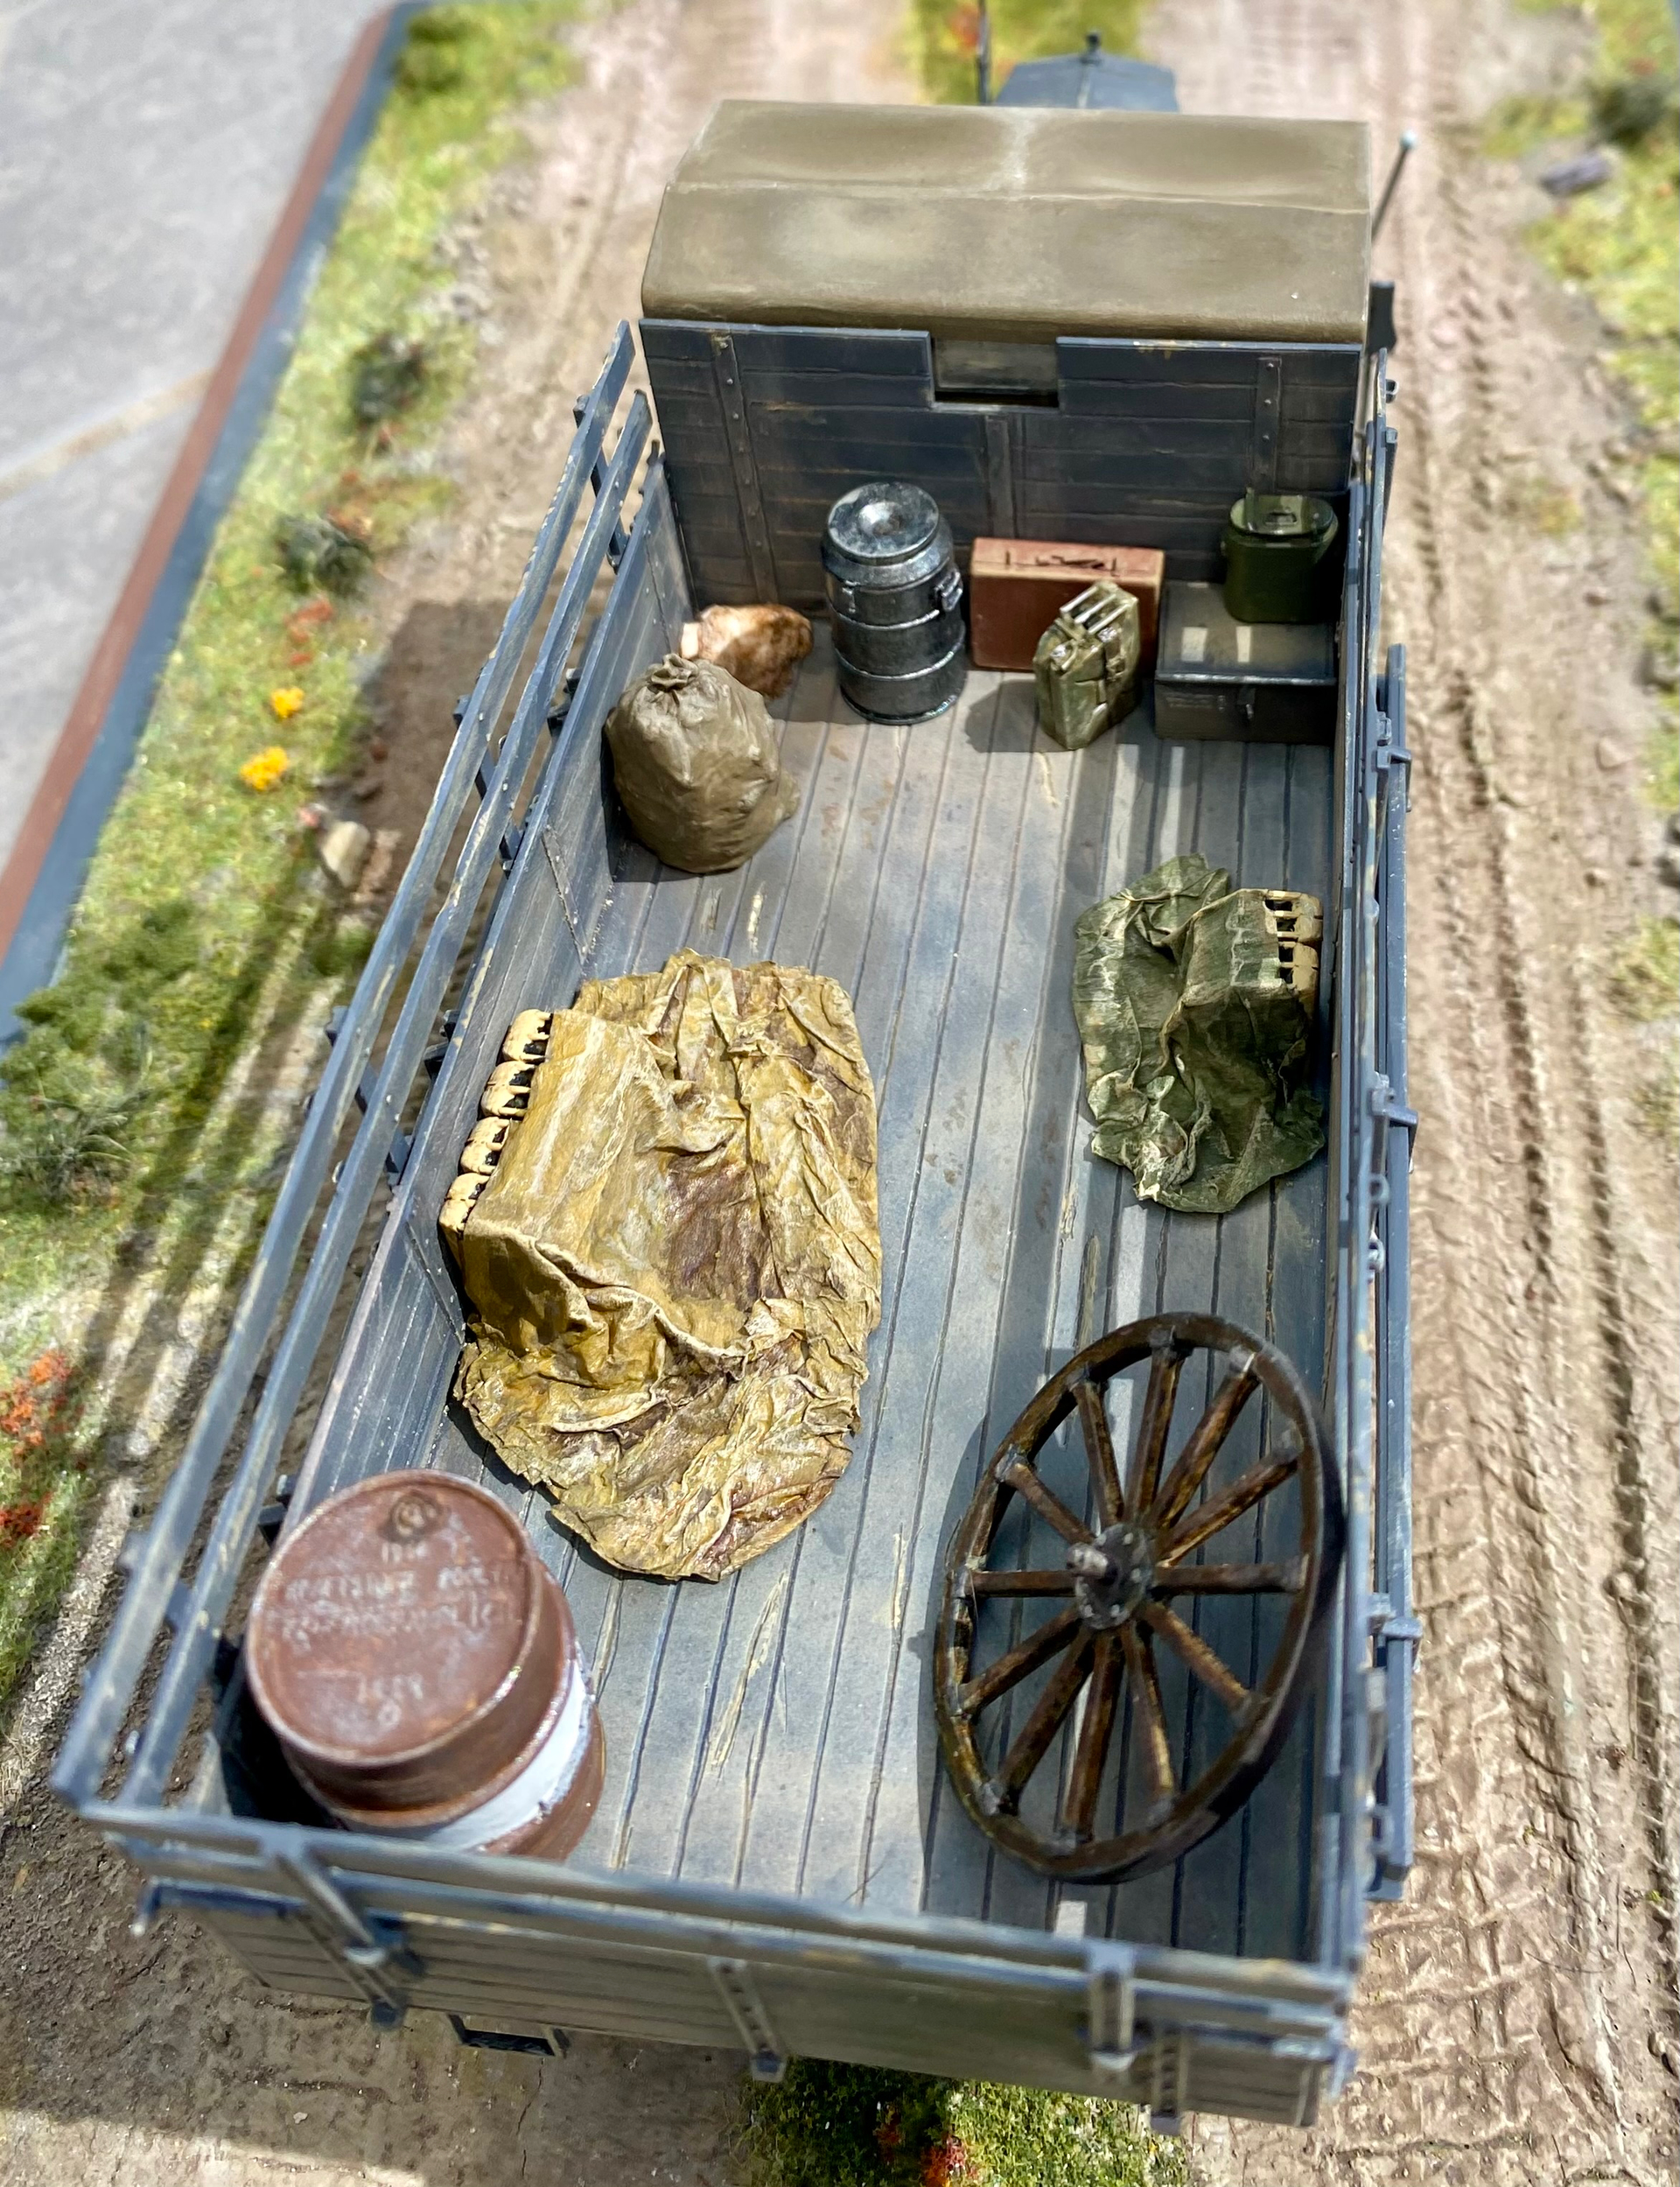
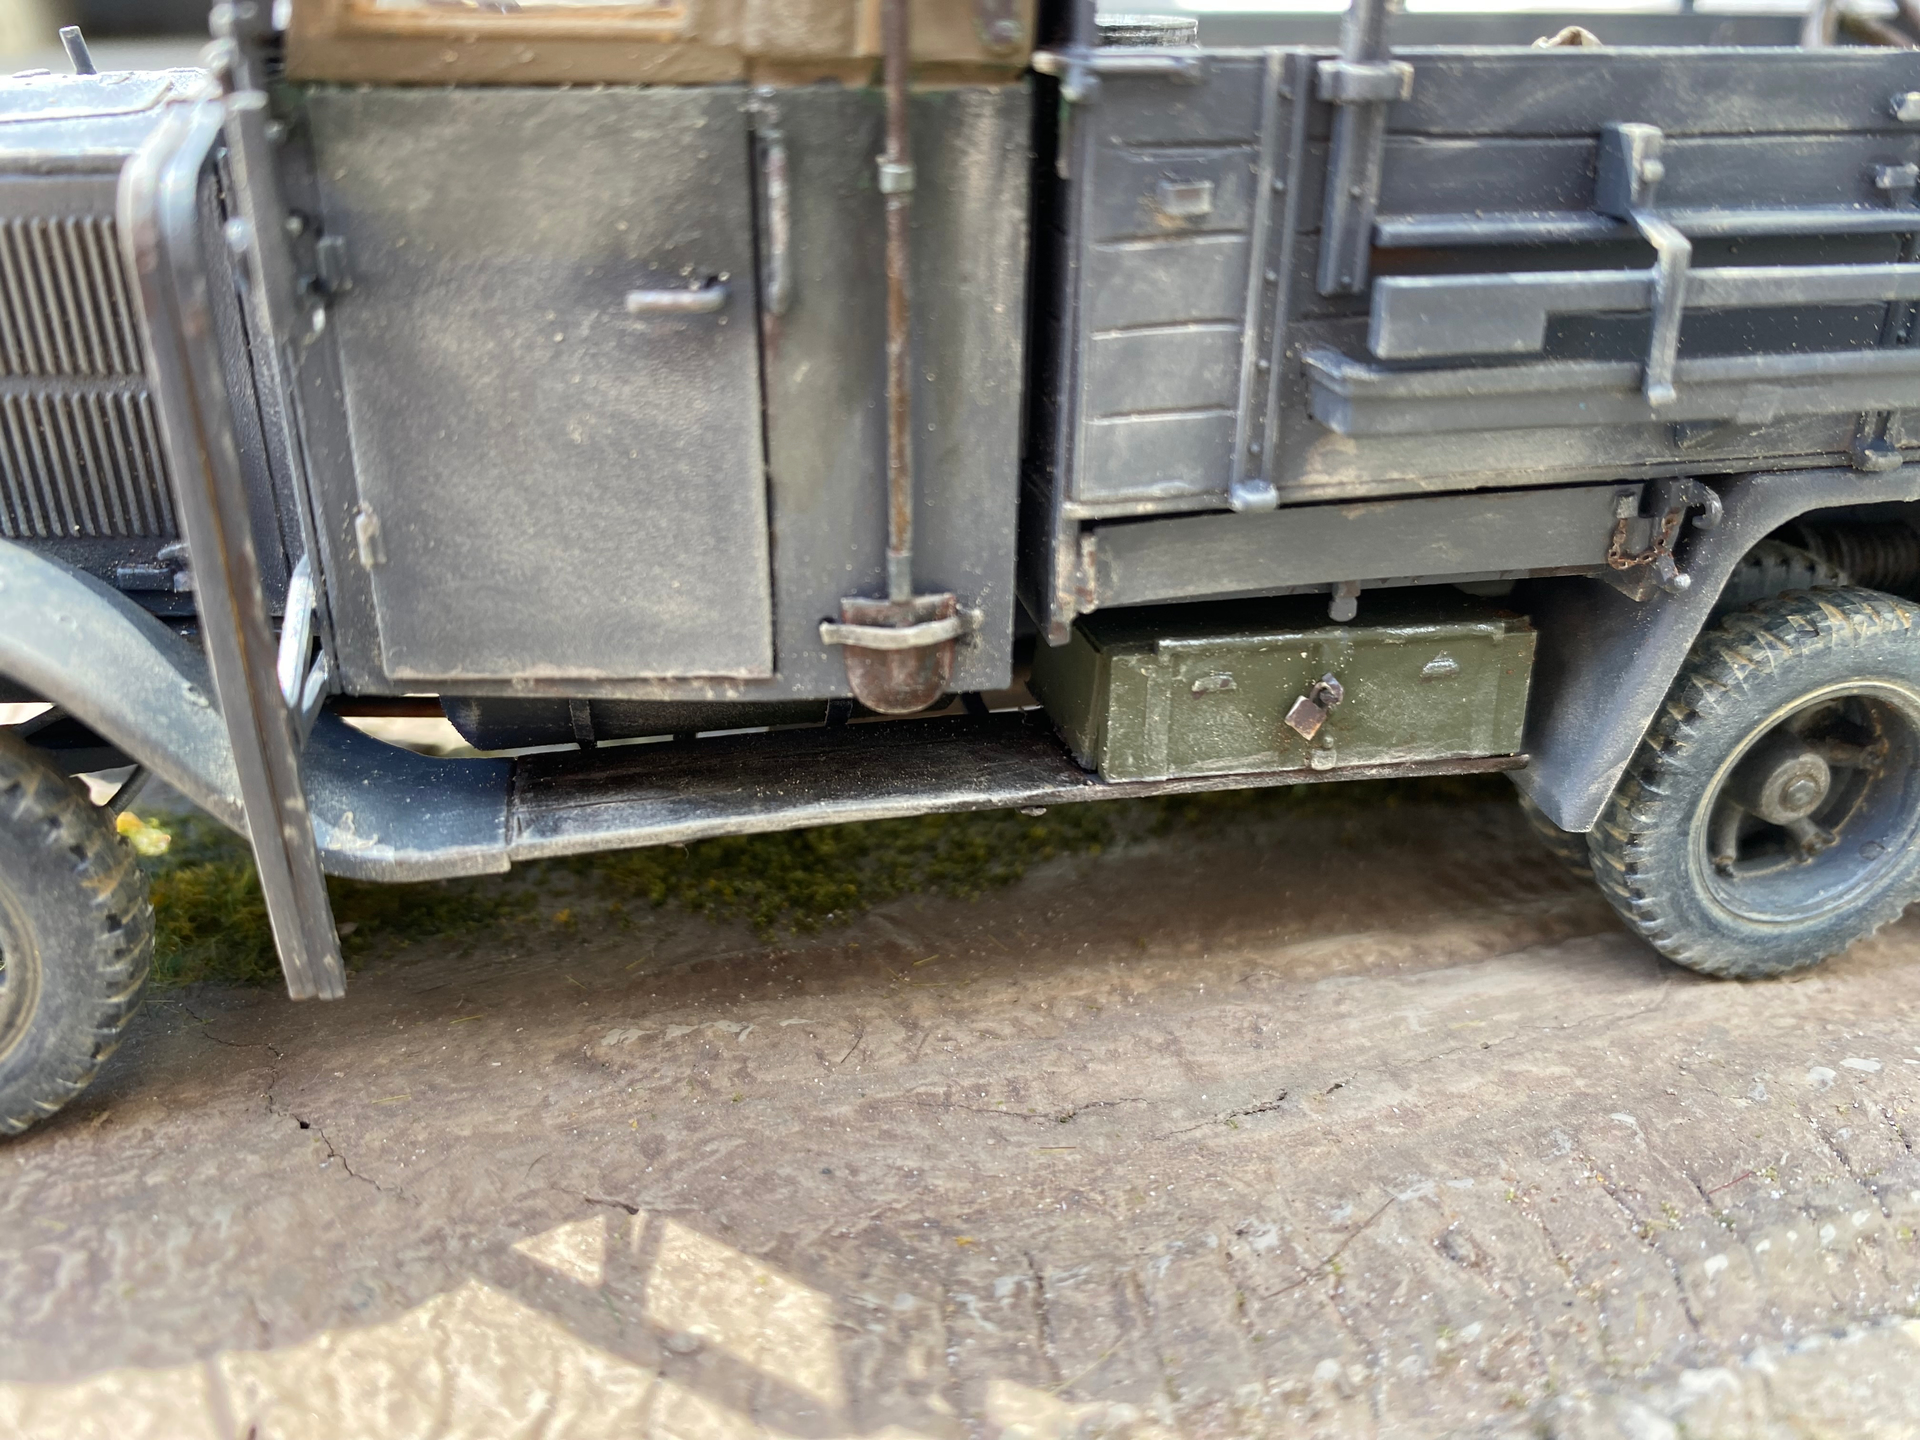
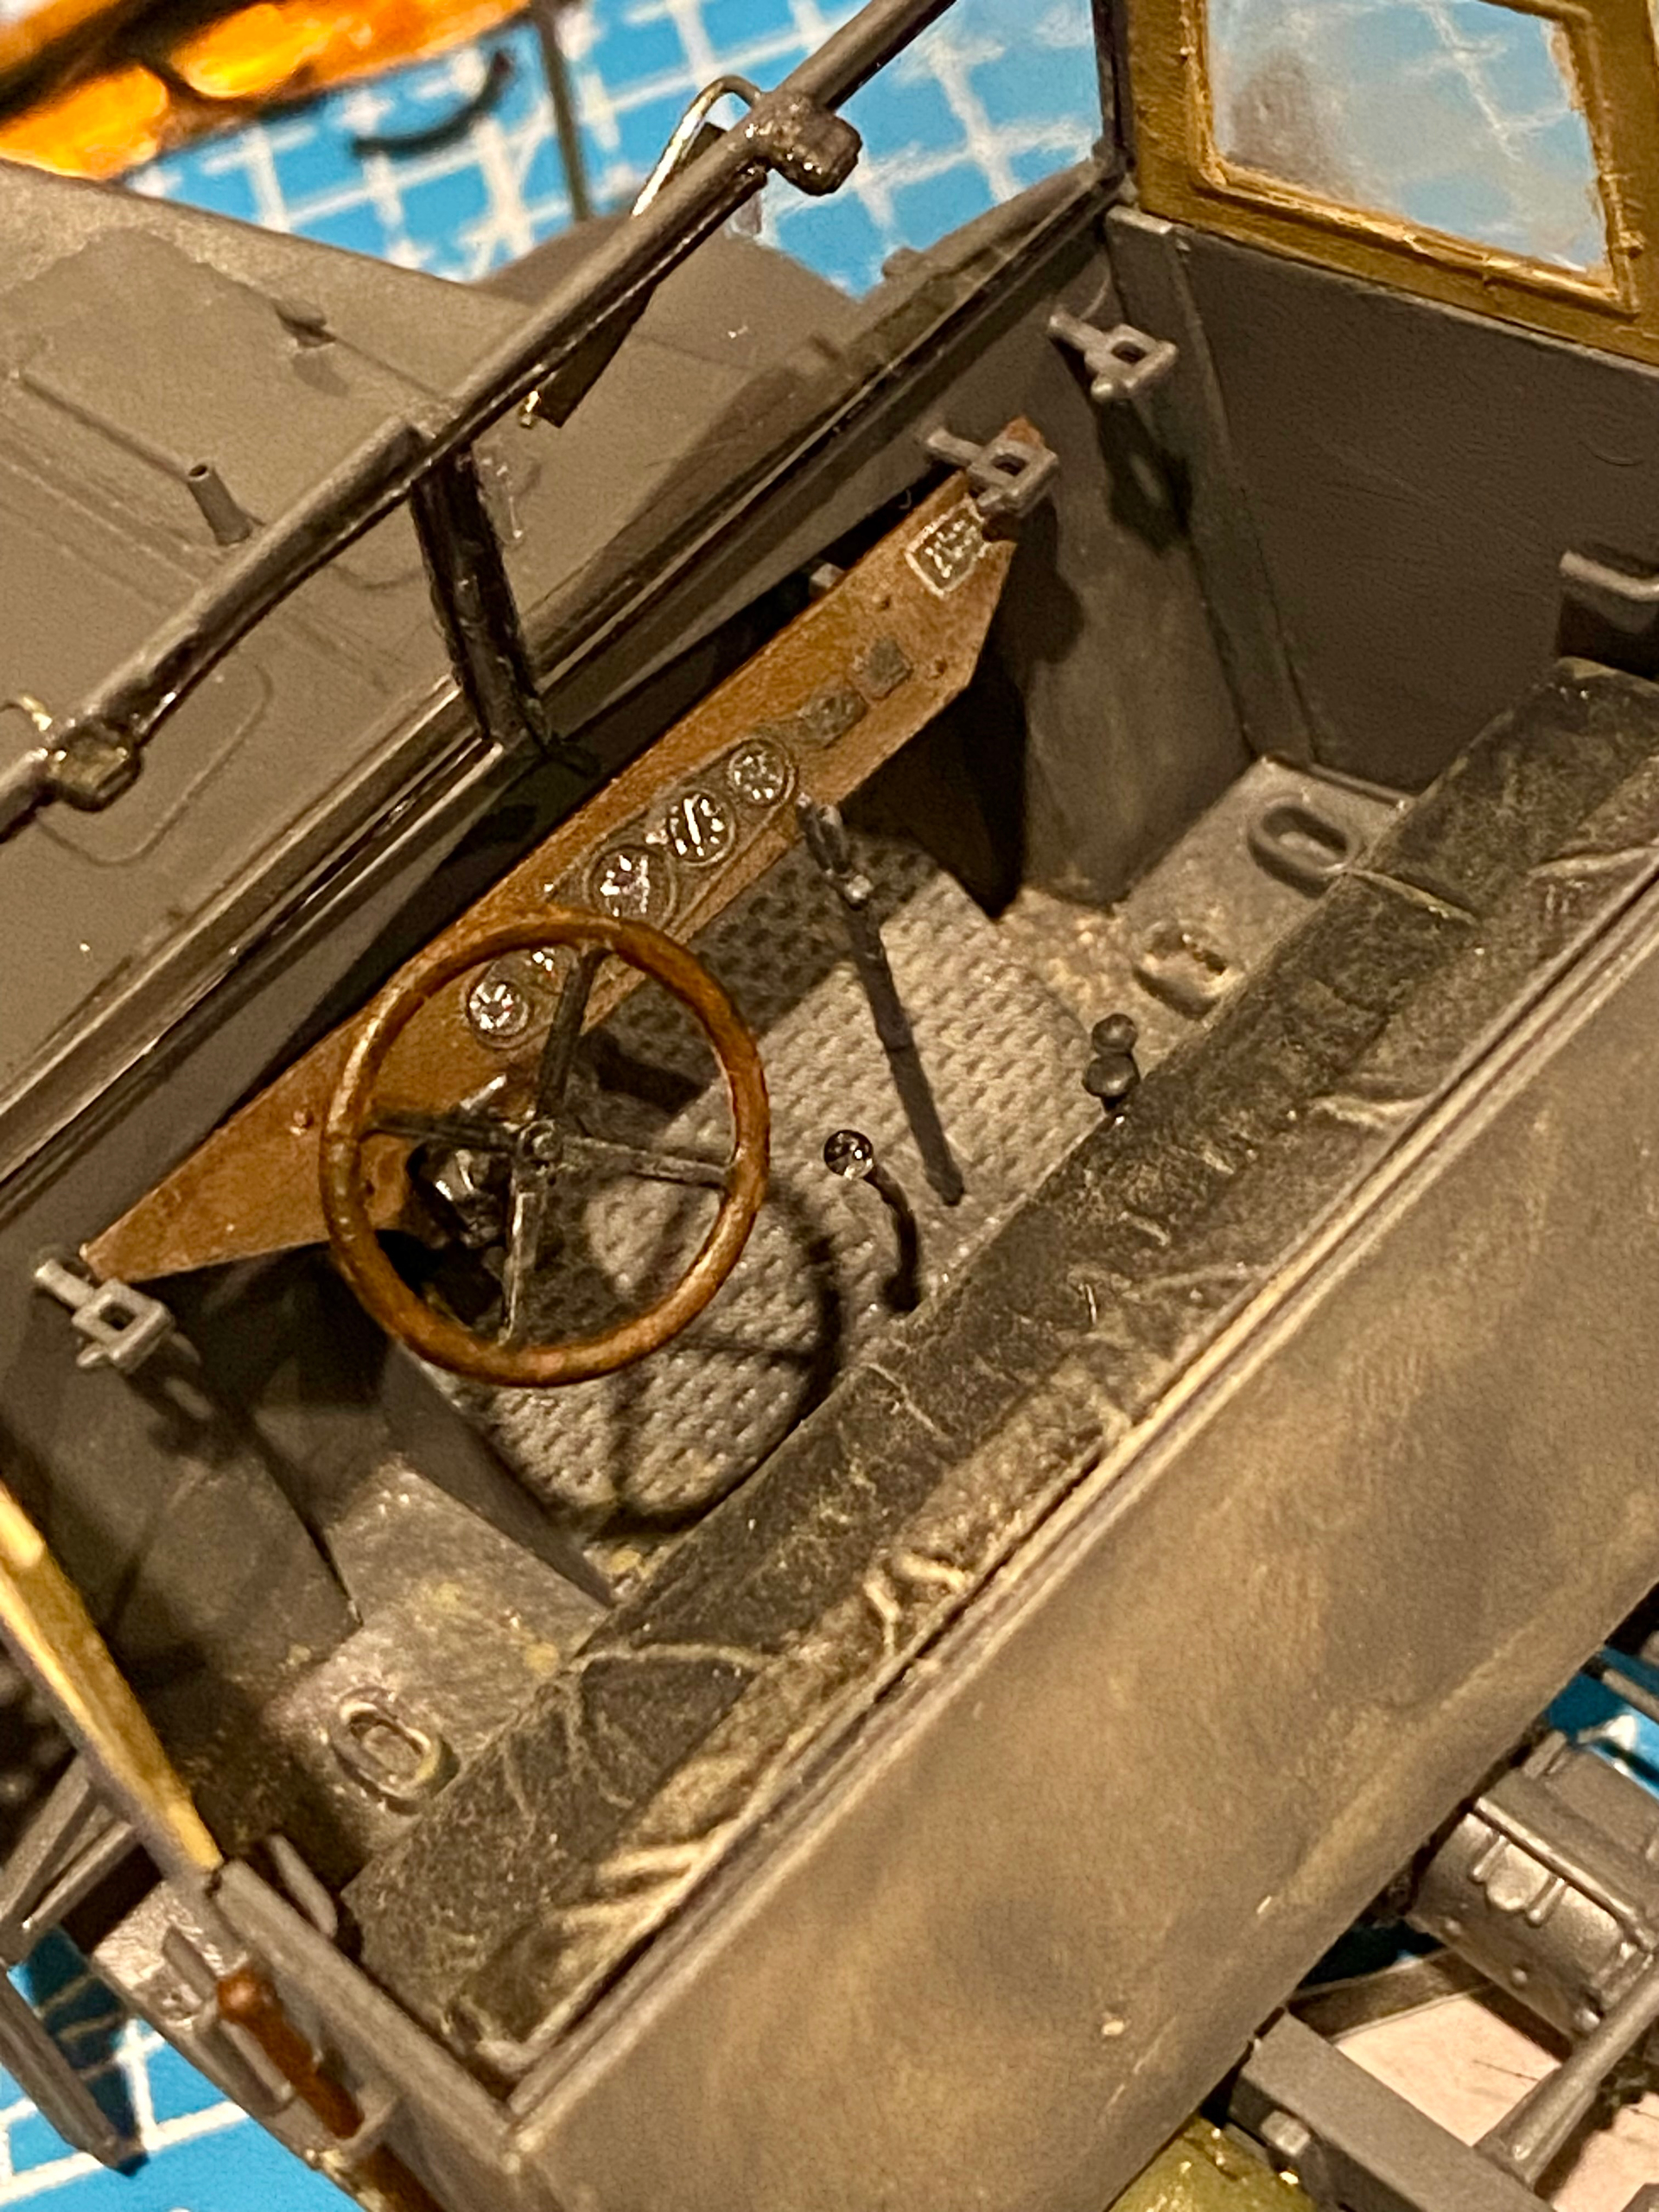
I finished an ICM Krupp L3H163 cargo truck. Ok build and all faults/errors are my own. Suspension and associated elements were a bit fiddly but it ended up ok.
Modelled it as a dusty version with random mixed load. Also a shot of the cab interior before I closed it up. I accidentally destroyed the decals for the instrument panels so had to hand paint them.
24 Likes
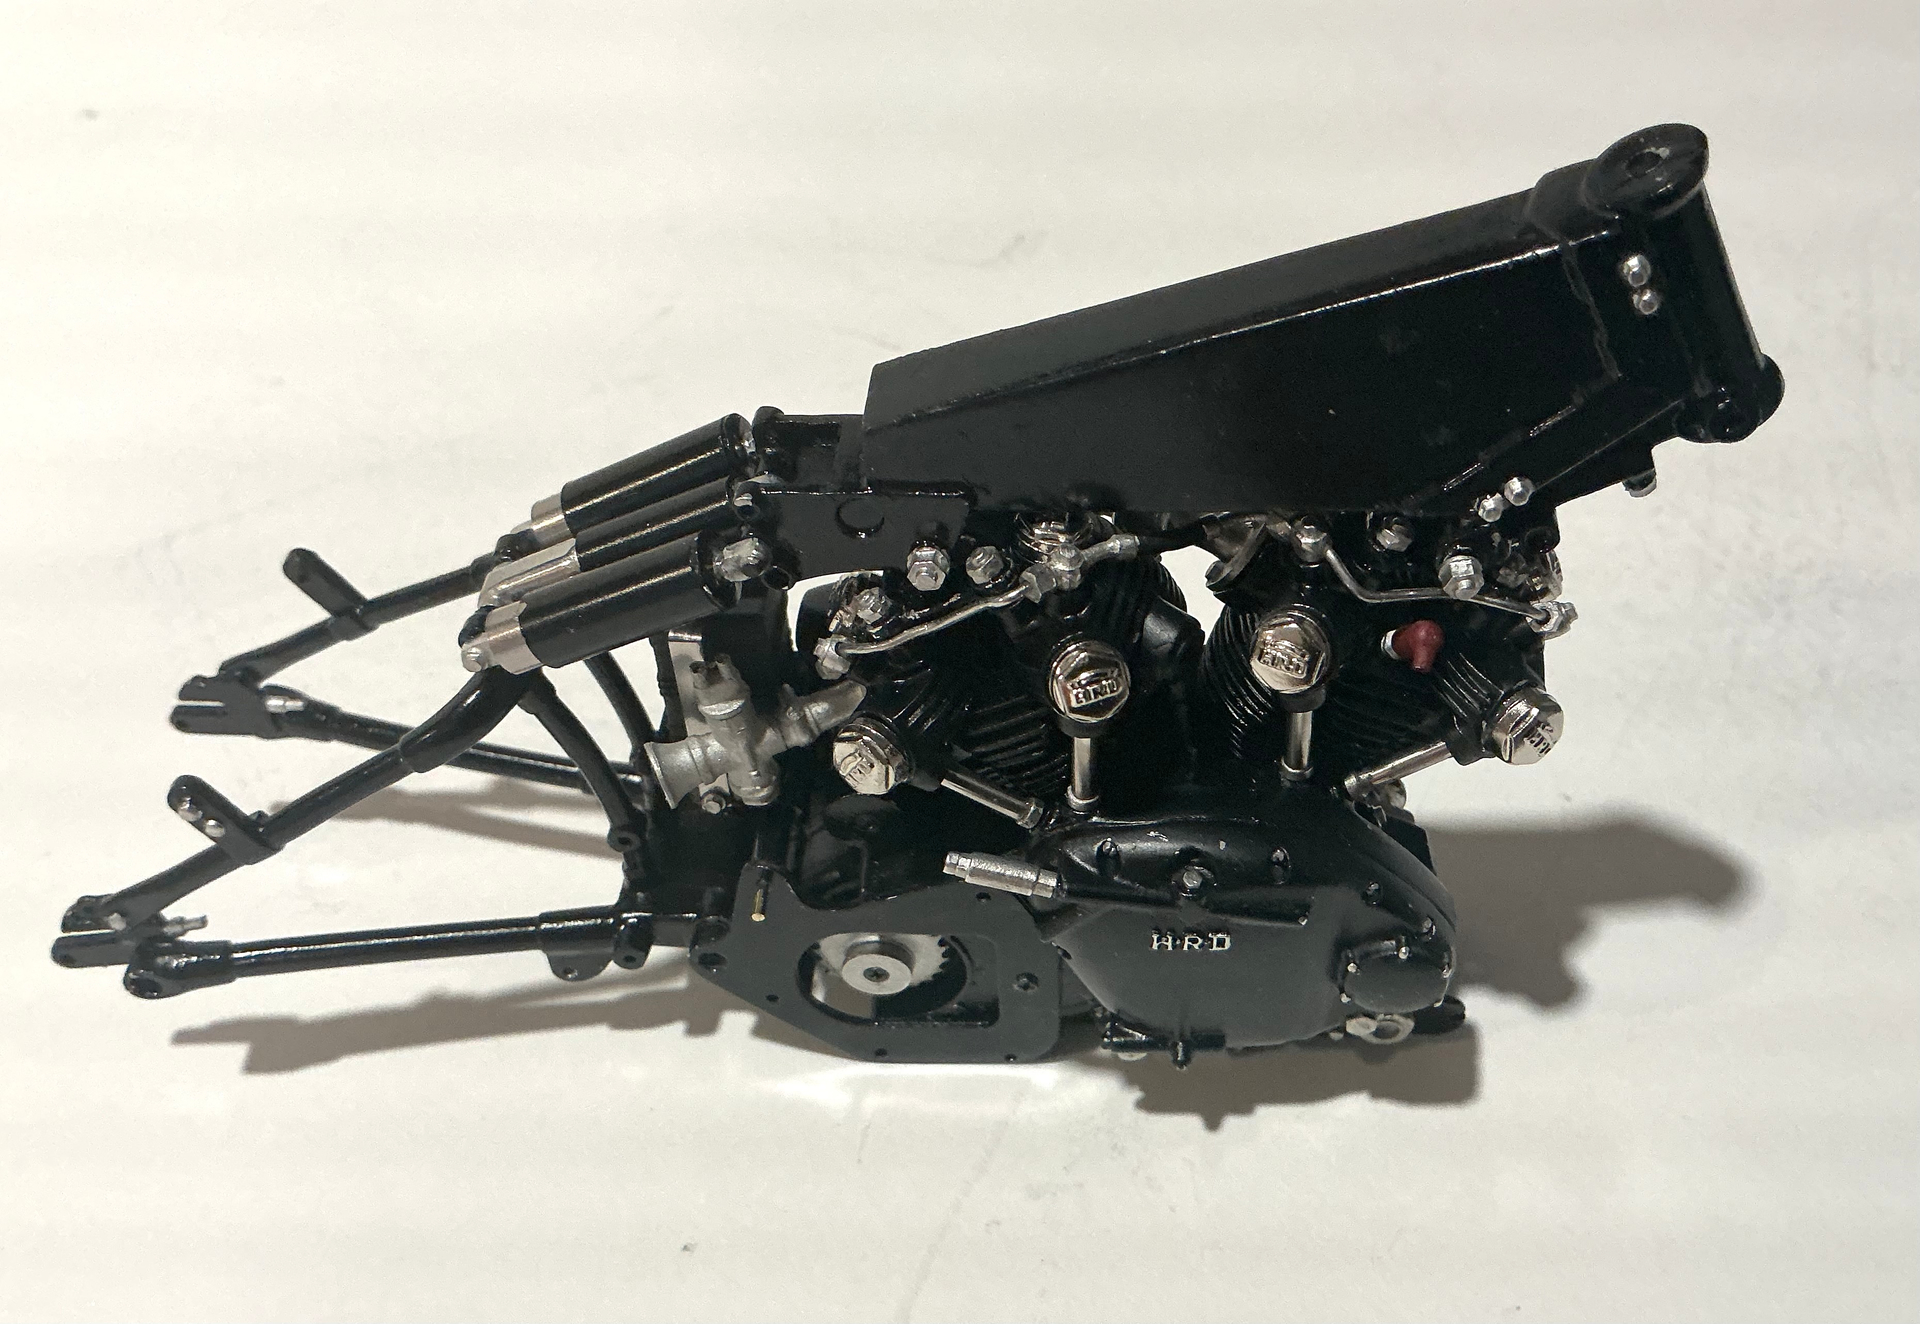
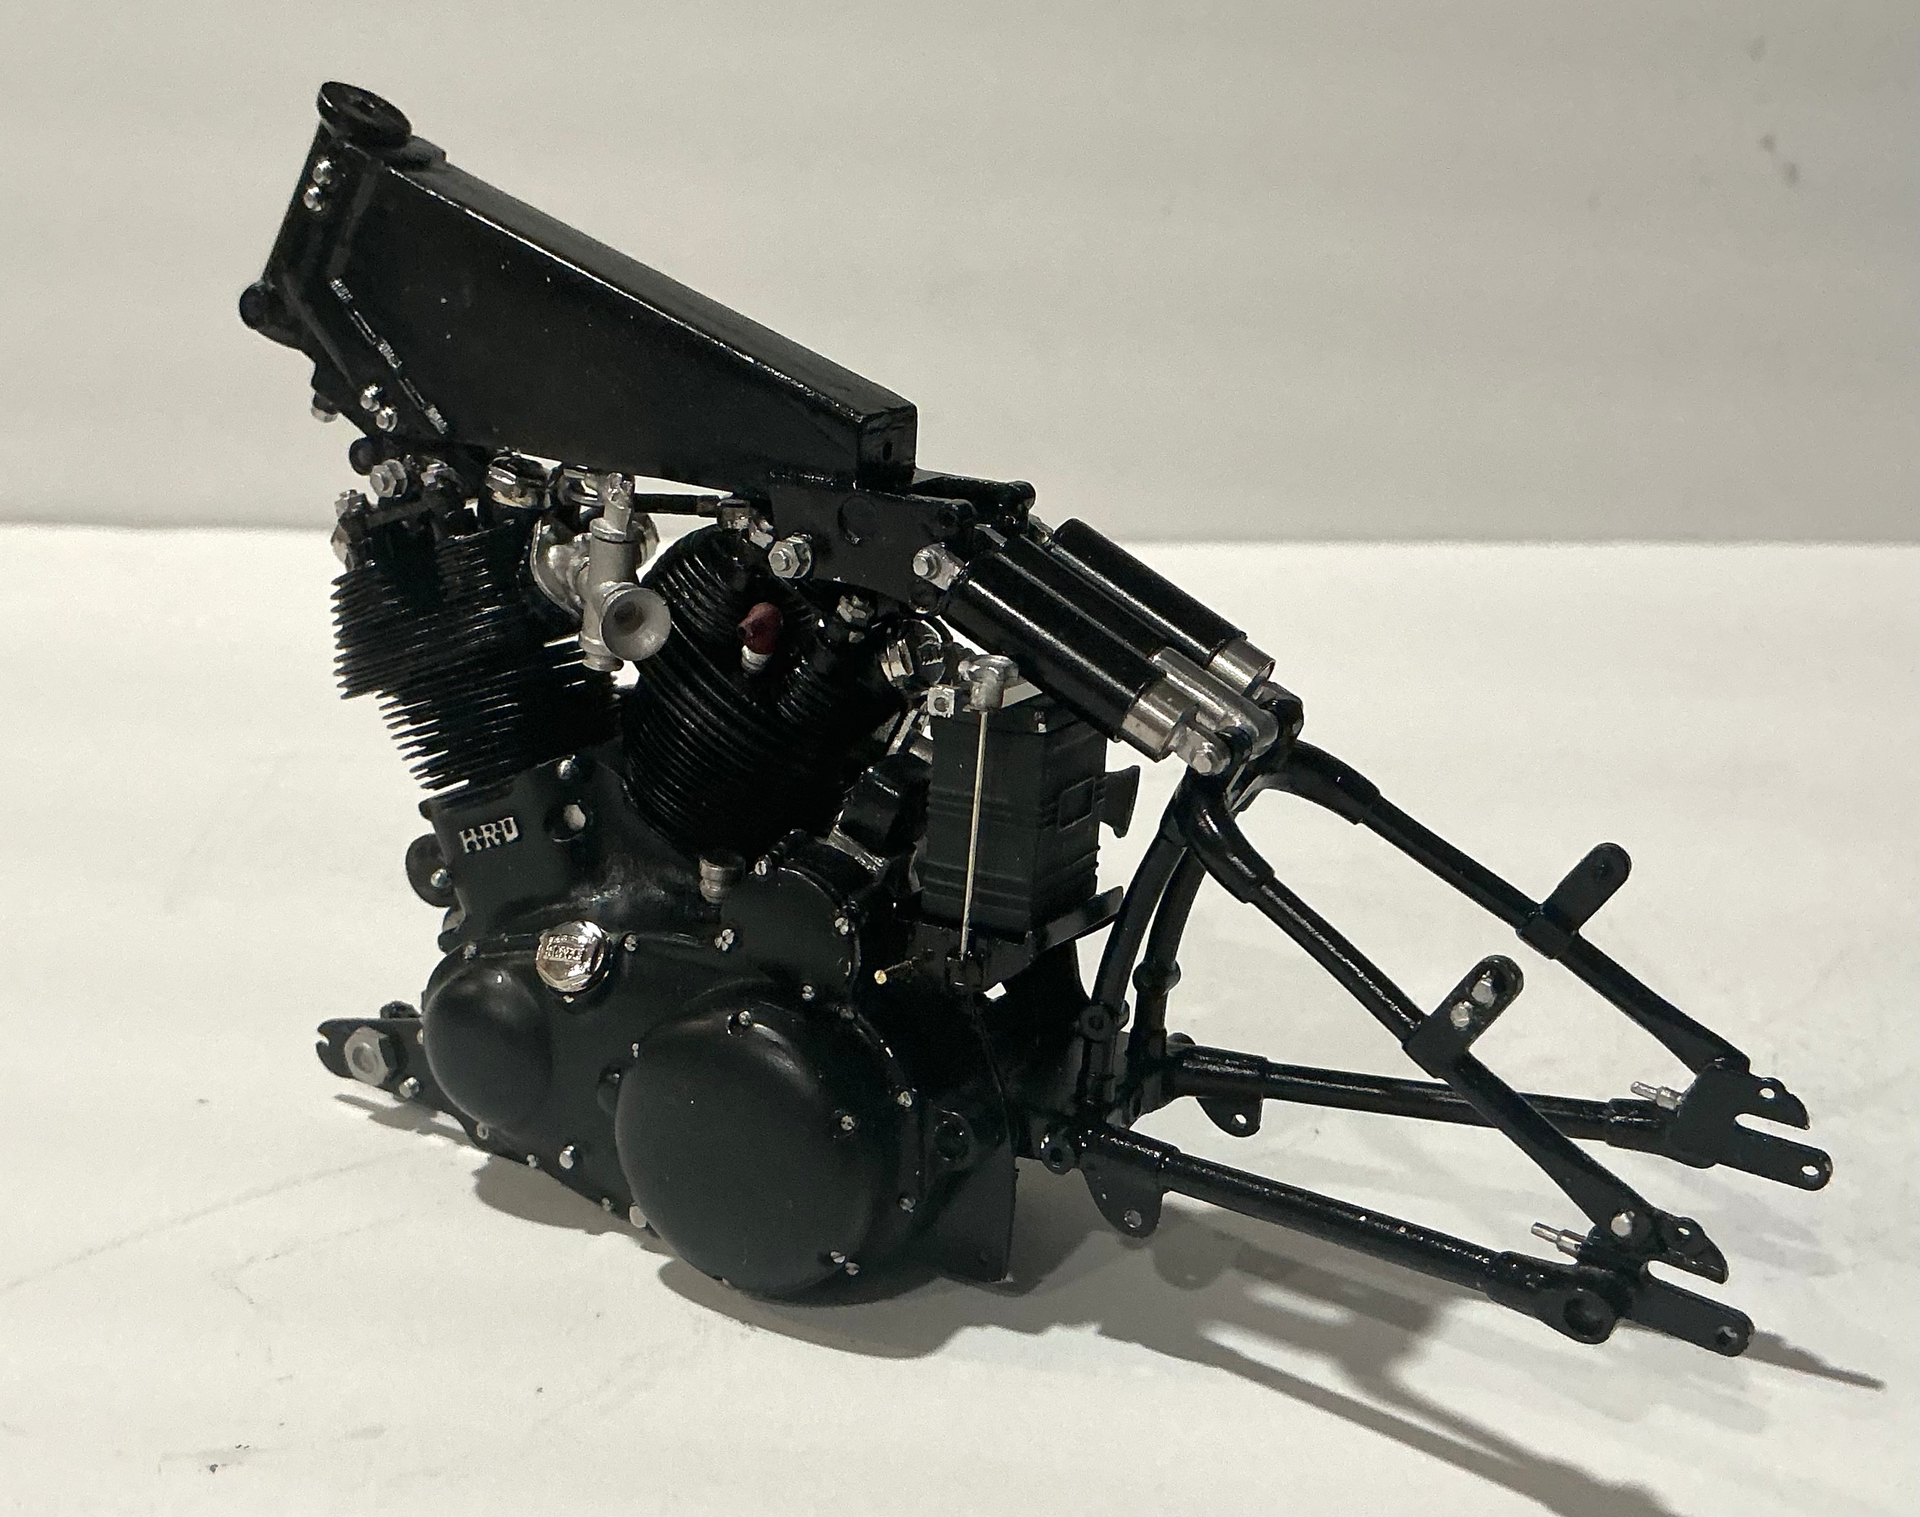
Still plugging along after about four years on and off. Masking the ram tape was very tedious but also very rewarding.
Next up is a task I’ve not been looking forward to at all: painting the white interiors on all the bay and gear doors, which requires masking off the base color that wraps around the very edge of each door. Oooof….
20 Likes
Fengda BD-130 with broken trigger and very low pressure. It still oversprays, but you have better control. Just tighten it so you have very small spray area and go over it couple times instead of doing it in one go
2 Likes
Got some spraying in today. Unfortunately the Vallejo Model Air acrylic seems to gum up in the body of the Badger 150 when running on low pressure. I spent half my regular hobby session cleaning gunk out of the barrel and inside the needle cap.
Made a start though. Cheers.
1 Like
Are you using Vallejo flow improver? That stuff makes a difference.
5 Likes
Sometimes. Was Vallejo thinning the Model Air a bit and thought that would be enough. I’ll try both tomorrow.
Cheers
2 Likes
Tried the flow improver with slightly-thinned Vallejo. Ran great but at minimum pressure but a little spatter around some edges. I did the blowback and spray through thing with V cleaner afterwards. Shall see how the ‘brush starts up tomorrow.
Cheers.
2 Likes
Sounds consistent with my results, though I’d hasten to add that I’m an airbrushing novice. It can be hard to get very soft lines. I did it once with a 0.2 needle and about 8psi with highly thinned paint and lots of flow improver. In fact I may have exclusively used flow improver. Haven’t tried it since
For what it’s worth, I’ve stopped using the blowback cleaning method since it seems to just get paint all over the inside of the airbrush. I just use very hot tap water, then remove the needle and run more until it runs clear, then reinsert the needle and run a half cup-full of Vallejo airbrush cleaner and that does it for me. Saves on airbrush cleaner too.
3 Likes
@Denimo Sounds familiar to me, too.
Speaking of paint, the Toyota had some. Basic Tamiya deck tan with yahoo overspray of red brown, deep green and middle gray.
Interior rubber black, NATO black and neutral gray.
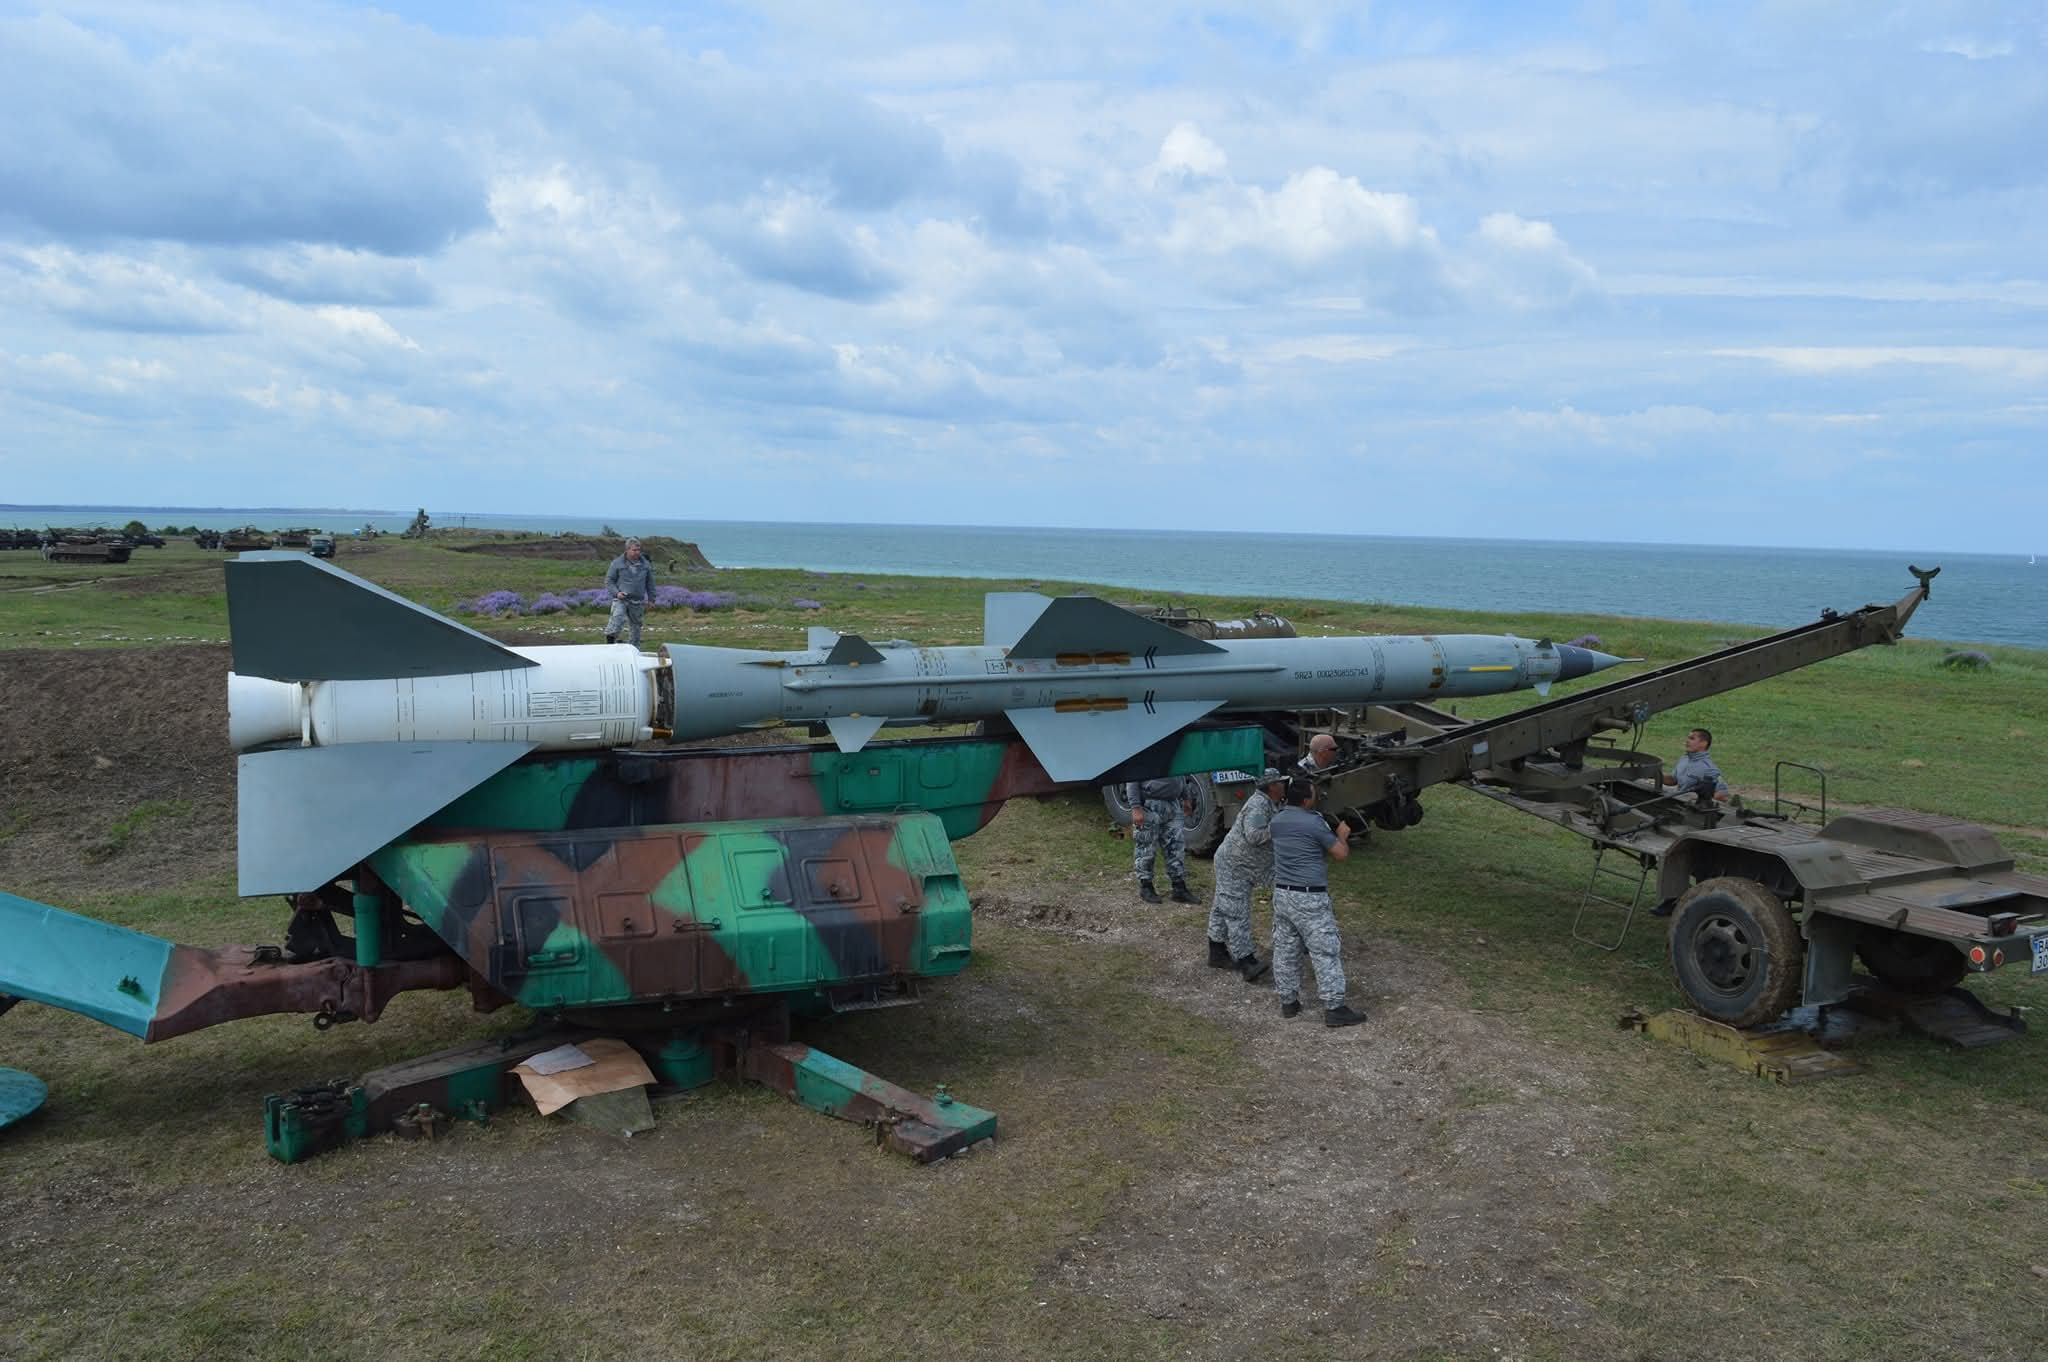
Rocket launcher Mig zashchitniy zeleno
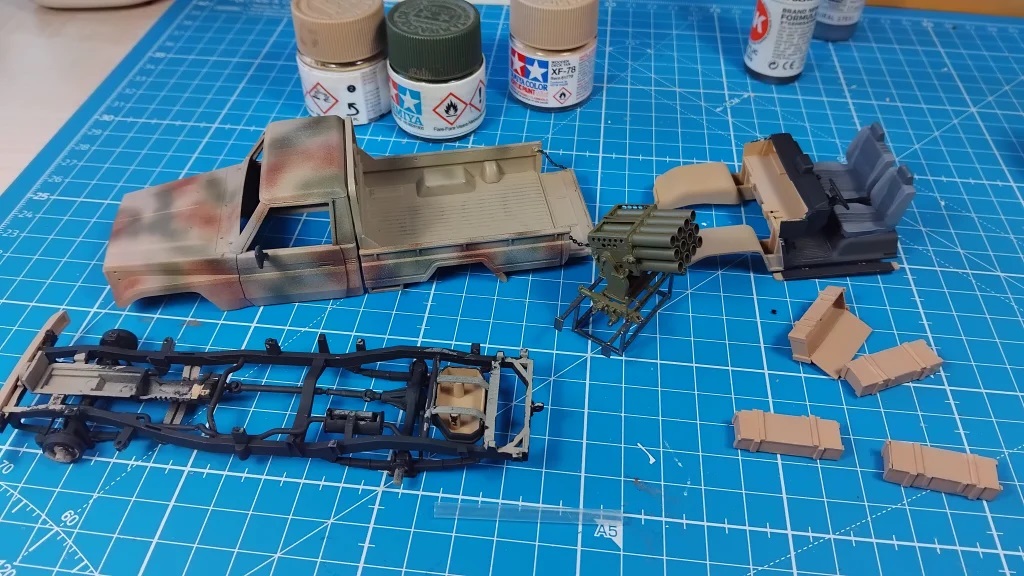
12 Likes
Hi Ron, I love that Deck Tan for my ODS-era builds. I’ve tried a few other Tamiya shades and most if not all of the Vallejo ones. The D Tan works for me!
2 Likes
I’ve got a half-gallon of the MEDEA brand (Iwata?) cleaner left and about a third of a bottle of original Vallejo, but;
I’m always keen to try new methods, so I’ll give your suggestion a try over the next few sessions.
Thanks for the advice.
2 Likes