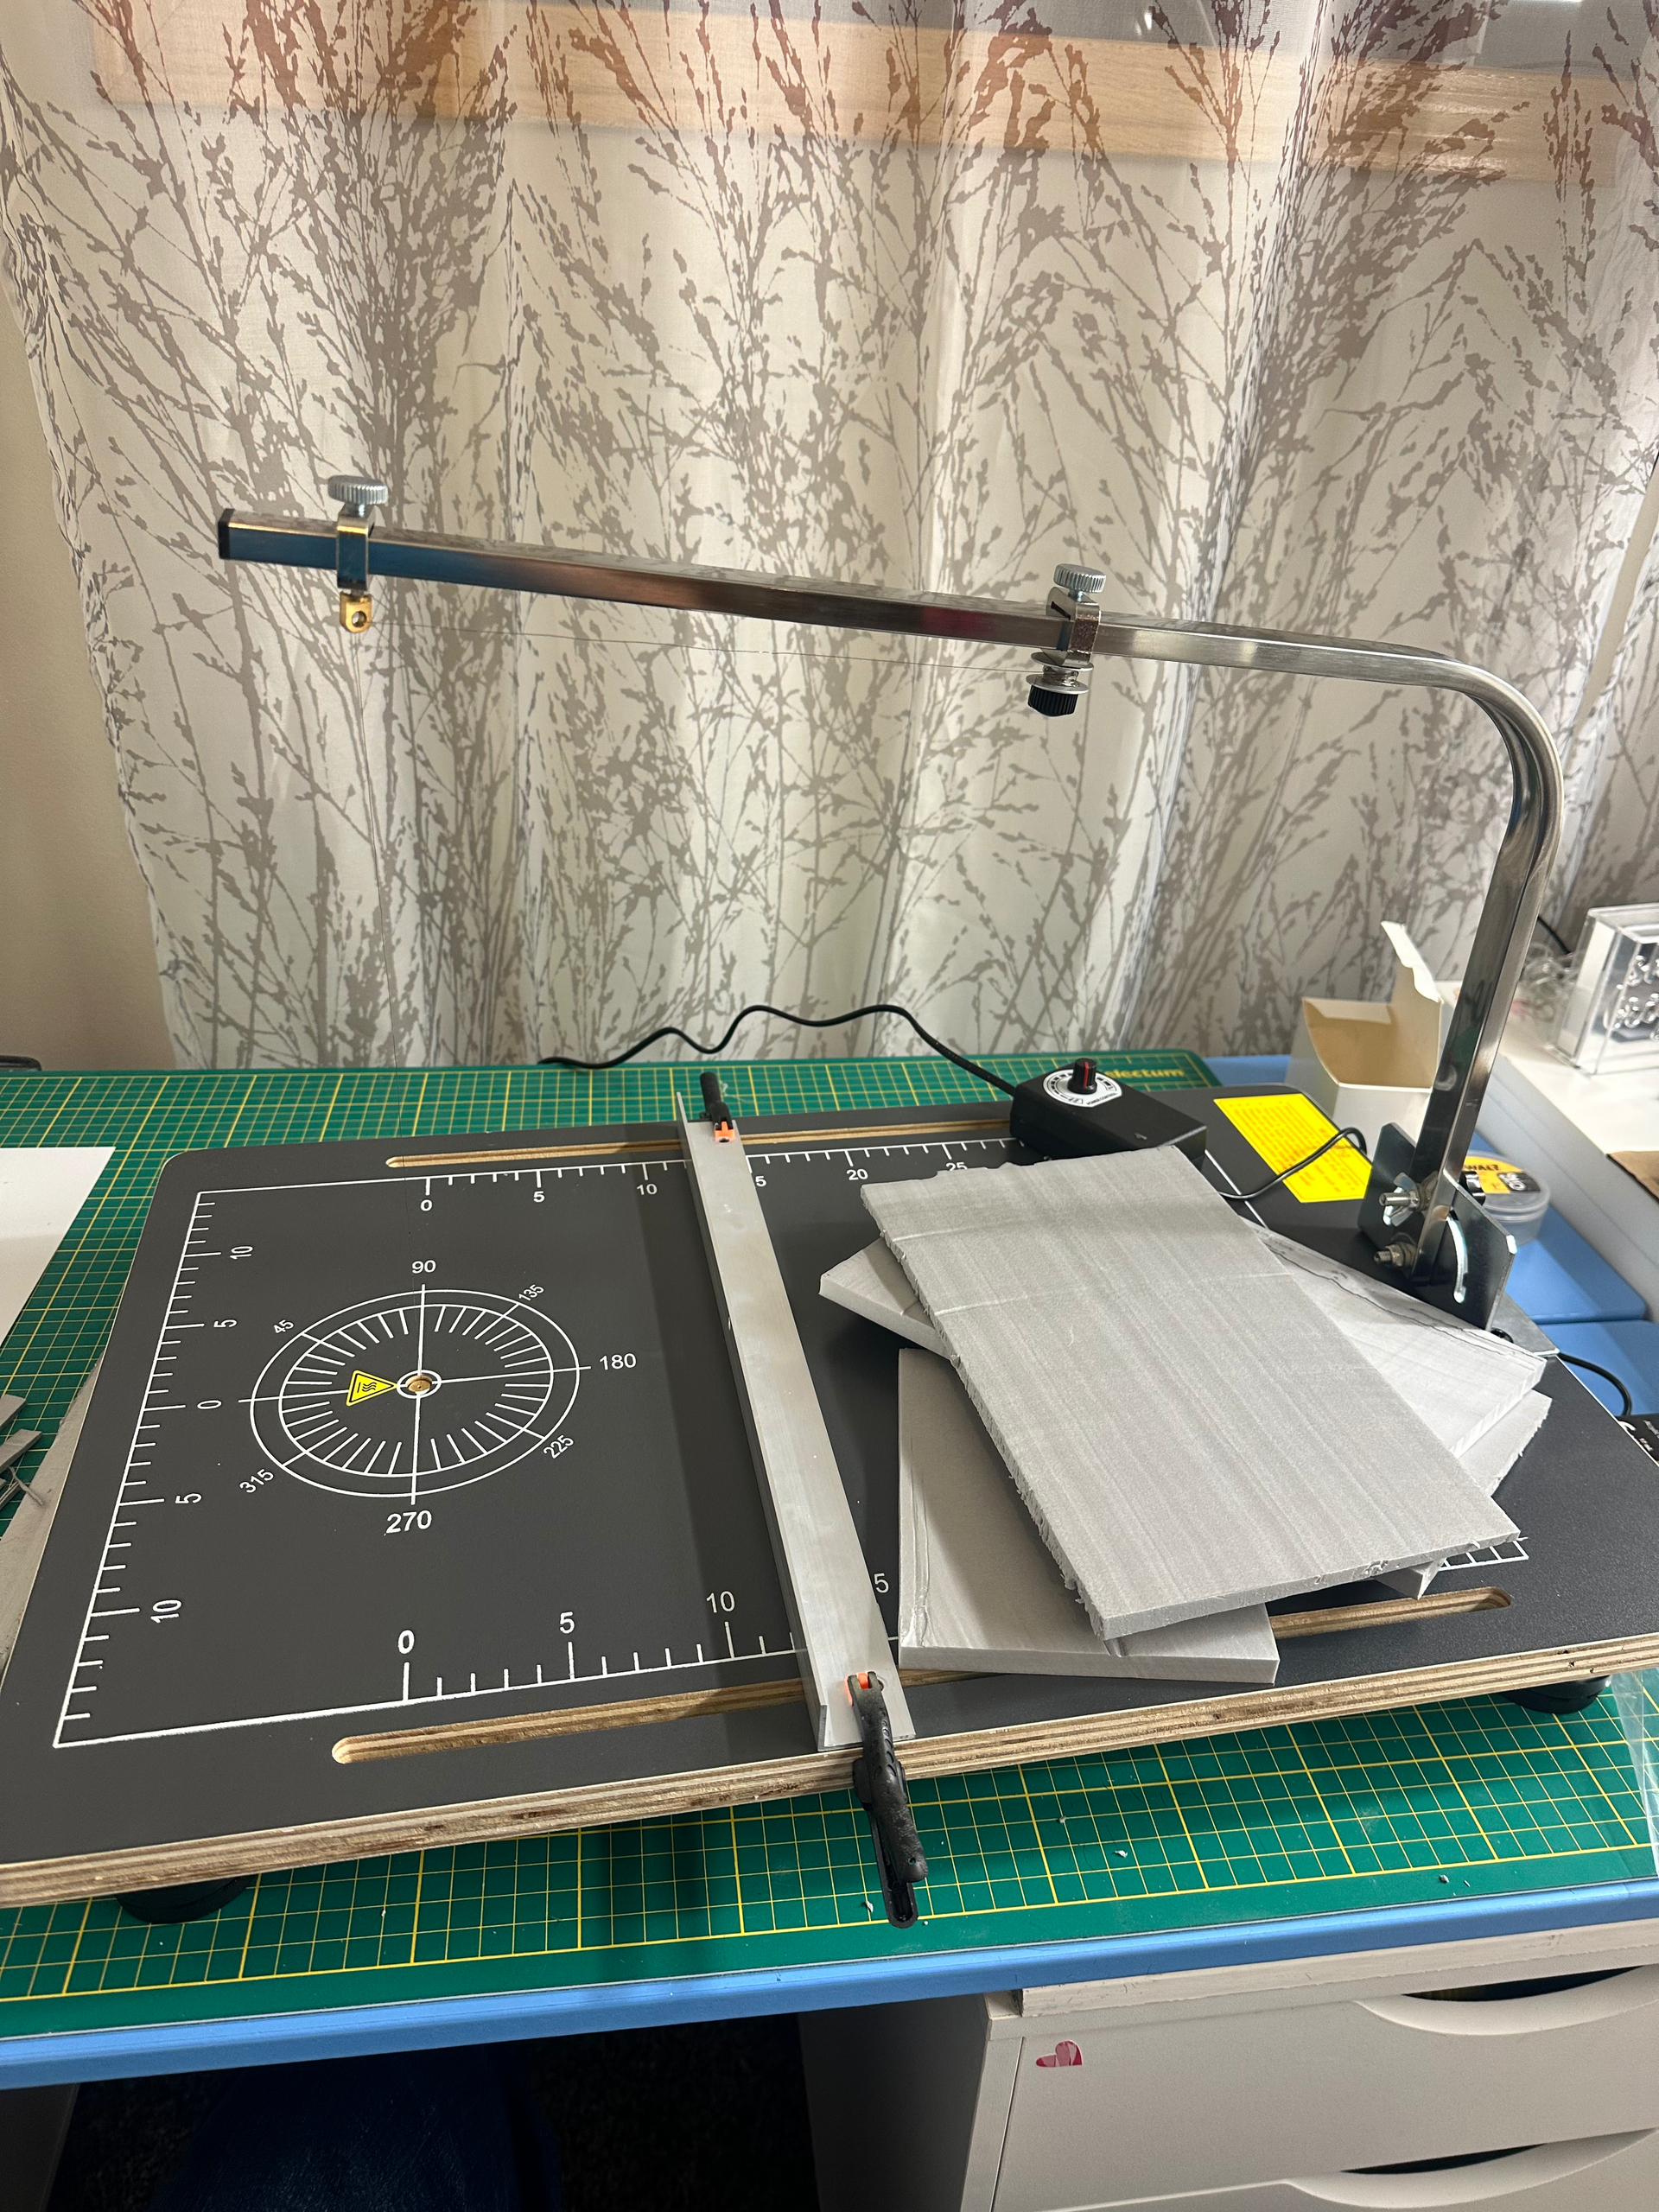
I bought a second hand but never used foam cutter off Kijiji…

8 Likes
Interestingly to me the “chassis” you refer to used to be known as the frame in England. Conversely, the chassis on an English truck is referred to as a frame here in N America.
2 Likes
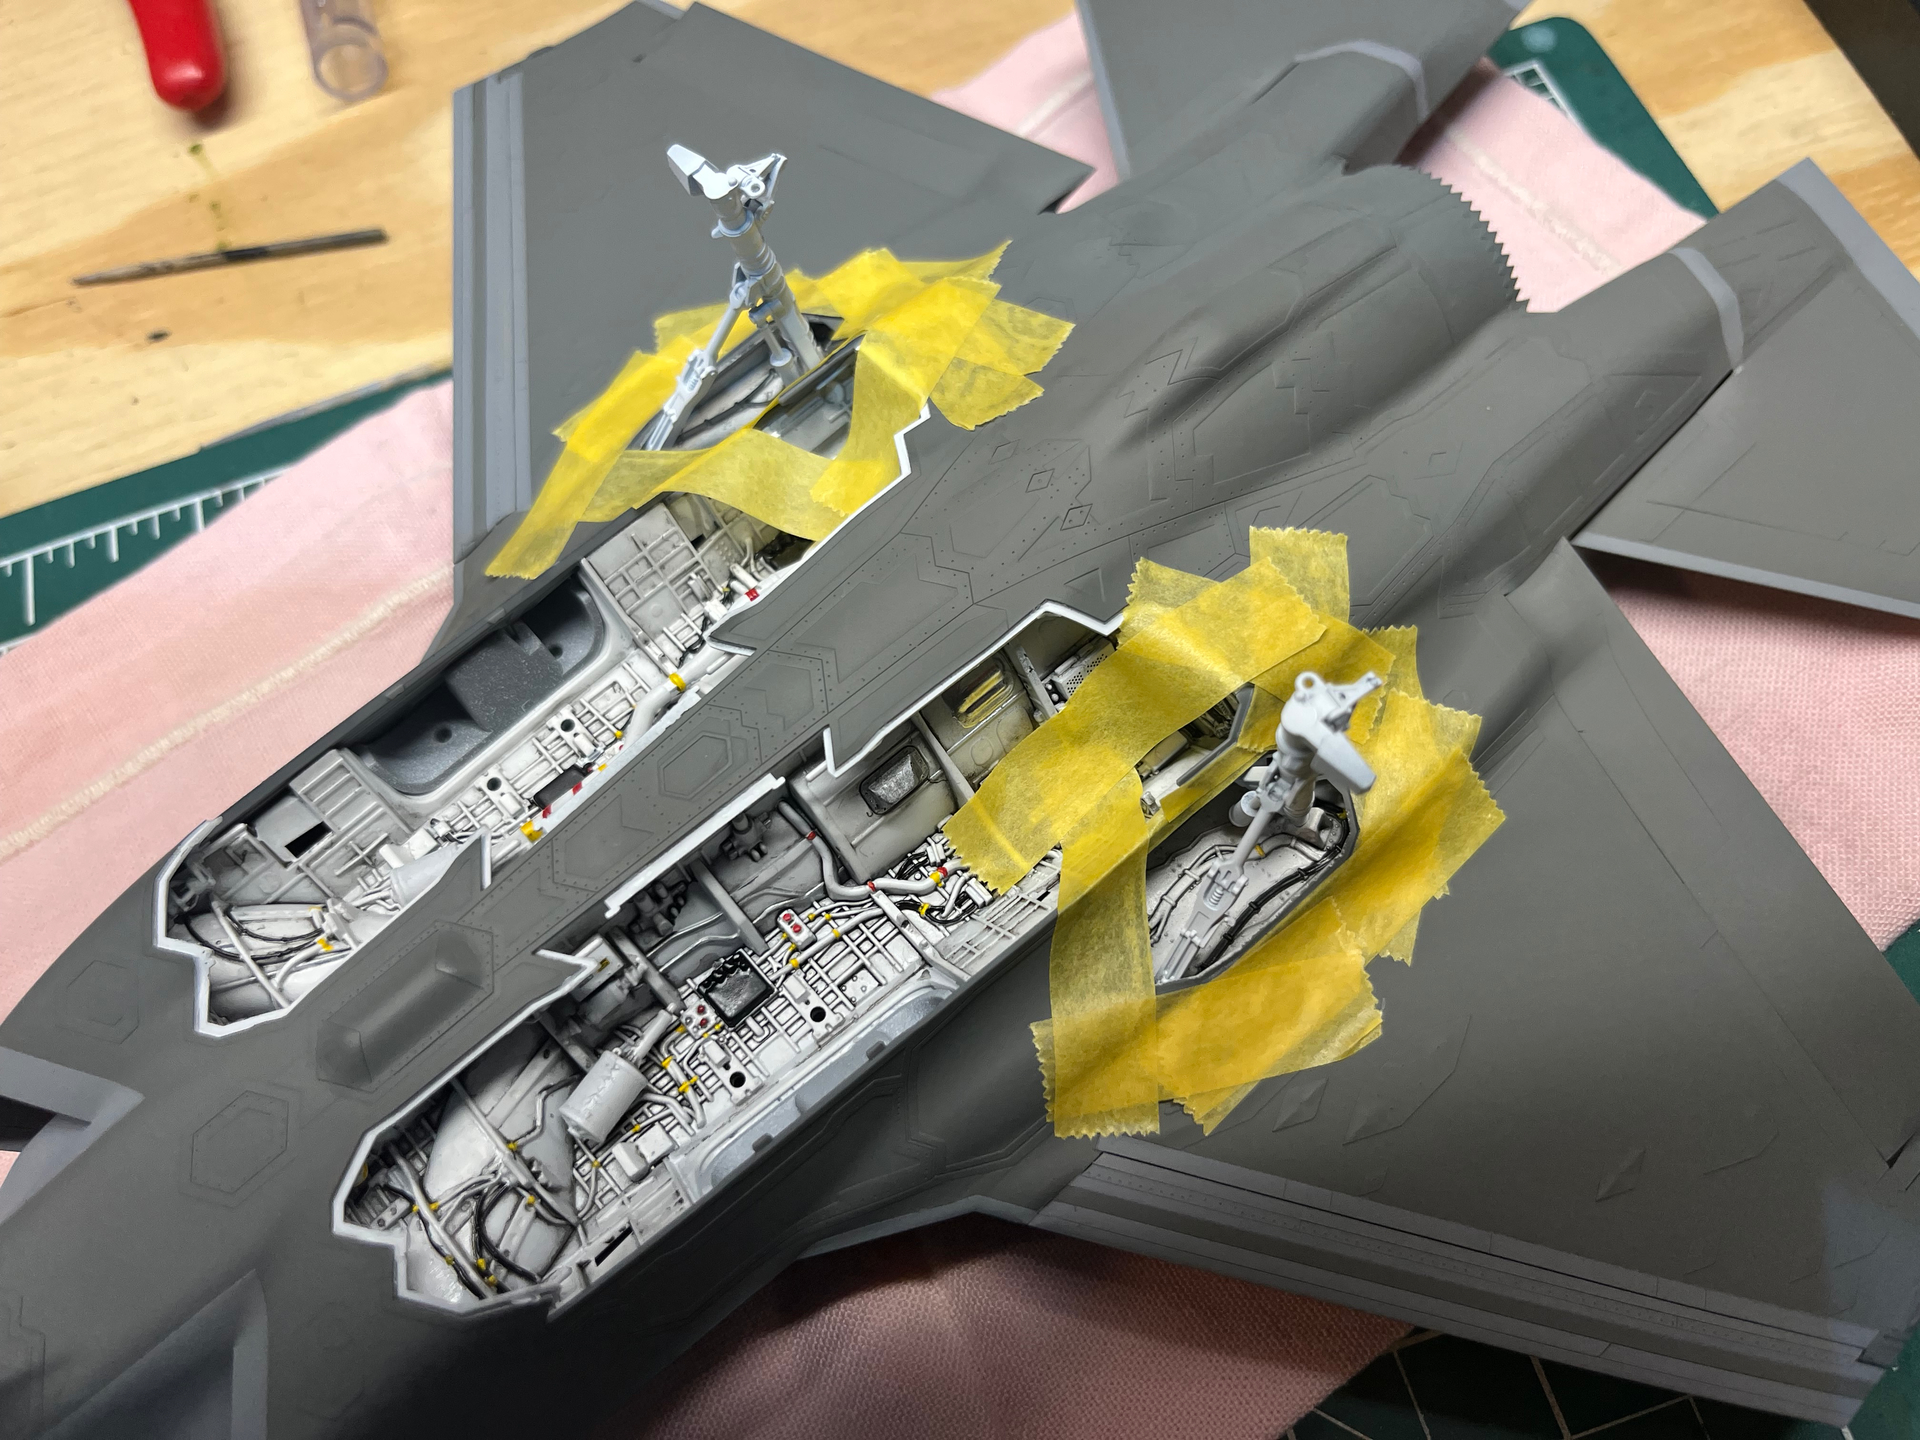
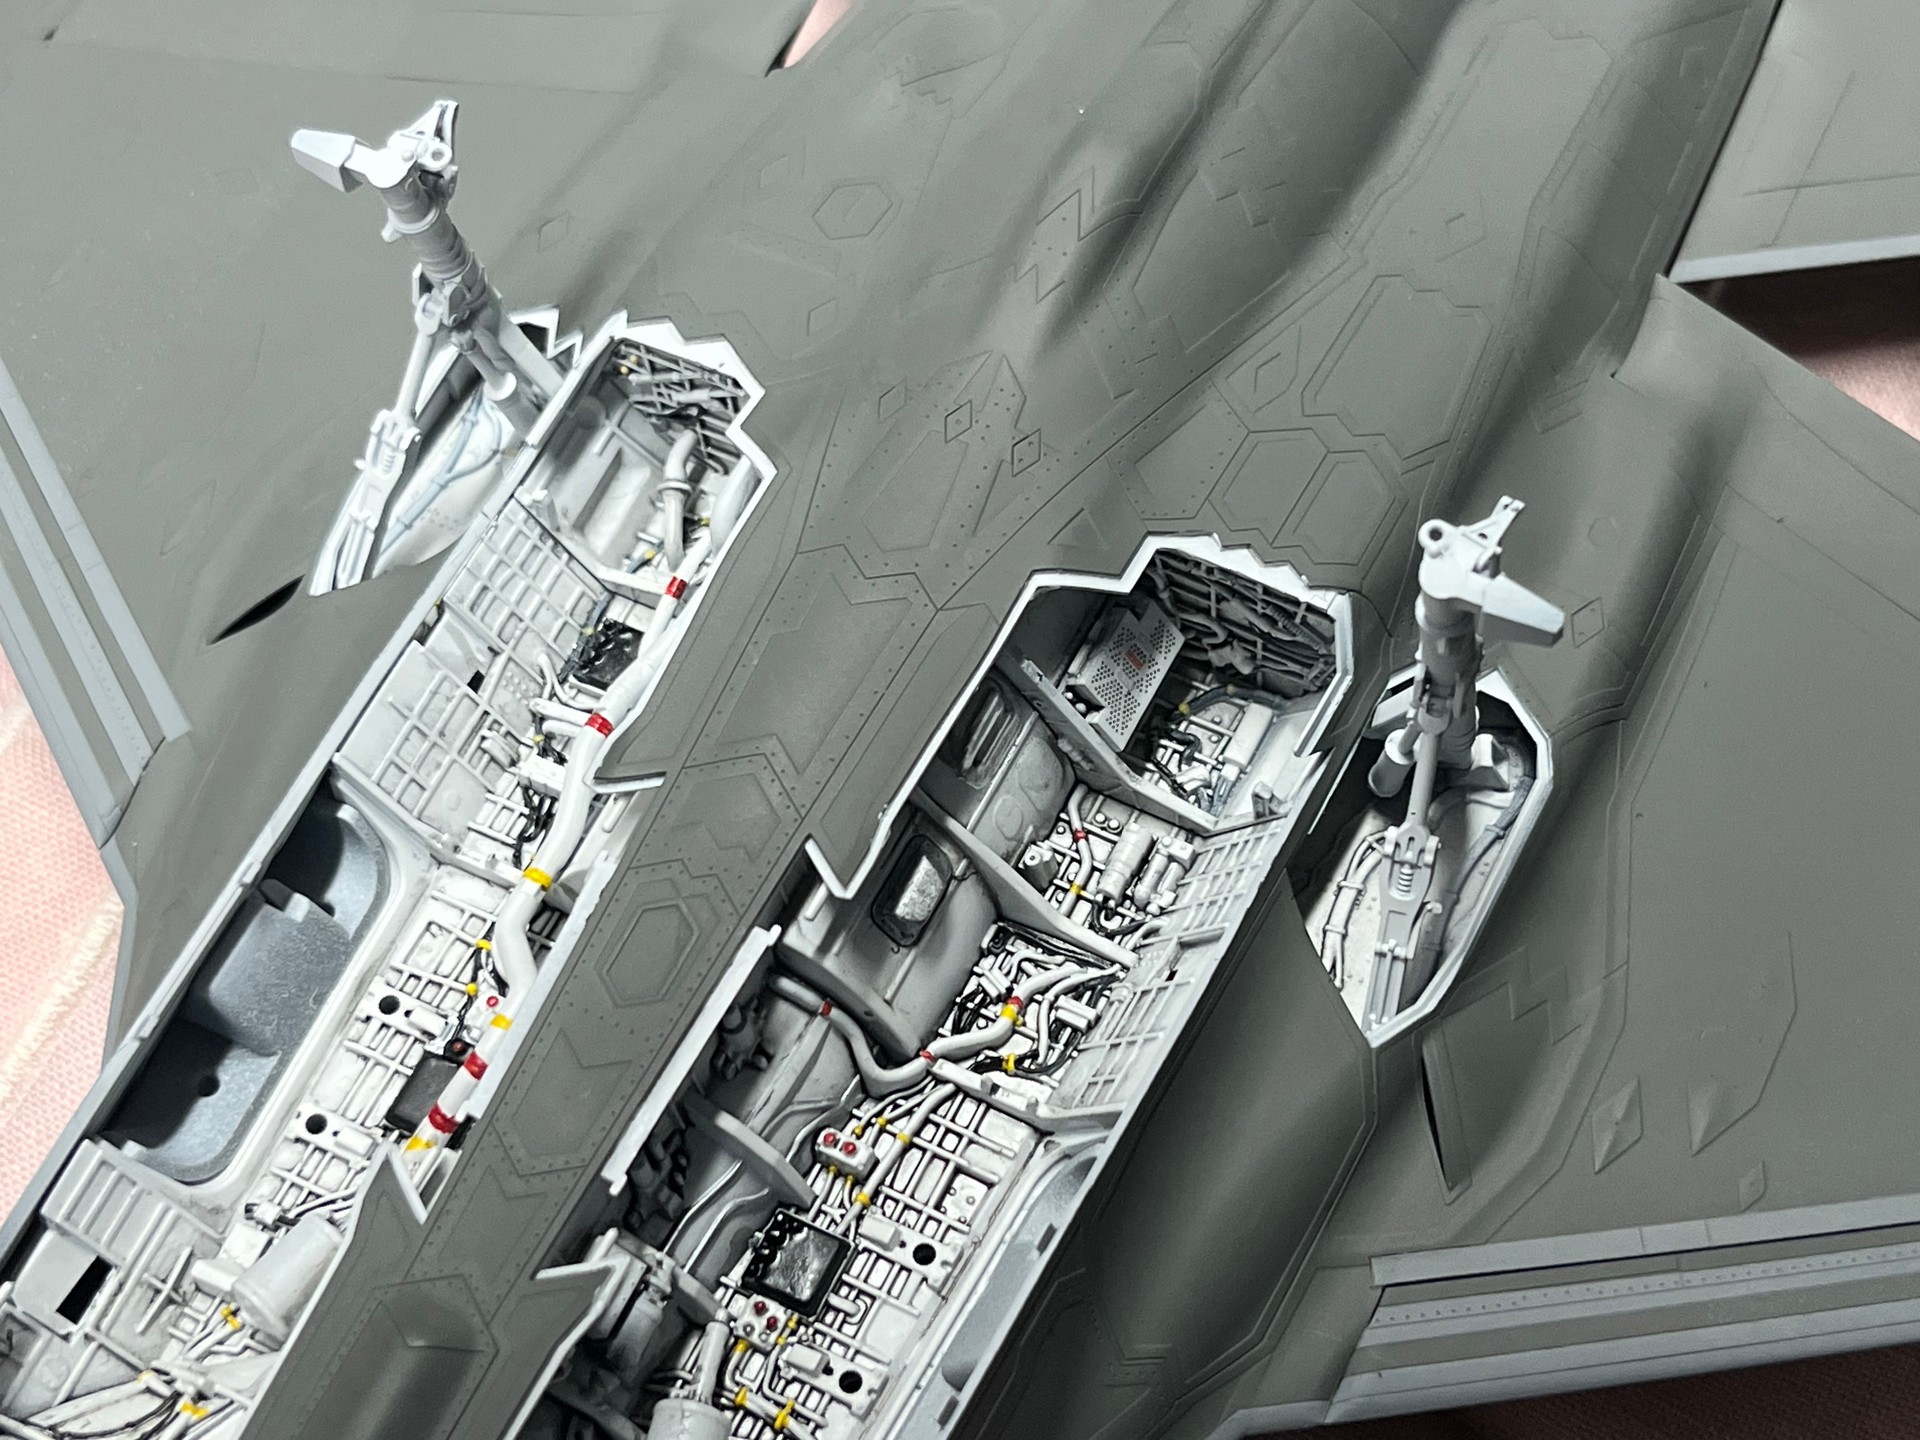
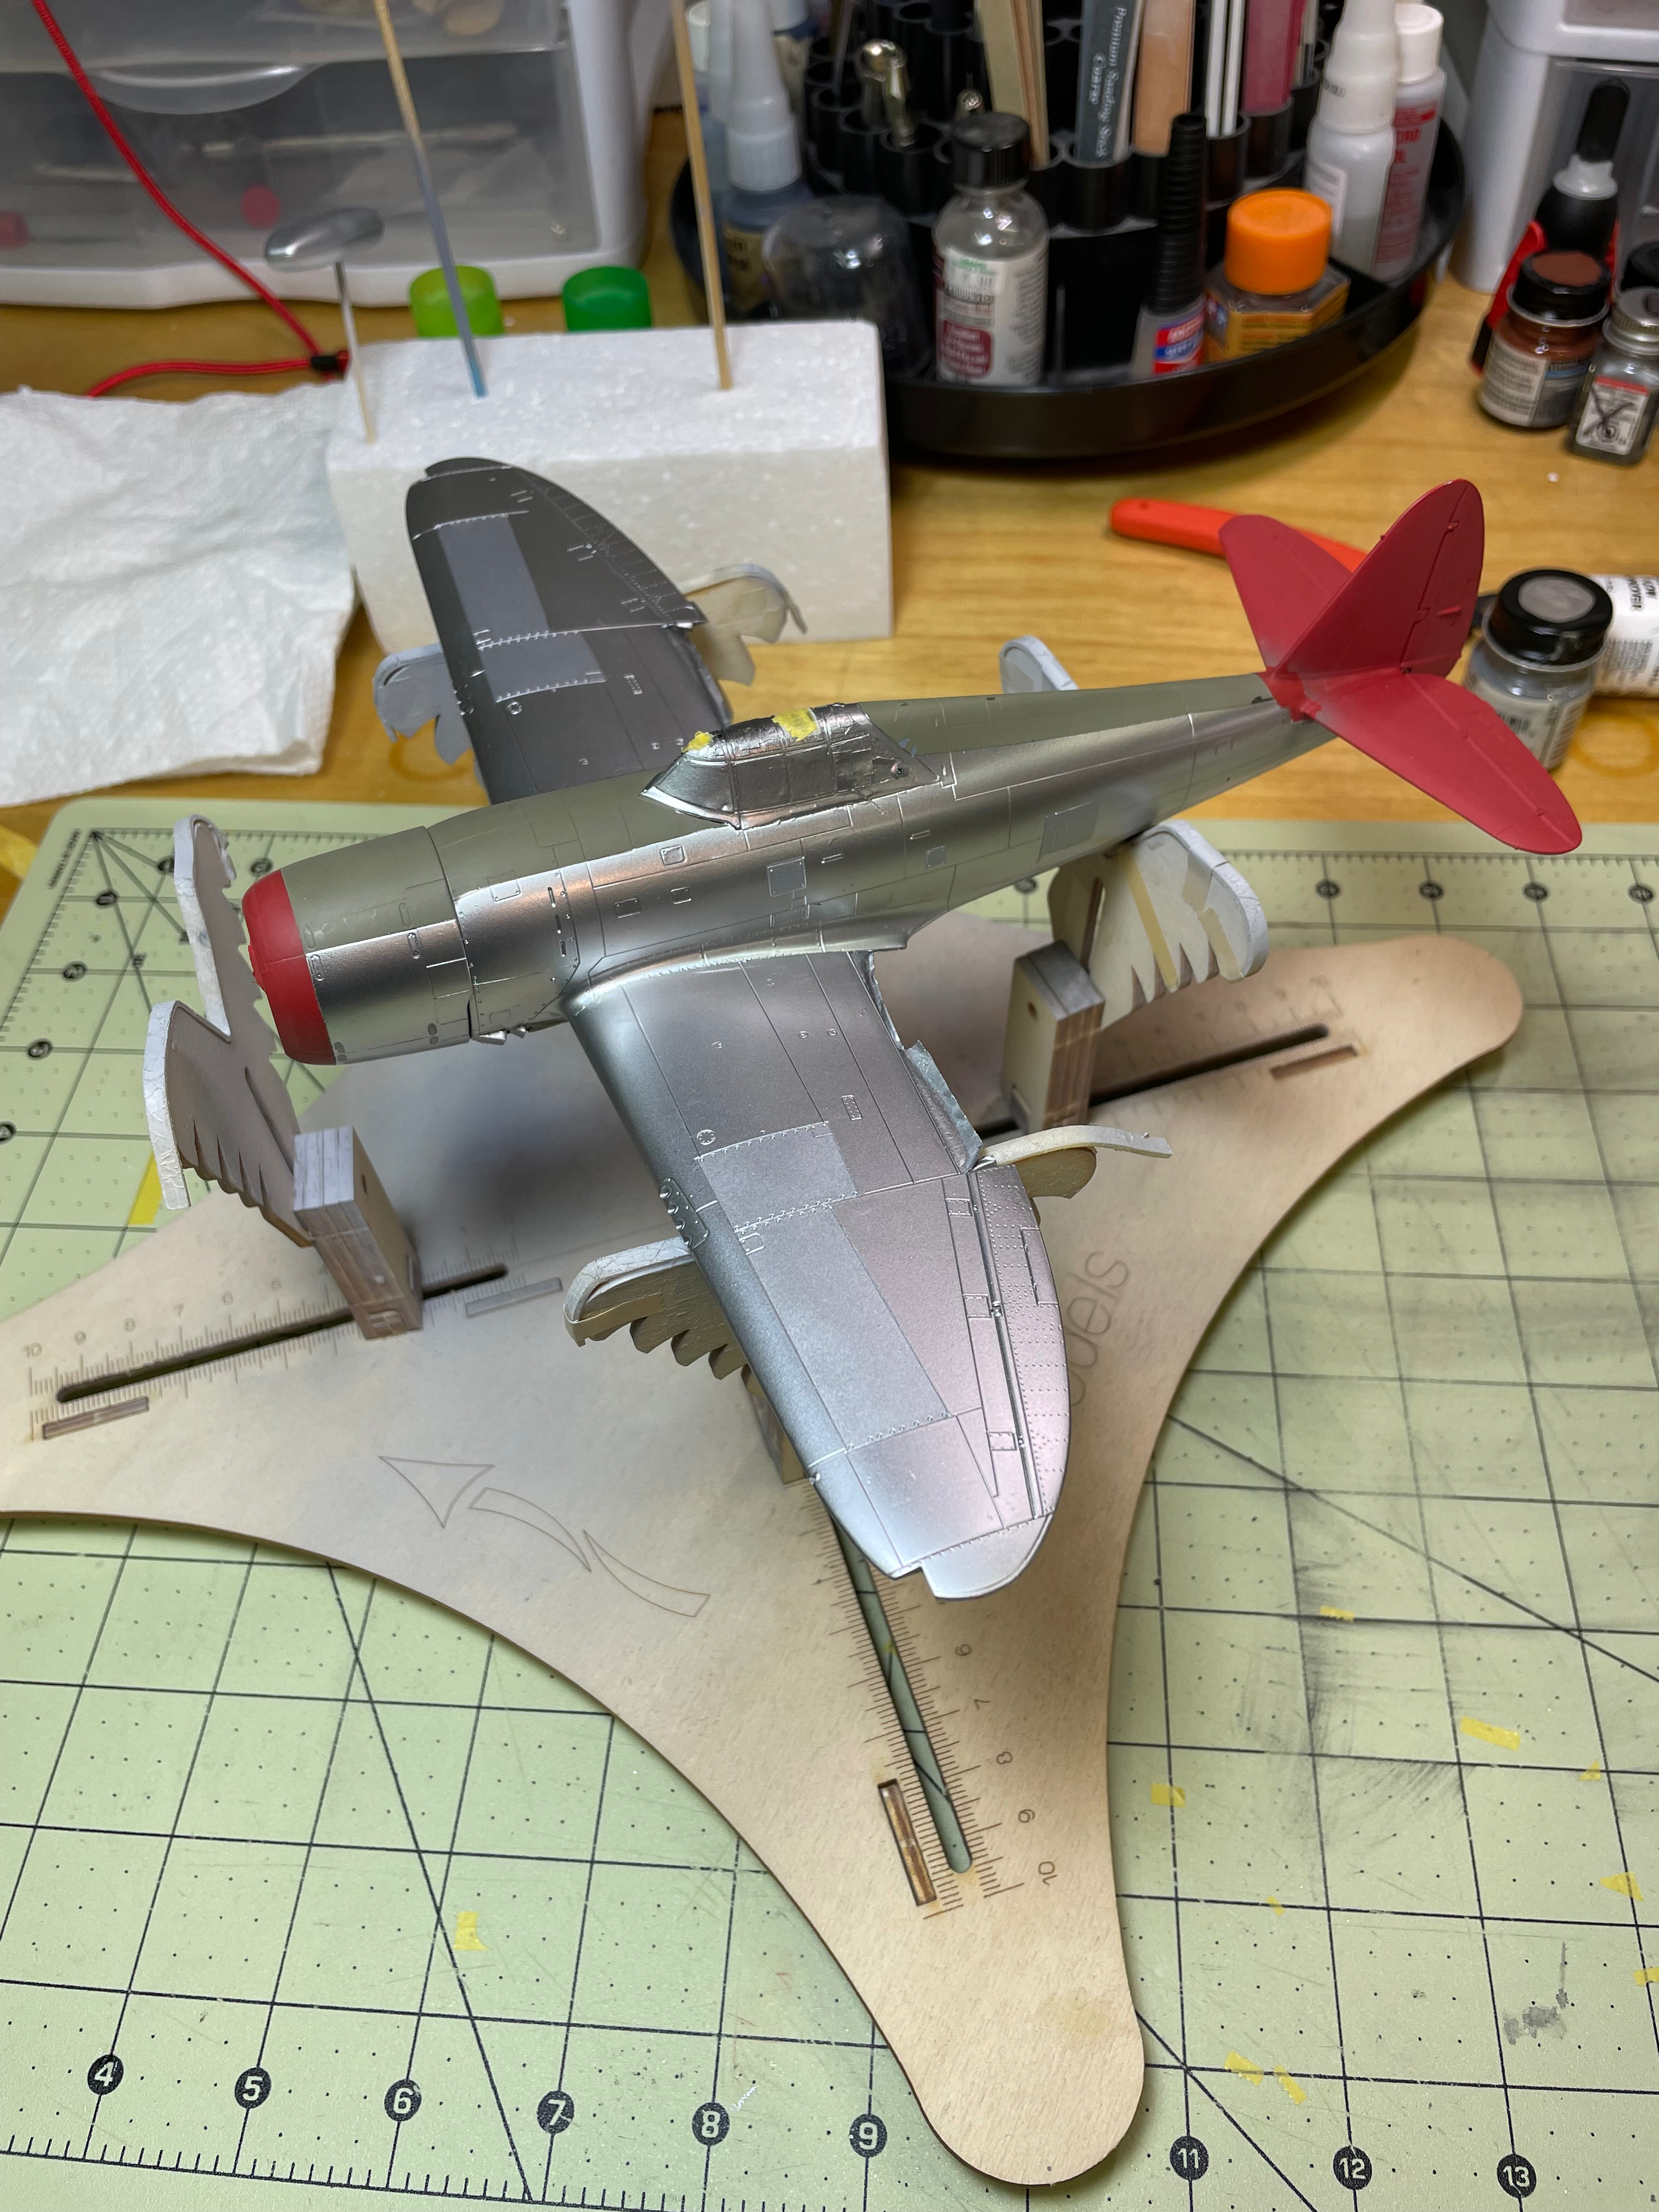
Masked and sprayed the gear door edges and managed to get overspray on the left wing.
It’s two steps forward and one step back around here!
24 Likes


28 Likes
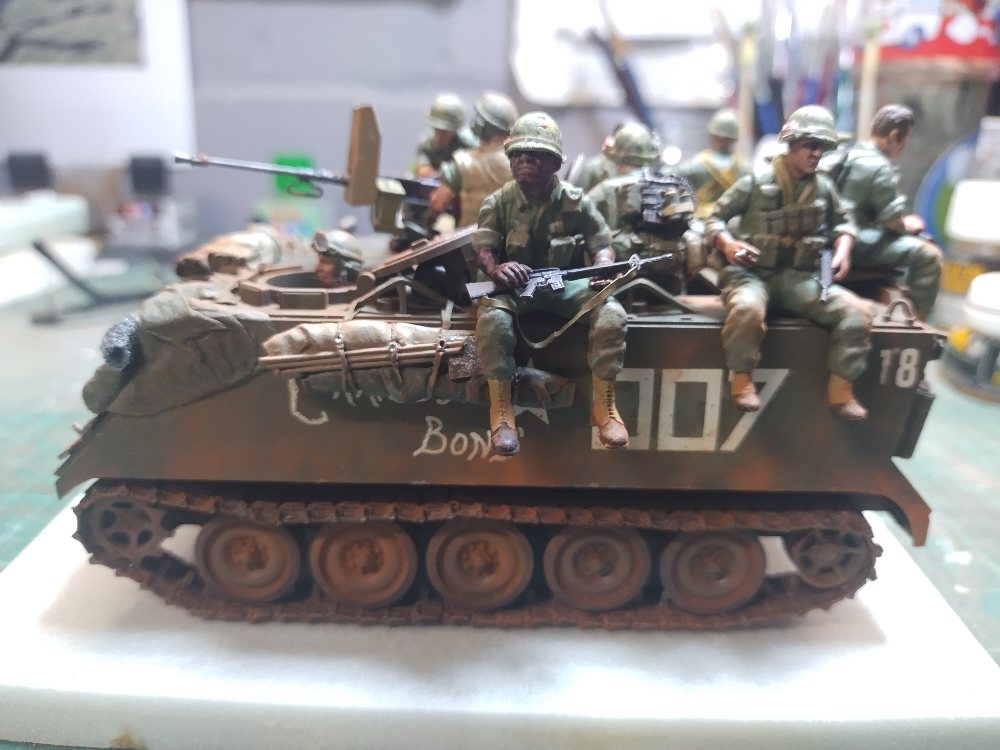
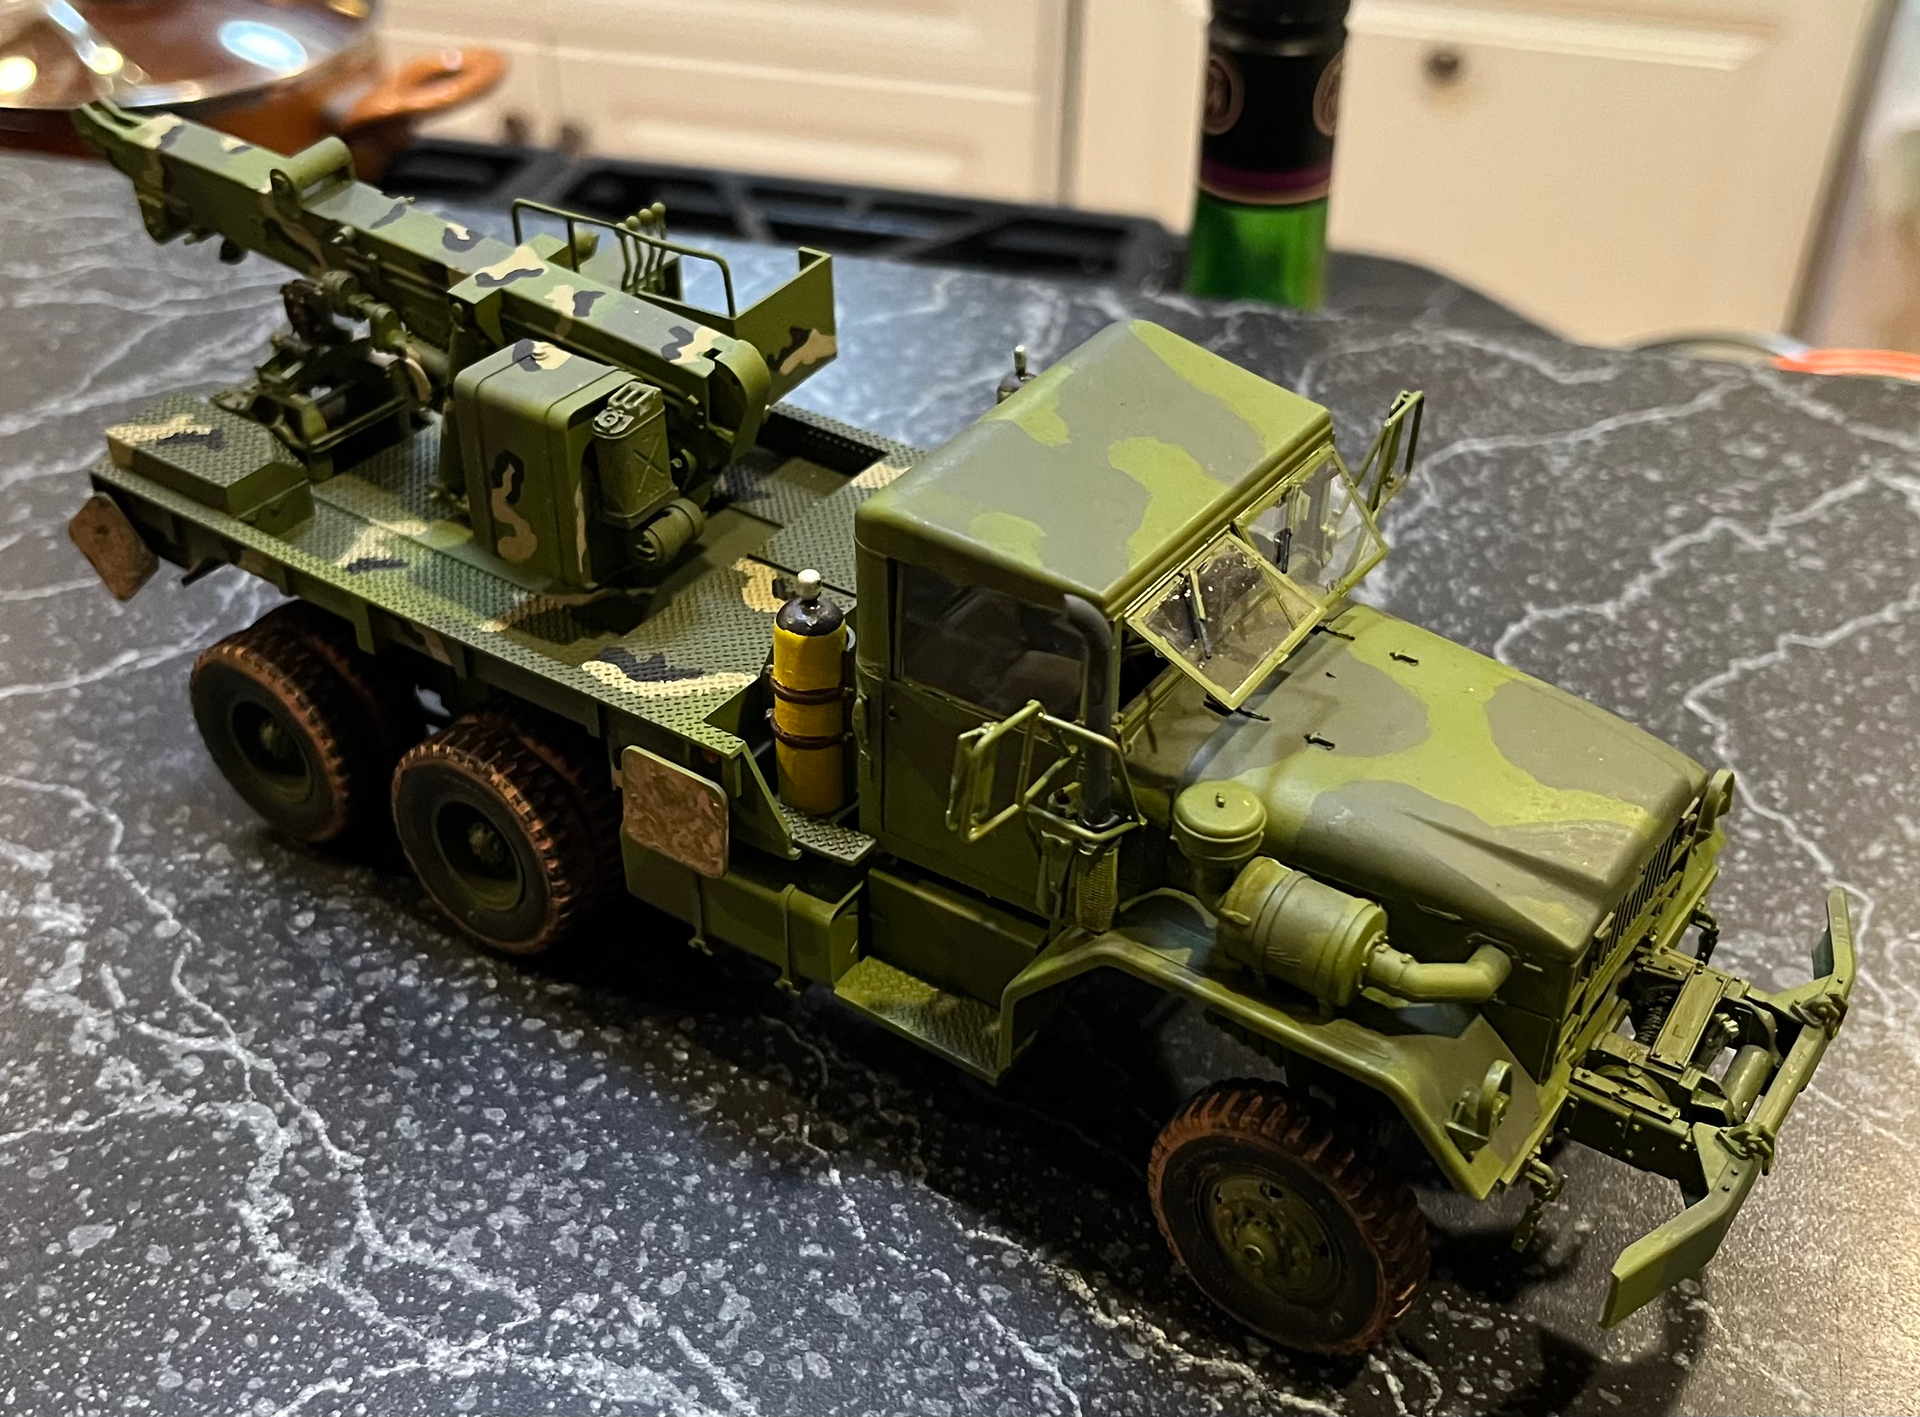
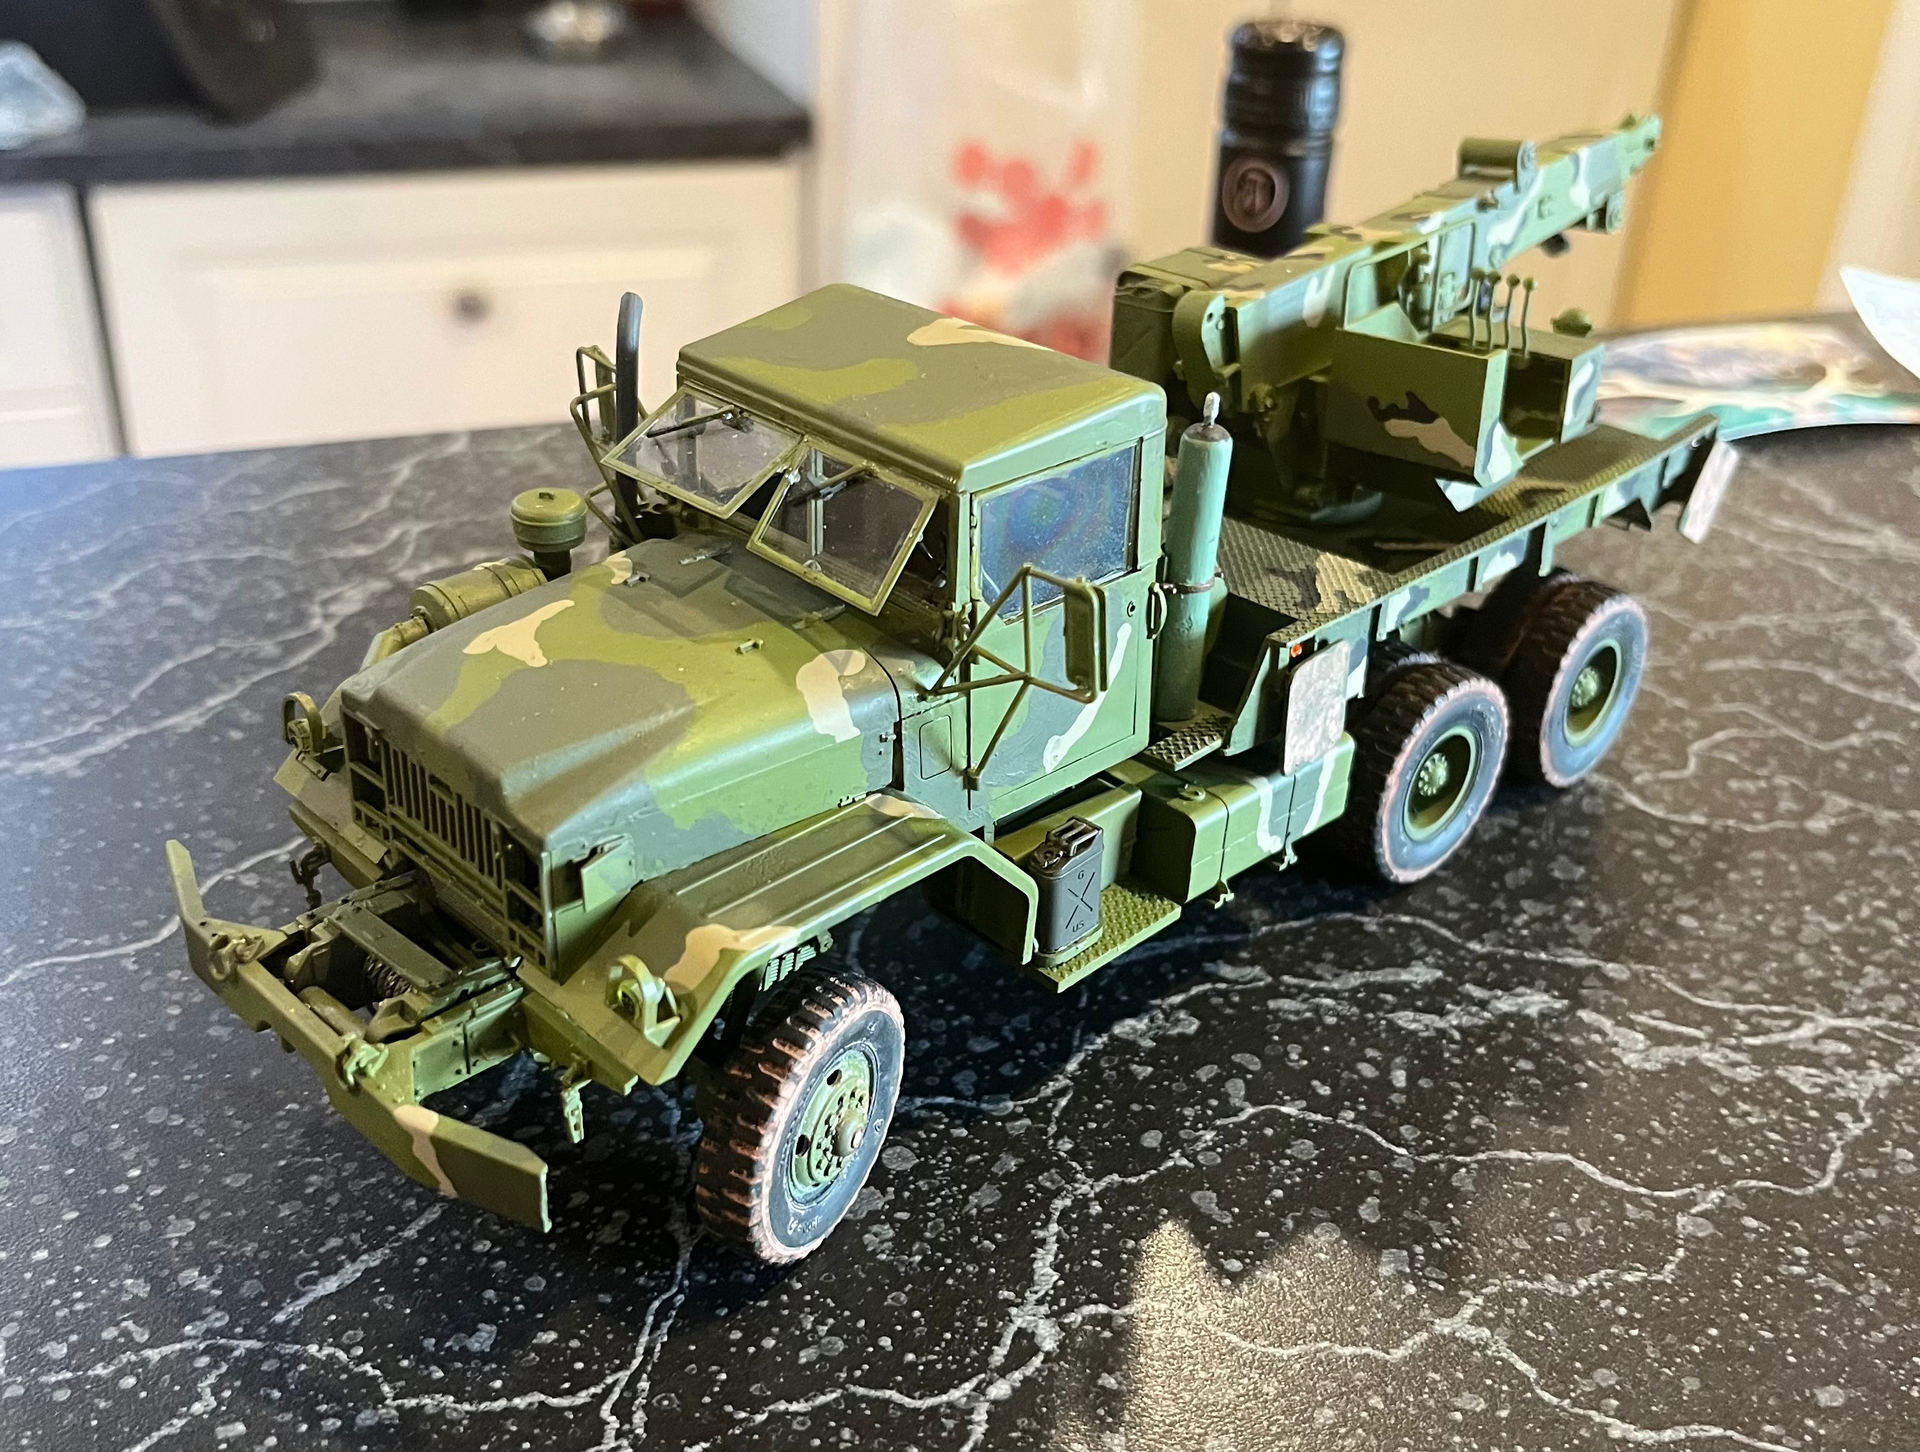
Some more work on the M543. I decided the boom needed the sand and black camo, and also got the Forest Green on the cab.
26 Likes
WOW!!! Looks great.
1 Like
Looks really good. I’ve got the A and C models on the build list
3 Likes
Thanks. The A is a very striking jet all opened up. I gotta think the B would be even more so!
4 Likes
Has Arch Stanton posted on this thread?
1 Like


Very nice. Not something I’ve seen done before.![]()
![]()
4 Likes
Eye catching, like it.
3 Likes

I’m making slow progress on a 1/32 scale model of a KW C500 8x8 with the Cummins ISX15 engine. To make this all work requires a fair amount on scratch work. The donor engine is a 1/35 Cat C7, which is less than half the size of the Cummins, so lots of modifications required.
A key part of the task was getting some stable motor mounts in place:
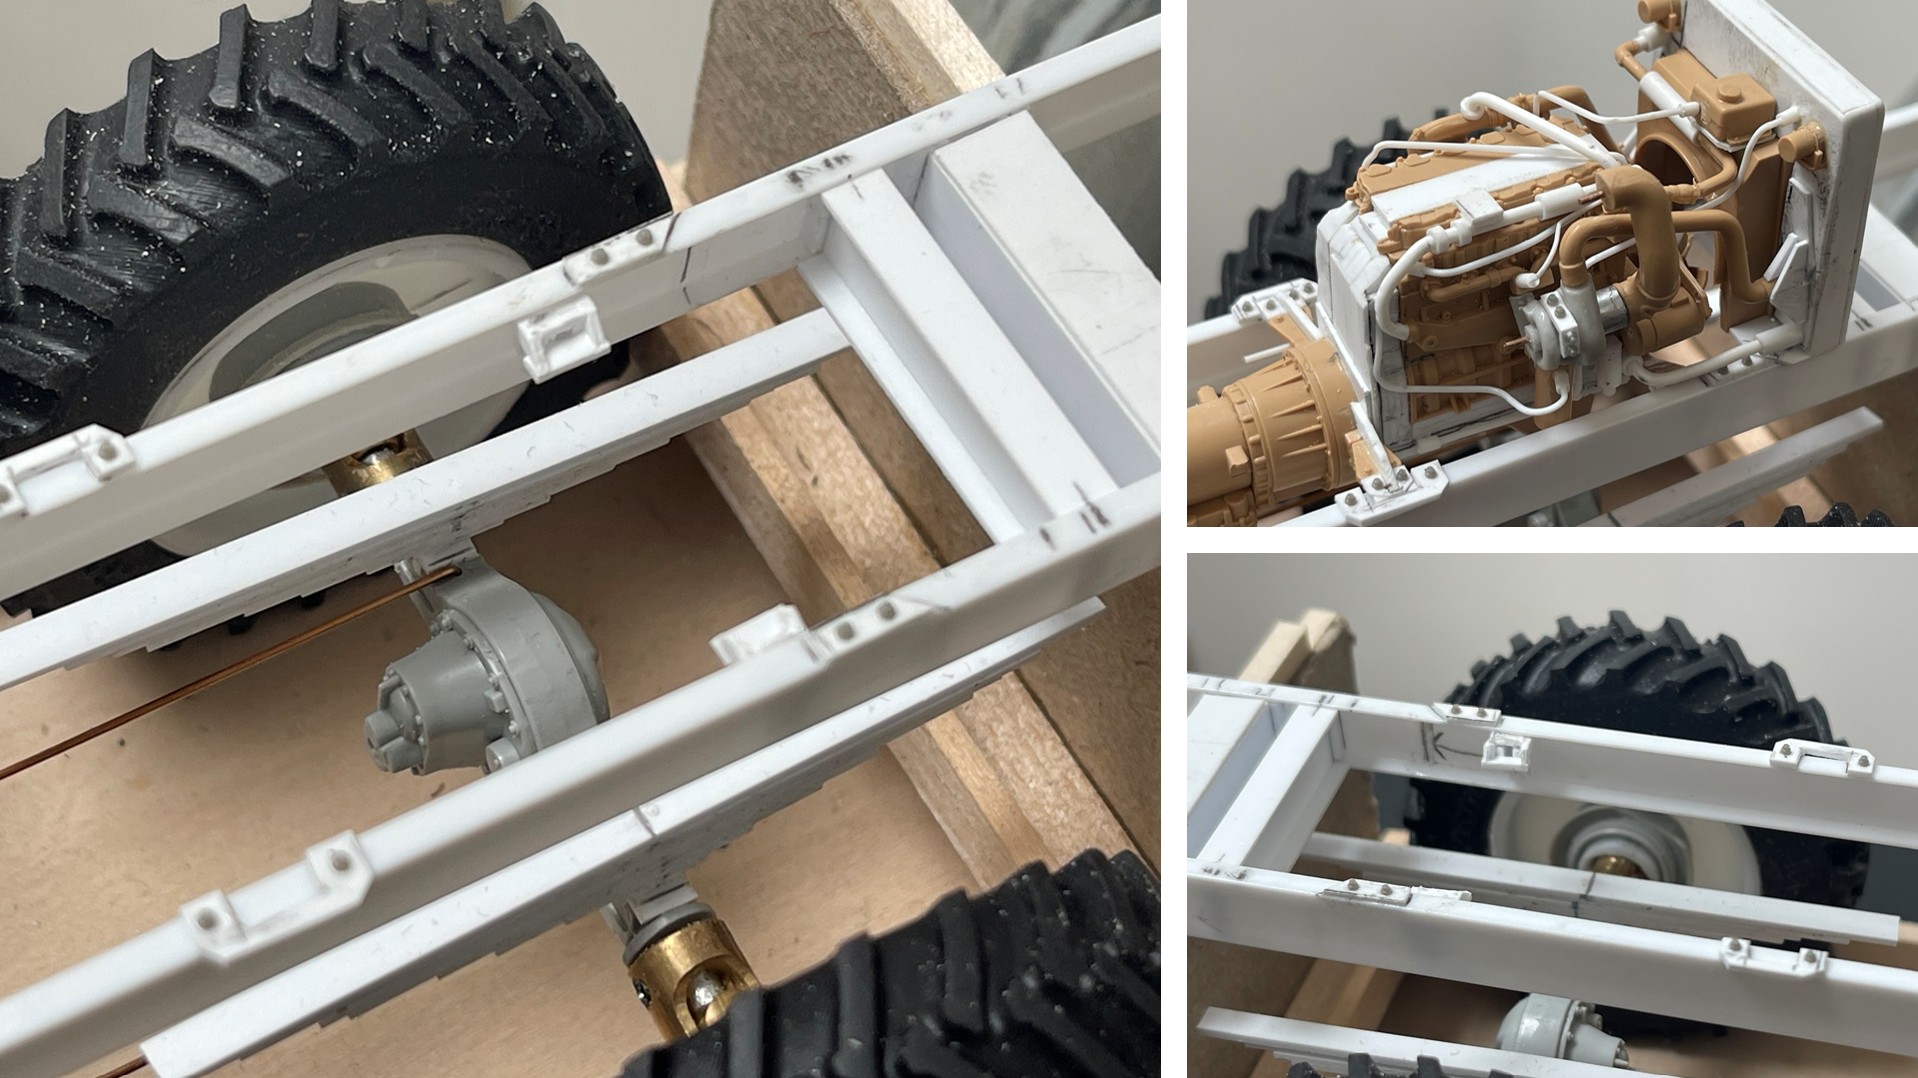
The ‘U’ shaped bracket to the left, above, are for the transmission mounts, the brackets below the top of the frame rails are motor mounts, and the two brackets on the top of the frame rails to the right are used to align the radiator.

The engine itself has received lots of changes. It’s wider, taller, and longer, much of the plumbing rerouted or new, and the turbo is from a small 1/24 kit. The turbo that came with the donor engine was simply too small for the big Cummins engine. The red arrow shows where the exhaust will be routed, and the blue arrow the air intake. The hood on the C500 is steel and has side openings and butterfly doors on the top, so does not tilt, but it you leave the sides off, you will be able to see some of the engine.
Nick ![]()
22 Likes
That’s just too good.
1 Like
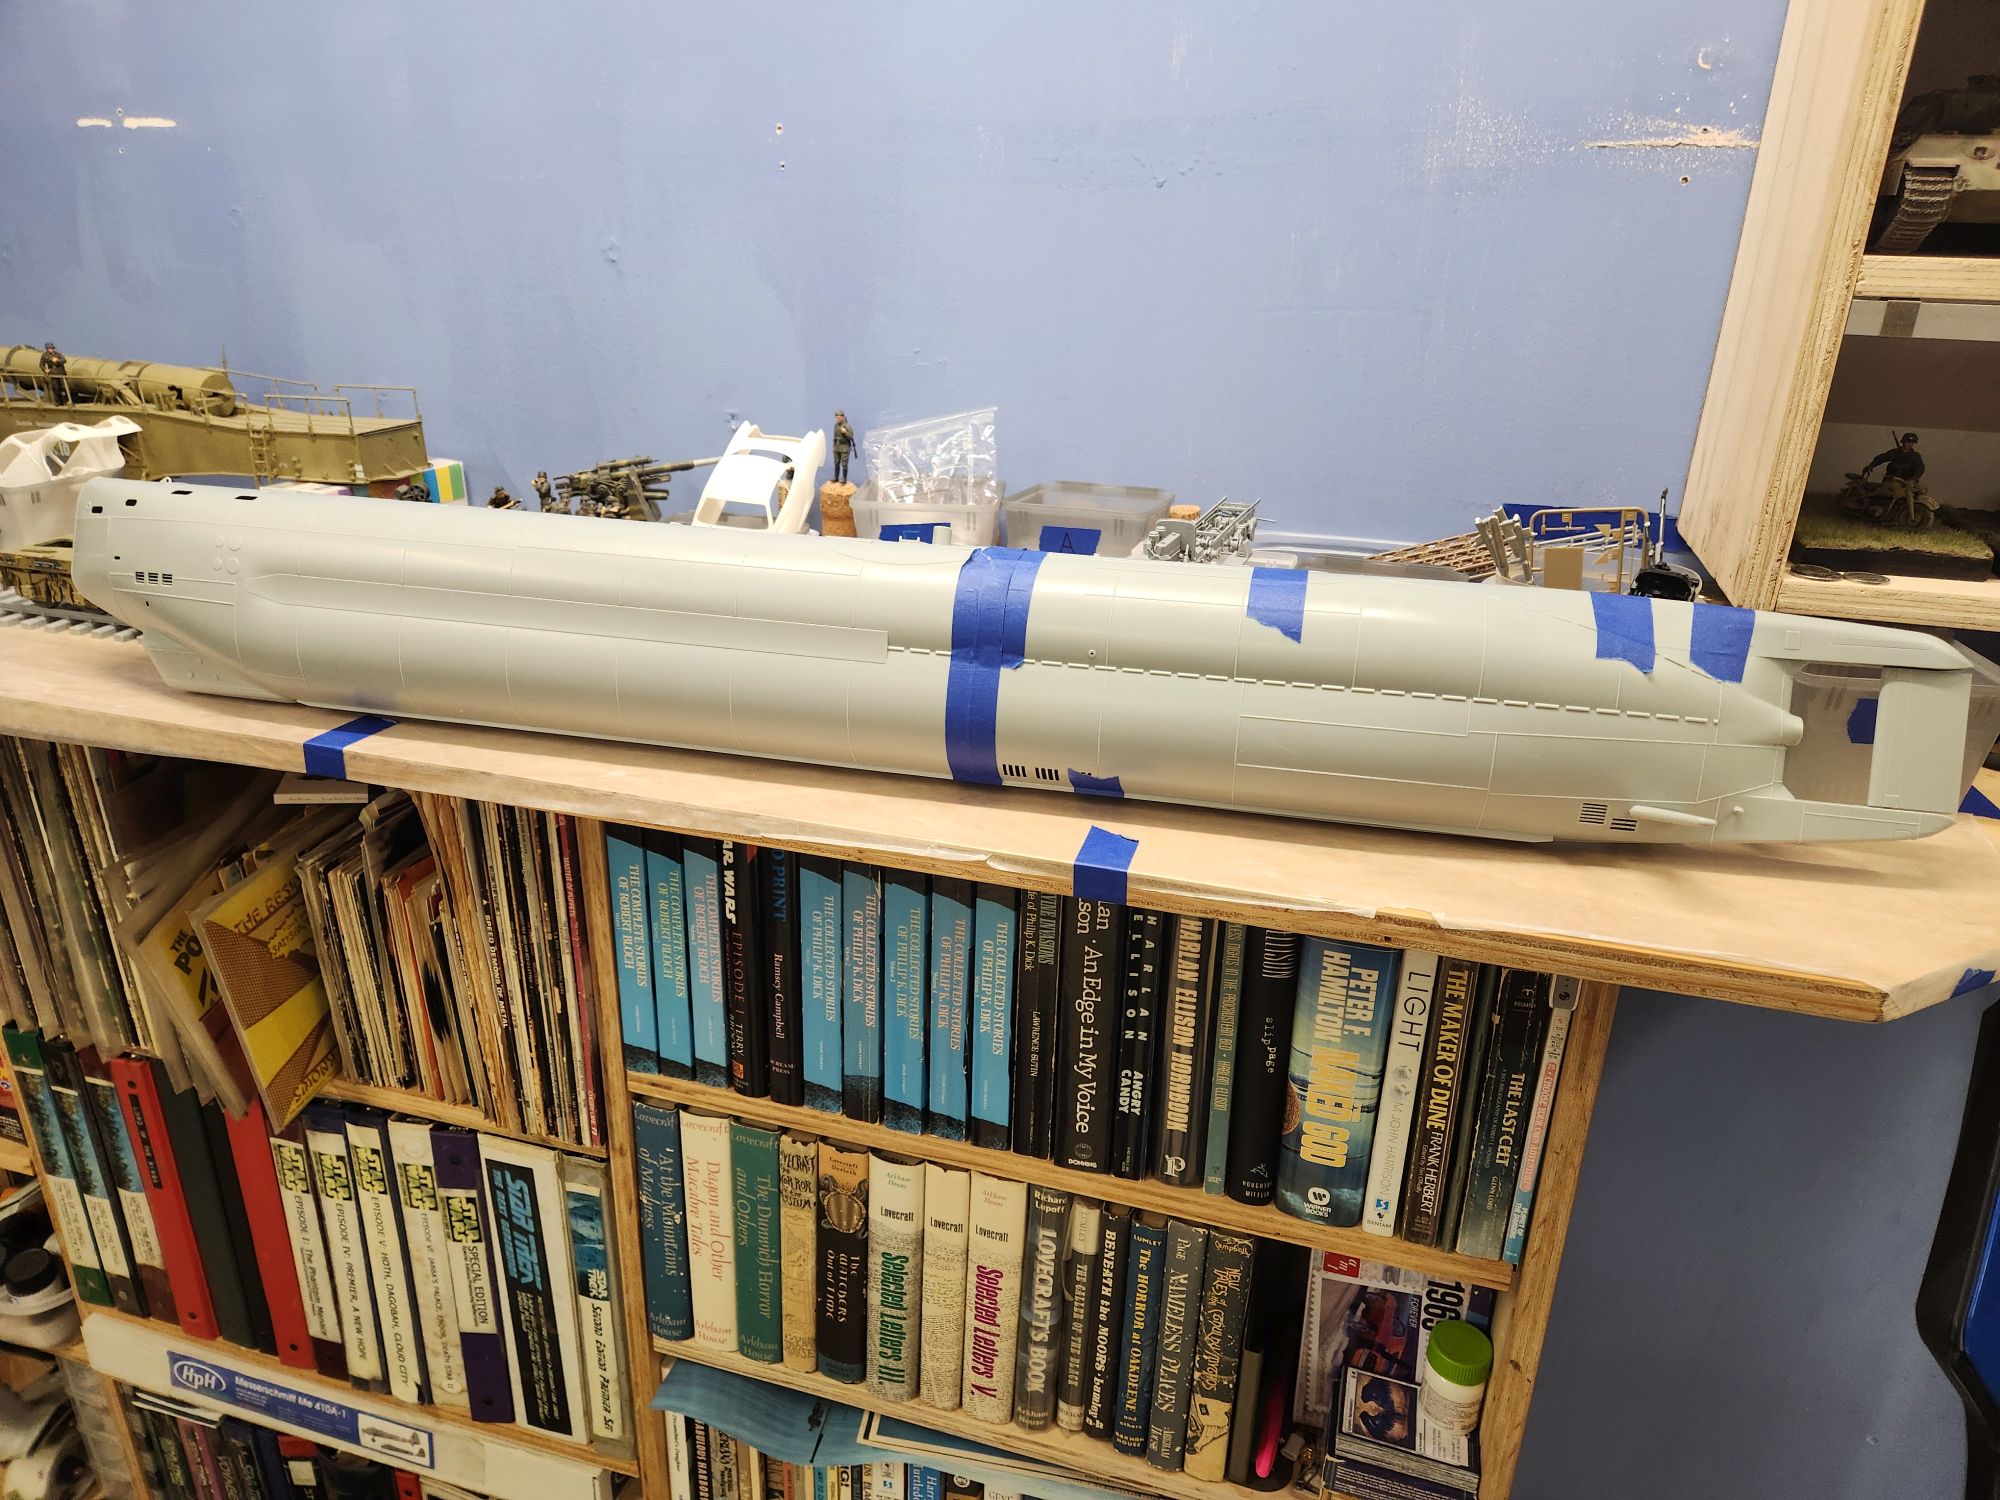
Started this today and I am at Step 8 at this point. The rest is the tower and base. Right now I am slowly sealing the hull due to the length making haste unwise. The front part hasn’t started yet; just using it to maintain the spacing at the forward end of the rear section. Hull was a bit warped on one half so that is making it a PITA but it will get there.
Most of the other parts are assembled and waiting to go on after the hull is completed. The damn thing is pretty big, but until I decide on a better space it will actually stay on that shelf area once I complete those kits behind it and clear them out. Leopold there has a base that isn’t quite finished so it will also relocate.
14 Likes

I guess I need to ask, which of you is drinking the lager?![]()
7 Likes