Nice 
Much better than a sharpie, I’m guessing, lol
3 Likes
Yes, I got a product from them and was indeed very satisfied.
4 Likes
Ordered some 0.7mm rope (1inch) Finding Benjamin very good to deal with.
Appreciate the recommendation on this!
1 Like
Over the past few days, i installed the final parts on the engine and touched up the paint.
I sprayed a flat coat earlier tonight.


19 Likes
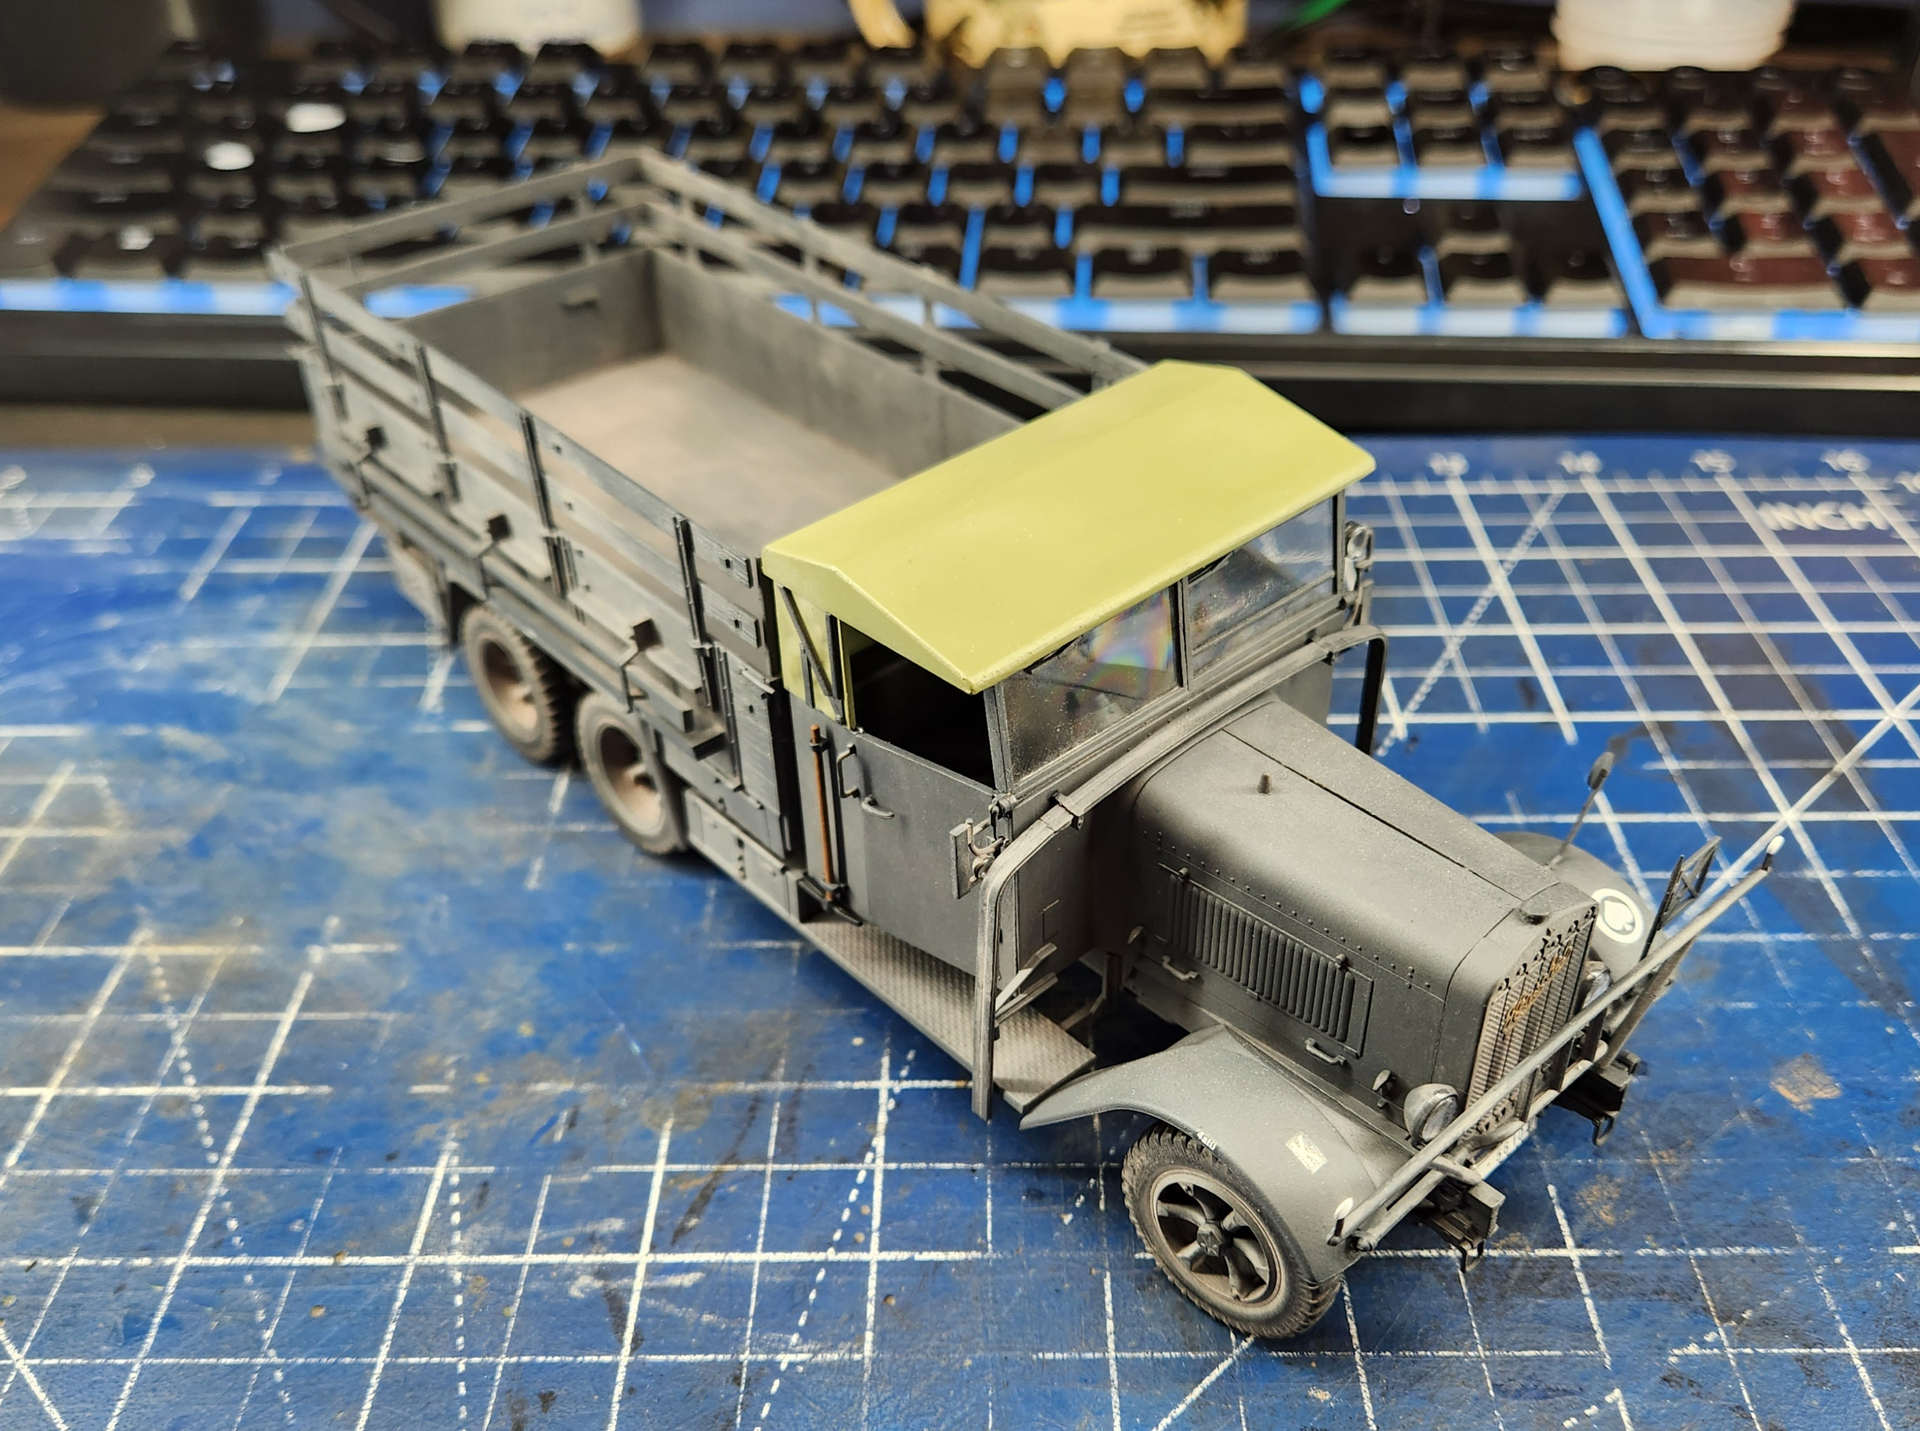
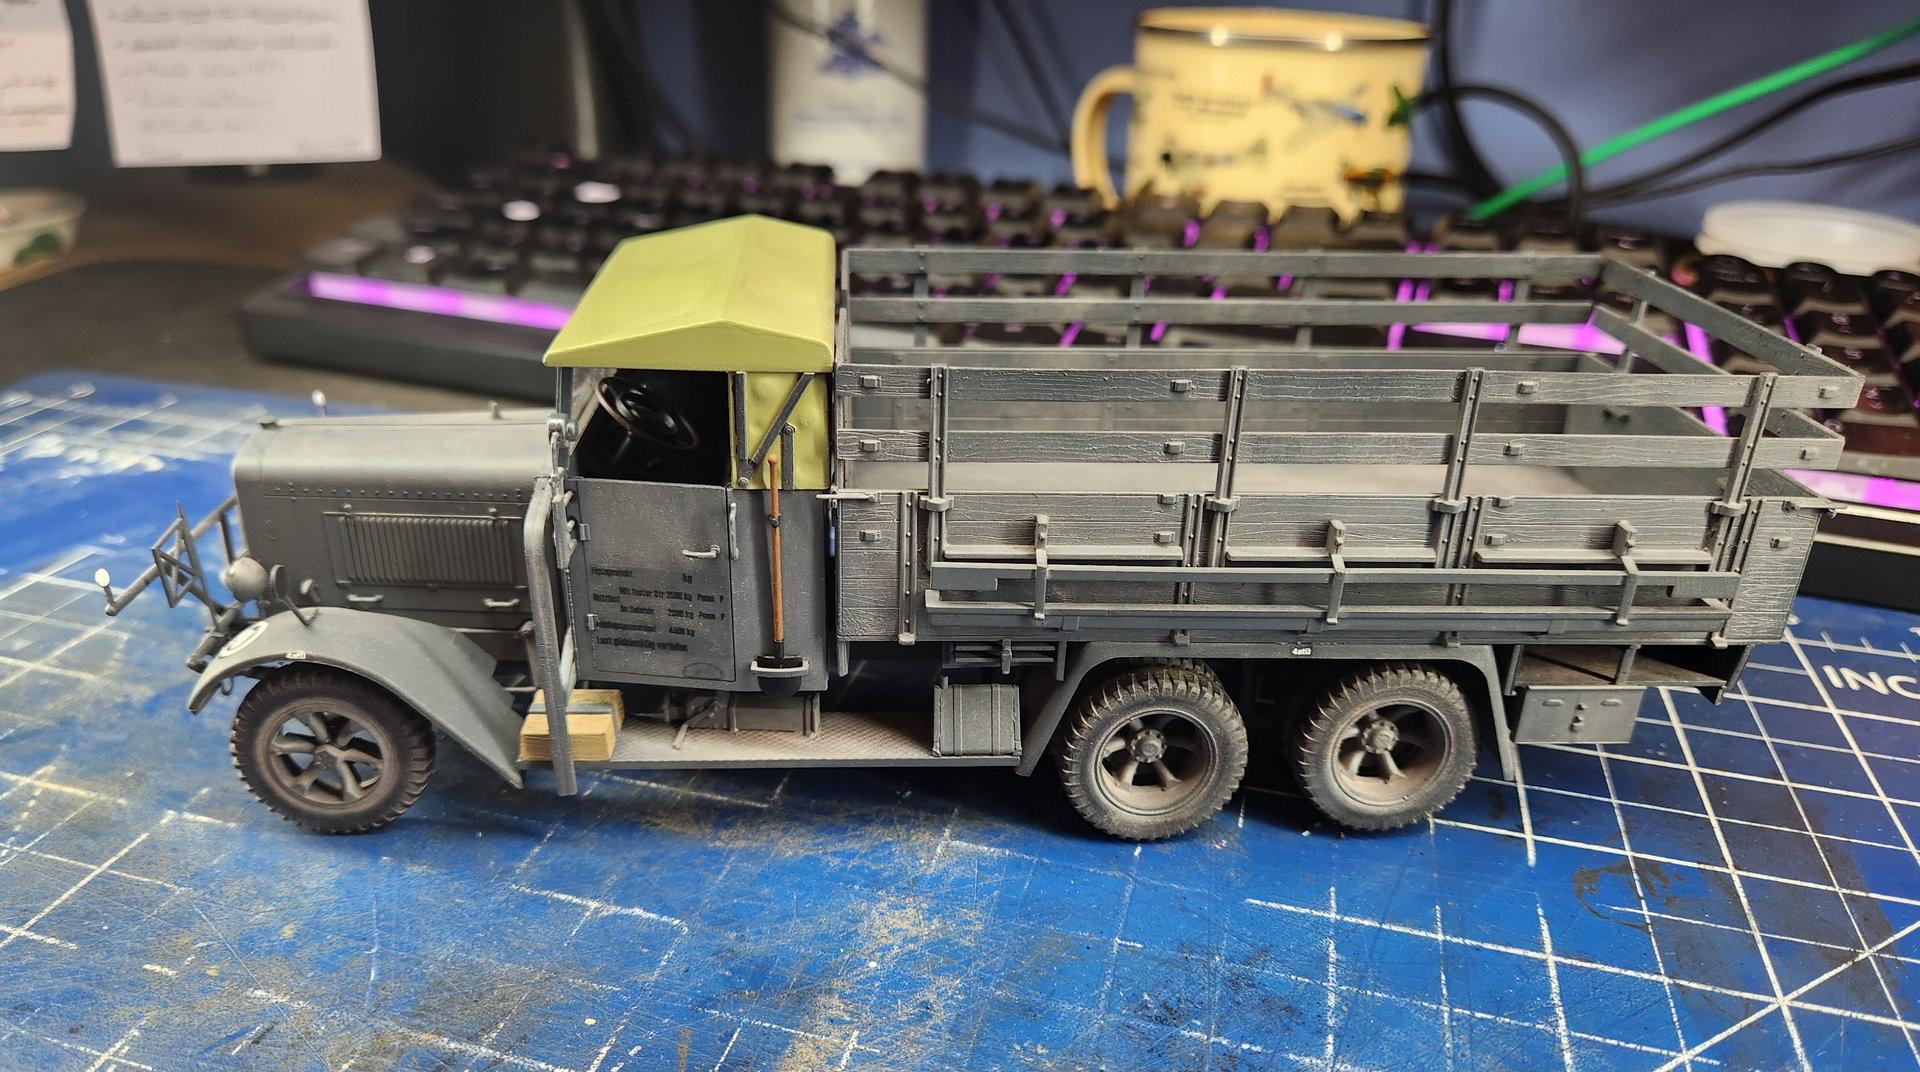
This ICM Henschel 33D1 is complete as far as the kit goes; I just need to finish a base for it and how to attach it to said base. The method I use for armor won’t work. I most likely am going to back in on that front bumper as the contact points were few and tiny and the whole assembly is nonsensically fiddly. I can see why this and the other two trucks in the box were sold as such; older molds that while fine are not ICM’s current level. The build is hiding (hopefully) a number of small fit issues and misalignment of parts that are a mix of kit and end user. The base will hide a mild case of floating wheel due to a slight warp of the frame.
I have to touch up the road dust and a few other nits and I will post a final pic then.
17 Likes
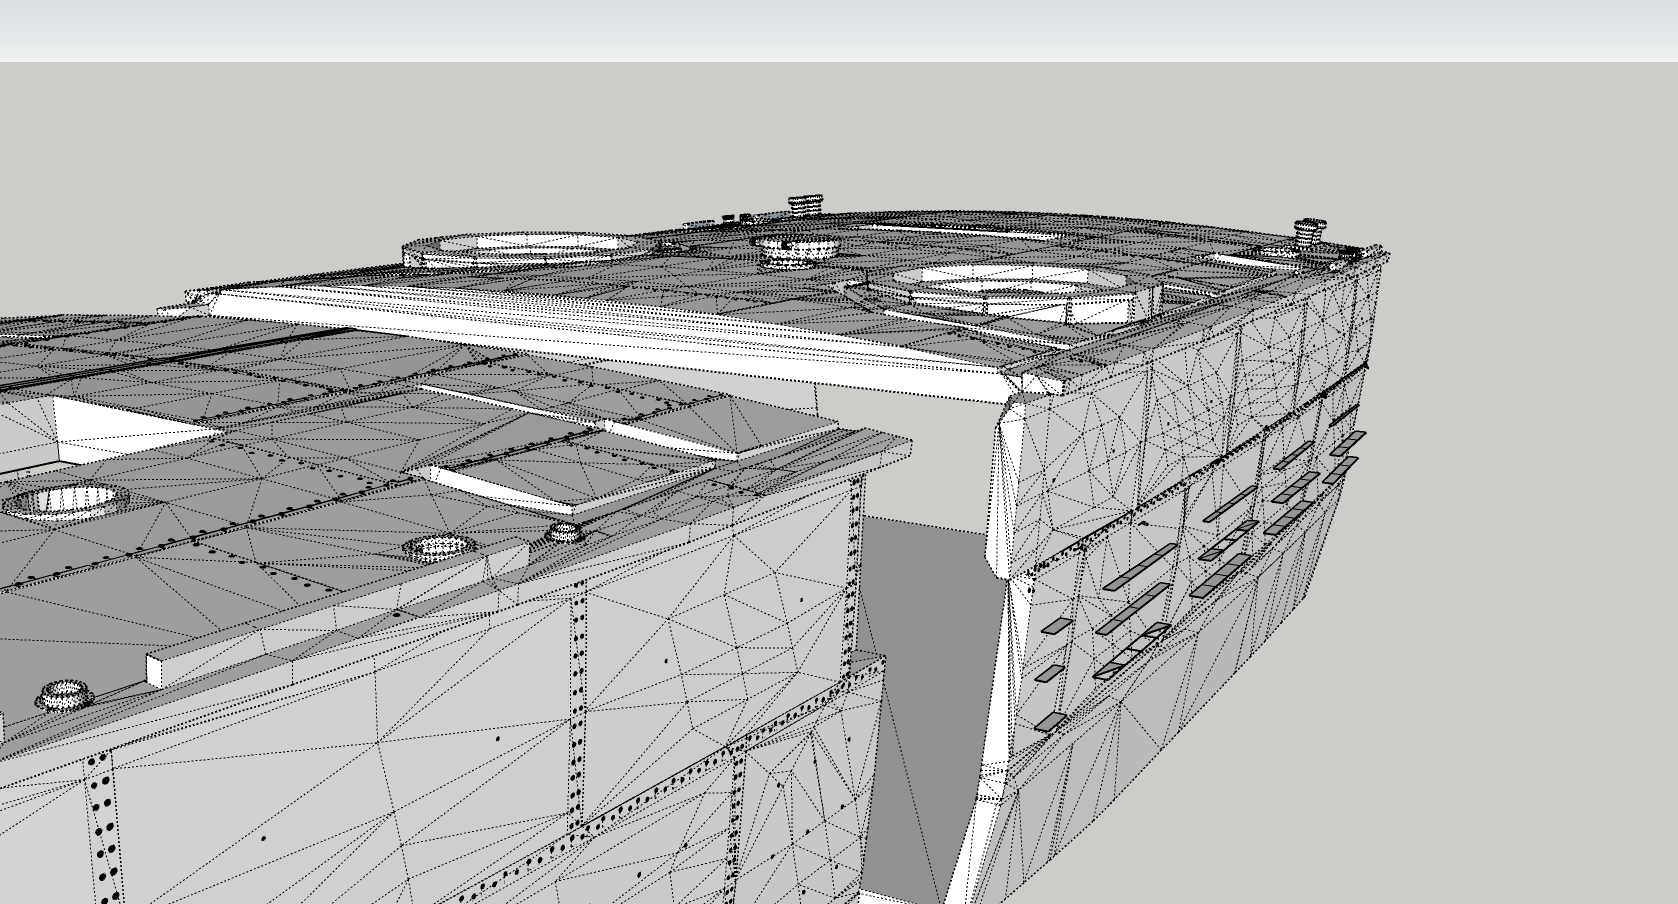
I’m sending thousands of rivets on 3D masters on Fairmile Type H LCI(s)…
I’m at 7.500…
Still 6.000 to add
On left Section C ( 1.300 rivets)
Backgound Section D ( 750 rivets done…)
9 Likes
Great result, that’s exactly the dusty grey I’ll be going for. For a very similar experience of this kit’s chassis:
https://forums.kitmaker.net/t/communication-breakdown-the-greater-treasure/57940
…and I’m not done with it yet. Did you also get a pack of useless resin wheels? Regarding fixing it to the base could you feed wire loops round the rear axles thru corresponding holes in the base?
3 Likes
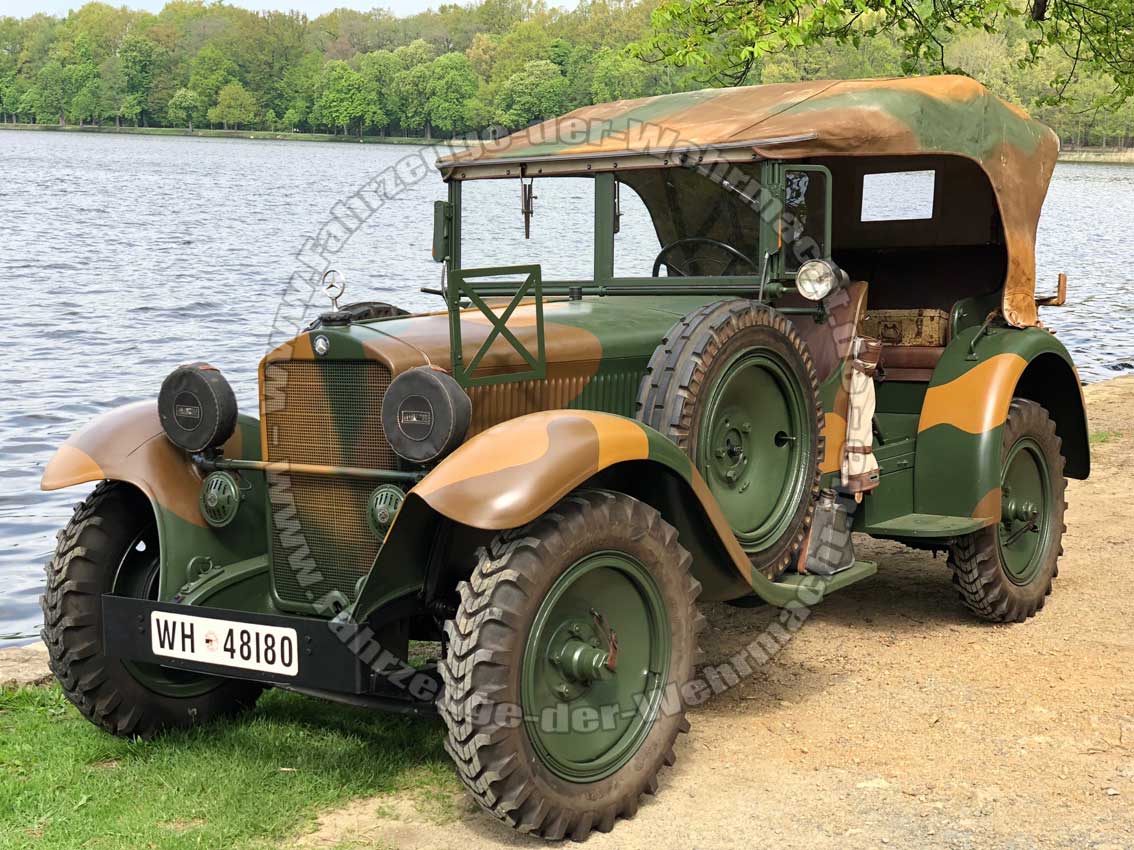
Just a thought regarding finish: would these trucks have been around during Reichswehr times? If so |(I clearly haven’t checked - too tired today!) then a typical colour schecme - Buntefarben - I believe, would be interesting viz:
8 Likes
No resin wheels in mine likely because it was a rebox with two other trucks included so they probably wanted to keep the cost down.
Loops around the axles was my original plan but I was just wondering if someone had a more secure method.
1 Like
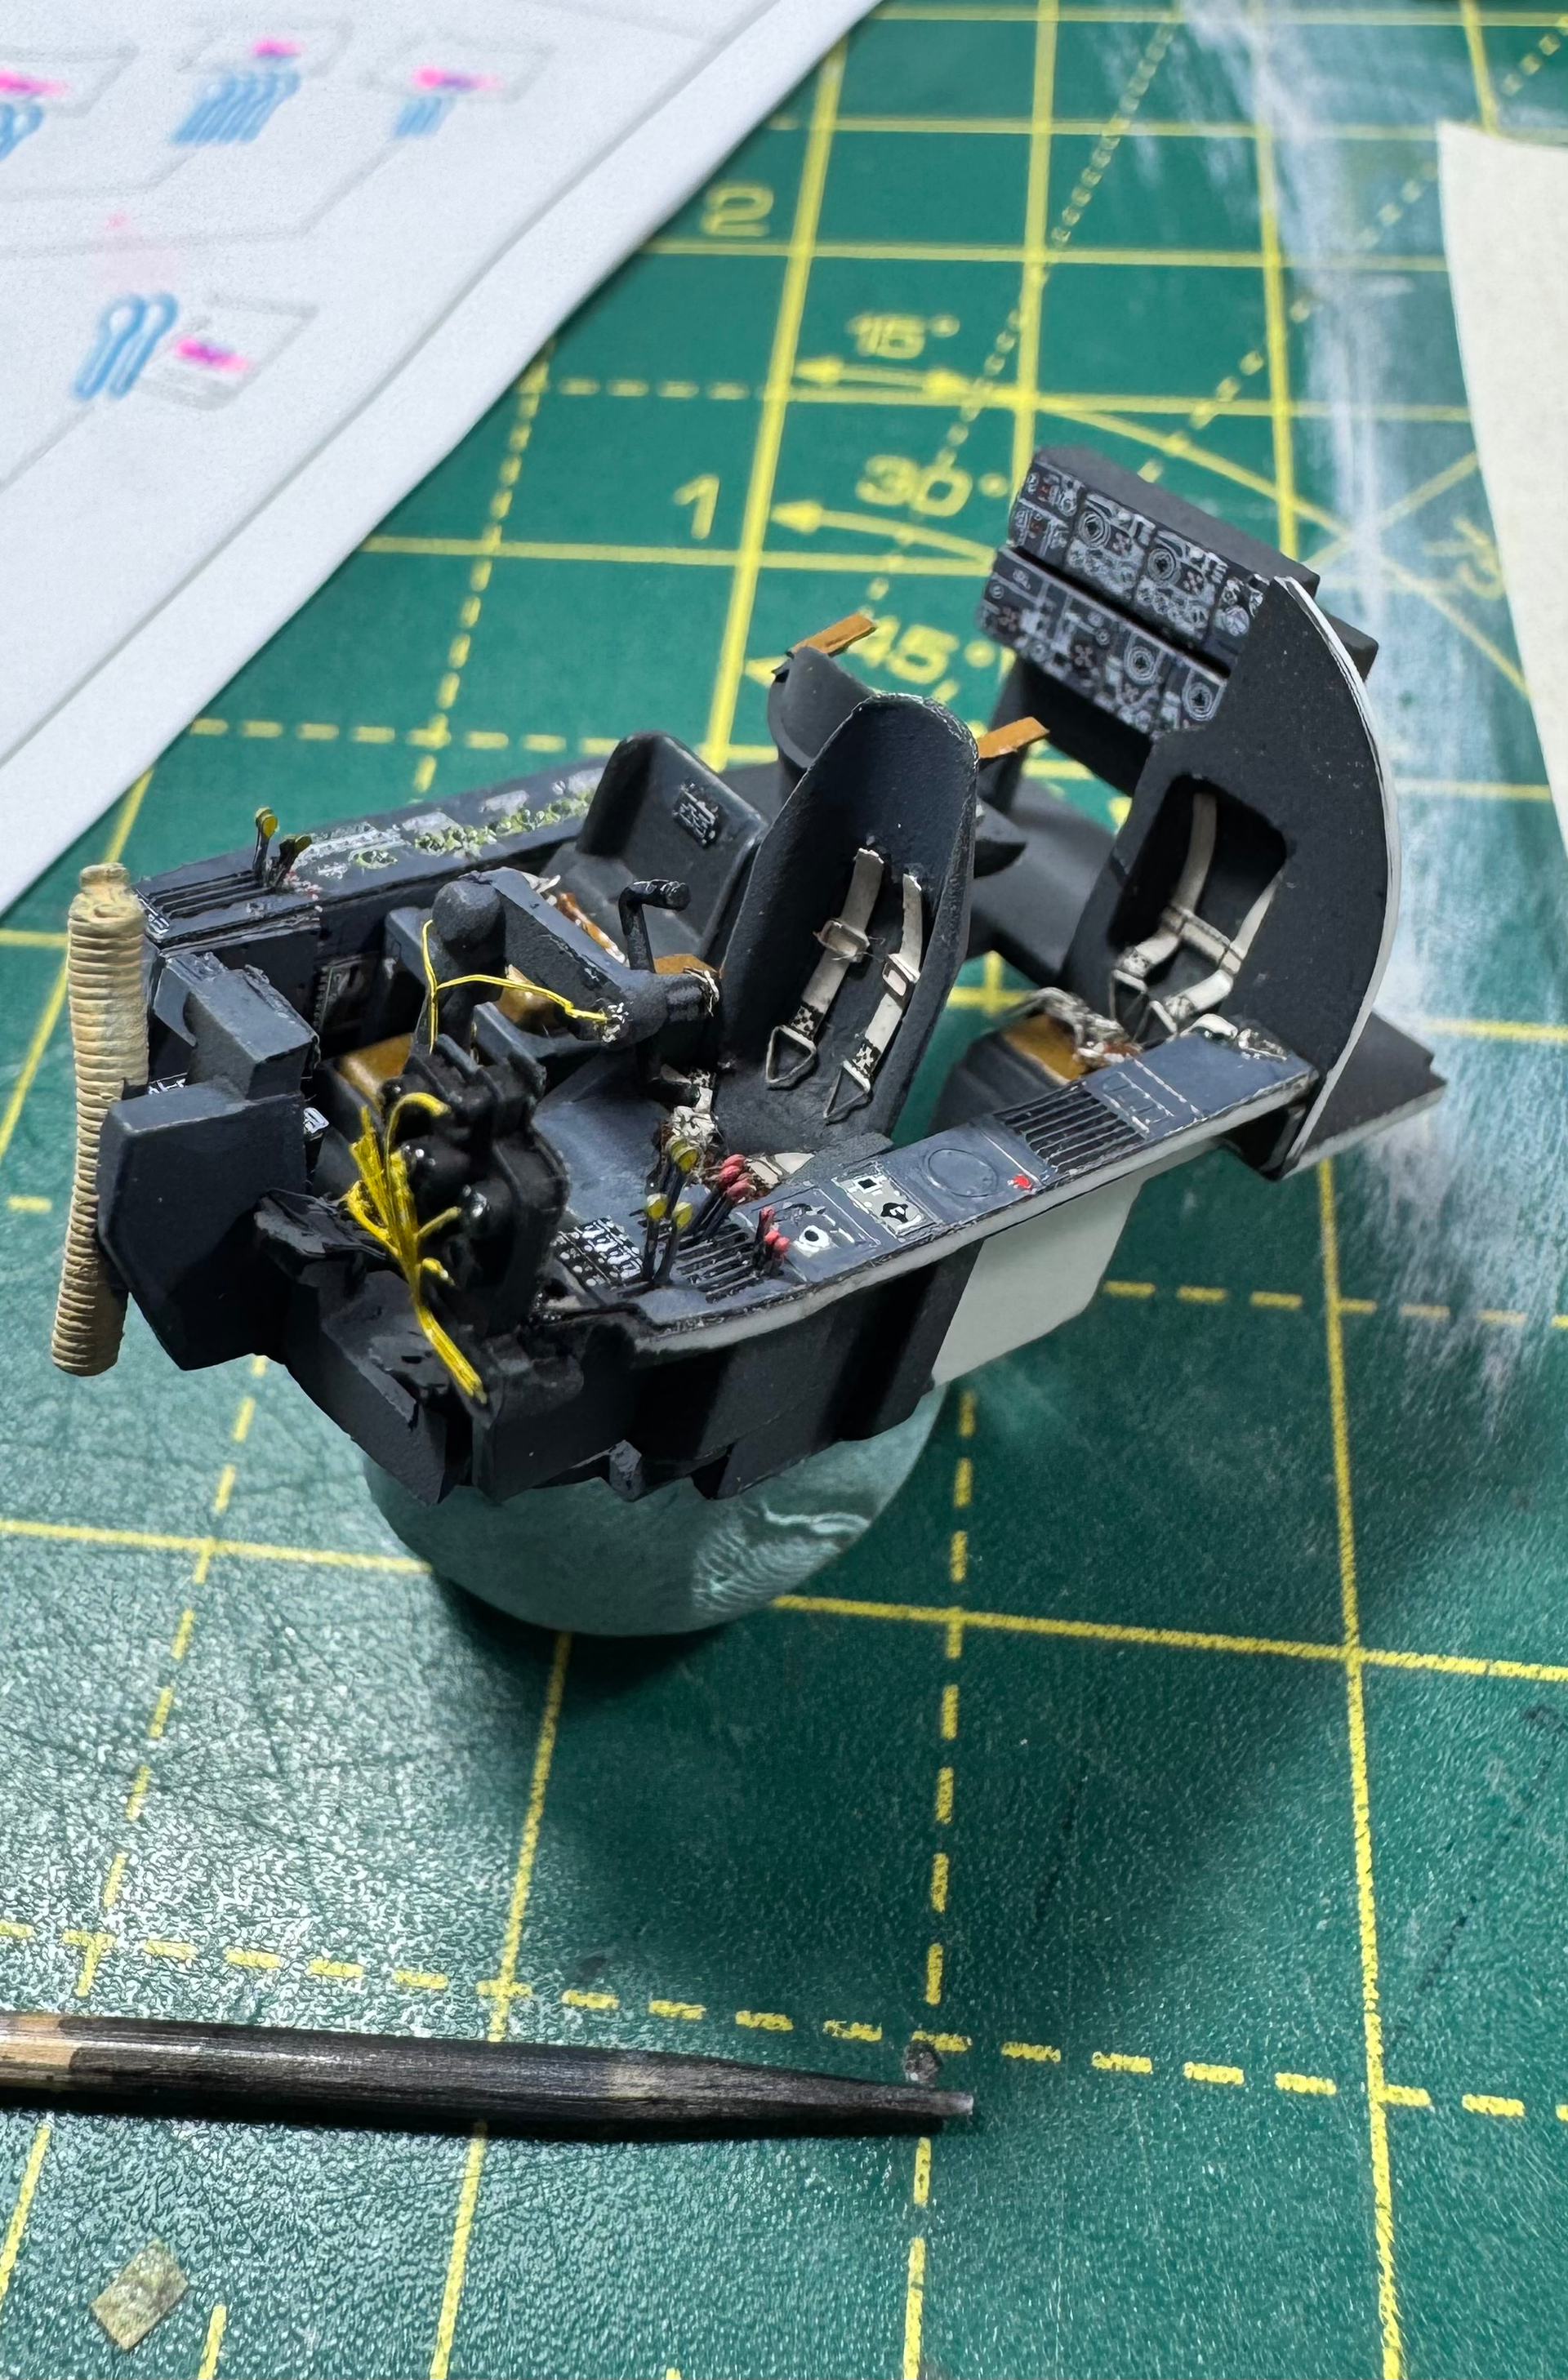
Worked on my cursive skills while attempting to glue the various levers in the cockpit. Toothpick for scale 
17 Likes
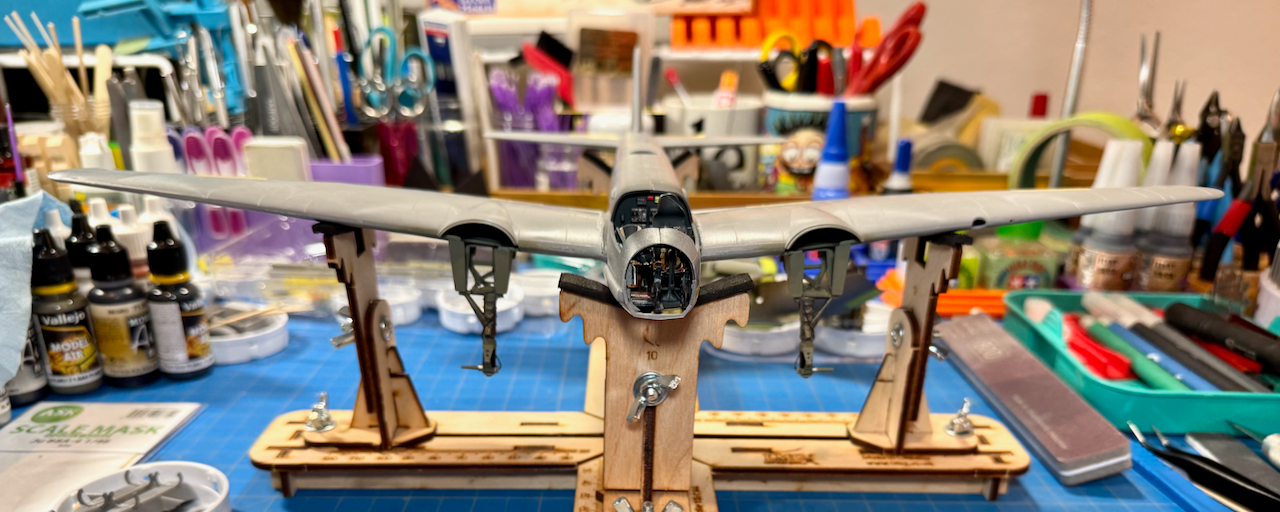
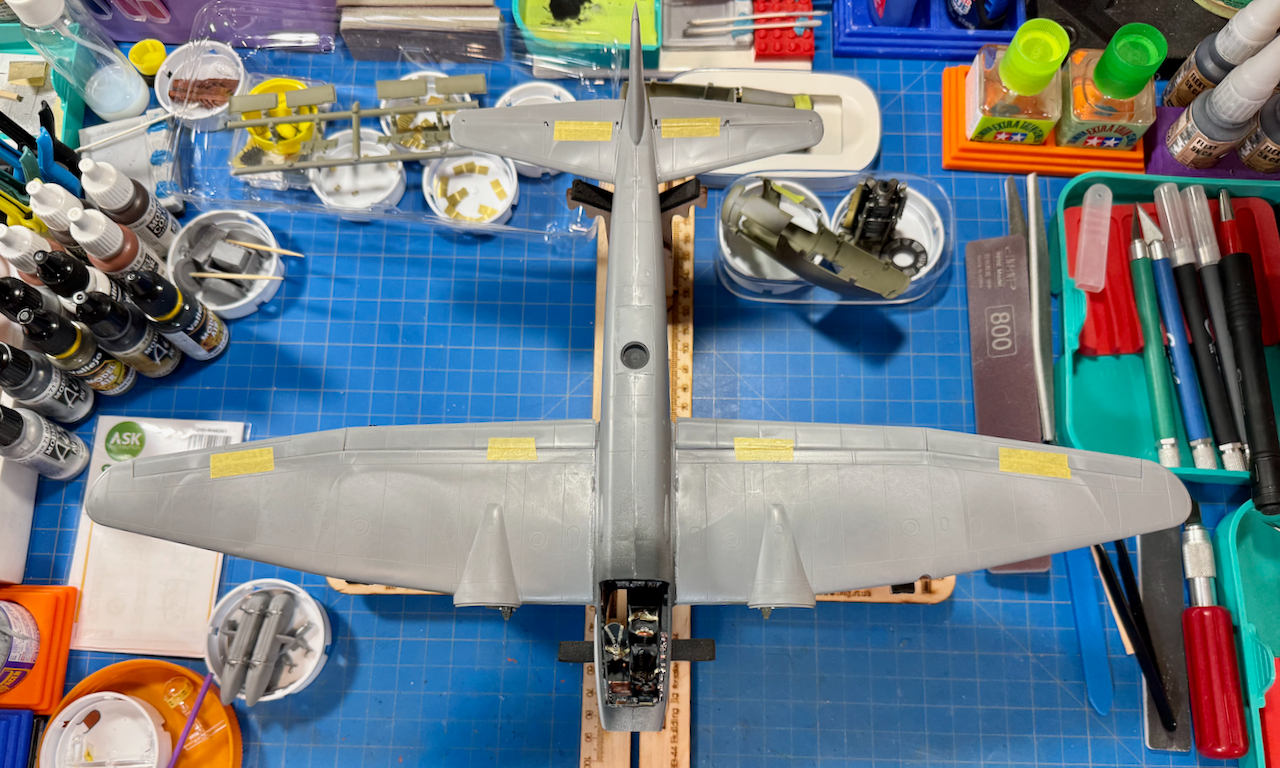
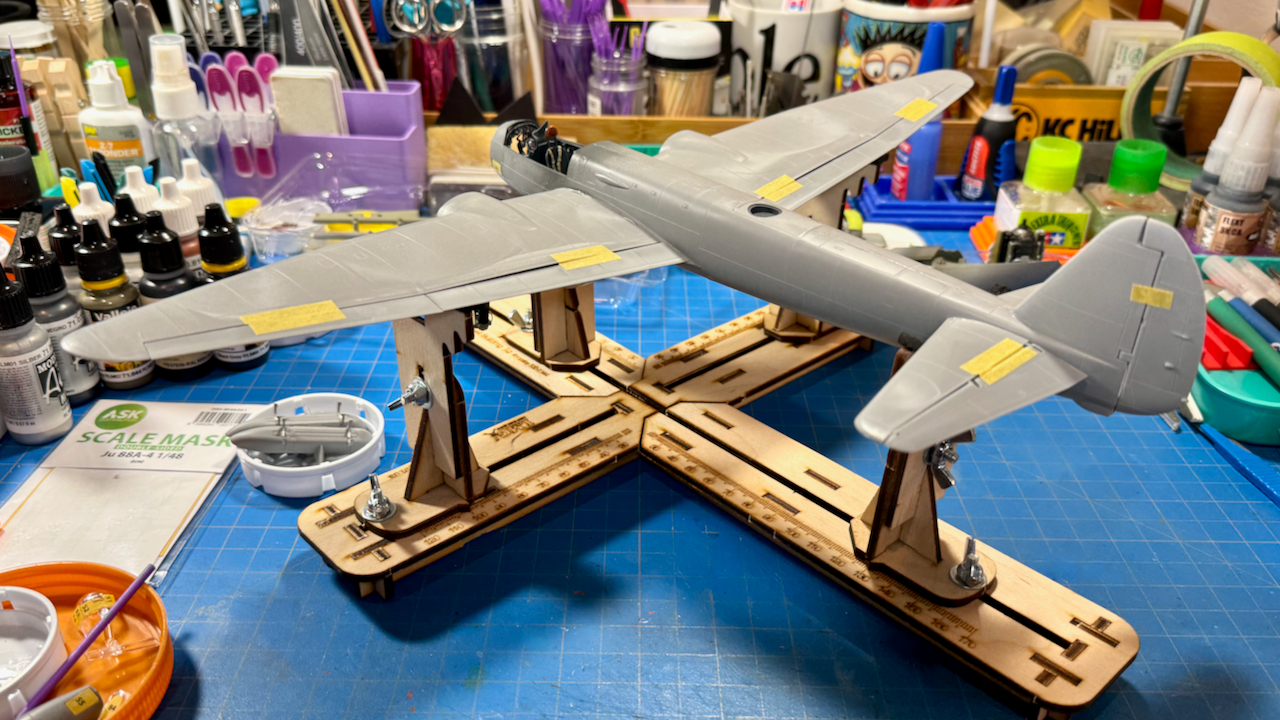
Ju 88A-4 update…
Bit the bullet and closed-up the fuselage for good.  The model is much more sturdy and easier to handle now. Speaking of handling, I need to flip the bird and give her a serious wipe-down.
–––––––––––––––––––––––––––––––––––––––––––––––––––––
Let the masking begin… 
Or not?! … Right outa’ the gate, I was missing a part! After a thorough Carpet Monster search, I realized that Gondola window Part F15, did in fact not exist on the sprue. How I discovered this… The corresponding ASK Masks mirrored the identical missing profile. … So, after going well over my twenty-minute rule, I got into scratch-build mode. Luckily, in both cases, there were unused parts which were easy-enough to butcher into the appropriate profile (mask 55).  …
…
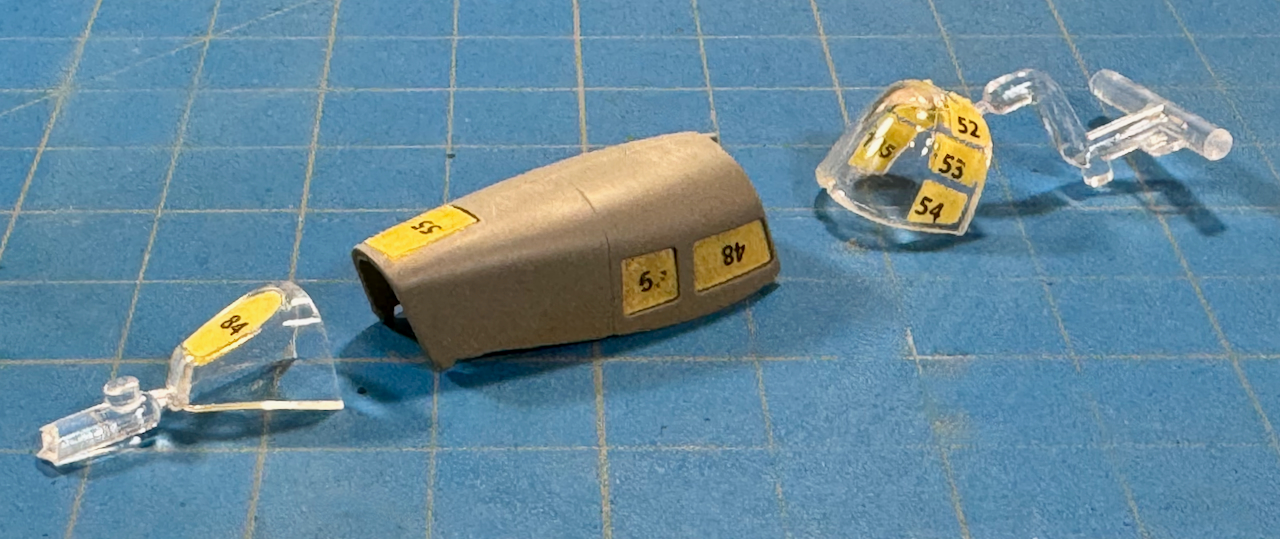
This is my first introduction to ASK Masks (both sides). Gotta’ say that I’m extremely pleased. I can’t fathom the thought of doing the complex Greenhouse Canopies by hand. Had pre-cut masks not been available, I never would have purchased the ICM kit in the first place.

–––––––––––––––––––––––––––––––––––––––––––––––––––––
EDIT: Added image.
A final look at the Twin Jumo 211 Engines before exhaust stack removal for paint.

Still to come… the starboard nacelle nightmare. 
Thanks for having a look!
—mike 
16 Likes
Getting closer, the door windows are giving me a lot of grief, broke a few parts off putting on the cab and wheels. Will focus on the doors tomorrow.

18 Likes
I should have mentioned this when I posted the photo. You need a #77 drill bit.
3 Likes
What kind or brand do you use? I have several sets of these $8 hand twisties. Lothee 30 Pcs Shank Tungsten Carbide Micro Drill Bits Set, Tungsten Steel PCB Print Circuit Board Flute CNC Router Bits for Rough Stone Print Circuit Board Jewelry Engraving (0.3-1.2 mm).
Always dropping and breaking off bits.

5 Likes
Are bits standardized across brands in any way, like with those colored bands? I bought some cheap ones a while back that came with no documentation and the sizes were printed on the metal shafts but obviously the print is very tiny and not well-done so I can’t tell what sizes I actually have. Are any brands less snap-prone?
3 Likes
Some are Walthers. I put them back in the packaging so I know what size they are. He other brand I have no idea - they’re in a dispenser. - slide until you get the number you want, tilt, and appropriate bit comes out. Replace and slide shut.
I don’t have a problem with them breaking any more. Slow and steady wins the race.
4 Likes
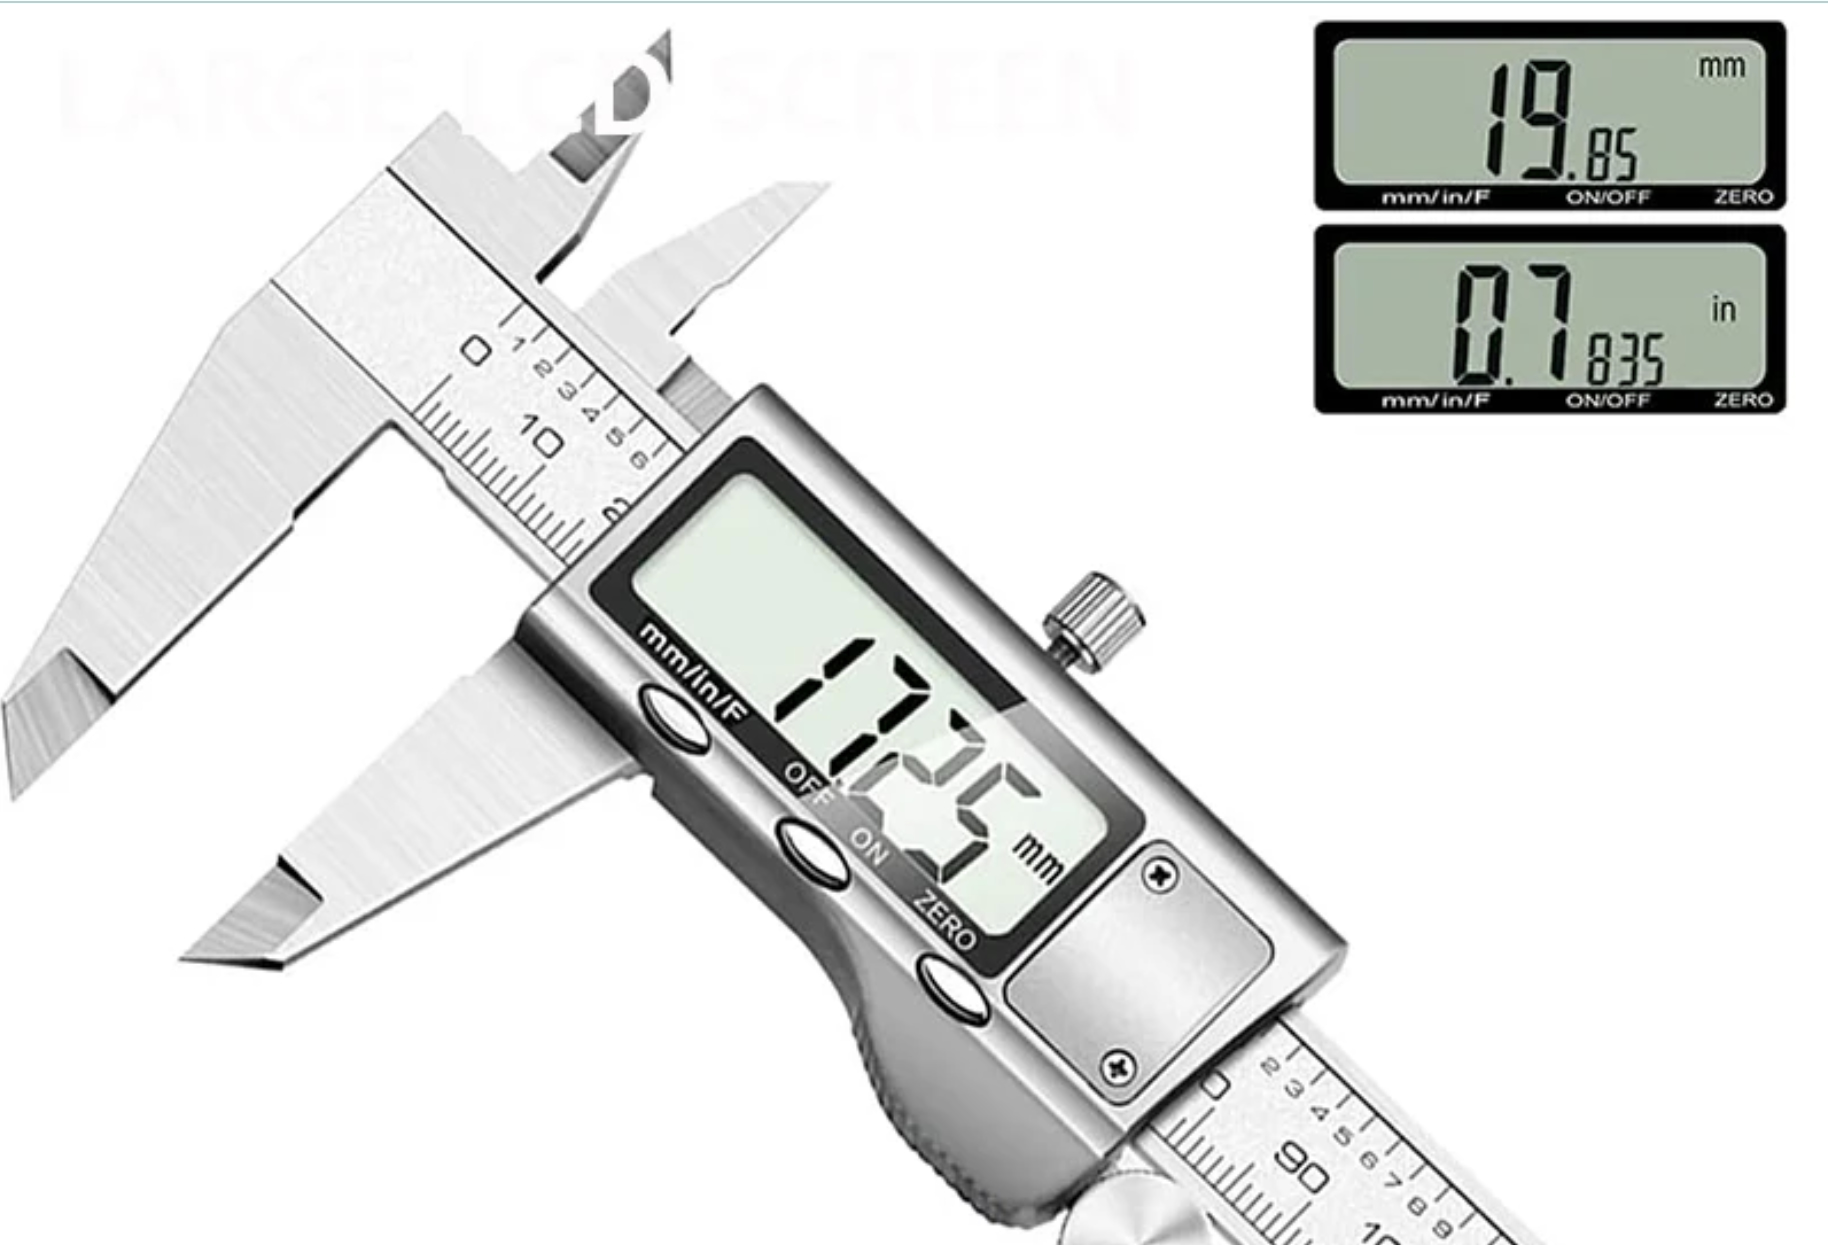
I have several boxes of the Tungsten bits and there’s no color band standard that I can see. They often snap, so I buy extras well before I need them. Note: They have a different twist than standard bits — DO NOT GET THEM HOT! They have a tendency of getting stuck and breaking-off as you try to twist them out.
Definitely.
Yes, when you need precise tolerances.
—mike
4 Likes
That would be my recommendation too I use one of those quite often as it can measure externally and internally. They’re a great tool and as you know, with the digital onscreen readout, very convenient.
3 Likes
When 18bravo mentions a #77 drill he refers to what are called wire size drill bits , the most useful range for us model builders being #61 to 80 https://taytools.com/viking-20-piece-61-80-drill-tool-high-speed-steel-hss-118-degree-twist-drill-bits-set?&gmc_extid=NjM5MzAw&gad_source=1&gad_campaignid=21594508795&gbraid=0AAAAADmpRzHWHoc6YjtSDfguV-4BOVr9c&gclid=EAIaIQobChMI6O_9h5KGlAMVNjMIBR2fnhVXEAQYBCABEgIpQvD_BwE
they’re typically high speed steel which is much more flexible than carbides and plenty durable for what we typically need them for . A disadvantage is they don’t have a constant size shank so you need a pin vise that can close down to at least .0135” to take full advantage of them.
4 Likes