What did you do in your modeling workshop today?

I am still fighting it out with the big Detroit Diesel. I found out that there was a twin turbo variant of this engine available, so decided I would try and make it instead of the stock version, which is merely a blown V16 :grinning_face_with_smiling_eyes:. I ordered a pair of turbos from on-line shop, actually two sets, one called large, and the other something like bigger - lol - but, at $5/pair, I decided it was worth it. But, as the engine in the kit isn’t designed for the turbos, more styrene and remnant sprues were sacrificed:
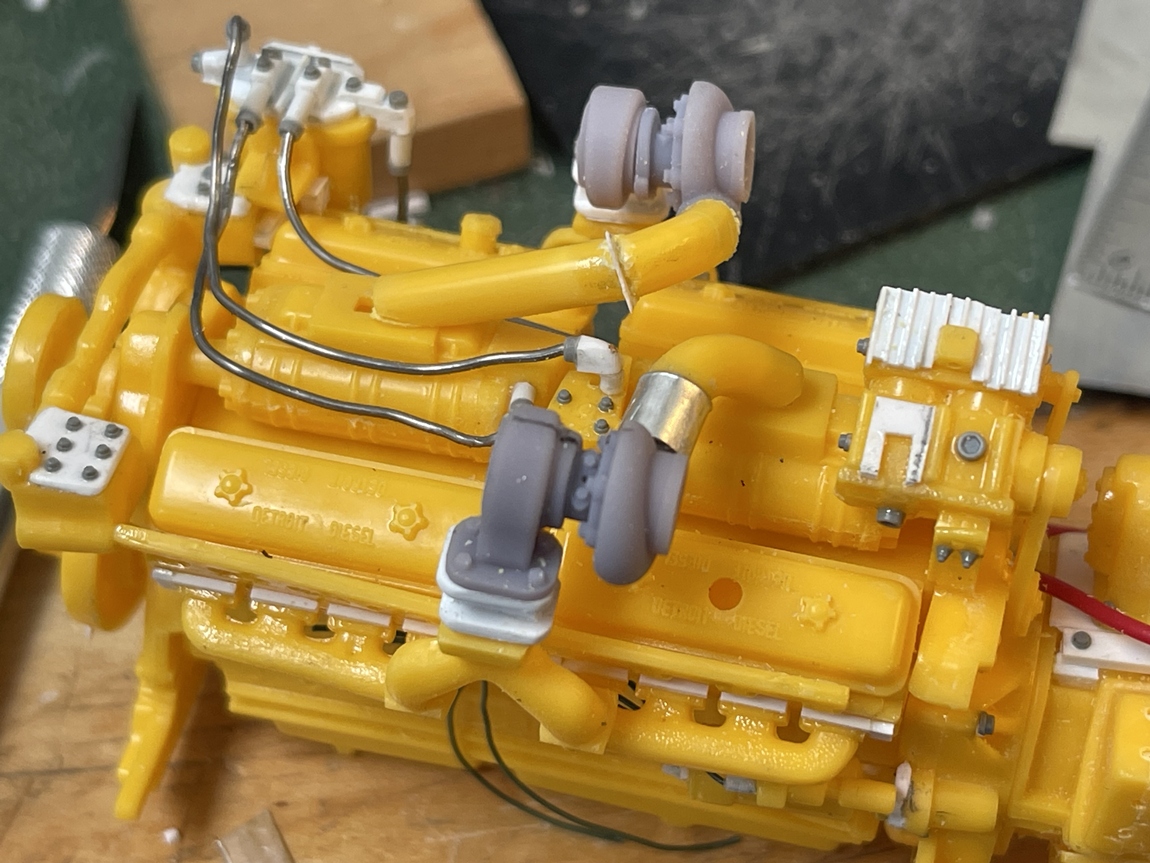
Sorry about this mediocre pic - as it’s a bit hard to understand - but, it was something of a random thought to take a pic of WIP on WIP :grinning_face_with_smiling_eyes: From my prototype pics I could see the turbos are mounted on blocks, raising them above the exhaust manifolds, with intakes toward the rear (to the right in this pic), and exhaust in front (and yes, in real life, the turbo closest to us is level). The compressed air is then sent to the top of each blower, so yes, a few weird angles to work out. And more or less as it sits now:
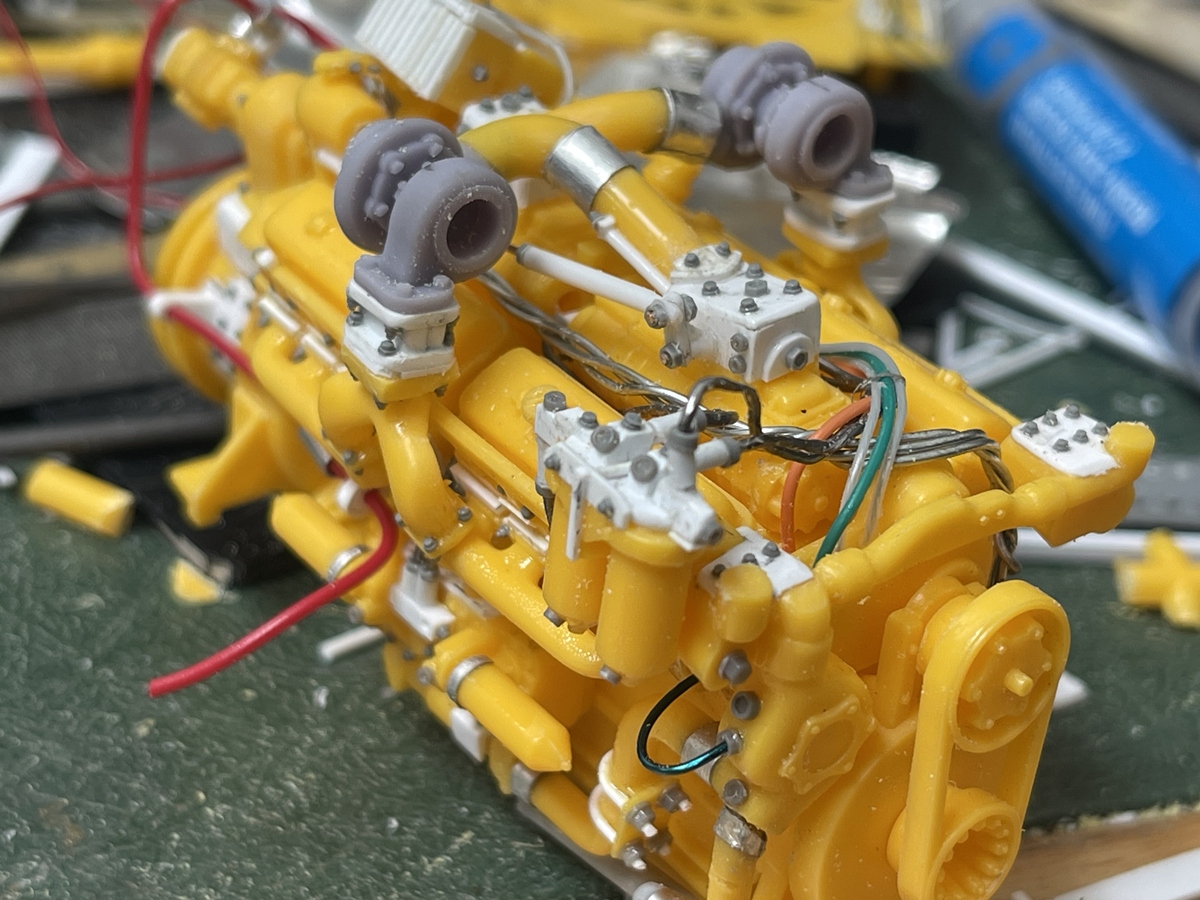
The open sides on the turbos facing us are for exhaust - and sorry, I forgot to take pics of the pipes, which were tricky as while they start on this side, they then go up, back and slope downward toward a collector on the right frame rail! Again, more remnant sprue to the rescue. Then, added in tubing and wiring. Speaking of wiring, this has turned out to be a case where using solder as ‘tubing’ was not a great idea, as during handling, it has taken a beating, so much so that I’ve torn out and replaced a lot of it with wire.
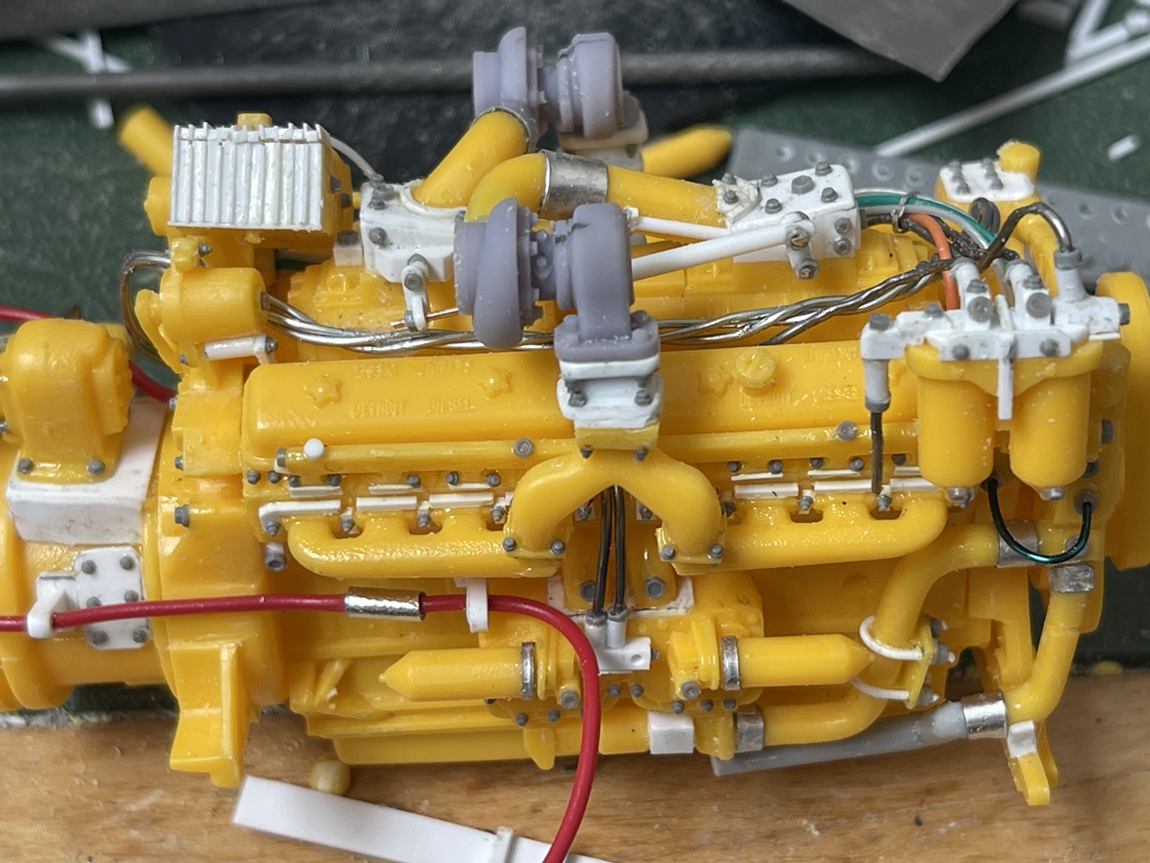
Oh what a treat - the intakes lead into small ‘towers’ atop the blowers, which are built up as shown. The towers have a throttle linkage connecting them, which is the styrene rod/metal rod sloping downward from right to left, above.

As there are many more tubes and wires to be installed, I think I’m going to glue this in frame as shown, add all the plumbing etc, then paint it all - like in an armor model. I’m thinking this because there are so many wires involved, that I’m not sure how I could do it by painting the engine and frame separately then, putting them together, and trying to match things up when painted as the spaces to work would be confined. And, I’m sure wire ends and receiving openings would be clogged with paint - in brief, maybe less of a PITA to build and paint it all as one unit.

Cheers

Nick :man_biking:

26 Likes

I’ve been working on this Airfix Ferret for some time, converting it to an Aden version using some of SMM’s conversion parts and a turret from Fox Hopp models.

Not much going on inside!

Imgur

This far today

Imgur

Imgur

Imgur

Imgur

Lots more detail to get on with yet!

19 Likes

17 Likes

None needed. :slight_smile:

2 Likes

15 Likes

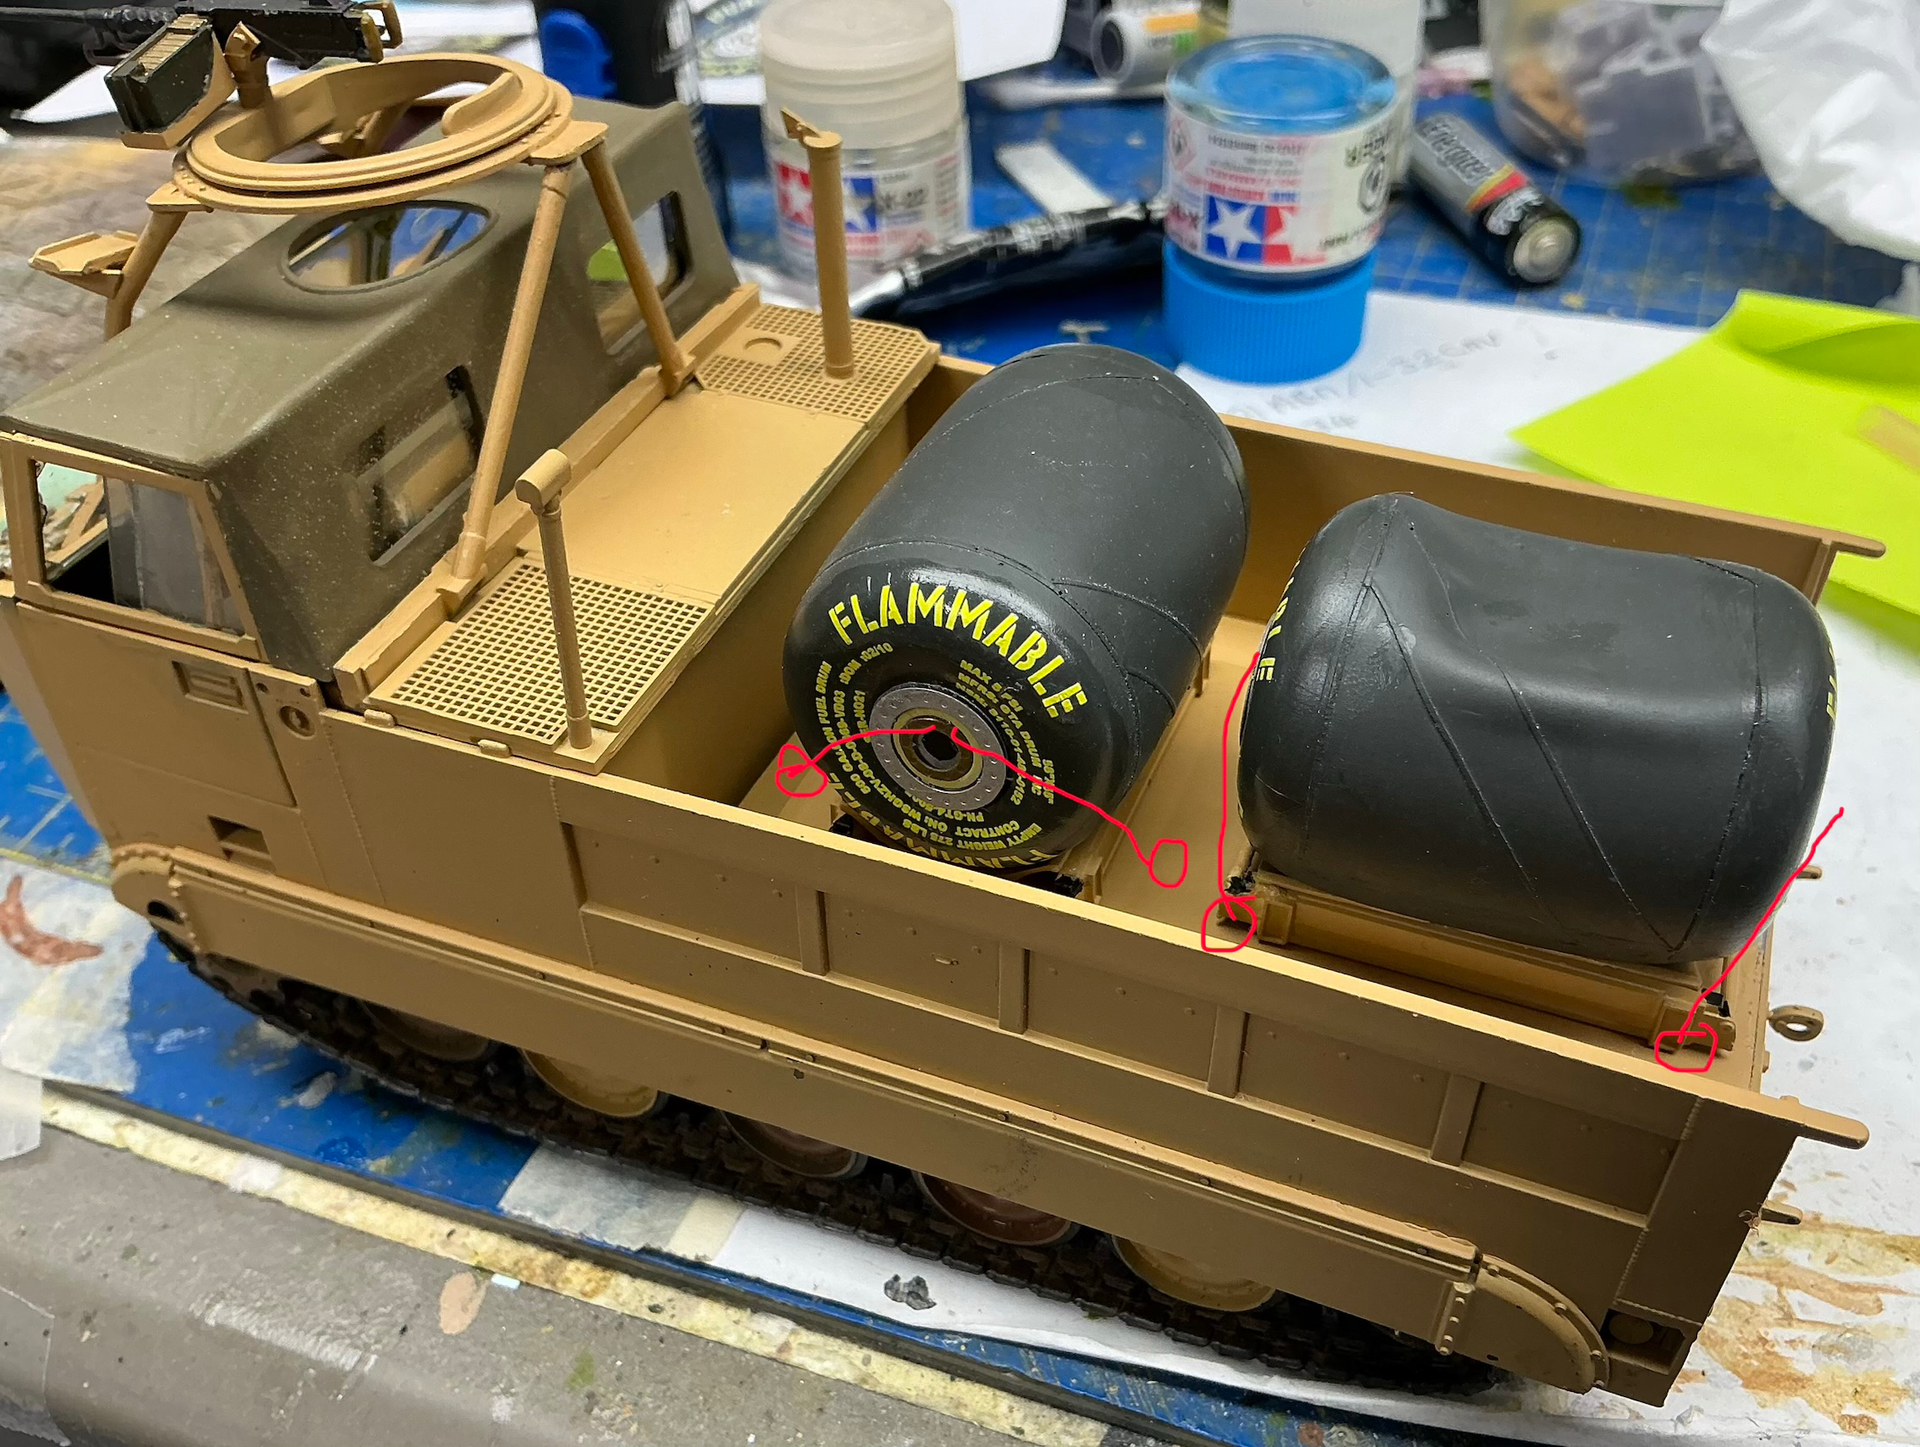
Looking for advice on tying down the bladders on this M548. My plan is to connect strainers and chains as shown in red in the pic below. This would allow me to build the pump and bladder deck before setting it onto the model. Once the deck is in place there’s a really limited amount of space to work, ( although then I could fab anchor points on the sidewalls rather than the deck itself but this would be really difficult. So, for convenience the deck tie down points would be my preferred route.

Opinions please!

17 Likes

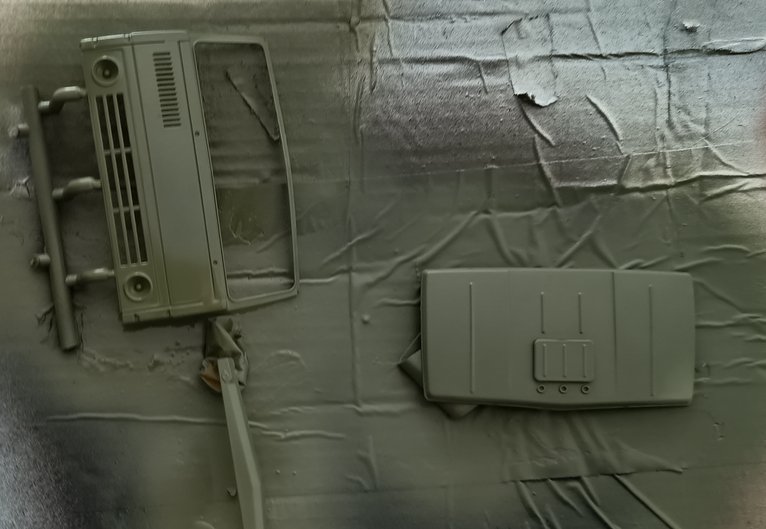
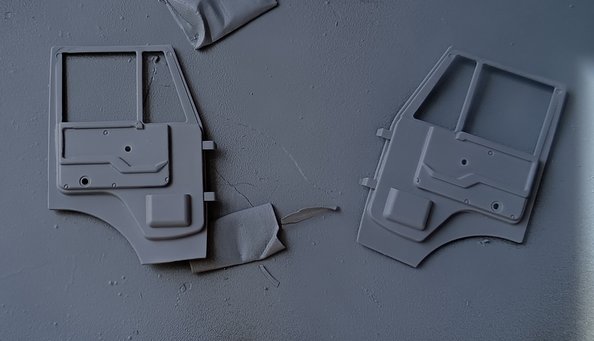
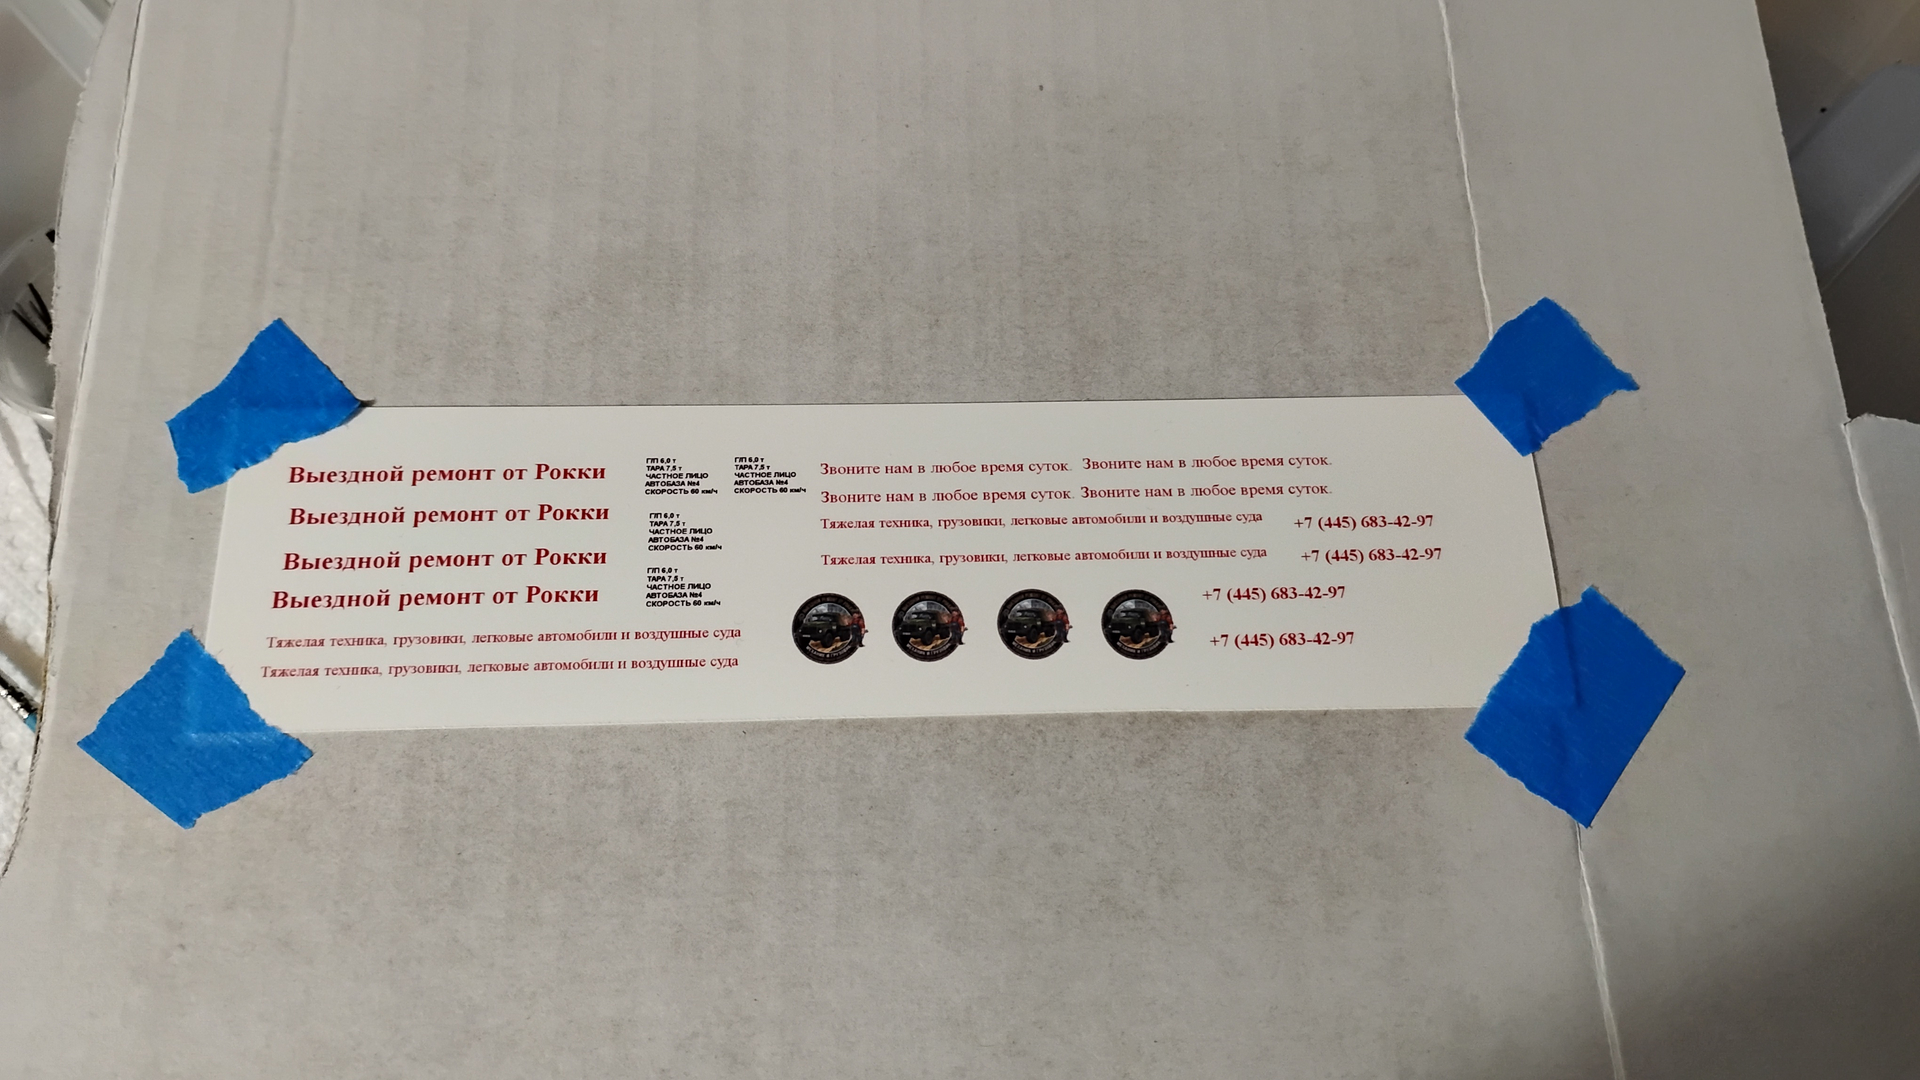
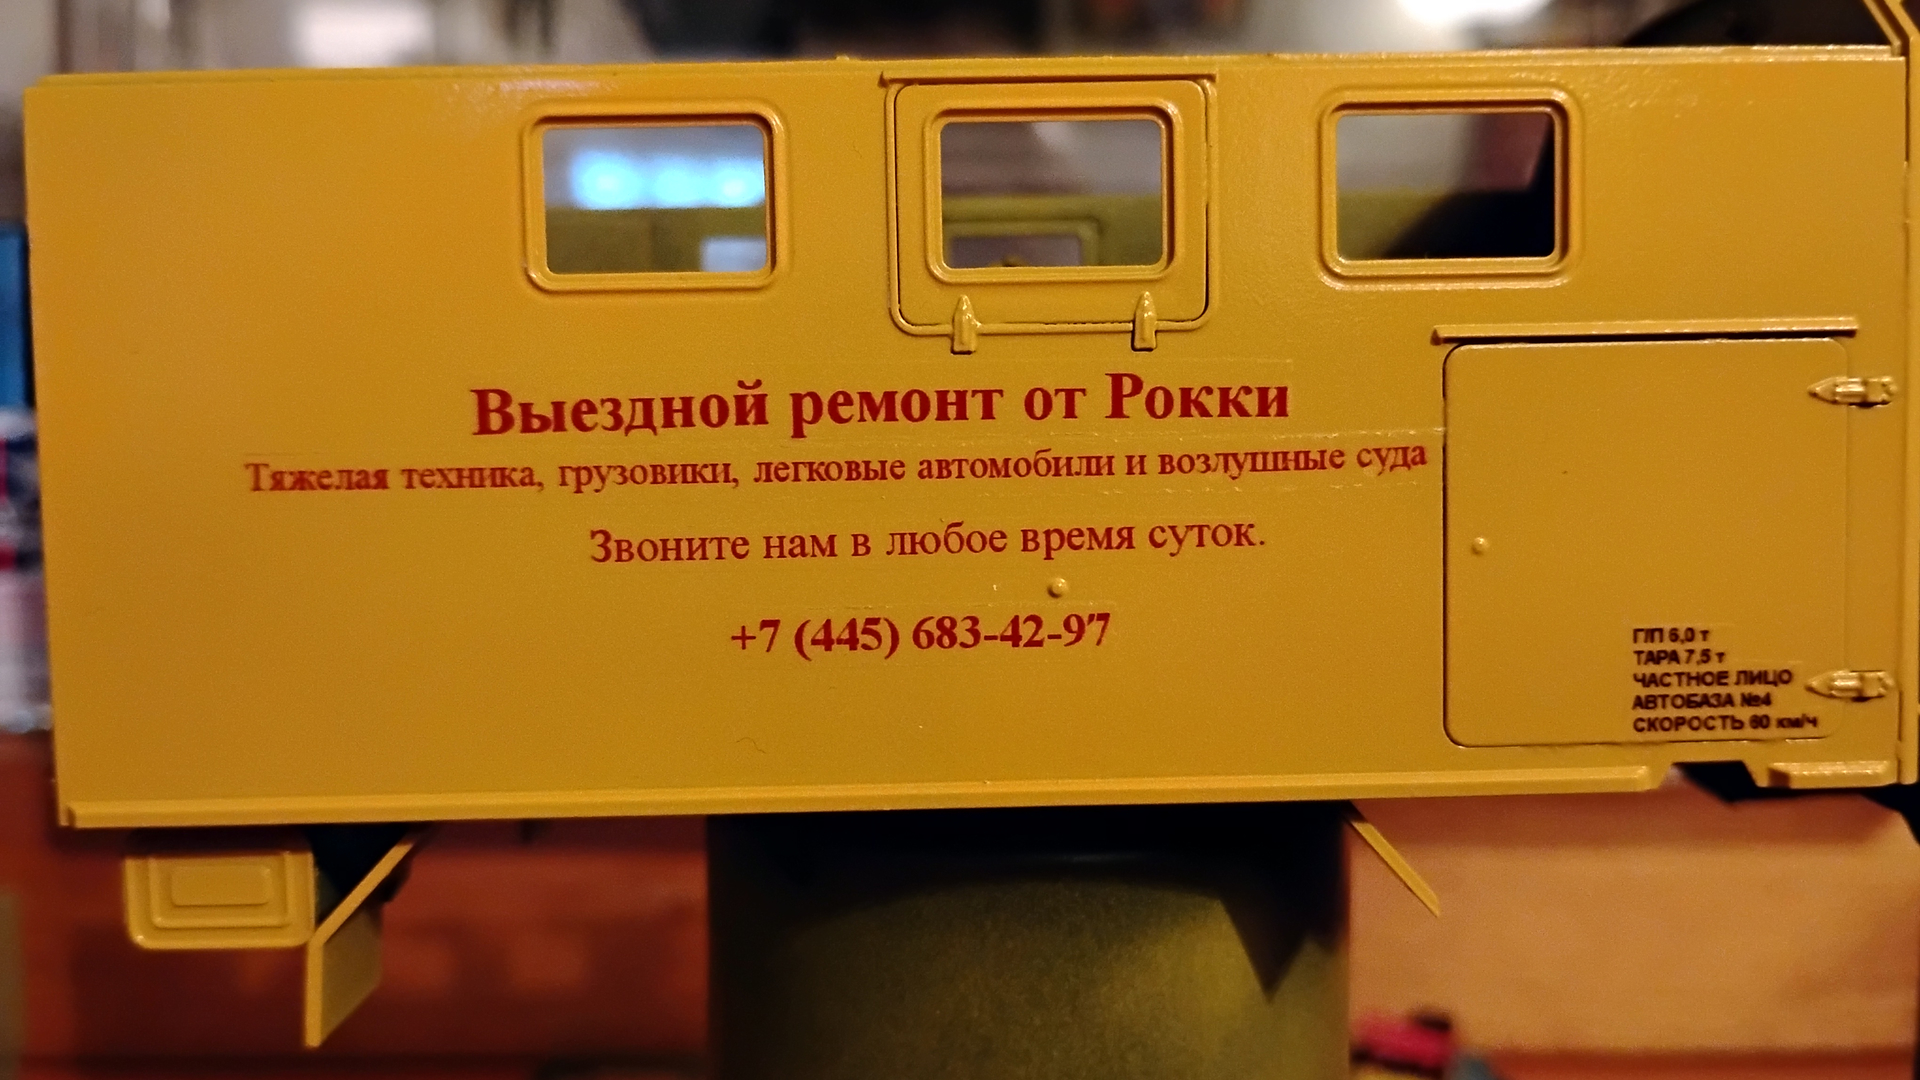
Finally broke out the water slide decal paper and made my first set of decals Im sure I used too much clear but I’ll find out tomorrow. It’s all in Russian most likely badly translated but at least it looks the part. Also an AI generated door logo.

The wording: again most likely wrong but looks the part I feel.
Выездной ремонт от Рокки = Rocky’s Roadside Repairs
Тяжелая техника, автомобили и воздушные суда = Heavy Equipment, Cars and Aircraft
Звоните нам в любое время суток. = Call us at any time of the day or night

Generic truck markings:
Г/П 6,0 т
ТАРА 7,5 т
ЧАСТНОЕ ЛИЦО
АВТОБАЗА №4
СКОРОСТЬ 60 км/ч

12 Likes

Nice paint job on those bladders.

2 Likes

Thanks bud, that’s Vallejo Model Air Tire Black, I think it came out OK on your bladders. The decals were fun too once I’d realized I needed to position the inner ones first.
Unless I hear otherwise I’m going to fab plates for the pump deck floor and bolt shackles to these to anchor the load down.

Any thoughts?

2 Likes

That sounds reasonable. It’s what I’d do in real life.

2 Likes

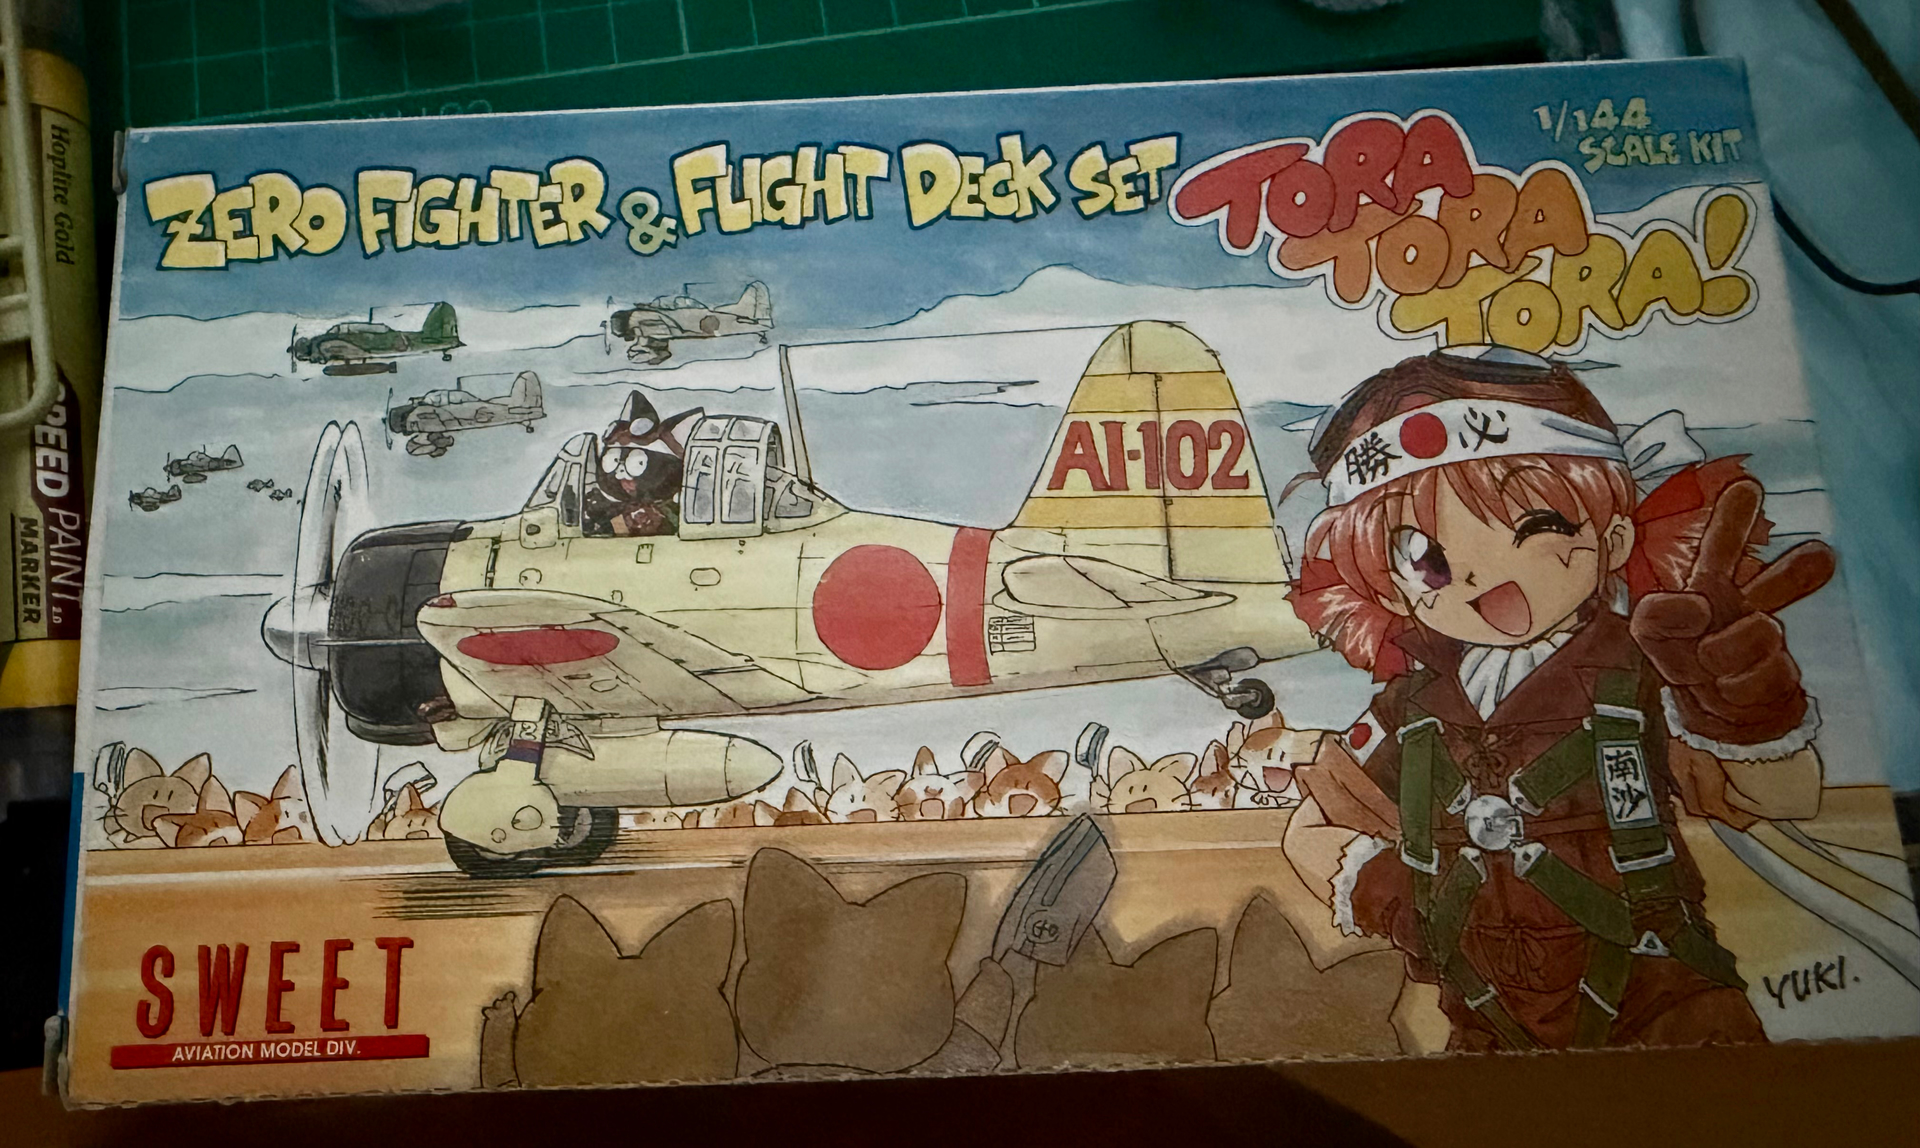
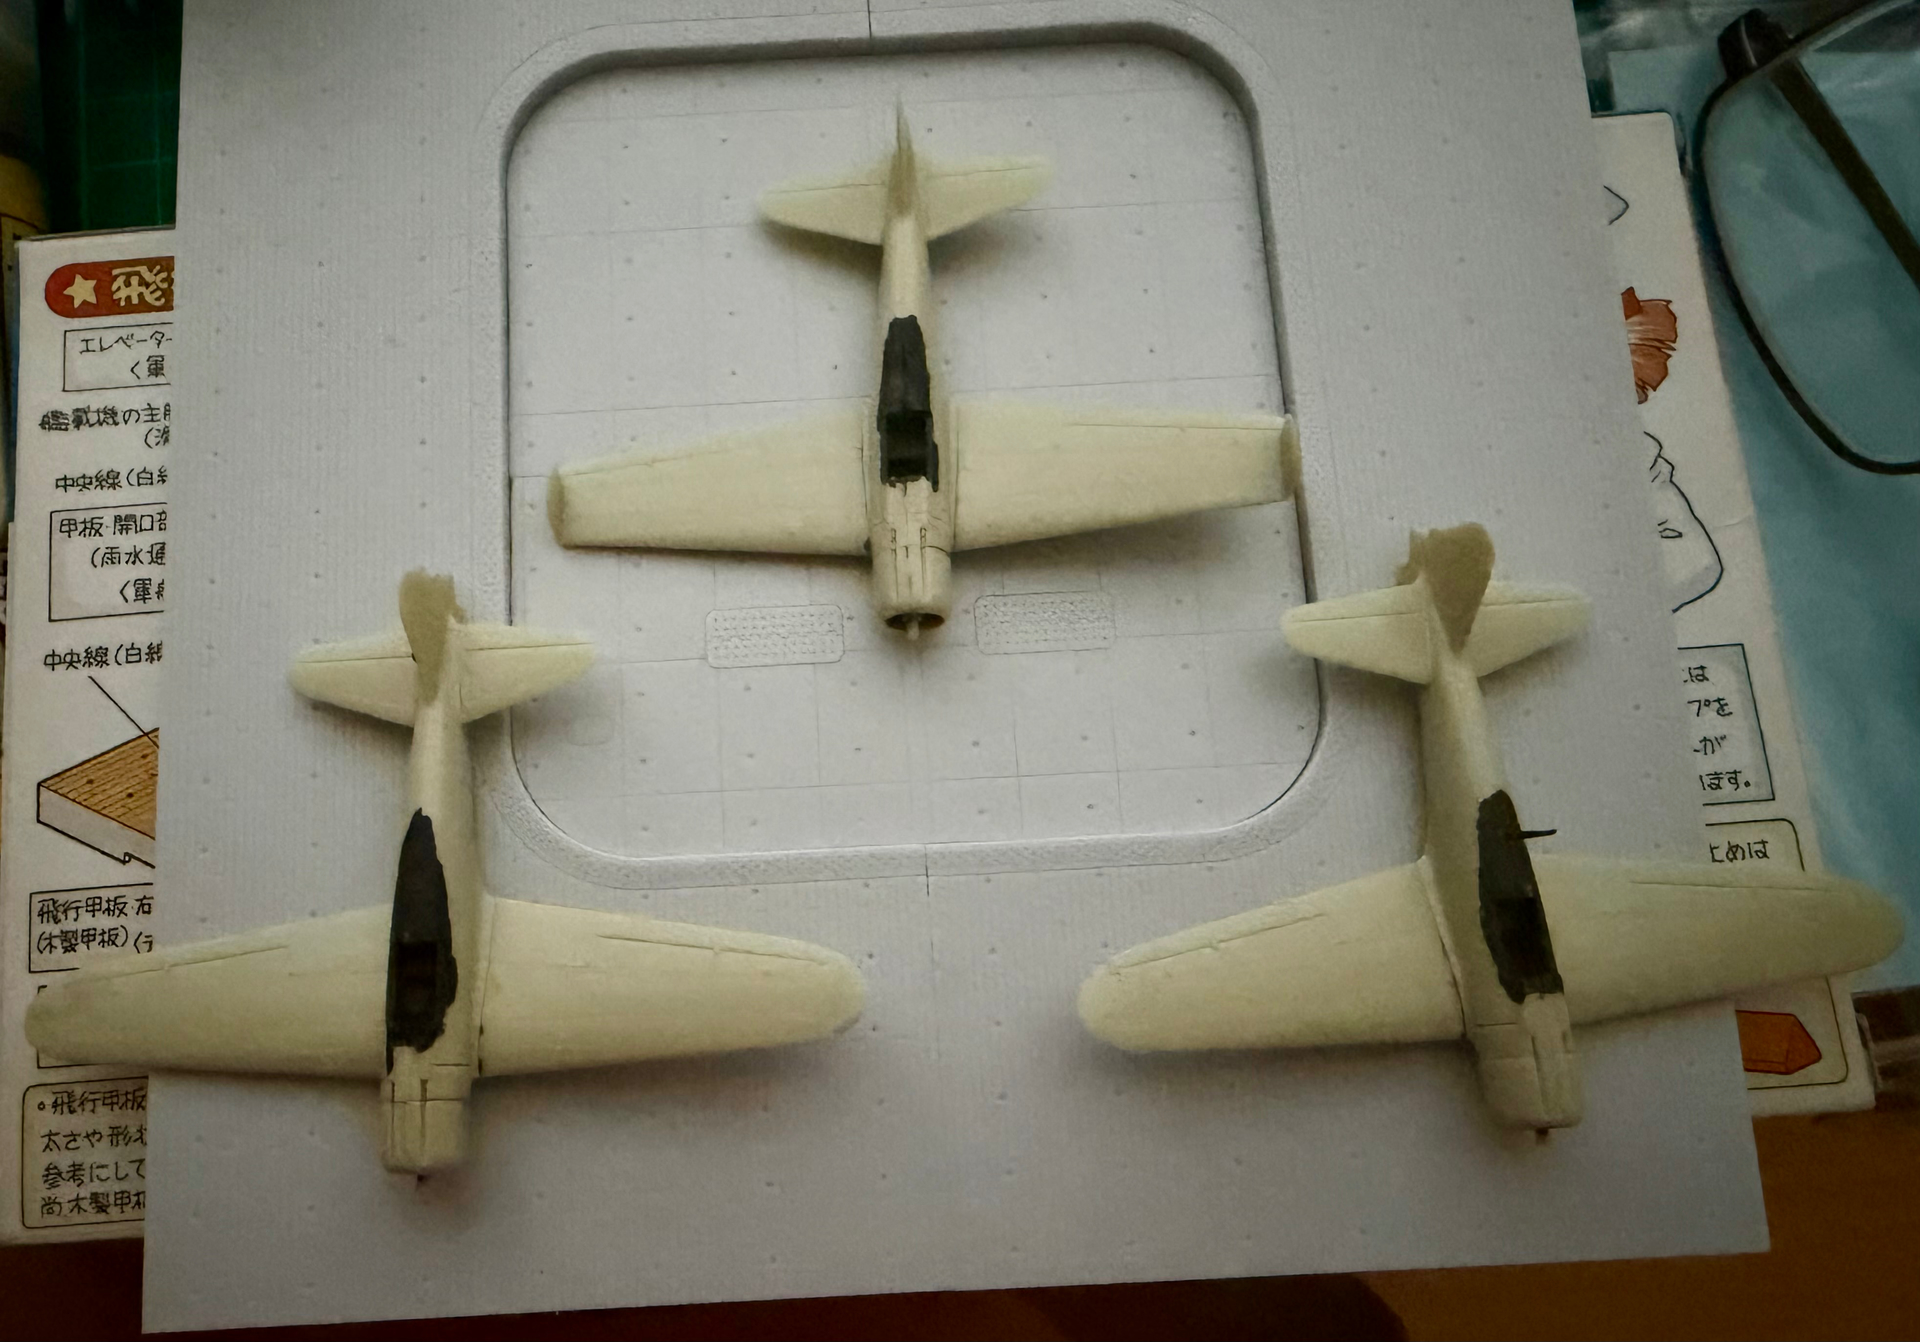
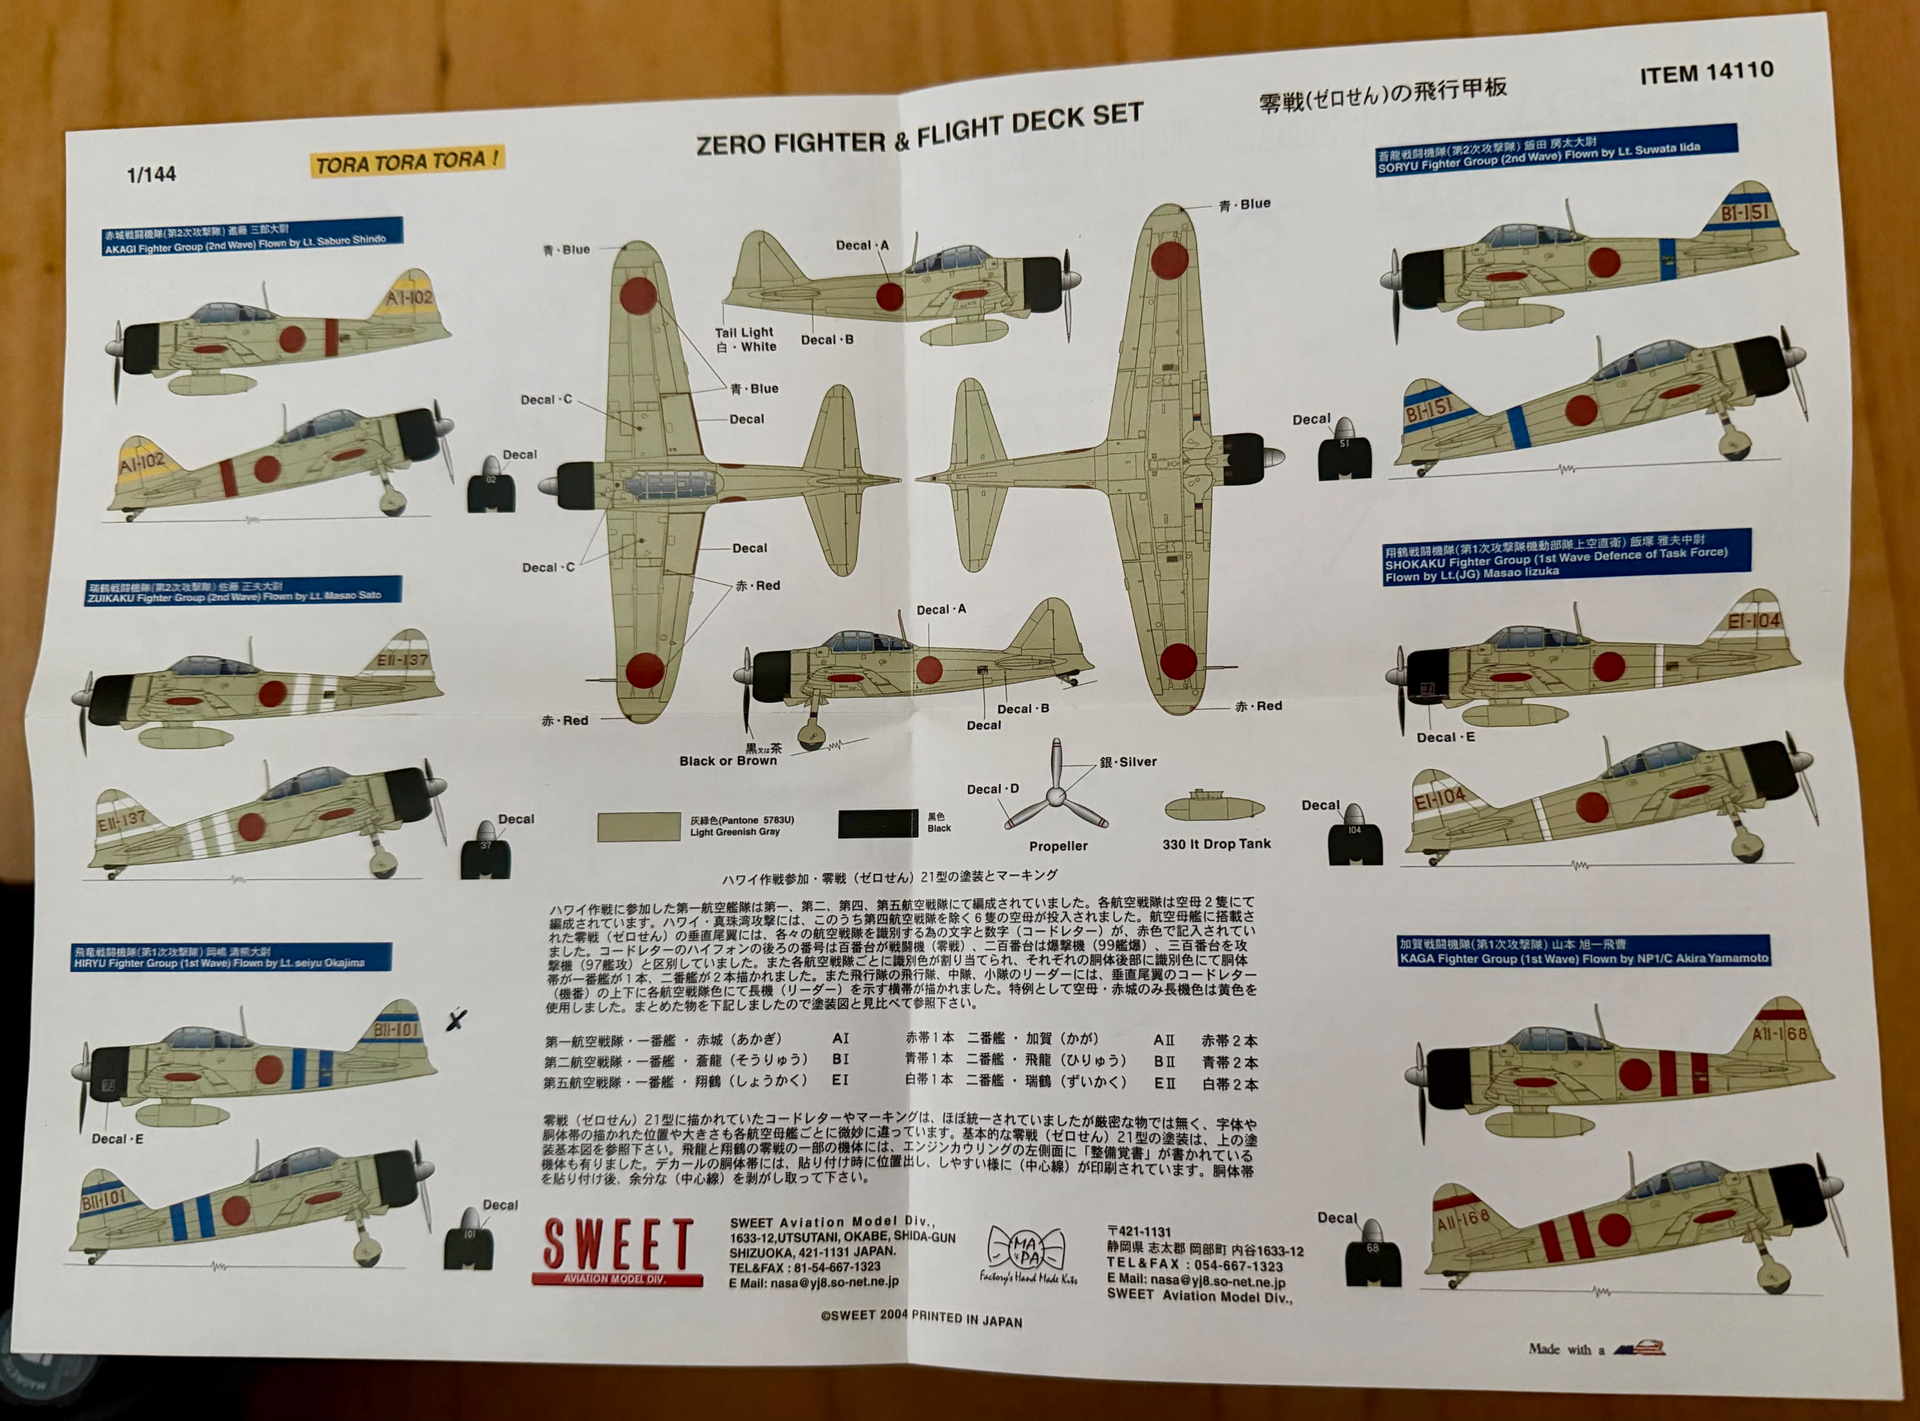
A small (pun intended) update on the 1/144 Zeros, firstly they’ve been joined by a third from the Tora, Tora, Tora box set which only has one kit but does include a section of flight deck and aircraft lift with decal marking for one aircraft from each of the IJN carriers.

The engines have been painted and cowlings fitted, wing tips added, the carrier based one in the folded position. Drop tanks and landing gear next.


I’ll be doing the one from Hiryu.

7 Likes

Got the custom decals on they came out a lot better then I feared. Next time I’ll go a bit little on the clear coat along with learning to put what should be a color decal over a lighter color and not a darker color.

17 Likes

Hey there RB Nice work!
Feel like getting into bumper codes? There’s a market out there I’m sure.

2 Likes

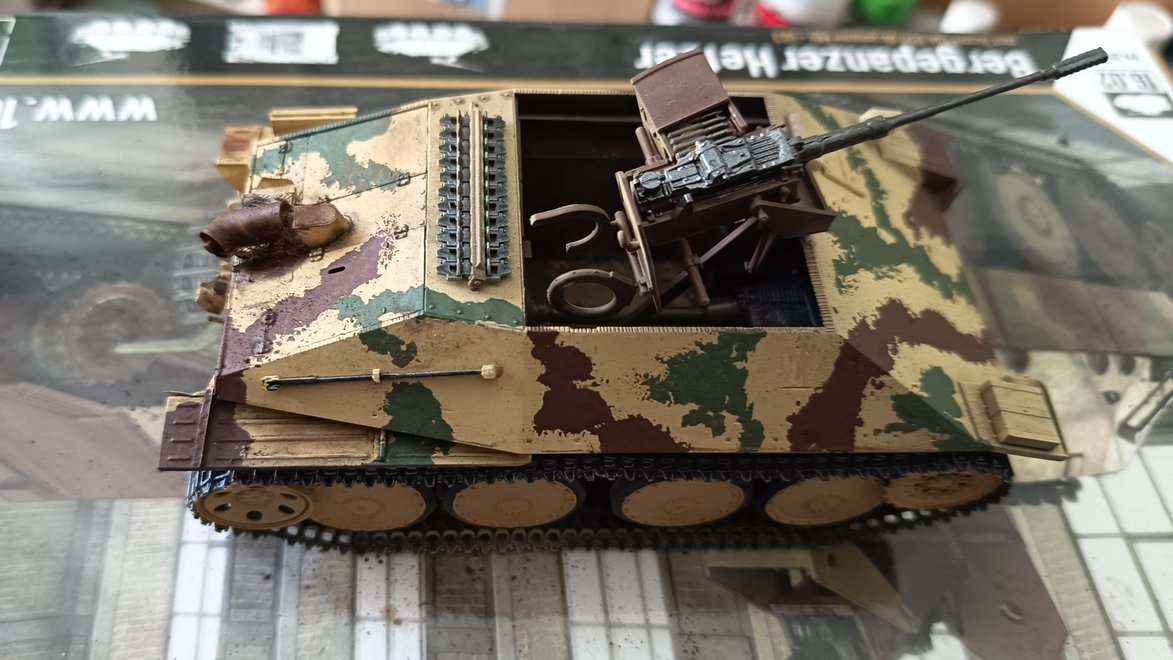
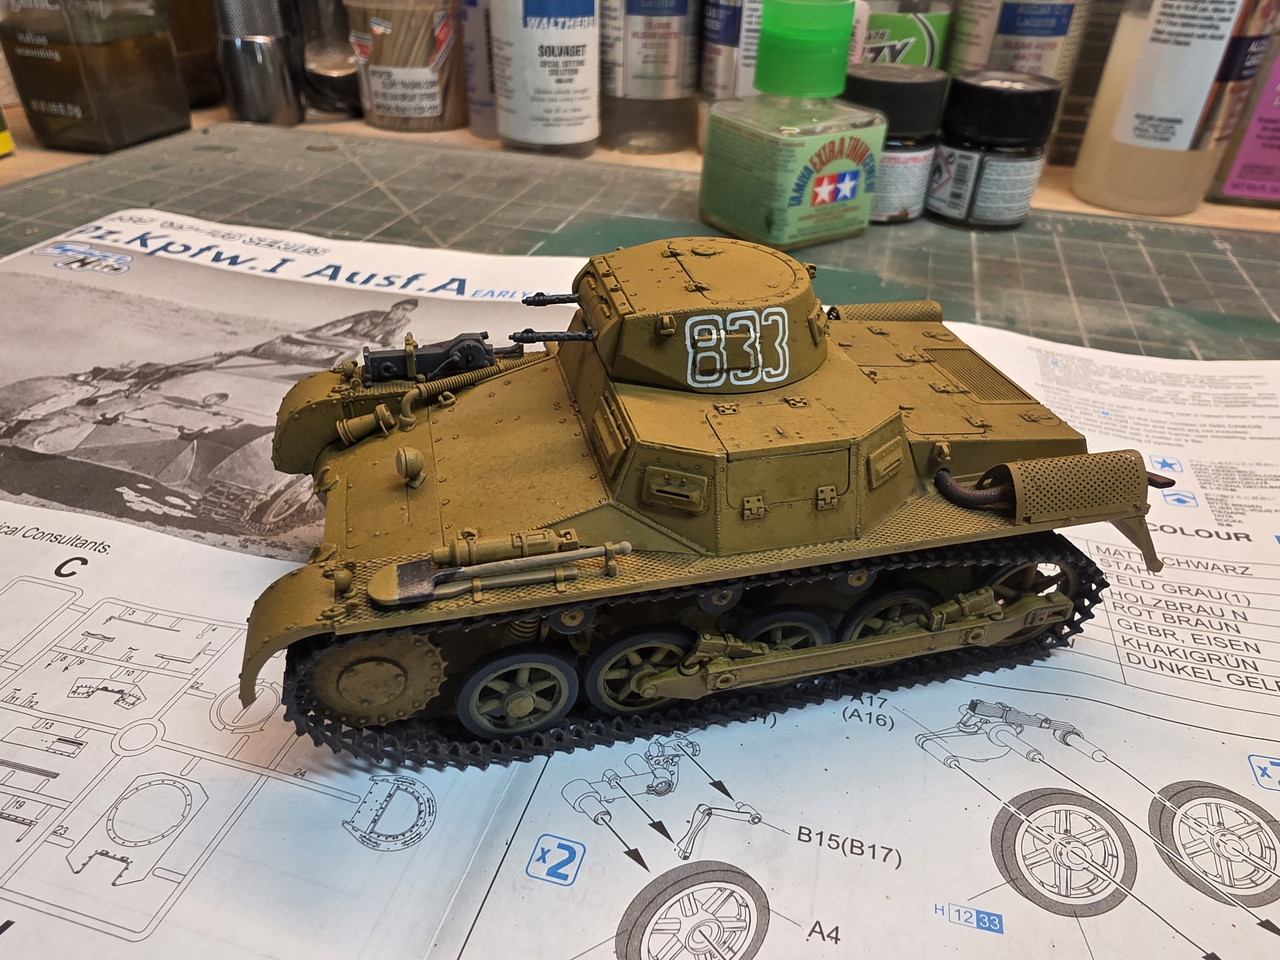
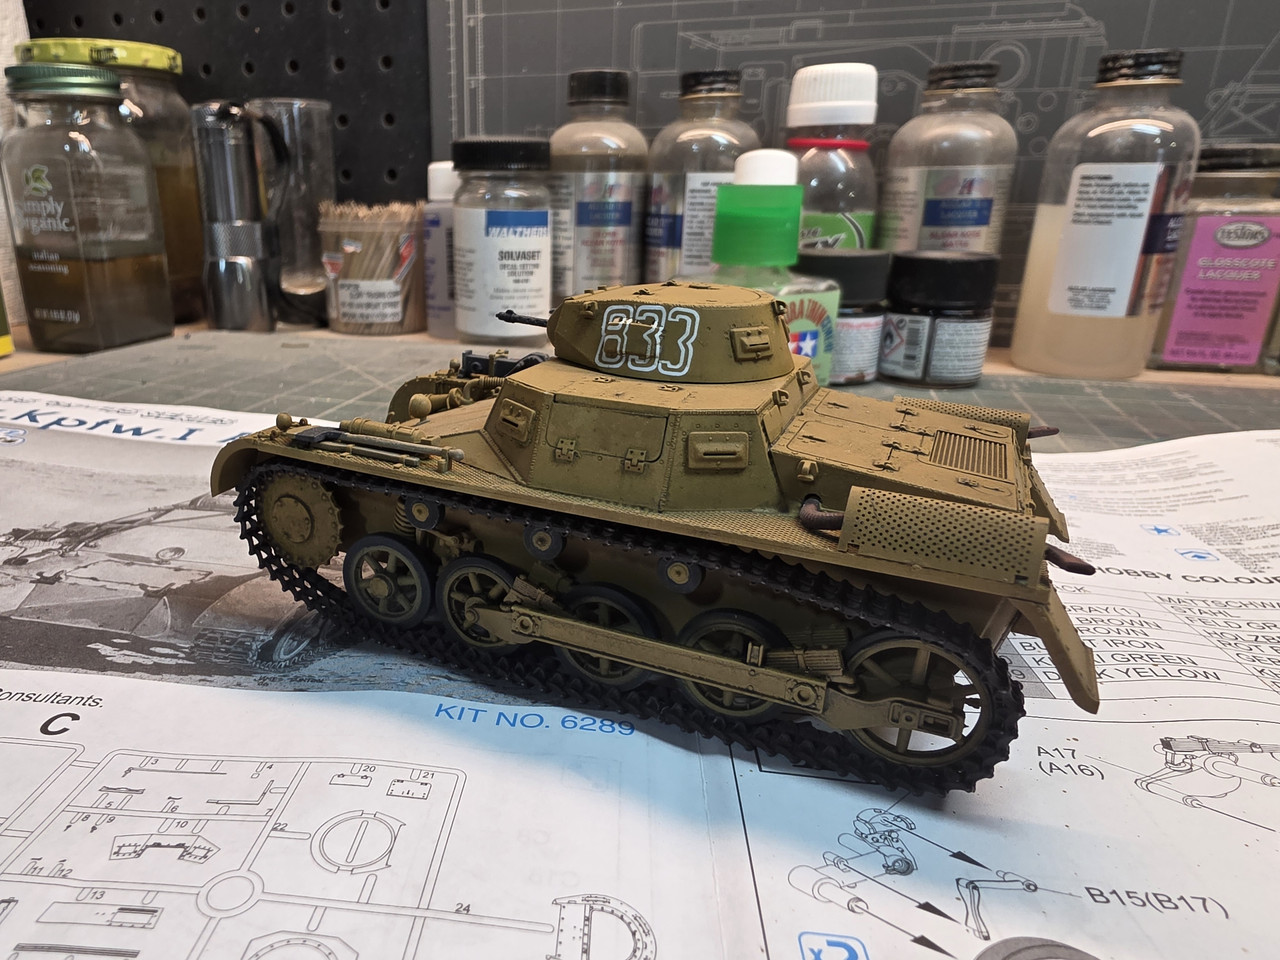
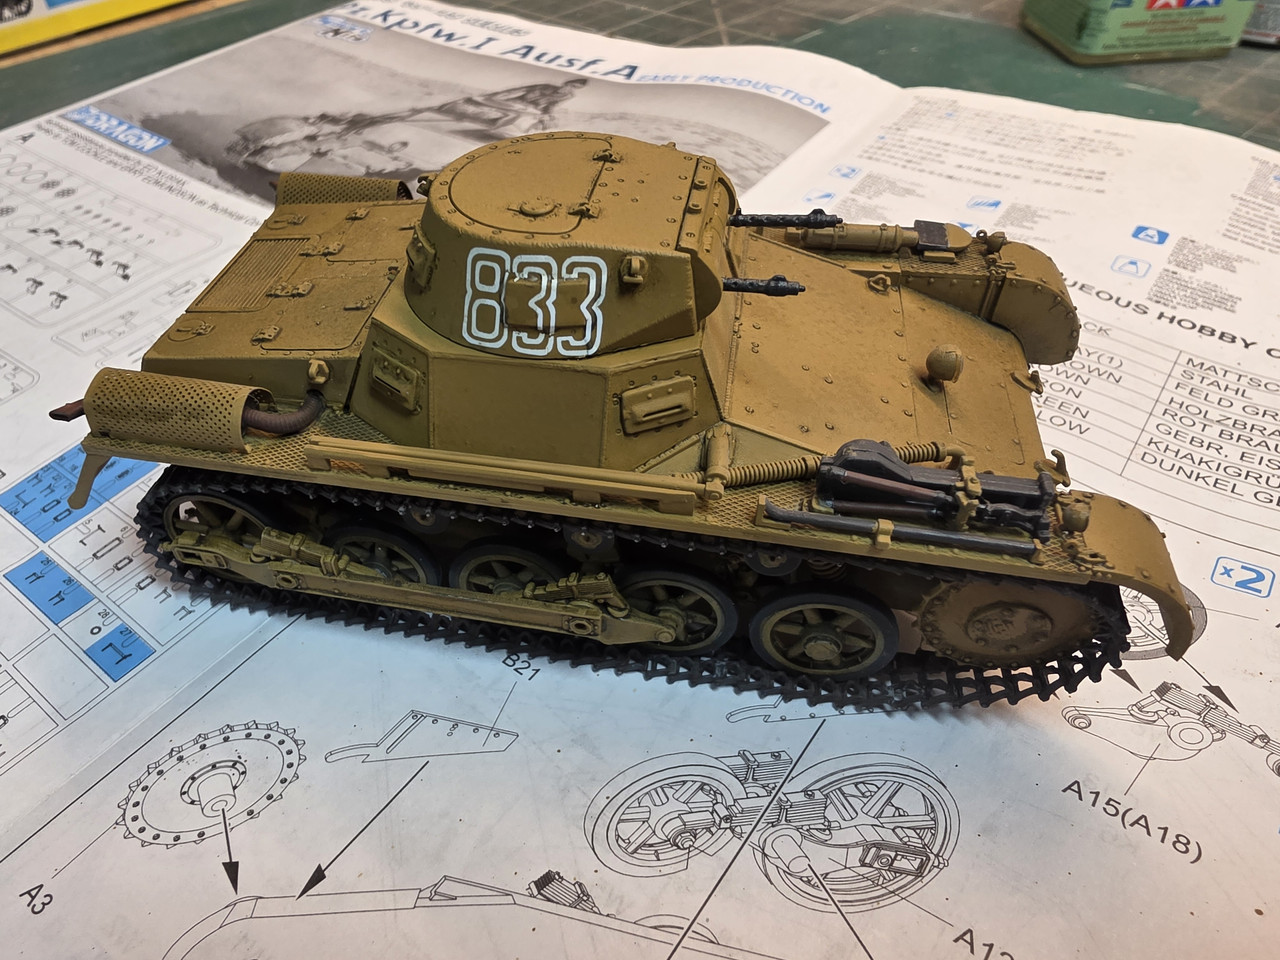
Been working on this little Dragon Dak Panzer I,still got some weathering,pigments,and chipping to do.

20 Likes

I’d have to look into what bumper codes are first Im guessing something to do with Russian trucks or trucks in general?

2 Likes

US ARMY and MARINES.

th
This sort of thing.

4 Likes

That’slooking good.I hadn’t come across this hetzer adaptation before, guess they didn’t build many.I’d like to mount that gun on the roof of my Vito, wonder what sort of recoil it has.

2 Likes

Thanks!

1 Like

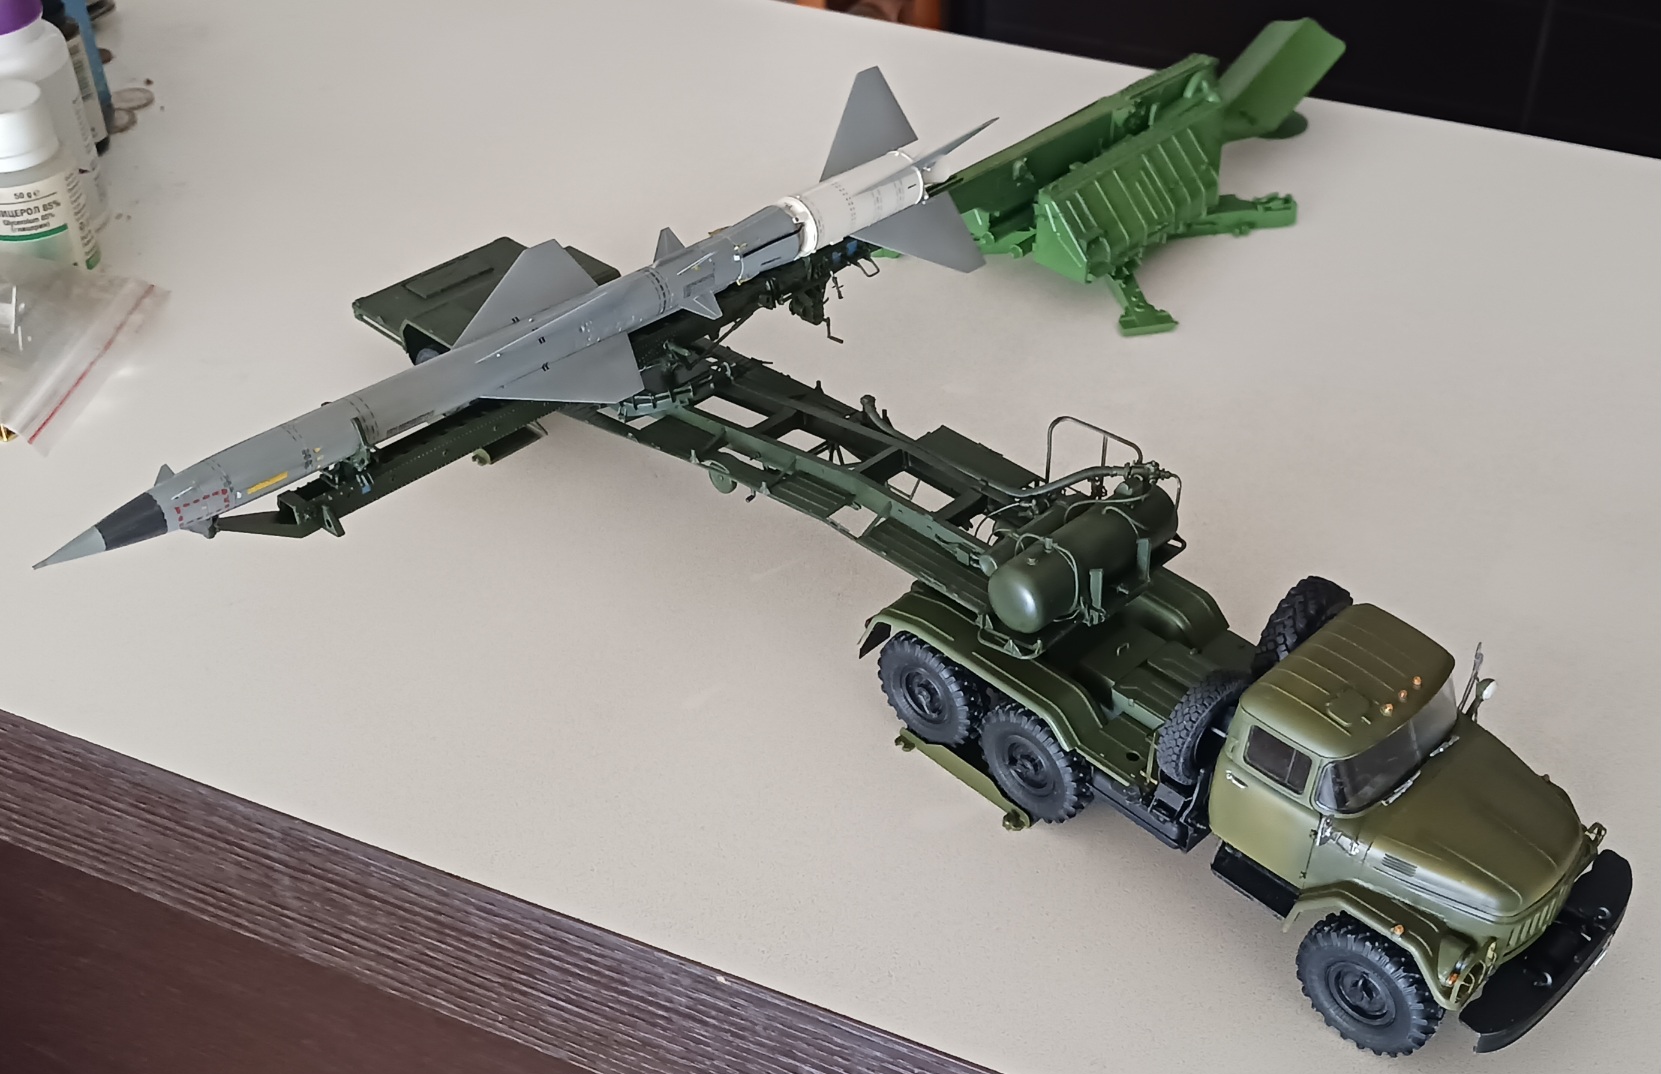
Had to clean the kitchen isle from a lot of Missus “I’m-gonna-live-forever” junk to free space for the setup…

It is the S-75M3 AAM system with 5Ya23 interceptor, SM-90 launcher and PR-11 transporter- a colaboration project between me, Kalin and a modelling buddy of ours, built for another buddy, who recently retired from Bulgarian Air Defense Forces.

It is the first come together of all components and I need to make some tweaking, before giving it to Kalin @k_mero4 for weathering and base build.

Cheers,

Angel

20 Likes

Oh ok Im familiar with those. My main issue is I based my decals off of trial and error not measurements and math. I had to make several gray scale tests with normal paper before getting the sizing right. So doing anything like making decals for others might be a poor choice for me to do.

2 Likes