Thank you very much guys!
that’s the best intruder I’ve seen in a long time!
1 Like
Thank you very much!
I have to withdraw from this campaign with great regret. The deadline is too close and I still haven’t started work on it.
My modelling room has to be vacated for our second daughter in early January, and I have to reorganize my new workbench.
What’s more, I’m having trouble finding enough free time to work on my various current projects.
I take it these are 91 Desert Storm aircraft
Yes
2 Likes
Completely understand. Sometimes other things have to take priority.
I’m happy to grant an extension, I’m behind schedule on my own build!
Busy day, with seeing family and getting both of my booster jabs, only left me with a spare half hour. I used that time to attach some of the auxiliary intakes and vents to the fuselage. Also dug out the Hasegawa weapons set with the CBU-24’s I’ll need. To attach I’ll have to loot Trumpeters F-105G for the correct inner wing pylons. Although I believe Reskit have recently released sets of resin pylons. Might have a look for them.

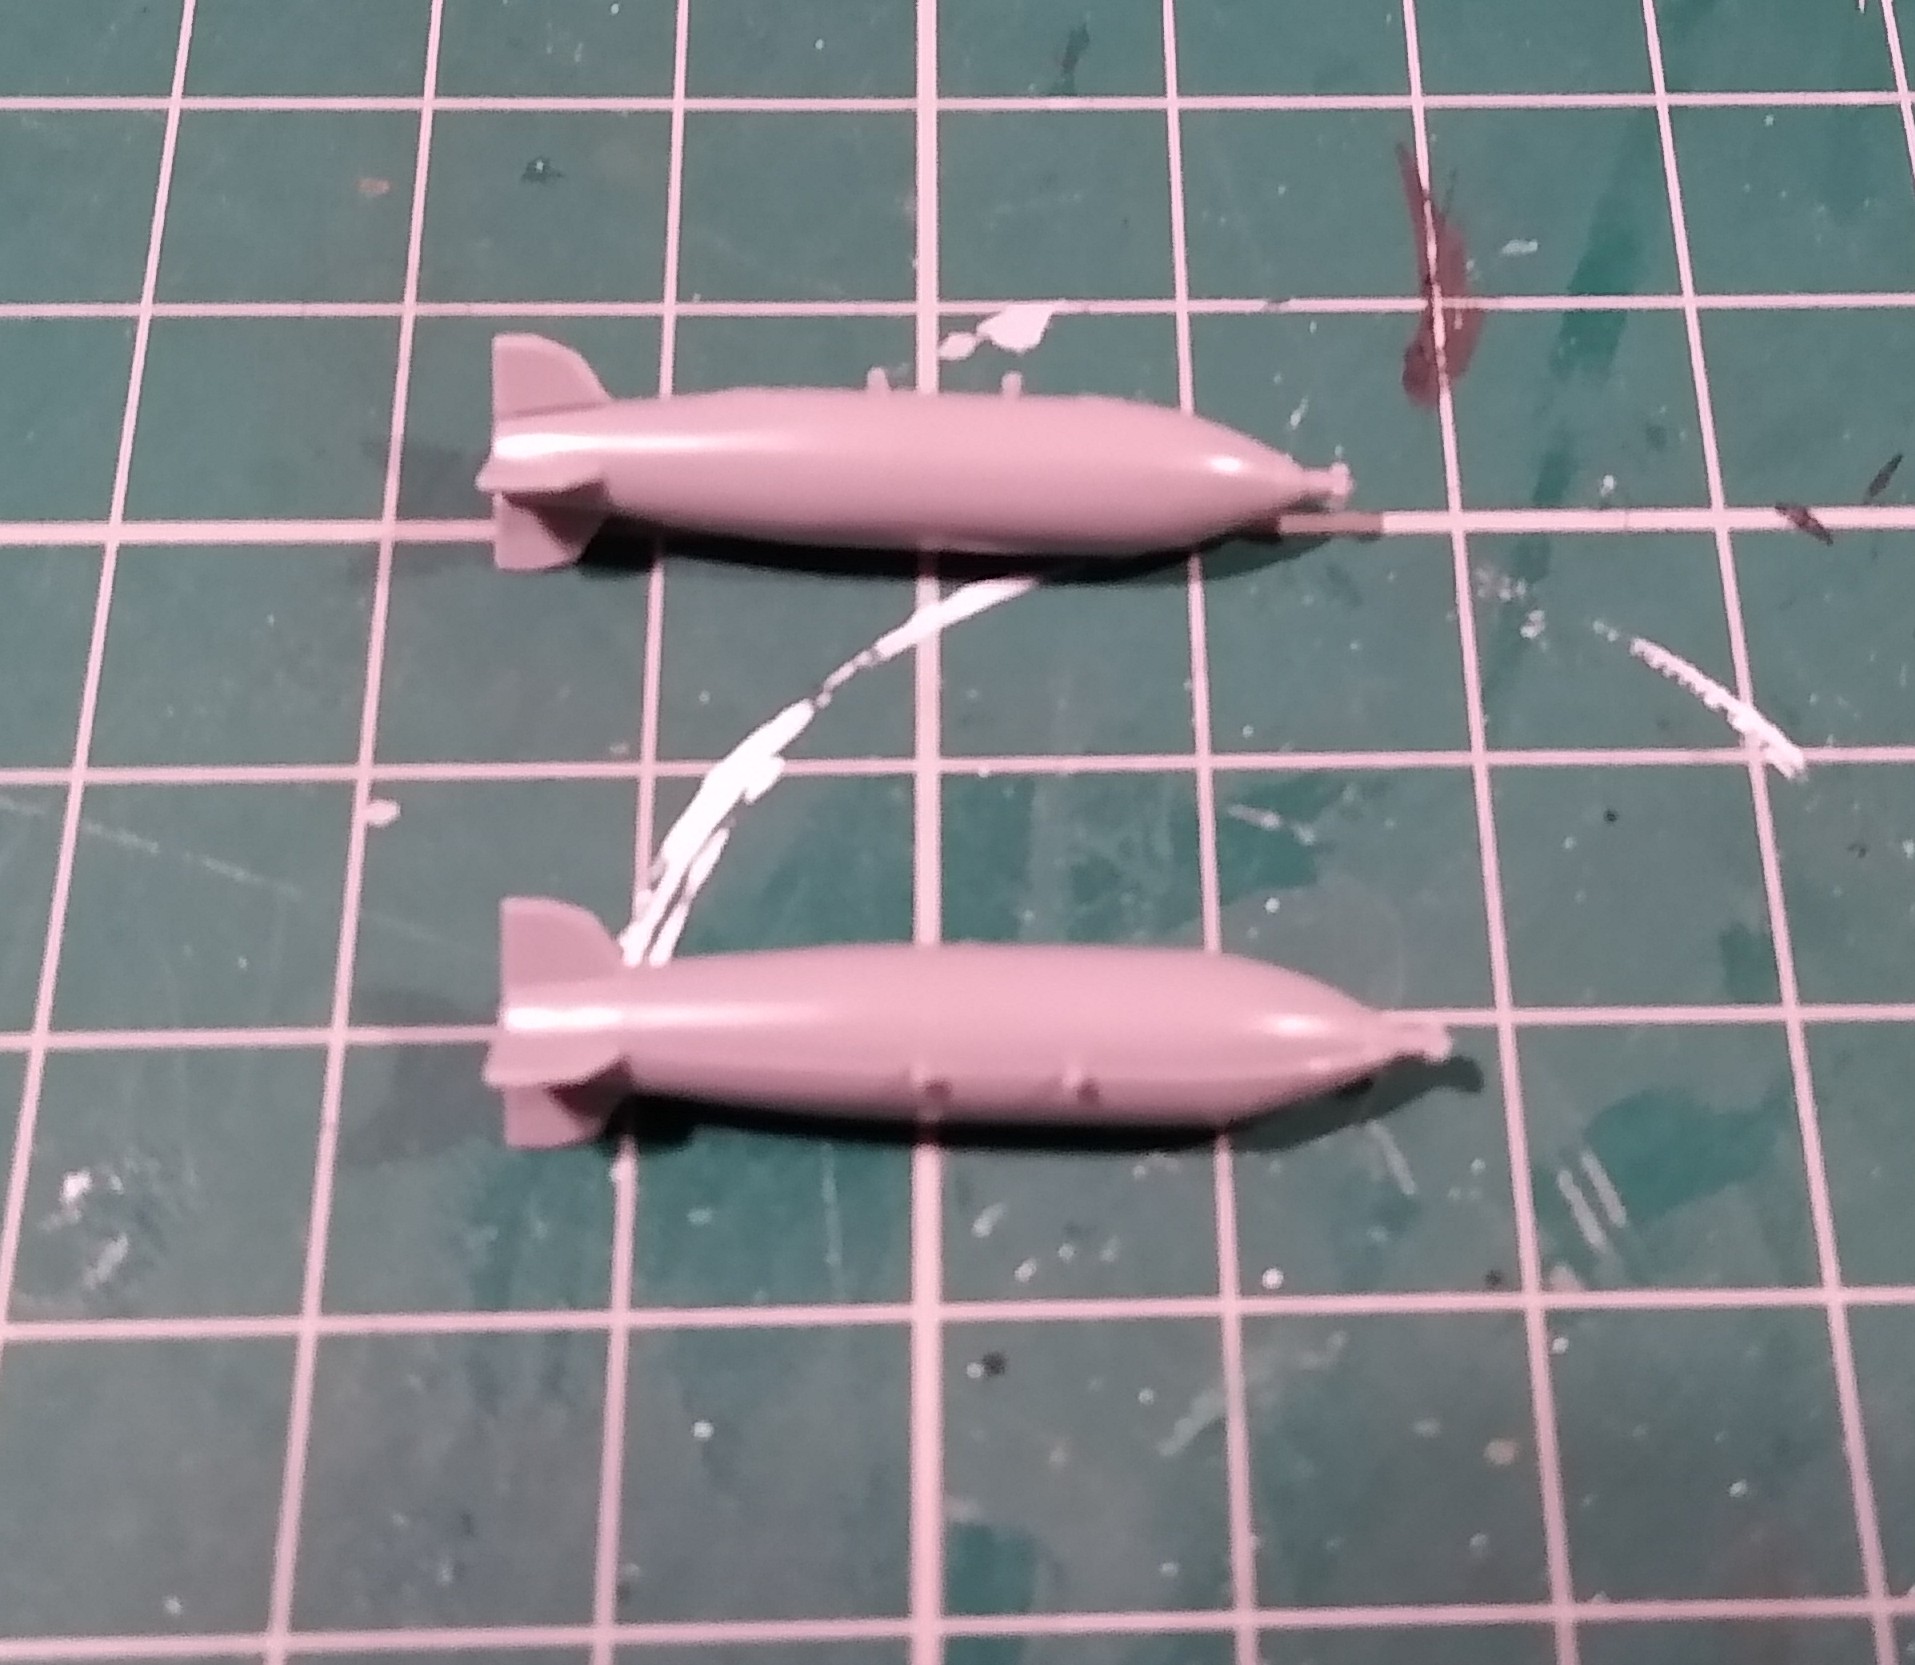
I can’t recommend these sets enough. They’re oldies, but still some of the best Cold War era US ordnance you can get.
Cleaned up and painted the engine parts today.

Painted with Vallejo ModelAir steel and gunmetal, they’ll have some washes towards the end of the build to bring out details and heat staining effects.
2 Likes
They look really nice!!
Wish I had time to do my build but I have to work on other projects.
@bwilt a great looking A6, love it! ![]()
![]()
1 Like
Thanks Nikos. Vallejos Modelair metallics are really nice paints and they brush really well.
I’m going to give everyone an extension if you need more time. I’m probably only going to just about make it by the end of the year myself!
1 Like
Made some progress during last and this week so far.


As the rear cockpit’s top instrument panel was nonexistant, I tried a little scratchbuilding and using some old decals…
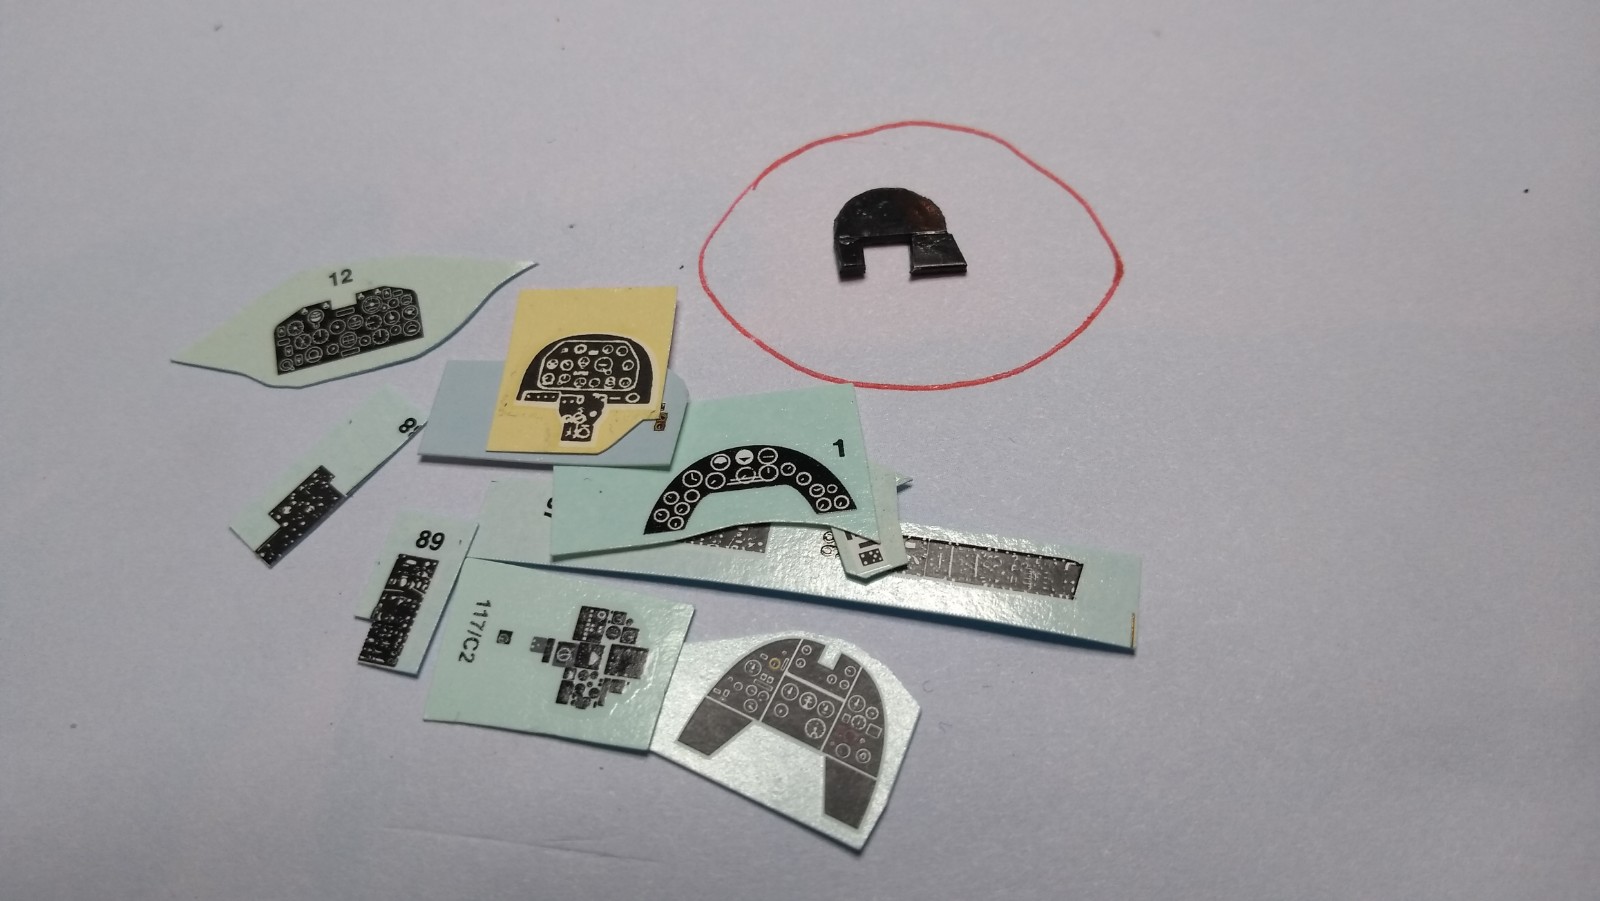

…et voila!

Not exactly like the real thing, but in 1/72 it gives at least a sort of similarity and it looks way better than an empty place,

Decals are nearly done, sharkmouth and the formation lights on the fin still to put on, then comes a matt coat and some more ordnance. An ALQ-131 and three Sparrows are installed yet and two AGM-88 HARM plus two AGM-65 Mavericks will be the full loadout.
Good luck with your builds, mates!
Peter
6 Likes
Looking good mate ![]()
1 Like
That’s looking brilliant, especially now with the markings on. Going to look even meaner when she’s armed!
1 Like
That is a very nice looking cockpit!!
1 Like
Bert, that is impressive!
1 Like
Thanks!!
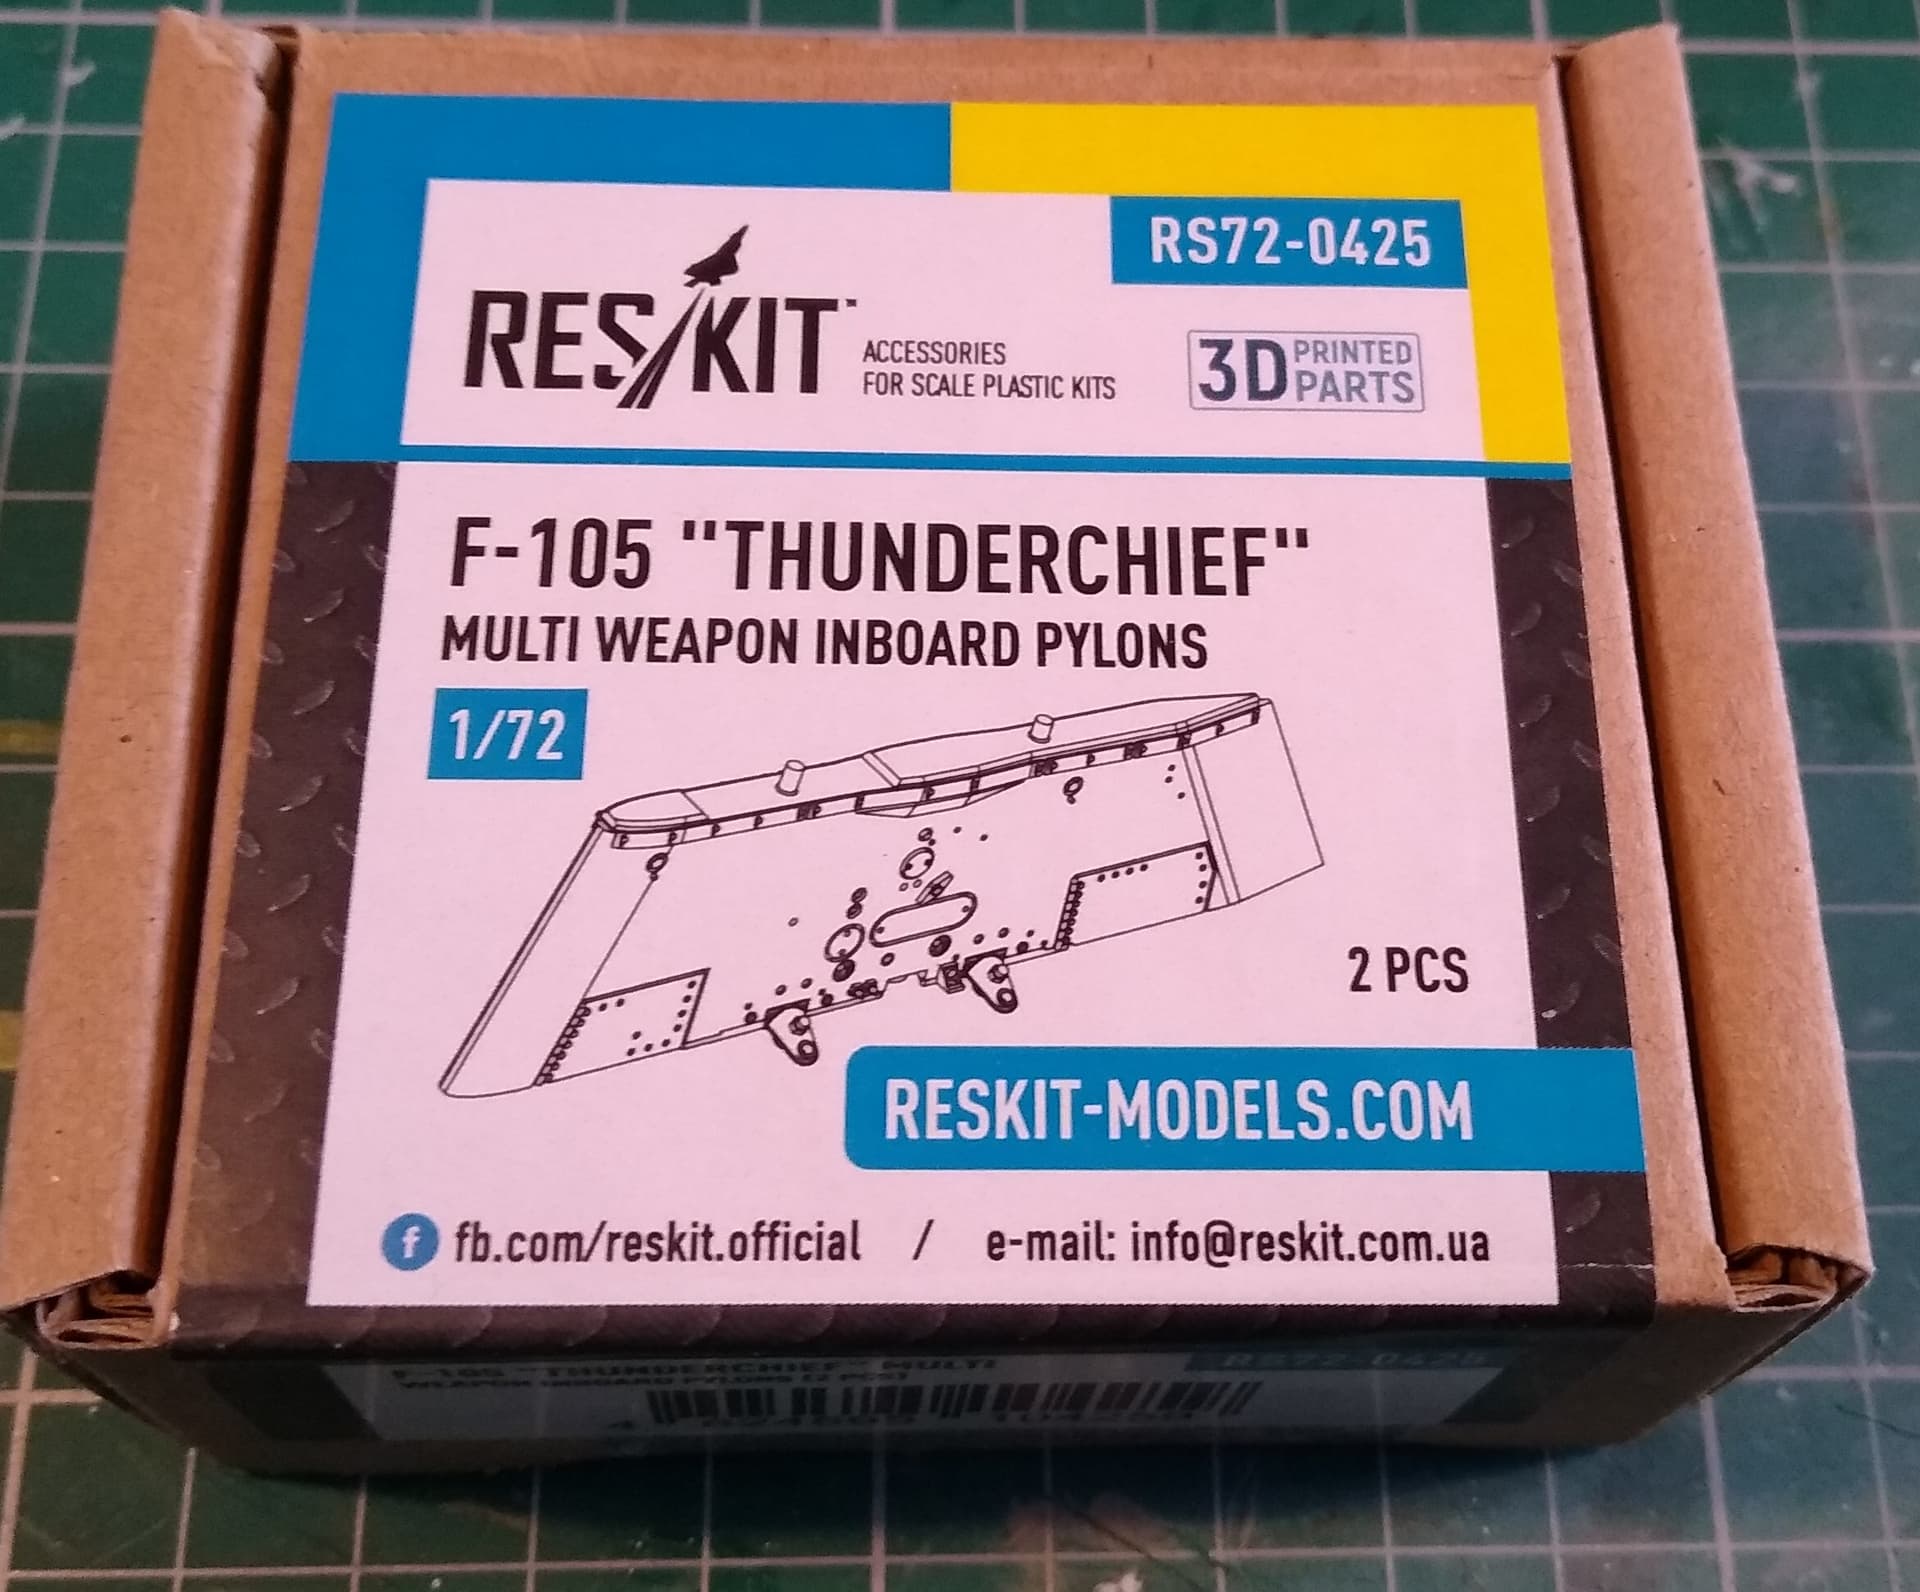
Arriving today were the pylons by Reskit.
And very nice they are too. 3D printed resin, beautiful details and they even give you lots of spares for the delicate sway braces. Lots of stencils on the decal sheet.
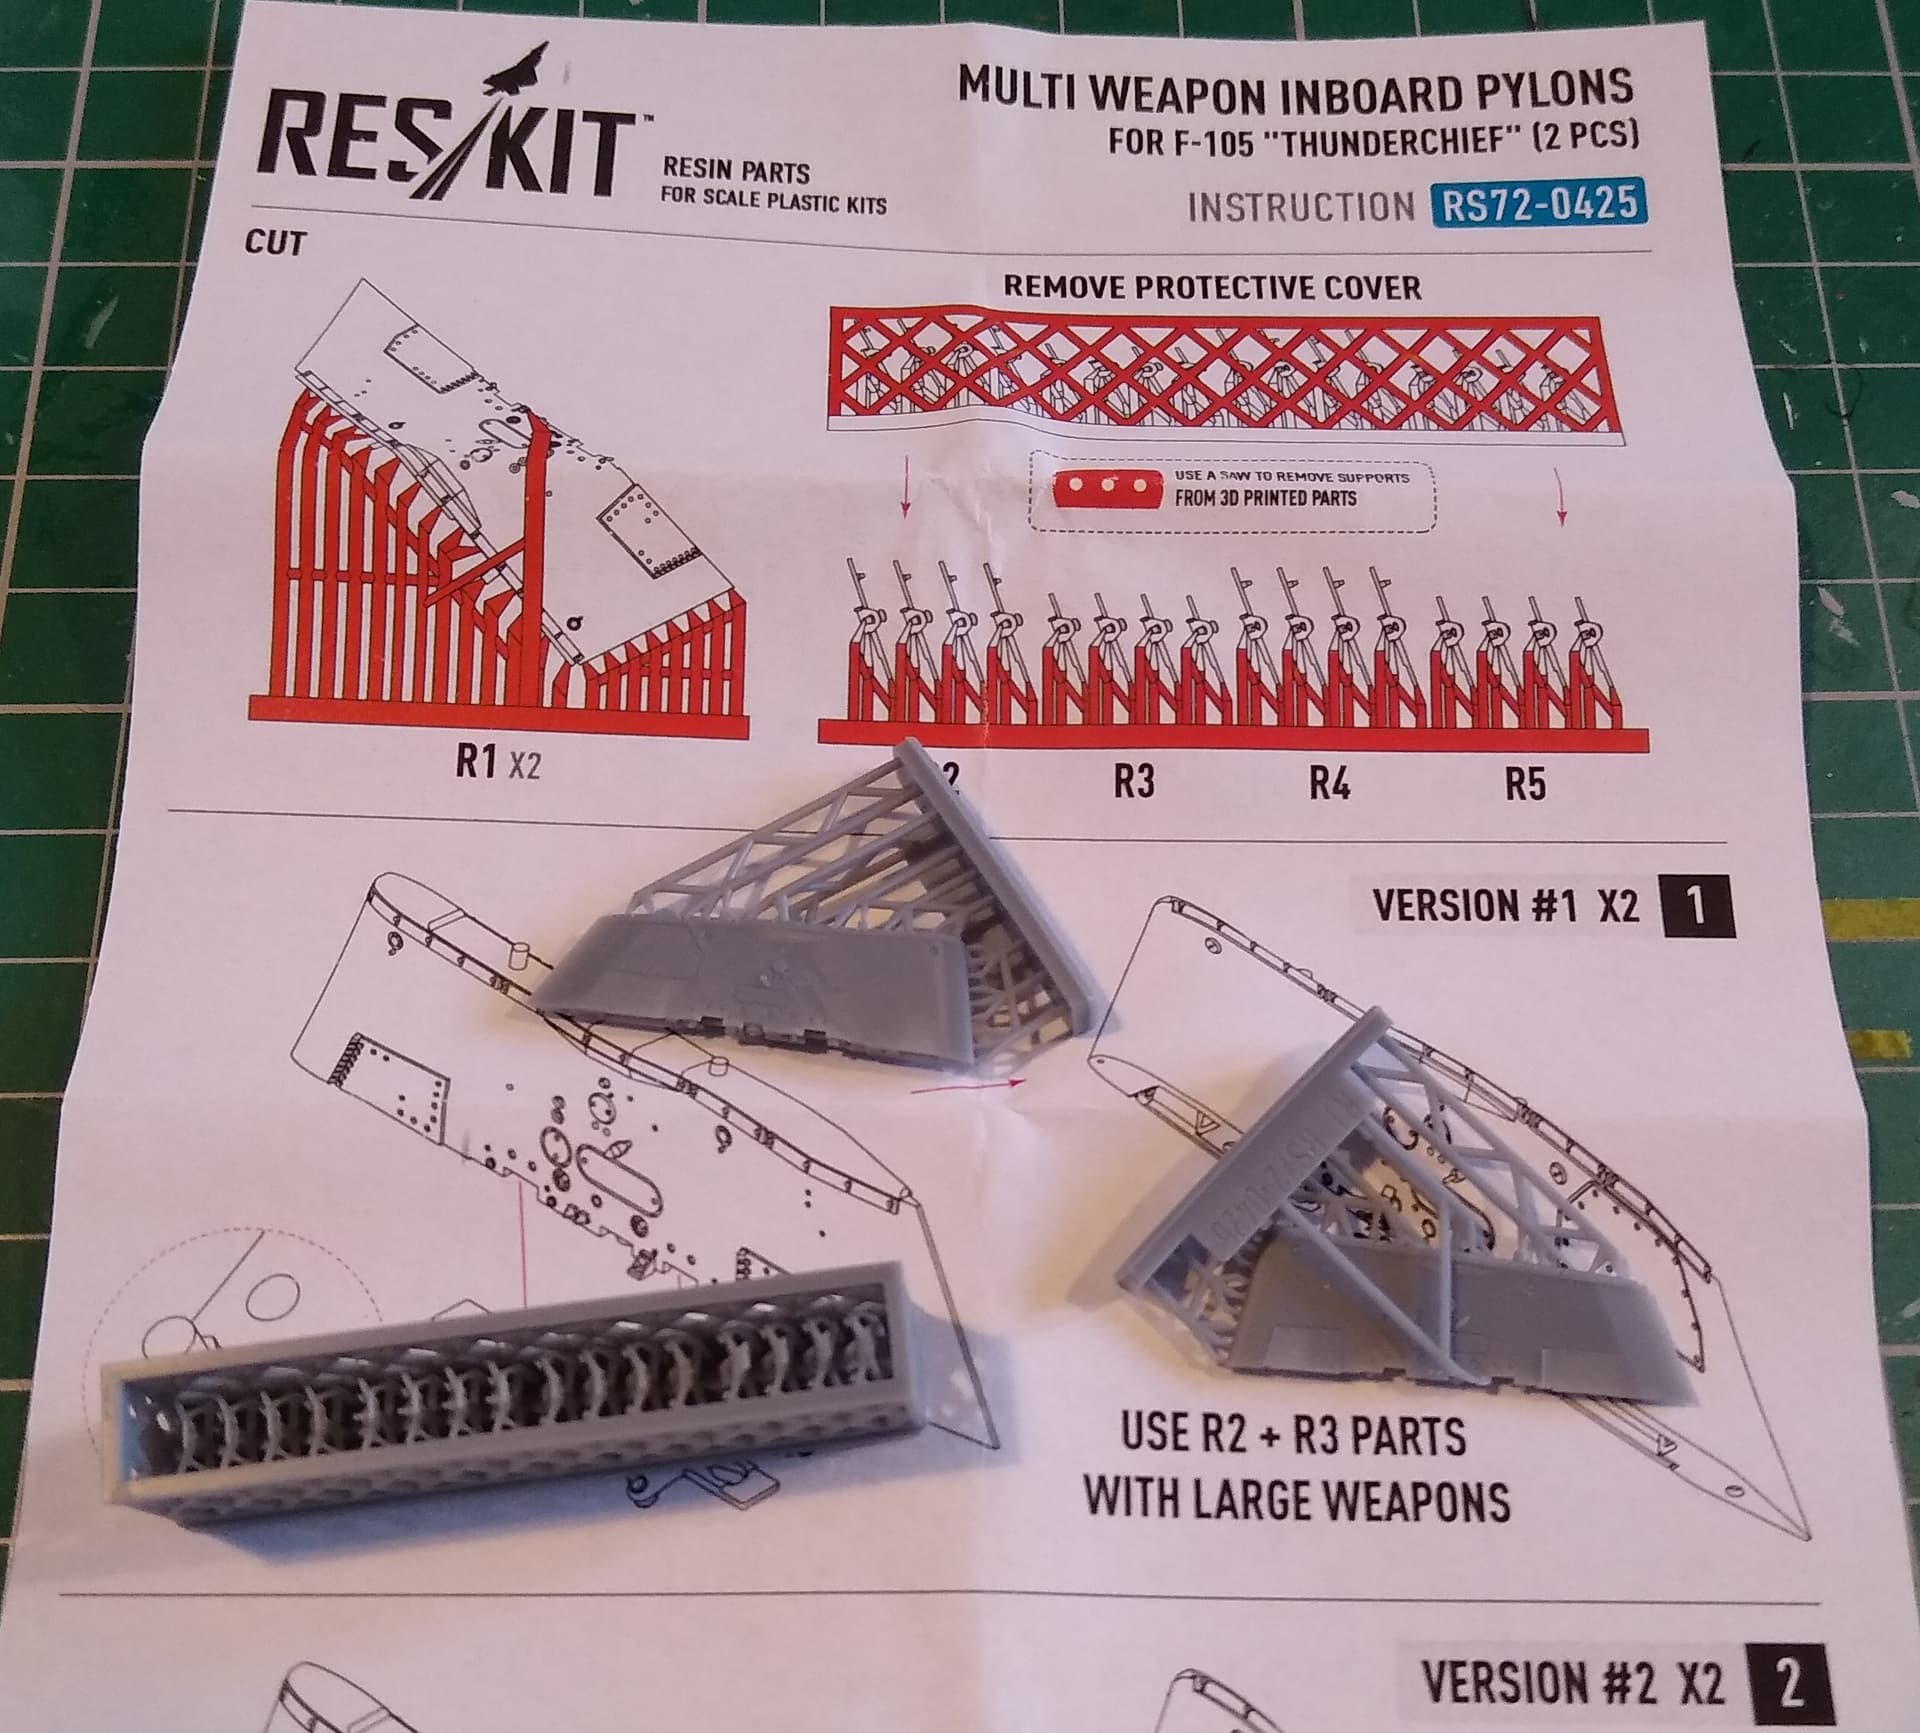
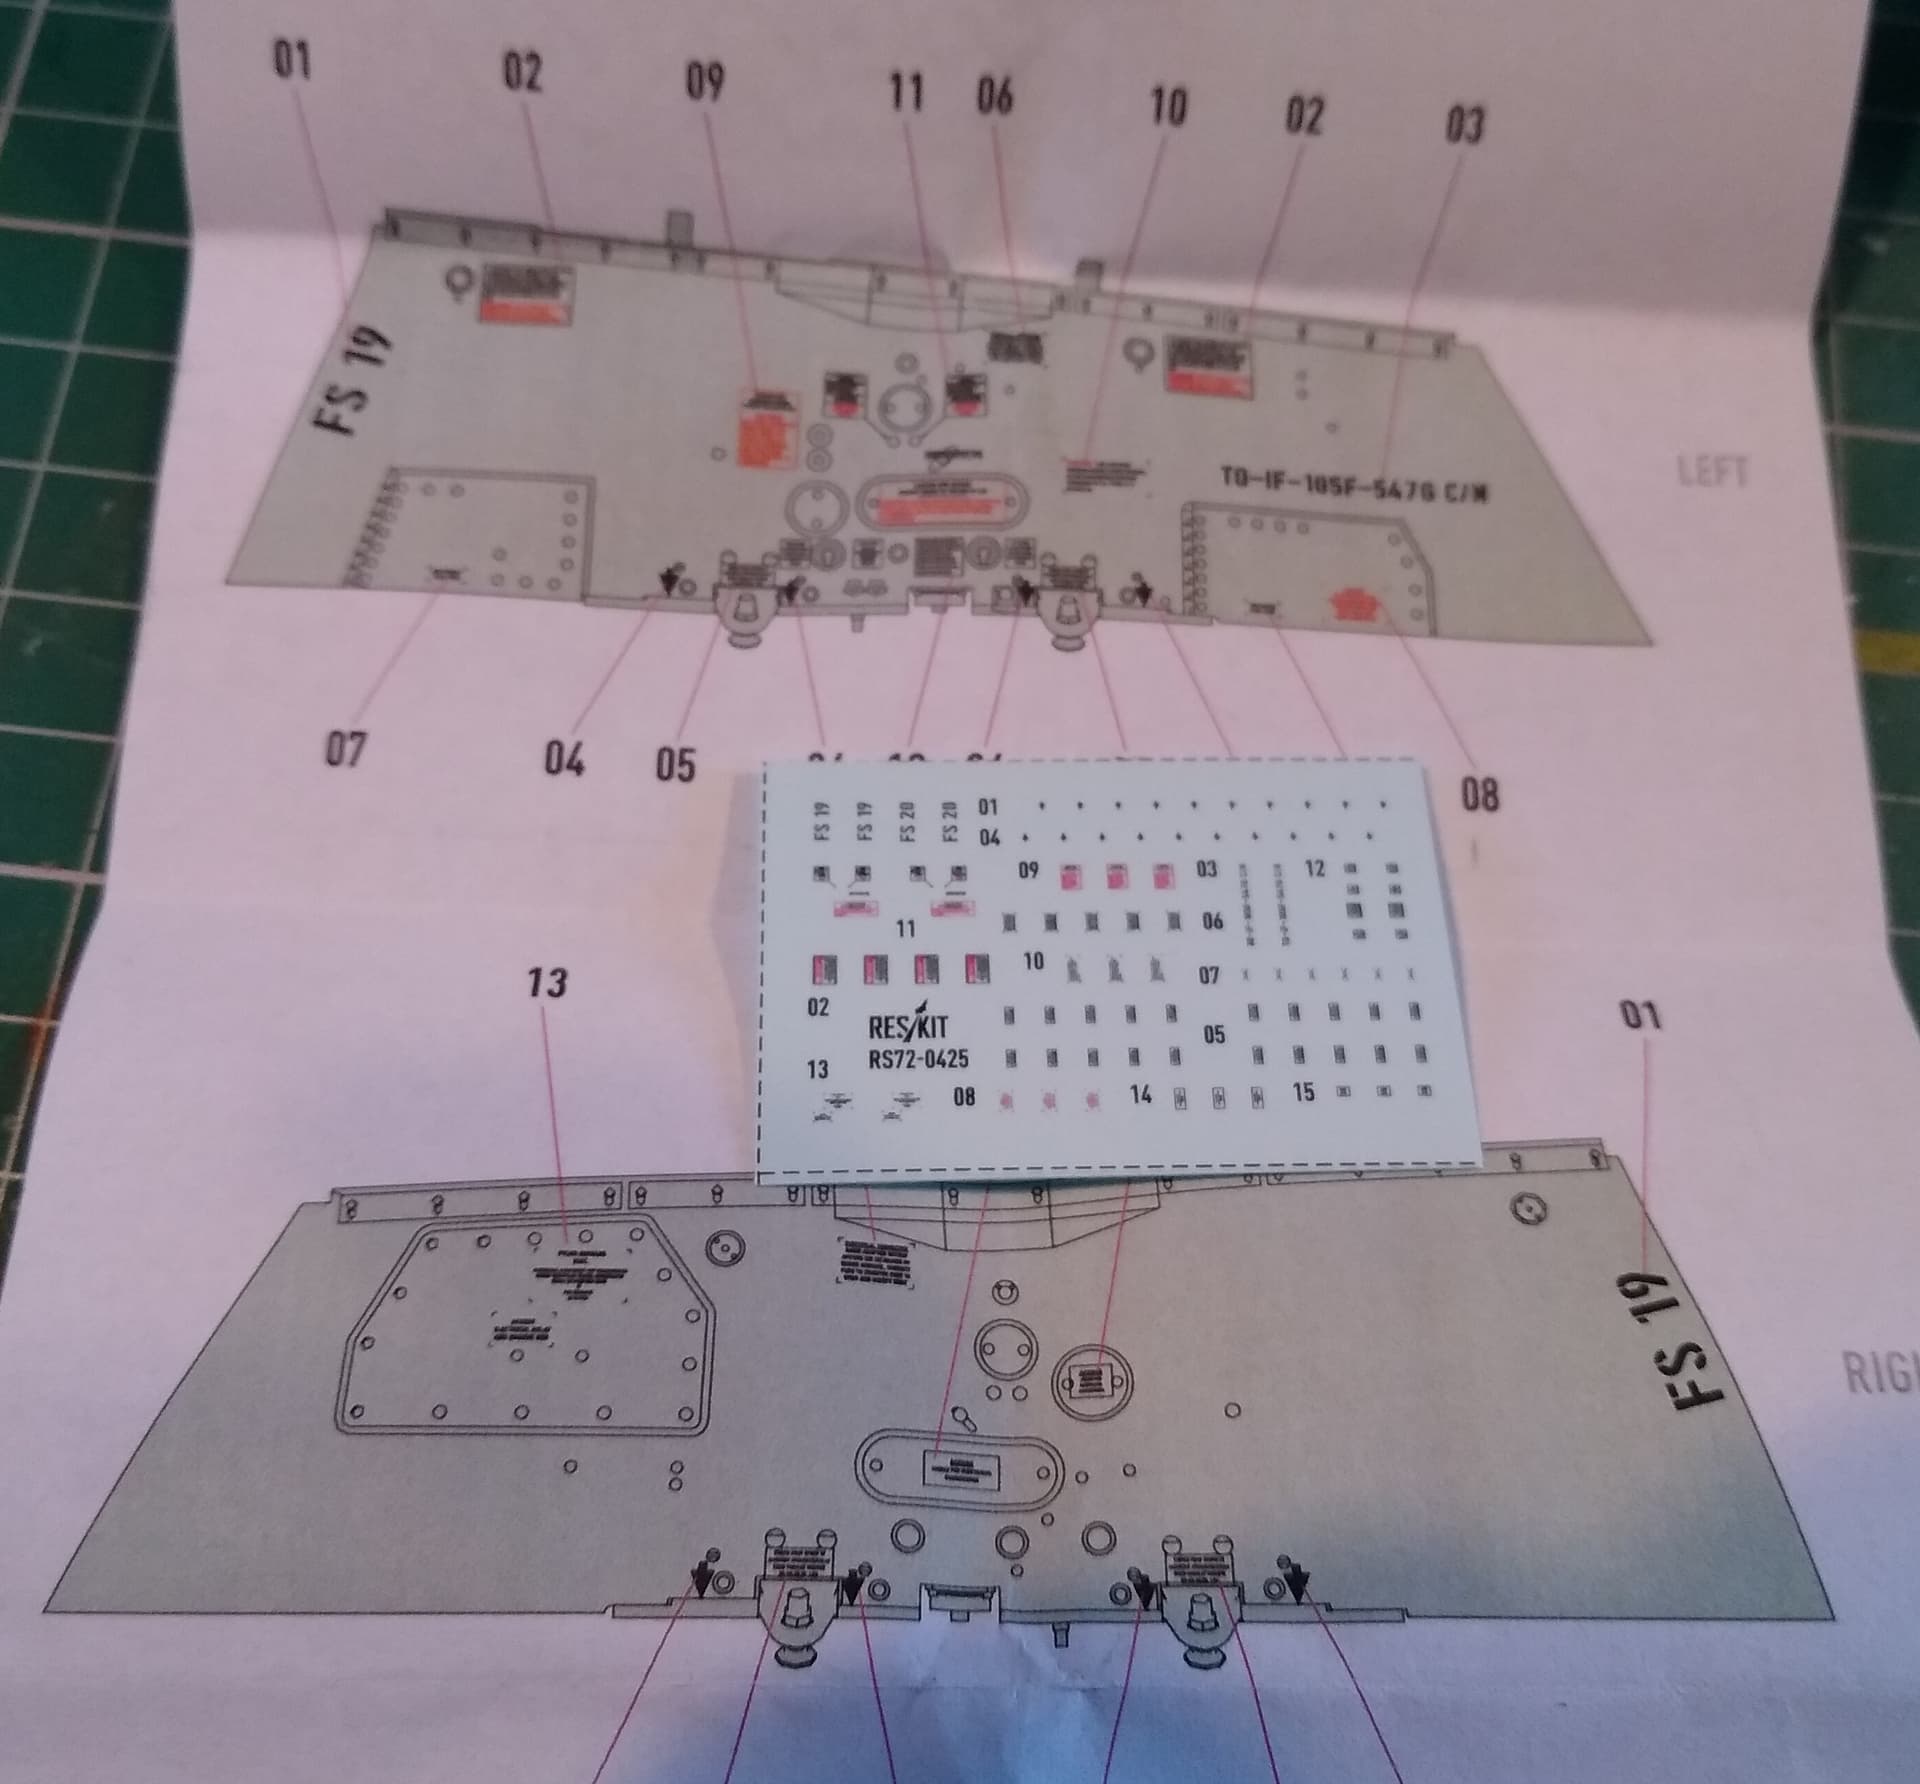
As nice as they are, I don’t think they’re correct for what I need so looks like I might be using the ones I pinched from Trumpeters. These are the big pylon used when carrying the AGM-78, Bullpup and TER’s. I hadn’t noticed that when ordering and the only other pylons they do are outers. Think I’ll keep these for the Trumpeter though.
2 Likes

4 Likes
Only a little update today as I had to go around shops for 3hours this afternoon having fun the life sucked out of me.
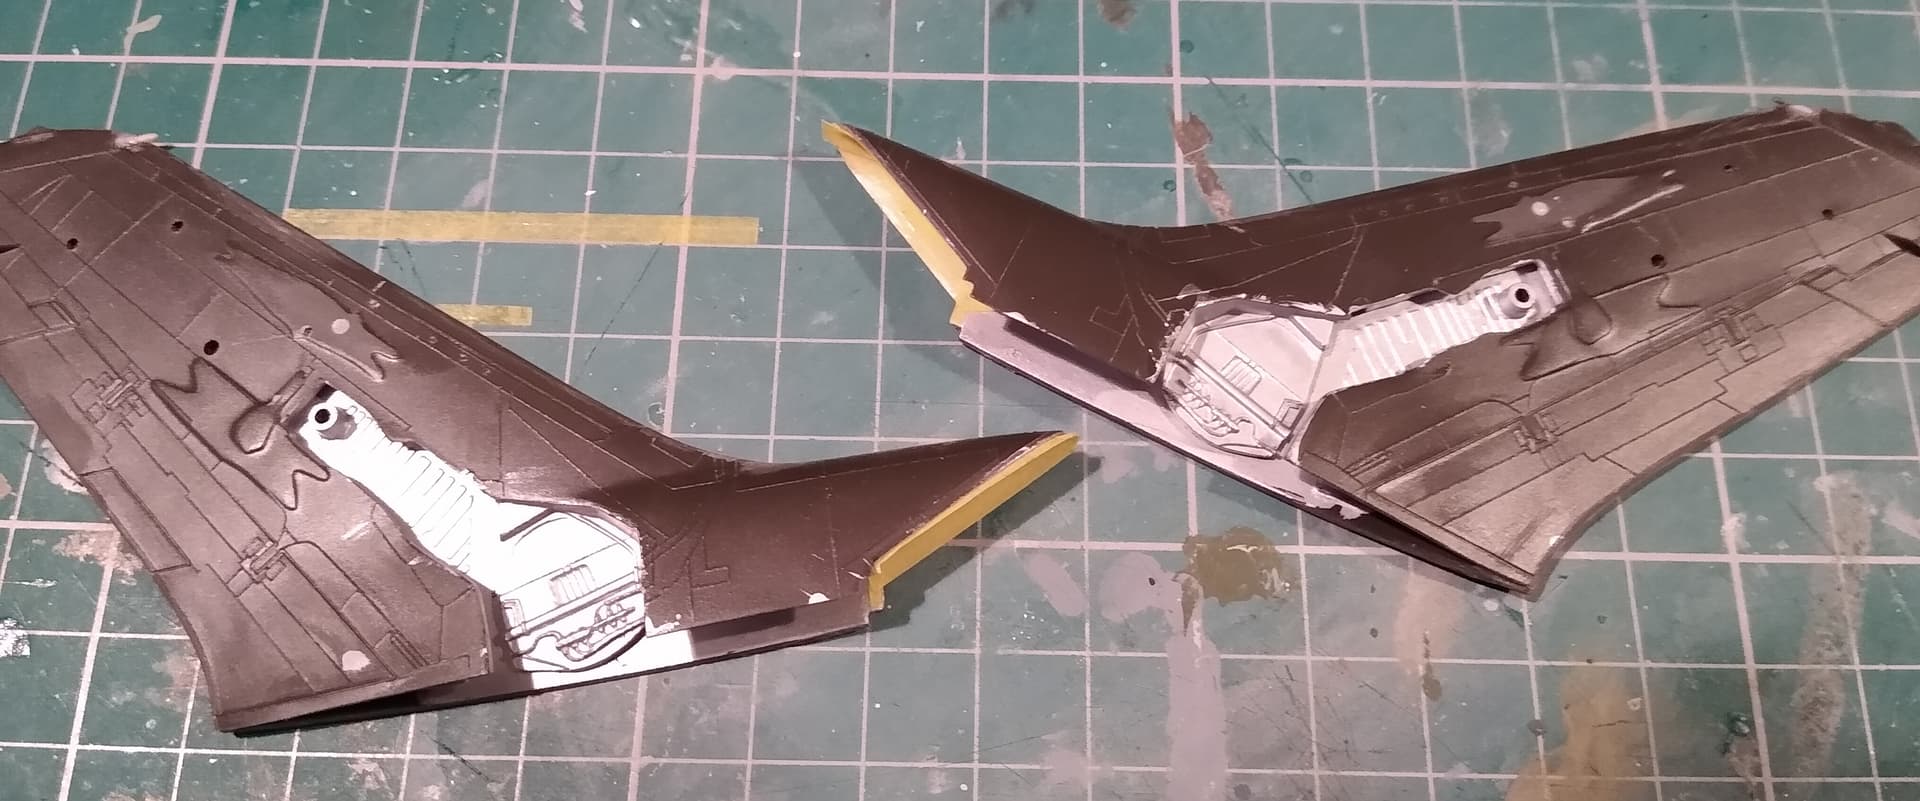
Because of the odd intake design of the 105, I’ve masked these before fitting the wings. A lot easier to do this now.
Because of how busy this time of year is, with shopping for gifts, food, seeing family etc, I’m happy to extend the campaign well into January when life is usually a lot quieter.
4 Likes
Looking good.
I’m stalled out about where you are right now. An extension would be good but no guarantees I can finish…work schedule is NUTS.
1 Like
Thanks.
Keep working at it, would be great to see your project completed.
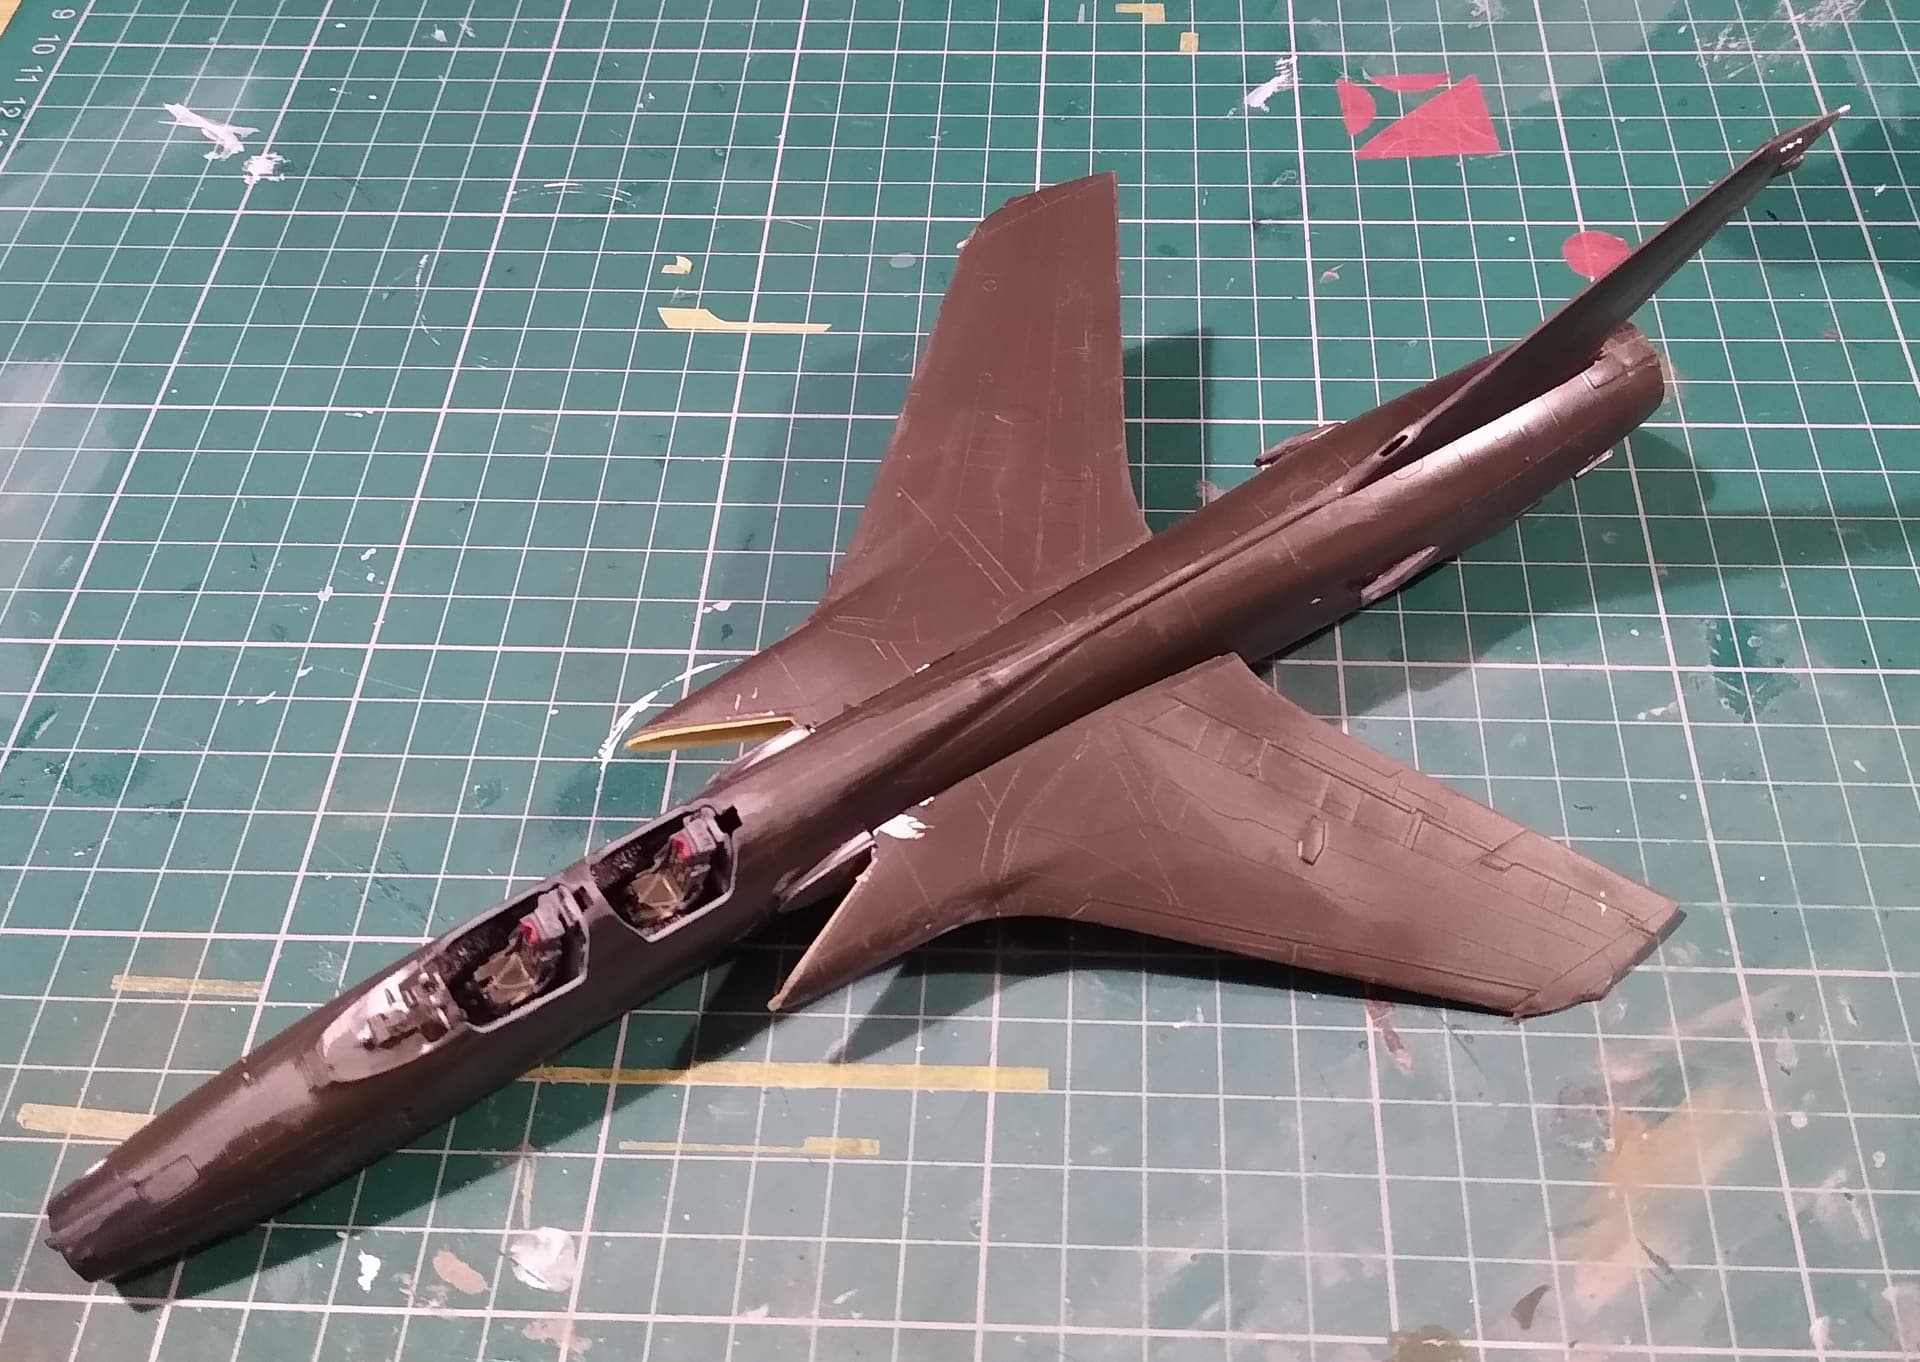
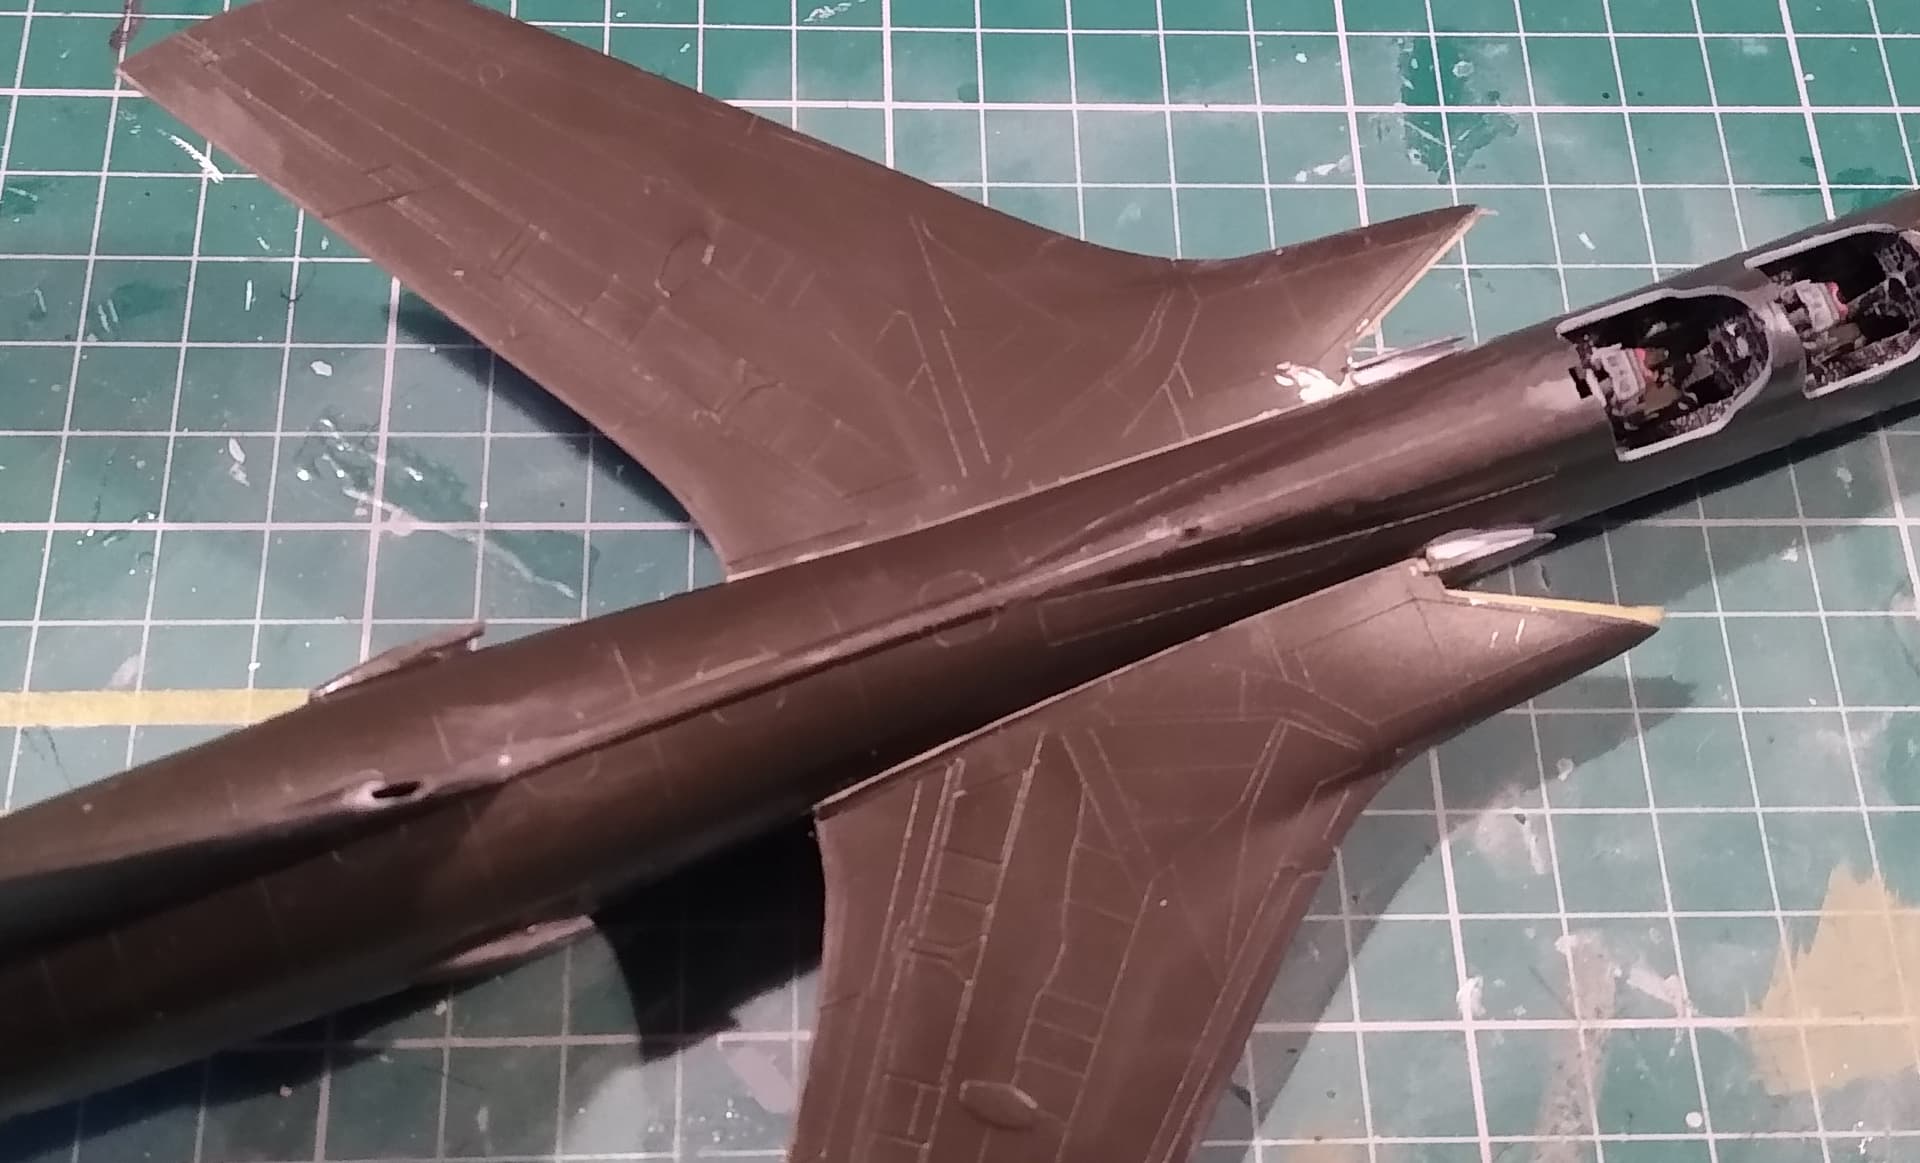
Found a small gap at the wing roots. I think this is caused by the intake trunking on the fuselage parts pushing back against the wings. Should have sanded those to get a better fit in hindsight. I filled it with milliput smoothed over with a wet cocktail stick. This is a very quick and easy method to fill gaps like this and it prevents sanding out raised details on vintage kits.

Unfortunately I found today while working on the undercart, that 1 part is missing. It’s 61, part of the retraction system. Going through the photos I’m convinced that this had gone AWOL before I bought it. The perils of second hand vintage kits I suppose.
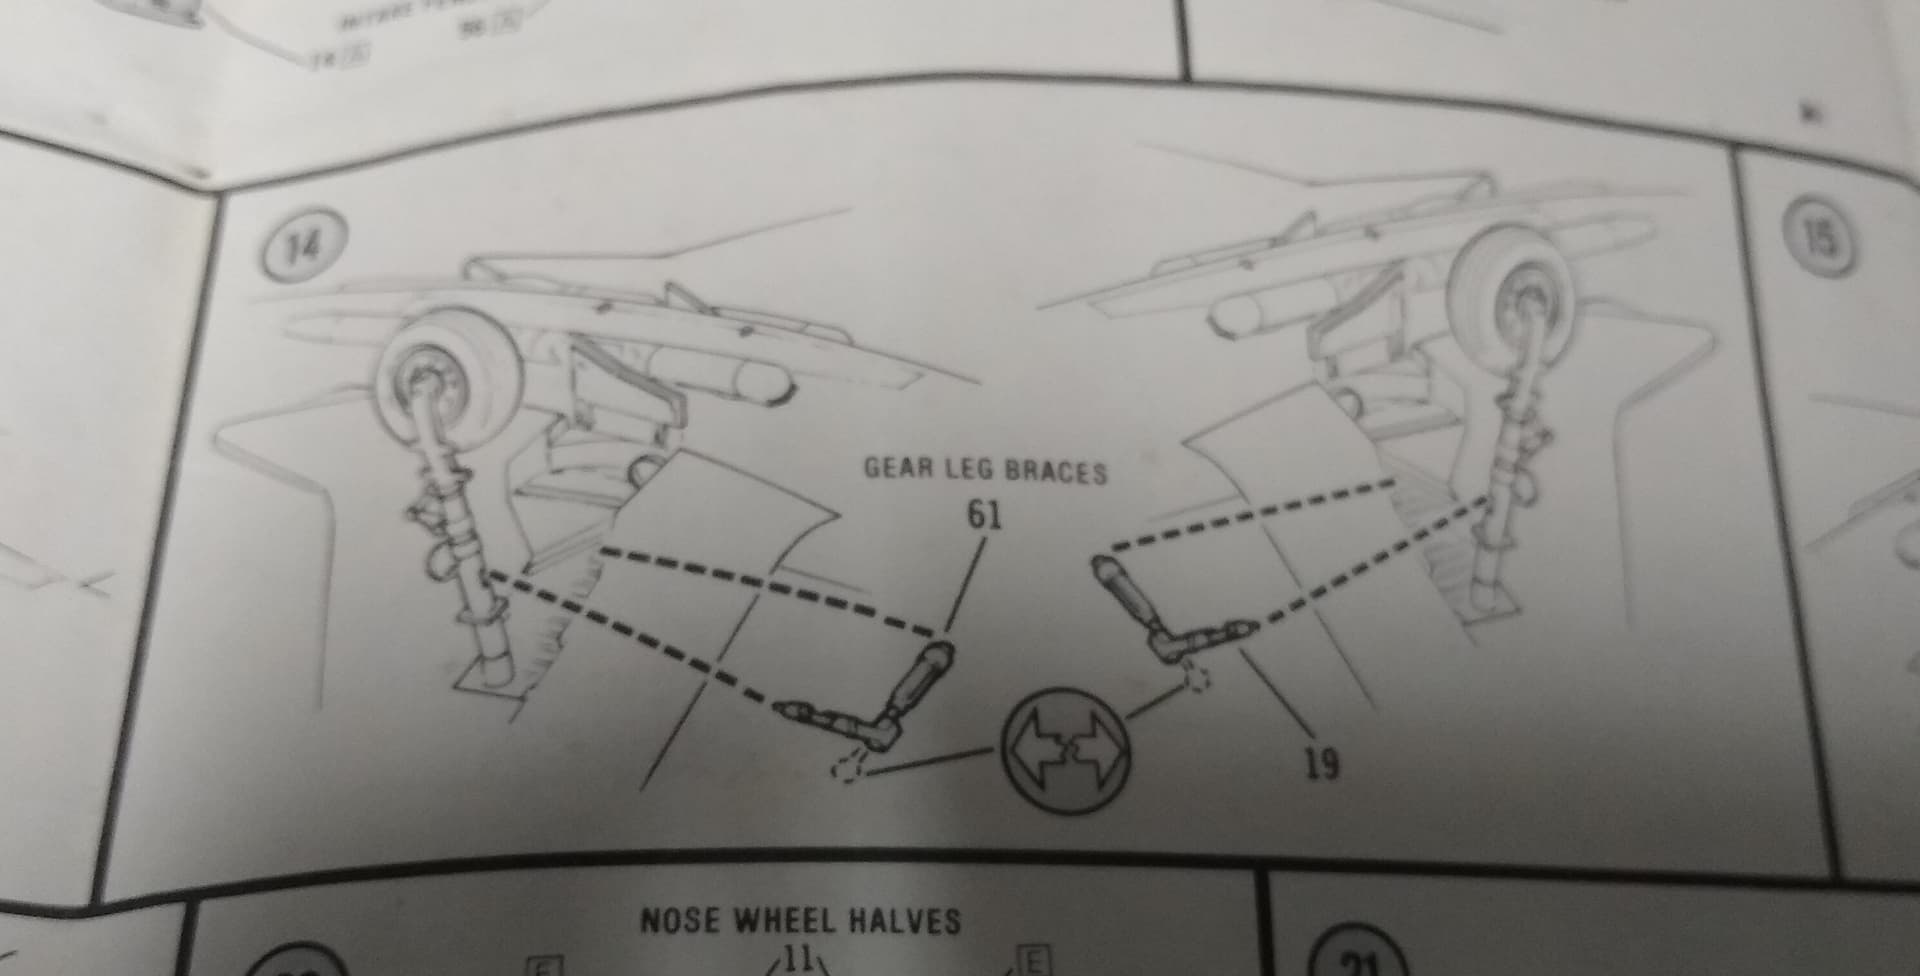
Looks to be quite a complex part to scratch. However, I do have another one of these on its way to me, so I might be able to make a copy from that kit. Until then I’ll have to press on.
3 Likes