At least a couple of days I think. Next is the medium gunship grey on top and the nose cone is a different lighter grey, then there are 2 panels just behind the cockpit area and another few panels on the tail plane that are another shade of grey … then I can put in the exhausts and detail/touch paint.
2 Likes
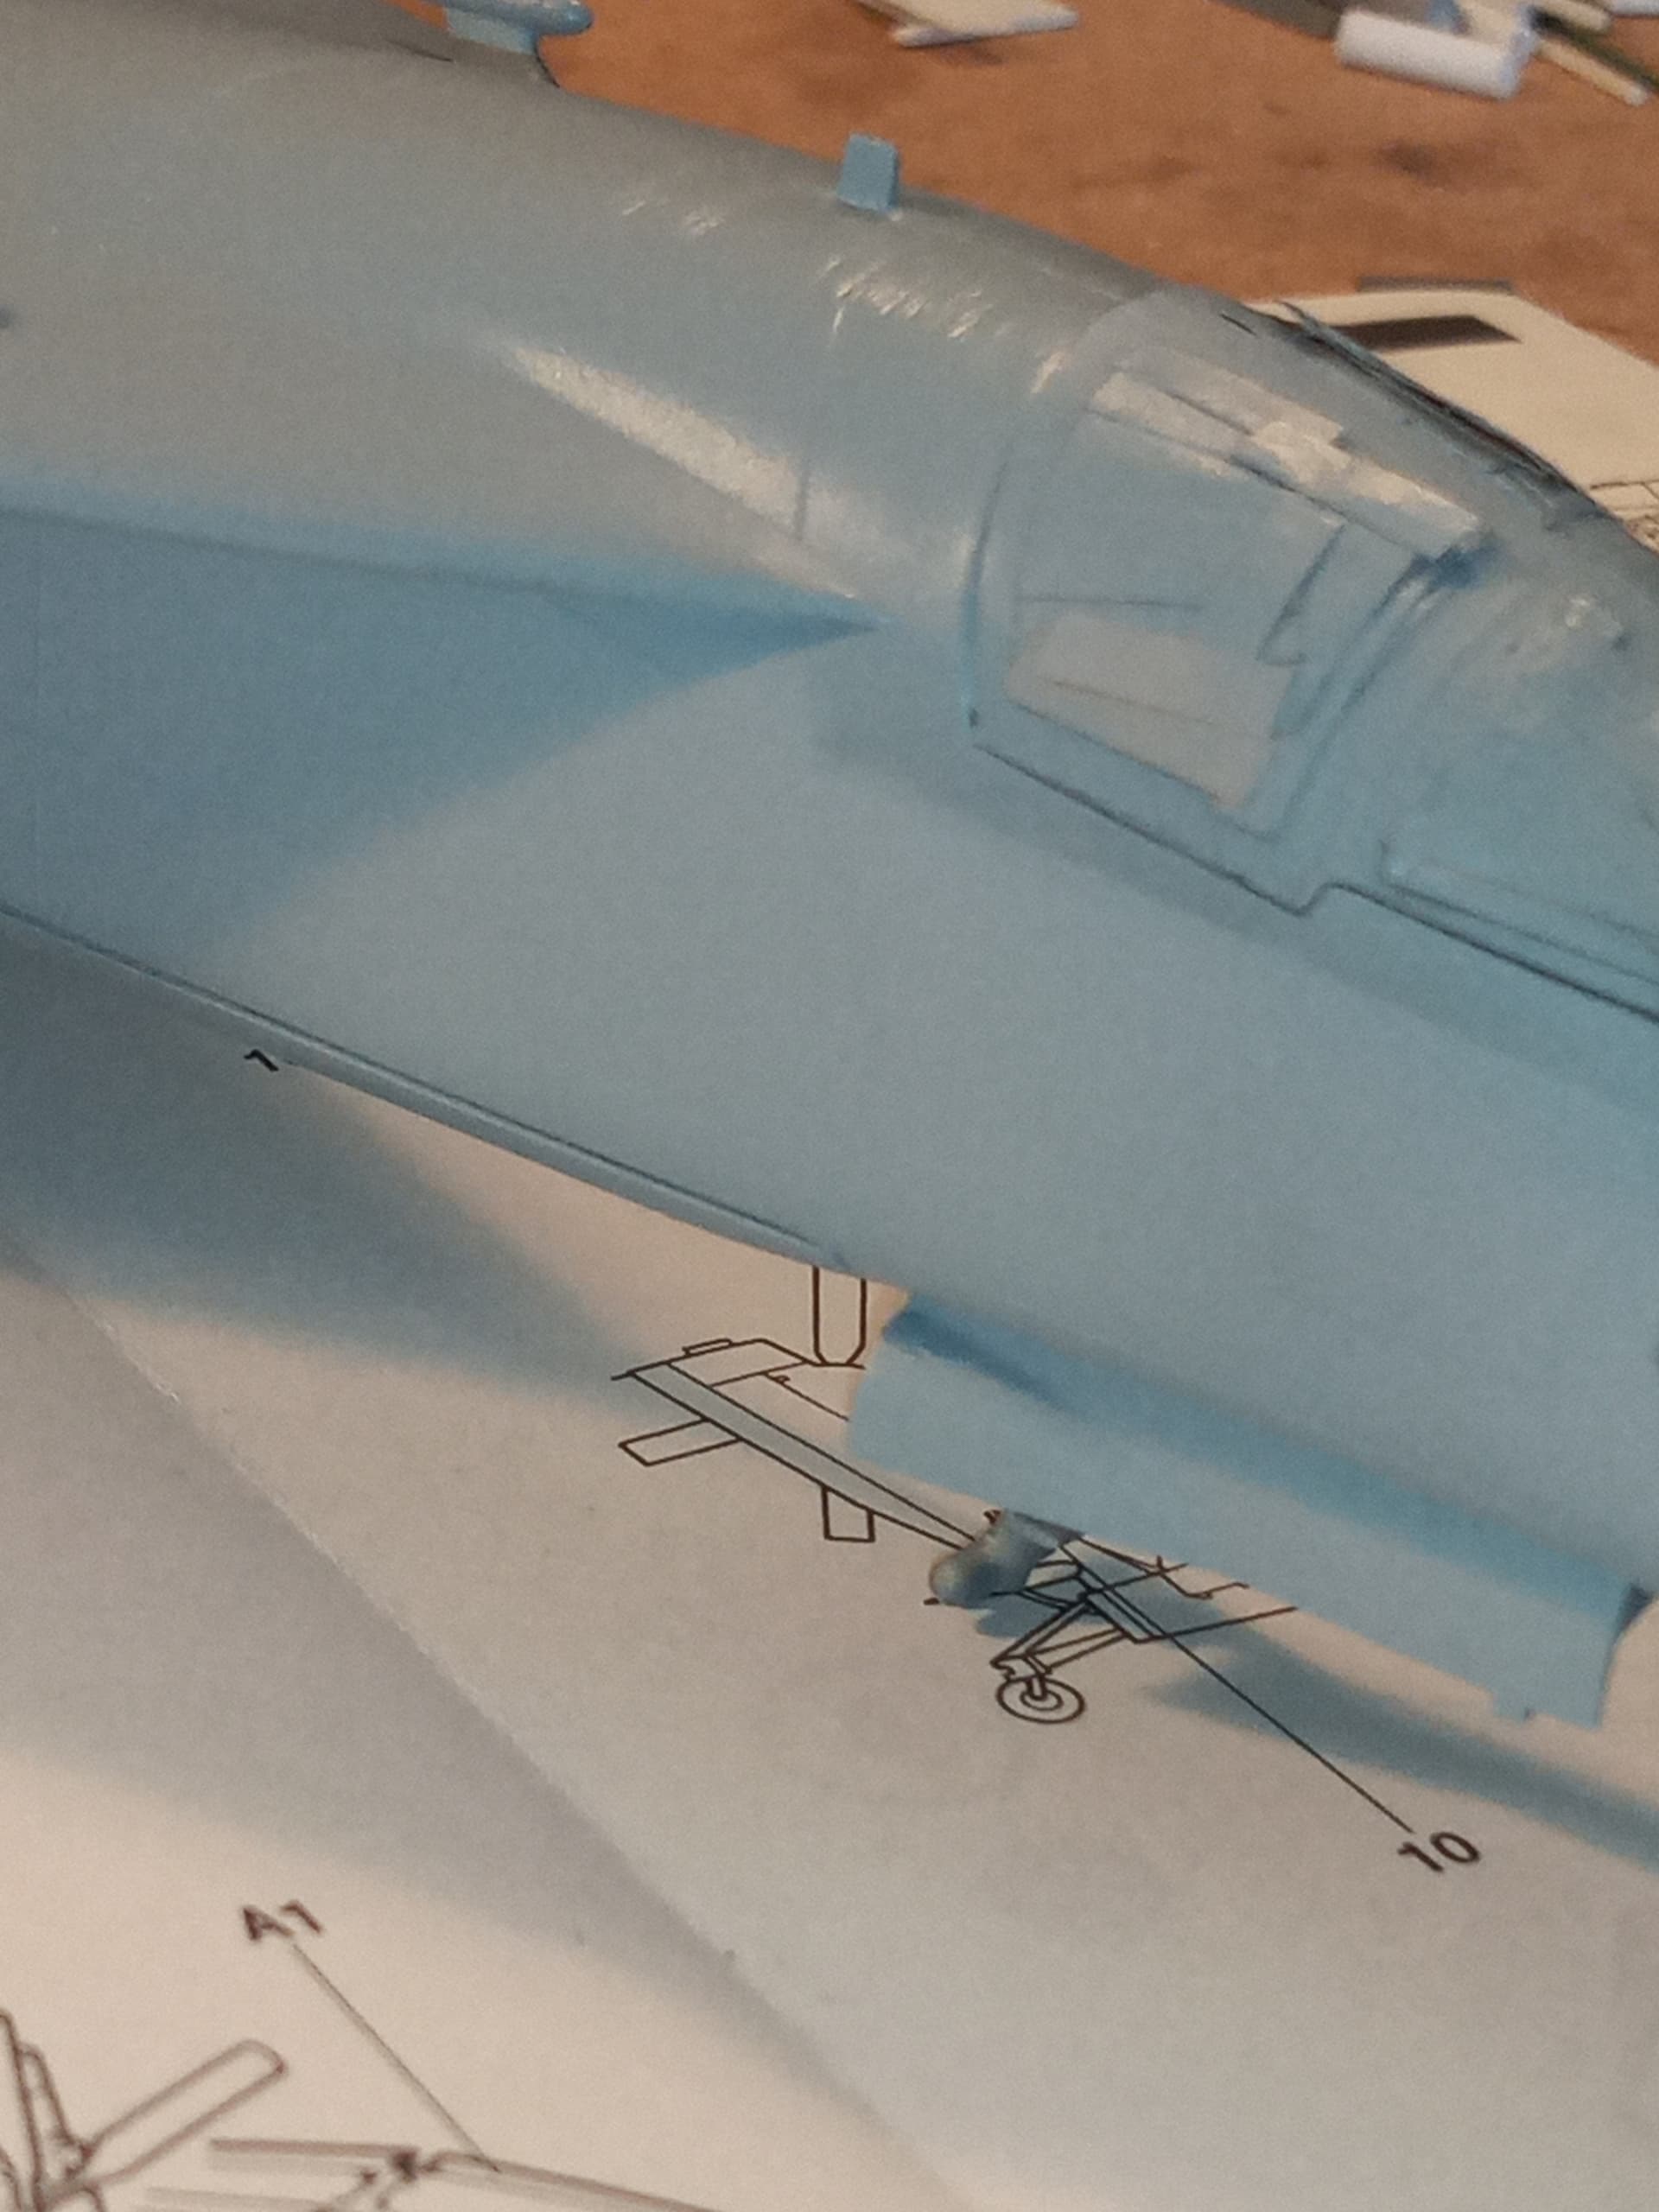
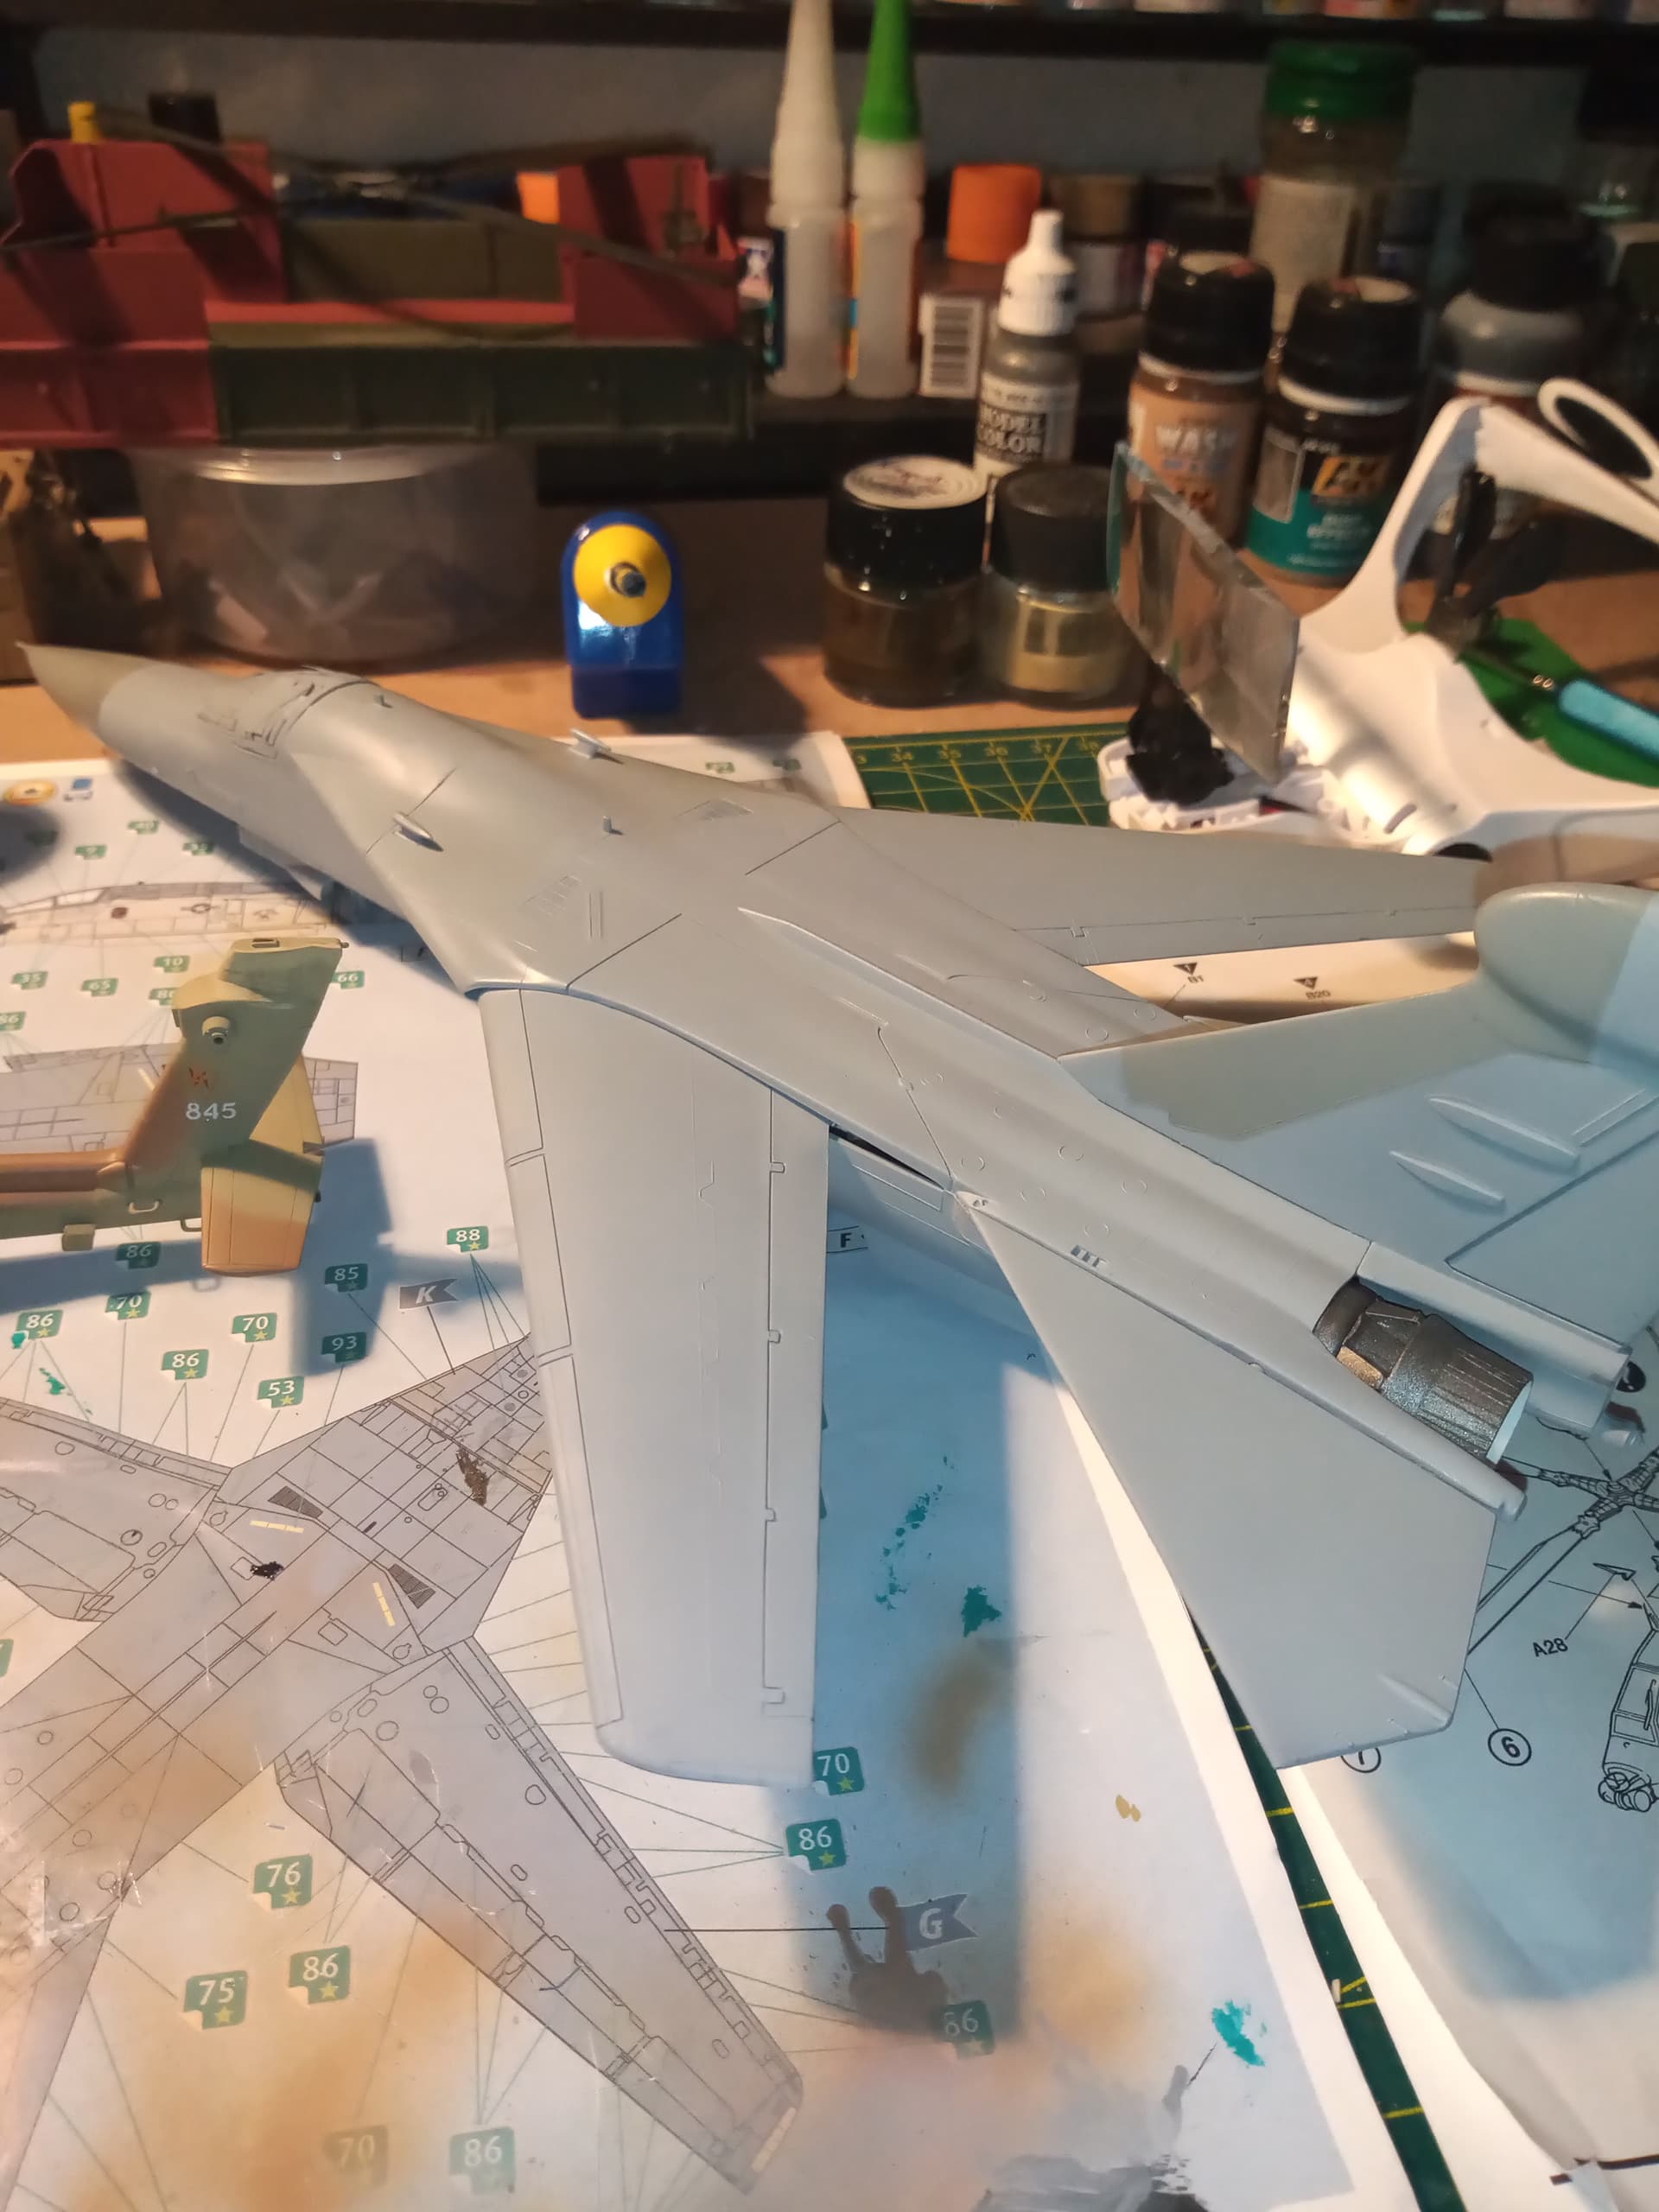
Opted to use dark gunship grey on the upper surfaces …
It’s actually very light and only barely darker than the light gunship grey…![]()
You can just make out the 2 shades.
And overall…
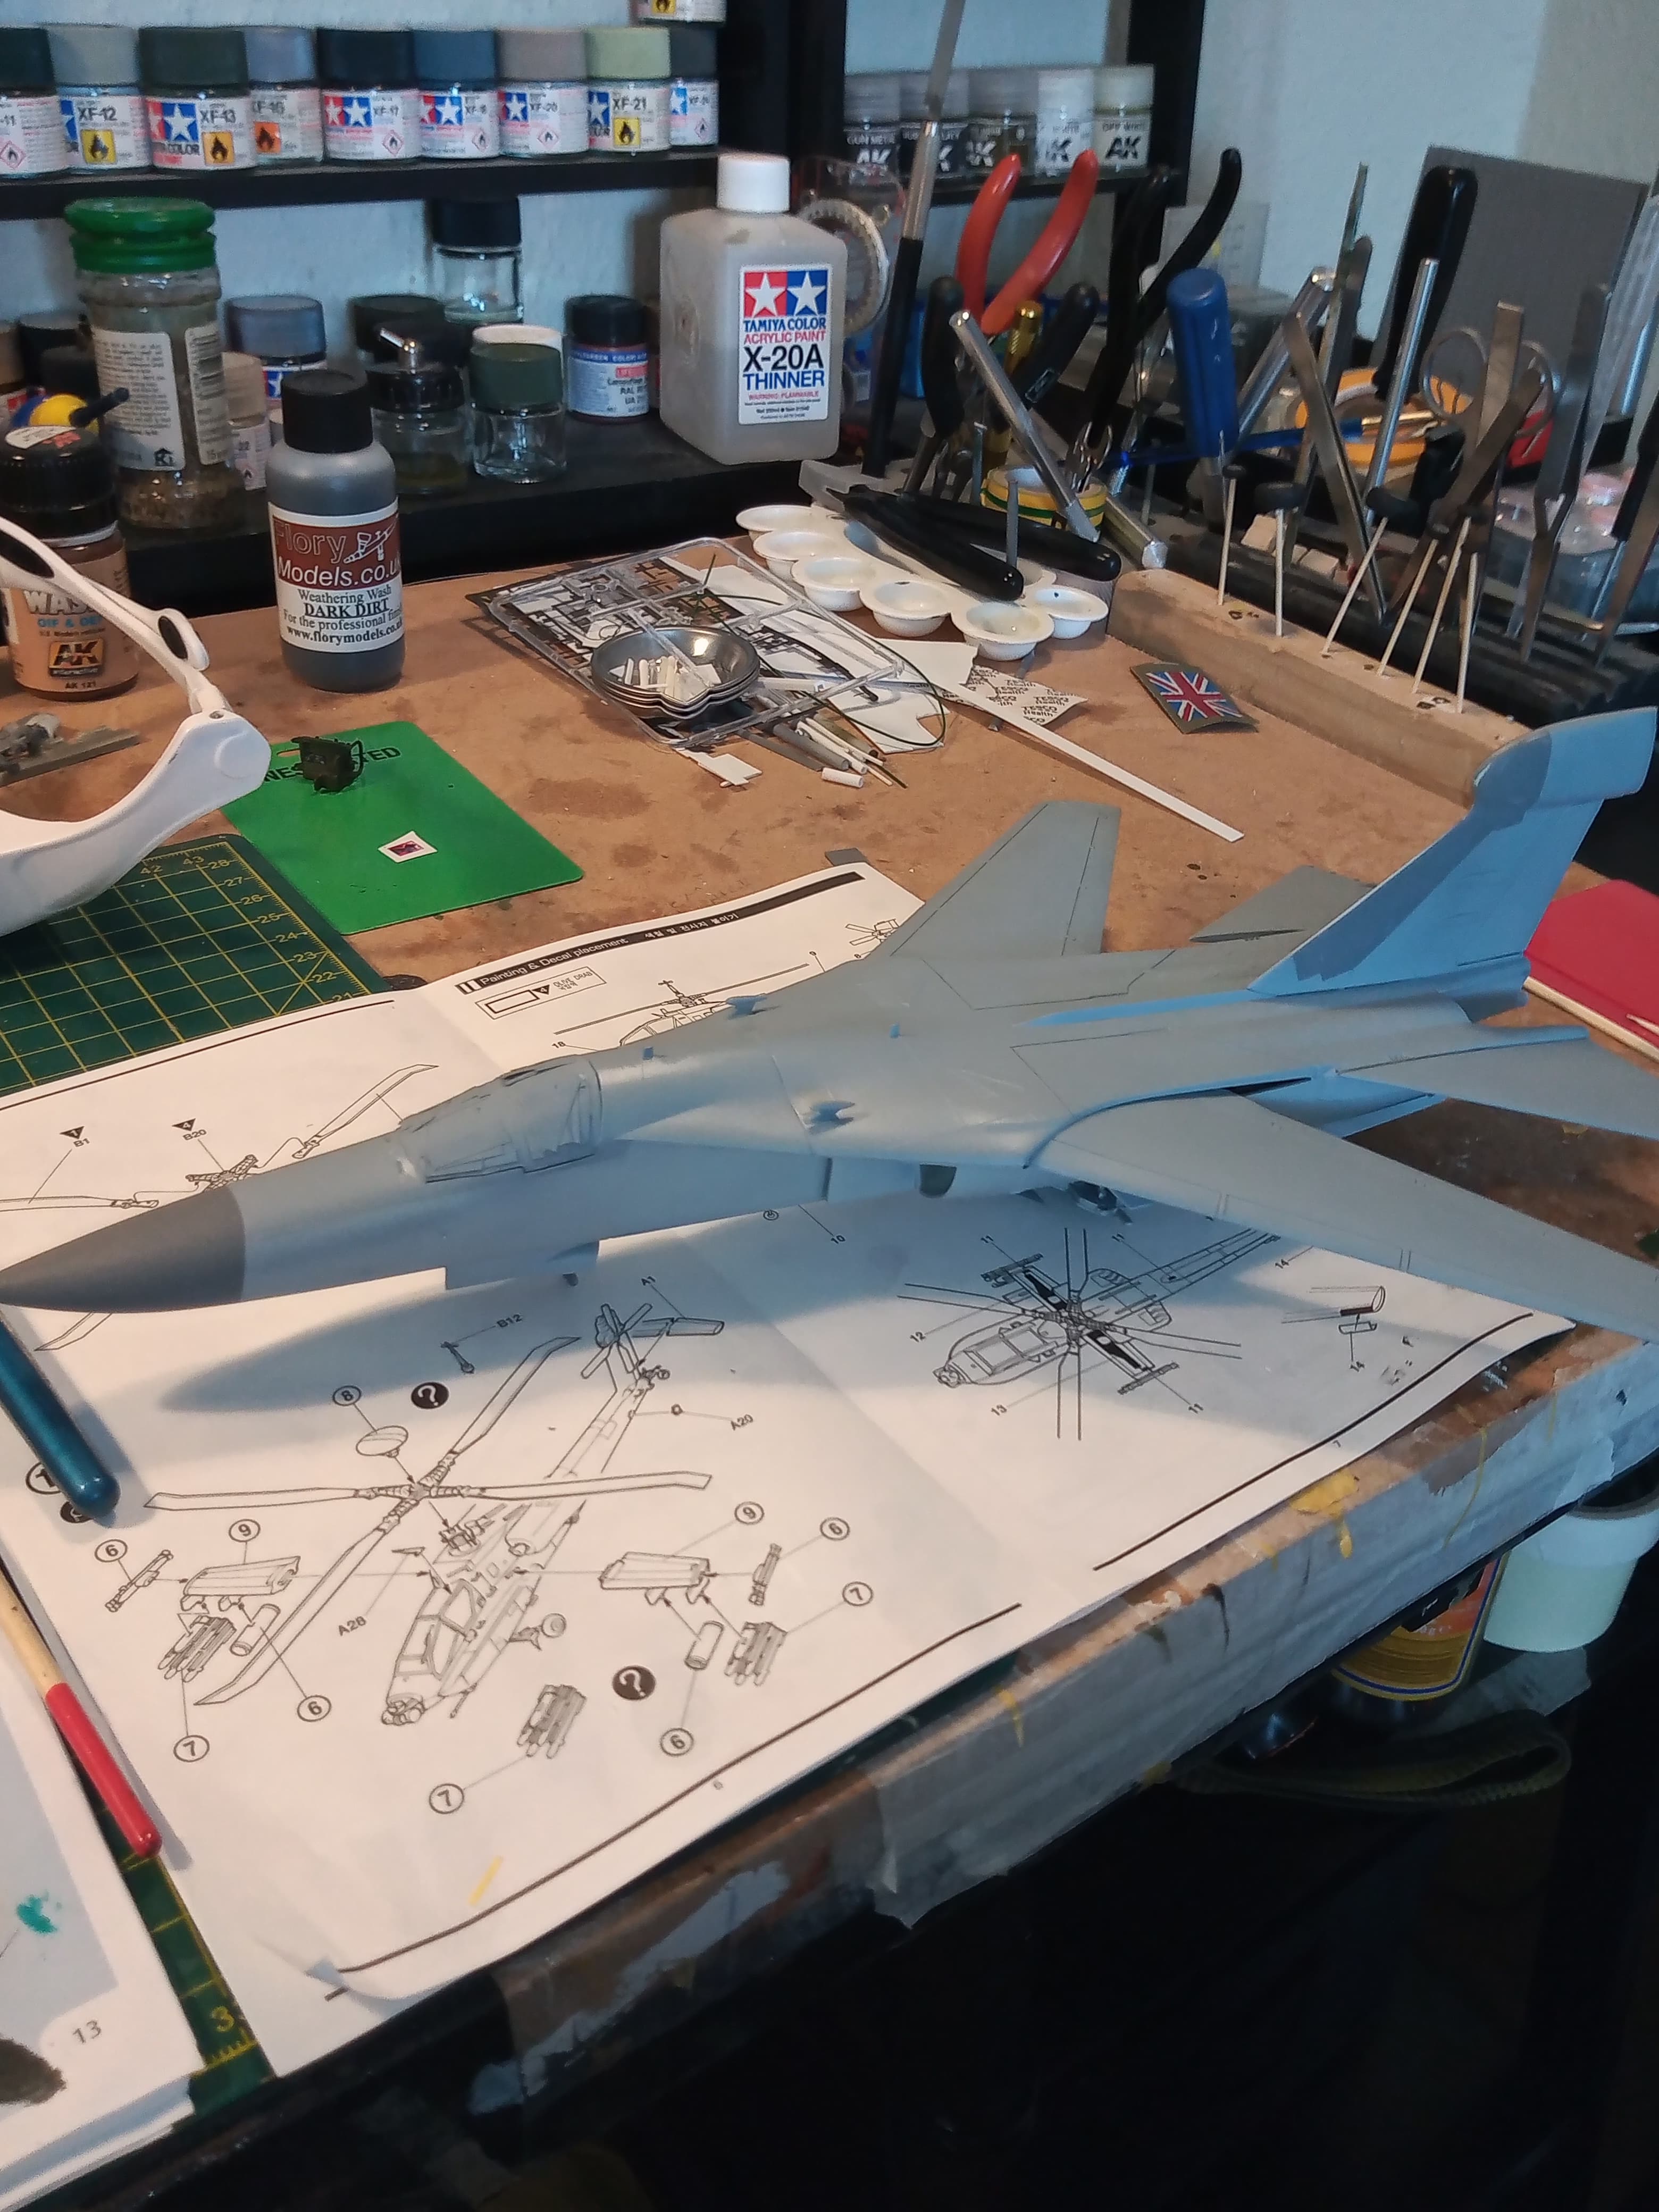
I quite like the colours so all’s not lost…
The nose cone grey and tail plane grey are next …
5 Likes
That looks really nice. I think the colour difference was very subtle on the rear thing, so I think you’ve nailed it.
1 Like
If you do a dark wash over the surfaces the contrast will show, do not worry about the shade difference. Looks really nice.
2 Likes
Thanks Nikos and Stephen, and thanks for that image as well… Makes me feel a lot better about the colours I chose.
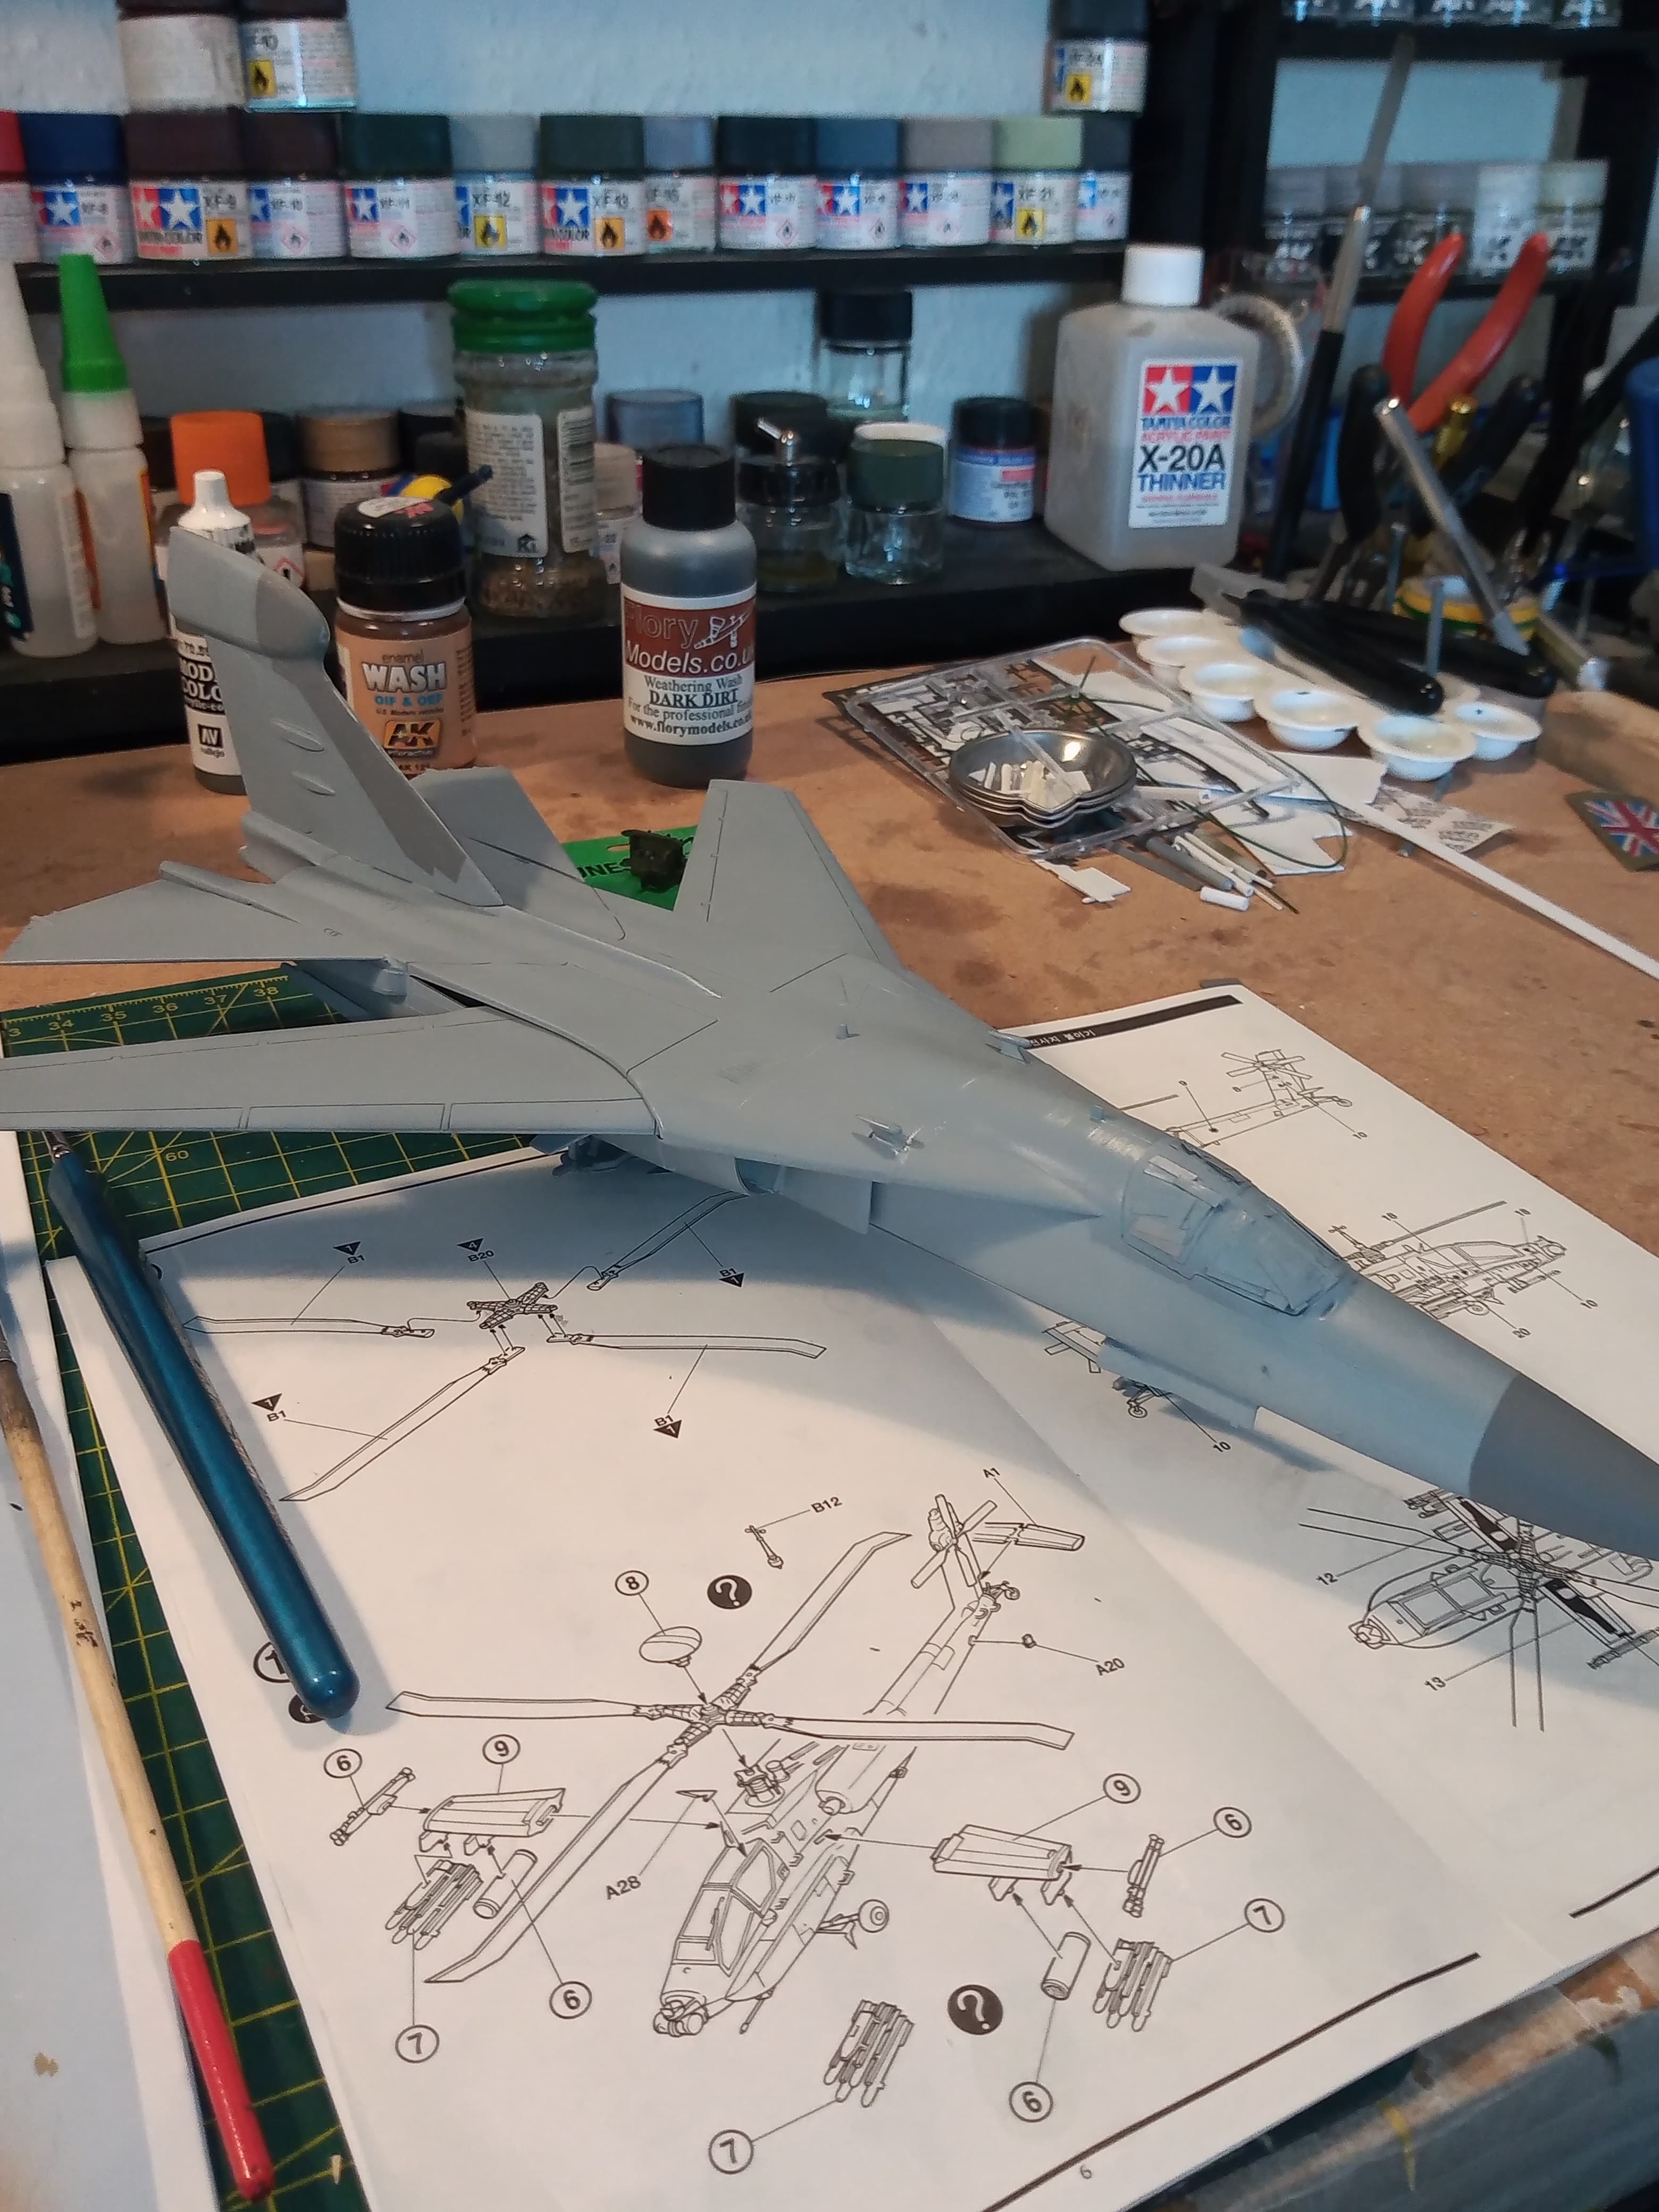
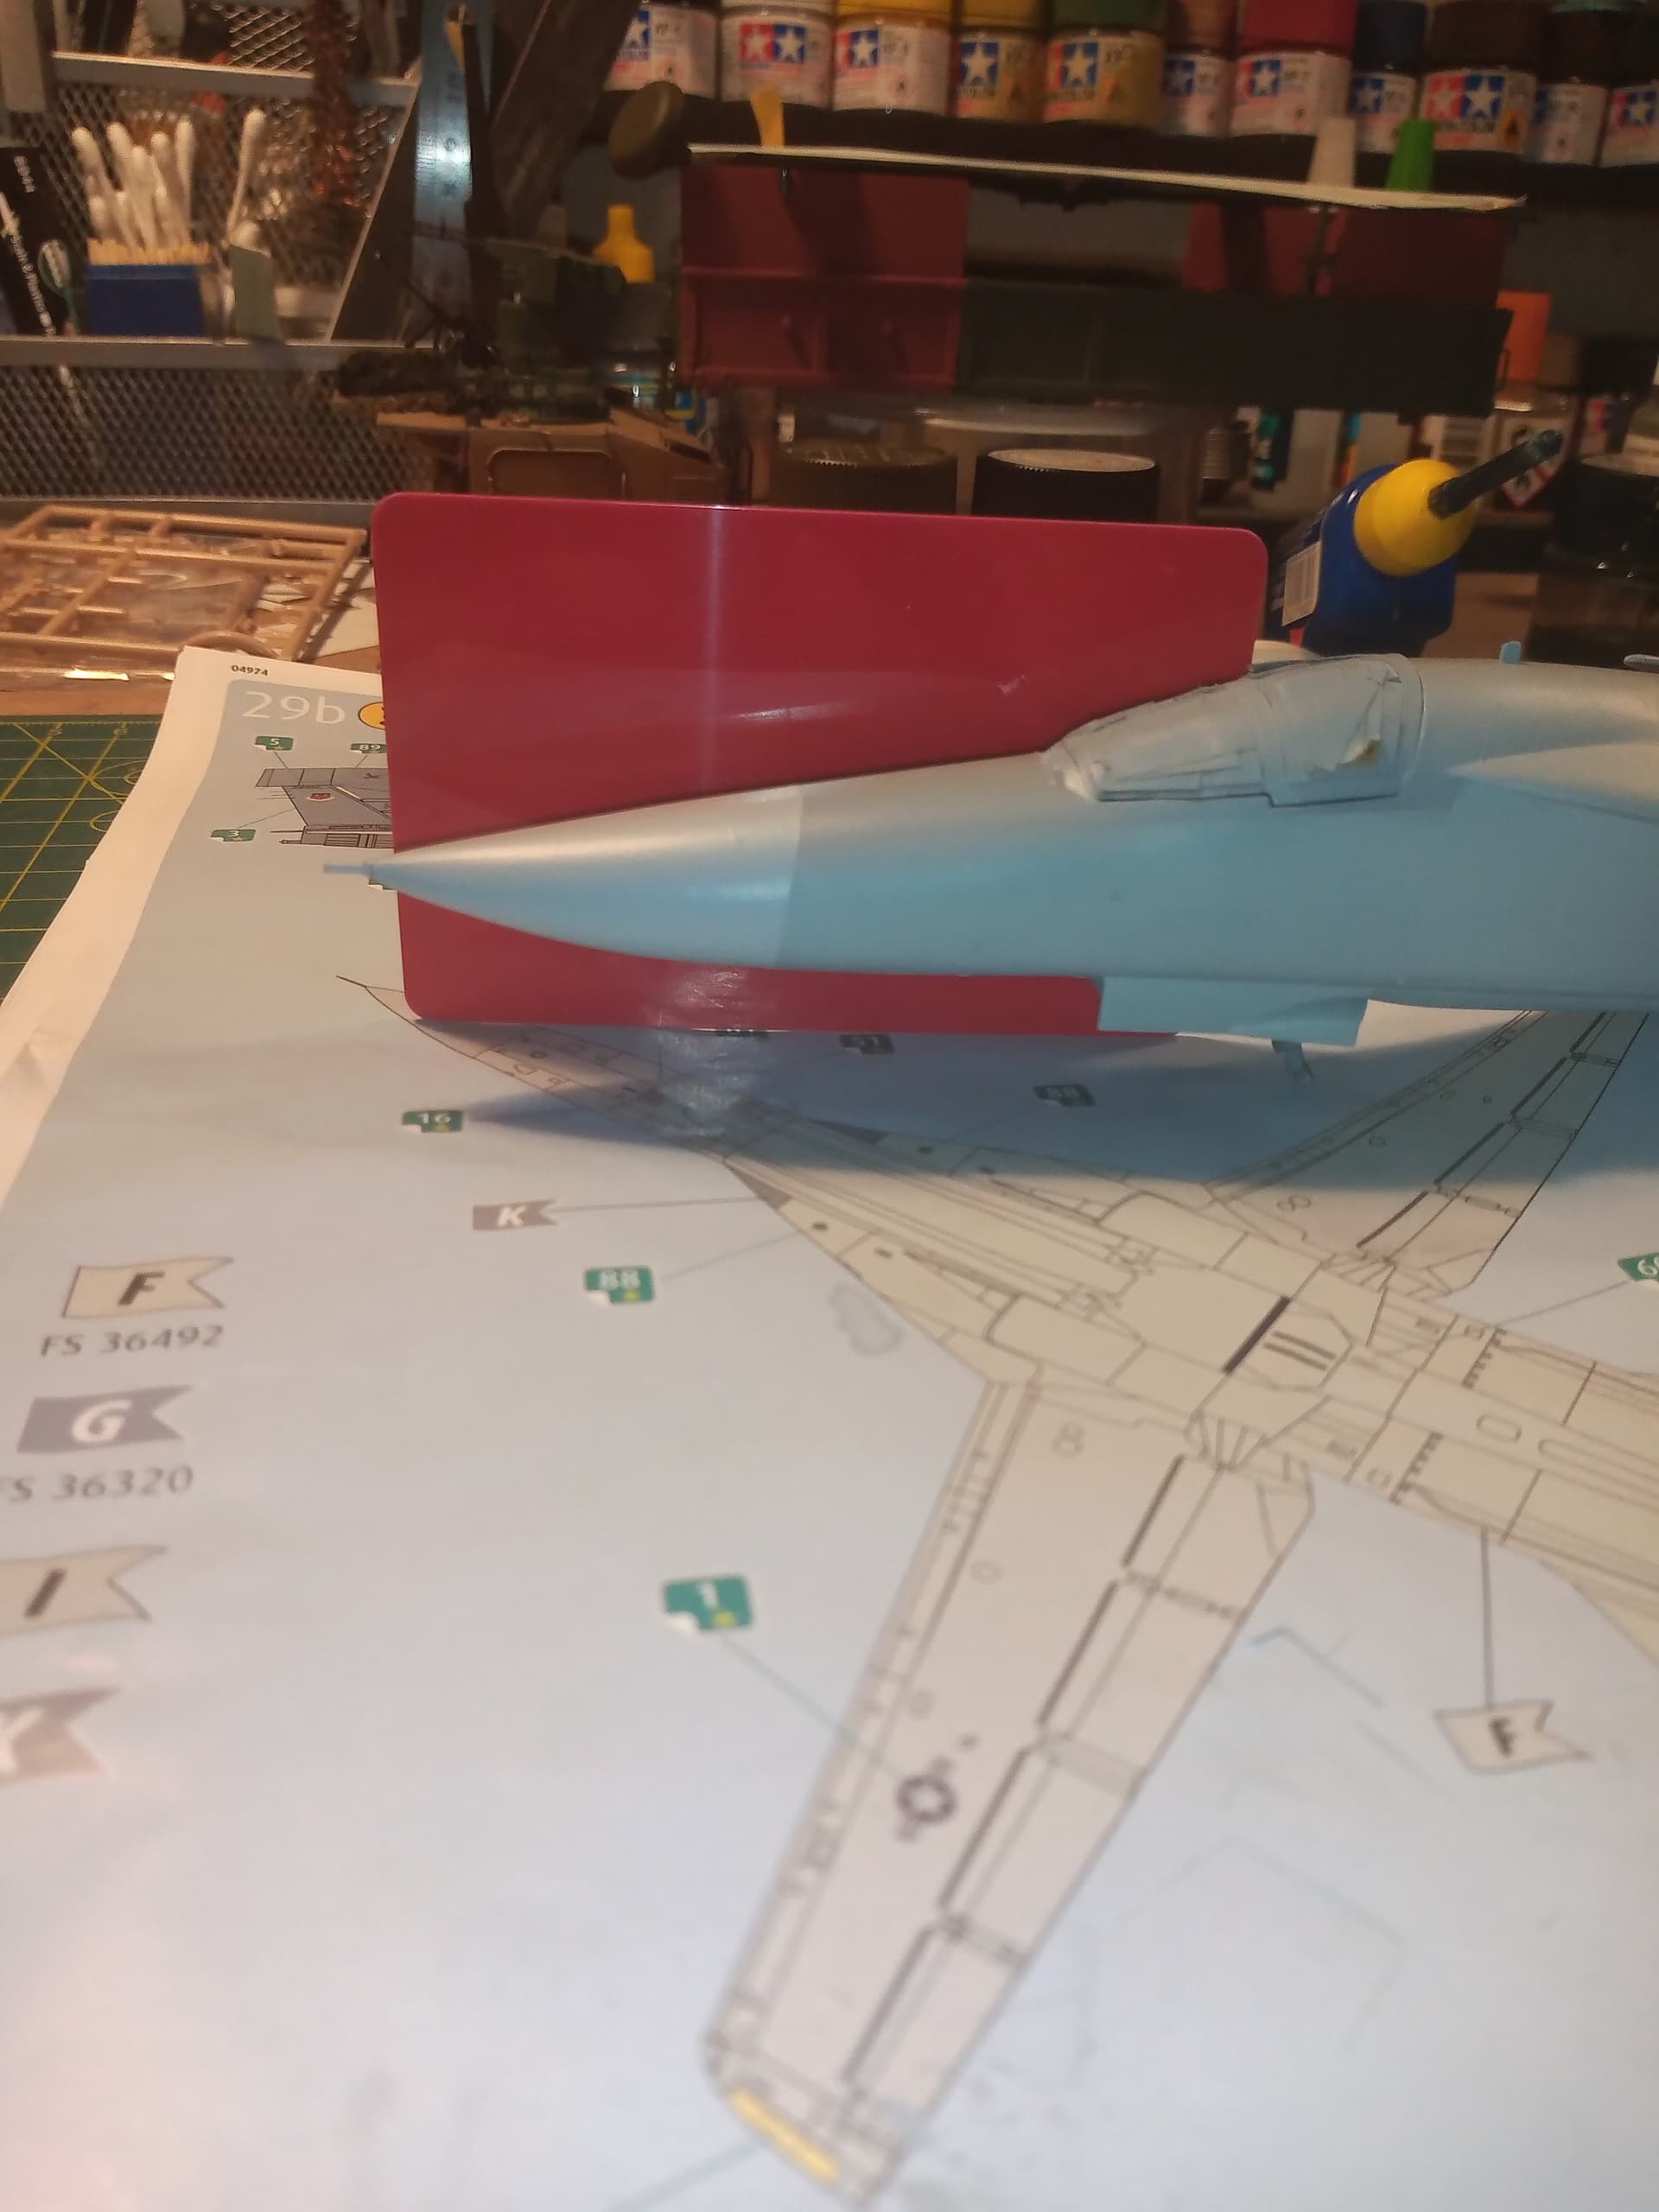
I did the different shade for the tailplane leading edge, AK Aggressor Grey, and also used that on the nose cone.
Not happy with the nose cone in that grey, it should be a fair bit lighter, so that may need masking and doing again…I may use AK camouflage grey on it …??
Once that’s done, it’s wheels on, and some detail painting and decals…then seal it up and it’s the wash time ![]()
2 Likes
Add some white to the lower fuselage color and do the nose cone. It should look the part.
2 Likes
Good idea Nikos… Thanks mate… Will have a bash at that tomorrow ![]()
Nikos @gtdeath13 , that worked great thanks …60/40 split between AK light ghost grey and white
Very happy with that ![]()
Started on the decals…
All going on fine, but there are a lot of them… Mostly the warning/safety ones on the upper surfaces… Hopefully get most if not all on tomorrow night ready for it to sealed up ready for the wash
3 Likes

Today I received some goodies for my project, a correction set for the nose cone, a metal pitot tube, a se of masks and the opened auxiliary air exhaust doors and the interior detail.
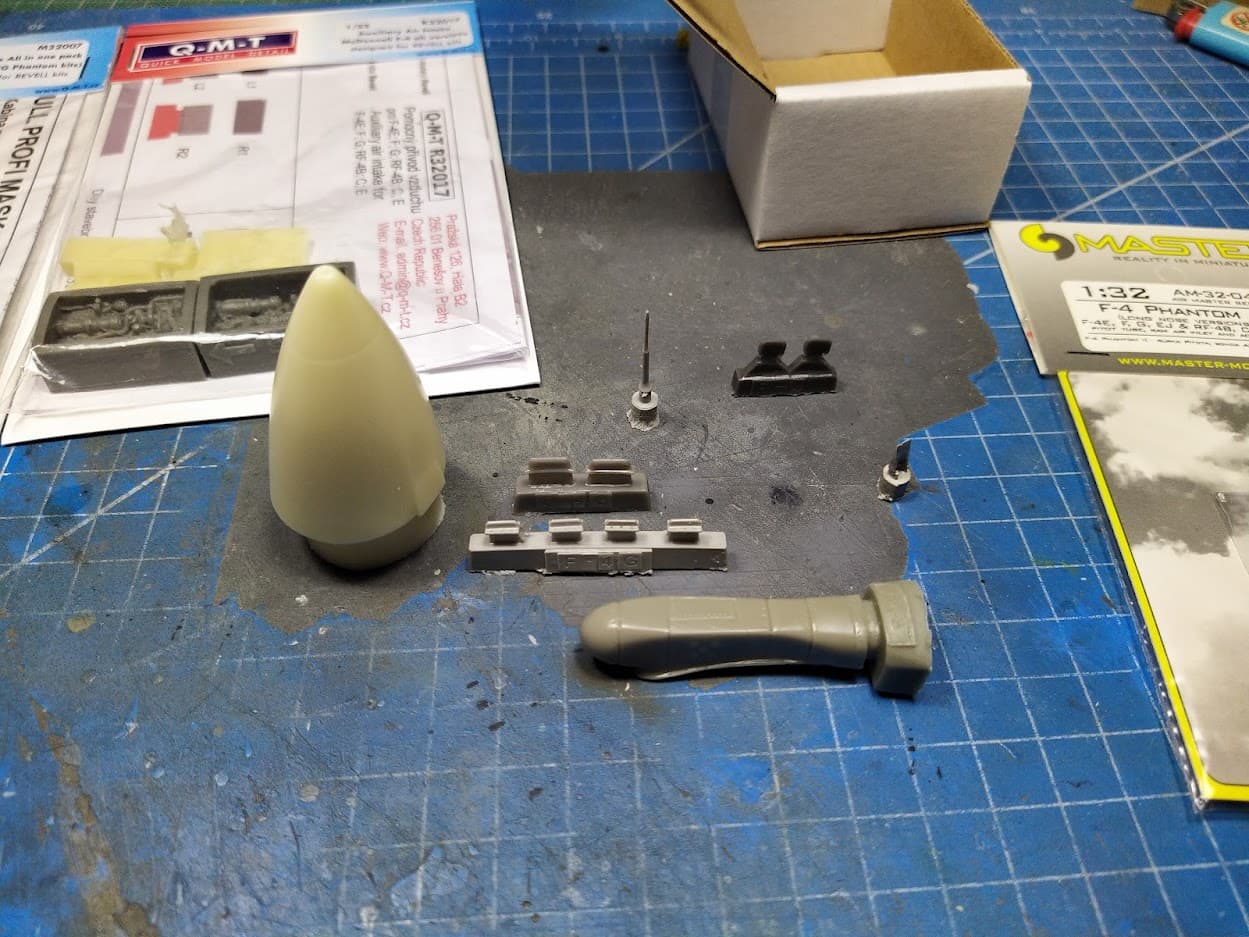
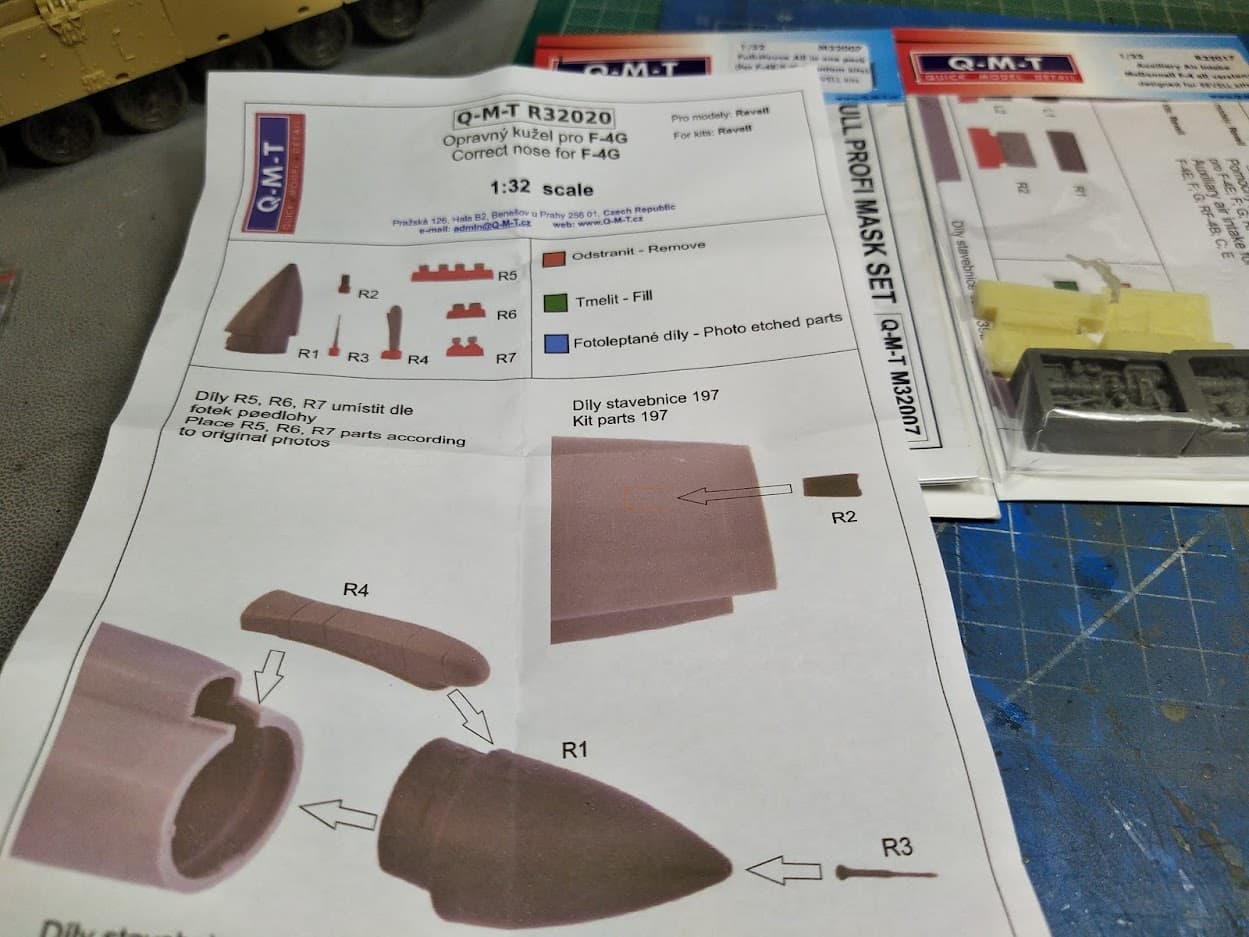
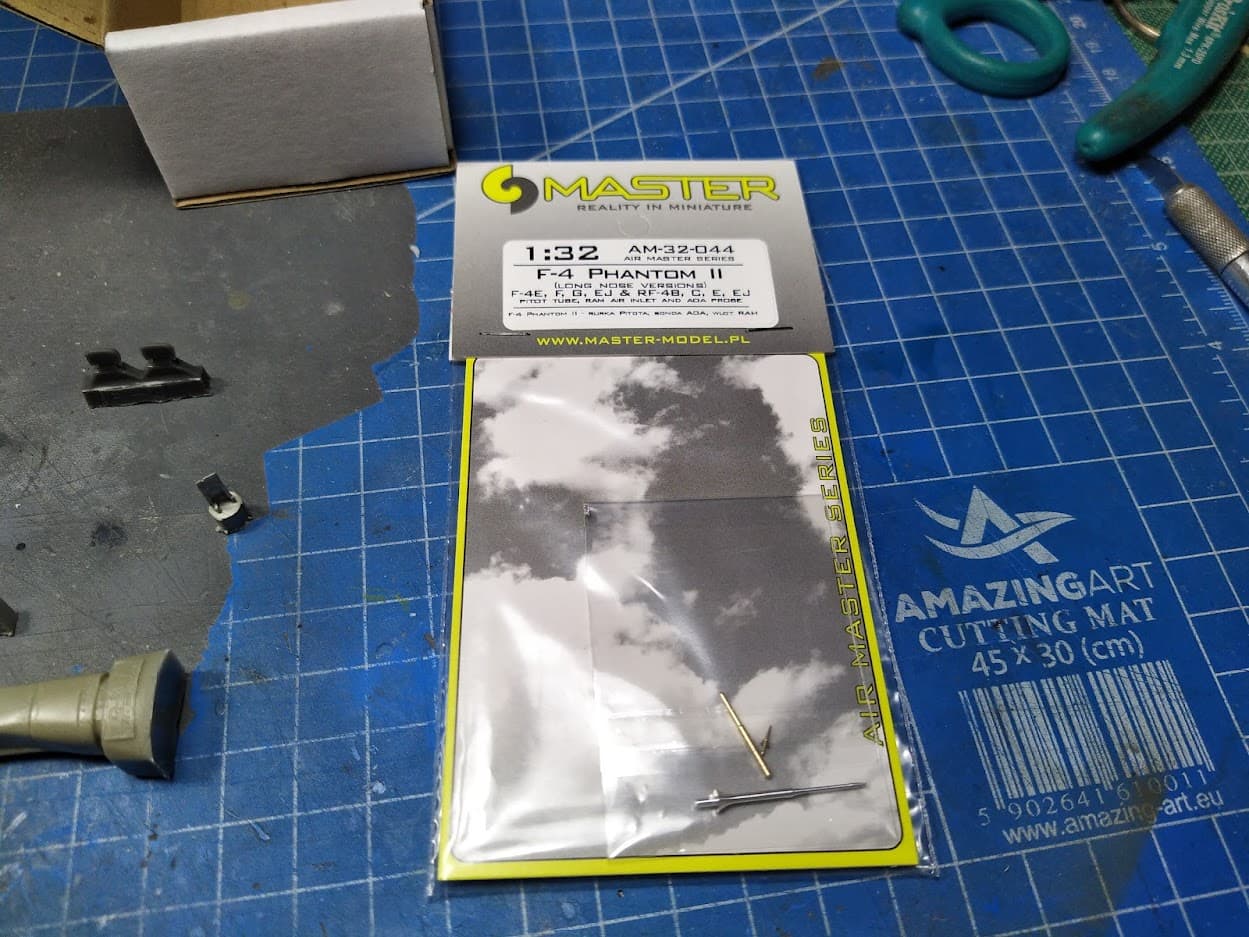
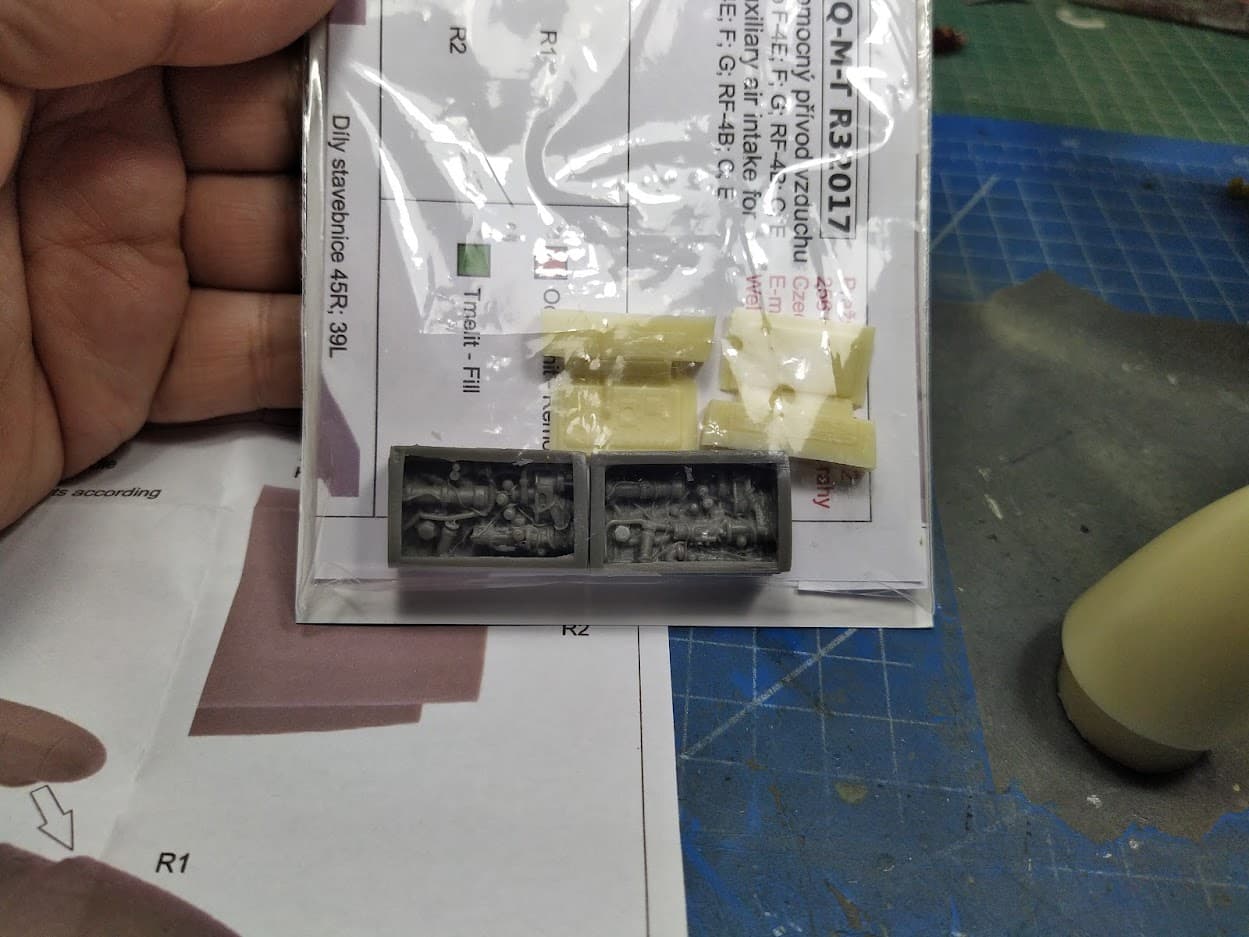
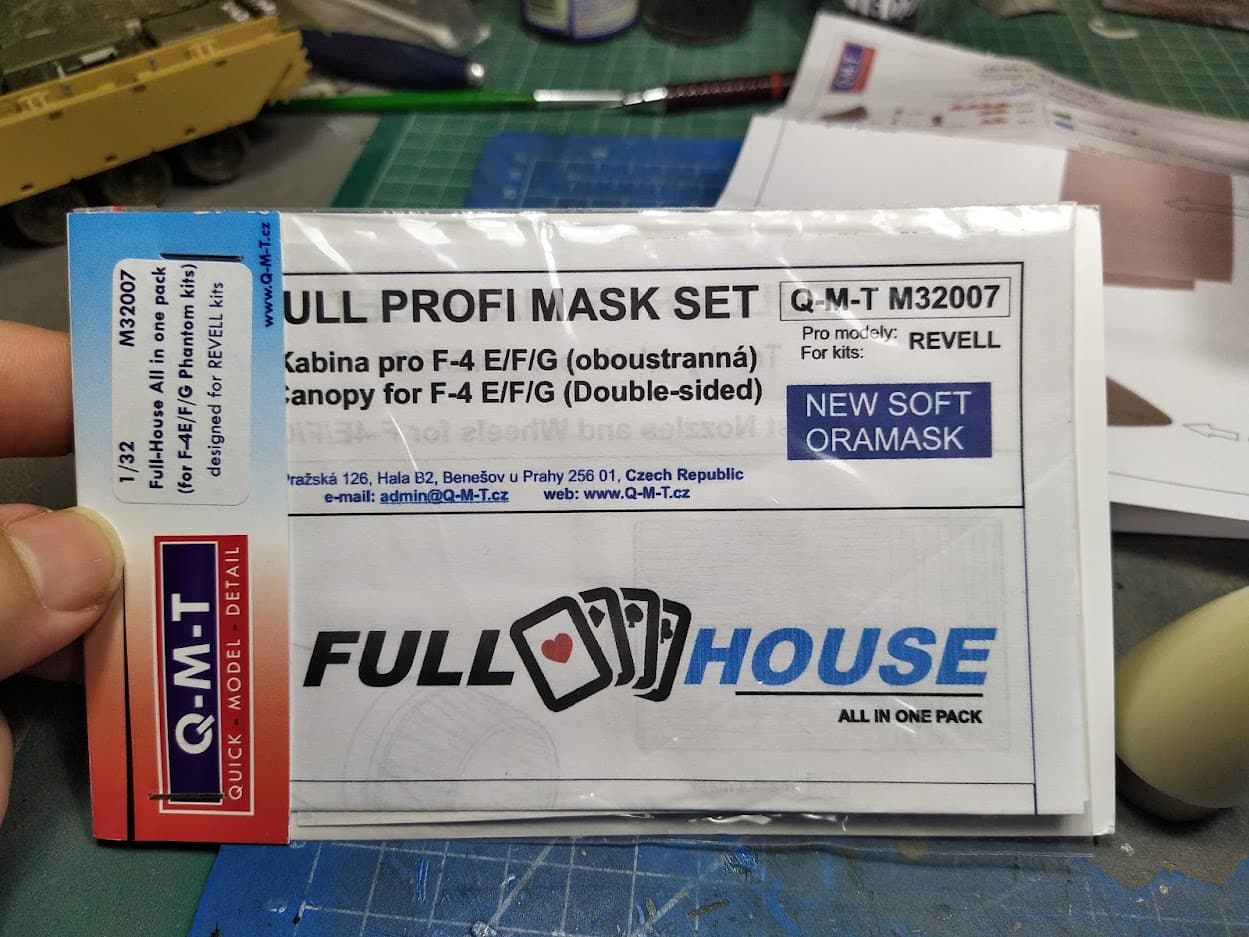
I will start assembly soon…
3 Likes
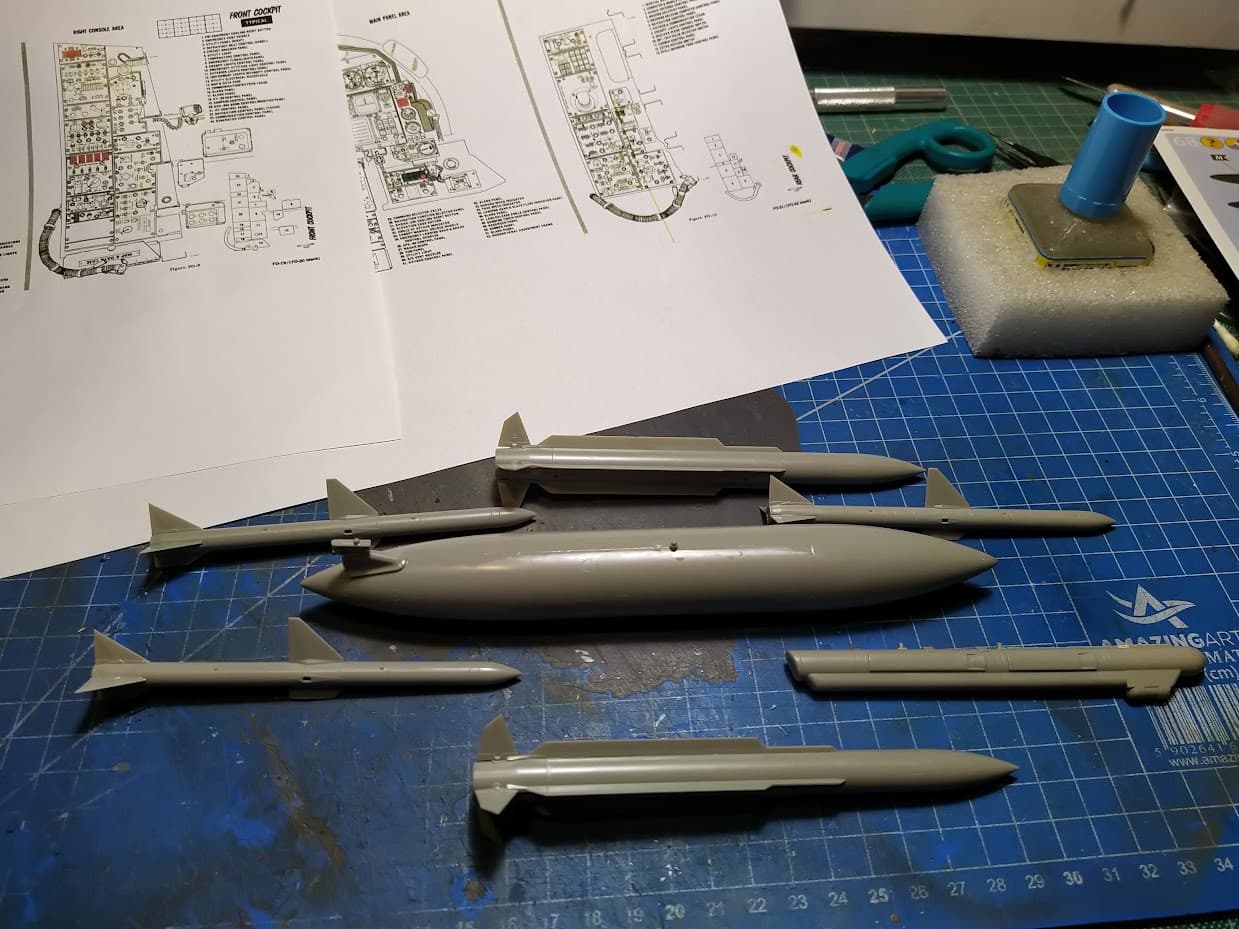
First pieces glued together. I started with the armament and fuel tanks.
While I was checking for reference photos I found out the Air Force Phantoms use a different outer wind pylon than Navy Phantoms for ordnance.
Photo from fundekals instructions for their 1/48 stencil sets:
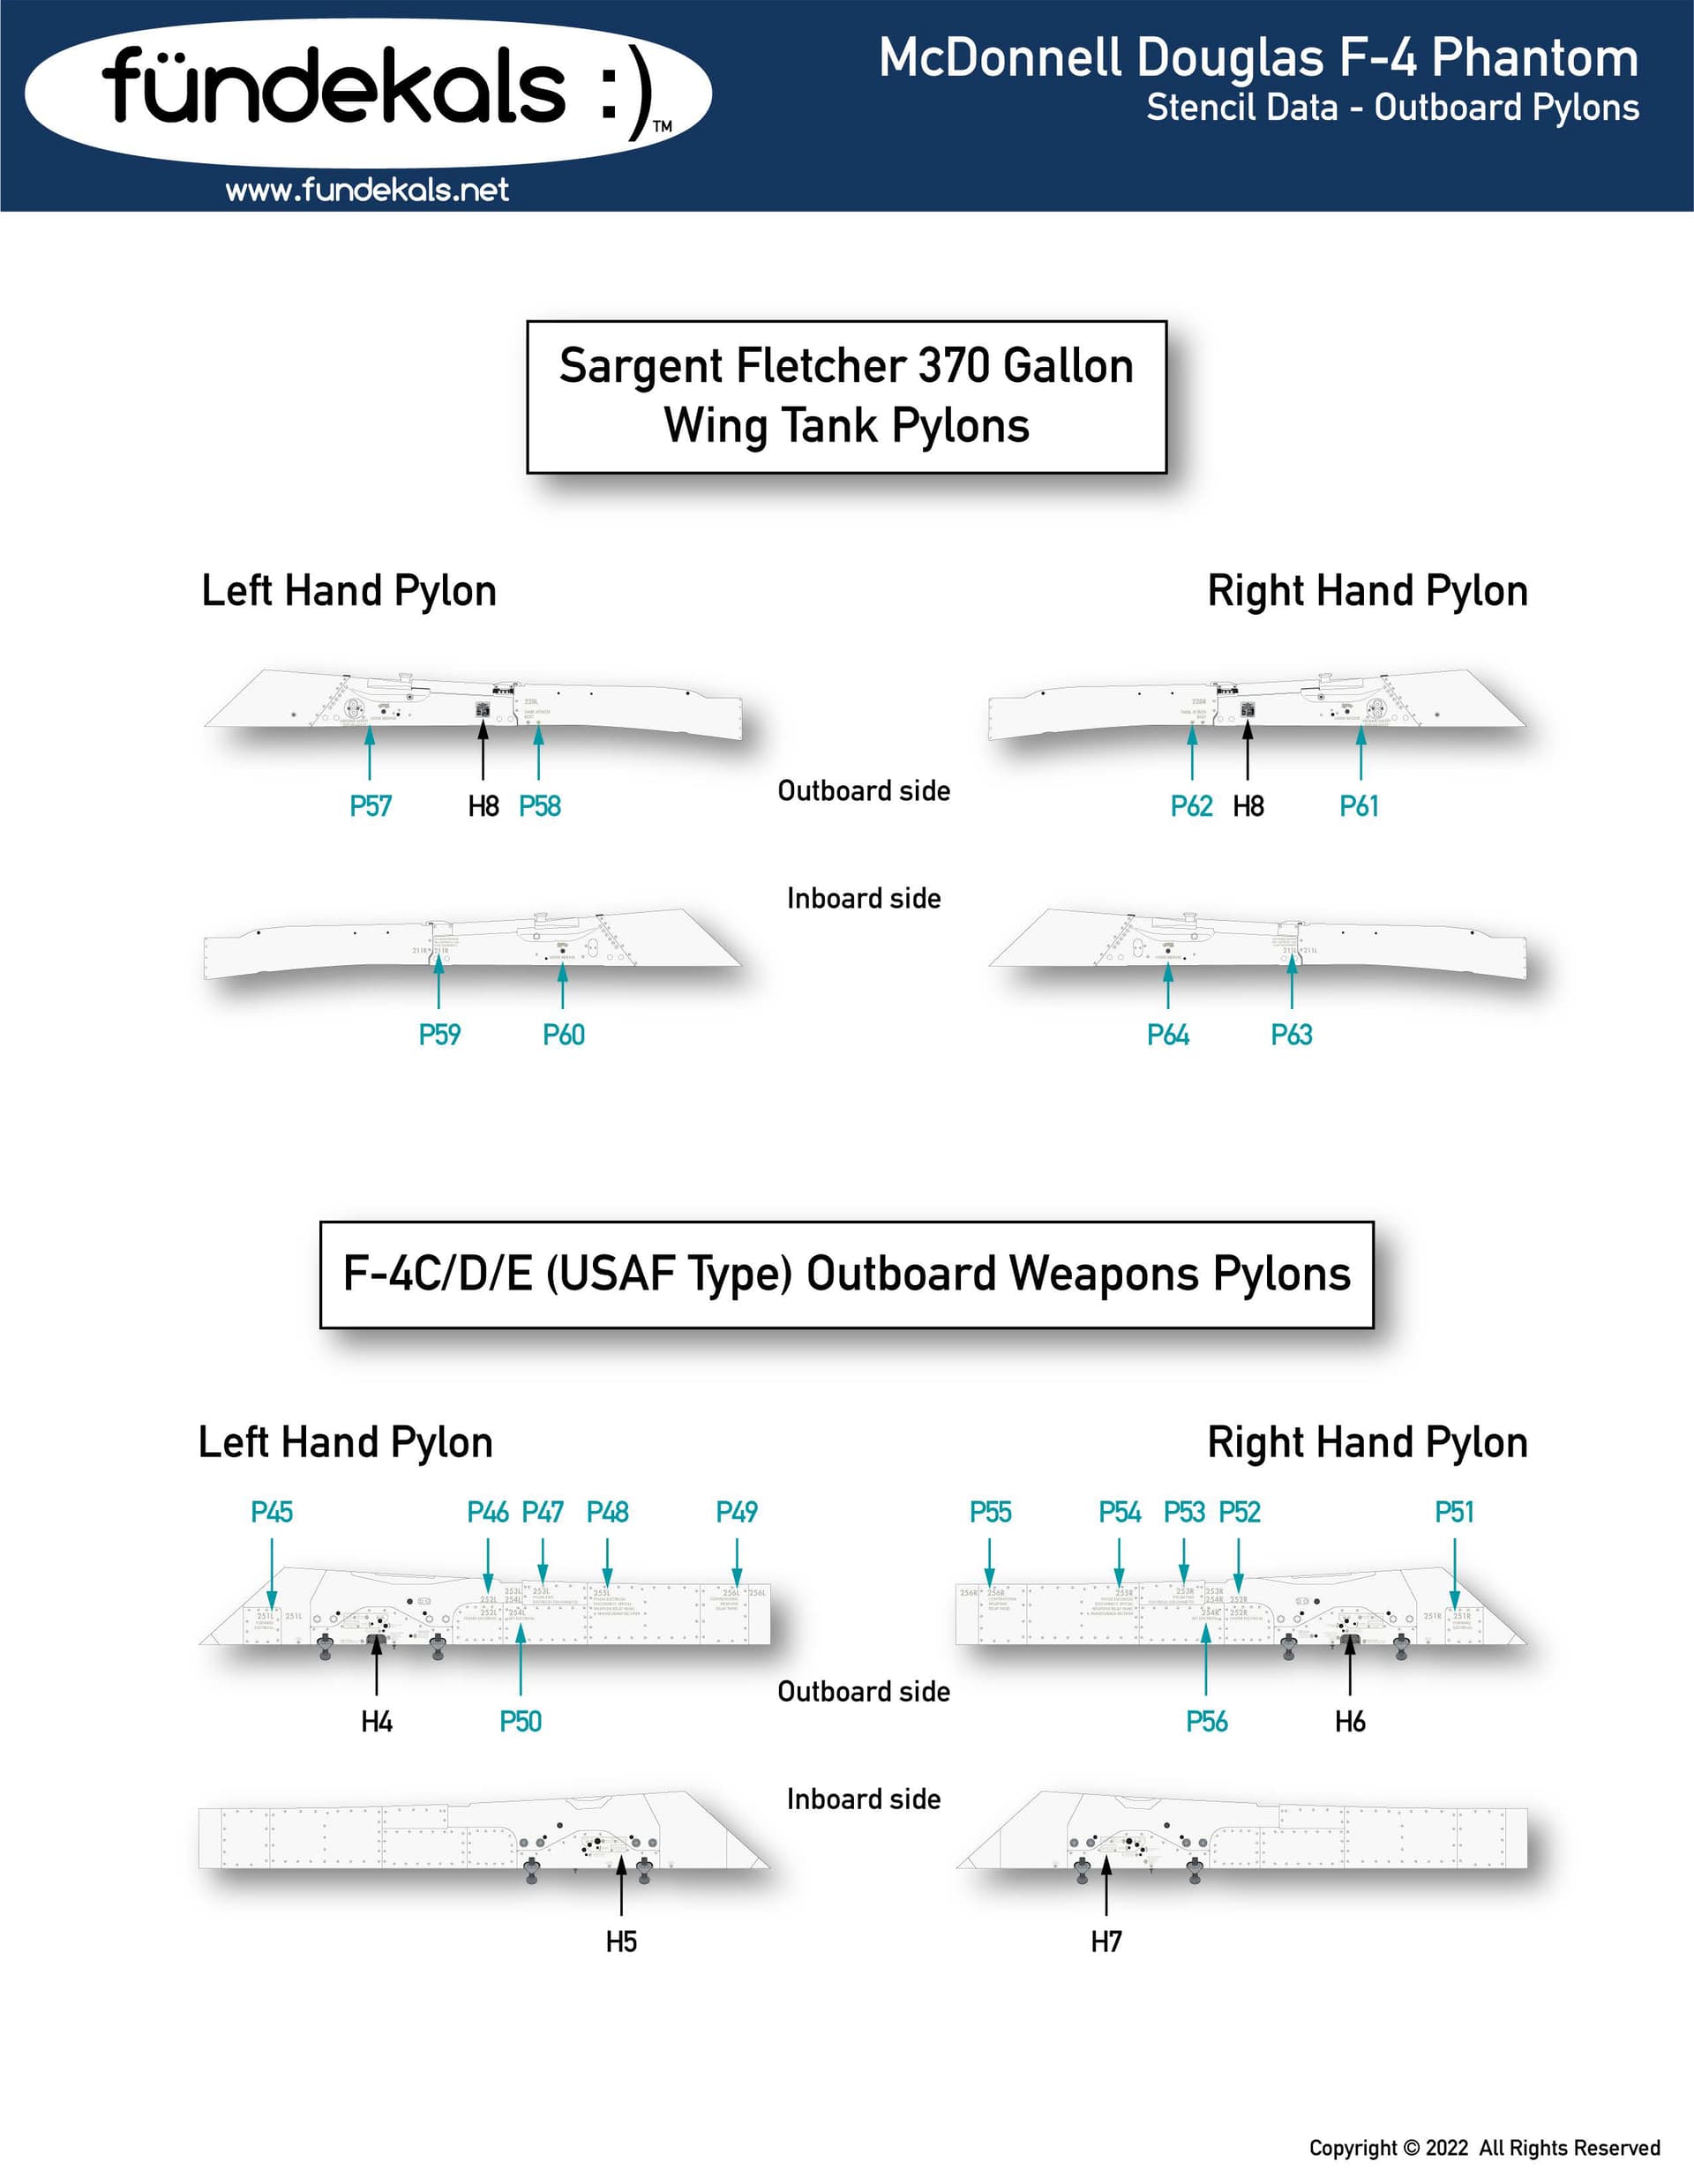
The Air force specific pylon has an outboard sweep for better clearance.
There is no kit with these pylons included and only GT Resin makes them in 1/32 scale. I am not planning on purchasing them so I need to use the 370 gallon fuel tanks for my build.
I am also contemplating of not to go for accurate markings and do something more to my liking: a Euro wrap around camo with white stencils and high vis unit markings and sark mouth but this is something to be decided later.
4 Likes
Finally getting round to putting the panel line wash on… I don’t want to go to heavy. I’m using the Flory wash again, clay based, so I can clean it back as much as I need to …
2 Likes
The Flory wash is on.
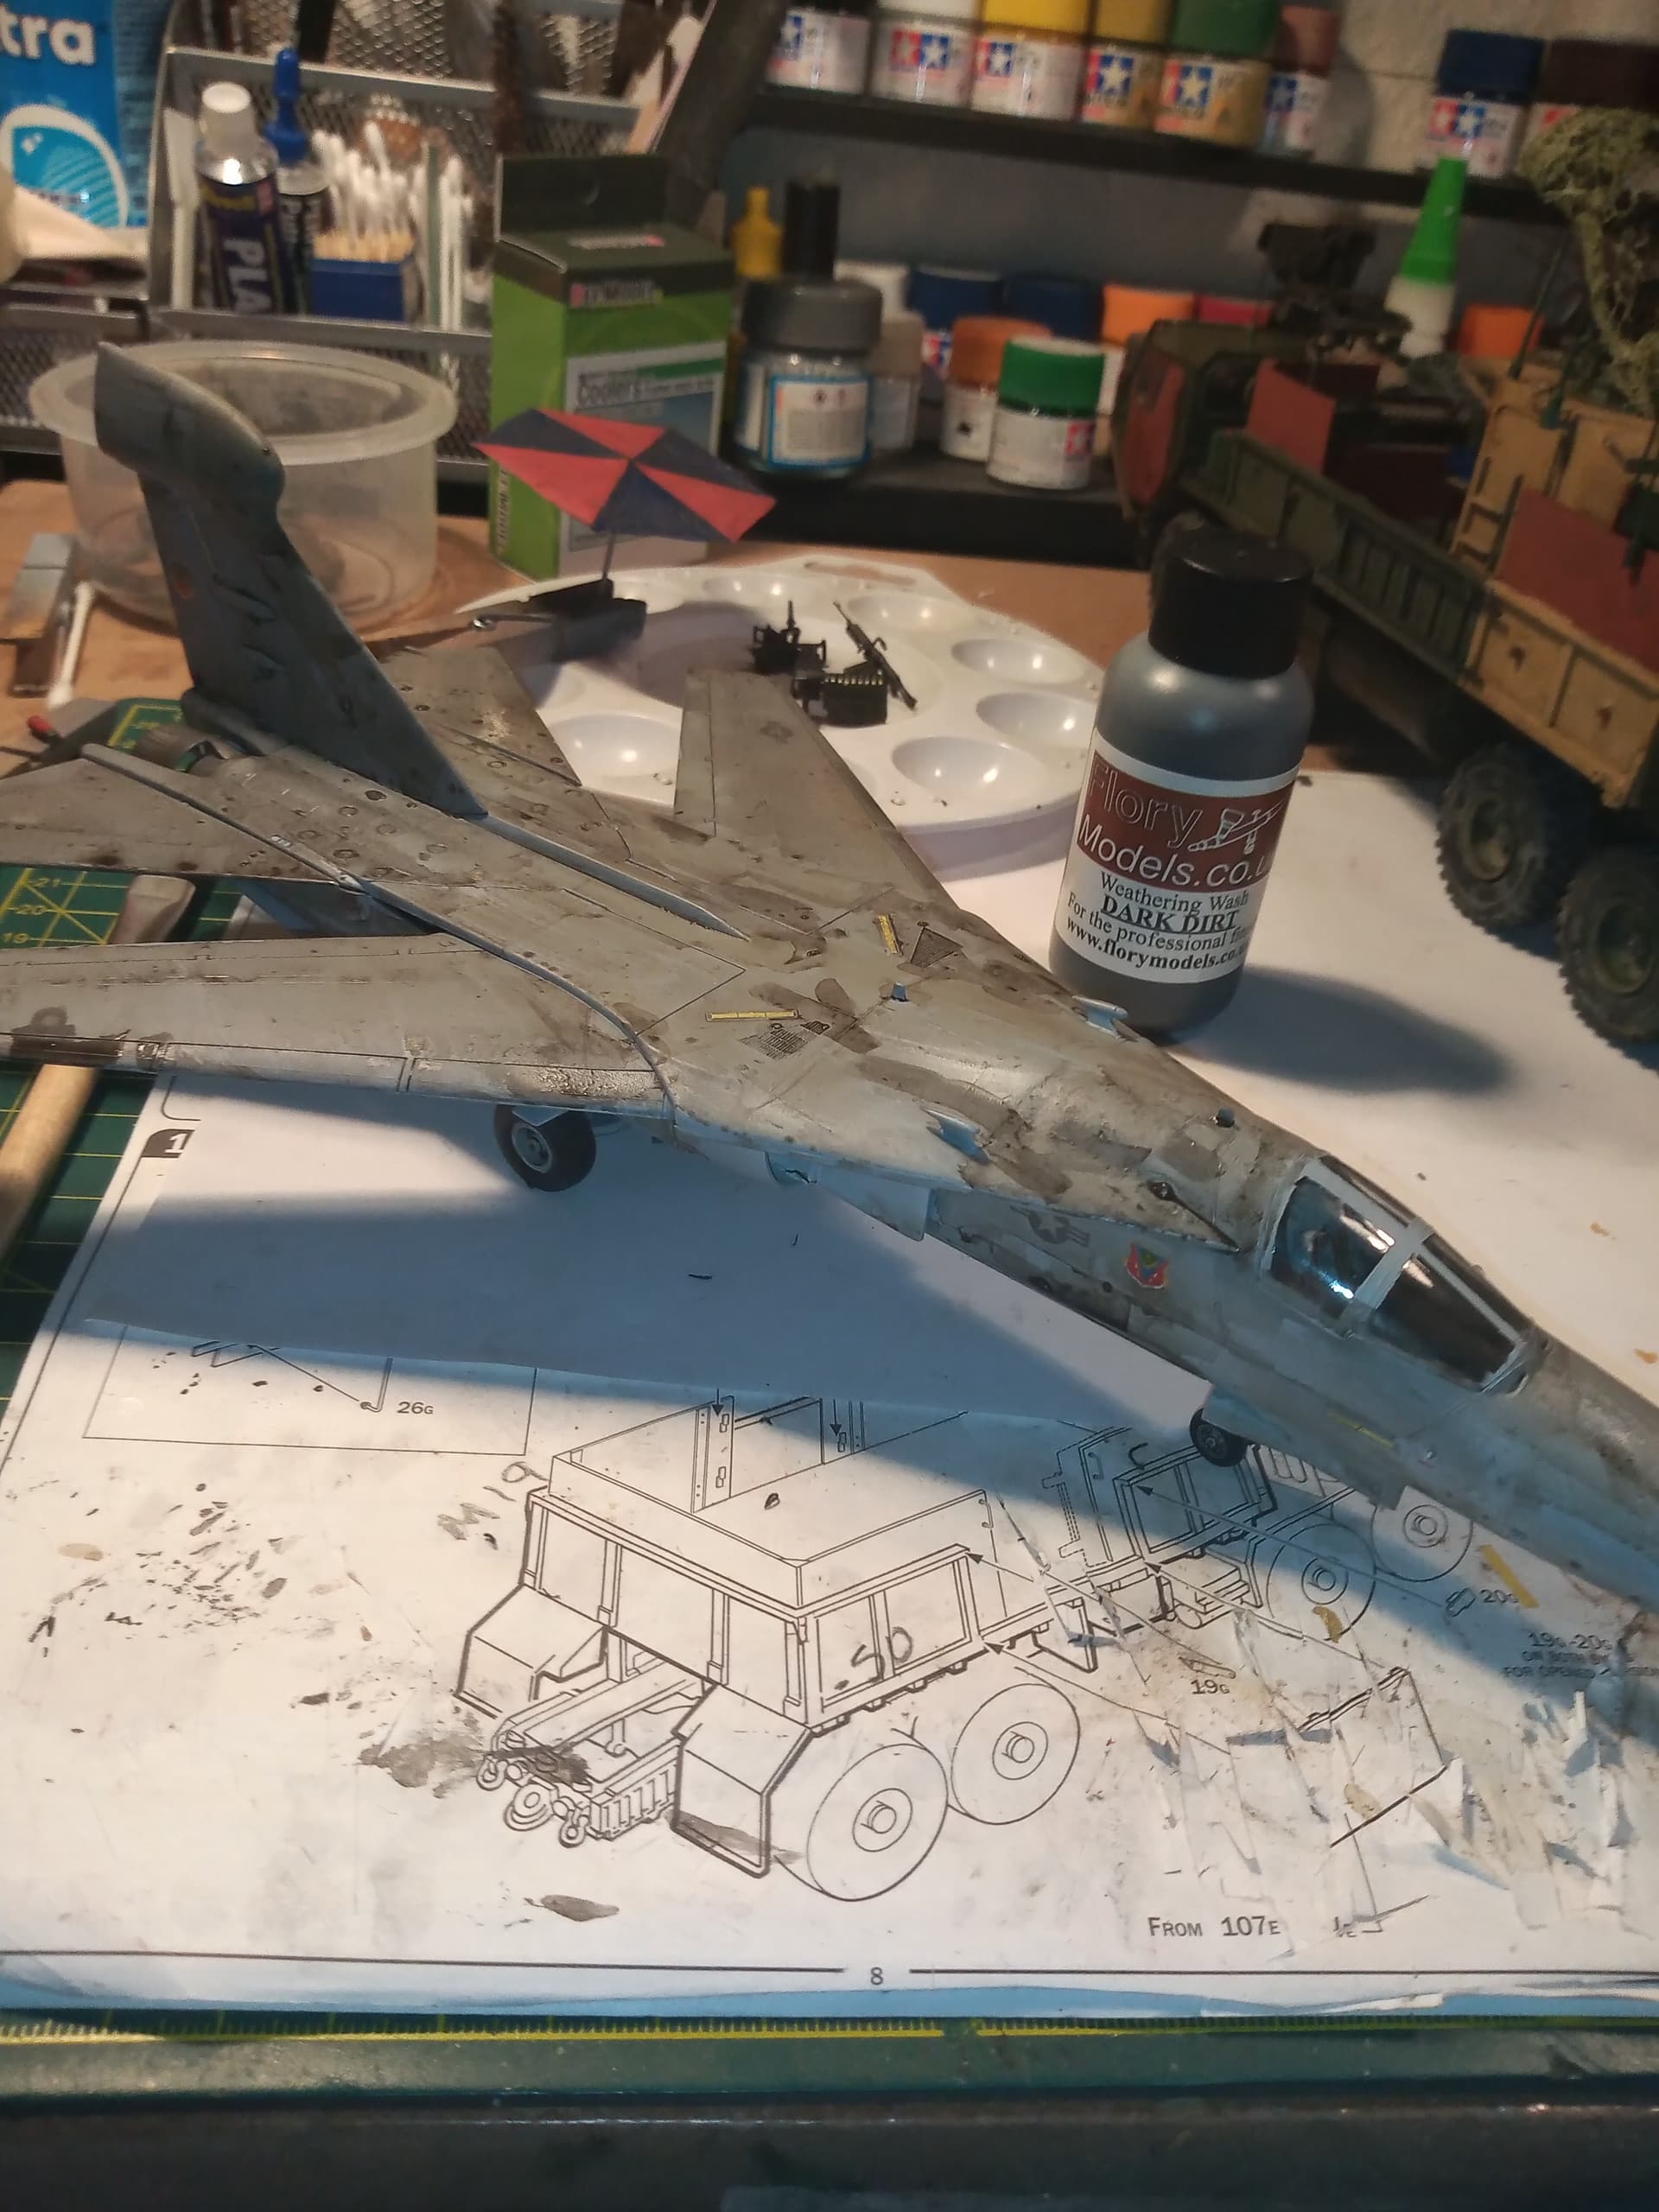
Although it looks very heavily done, the wash comes off really easily with a damp tissue. Will do that when I get home later this afternoon ![]()
2 Likes
I have spent much more time working on the ordnance for this project then ever before. I guess I am improving. Besides I have no knowledge of all this and the relevant details so I am learning as I go.
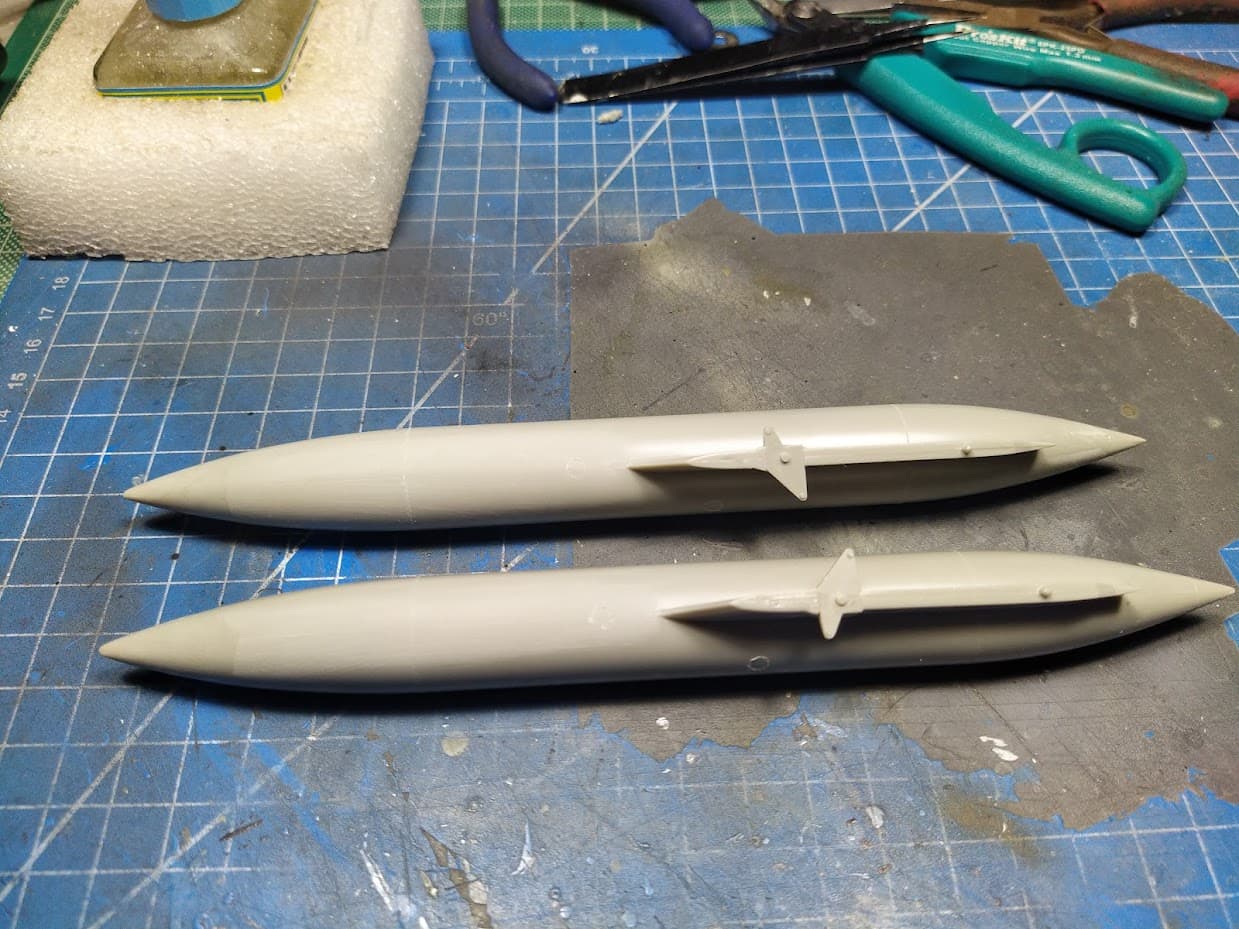
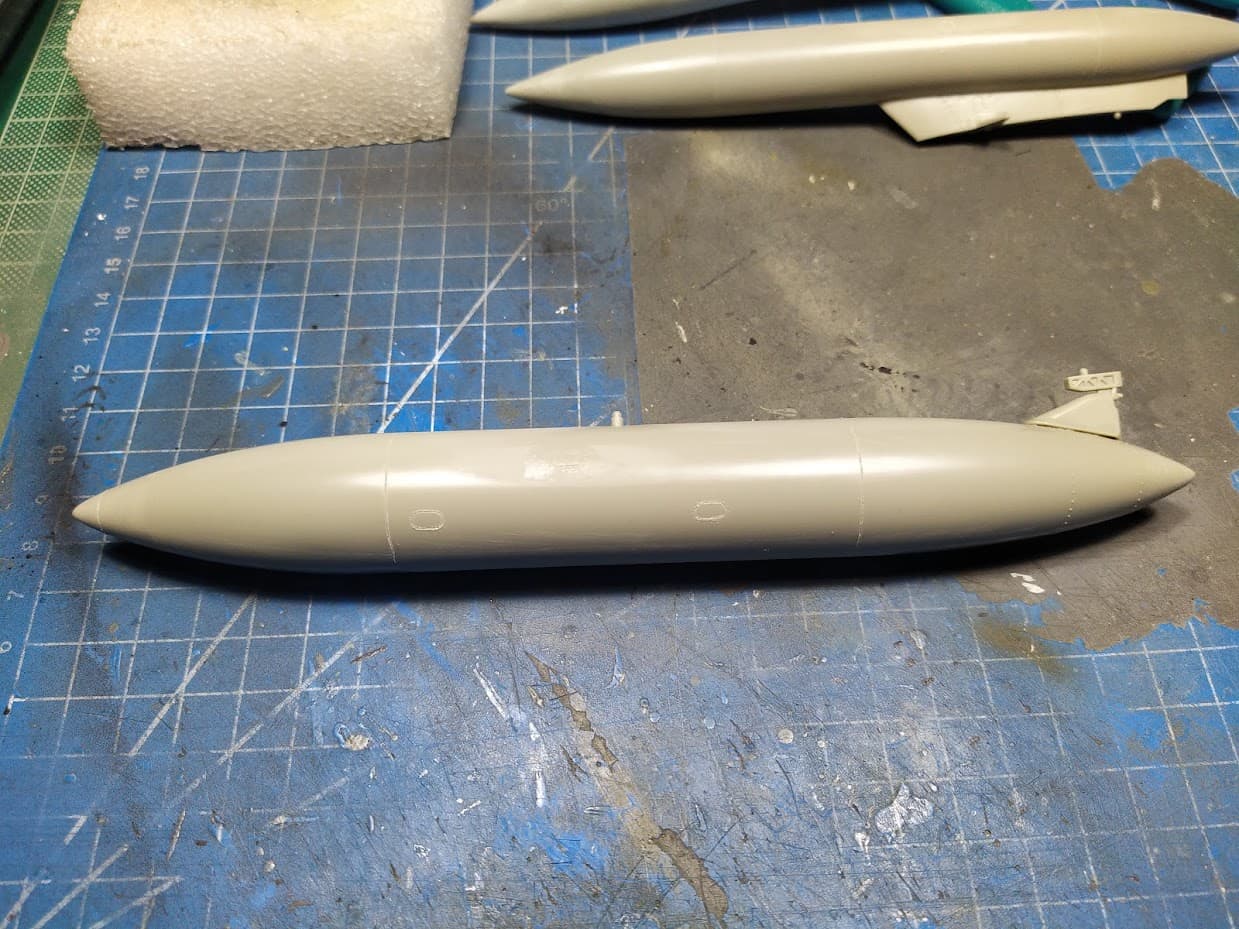
Wing tanks. Revell includes the later style produced by Sargent Fletcher company. These have one flange/seam on the lower left side, compared to the double flanged earlier McDonnel production fuel tanks.
Parts fit was not good but with some sanding the use of putty was avoided. I scribed the lines although I think these are welds and will rescribe some more after the primer.
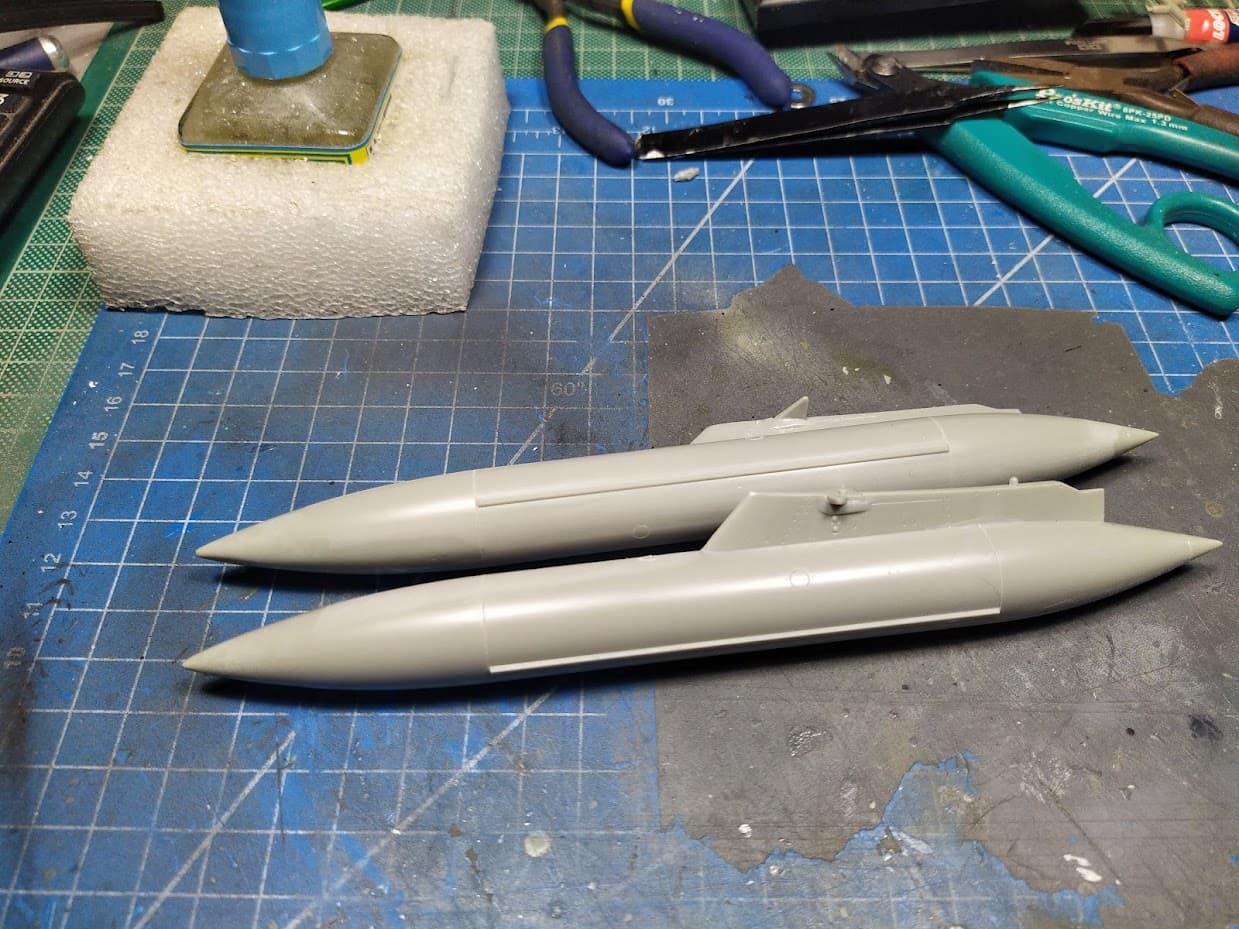
Centerline fuel tank. This is the F-15 style tank. Parts fit was also not great but some sanding an a couple of drops of CA gel glue in minor gaps was all I had to do.
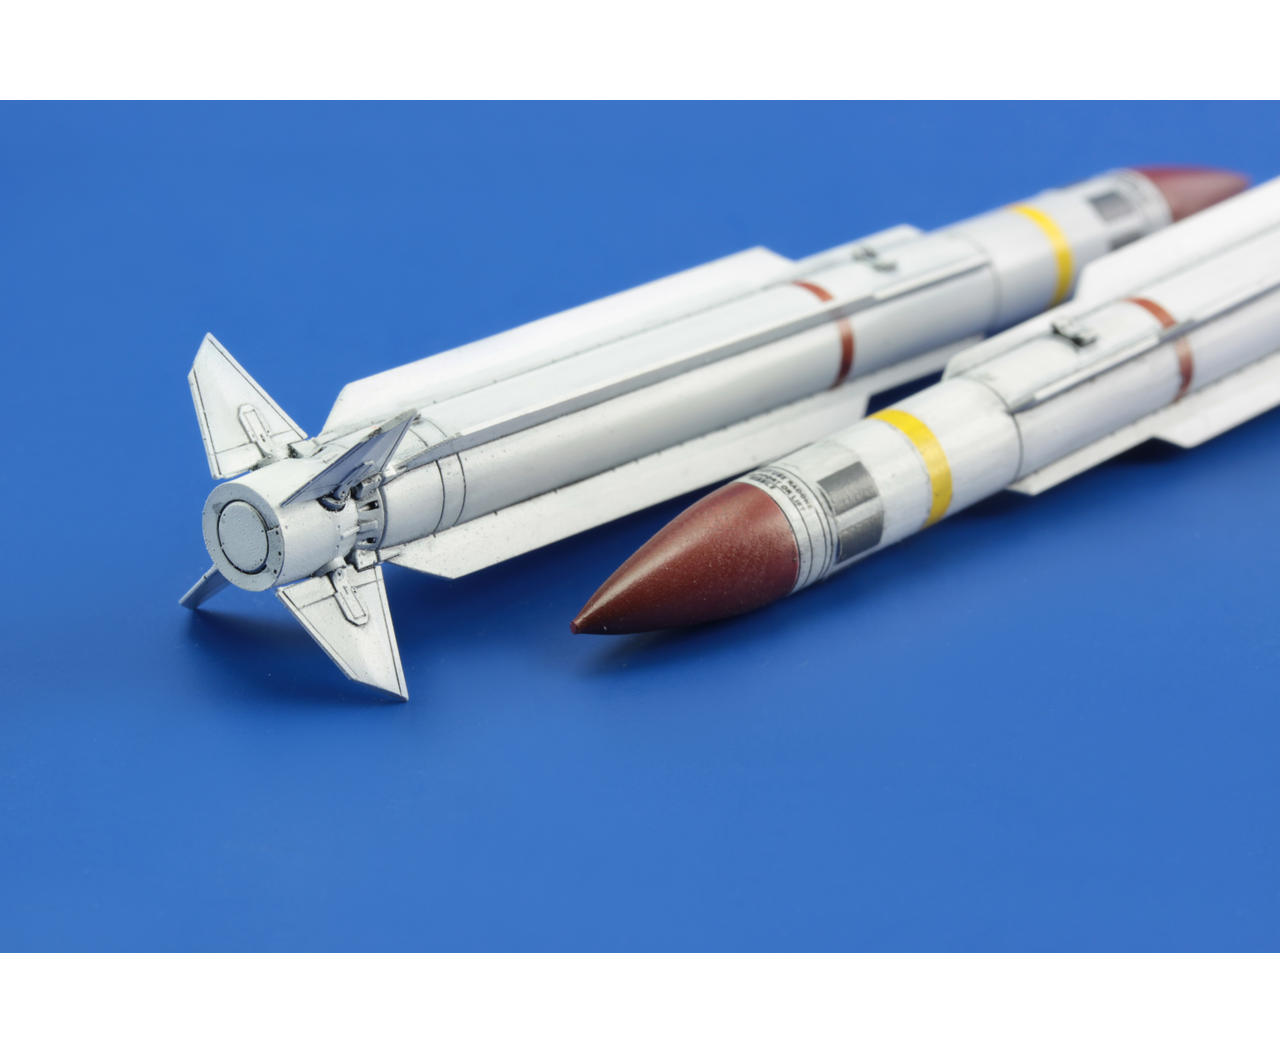
AGM-78 Standard. These were the easiest to assemble, some scribing and sanding for better overall appearance and I only need to work on the exhaust at the rear to improve the looks.
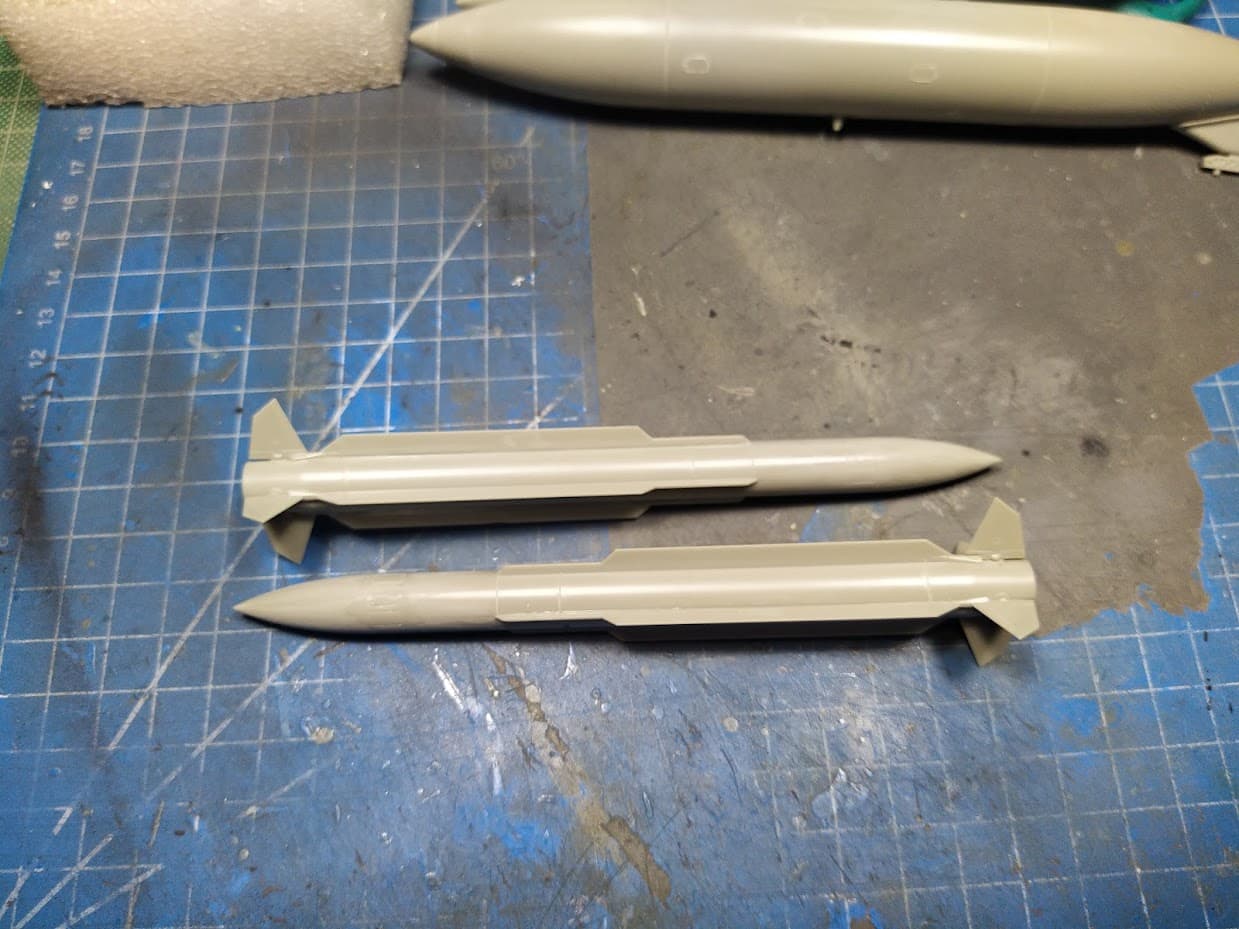
Photo of what I want to accomplice:
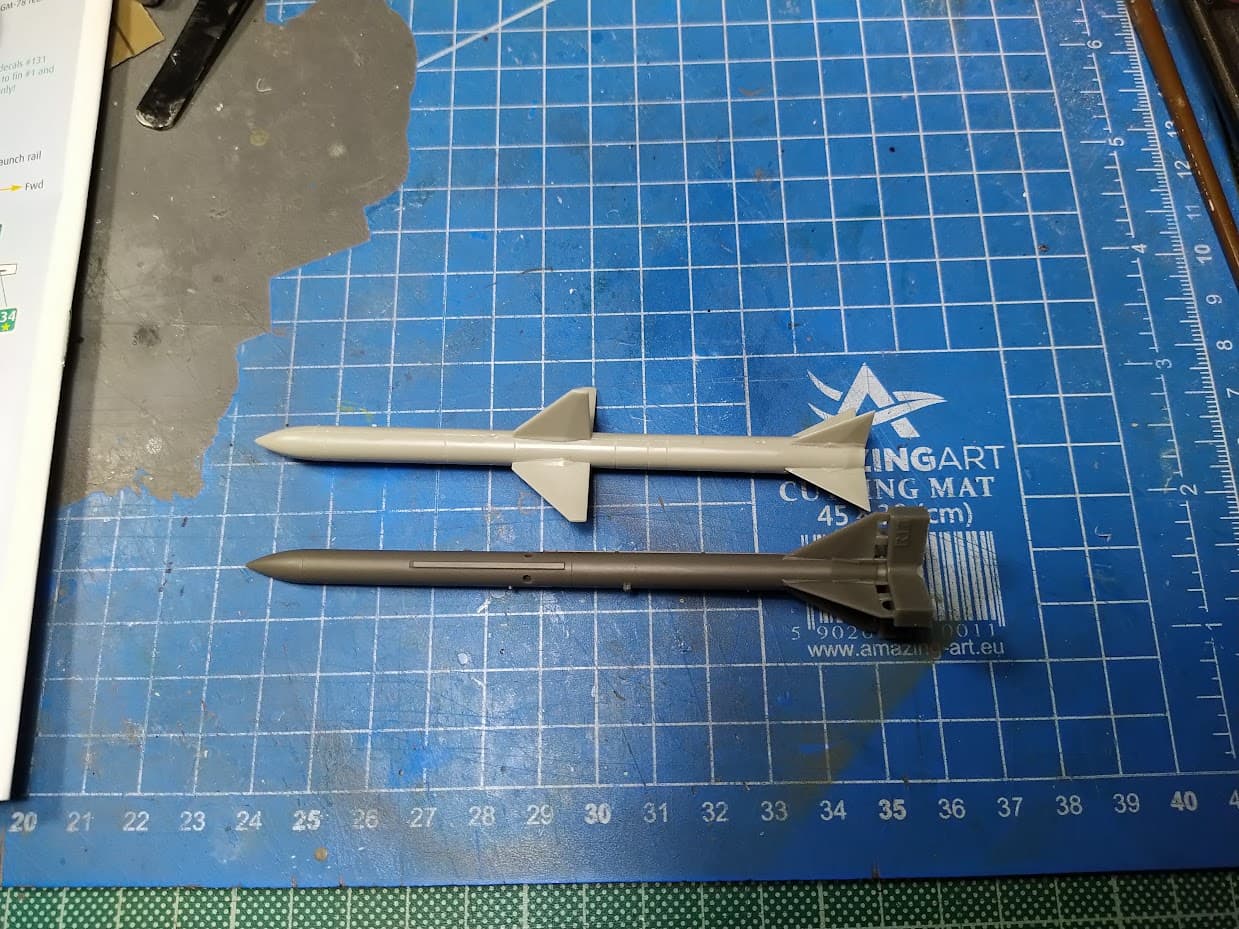
AIM-7 Sparrow. The kit includes two AIM-7M missiles (single line conduit on the body) which are correct for the timeframe (mid to late '80s).
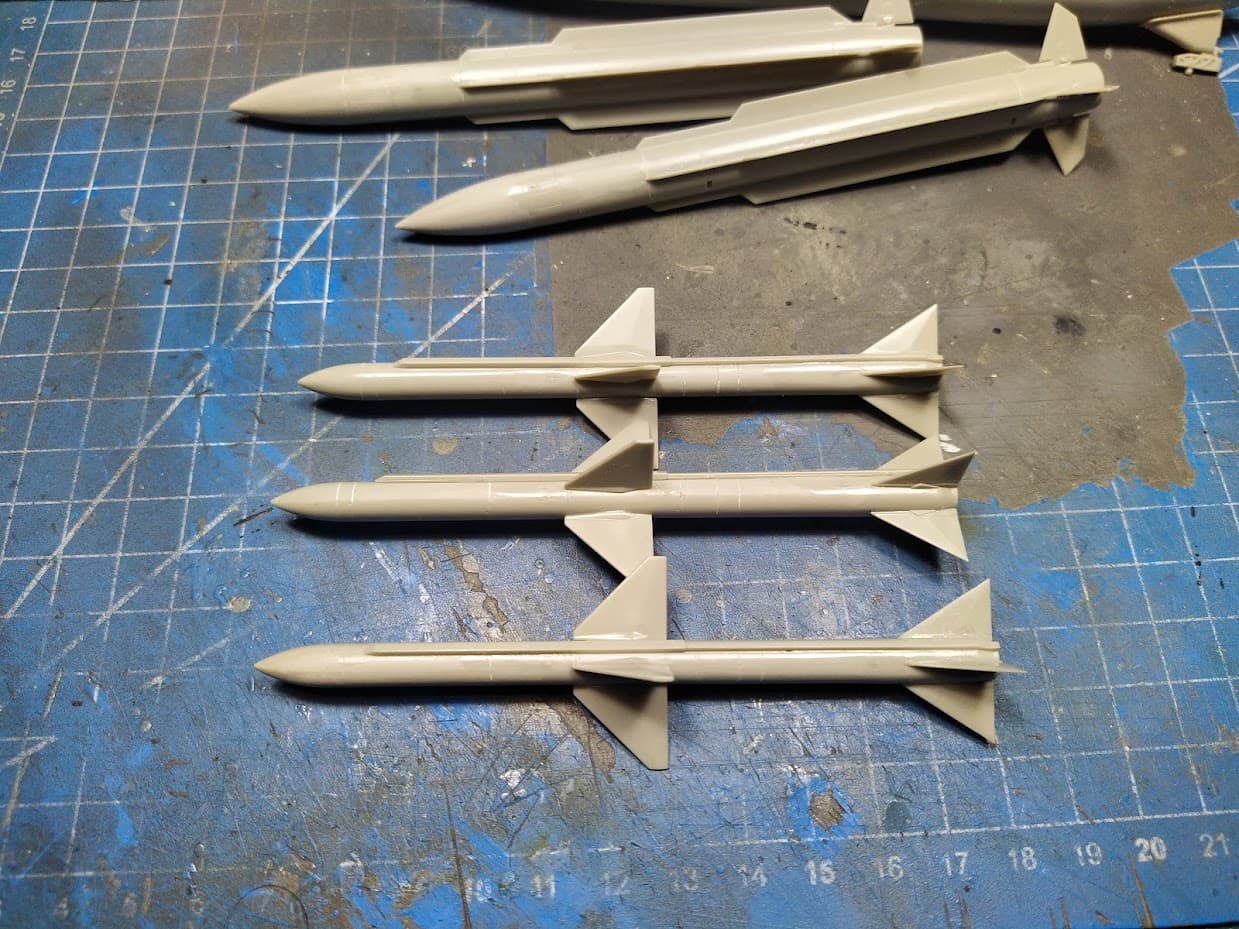
Comparison with an Eduard AIM-7E
ALQ-119. It needs some detailing and some paneling but overall it looks the part. I am going for the ALQ-119 version 15 which was used from the mid '70s onwards
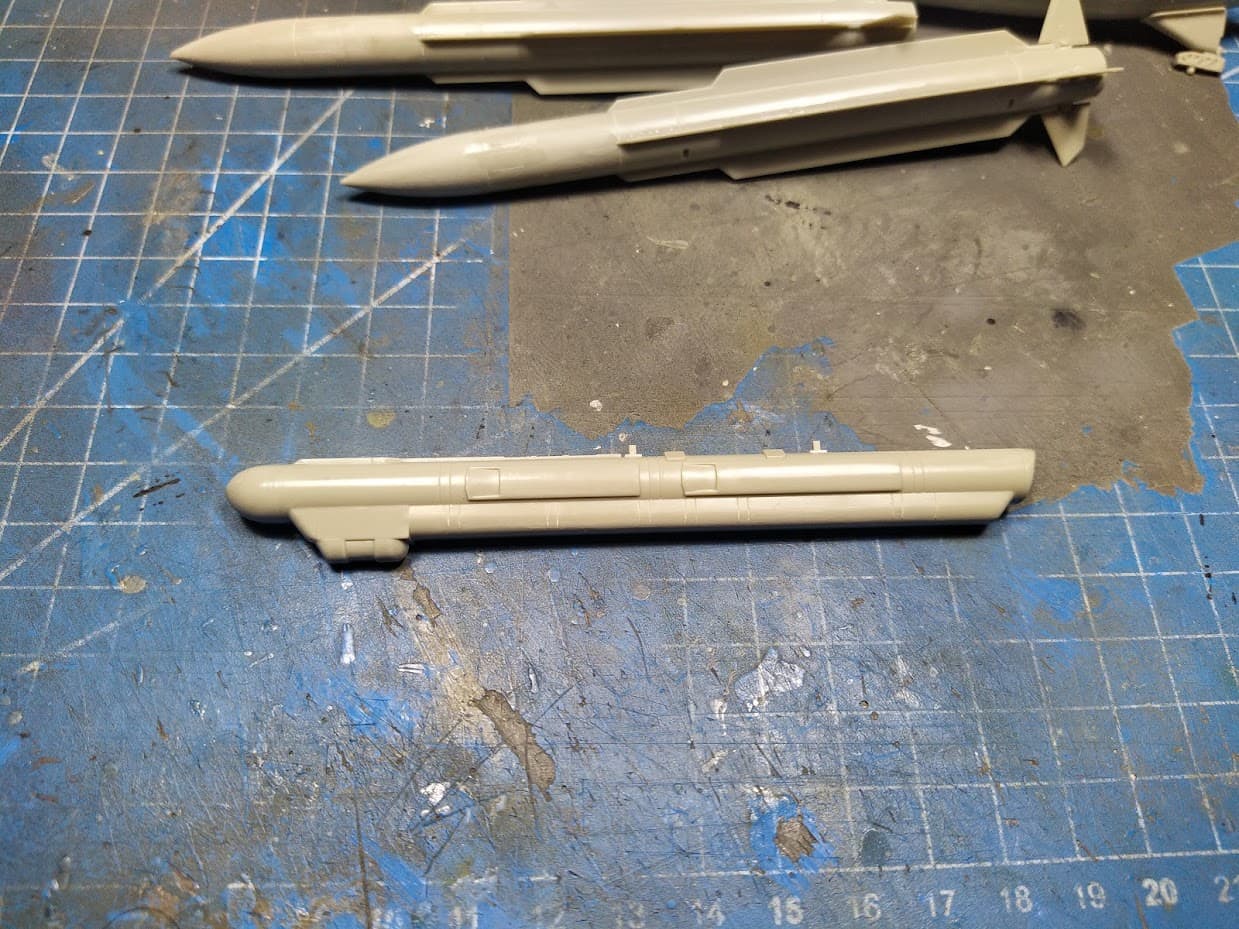
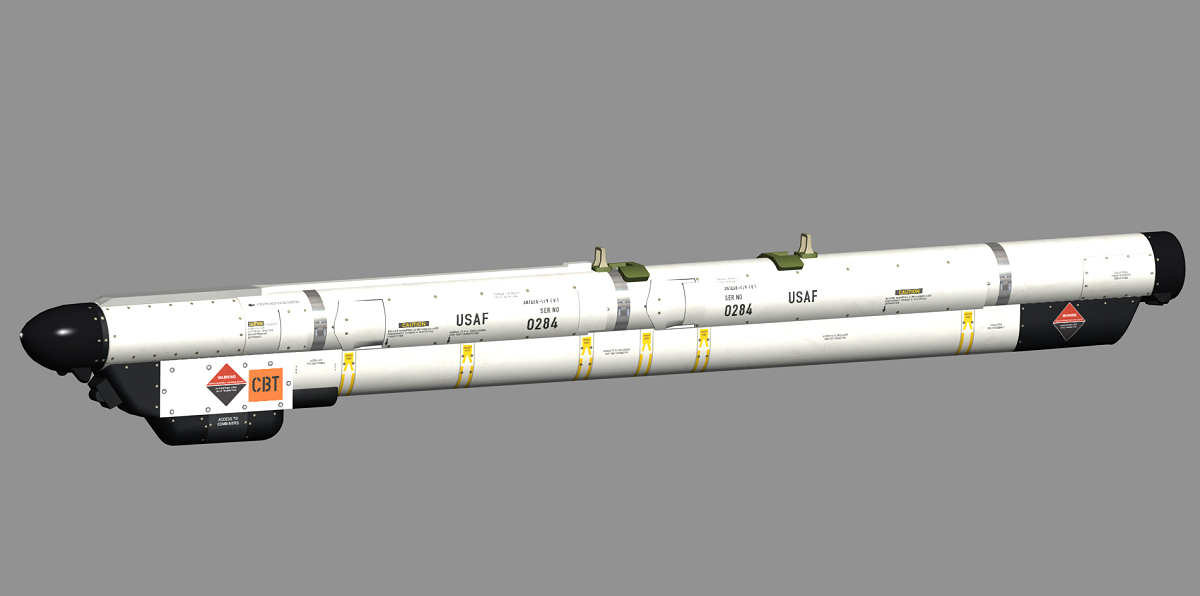
The fuel tanks will be painted overall green and Revell does include some stencils for them. The missiles will be painted white and Revell includes full stencils for those too.
3 Likes
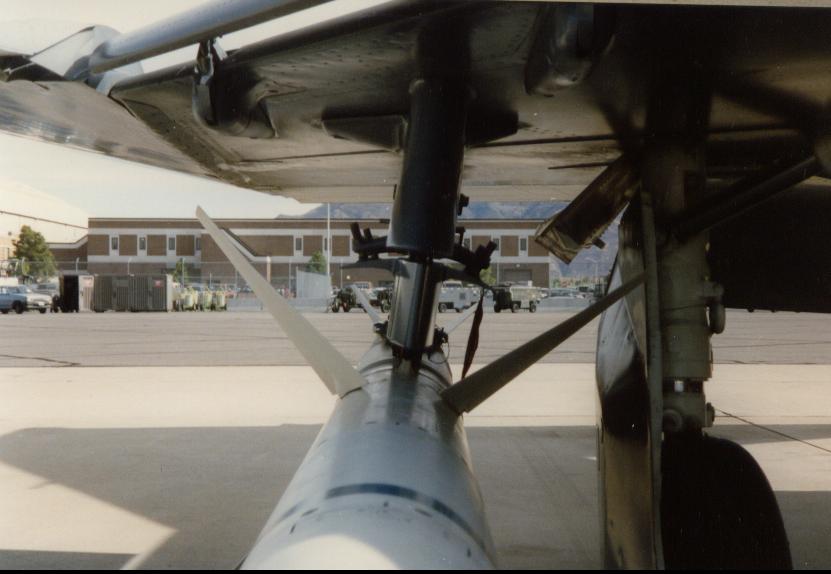
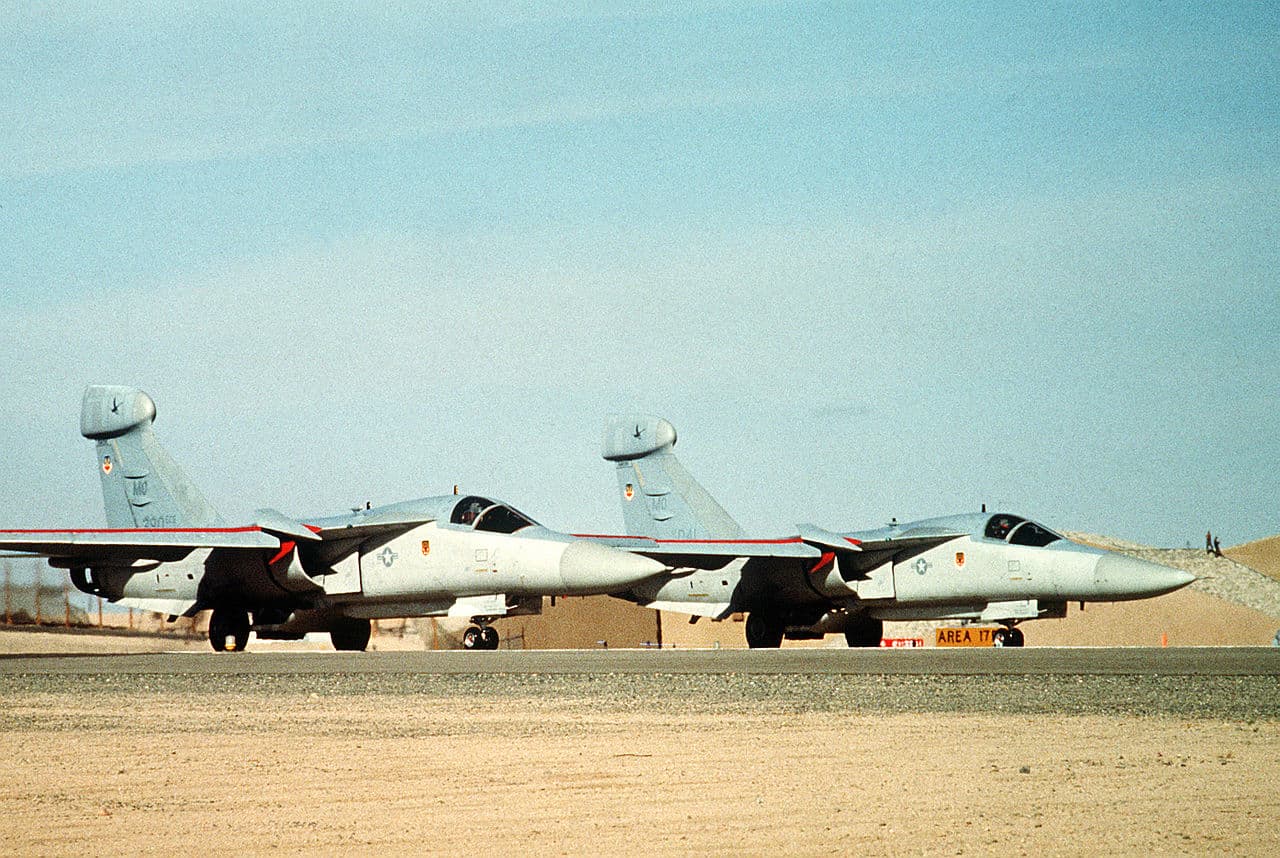
Were these planes usually “dirty” or overall clean? Looking forward to the finished model
Most I have seen from the Op DS were fairly cleanish, with a bit of wear and tear, so I want to try and keep any panel lines fairly subtle

I may add a very light AK OIF filter /wash over it
3 Likes
Looking good. The wash will bring it all out.
Interested to see how the filter wash works. My LHS carries them and have wondered how they work.
I know its nice and easy to make your own washes in oils or acrylics, but the AK range (cant comment on others) really are very good and do give a nice overall tone. I suppose they are just easy time savers.
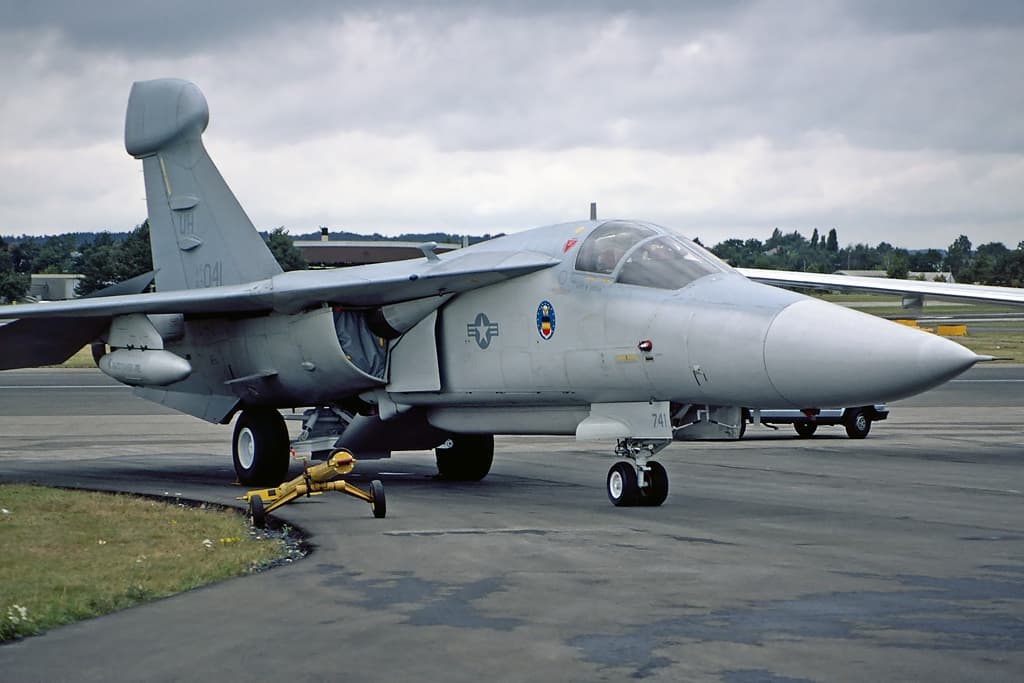
shows they are fairly clean in this shot …

1 Like
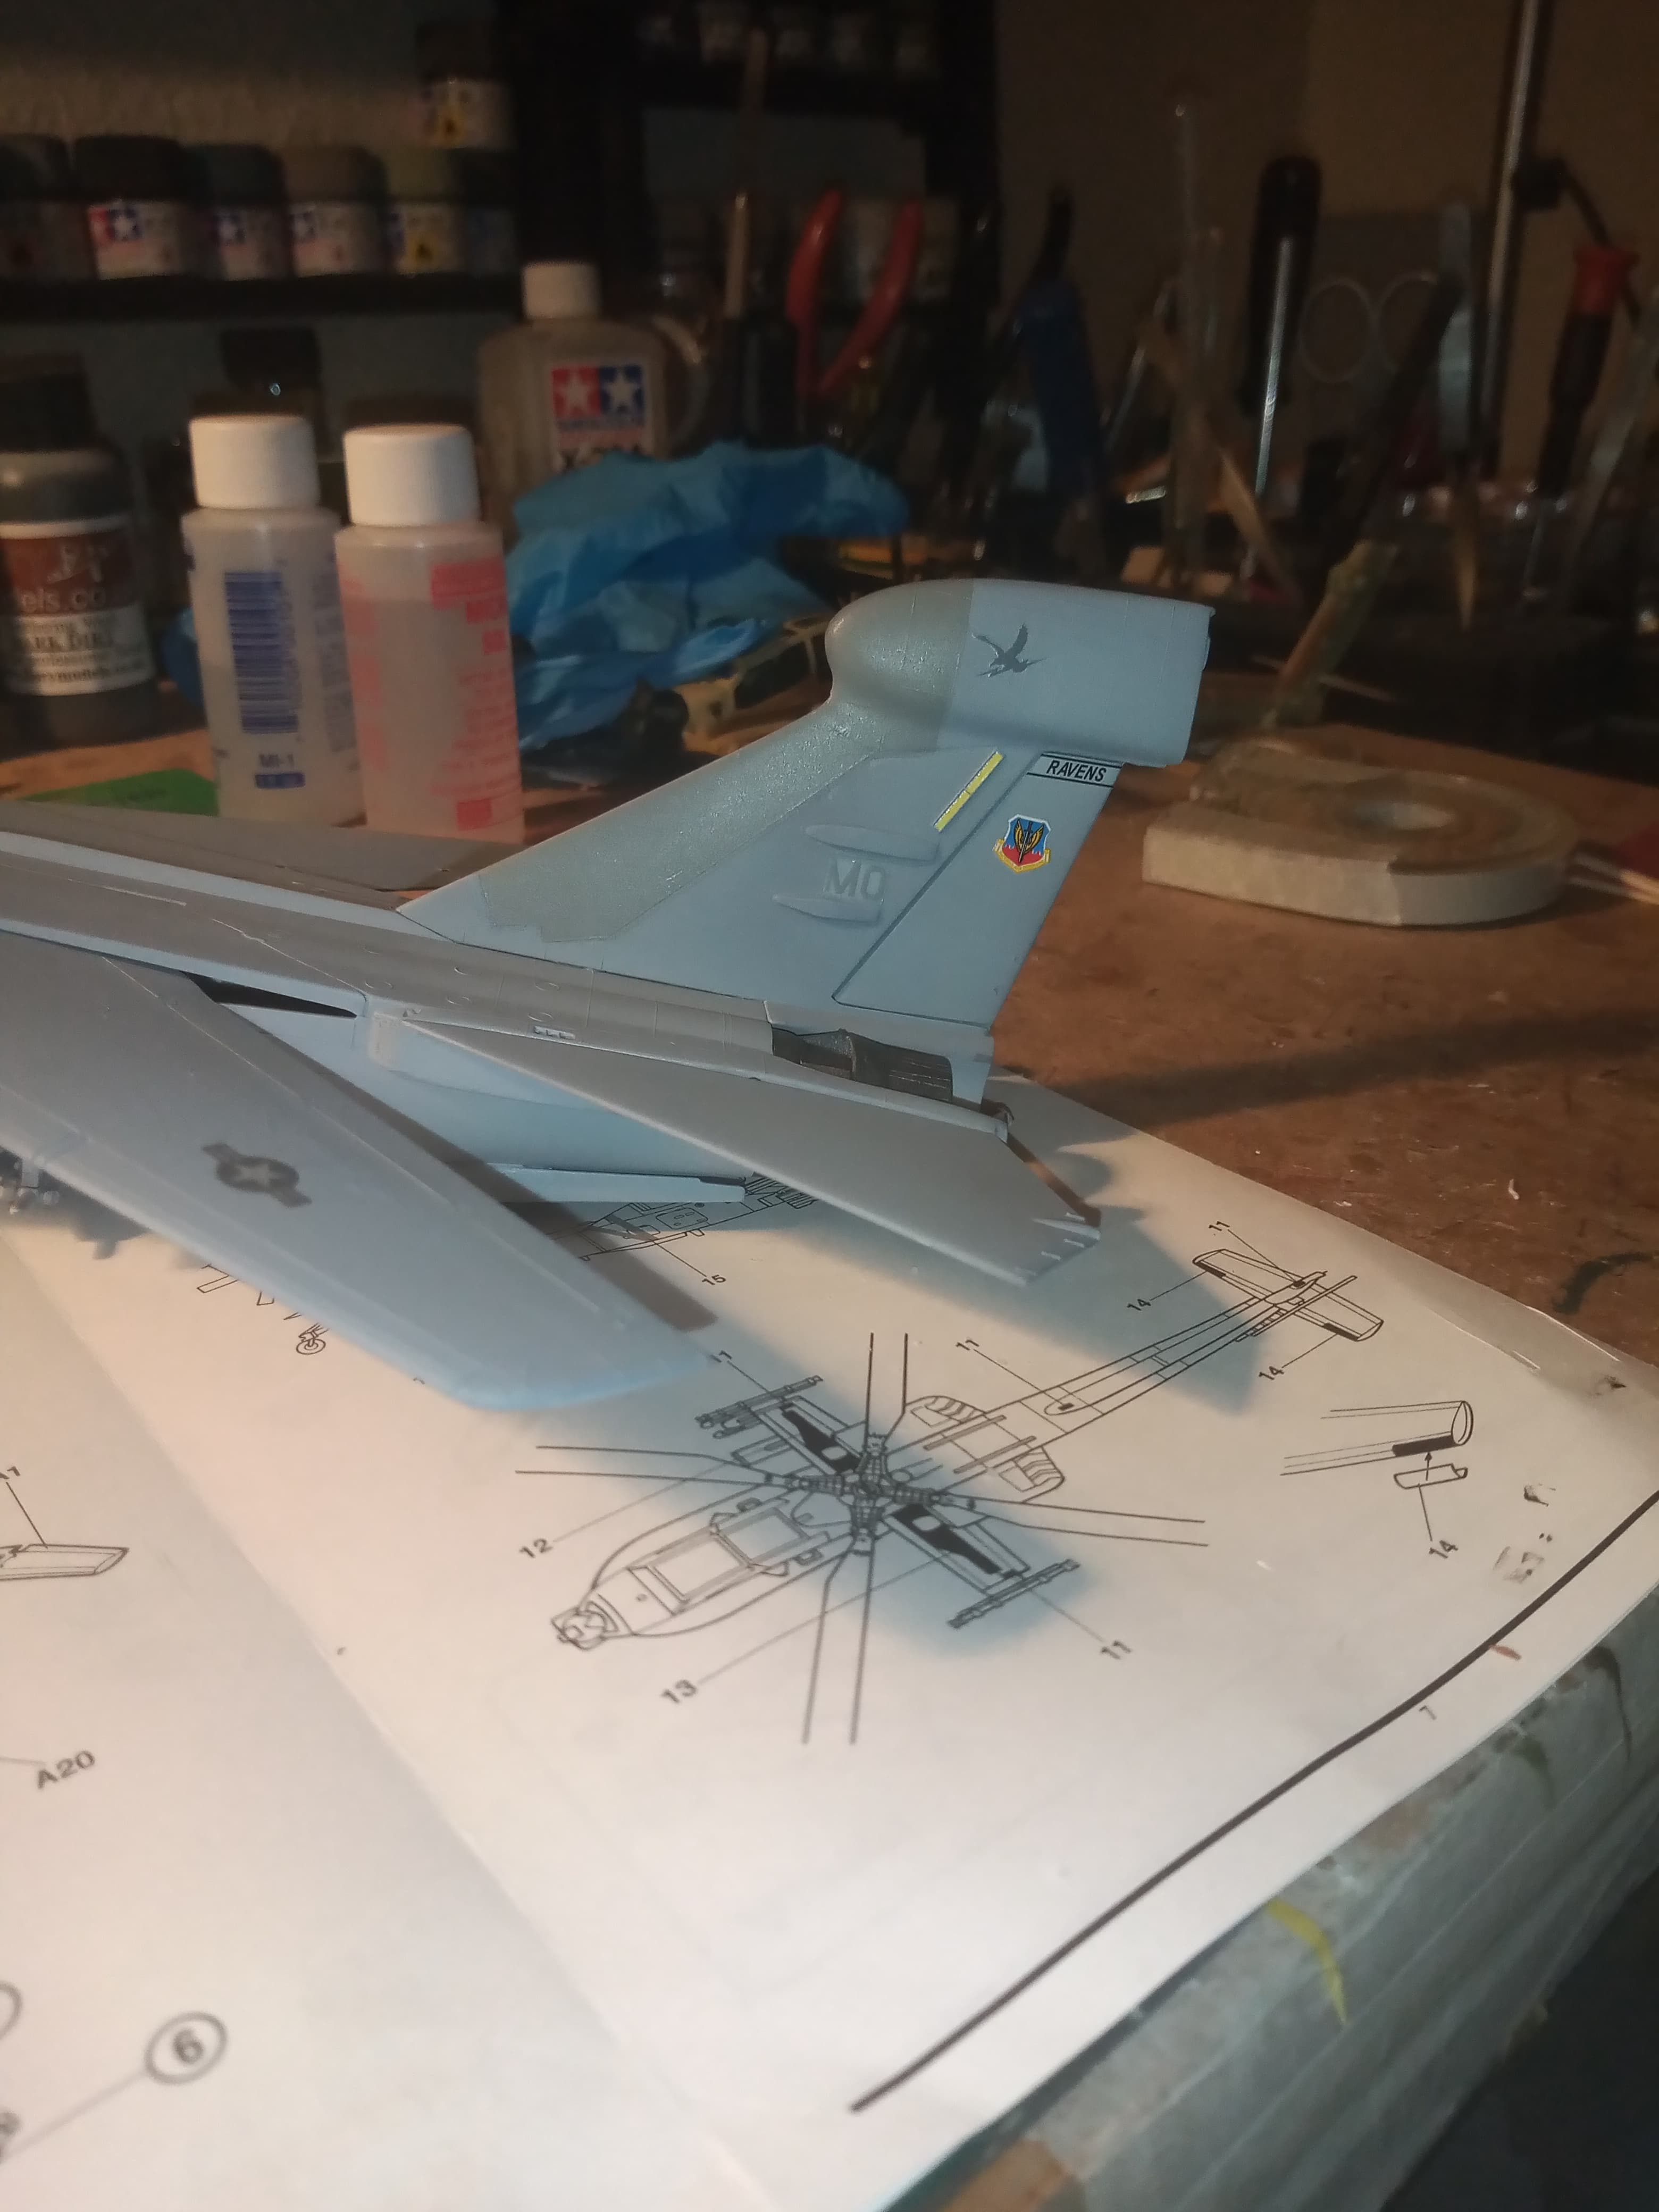
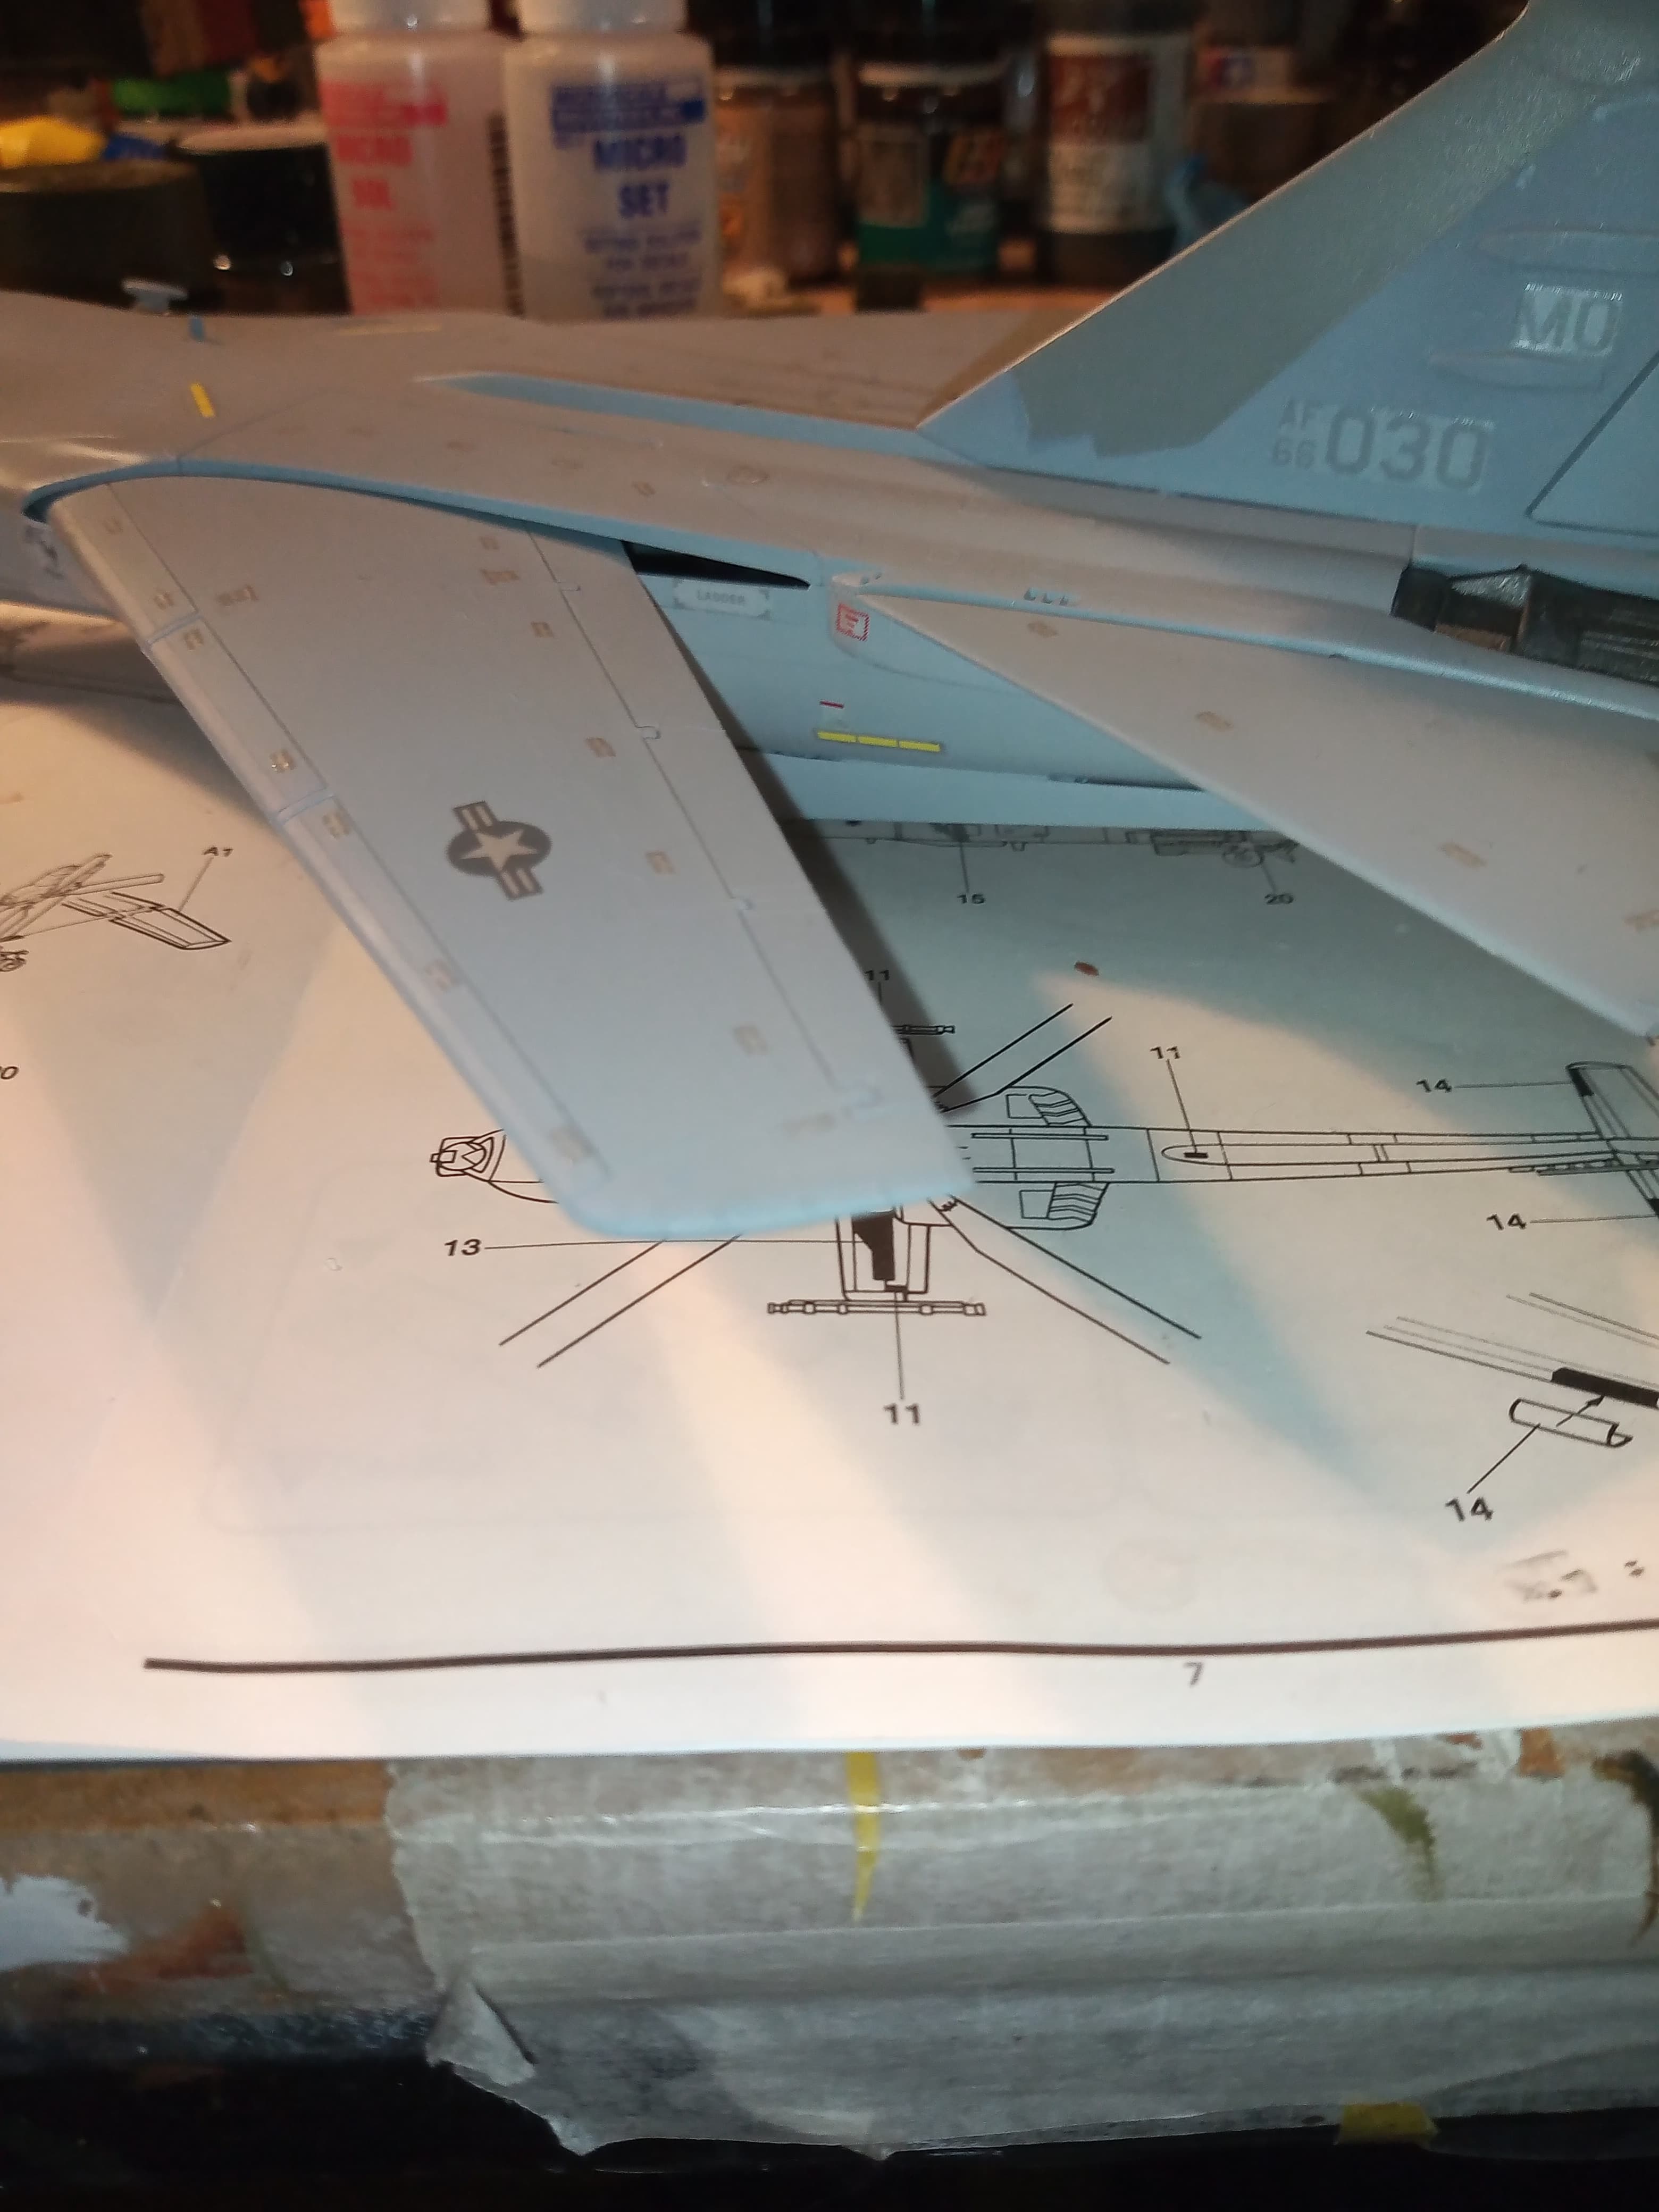
Calling the Raven done…
It was the Revell 1/72 kit. Went together ok in most areas but the canopy was a pain as it would not sit correctly and left gaps. Also the air intakes on both side had fit issues. Used AK US greys on it and light OIF wash on top of a Flory wash…
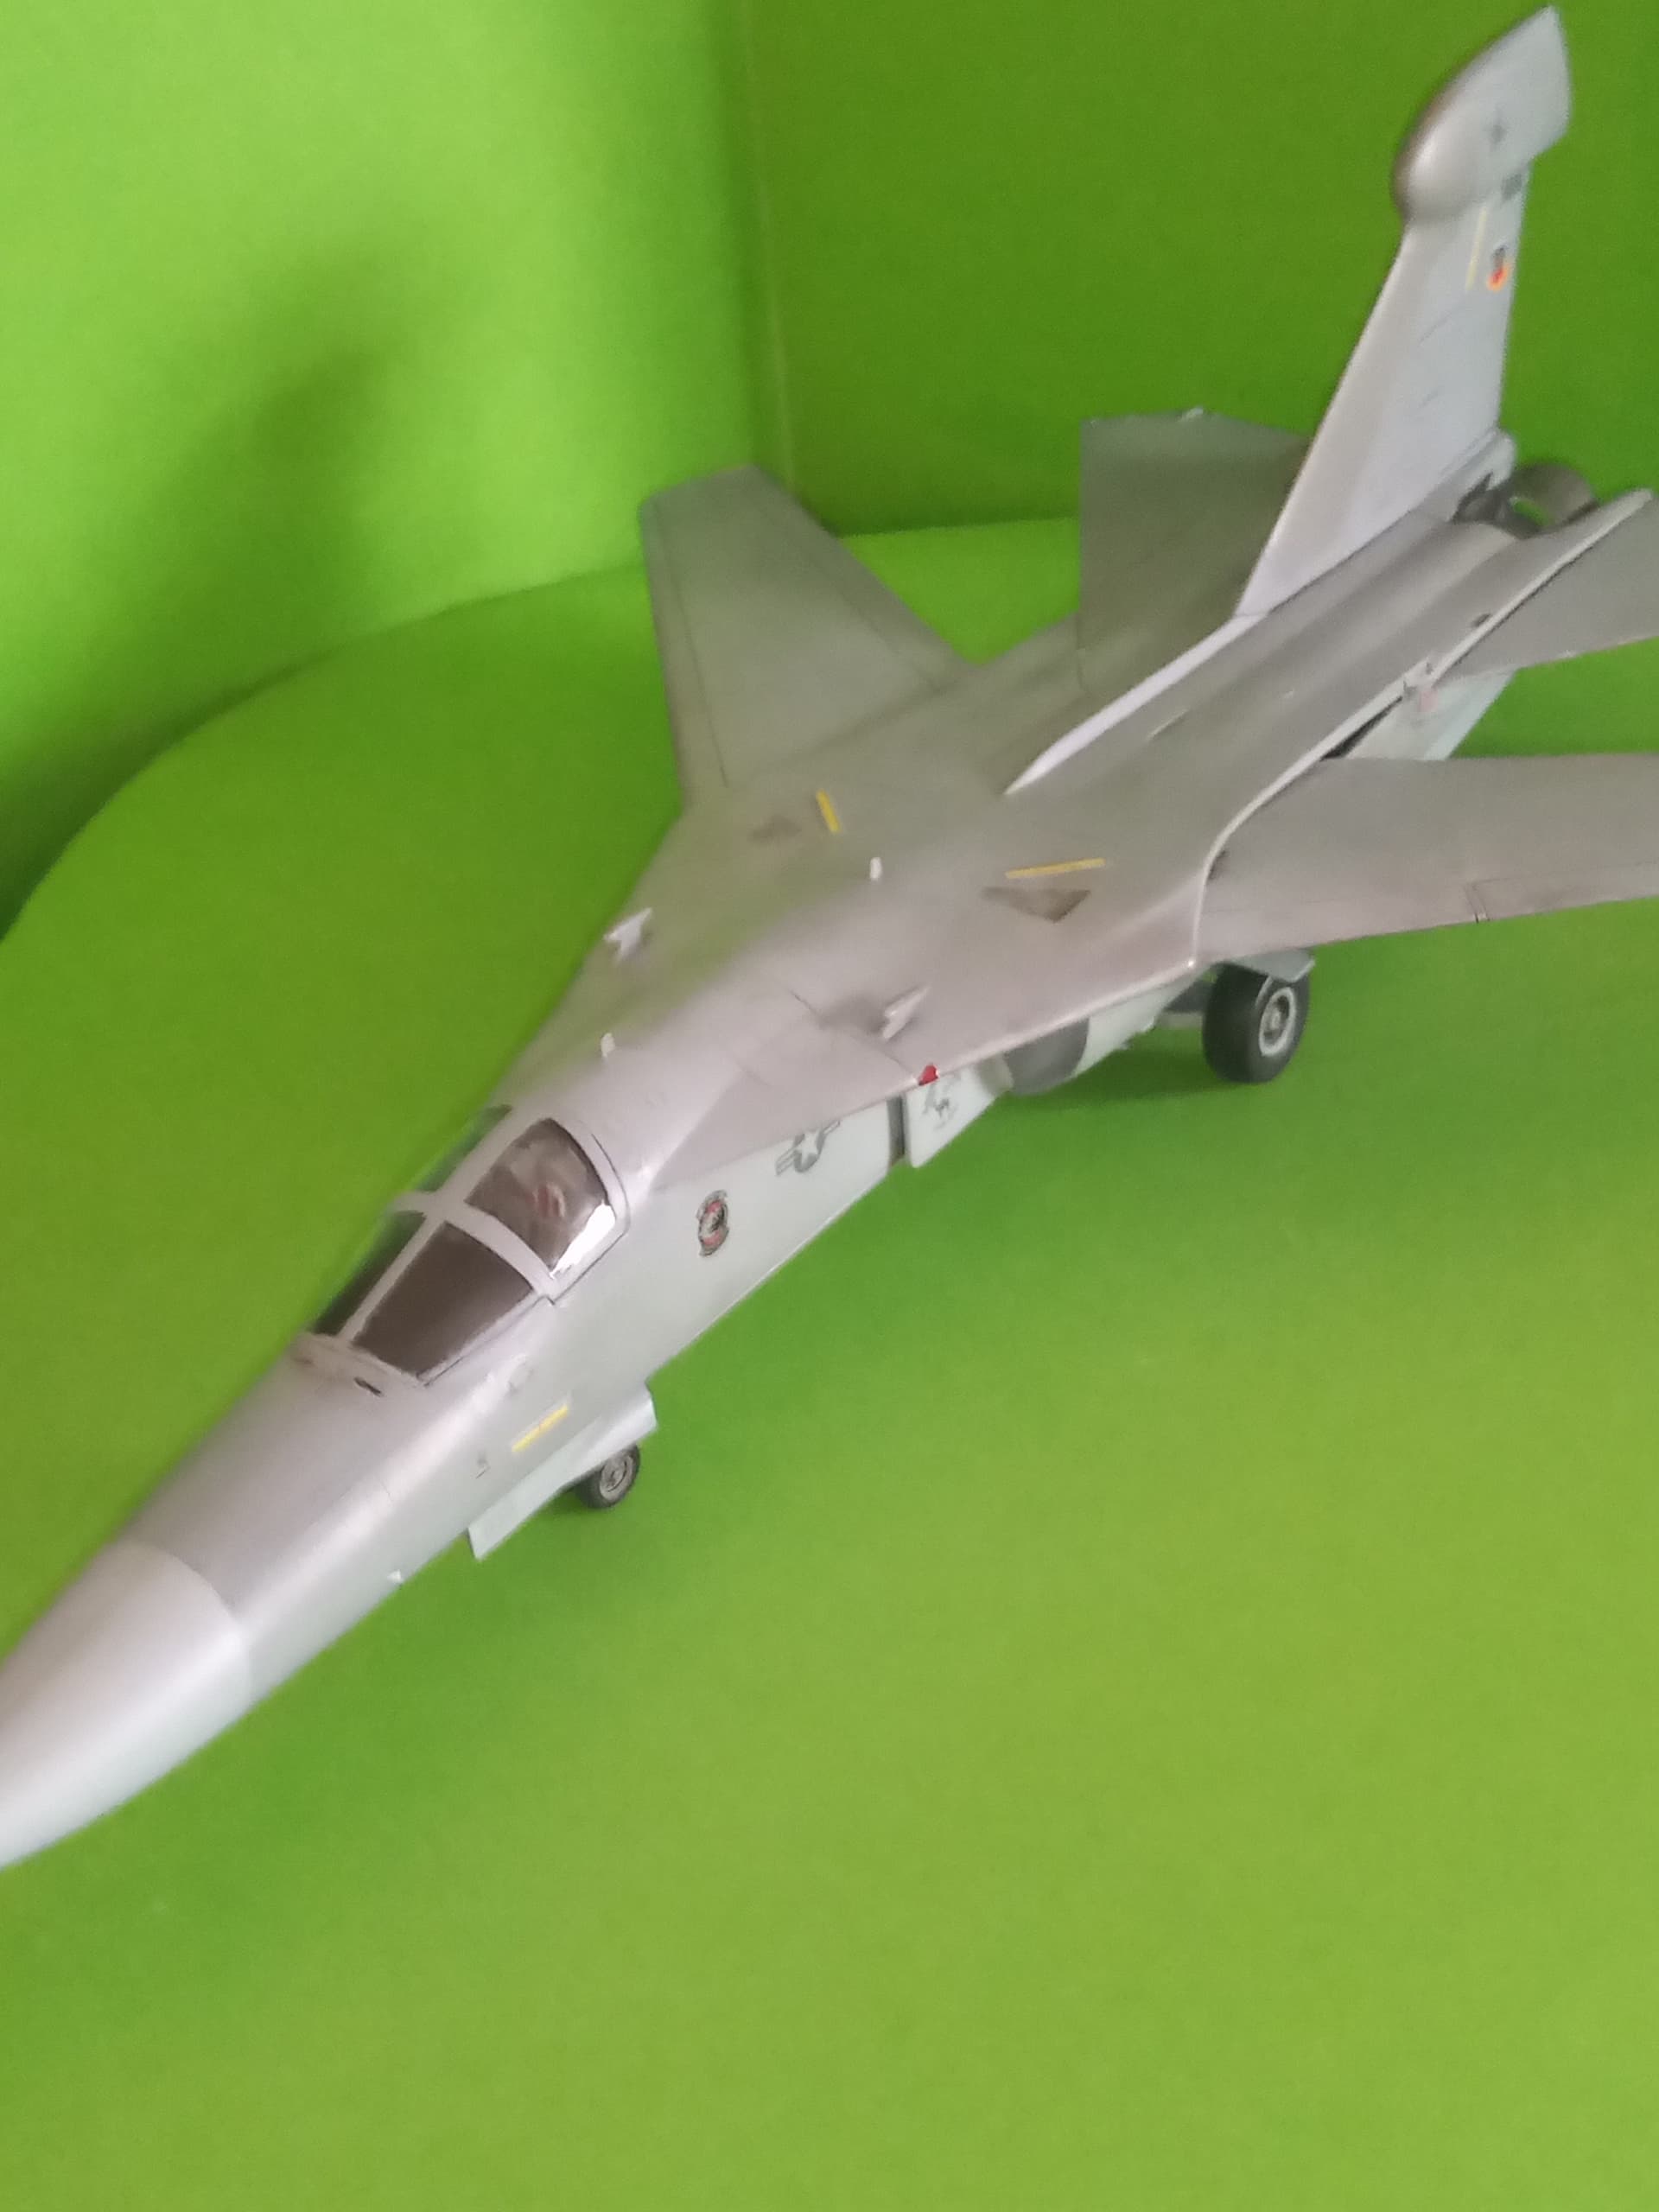
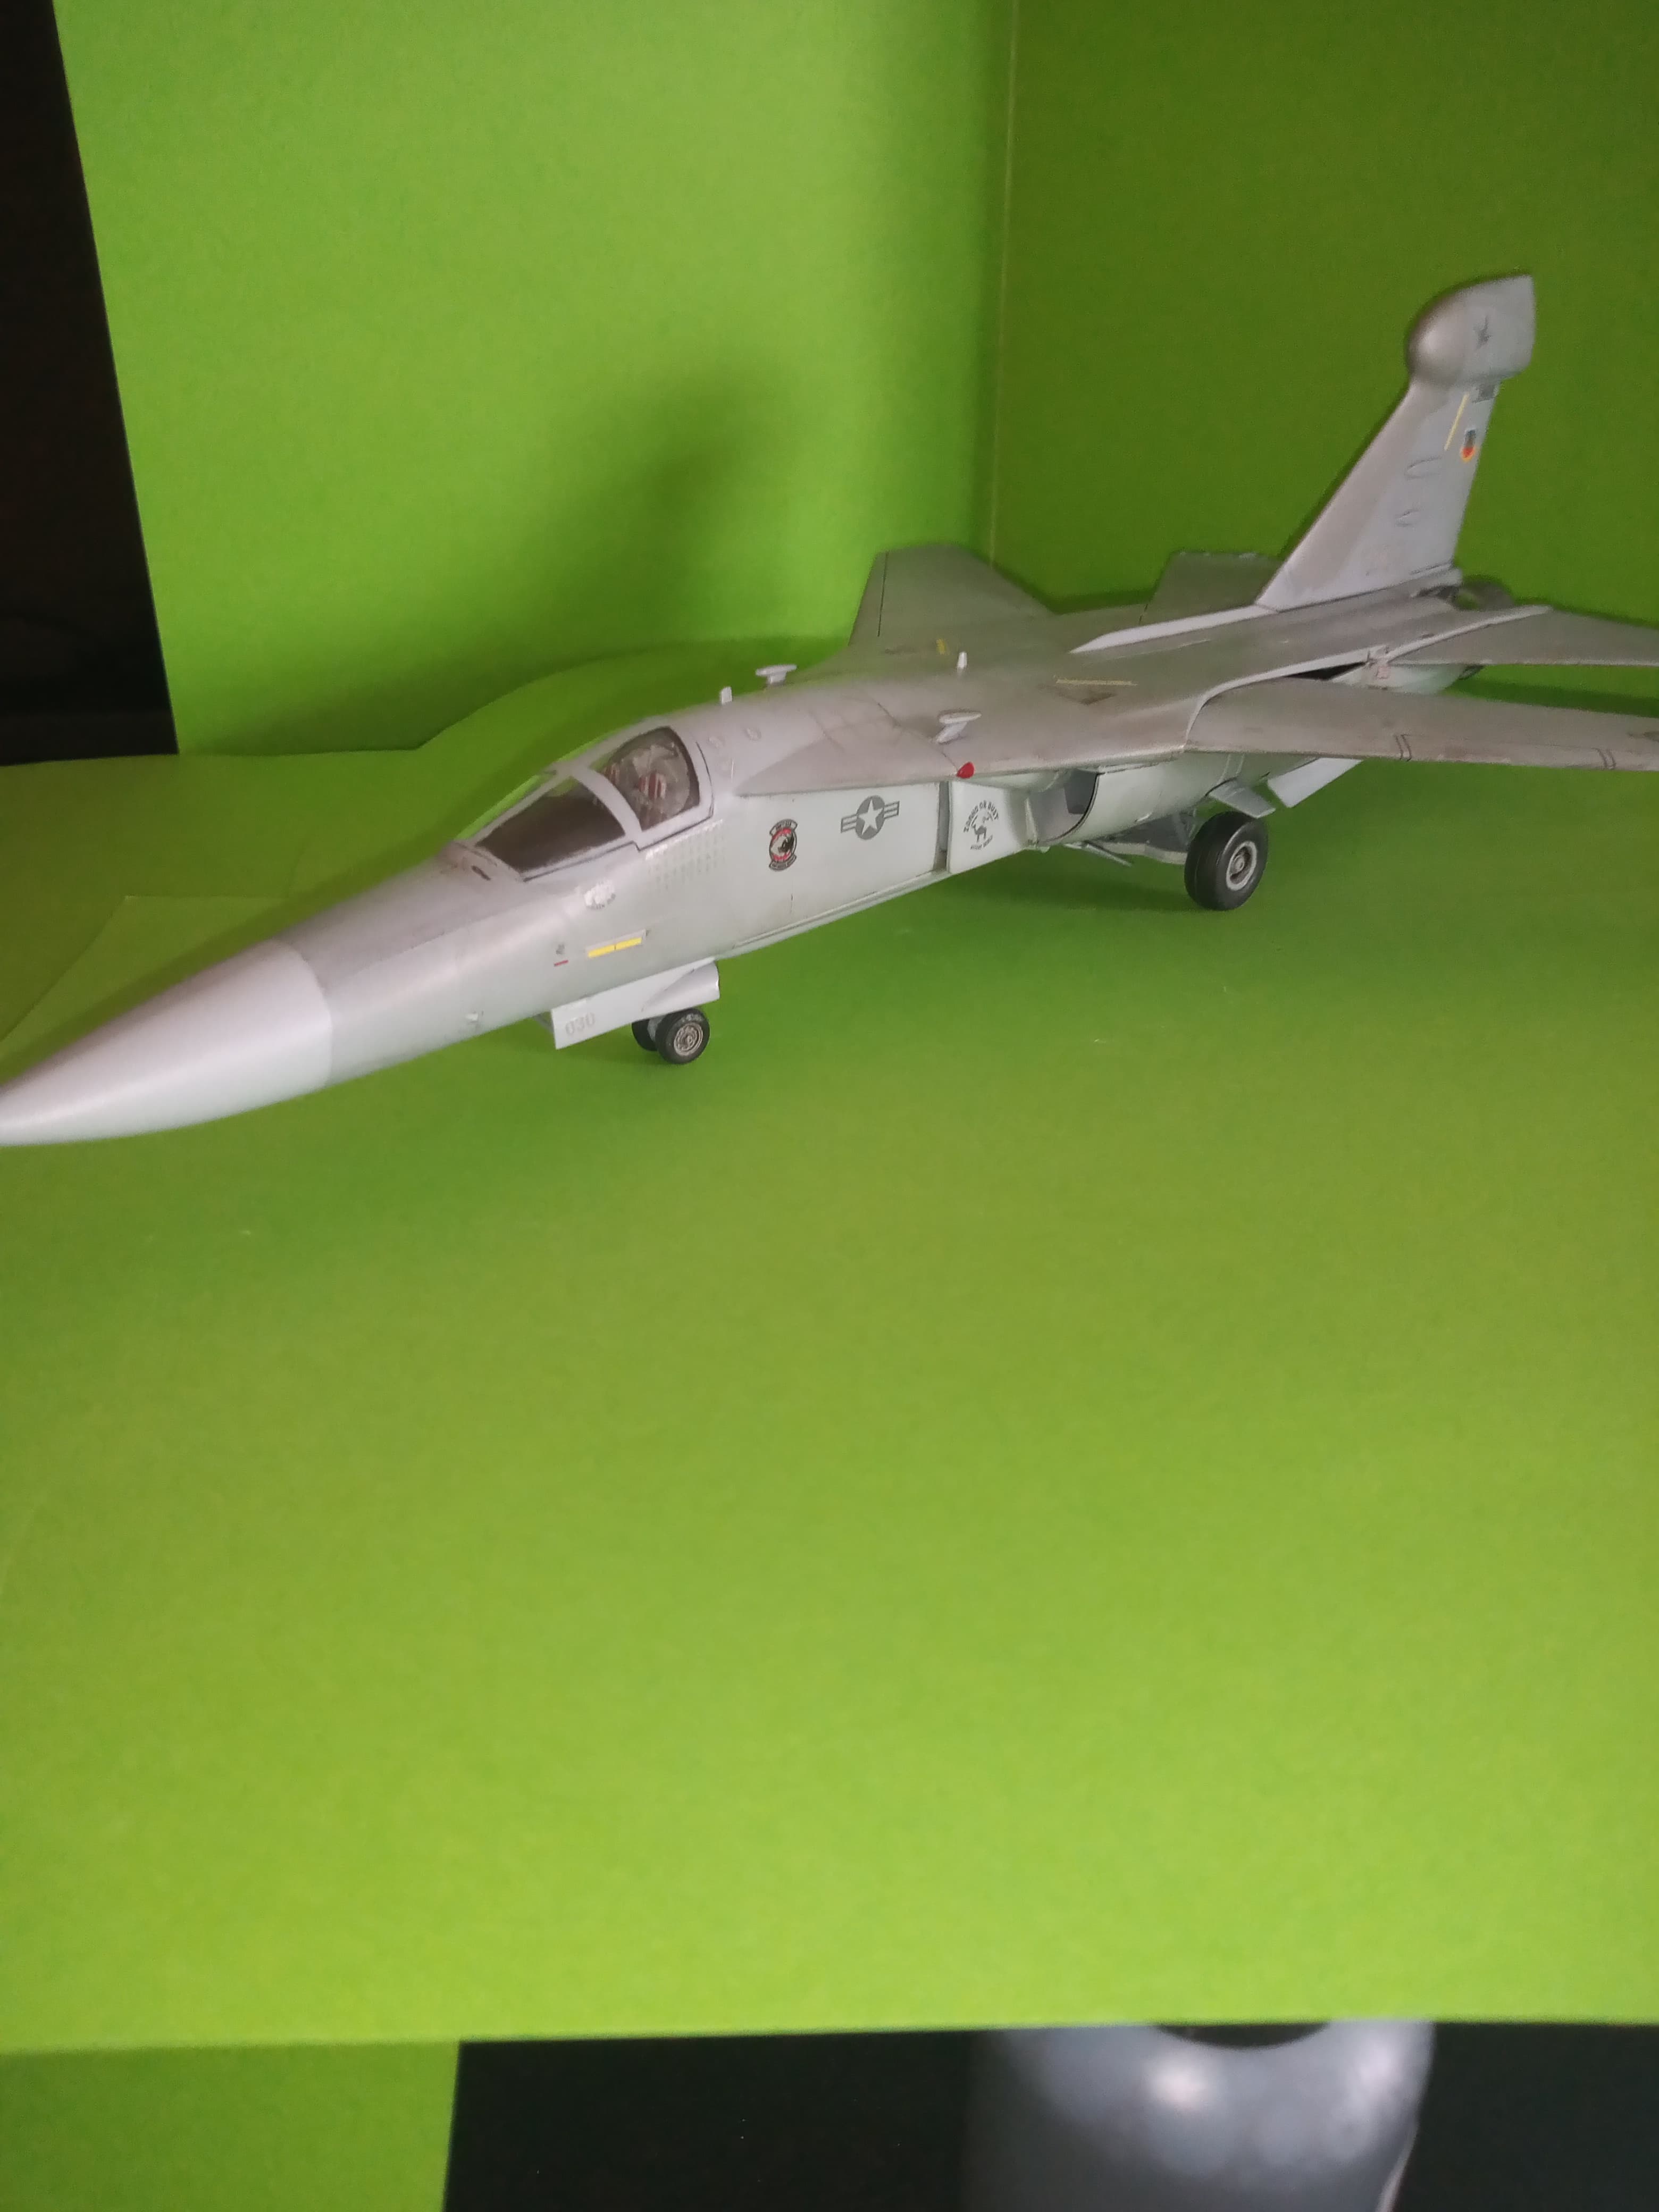
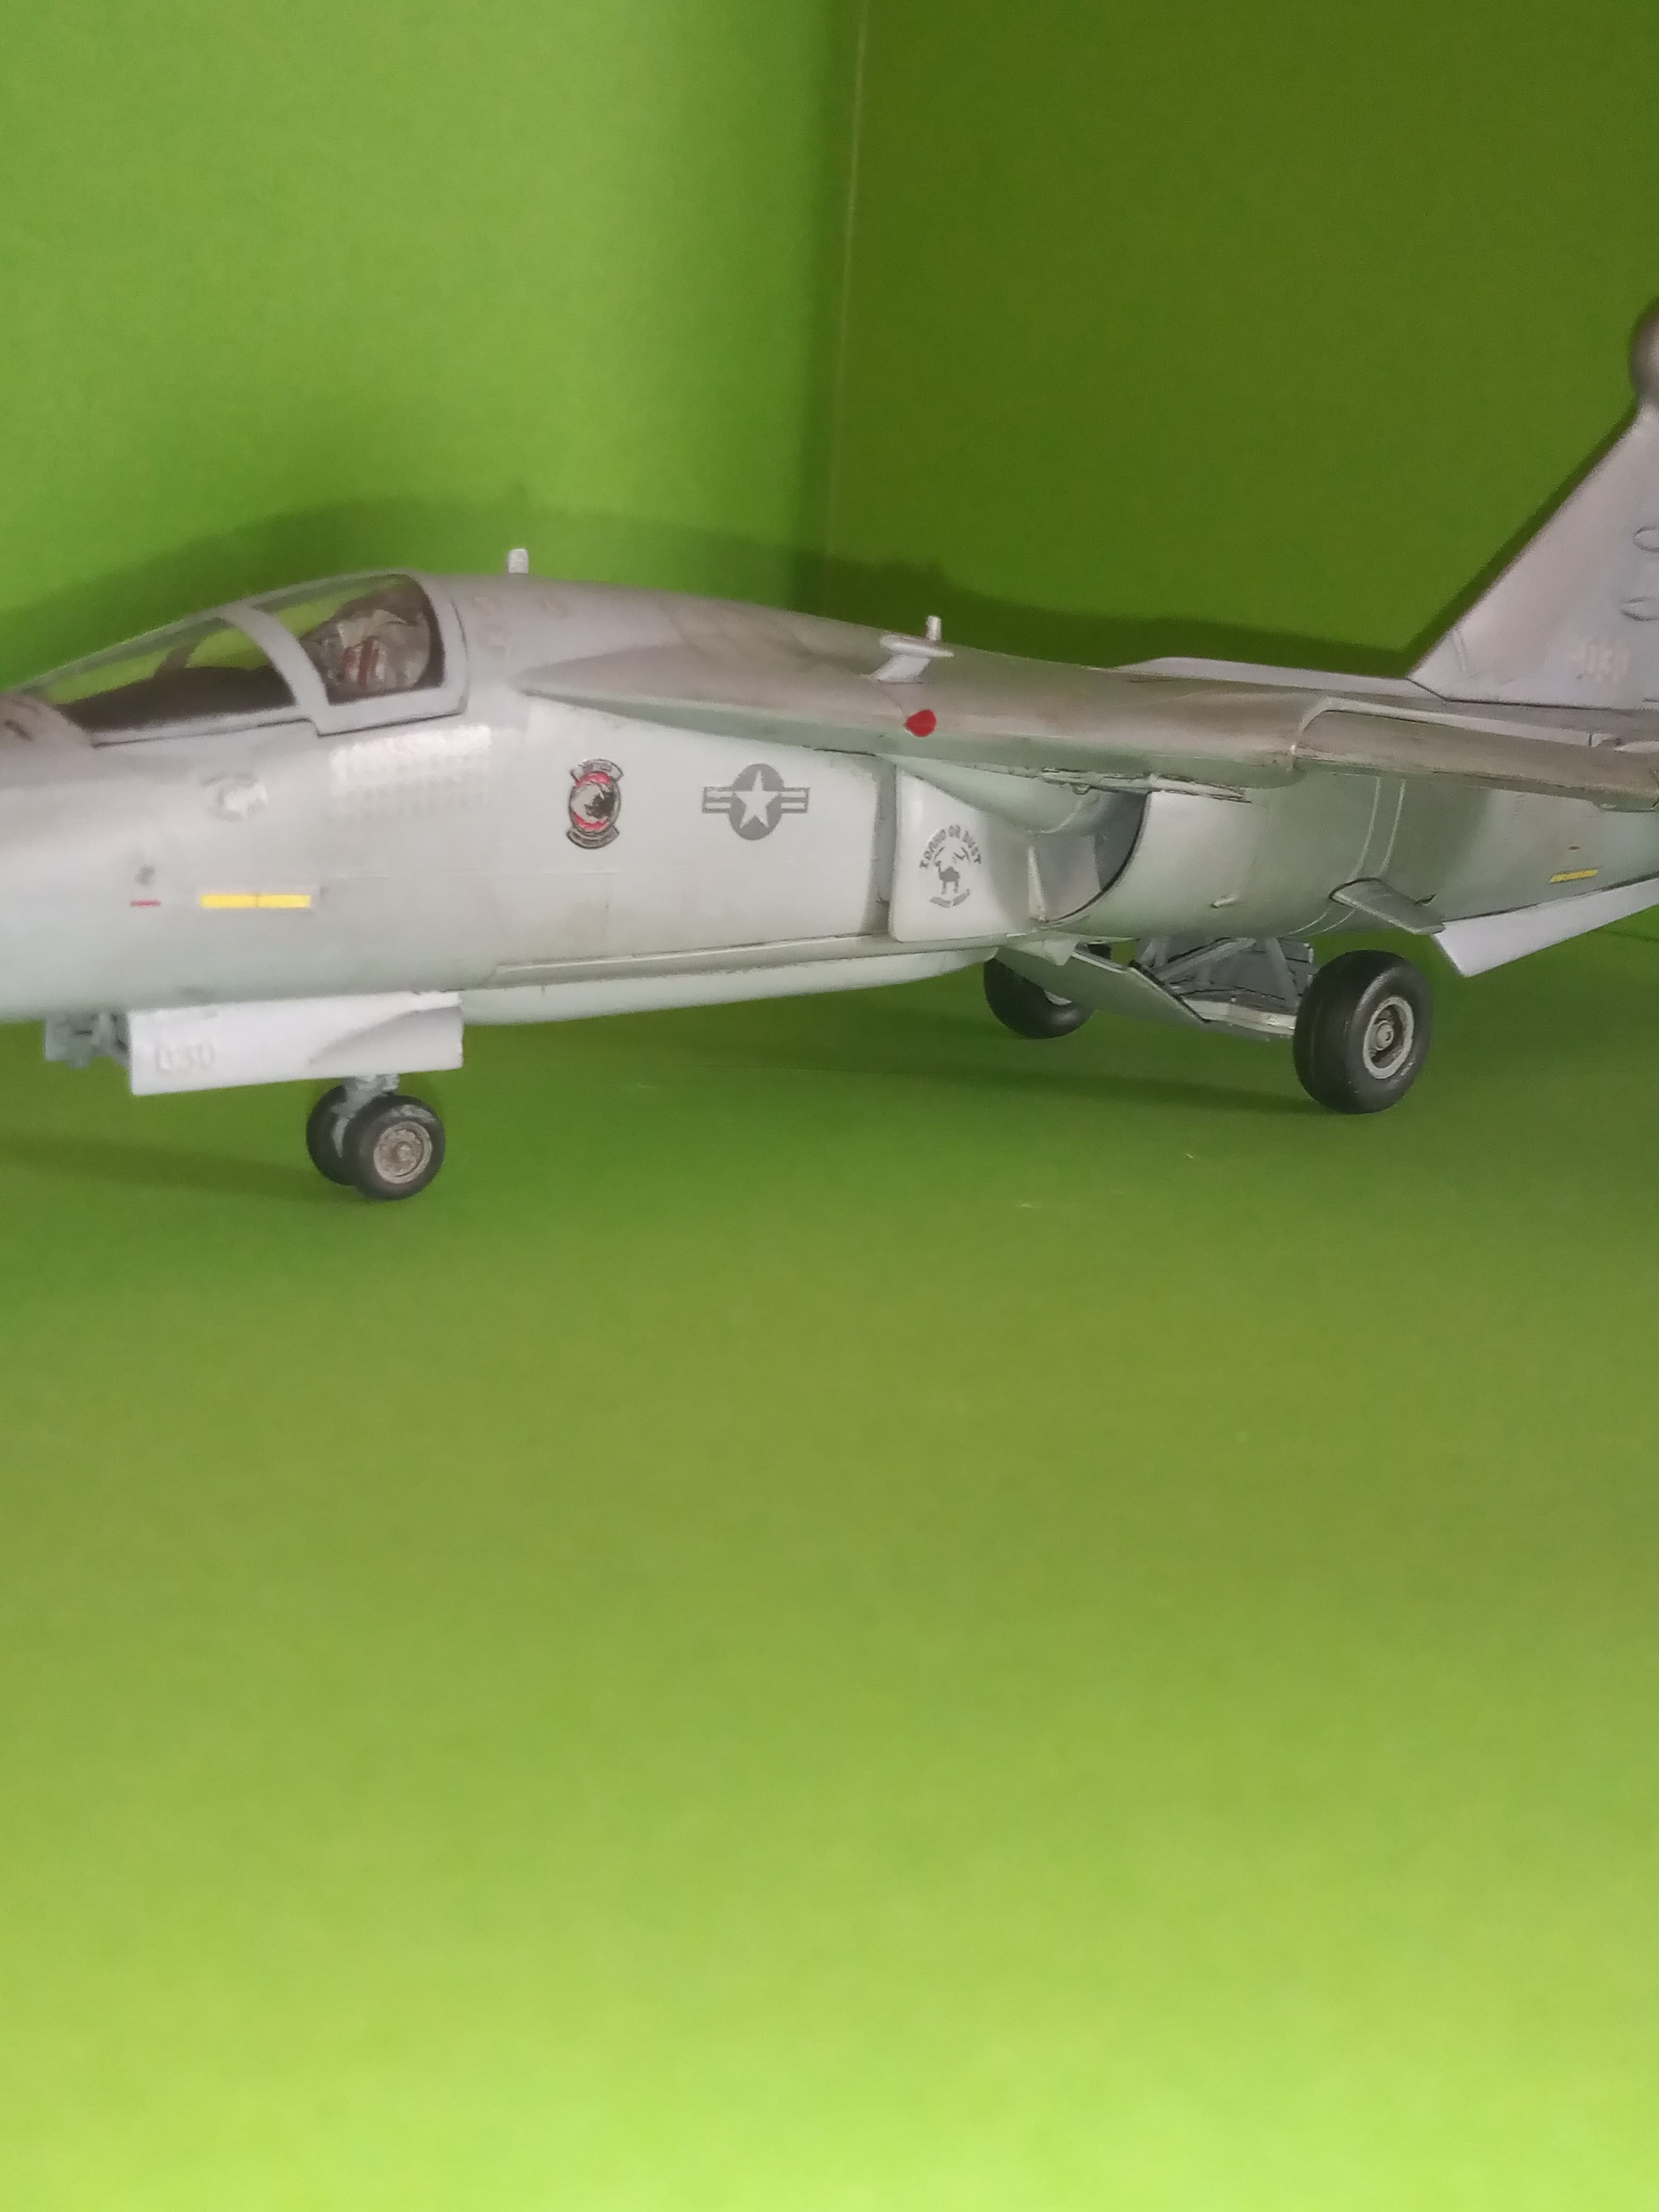
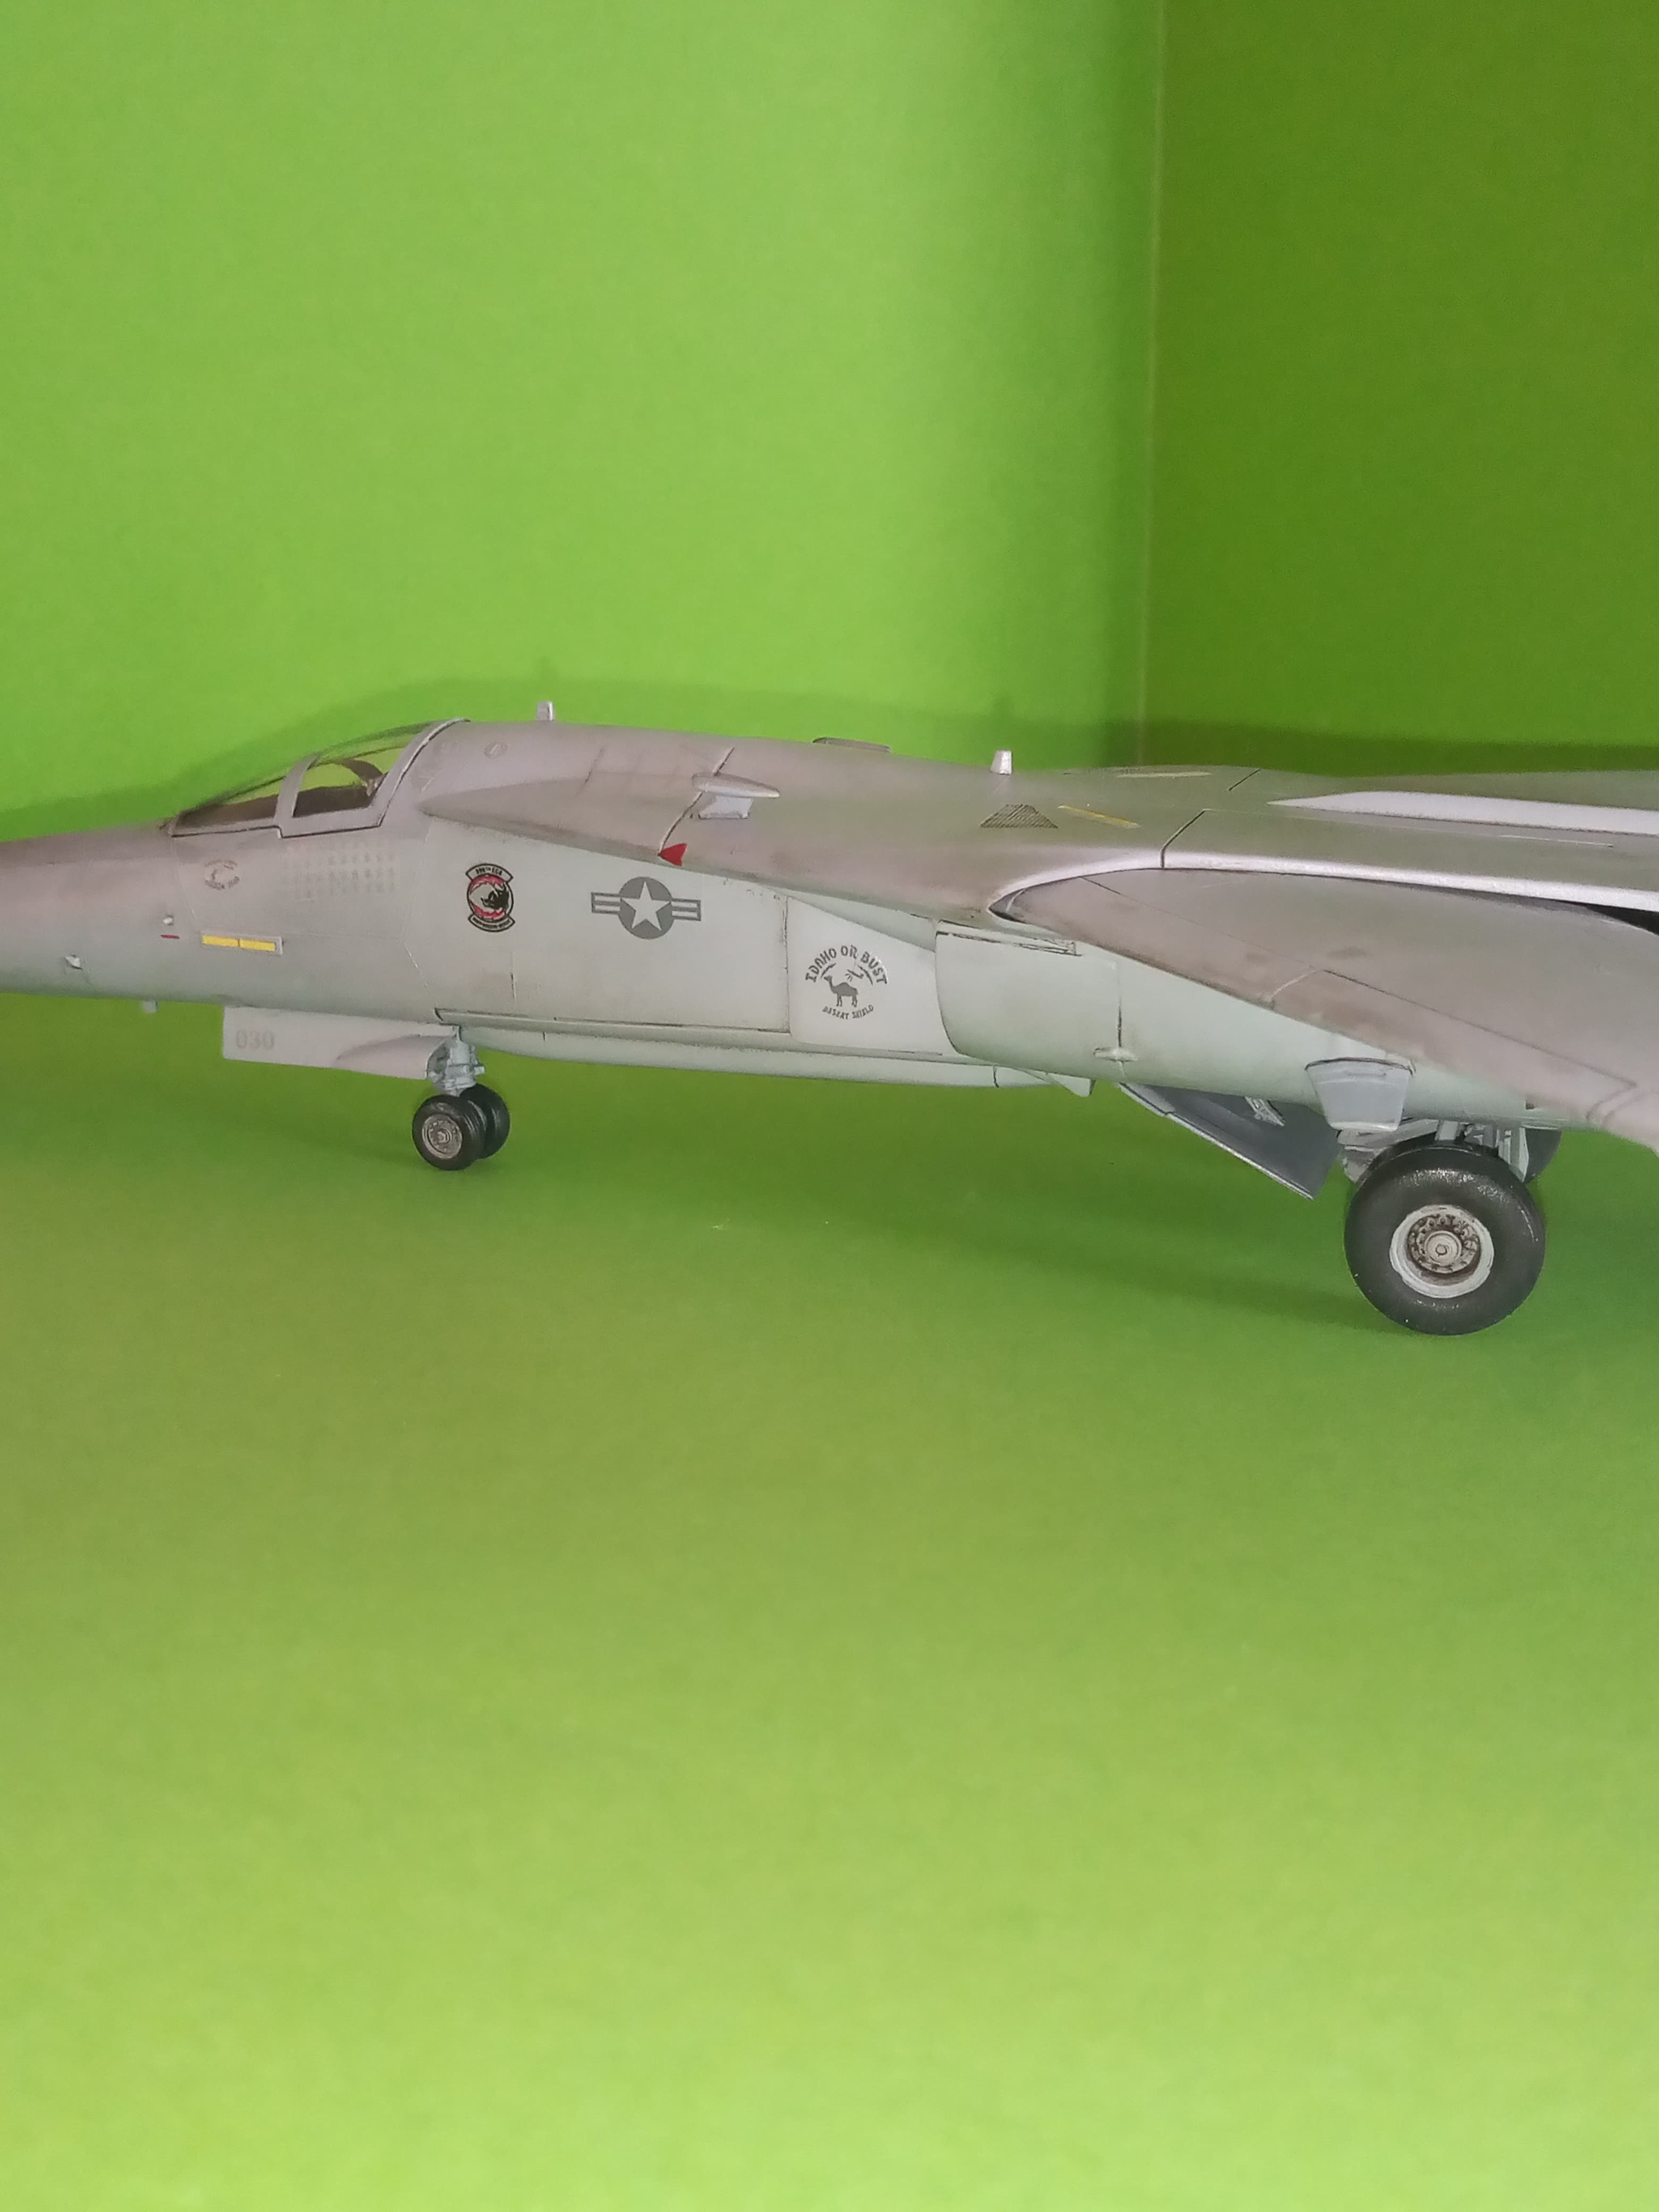
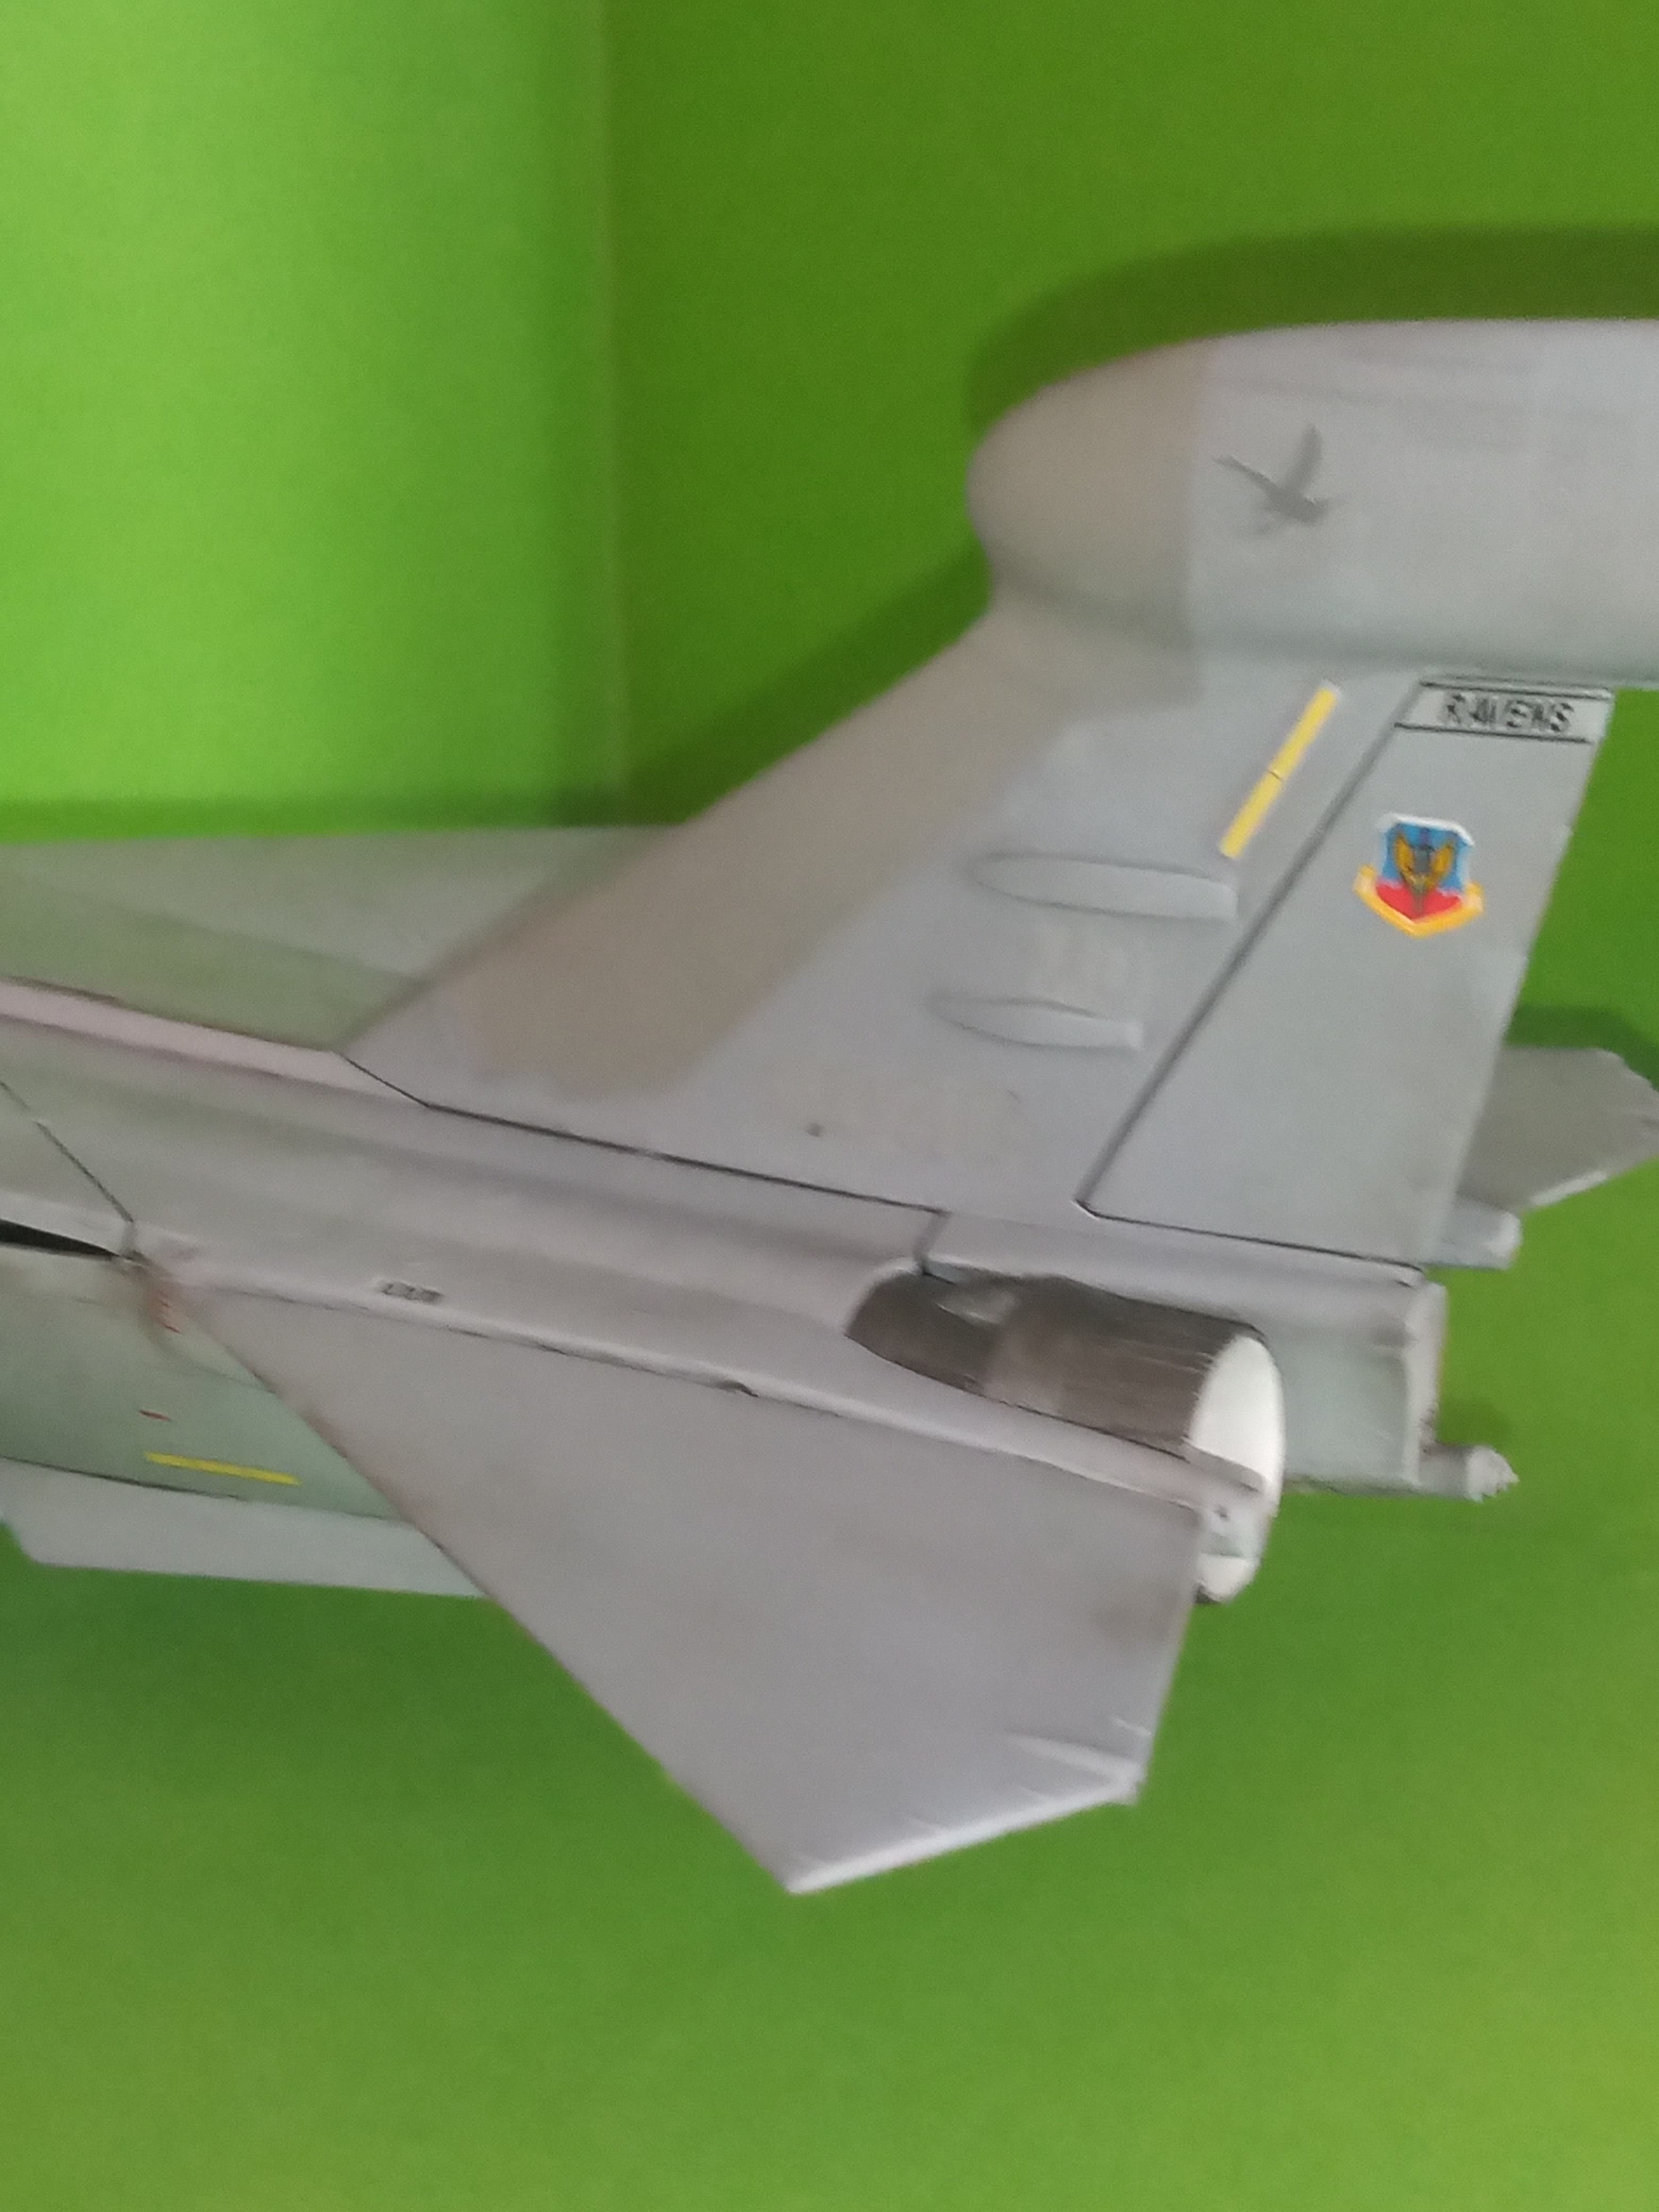
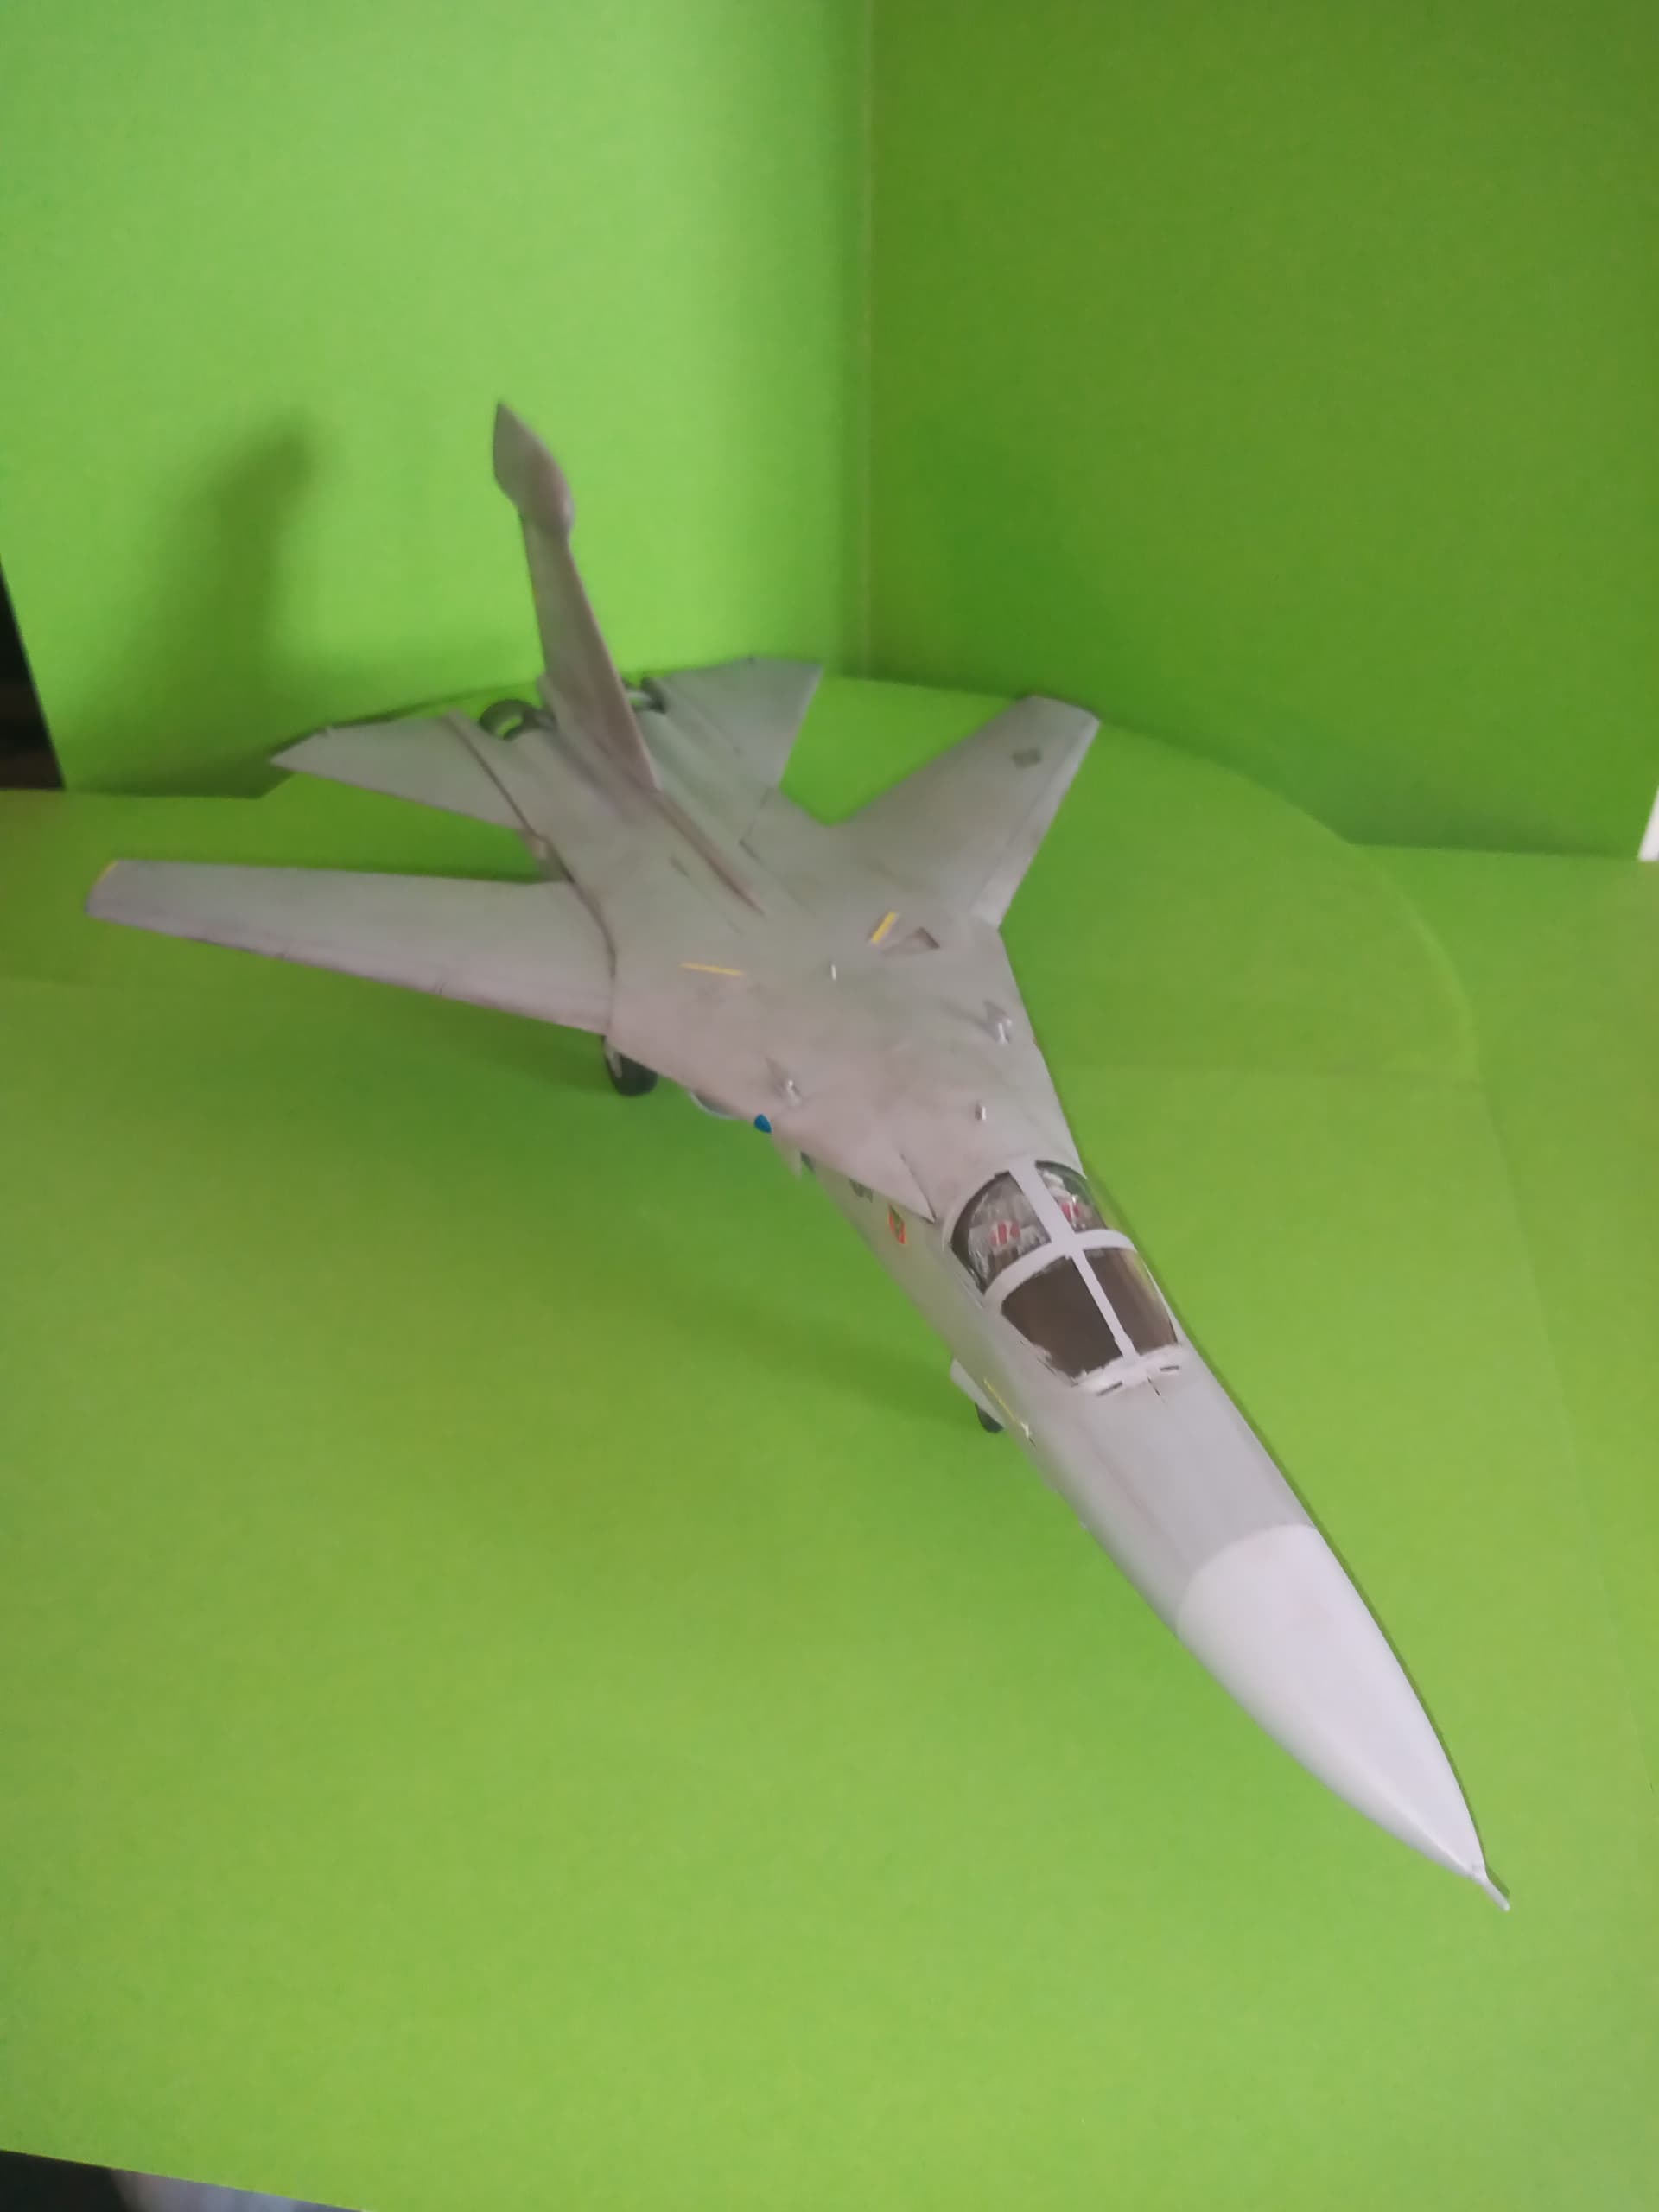
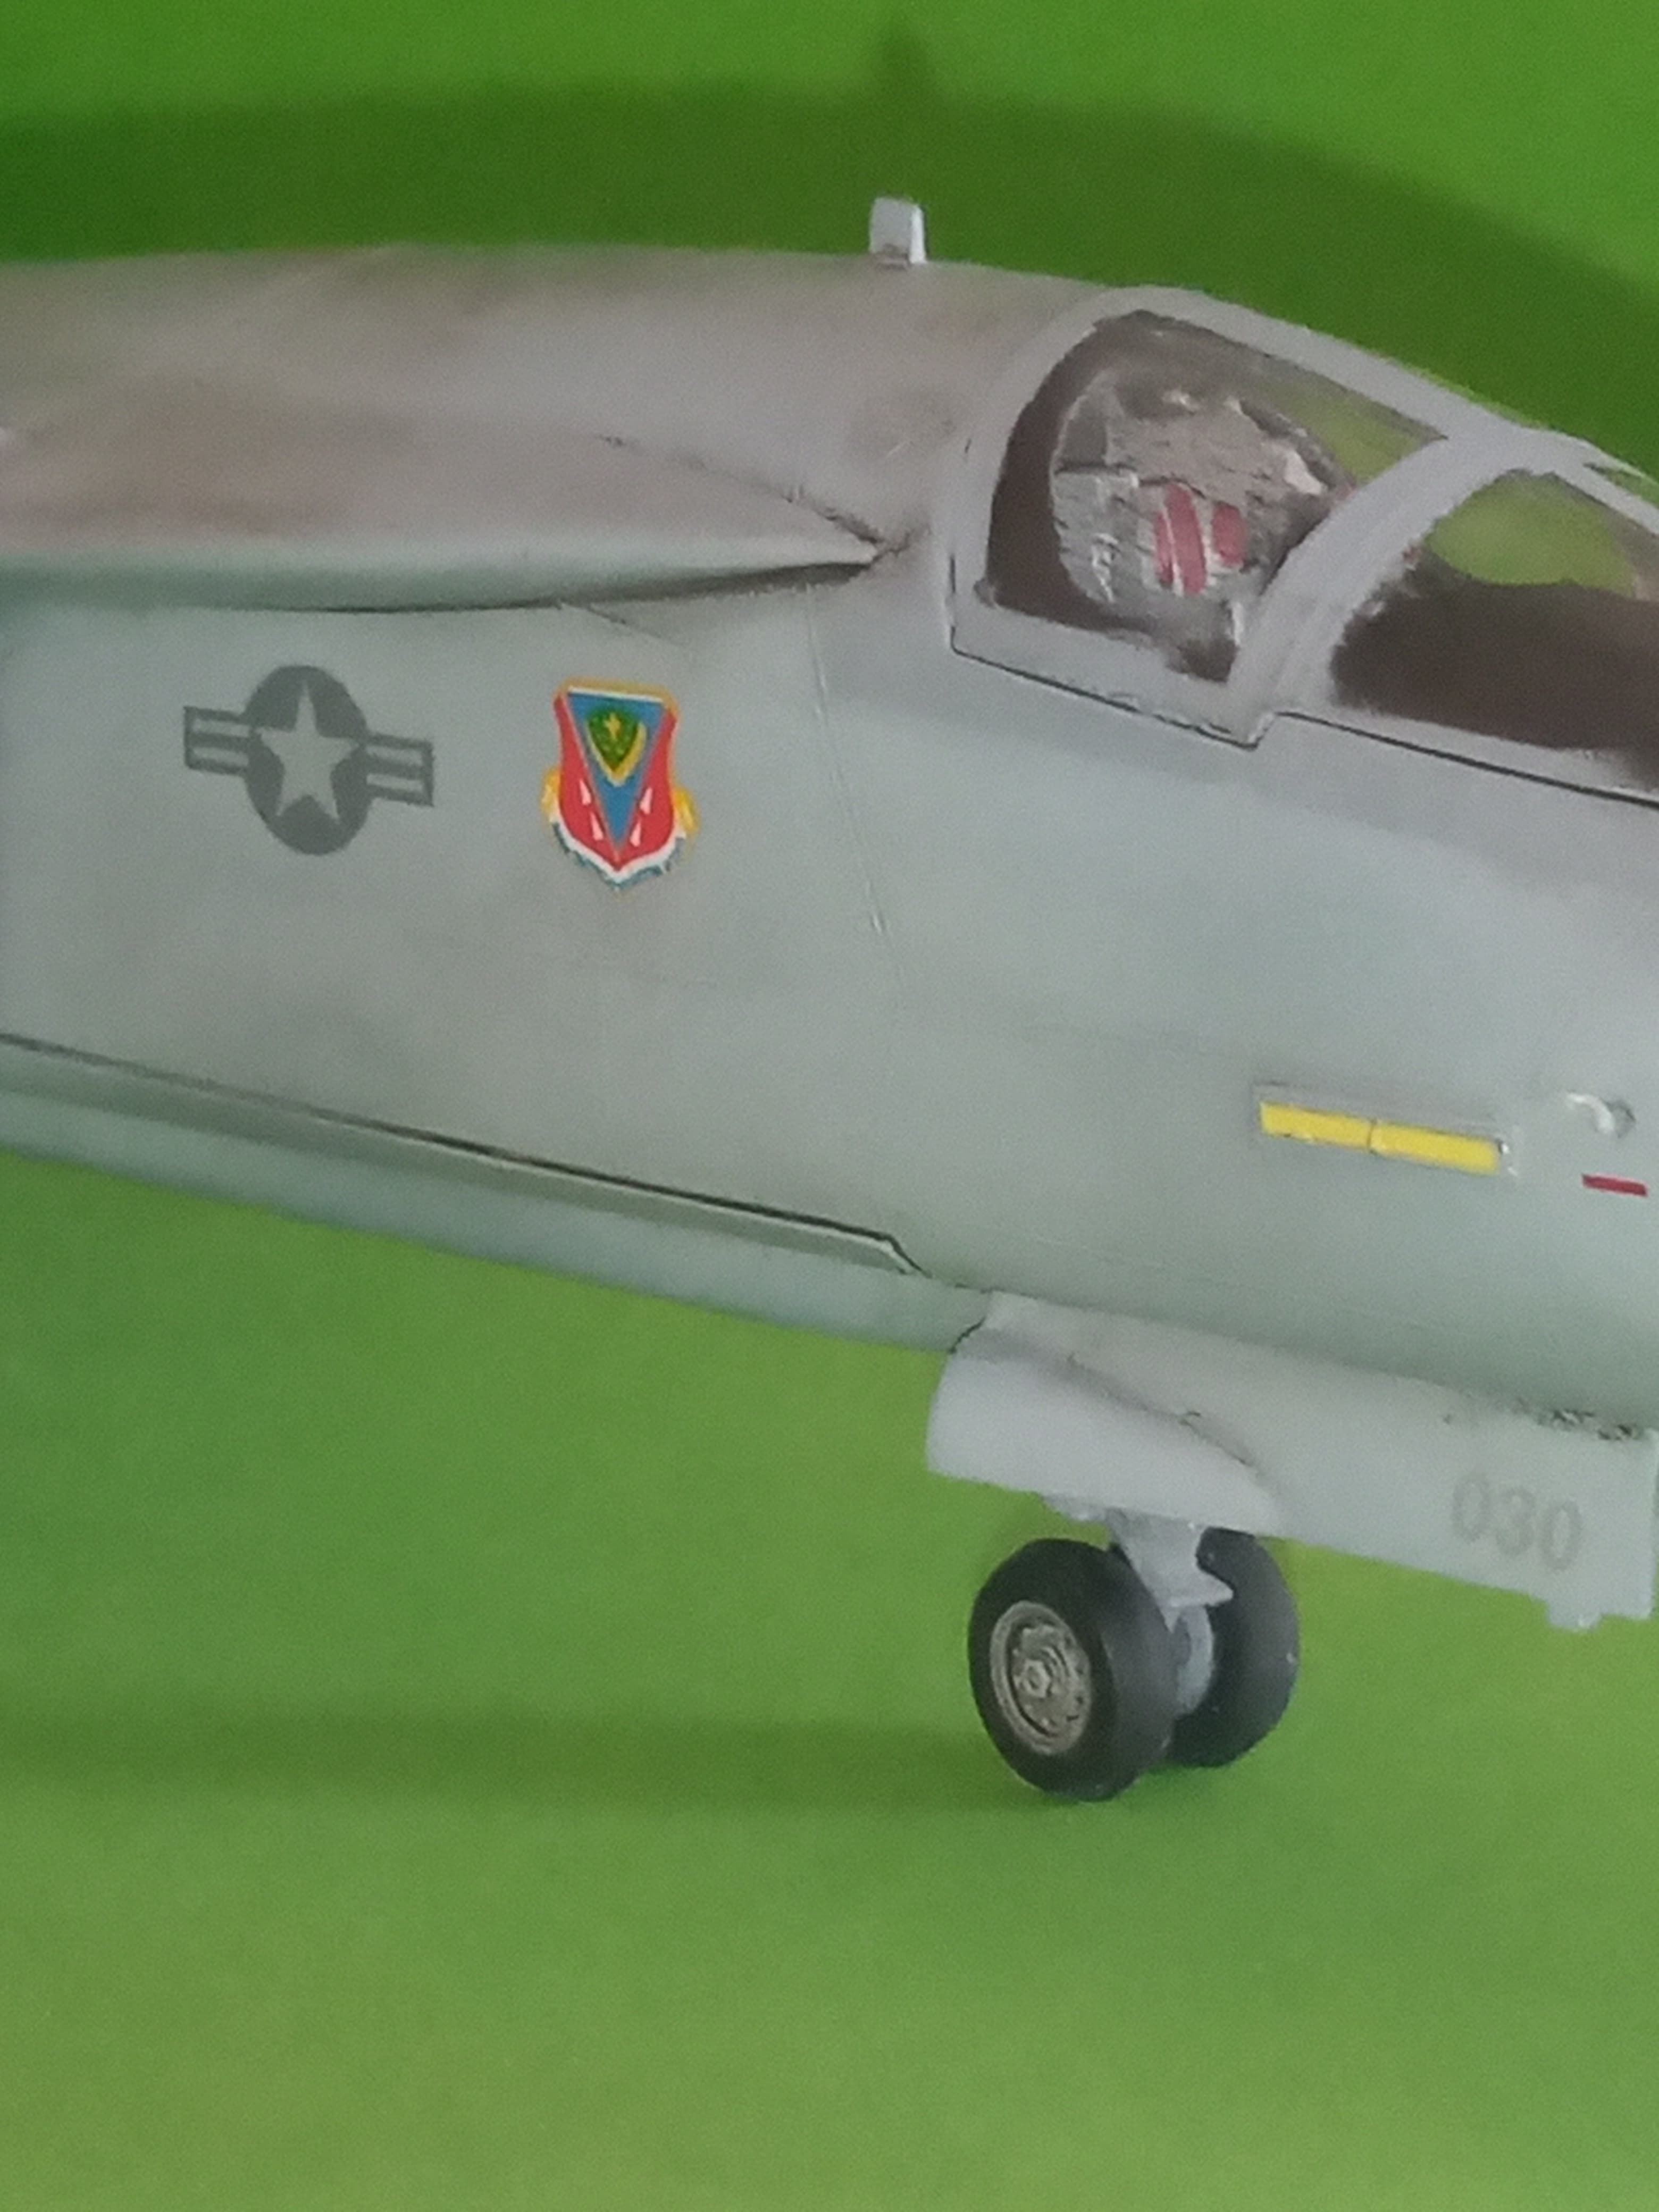

Not overly happy with how it turned out but I was beginning to lose the love for it …I think part of me realised I should of got the HobbyBoss 1/48 version… Anyway … It’s done now ![]()
9 Likes