Looks really good, and really love the sweaty back!!
Switched from “Interested” to “Going.” I’m in.
Wow, I posted that in mid-July and it’s the beginning of September…
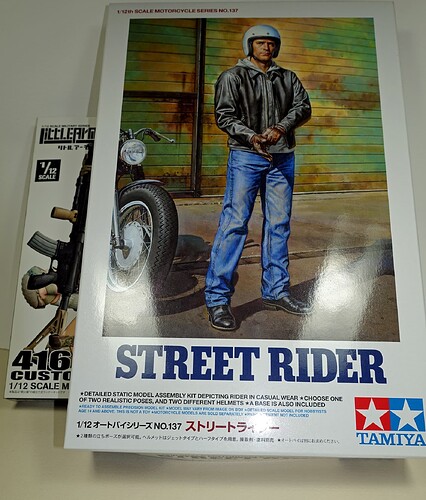
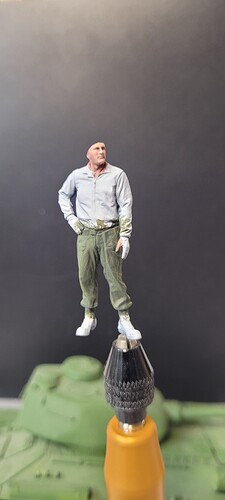
Anyway, here is what I intend to build: 1/12 “Tamiya’s (Motorcycle) Street Rider” with knit cap. I haven’t built a large scale plastic figure in decades.
I plan to combine it with 1/12 “Little Armory’s HK416 Custom” carbine to create a US Army undercover SOF bodyguard in civilian clothes.
I do like the figure. I like where you’re going with it. I was thinking about what bike or sports car to go with mine and couldn’t settle on one.
Time to catch up on your excellent builds. Lots of variety…loads of inspiration.
RadekZ, Thanks for the compliment. I appreciate it. Your excellent painting skills have brought the LOTR figures to “Life”.
Karl187, Thanks you for the super comment.
bwilt, Nice progress on your figures. Very interesting.
phantom_phanatic, Very cool and unusual figures. I’m impressed with the quality of the sculpts.
RonW, Nice paintwork on your figures. Looking good on the vehicles.
Trisaw, Great idea for the figure conversion.
Keep up the amazing work, fellow modelers.
Bill
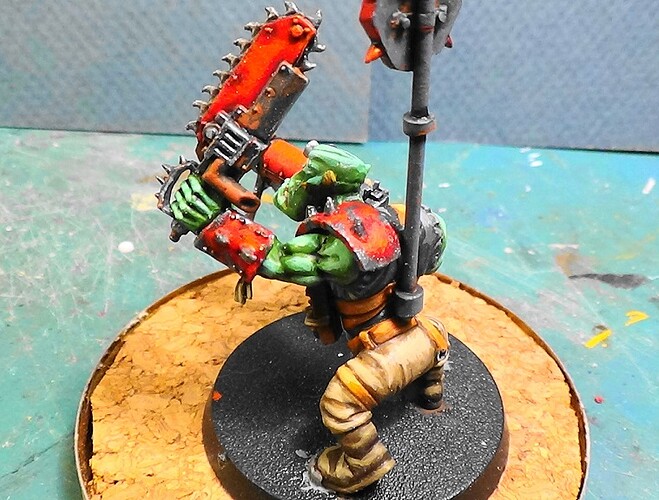
Update time for my Space Ork.
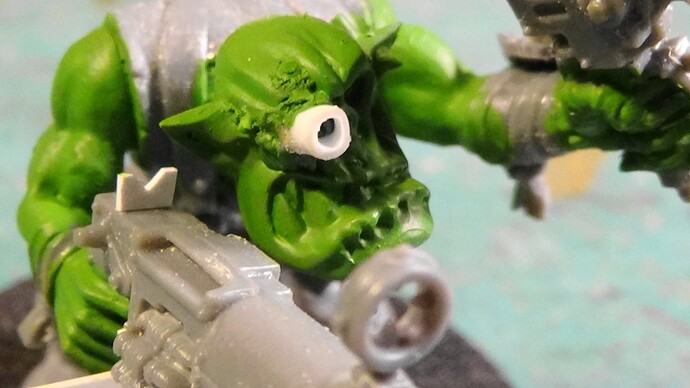
I added a cybernetic eye piece. Also, I forgot to mention, I added a neck extension. Not crazy over the head on the shoulders stock appearance.
Basecoat applied. Red is a favorite color for the Evil Sunz Ork clan.
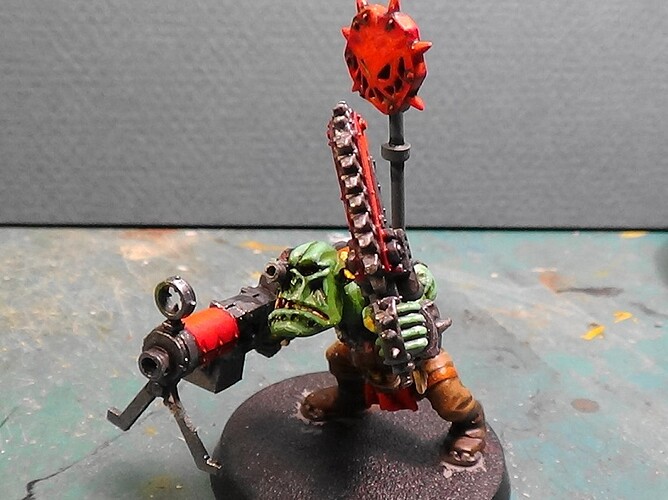
Painting the highlights, shading, and metallic colors.
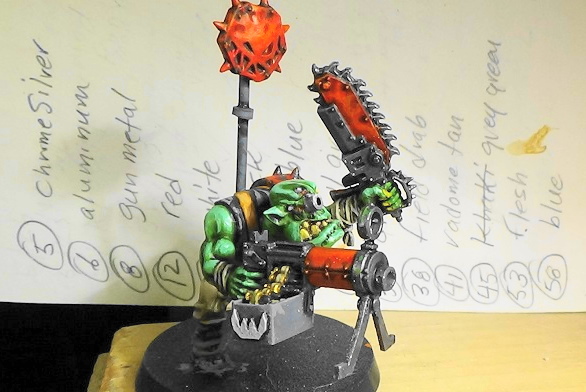
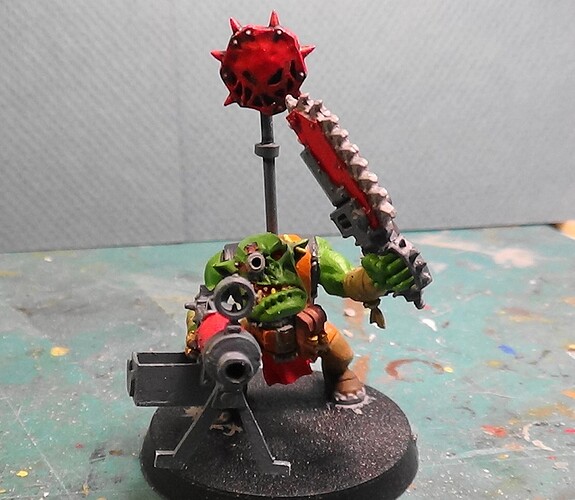
Painting is complete. I’m adding the final details. Bullets added to the ammo box.
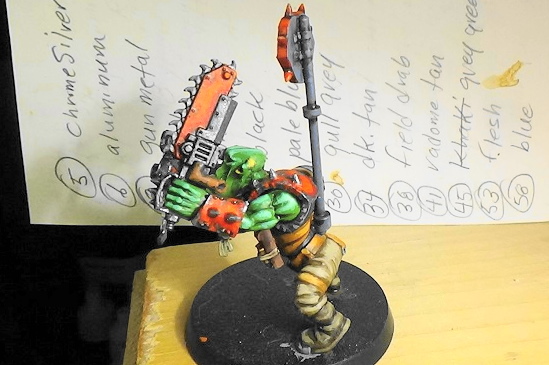
Forearm and shoulder armor plates added to the figure.
I’m going with a larger base for the finished figure(cork & a metal tin lid).
That’s as far as I’ve gone. Thanks for viewing. Comments are welcomed. Keep having fun!!!
Bill
Great looking angry ork you’ve got there- the deep red-orange parts really contrast nicely with the green skin.
It begins.
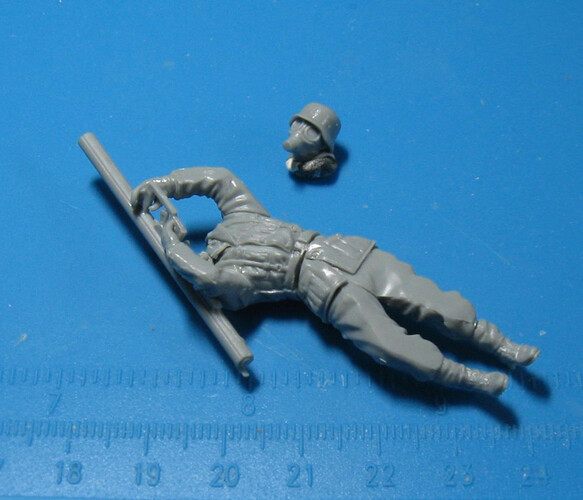
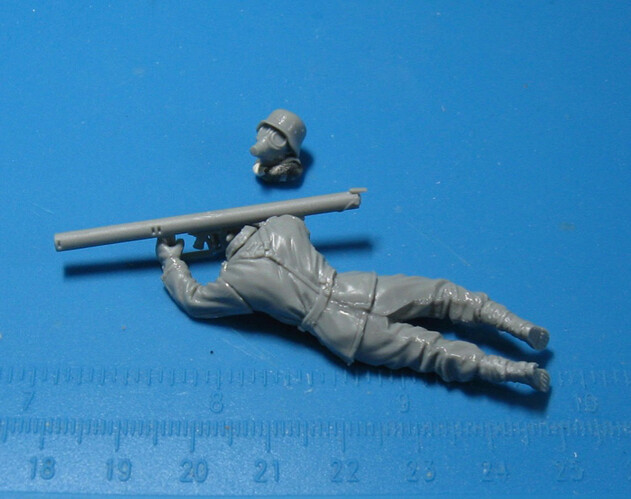
I assembled the figure today and it is now at its start point. If you recall, I plan to modify it with a winter coat as in these figures:
But this is the start point. I’ll add the bits to the schrek after I’m done modifying the coat. I’m leaving the head off for now as I think it will be easier to work with without the head attached.
Front which will mostly be covered up, but I will try to make it look correct nonetheless:
and the back:
I am also working on some 1/48 pilots for my WW1 planes at the same time, so have a few reasons to have the sculpting putty out.
It has been a looooong time since I last posted, I apologize. My last update was back in July. I set down the figure I was working on, and I have completely lost my mojo for it. I’ve picked it up a couple of times, and each time just set it back down and said to myself, “Nope, not feeling it.” @Tank_1812 , Is it okay if I post something else (still a figure, of course) that I have been working on? TIA, Colin
I’m sorry to hear that- I’ve been struggling with my mojo as well with my Warhammer entry. I was sighing just looking at the two figs and actively busied myself with another model to avoid doing it. Not the first time this has happened to me with a fig. Most of the time I push through and get it done even rushing it and not really caring how good it is. Other times it’s put back in the box or the bin. Just don’t be harsh on yourself over it- move on and just chalk it up to experience!
I get it and understand, there is no requirement to keep the selection til the end. You can change. Look forward to the new choice.
Hi Everyone,
It seems odd to me that lately I’ve got a bug to try my hand at a diorama. Could be the desire to build the plane my dad gave me at age 7, and thought it’d be nice to repay him with a neat little vignette that thanks him for giving me a lifelong hobby that for the most part keeps me out of trouble! Either way it’s a good idea given that he’s not getting any younger. So, it’s only natural that I give this campaign a whirl and do some figures that I’ve been planning on doing!
Since my first model was a SNJ, there needs to be a couple of USN characters, and I’ve developed a liking of trainers, so a couple of USAAF guys would be needed as well. Also, I have a thing for Japanese WWII aircraft, so a pilot or two done for scale would fit the bill as well. Finally, I’m doing a stand model of an YF-16 so it has to have Neil at the controls! So, let the adventure begin!
For the instructor of the SNJ I decided to use Monogram’s TBD pilot, a close approximation of Lt. Cmdr. John Waldron leader of the ill-fated Torpedo 8 at Midway.
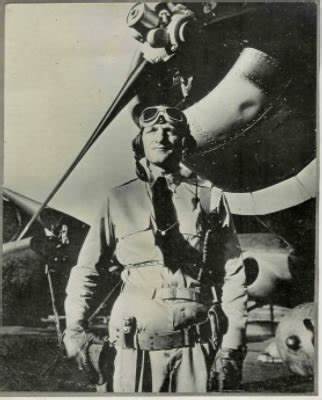
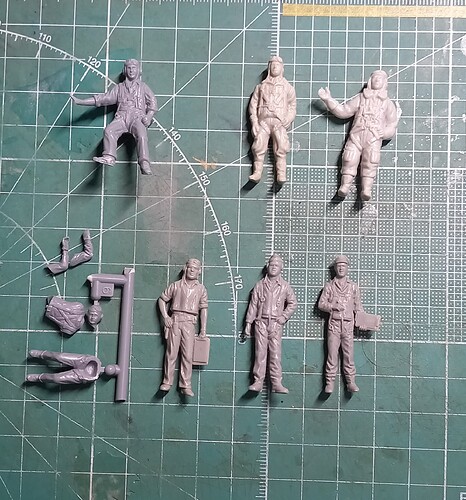
Anyway, I then proceeded to go through various figures hanging out in the spares box to get the figures I felt I would need for the various projects.
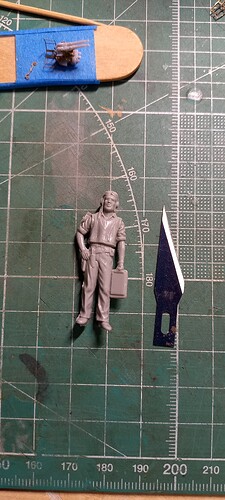
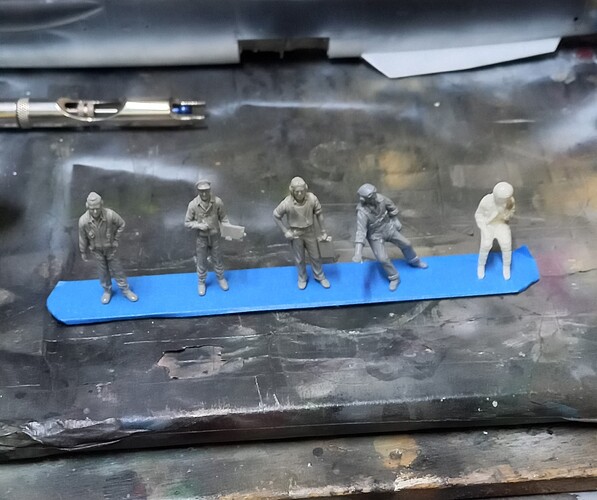
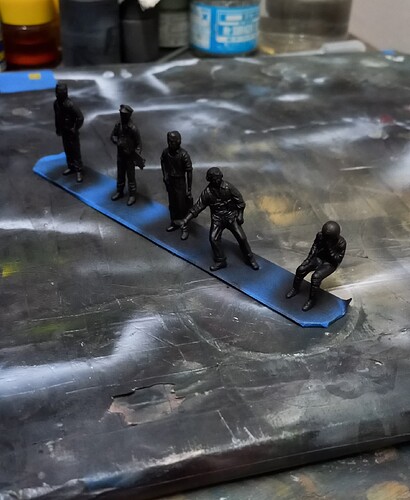
Basic clean up started with removal of any seam lines and then taking a portion of the figures and supergluing them to a tape covered tongue depressor.
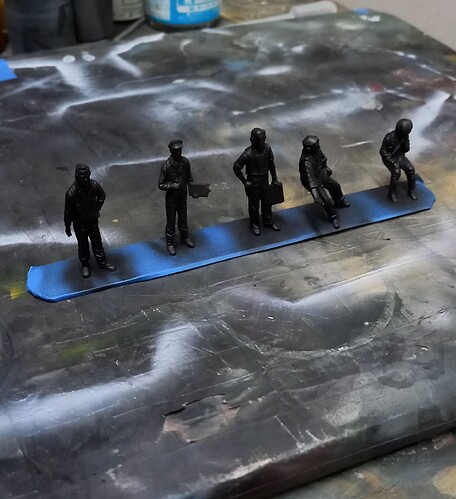
These were then given a base coat of Mr. Surfacer (MS) 1500 black, thinned with Mr. Leveler Thinner (MLT) in a 1:4 dilution.
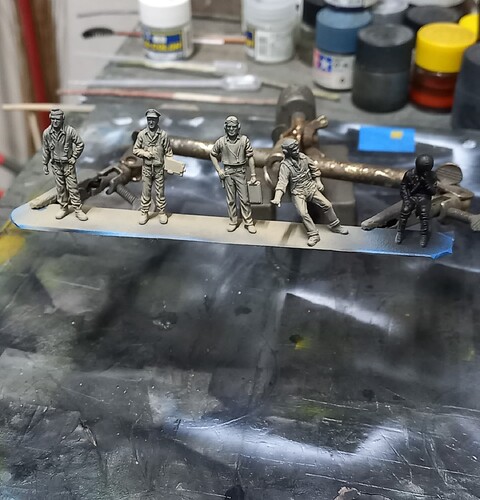
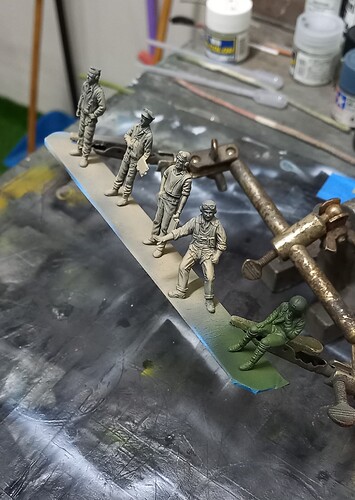
Next a base uniform color coat was laid down by lightly spraying the color in a downward direction. So basically aiming for the figures head and letting the paint hit all the high points. For the USN and USAAF figures the first color used was Tamiya Buff XF-57 diluted 1:4 w/MLT.
For Neil Anderson (YF-16 test pilot who did a gear up landing just before the Paris Air Show) got a shade of Mr. Color (MC) Field Green (FS34097) MC 340.
Now it will be time to pull out some brushes of various sizes and lay down detail base colors. This should keep me off the streets for a while!
Till next time, stay safe and have fun!
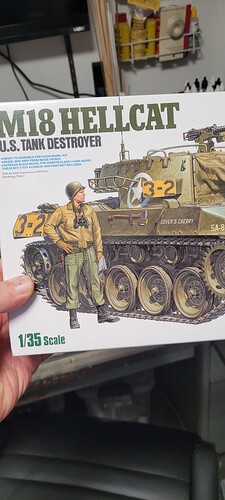
Jumping in late but since it’s a figure here goes. Im working on the figure from the Tamiya M18 Hellcat.
Thanks for the info!
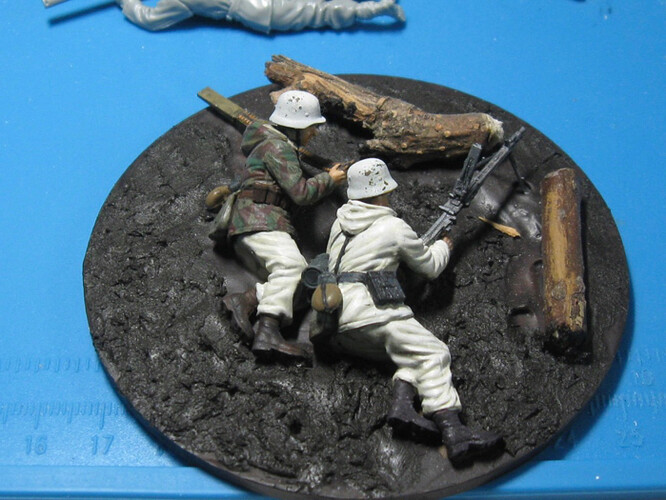
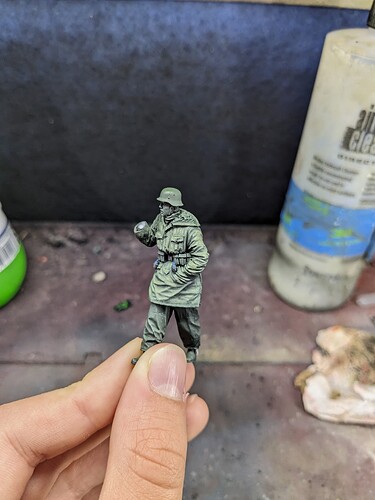
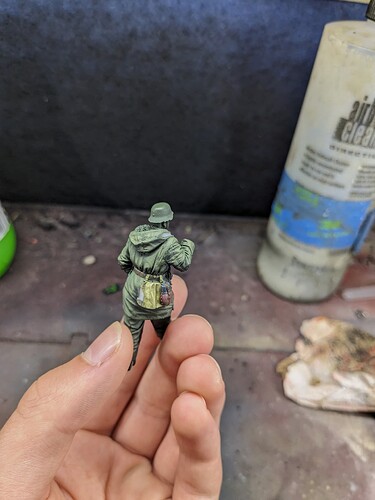
So my re-entry is another German, but in a smaller scale. He’s in winter uniform, so he’s a bit bulky.
For some reason, when I took a picture of him the bread bag looks messed up, I’m not sure why. It looks better in person, I think it’s just the phone camera.
Again, I am disappointed that I lost my mojo for my previous entry, it is a cool model and I do hope to pick it back up at some point.
Got his arms on this afternoon.
To make sure they fit right around the armour, I had to dry fit it with a bit of blu-tack to his chest.
Also test fitted the head with helmet.
He should be about ready for some paint soon.
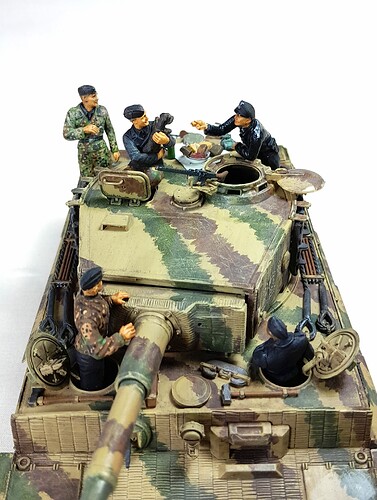
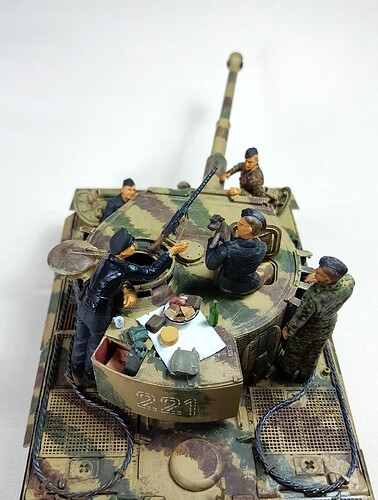
I completely forgot to mention… but my Tigercrew is done as well!!
I am not really happy with the camo-pattern though.
The blacks are slightly faded by adding pinks and greens, adding drybrushes for highlights. The peadot on the standing figure got a sand drybrush and grey wash on the jacket for fading effect and the commander got a leather jacket by adding satin varnish.
Skintone is Vallejo dark flesh with ligh flesh for highlights and a brown wash for contrast.
They look great Ron.
Thanks. The patterns were quite daunting, I must admit.
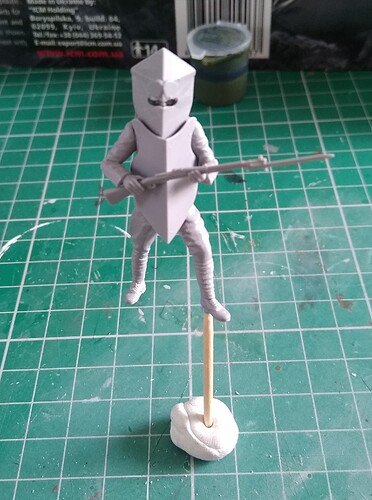
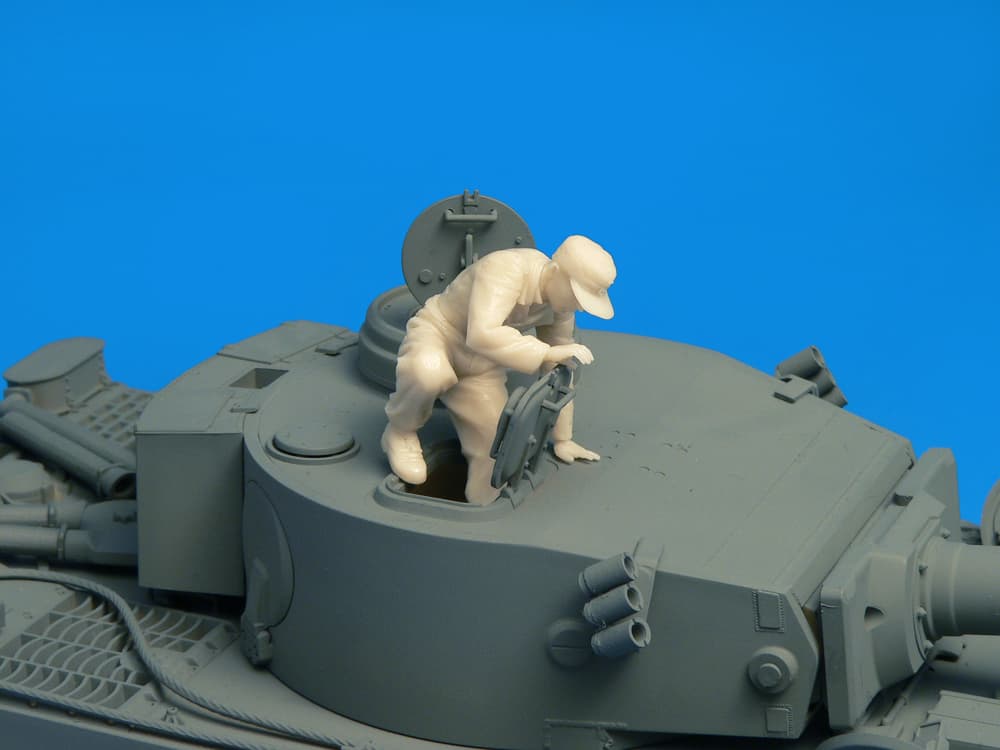
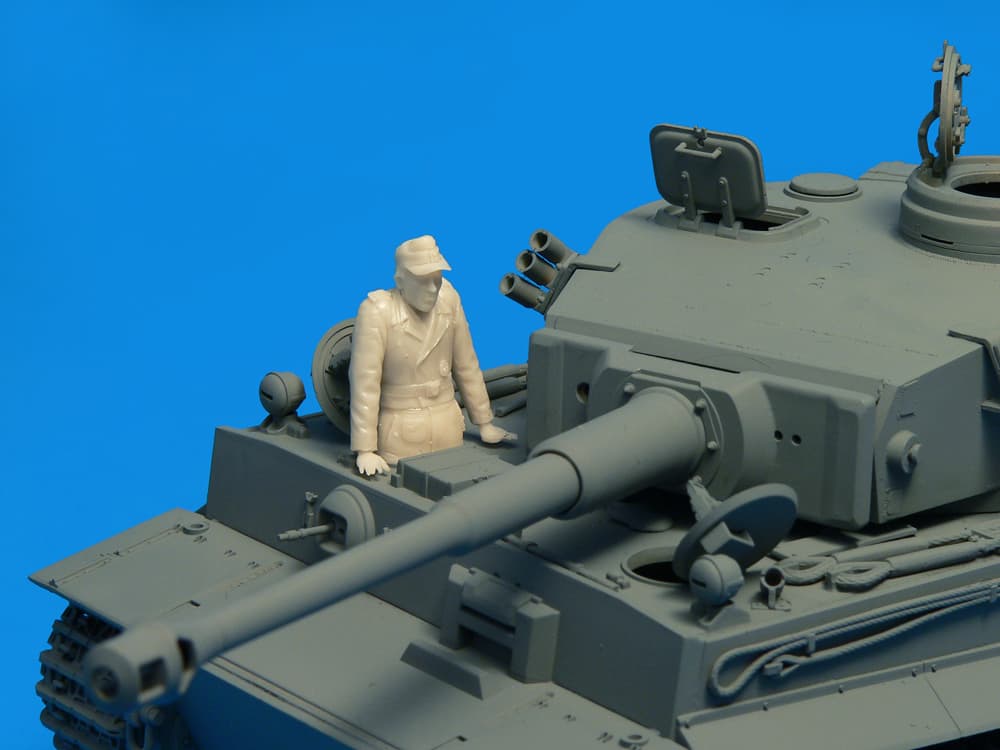
I probably won’t be able to make this campaign, but I do have a question about assembling figures. I recently picked up the MiniArt German Tank Crew France 1944 (352532) set. What’s the best way to make sure that the arms, legs, hands, heads, etc… all align?
That set is meant to fit a Tiger 1 but most can be used in other tanks except this figure, which is pretty specific:
As you can see, even in Miniart’s own publicity pics, the figure’s hands are floating above the tank and hatch. Another “practising levitation” figure is how they depict this one:
So to answer your question - trial and error. The key aspects are how the tops of the arms fit the shoulders. That is the most visible join and if you misalign that it will jump out at the viewer. Make sure the fit is natural. Always test fit the figure in position in a hatch, etc, before the glue fully sets. You can make small adjustments and then hit the adjusted join with some more extra thin glue again to weld it in place.
The leg join to the torso usually needs a little filler on most figures, so be prepared for that.
