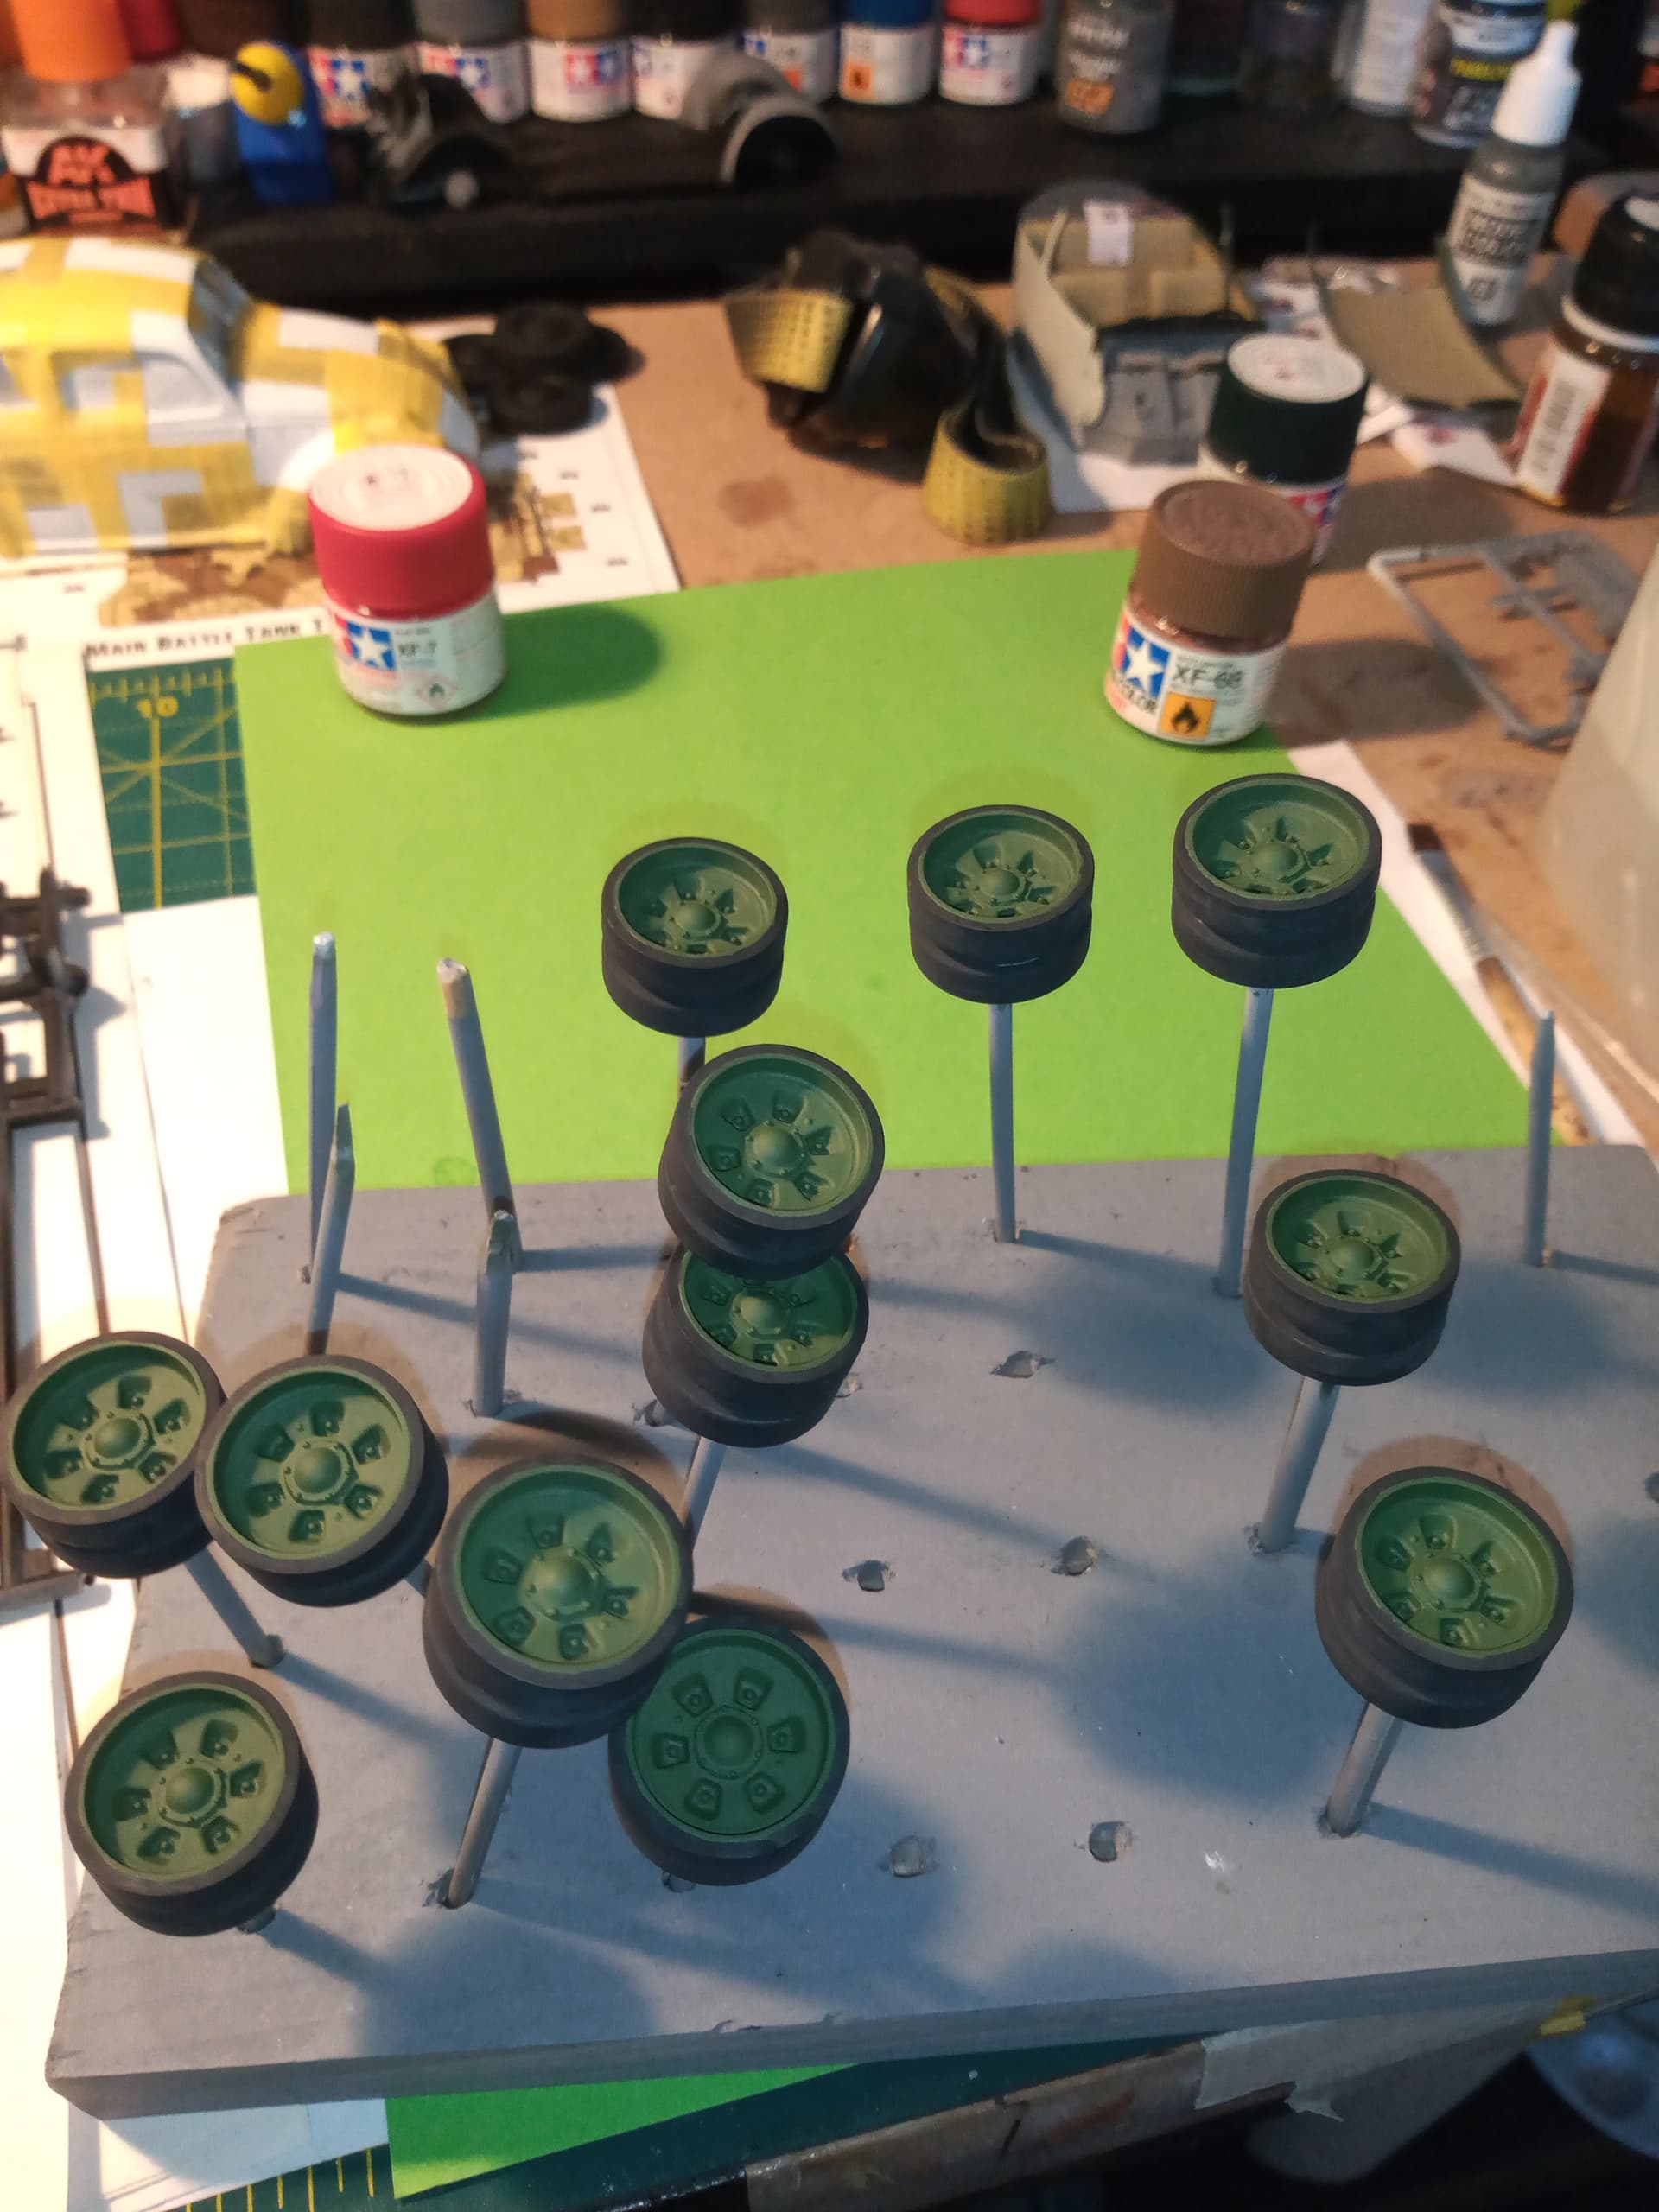
And mine … I go into slow mode when the wheel time approaches … will do the tyre rubbers tonight
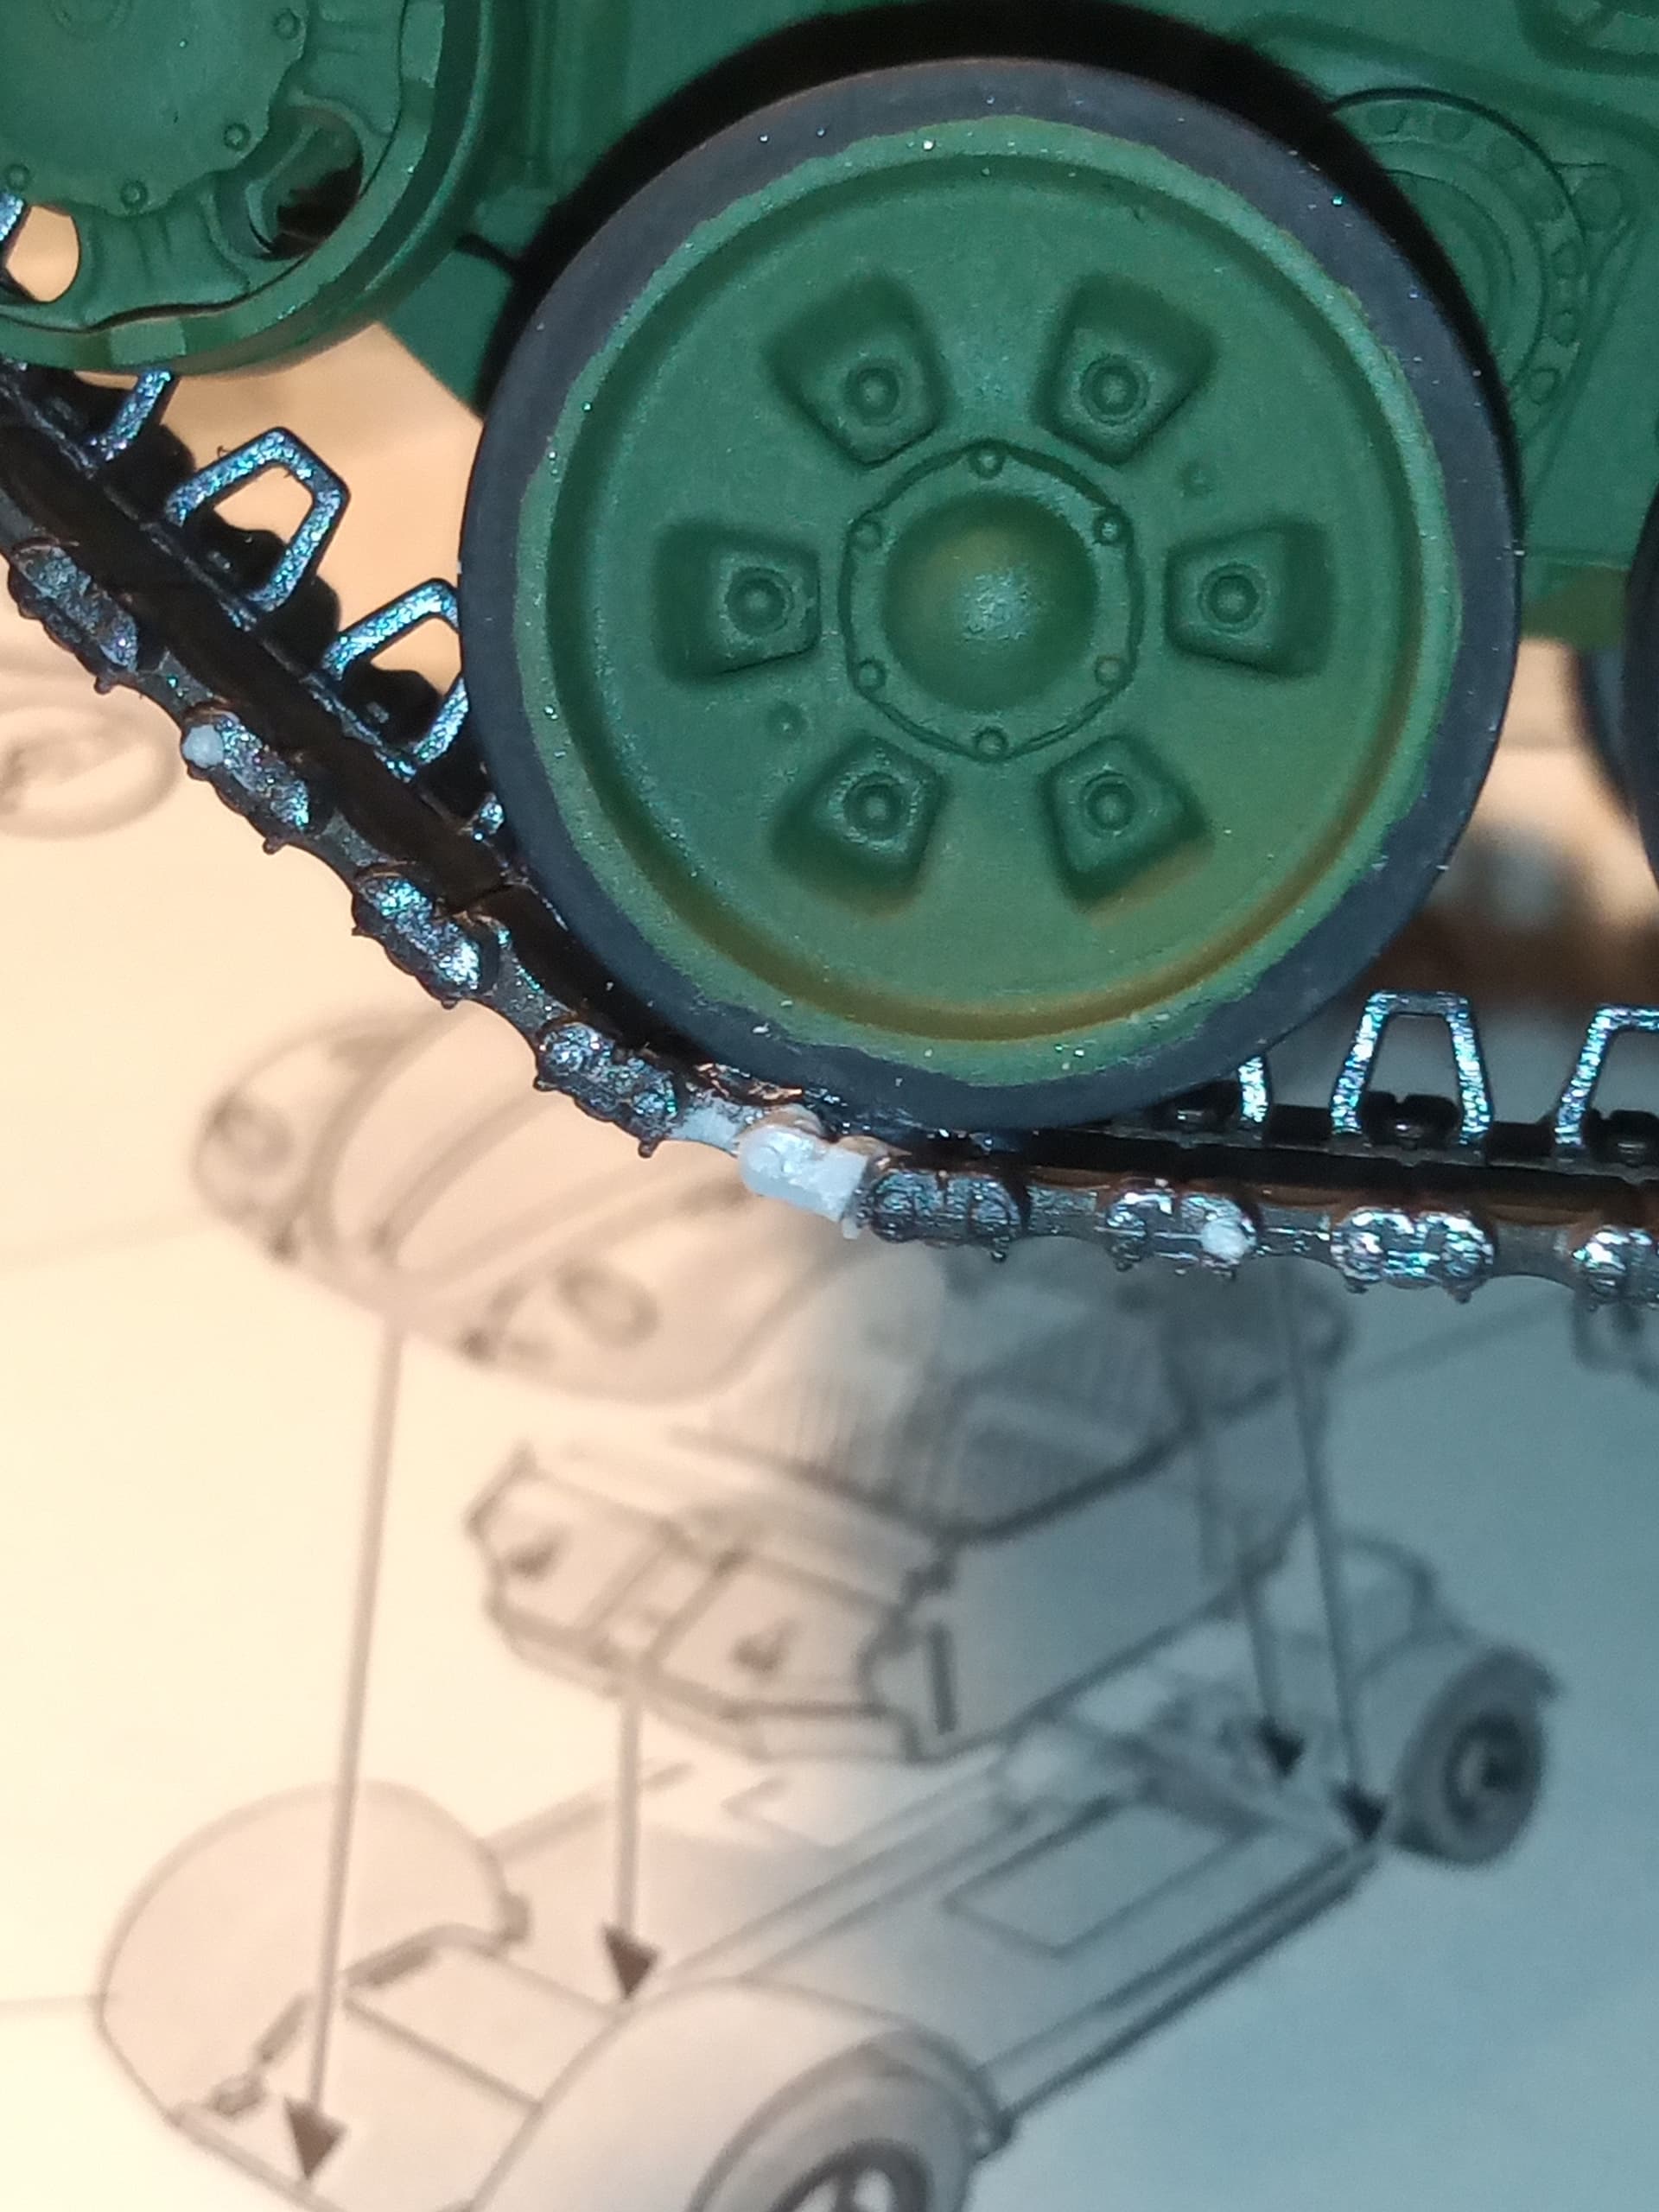
I recently changed my way of painted the wheels. I first paint the rubber parts with the AB. Then I paint the metal parts without masking. Then I just have to do some touch-ups. It’s far less tedious than what I did before: spraying the metal parts and handbrushing the rubber. I don’t even care to paint the rubber on the inner face of the outer roadwheels when they are two-part roadwheels.
Olivier
1 Like
They are probably the most tedious part of the build for sure.
I must be in the minority as I find hand painting the rubber on road wheels strangely relaxing. I have an old brush (at least 10 years a #3 round) that I use and with rare exceptions am able to do the road wheels with out touch up. The only time that I can recall that I did not hand paint was on a kit where the rim was nearly indistinguishable. In that instance I resorted to the circle template method and touch up.
2 Likes
Can I send you 12 then ?? ![]()
2 Likes
I’ve posted this before but it’s always good to re-visit things. Bought from the £ shop for strangely enough £1, I airbrush the rubber then use this as a quick mask to paint the metal section. It’s speedy but still tedious. Guess which size was last used!!

3 Likes
i spray the wheels and do the rubber by hand as best as i can, mistakes are covered in the weathering process to speed things up.
1 Like
Hows it possible to find this relaxing DV @Armorsmith lol…
Well it’s done now… Can look at getting them fitted and then tracks on…
1 Like
I think with me it’s kind of a Zen thing. I’ve been doing it for so long (modeling for nearly 60 years, armor for at least 45) I just kind of hit the zone. I can do a set of 12 in about 20 min.
1 Like
Well, the T90 put up a bit of a fight today. If there had been a John Deere tractor around it would hooked up to the back of it lol.
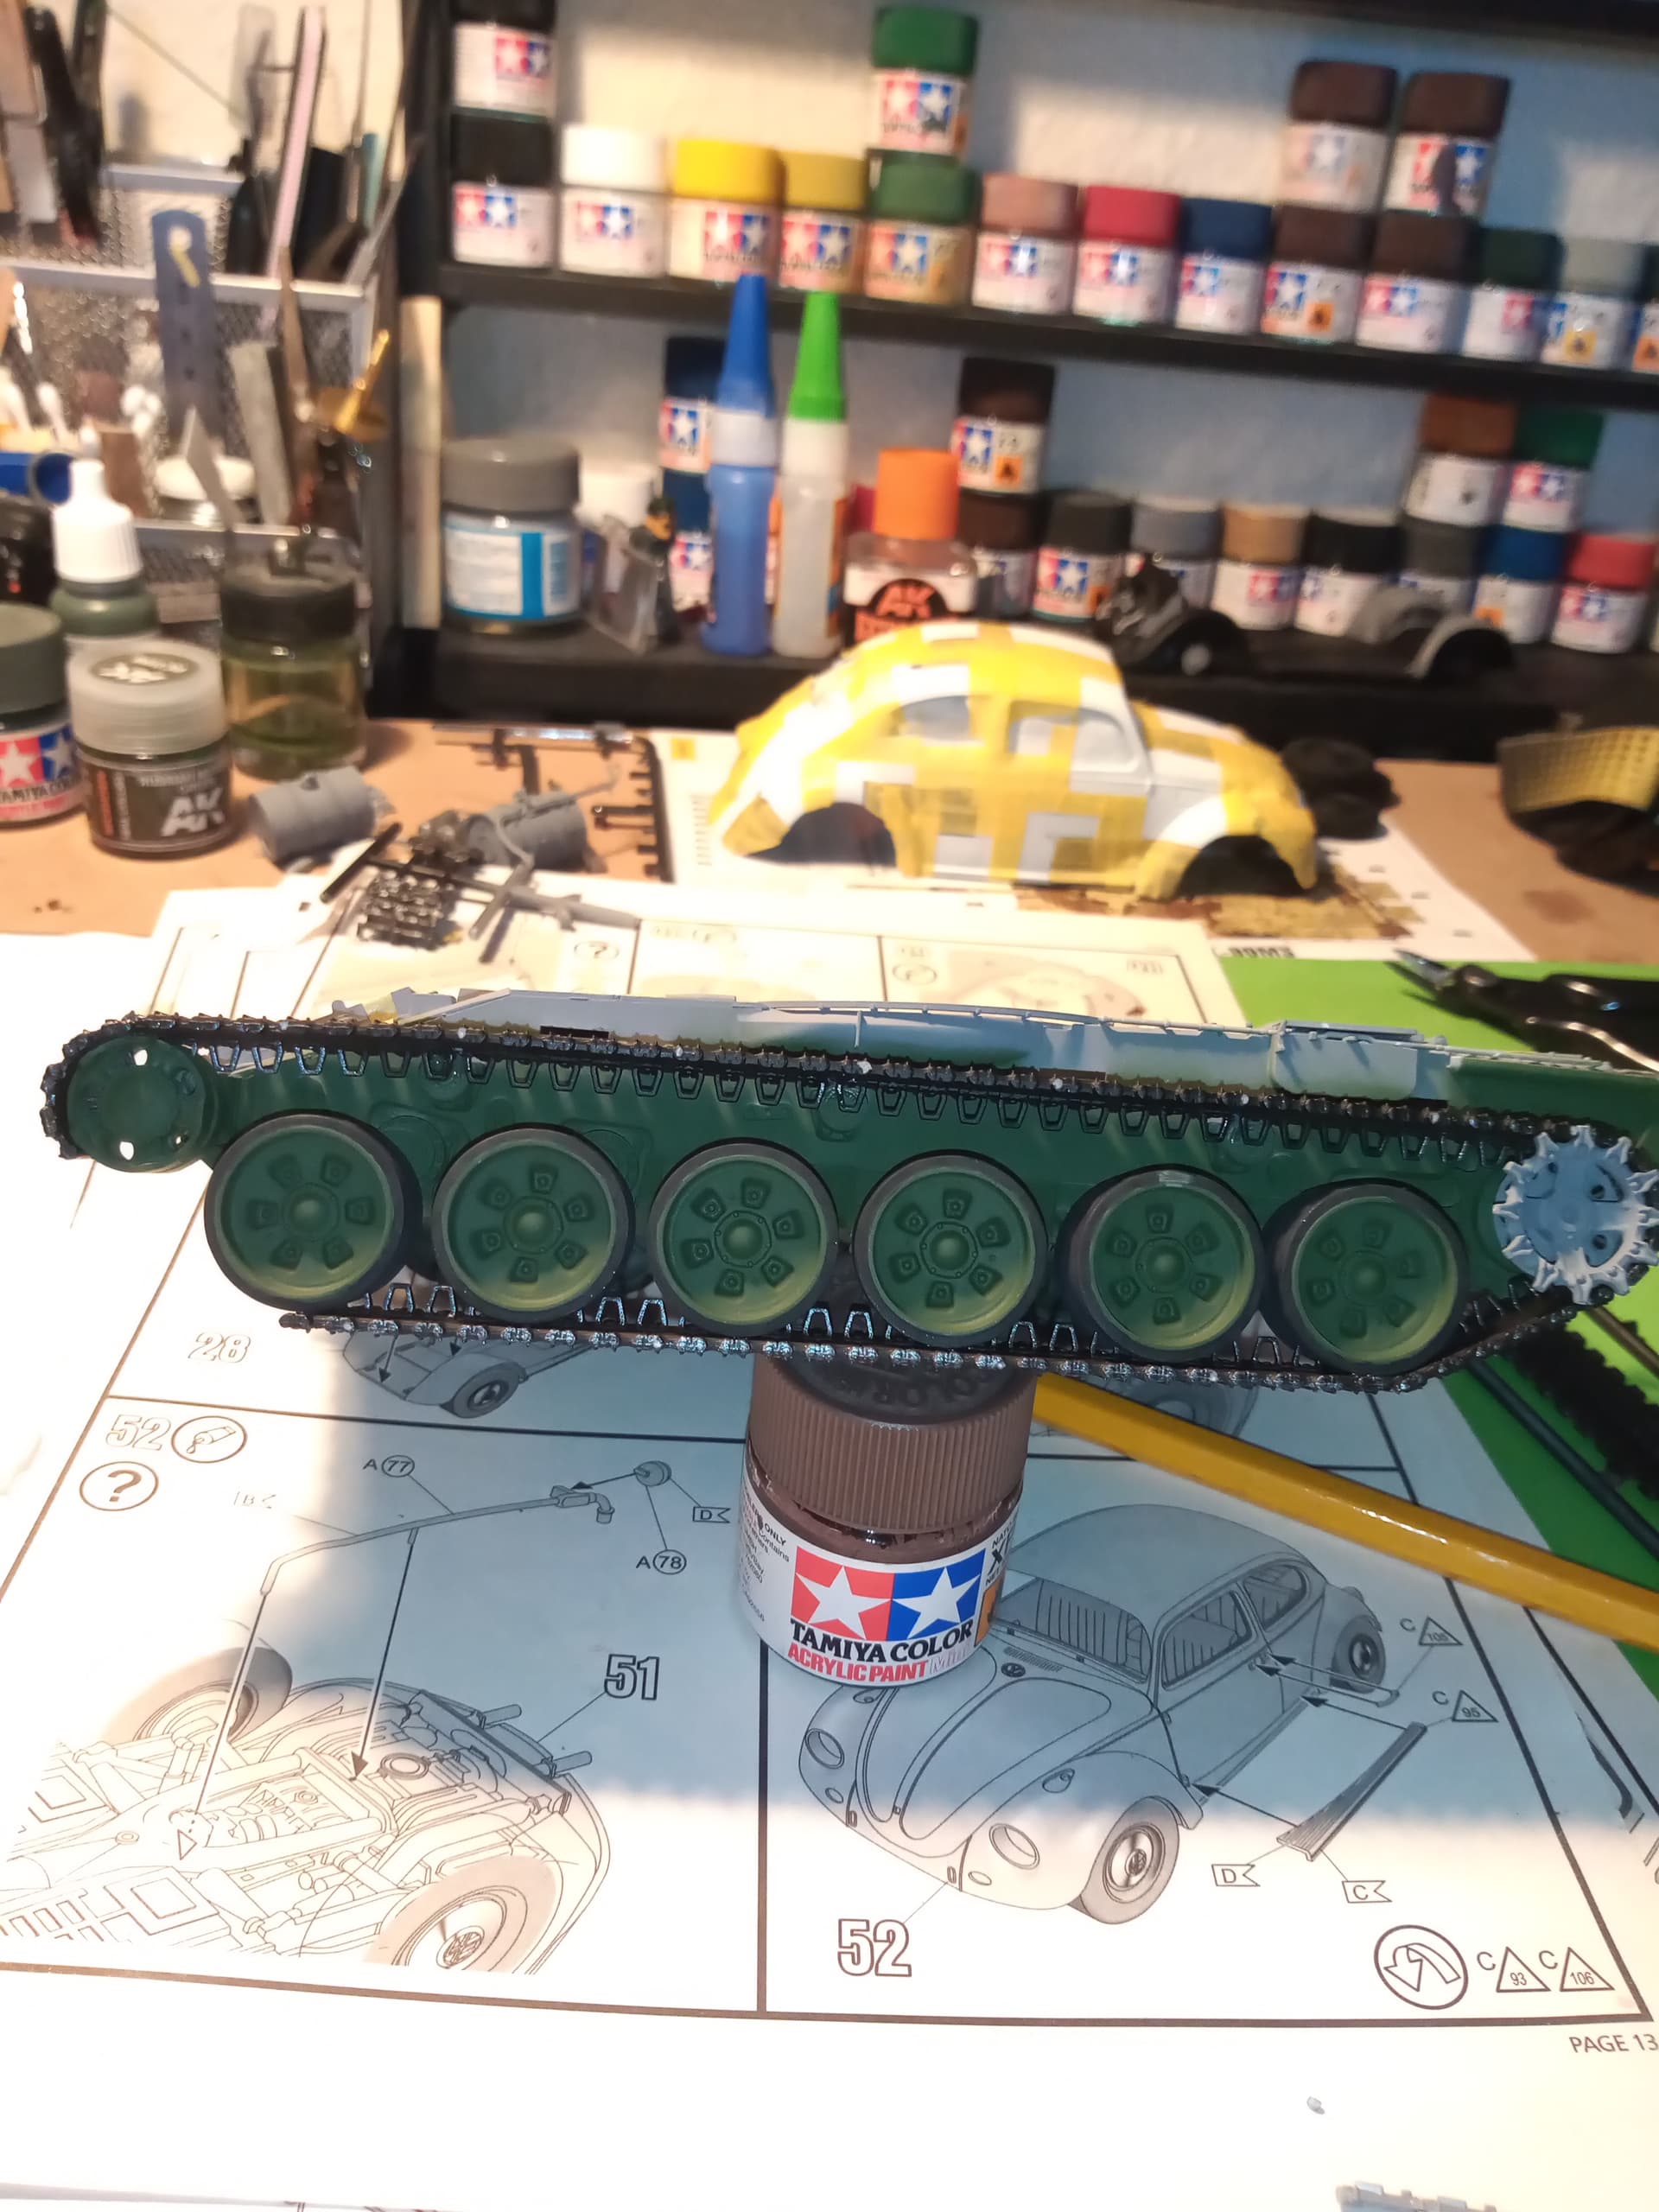
I started assembly of the LH track sections.
All was going great until I got to the last front upward section…
When I connected one end, I was left with this at the other…
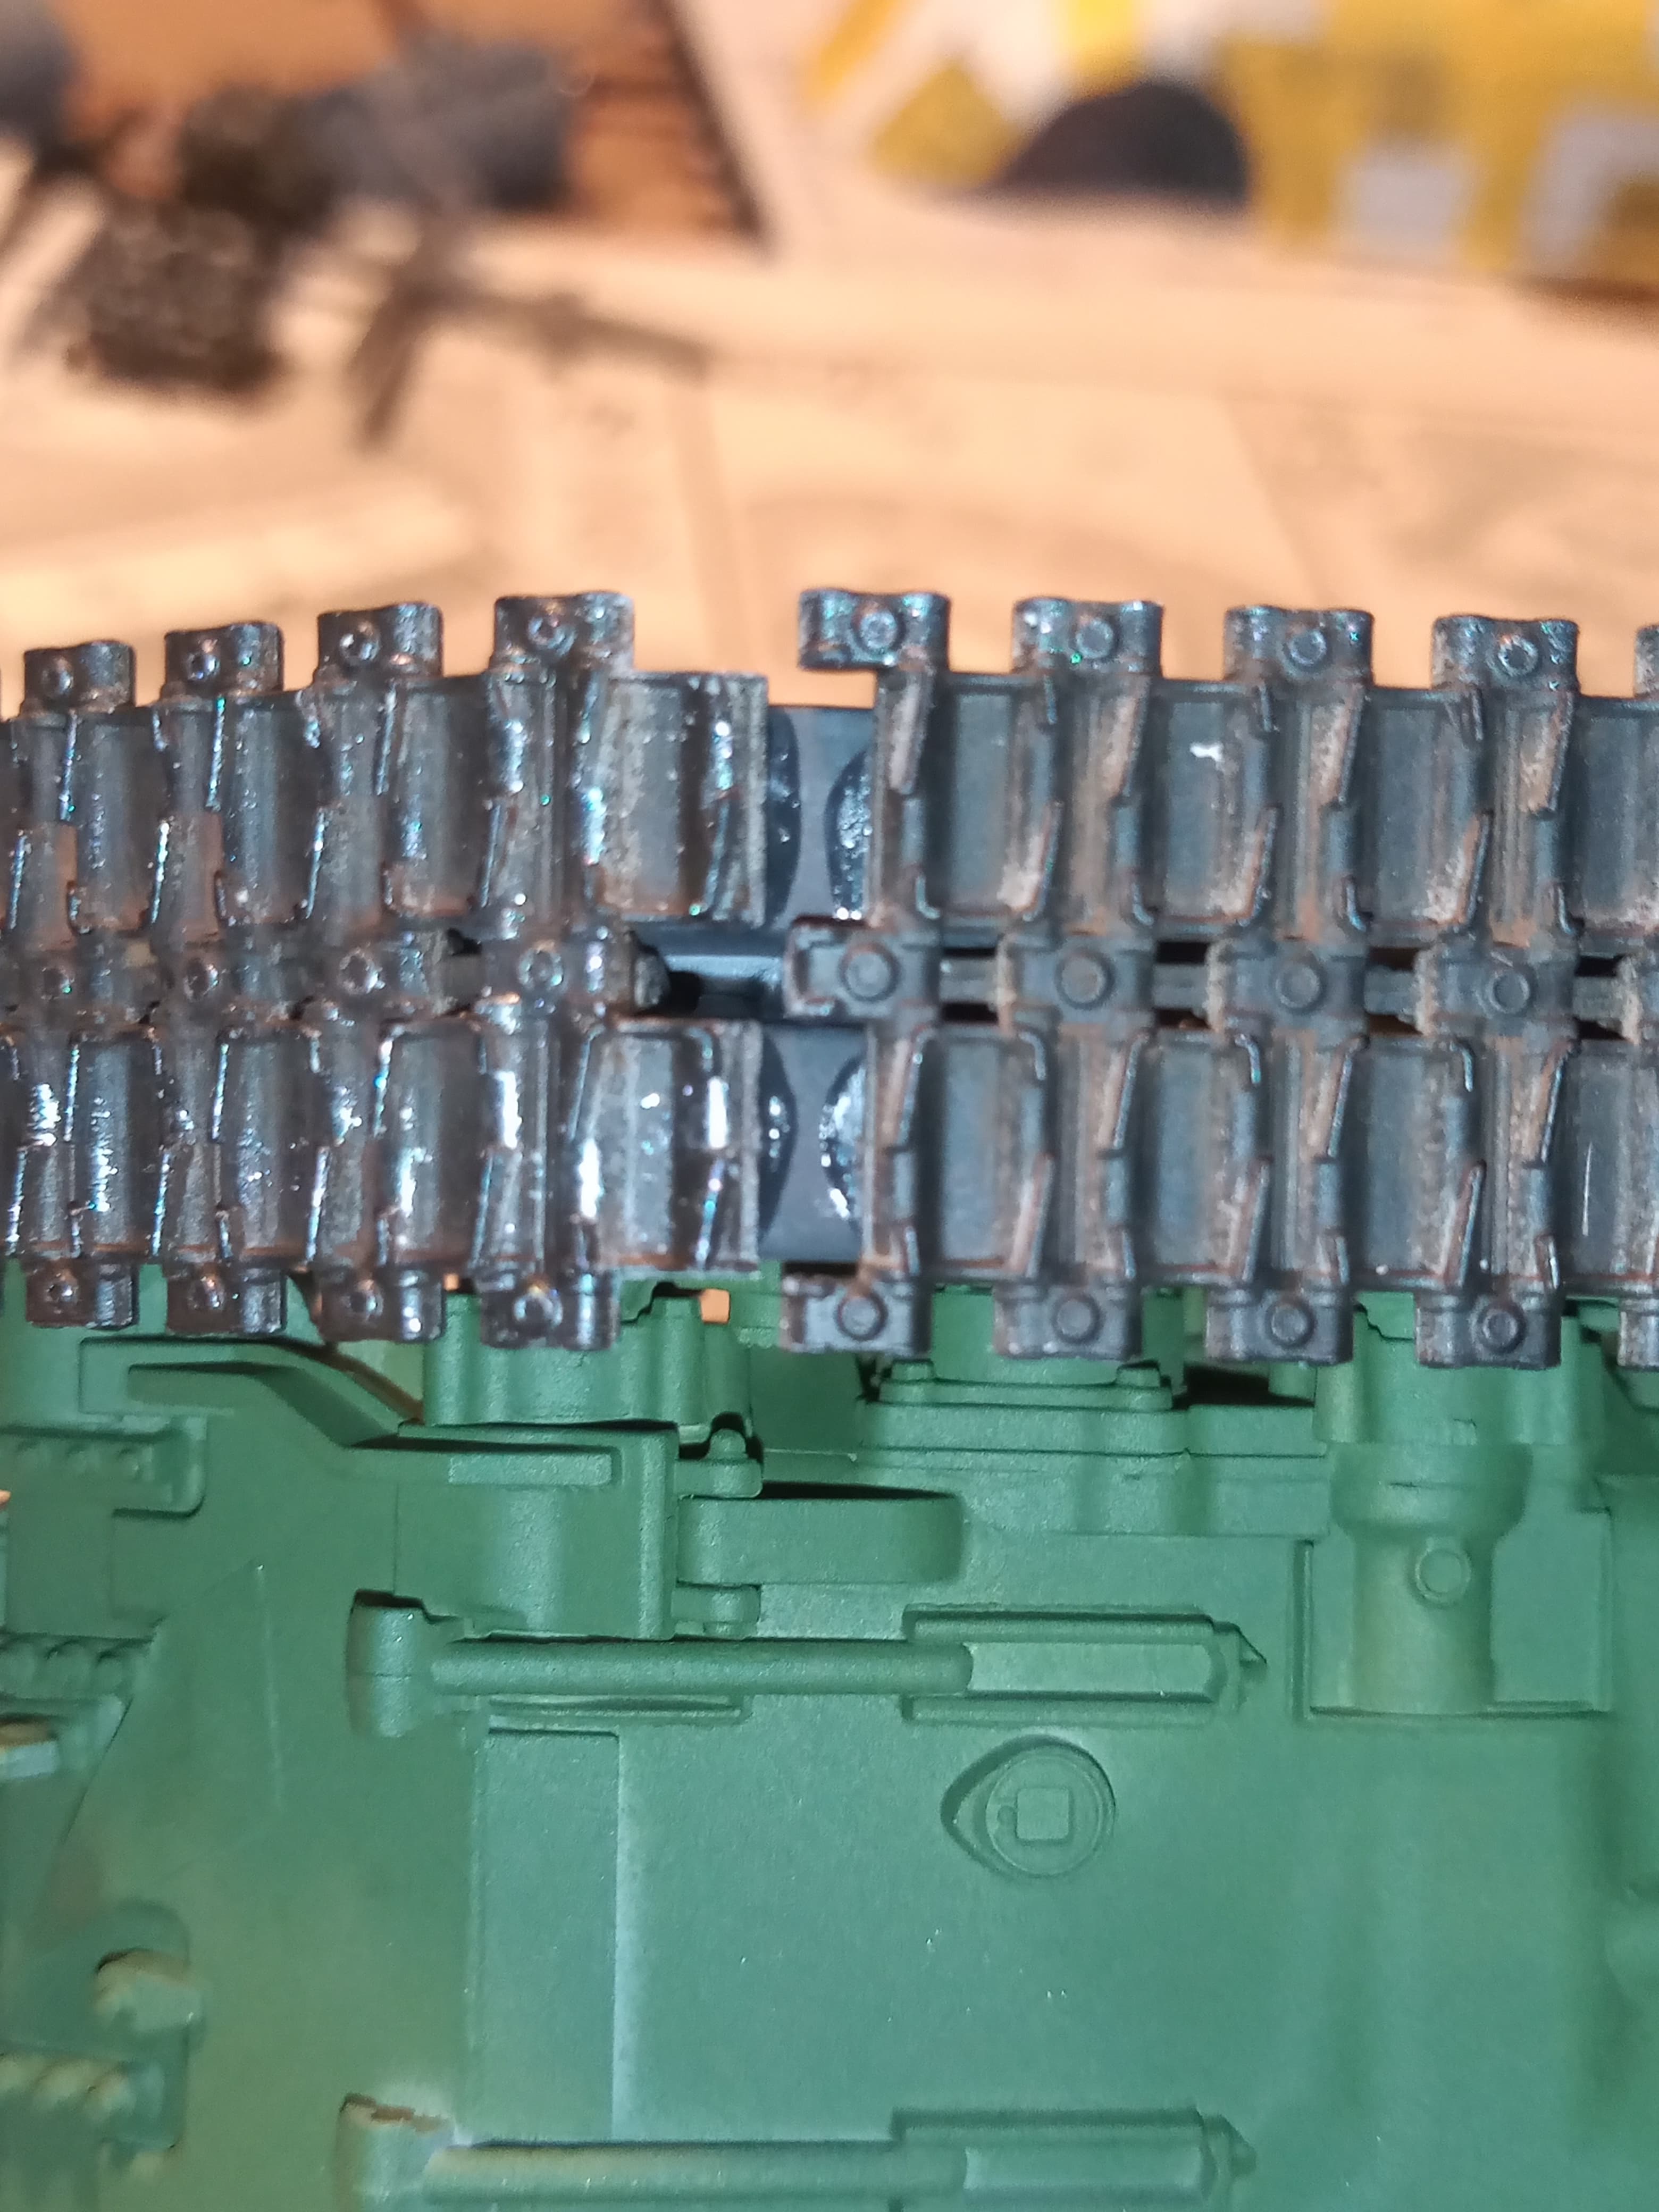
I have no clue how the gap happened, initially I thought it might be the kit, but the RH went together perfectly.
When I did the running gear, everything went in correctly, nothing was out of sync as far as I could tell…
I can only think I may of somehow moved the idler a tiny bit forward … Luckily, the kit has about 6 or so full spare links, so after some very careful fettling I came up with a workable solution.
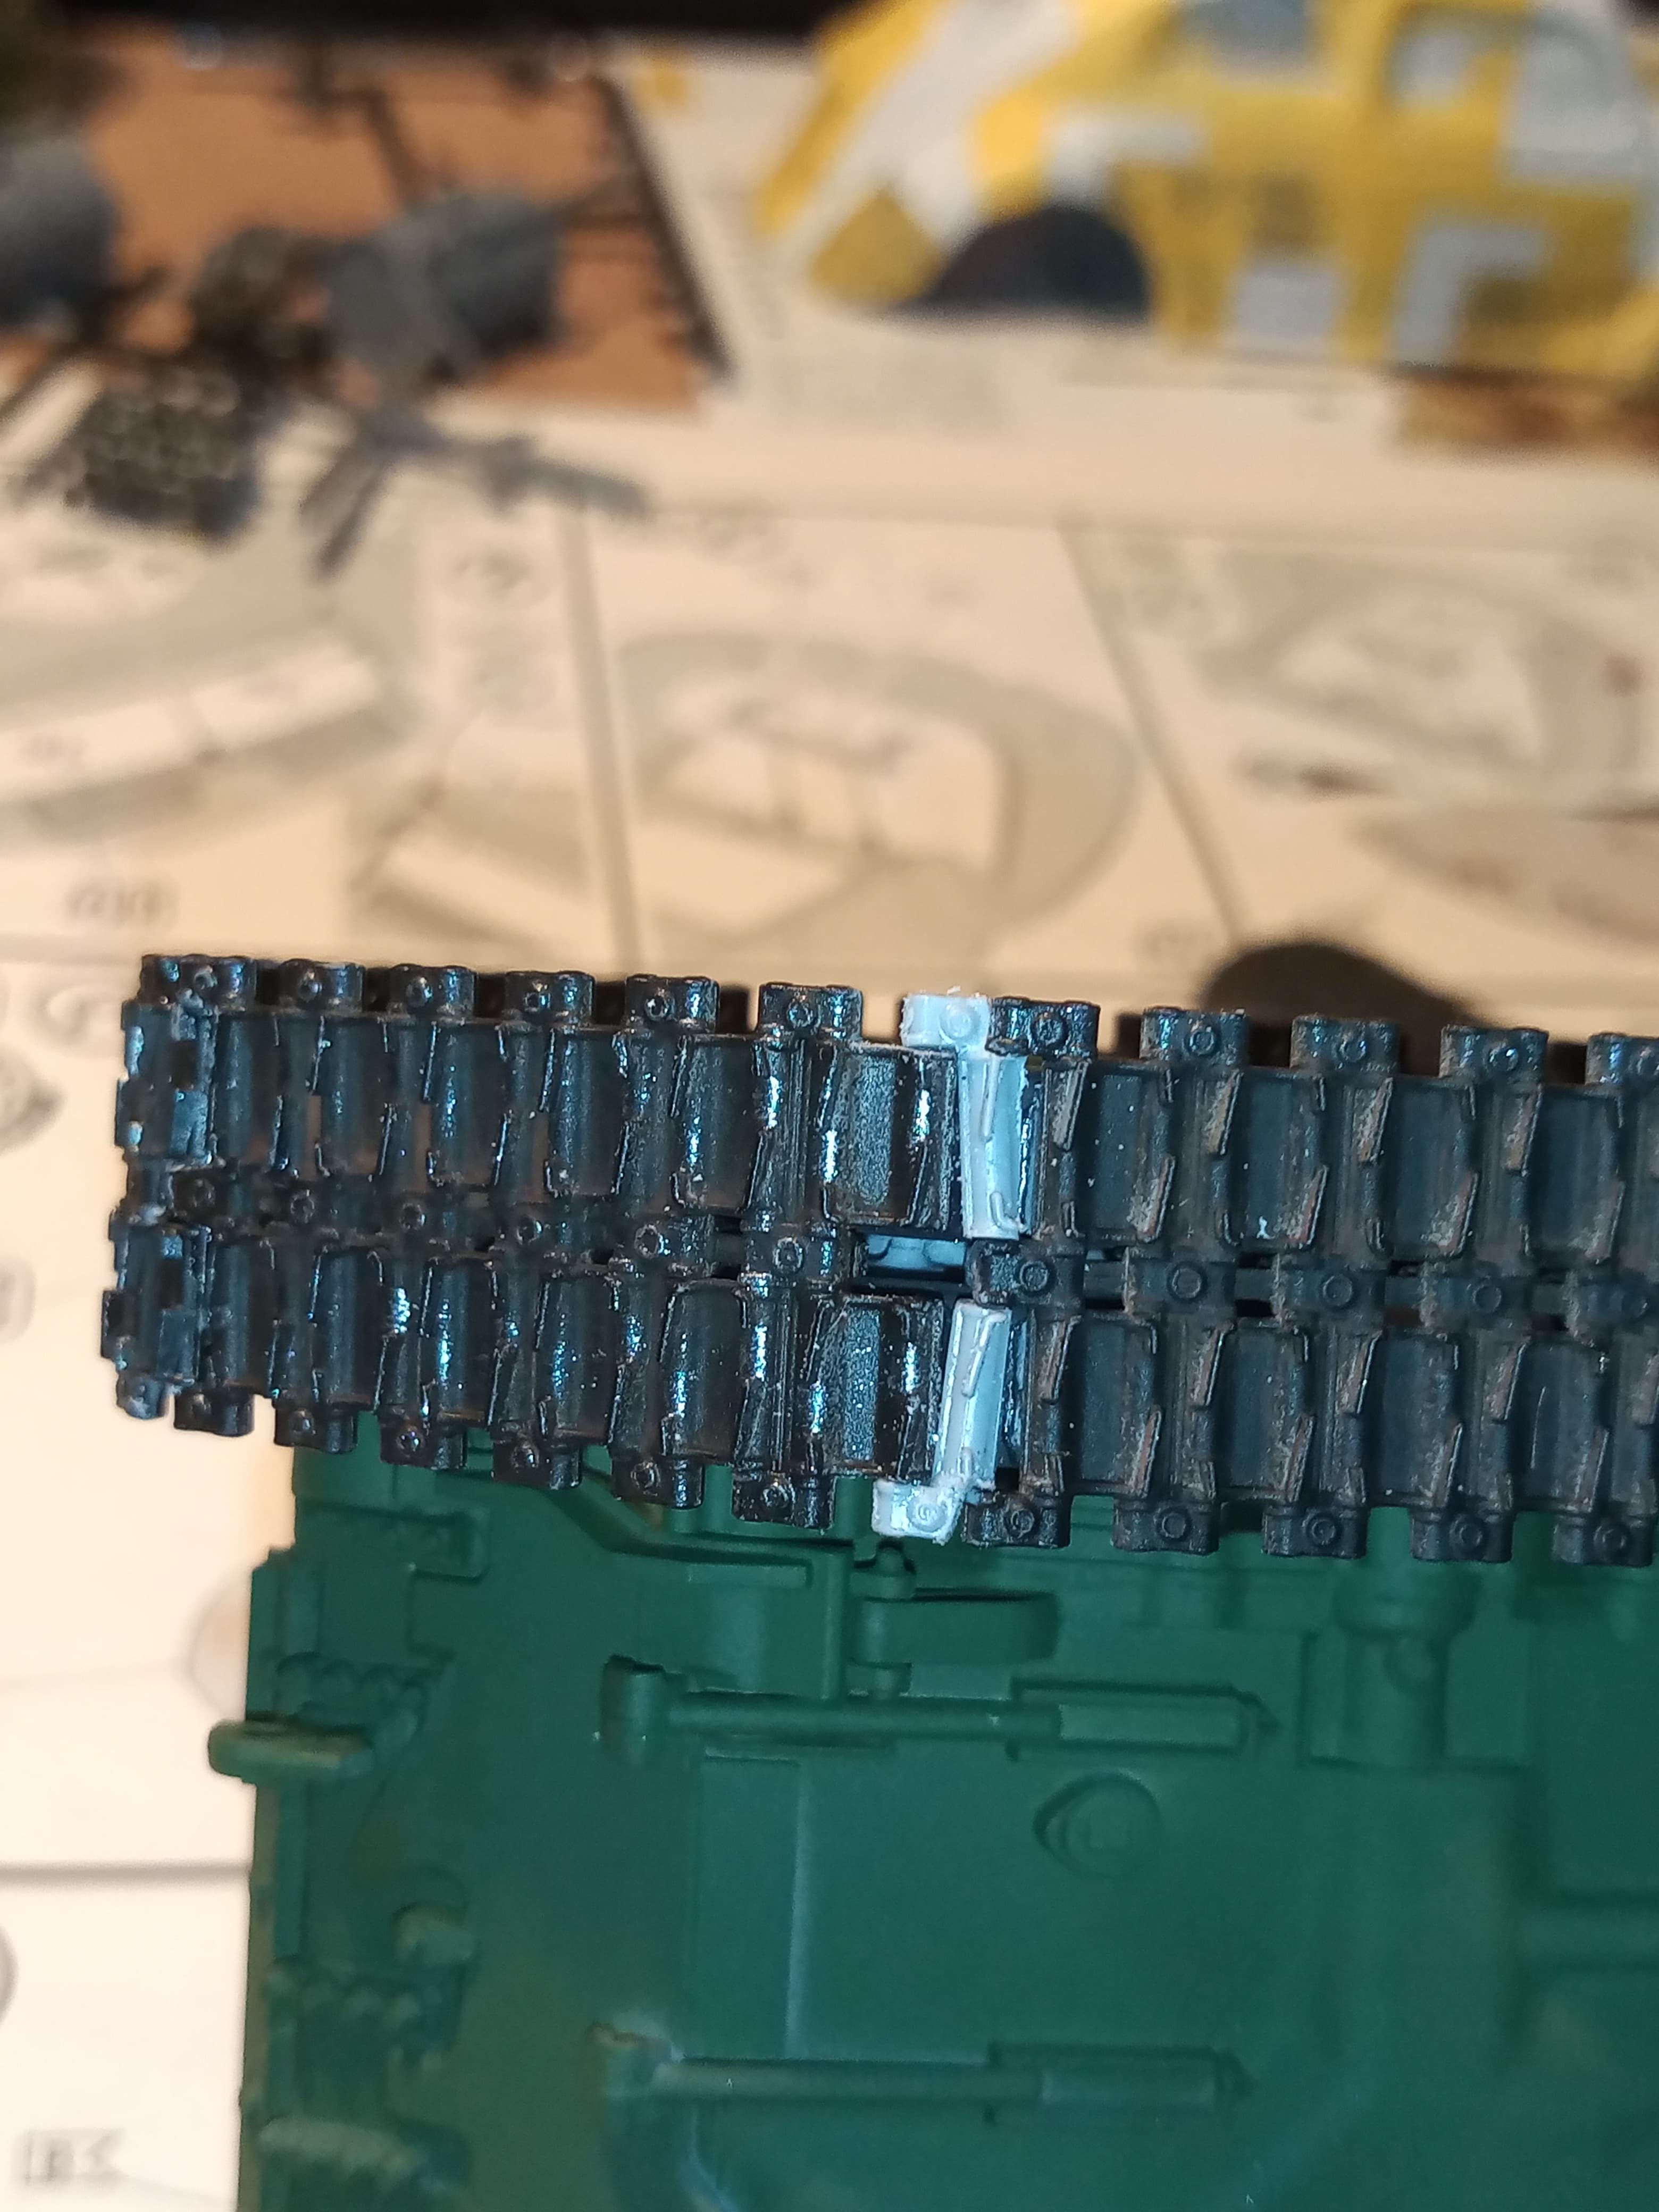
I trimmed one link right down, then split that into 2 parts to fill the gap.
It’s not perfect but it’s the best I could do with it.

Then as I said, RH track went on fine.
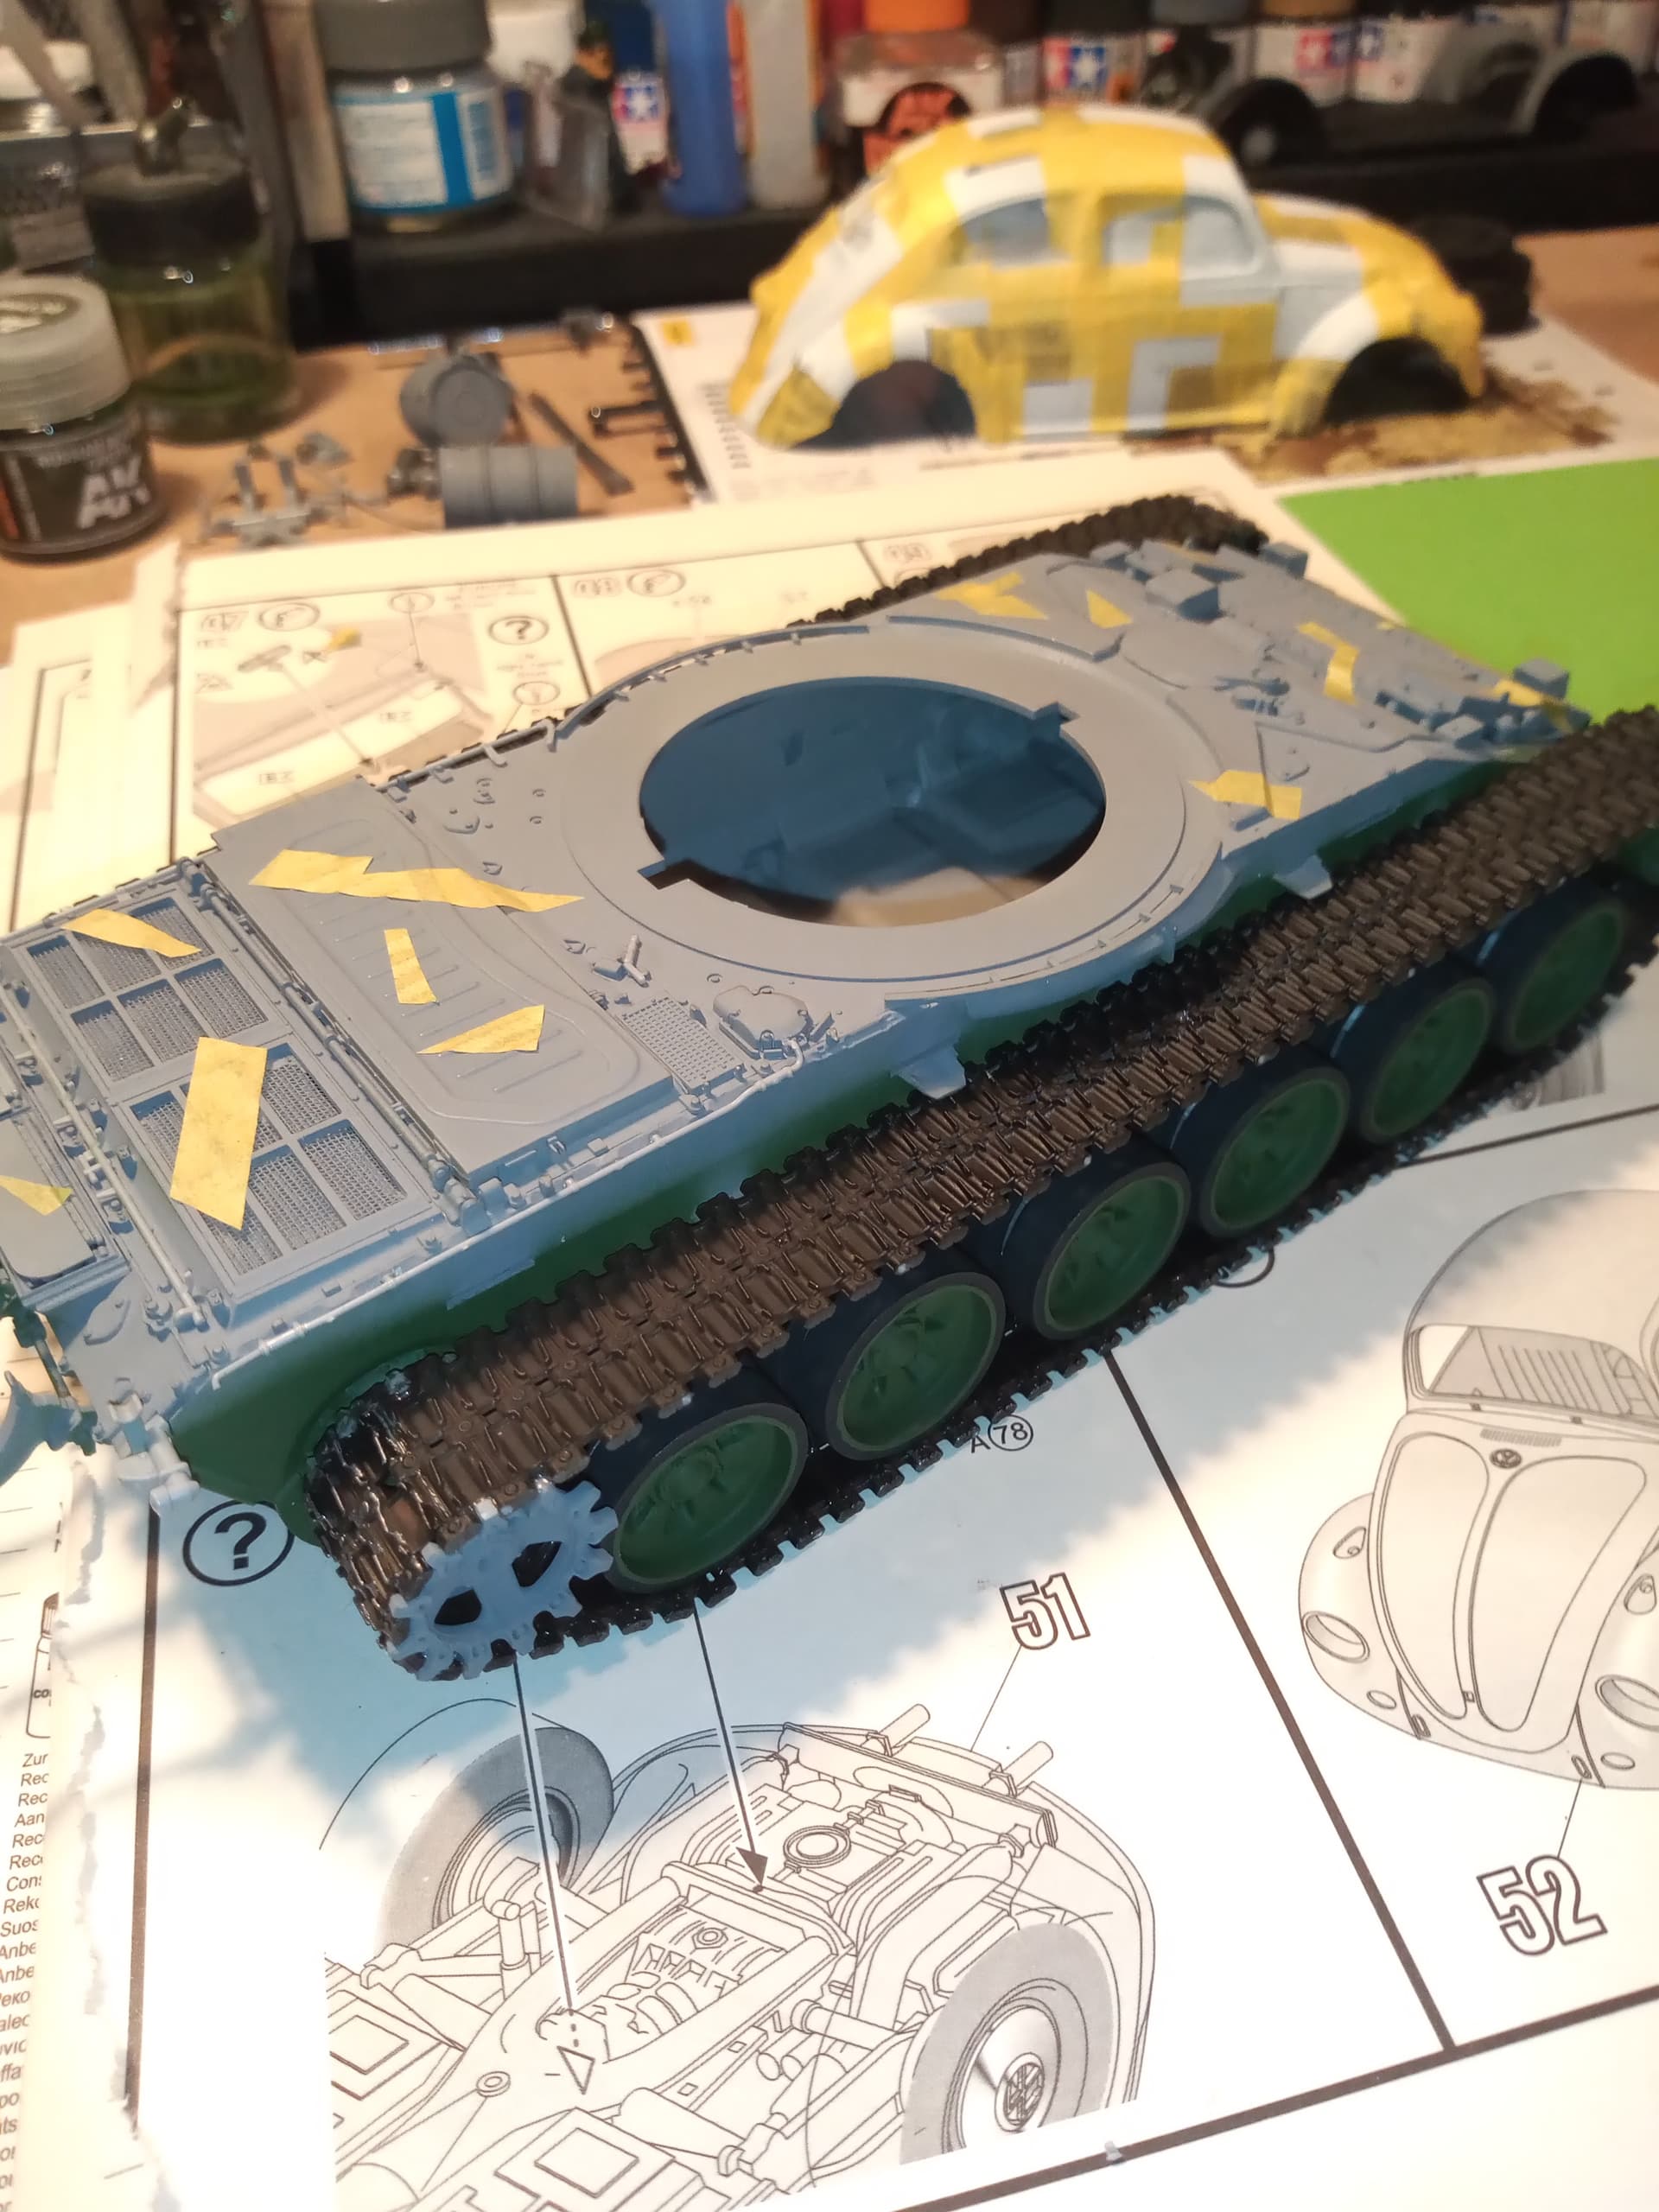
They will just need some touch painting to hide the surgery and where I cut them from the sprue.
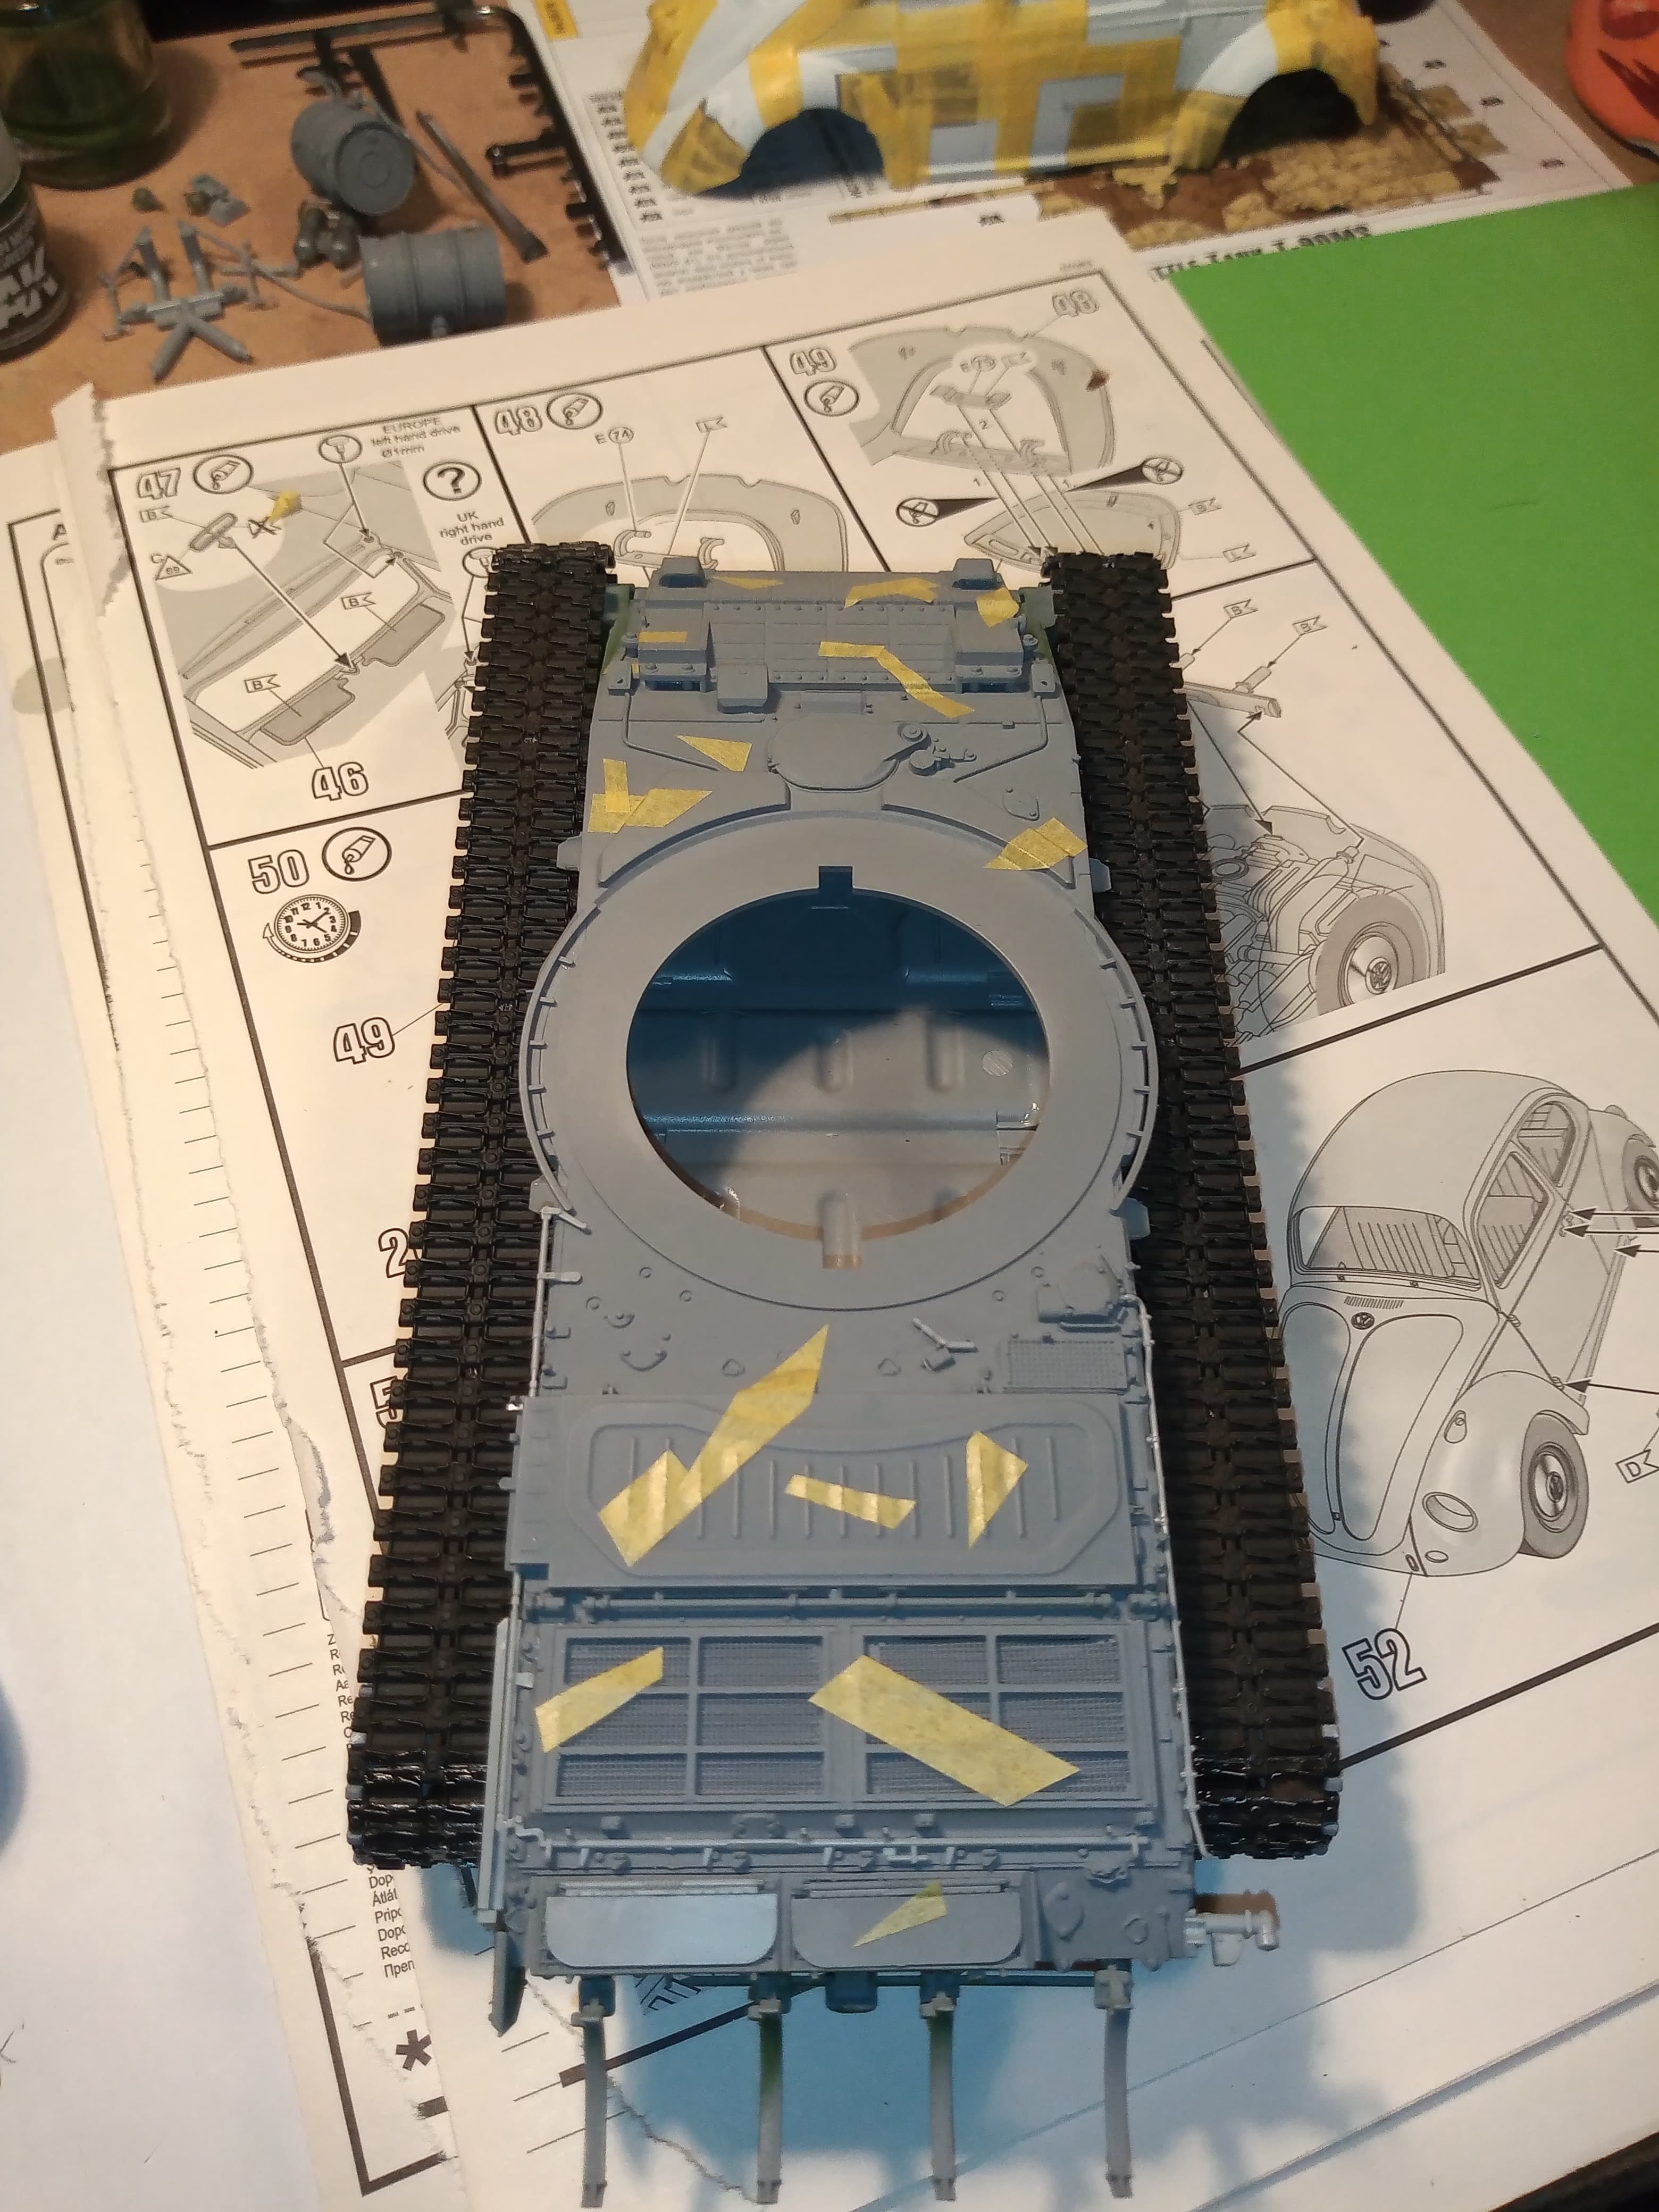
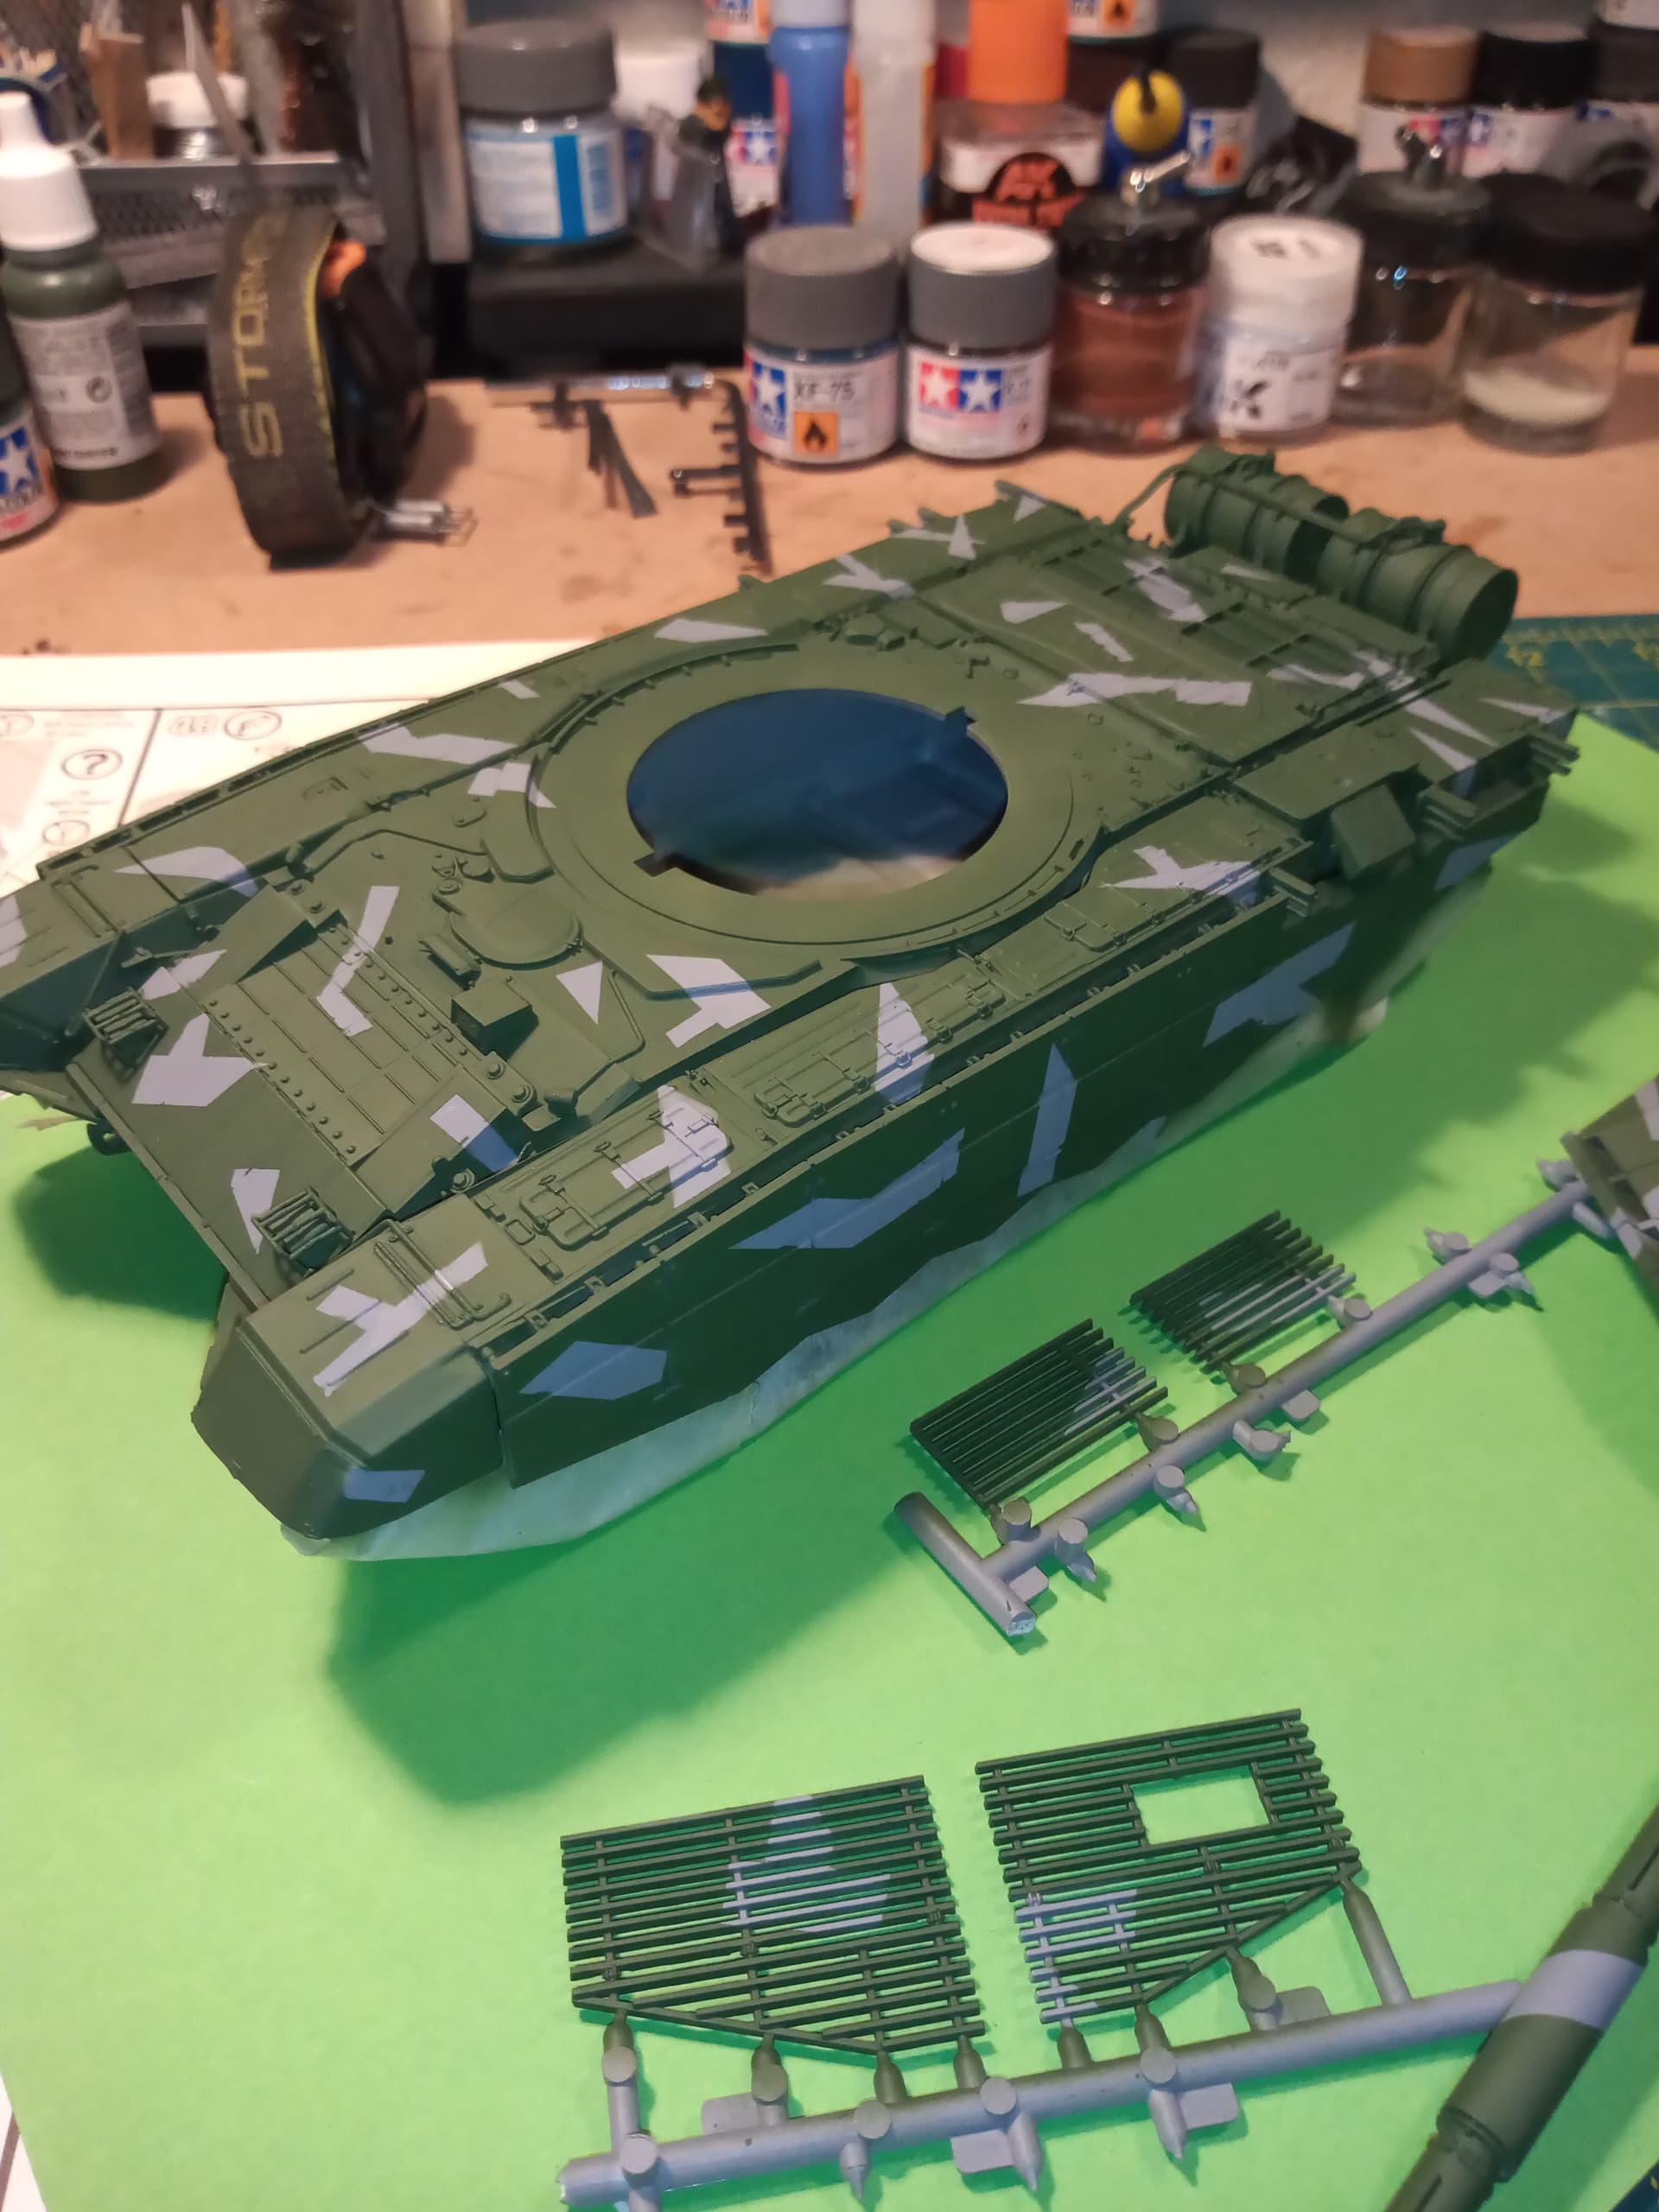
Next L & R running boards went on and then side plates. Added the masking for the grey geometric shapes and this where I’m at…
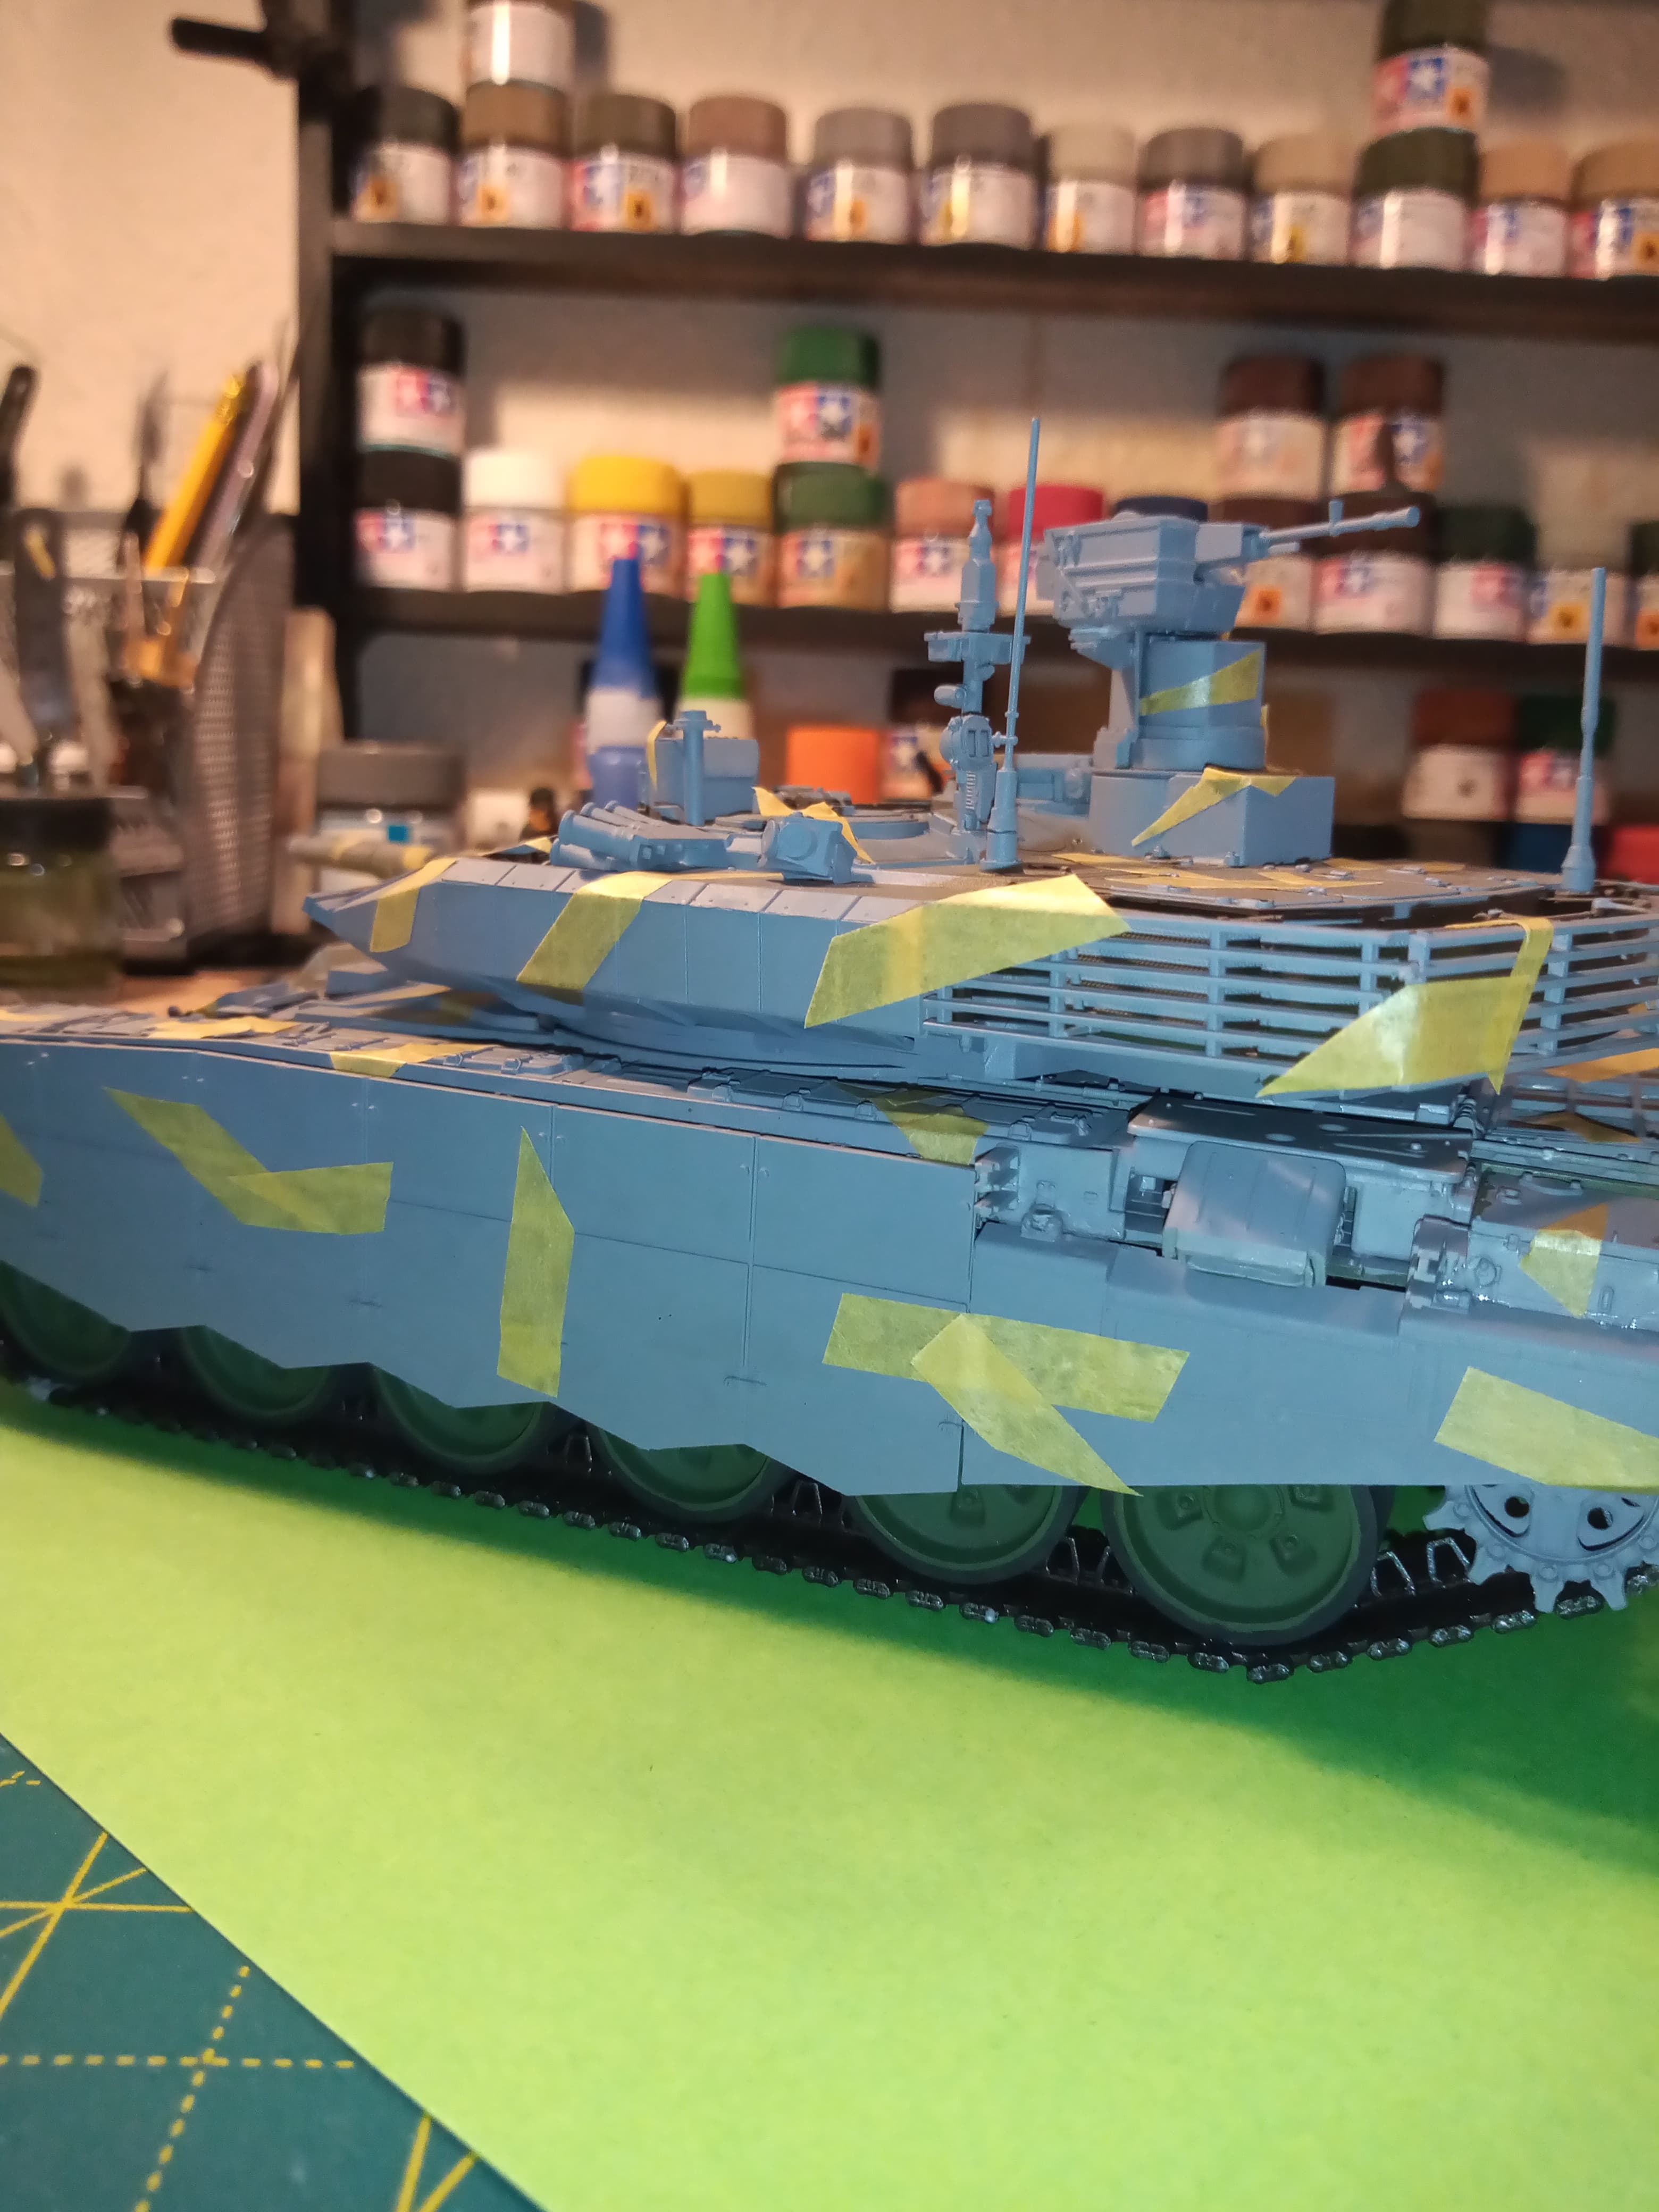
Very few parts to go on now, rear slatted hull armour which will be painted on the sprue, the LH external fuel drum, and 2 spare links on the rear plus a couple of very small hull parts… Then the green can go down.
6 Likes
I’ve had this happen to me before and I fixed it pretty much the same way. Just one more reason to hate plastic tracks!
1 Like
yep same thing happened to me with my airfix/dragon hetzer. i was able to bend the drive wheel backwards a little to make it fit.
1 Like
Similar happens whenever I use the plastic tracks in the Zvezda T-34 based kits. Which is why I am not very hot on link & length tracks in general. Either give me rubber band tracks, or fully workable tracks. Not something in between.
Damon.
3 Likes
That’s the ticket John, some real old school modeling going on there. Nice save.
2 Likes
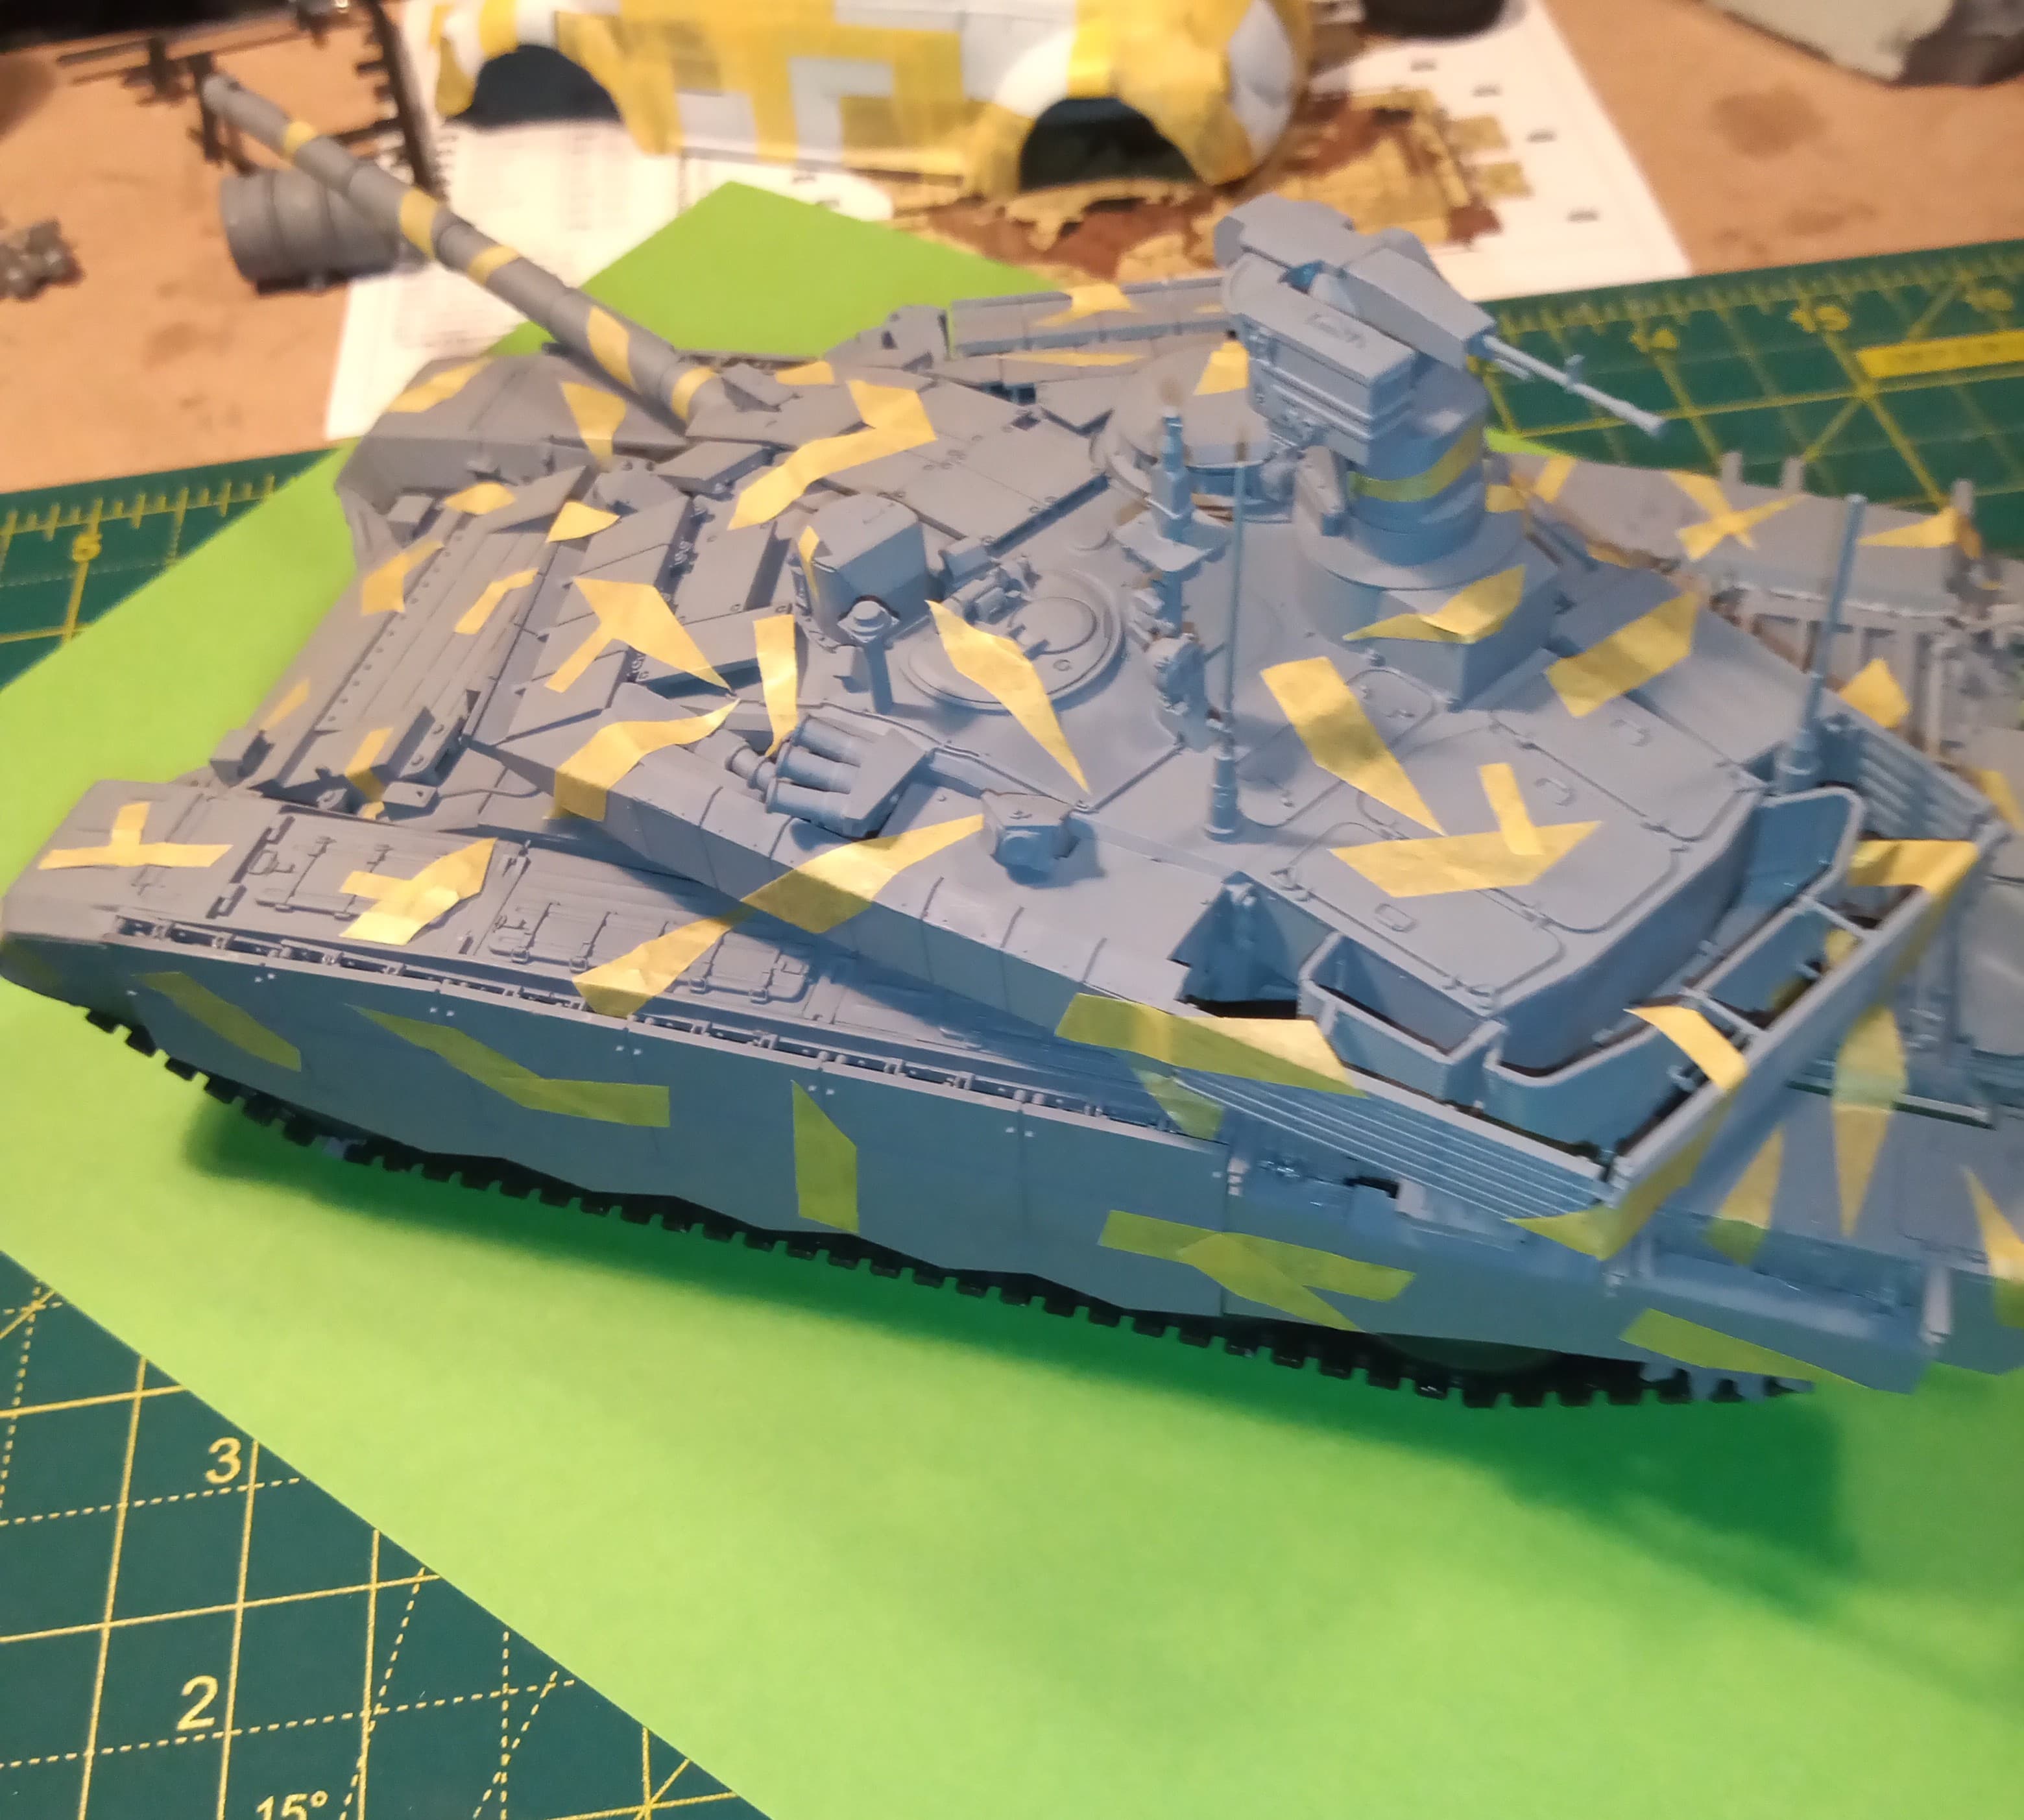
Some good progress with the Tango90…
The base coat is now on, and everything is now fitted except the slat armour on the hull rear sides.
Pretty pleased with how the grey areas turned out under the masks.
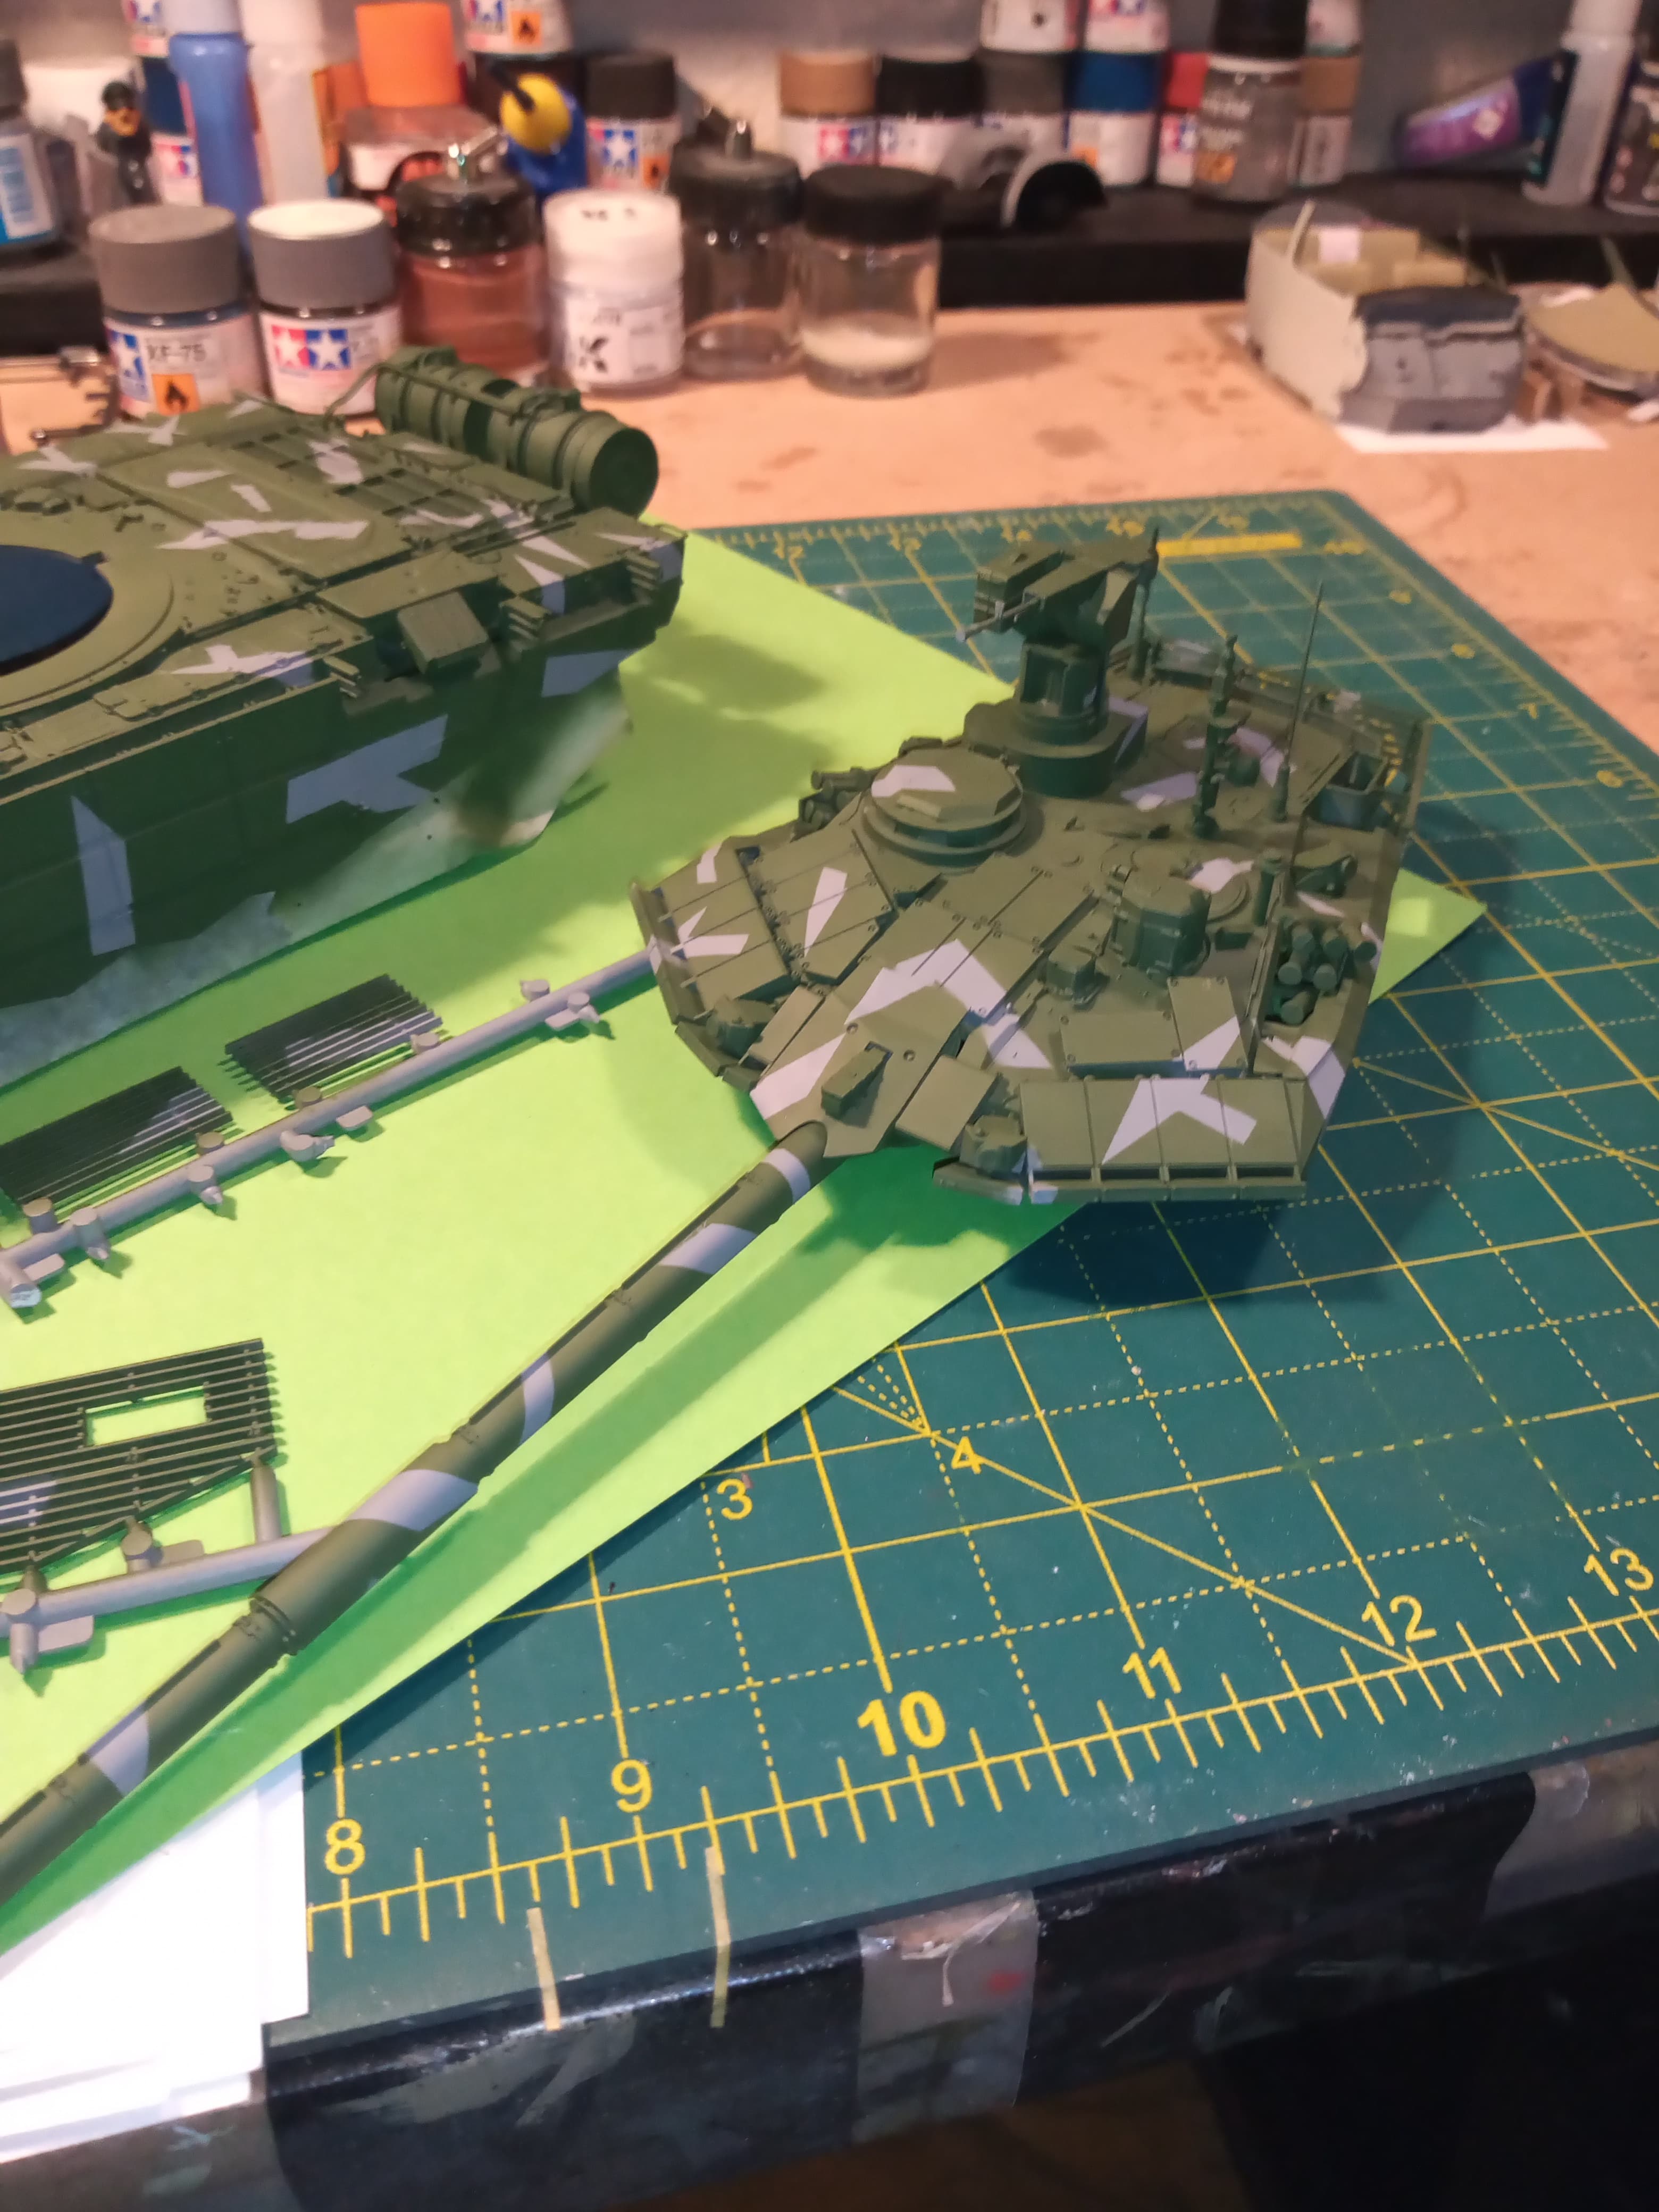
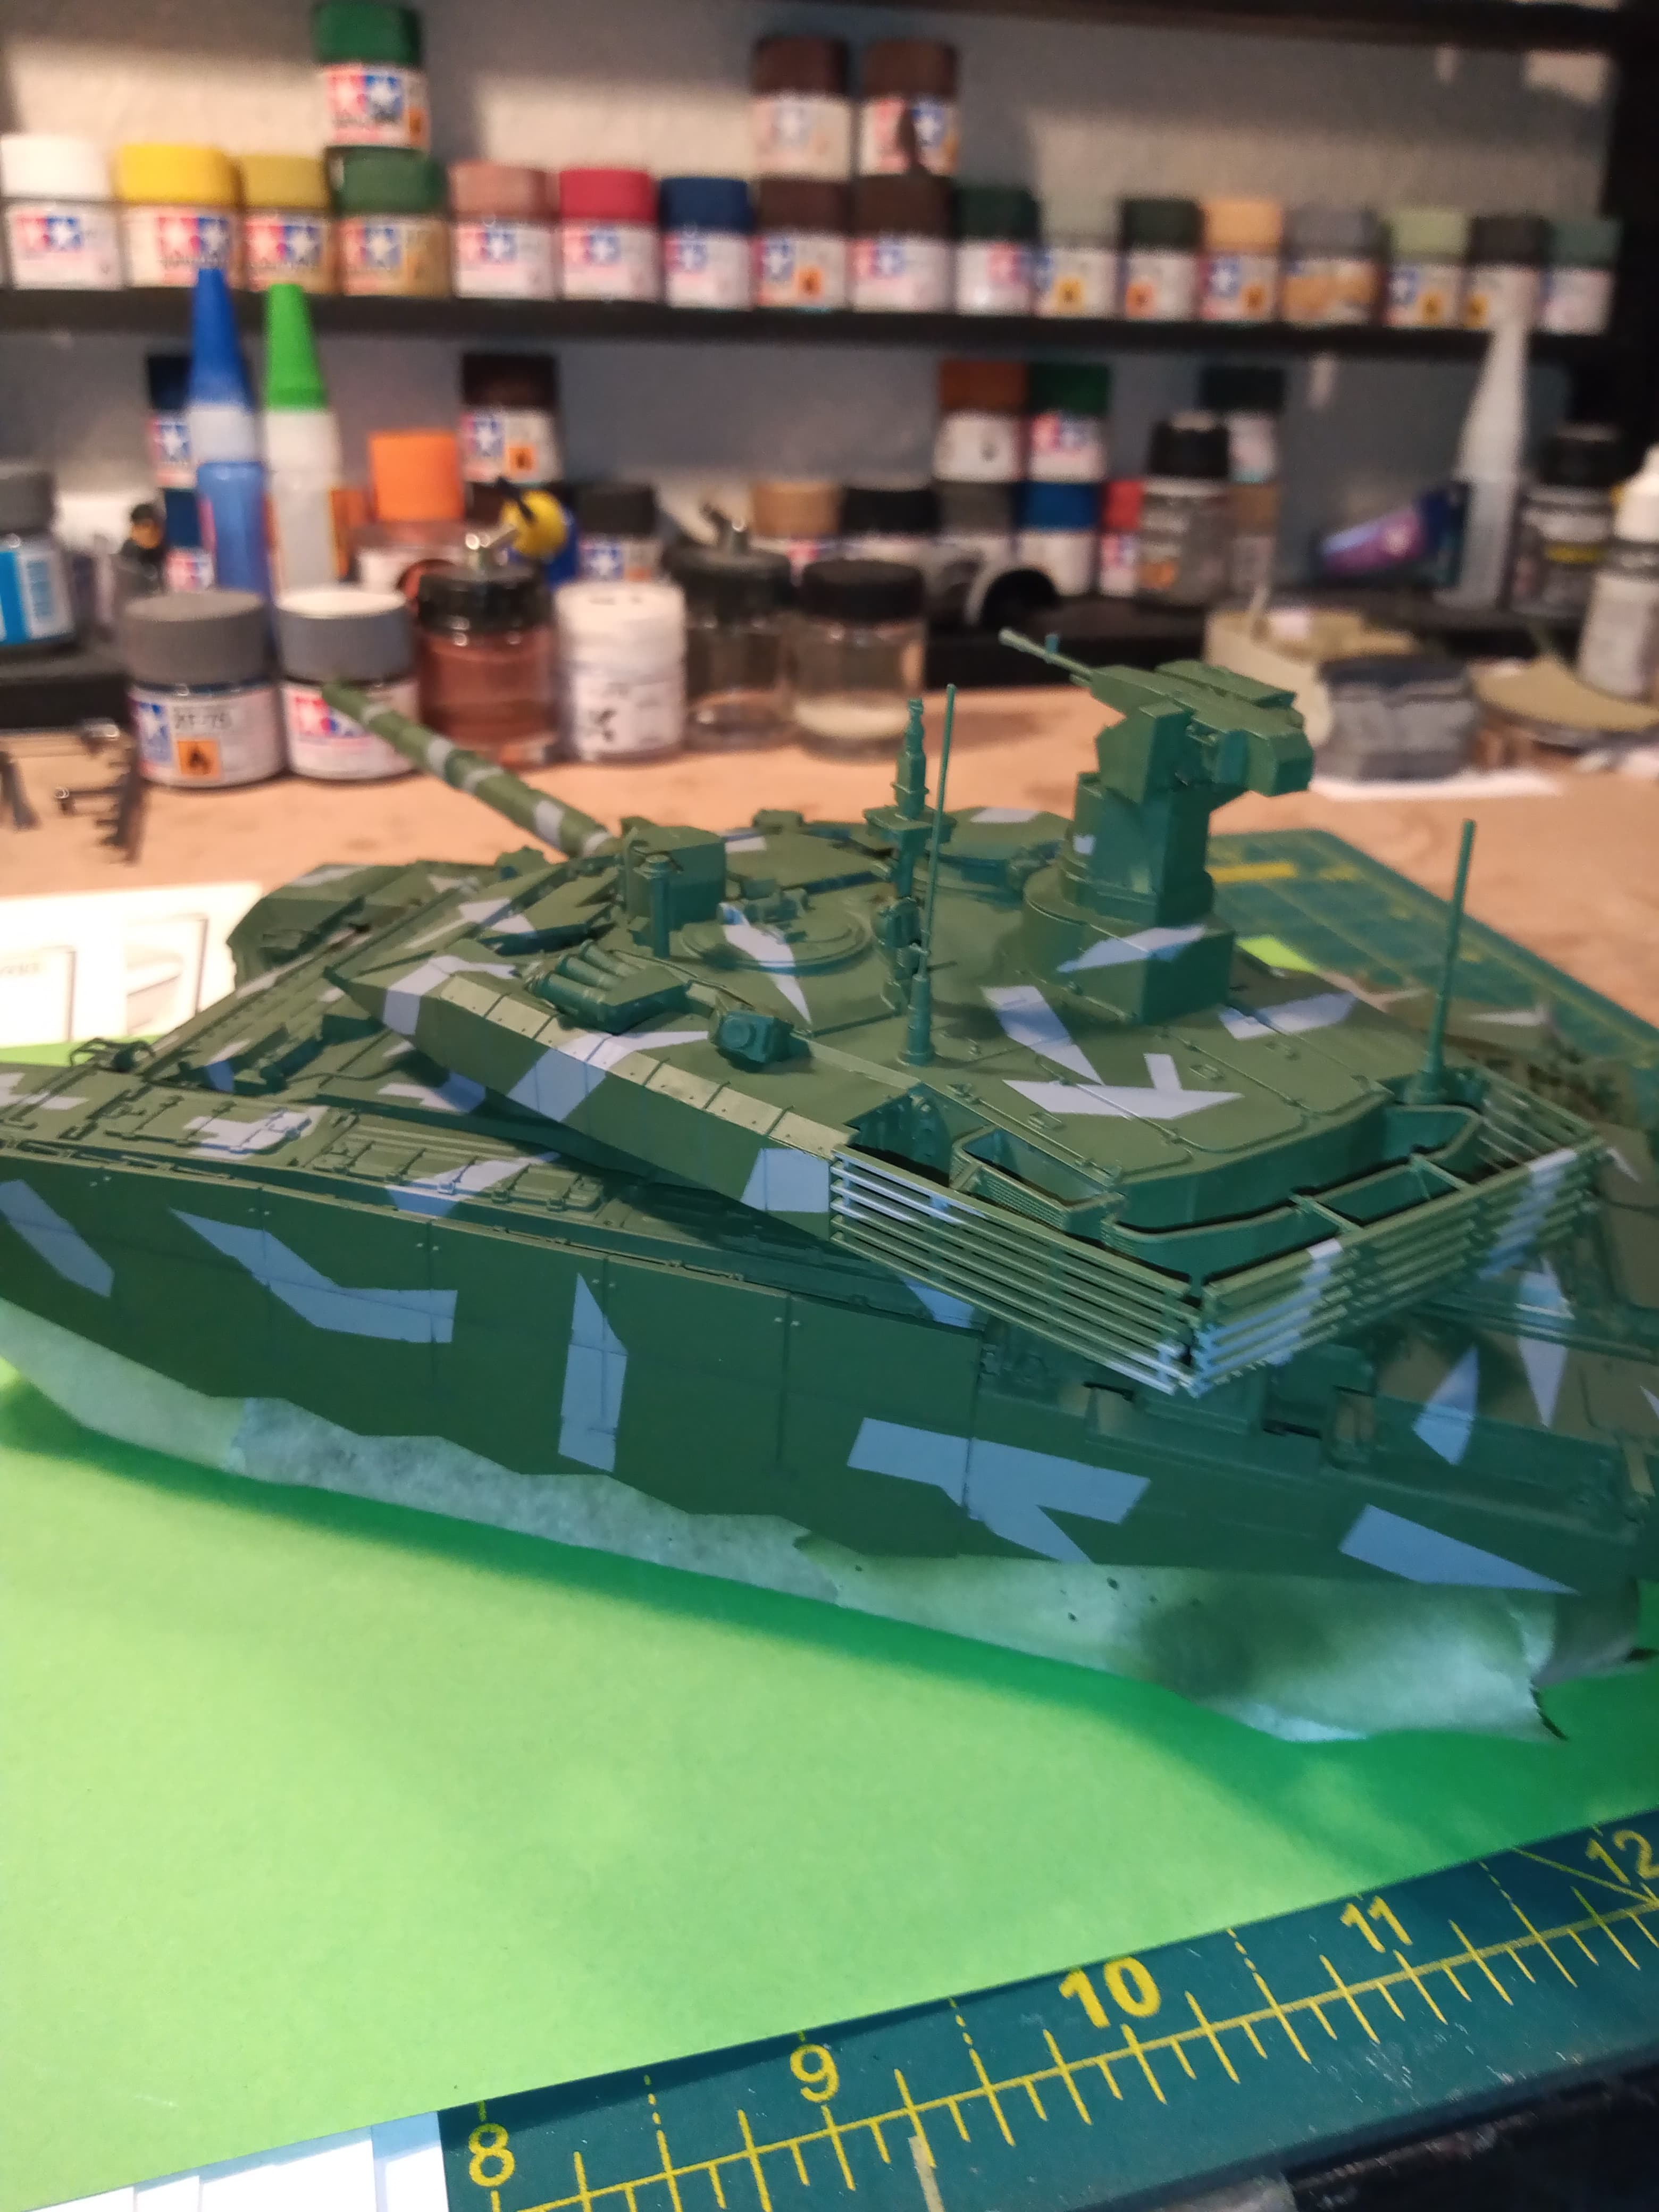
Next is the masking for the black shapes, some or probably most will overlap the grey.
Then detail painting like lenses, headlights again, sighting units and vision blocks …and touch painting the surgery on the LH track…
7 Likes
Likin’ the look of that camo so far. ![]()
![]()
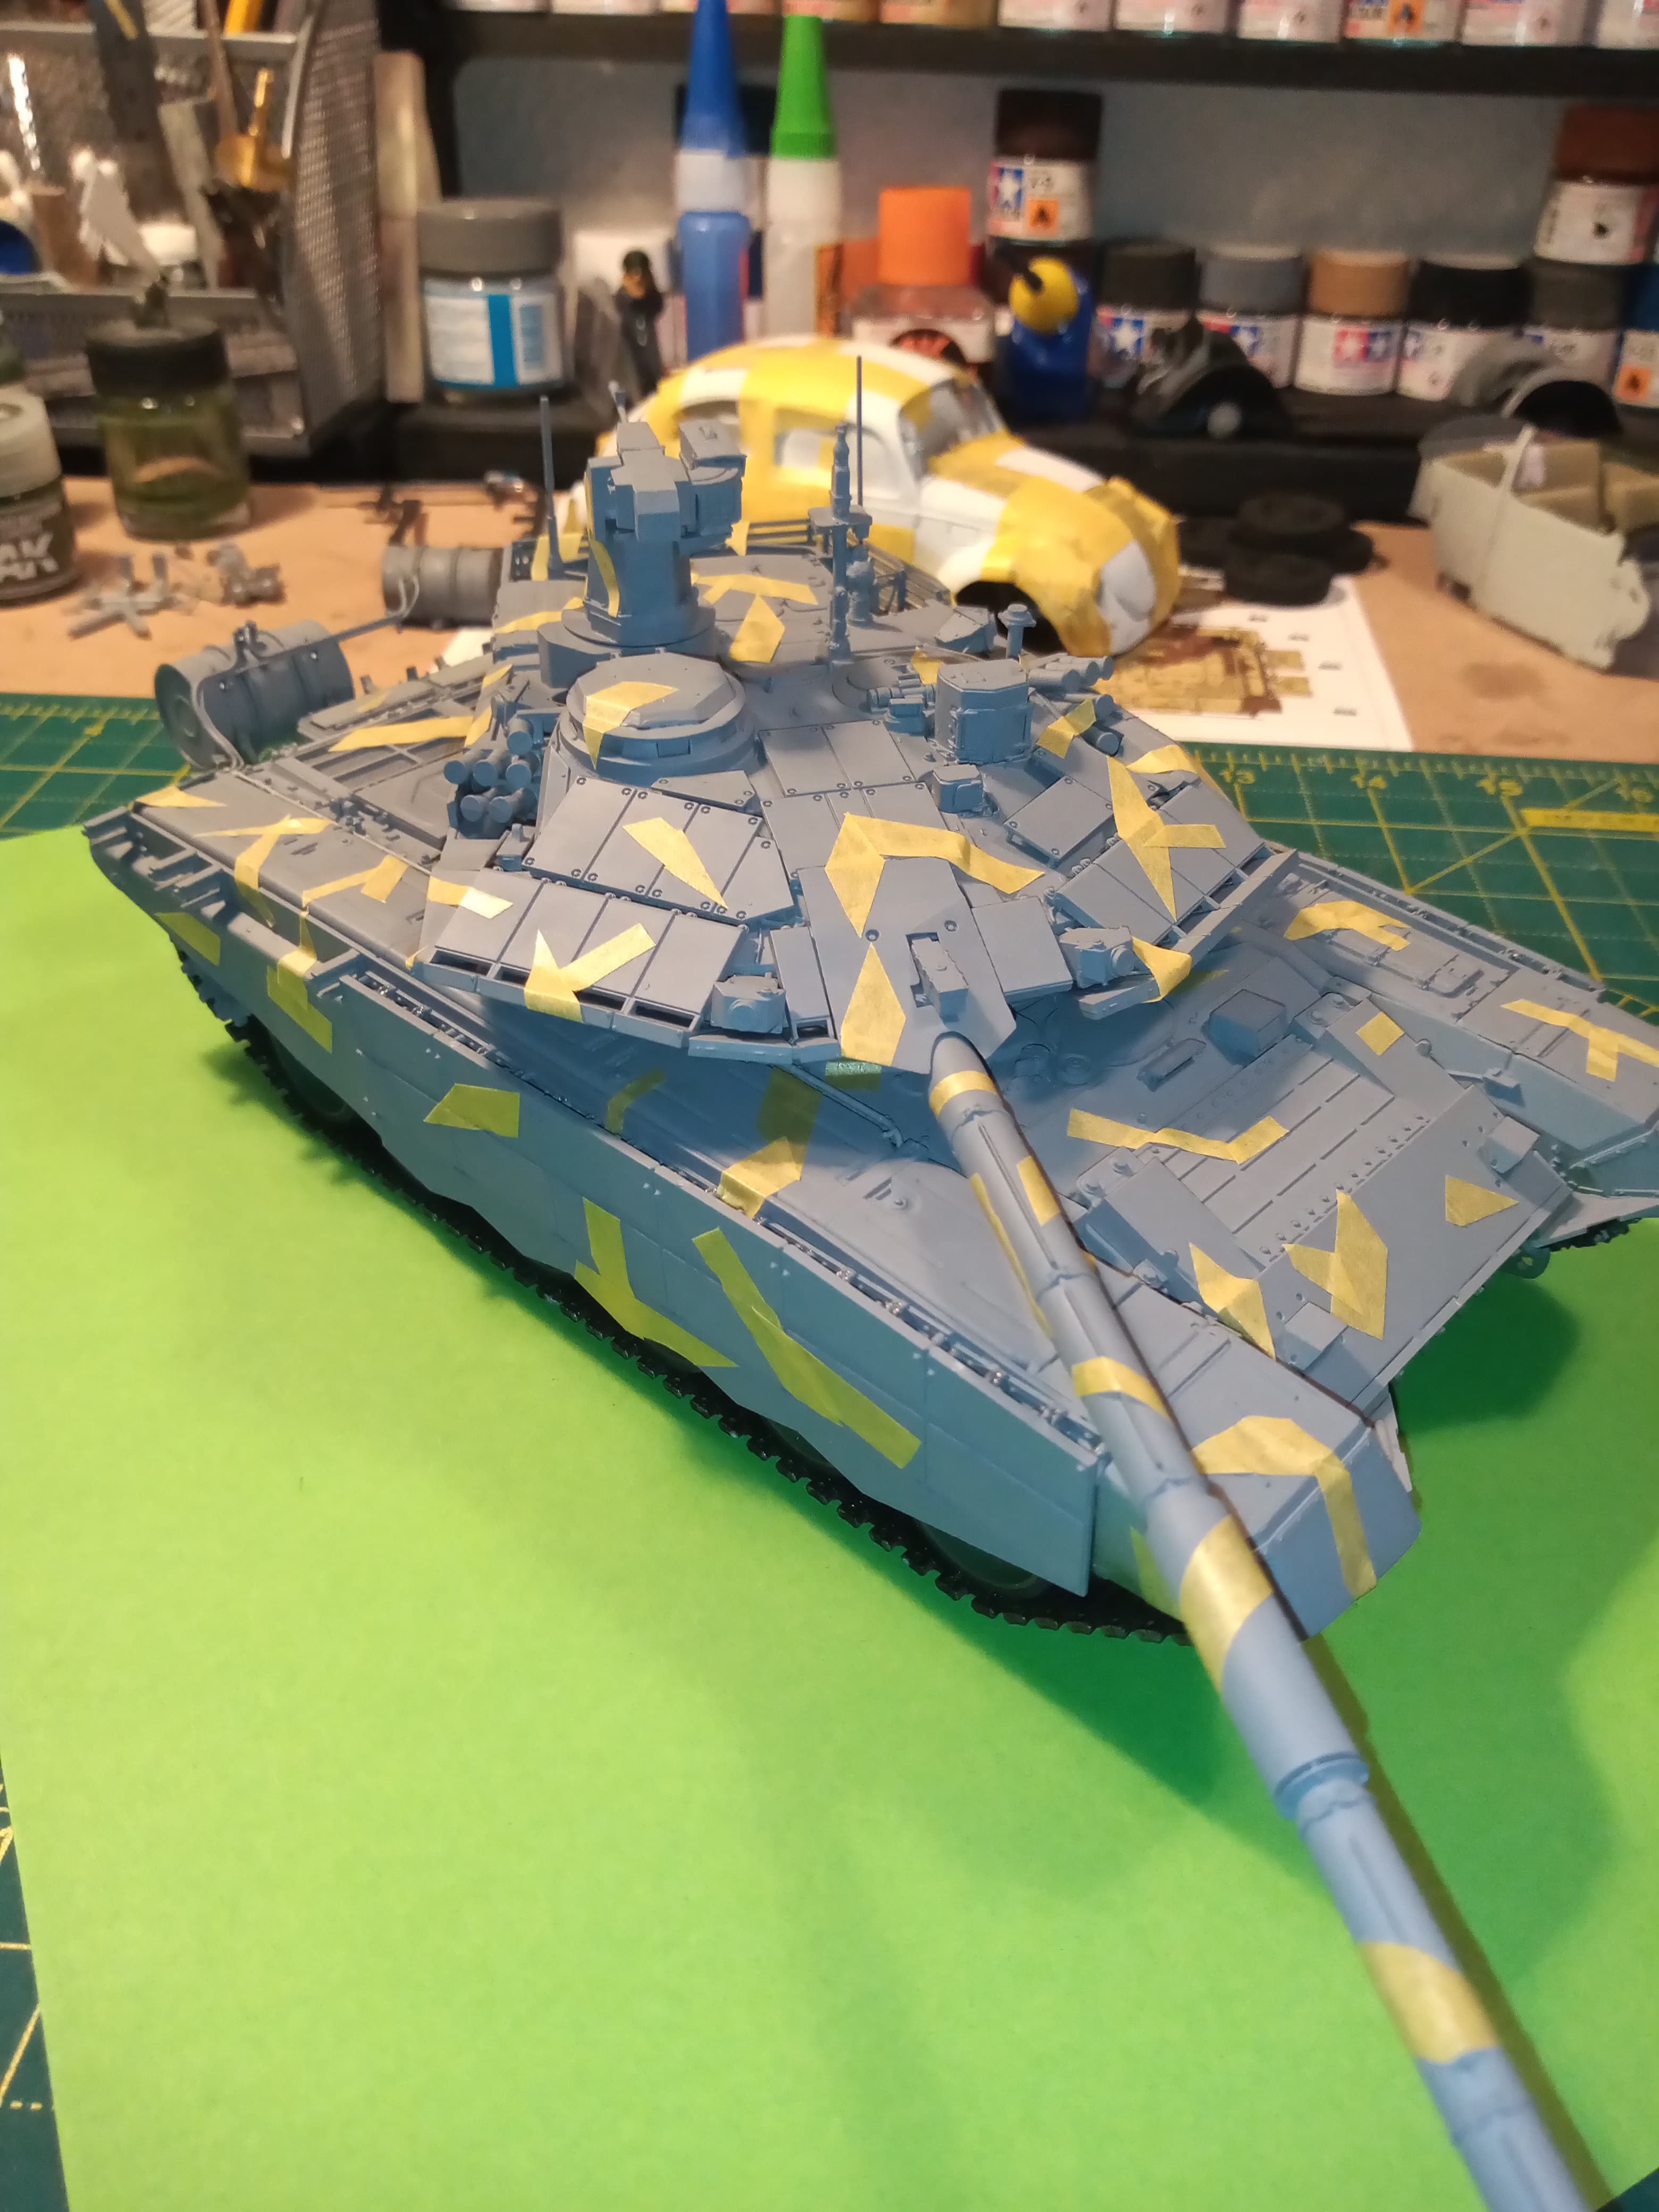
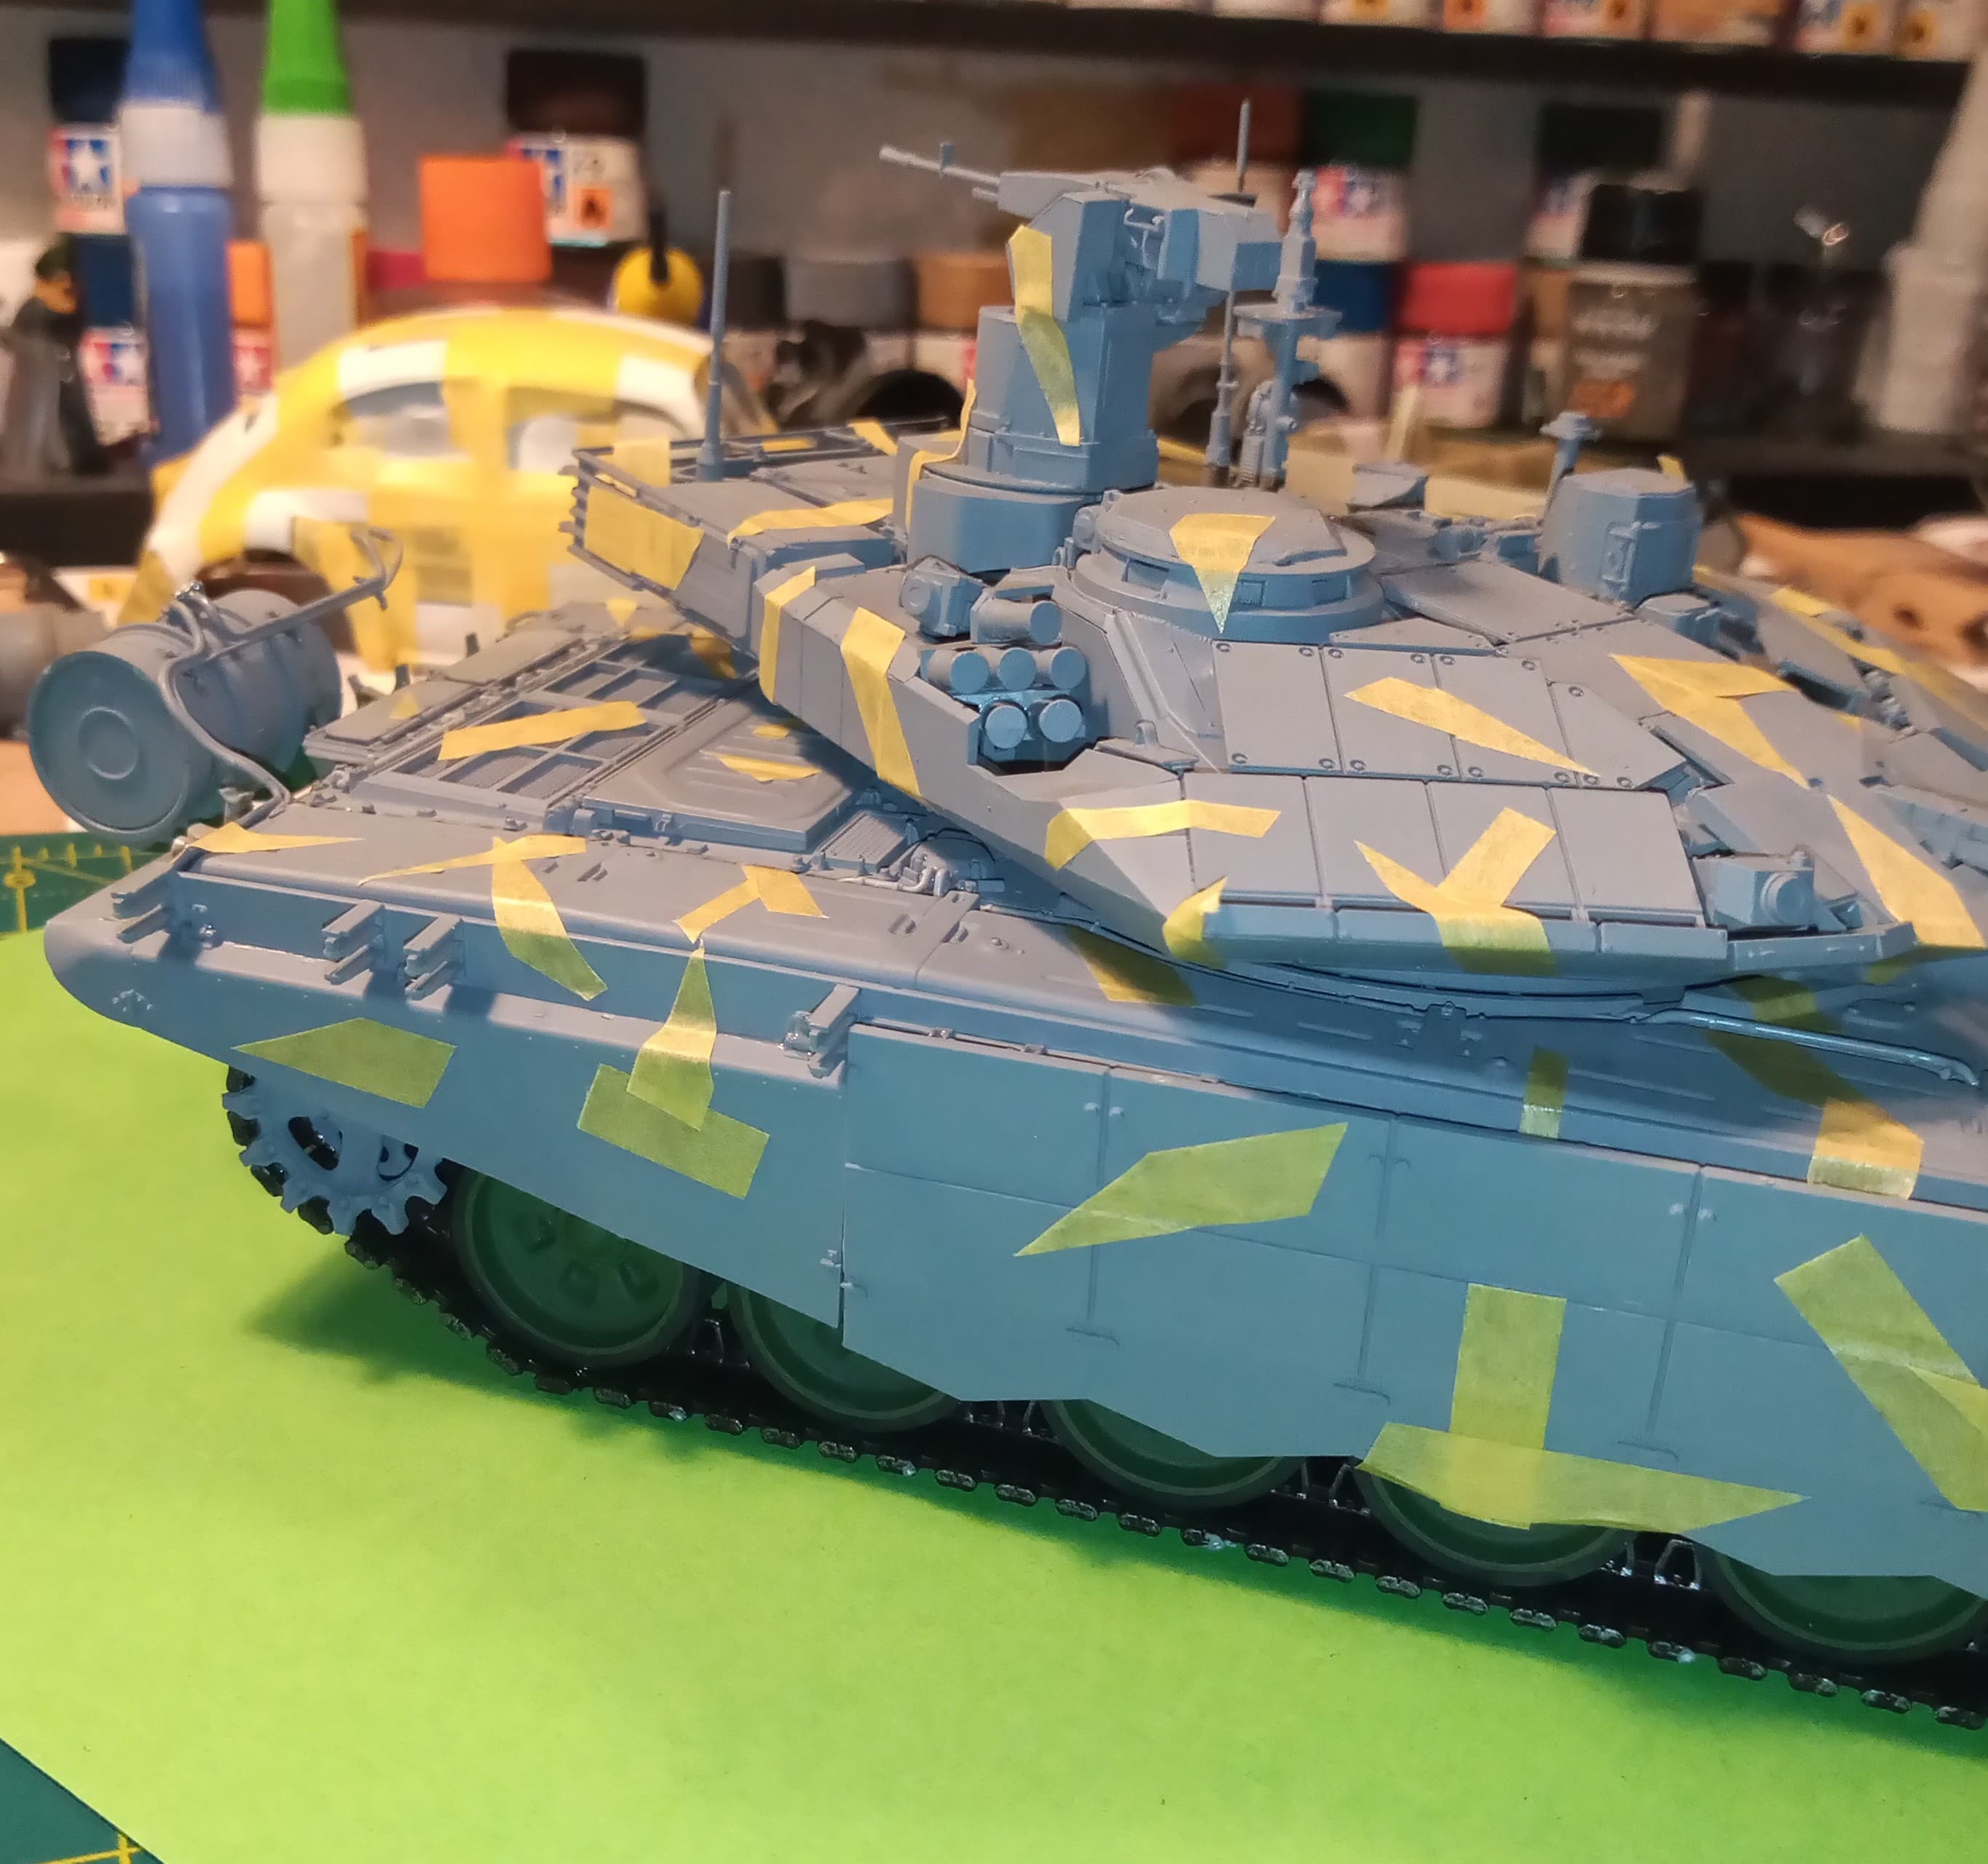
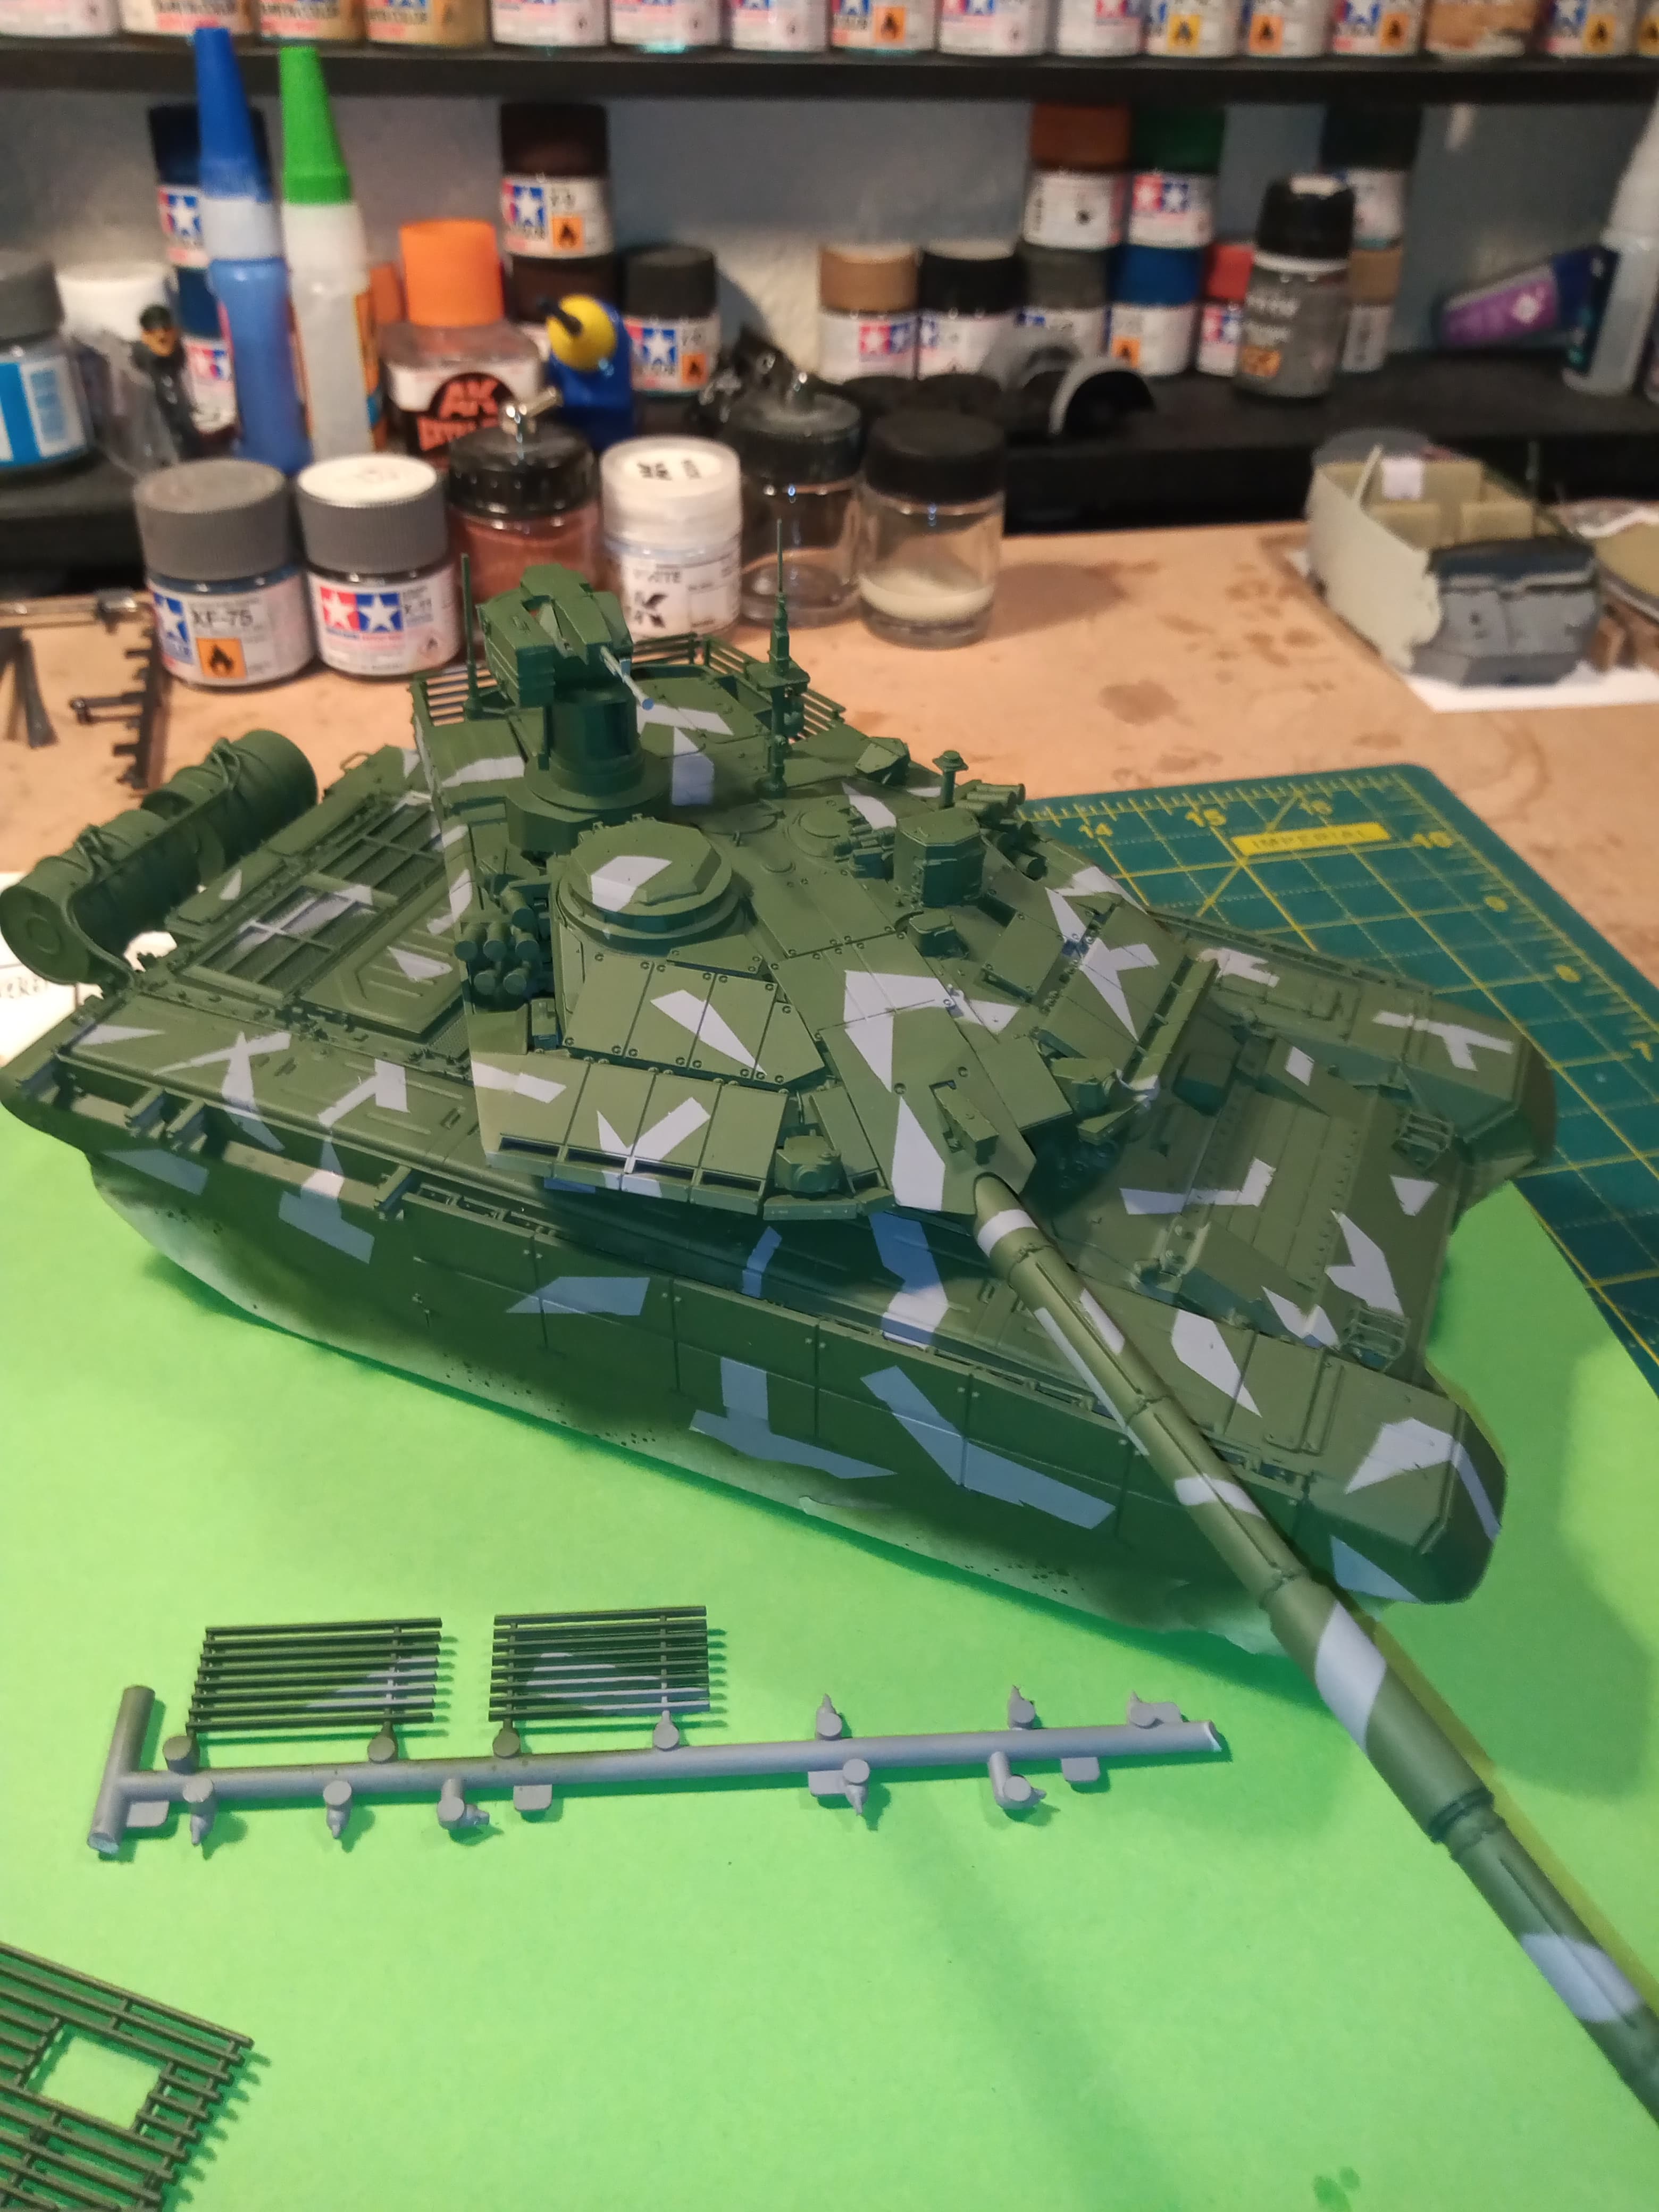
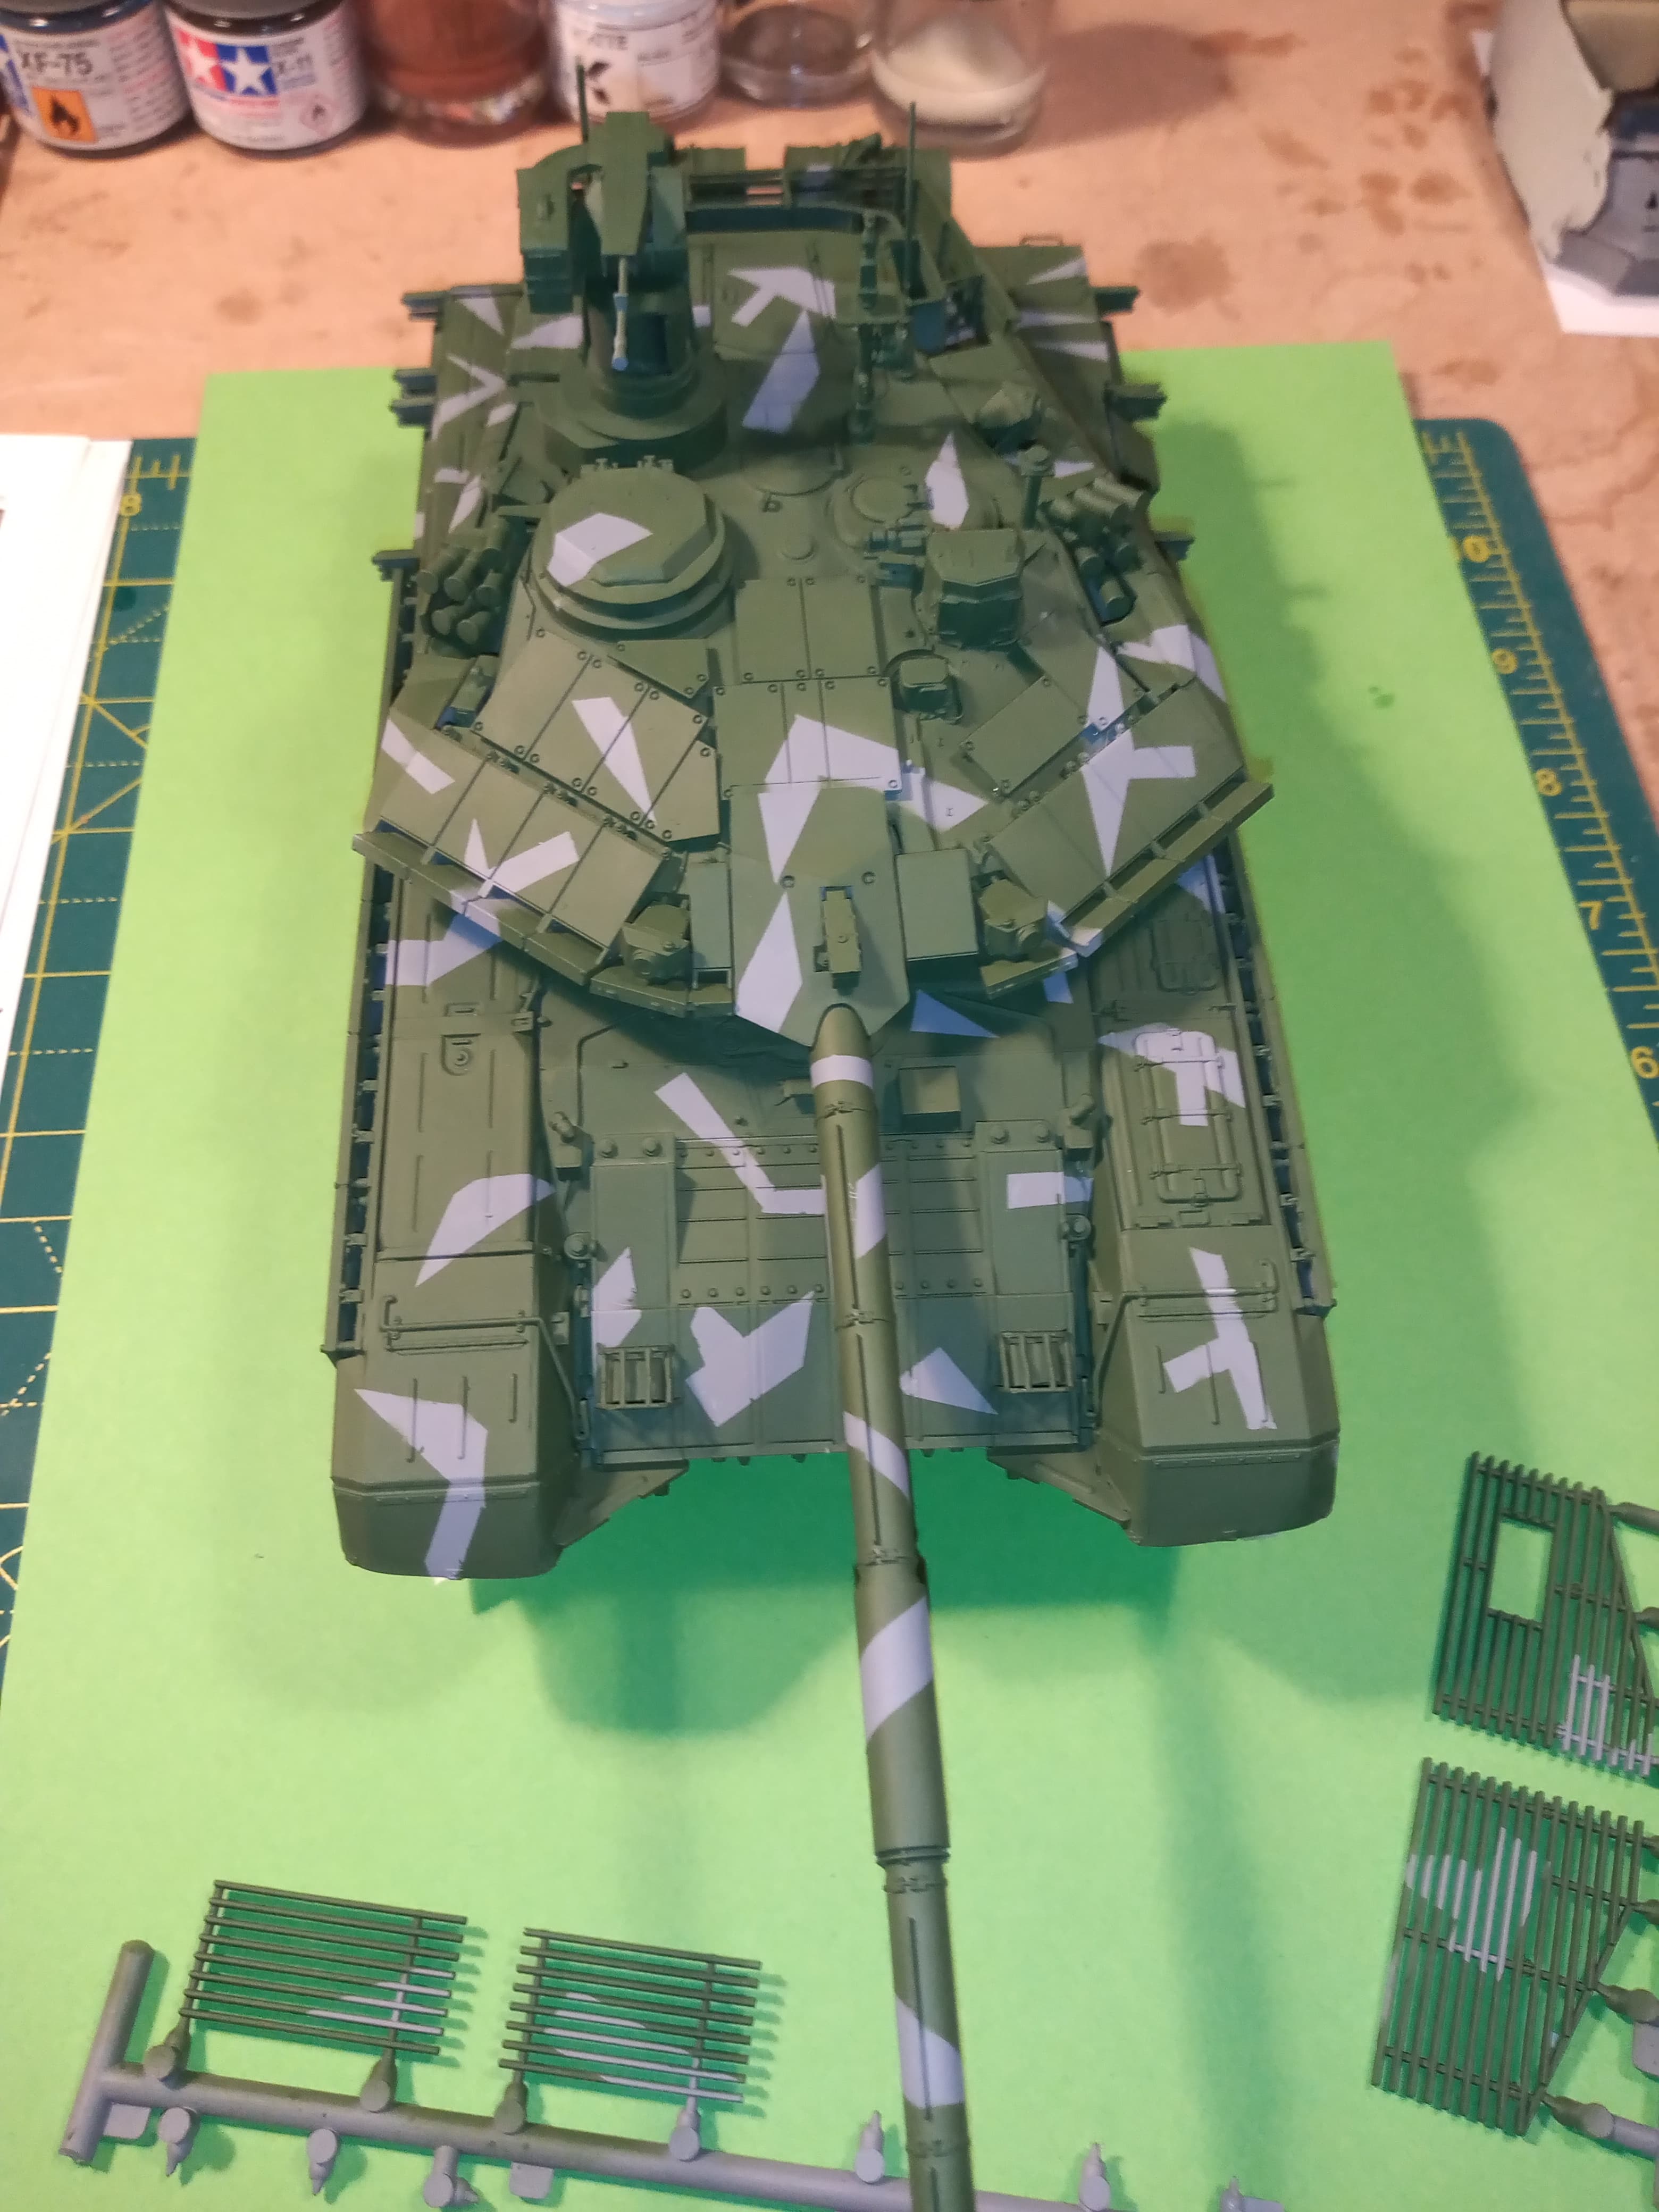
Started the black block masking.
It won’t be on every grey segment but over random areas.
Using 1mm tape to do the blocks, then will block off the open areas with standard masking tape and paper.
3 Likes
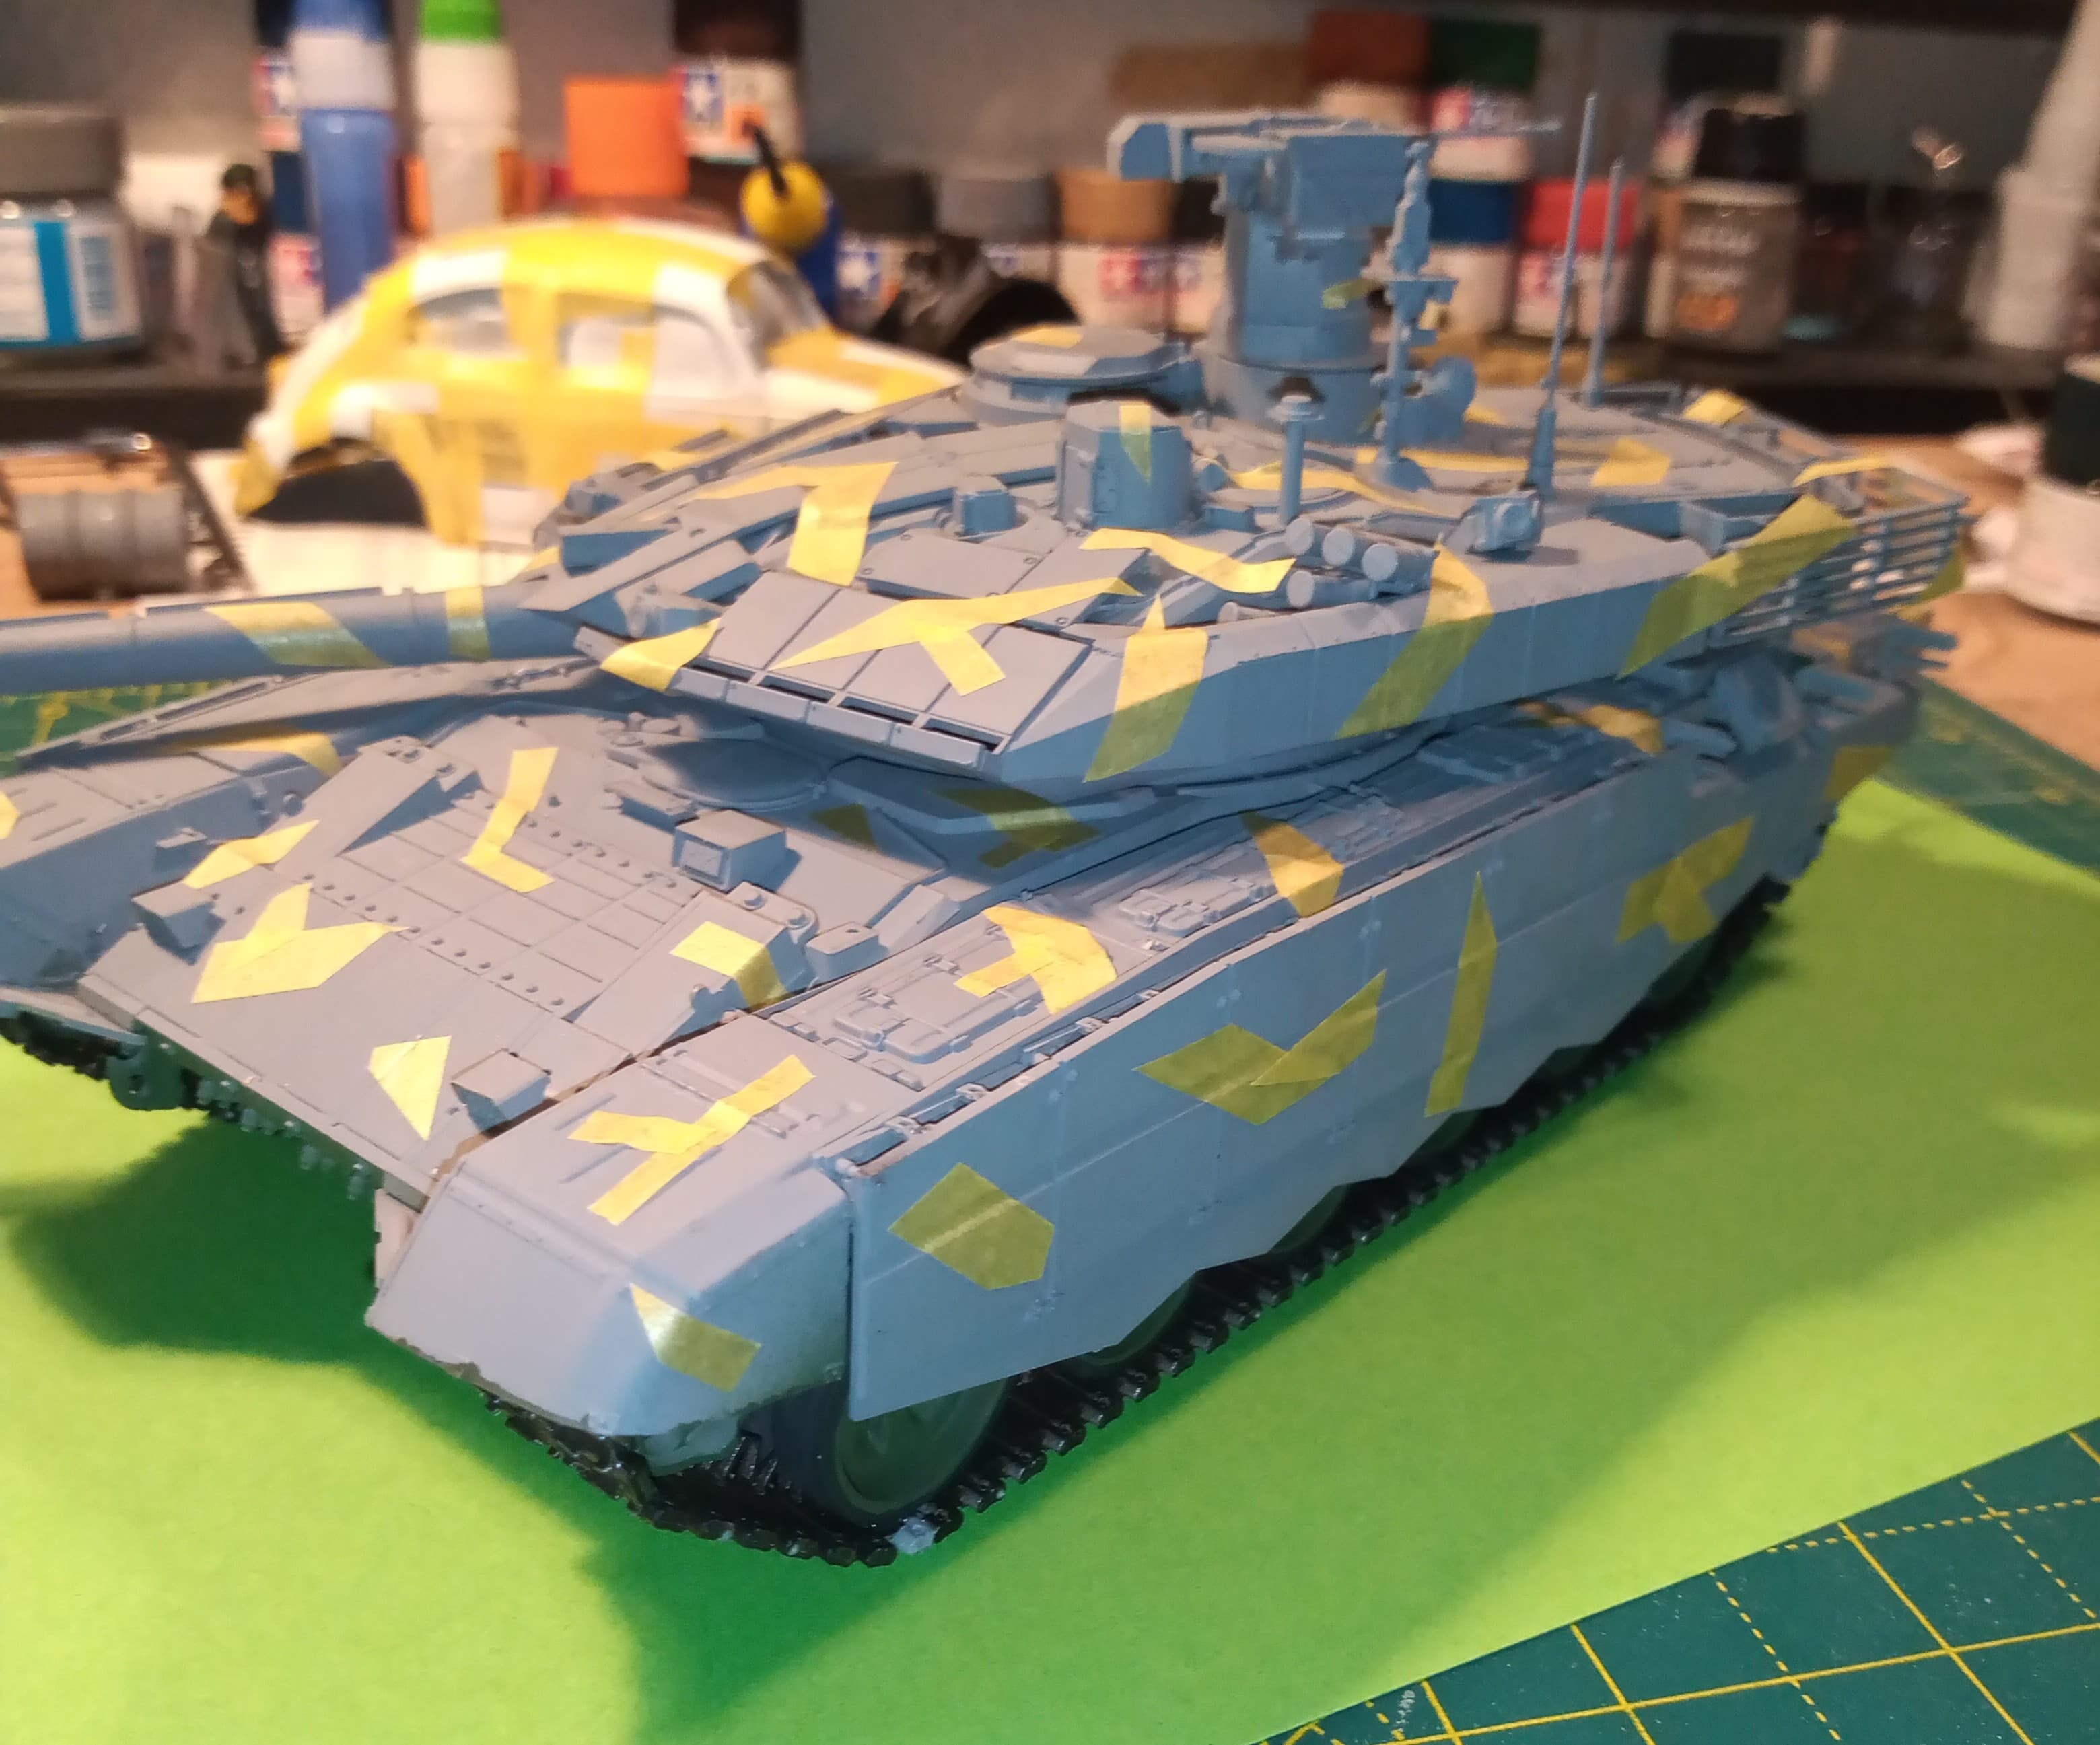
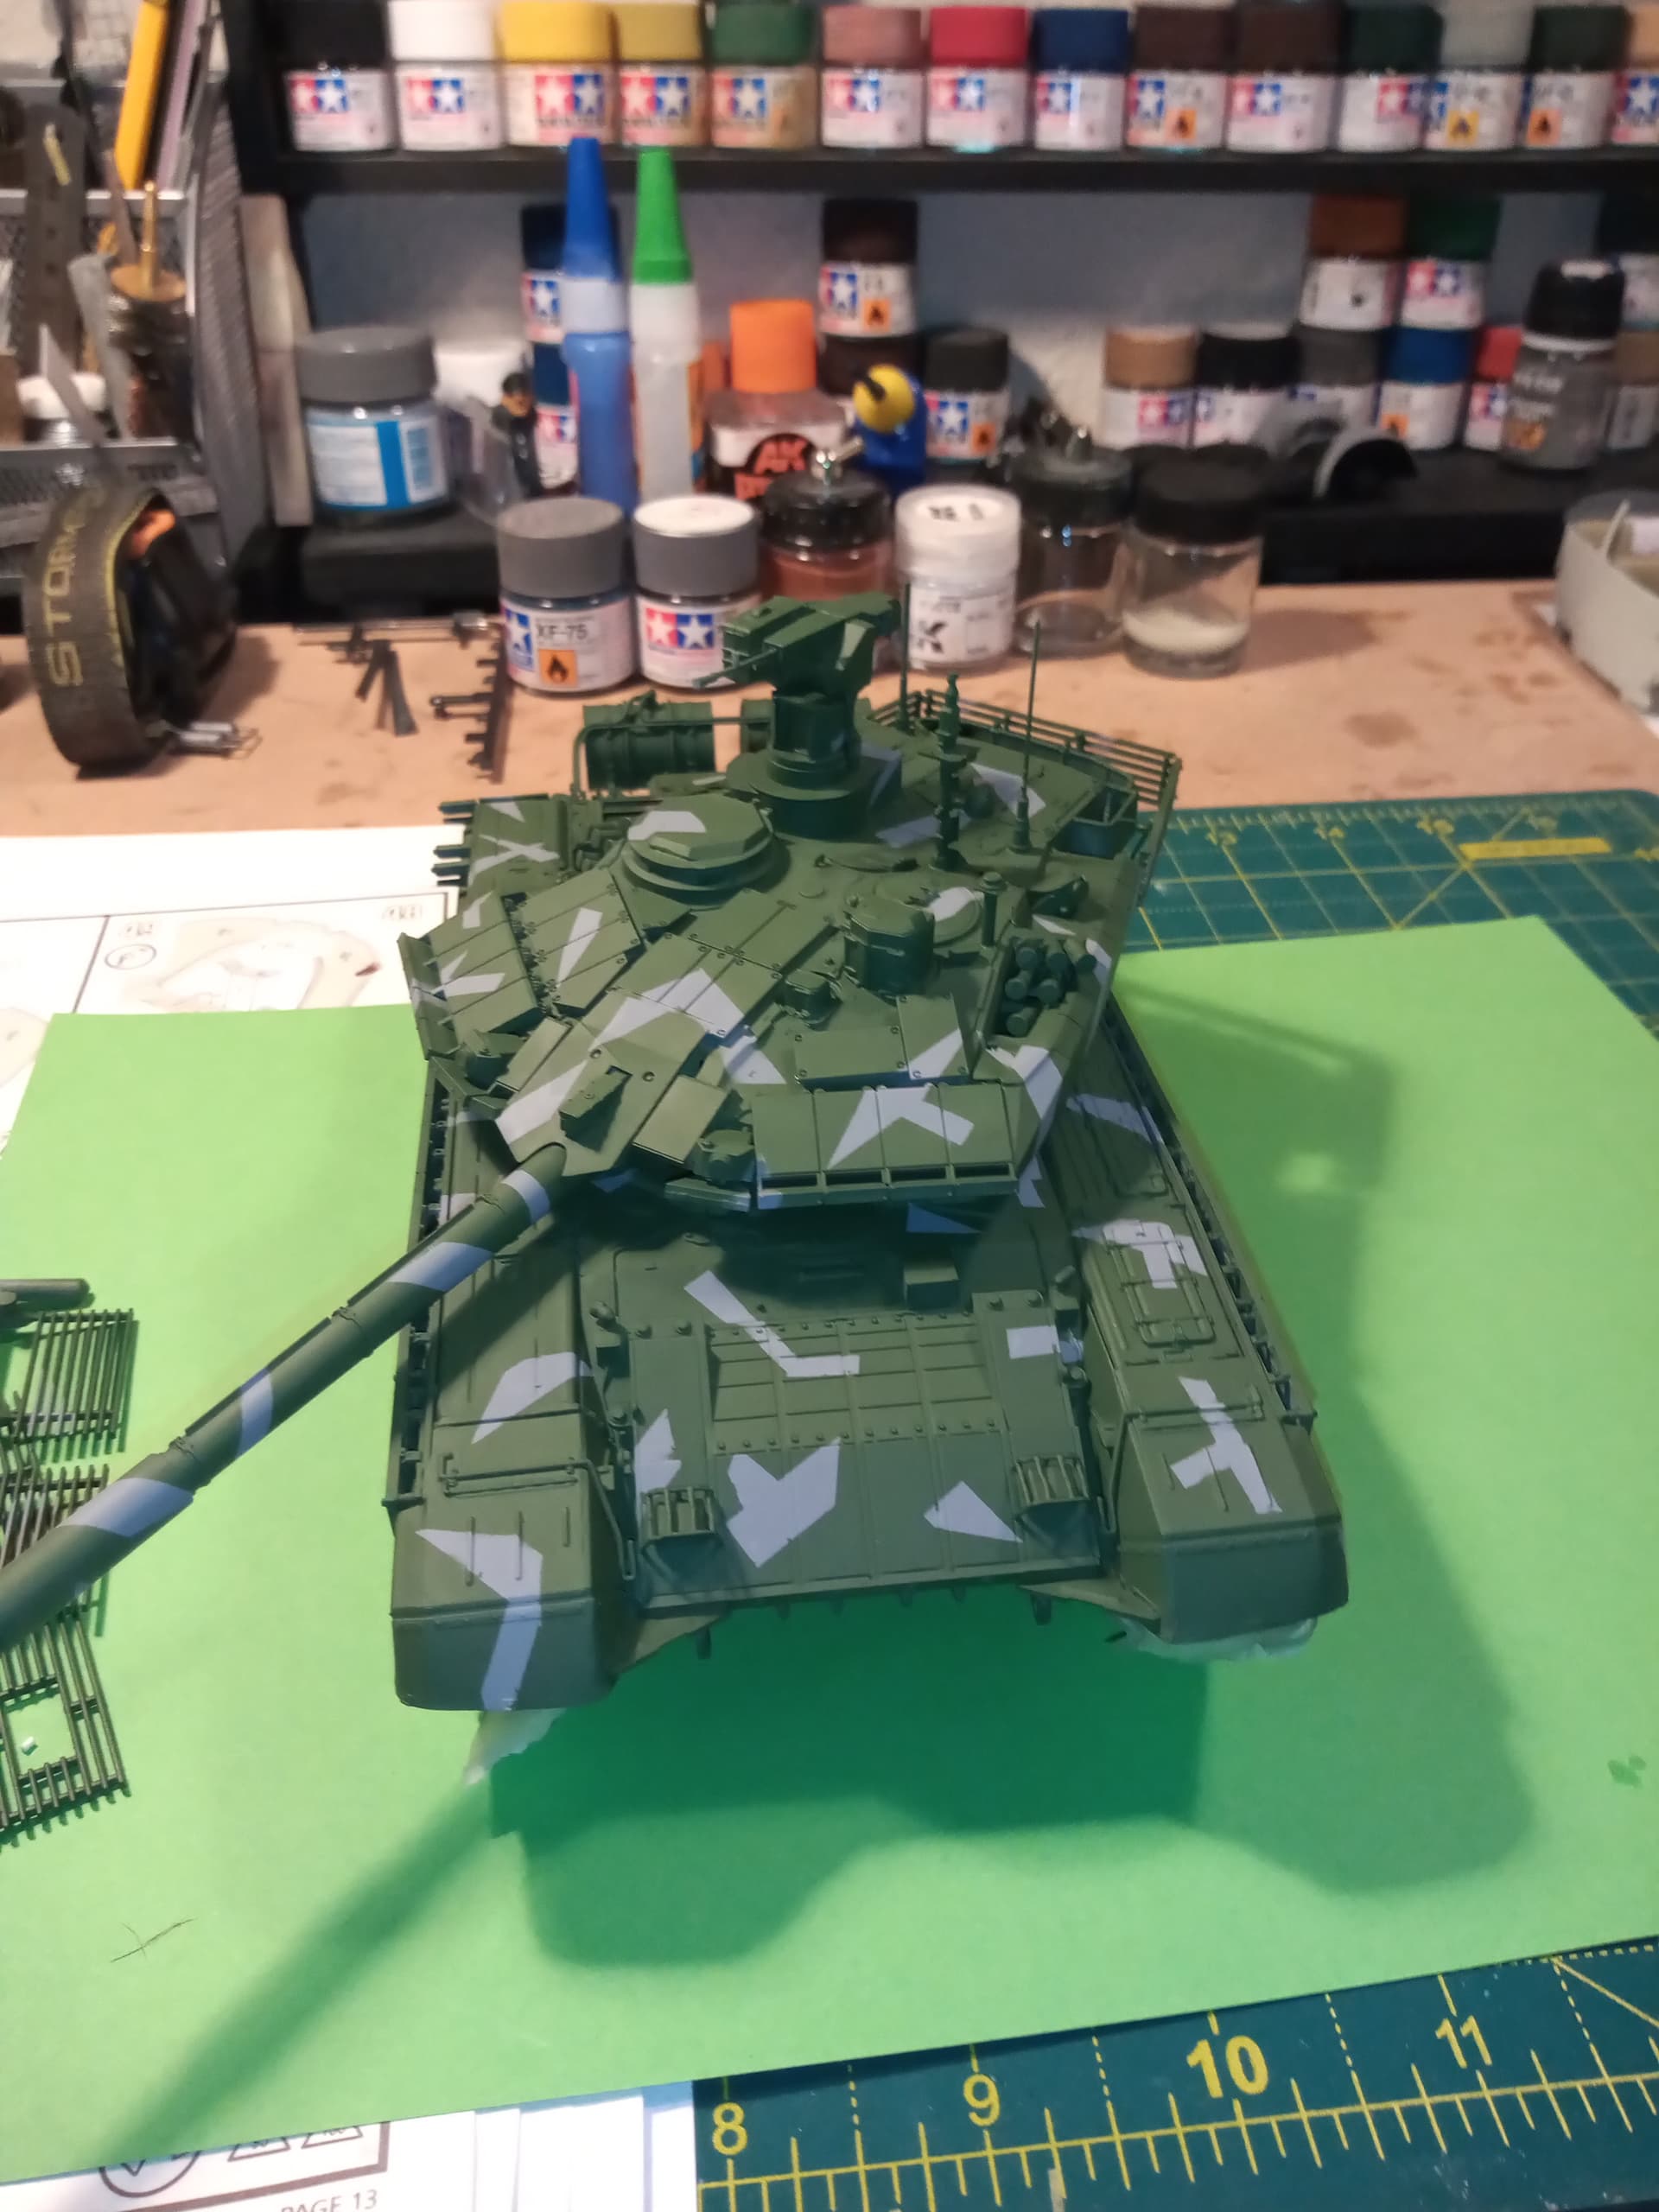
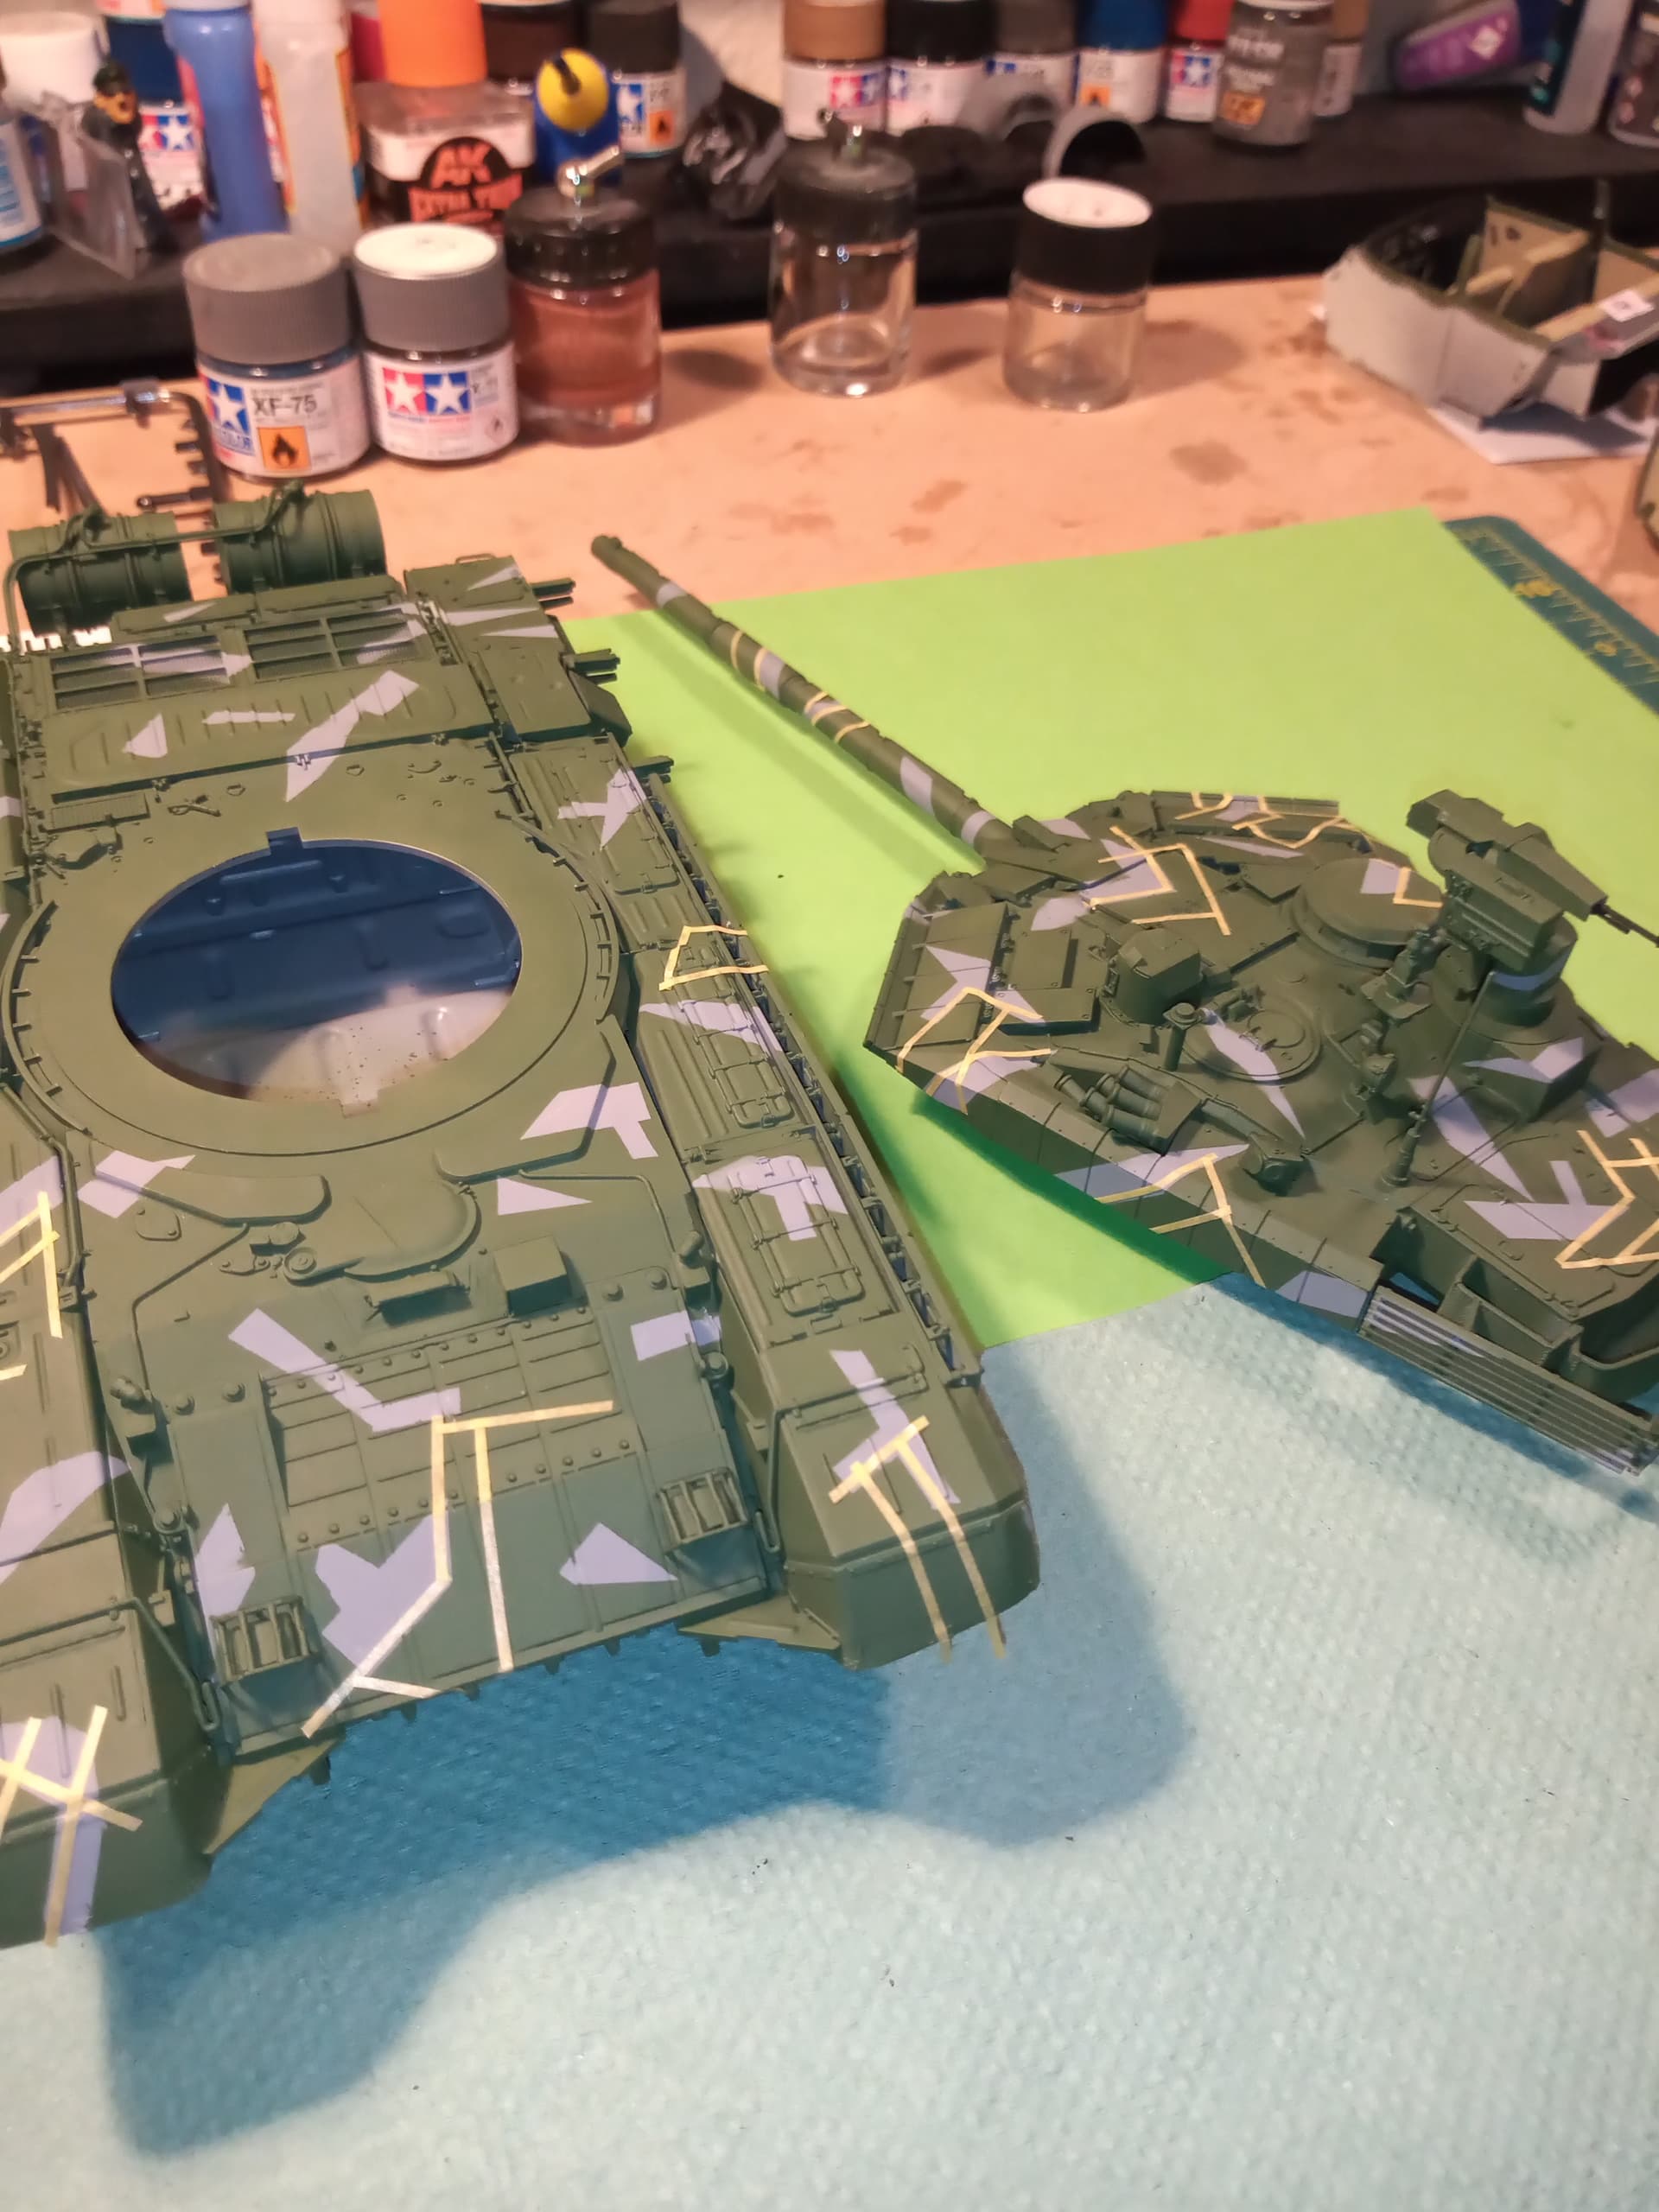
Black masking is done. Will try and spray that over next few days if I get a chance after work, but I am trying to get the beetle over the line as well…
Once the black is done it’s just a case of fine detail painting and a wash of AK OEF/OIF and maybe the NATO green/brown filter…
Weathering will be almost non existent on this one… I think ![]()
1 Like
you’re coming on leaps and bounds mate, nice one.
1 Like
Thanks David. This has been a fun clean build like I said before. The only issues have been self induced but easily fixed. It will be nice change to finish one without significant weathering on it.