1/48 ICM Junkers 88 A-5 Build

Hello, this is my new project, following on from the Mosquito FB Mk IV.

This is ICM’s (fairly old now) 1/48 Junkers 88 A-5. Purely co-inicdentally, ICM is a Ukranian company I believe, so this is also my contribution to their war economy.

Its a good size box and sturdy. However, the lid has an interference fit and is impossible to remove without some tearing to the sides of it (well, I found it impossible anyway). Inside is another box (a box within a box) made from sturdy cardboard. My only criticism would be that all the sprues are held within one sealable plasic bag, so this is not helpful when switching between sprues during construction, as you have to get them all out and lay them out unless you want to be delving into the bag all the time, risking inadvertent part removal (i’ve already knocked two off).

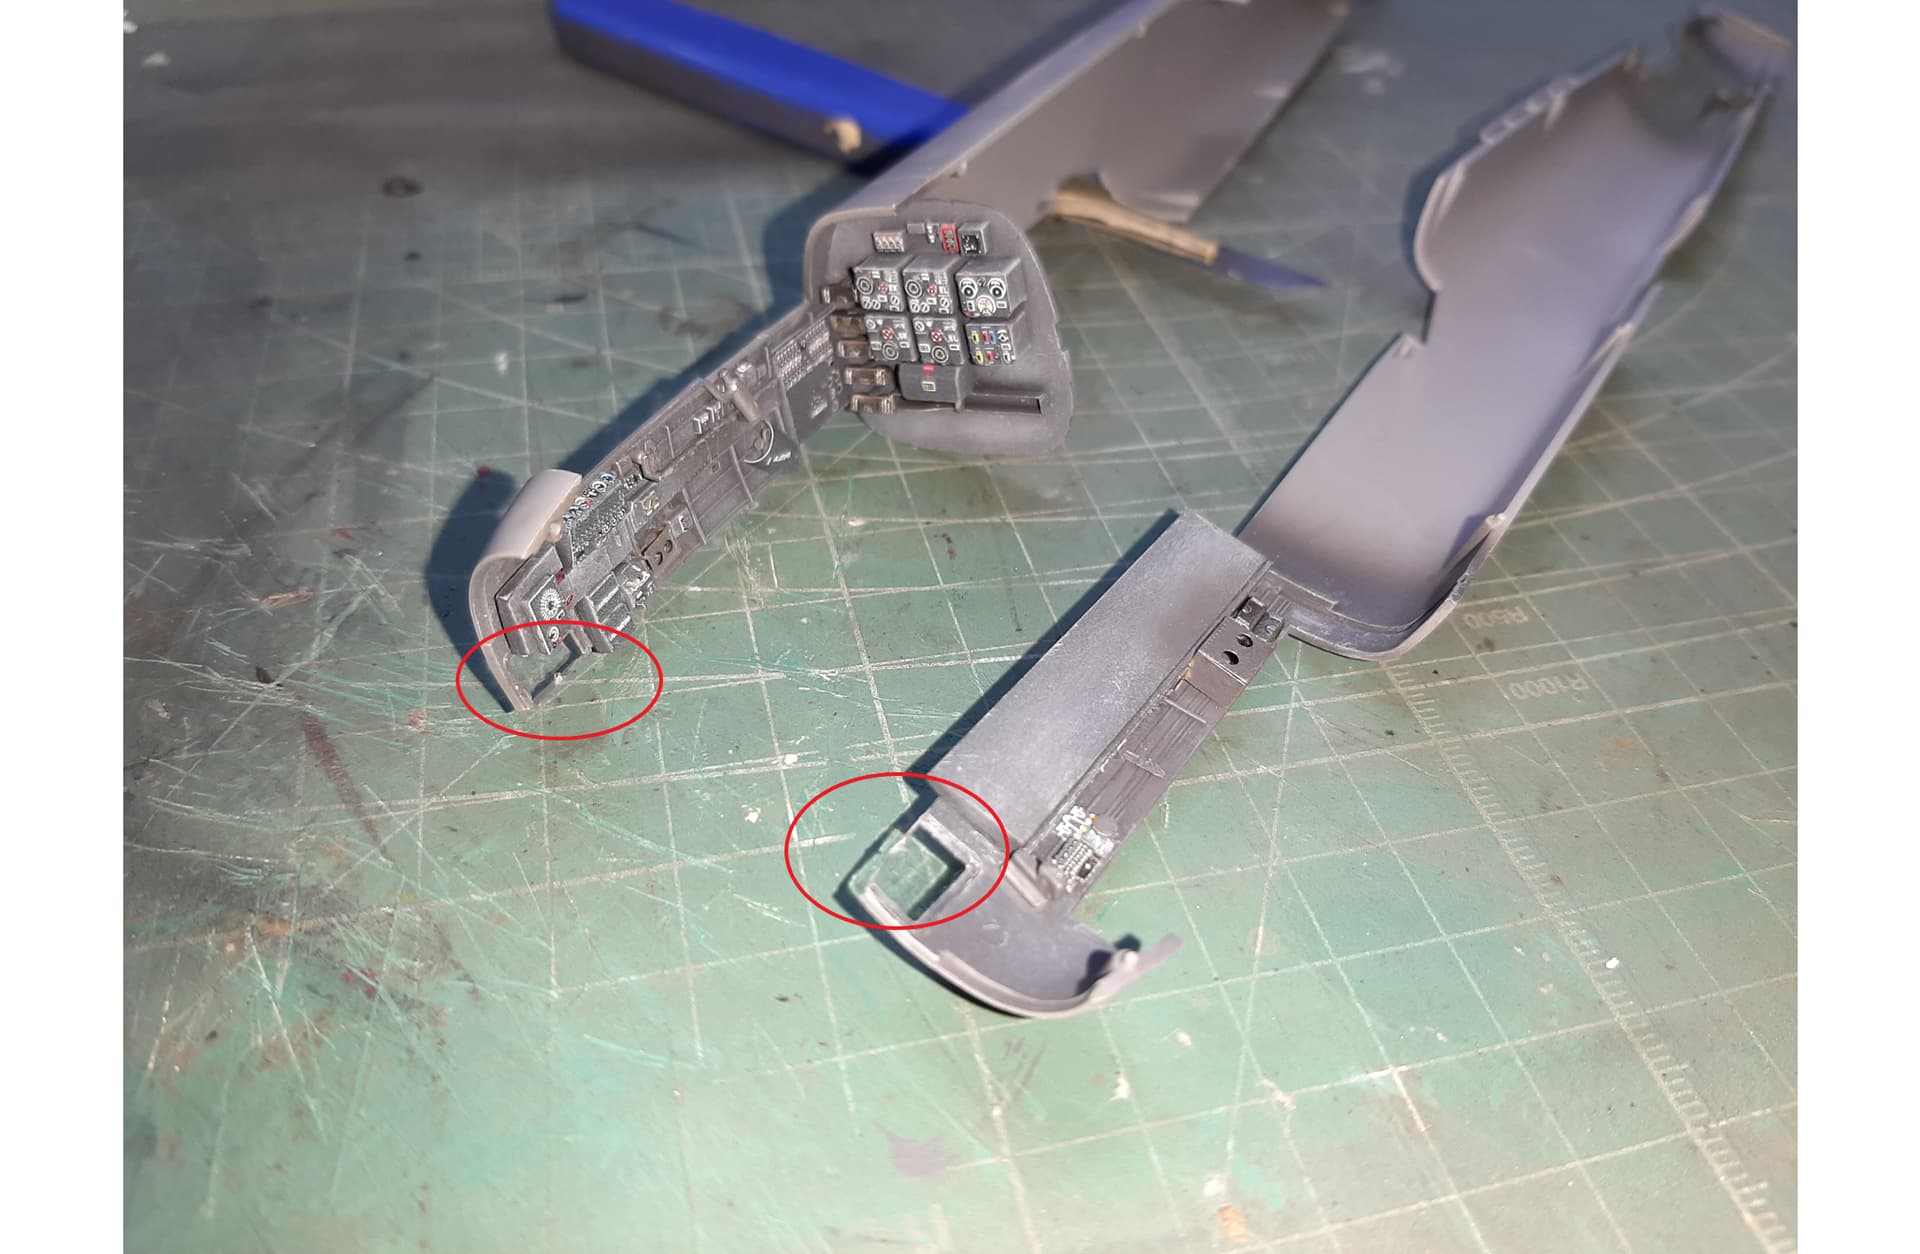
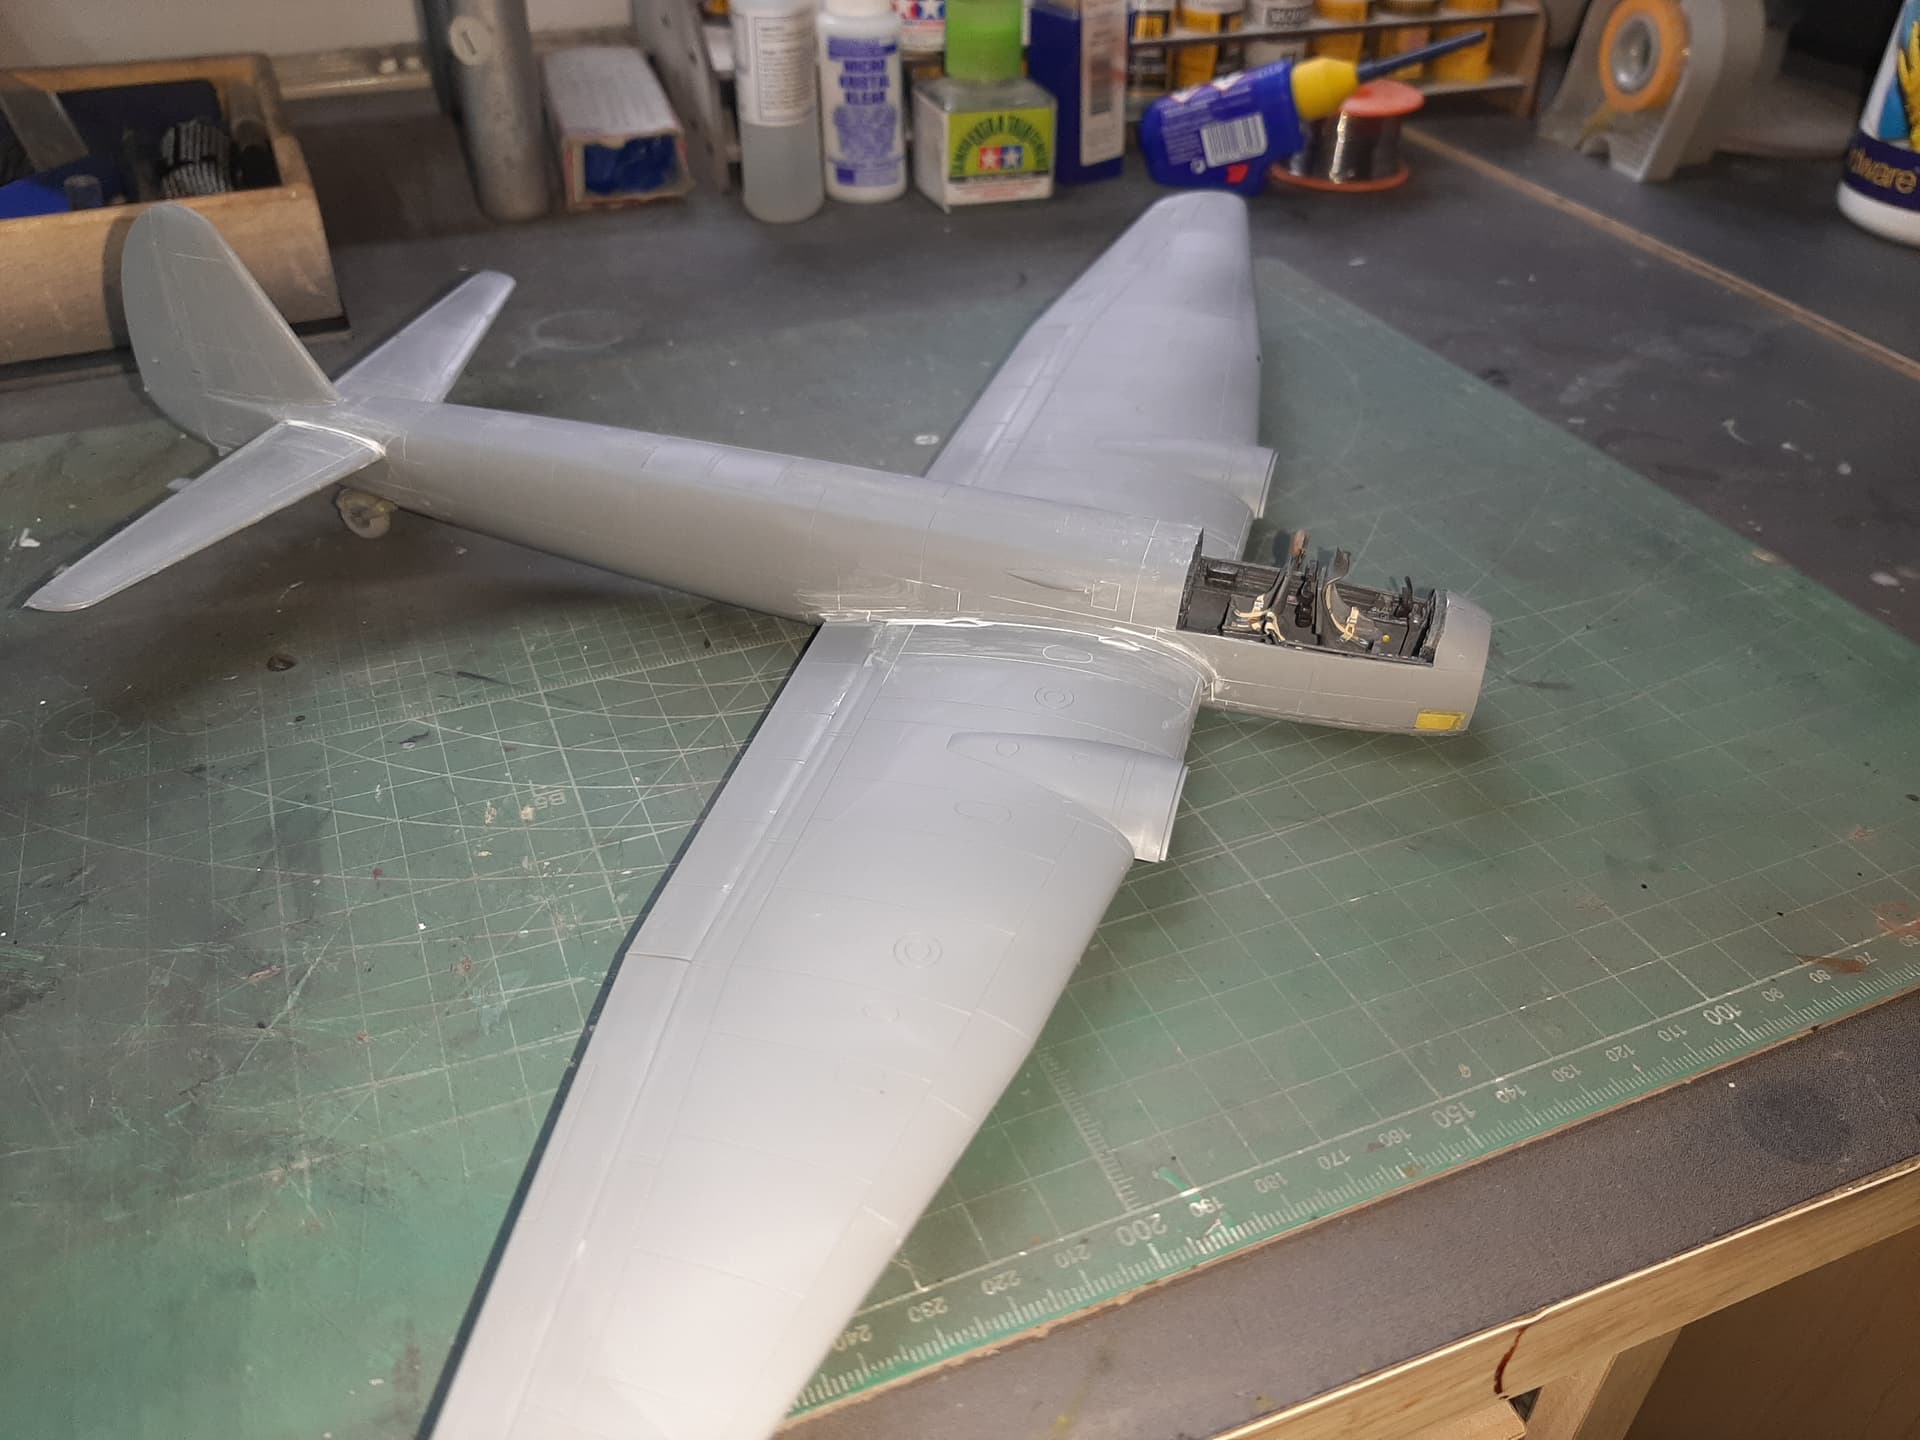
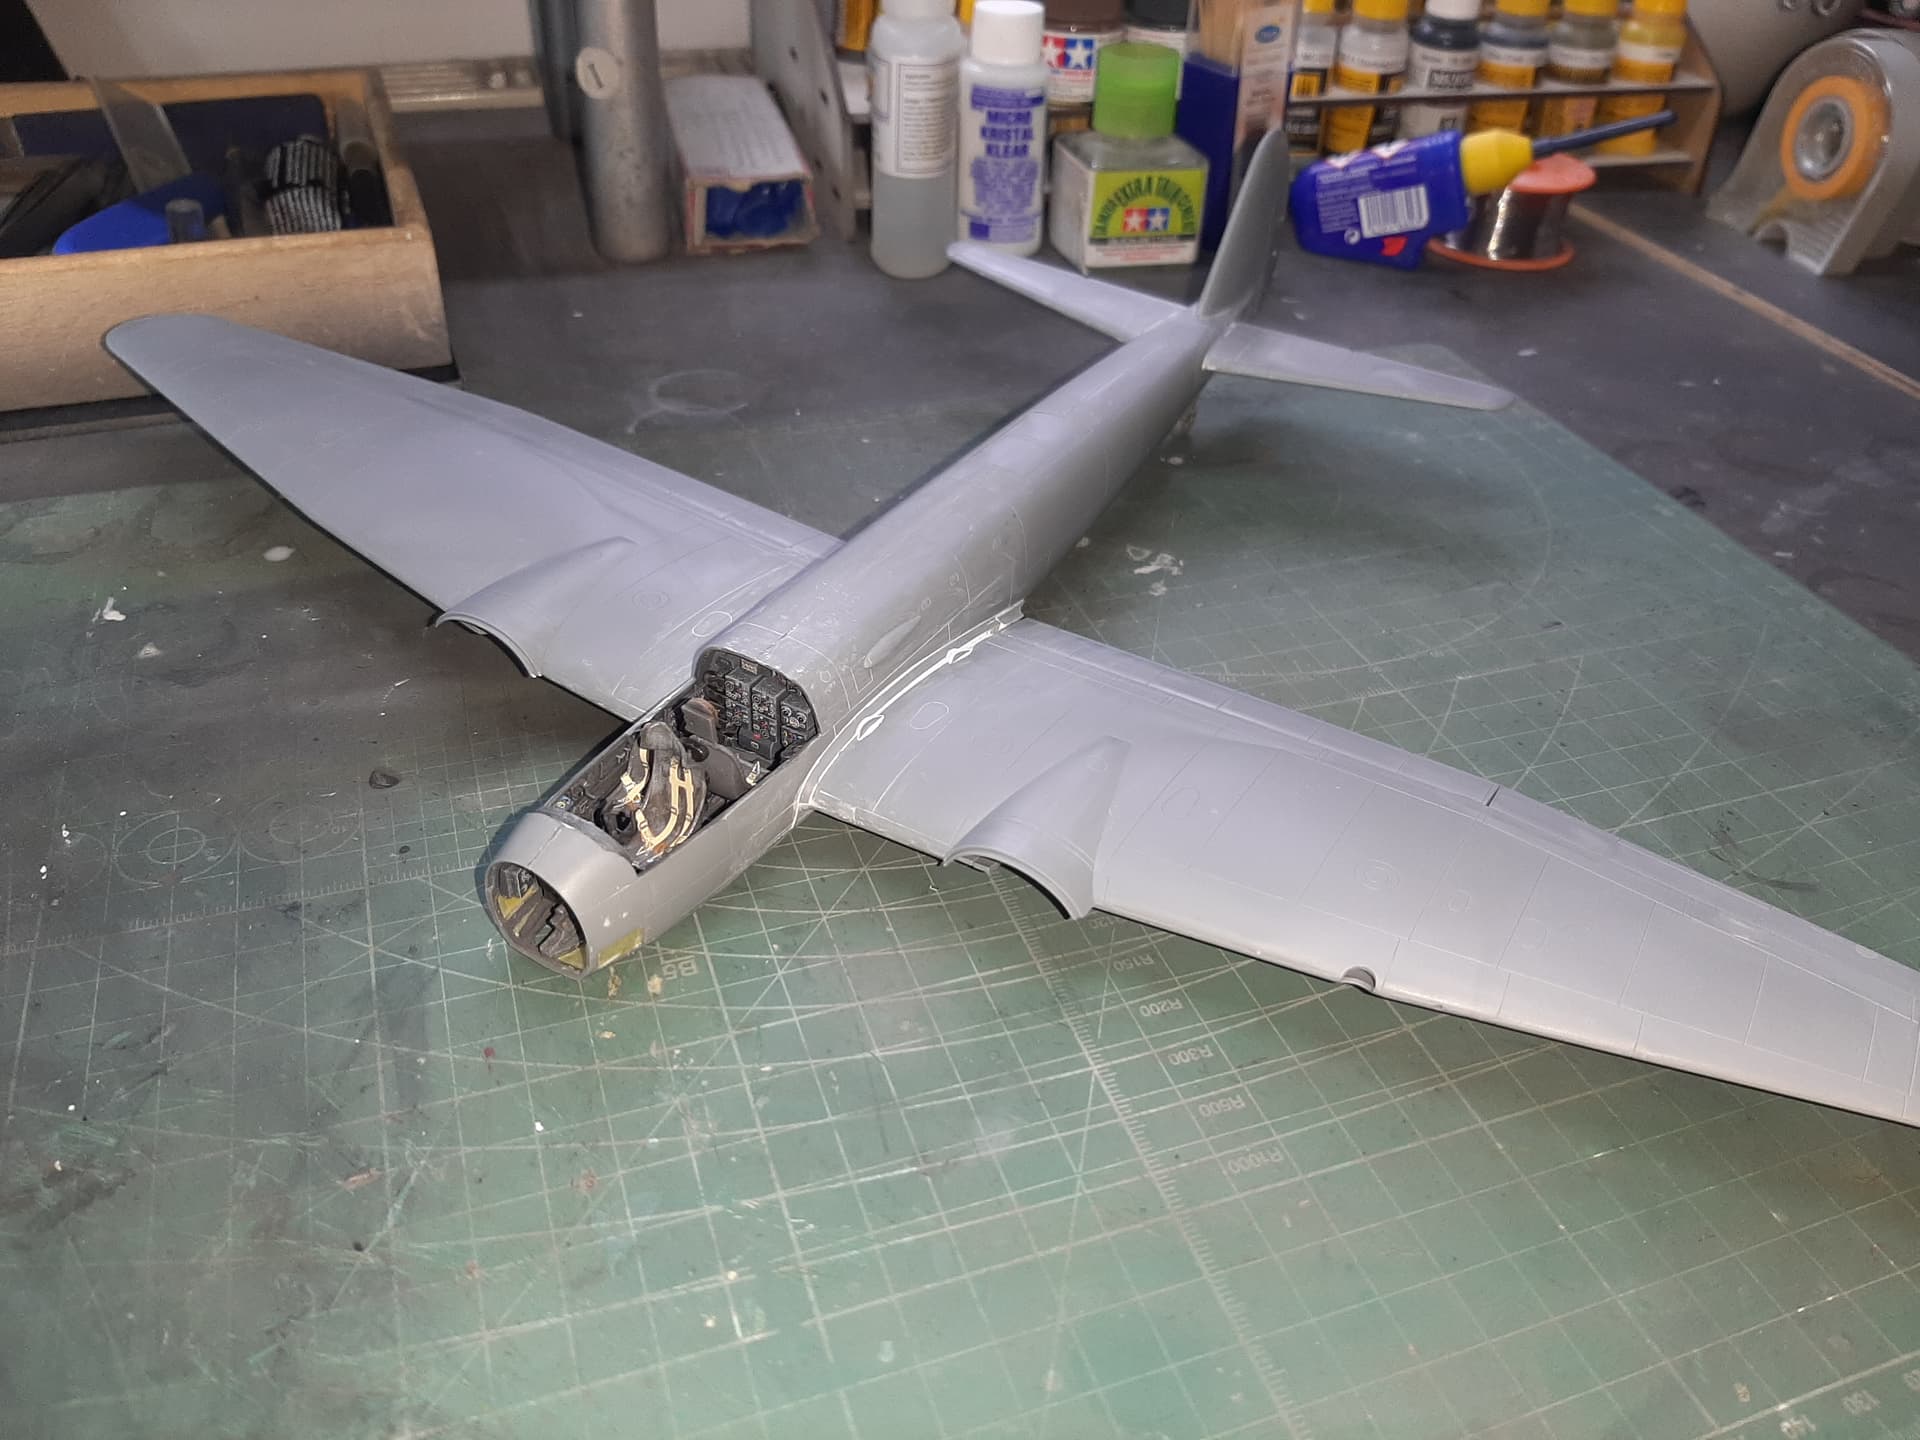
The parts are nicely molded with mainly crisp detail, some flashing is apparent, but it isn’t a lot.

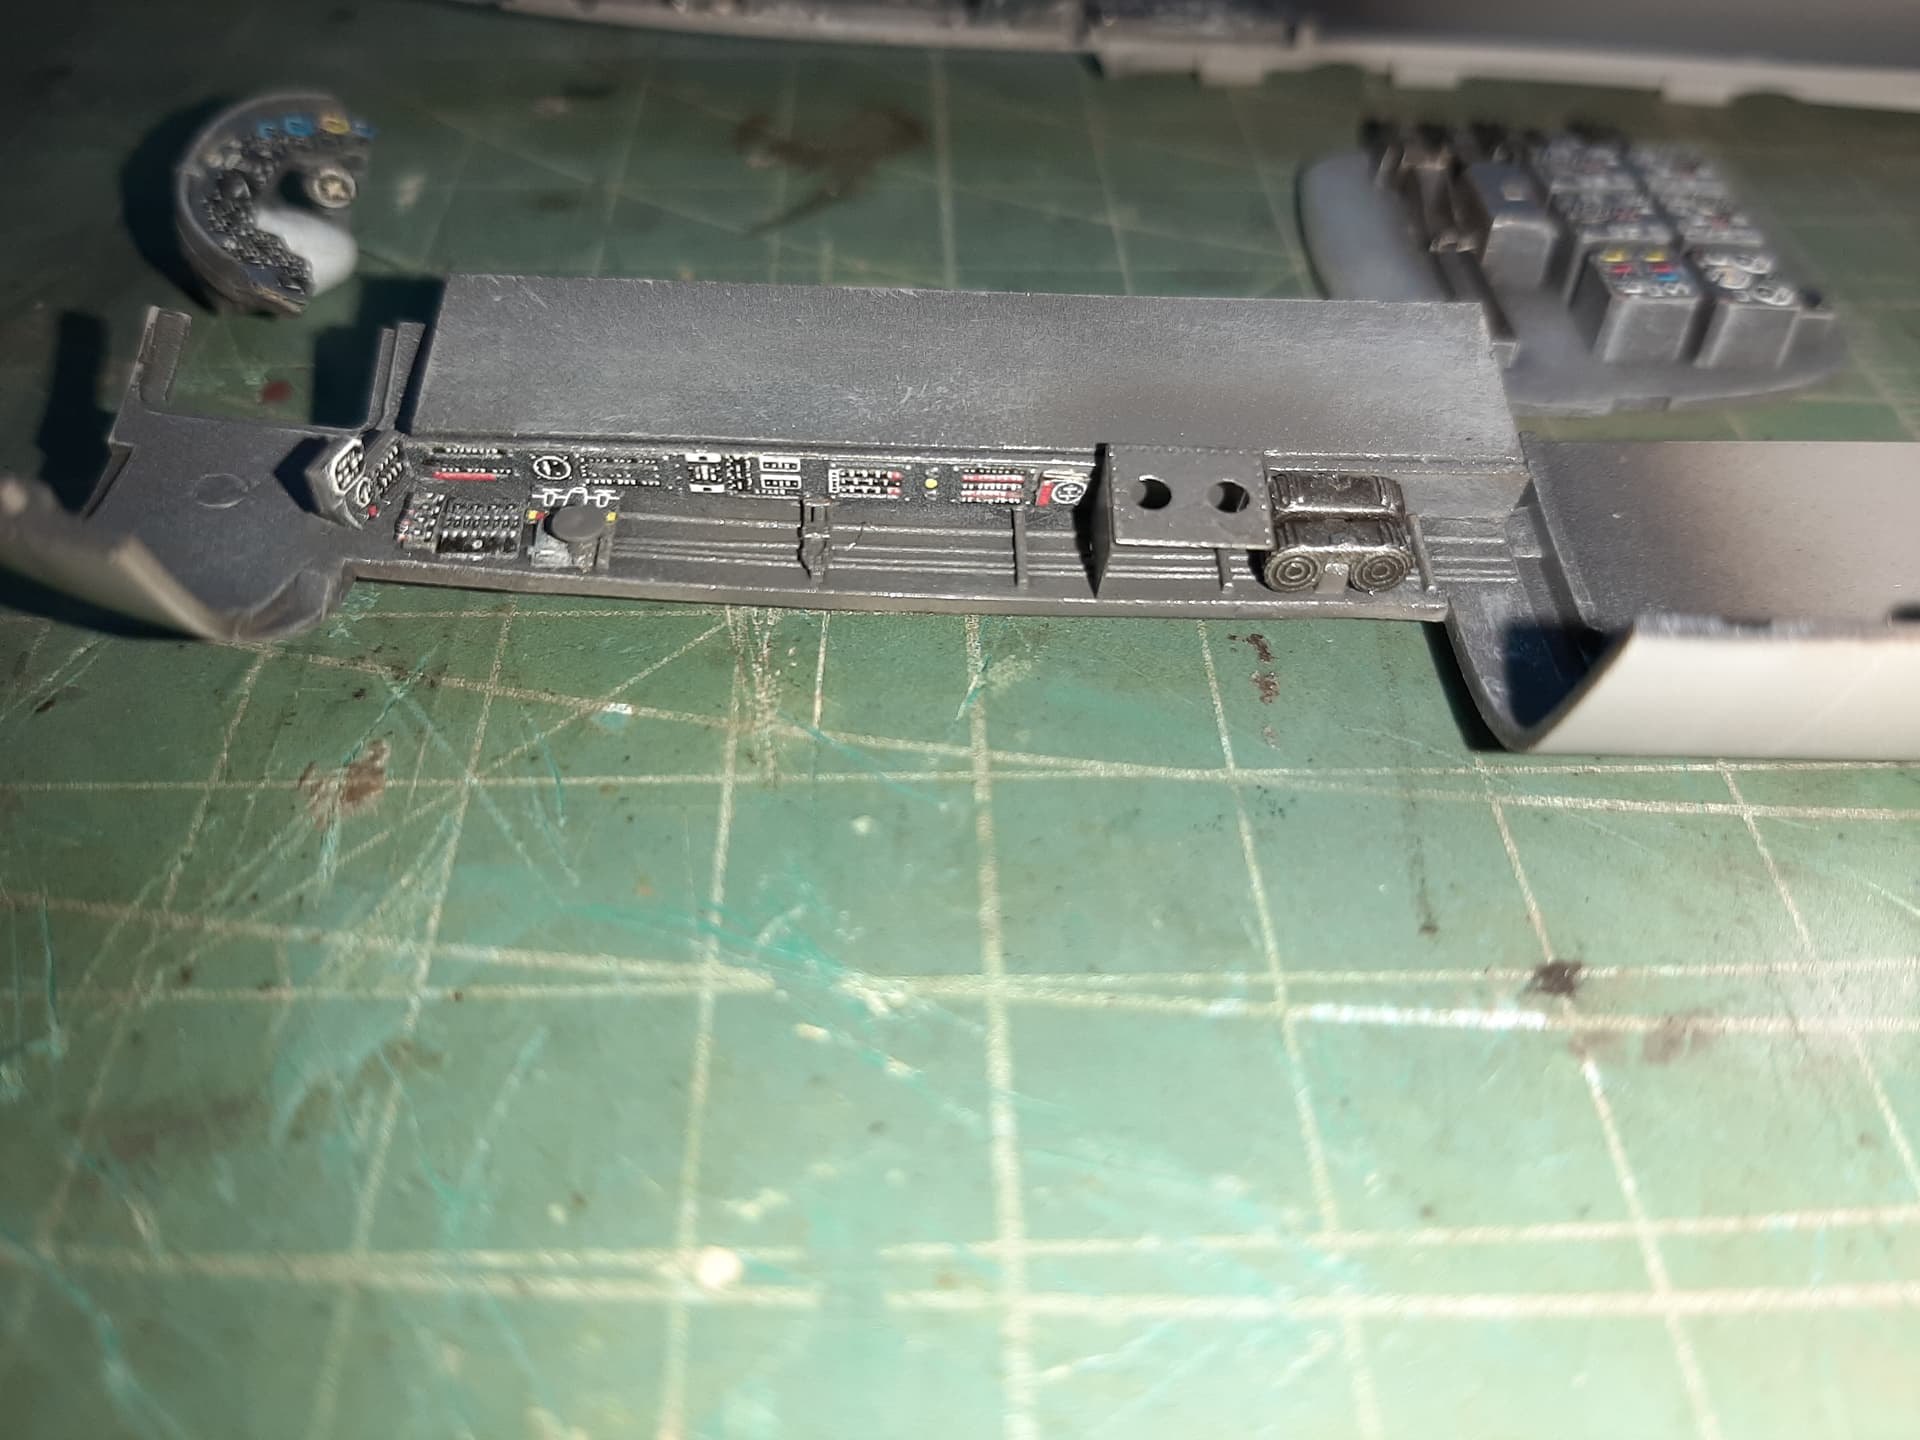
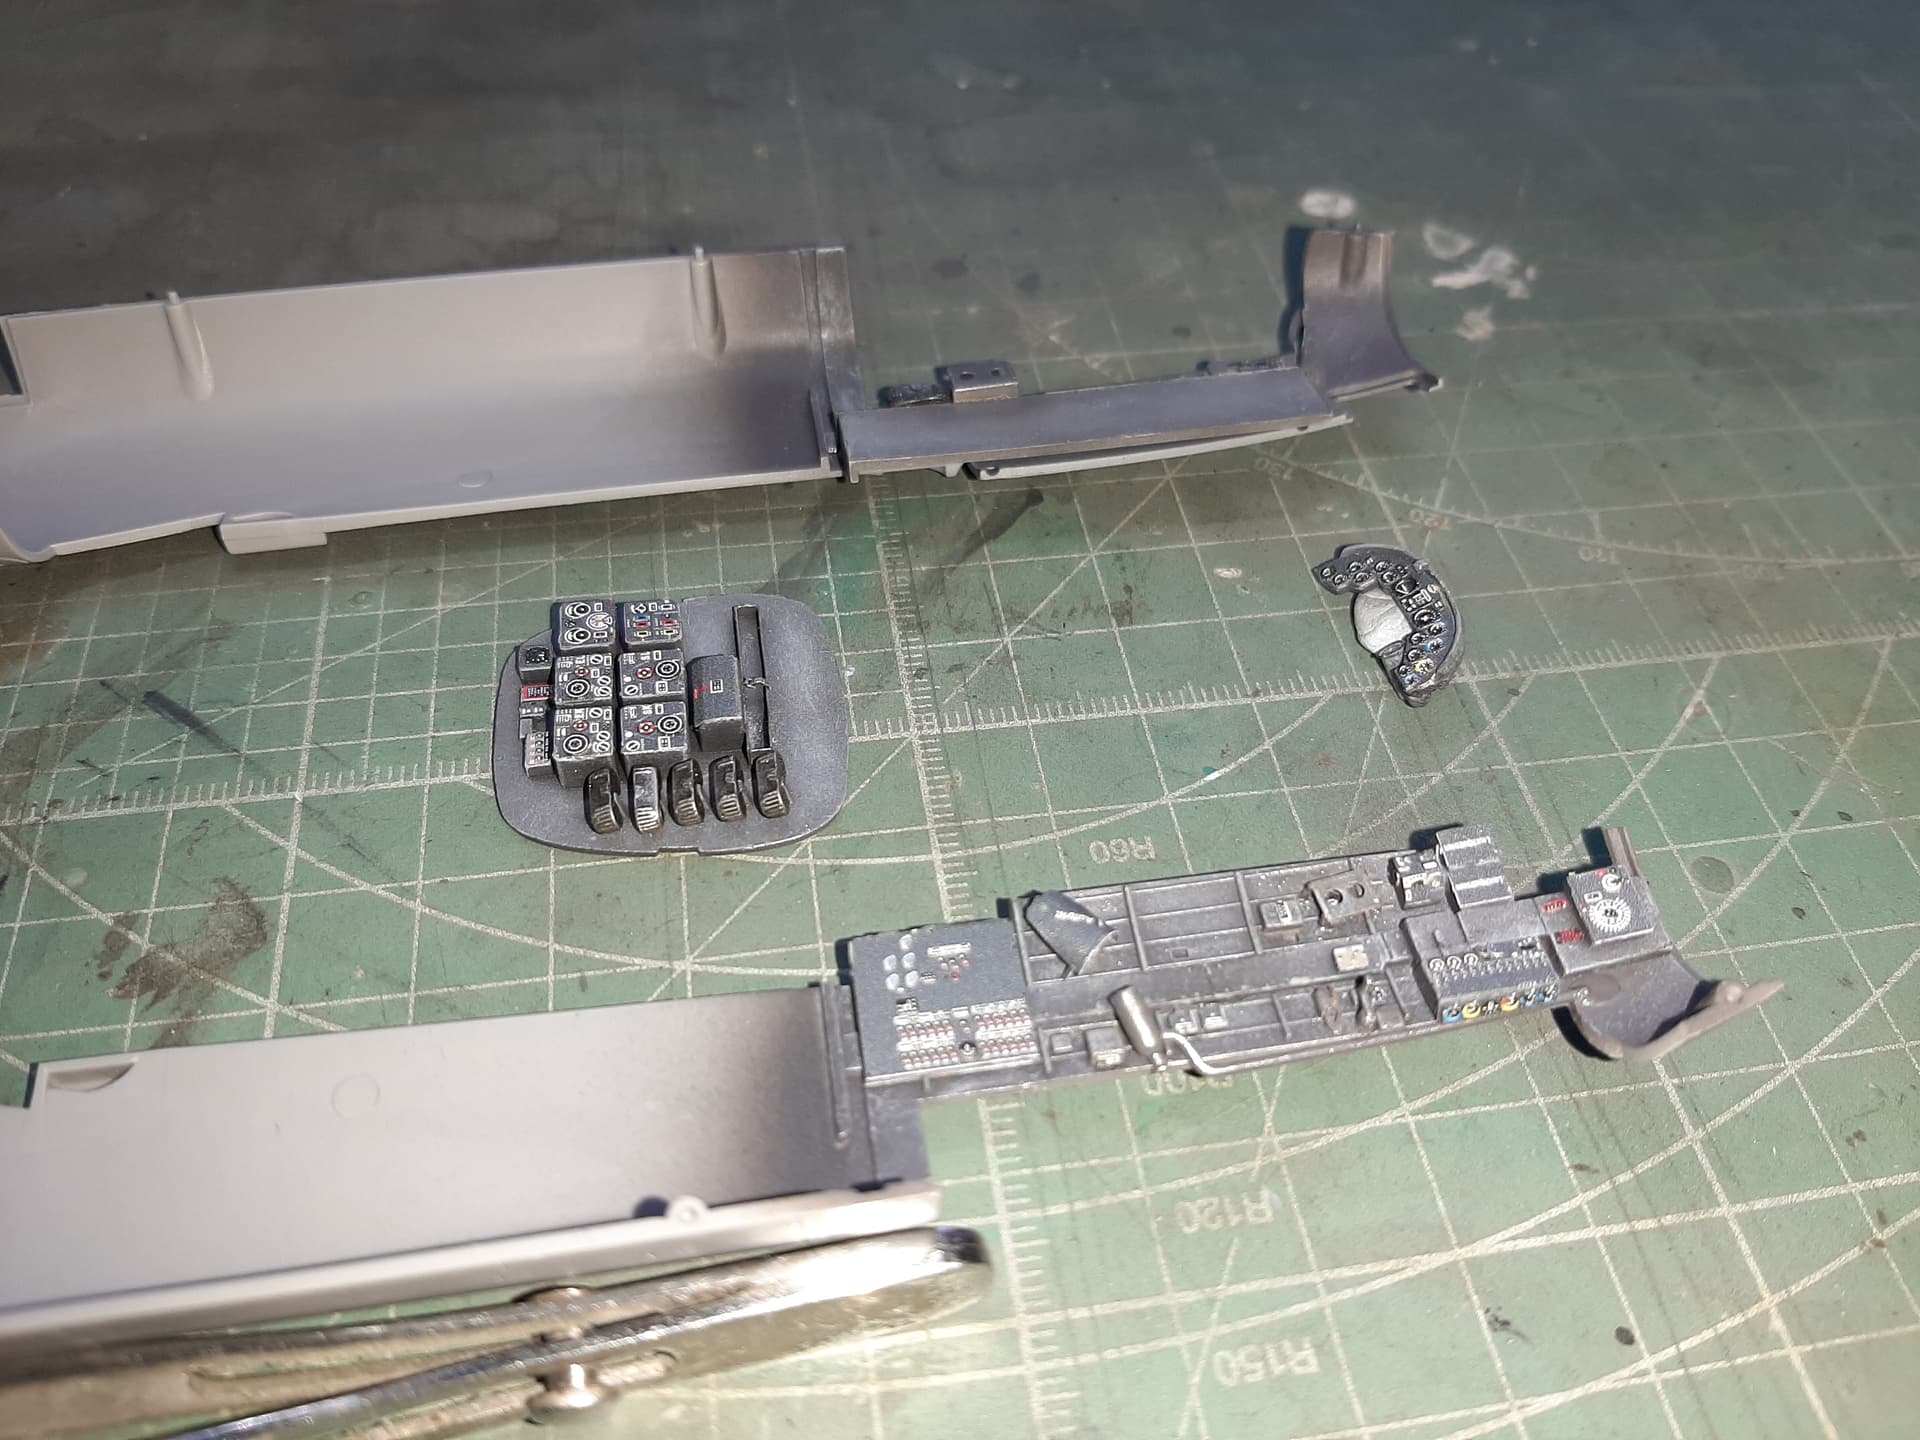
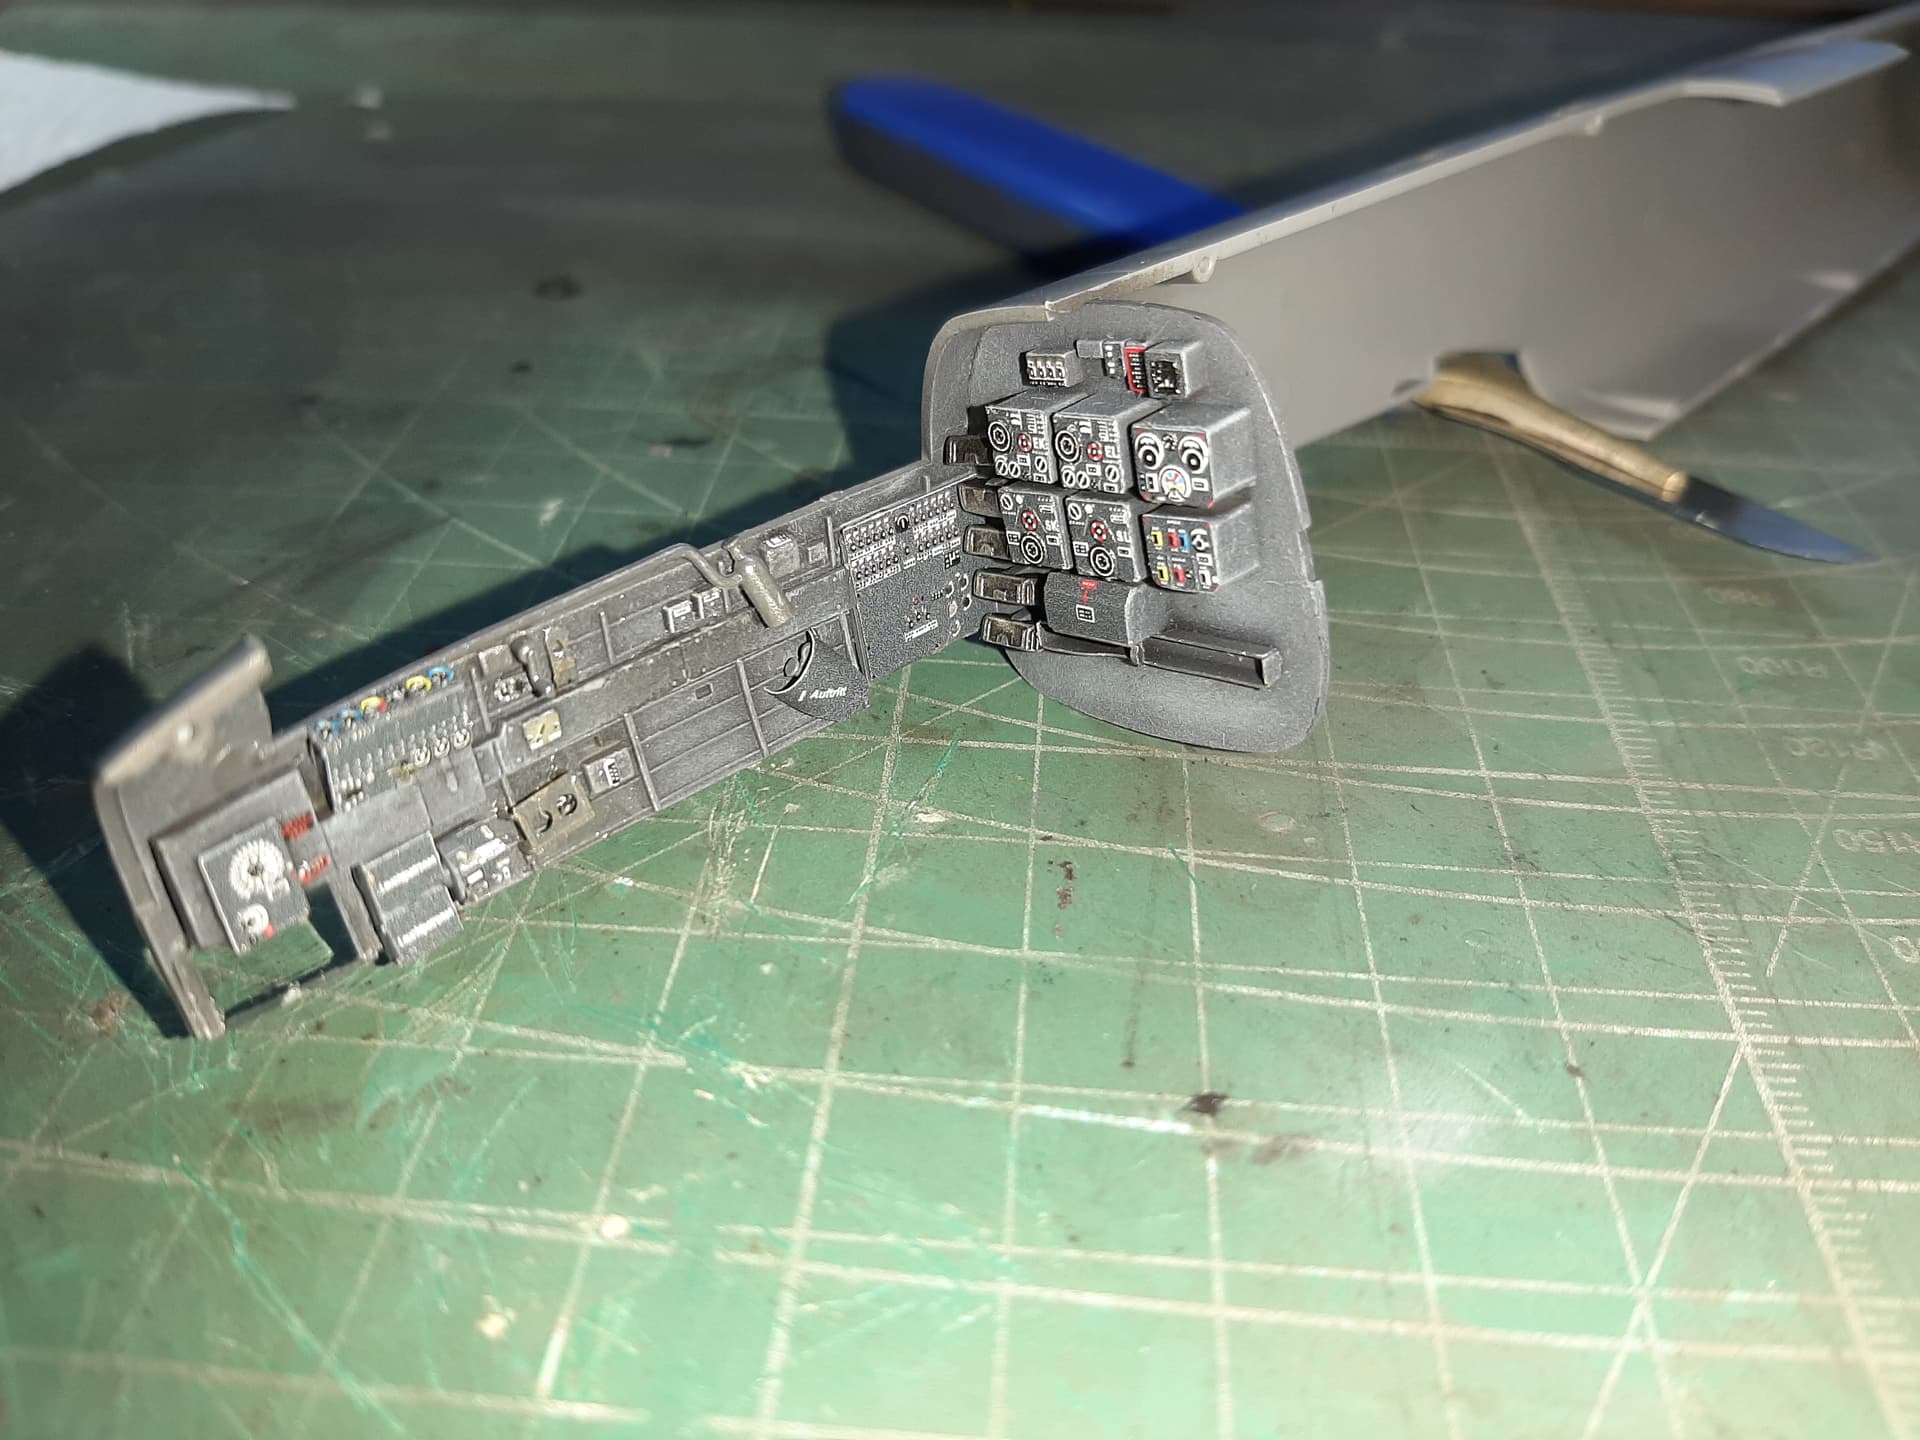
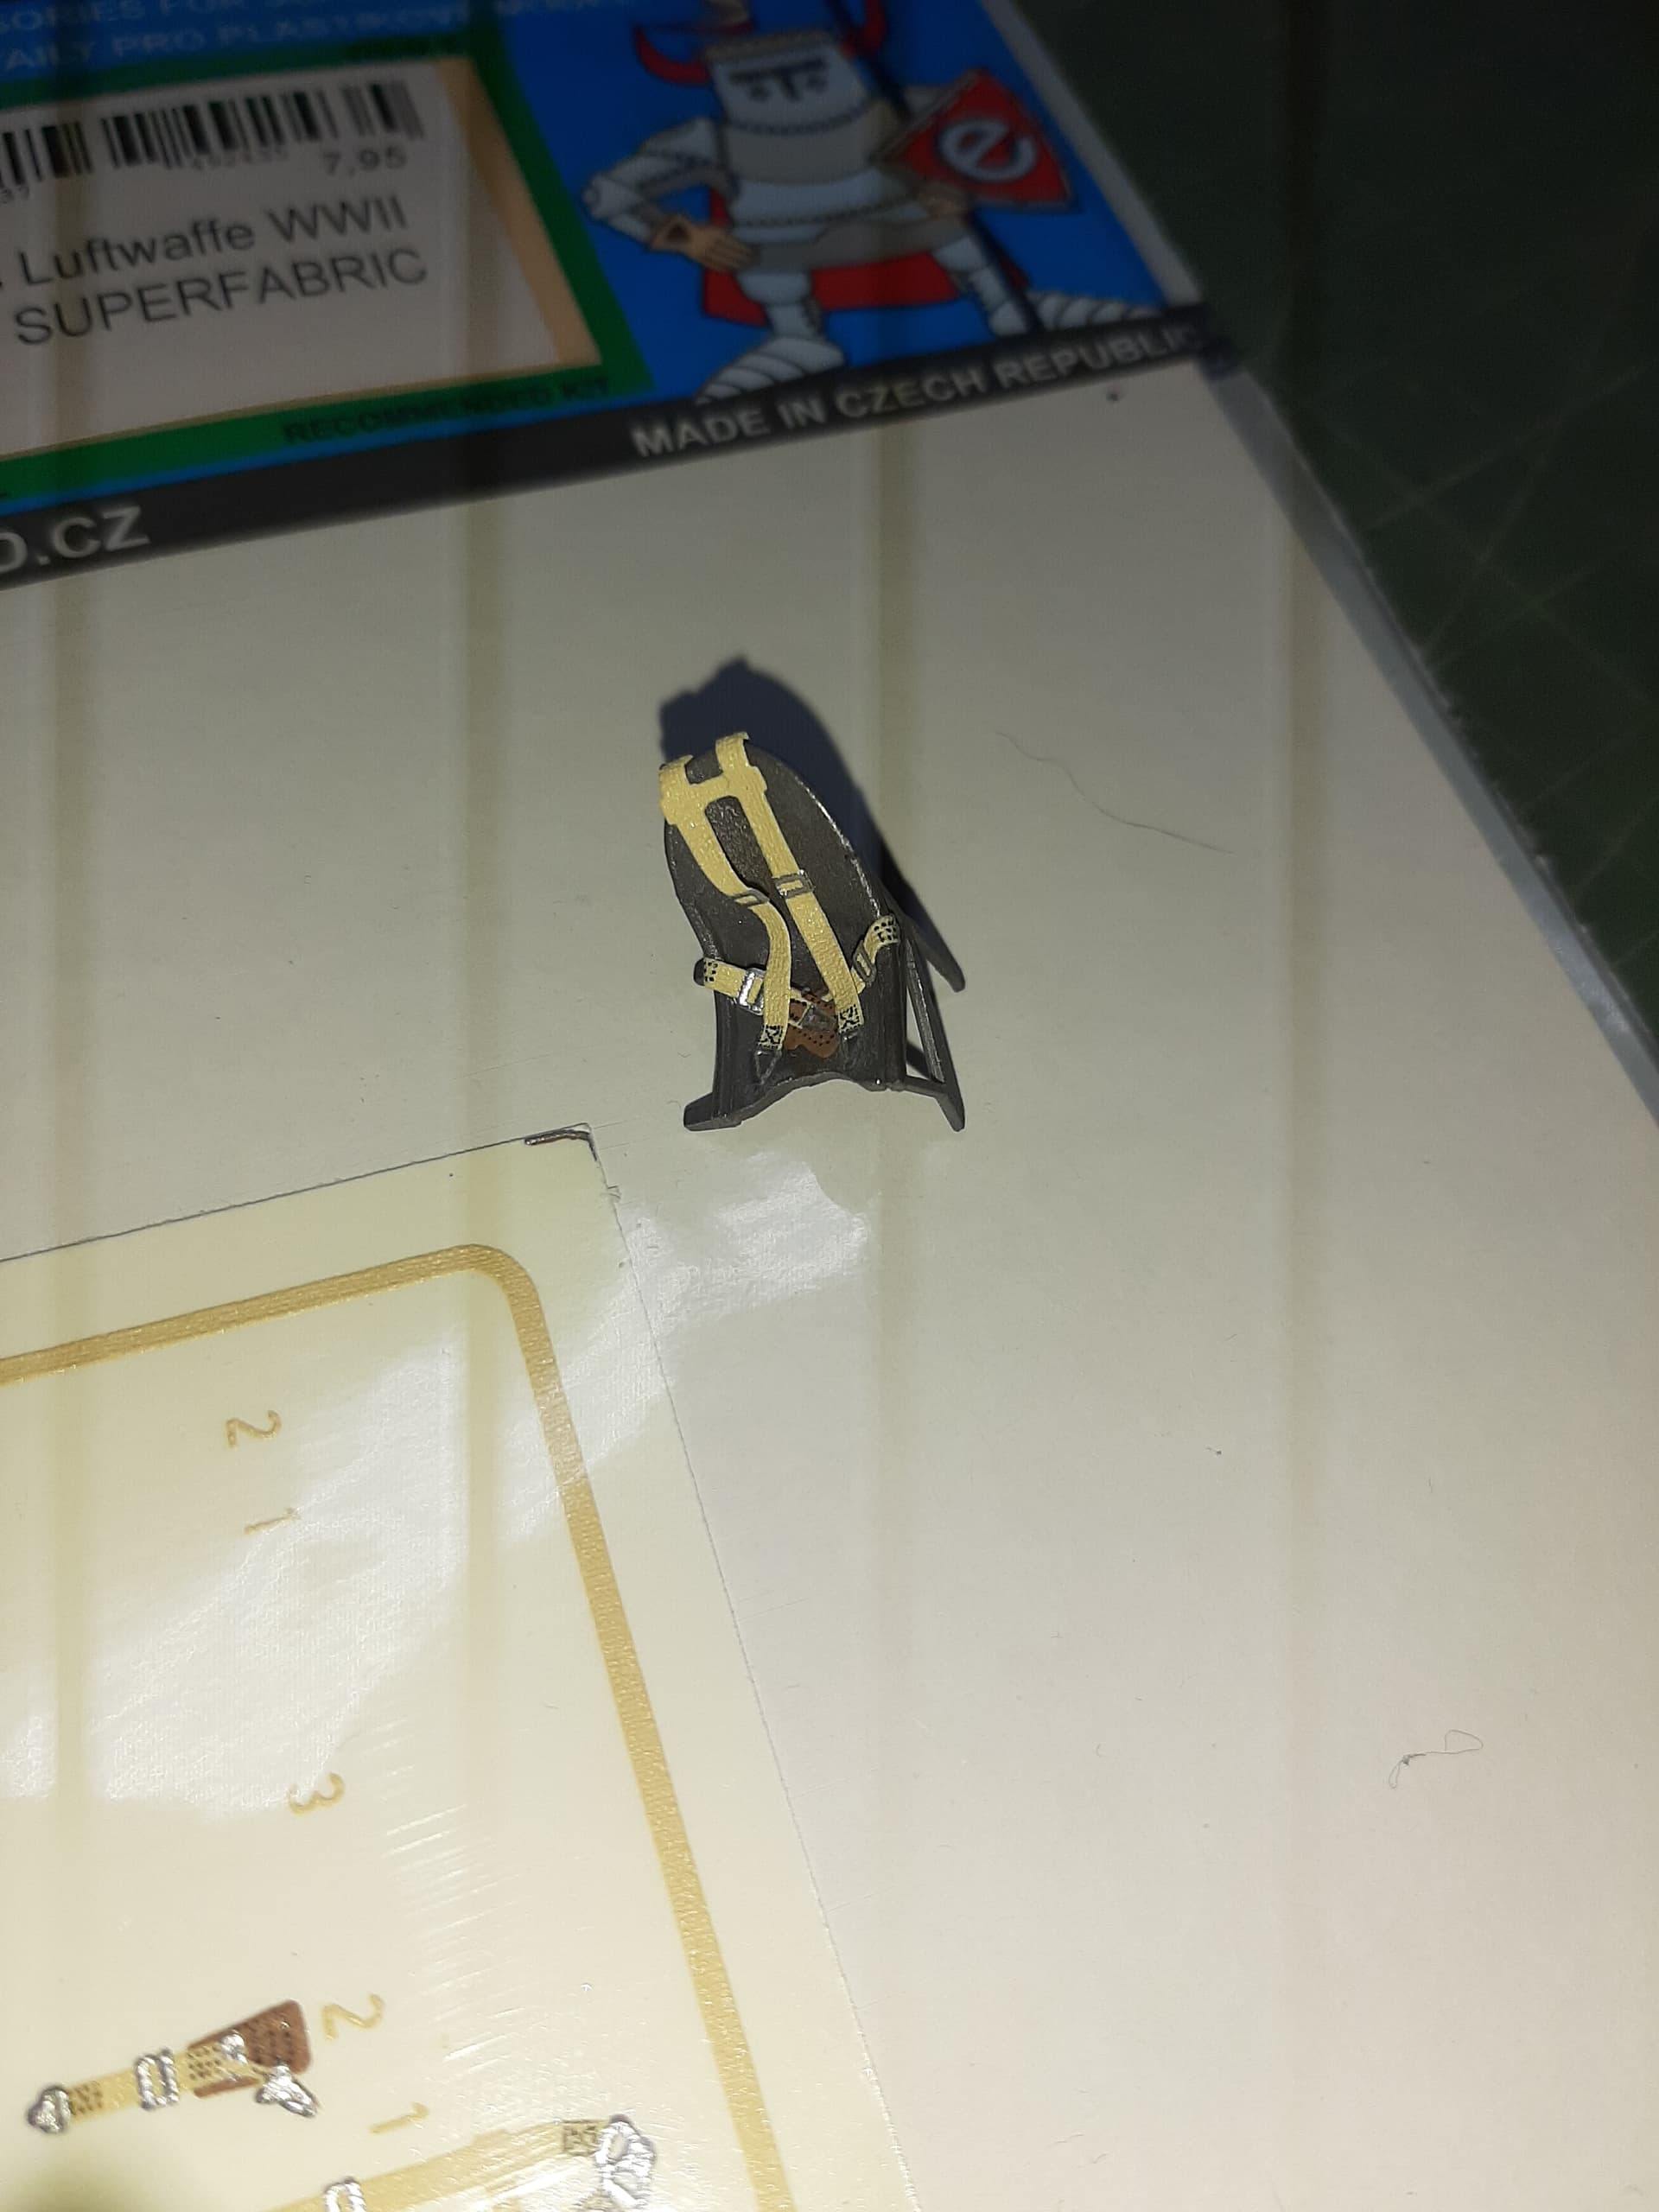
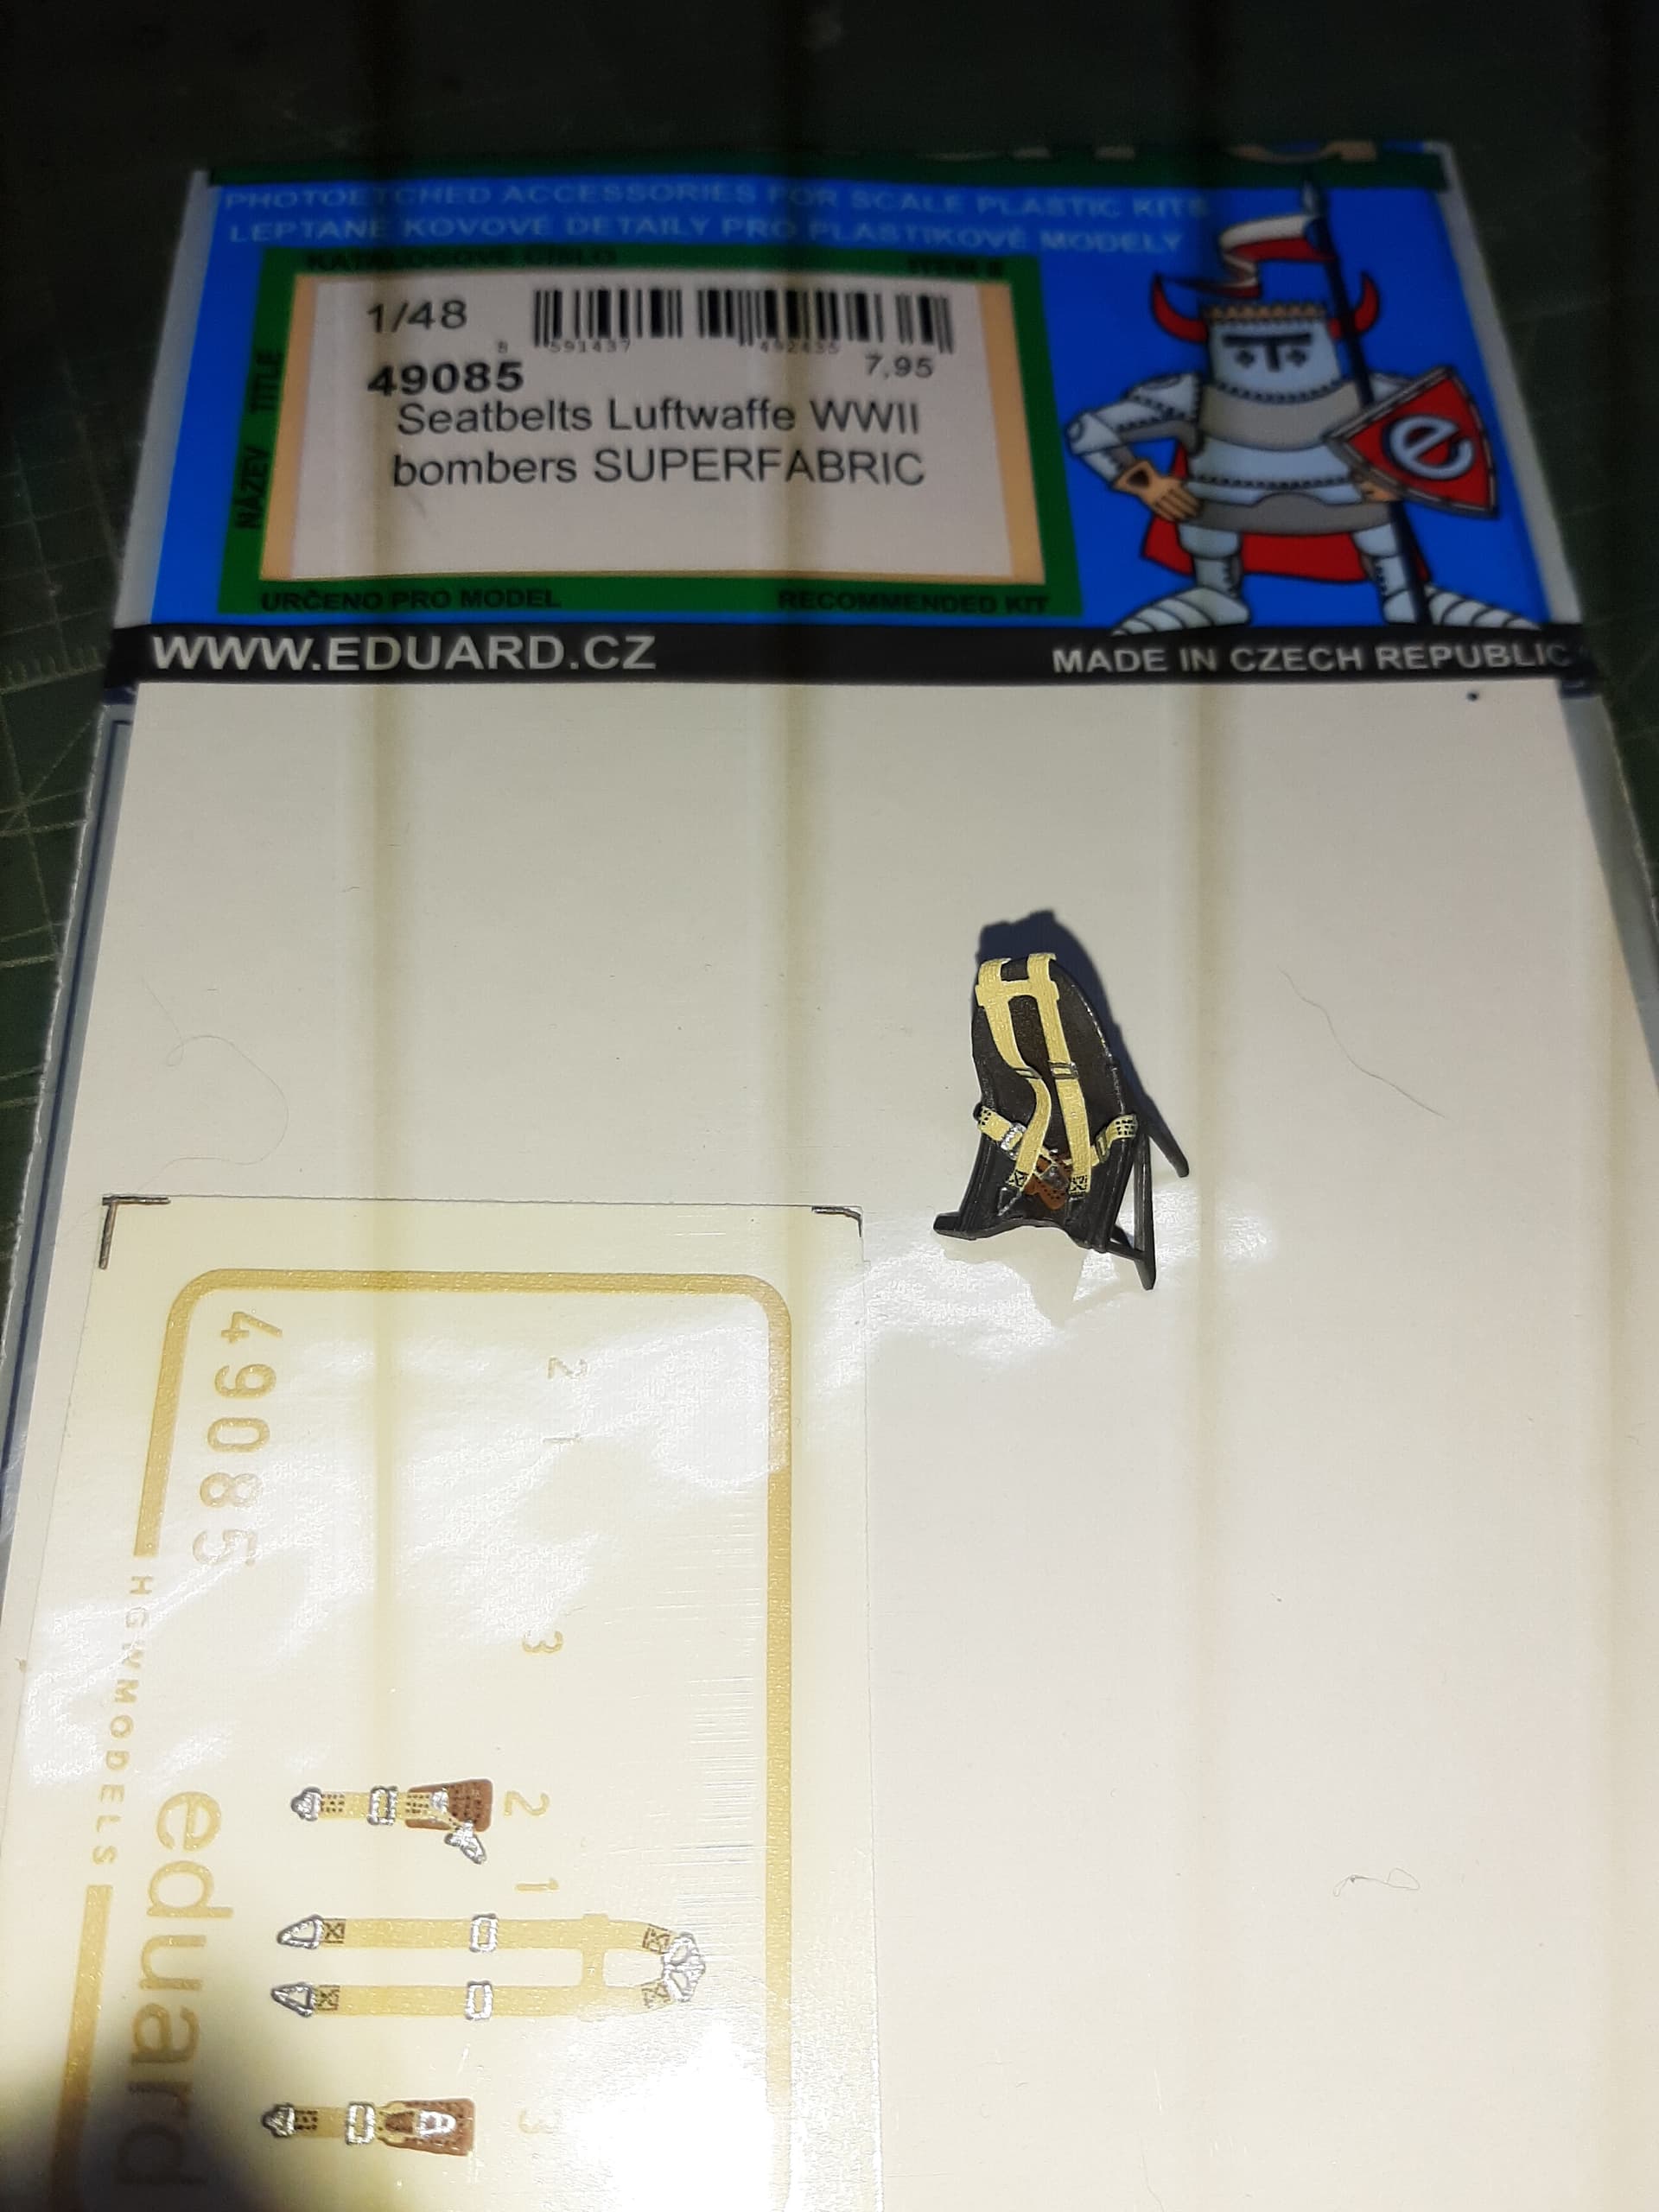
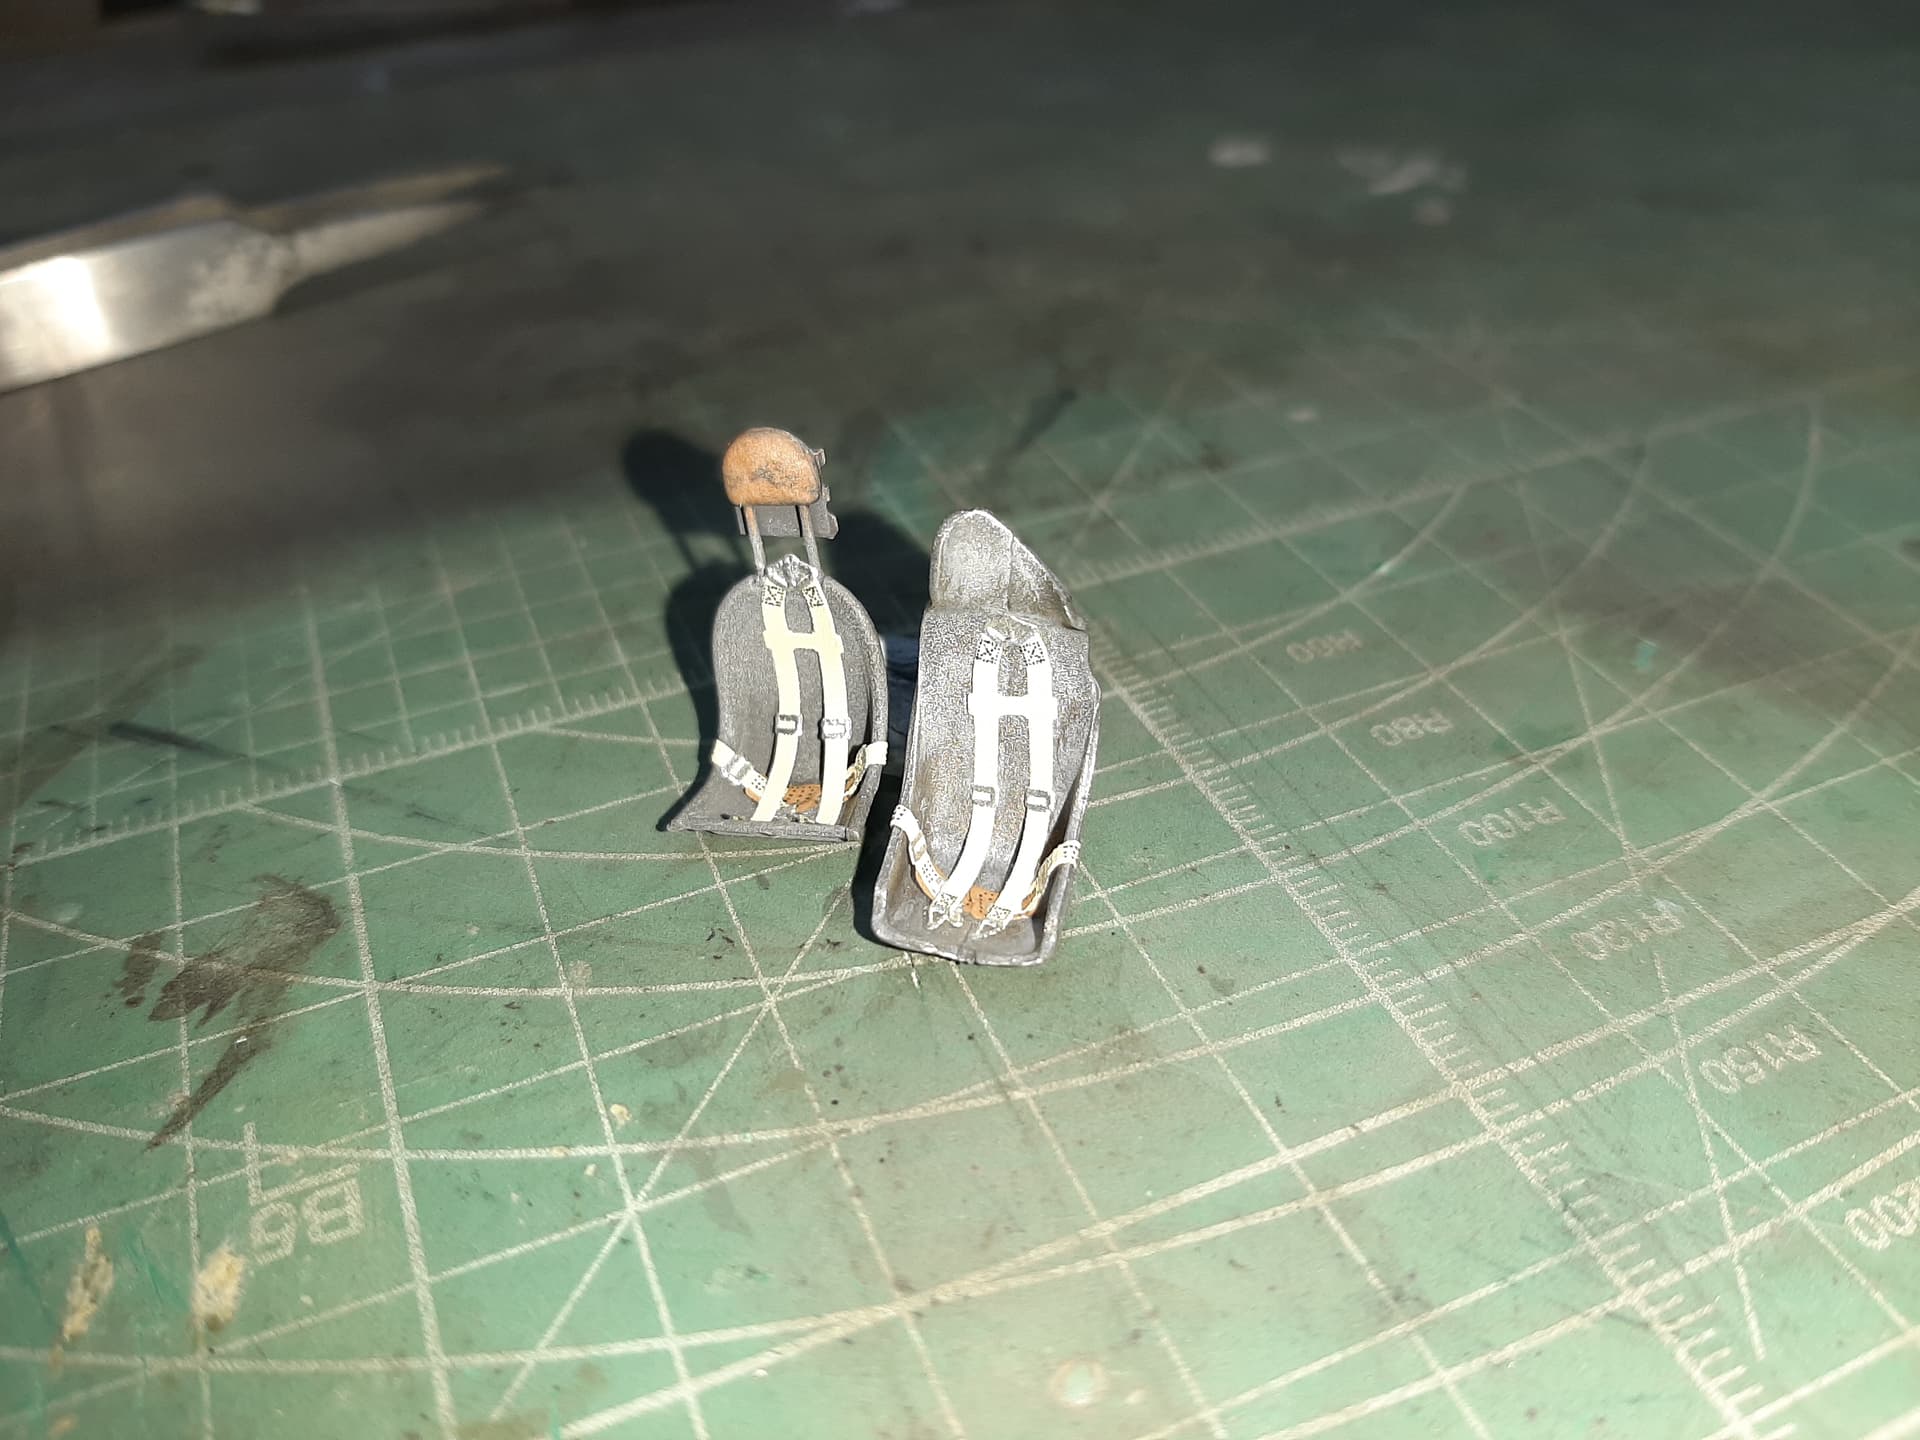
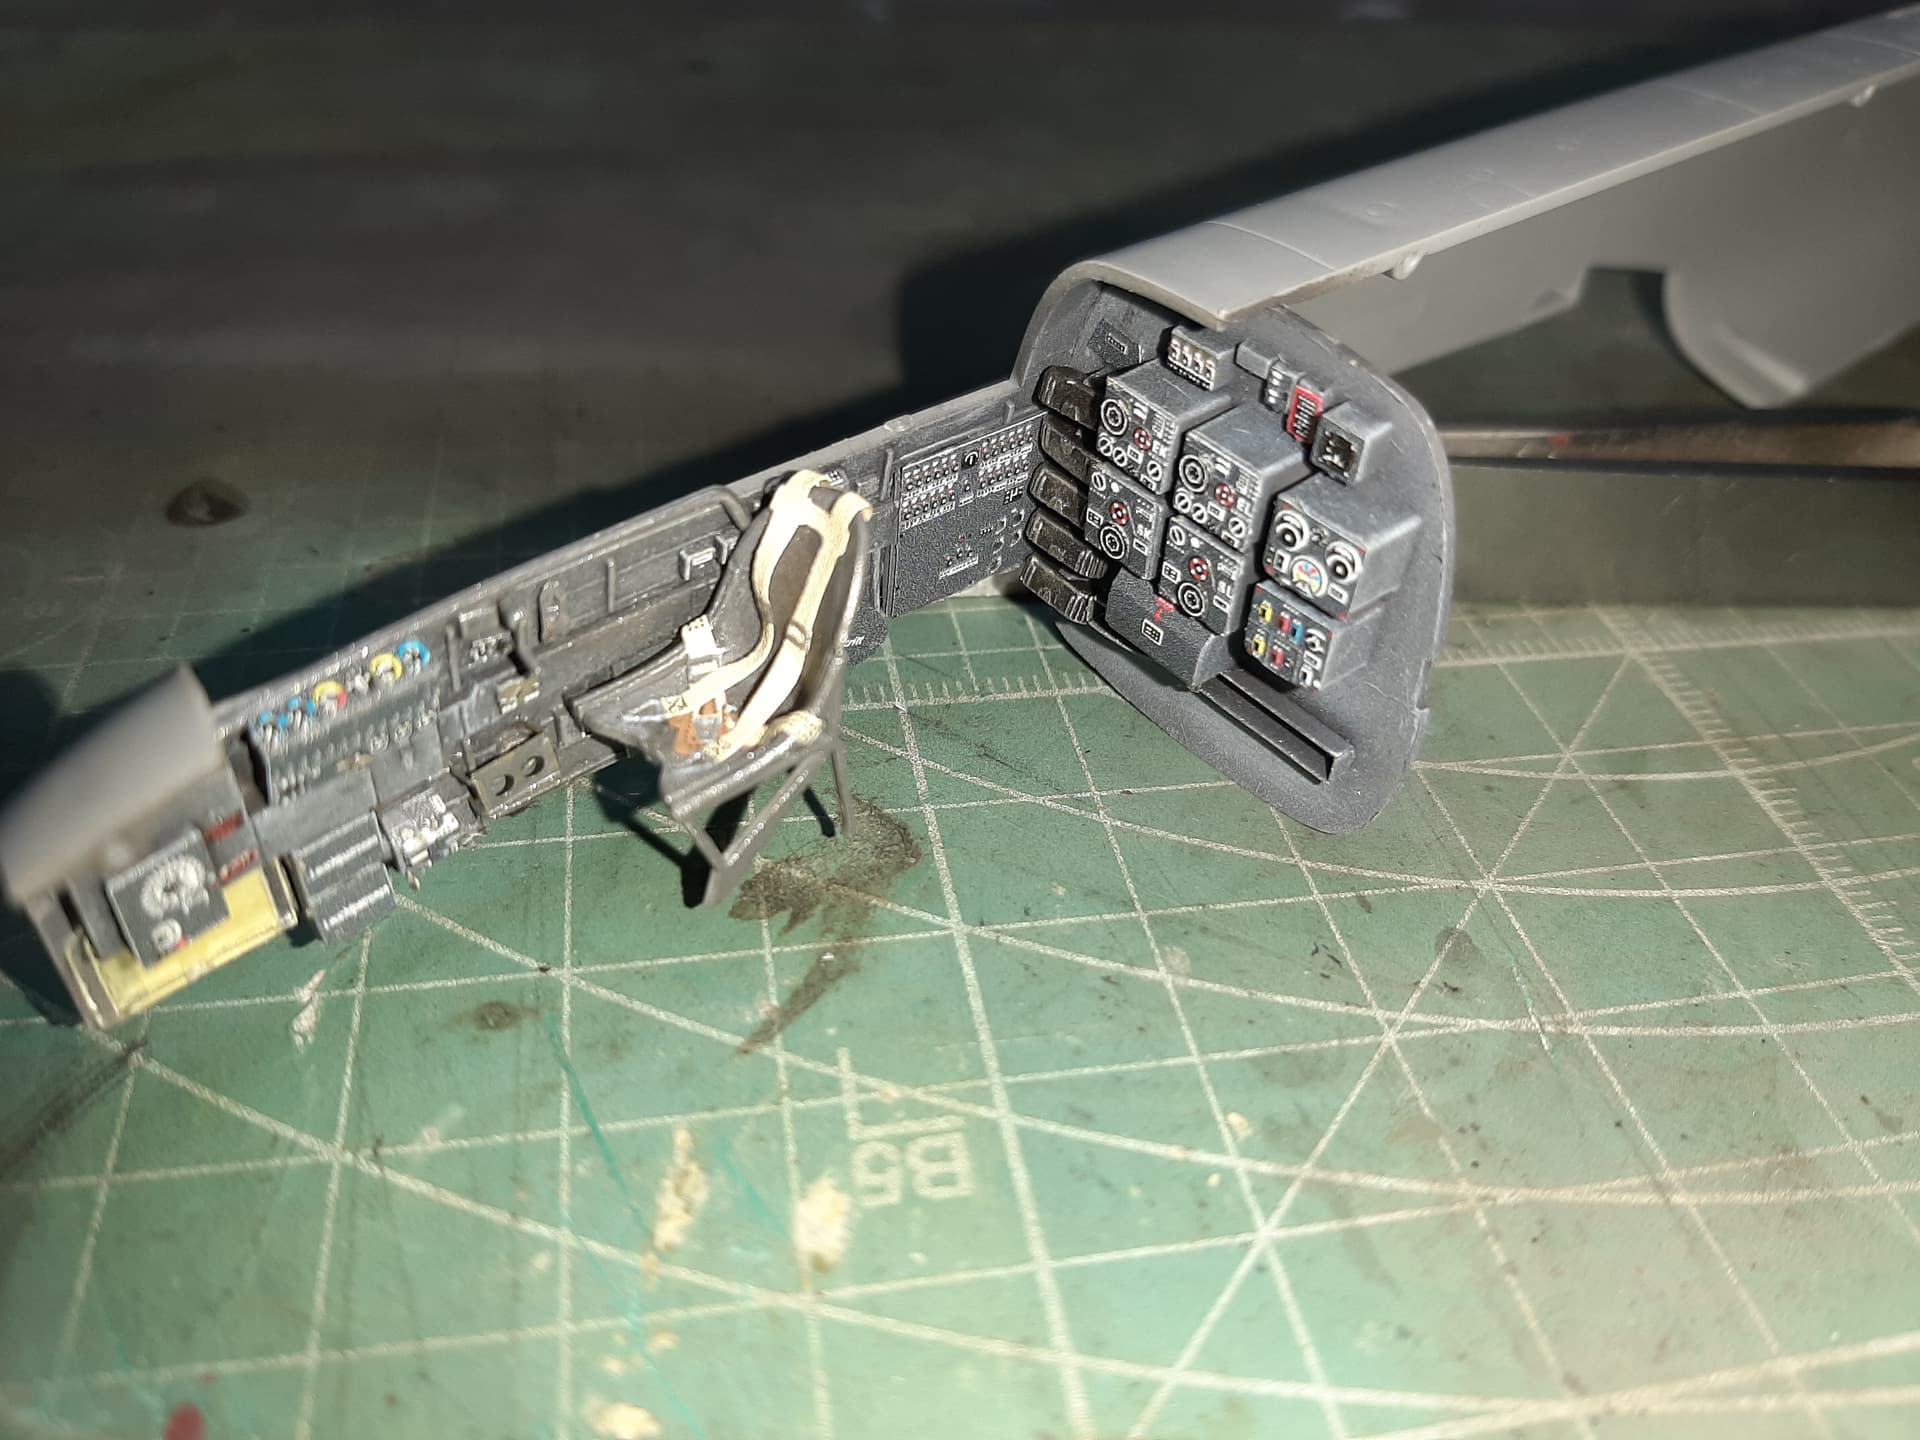
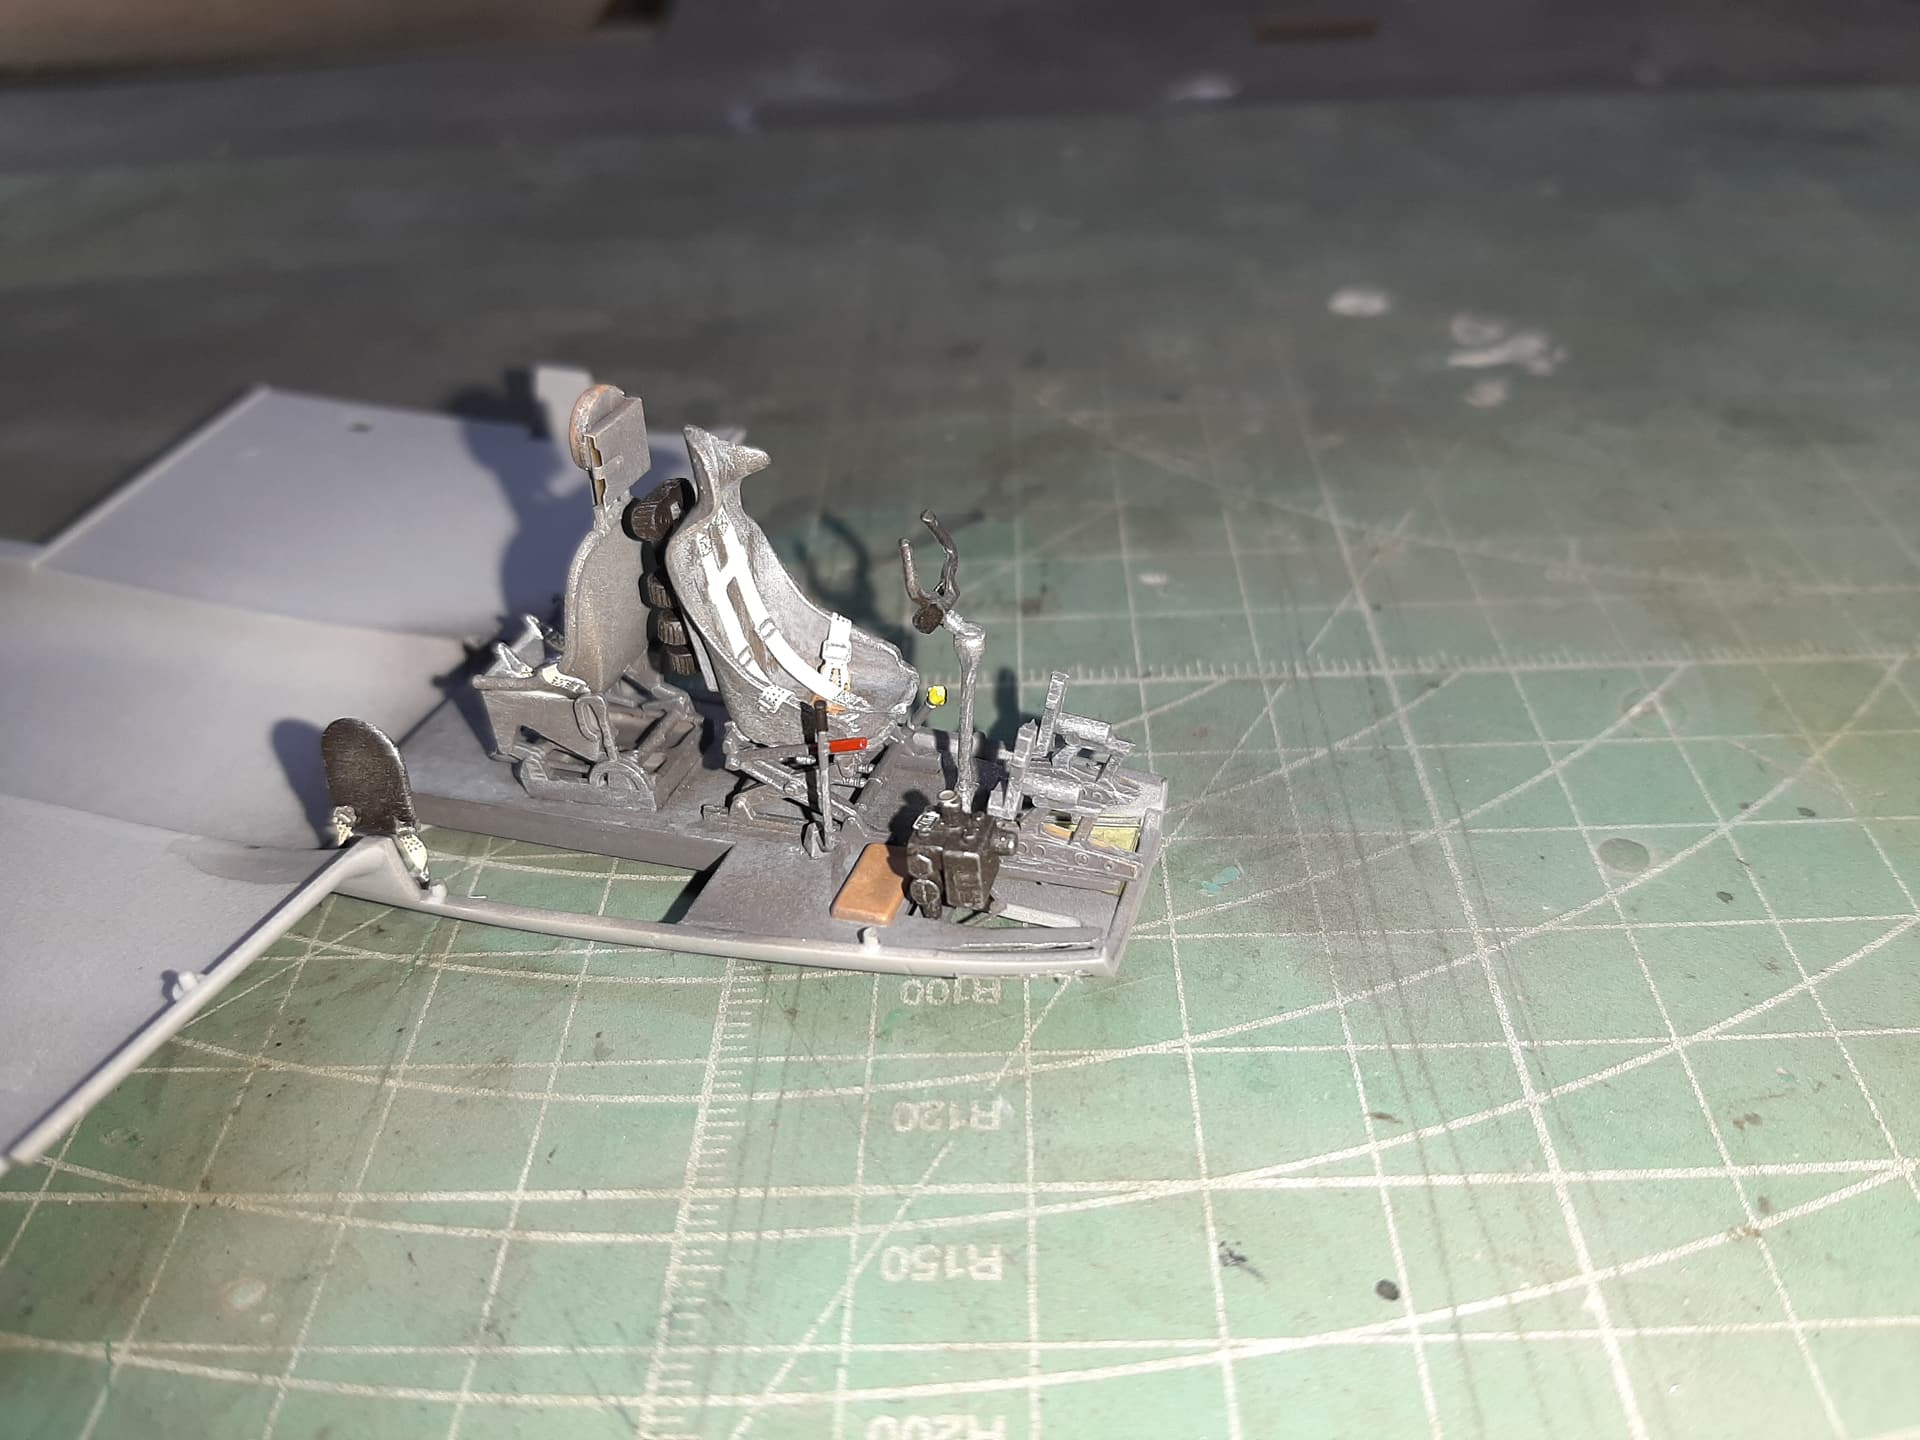
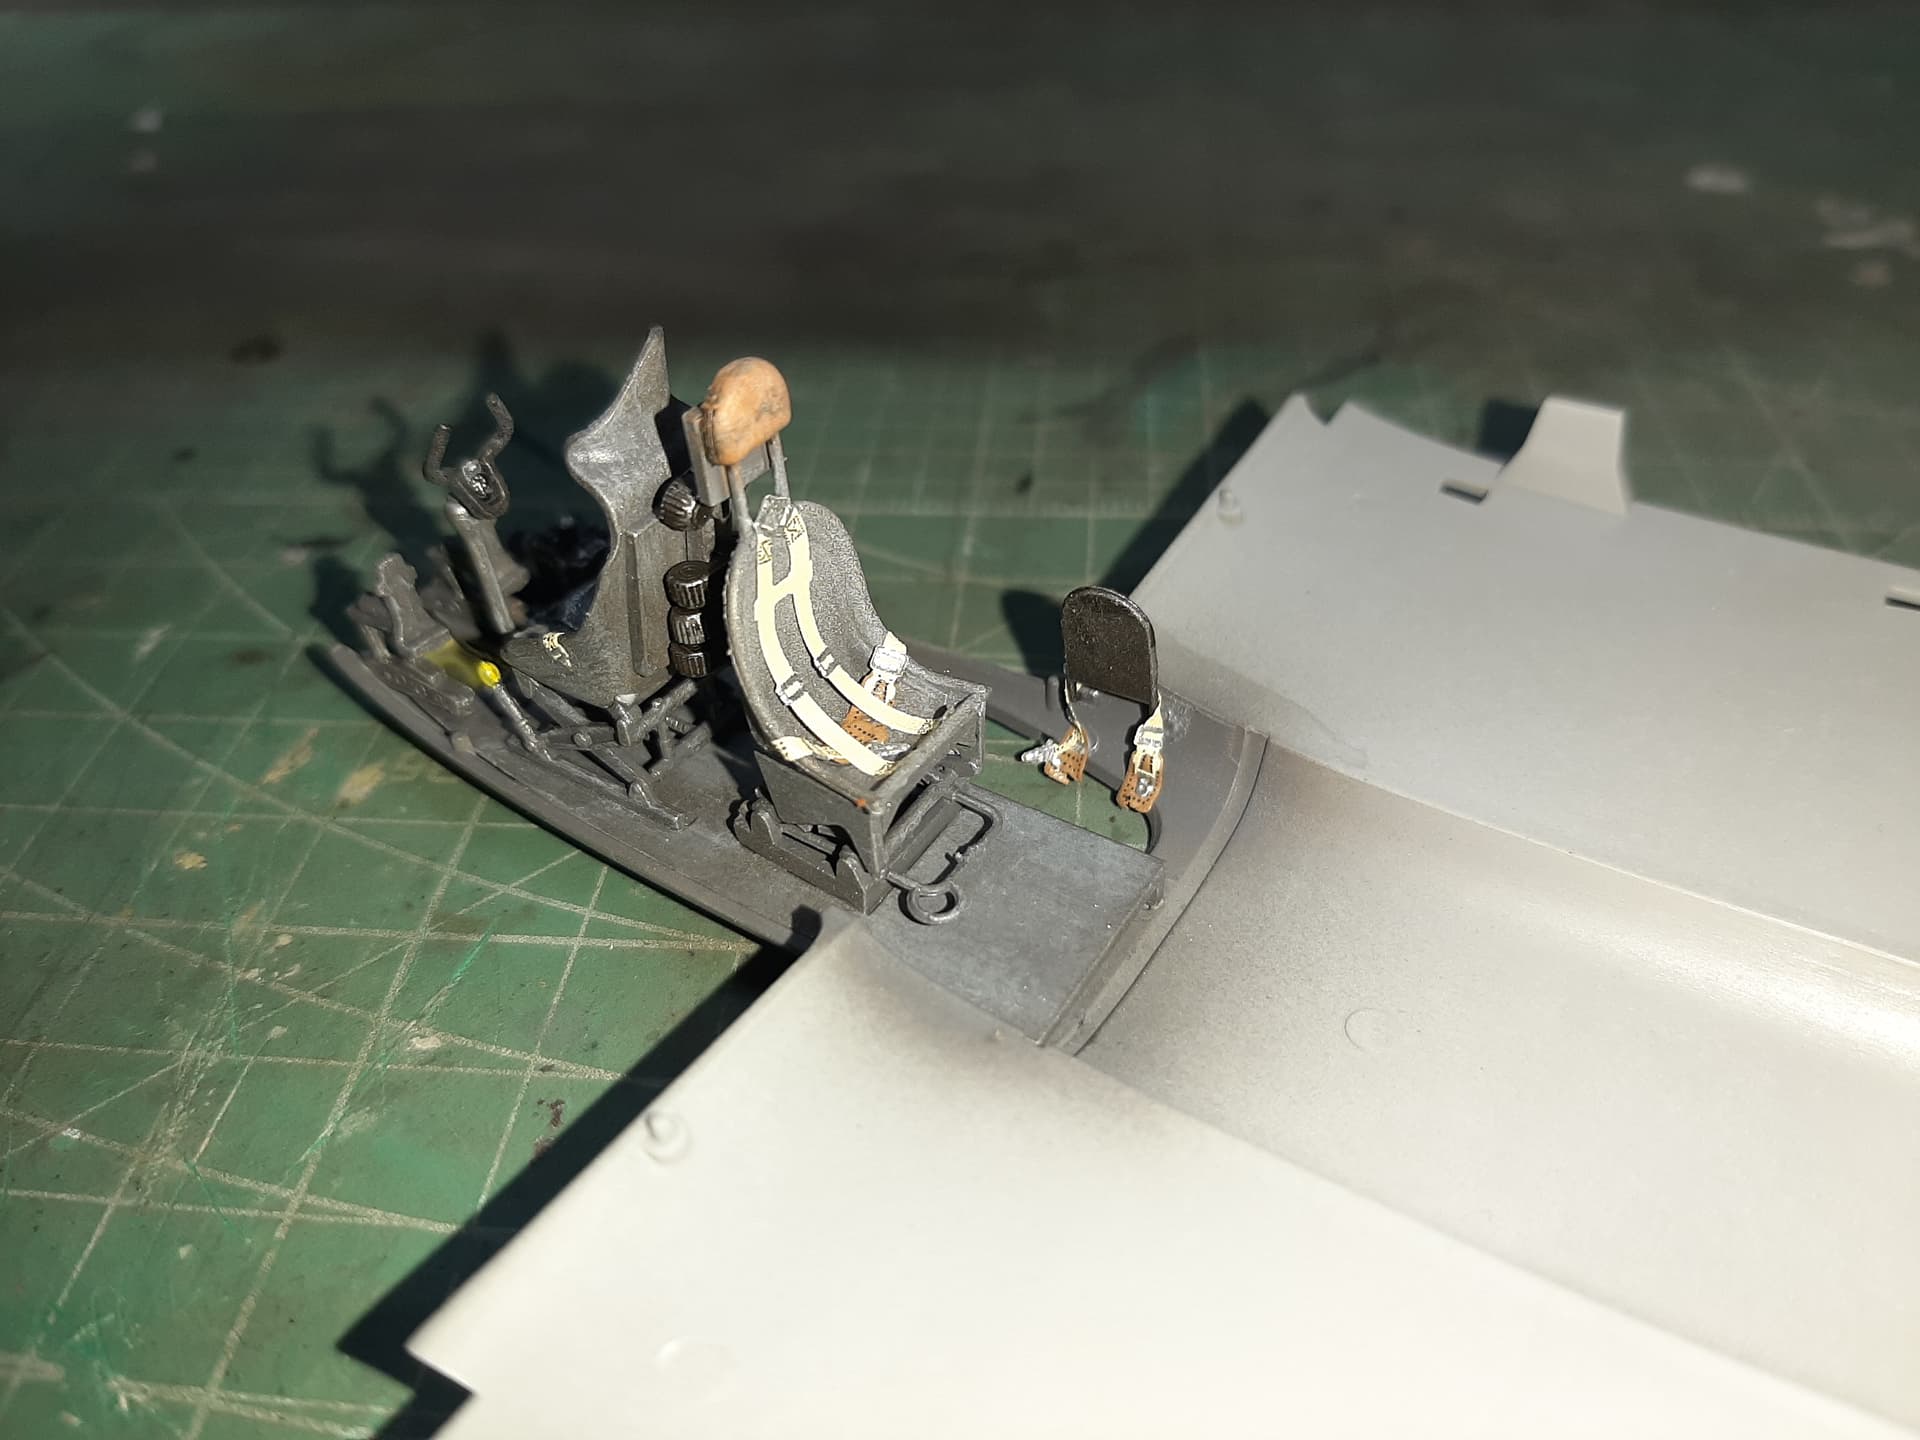
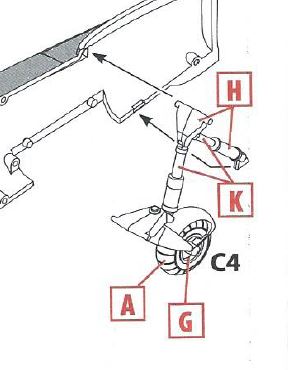
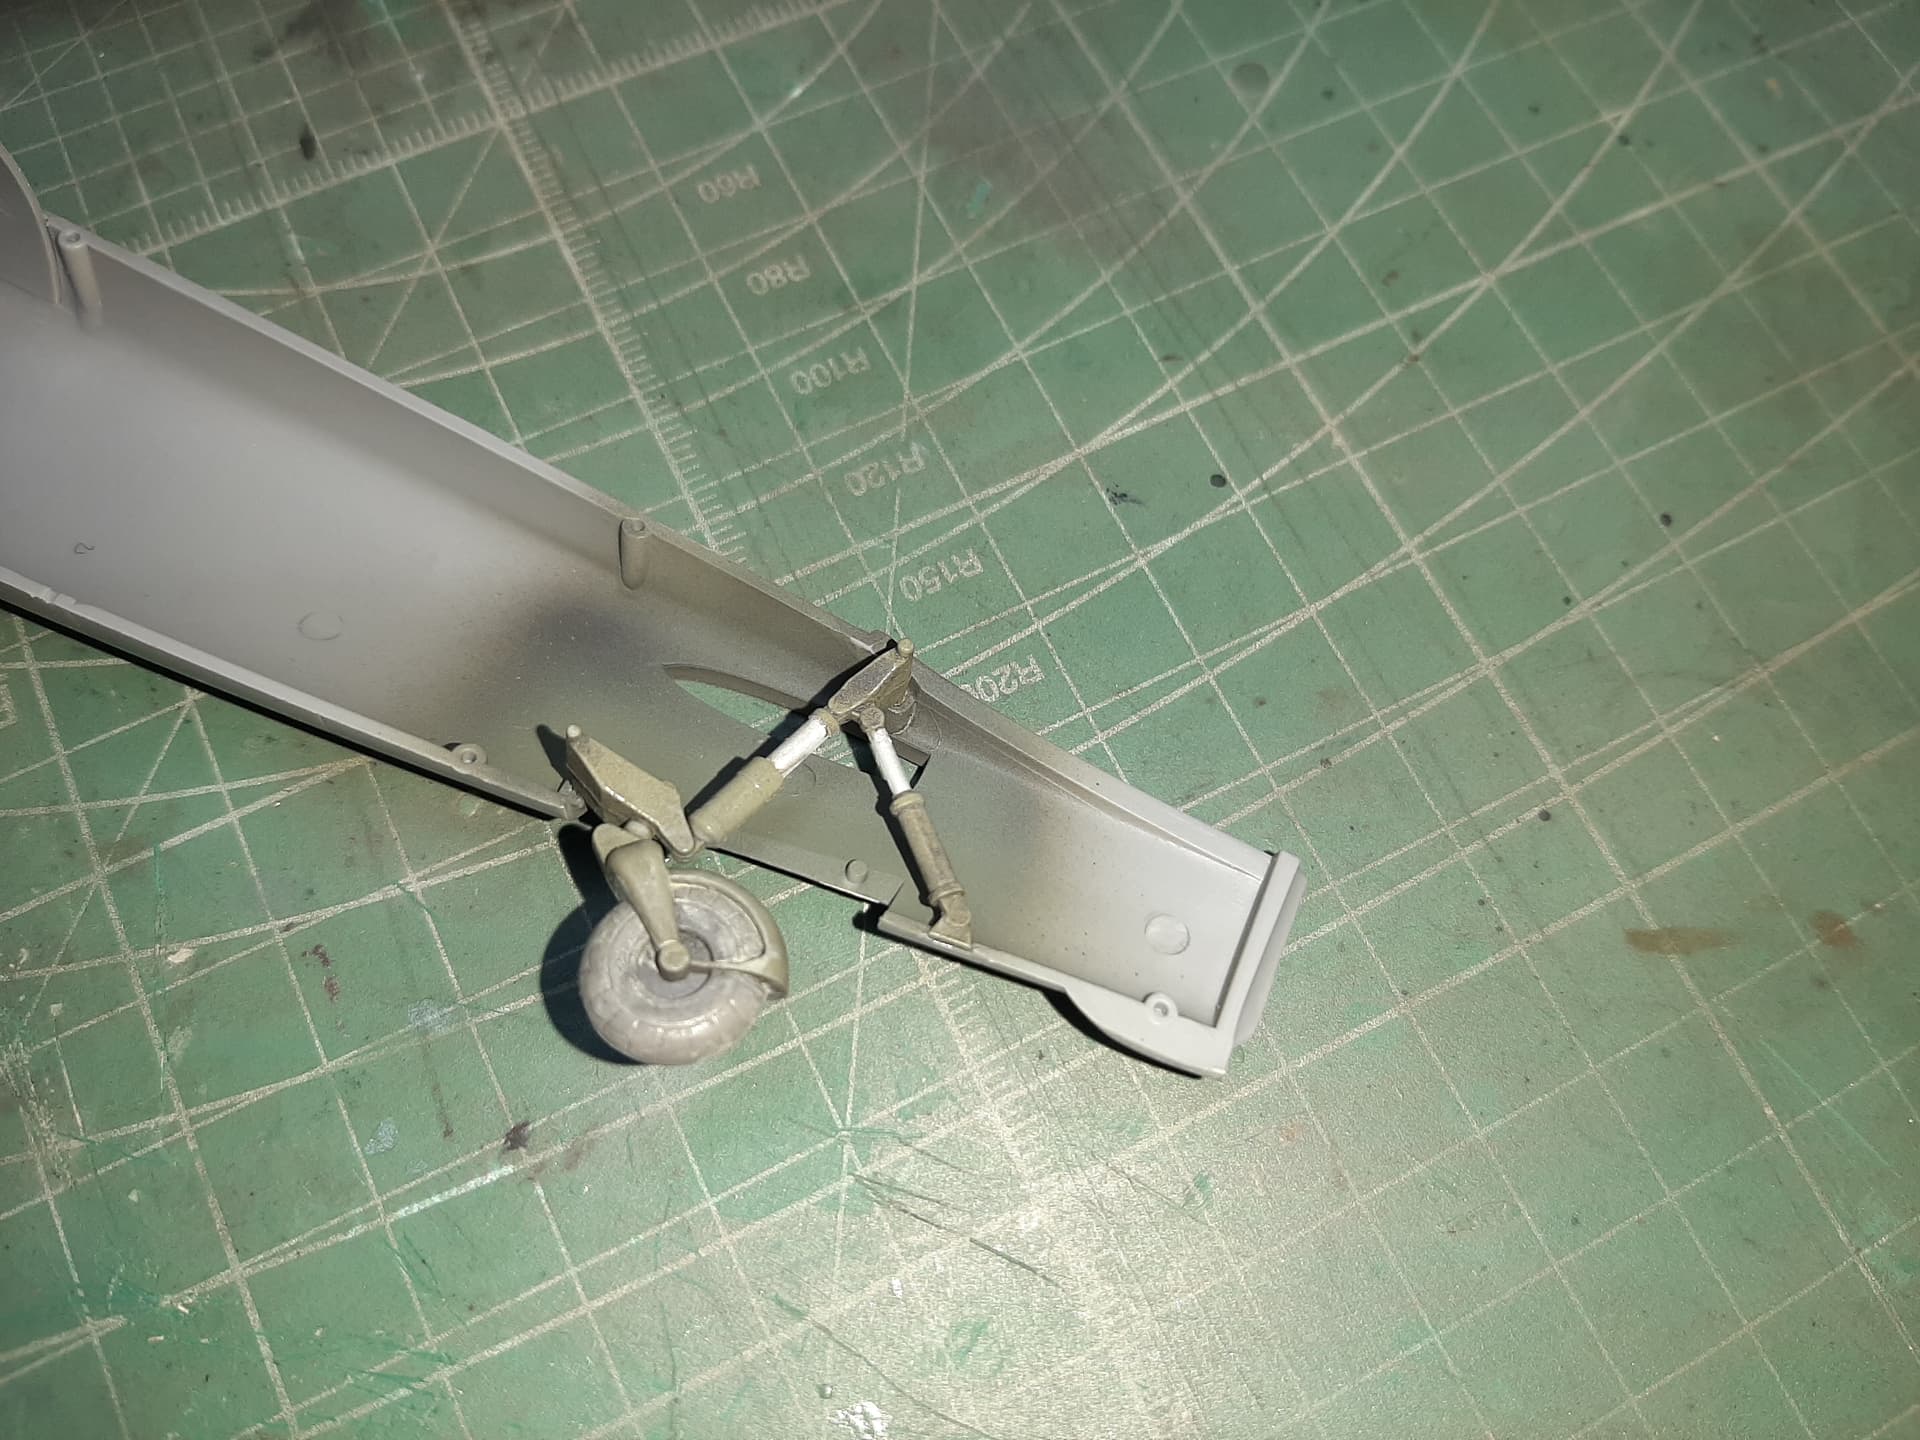
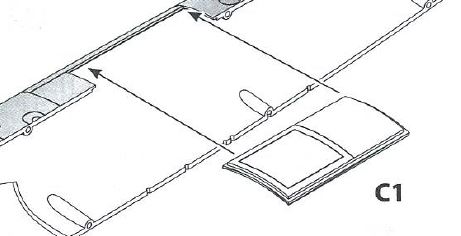
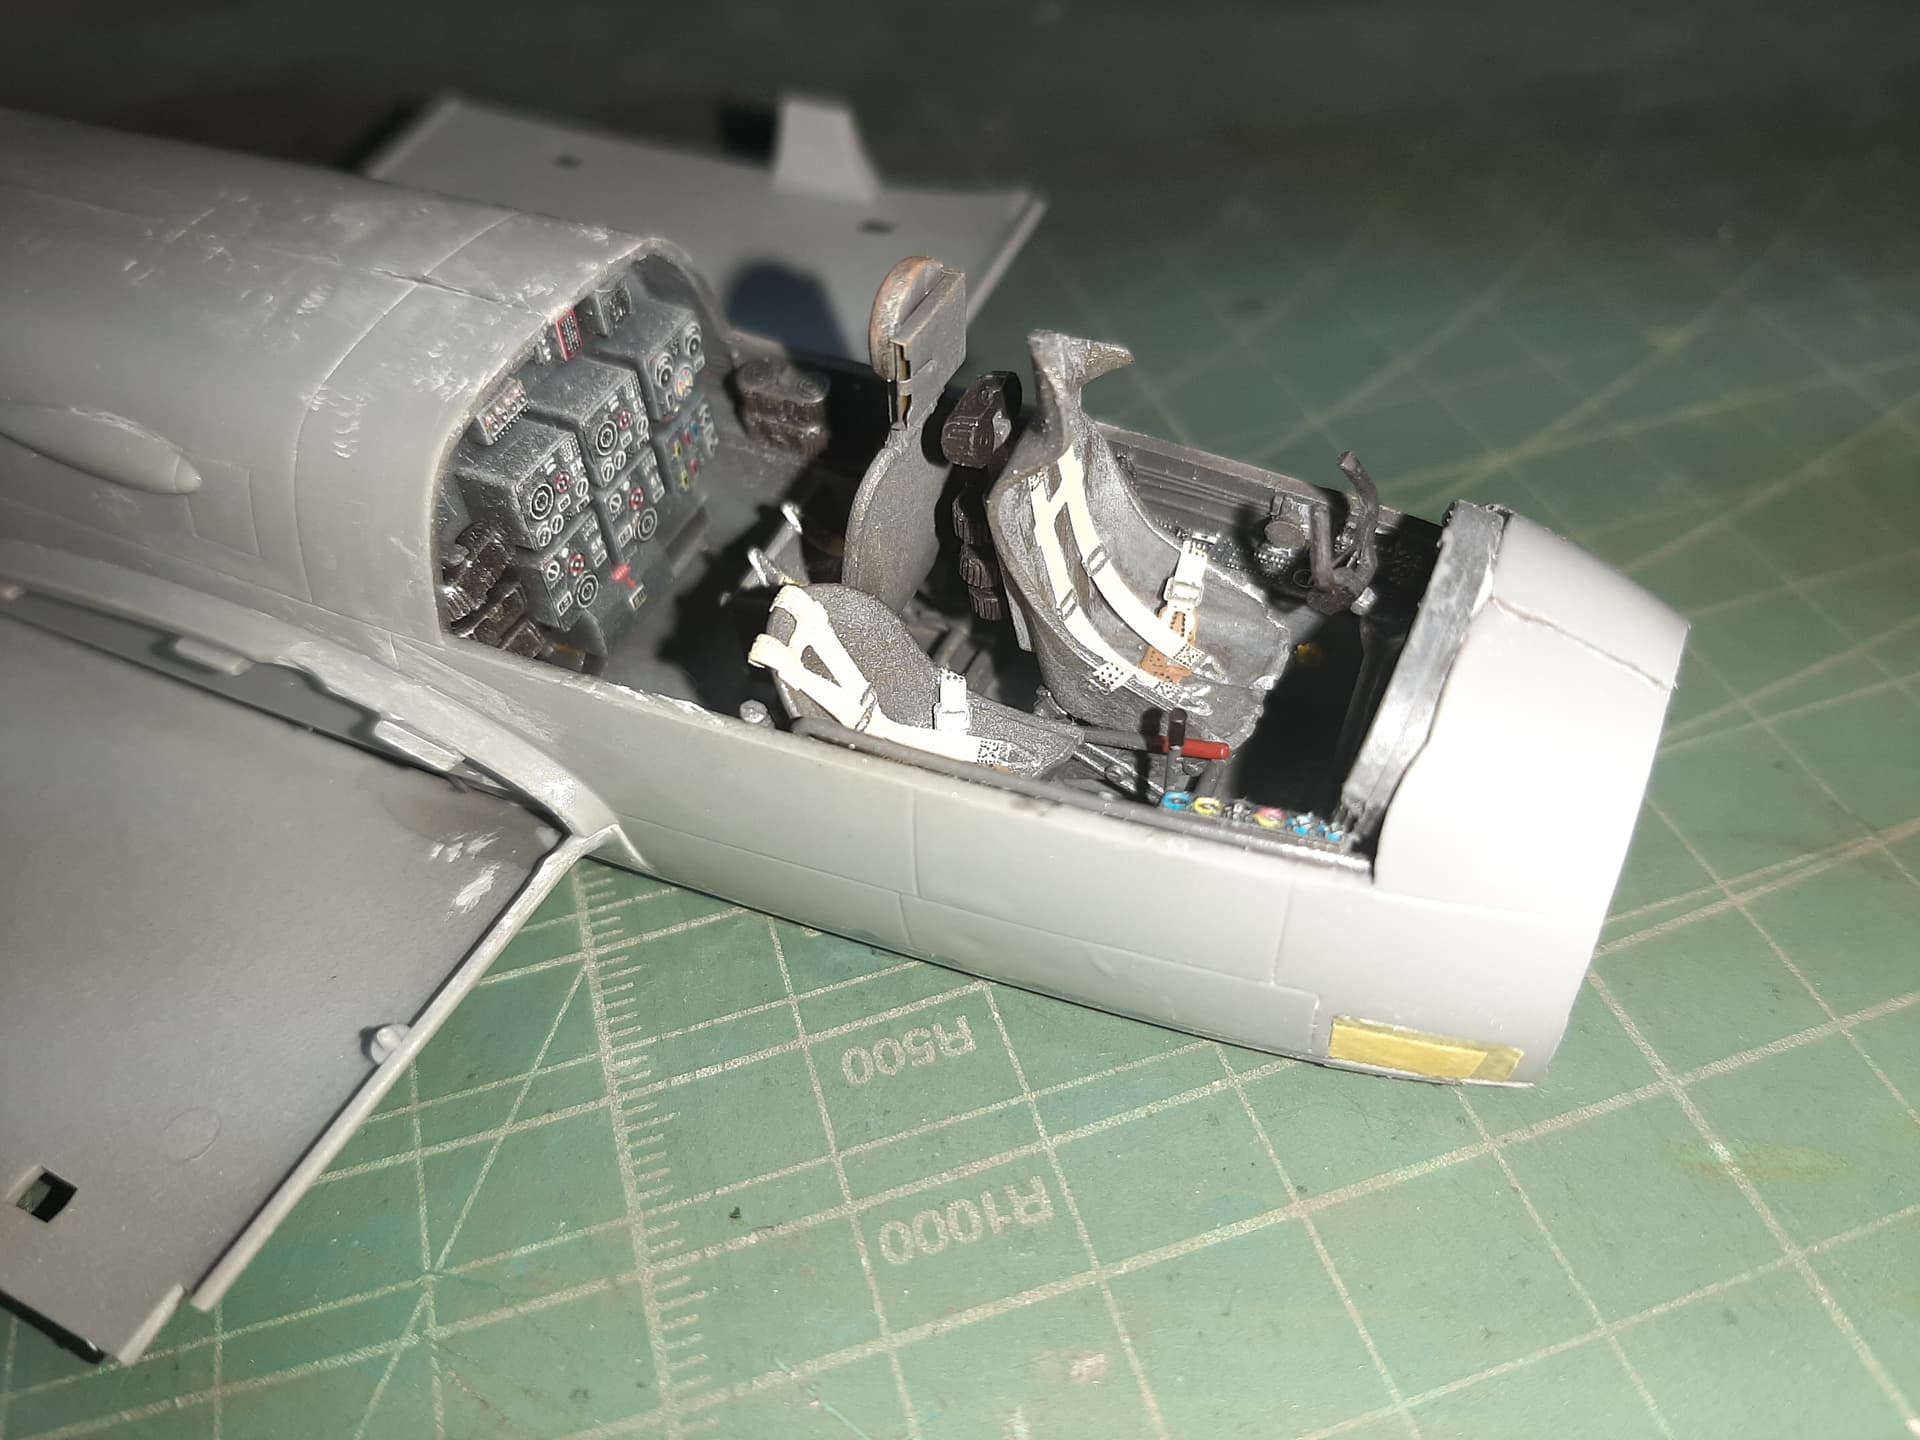
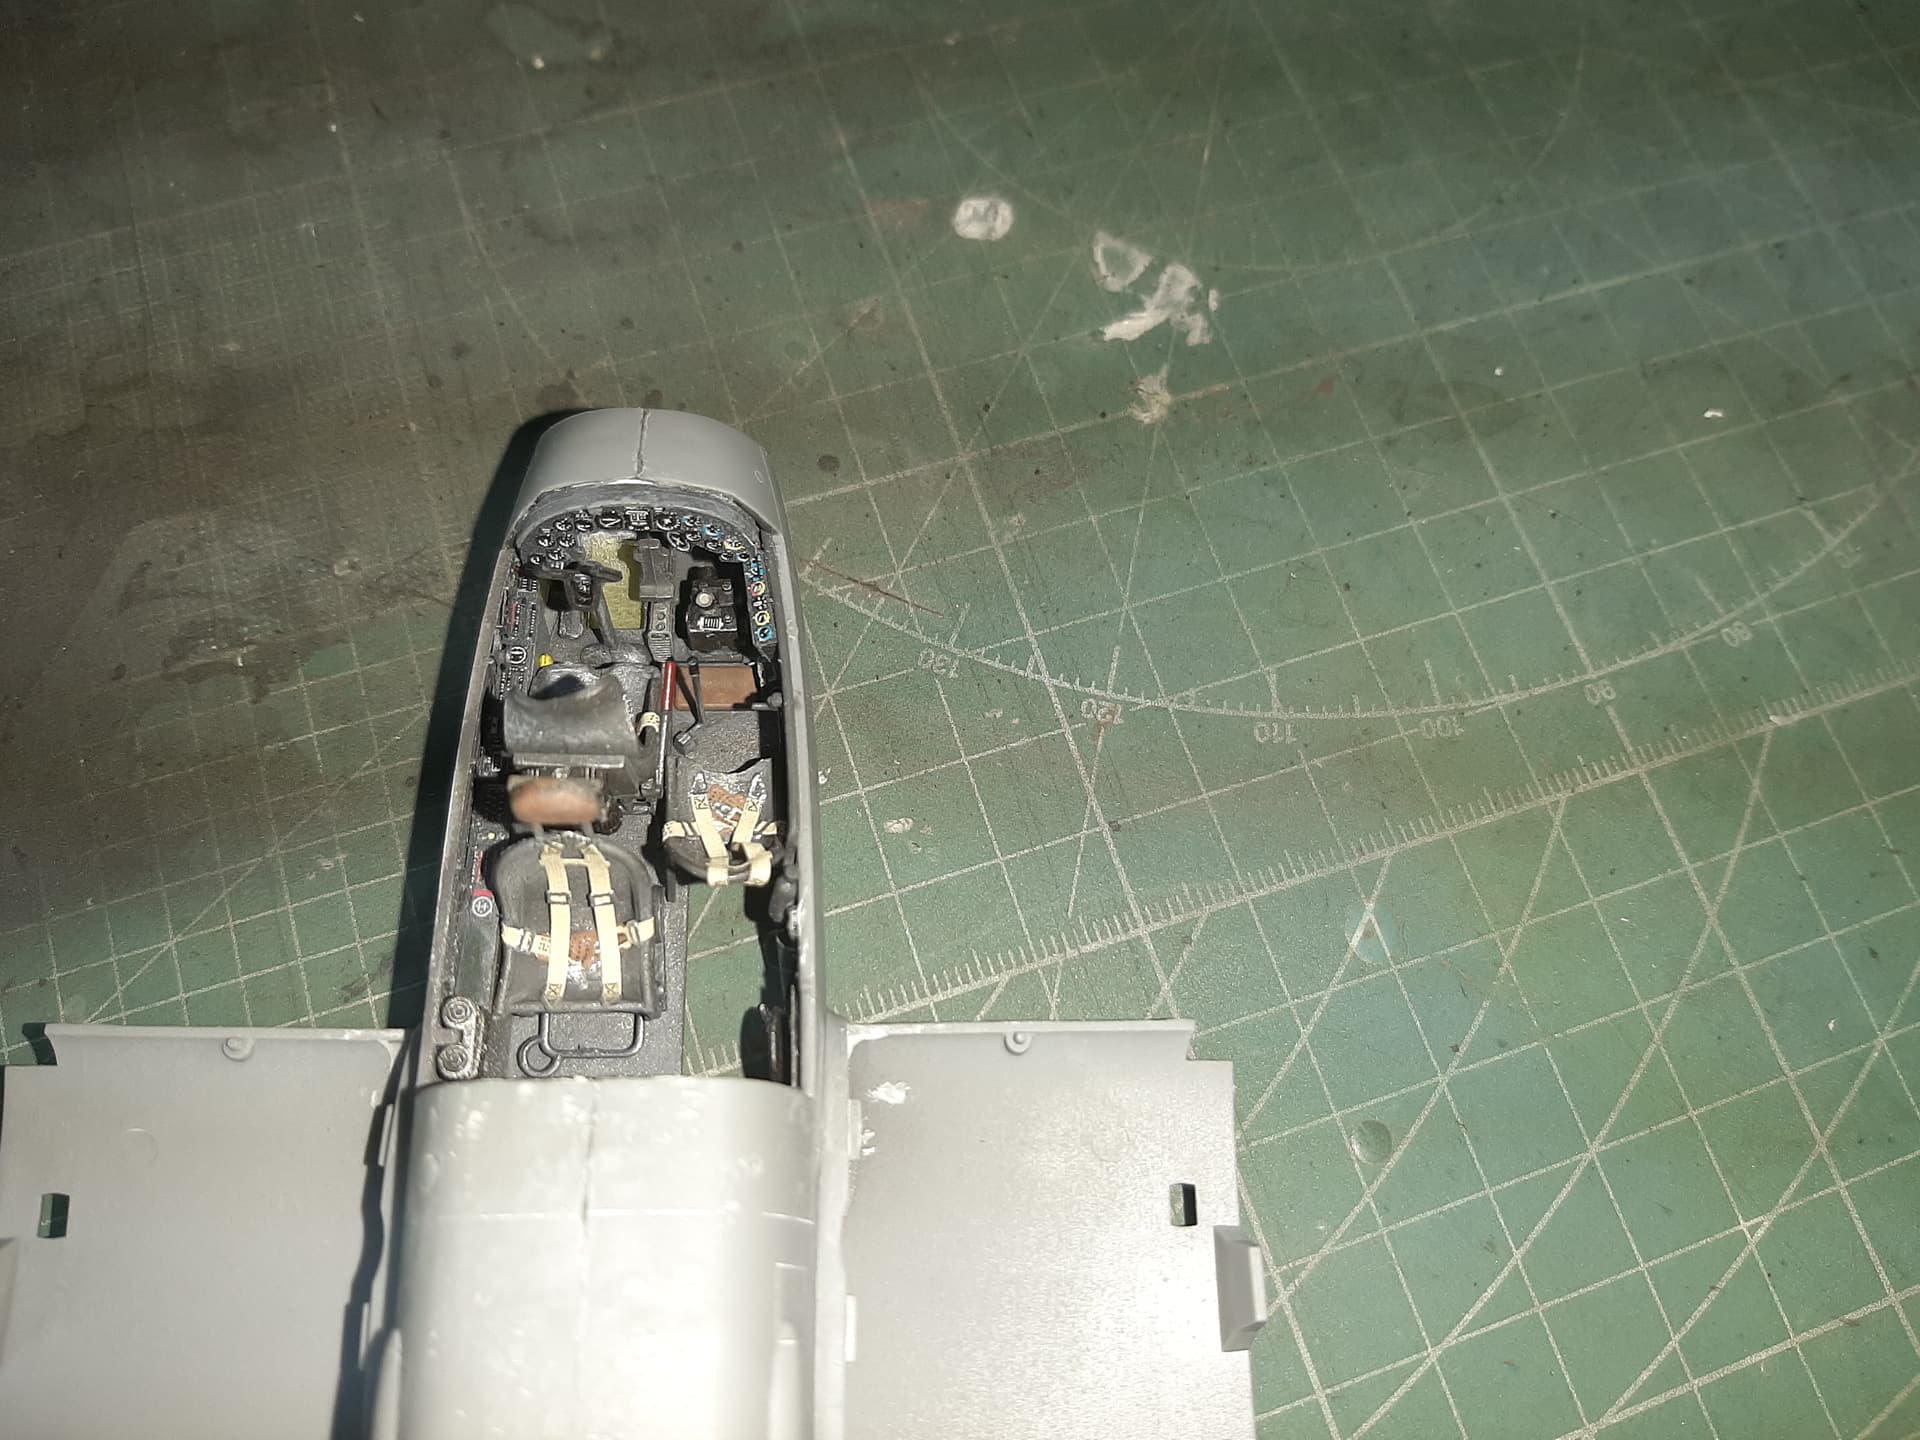
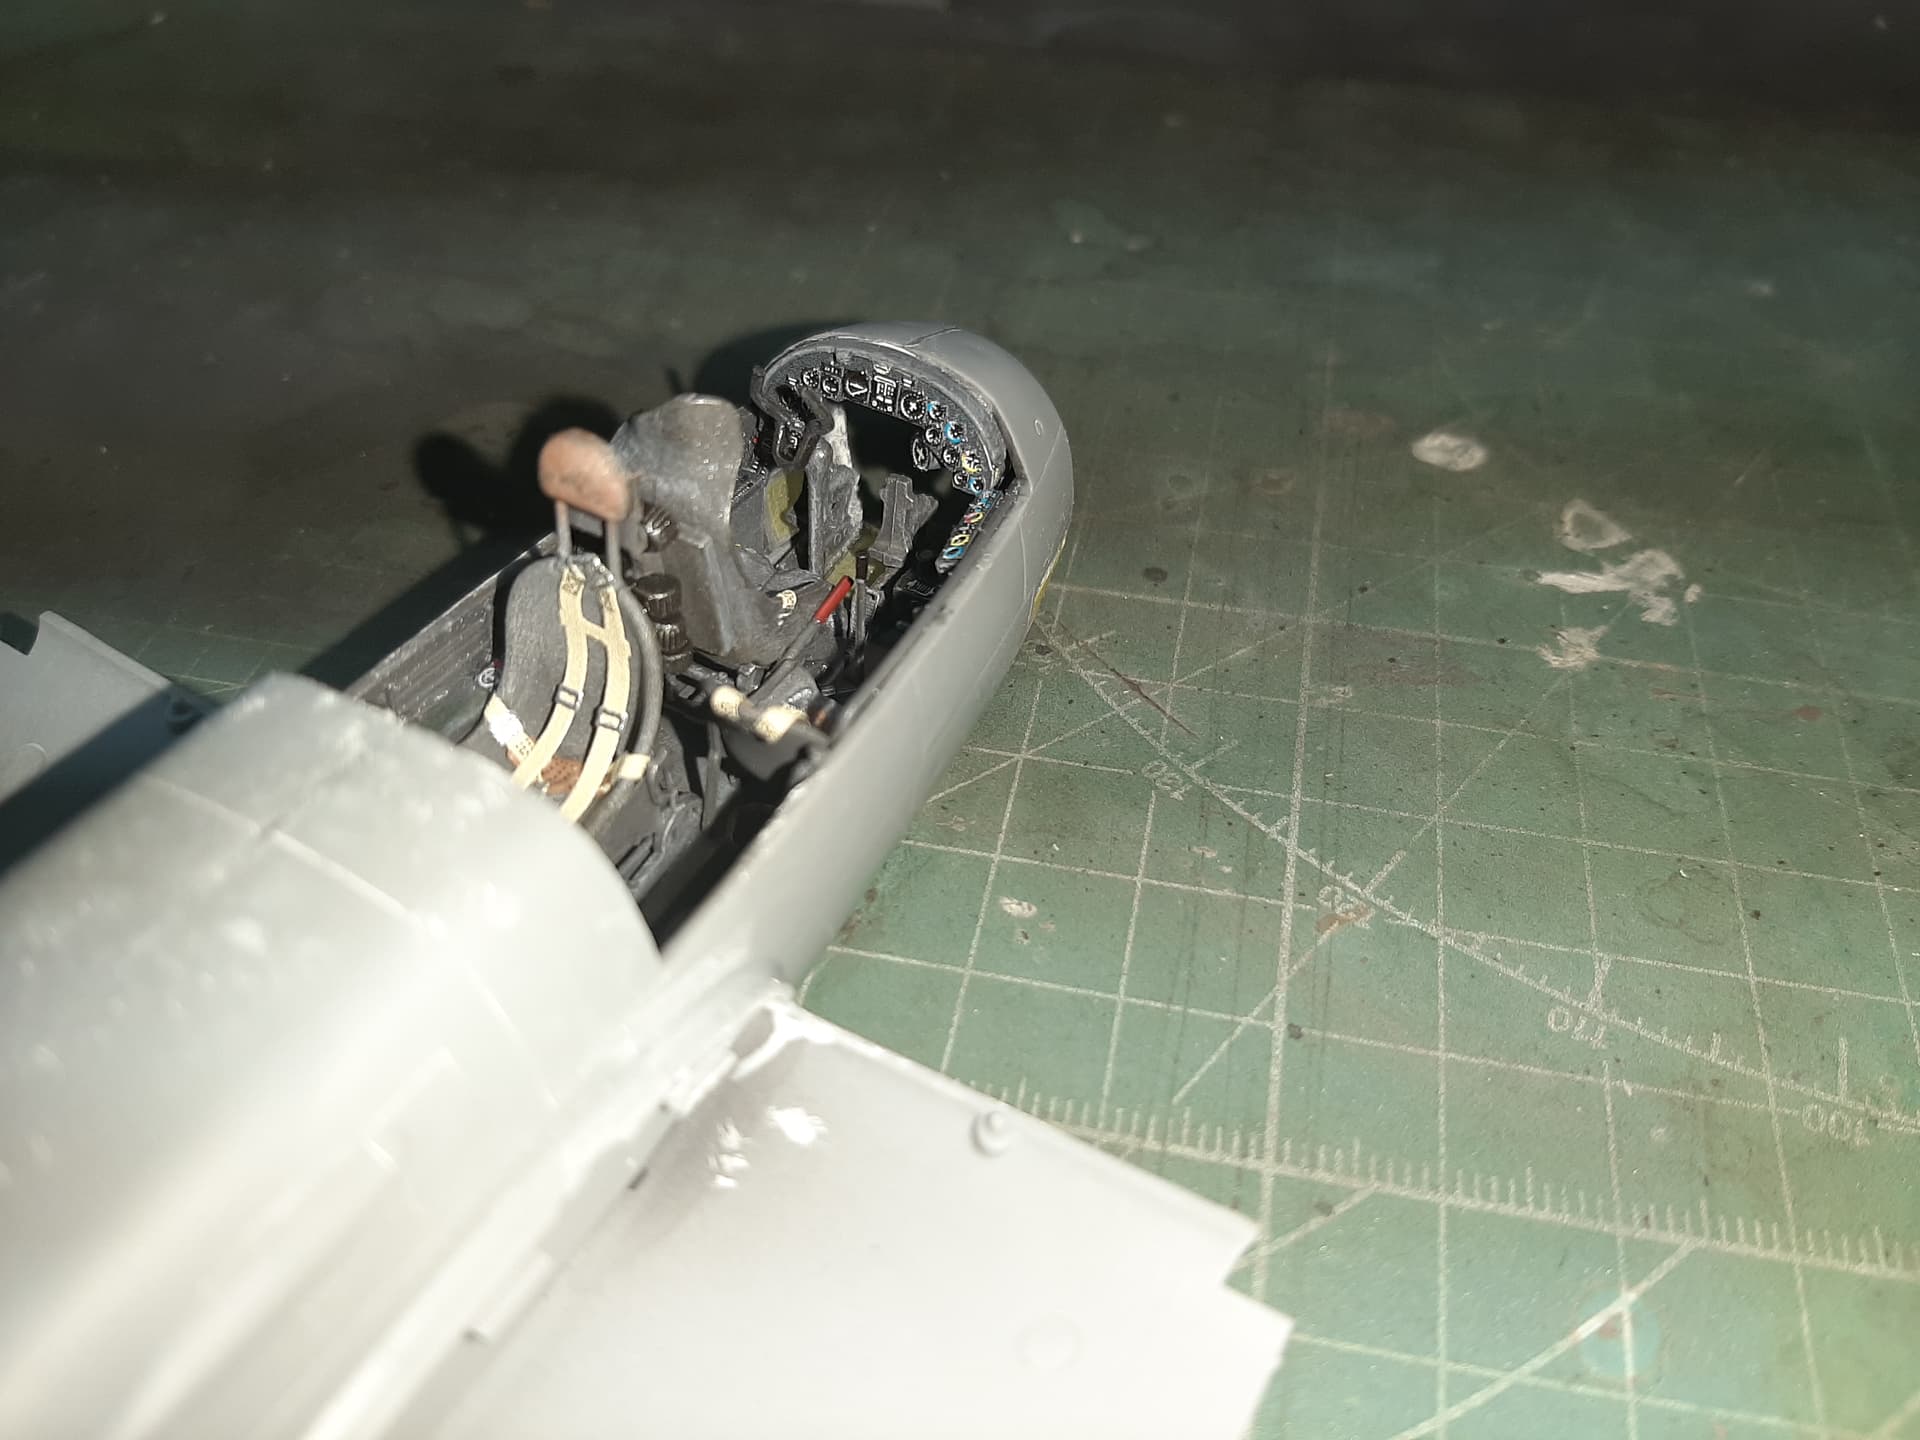
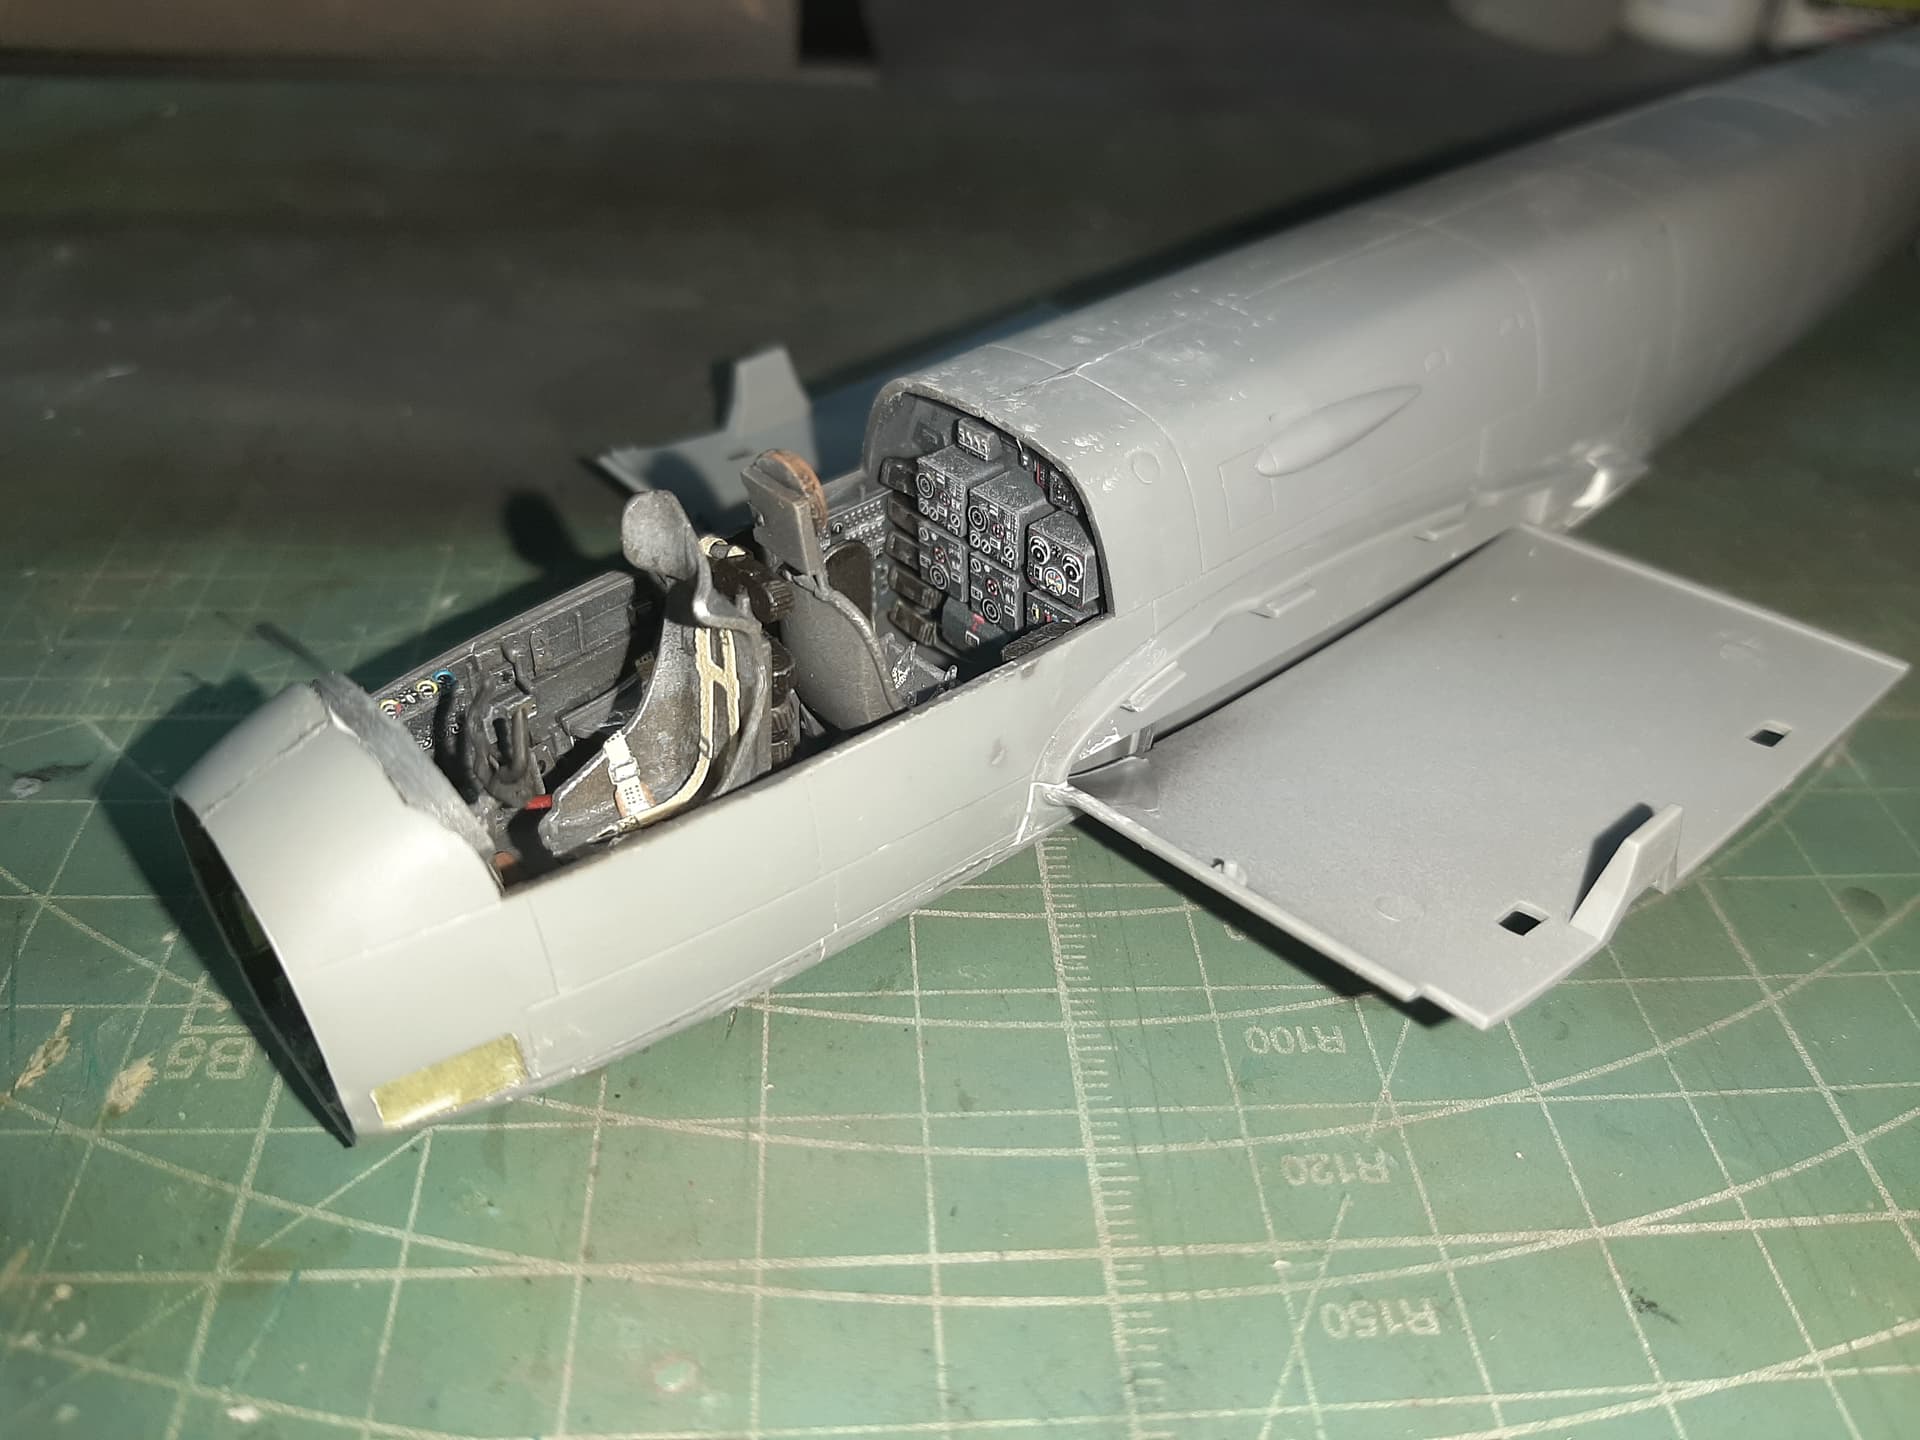
I went with Eduard’s interior (mainly for the cockpit instrumentation), exterior kit (mainly for the engine and landing gear detail) and Eduard SUPERFABRIC seatbelts (these were a revelation). Oh, and i went for a set of Eduard’s weighted resin main landing gear wheels.

Stuff i’m not looking forward to - this thing was a flying greenhouse, so lots of masking work on the transparencies (I also have an Eduard Mask Set for this).

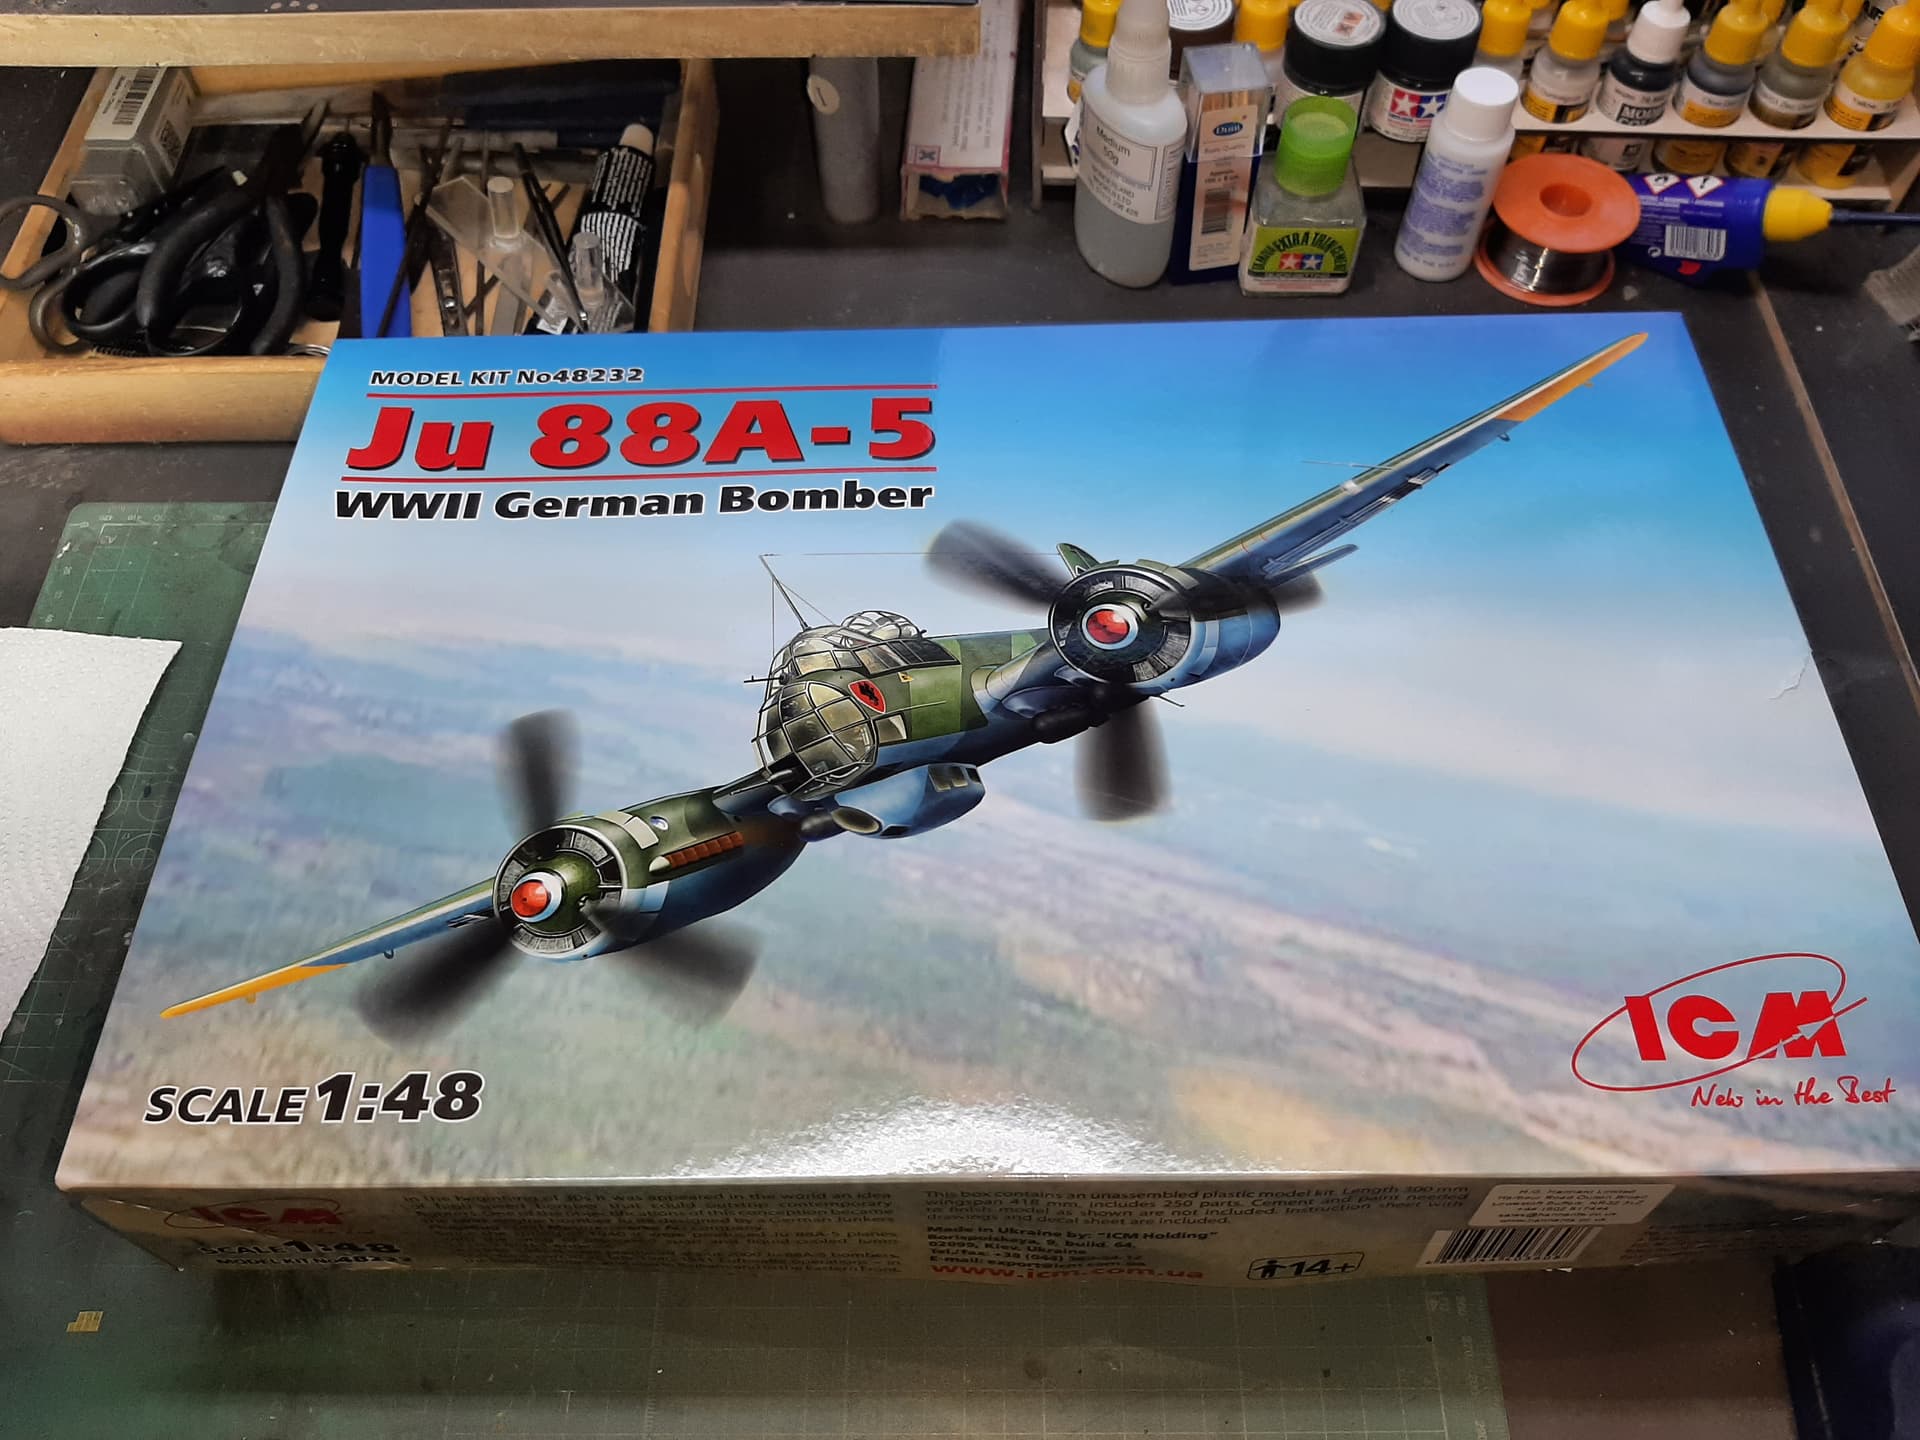
I will be building this one, France 1940 (so Battle of Britain era).

2 Likes

So, this isn’t going to be step-by-step, none of mine are.

Cockpit went together quite well. The addition of the Eduard interior set makes a huge difference to the appearance. It is lovely detail.

Interior was painted Mig Satin Black with an overspray of RLM 66 from Vallejo. Dry brushed with Mig Light Grey Highlight and then with Mig Polished Metal.

2 Likes

The front forward lower transparencies were disappointing.

The way they are attached to the sprue and the thickness of the sprue attachment points means you’re left with ugly and obvious blemishes on the one place you don’t want them, on the bottom horozontal edge. This will mate with the lower fuselage later so it remains to be seen how obvious this will be.

Perhaps it is this kit showing its age? Still, not bad all together.

2 Likes

So this is the Flight Engineer/Front gunner’s seat.

Nothing remarkable about this but for the fact I have discovered Eduard’s SUPERFABRIC seat belts.

OMG, where have you been all my life while I wrestled with stiff PE, hopelesslely bent thin PE and broke my heart with seatbelt decals…

These are just lovely, and even have some raised detail on the buckles and shackles. You simply peel them off the backing (they are very slightly self-adhesive) and secure using Micro Krystal Clear.

I’m converted, the result is really nice and took about 5 minutes.

5 Likes

Great looking interior to your Ju 88. That seat belt does look good :smile:

I’ll be watching this one Roly - I would like to build this kit myself in B o B markings.

Things are coming along, and there will be a progress report shortly.

However, can anyone tell me what the part A8 is? Is it a cockpit jump seat or some kind of fold-down table? It really isn’t clear. I’m fairly sure it was a seat, but it doesn’t have a ‘seat pan’ like the other cockpit seats so thats what made me think it ‘could’ be a small table.

Any opinions would be welcome, many thanks.

I believe I read somewhere that it’s a flip down seat for the gunner that operates the gondola gun. Probably to allow him a little respite from being in the prone position when not operating in a combat area. Could be off, but I remember reading that at some point.

Cheers,
C.

You’re right I think and that makes sense.

Well I hope so anyway, because i’ve now attached a dangling seat lap strap assembly to it!.

Found this - sadly I don’t think the key is legible.
Hope it helps just the same.
image

Well, its good enough to confirm that is in fact, a seat, as Charles thought.

Thanks for the image!

Alright, here we go - some progress.

The cockpit in sub-assembly form, is complete.

The seats turned out alright. Again the addition of the SUPERFABRIC harnesses was simple and quick. The pilot’s seat wasn’t ideal though. Firstly, it’s a fully armoured seat which I’m fairly sure the A-5 didn’t have and secondly, ICM have moulded it in two halves. Why?

It meant that there was an obvious seam right down the middle of the seat from top to bottom. Thankfully, a bit of sanding and the sparing use of some filler softened the join, but it’s still there, mercifully more or less hidden by the seat belt detail.

pilots seat

The seat frames consisted of several individual parts each, were fiddly and a little frustrating – mainly because it isn’t completely obvious from the instructions that the Radio Operator’s/Navigator’s seat (rearward facing) tapers towards the front (D13 is actually narrower at one end than the other).
Add to that the parts D1, D2 and D13 are ridiculously fragile and easy to damage (I snapped D1 & D13 removing them from the sprue and had to conduct repairs) and you’ve got a frustrating couple of hours coming up if you’re not really patient and dexterous.

The cockpit floor is basic but detailed enough. There is some Eduard PE here on the rudder pedal support structures, the pilot’s footrest in front of the starboard rudder pedal and the bomb aimer’s sight support frame – also the sight itself has some PE detail. I saw absolutely no need to remove the kit rudder pedals and replace them with ridiculously fiddly PE that needs bending by a qualified brain surgeon.

The tail wheel and strut is moulded in one piece. This makes it a pain to paint neatly and also means you lose detail as there is no gap between the wheel itself and the spray guard. However, it looks alright when installed. Assuming you can get the thing lined up correctly with both fuselage halves when you do join them that is (you can’t install this part when the fuselage is already joined).

tail wheel

Also, what is this bit? Why is it separate? You’d think that it could have been moulded to one fuselage half or the other? It means that no matter how careful you are, there will be some filling to do when the two halves of the fuselage are joined.

Fuselage top

I did get the fuselage together last night, and it seems that mainly it went together very well, not much filling required at this stage although attaching the lower part of the fuselage holding the seats to the upper fuselage now joined may prove tricky.

2 Likes

This one is in the stash fo I will follow Your work closely. Nice job so far.

Thanks - the Eduard interior kit is definately worth the extra - and, so are the SUPERFABRIC seat belts. Other than that, it doesn’t need much embellishment.

Looking good !
Part C-1 is the cover panel for where the inflatable raft was located. Not sure why it would be molded as a separate piece, possibly because they didn’t want a seam to disrupt the panel detail?

Cheers,
C.

Thanks, that explains it. Actually when the fuselage went together, it wasn’t as unsightly as i had anticipated and so i’ll let ICM off this time.

So finally, the upper and lower halves of the cockpit came together.

And it was much harder work than it should have been considering i havent modified the kit parts in any way, other than to add Eduard cockpit detail.

It was a monumentally painful process and nothing wanted to line up. I can only presume that the fuselage was ‘pinched’ in on its underside after construction. I’m not sure how it could possibly be, but that is in fact, the only real explanation, as the lower cockpit had to be coaxed into position. I had to glue the lower cockpit in from the rear, a bit at a time until finally, i got to the front.

Lots of fragile cockpit parts are exposed, so you have to be really careful. In the end, it did work, but some filling was required.

Note the lower cockpit section has a portion of the wing undersides already in place. This is a good idea because it will ensure that when the wings themselves are installed, they will have the correct dihedral.

On the other hand, any gaps caused by poor fitment will be greatly enhanced on the upper wing root surfaces.

I need to clean this up and do some fine sanding to take out the evidence of my mishandling, but i’ll do that when the wings and tail plane is on.

1 Like

Now the wings and tail plane are done. The elevators come as seperate construction to the horozontal stabiliser and are ‘poseable’ for want of a better word. I elected to ‘pose’ them in a drooped position.

The main wing control surfaces - flaps and ailerons - are also seperate pieces but can attach in one way only, i.e. in a somewhat unrealistic ‘straight and level’ position. There’s a tiny amount of droop on the flaps, but I suppose it looks alright.

Much filling at the wing roots was required as predicted.

The kit looks messy but i’ve still got some cleanining up to do, it’ll be fine when i’ve finished it.

Next up, the gondola and the main landing gear.

6 Likes

Lots of nice bits getting done with this. I have only really done the F16 and just started the F15, but I think with these bigger scale planes, if anything has to be well detailed (and Im talking aftermarket PE or scratch built bits) it has to be the cockpit. It draws the eye straight away and with the amount of glass you will have on that, you can see it all inside, so that detailing in there will be great to see and adds so much more of a realistic feel to it. Lovely work

1 Like

Looking good Roly. The cockpit looks excellent :smile: