Annoyingly so lol… And the finish of the product… Damn him lol
2 Likes

He is the worst!
The bottom one is looking better Ryan… That gets my vote 
1 Like
Honestly Ryan those are all looking great mate.
1 Like
Thanks.
Dang 10 character rule.
The good news goblin is me Ryan,  . They look great my friend, with a wash and a dry-brush highlight I think they will look very impressive,
  .
.
G
2 Likes
That’s looking great now Ryan. Now I have seen it like that dry fitted, I understand the whole scene now. Should look cool once it all starts to build up
1 Like
That is my hope.
1 Like
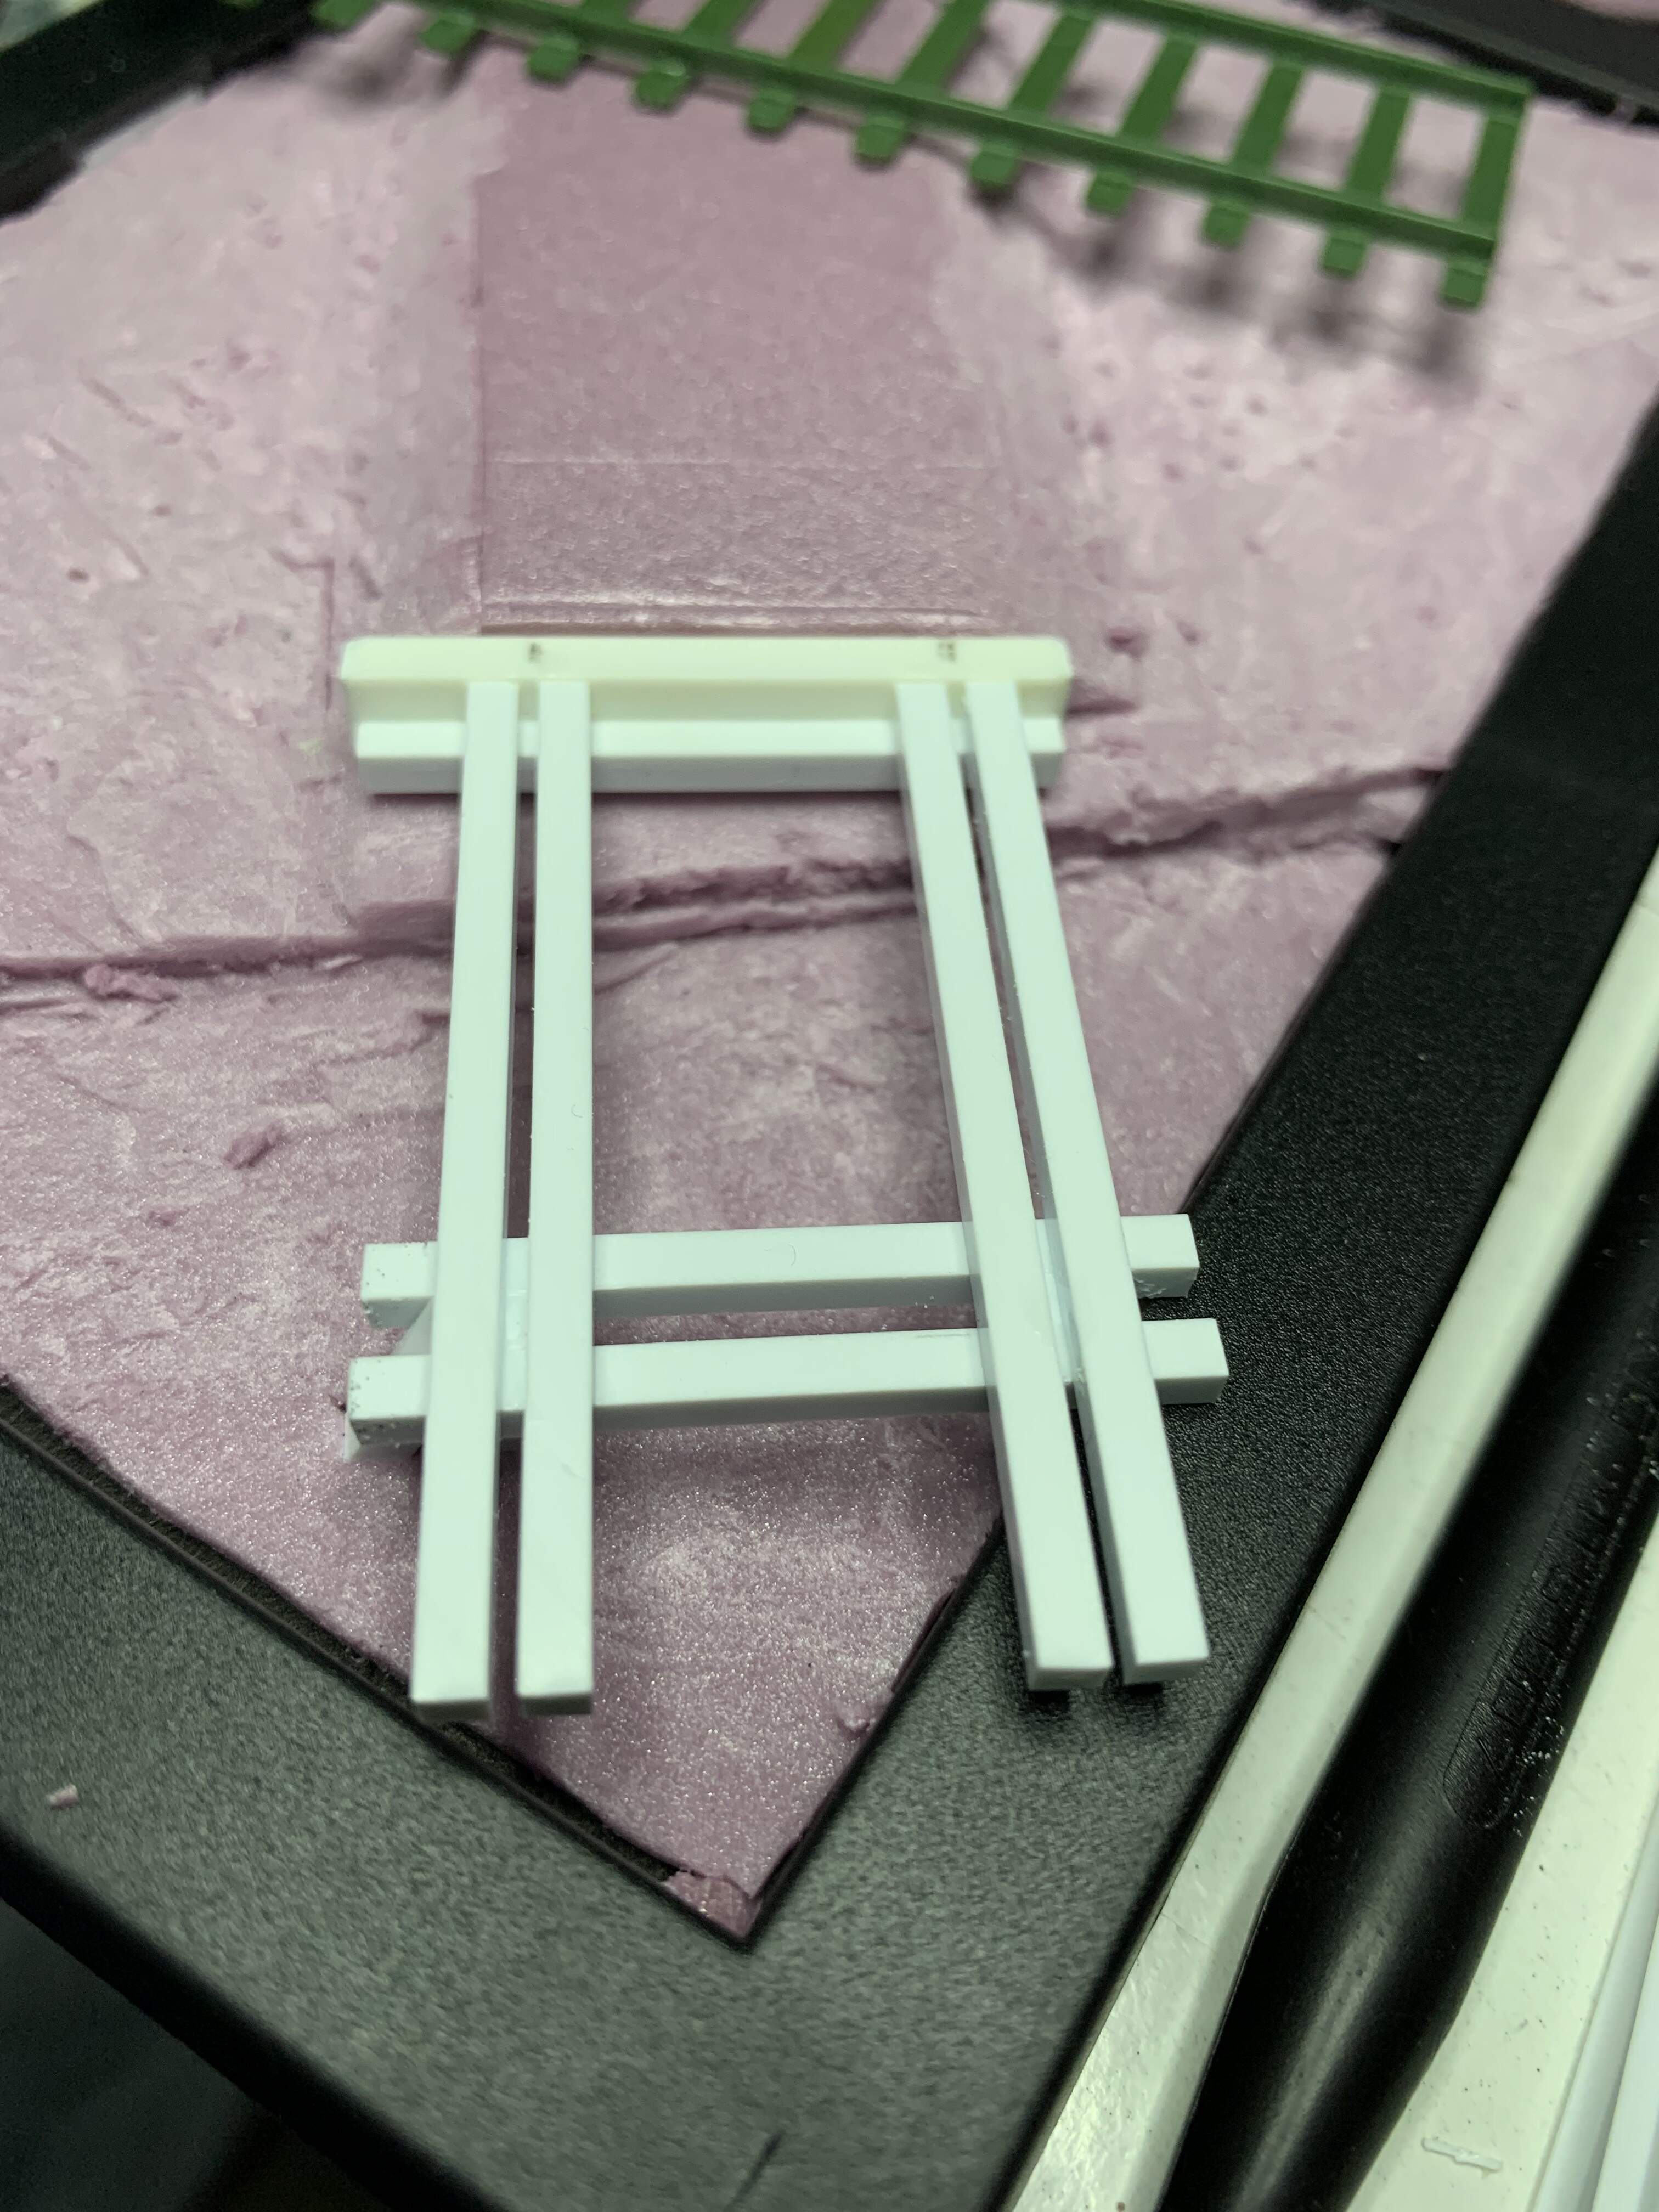
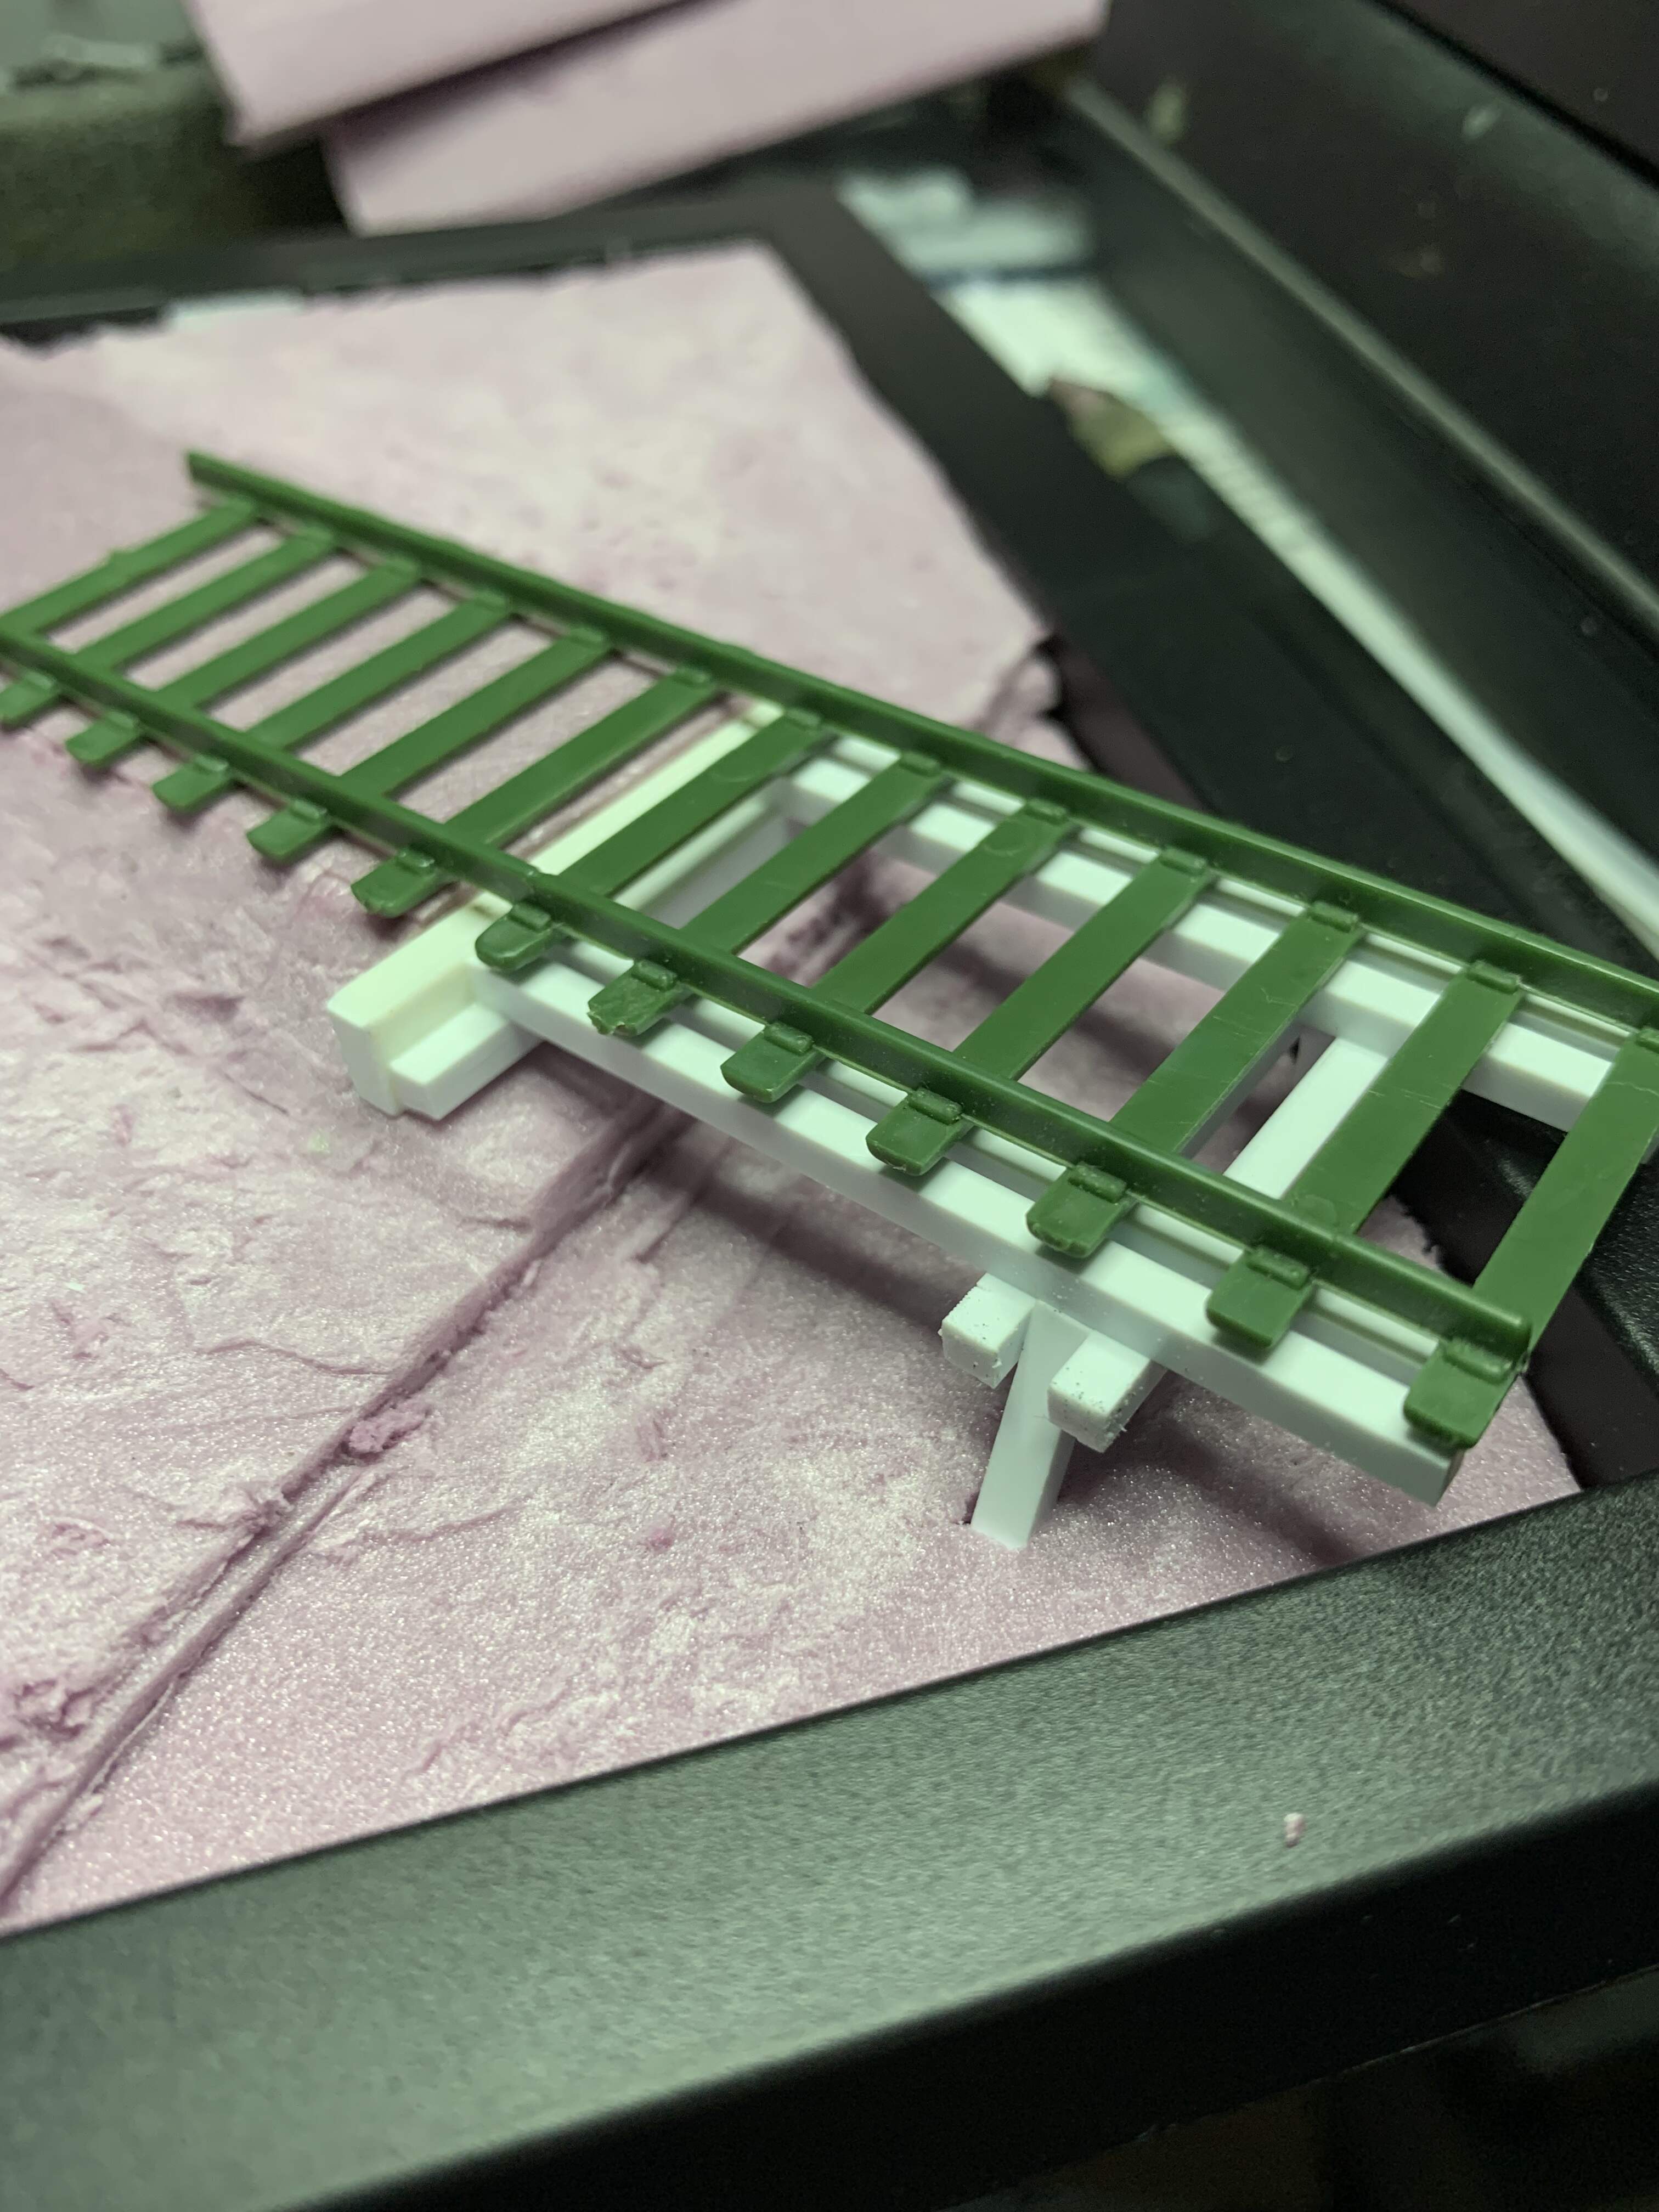
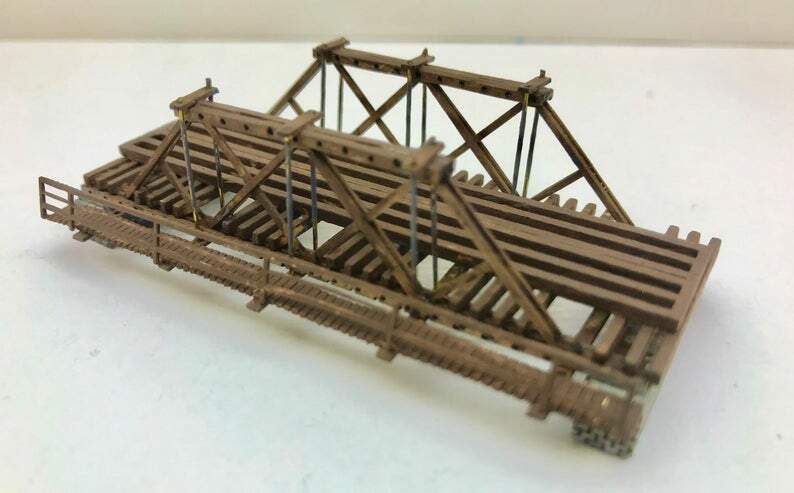
Really liking the trestle work for the bridge Ryan, , will you be giving it a similar ‘woodgrain’ texture to the railway sleepers?
G
1 Like
Ideally I should have done that before hand but I got in a mood to build and finish a part that I didn’t prep them before hand. So yes it will have some but not as much is should have if I did it right.
1 Like
Looks good Ryan, and may I suggest adding a foot walkway to one side so repair men can handle any problems with the track on the bridge
1 Like
Thanks. I have an idea of what your saying but do you have any photos for references. I don’t recall seeing one the examples I was looking at. Is that a more post war addition or a bridge length requirement to add?
Given its actual low height and its only really going over a small brook., would it even need a foot walkway ? ?
if any repairs or maint were required, wouldnt they probably just improvise on site ?
1 Like
Given the small diorama no one doesn’t really know the complete dimensions of the bridge and water way, including me. 
I am still interested in the information cause some visual interest might be nice.
I’m like that Ryan, sometimes I want to stick things together before I’ve totally prep’d everything,  .
.
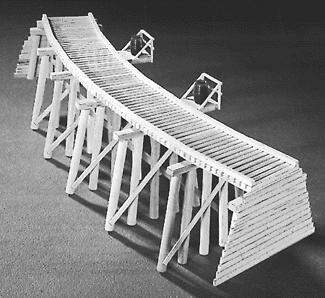
I don’t know if the image below helps, but a walkway is shown at the bottom, supported by extended beams from the trestle.
The other thing I have seen are small projecting platforms at regular intervals, the maintenance crews walk the line, but if a train comes they can step out of the way, something similar to the image below, .
G
2 Likes
Thanks G. I might add a walkway but let’s how things go. Something to add to a 1/35 future bridge when I have more time.
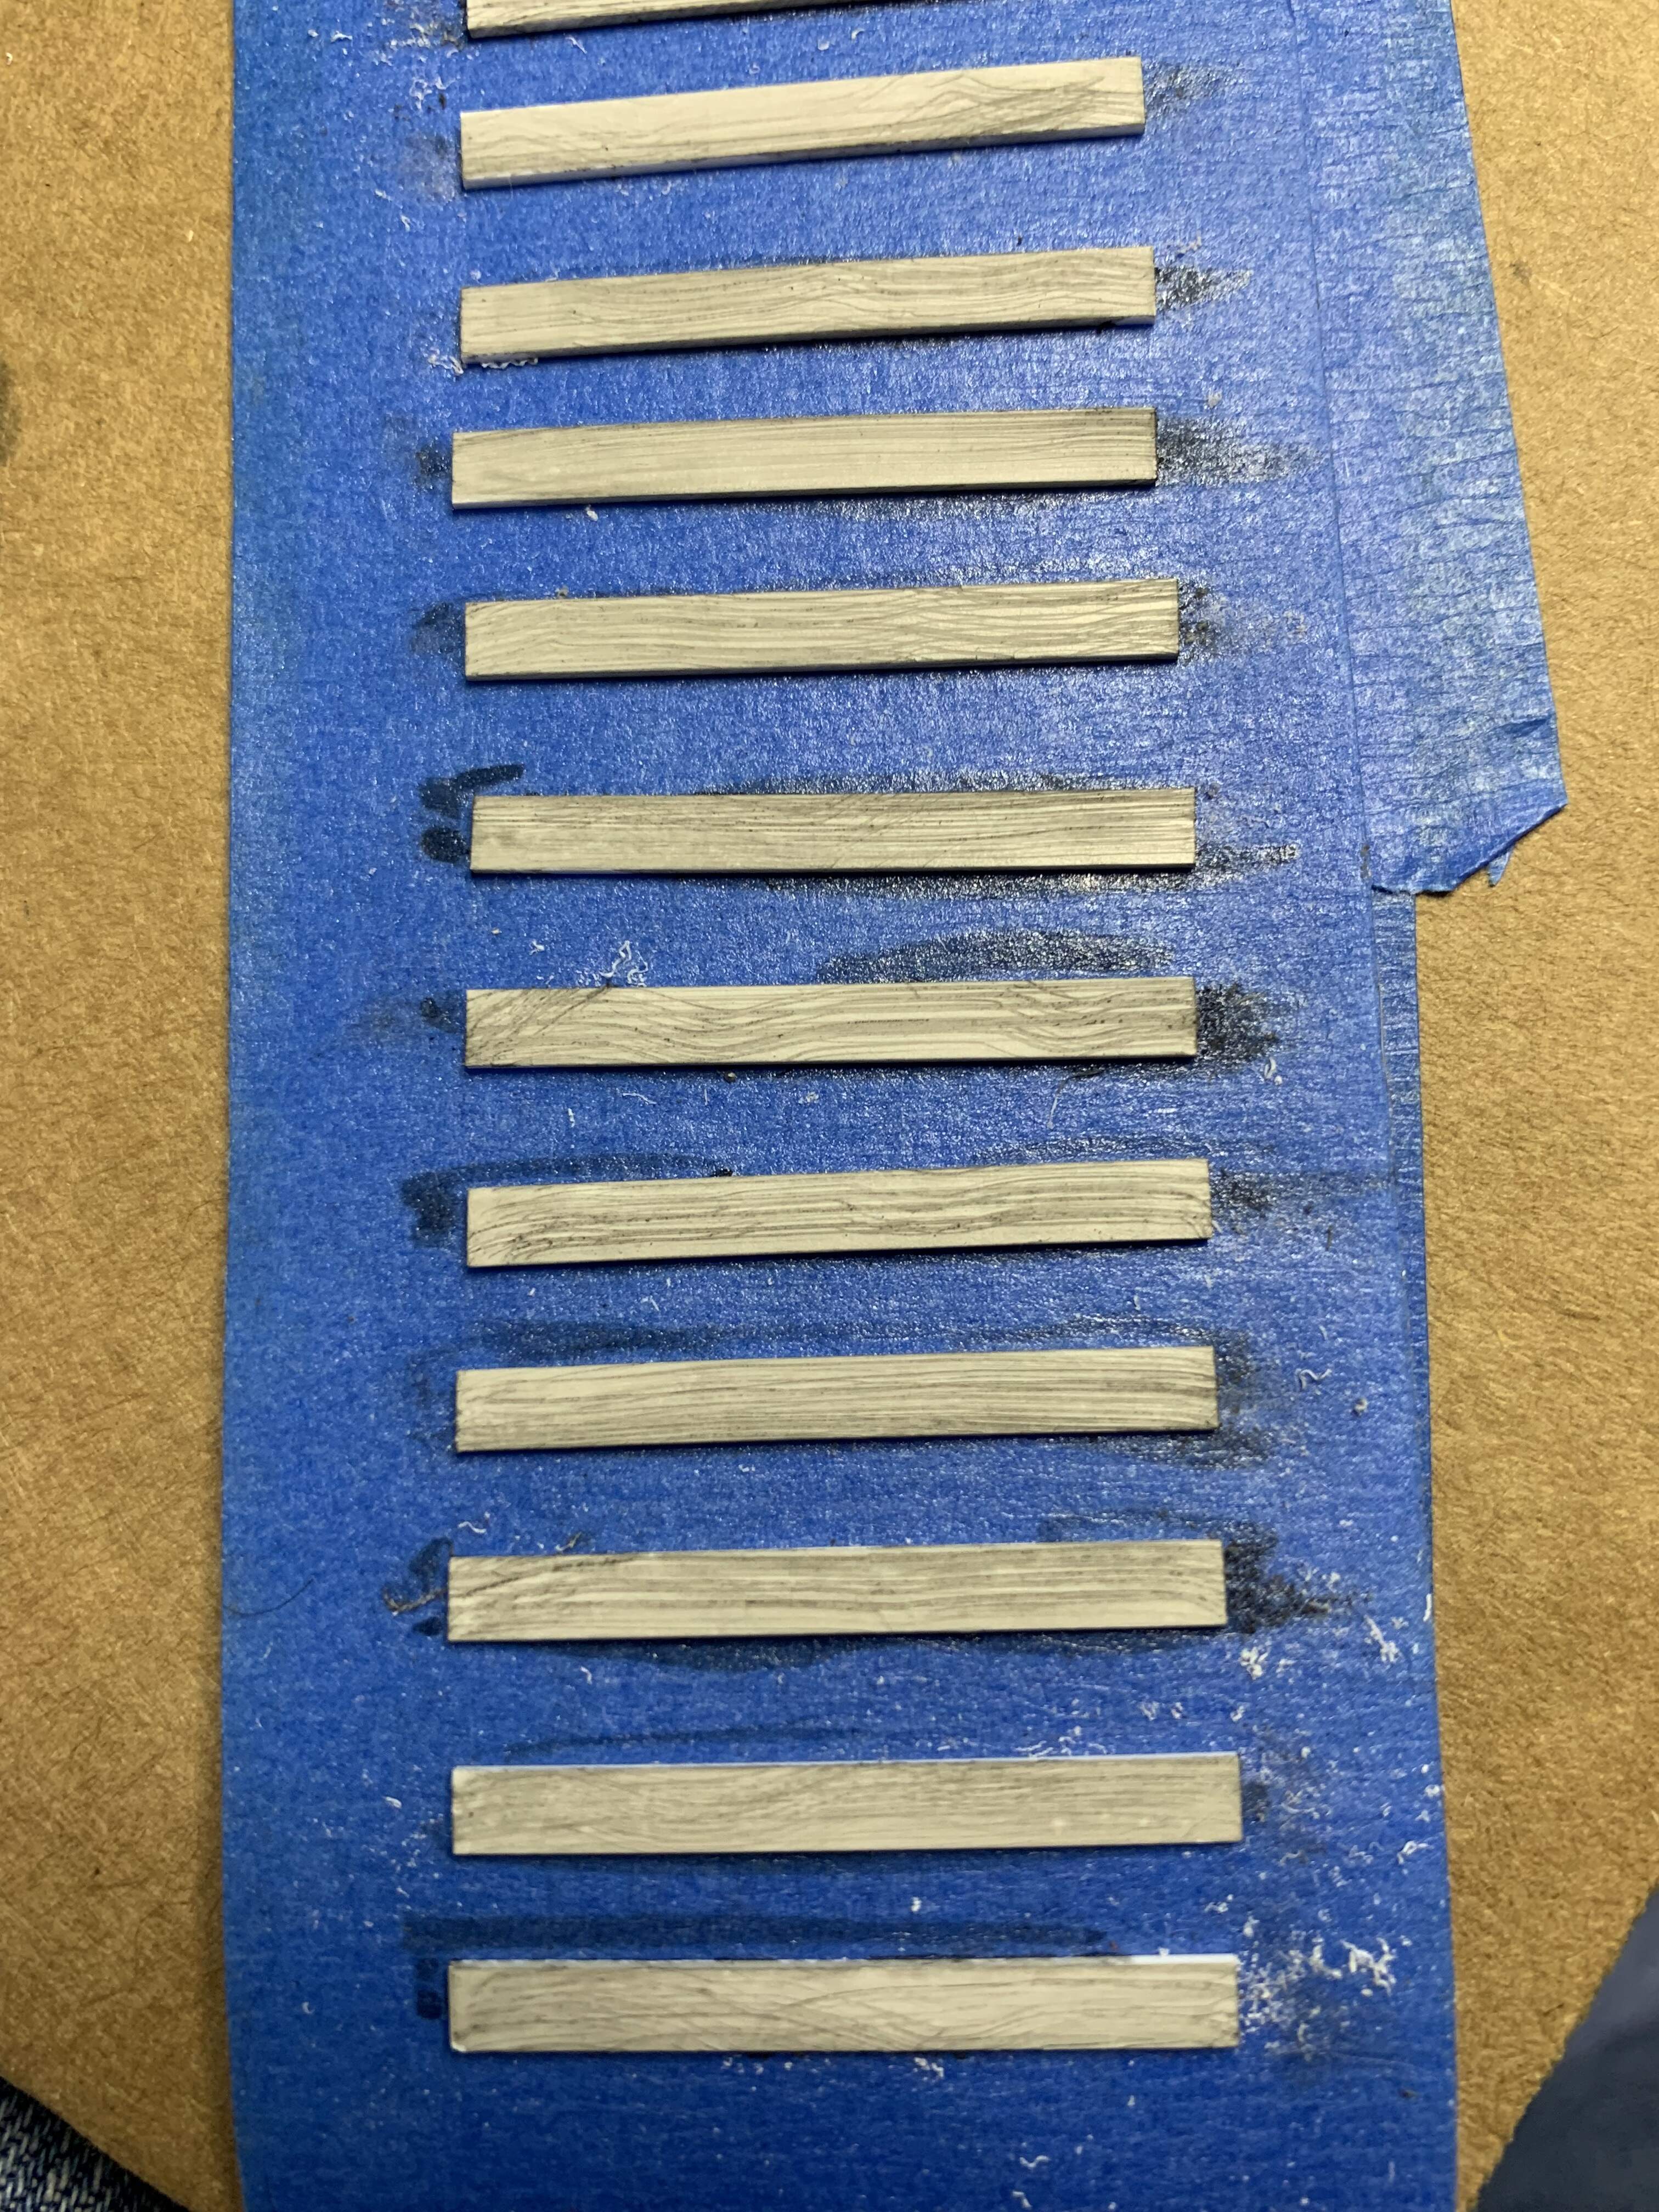
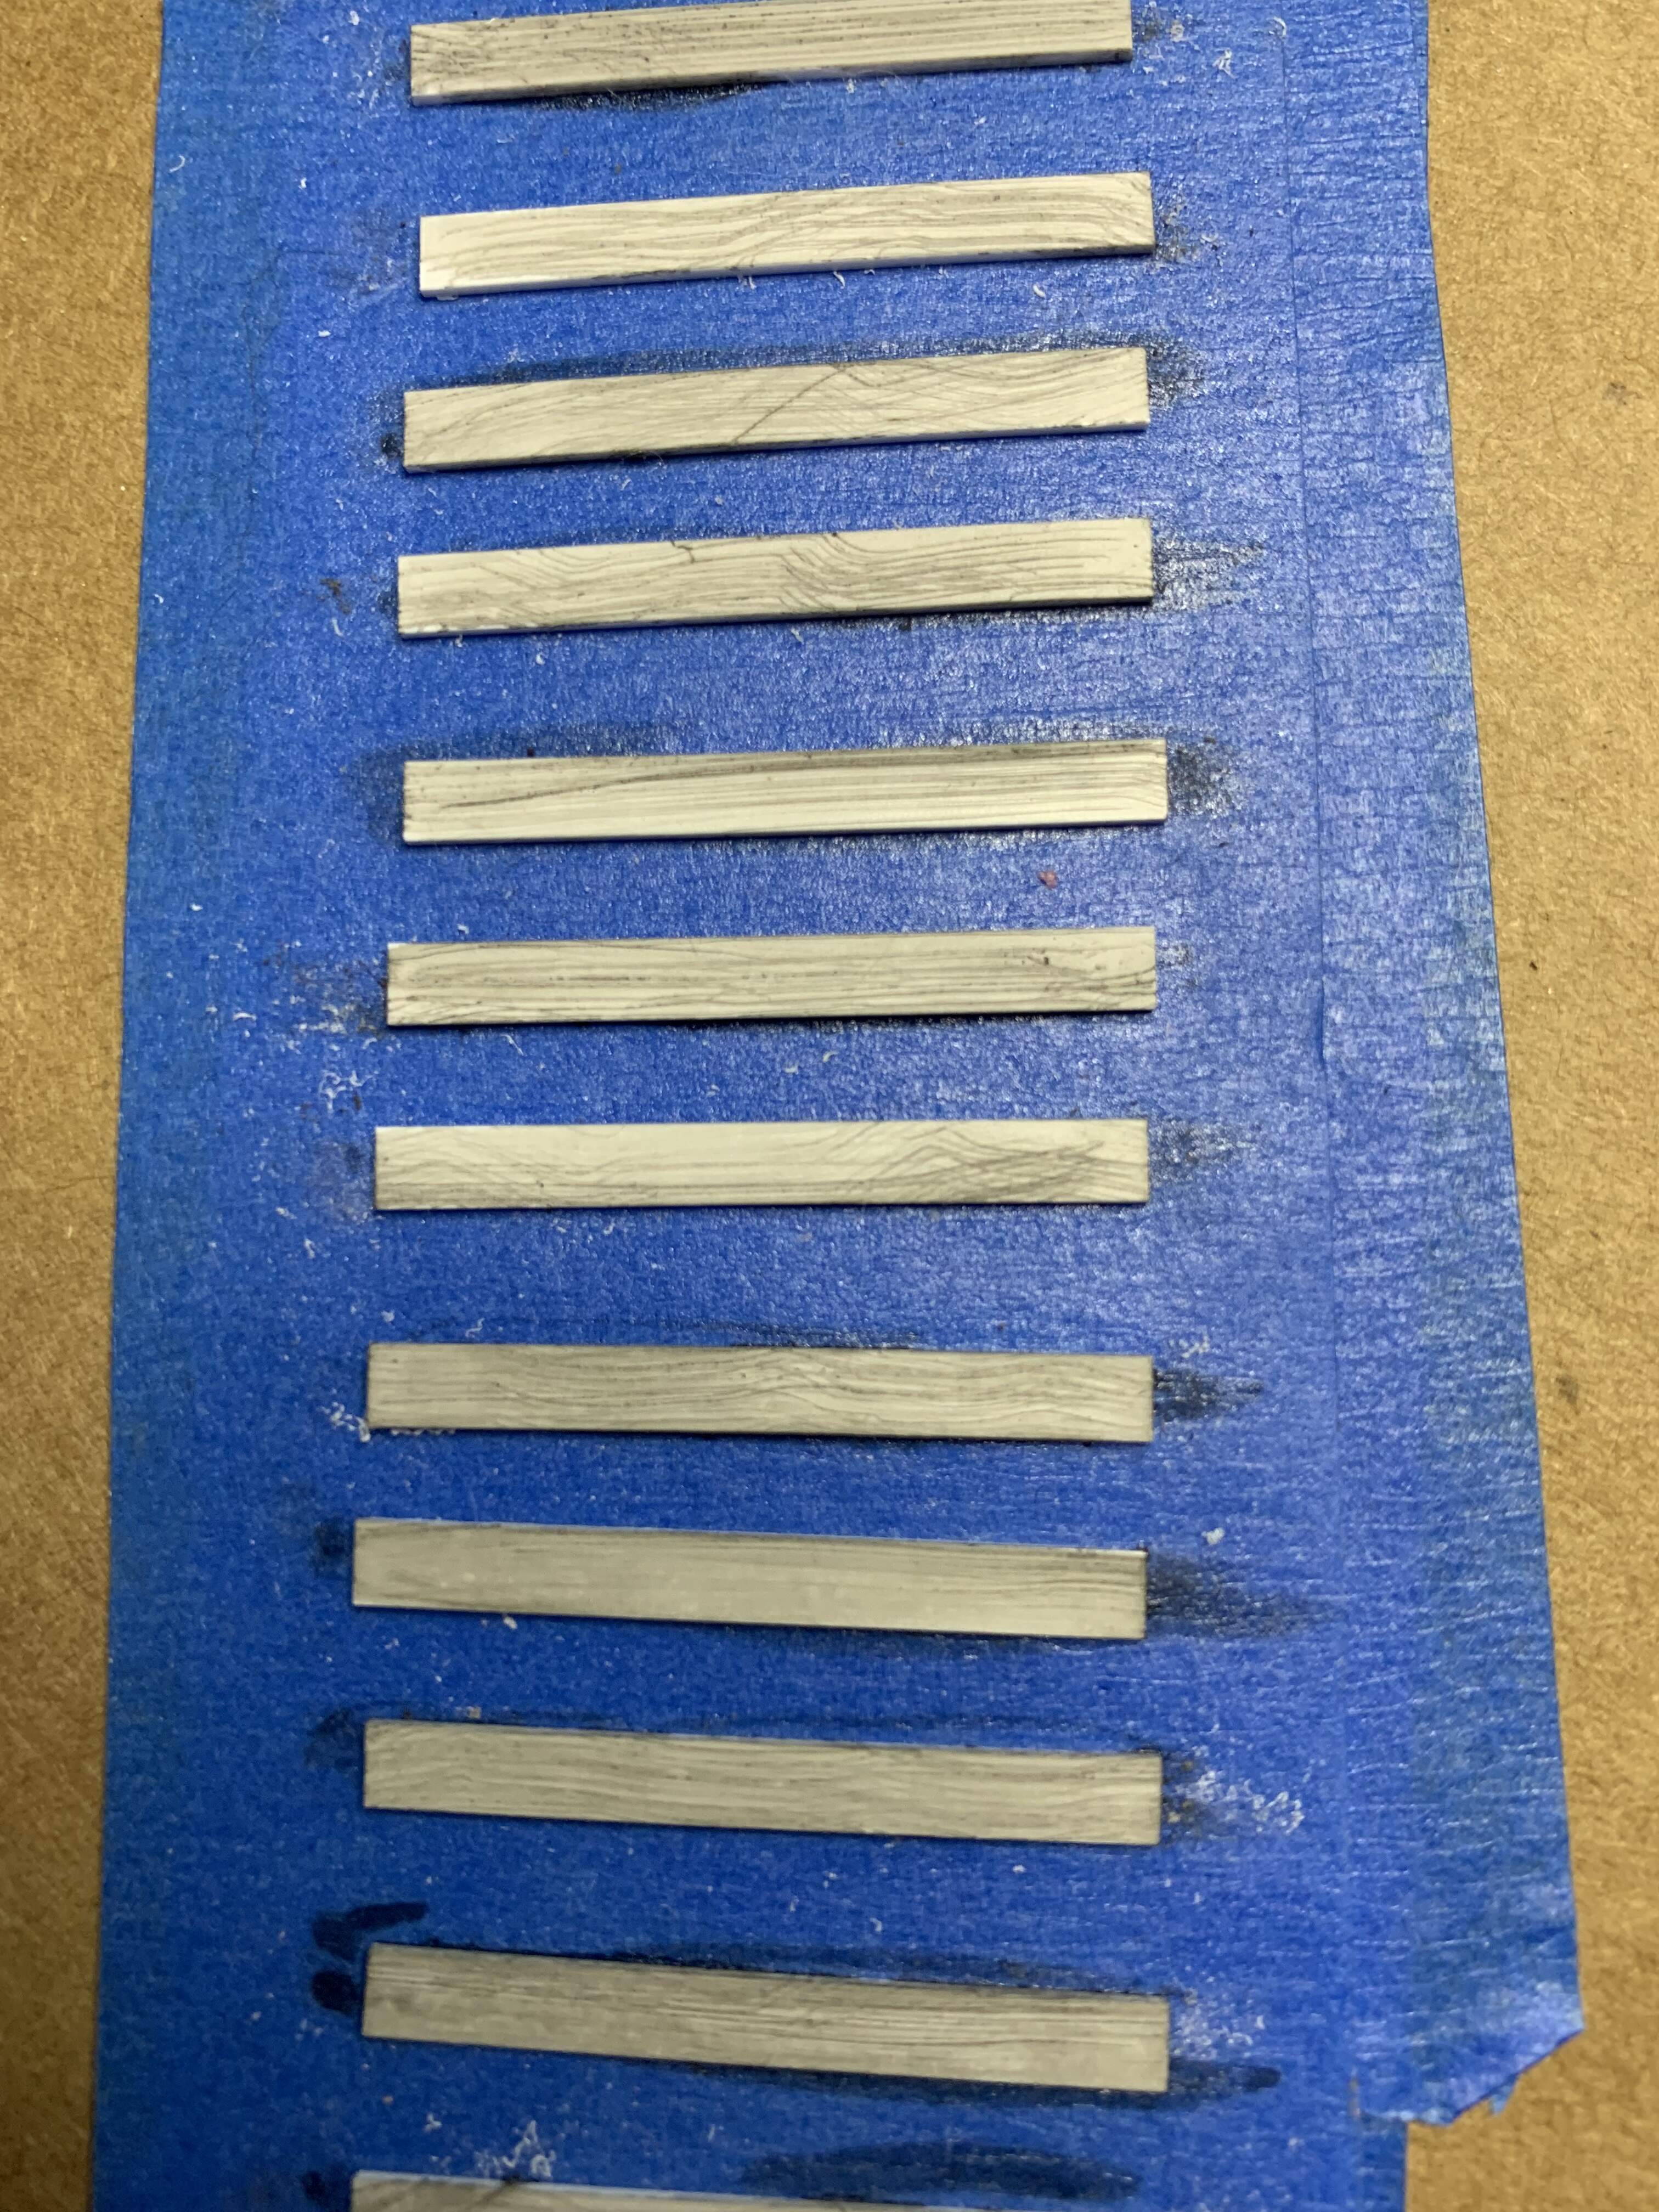
I was marking up the bridge some. Tamiya black panel liner to help see my process. I also tested the gun primer scriber pencil for the first time.
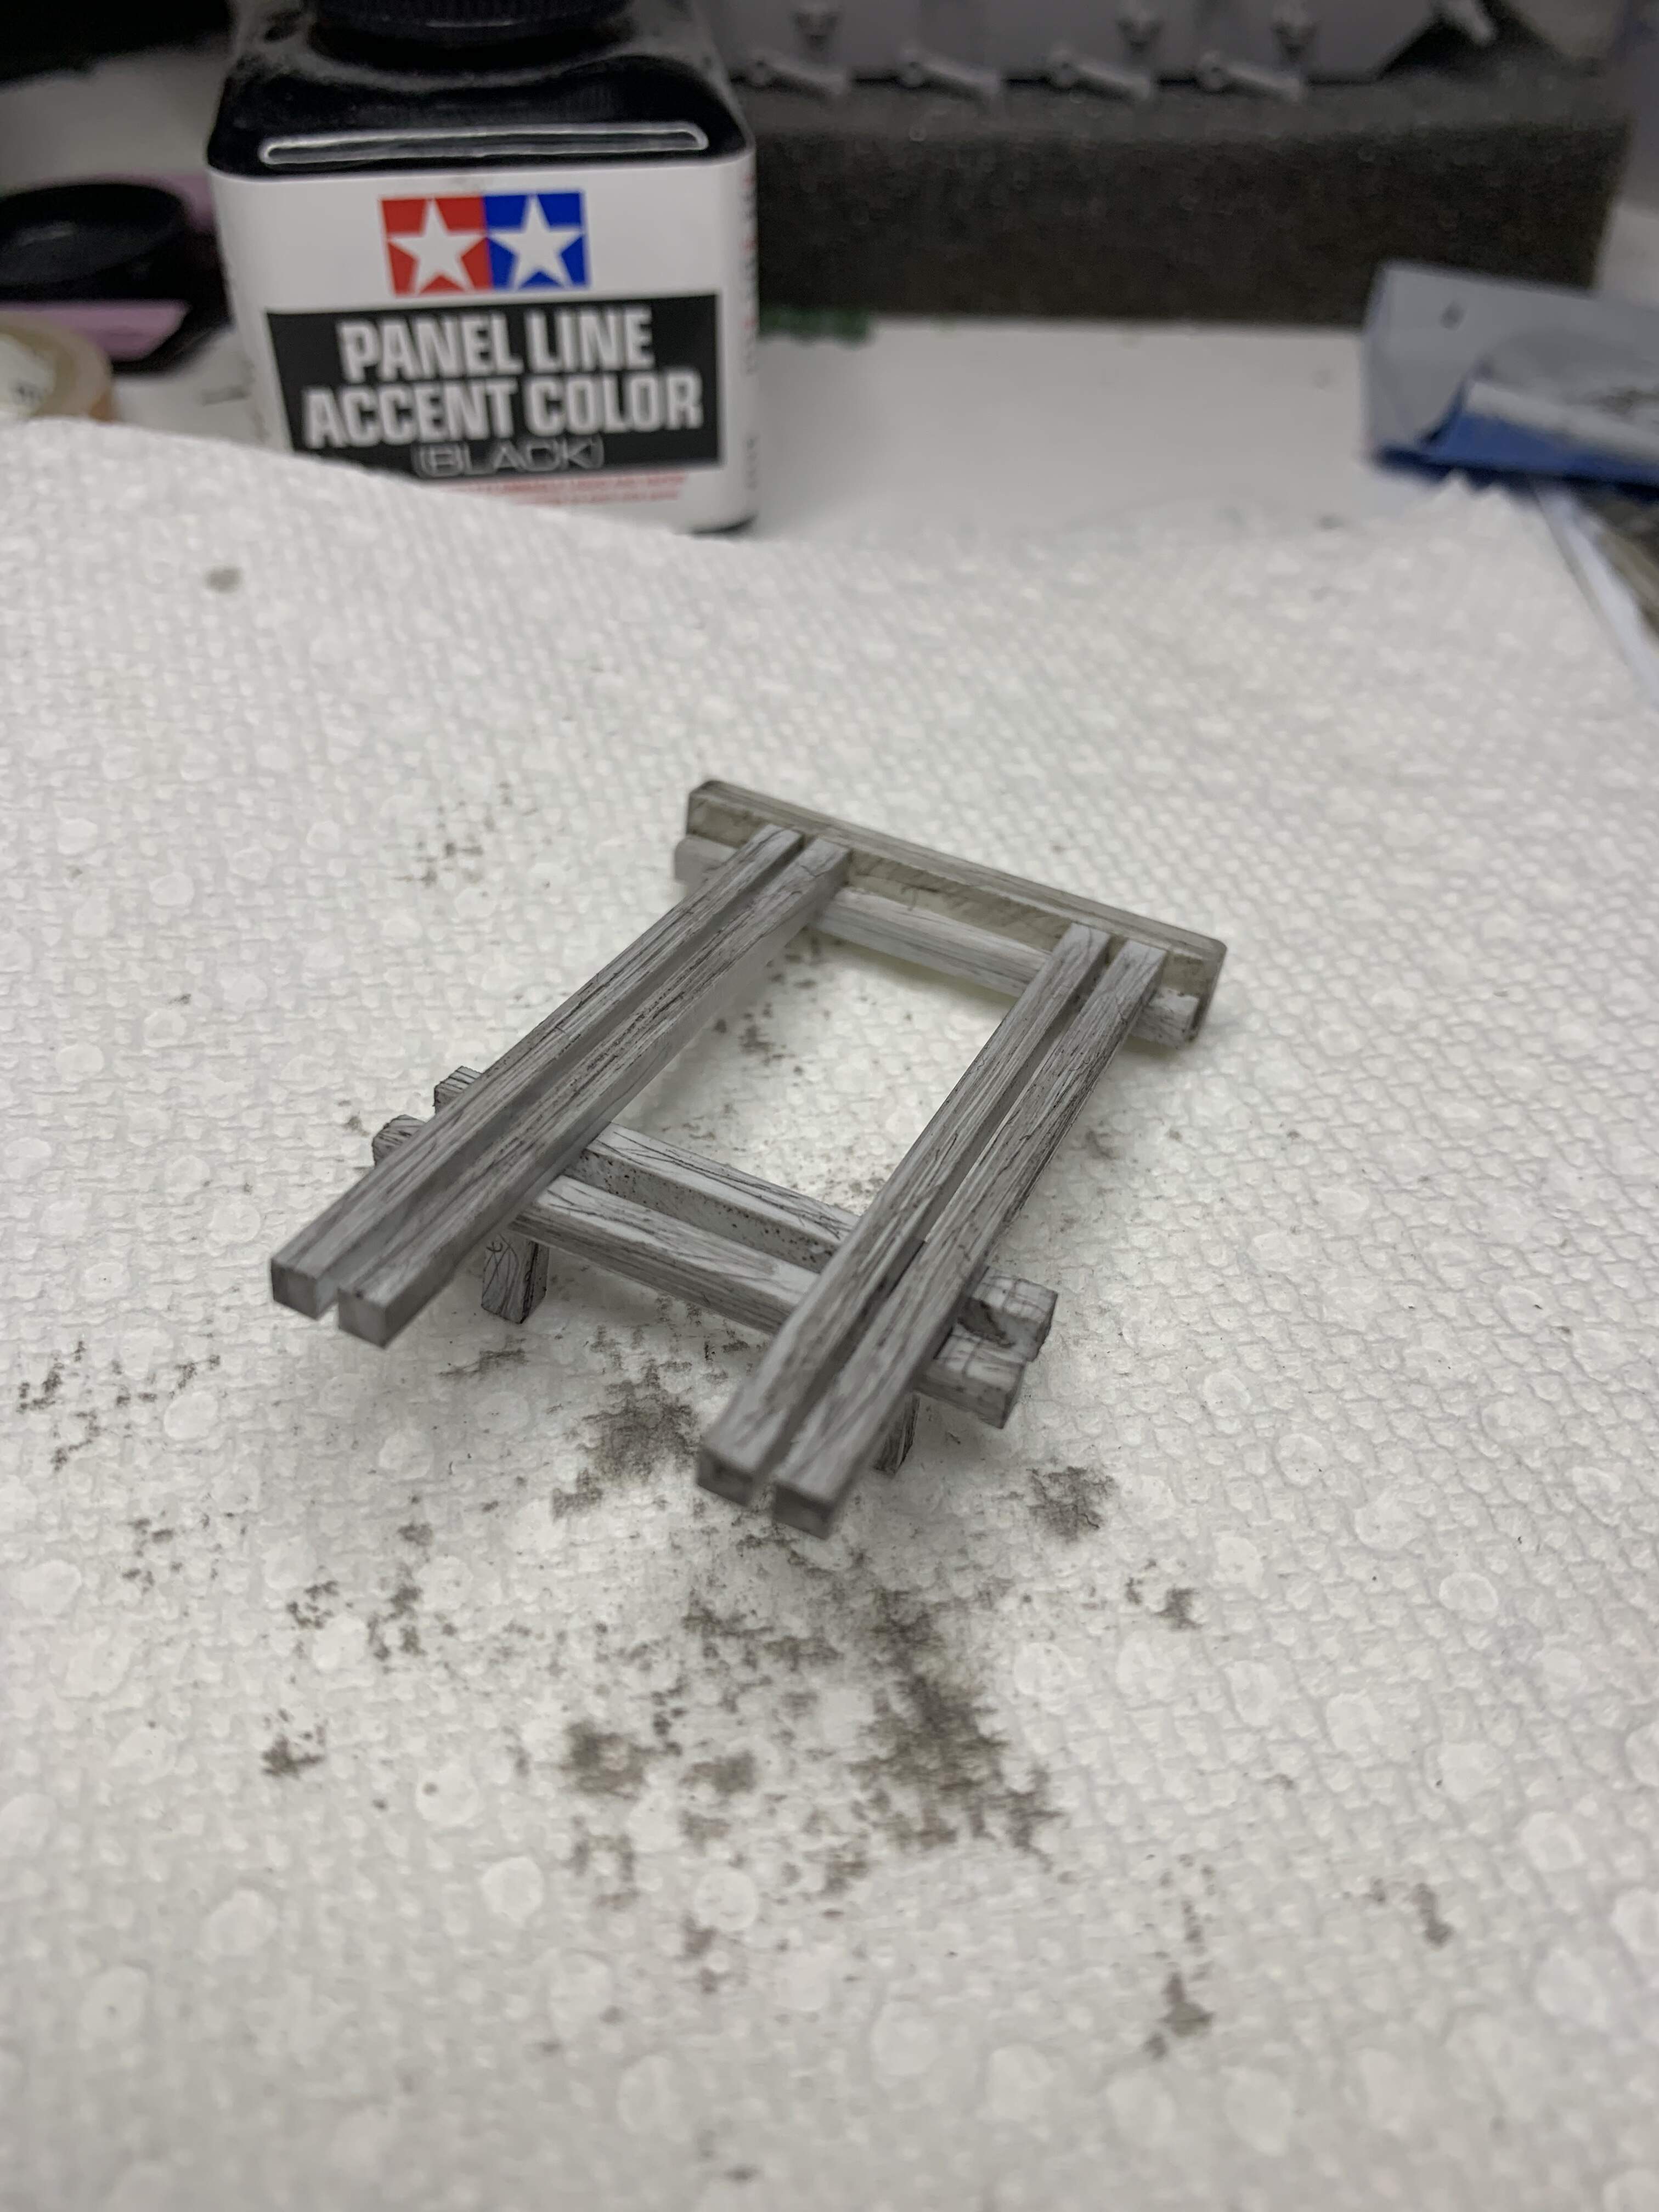
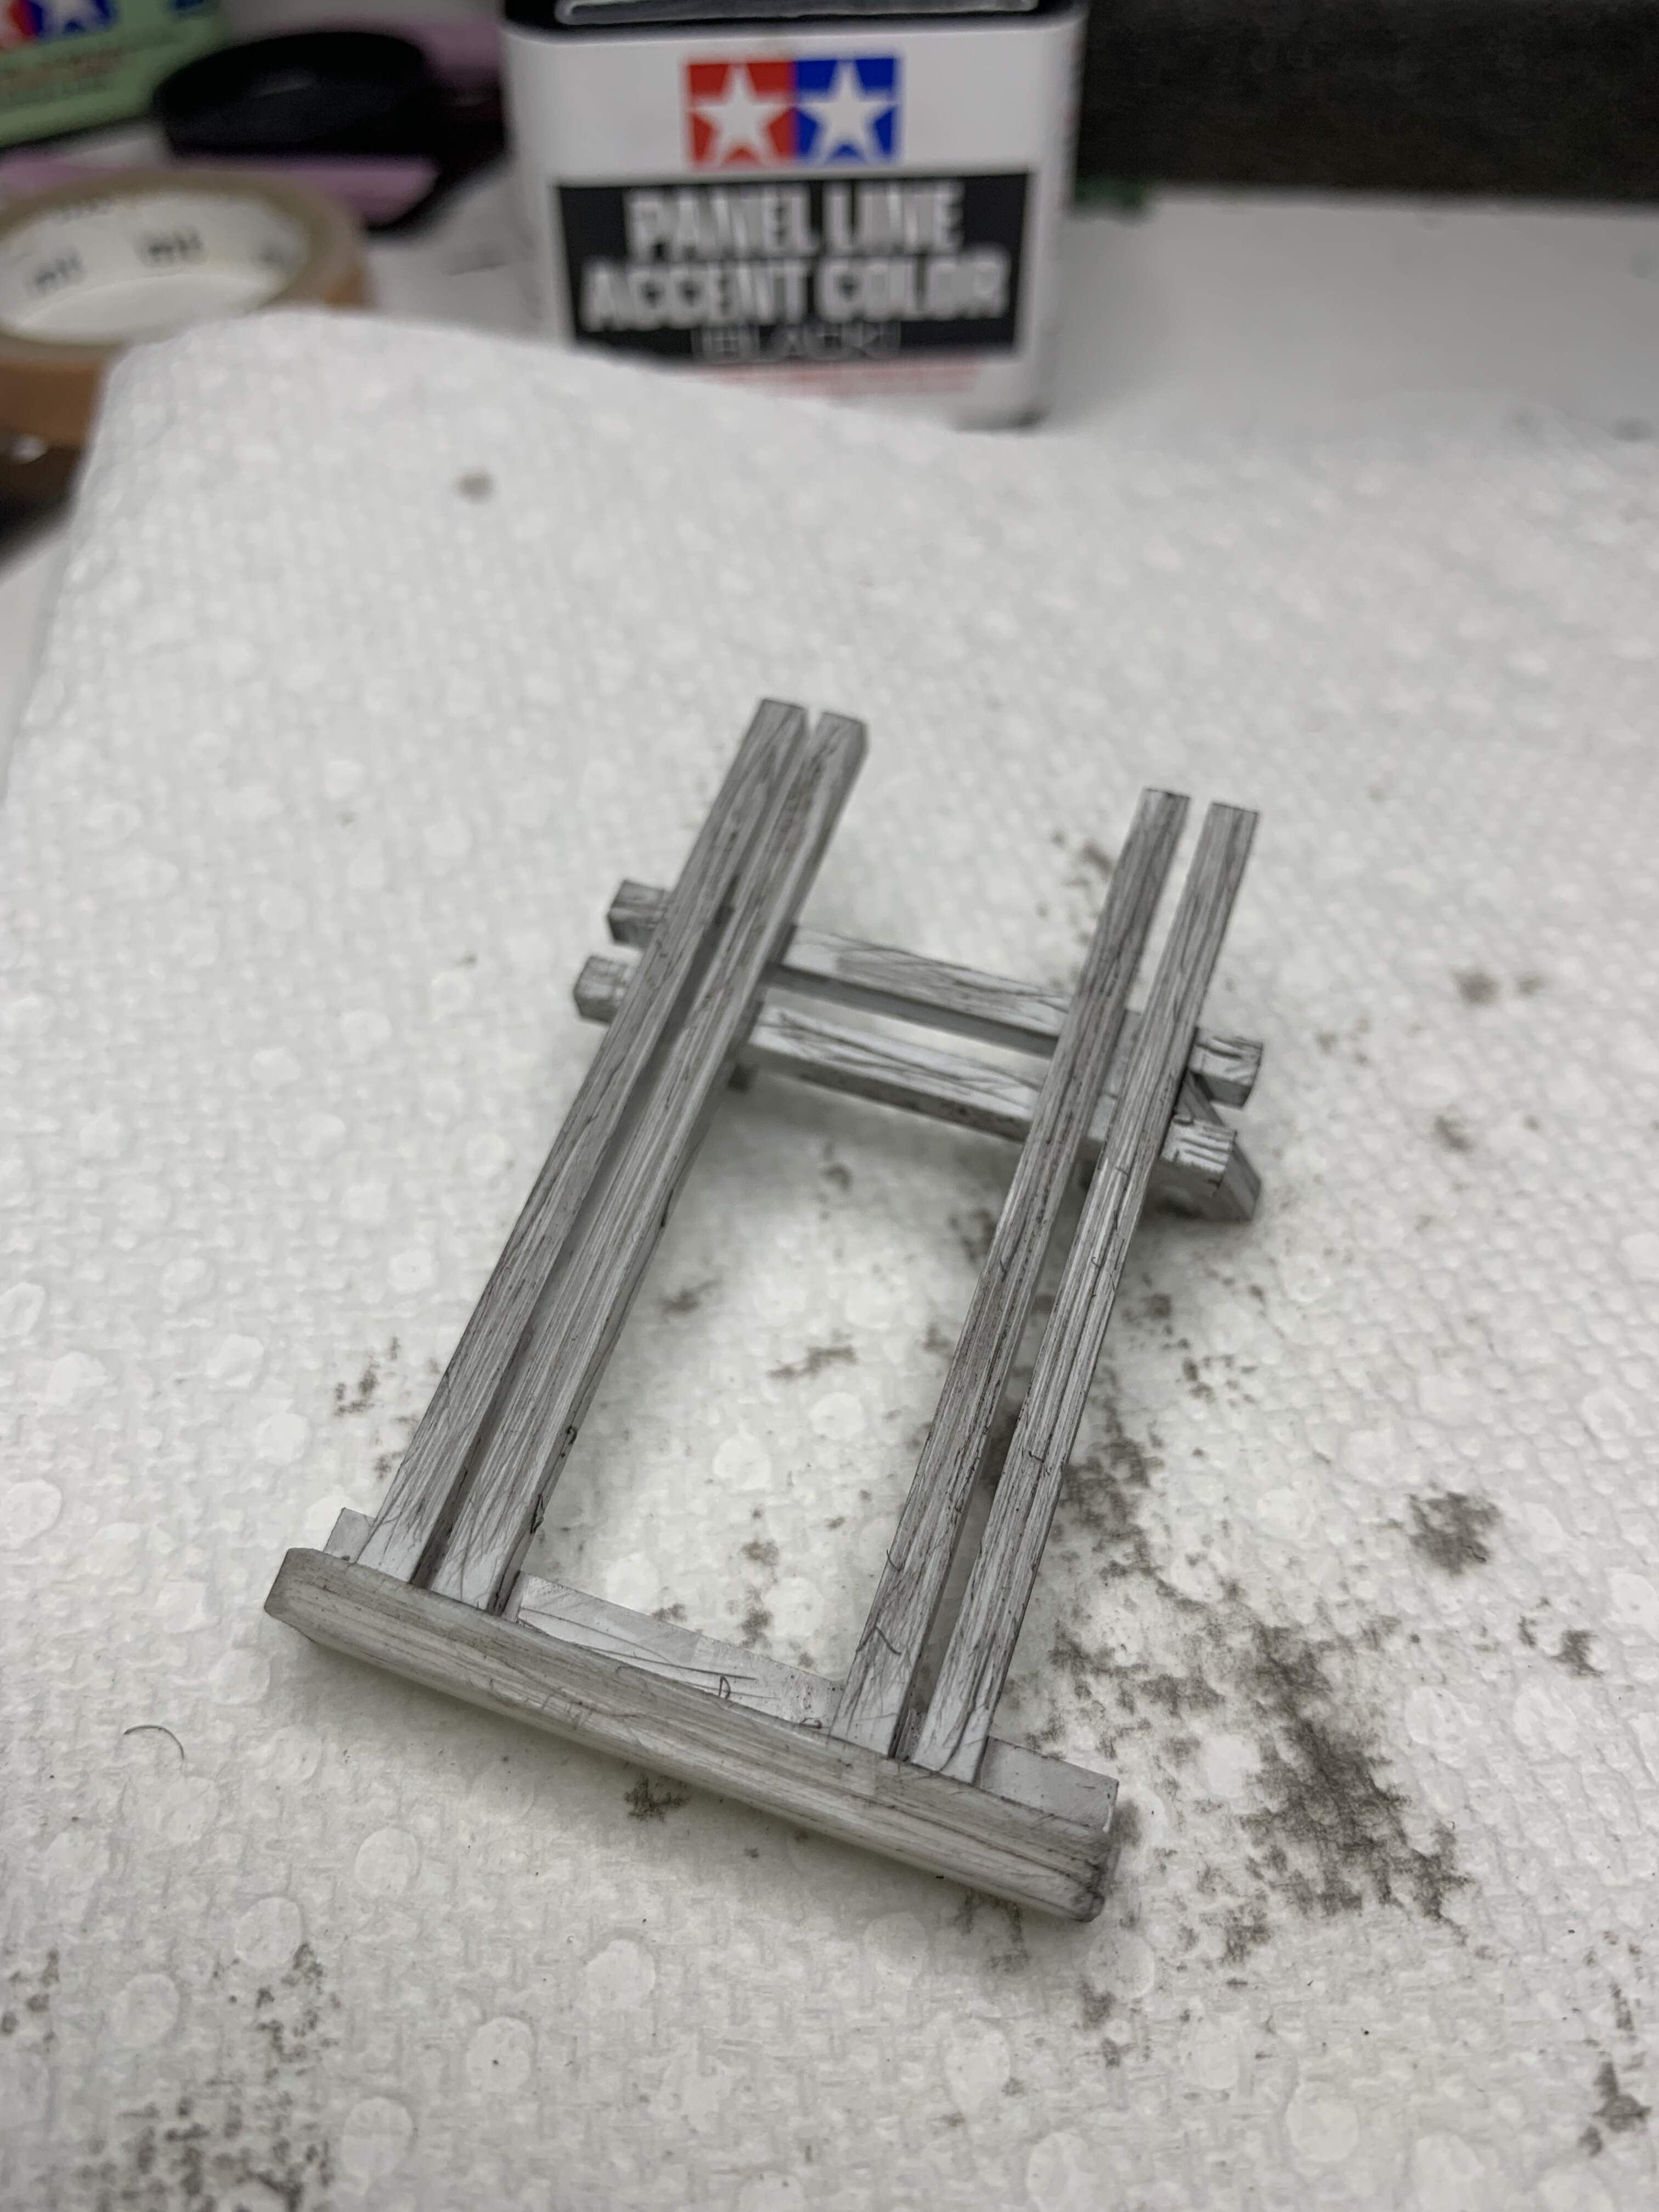
I think for painting I plan to start with a Tamiya brown color, then add black panel liner followed by dry brushing a light grey color then dust pigments to round it all out? I also have Vallejo colors if that helps. Had thought to airbrush the Tamiya and hand paint the Vallejo.
3 Likes
To be fair Ryan, that finish that is already on it has the look of really old aged wood … maybe you dont need to add to much more ?? just a thought
1 Like
Thanks, I have batted the idea around. Seems to stark at this point. After some more work on the bridge, a light paint of a light/medium grey then the panel liner so under color and other areas are more muted.
1 Like