Hi Chris,
yes, their 1/72 Emils are fantastic kits, detail is very good and the fitting perfect. Since they released it, I built two and they were real funbuilds.
I´ll keep you informed ![]()
Are they shortrun or “normal” ?
Oh, they are definitely “normal”, I’d say nearly as good as Eduard.
I made some progress today


I won’t continue before next week, this weekend I’m going to present my collection(11) of F-4 Phantoms at a model expo in Saxonia near Dresden.
Have a nice weekend!
5 Likes
we’ll be needing to see some pictures of that…
1 Like
Trying to decide between the Hobby Boss Pz.Kpfw II Ausf J or the Special Hobby IAR-81C.
1 Like
Good luck with that decision lol
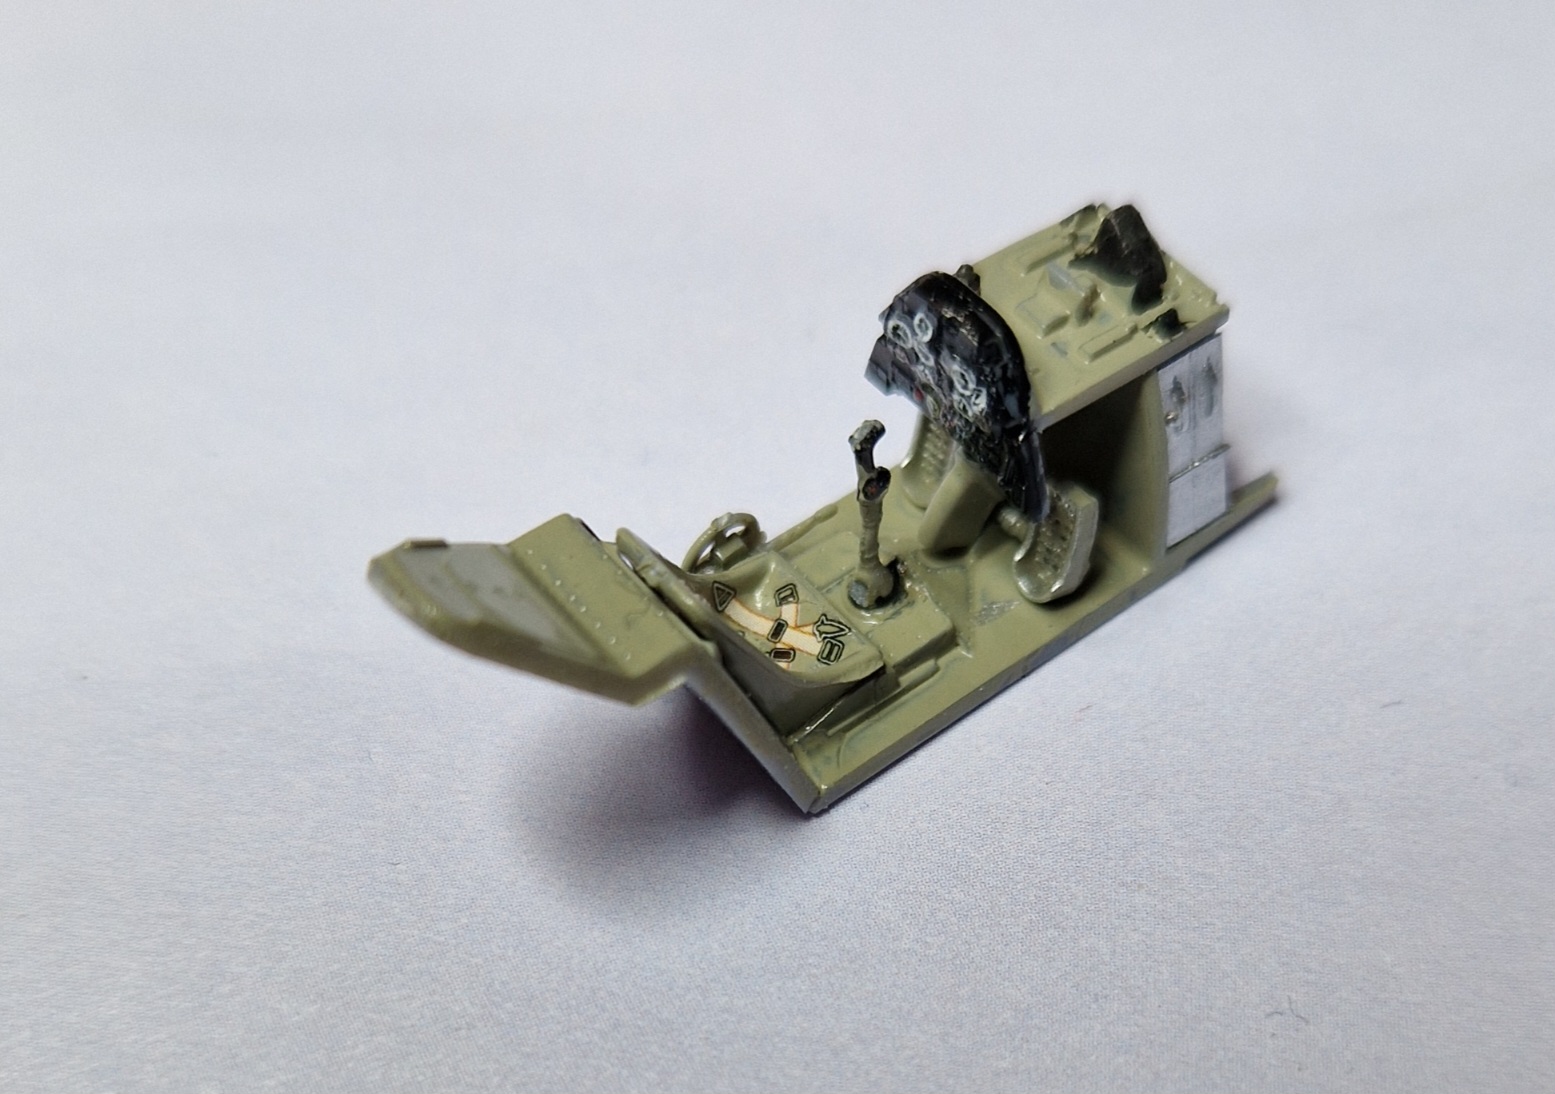
Did some basic detailing on the dash dials. That’s now been fitted.
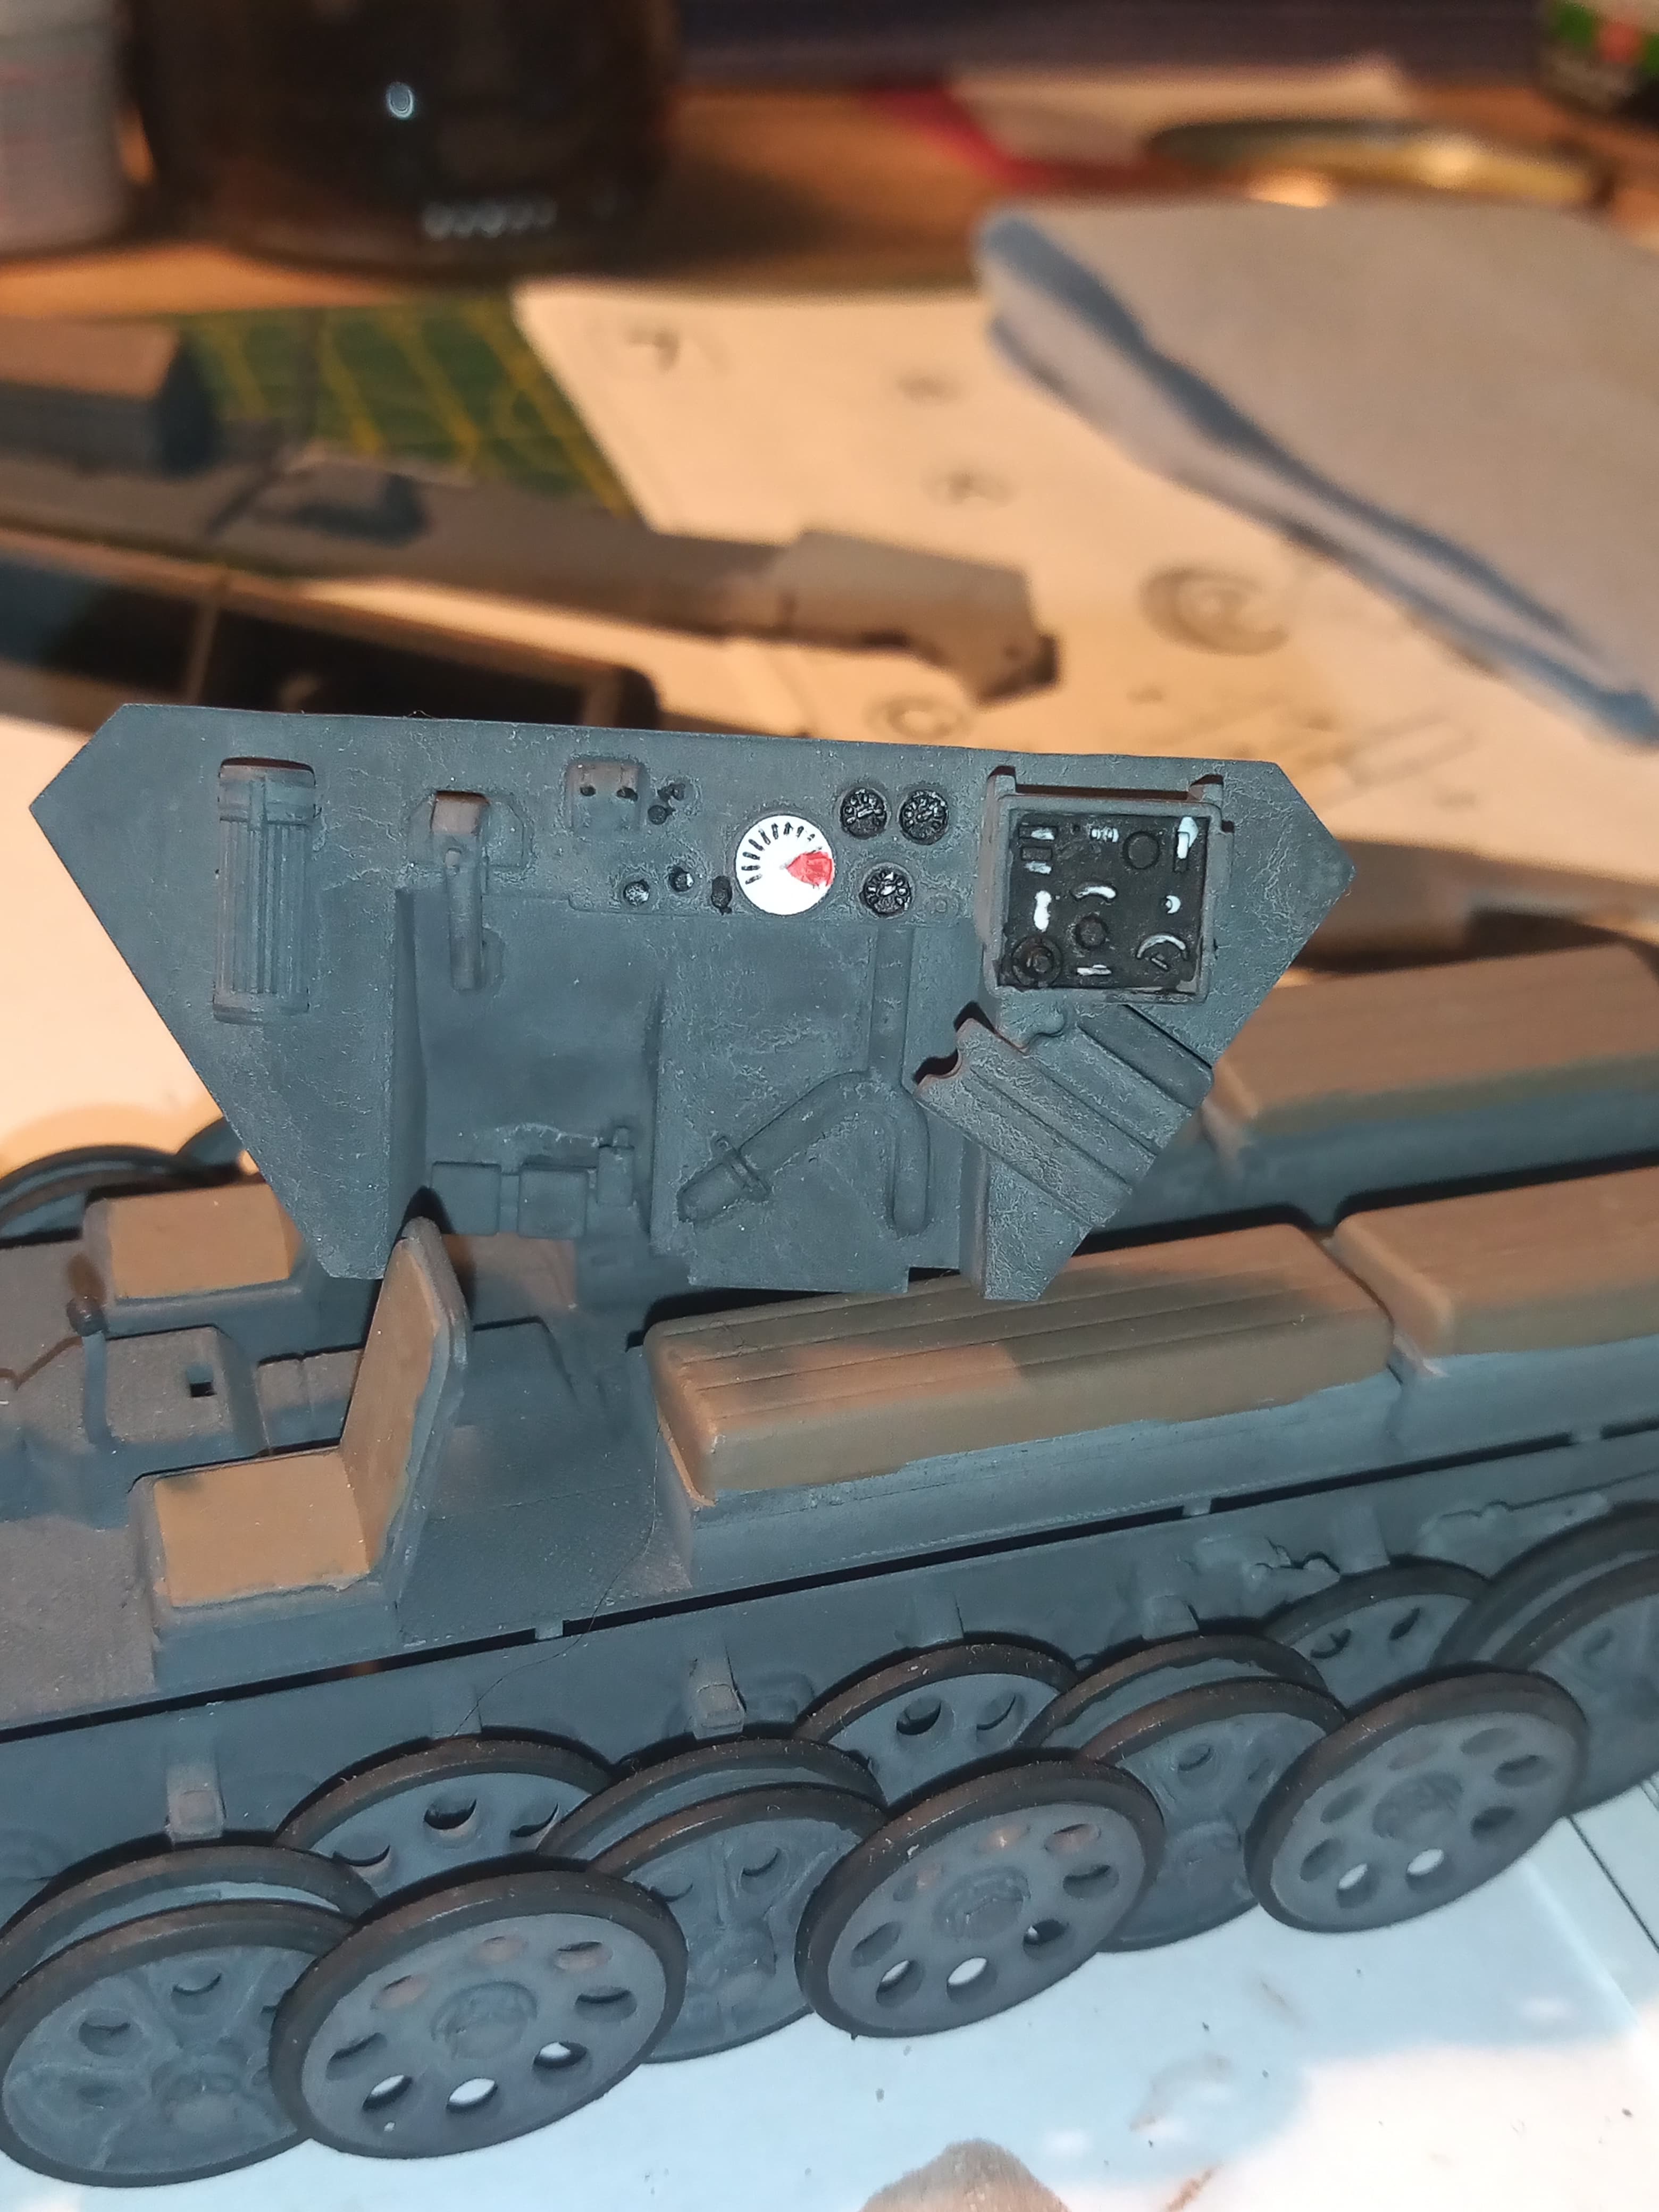
Will start on the hull lower sides next … they won’t be a straight fit as they are warped slightly … So will have to see how that goes …
8 Likes
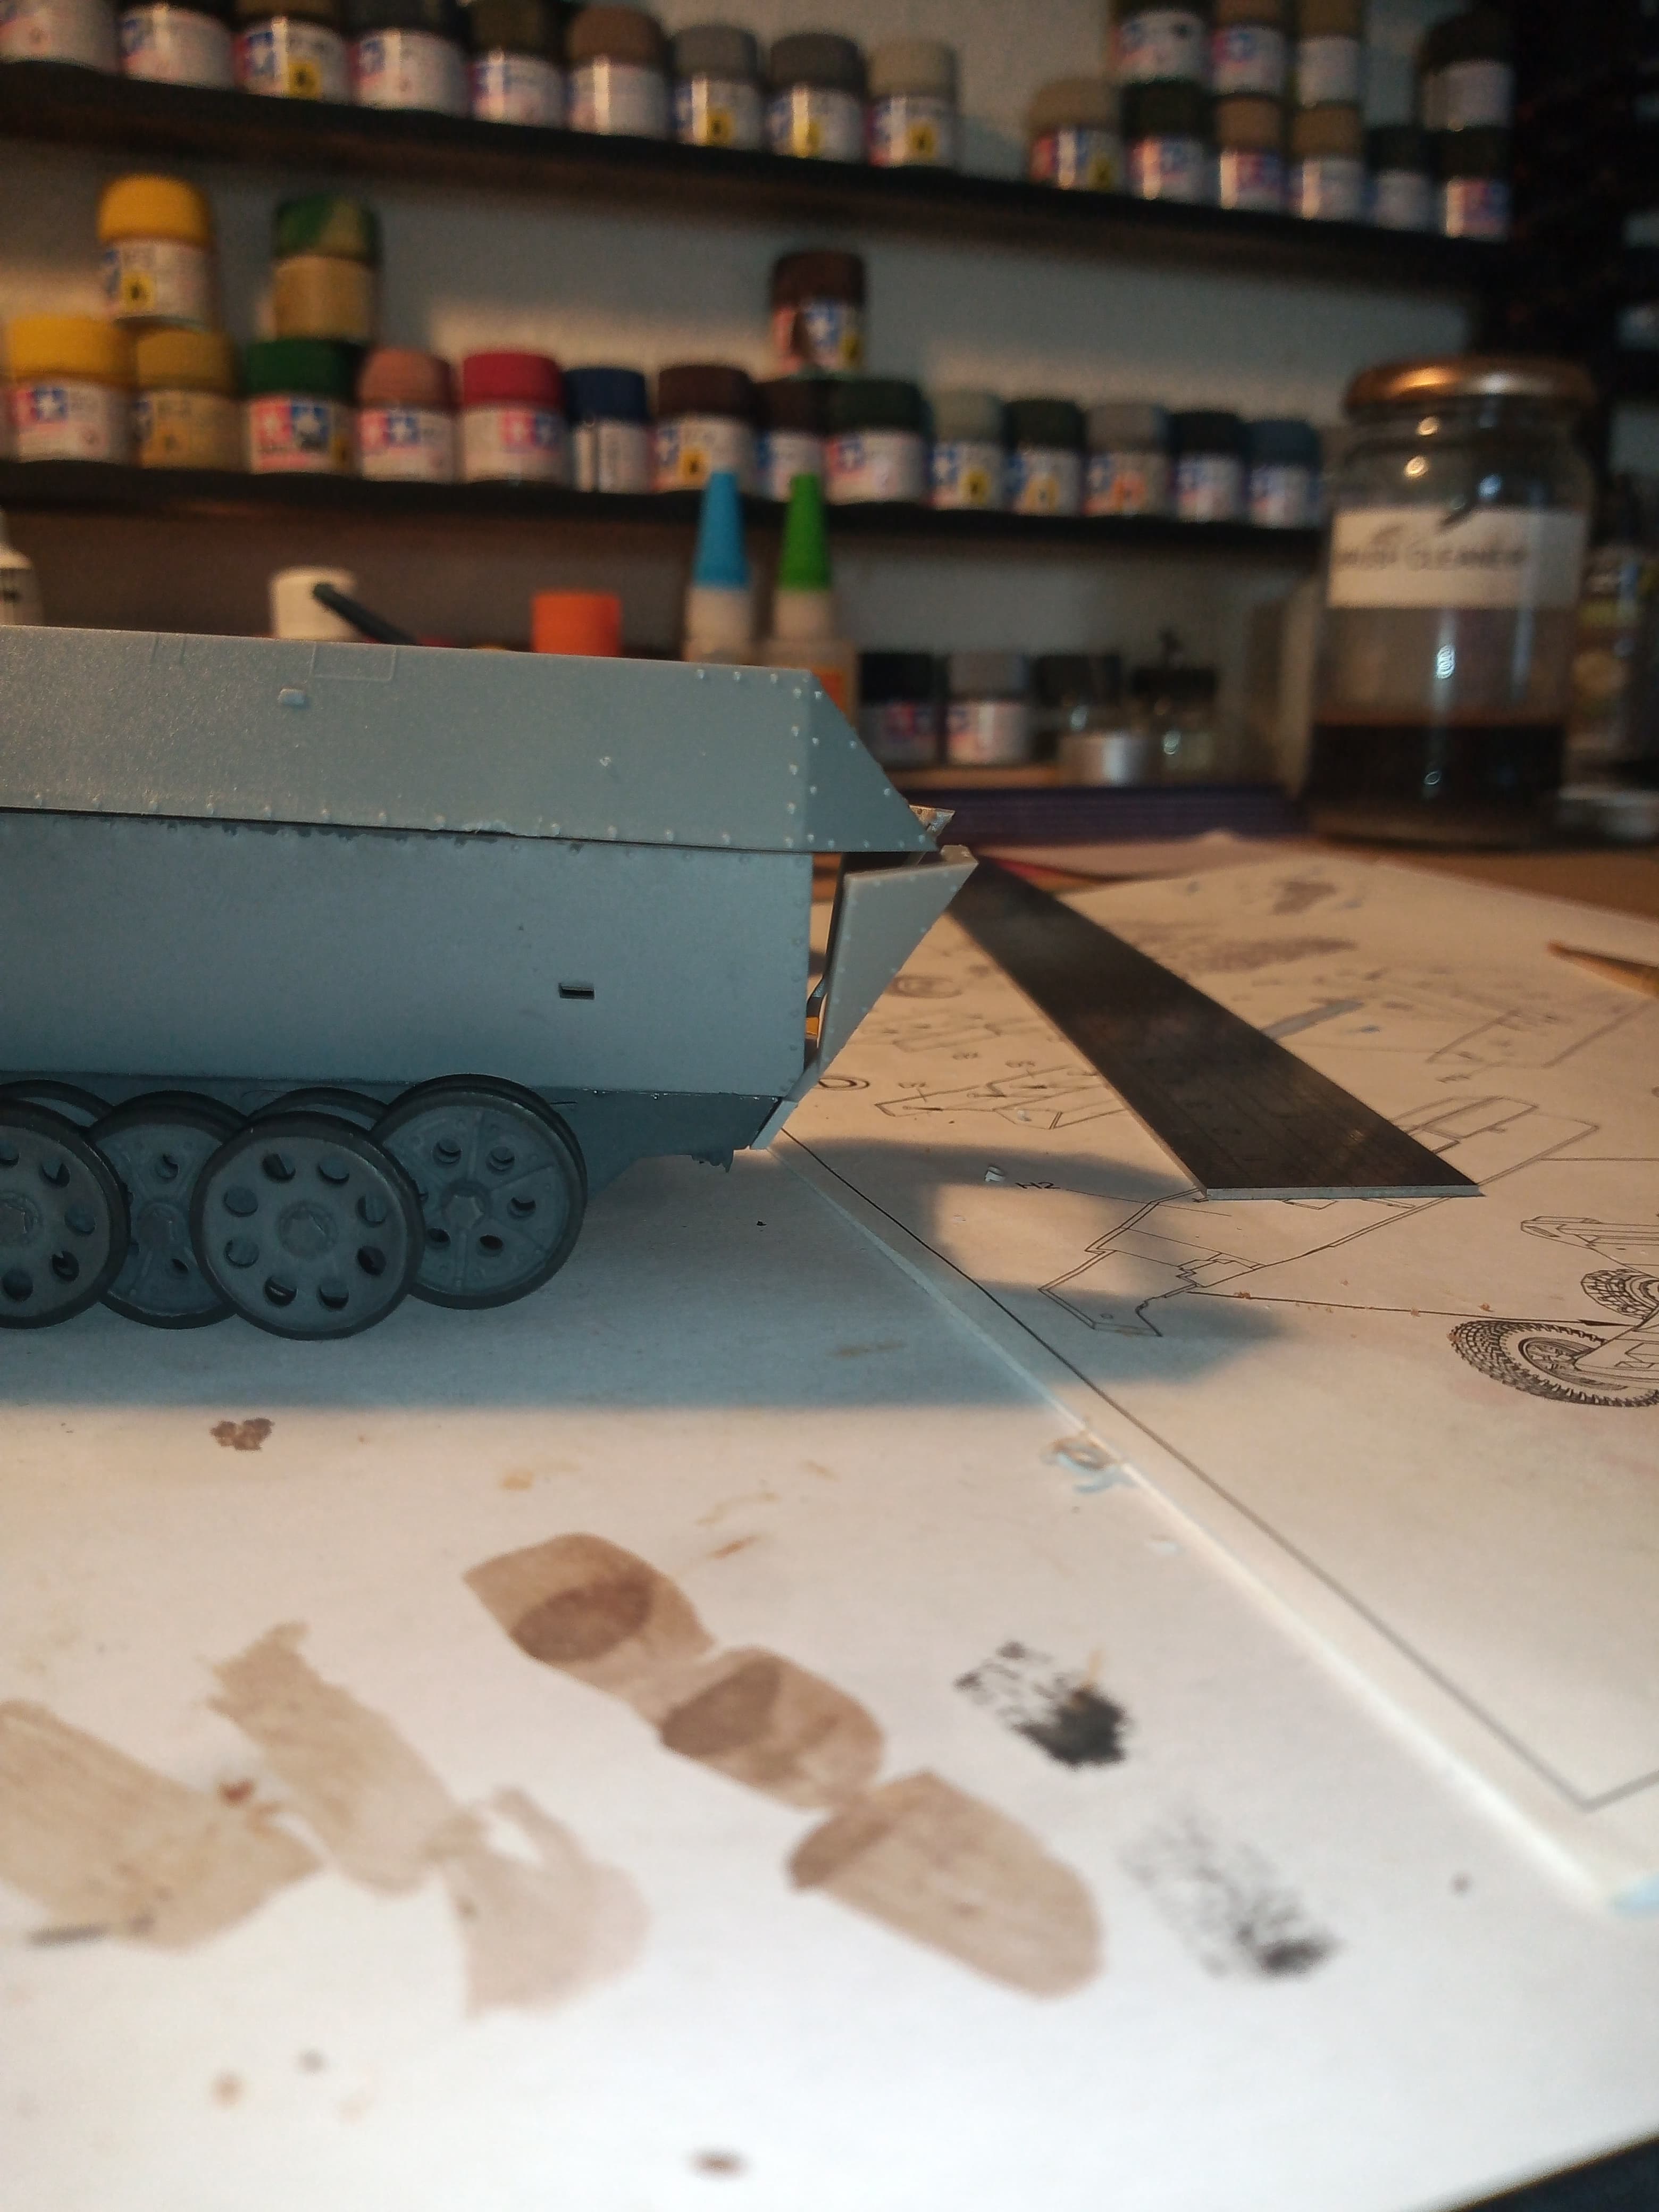
Not sure what happened to the hull to give it a funny bend, but it doesn’t want to line up with the chassis properly. Rear ends of both hull sides fit into the slit on the chassis, but the fronts dont marry up from in front of the dashboard panel to front of chassis.

Decided the best way forward was to glue the rear (right hand side side hull only at the mo) part into it’s slit and then let that set overnight as I think that will make it easier to address the gap you can see in the image below.

I did have a look at possible options and once the rear has dried, that will give a nice firm anchor point and I can then get the front hull side and chassis to meet up, then glue and secure with masking tape until the glue sets … Well that’s the plan…
4 Likes
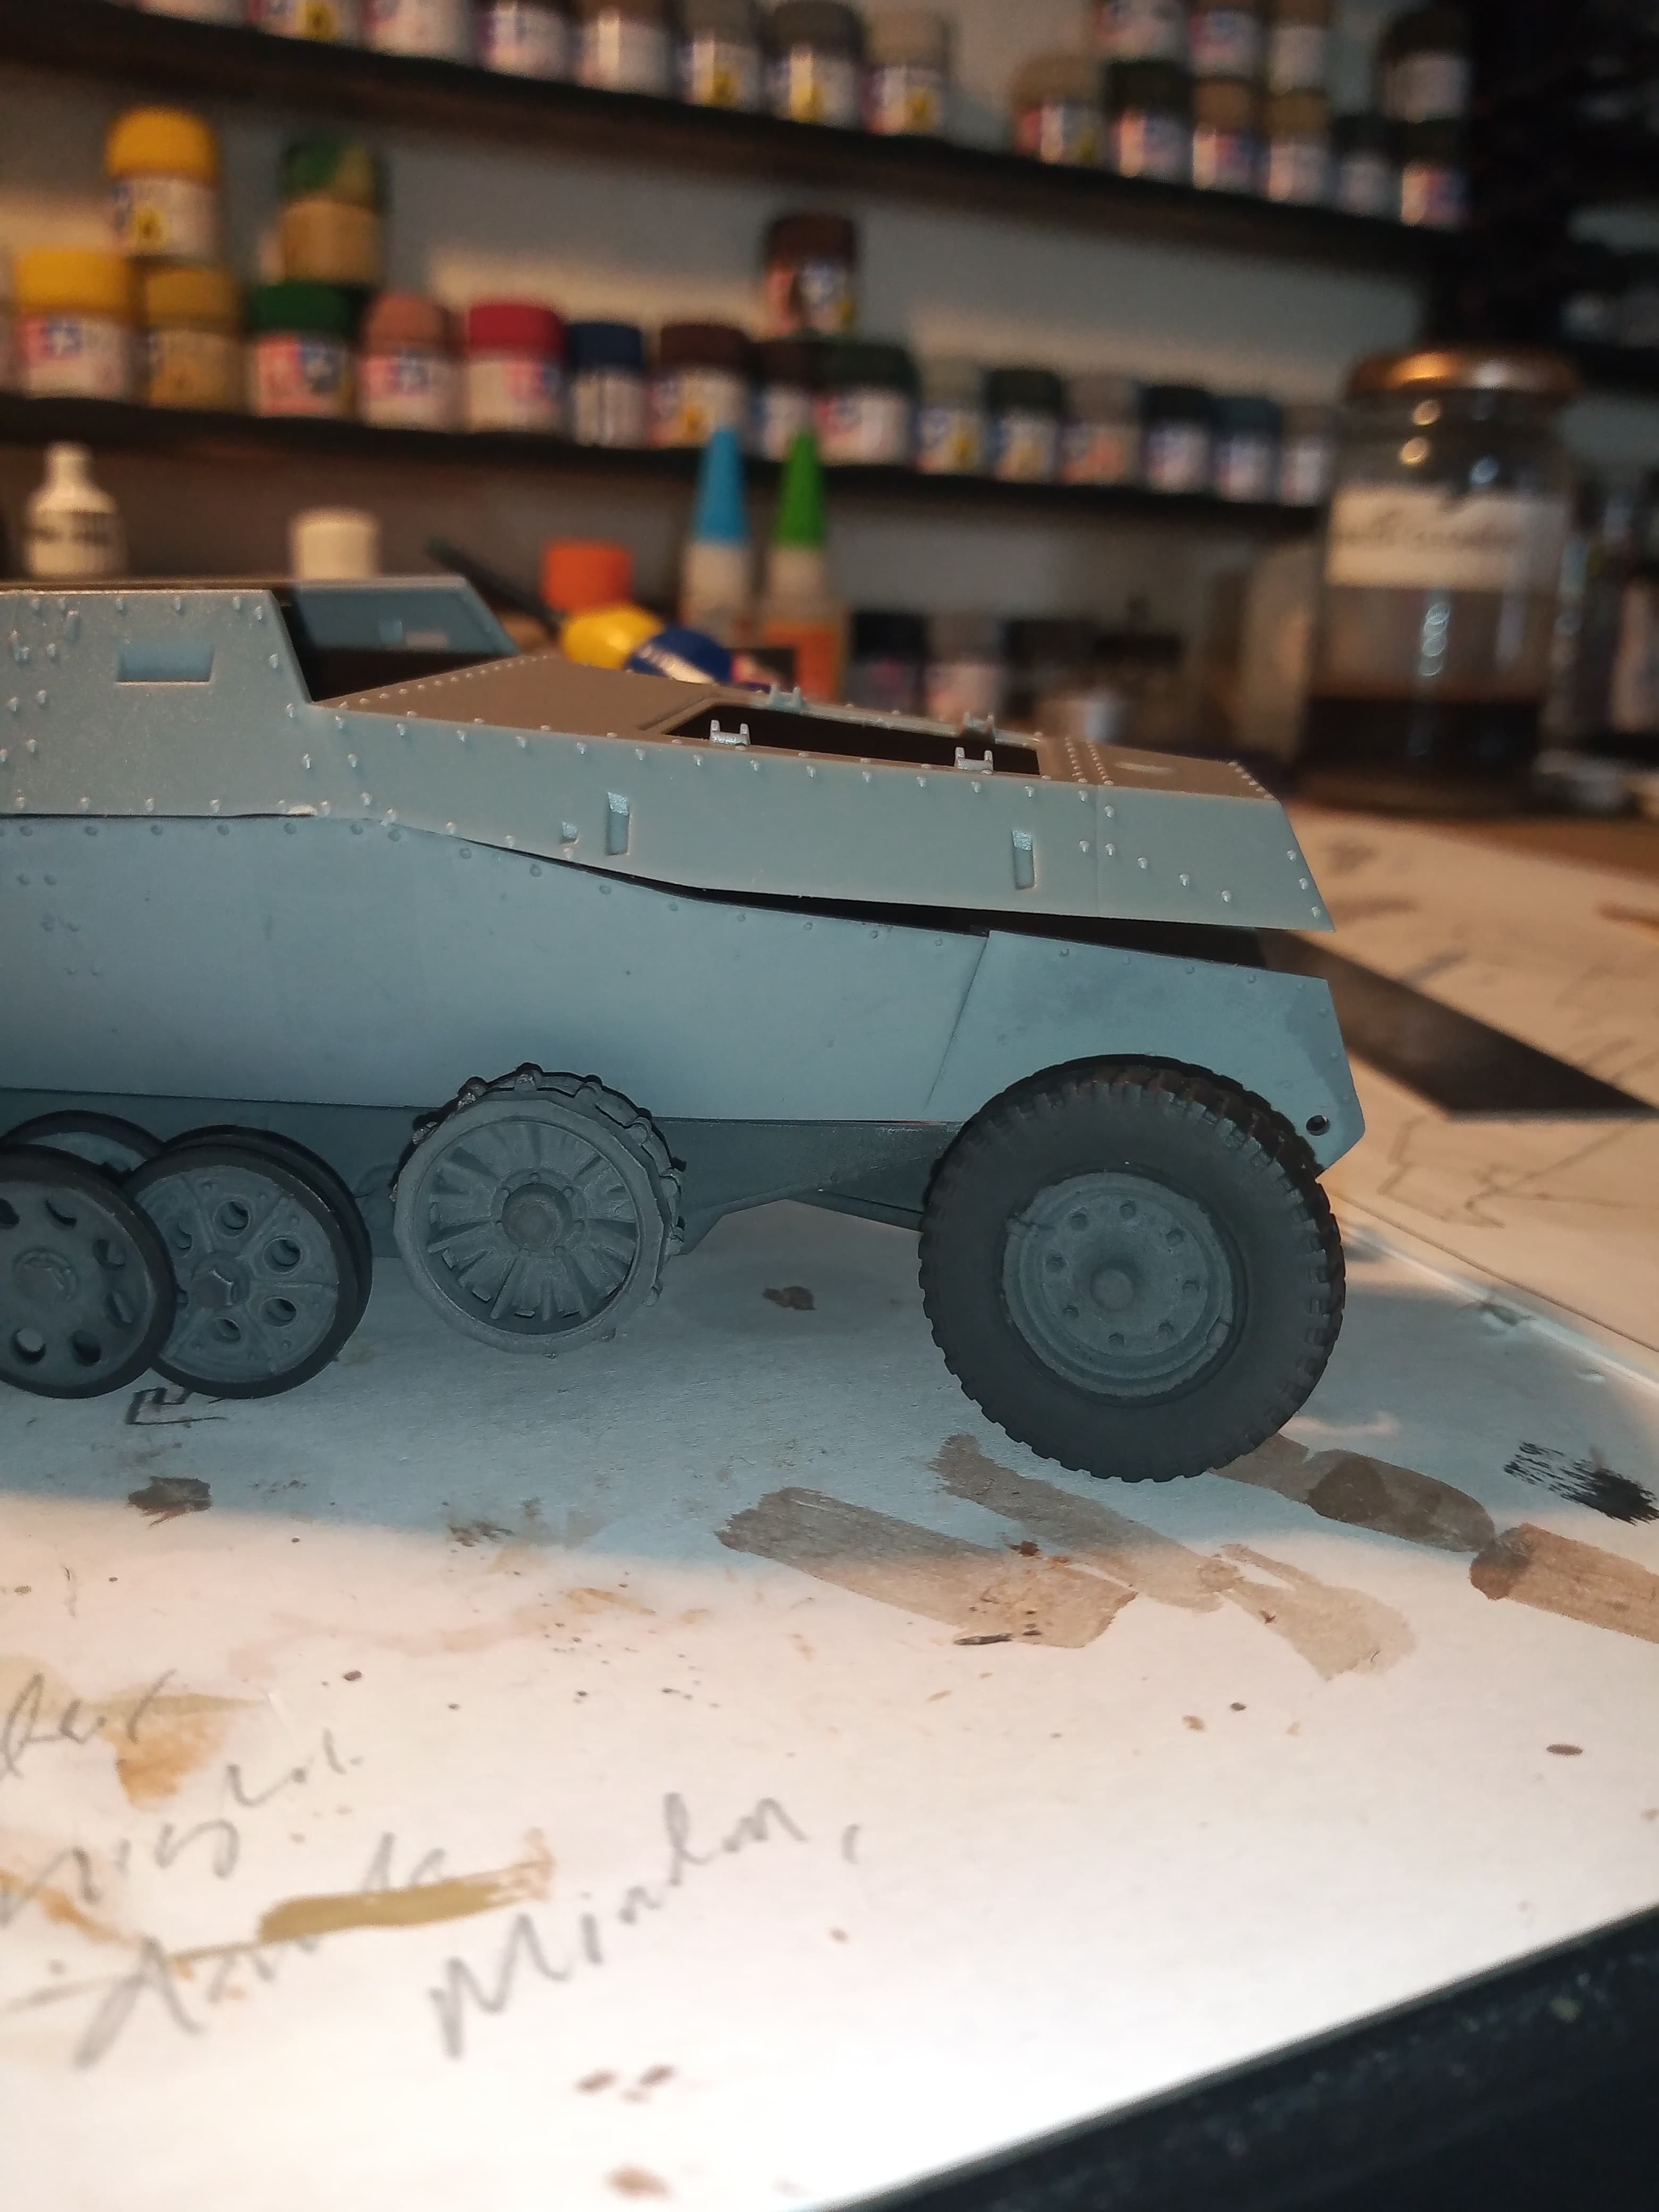
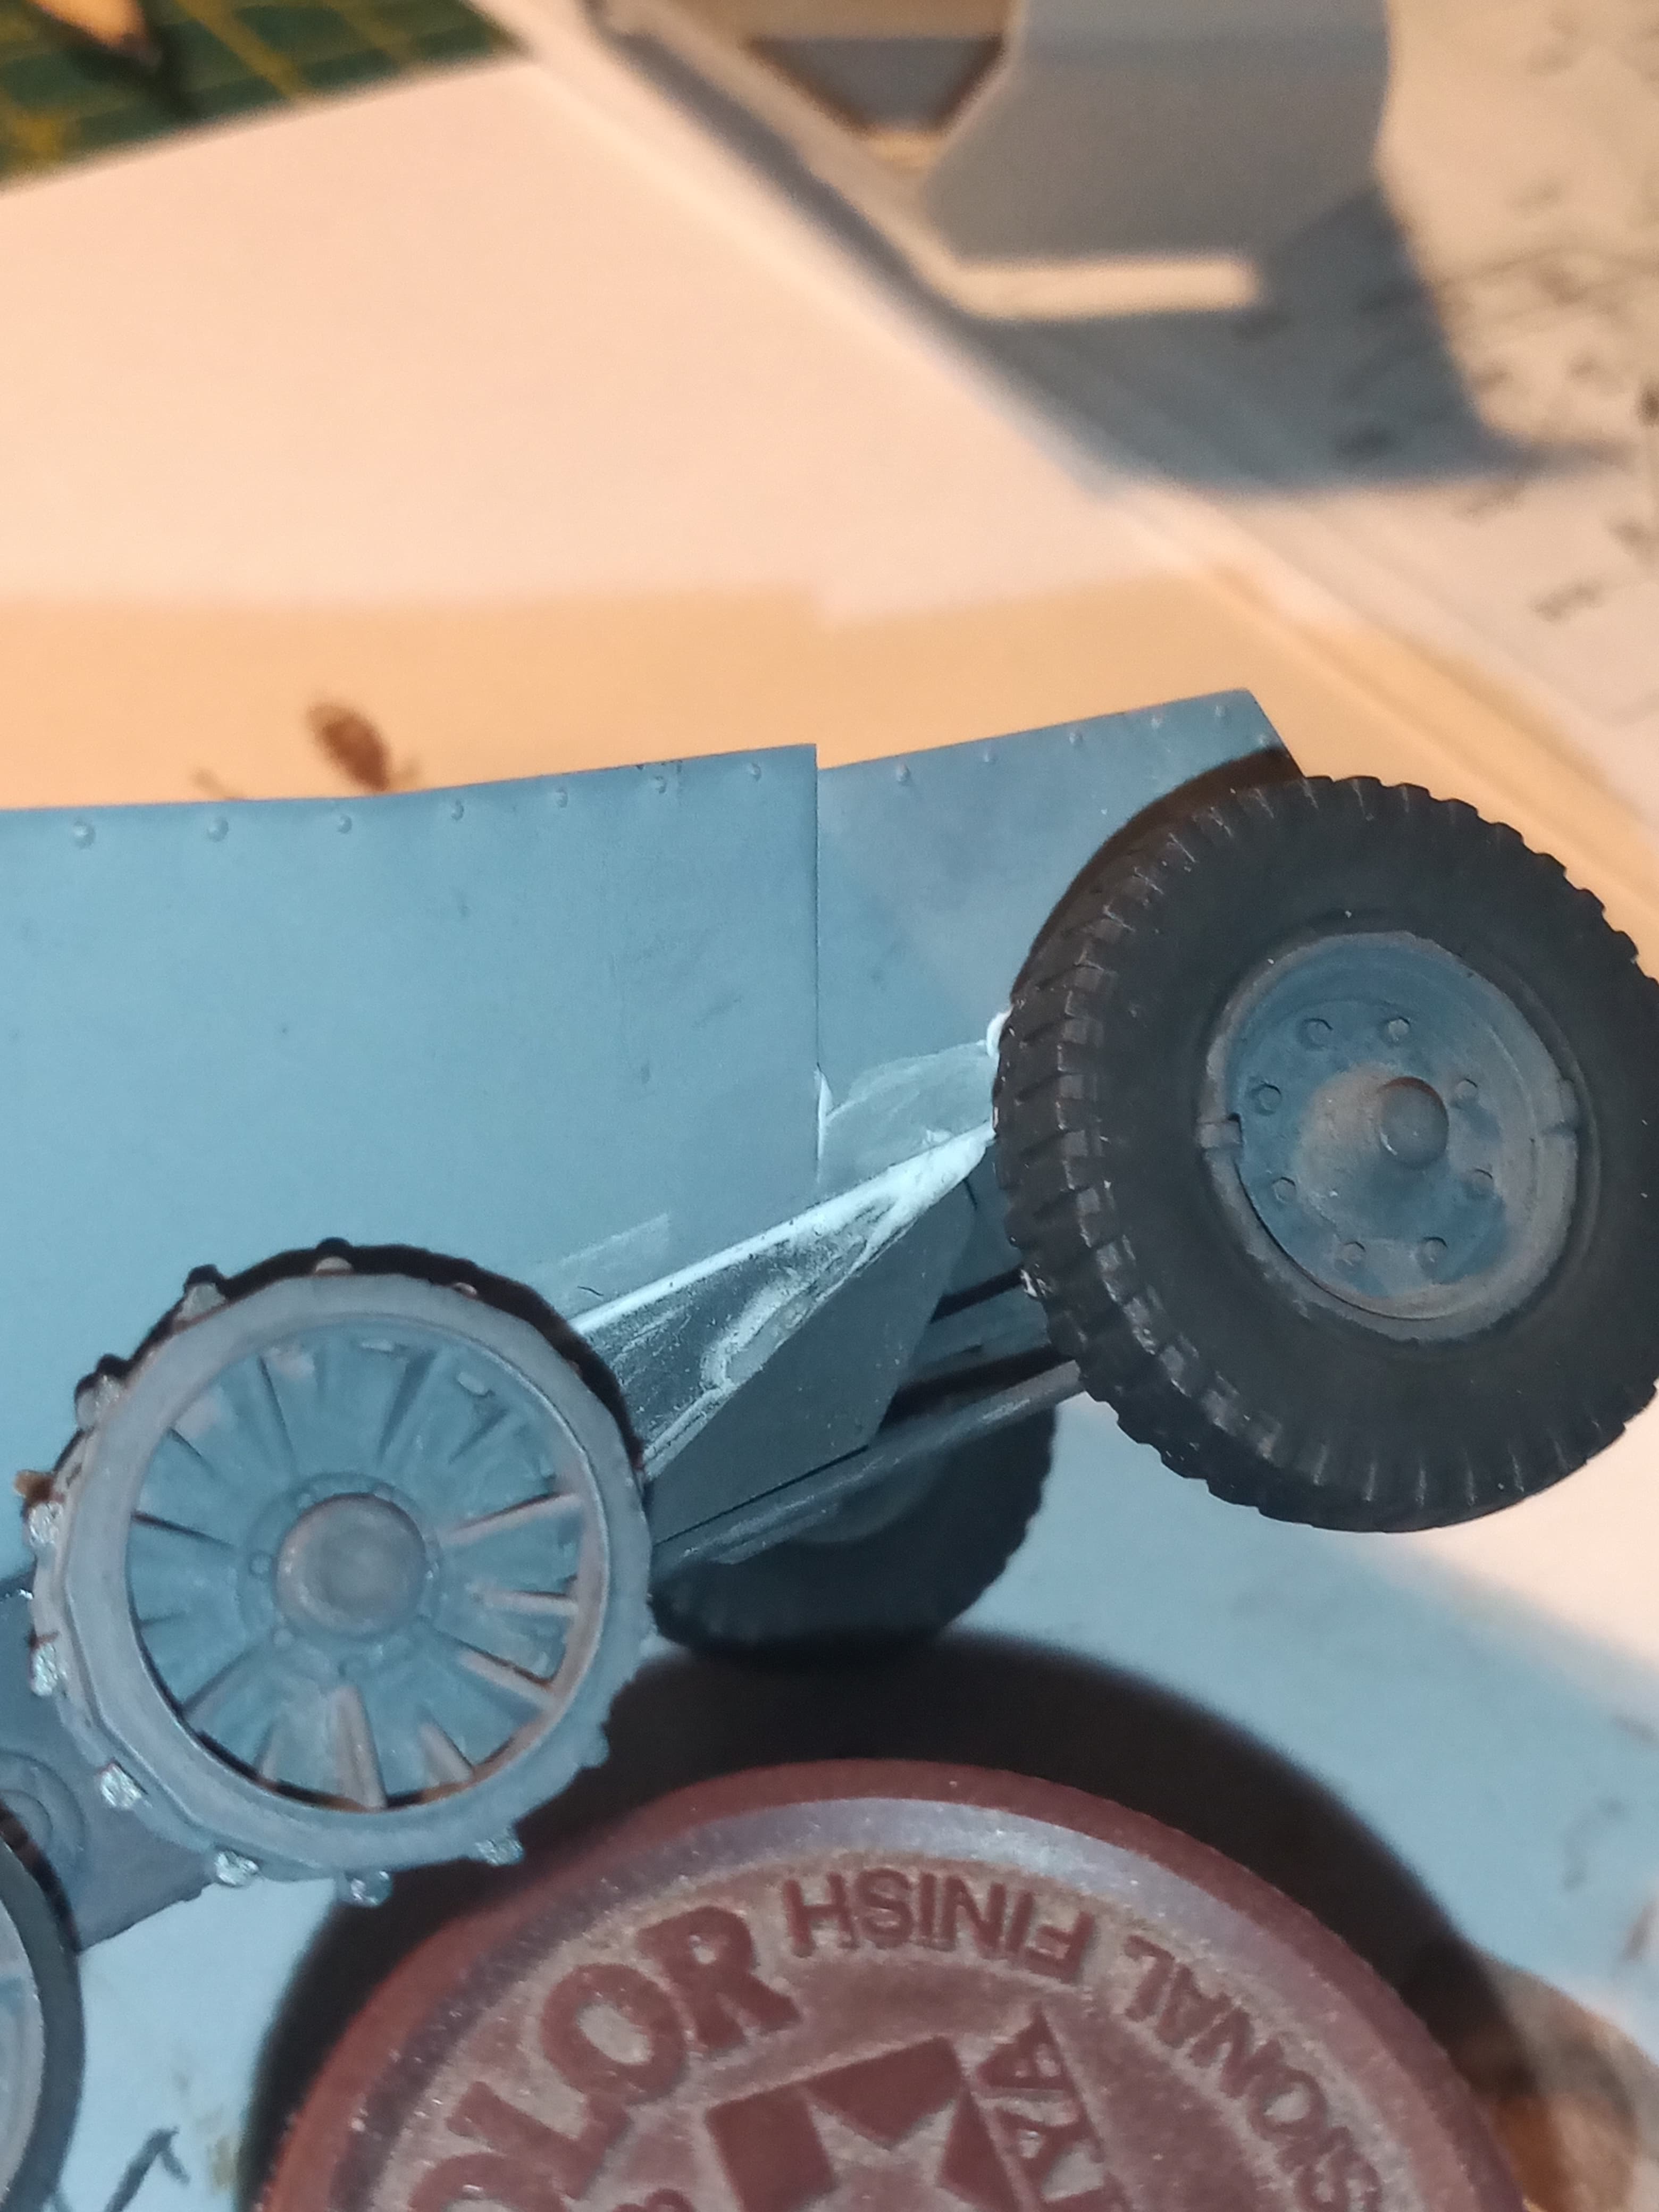
Slow process of clamping, taping, and glueing to get the hull side correctly aligned with the chassis … Or rather as best as I can get it …
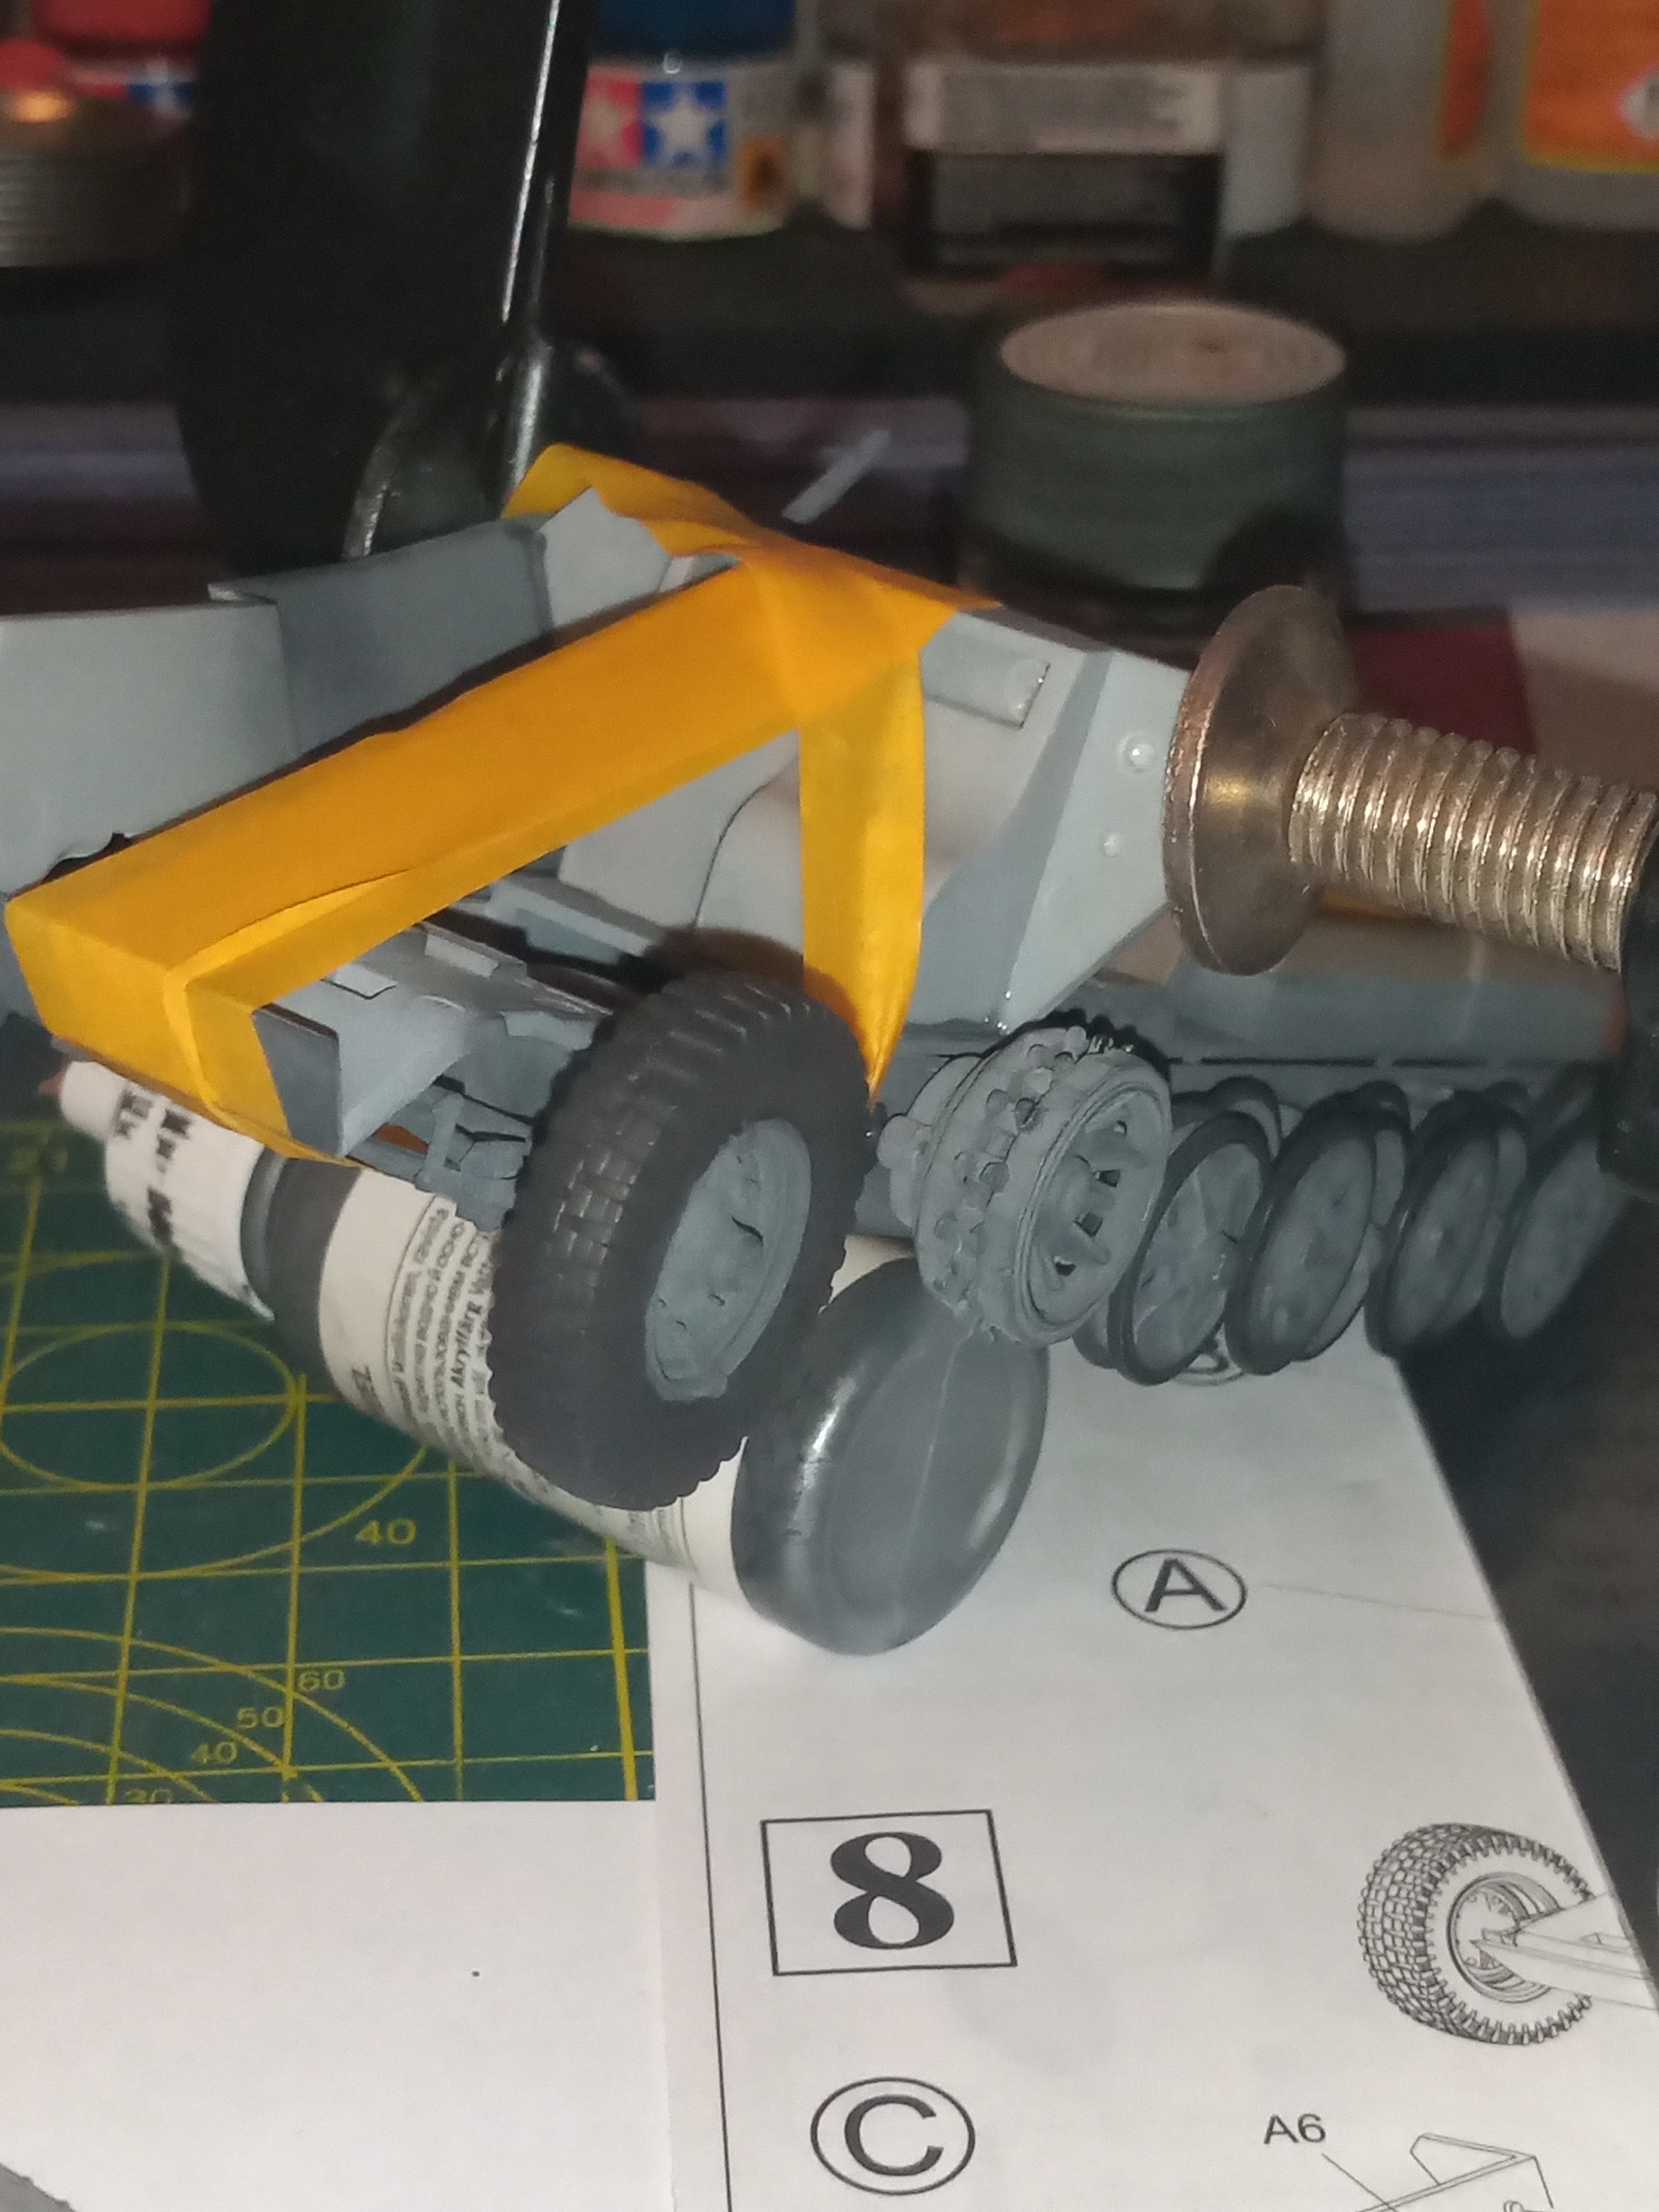
However it turns out, both sides are going to require, a lot of filling (possibly with plastic strip) sanding and I think even trimming area some areas…
The finished front end and possibly rear are going to be very very heavily weathered with mud I think to hide it all…
6 Likes
Good Lord, John! And I thought I had trouble with the F4F. Great work coping with it, though!
Meanwhile, I’m calling the Eduard 1/48 A6M2 done.
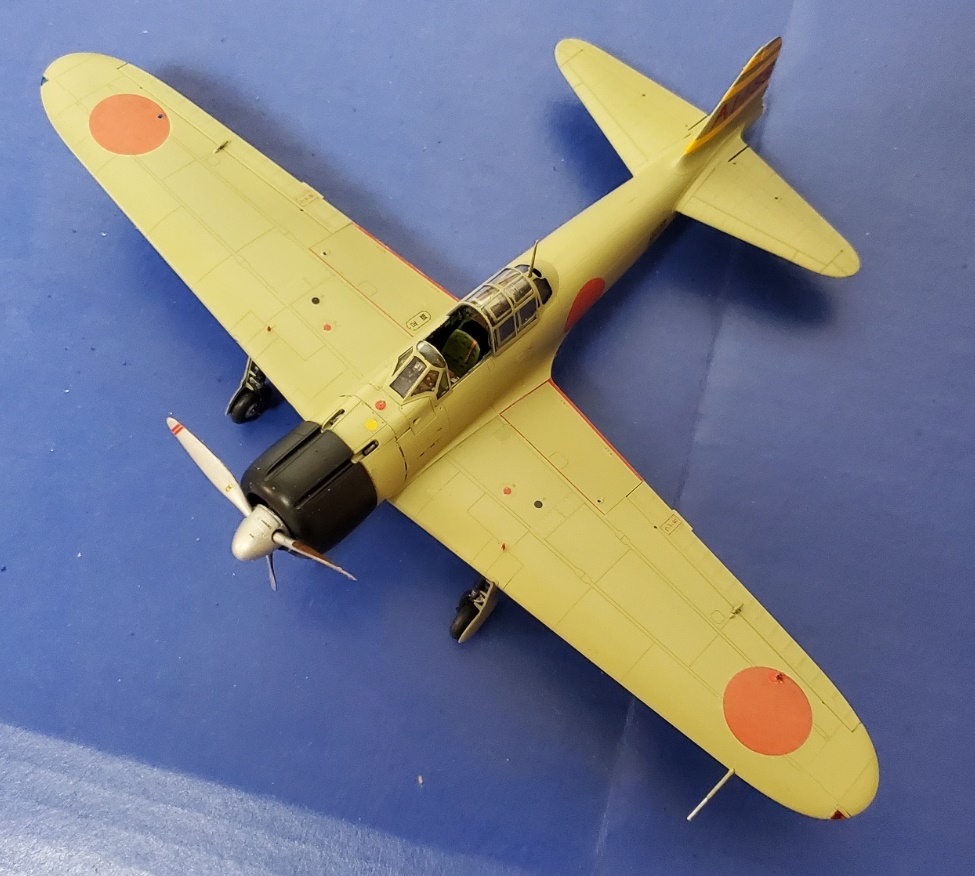

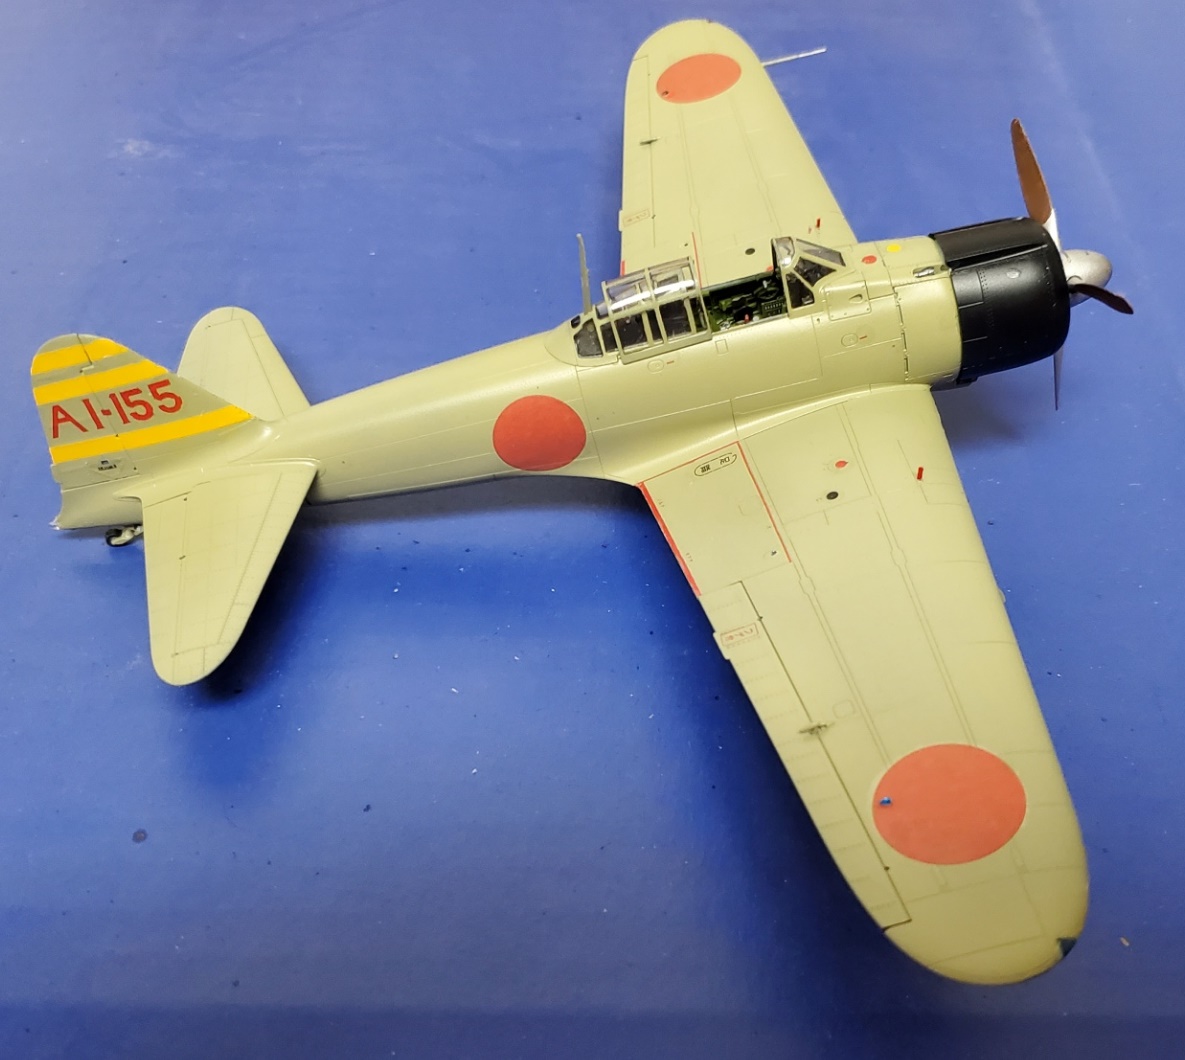
I’m somewhat disappointed that I lost two of the overwing position lights, but other than that, I think it came out well. I had to use plastic strip to do the landing gear indicators as one of those went bye-bye as well, but that wasn’t hard. Next…
11 Likes
On to the F4F!
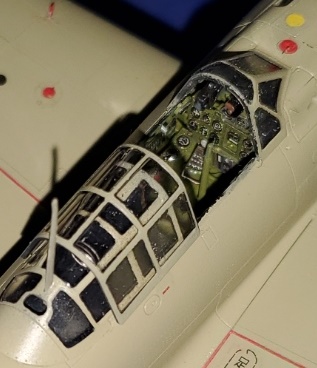
Got the fuselage fit issues taken pretty much settled.
But then I had the starboard side lower window issue. The fit was so tight, that I actually broke it. I tried filling in the gap with clear window cement, but that didn’t look good at all. So I replaced it altogether.
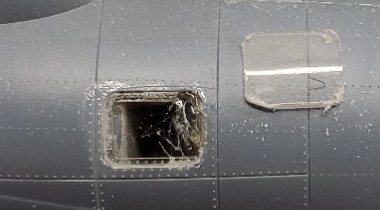
Not perfect, as it has no molded in framing, but I think it will look acceptable after painting.
Michael ![]()
![]()
7 Likes
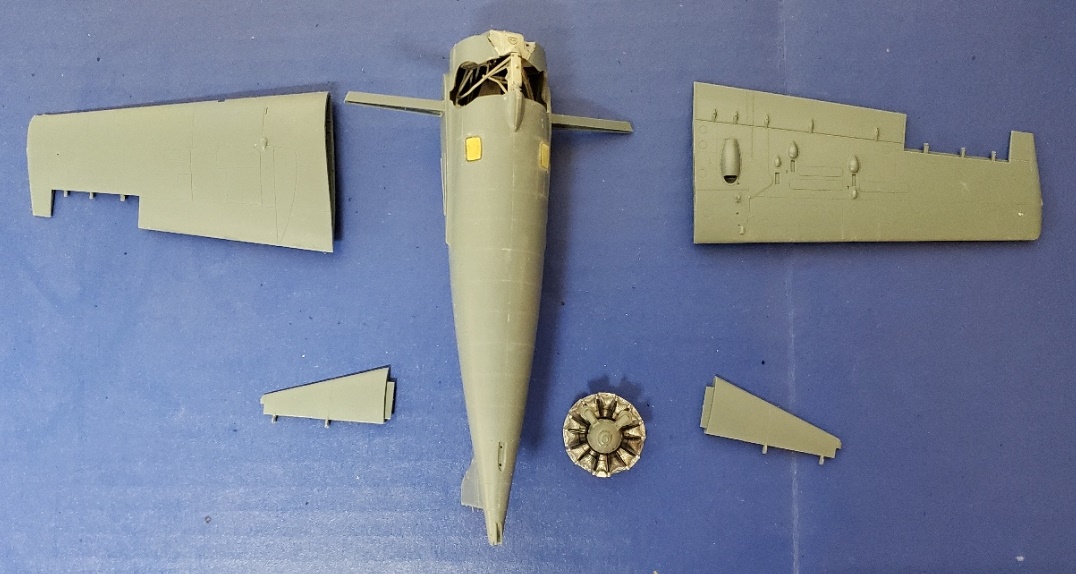
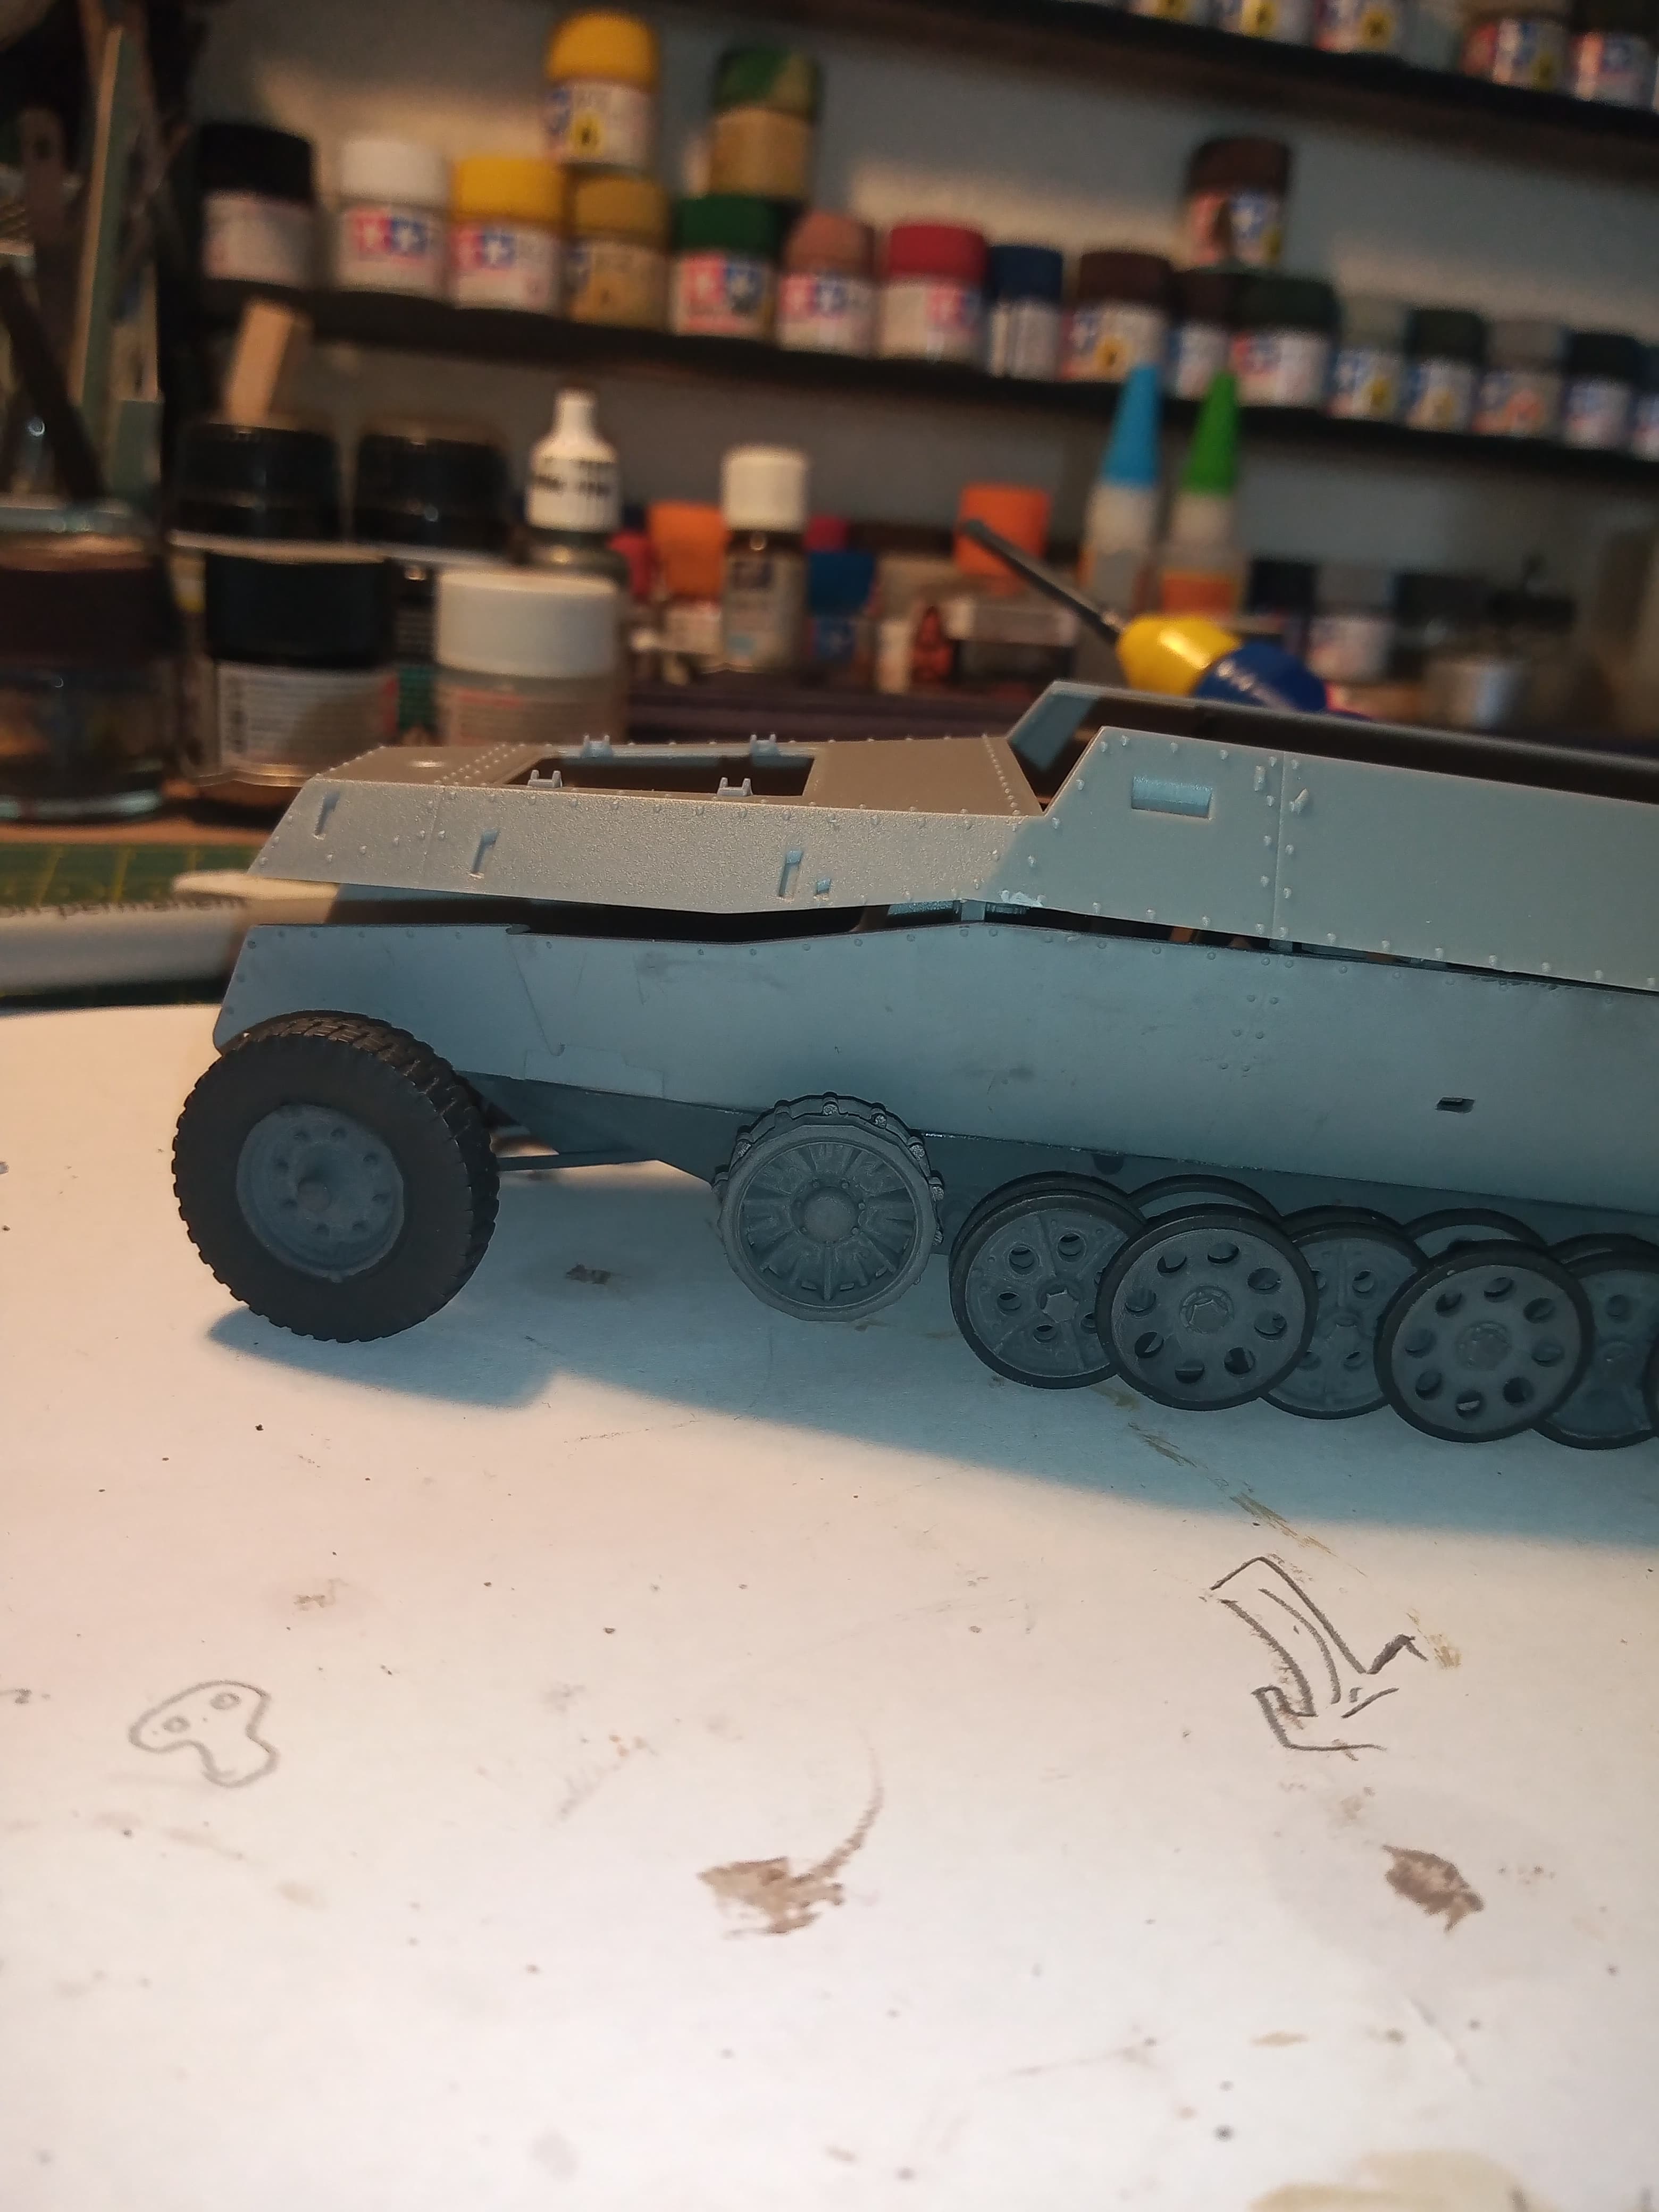
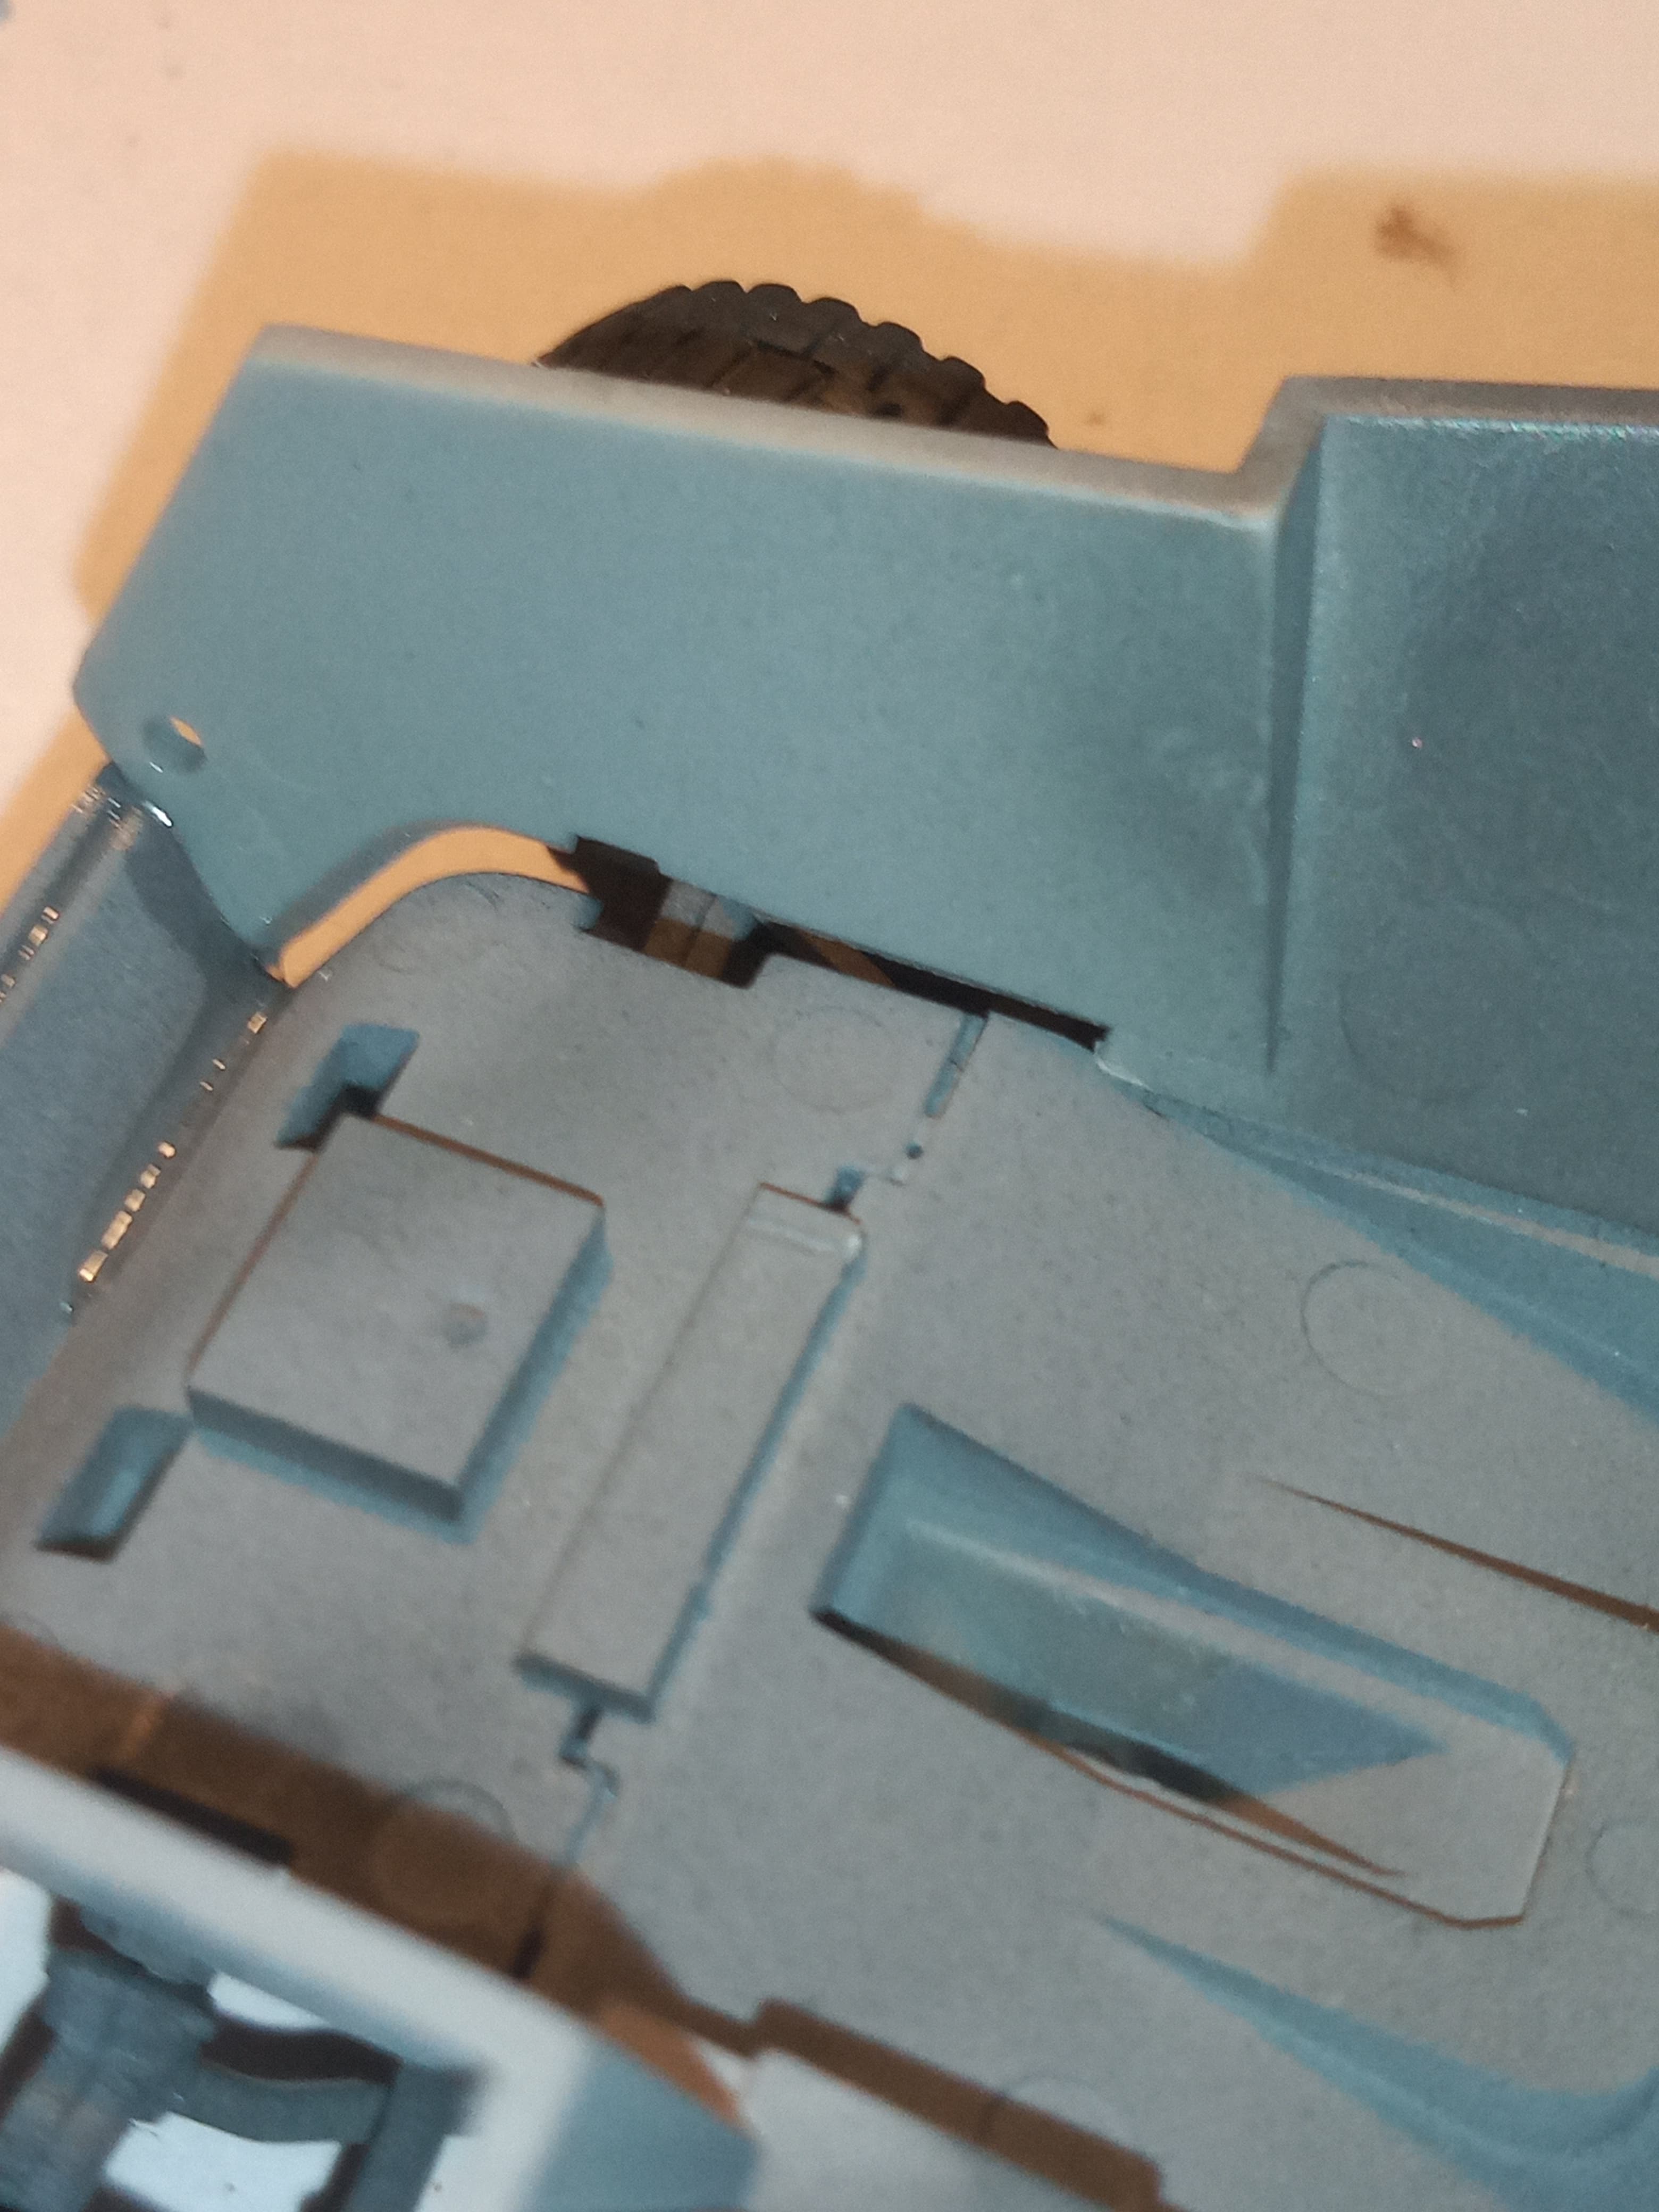
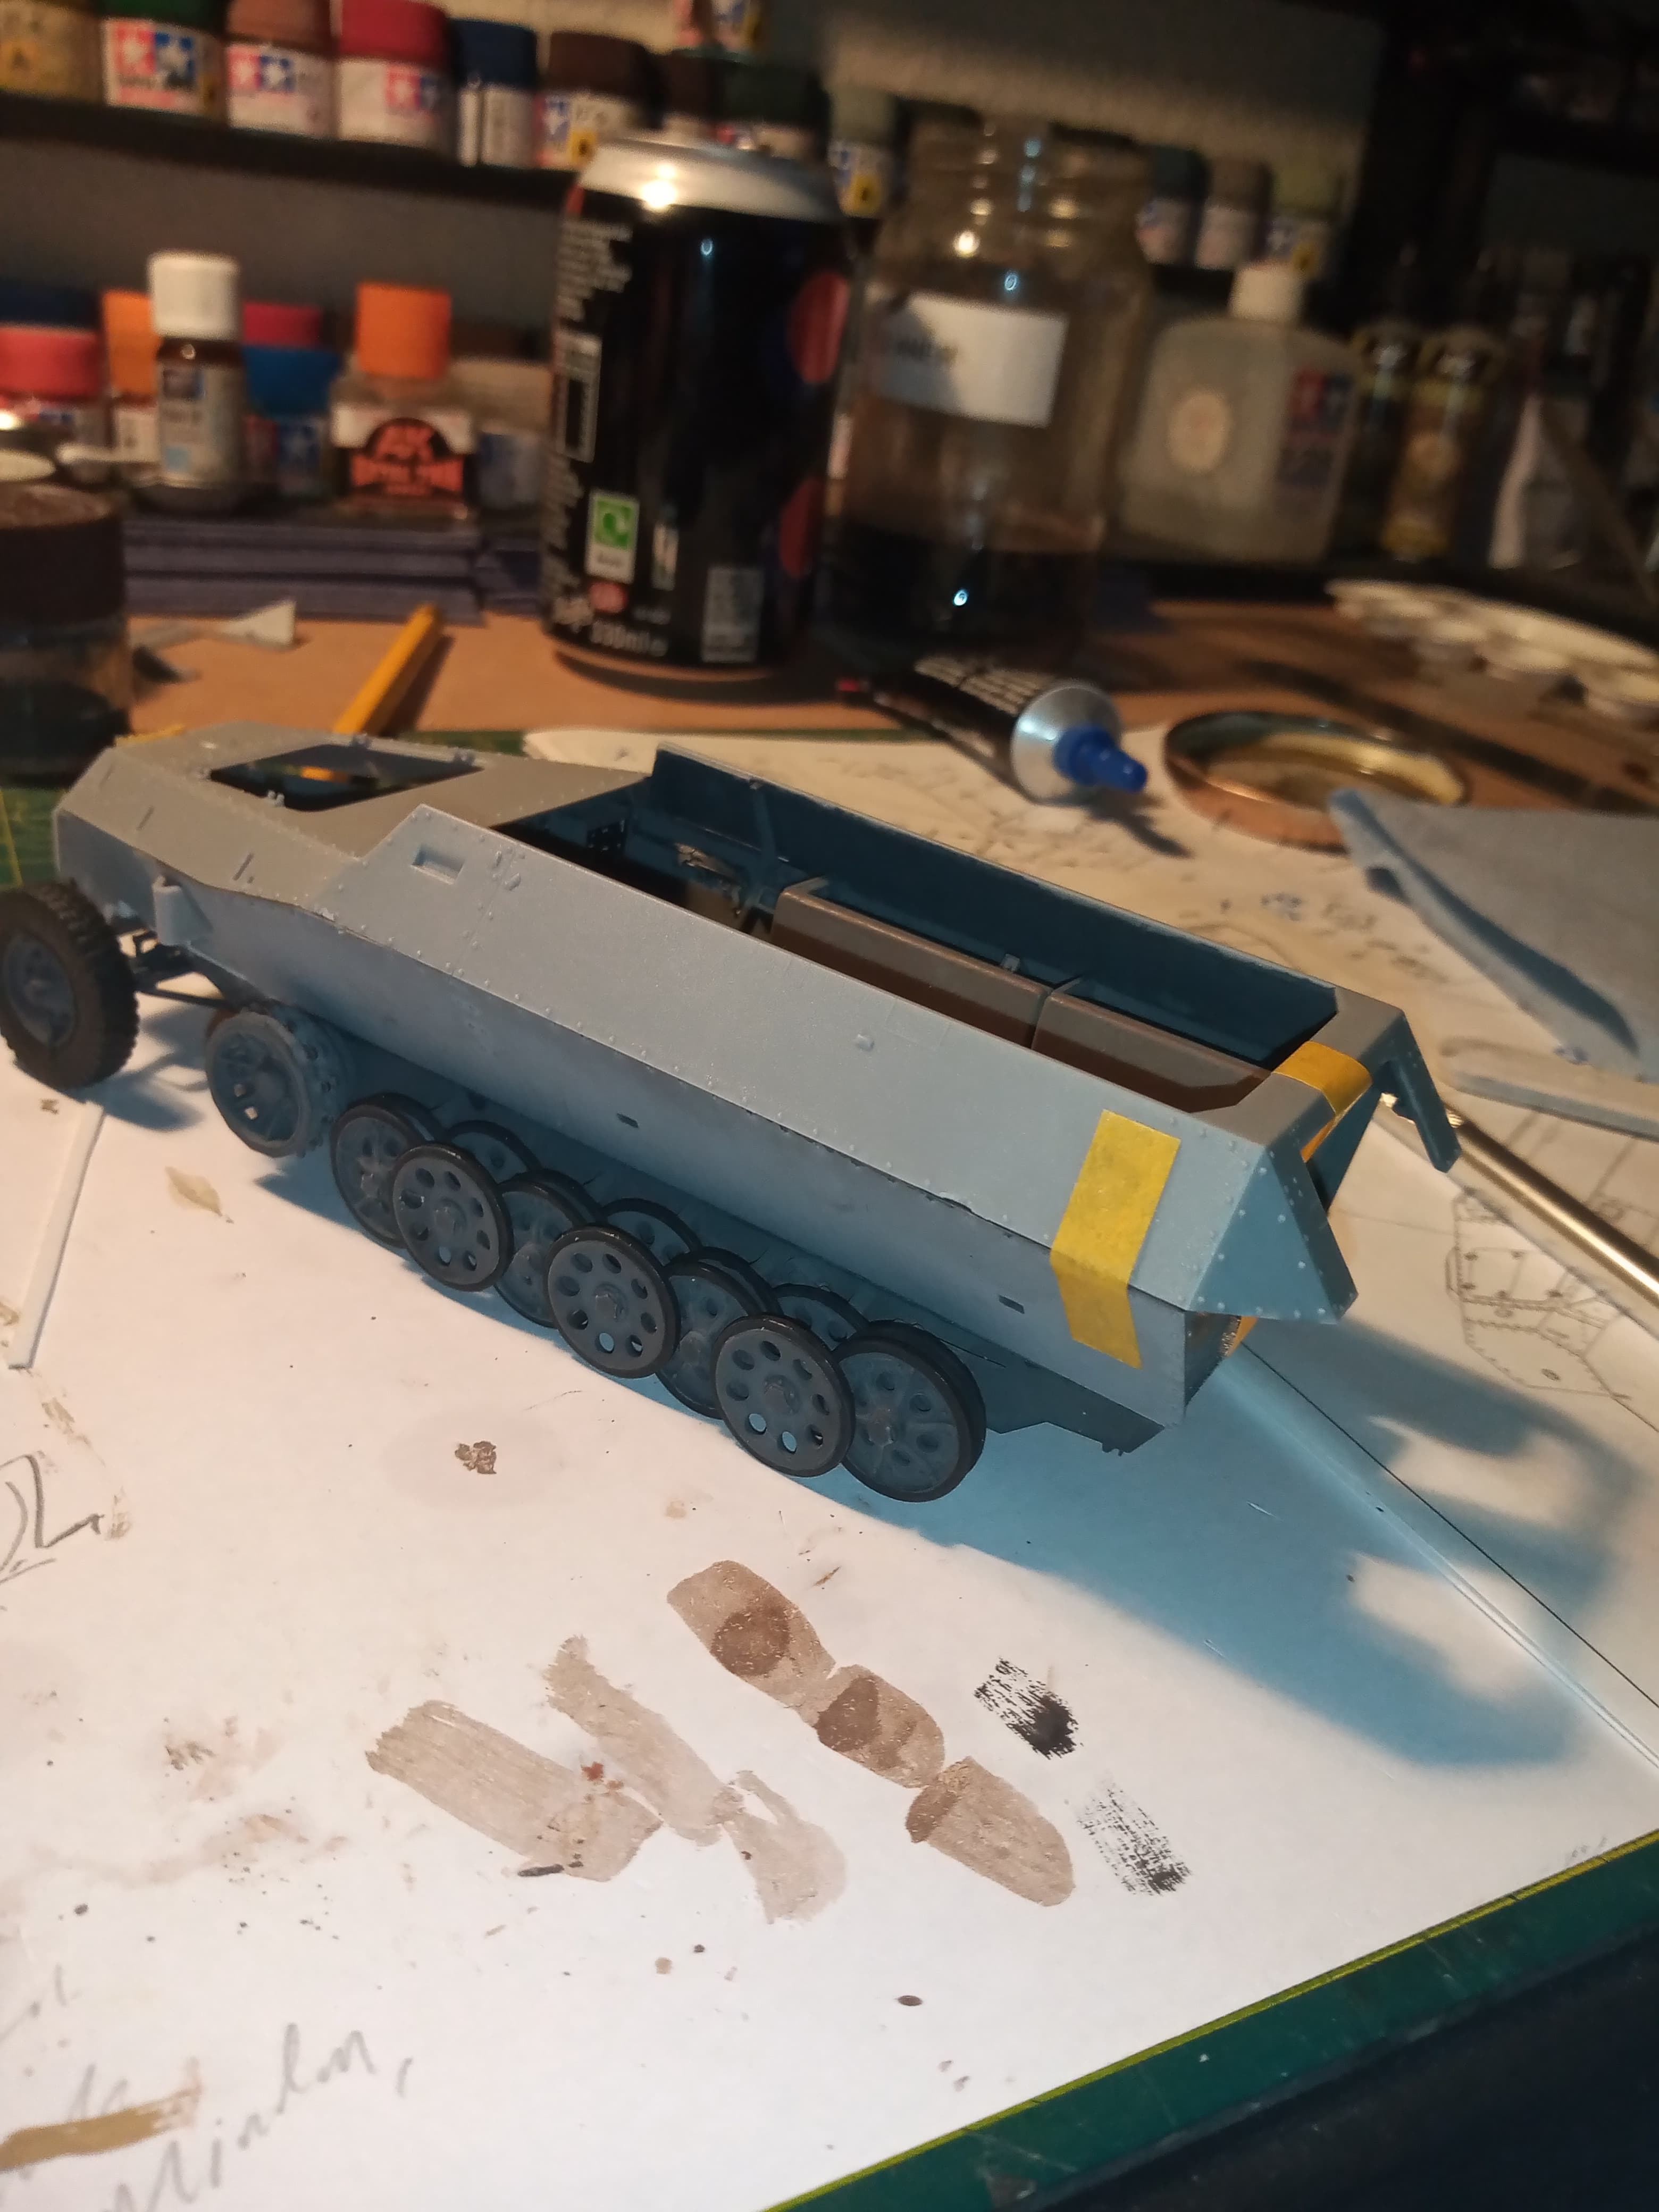
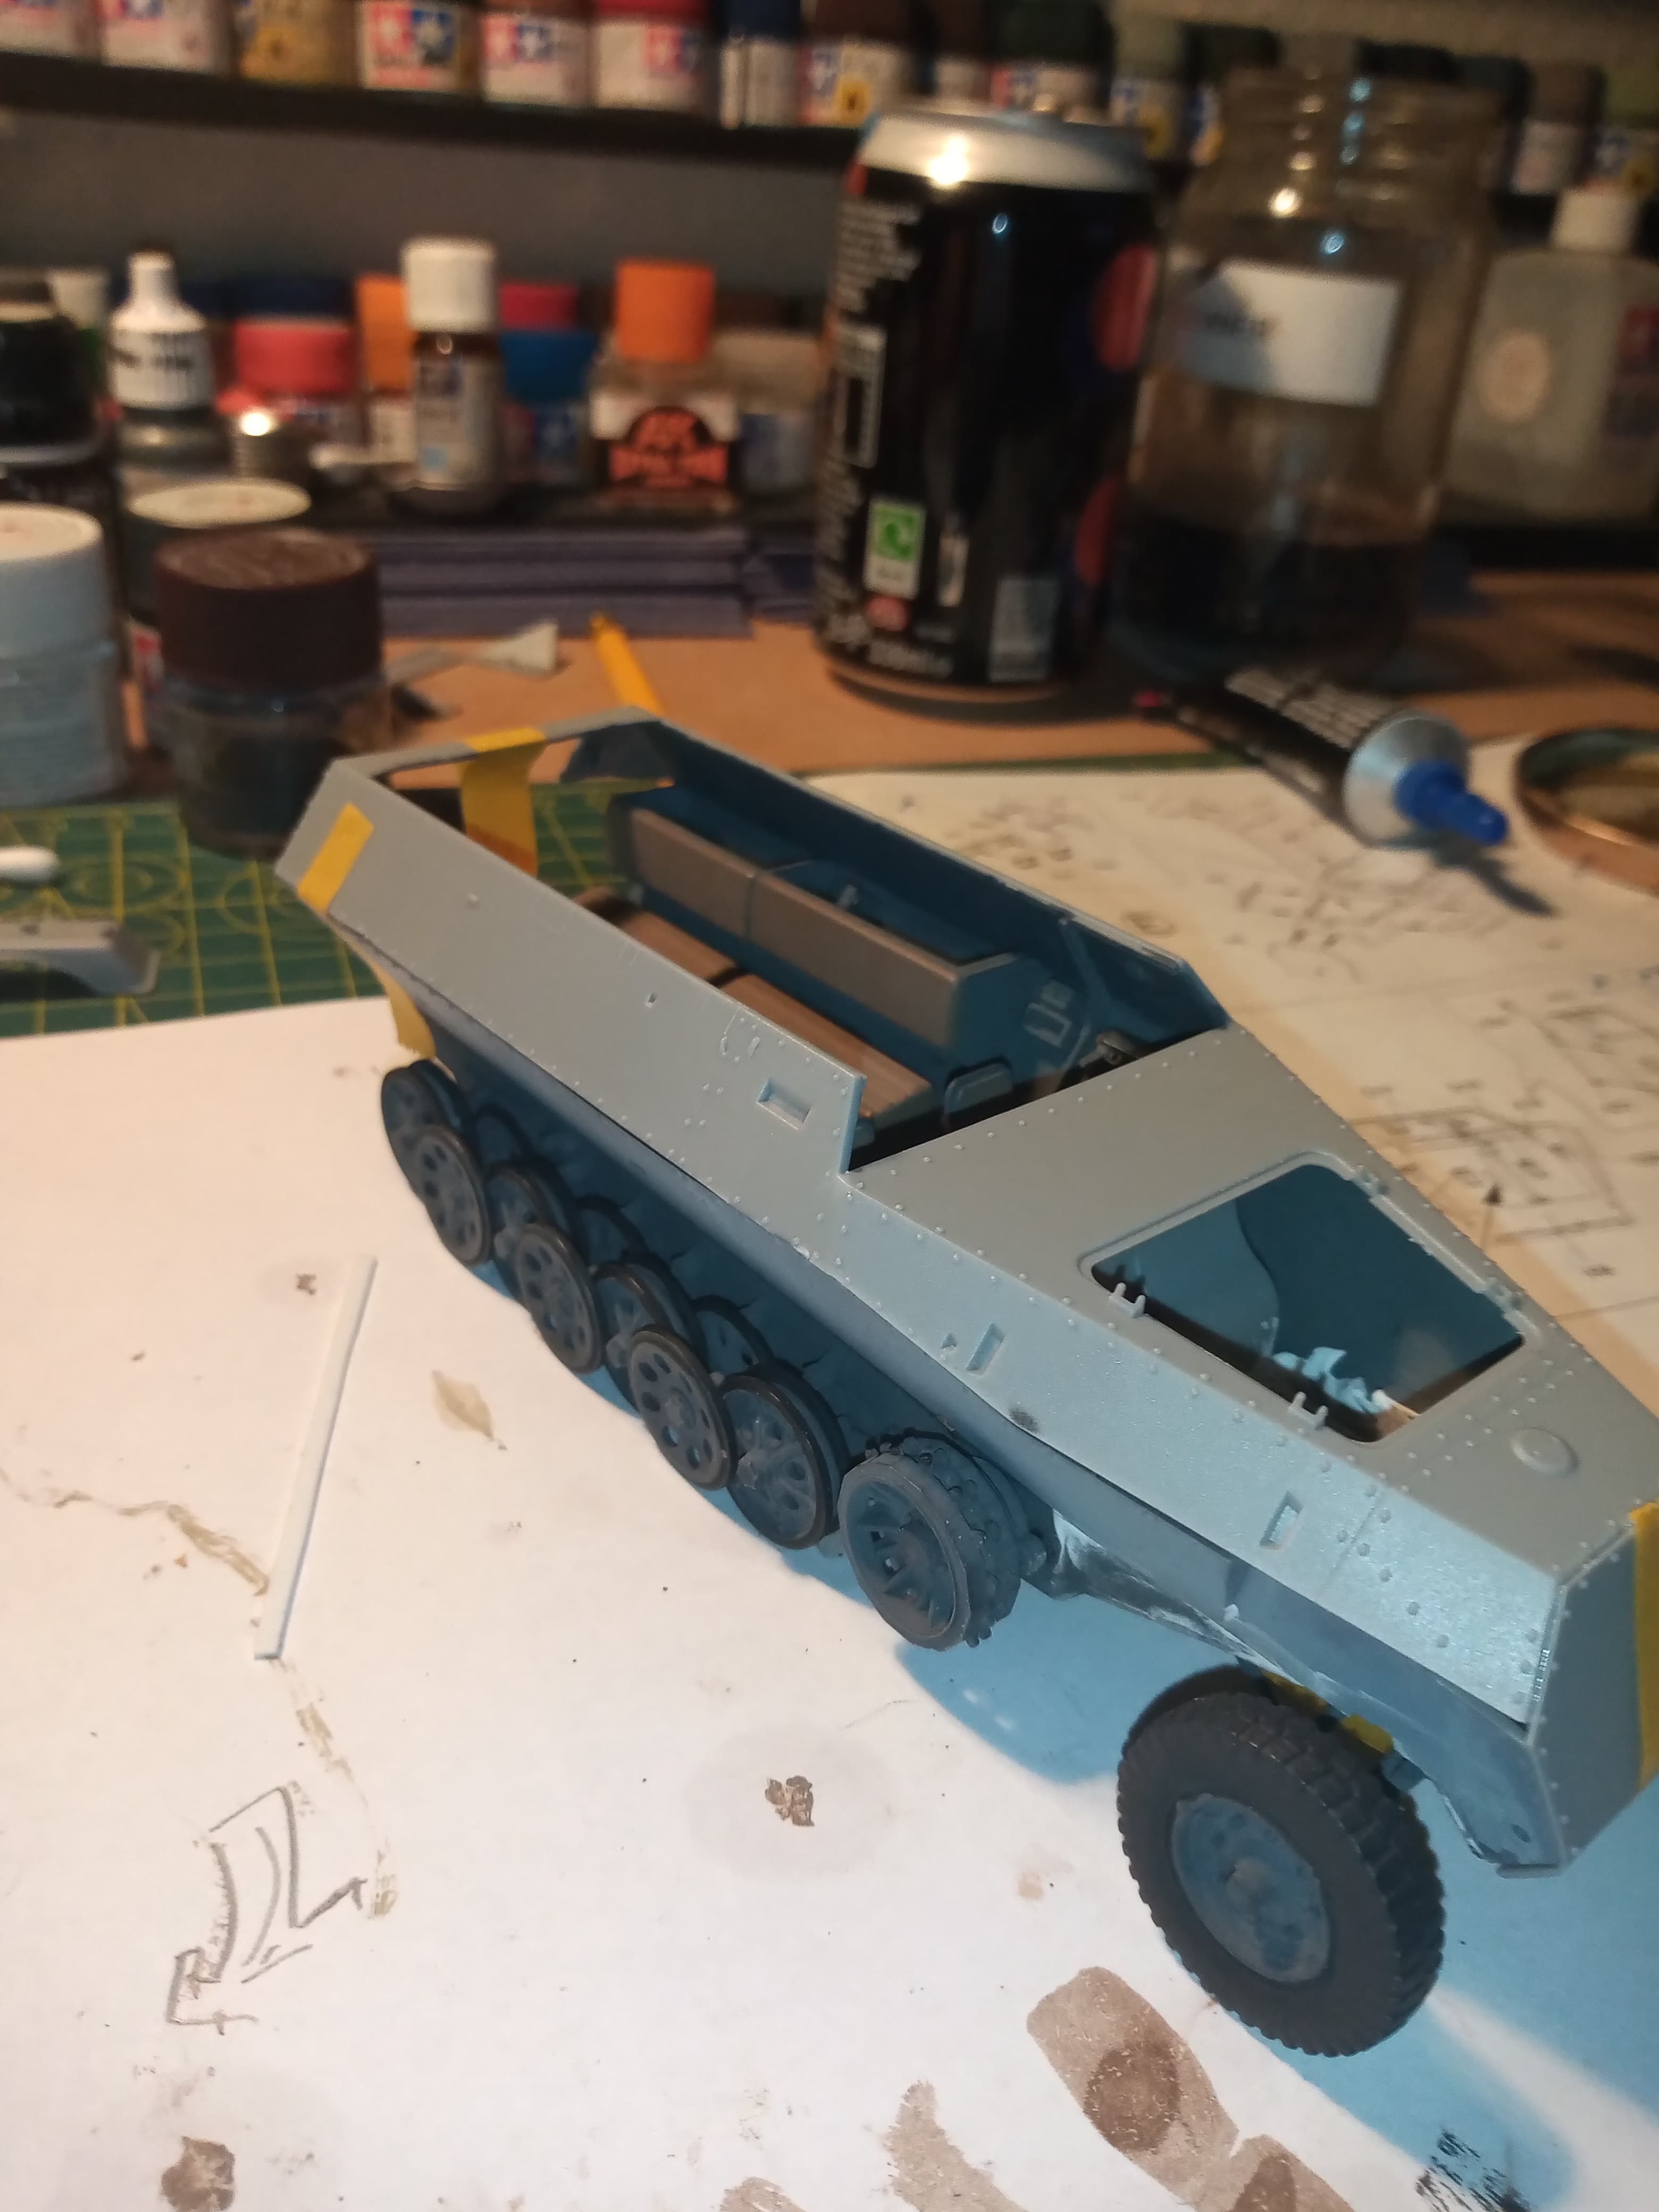
After some strong words and prayers… I finally got the lower hull sides on. Everything rear of the instrument panel bulkhead is ok… The issues are at the front.
This is with the rear part taped on showing massive bends and some misalignment… And massive upward warps/bends on the front section of the upper hull…
Lower rear section taped in place.

The upper hull dry fit.
And the gaps on the lower hull / chassis join…
In my future, I can see … In no particular order…
Lots of filling.
Cutting sections to fit.
More filling.
Broken front wheels ![]()
Crying.
Sanding.
More filling.
AK scenic mud ![]()
7 Likes
Oh man I feel for you John. Are you sure they aren’t parts from different kits? lol quietly.
3 Likes
Looks like you got the hotsummerwithextracooling version… that will take some work…
3 Likes
Way to go, you really pissed off the modeling gods. Probably one too many crayon jokes. ![]()
![]()
![]()
4 Likes
Ain’t that the truth dude. … ![]()
3 Likes
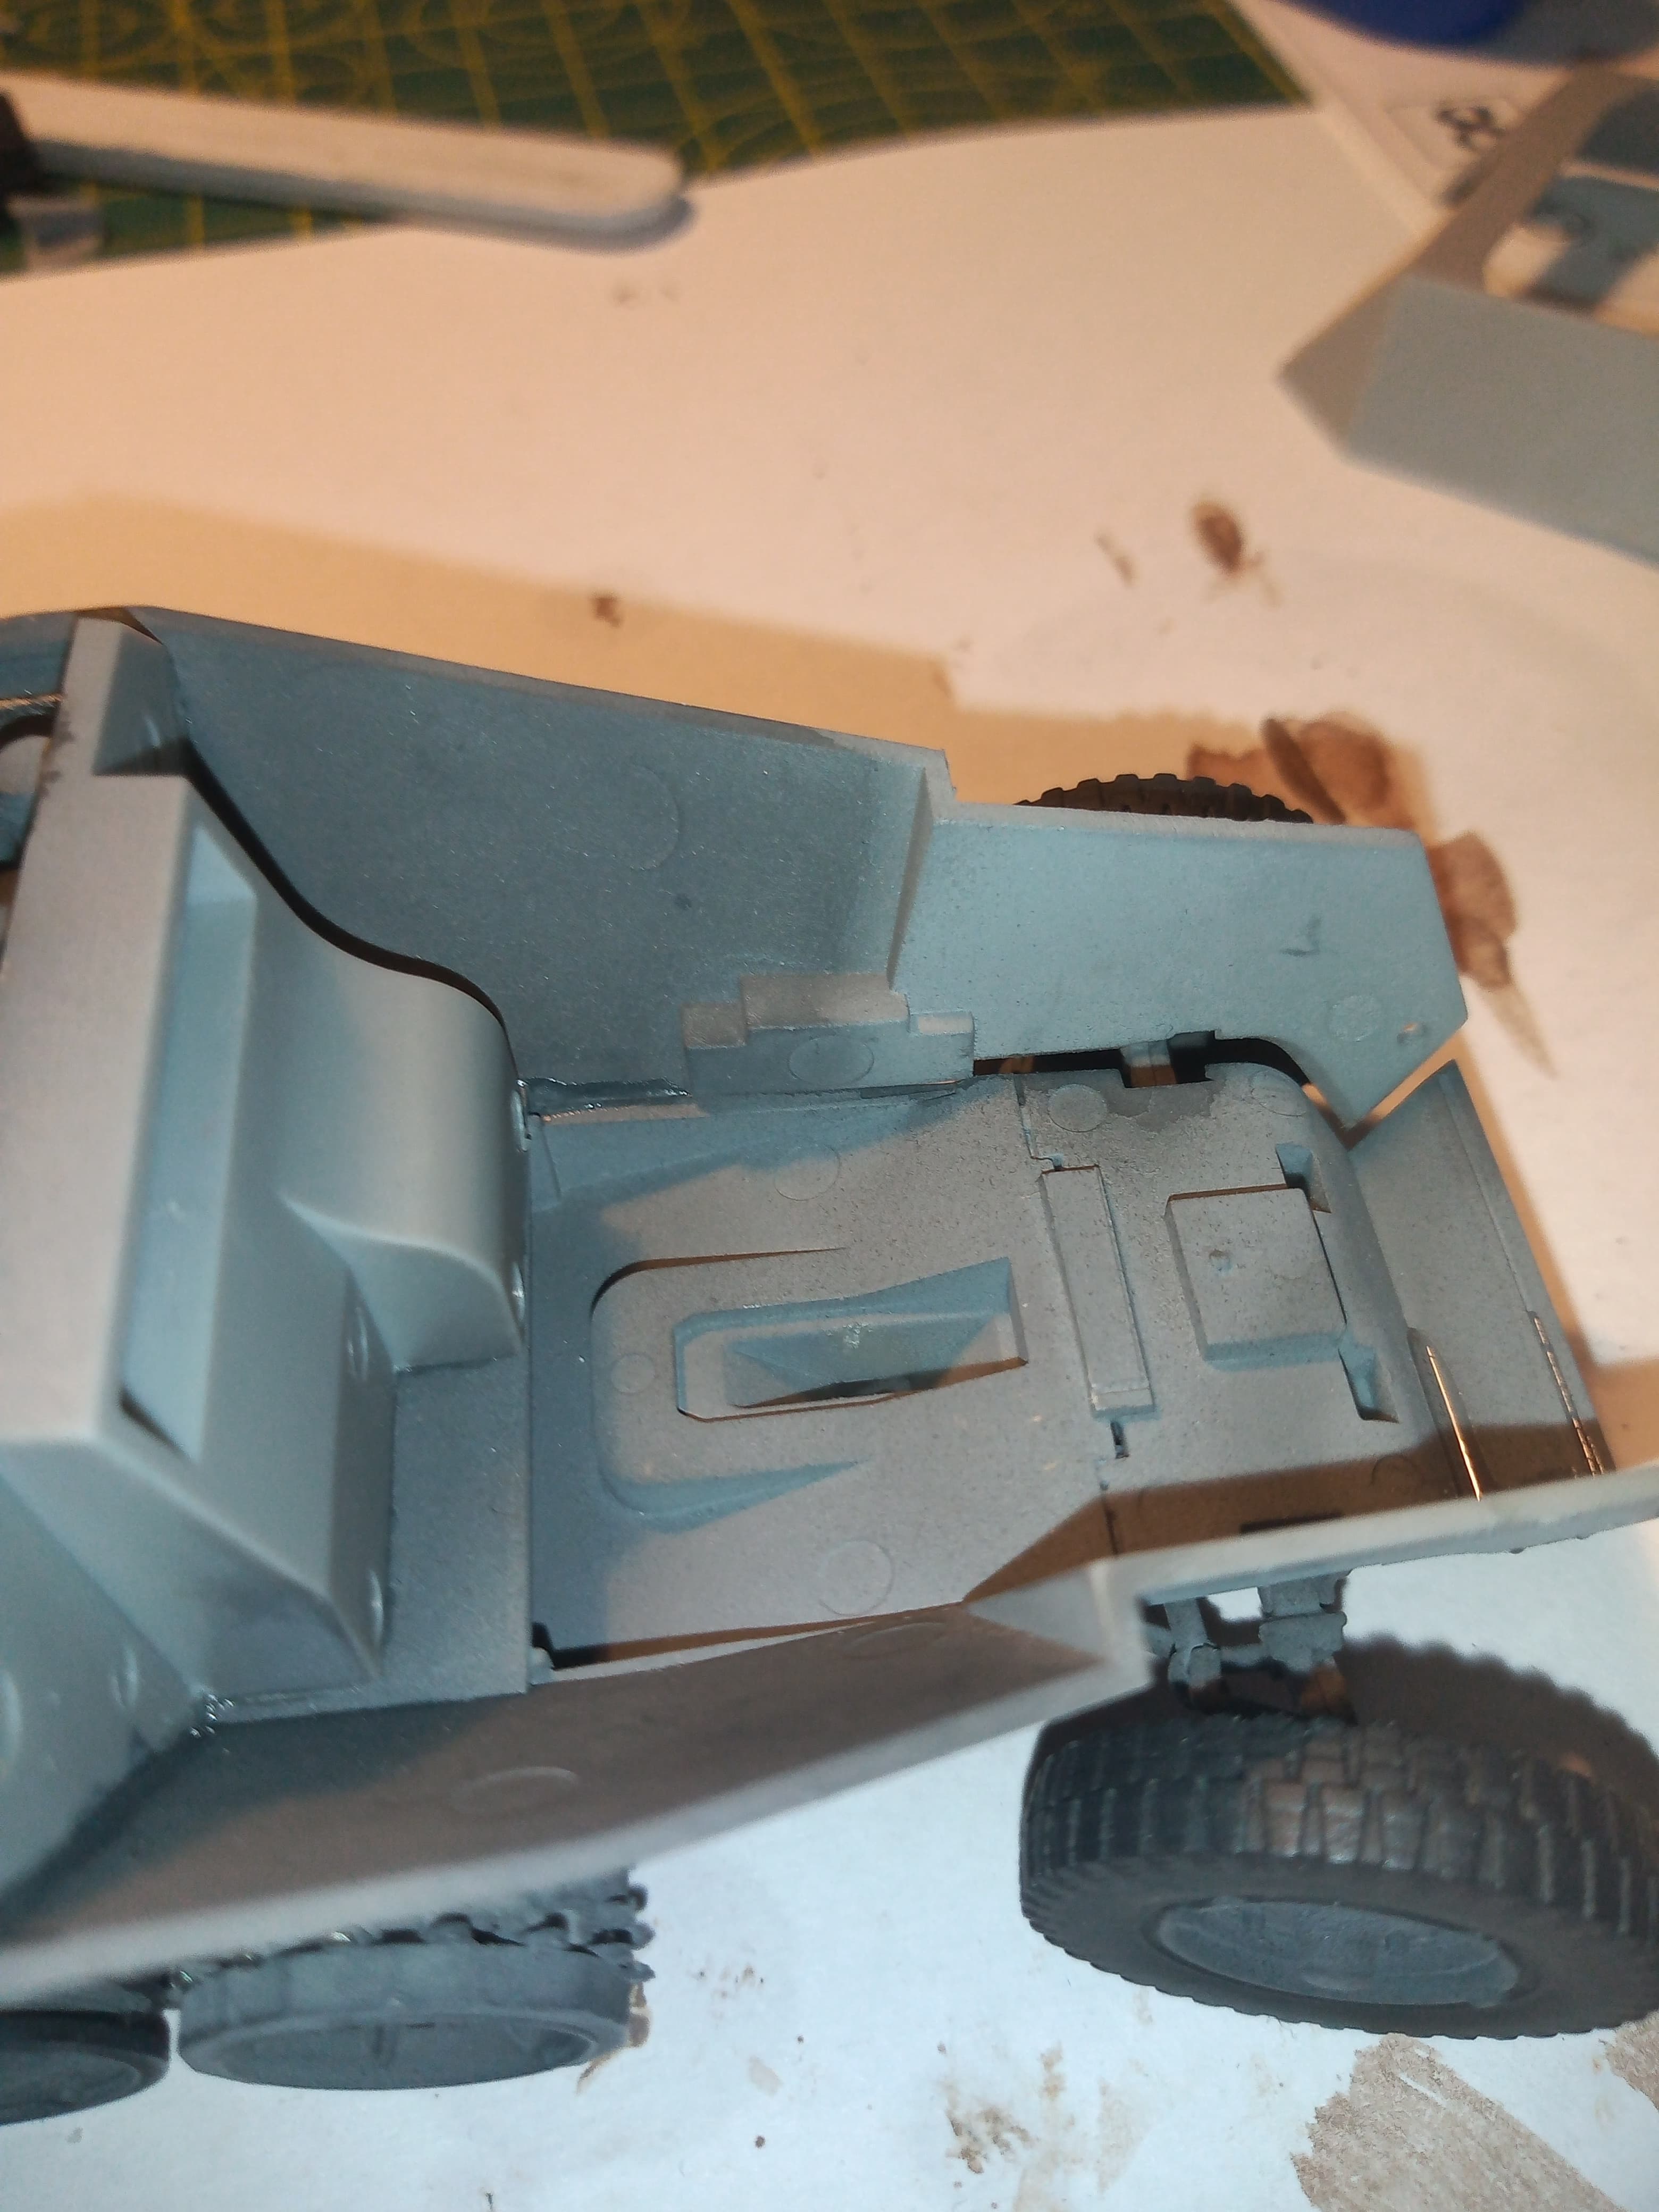
Made some headway with the front of the hull onto the chassis and sorting the gaps out. Instead of taking ages cutting and trimming bits of plastic strip, then sanding and filling and sanding … I decided to cut the middle man out and use plastic putty on the inside of the engine bay and then clean up the outside with a wet cotton bud. Worked a treat.
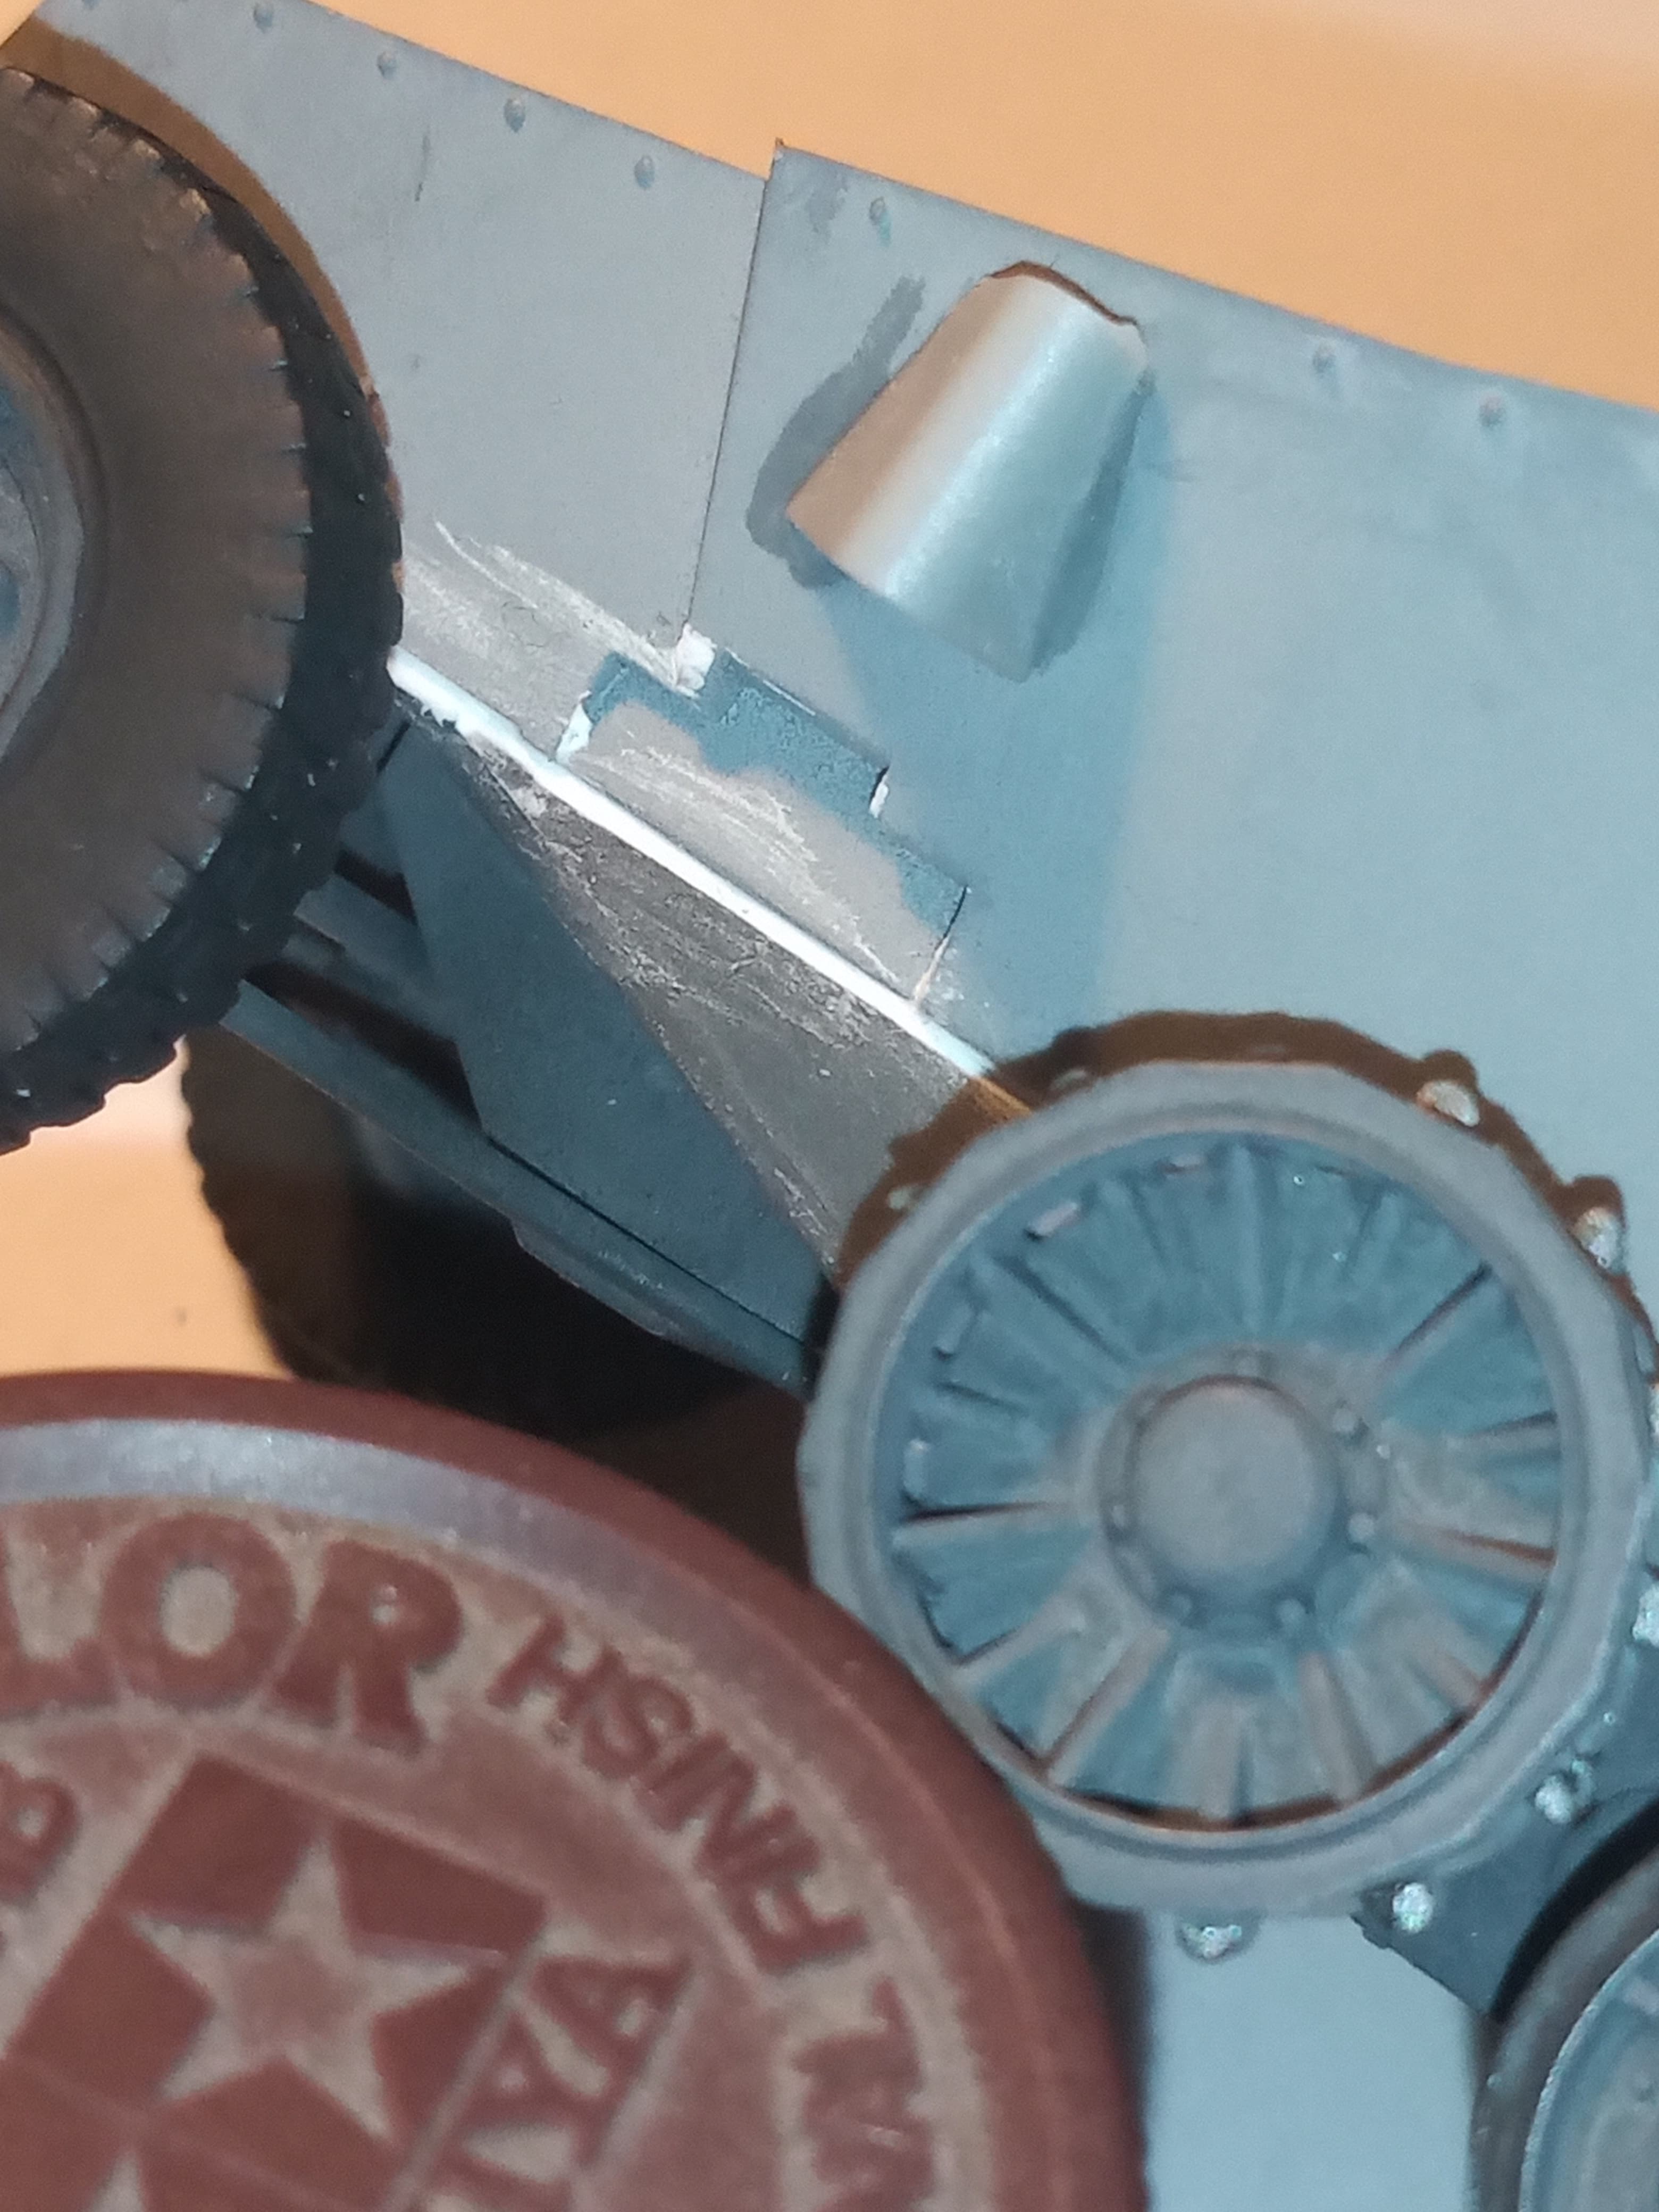
Once painted, these areas are going to get a decent amount of scenic mud and pigments which will generally hide the issues i had…
Also did another test fit of the upper hull and taped it down… Looks ok, but will require a little work to get a good fit …
One area I know is going to take a while is the rear lower hull, due to its slight warping and incorrect fit, which is made worse due to it having the rear doors in it …will tackle that next …
8 Likes
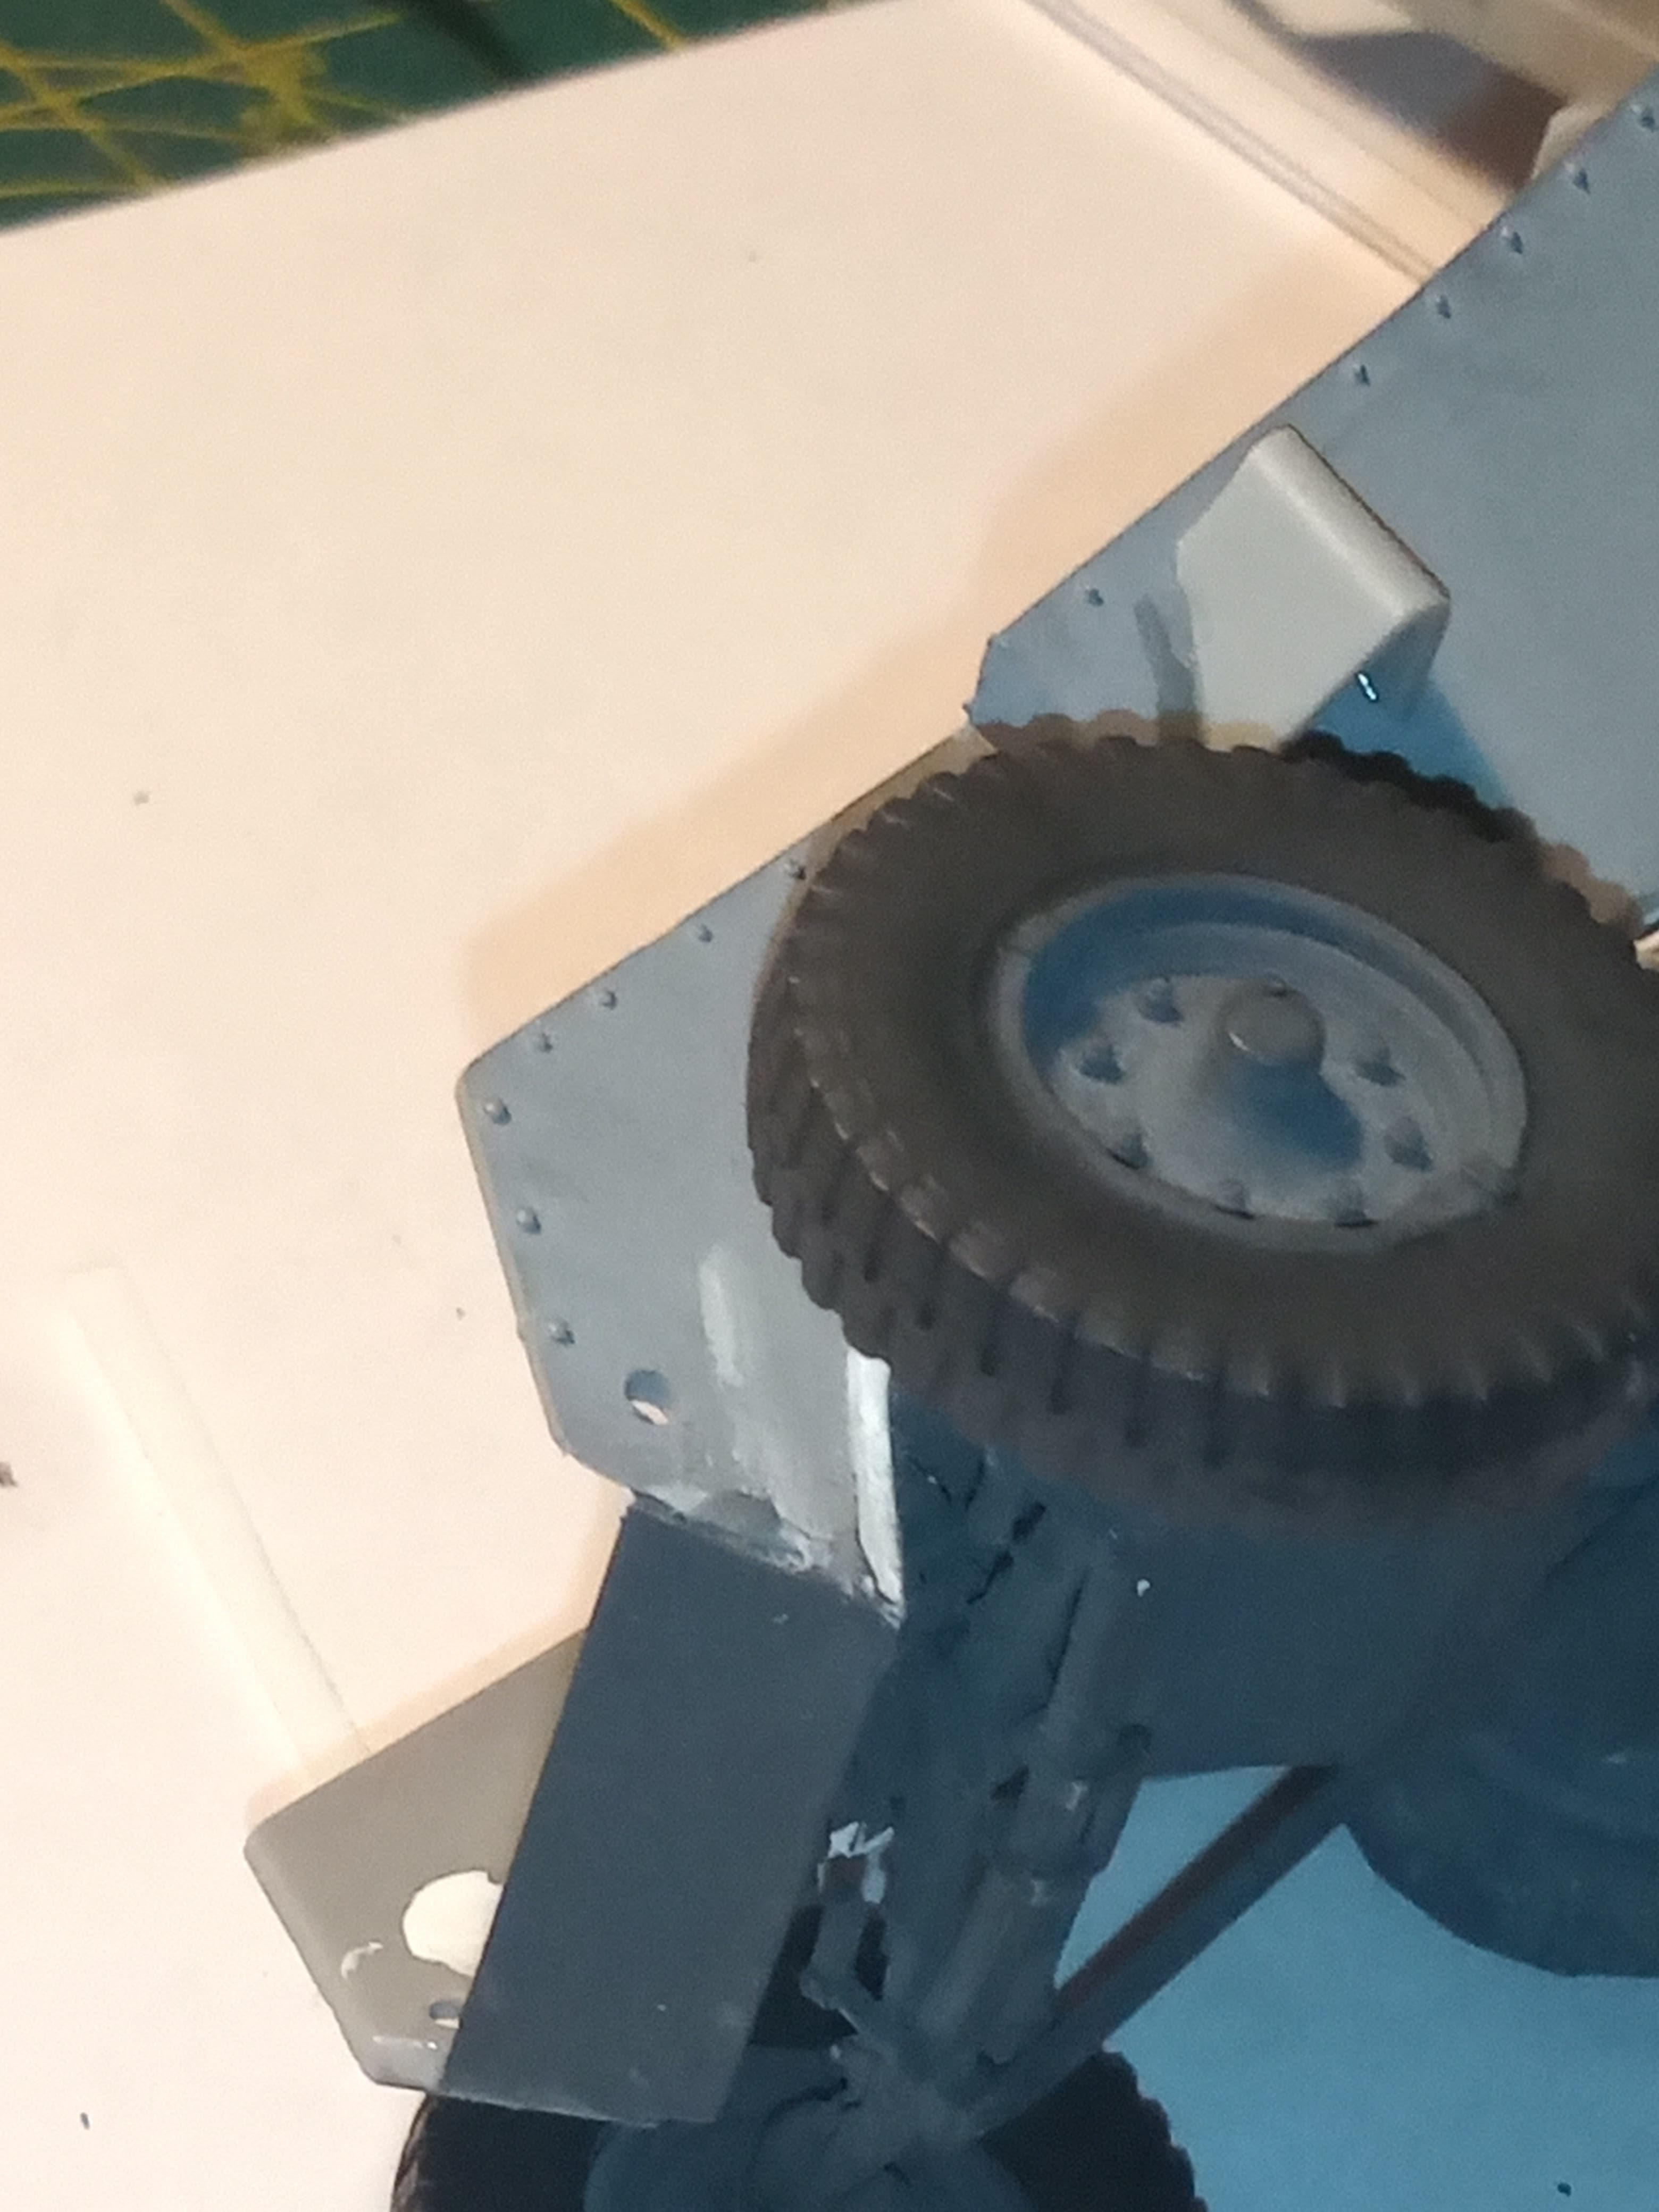
The inevitable happened as I was securing the upper to lower hull… One of the front wheels let go …
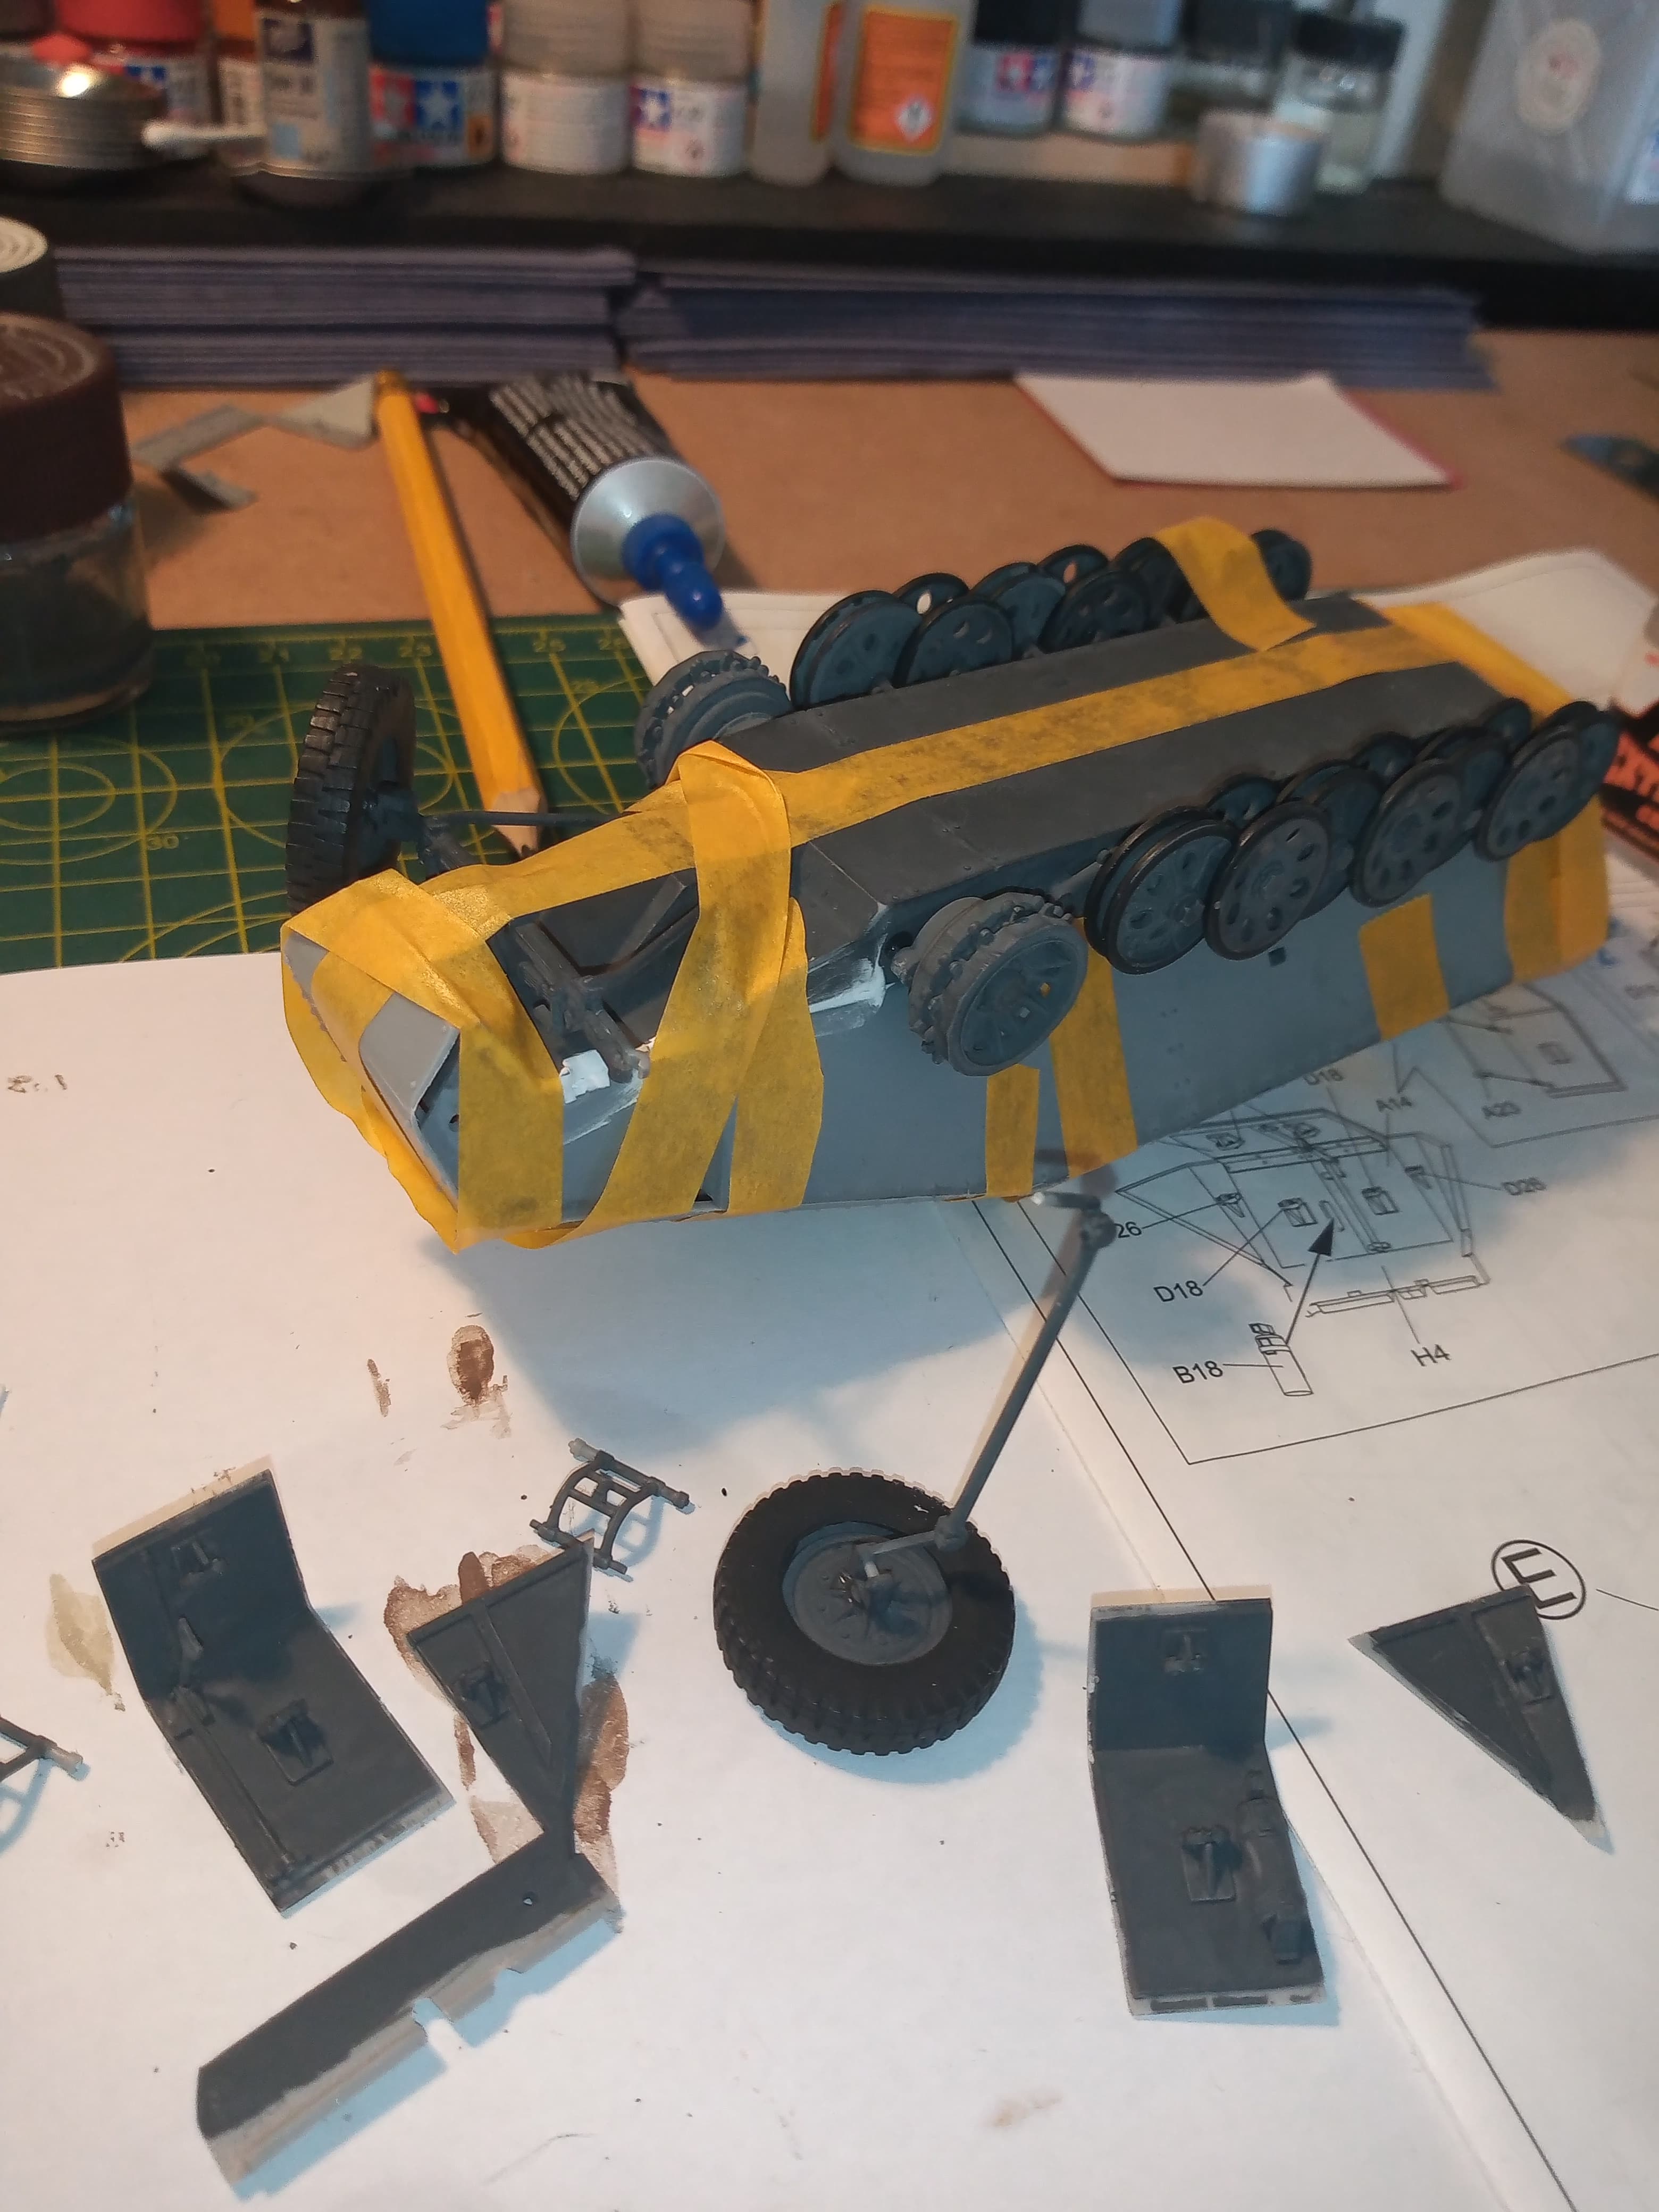
I was expecting it to occur earlier and than this, so I was wasn’t to worried and it’s a simple fix that will still let the wheels move left and right ![]()
Also the hull halves mated up well once secured ![]()
8 Likes
Let us know what happens when the mummy awakes!
3 Likes
Bazooka hit. ![]()
3 Likes