Actually, only going to retry if someone orders them in 1/35. Moving onto other projects for now.
1 Like
PM sent
Dear fellow hobbyists,
I was hesitant to make this announcement but I must for my sanity. I feel compelled to set the minimum 3D print order amount at 20 USD (before S&H - within the US, I’ve only been charging $5 - 6 for the 1st class USPS) and the minimum for a custom CAD fee at 20 USD also.
I originally started doing this to help the community by only charging the minimum to recover the resin cost, other necessary material cost, and some to give me some weekend eat-out money with the family. However, the demand has been more than I had anticipated lately (thank you to those who supported me), and it is not becoming fun anymore. I have no time to reduce my stash of 1/35 kits and been neglecting other responsibilities to fulfill orders.
As much as I want to help some of you, $10, $12, $18 orders are no longer worth my time frankly, and I will have to say no. It was never my intention to make money - trust me: I like my day job as an attorney and make more than enough for my family’s needs, and I was having a lot of fun CADding and printing stuff. The novelty has run out in 6 months unfortunately.
It was my fault for not setting the minimum at first, and I did not expect that many would seek my service for little things. CADding takes a bit too much time for a beginner like me, and some of these low price projects have become frustrating rather than fun. I seek your understanding, and rather than not taking the jobs or seeking projects, I will need to establish the minimum for my sanity and other priorities in life.
Kind regards,
James
5 Likes
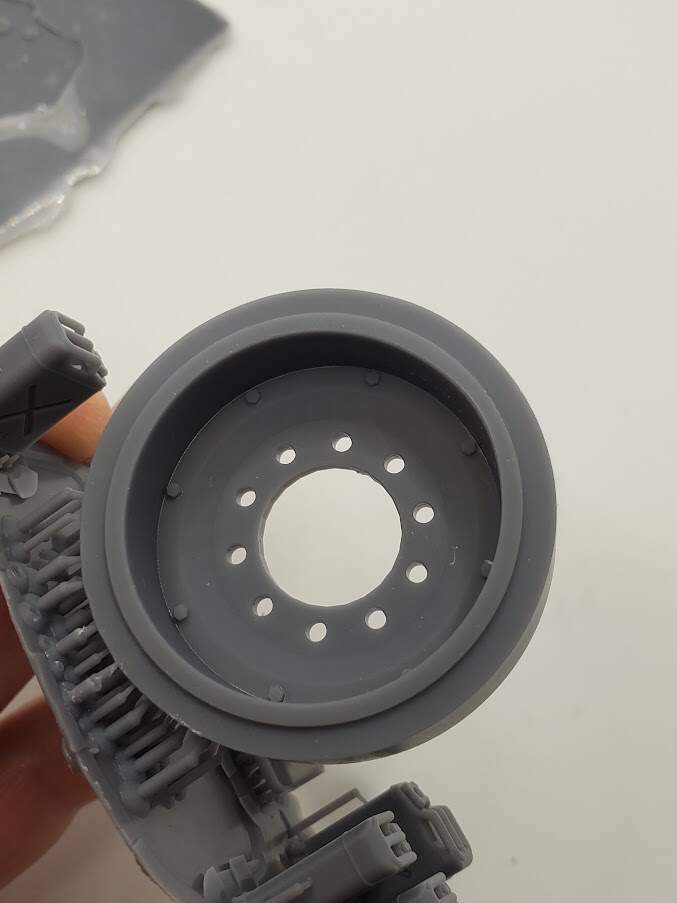
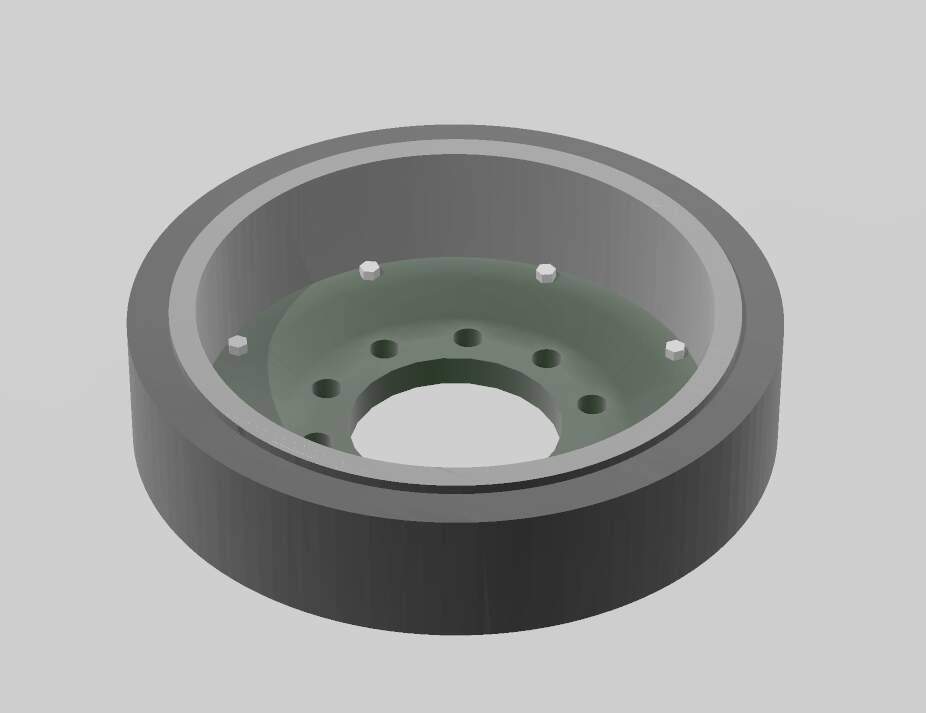
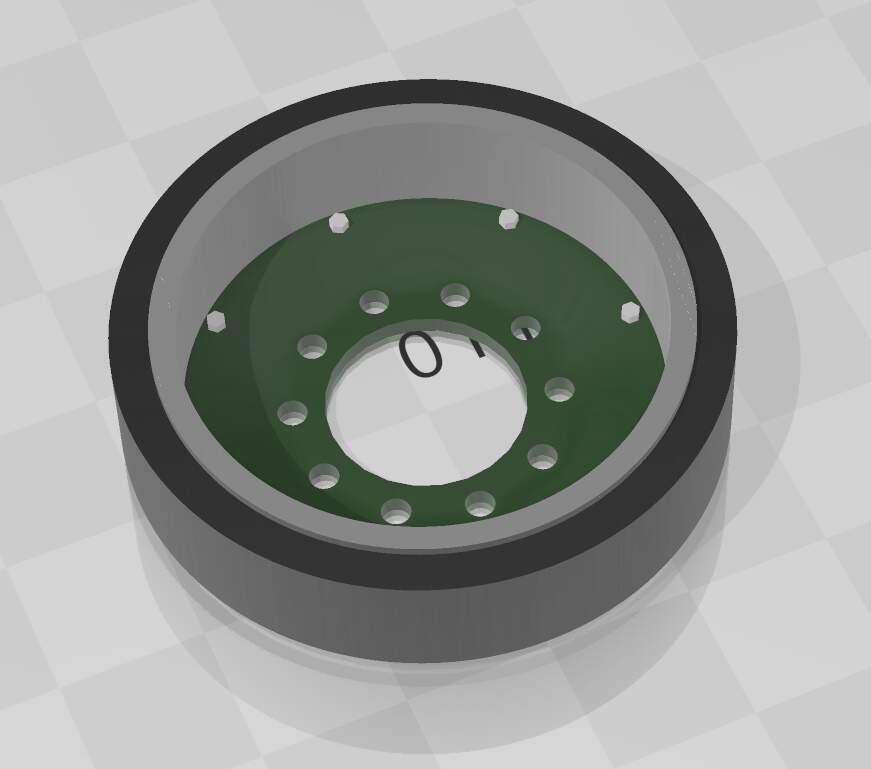
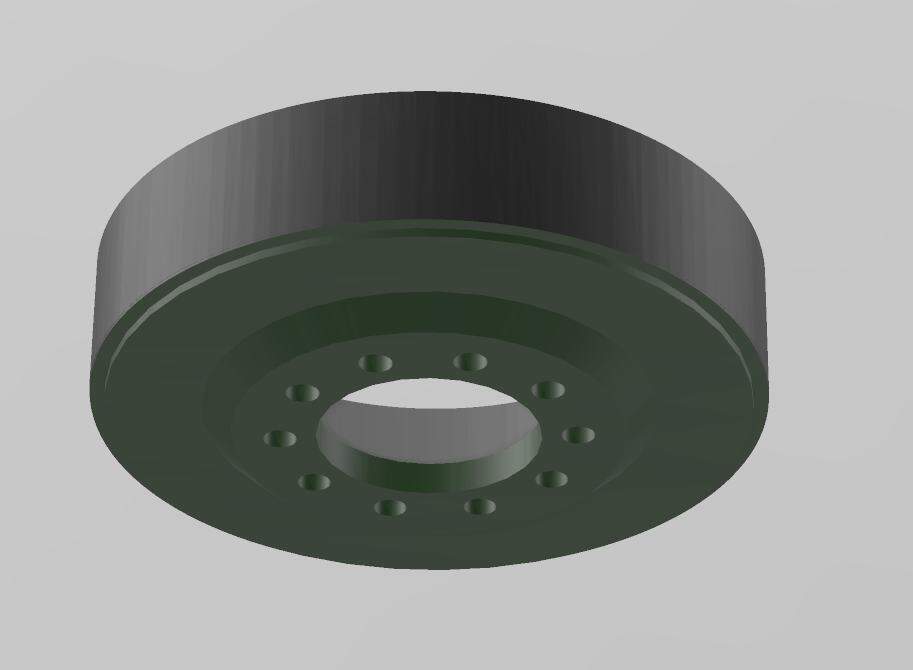
Nothing spectacular - CADded and 3D printed Abrams’ spare wheel in 1/16. Can use some sanding to smooth/round the edges a bit to look more realistic however:
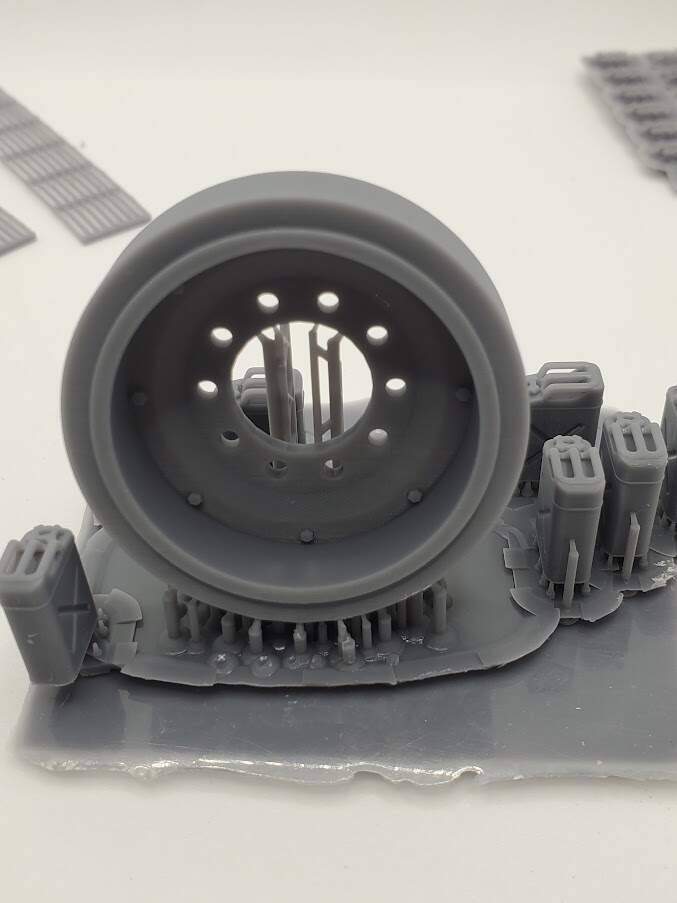
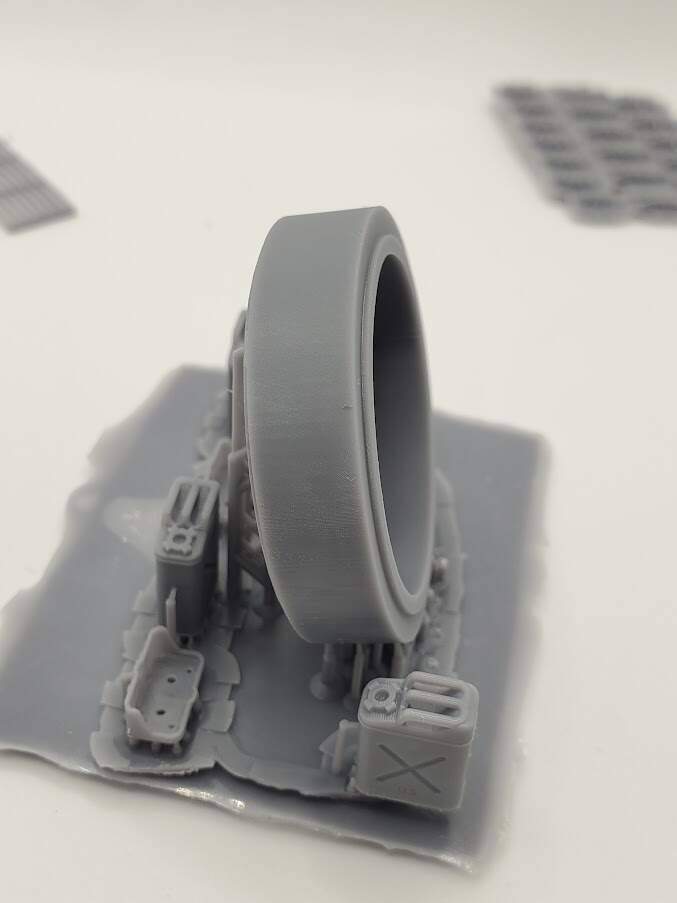
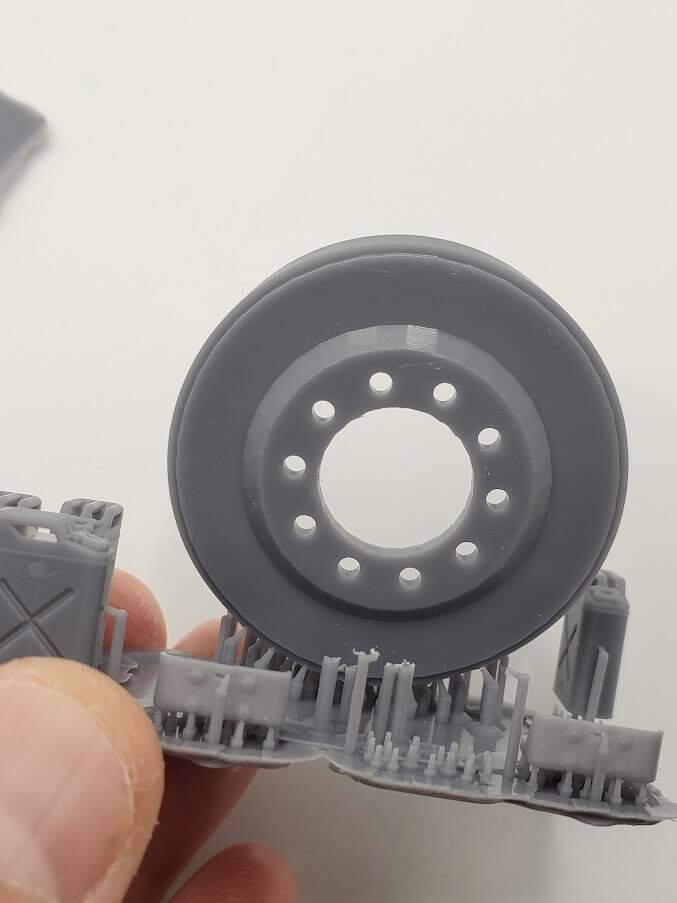
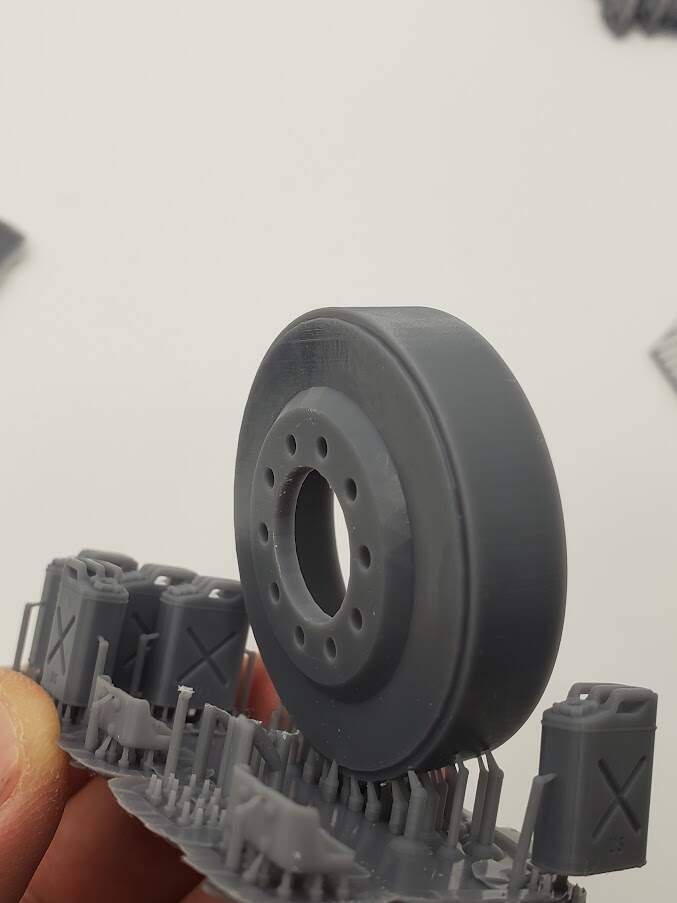
2 Likes

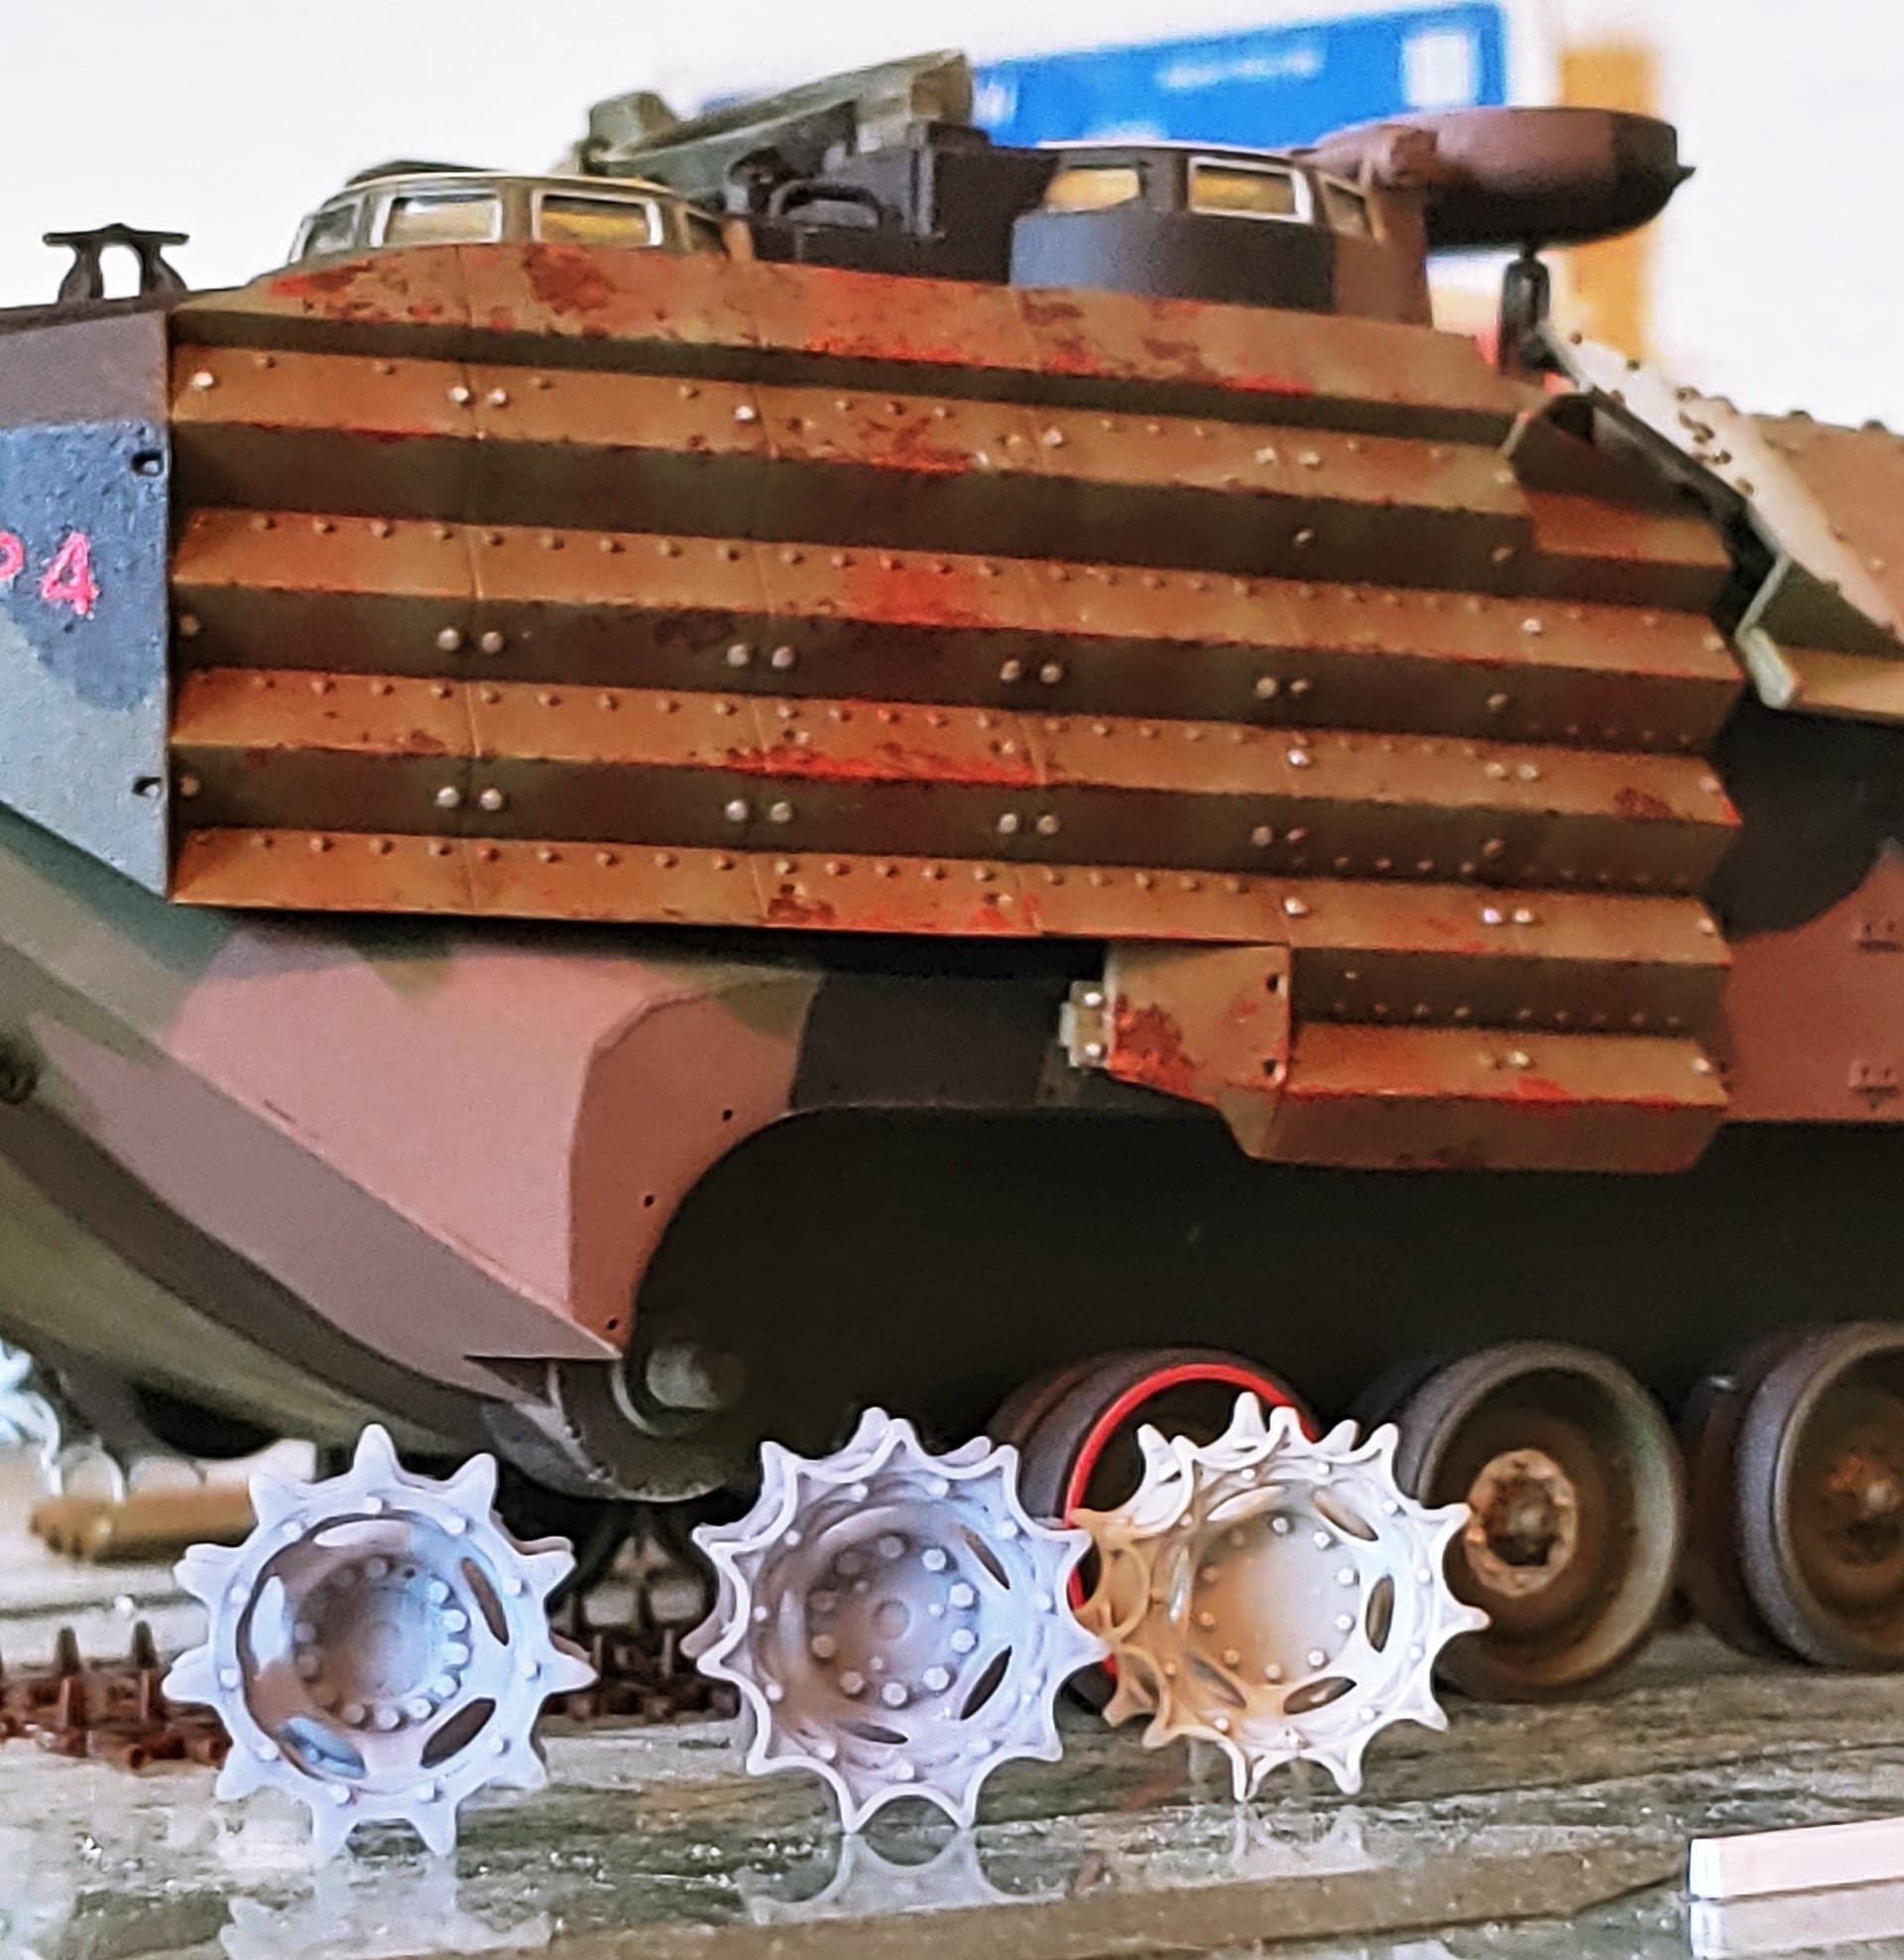
@Petition2God just wanted to say thank you for the amazing work you did with these sprockets. They are in every way superior to what Hobby Boss provides in their LVT7/AAV7 kits and should be a “must have” for anyone building one of those kits.
Appreciated all the updates and quick responses and updates to the CAD before printing the parts. Thanks again and I cant recommend you highly enough.
Image is of the new sprockets (3D printed RAM/RS, 3D printed “straight leg” then the kit sprocket) to show how much better these will look on the AAV.
5 Likes
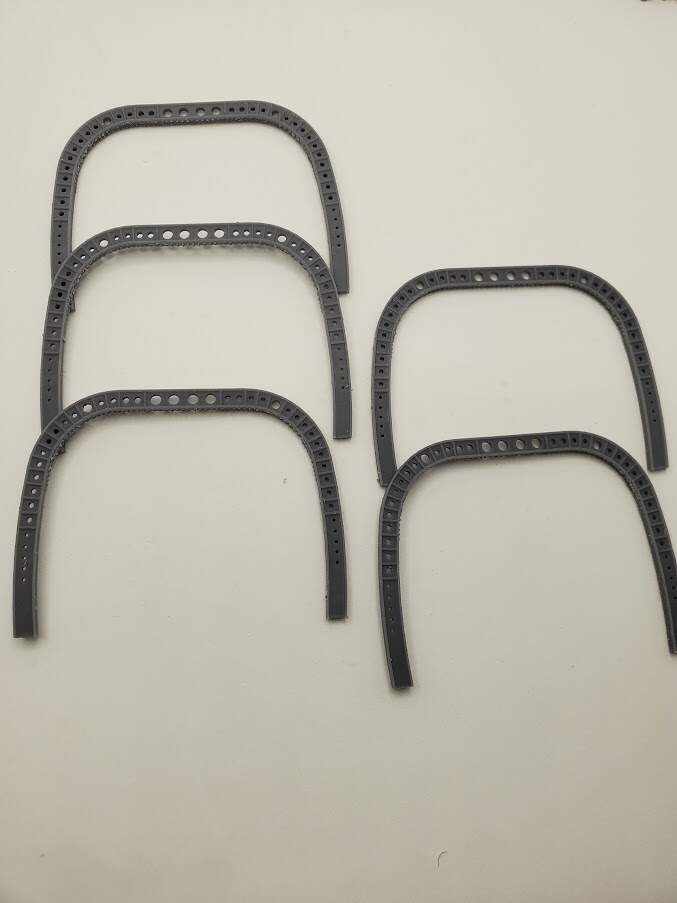
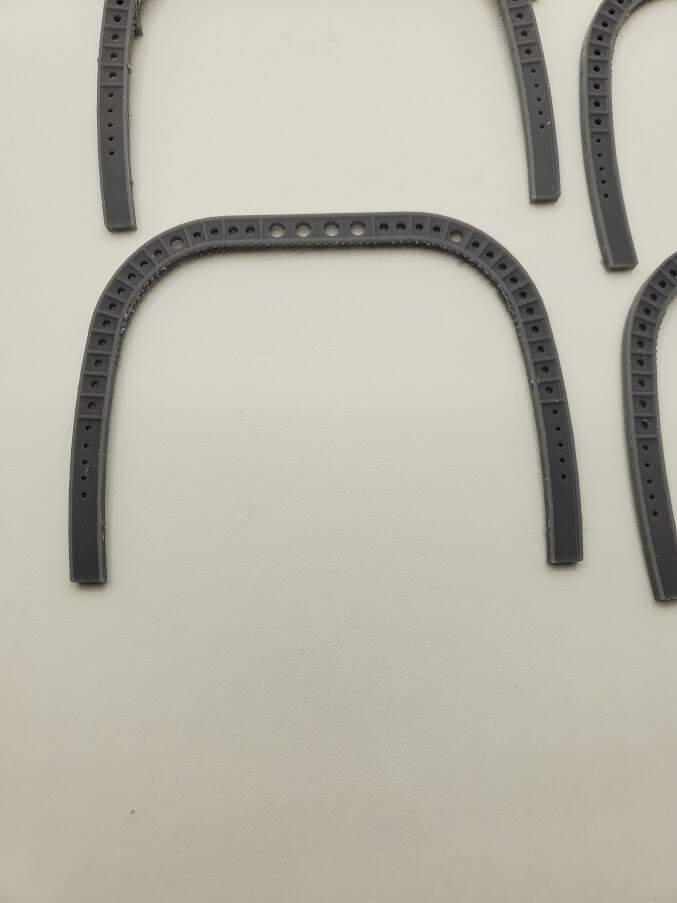
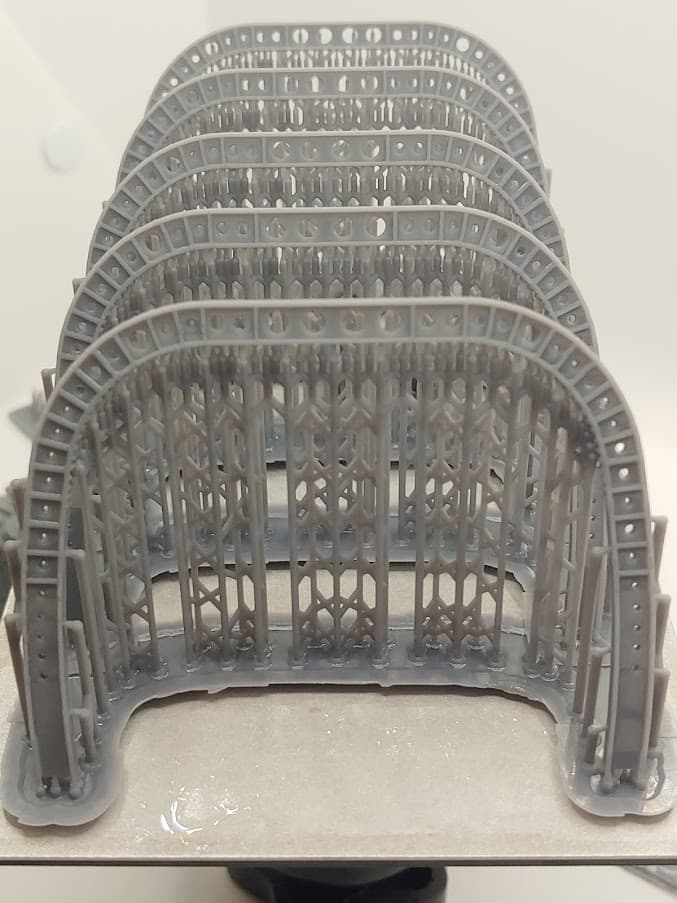
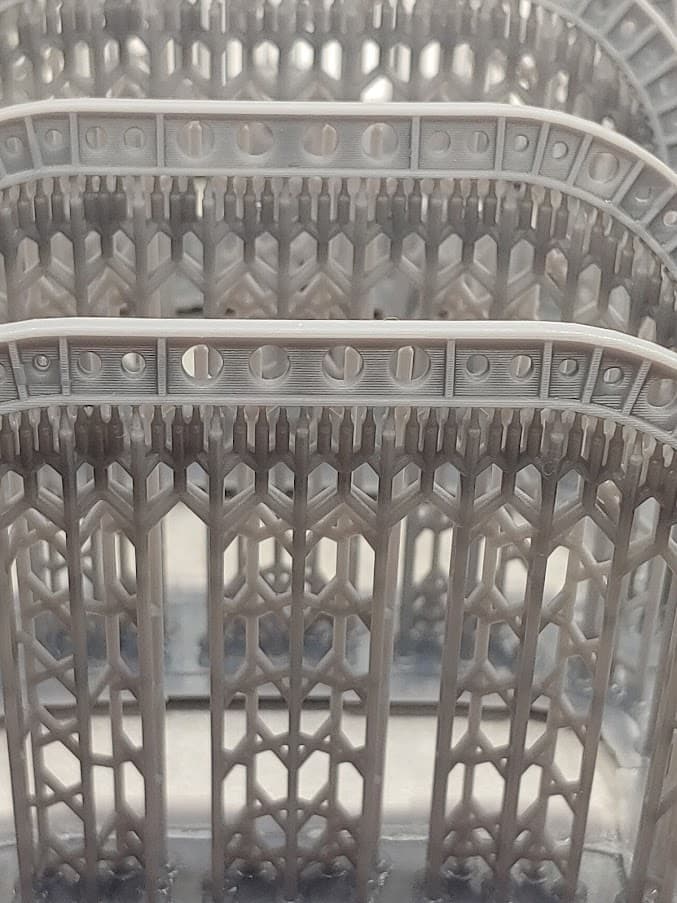
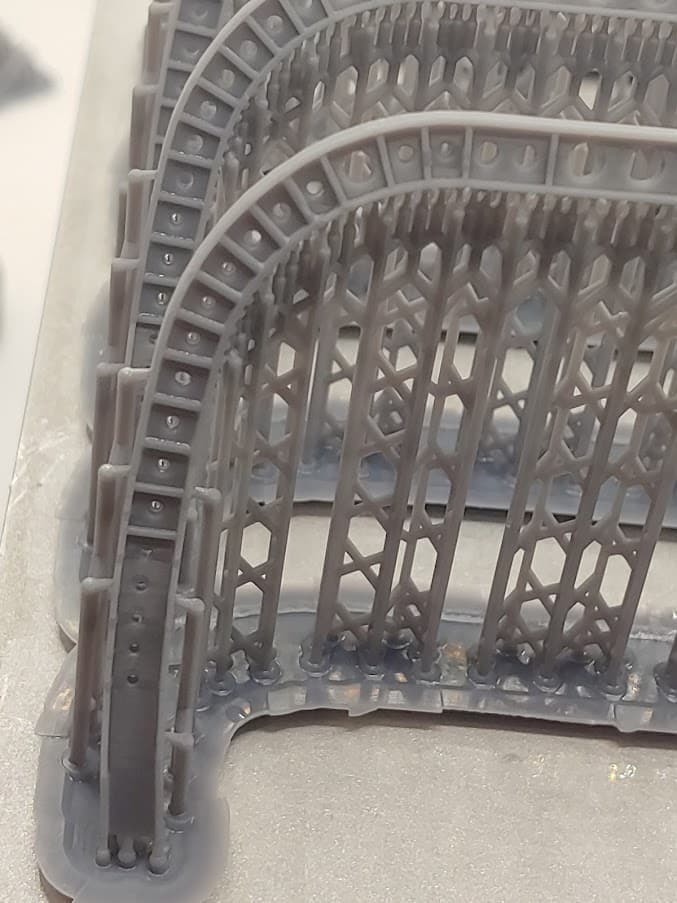
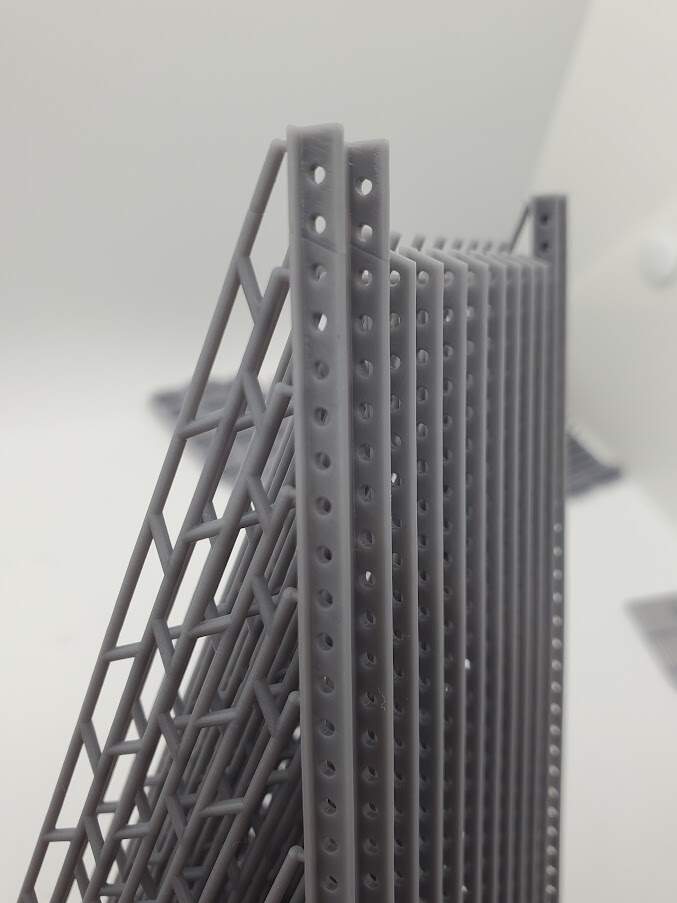
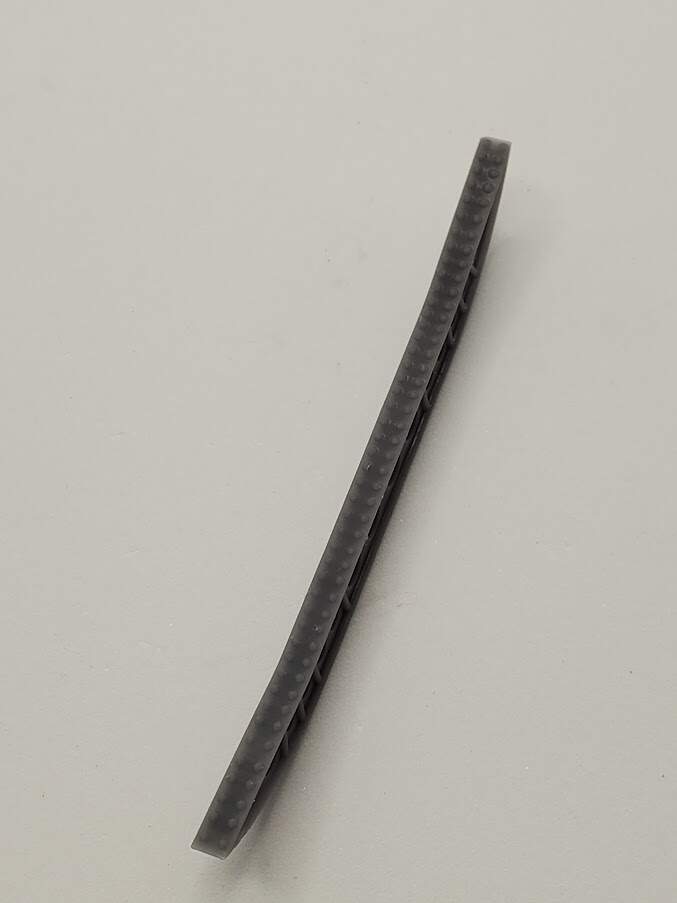
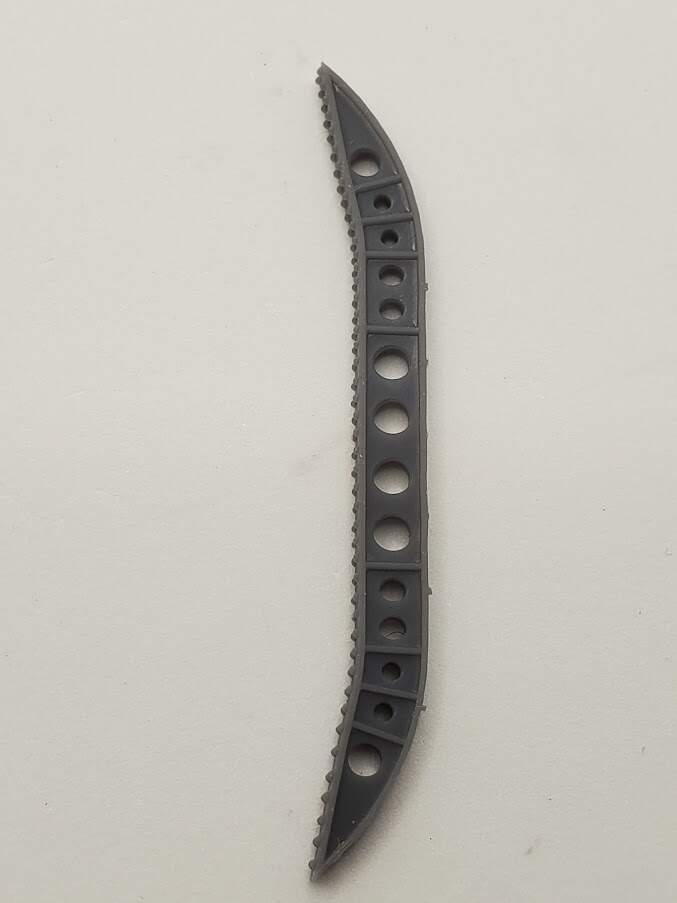
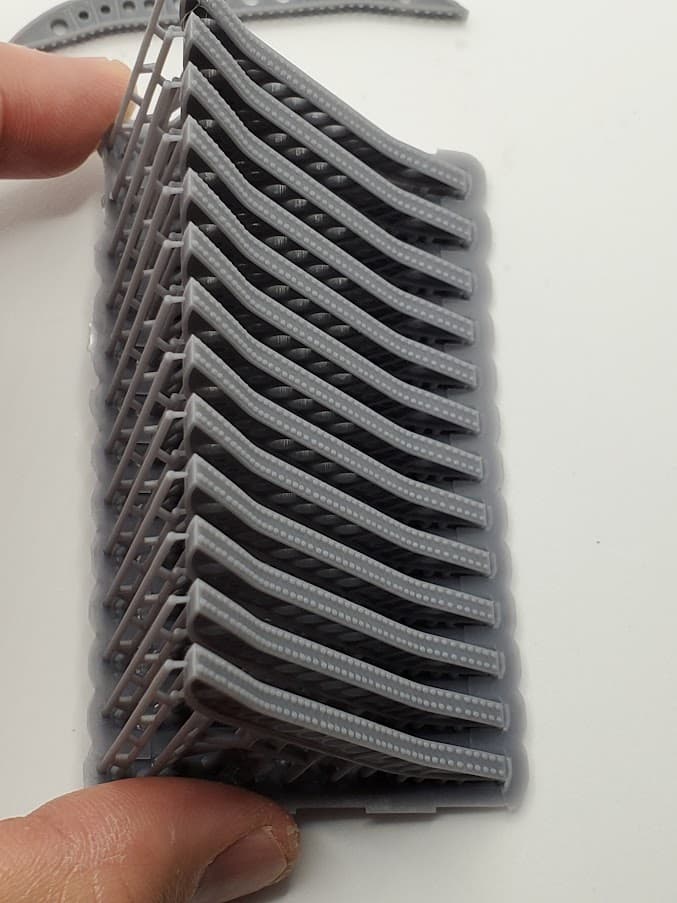
Started 3D printing Chinook kit’s (1/35 Trumpeter) bulkhead frame ribs. Taking a while due to the size and quantity (each printing session being 3-7 hours).

More to come.
2 Likes
Chinook’s long beam frames printed - took 7.5 hours to print these. I should have separated them into shorter pieces:
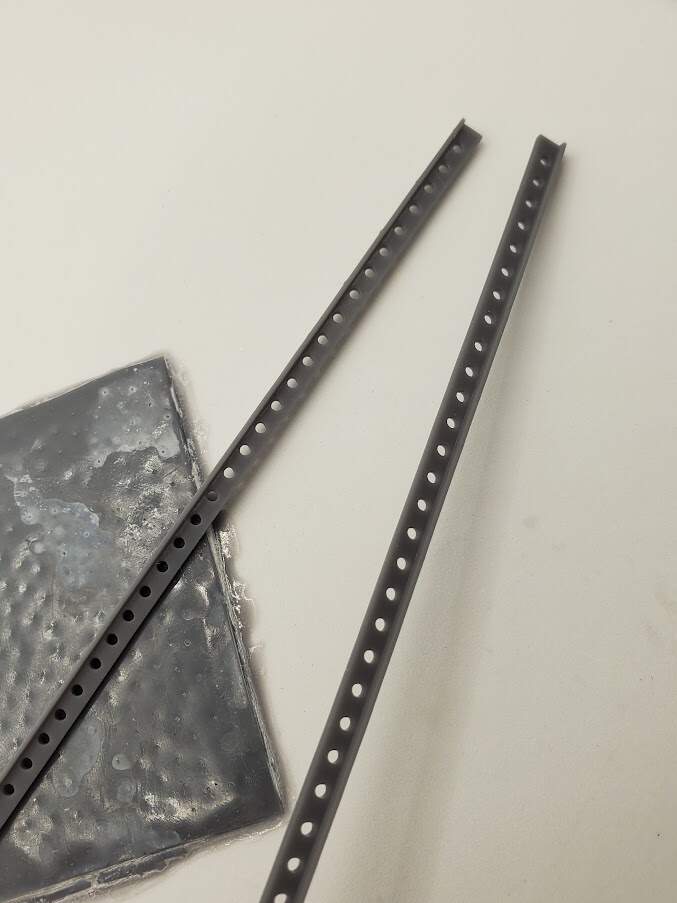
Look like Lego pieces.


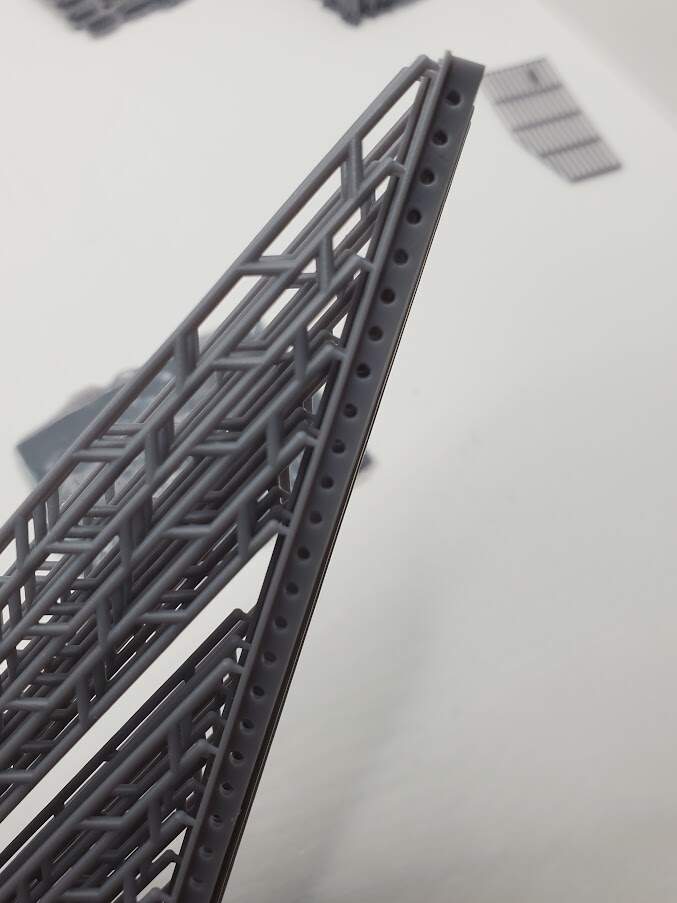
Short top frame ribs next for @a10phan.
3 Likes
Brother James, these look awesome!!
I do hope you will not mind me asking a question, are these internal ribs being designed from the measurements off a Trump 1/35 CH-47A/D kit or 1:1 helicopter?
If the measurements are coming from the kit then have you tested them to see how they fit?
Few years back, I remember reading WIP article on ARC where it showed Cobra Company set left gabs on both vertical side bars on each rib. To solve this problem, the builder decided to cut each part into 2 sections (top center) in order to install them to the sides of the cabs and eliminate as much gaps issues as possible, but then the new issue became obvious…how to fill gaps in the center joints. Please, your input here is much appreciated. Thanks.
Hello brother Mike,
So they’re kind of designed based on the kit’s measurements and some guesswork based on the helicopter’s reference photos. I do not have the kit at hand (not really planning to add it to my stash either) so the requester sent me the following photos to guestimate.
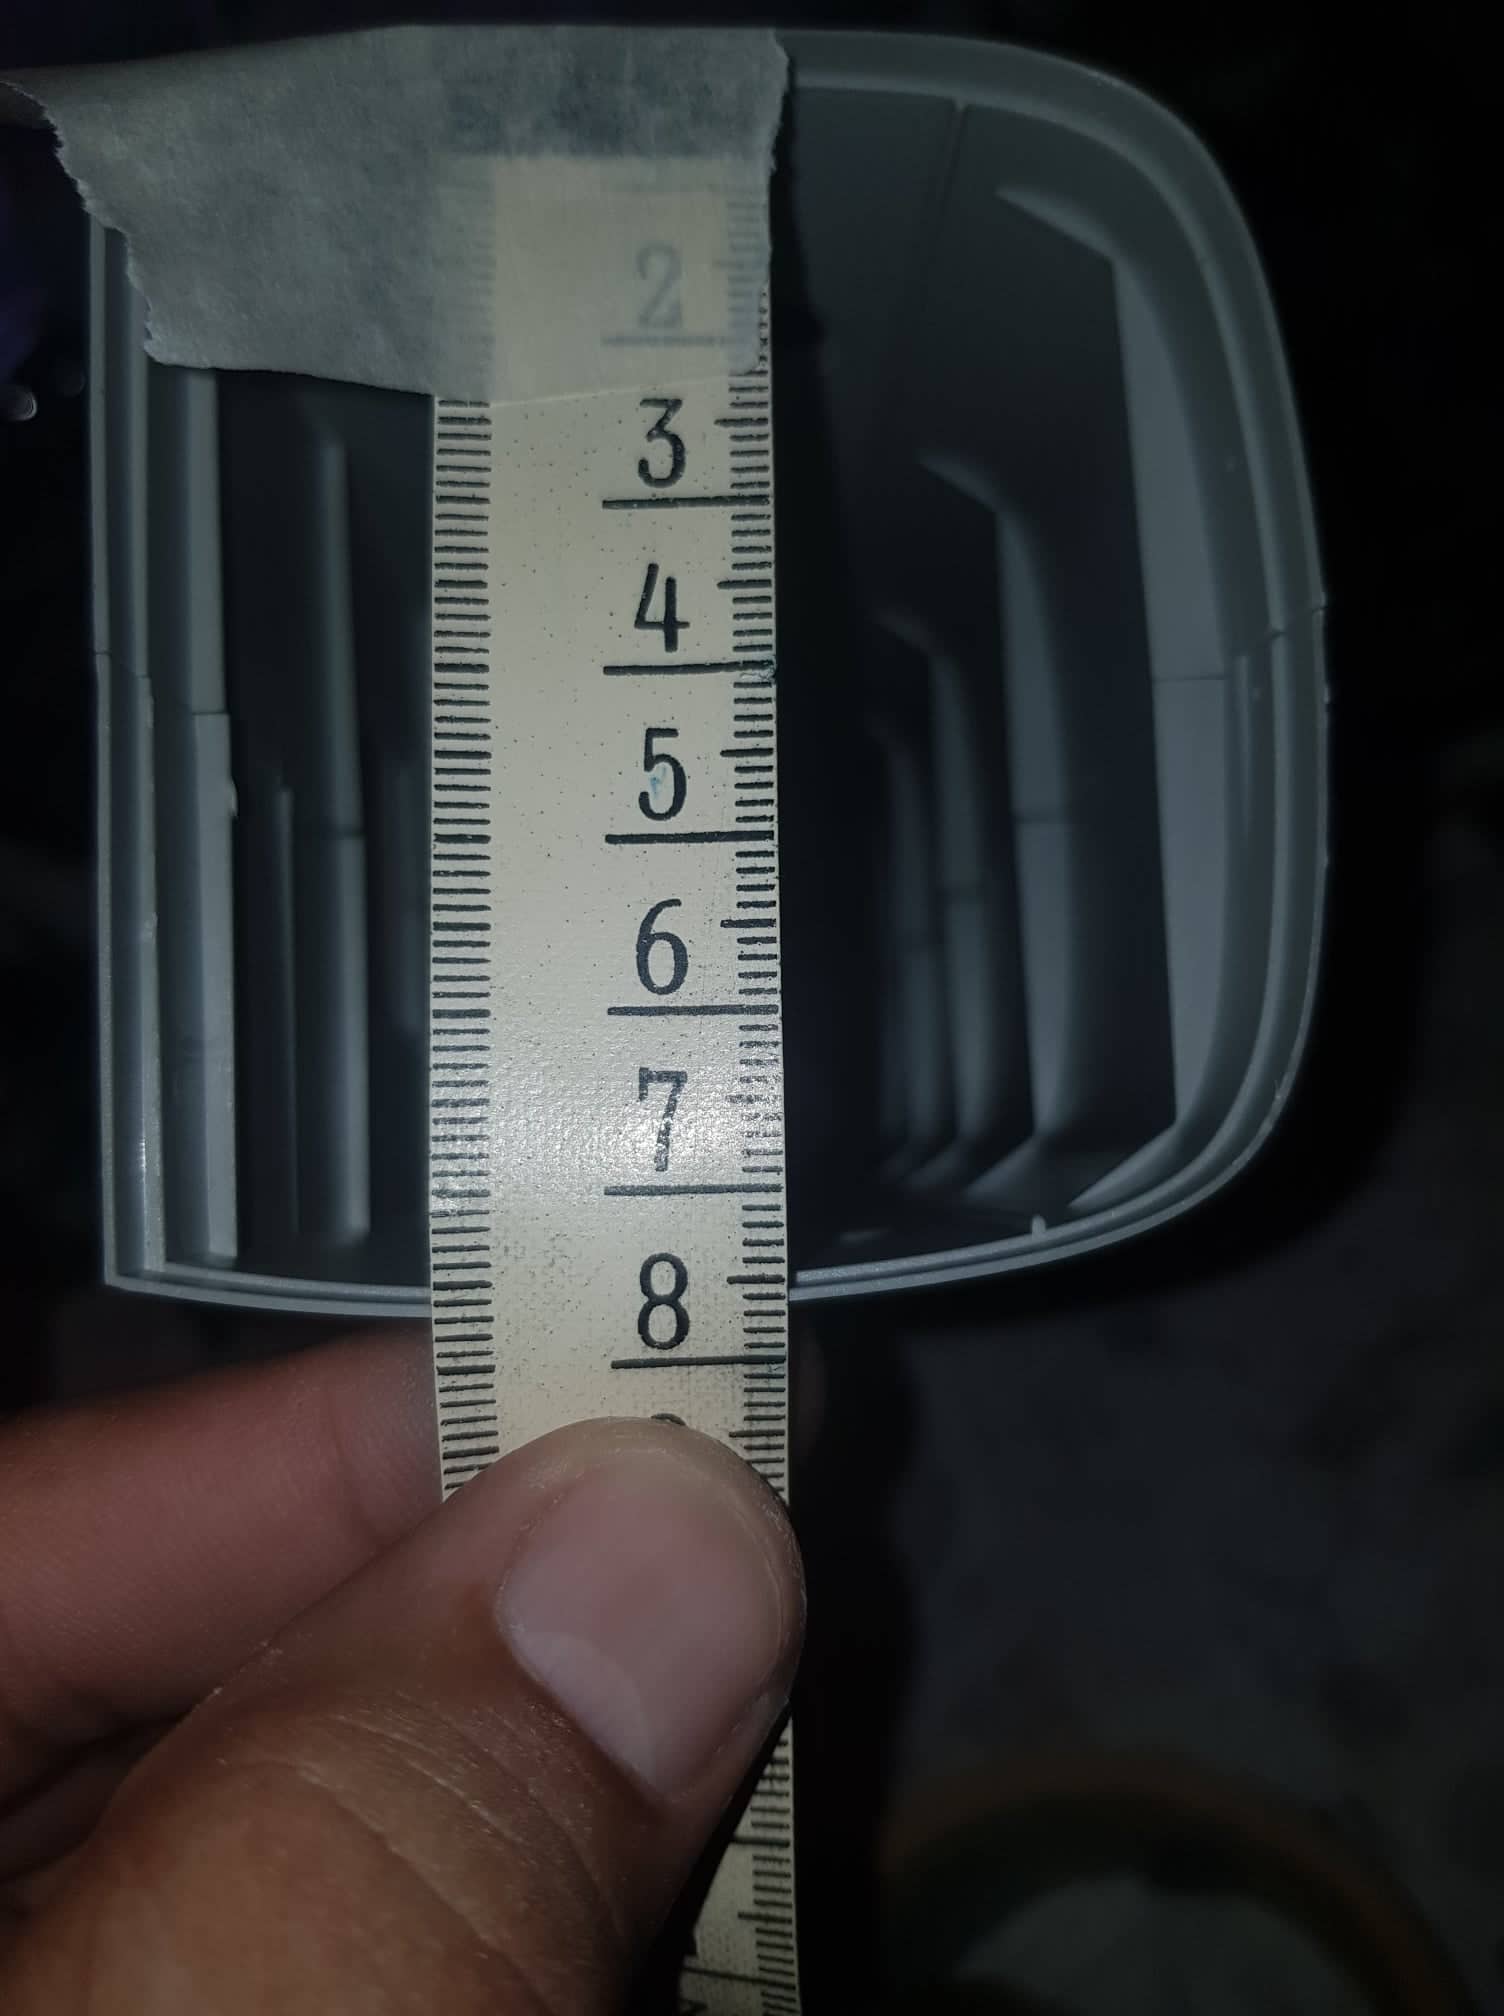
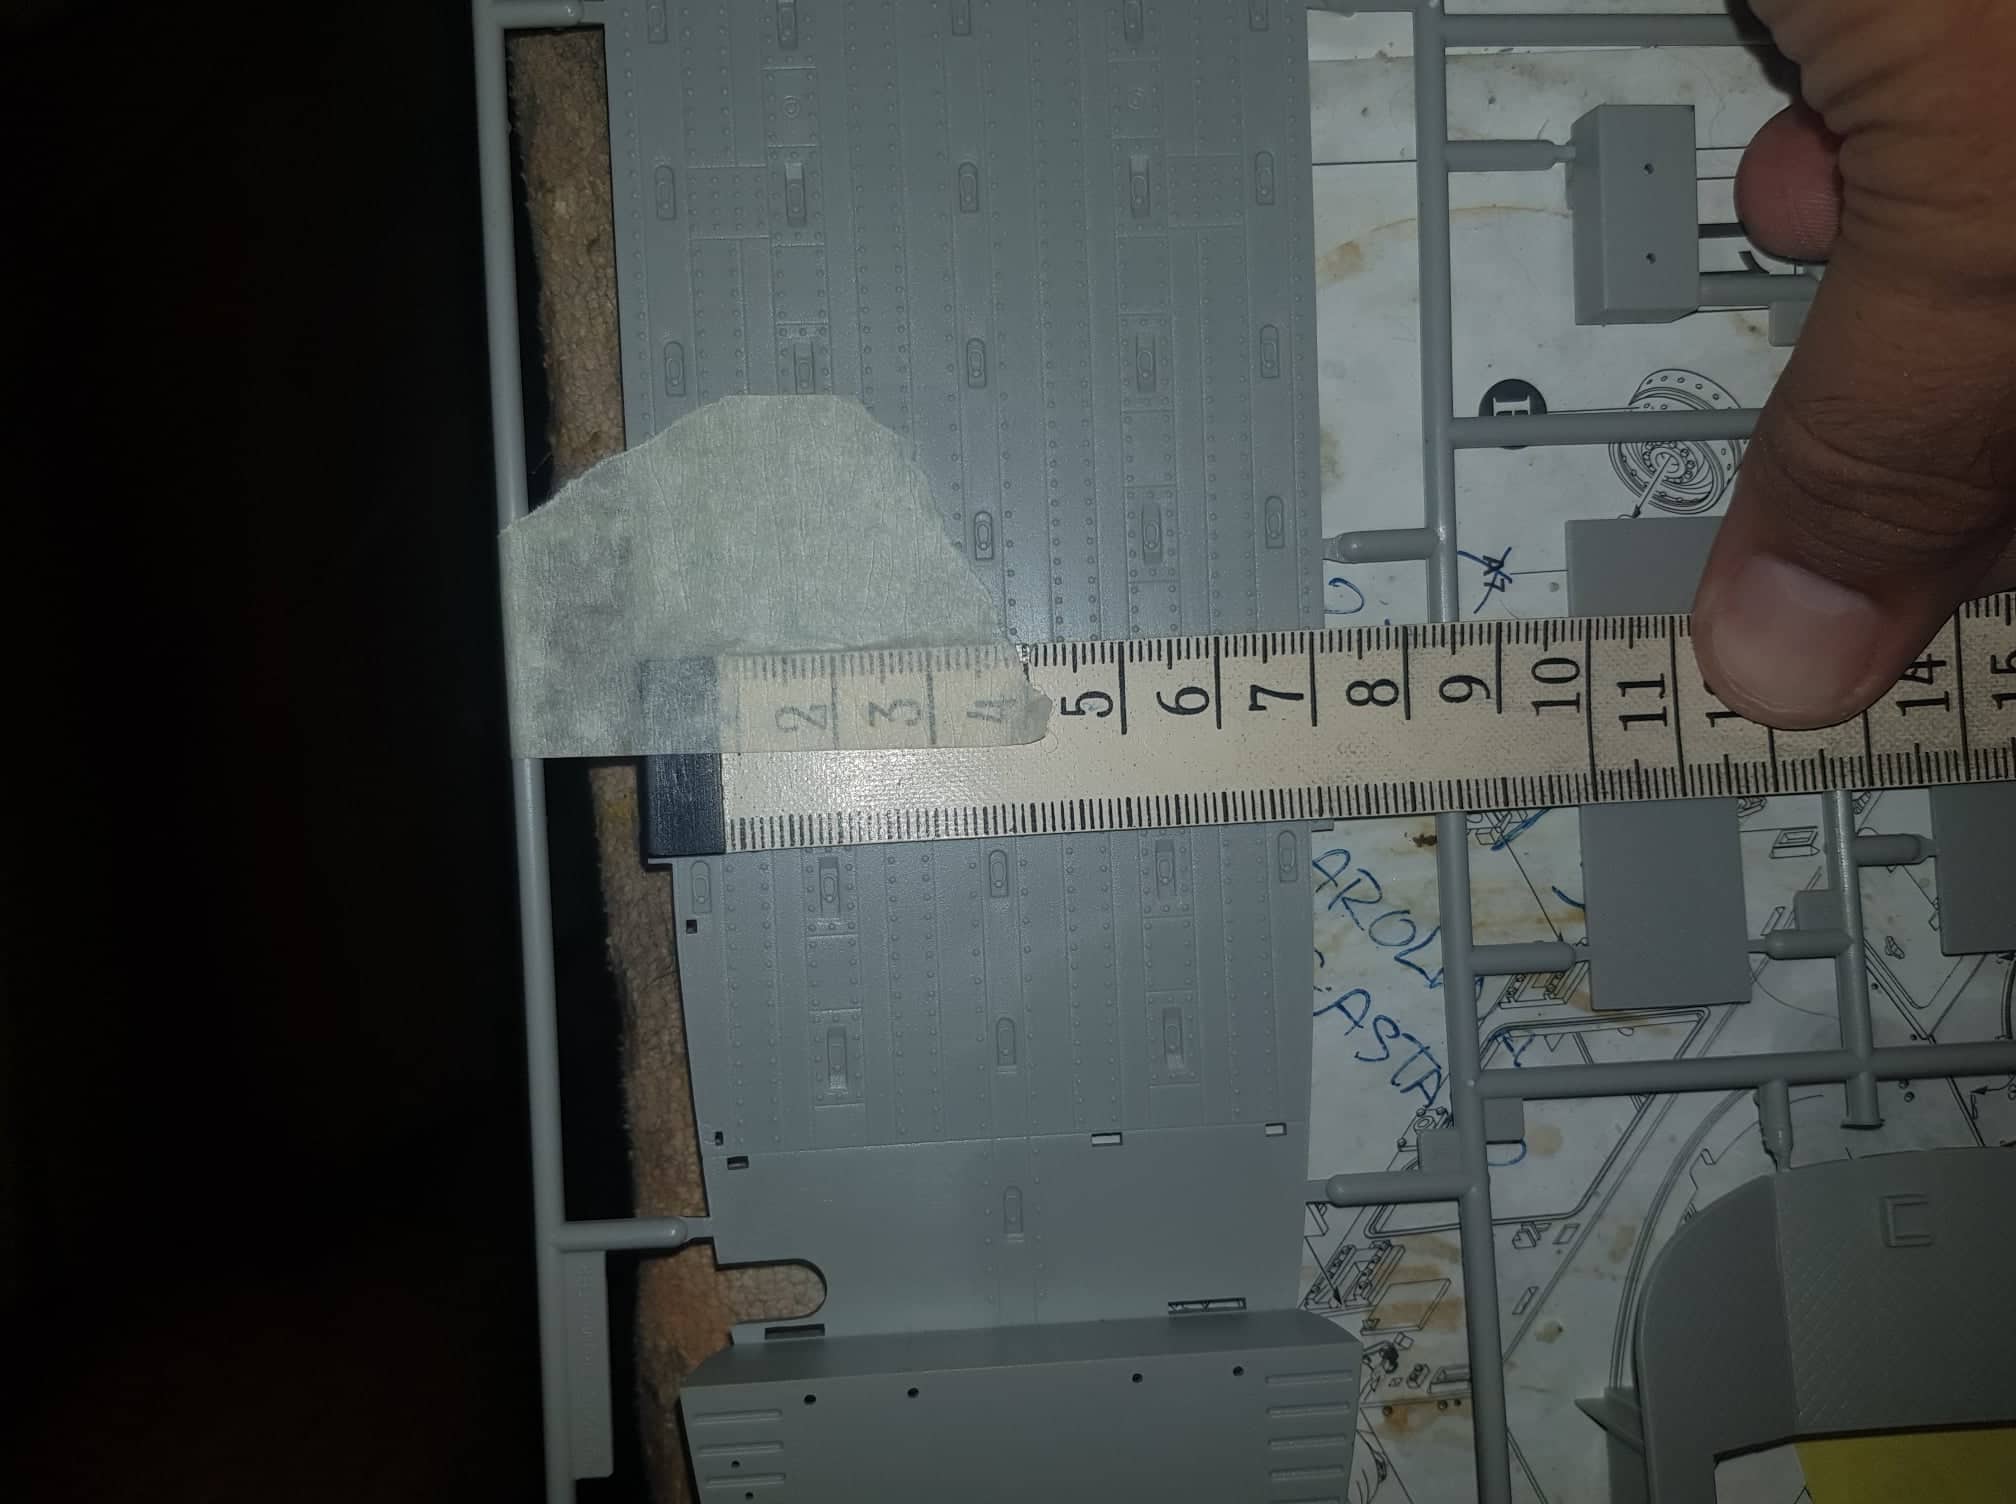
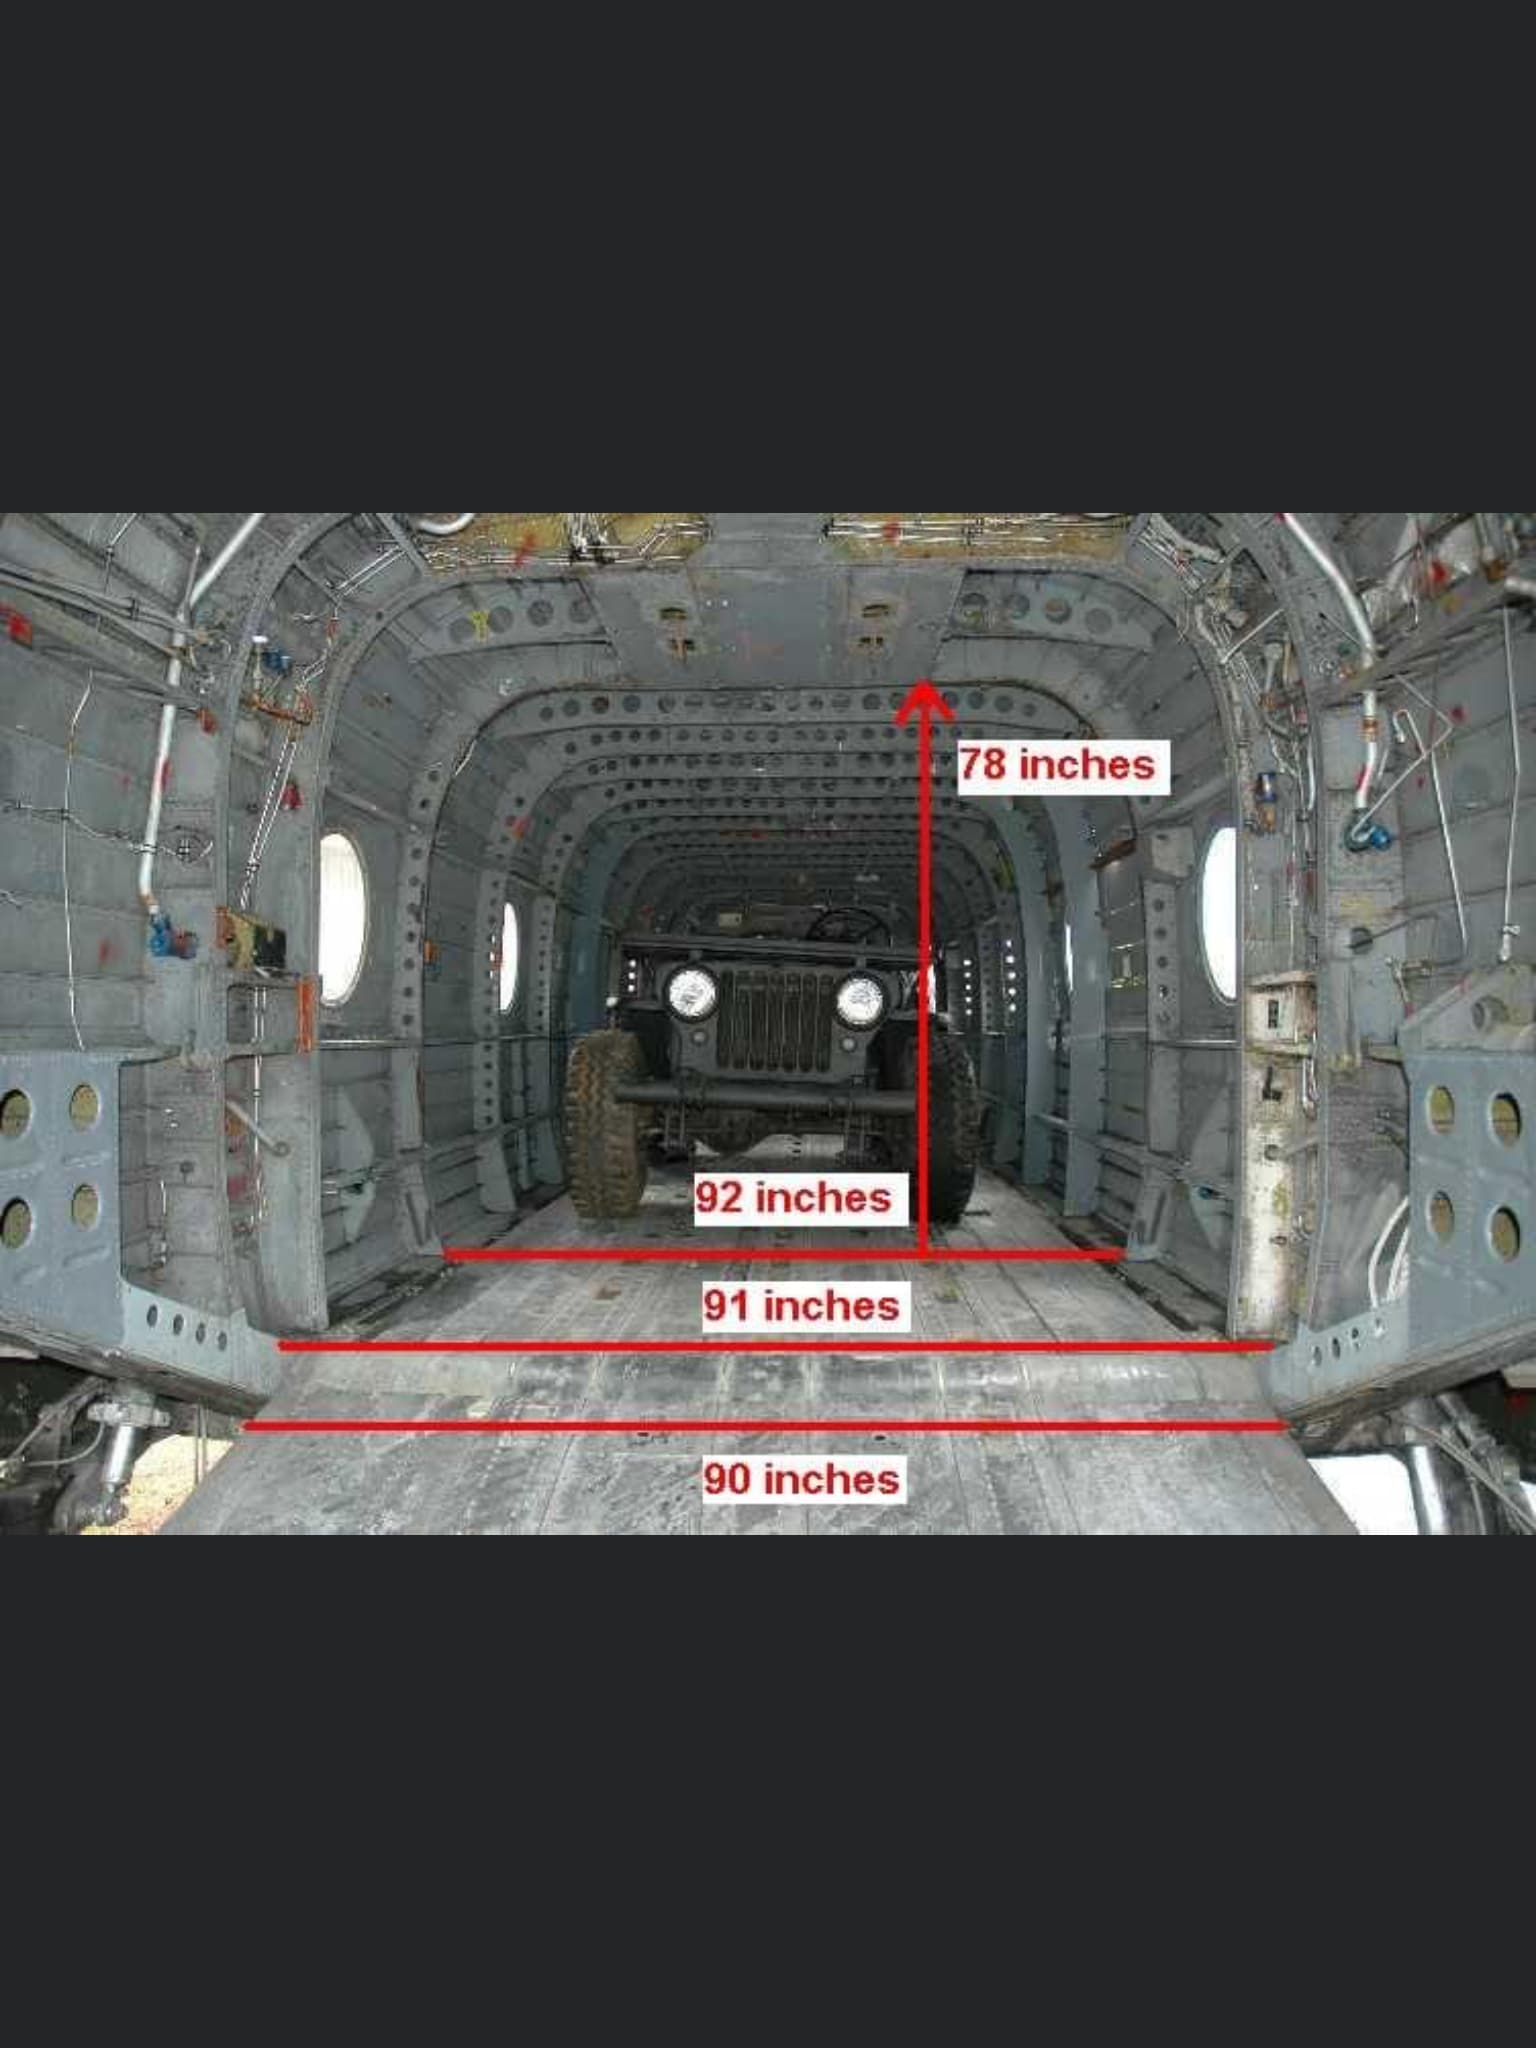
I don’t expect them to be an exact fit, so some TLC will definitely be required. I tried my best to match the measurements. I hope this helps.
Kind regards,
James
3 Likes
Brother James, at the end of the day most resin detail sets for any kit will require some TLC to make things fit. I have only encountered hand full of resin sets that are drop in fit.
Just personal observation here, in this particular set everything will be visible. So, the builder skills will be put to test to achieve good outcome. If done right, the chinook interior will be heads turn.
1 Like
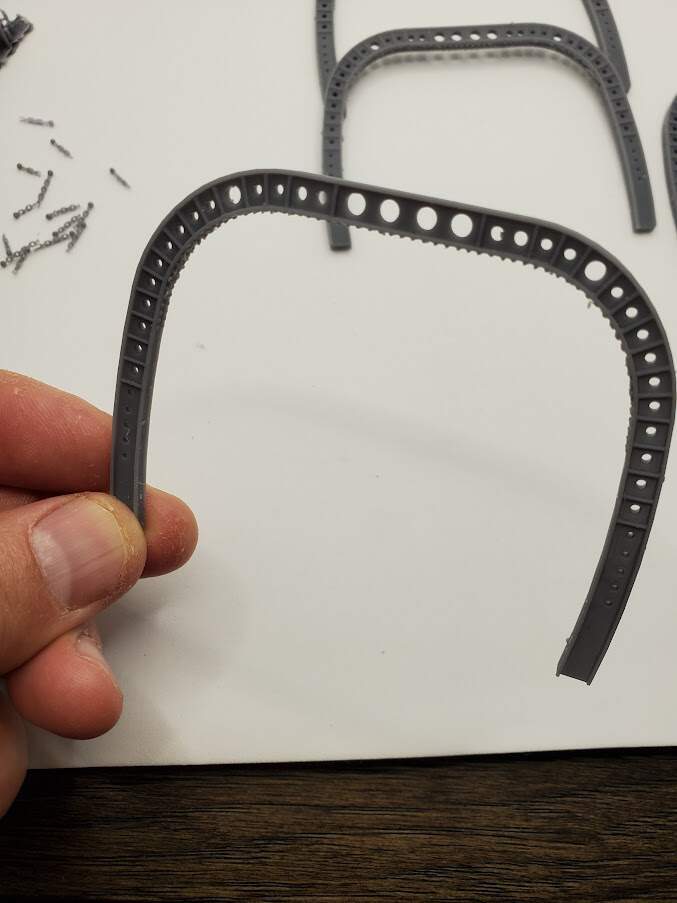
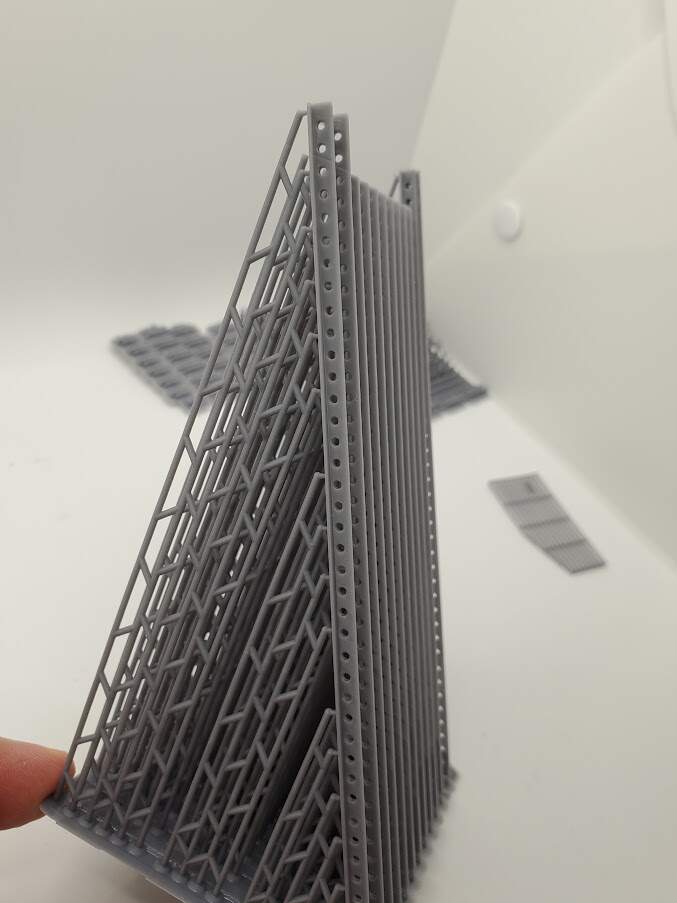
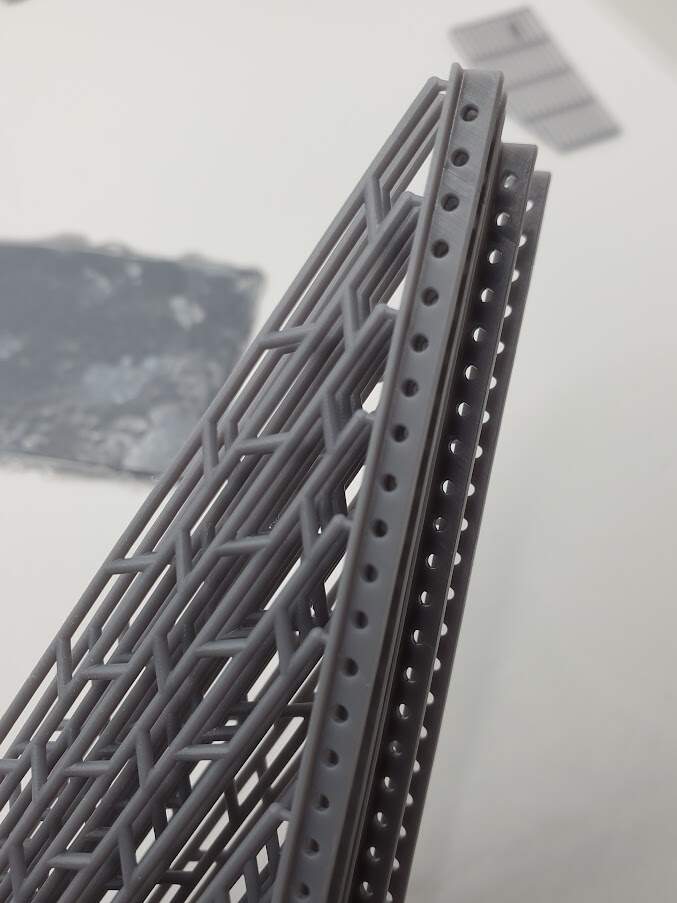
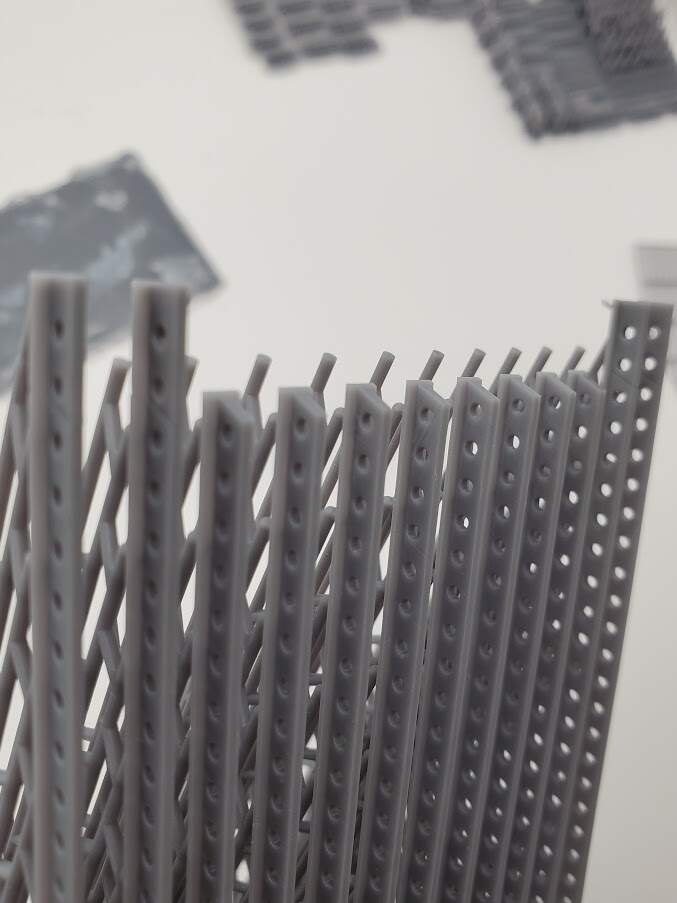
Top shorter frame ribs printed nicely:
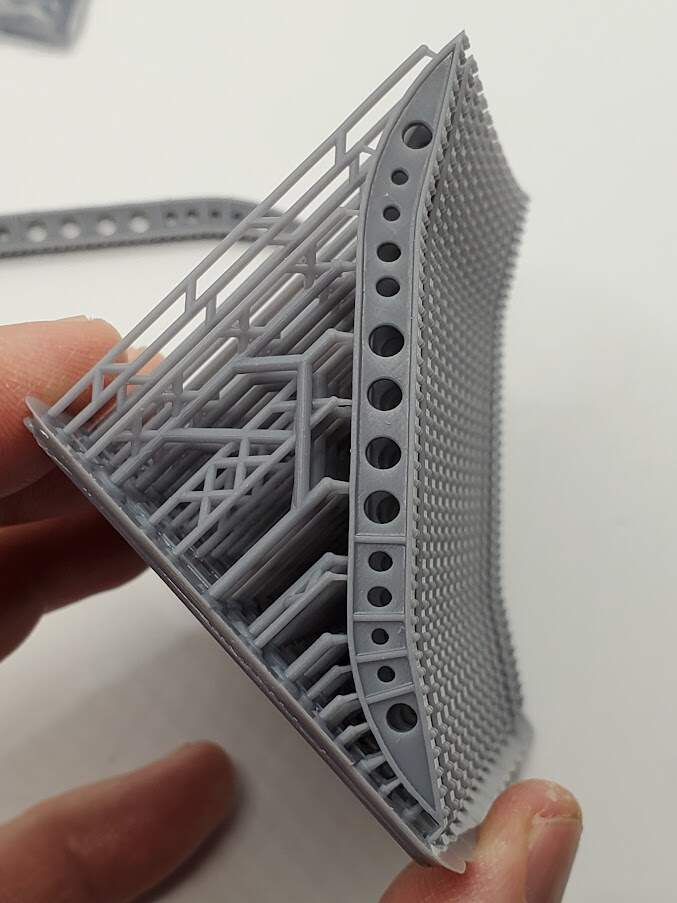
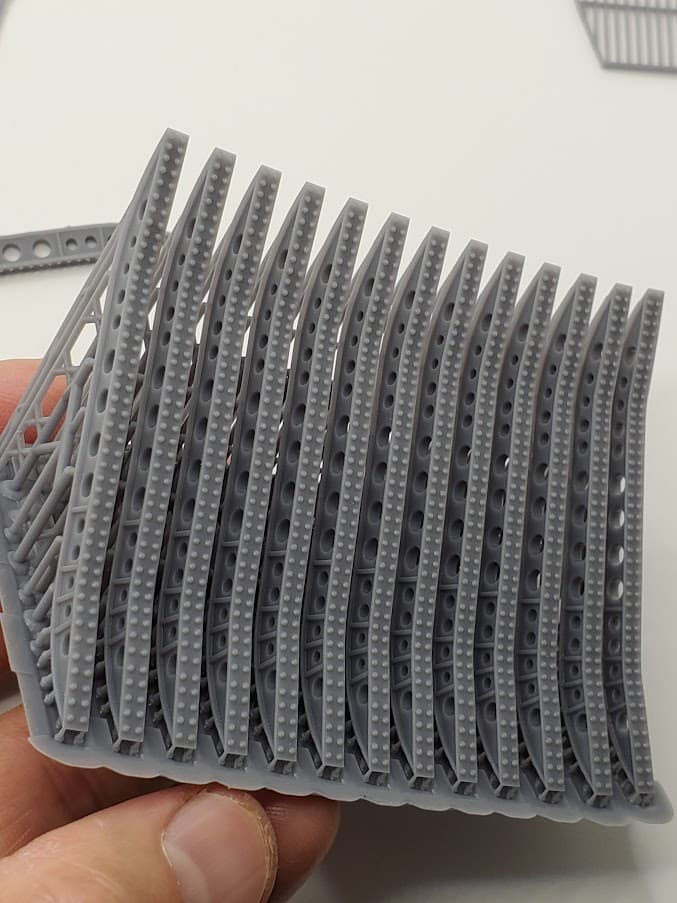
I plan to print the rest of rectangular frame ribs upside down orientation now. That would preserve the rivet detail better, and detaching the supports easier.
More to come.
3 Likes
Nice ribs. Makes me hungry to pull out Chinook. ![]()
1 Like
You know what, you should look into other helicopters as many can use such interior detail. I can think of 1/48 SH-3 that can use such detail in the cab. Might even have to say CH-53 in 1/48. Sea Hawk is a must for sure as there is nothing inside that kit.
Well… Too many possibilities but too little time. Currently, too many pending projects on my plate to go beyond the usual 1/35 and 1/16.
1 Like
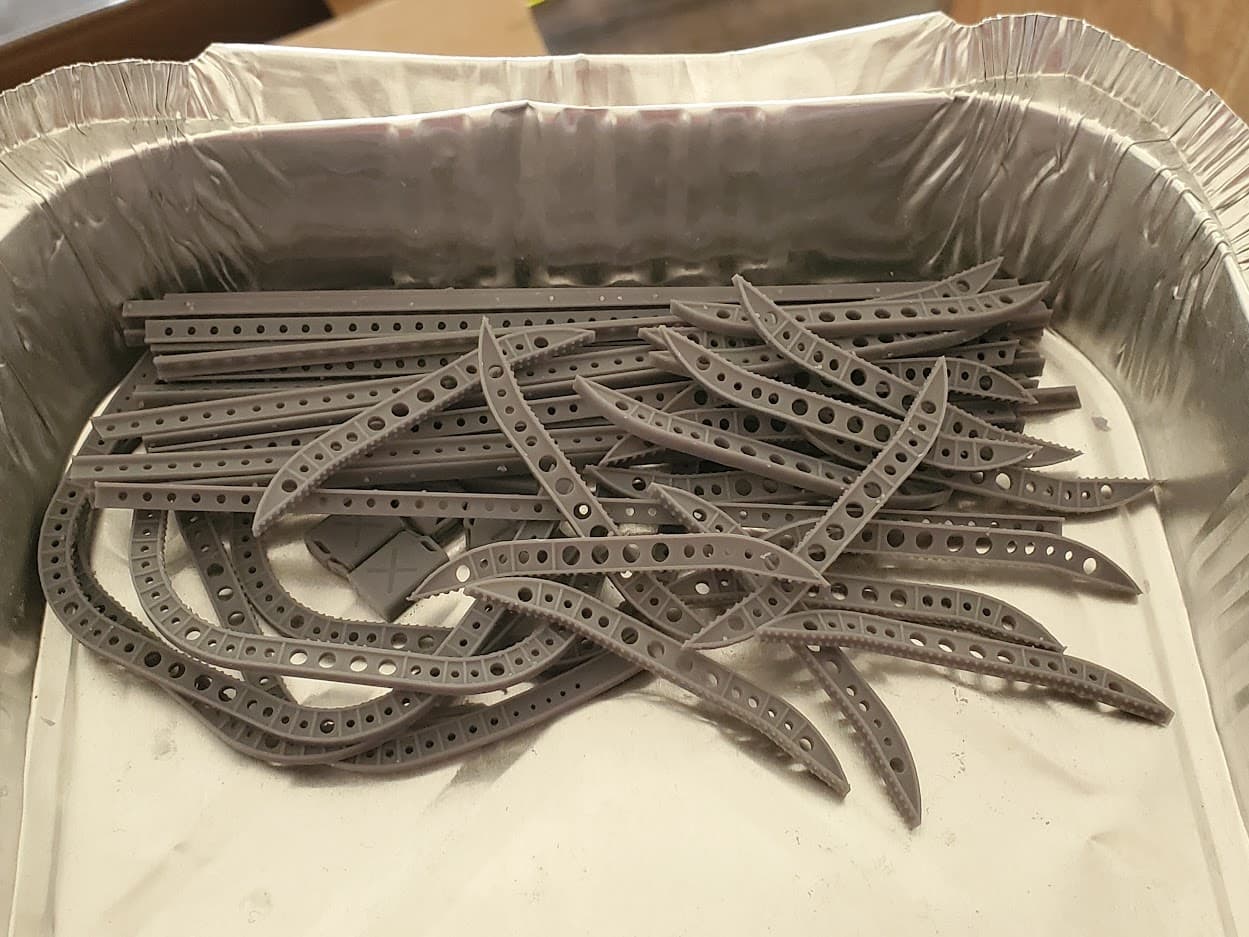
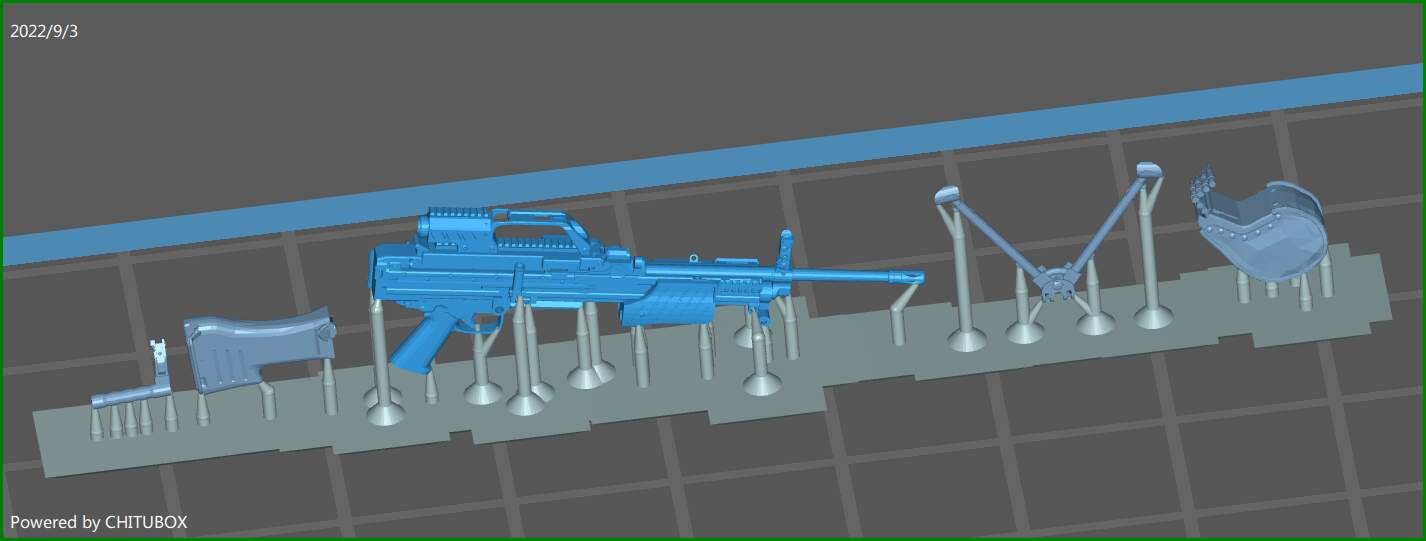
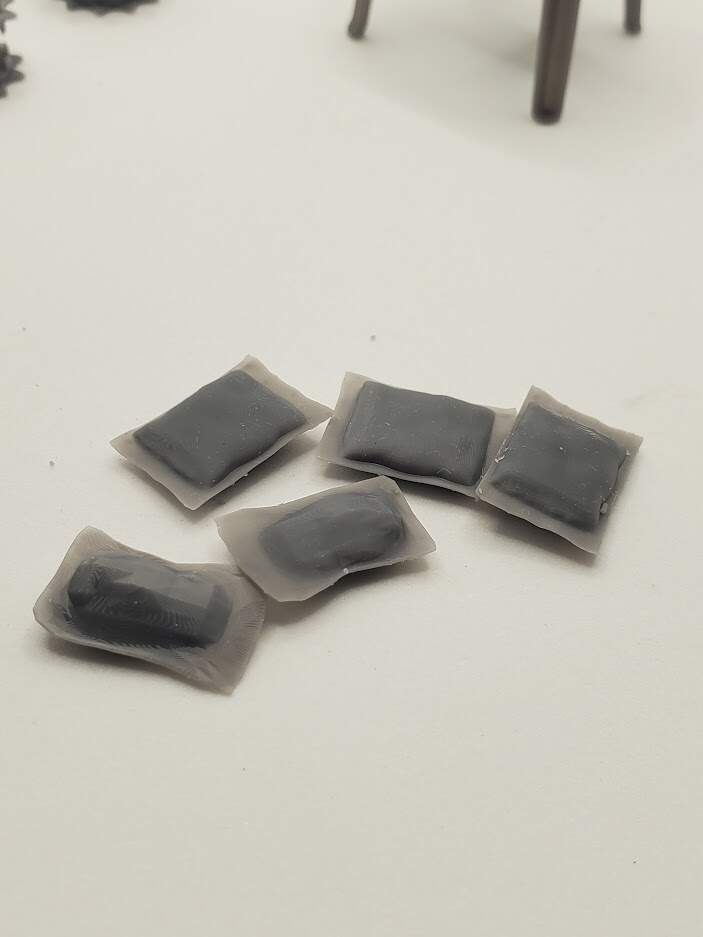
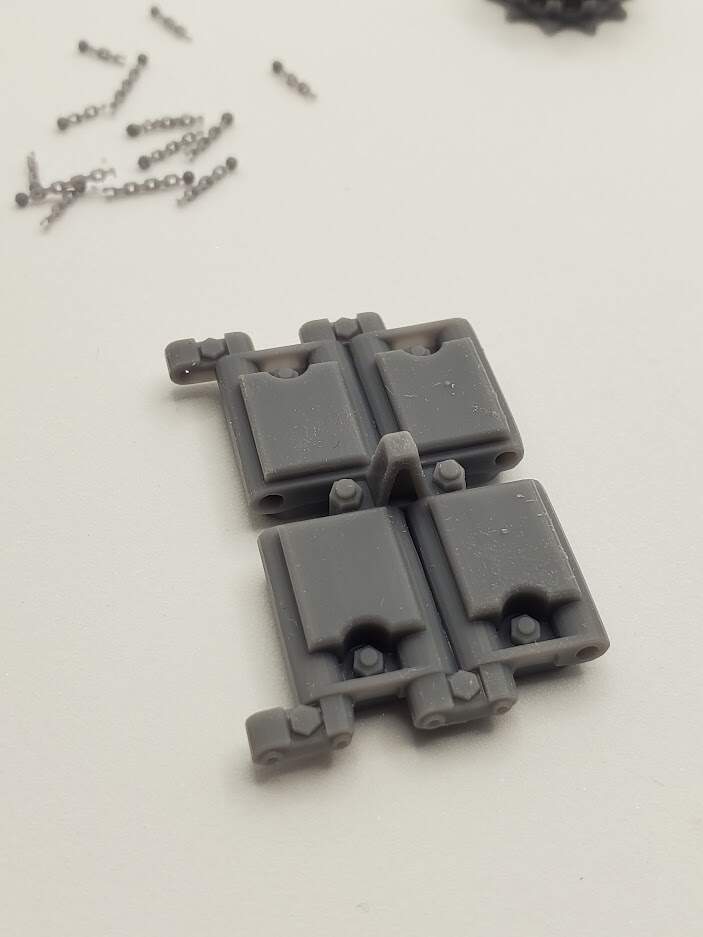
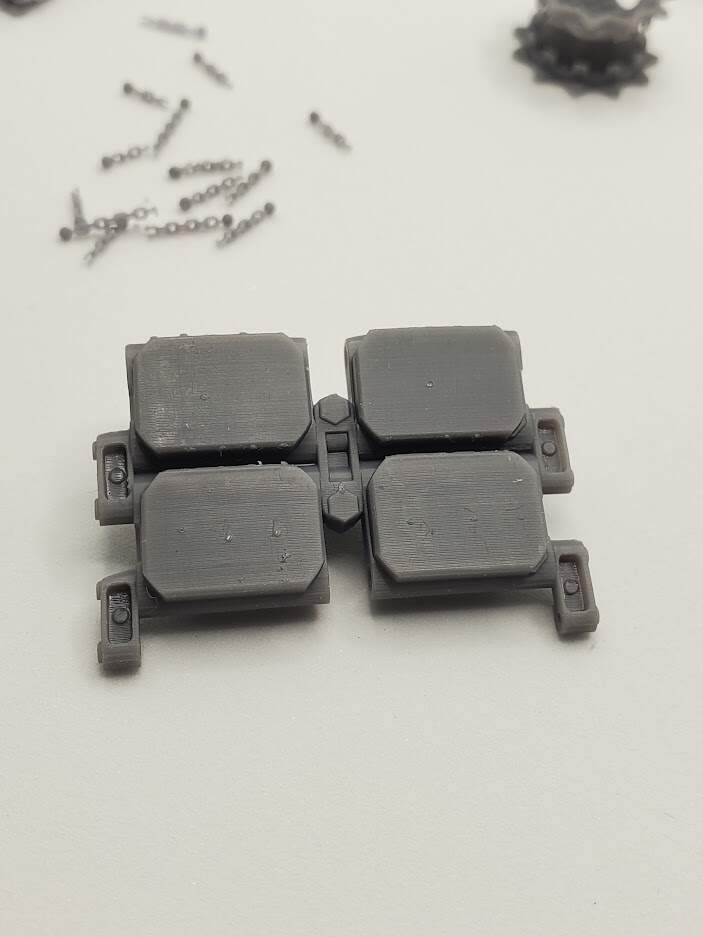
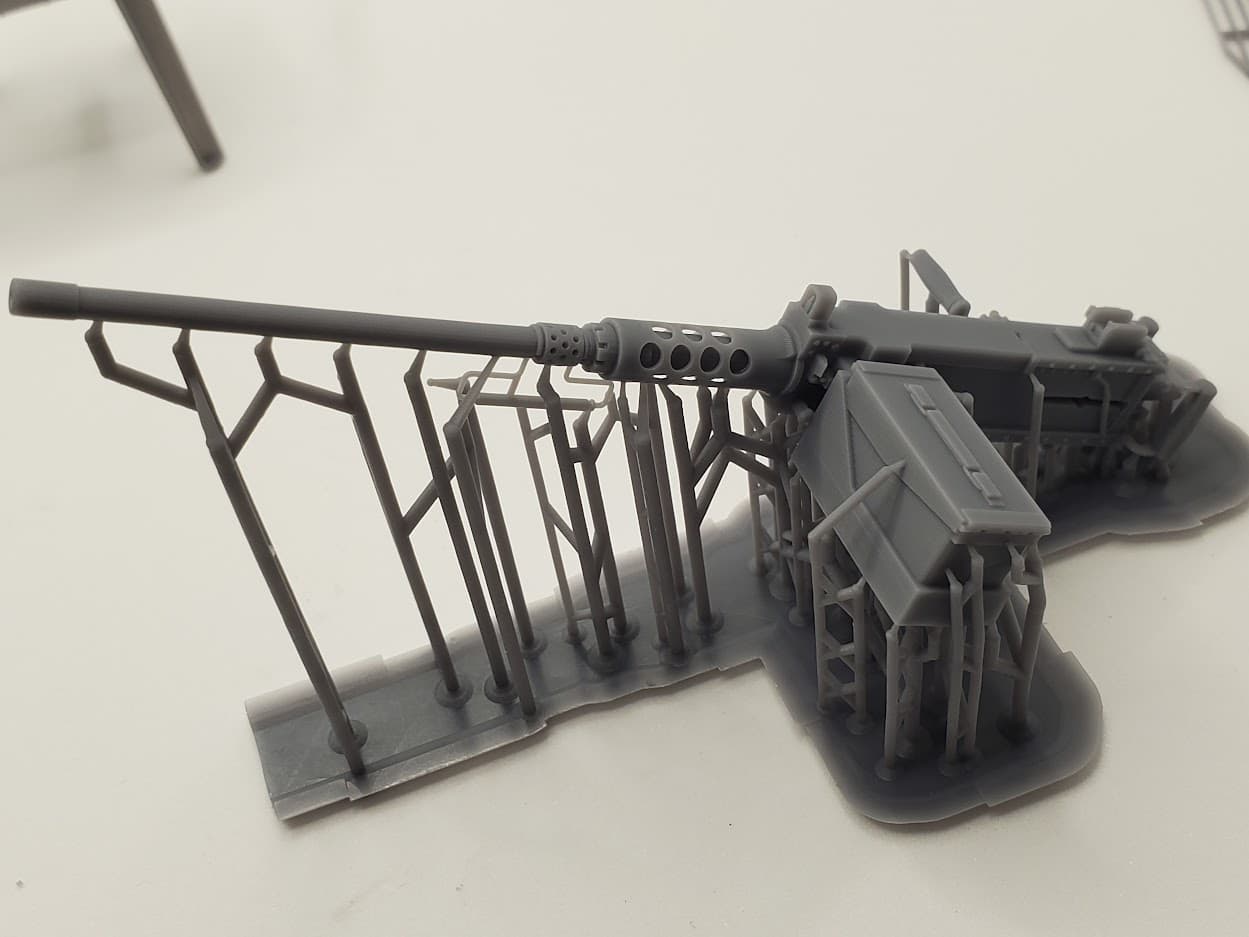
More stuff printed in 1/16 for @Sherb
MRE pouches
Abrams spare tracks
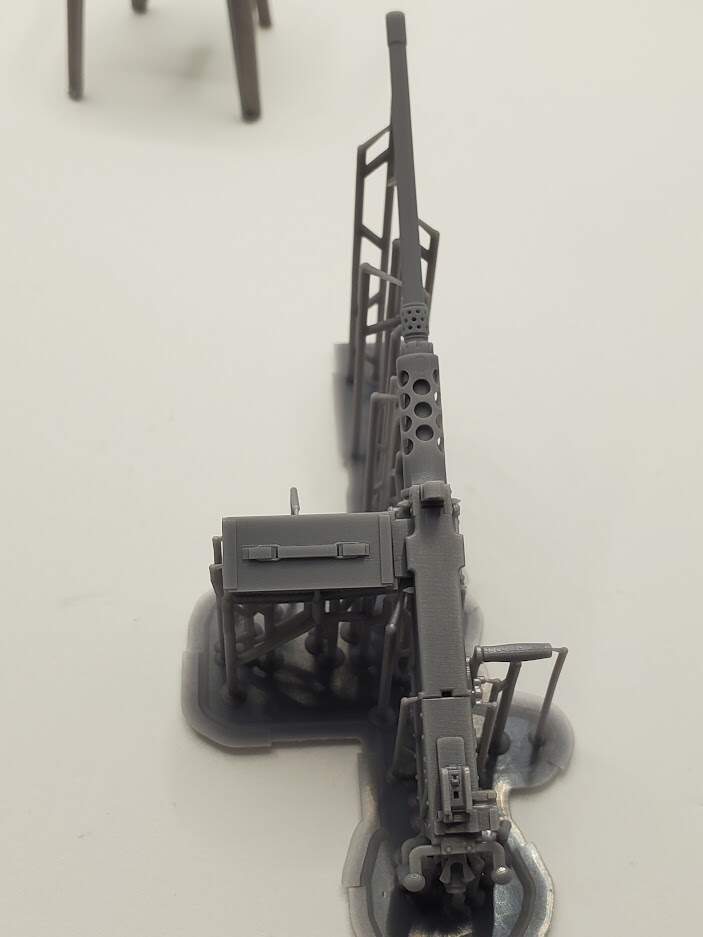
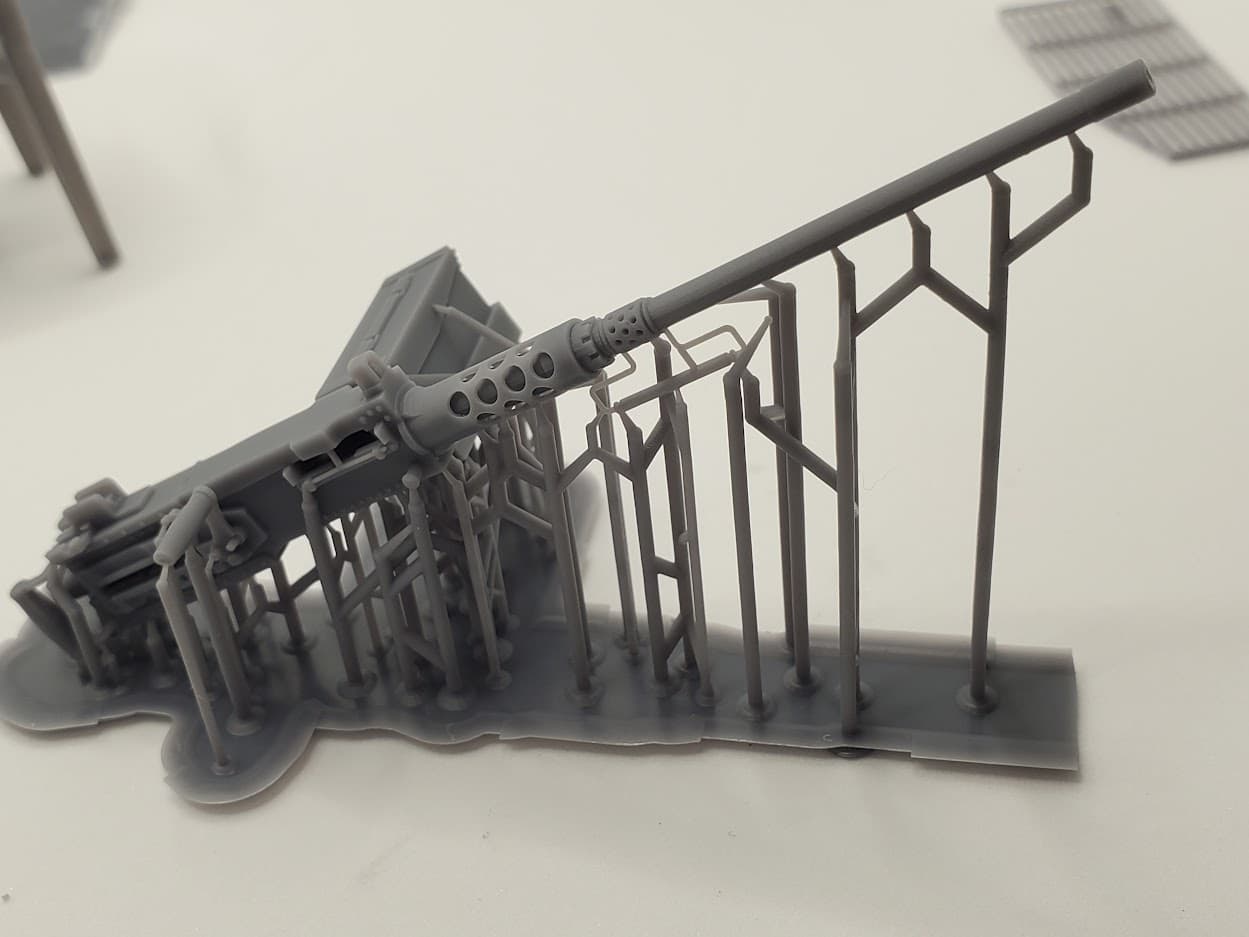
This one hasn’t been UV cured yet. M2 MG “Ma Deuce”
5 Likes
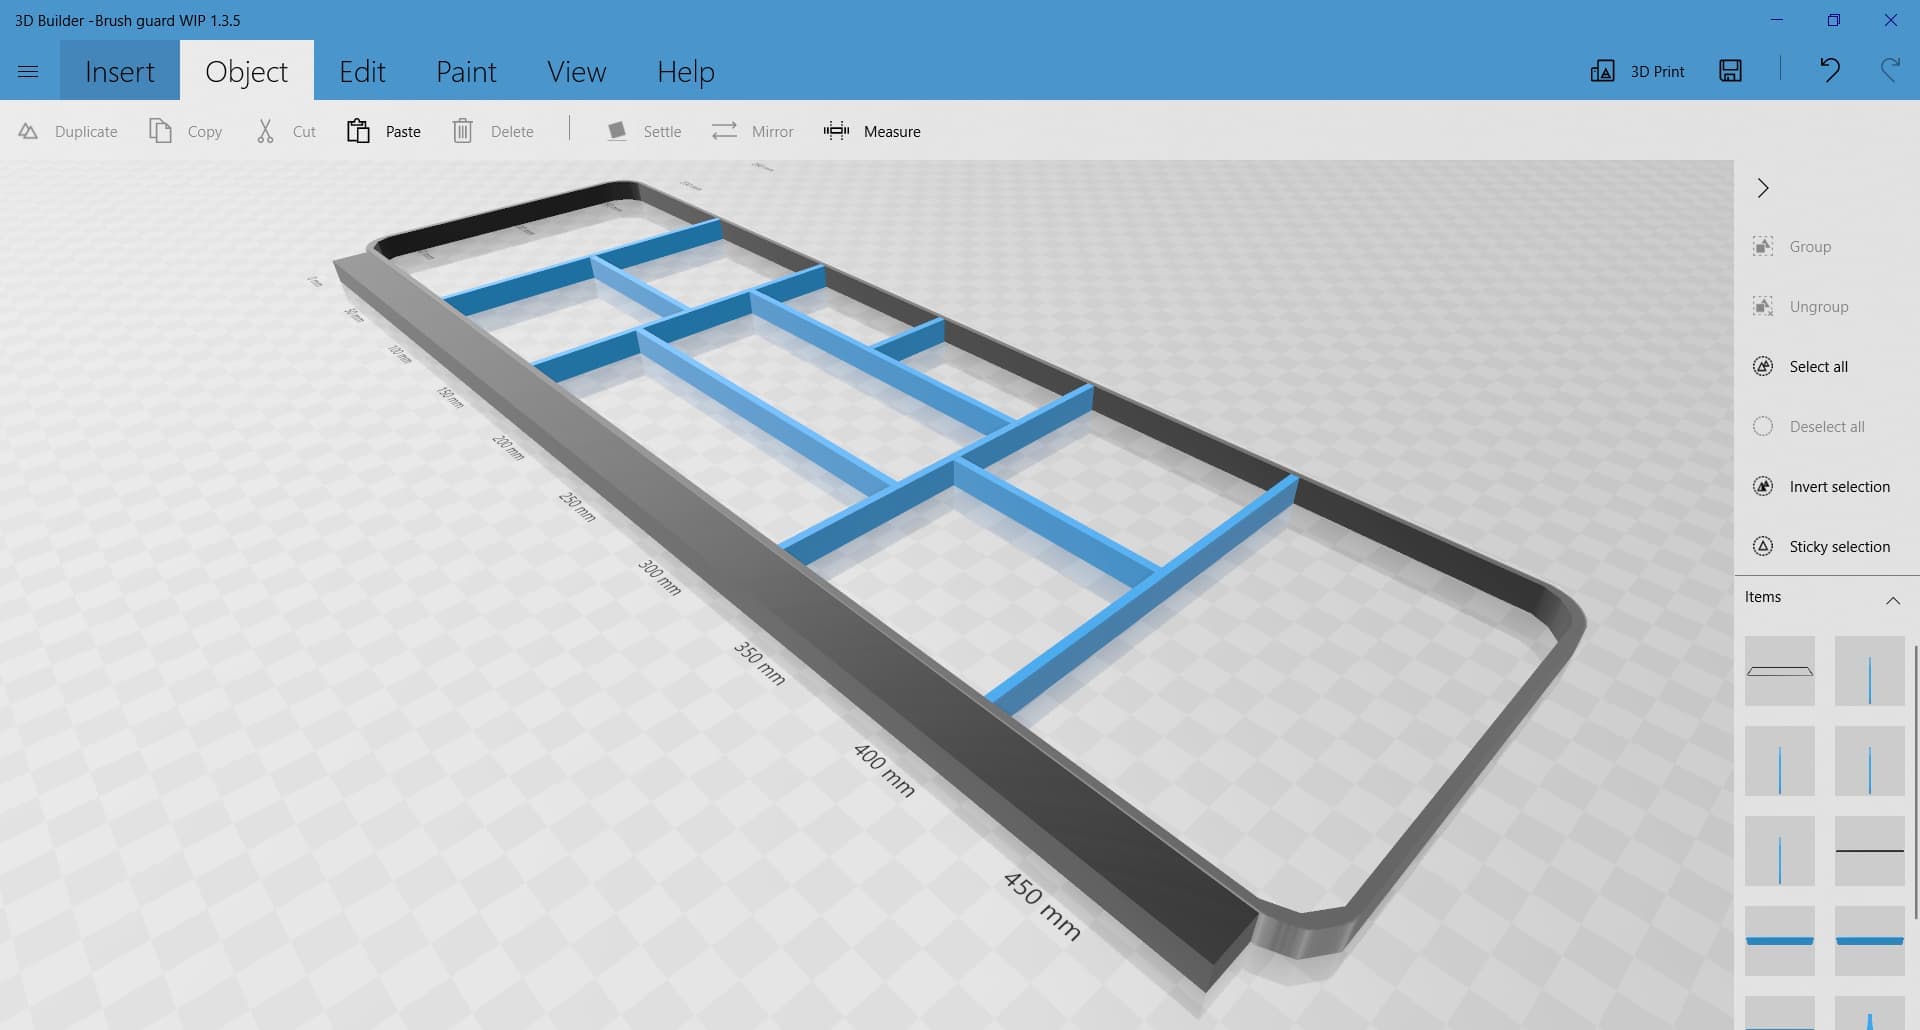
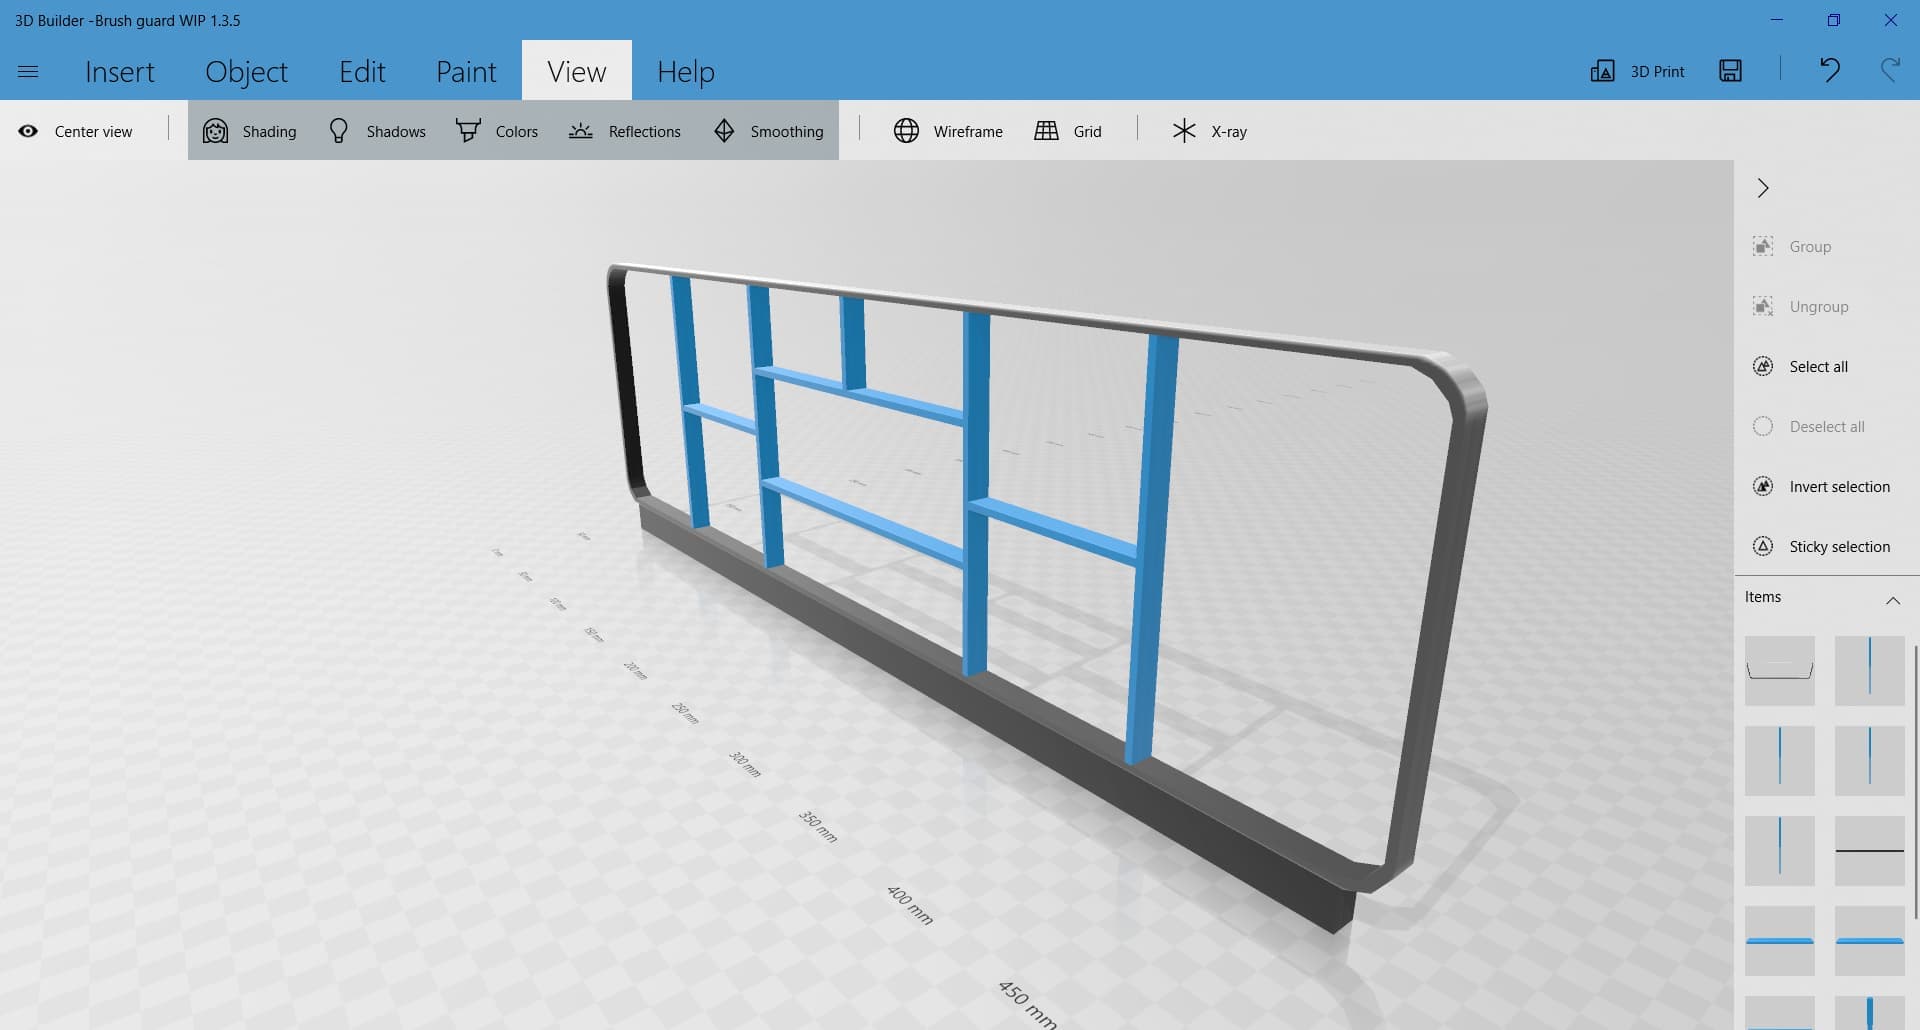
Some upcoming future prints:
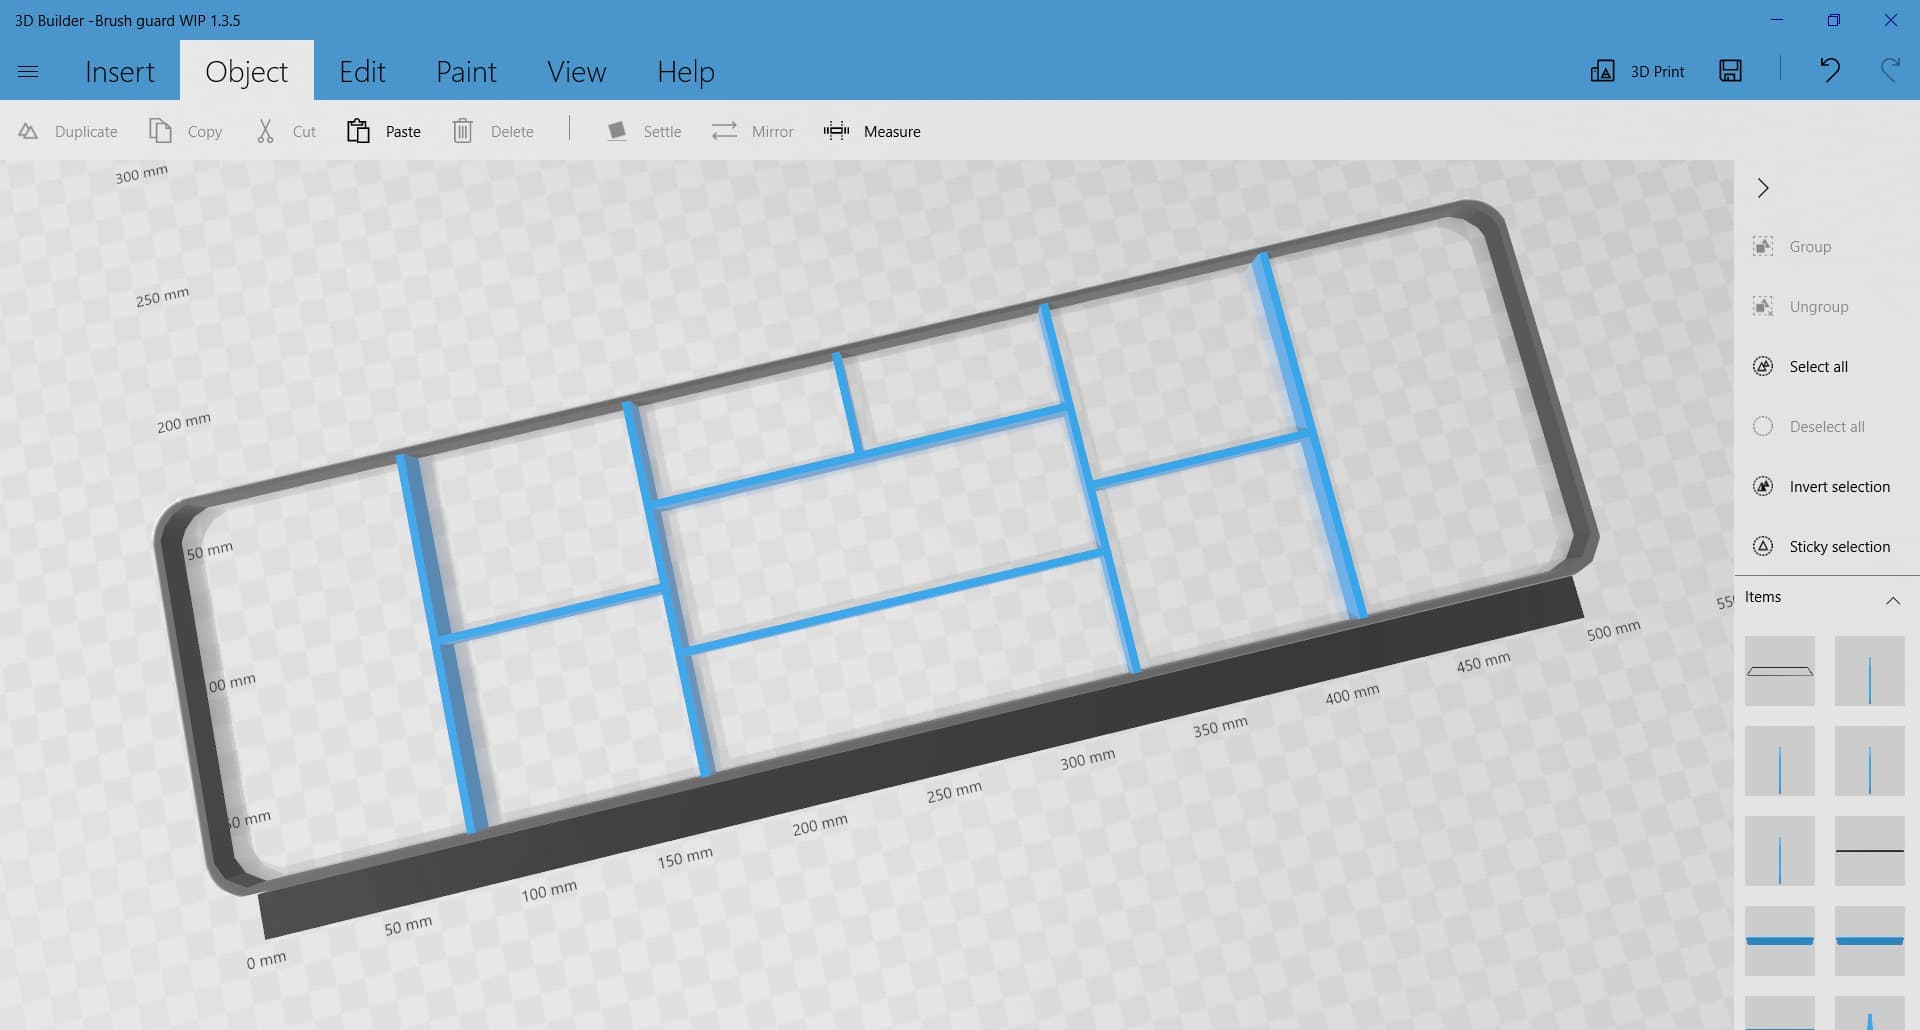
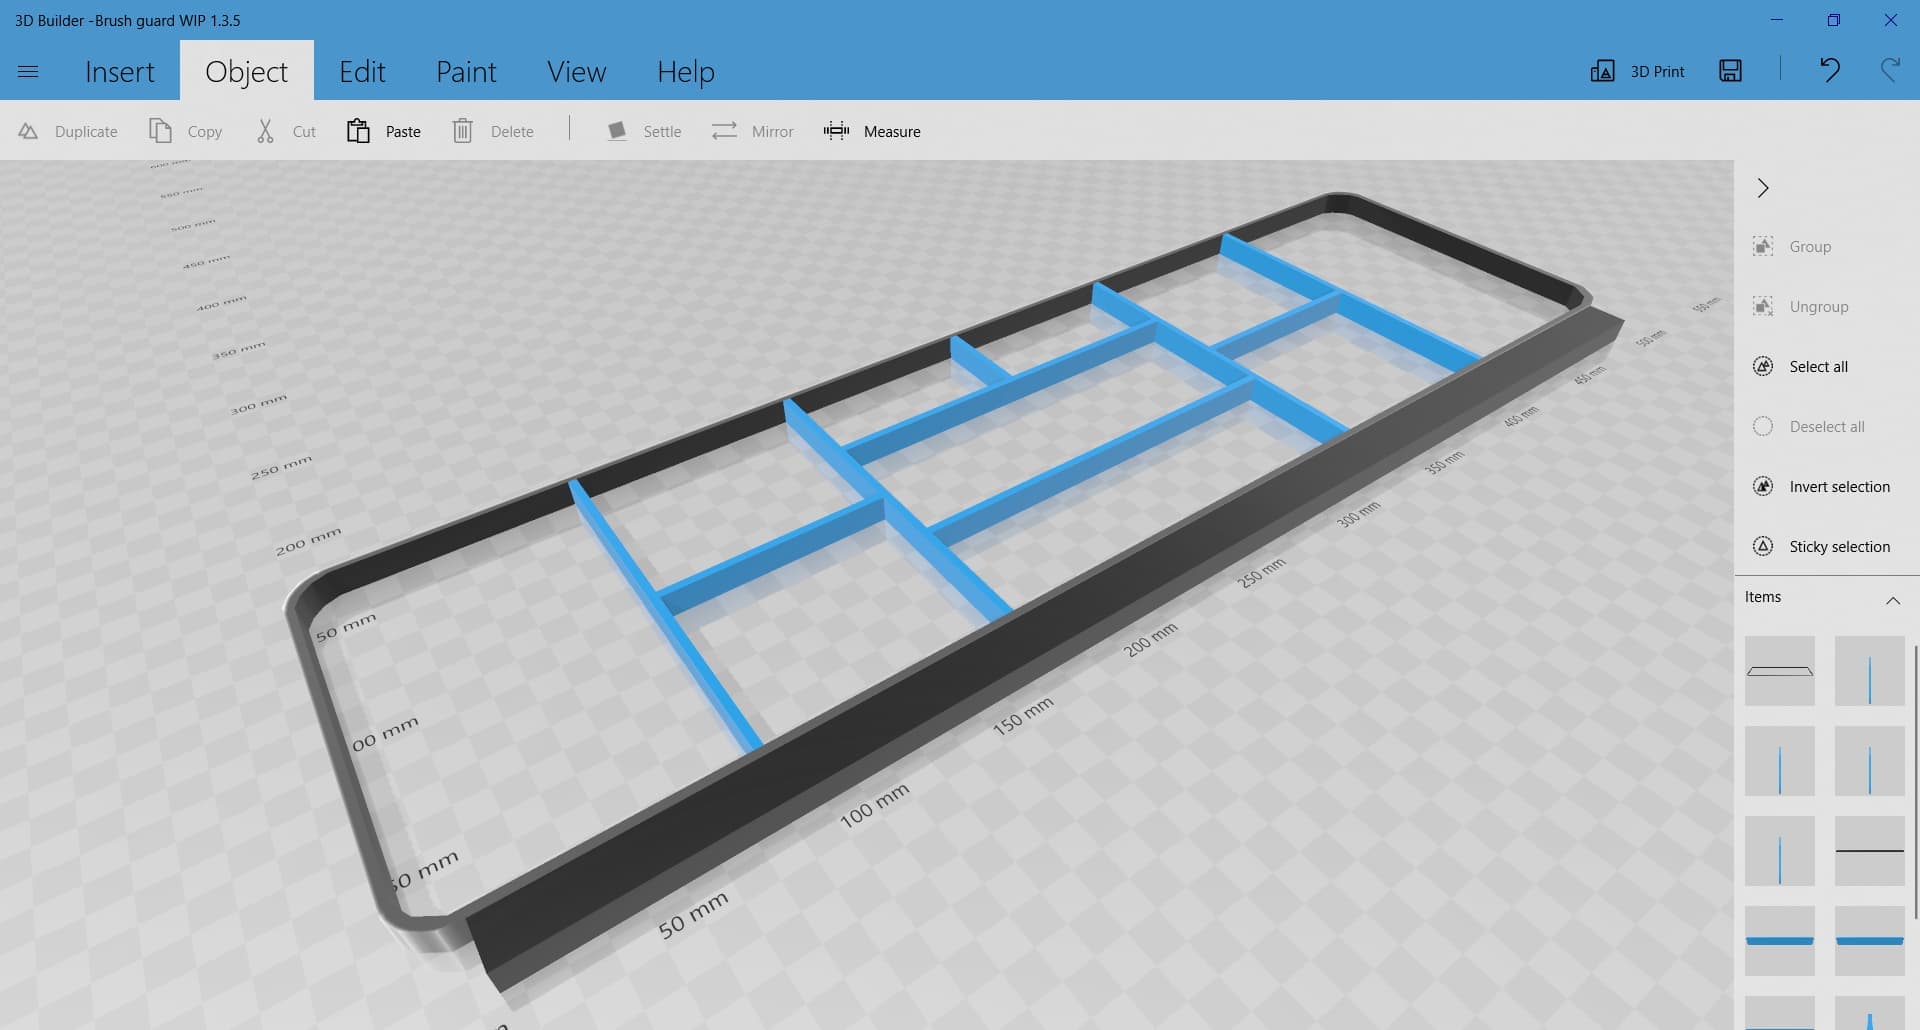
M1009 CUCV brush guard for HeavyArty:
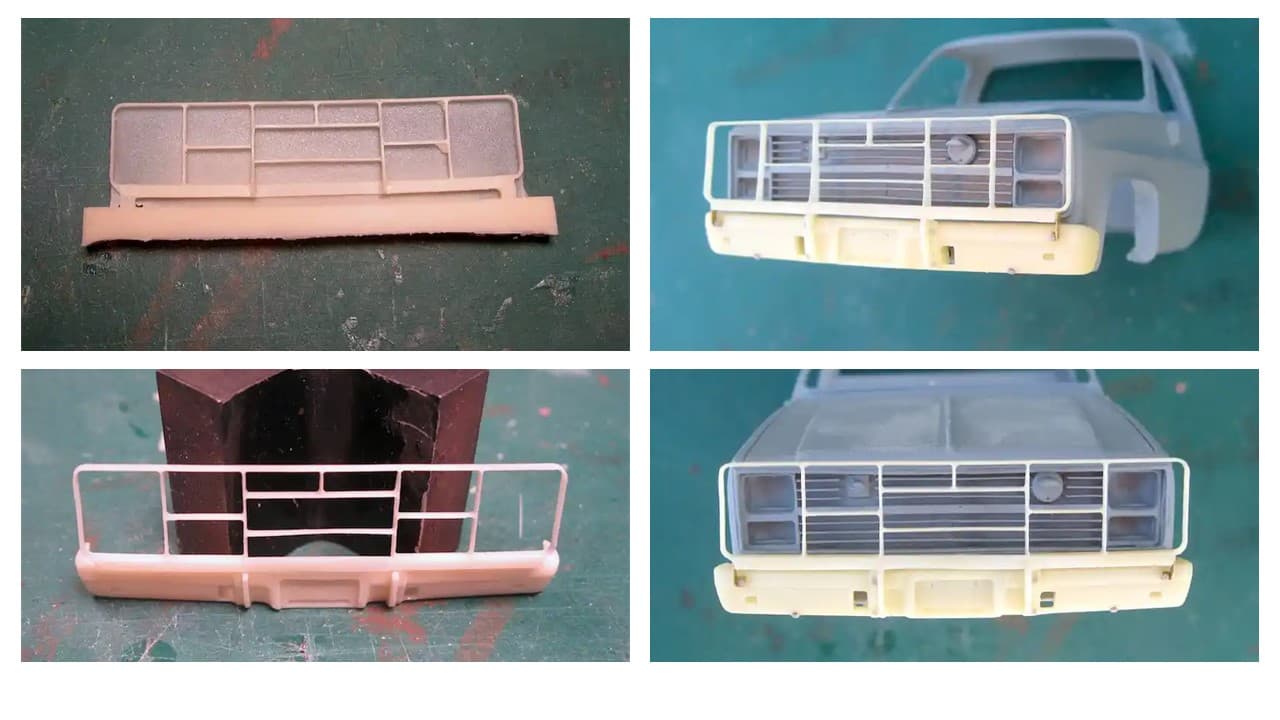
Reference photo:
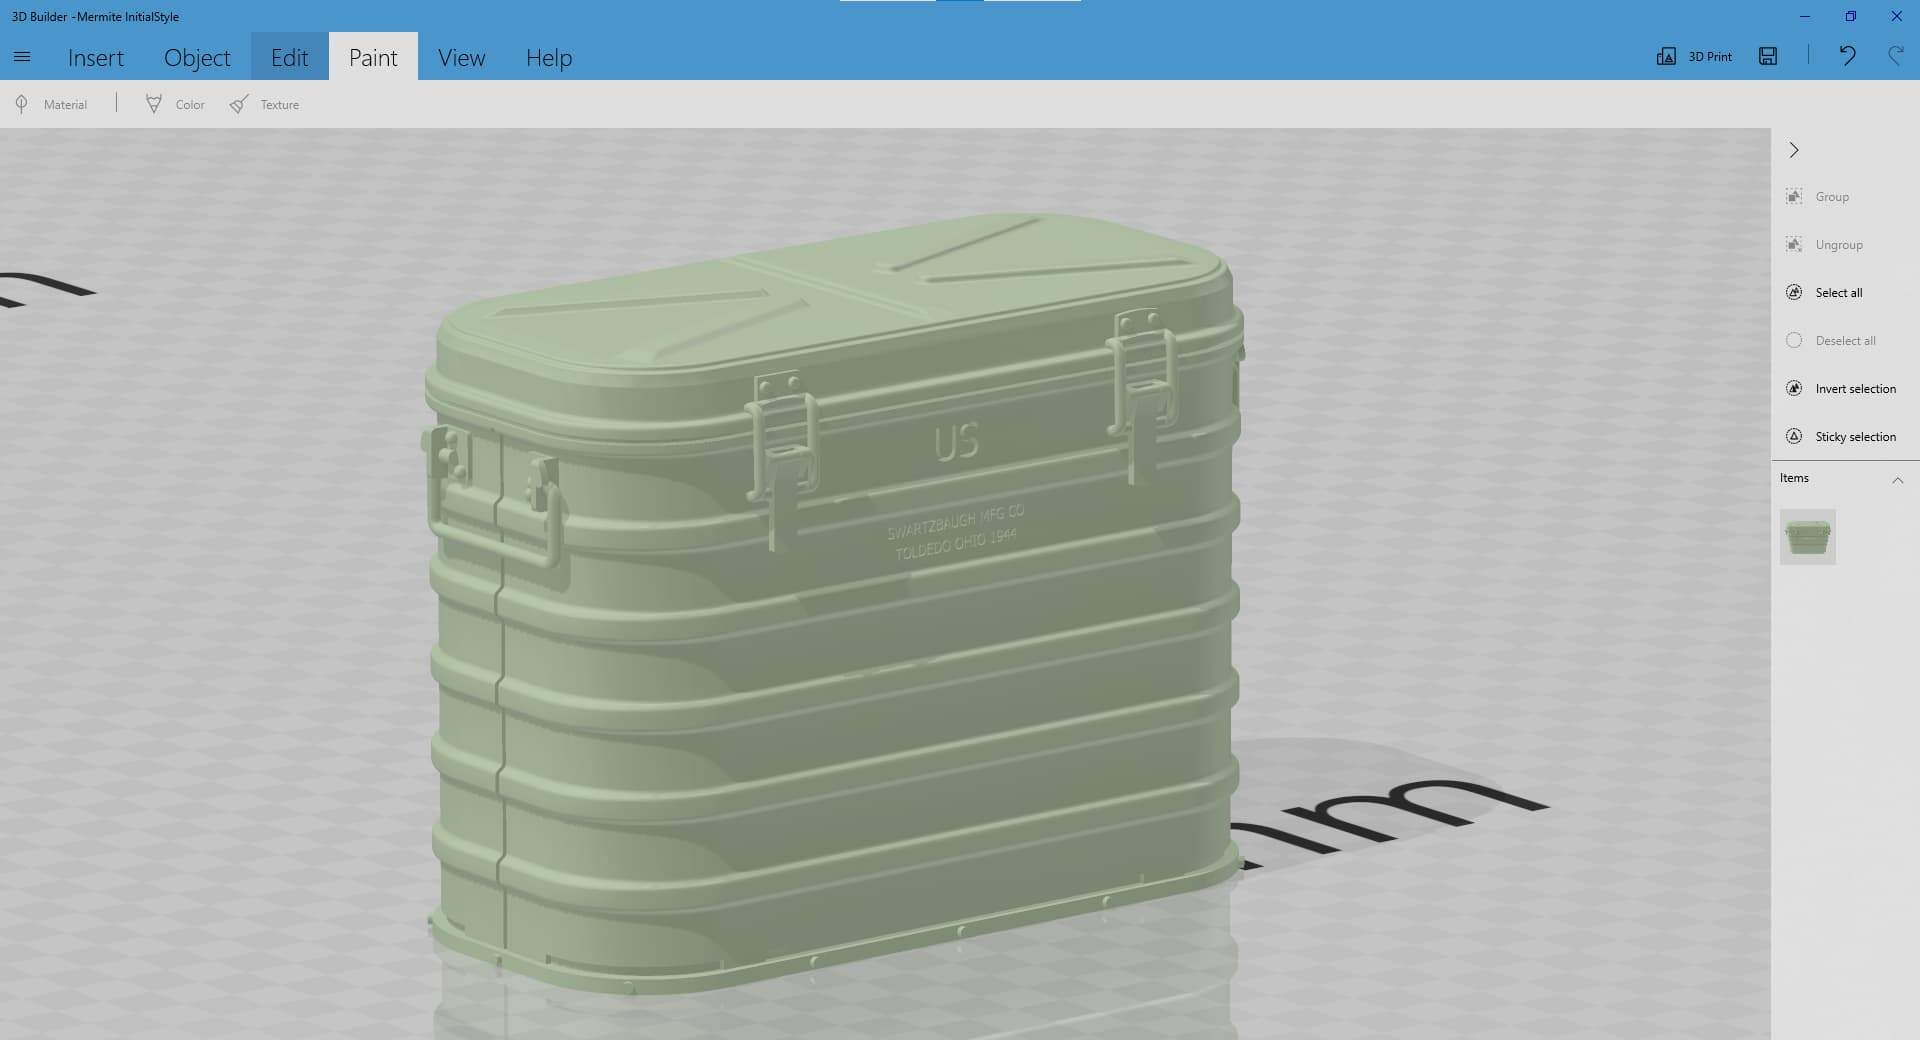
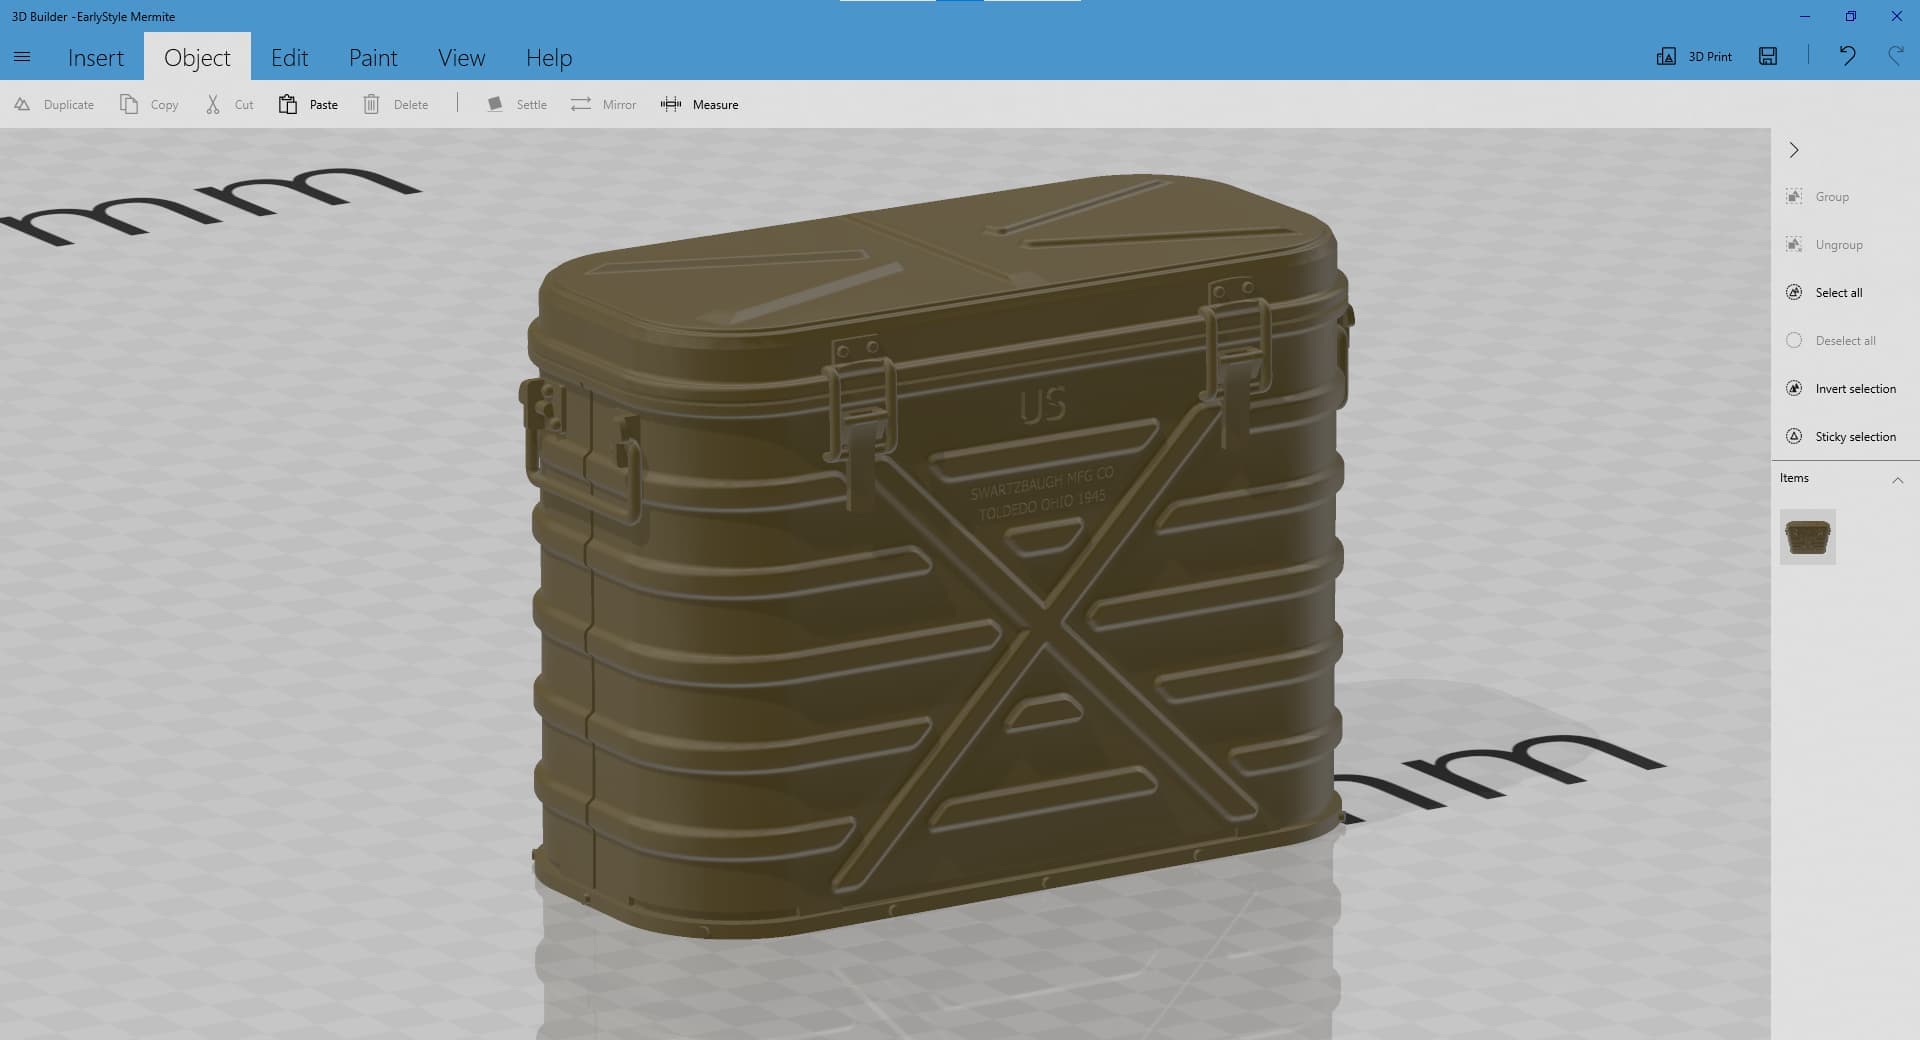
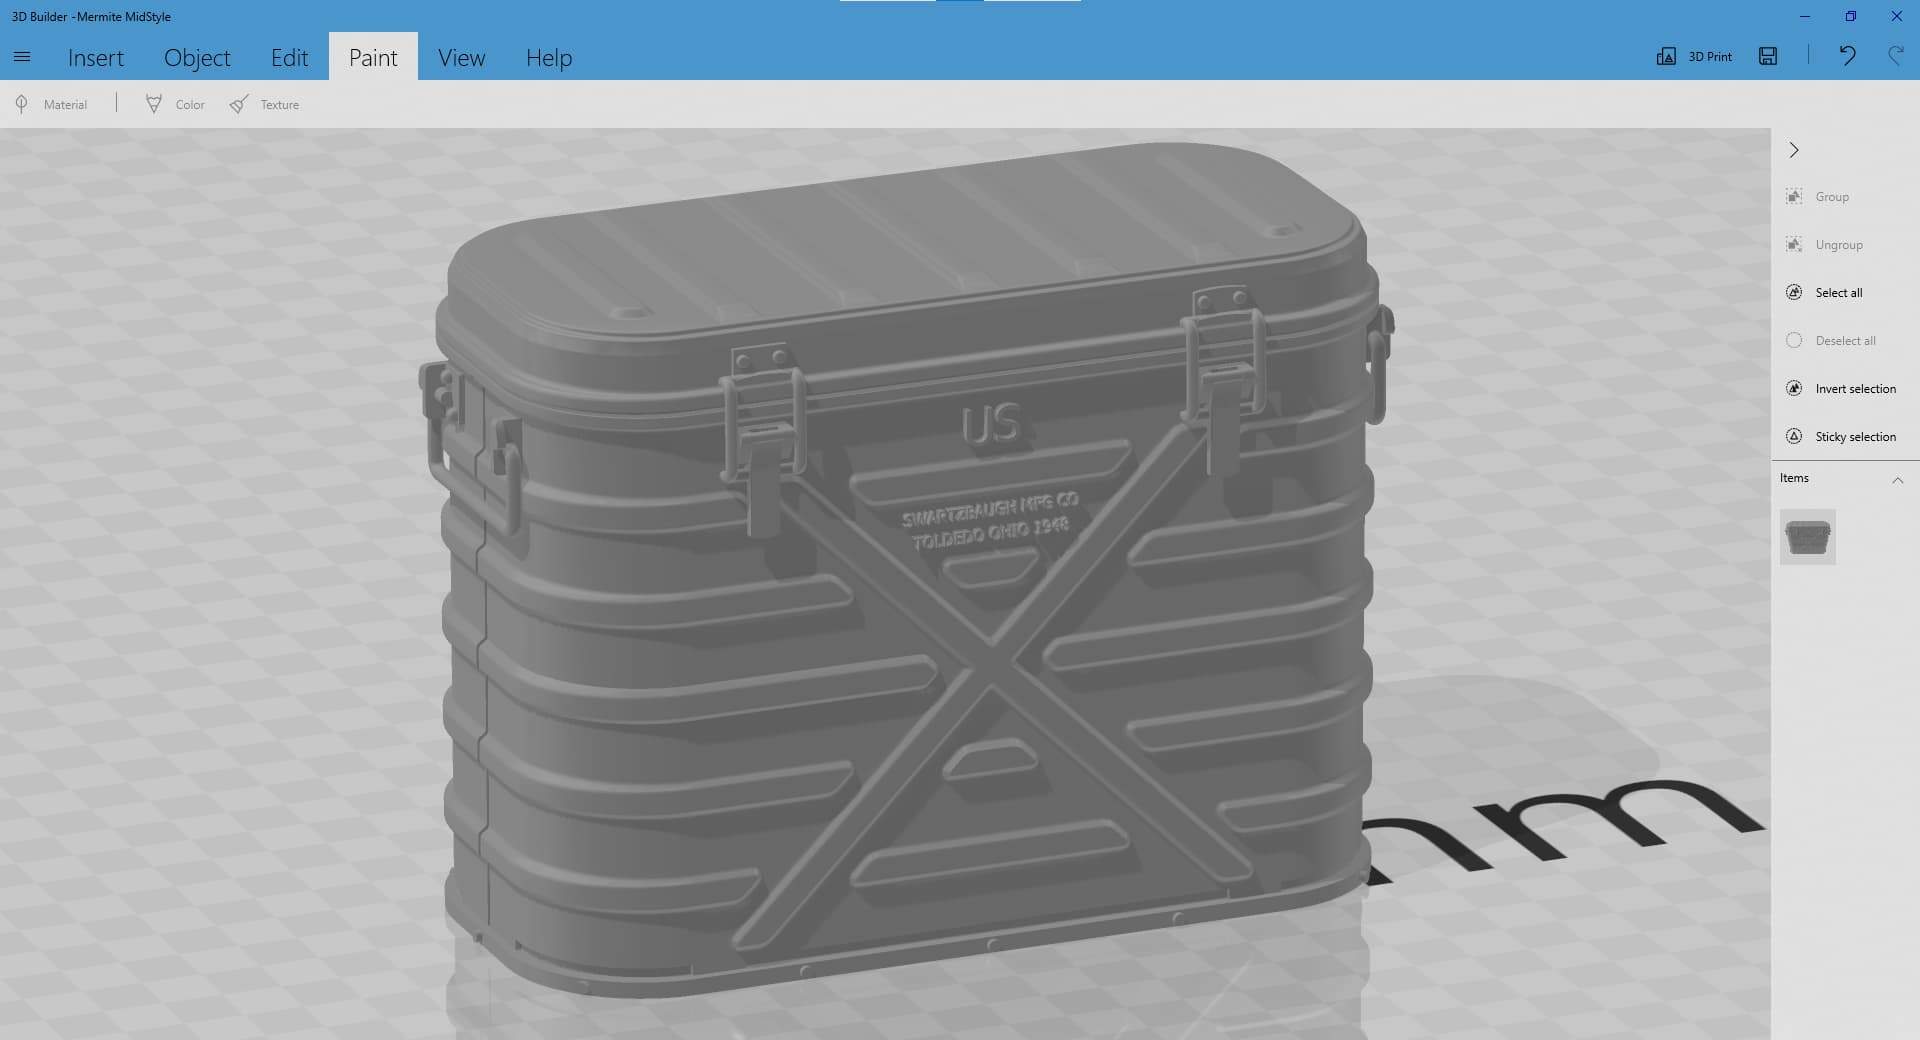
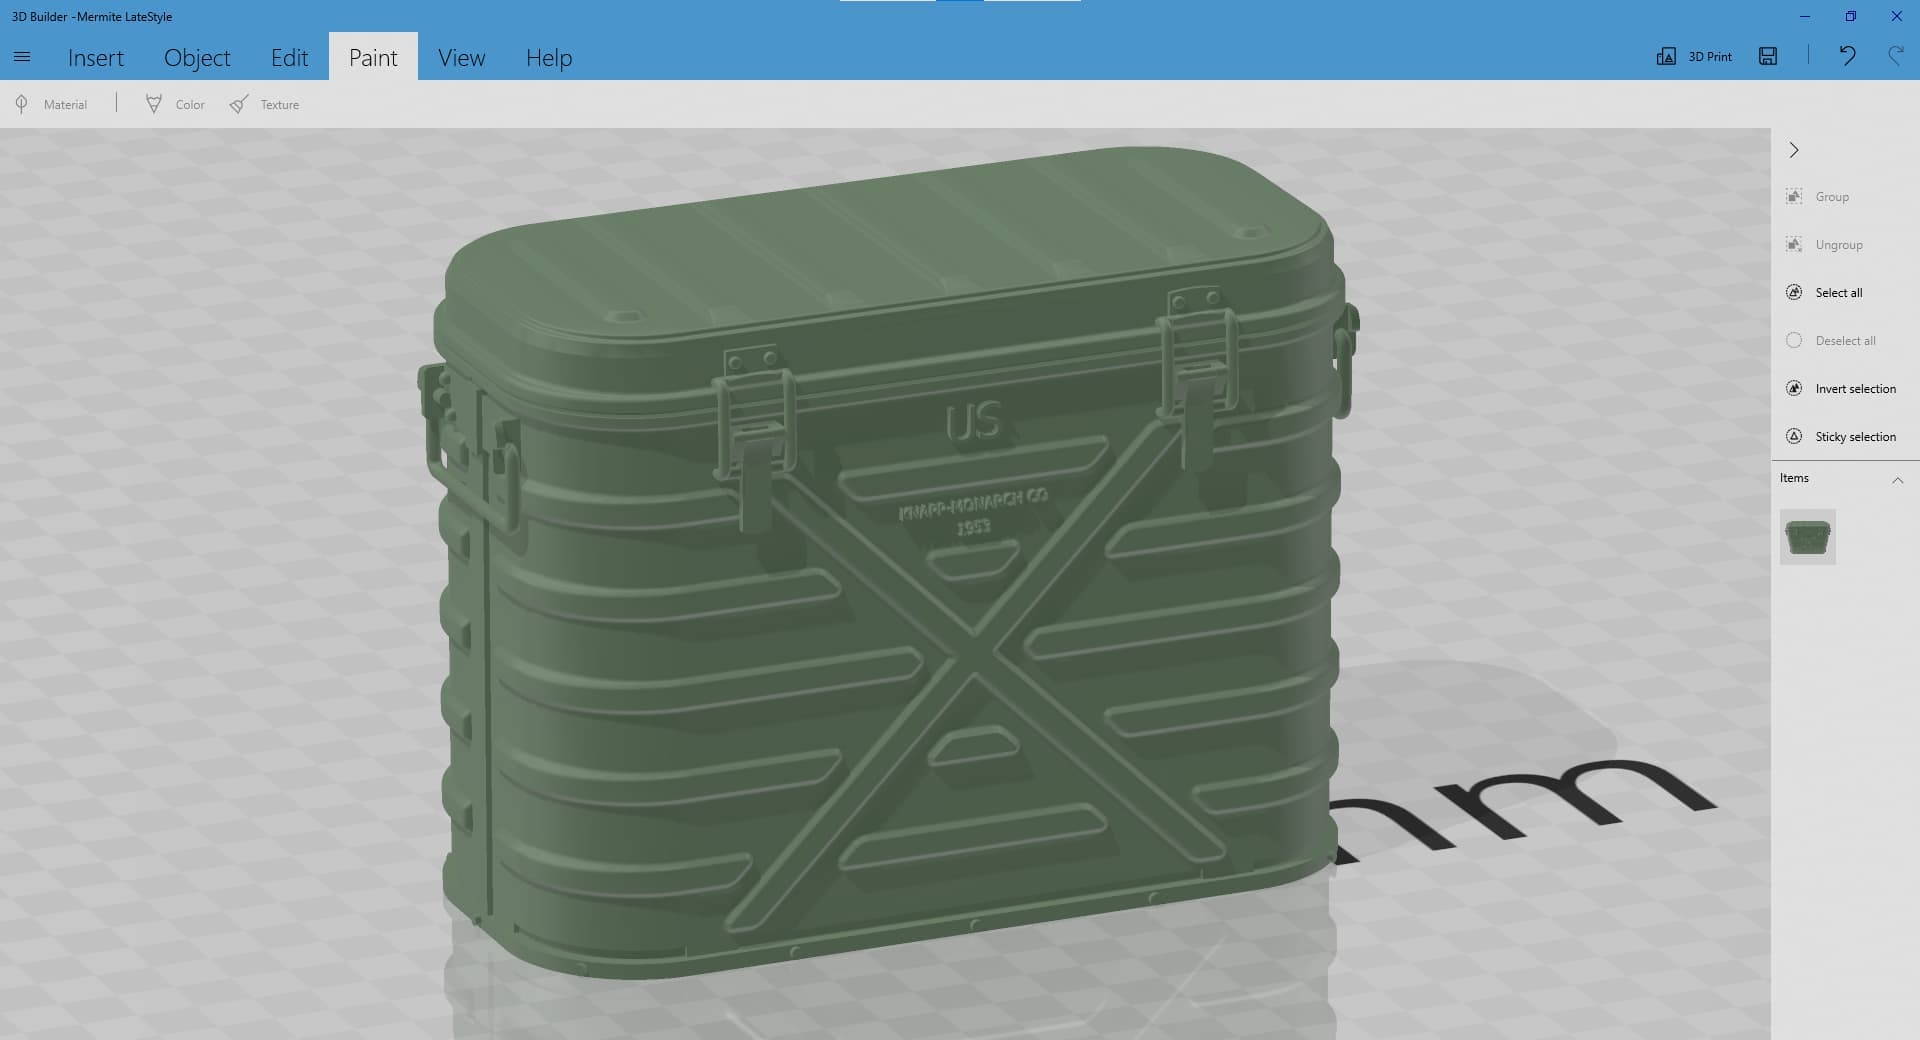
These Mermite coolers are done beautifully by a fellow CAD designer and hobbyist. You’ll have to purchase the STL file from him: https://cults3d.com/en/3d-model/various/1-35-container-insulated-m-1944-mermite-cooler and get his permission to 3D print (if not for personal use) b/c it’s copyrighted.
Initial (late WW2)
Post War version
Korean War and Cold War version
And the Vietnam War and late version
4 Likes
I agree the SH-3 could use something when the door is open as it’s an open pit as I recall. CH-46/53 really only needs the first few stringers in my opinion as that’s all you really see.
Except for Werner Wings the helo community is under served.
Dreams of dreams, I might send James my 1/48 CH-46 and 1/72 parts so he came possible make 1/72 CH-46E/F parts as no proper kit exists.
I first need use the parts he has already sent me.
1 Like
Tank, you might be right about only few closer to rear opening ribs within CH-46/53 might do well. But, Sea King sure can use full interior as it shows quite a bit if the side door is left open.
Another good subject needing detail interior attention is 1/48 C-130. The kit interior is ok but for its size it should have been better. Of course, those molds are as old as Methuselah and I’m sure folks back then were probably just excited to have such a kit.
1 Like