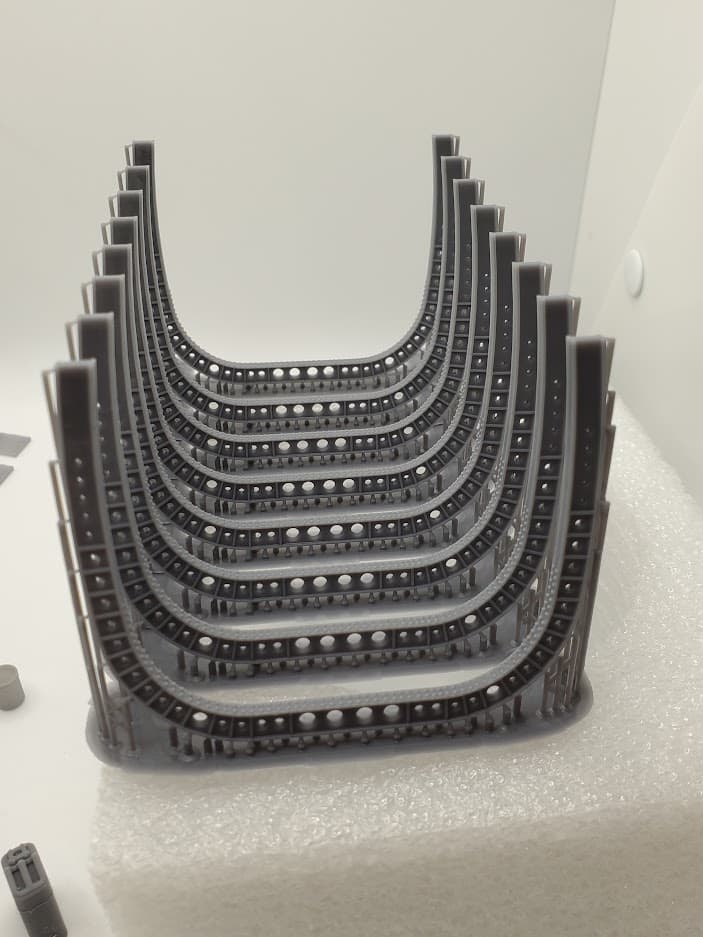
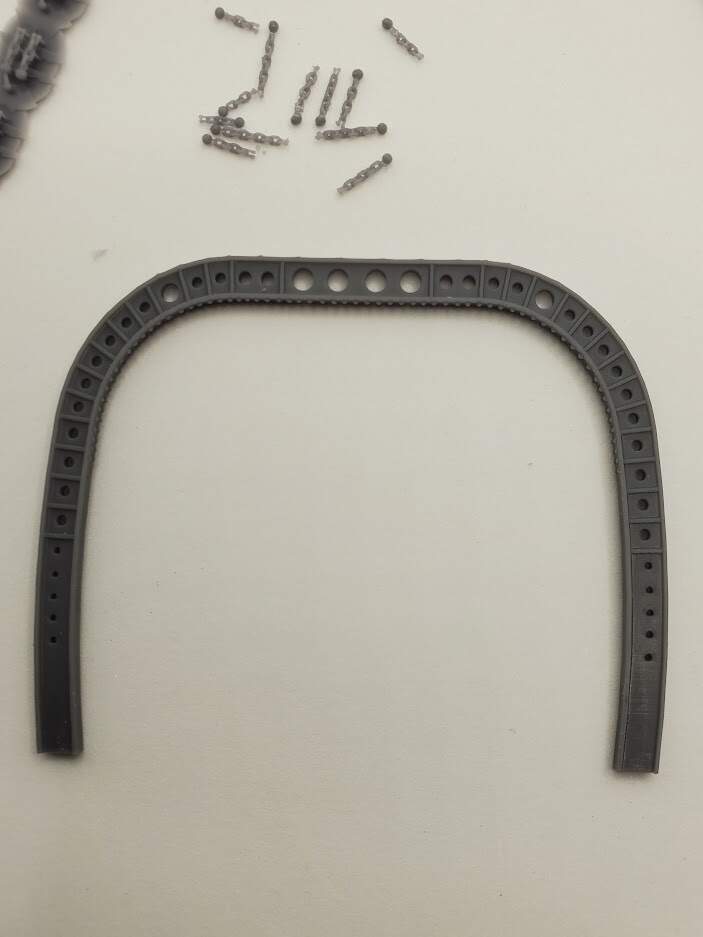
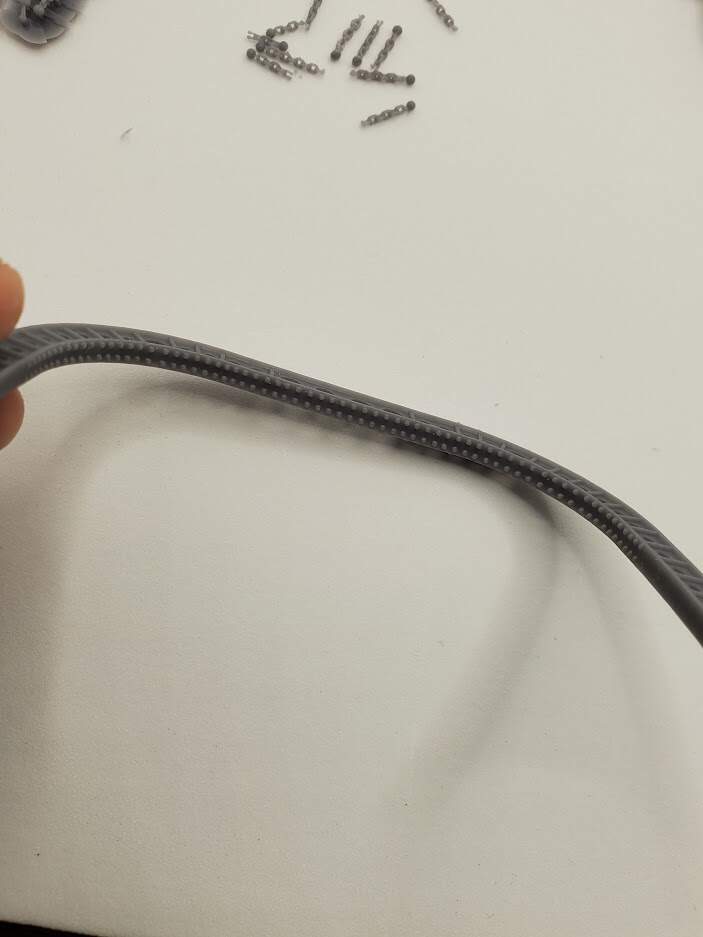
Printing these fuselage frame ribs upside down worked better to preserve the rivet details and eased the support detachment:


4 Likes
I think printing then upside down is better. You are getting better by the day! There still might be a hope for the SF bike in the future ![]()
I think so. I should be able to pull off the Yamaha SF bike. Need to fulfill 7 more pending orders however before that. Also, I am getting more familiar with using Fusion 360 so my CAD skills should improve.
1 Like
No worries. We’ll talk later down the road about this as I want one for sure.
these look great, as soon as you start printing these jot me down for a few ( in addition to the other stuff i have ordered ![]()
1 Like
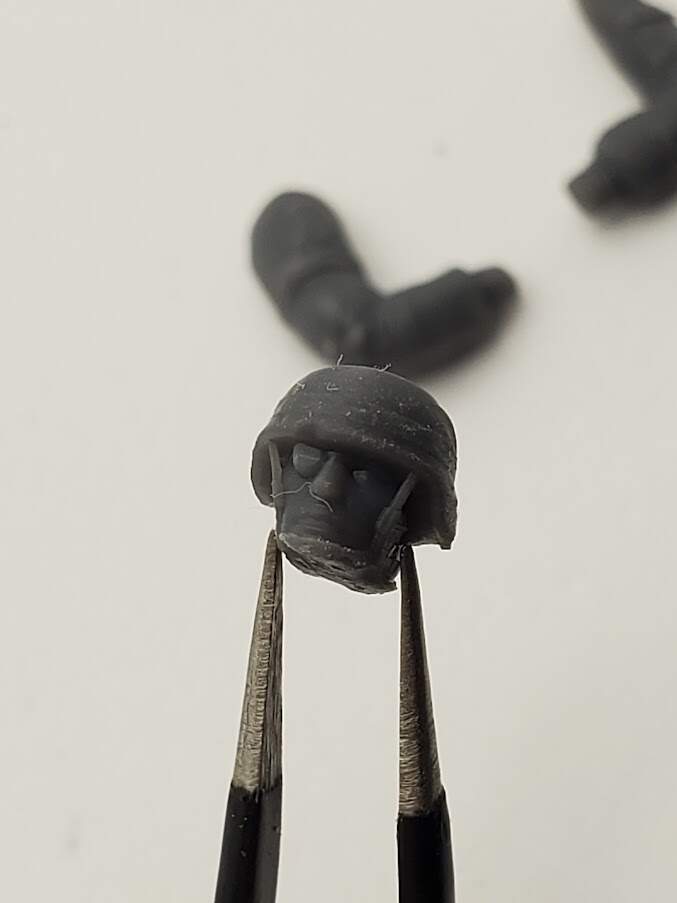
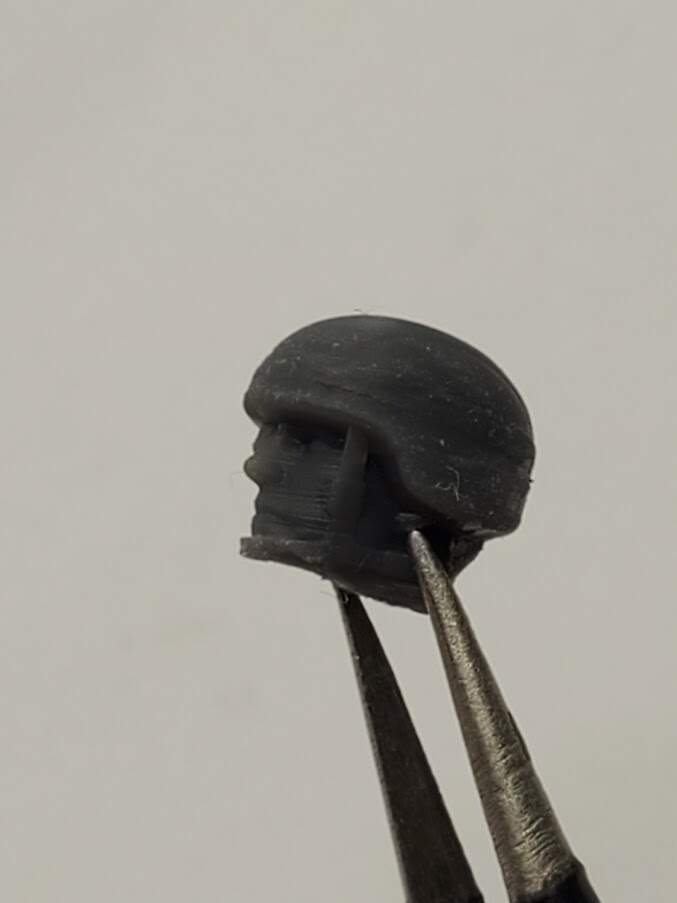
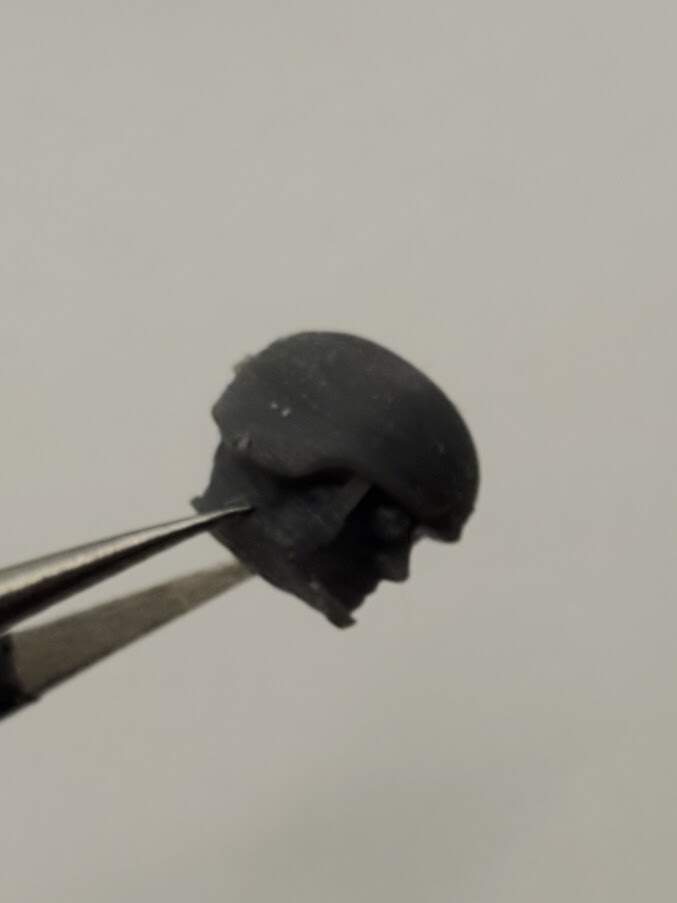
Learned a new skill of editing “mesh” of an existing CAD in STL format by using MeshMixer tonight.
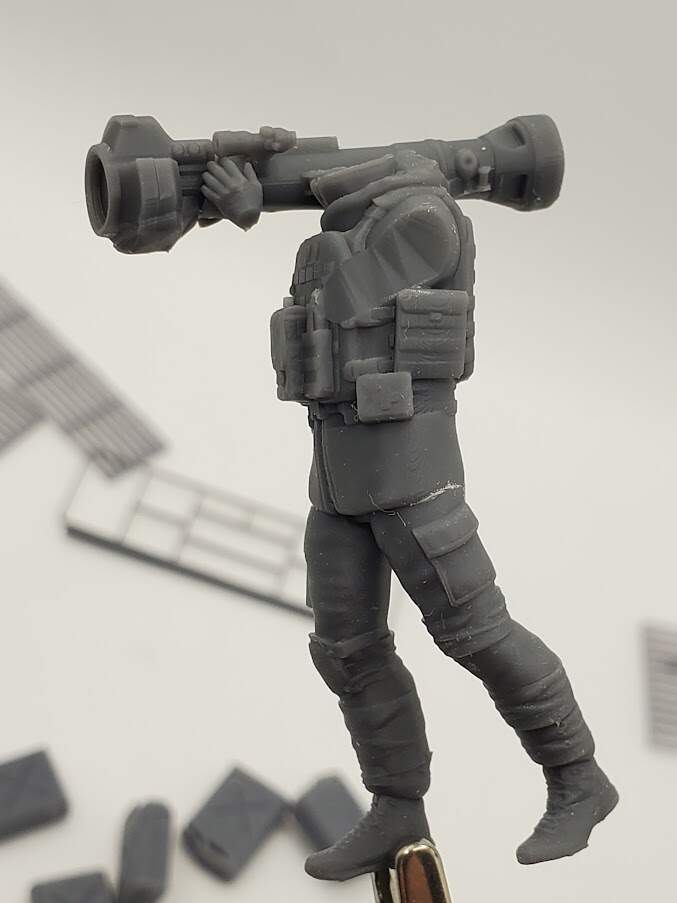
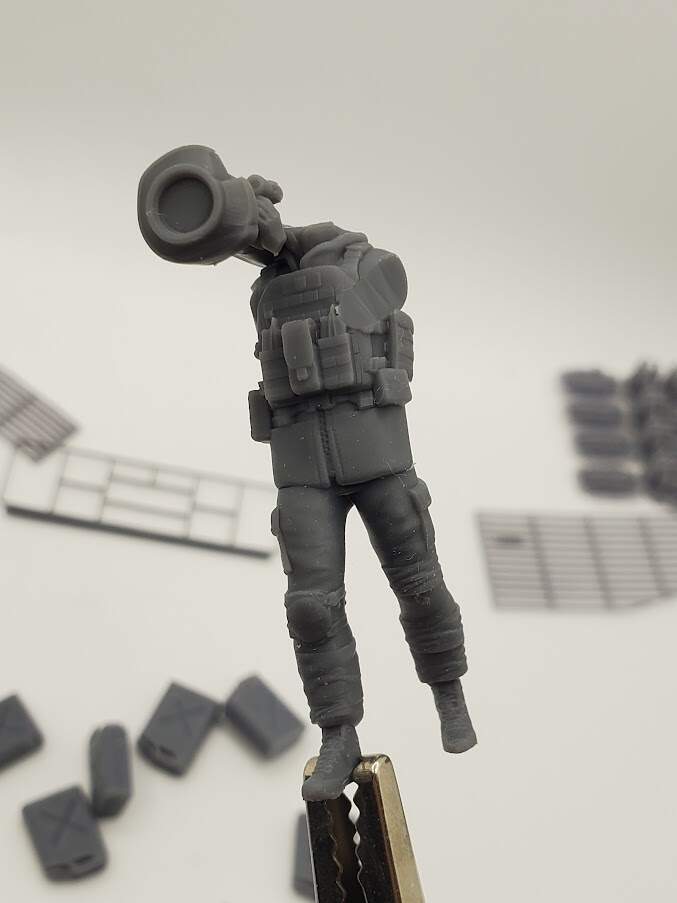
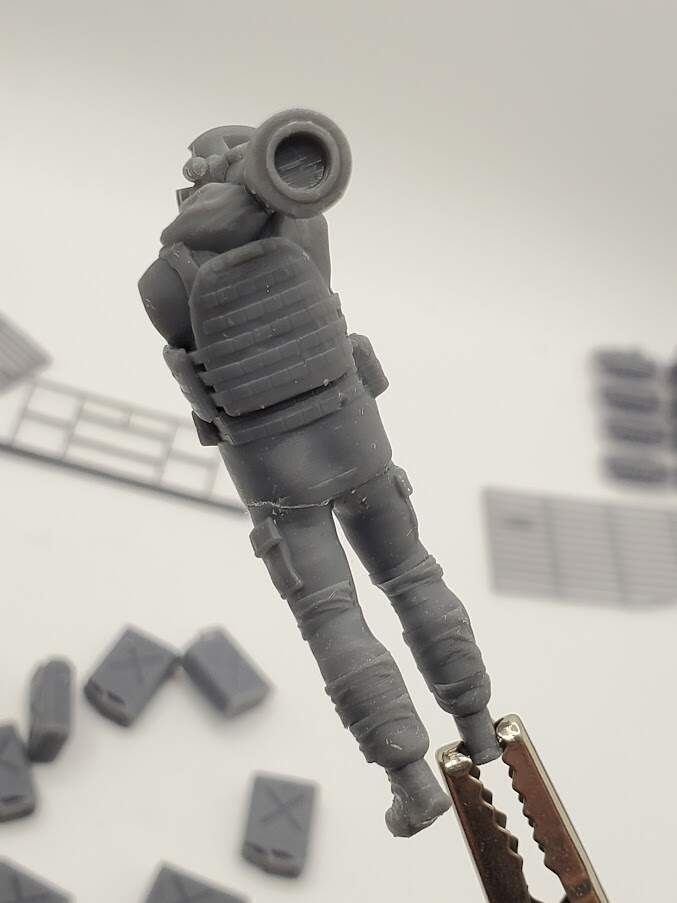
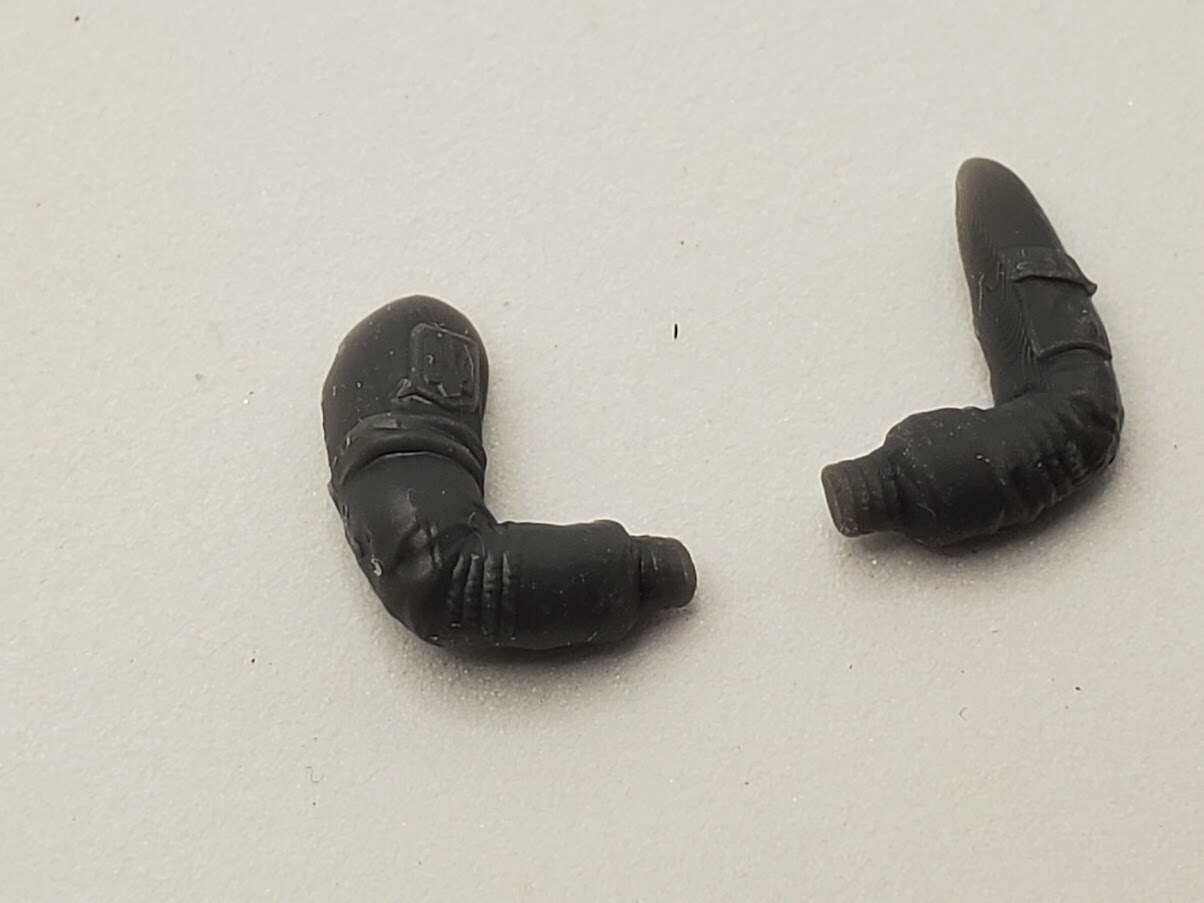
I was able to edit the UA soldier figure with NLAW - separated his head and arms for easier painting:
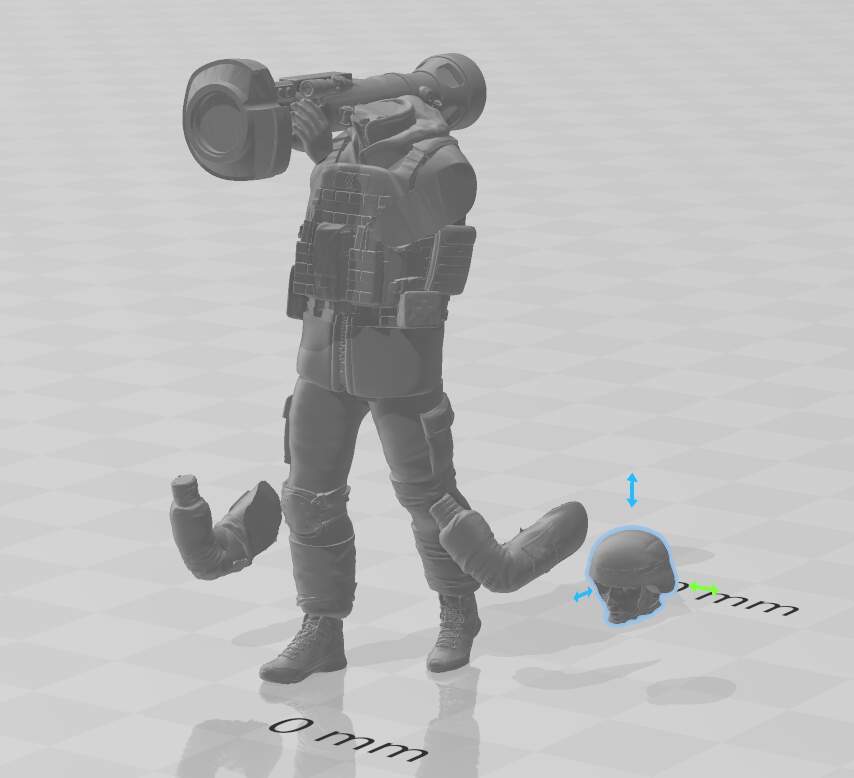

Its legs also got thicker, and I’ve added more wrinkles to the pants sections.
3D prints coming.
Kind regards,
James
2 Likes
I fully get why you may be losing your sanity lol … those ribs for the Chinook look …wow… and the long beams look perfectly straight. That 1/16 .50 looks superb as well. As a point of interest looking at say the Chinook long beams, you have the beam, and all the zillion support struts under it, are those all straight in the bin once cut away or can they be recycled into resin material to use again ? if not, how much from a container of resin would end up in the bin as the support bits ? 50% ??
Hi John,
Unfortunate part of this 3D resin printing technology is the waste of resin in making supports. Once UV exposed or cured, it’s not recyclable. Depending on the model, but in general, 30-40% may be used up for supports and bottom layers. When you consider a bottle of resin is 30 USD, which is also rising due to inflation, you’re throwing away $9-12 of it. It’s not a cheap hobby I must say, and fellow modelers who buy from me are getting really good deals.
3 Likes
Thanks for elaborating James - I had often wondered about the cost and wastage ratio, its interesting to know ![]()
1 Like
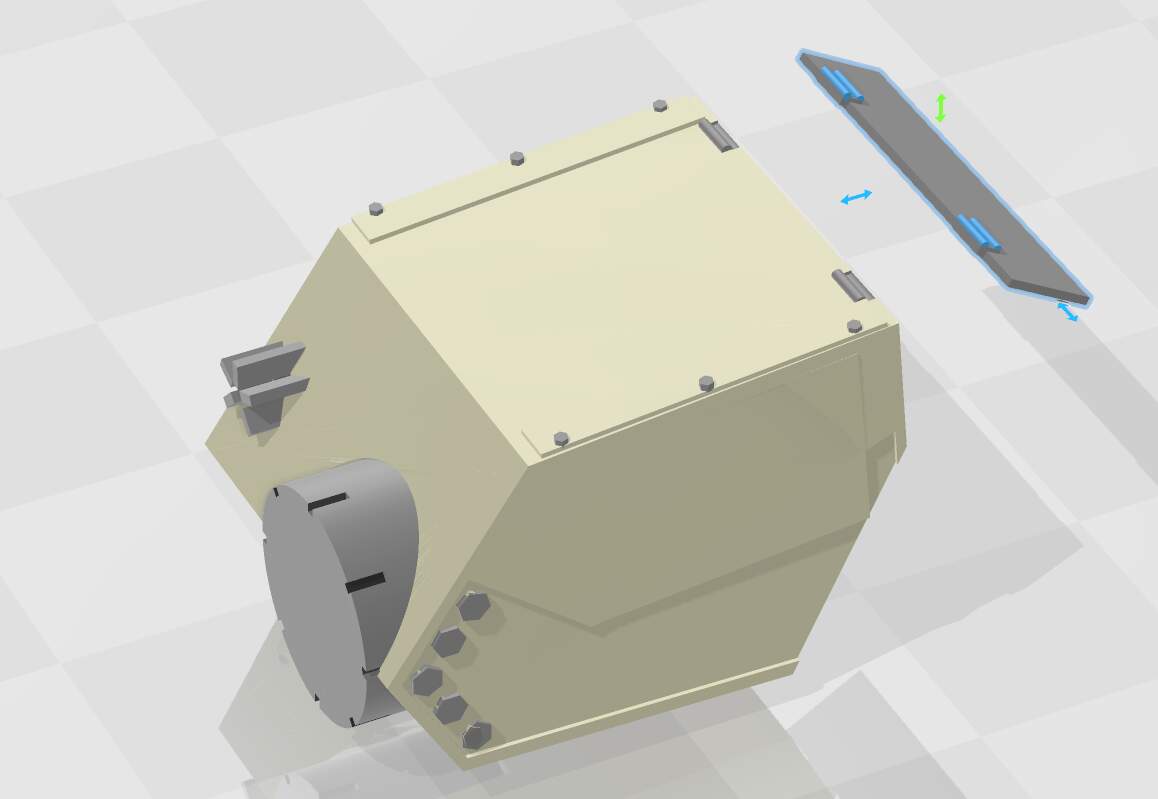
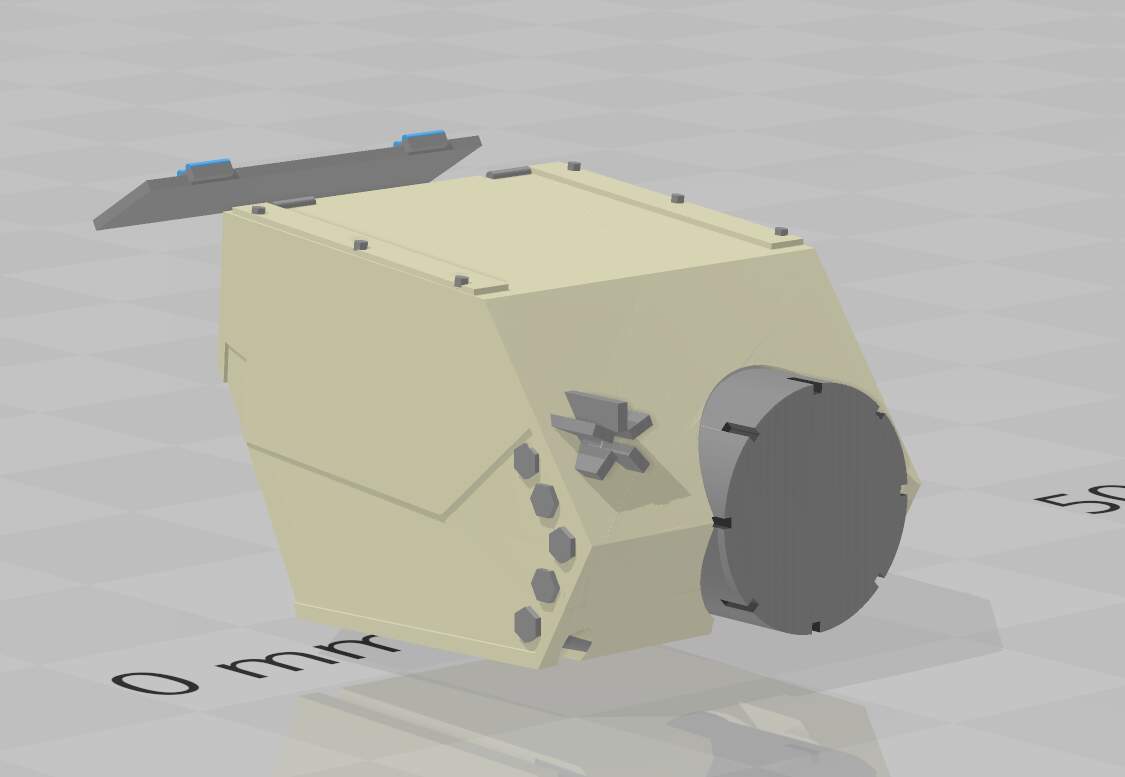
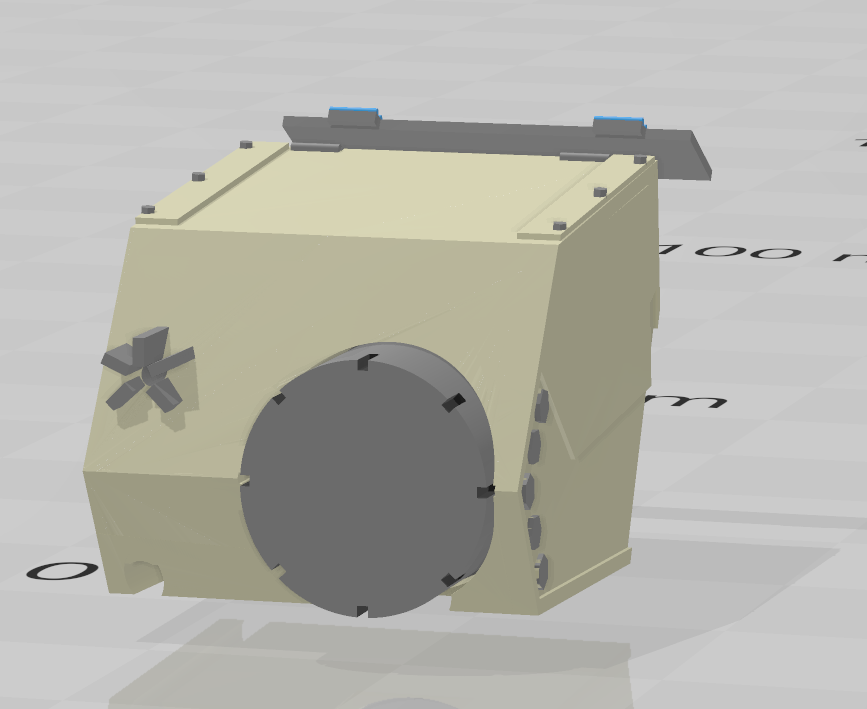
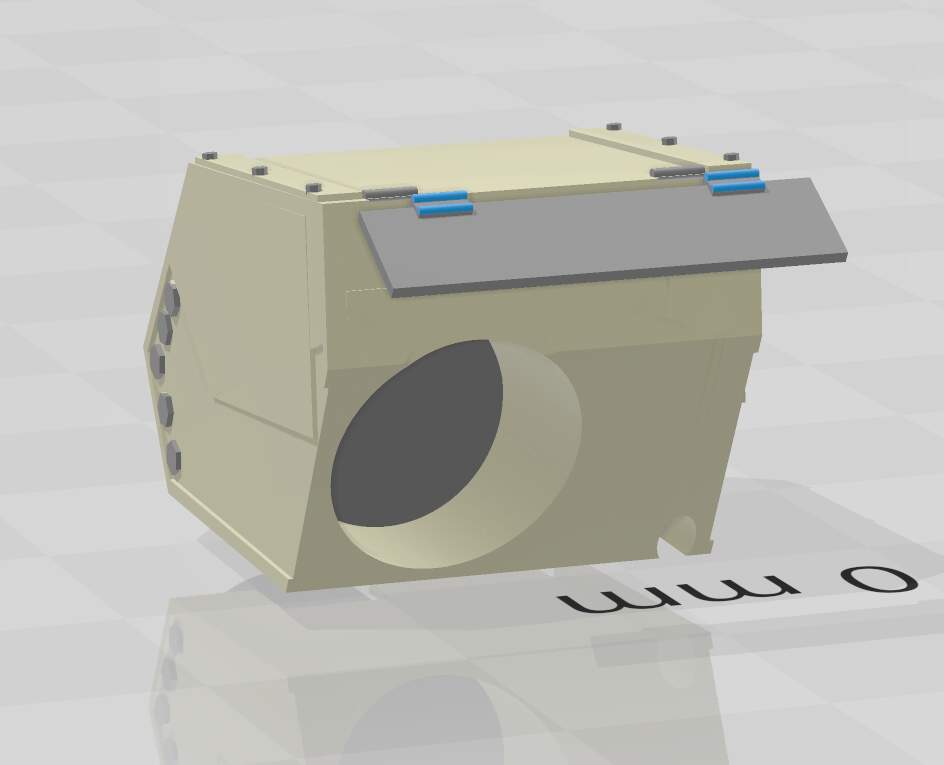
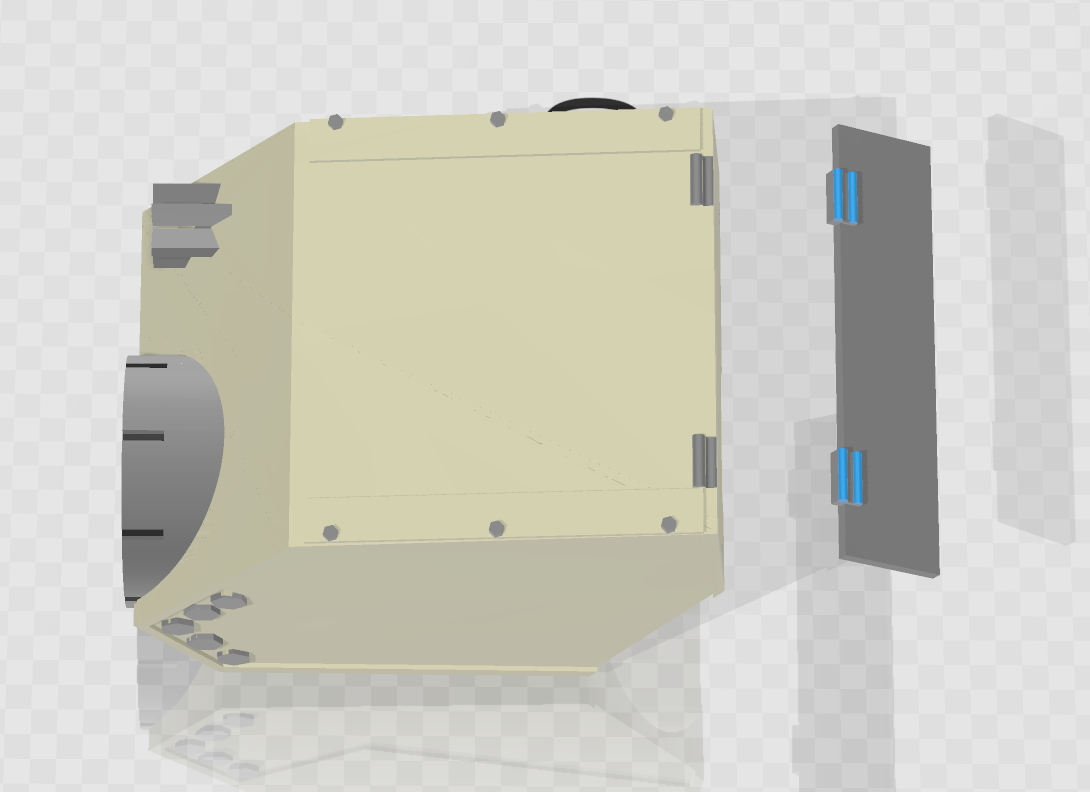
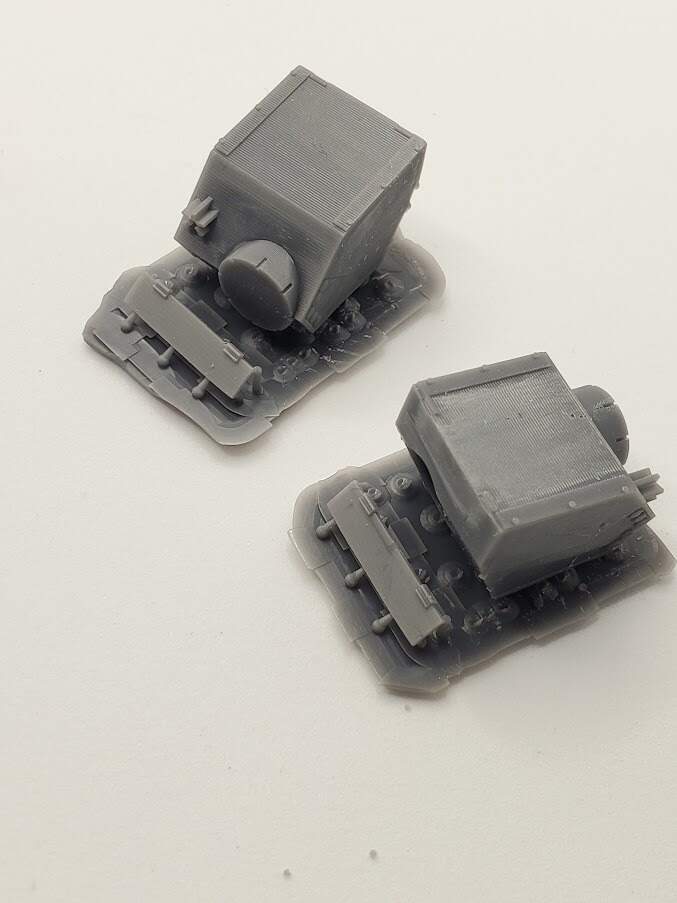
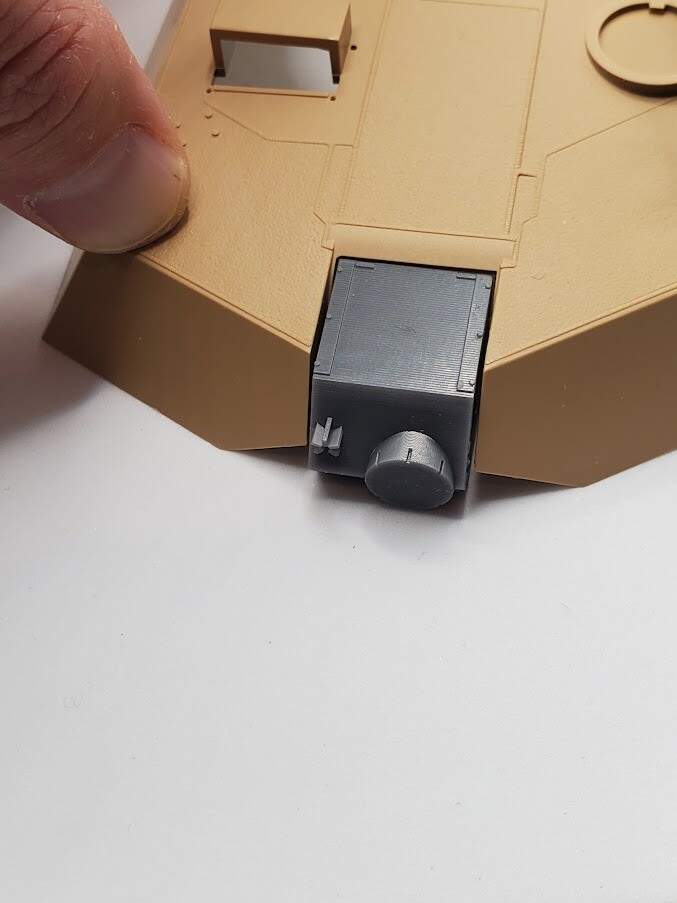
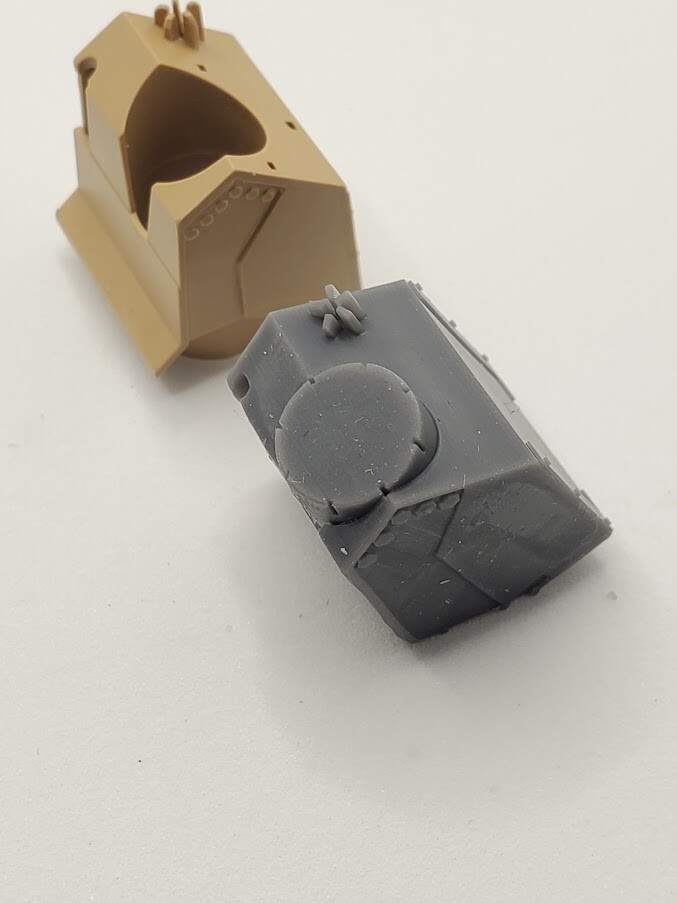
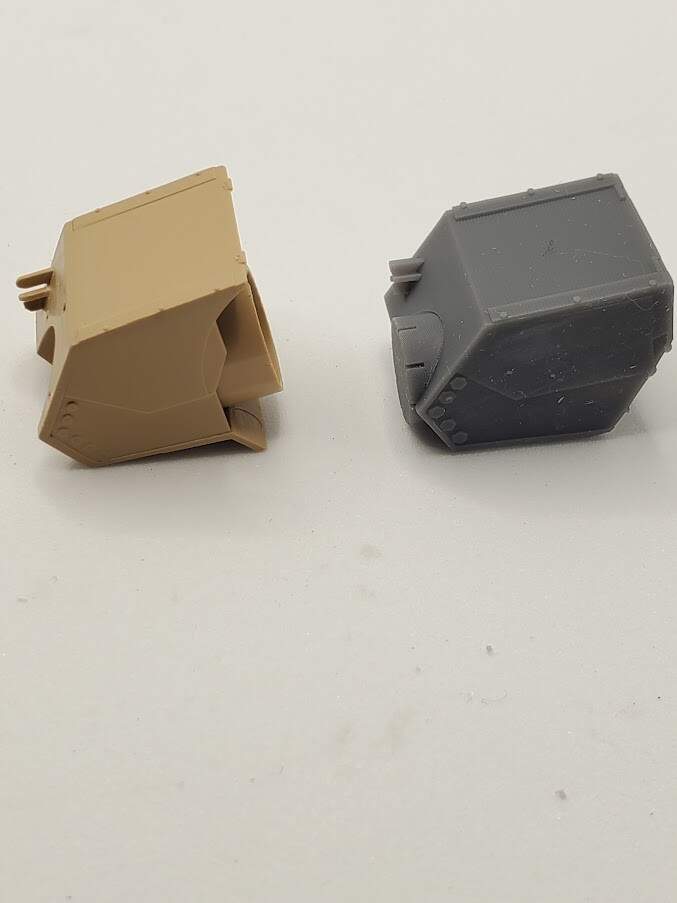
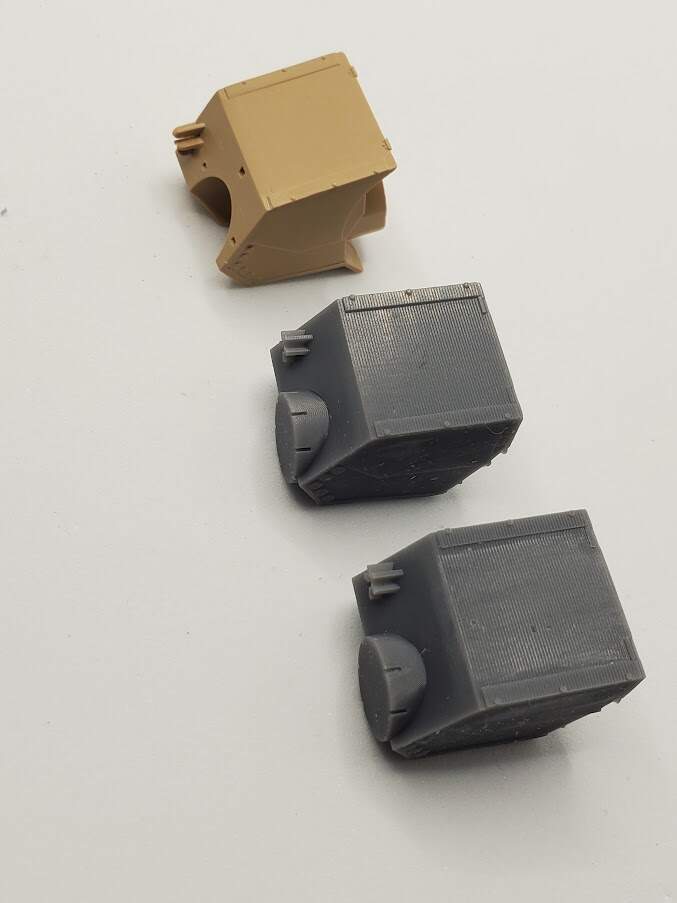
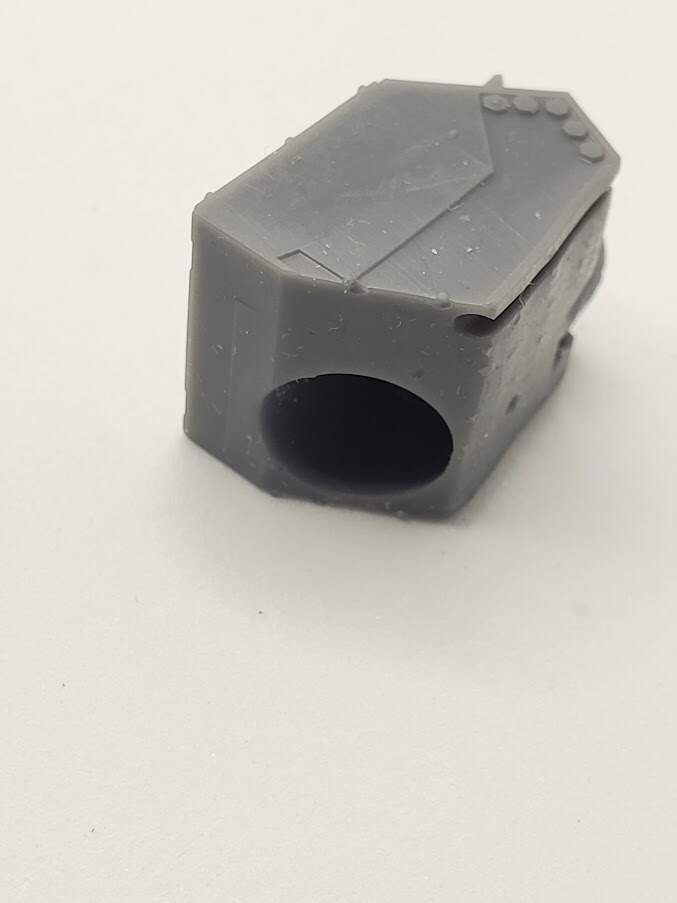
A fellow modeler damaged the Abrams M1A1 gun mantlet (Tamiya kit) so CADded a replacement. Hitting the 3D printer tonight.
1 Like
Prints from this past weekend:
For @Tank_1812, definitely improved the look of the UA soldier with NLAW:
thickened his legs (no more skinny jeans look it had before), added more folds to his trousers, separated his head and arms for easier painting, and adjusted the size of NLAW (it was oversized in the original CAD from the designer)


Brush guard for Chevy CUCV
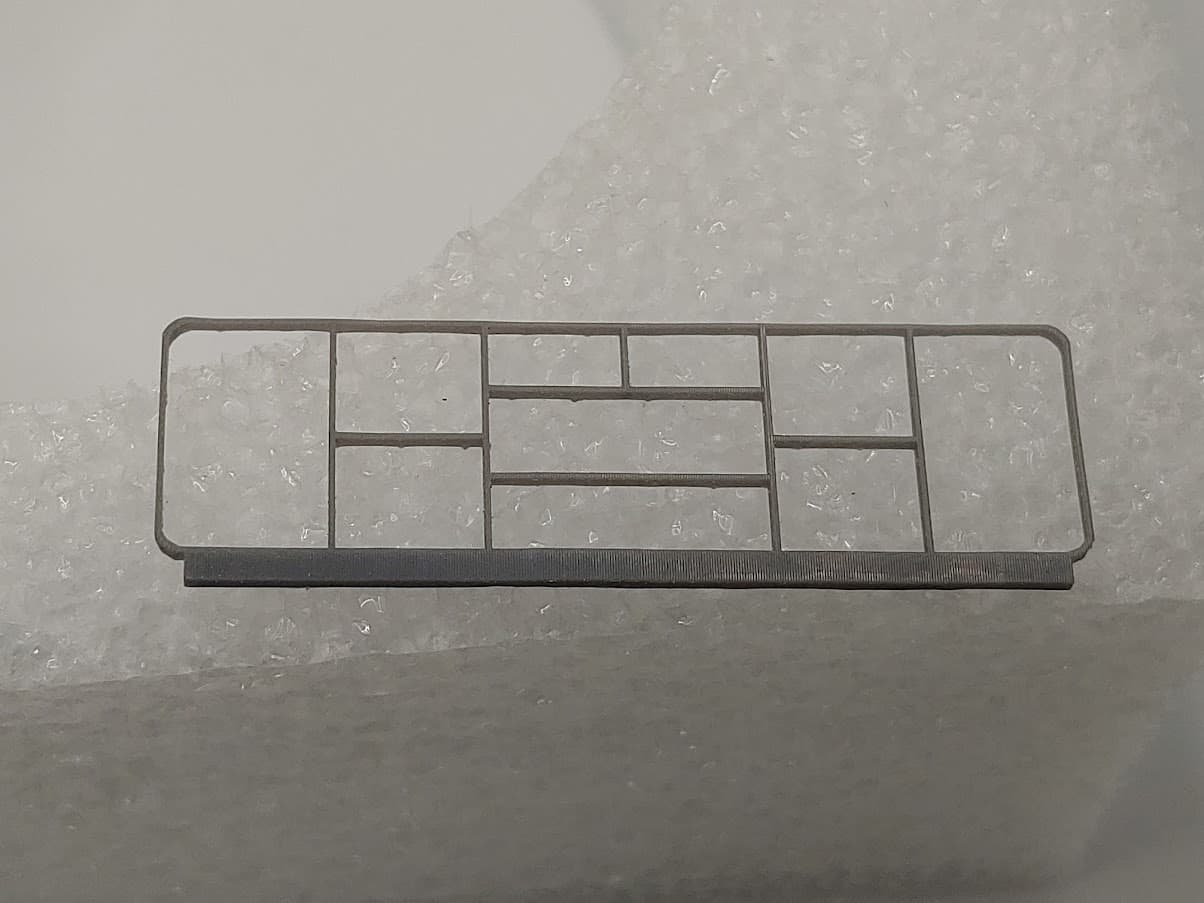
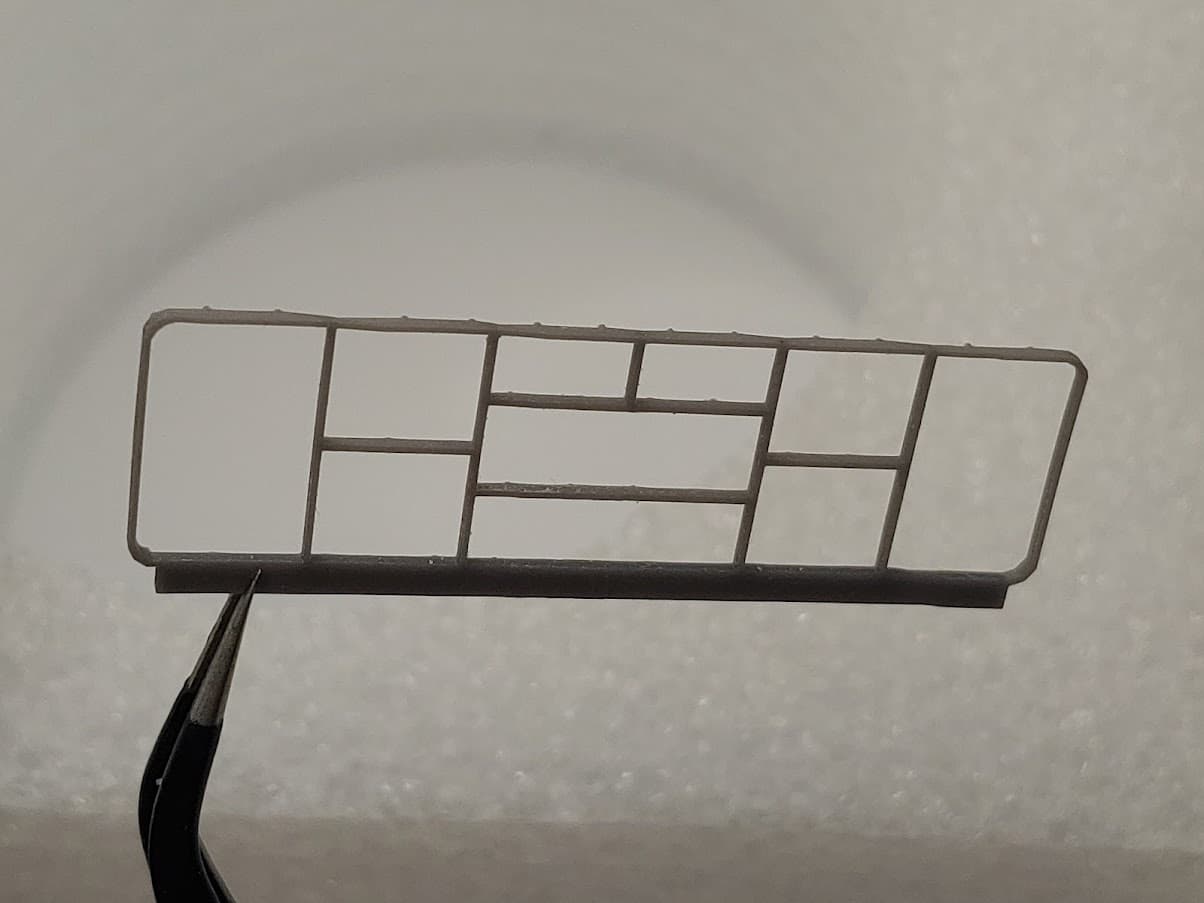
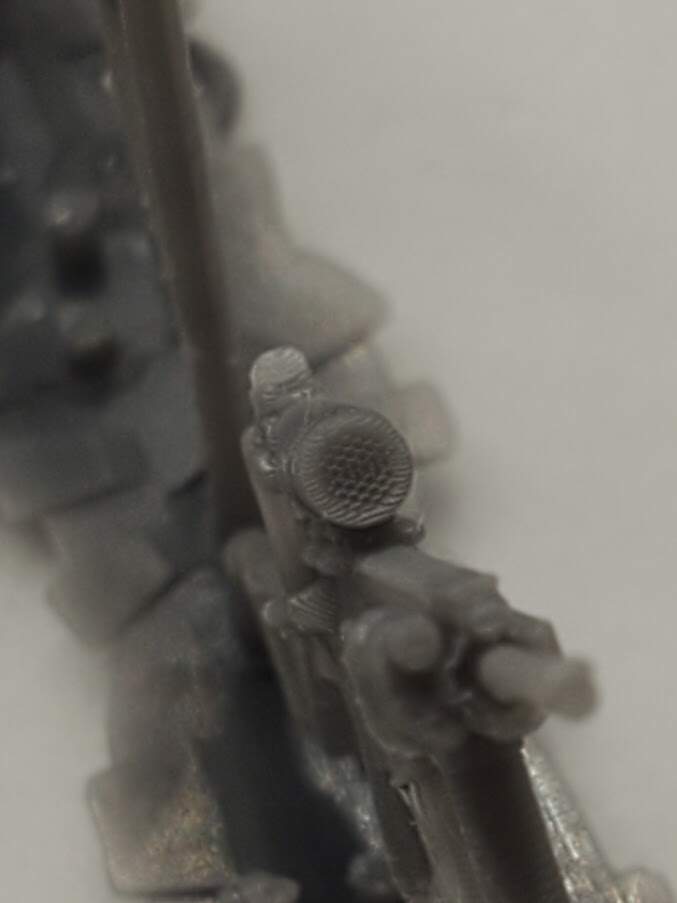
M27 IARs in 1/35 printed nicely considering their size:
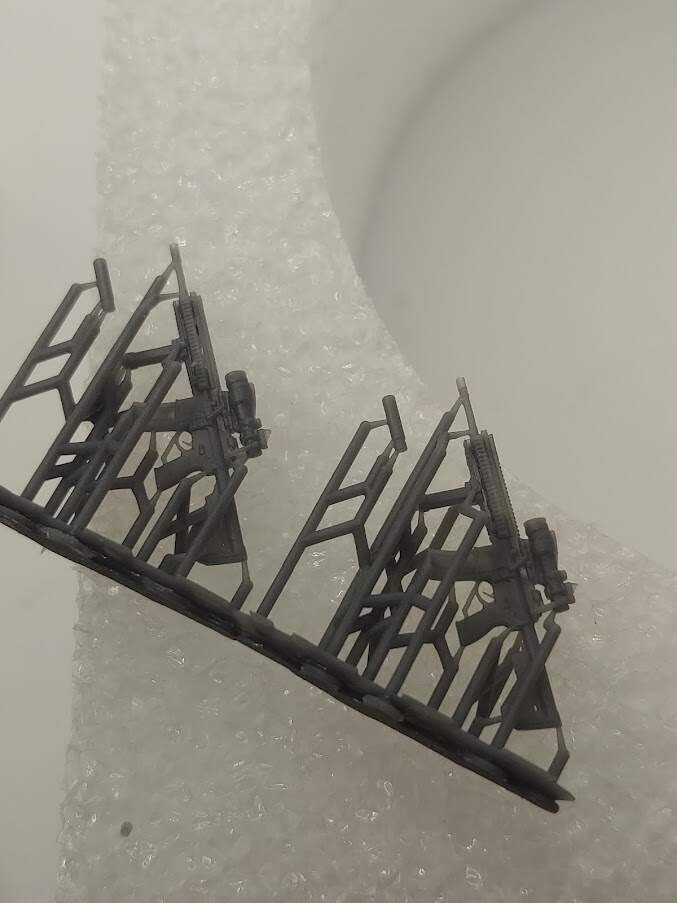
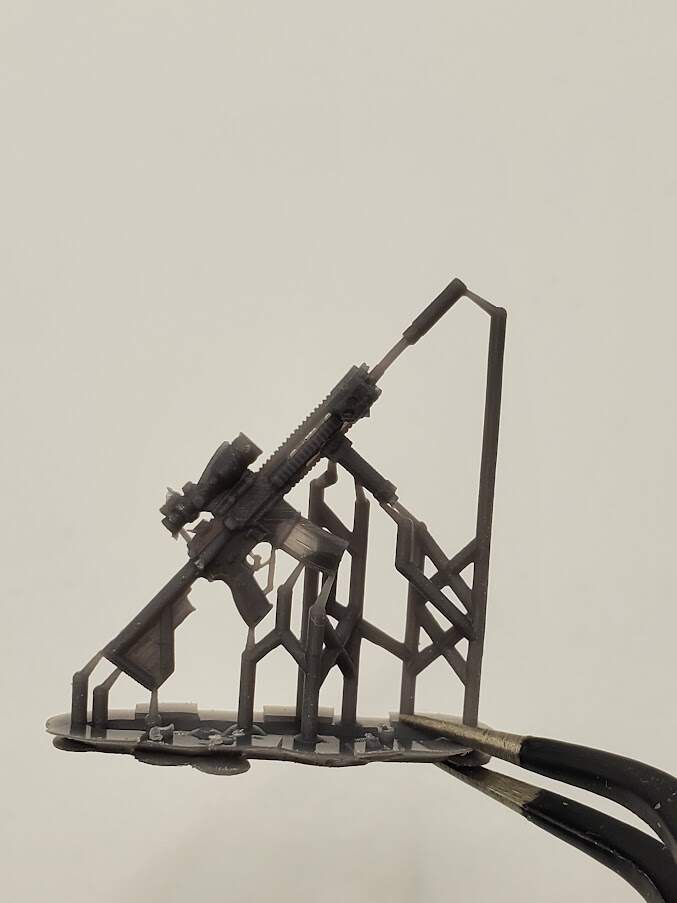
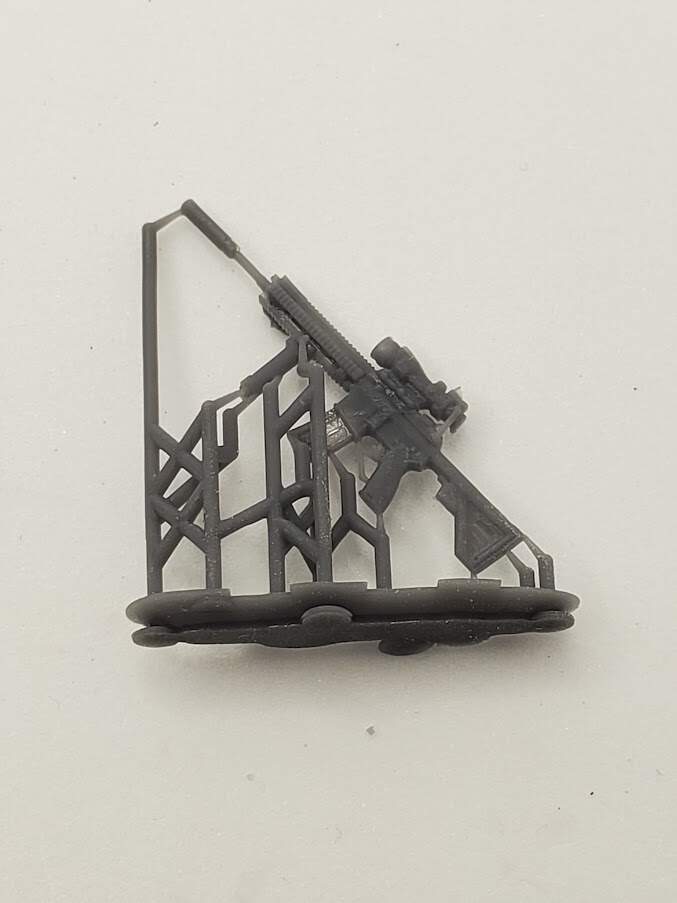
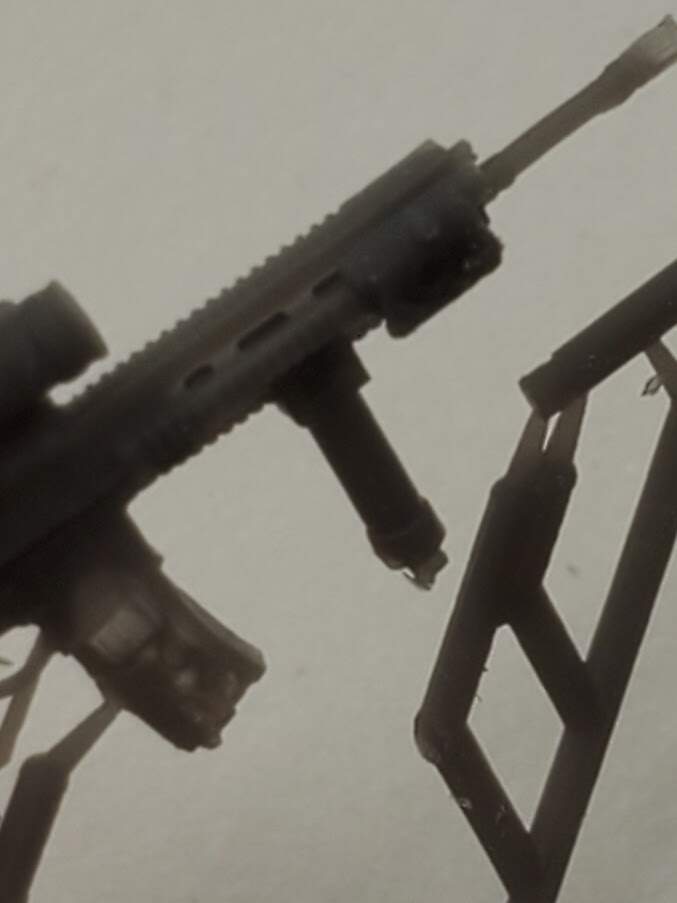

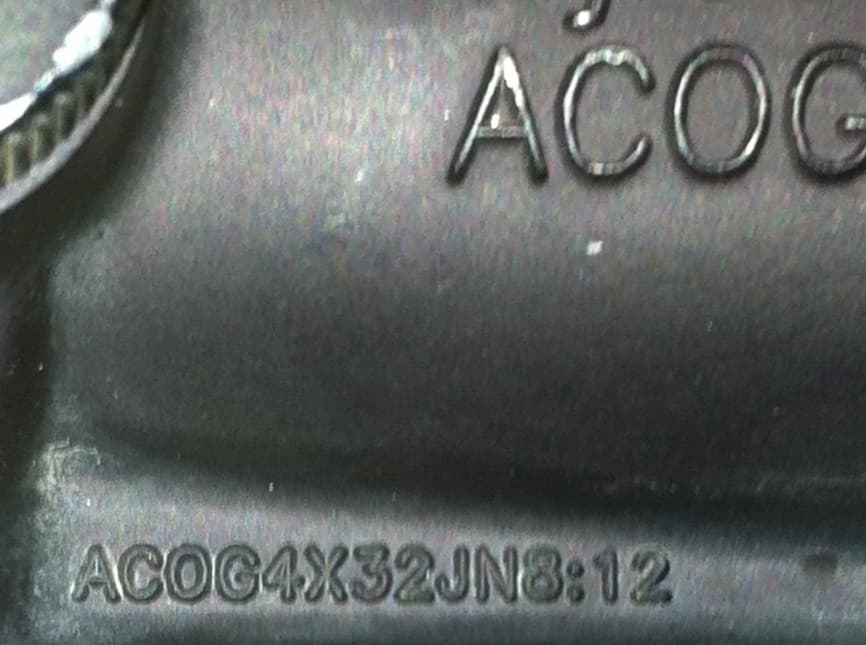
x8 zoom shows my printer’s attempt to print the honeycomb look of the scope! ![]()
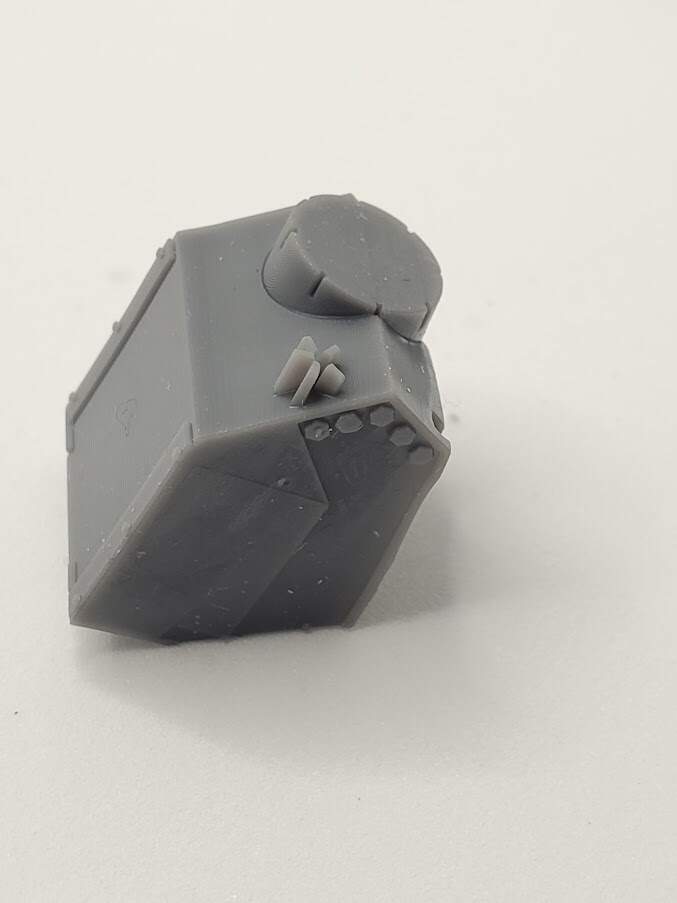
D9R exhaust reprint with the flap separated

4 Likes
That ARD mesh is most impressive in 1/35 scale! Wow!
2 Likes
Very cool modifications and printing detail.
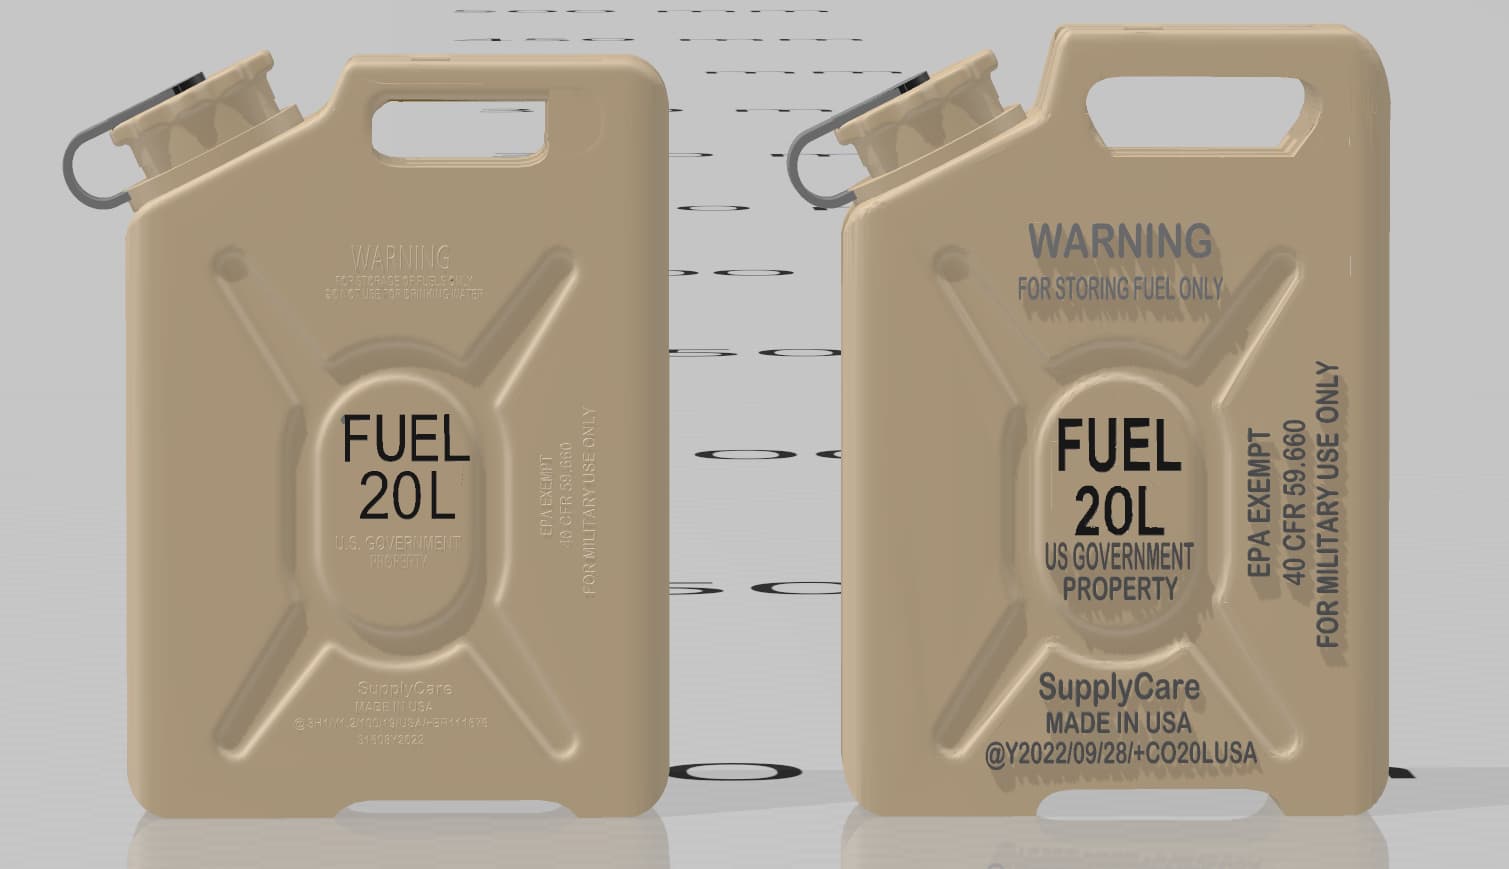
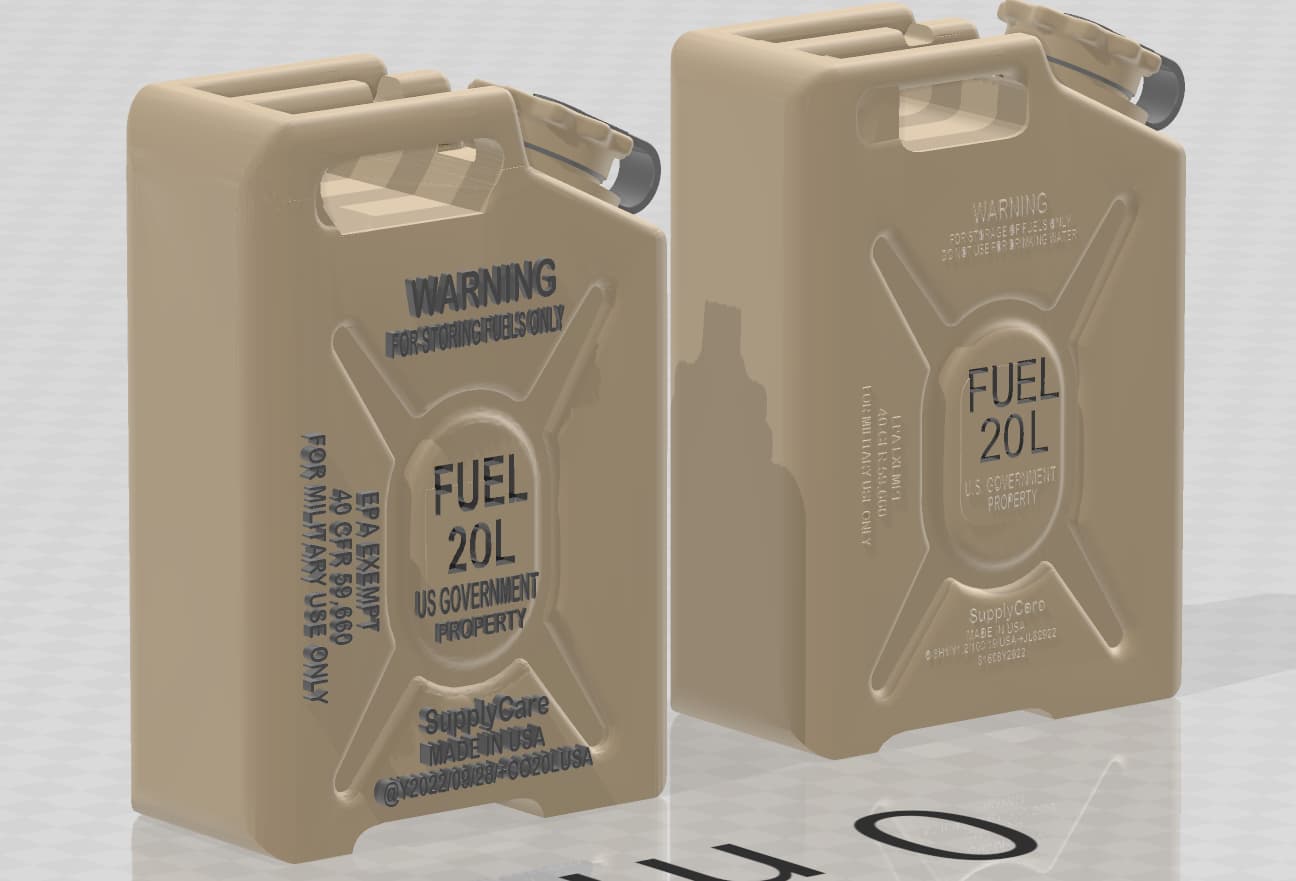
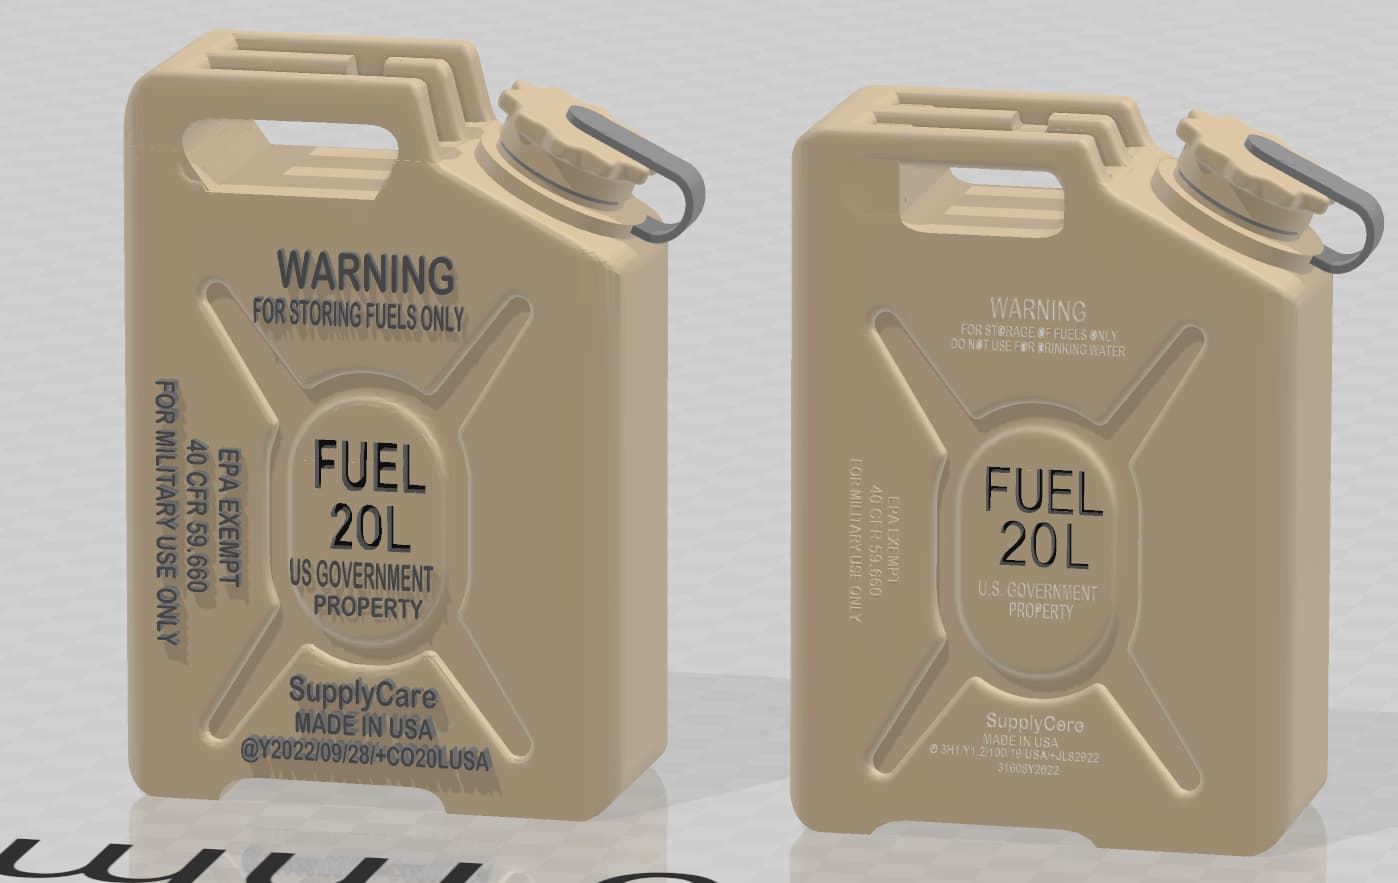
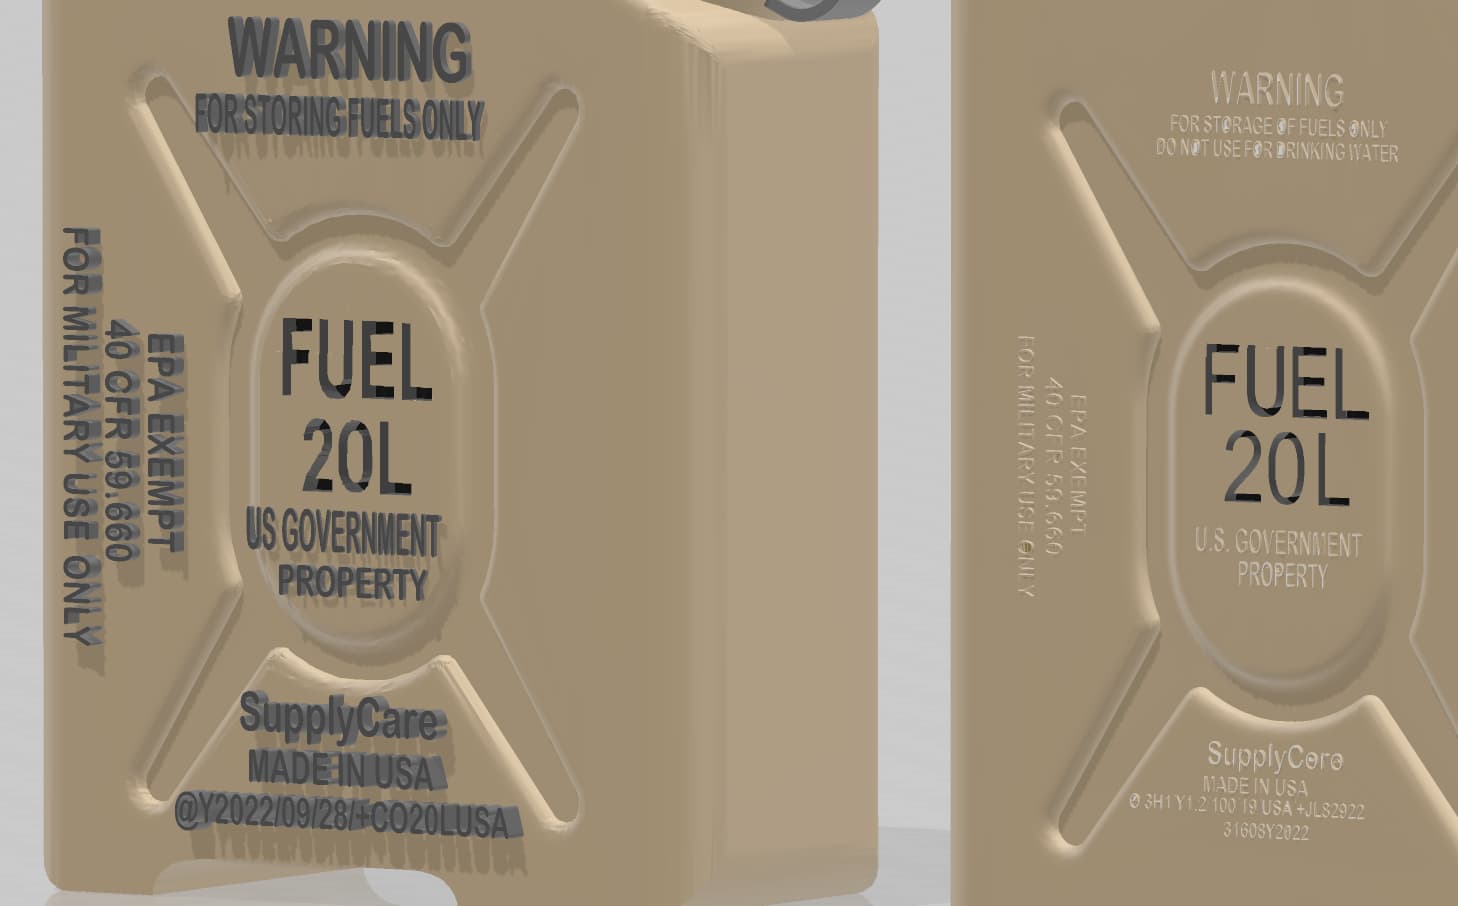
For @amoz02t , improved the design of the US modern 20L fuel can. To make the embossing visible in 1/35, I have oversized the text - not too sure how they’ll turn out, and that’s the best I can do. Indented “Fuel 20L” was bolded and its hole was deepened. In addition, I’ve improved the handle portion a bit. Hitting the 3D printer soon.
Before and After
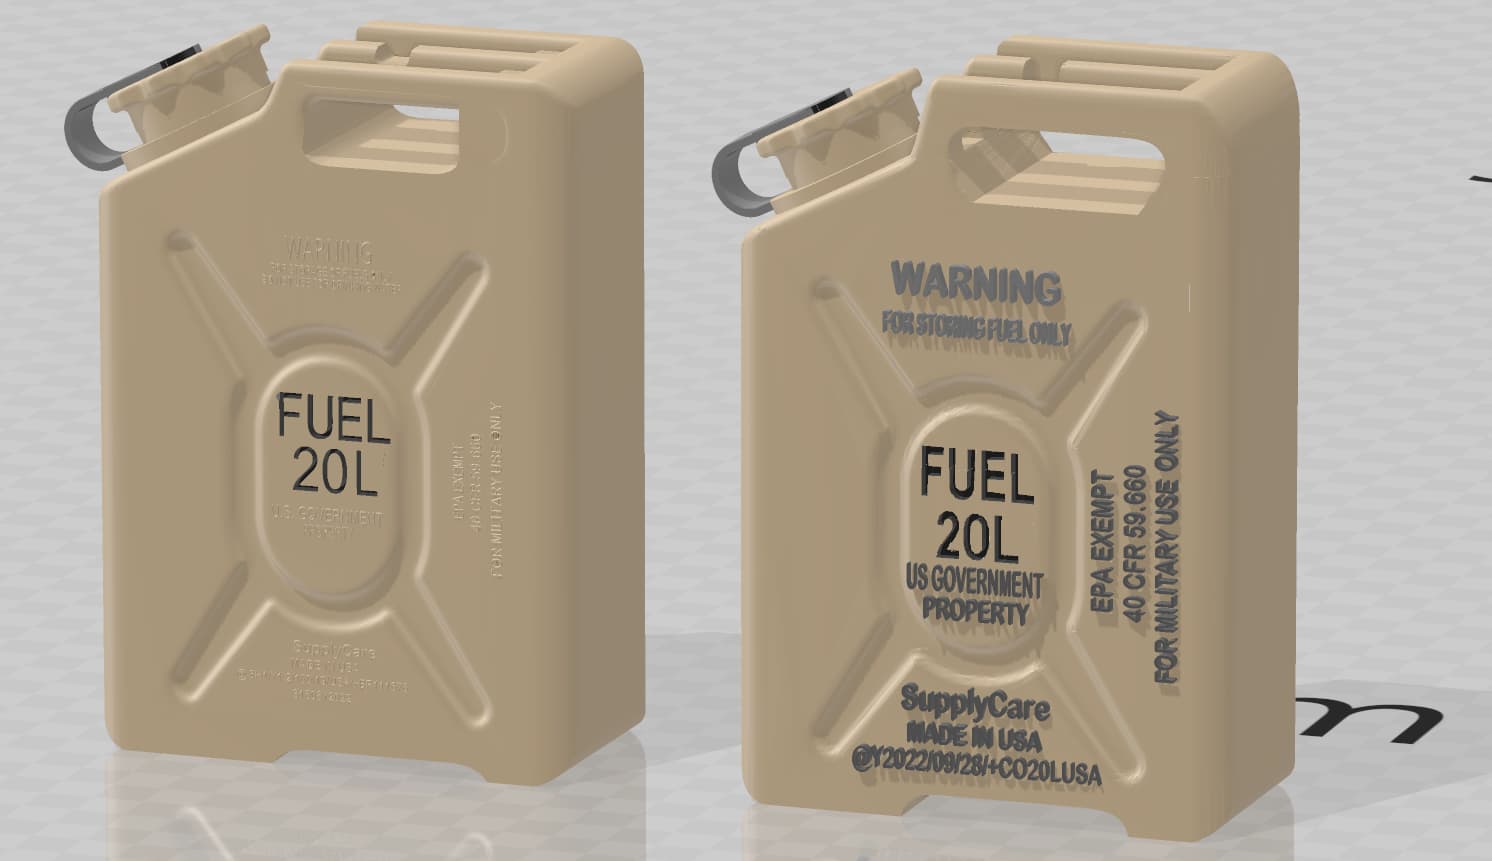

After and before:
4 Likes
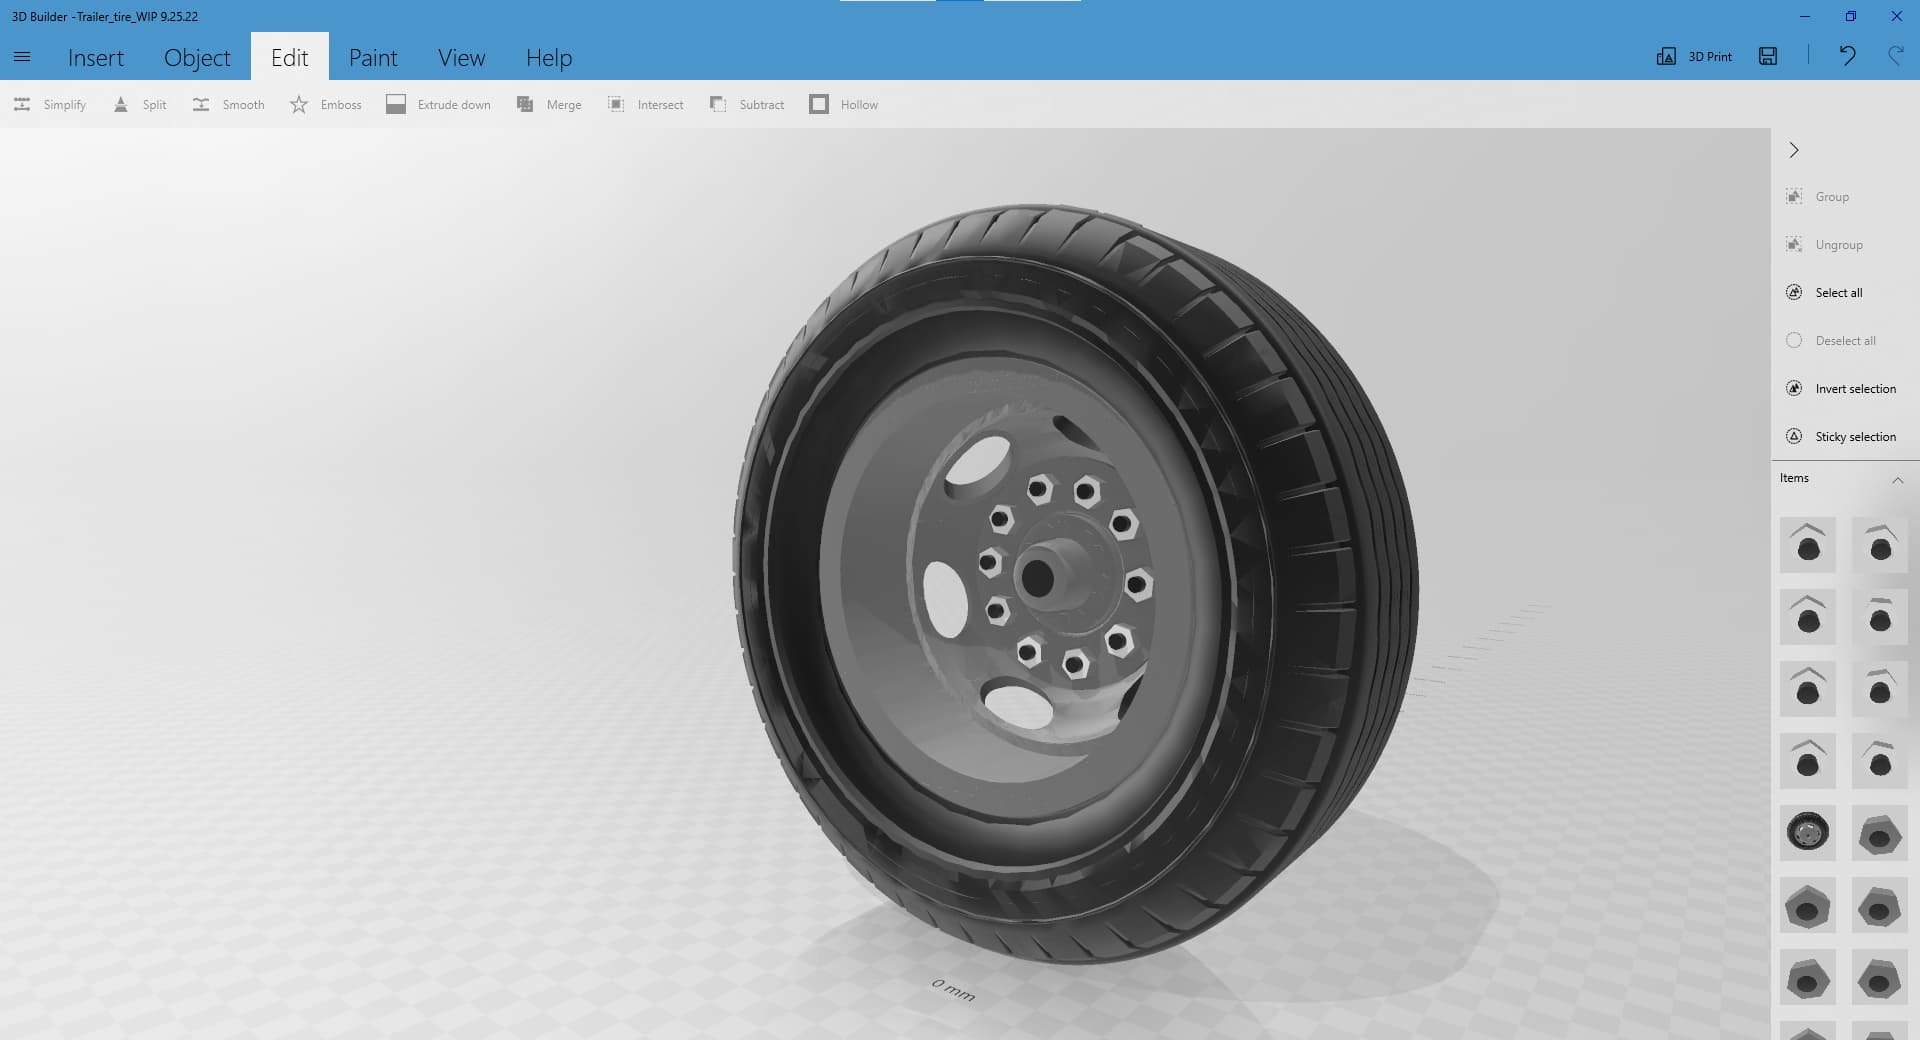
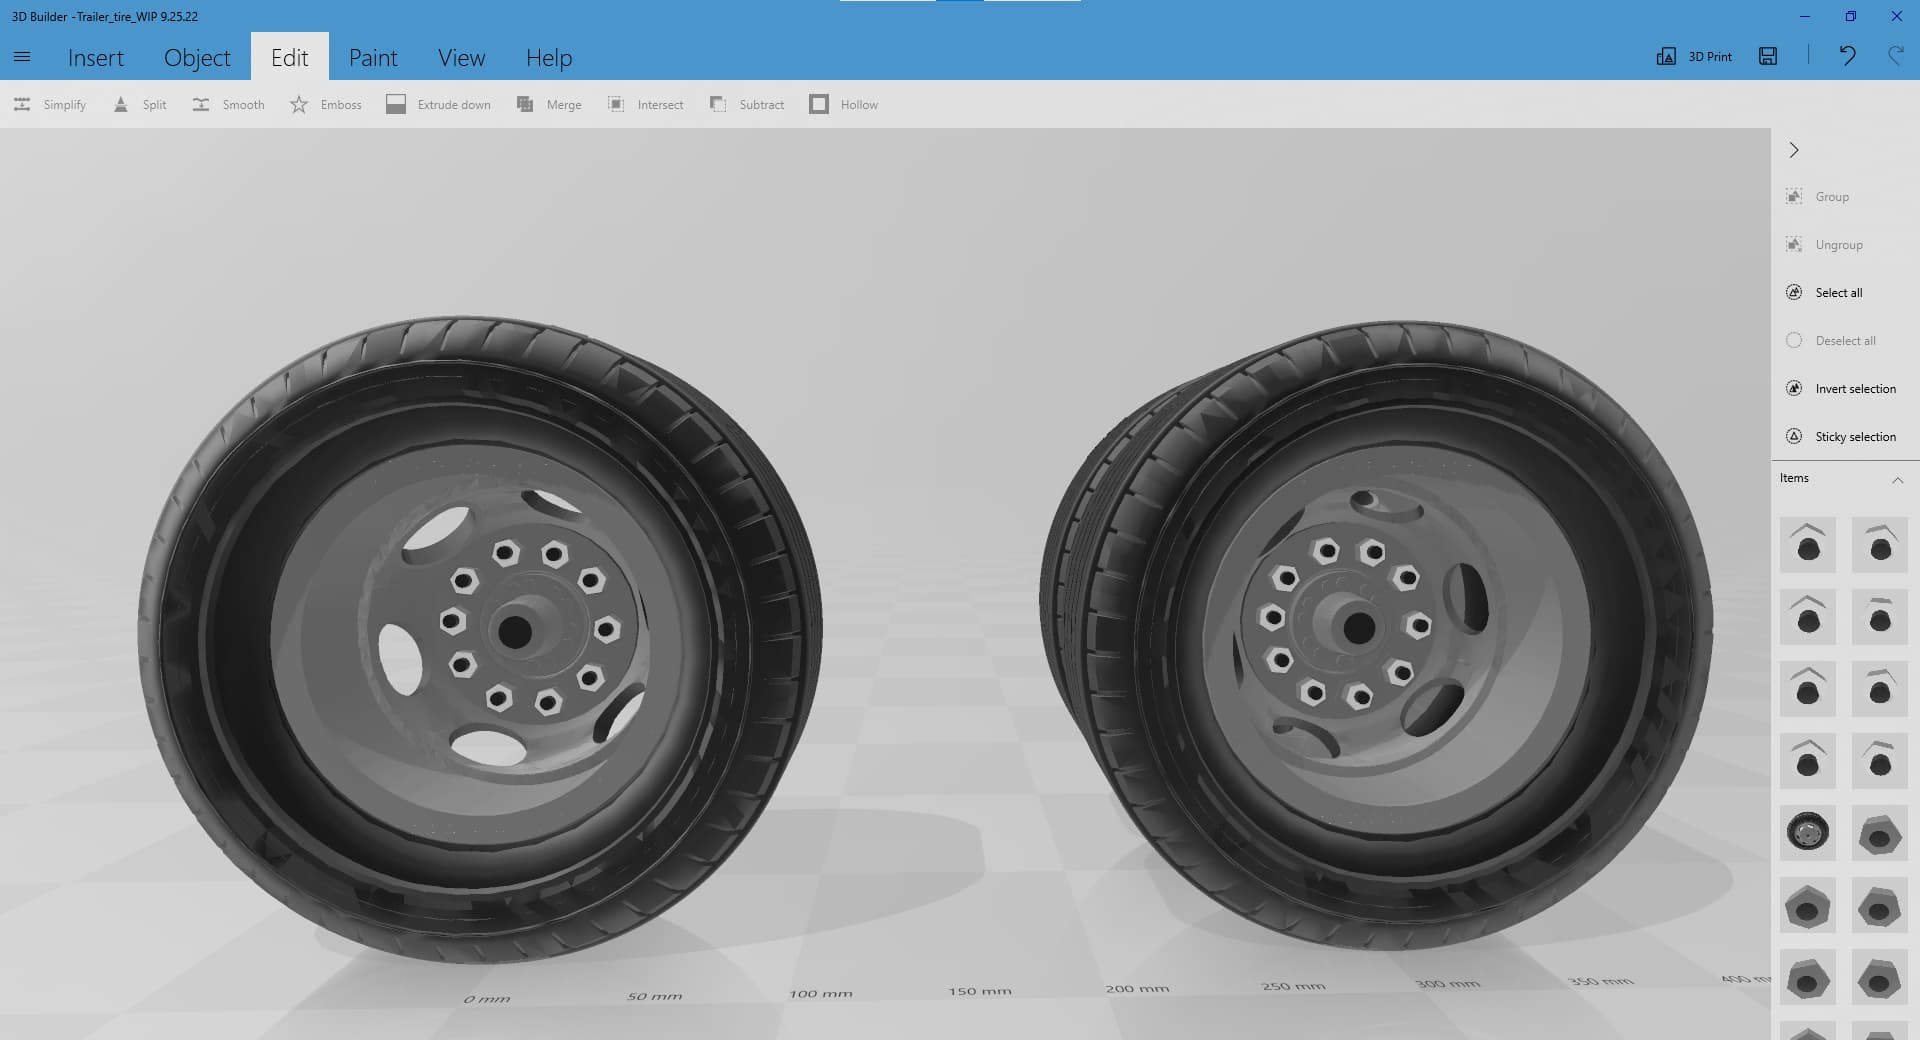
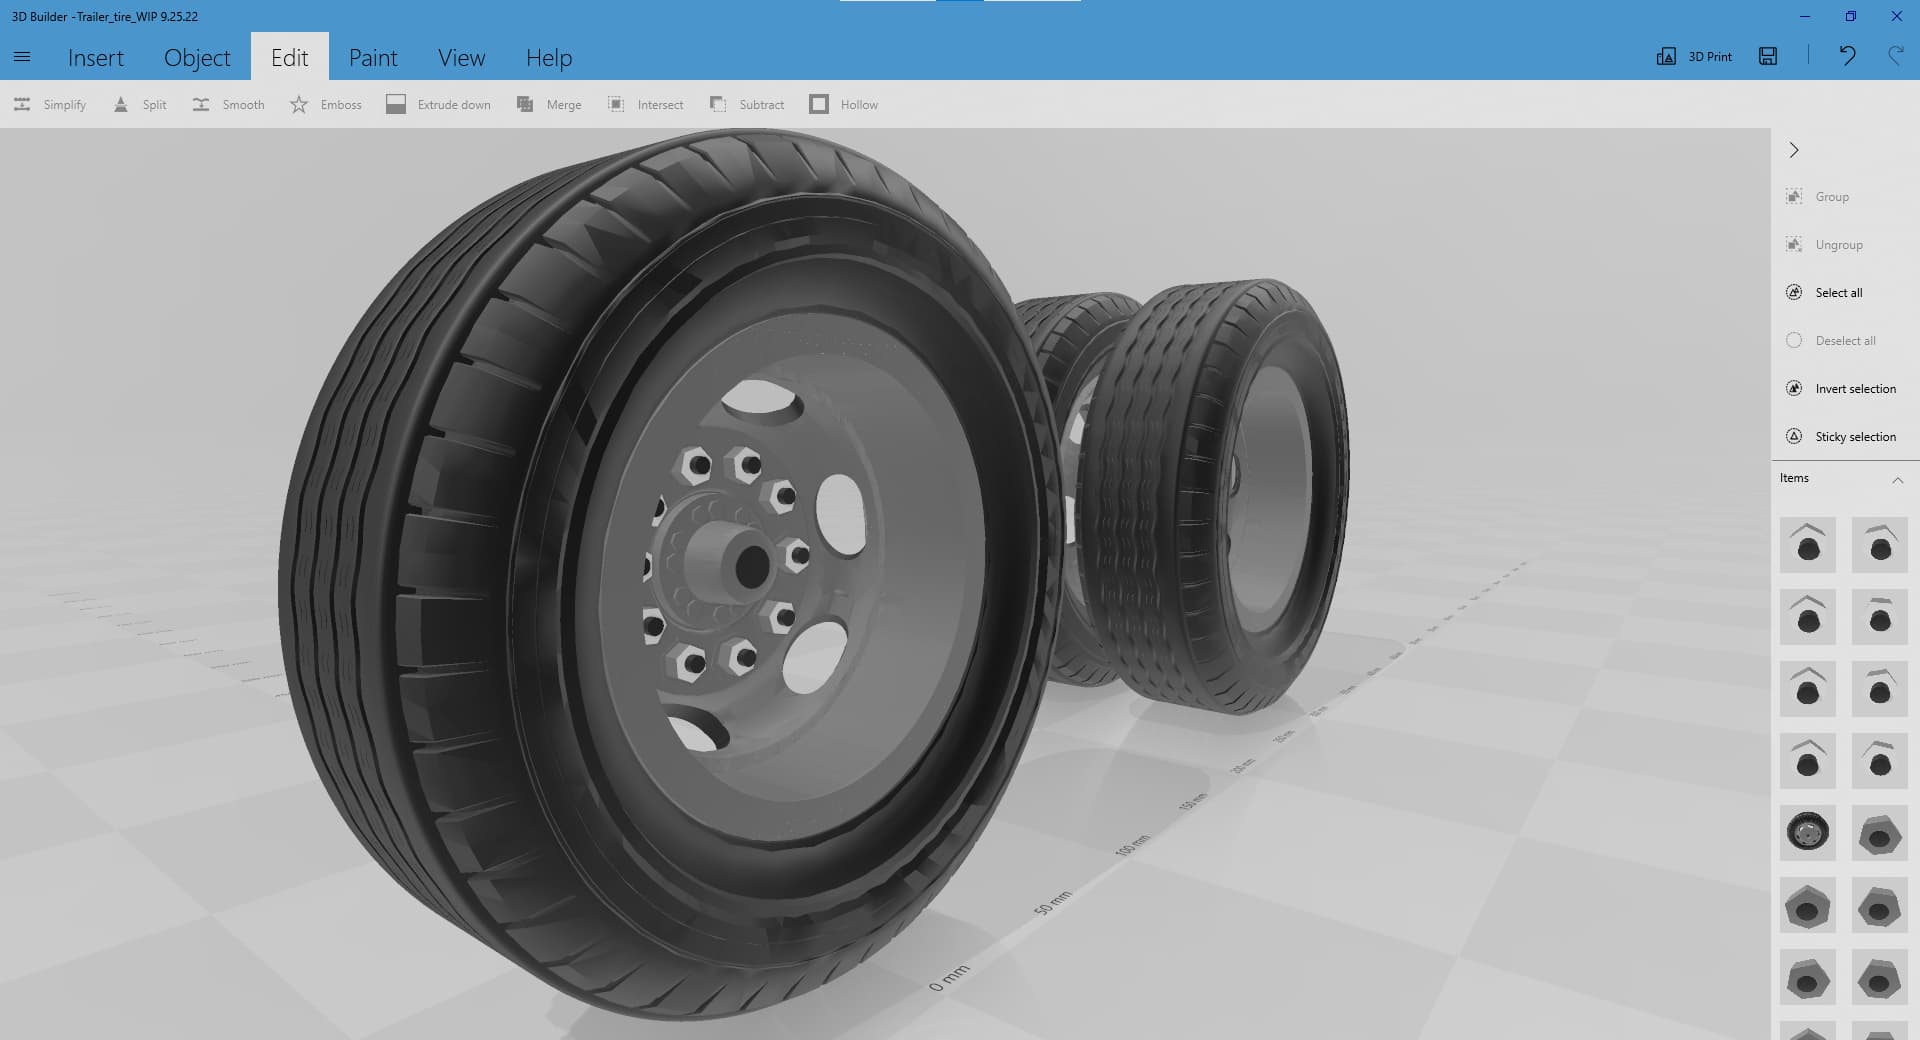
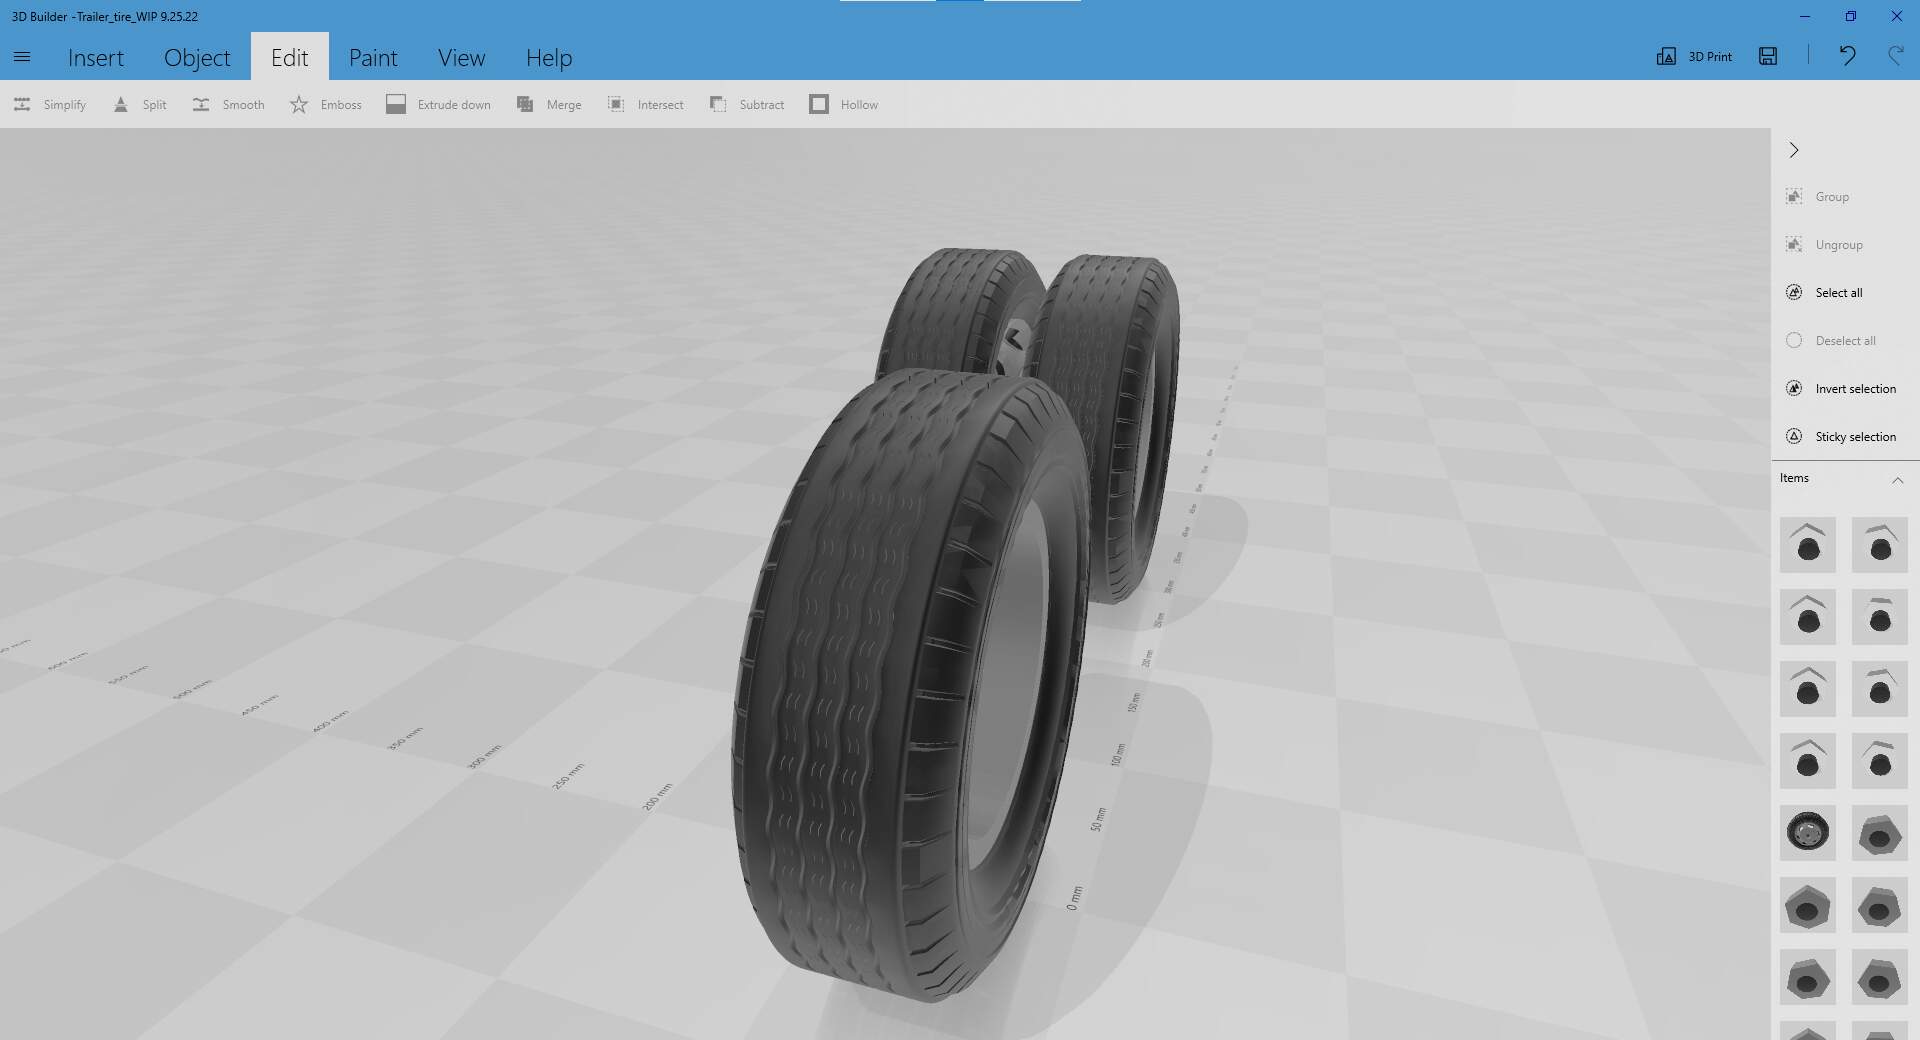
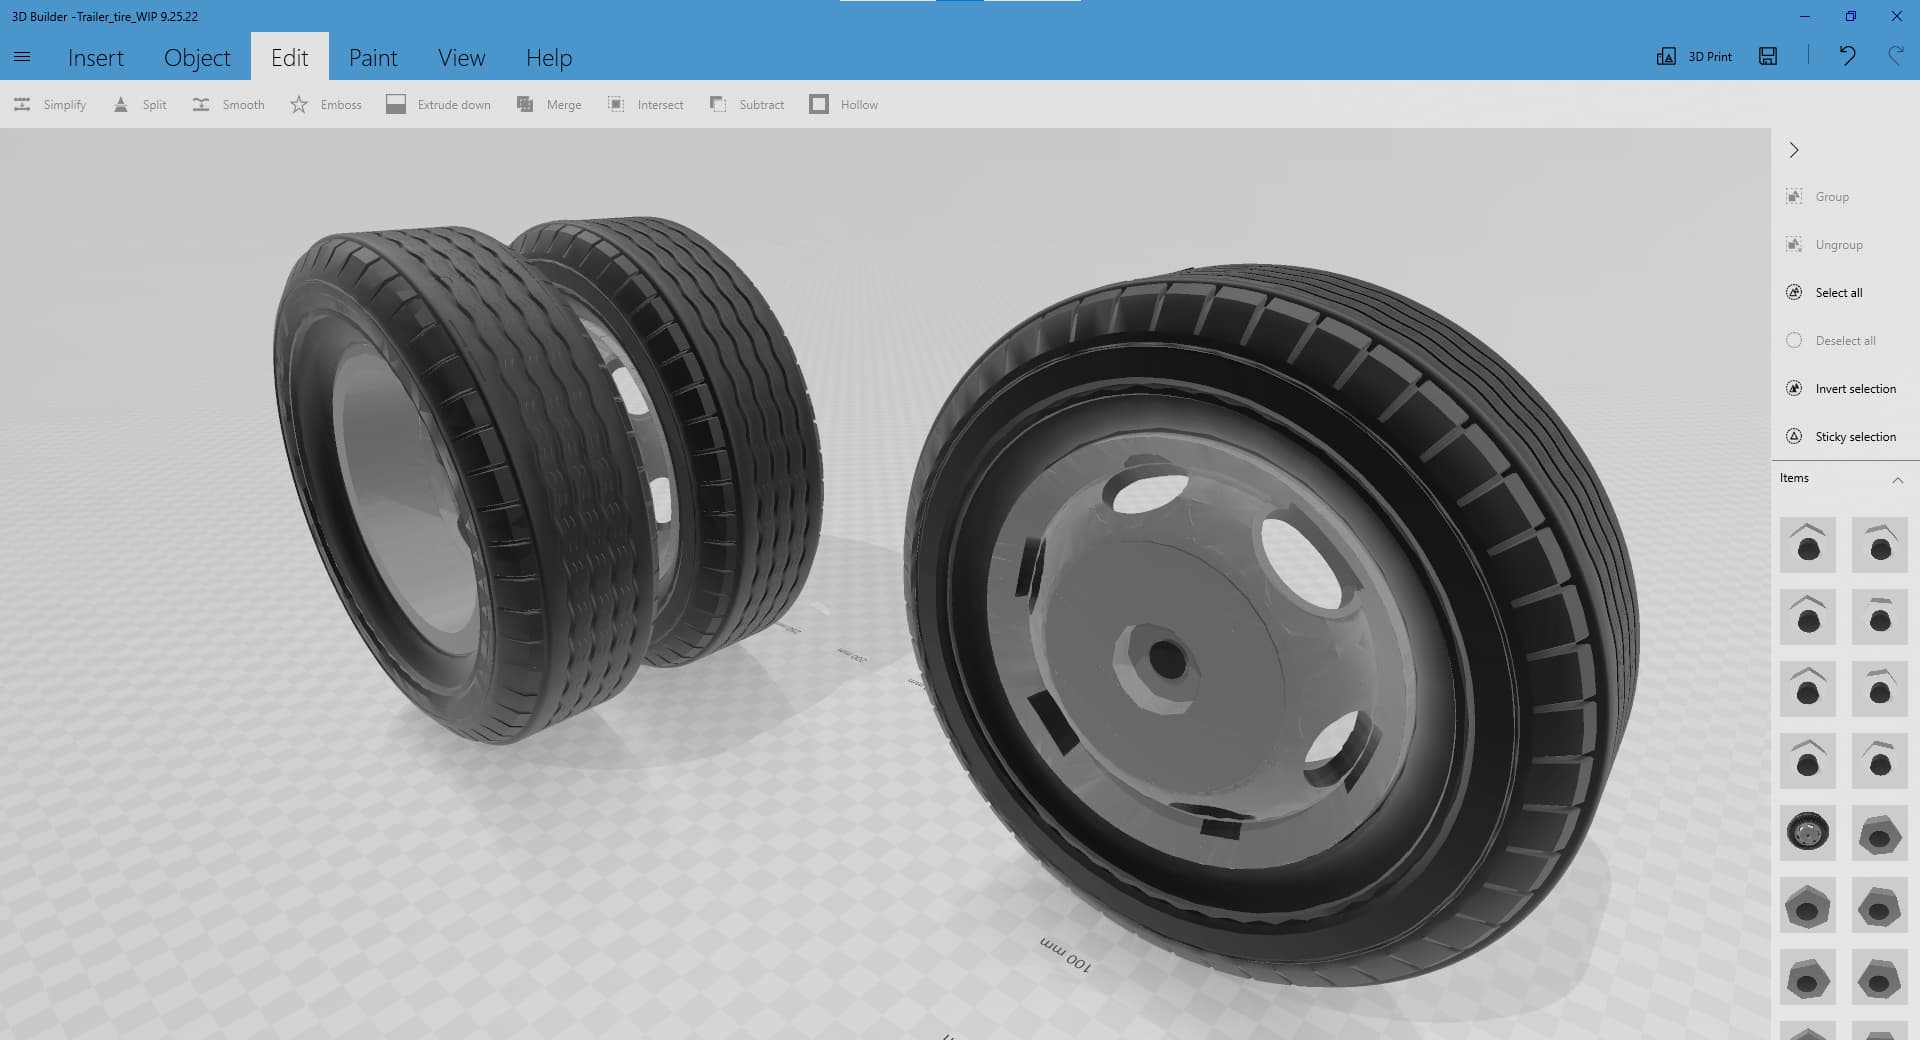
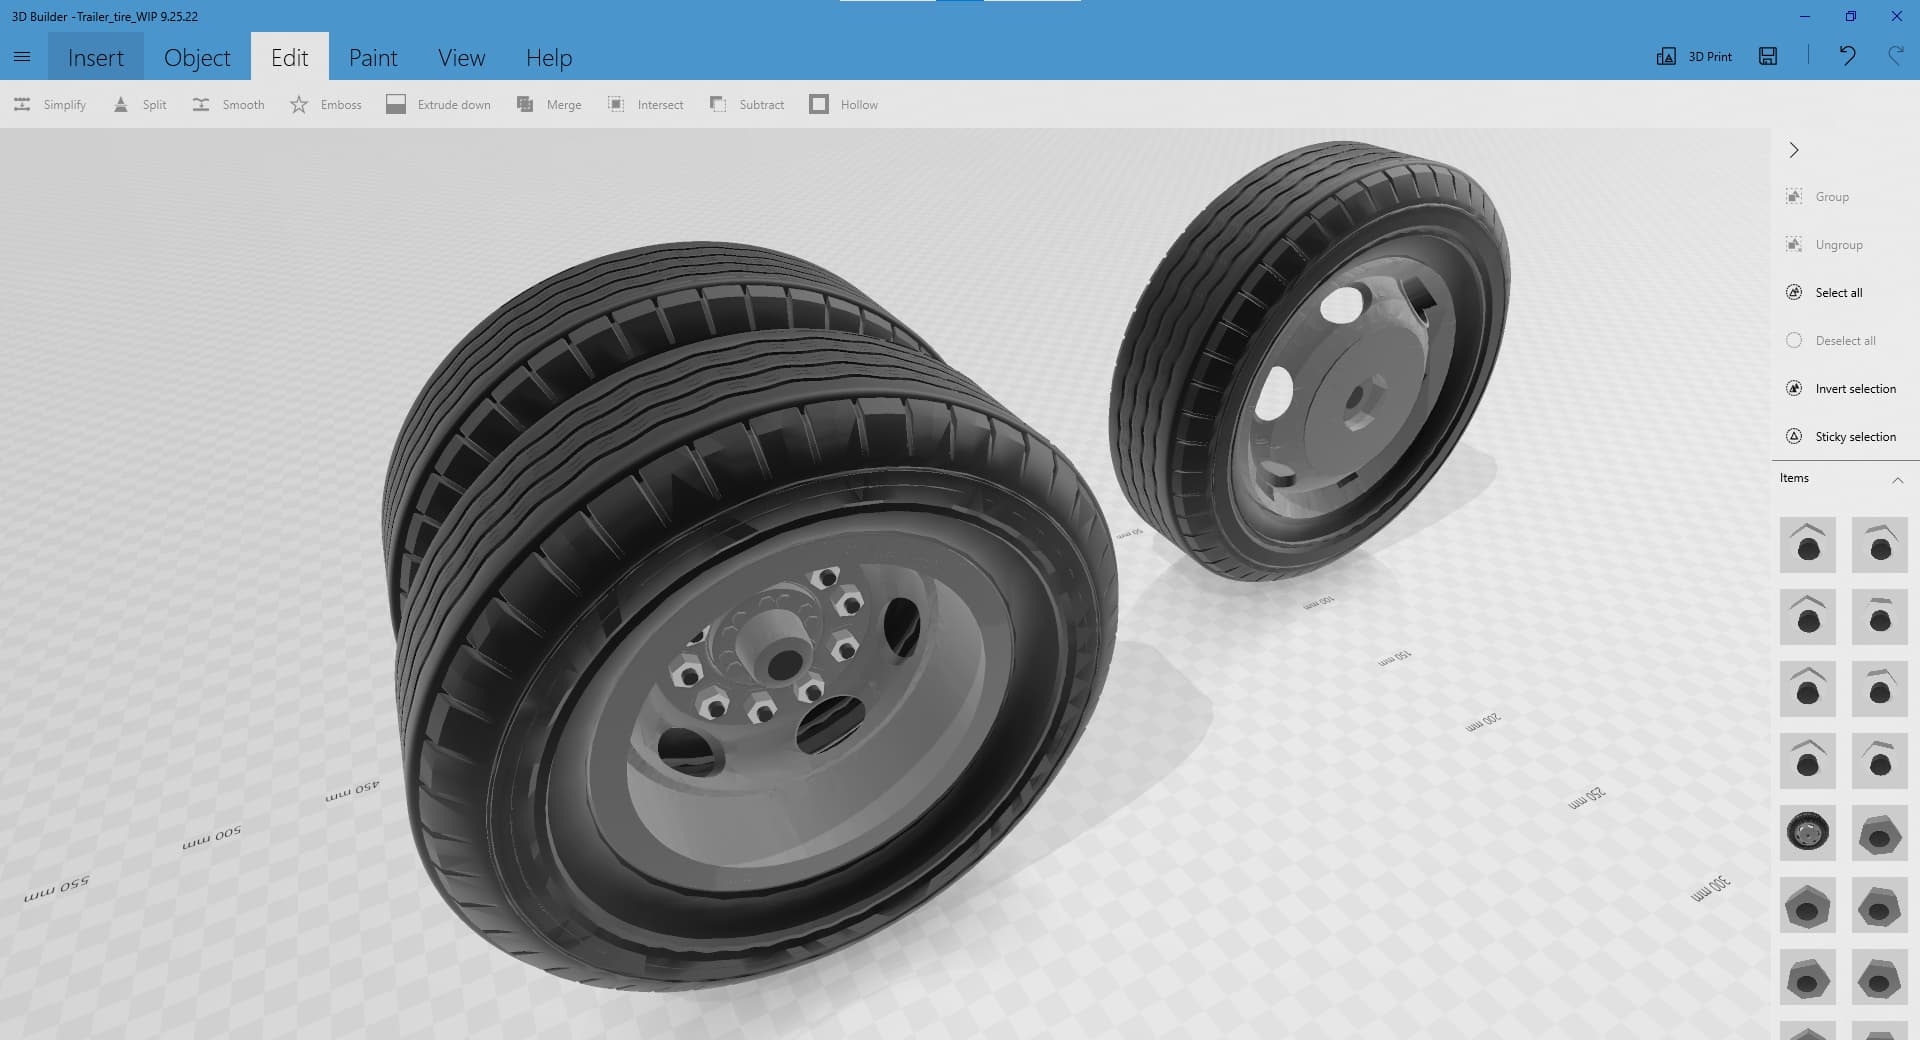
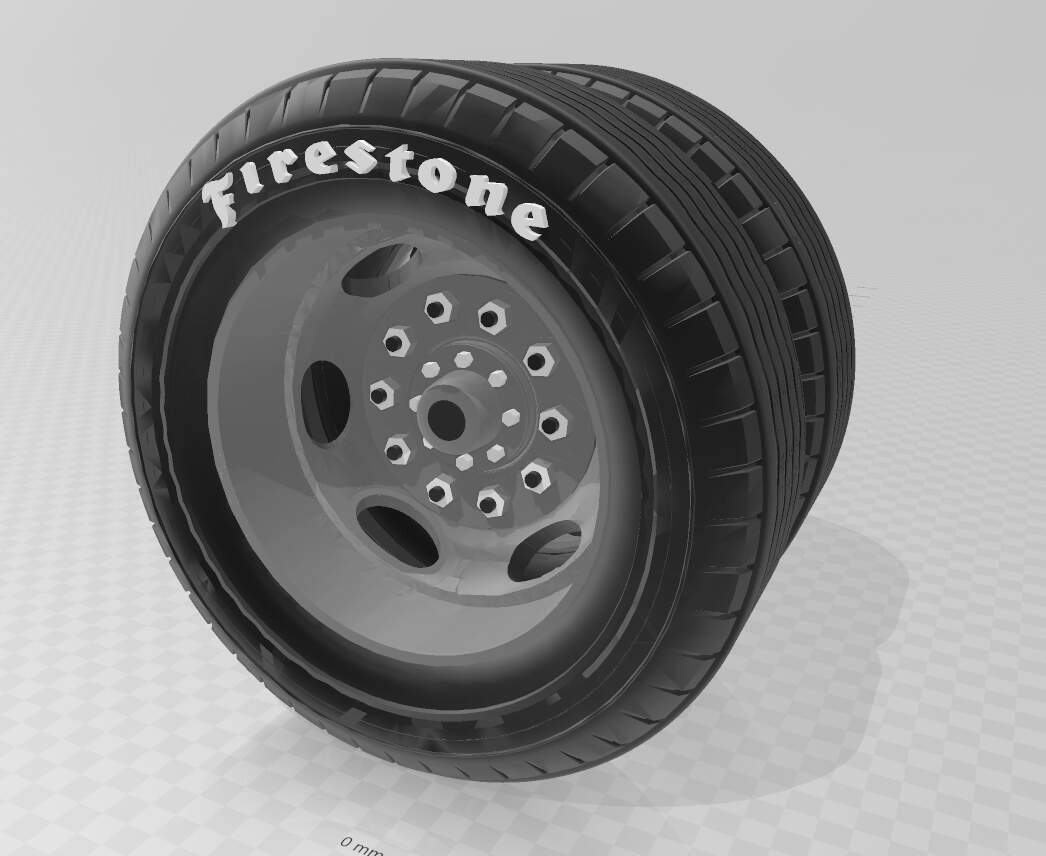
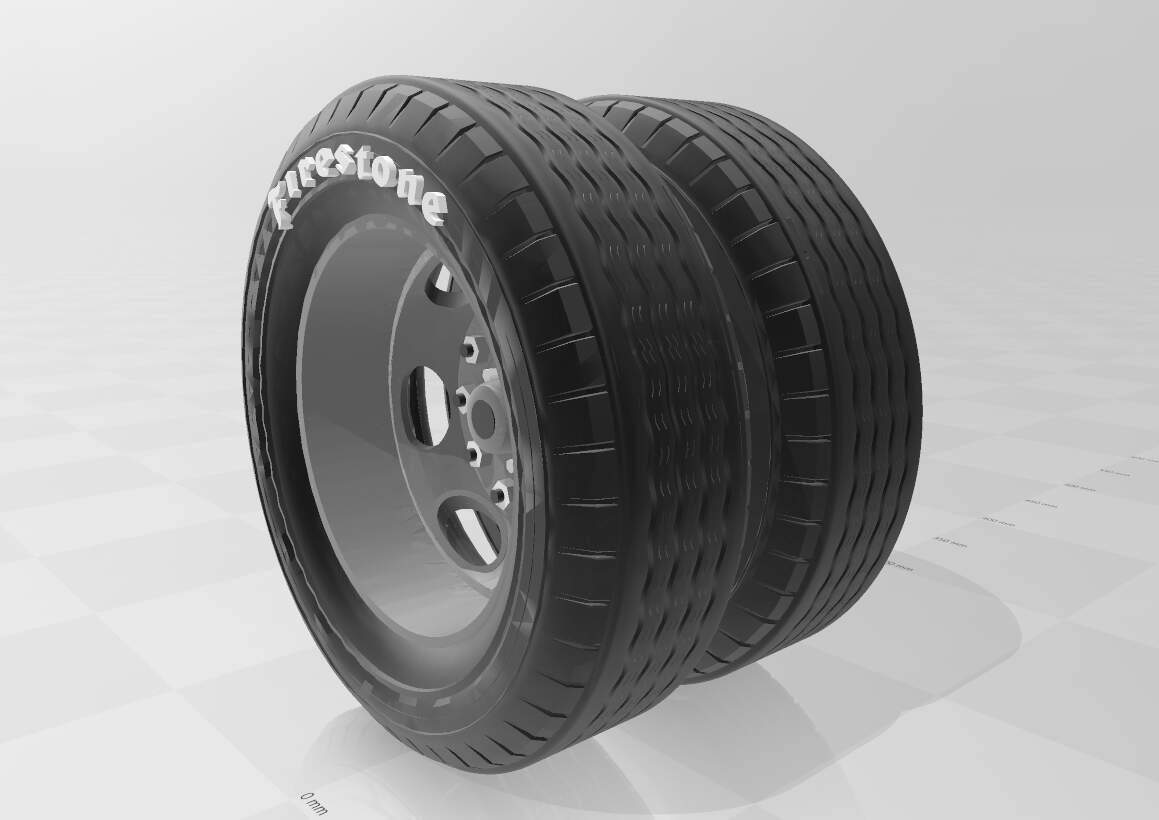
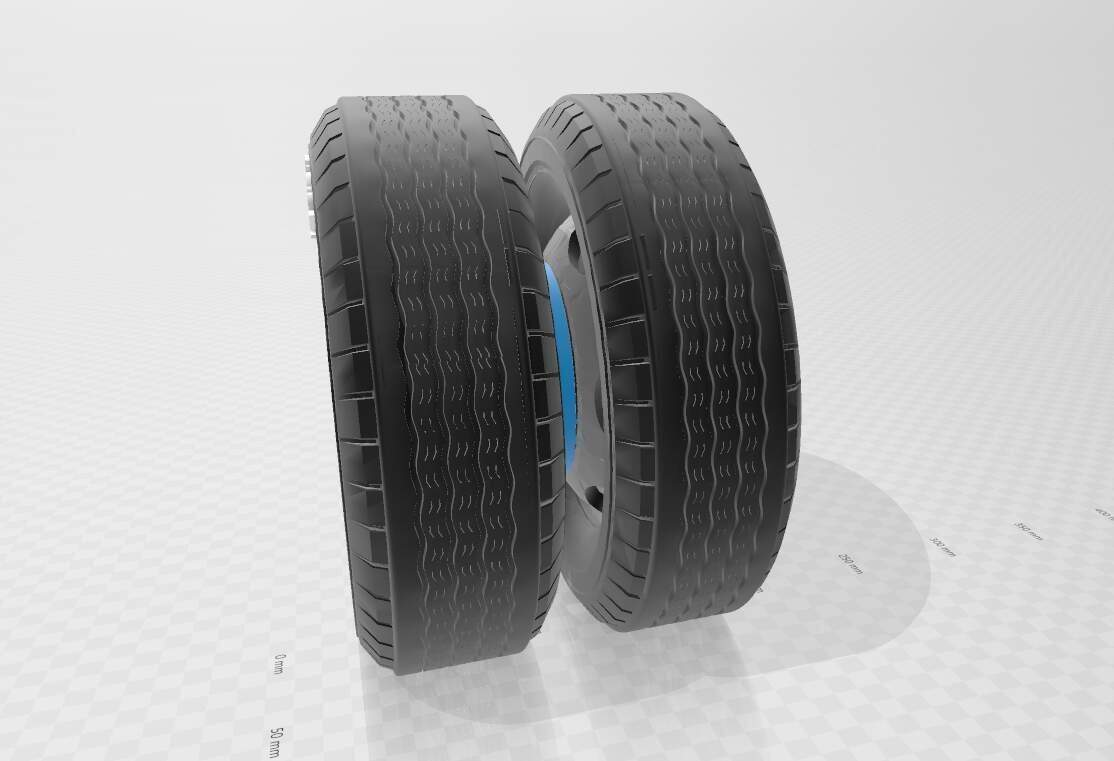
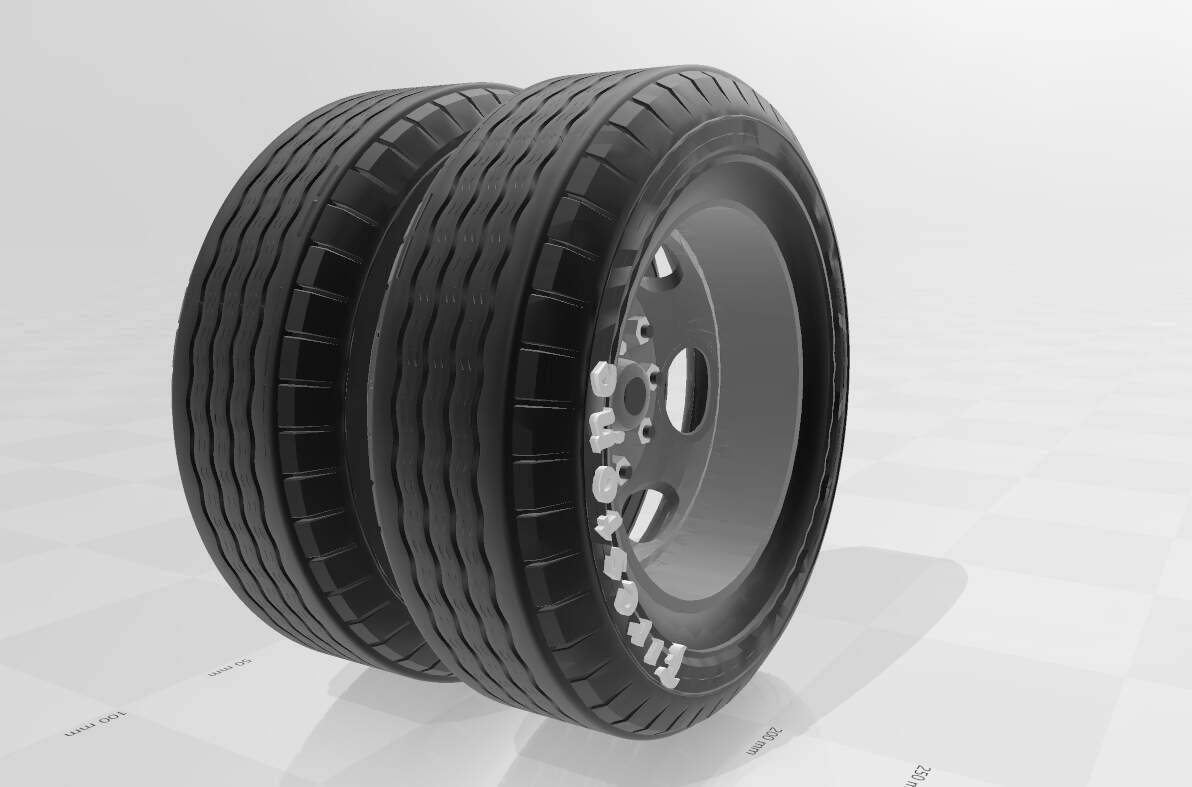
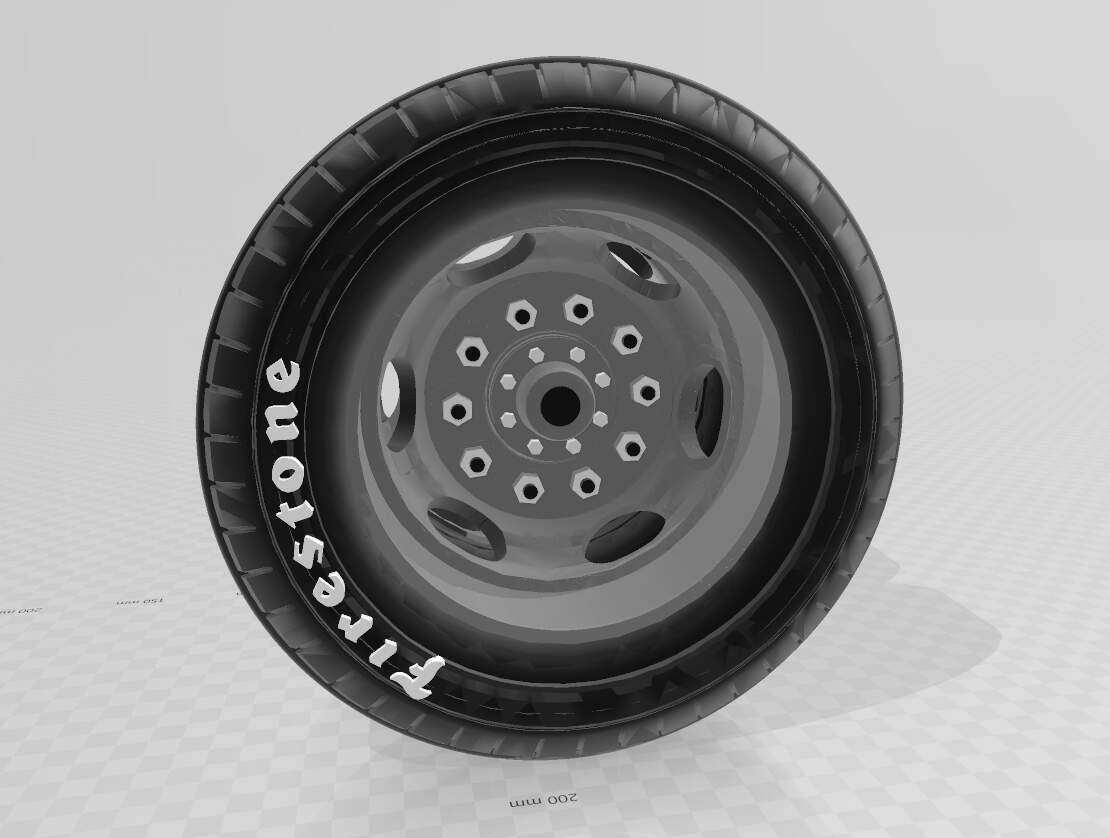
CAD for the wheels almost done. Going to make it look weighed a bit by slightly flattening the bottom. Will print in 1/35 this weekend:
1 Like
Thank you James! Like you, I am most excited to see how the final jerry can printing result turns out. My hope is that this exercise will lead to developing printed lettering techniques that could be used on other items. Can you imagine a 1/35 scale Trijicon scope Bible verse?
2 Likes
@amoz02t in 1/16 I think that the embossing would probably look great but in 1/35 those letters would probably be around 0.1mm tall and sub 0.1mm thick. It would almost certainly come out as small, barely visible rectangular blocks on the surface if it could print at all. But 1/16 seems like an interesting idea to investigate.
1 Like