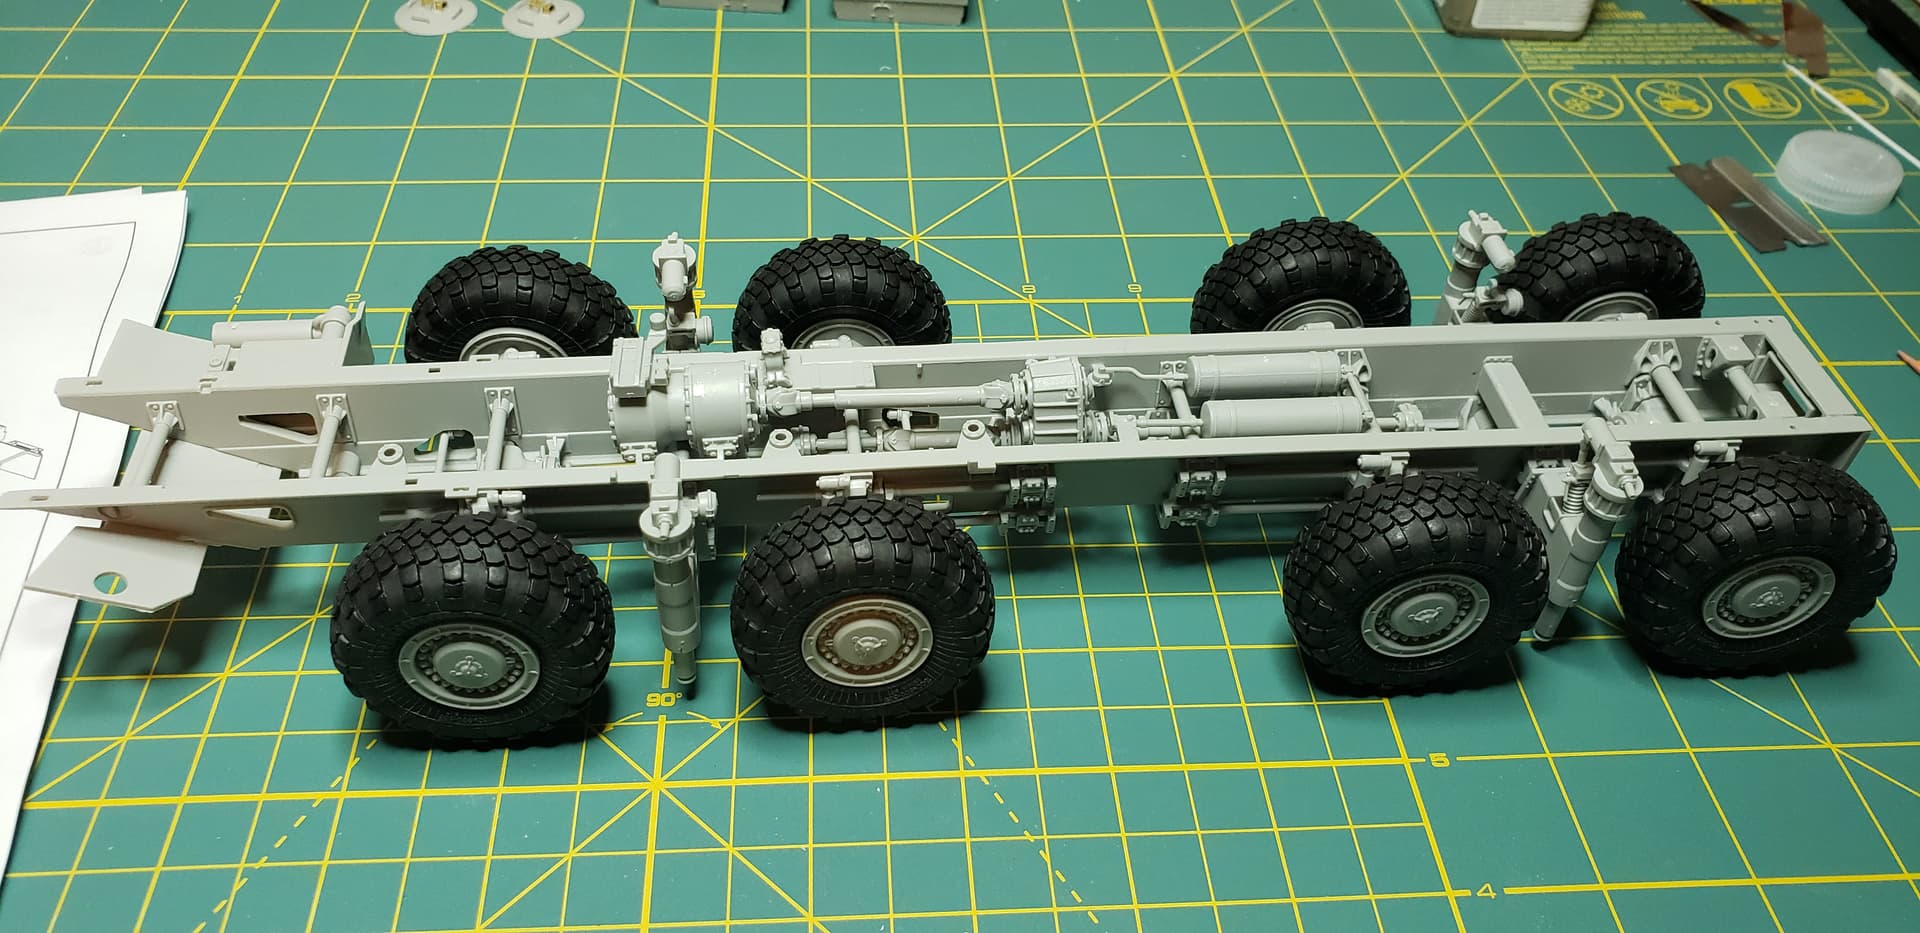
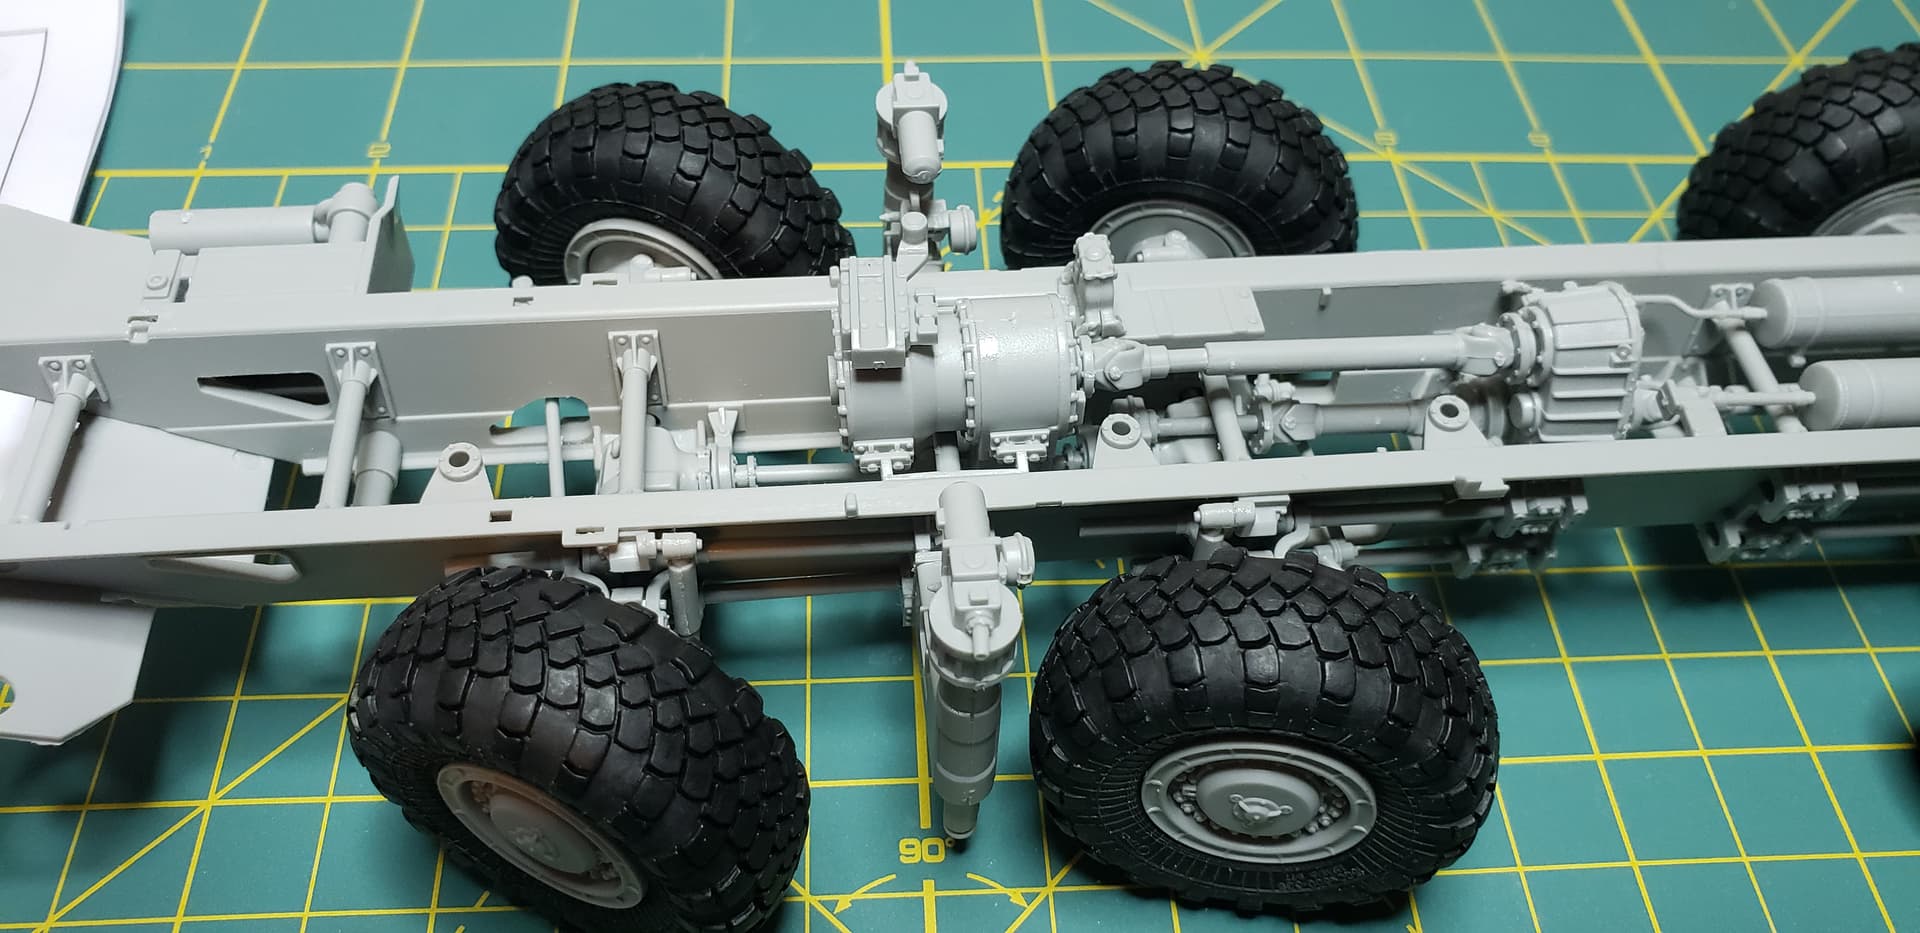
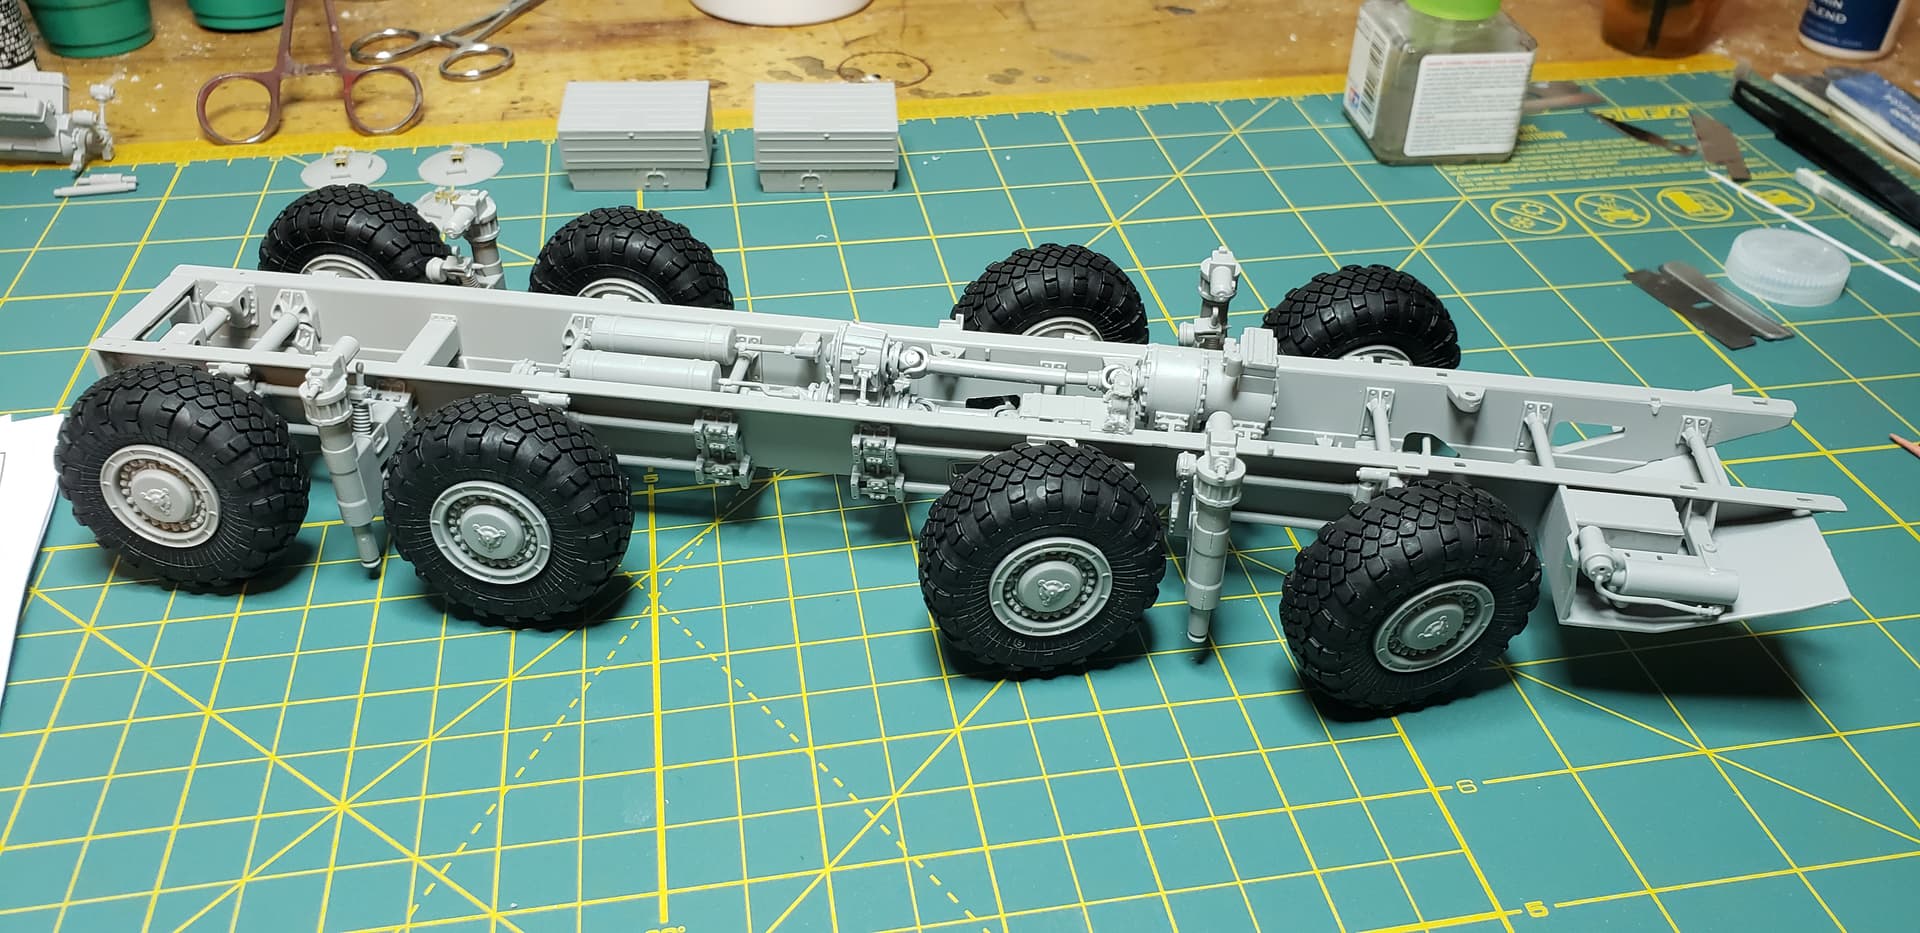
The wheels are movable right now, until the steering rods/tie rods go on. That locks the wheels angle . Theres a fantastic wip of a 7410 maz built by 165thspc , and he left the tie rods connecting pin off allowing them to steer.
Yeah really looking forward to all the 8x8 builds underway !
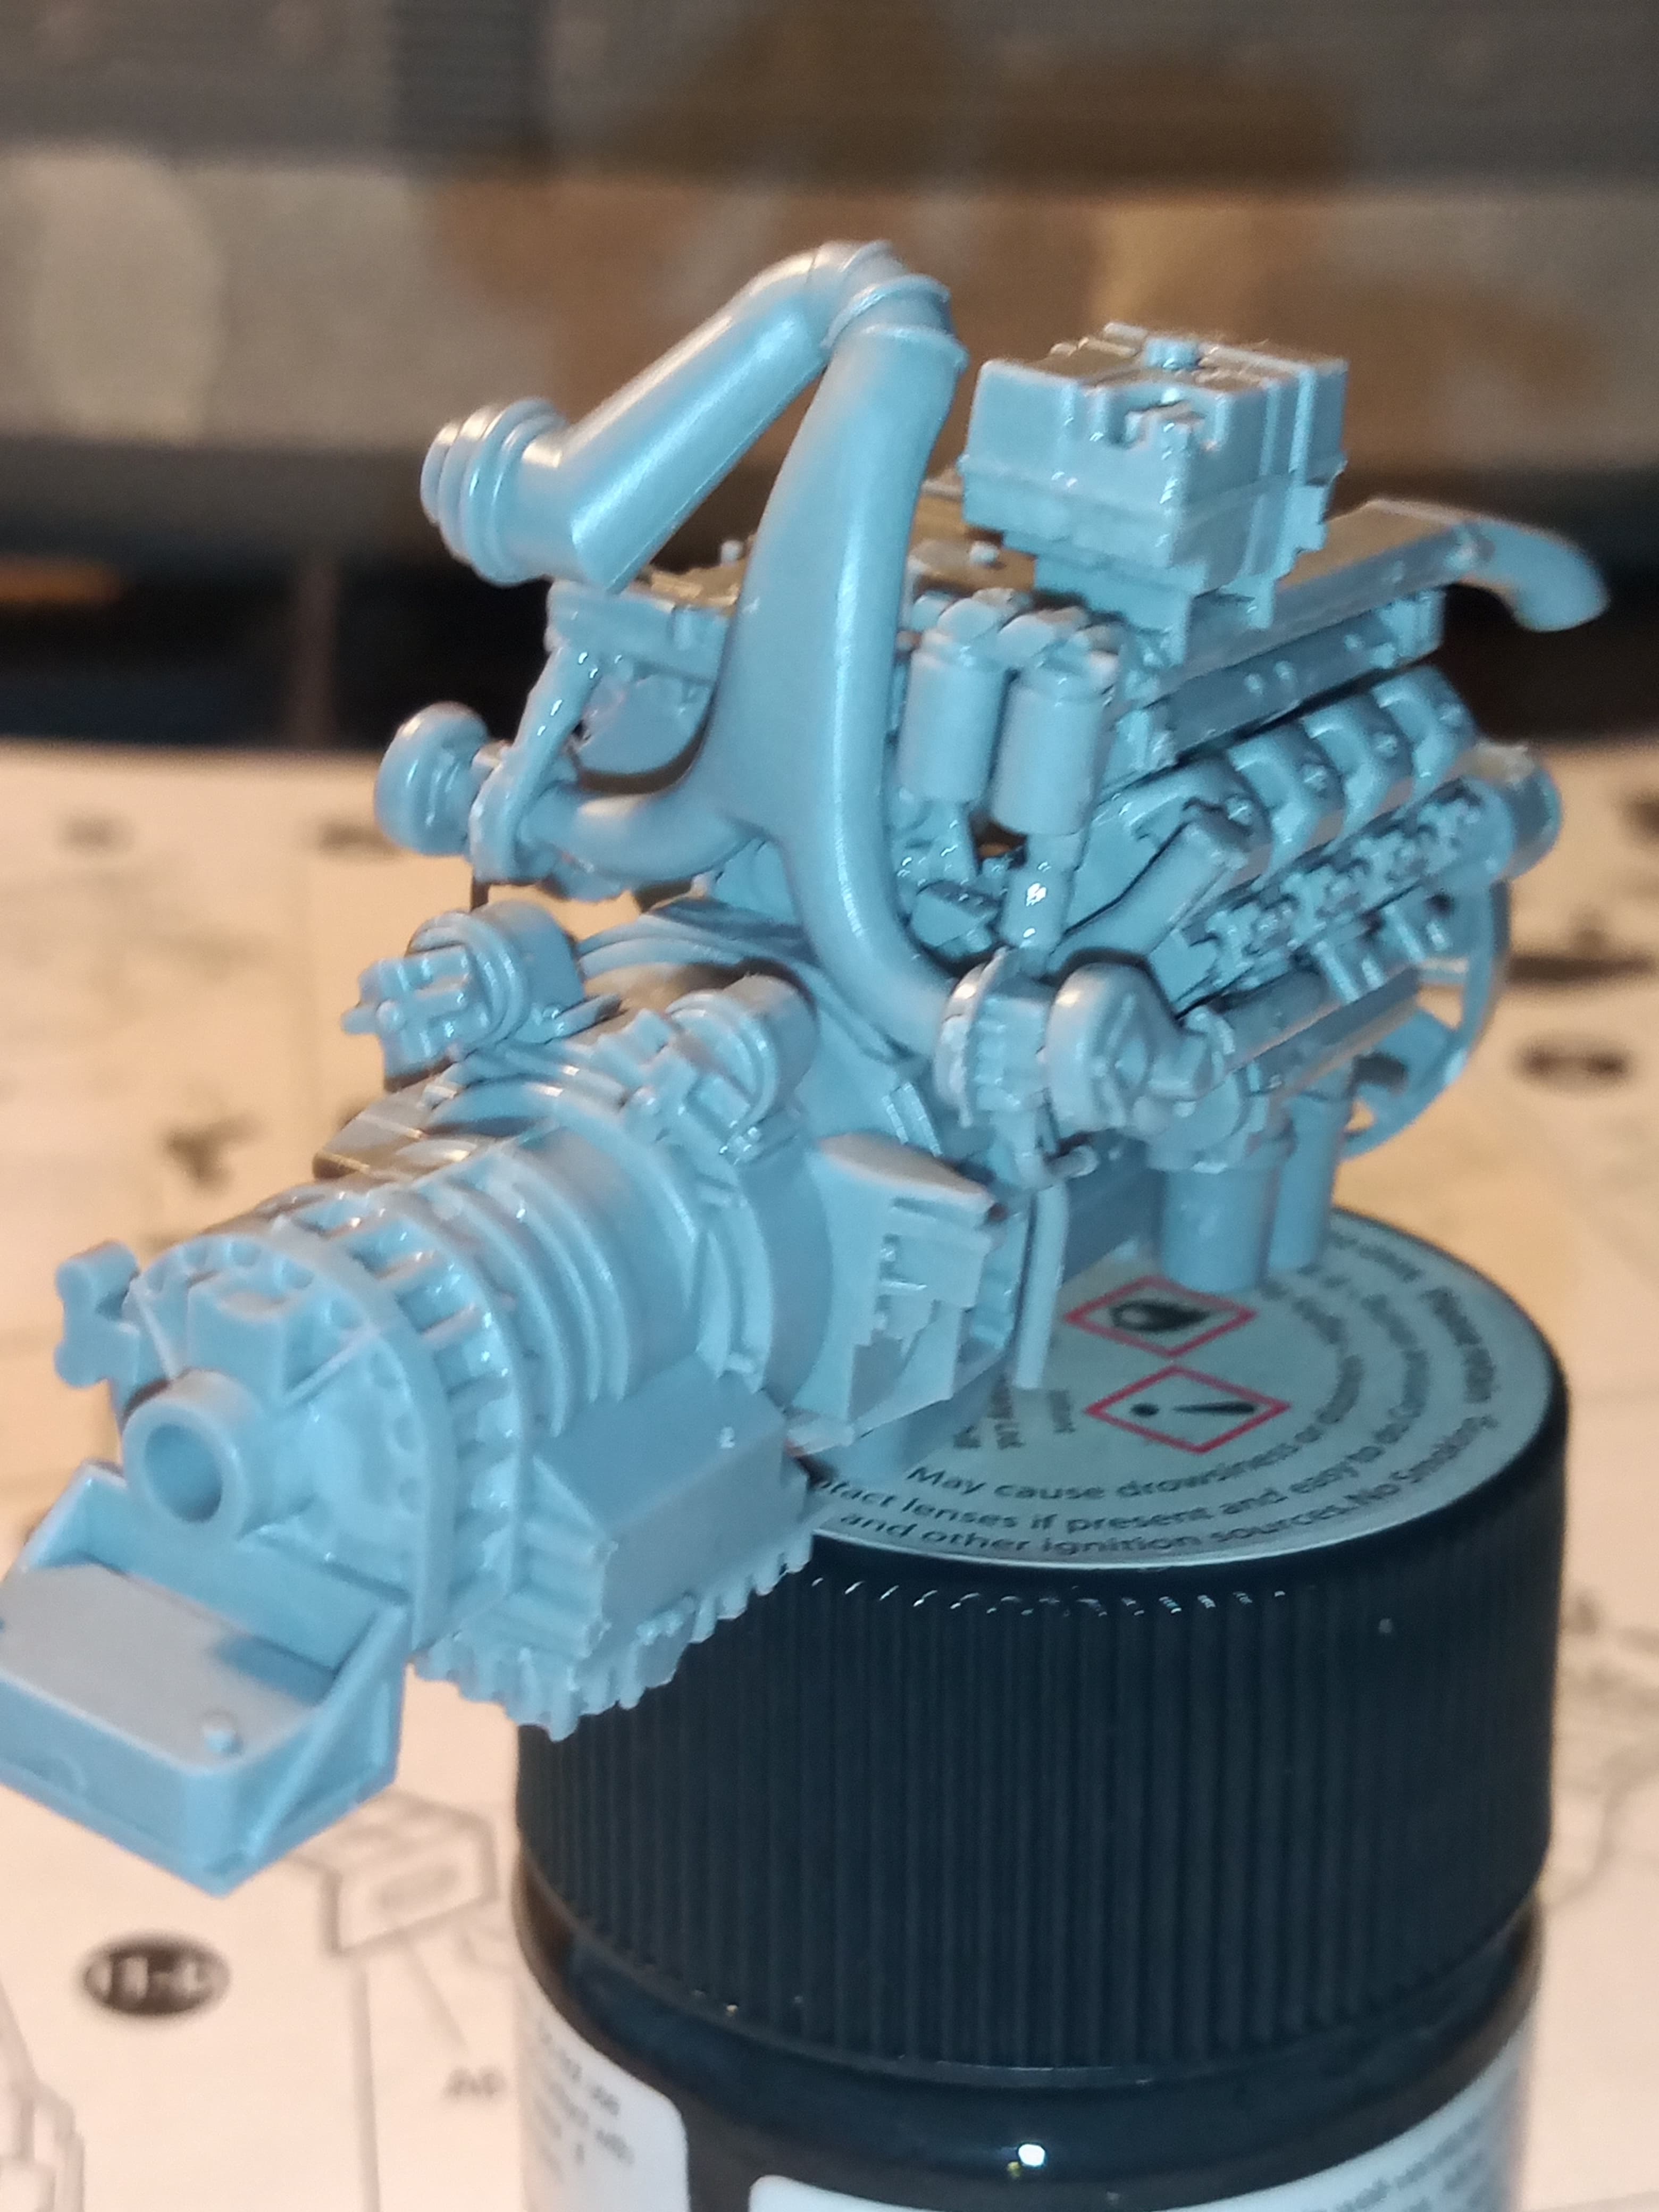
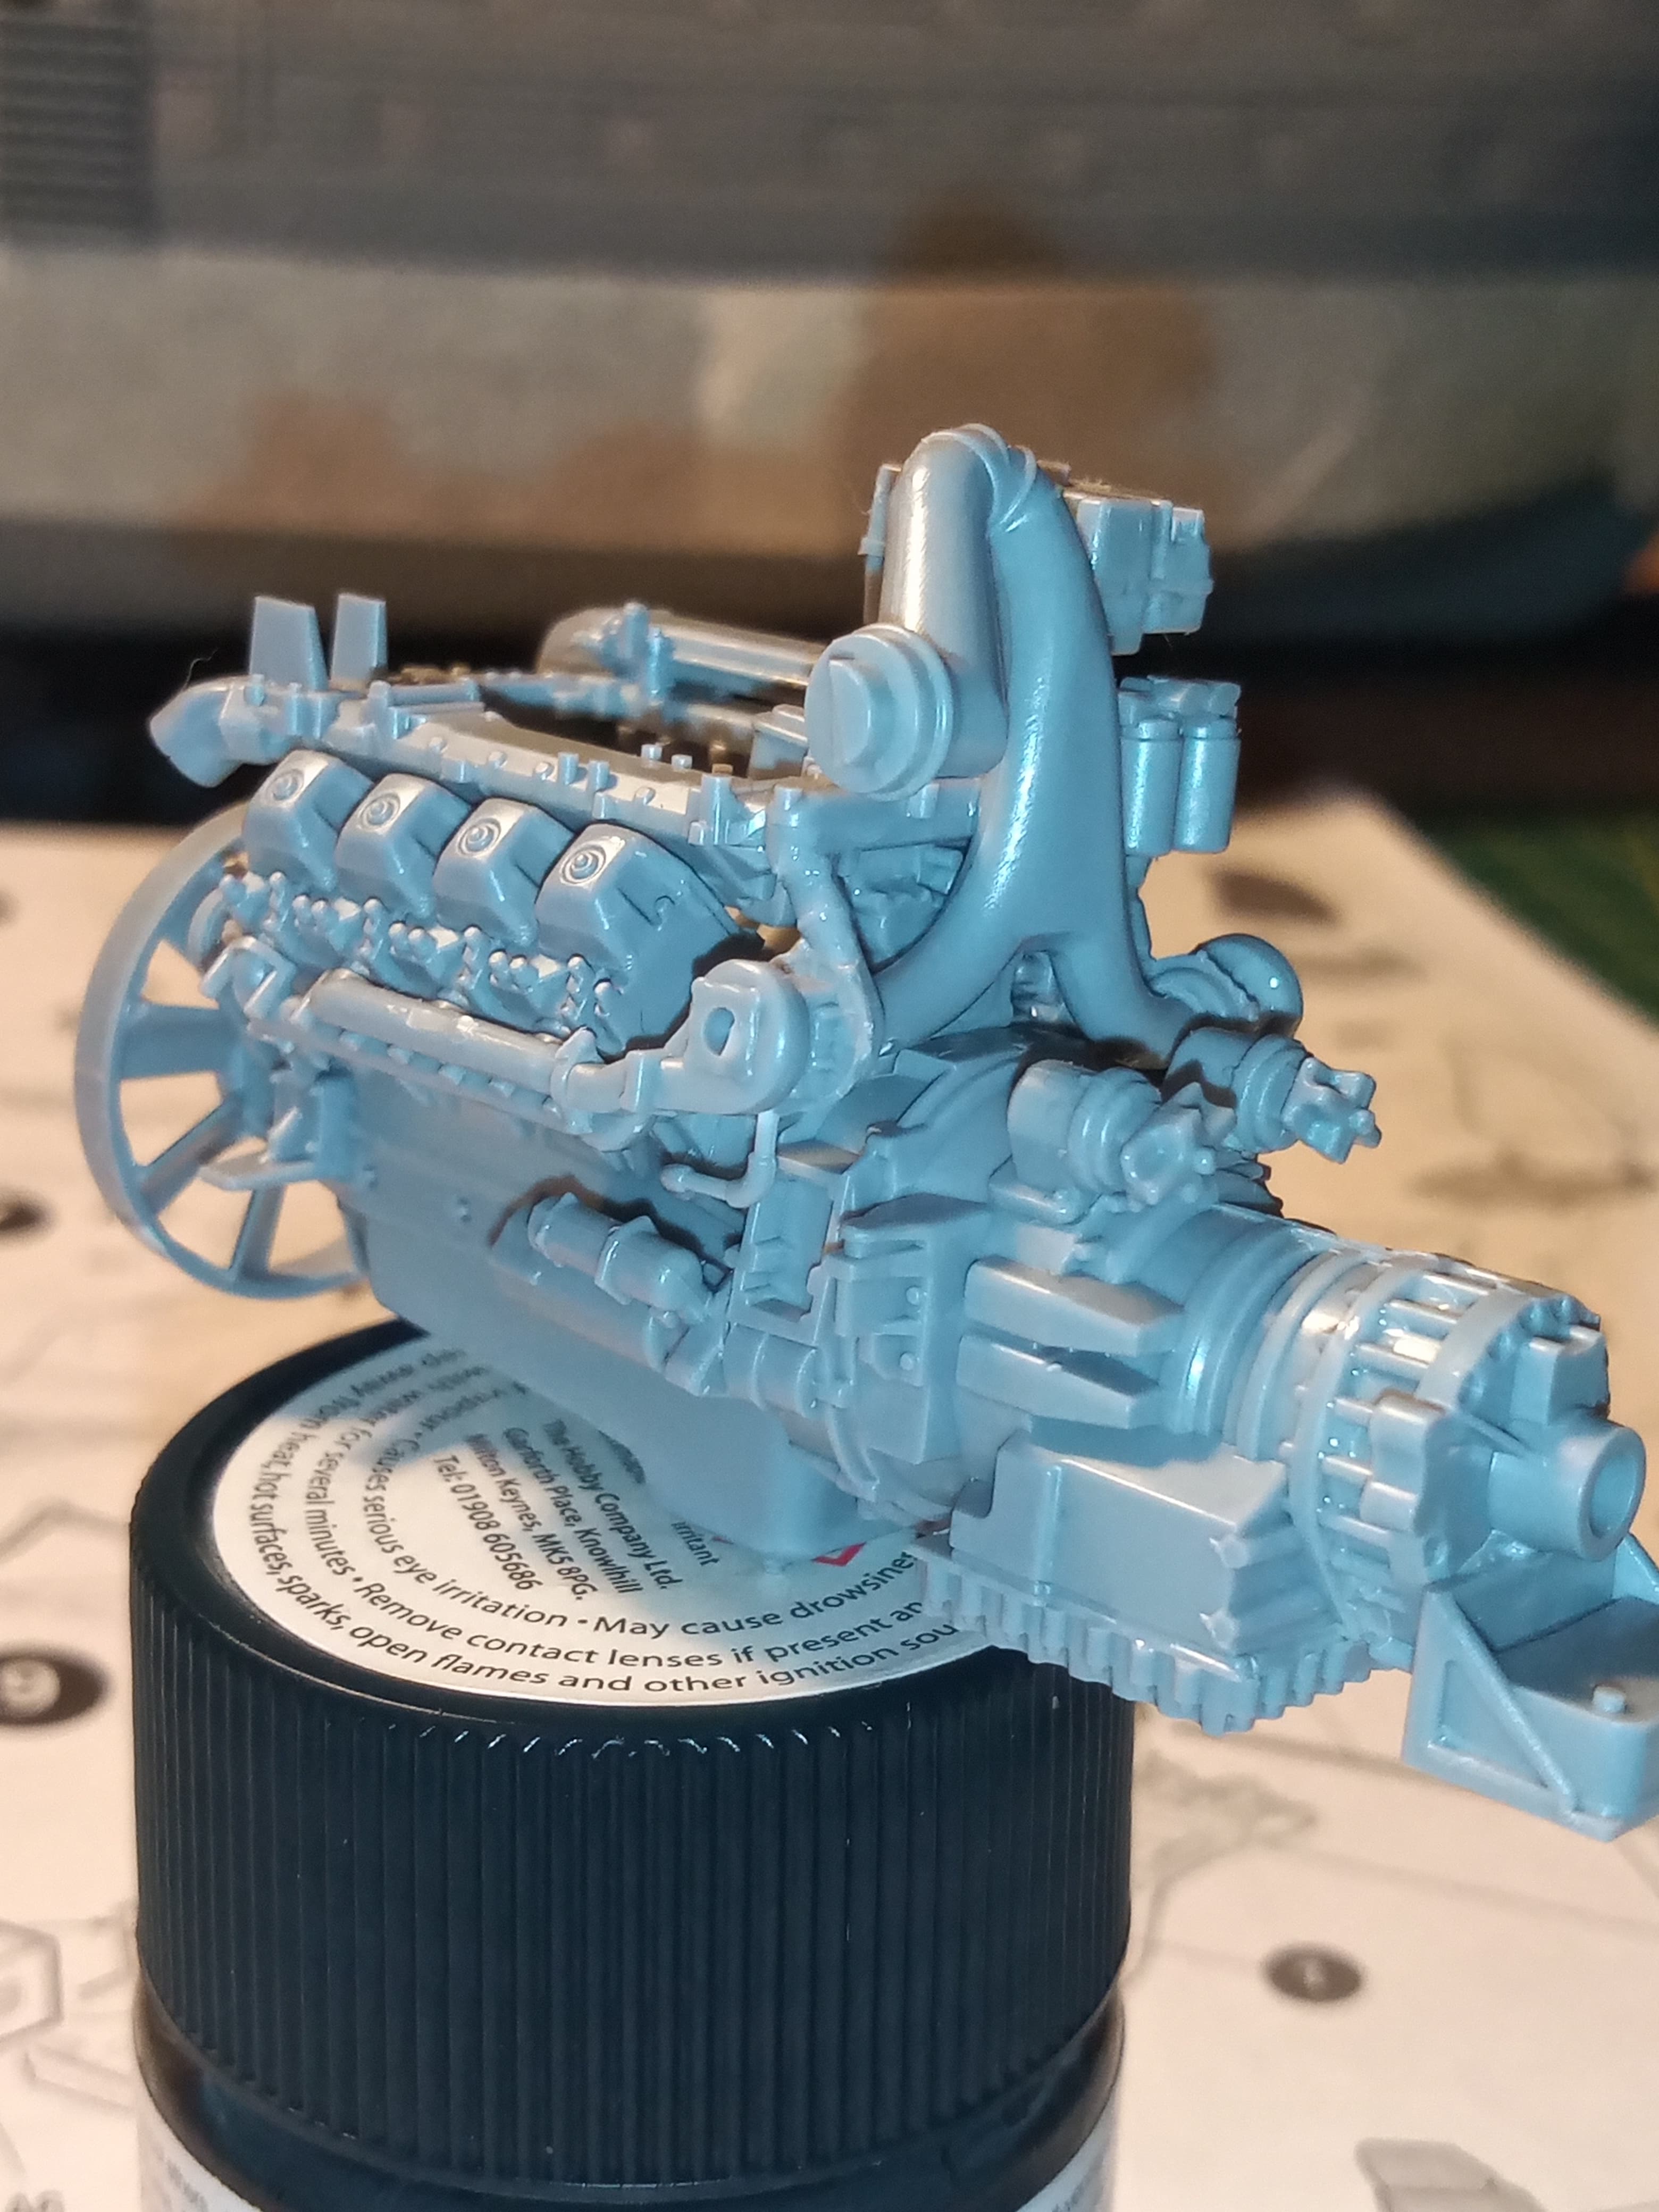
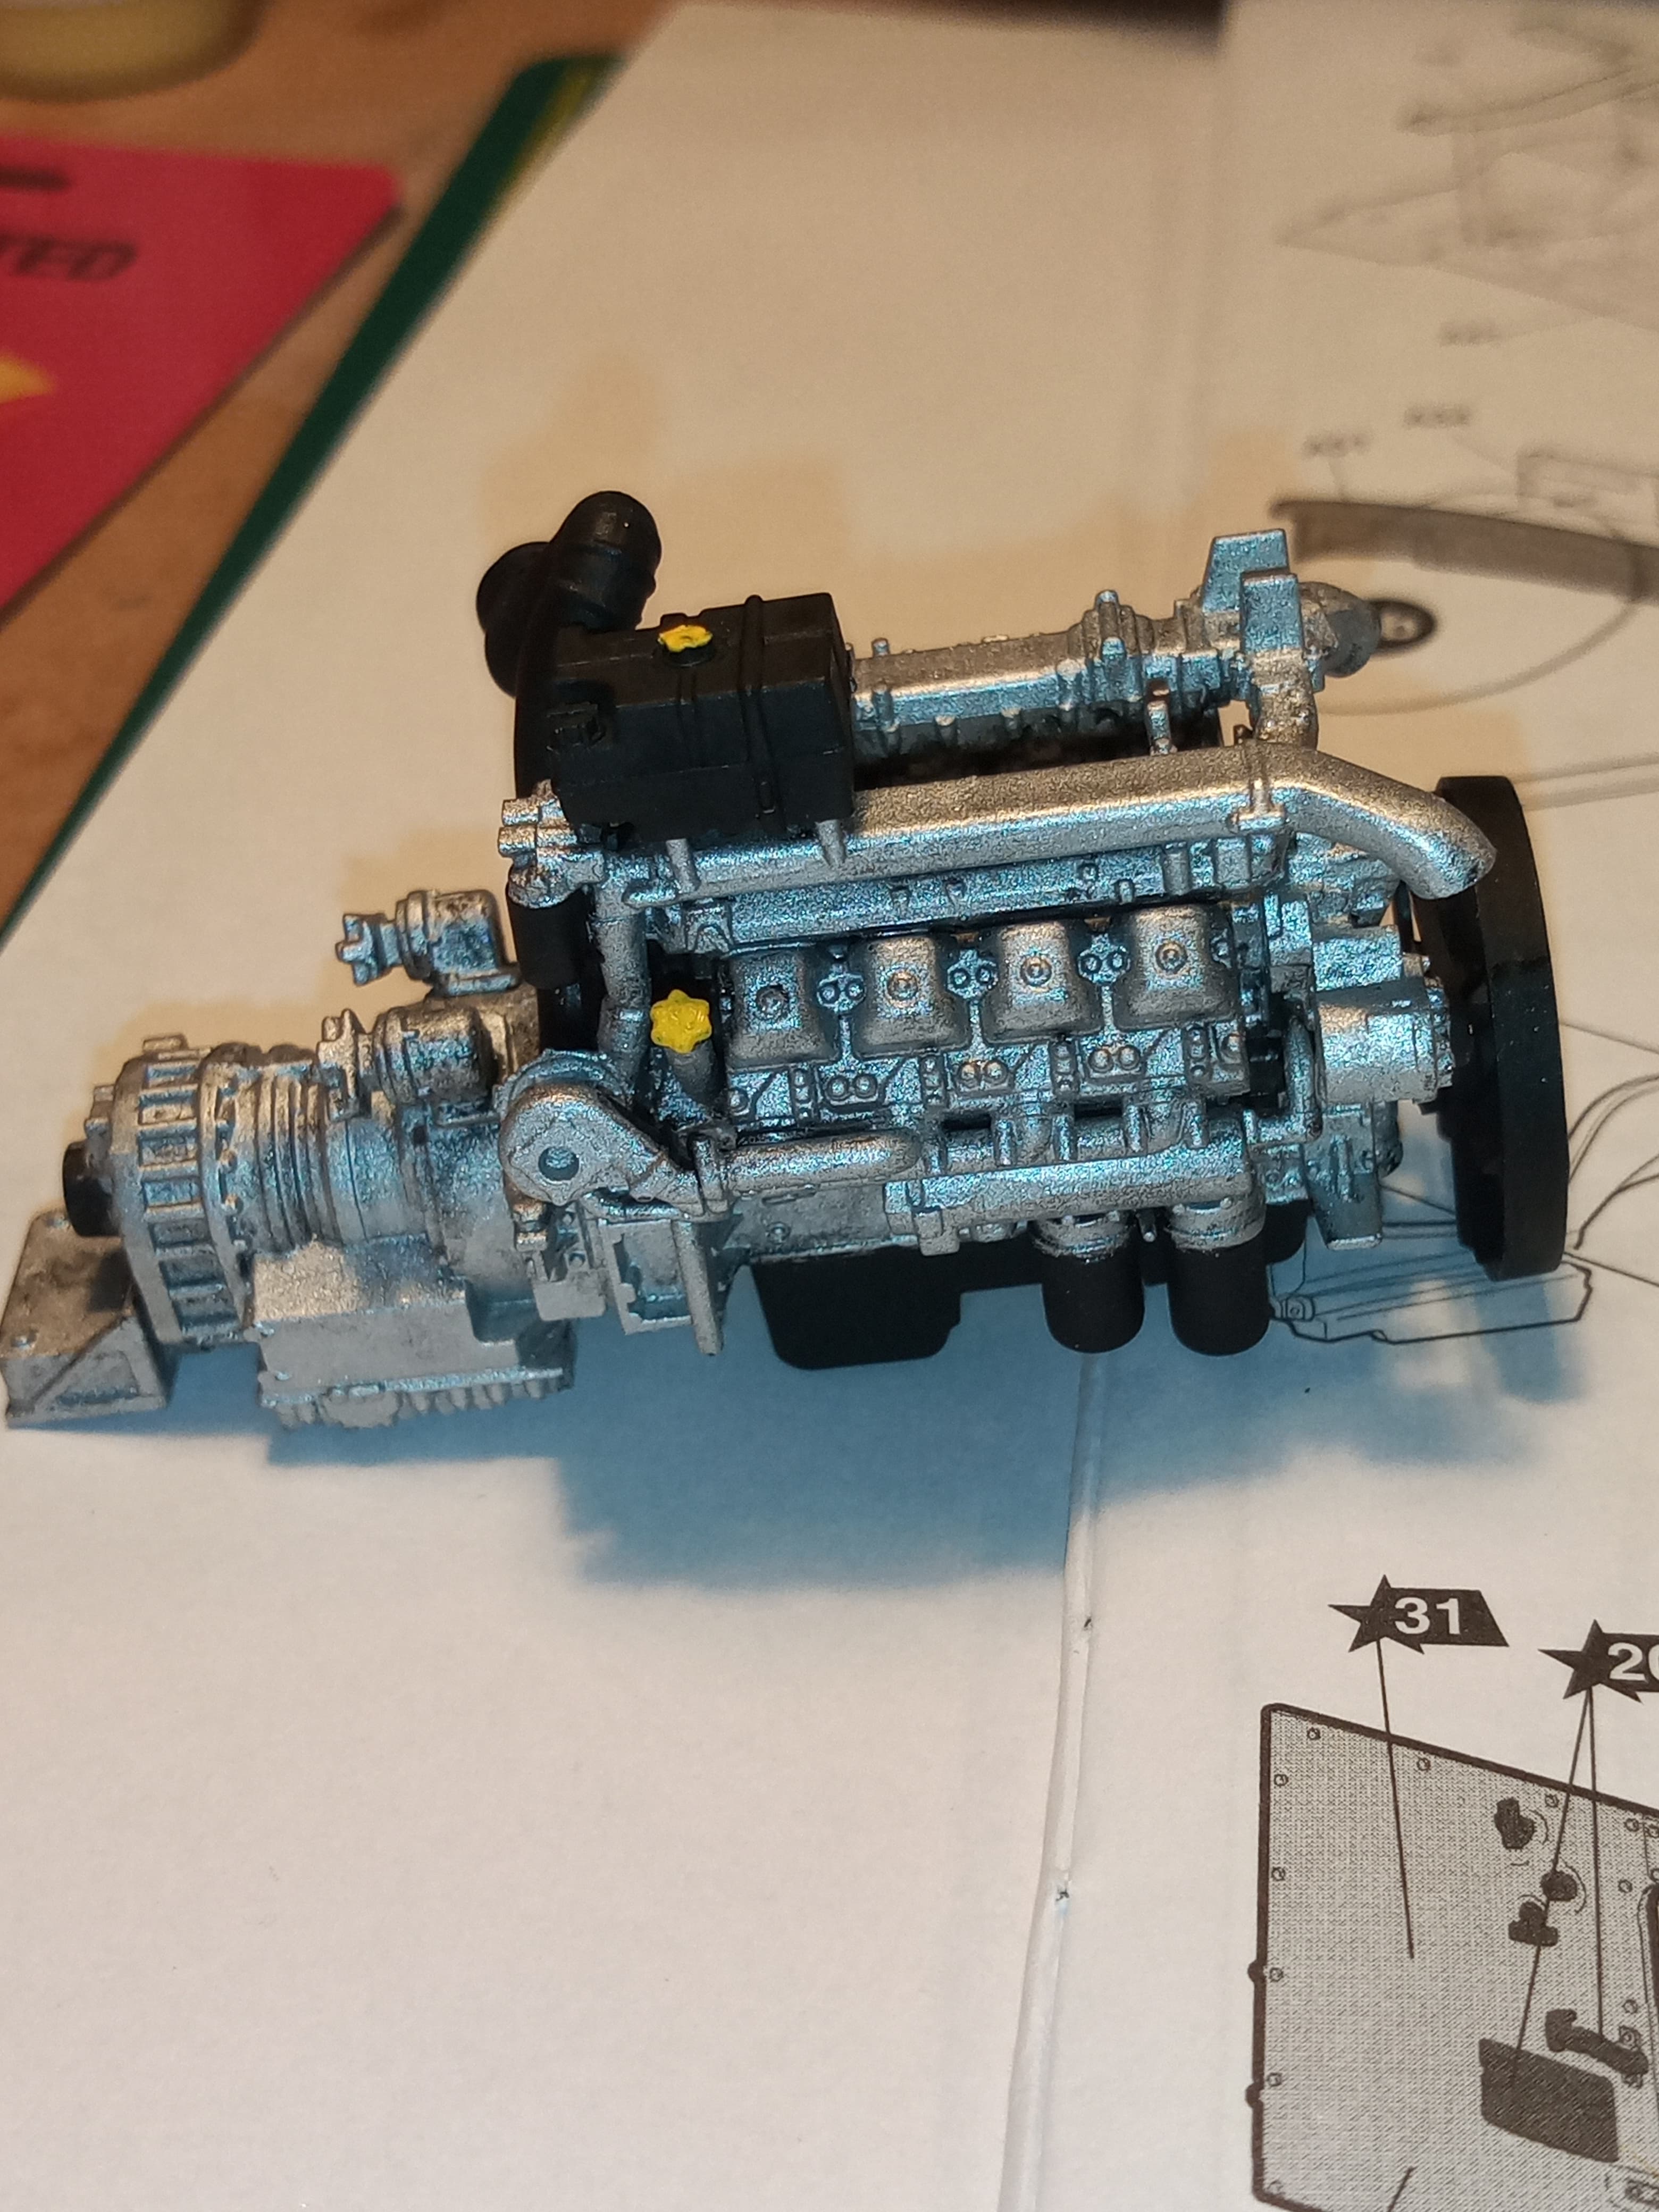
Finished the engine now. All that was needed was the fan, fan drive belts and small bank of filters.
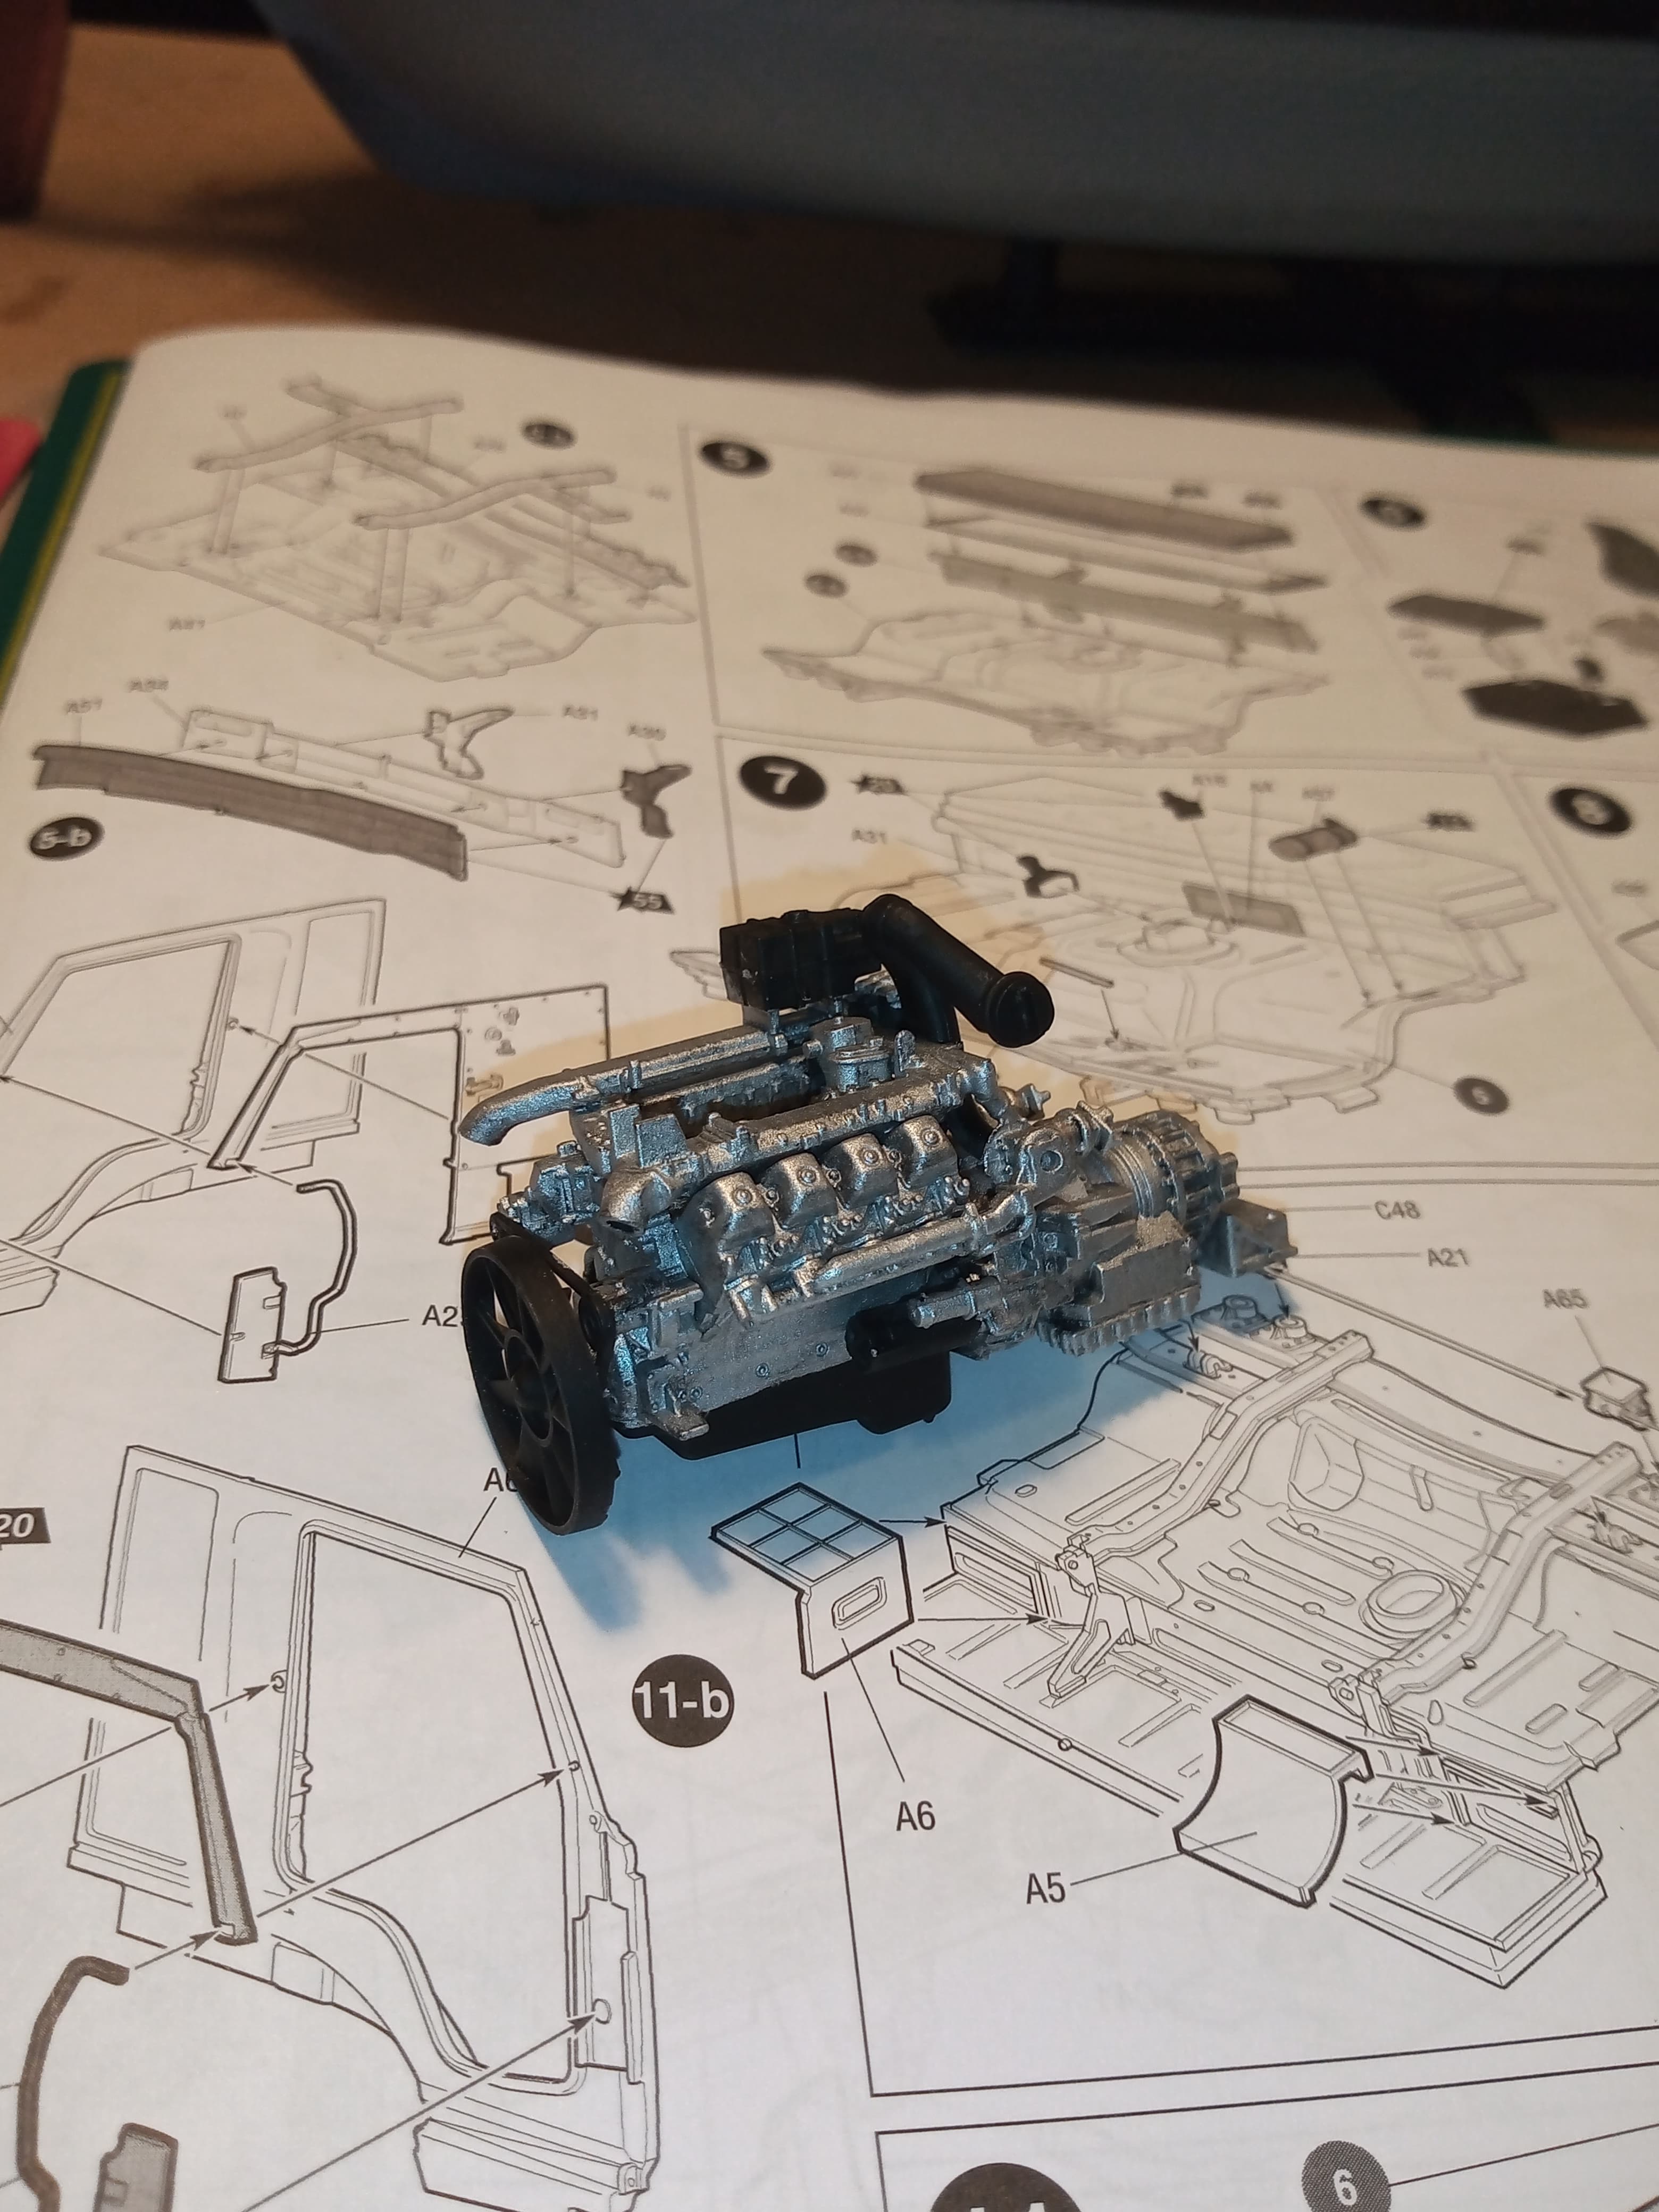
This really is an amazing amount of detail for an engine.
It’s actually a shame about how detailed it is as I had a look further in the instructions and once it’s fitted, I think about 95% of it will be hidden away. It’s almost worthy of being a model in its own right. If you could see more of it when fitted I would add cables and piping, but it won’t be worth it sadly
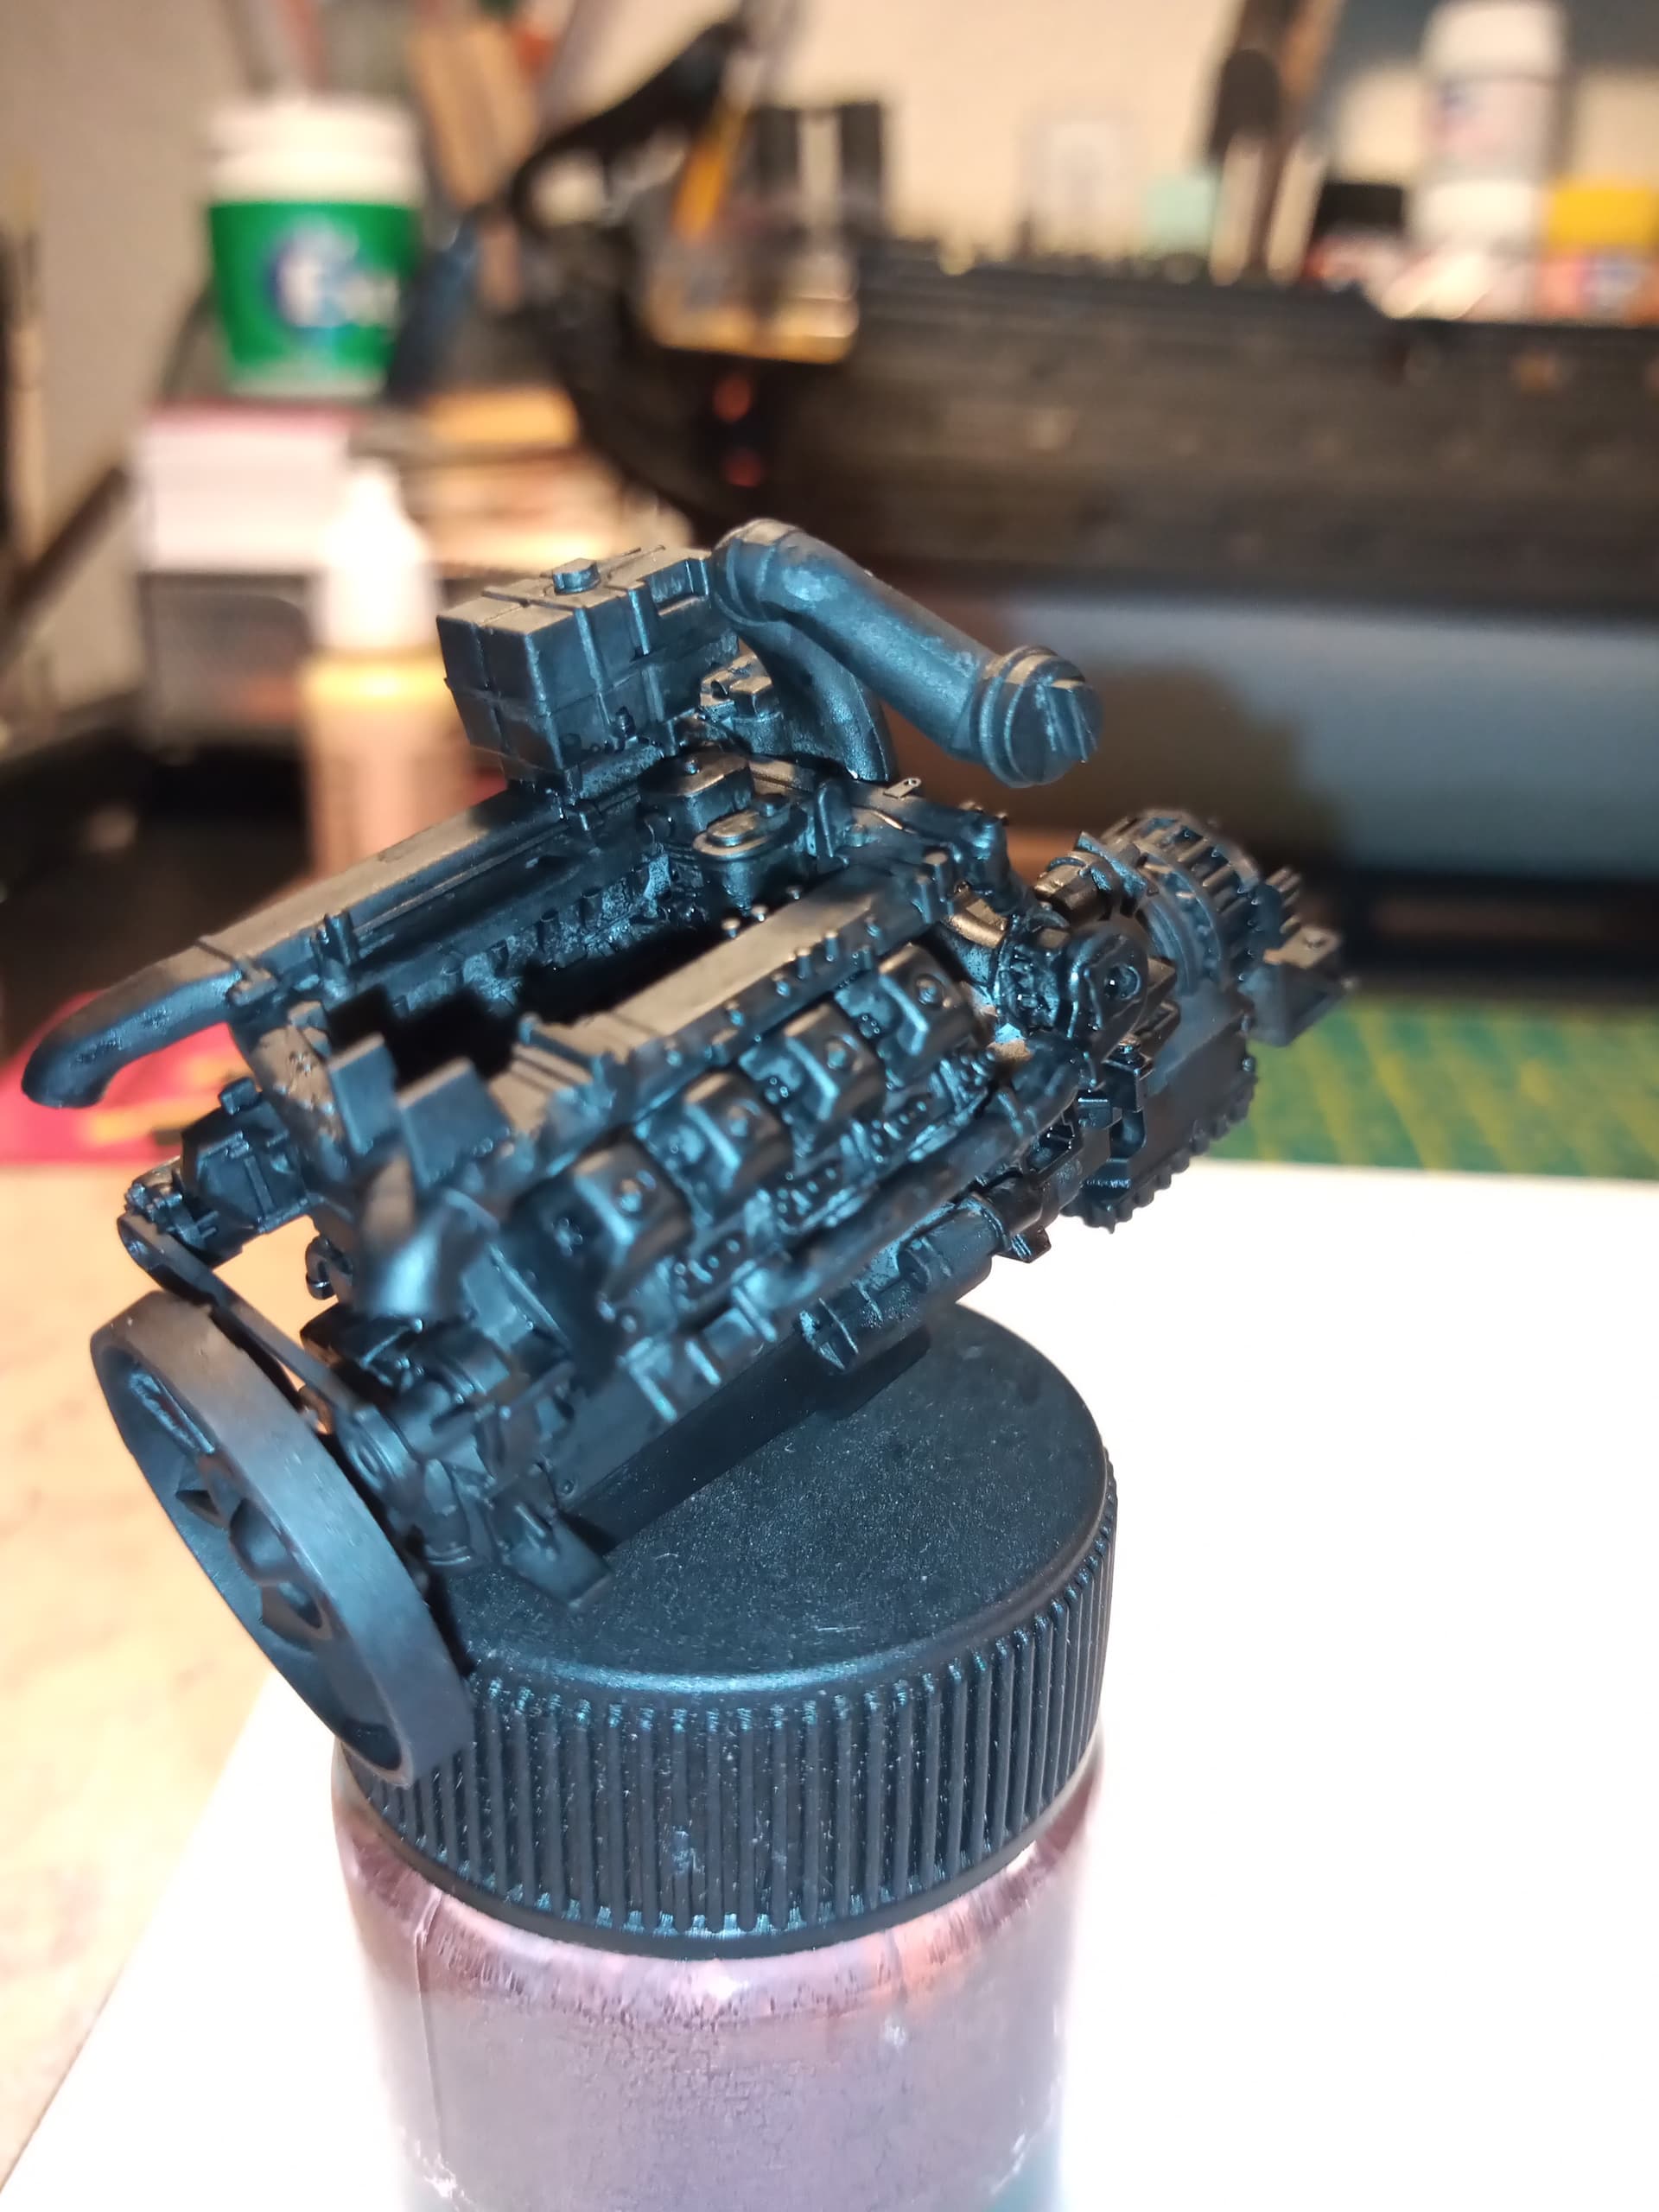
Will prime it and detail paint regardless as it deserves that in the least.
Some nice builds already!
My entry will be the South-African Rooikat. However I have to finish my entries for two other campaigns first so I’ll just admire your work for a while.
Our family landed on quarantine, so I found a few hours to dabble w the A222 Bereg. I’m couldn’t wait any longer and stuck those monster tires on the hubs …double checking they were all facing correct directions
Will start detail painting the different aspects tomorrow hopefully. And I will look a bit further into the instructions about how the cab goes on to see if there is scope to show the engine off somehow
Going to make a start on the cab…before I start that, there is one piece you may need to be ultra careful with @SSGToms … The front of the cab, namely the windscreen surround… It’s mega thin and looks like it will be happy to snap or break when being taken of the sprue in a nano second if you go in to heavy…
Bit more done before beauty sleep lol …
This is step 5, 5a and 5b.
I was quite pleased to find the parts come away from the sprue pretty easy, although some of the parts are pretty bendy …
And pretty much done with the engine. The black base coat has come through in a few places under the XF16 which is what I hoped for as it gives it a bit of a dirty look
Touched up all the flat black areas and added the contrast yellow oil filler cap and the top box…
Does anyone have a good idea about the colours inside the KAMAZ cabs ? I would think any of the KAMAZ 8 wheelers would do … The destructions indicate some areas grey and some a dark green…I know about the obvious black parts …