Top quality work as usual & bonus points for retrievals - you seem to have a tame carpet monster. As you may have read elsewhere, my launched PE part was discovered many hours later clinging to the top of my ear thanks to a smidge of cyano applied just before orbit.
2 Likes
That’s a very funny (and sad) story.
Yes! That’s certainly true, but not when they wheeled out of the shop before the first race. I tend to make my models in pristine or near pristine condition. While I do weather, I am very judicious in the amount.
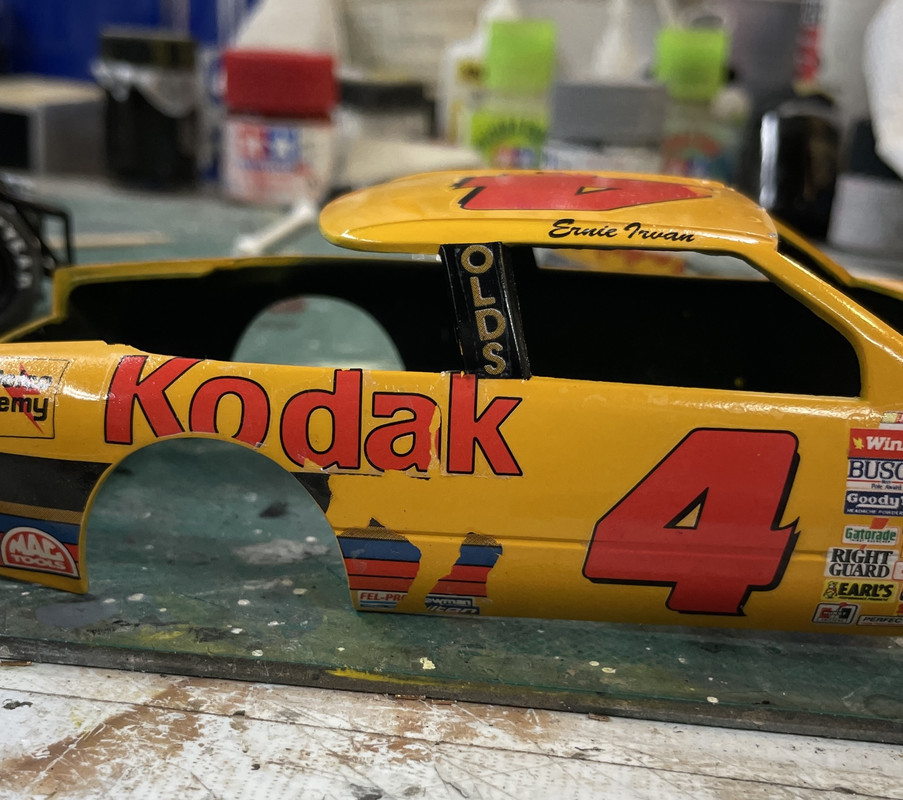
I decided to NOT attempt to wet sand or do any further polishing of the gloss coat. There was too much texture in the decals and I felt that any attempt to rub out the surface would actually cut into the decal film. Instead I went on to finish the last bit before body and frame mating. This was painting the metallic vents in the front.
I thought about hand-painting, but decided spraying would give a more uniform finish. And that required masking. I used Tamiya rattle can Silver Leaf and I’ll go back and do some panel line accenting on the vents after they dried. Should have hand painted them!
I used Tamiya tape and Tamiya Flexible tape to mask the detailed portion. And then I made a near-fatal mistake in using 3M Blue Tape to cover the rest of the exposed areas. Here’s the tape job:

Here’s the paint:

And then the beautiful results:

Can’t expect masking to better than that!
And then… I started removing the blue tape first. What a screw up!!! The blue tape had way too much tack, and removed large chunks of those onerous, annoying and miserable decals.


There could be a happy ending to this mess… As I was concerned about the decals age, I had made a color scan of the decals before using them. If you have access to any photoediting software and a decent scanner (found in almost every inkjet printer on the market today), save yourself a lot of heartache and scan the decals before the build. You never know if you’ll need them.
In Corel PhotoPaint I masked and copied only those images that were wrecked and made my own decals. I used both clear and white background sheets since some of the decals had images with white in them. It makes for a very fancy cutting operation to remove the decal from the white backgrounds to preserve just the parts with the white. Where there is no white (the “4s” and the color band Kodak Decal) I used clear.
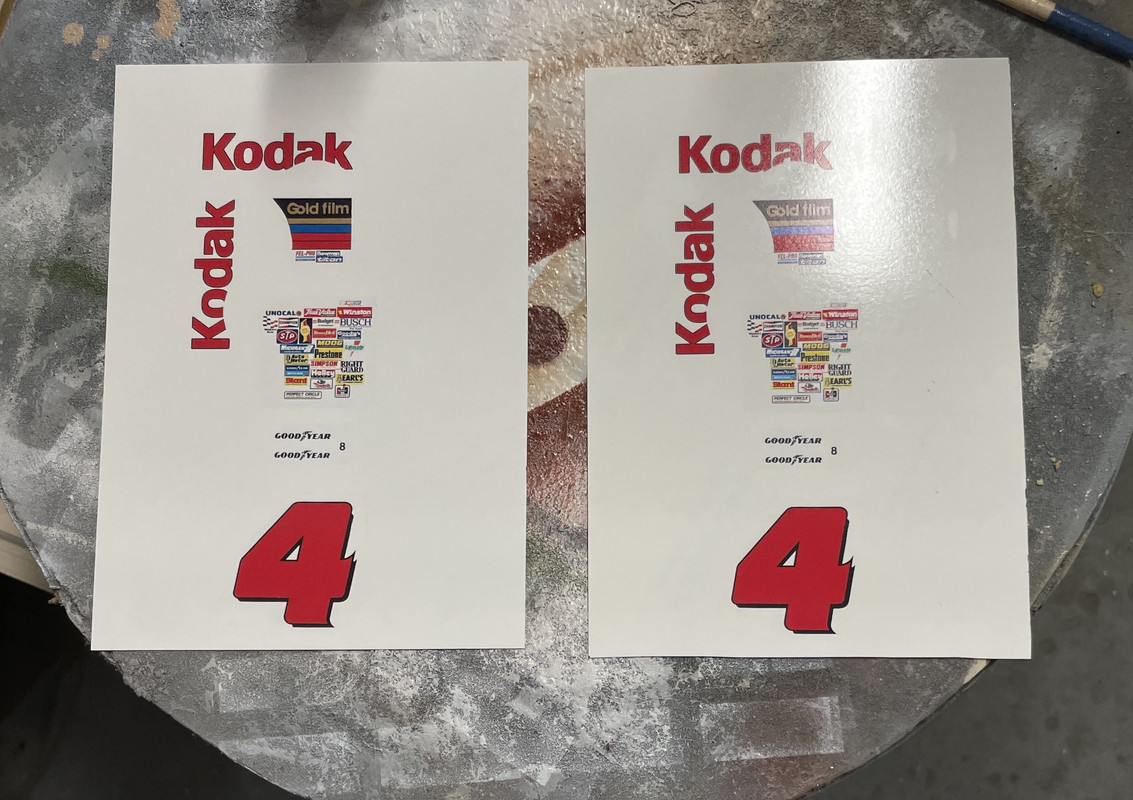
Before printing them I went into the software to remove any blemishes on the originals. These decals were rotten messes. All show and no go! Regardless of all this work, the new decals are going to have to go over the old ones. I believe the registration will be okay since the scanner is quite accurate.
I should have hand-painted those grills! And I proved that any further surface treatment to those decals would have ended up with the same mess. This car needs to be finished by Friday so any setbacks now are not welcome… actually, they’re never welcome.
Oh… and one more thing. I made the above decal composite from memory. When I took them downstairs to coat the with MicroSol Decal Film Protectant, I looked at the body and realized that I missed one. I reprinted the sheet with the missing decal (another one of those massive product sticker decals.) I will coat that one tonight so it will be ready to go tomorrow. Yes! That’s certainly true, but not when they wheeled out of the shop before the first race. I tend to make my models in pristine or near pristine condition. While I do weather, I am very judicious in the amount.
2 Likes
The grills look great and nice save on the decals. ![]()
![]()
Thanks!
The repaired decals worked… but it was not easy.
The color denisity of the inkjet decals was not very deep. The result was having to double them up. Added to that was printed out the sheets on clear and white background film yesterday, only to find out that they were all clear. The film I had cut up to 5 X 7 was clear, not white, but I had put it in the white product packet.
The registration was remarkedly good… not perfect, but good enough.
The right side was the most challenging. The originally applied “Kodak” text was the one that had parted in two. When I applied the new decal over the old, it didn’t register in length. I then realized that when I put the two halves of the broken decal back together, I slightly changed their overall length. I fixed this by cutting the new decal (after it was already applied, I might add) and slightly spread it apart so it re-registered. It’s not perfect, but will work without close inspection.
The striped decal was so gone that I removed all of it. BTW: I did lightly sand with 4000 grit wet-or-dry sanding cloth to knock off the underlying decal’s irregularities. I used Microscale’s Micro-sol before applying the new decals. The clear-backed “Gold Film” stripe’s color density was so bad that it needed another on top. I found one piece of white background decal film and was able to re-print those that needed white (all the sticker decals) and was able to overlay the white background over the previously laid down clear background. The “a” in “Kodak” shows the slight registration difference.

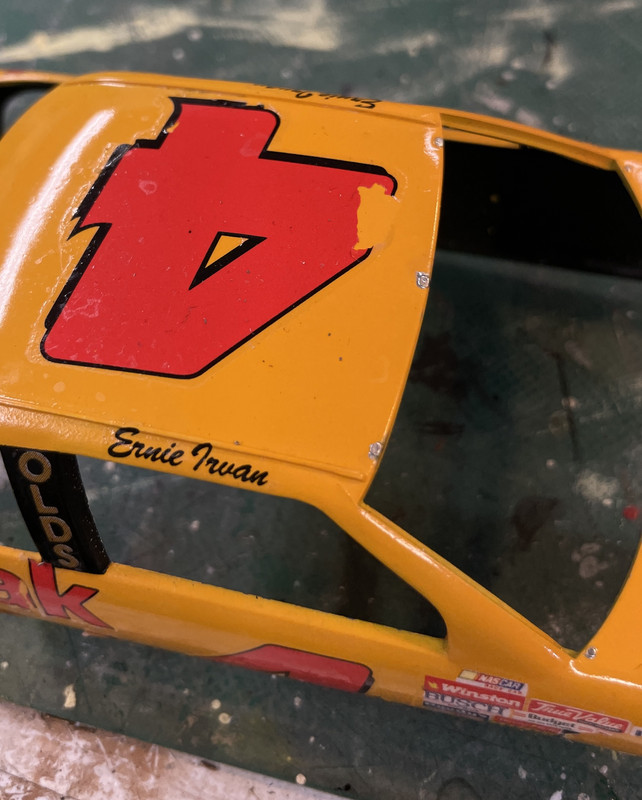
The big “4” on the roof came out fine when laid over the existing decal. You can see this on the below image.
On the left side it only needed the sticker decal. In order to make this look reasonable, I had to carefully trim the white background away from any areas that would have shown body color. This was particularly tricky around the “Gatorade” sticker.
While these were all settling down, I finished the last little bits: the clear fuel piping that’s in the “trunk”. These “cars” don’t really have trunks.

I’m letting the decals fully cure overnight, and will give it another coat of Alclad Aquar Clear tomorow. That will again cure overnight and I’ll join the body to frame on Friday. Friday night is the competition. I don’t expect to win. This model is not my best work.
I started work on the Takom 1:35 AH-64D Apache by filling my homemade sprue holder. I will be working concurrently on the Apache and the 5-38 turret since I’m waiting for the kit to arrive. I generally don’t like to build two models at the same time, but I’ll make an exception in this case. BTW: I’ll be doing a state-to-finish thread for both of the these projects.
1 Like
Nice recovery.
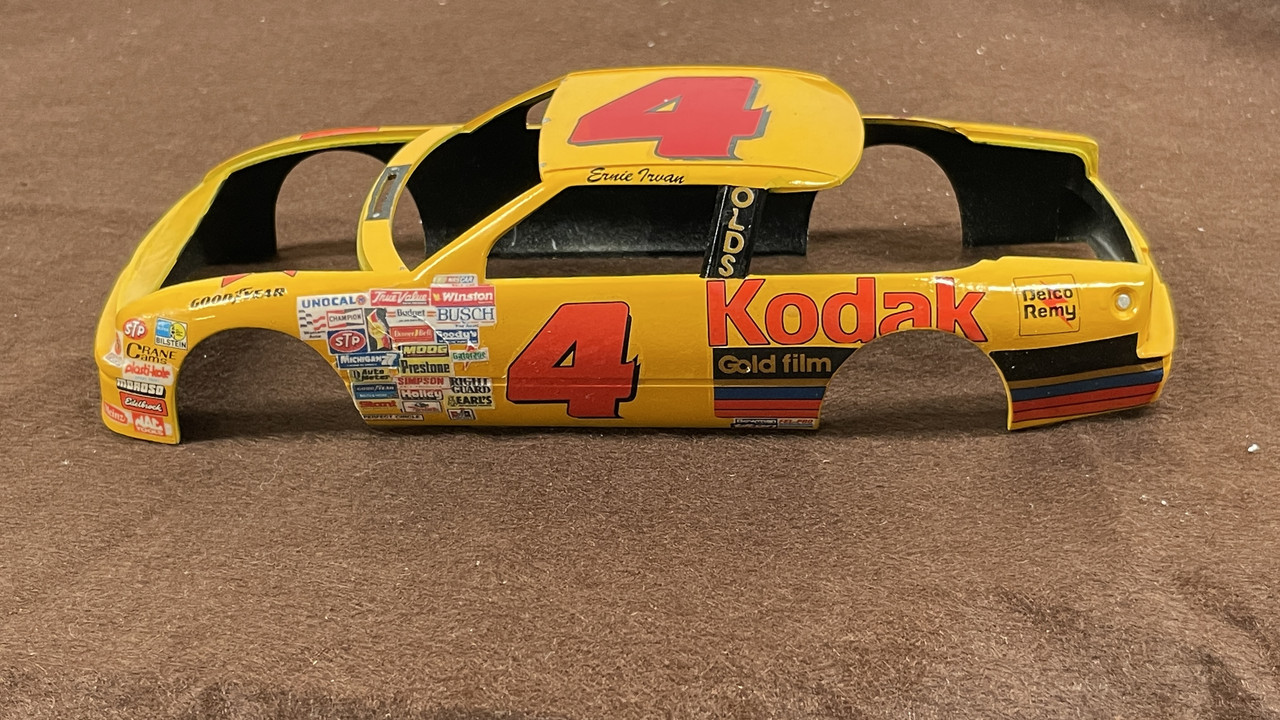
Thanks. And here’s the end result
Finished in the nick of time! Got the hubs painted, joined the body to the chassis and glued in the windows. This baby is as done as it’s going to get. If I had more time, I was going to try and craft some NASCAR hood hinges. Not happening.
The box top showed the wheel hubs to be shiny so I added that with decanted Molotow ink.
I glued in the windows using Testor’s Canopy Glue. Good stuff and doesn’t damage clear parts. Has a reasonable tack so the parts sort of stay put while it cures.
While I’m not happy with the finish due to all the decal woes, I’m going to live with it and let the chips fall where they may vis a vis the model constest at tonight’s meeting.


Up next are two projects: I’m building Takom’s 1/35 AH-64D Longbow and have started design on another massive cutaway gun turret project that’s also going to the USS New Jersey Museum ship. I’m posting my usual comprehensive build threads for both here on KitMakers.
7 Likes
Congratulations, the car looks the part. ![]()
![]()
Very nice build, it’s been great following your progress. Thanks for sharing so much detail around what you do, why and how you do it, very valuable info!
Cheers, D
Nice finish and problem solving and recovery with the decals ![]()
Thanks all. Don’t want to go through this again. The Apache has its own problems with decals and I’m probably going to wait until and aftermarket set is available before getting to deep into it. Incidentally, the AH-64D’s thread is here:
And the 5"38 Mark 28 Turret Project is here:
My LHS told me the turret will arrive mid-week, so I will be able to get fully into the design phase.
1 Like