I’m posting this thread on FSM’s Forum and there is a thread here showing a great completed version of this kit. I like to publish complete builds with all the details, warts and flubs and some of my fantastic recoveries. “It ain’t whether you screw up, it’s how you recover that determines the good guys.”
Since I already started the build, I’ll just get through this part quickly. Then I will simply copy and past the same thread from FSM to here. I believe there are different audiences, although I know that Heavy Arty (Gino) reads both (as do I).
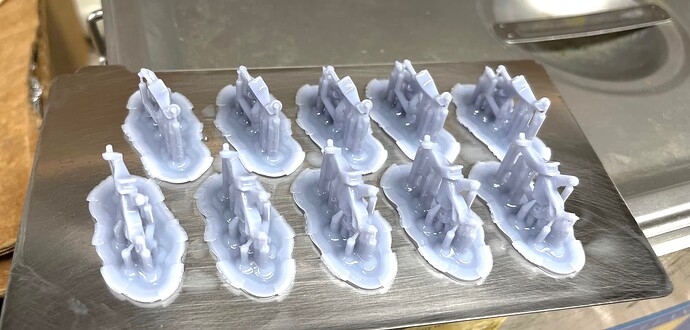
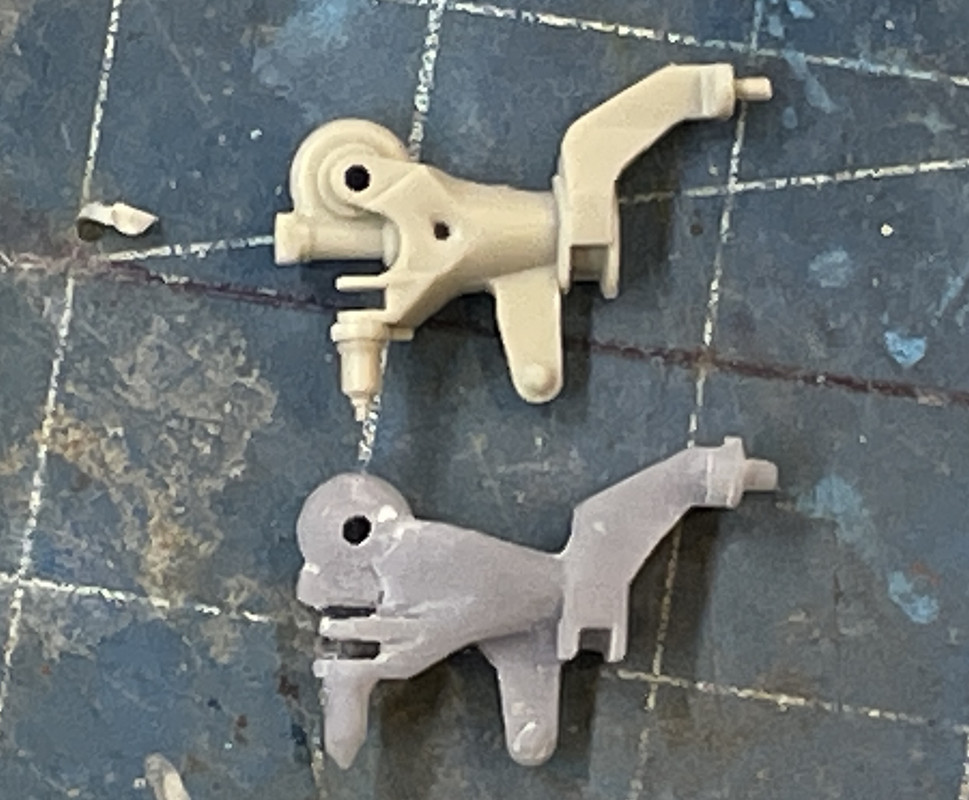
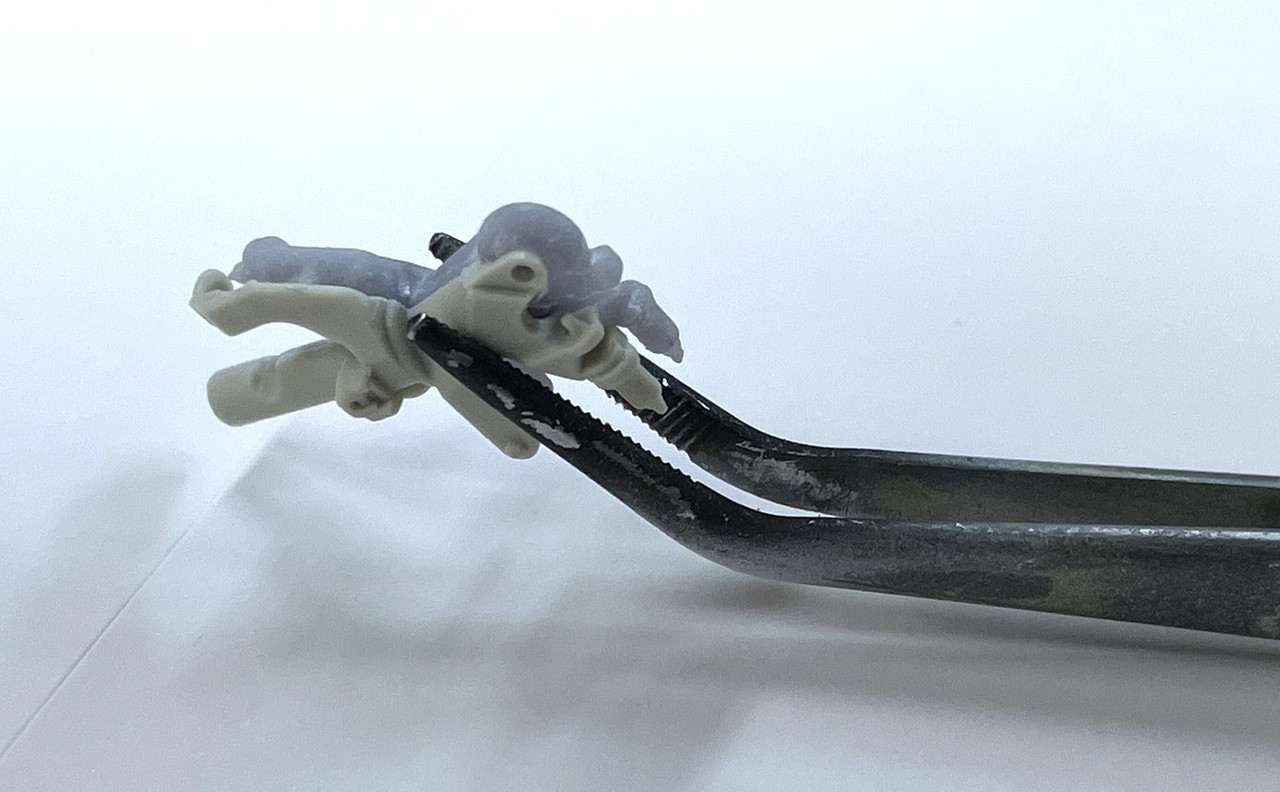
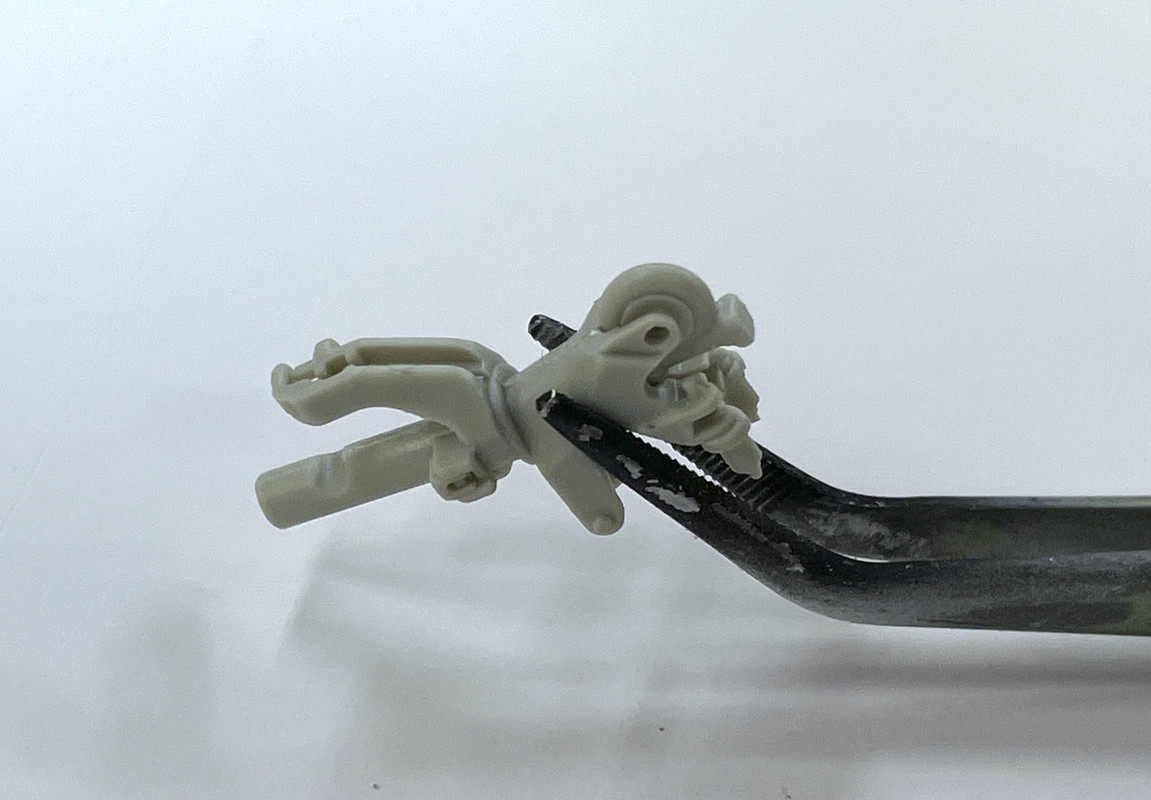
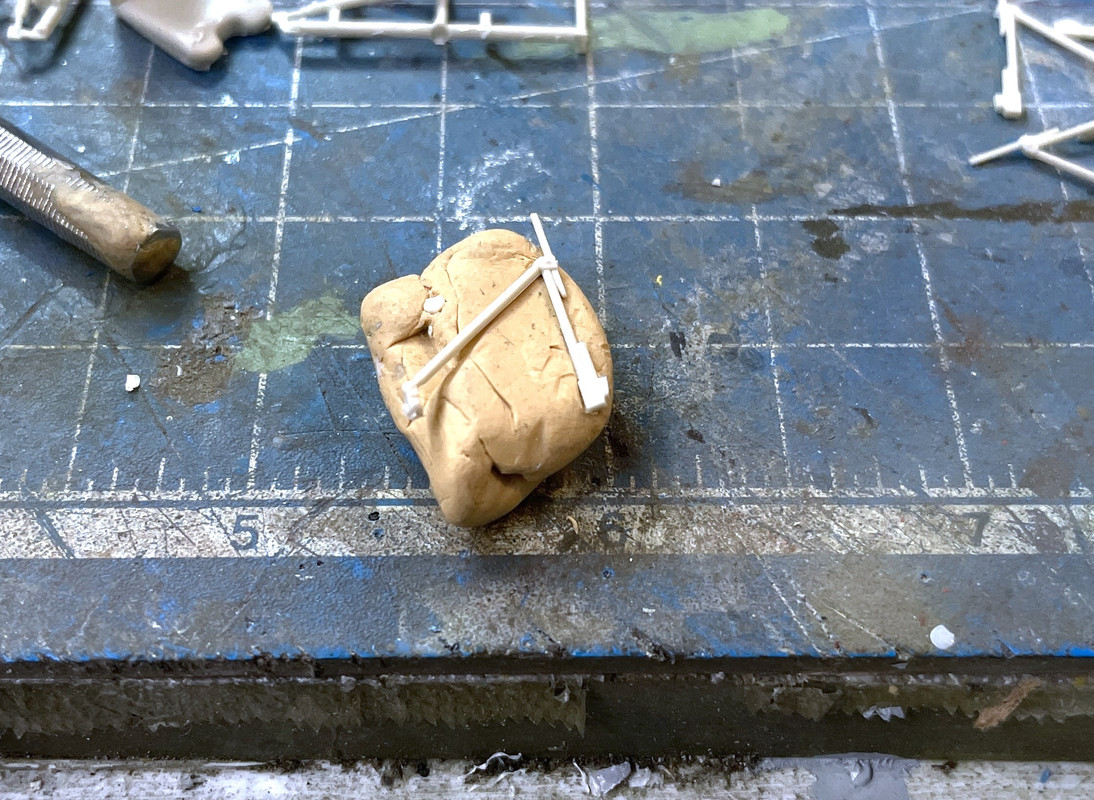
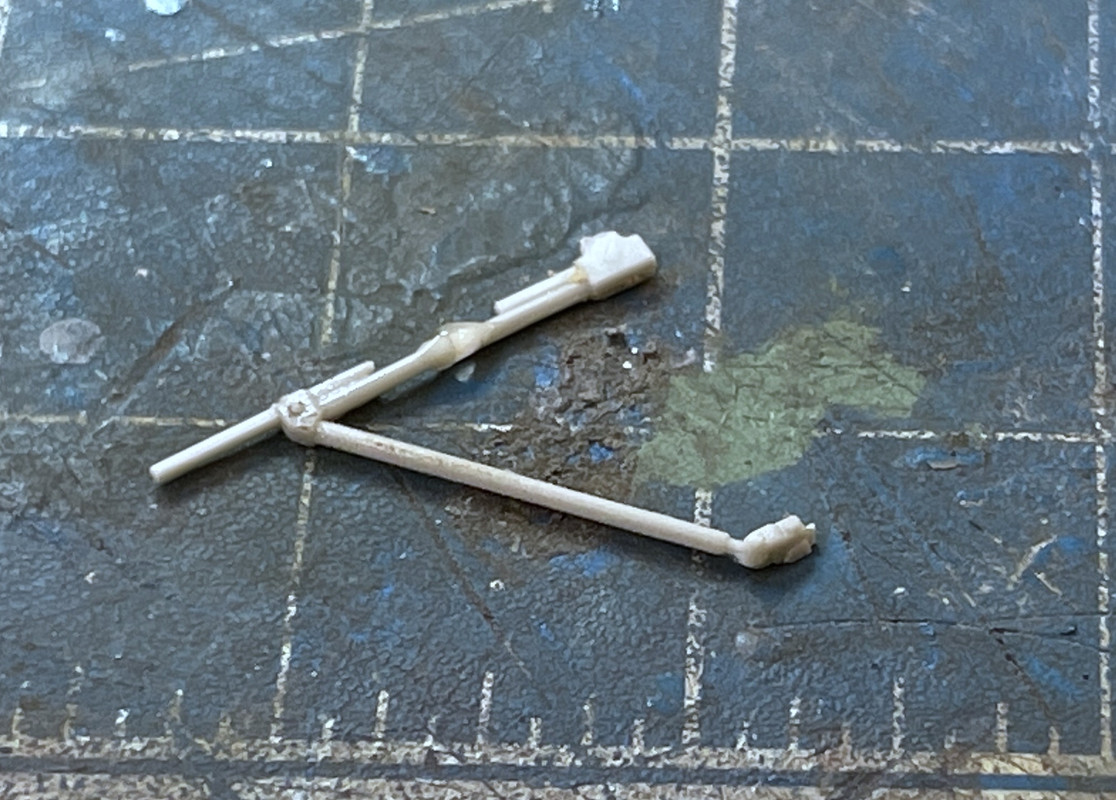
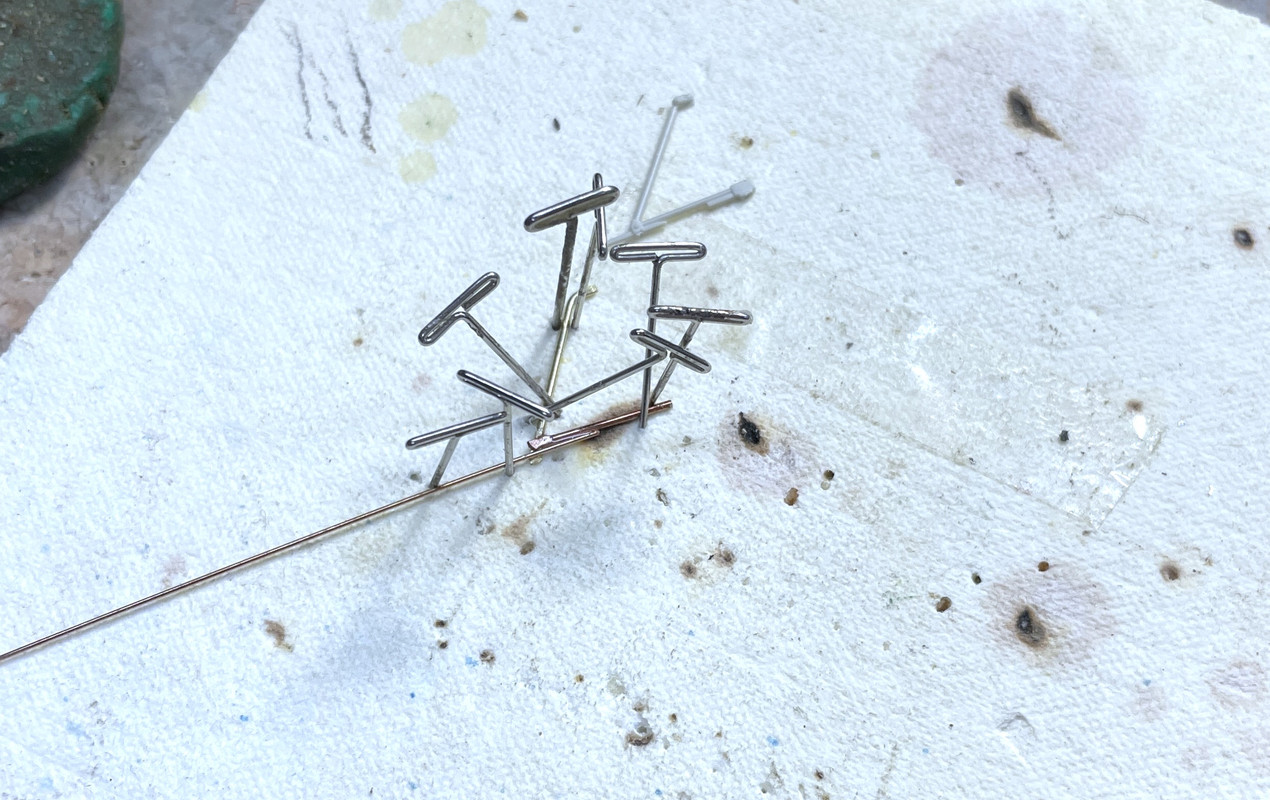
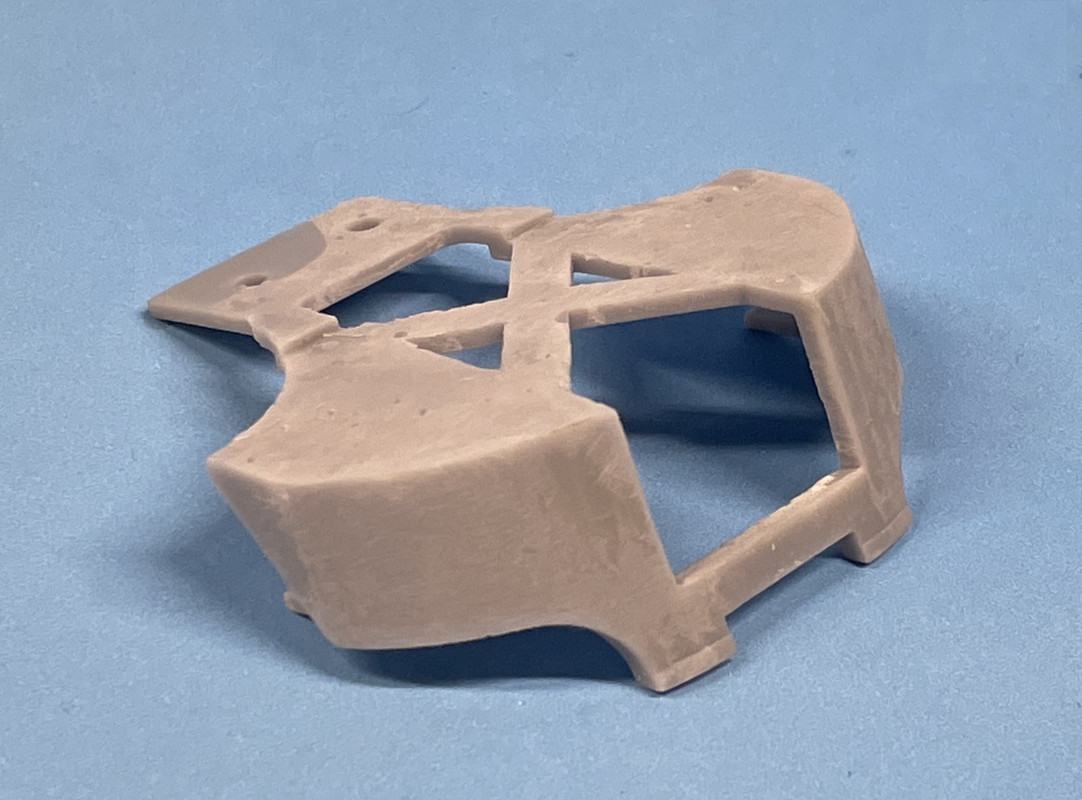
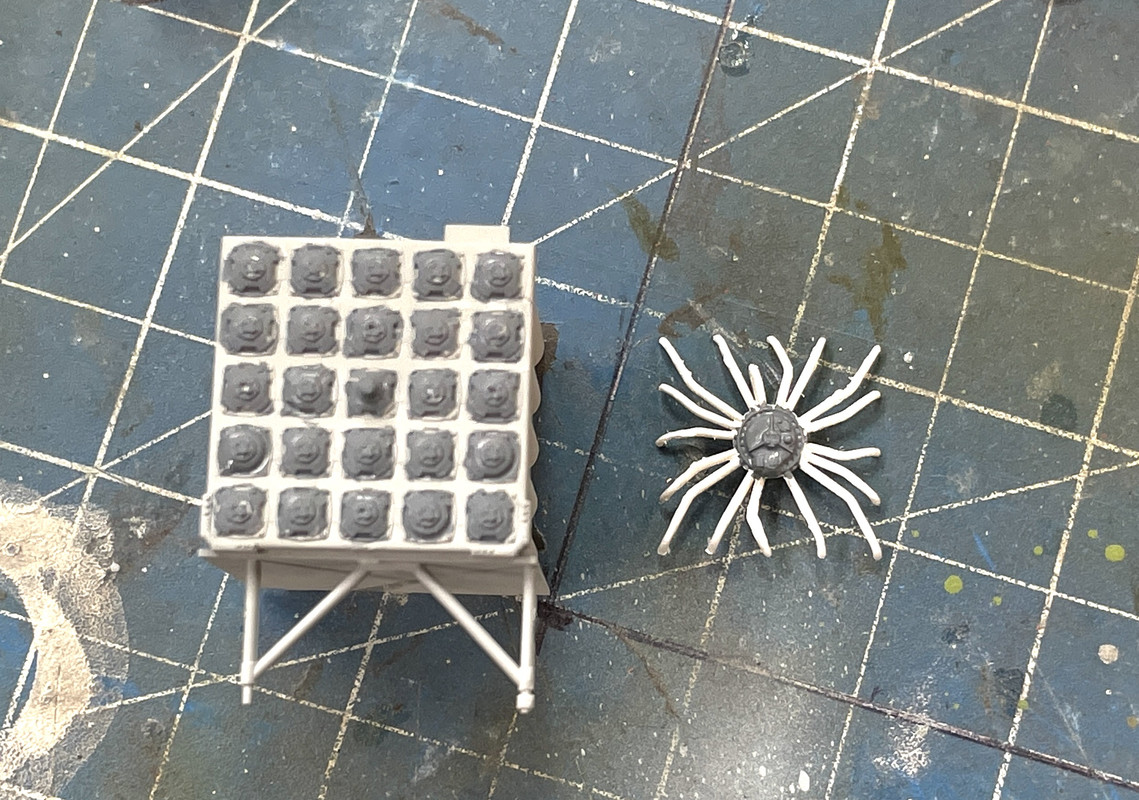
One of the first things I did was to create via 3D resin printing the wrongly molded part HD33. It’s a critical half of the rotor hub ends that provides the hinging and hydraulic locks that permit the blades to fold and be locked in the extended position. There should have been two facing in the same direction, but HD33 was printed as a mirror image… seemed intuitive, but wrong. I’ve printed multiple copies and will make them available for sale at a very reasonable price. Heavy Arty showed a way to cut and paste the wrong-way version to make a right way, but creating a correctly facing part from scratch will be more secure. Incidentally, the drawings of this part in the instruction are facing correctly.
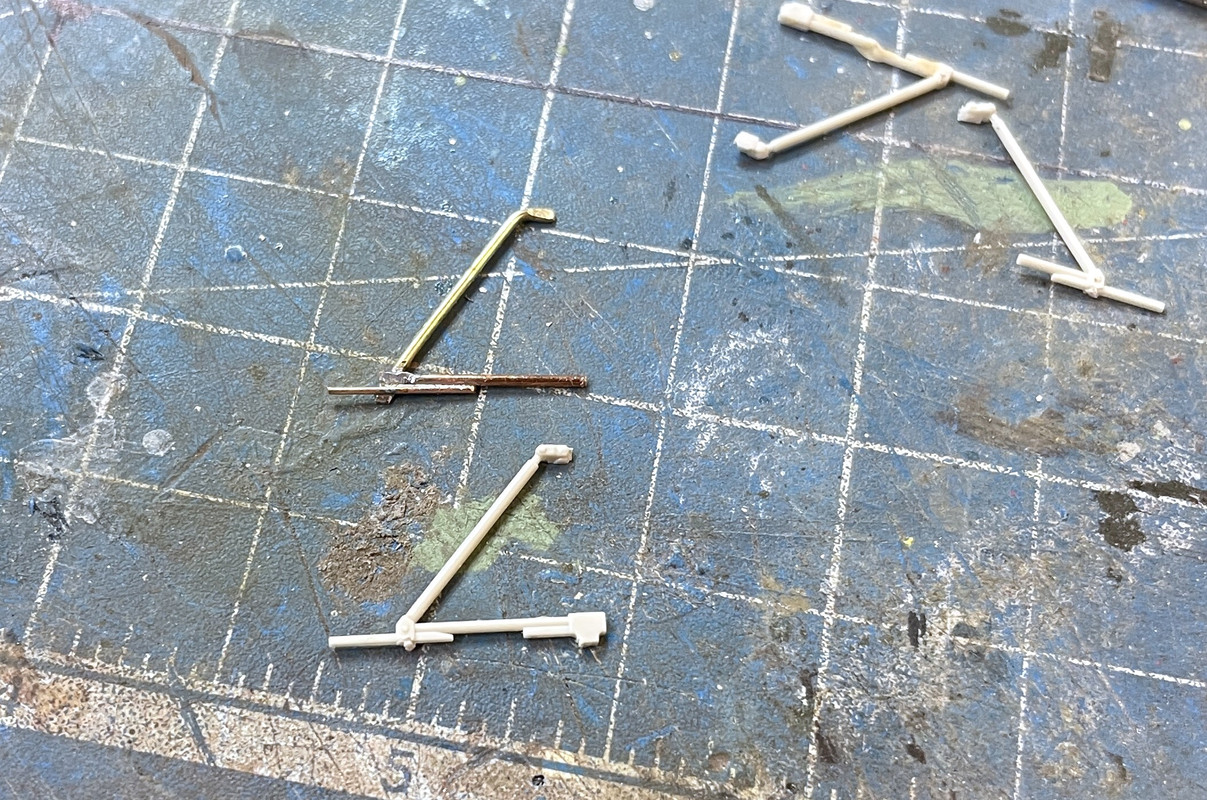
The picture shows the parts right off the printer still with their supports that are necessary to create the parts in this kind of machine.
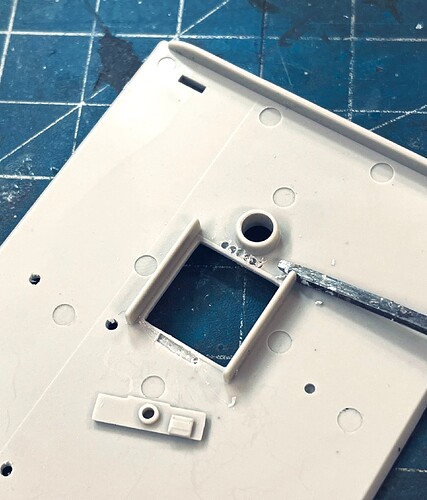
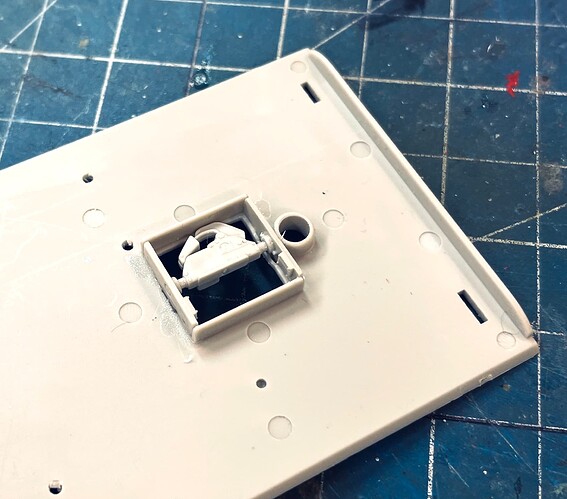
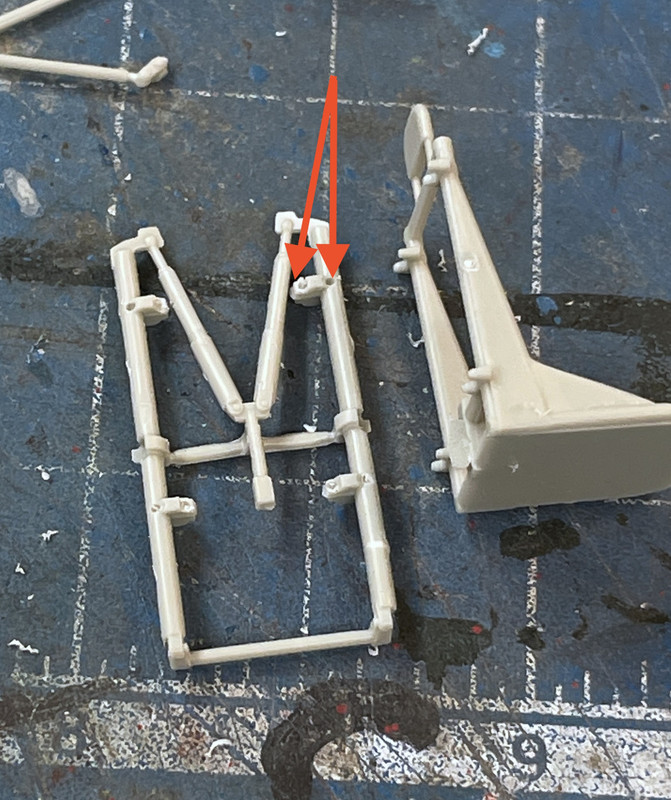
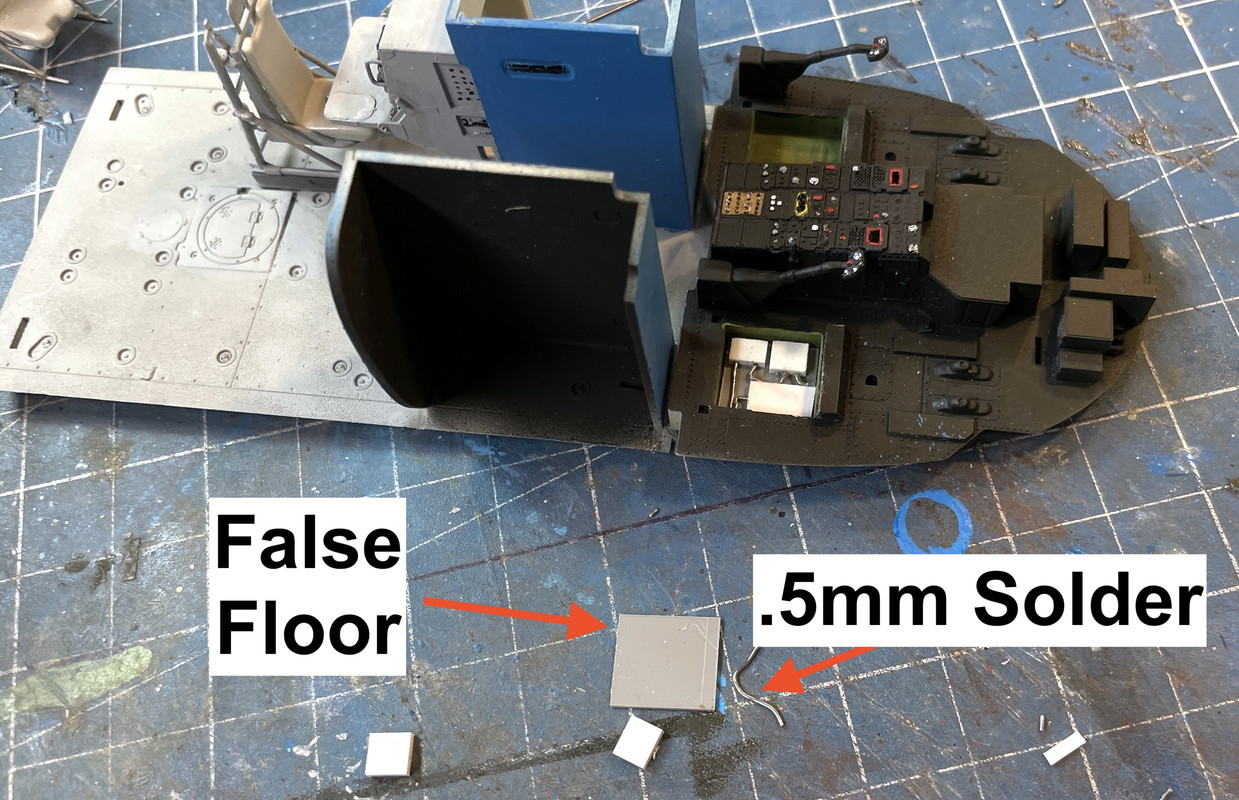
There’s a detail that goes below the floor. I think it might be a hoist mechanism. The side pieces were supposed to lock into slots. There was the barest hint of a slot so I made them. I could have cut the tabs off, but I wanted them to align. That tiny chisel was included in an ancient Hasegawa 1/8th scale Sopwith Camel that was a skeleton framed model. I got a $1,000 to build that kit in the early 1980s. The chisel was a tool needed in the creation of the model. I’ve found uses for it ever since.
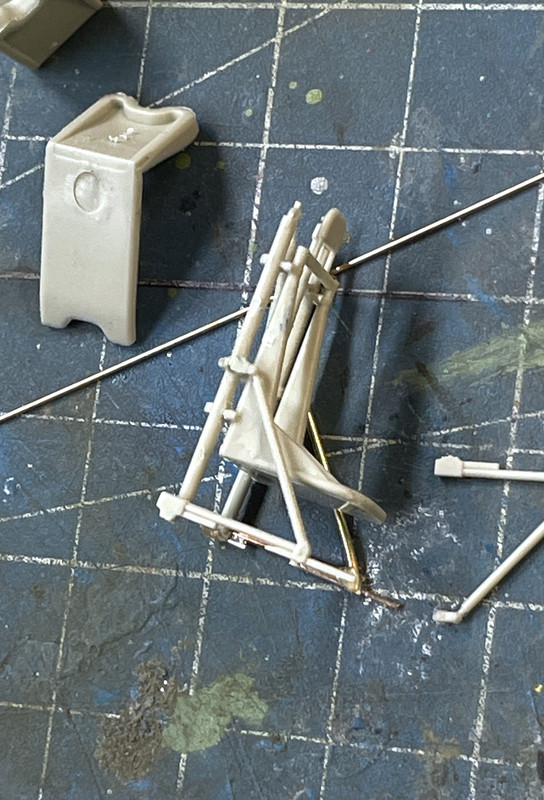
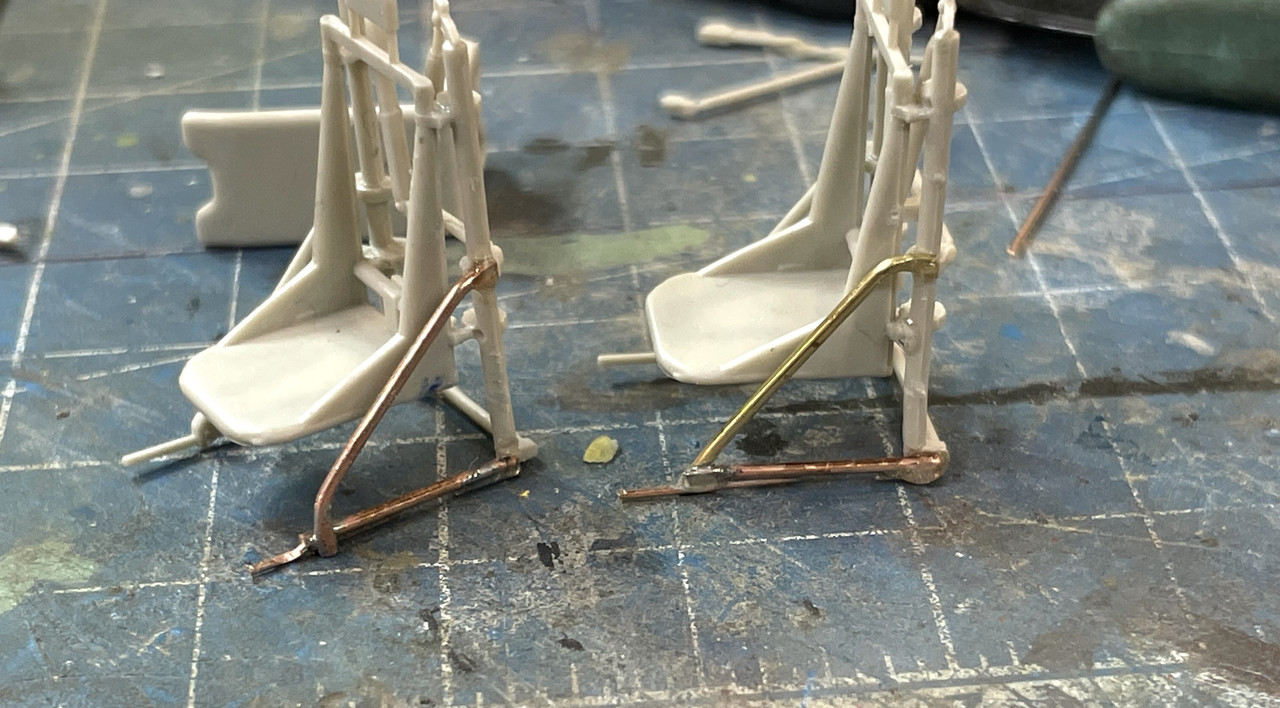
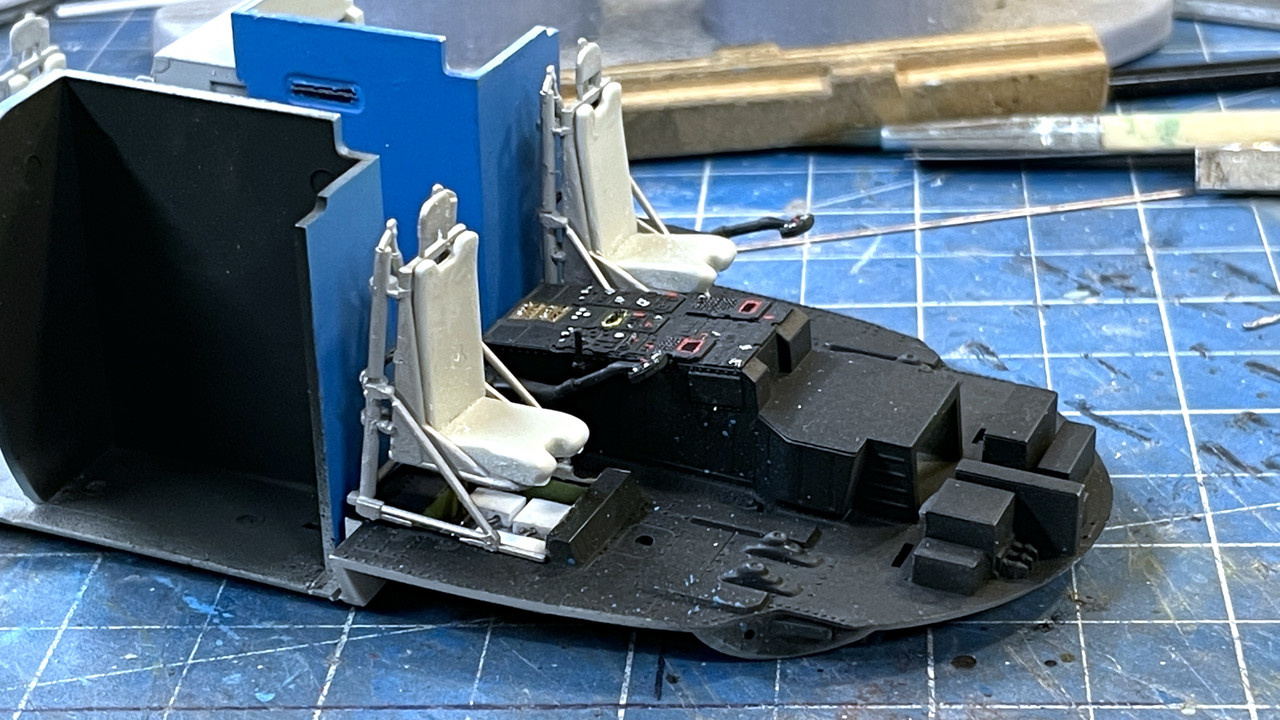
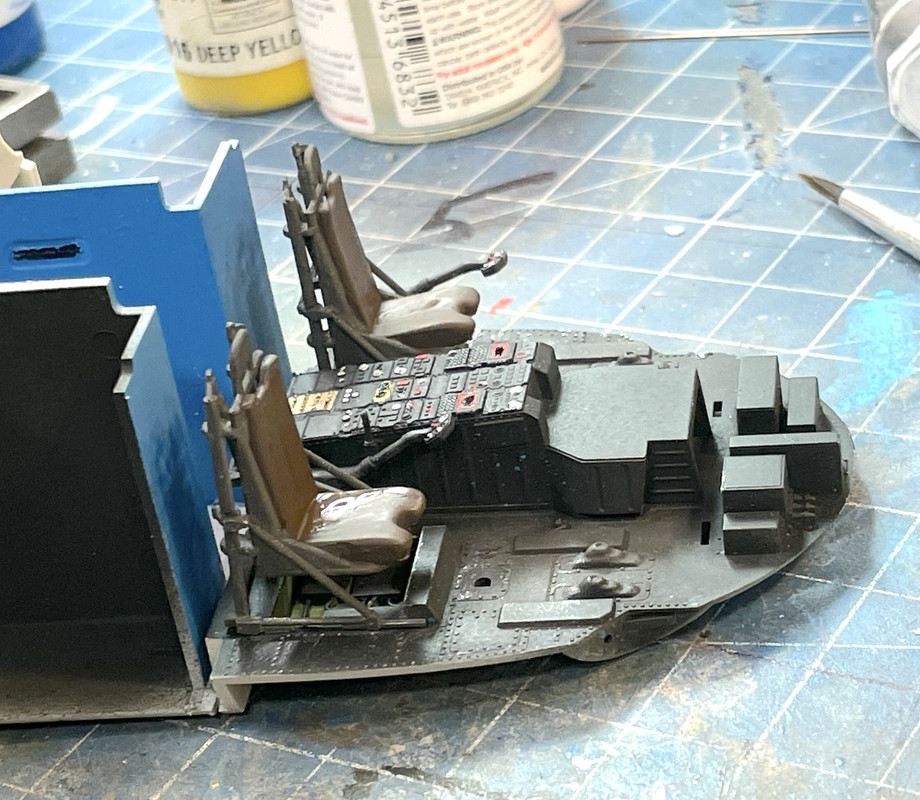
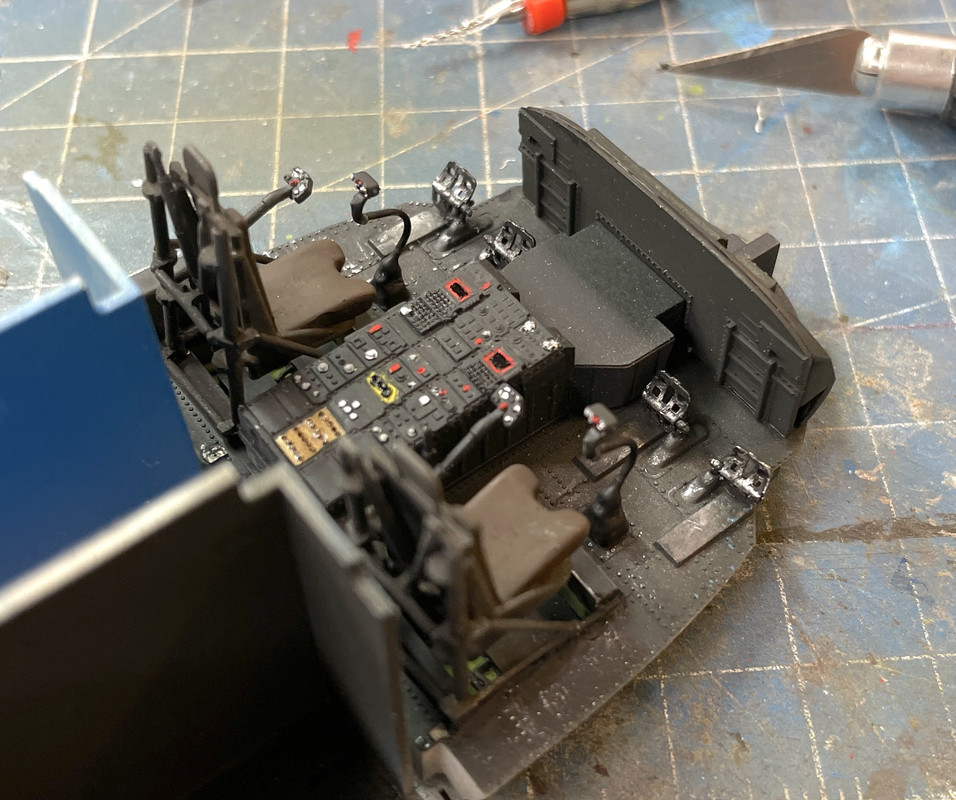
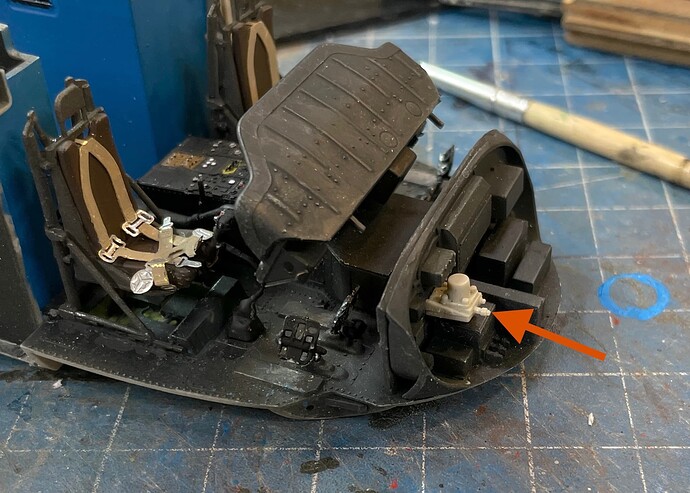
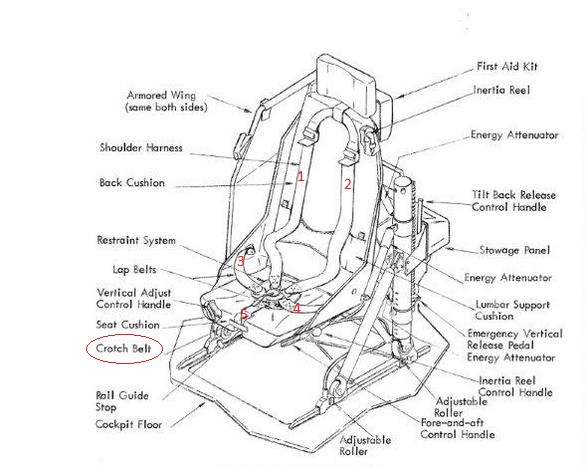
The seats were annoying to glue together mainly because I’m impatient and didn’t wait until the glue was cured before attempting to paint them. The joints failed and re-gluing is always harder than gluing in the first place. After screwing with it for way too long, I ended up using med CA and accelerator to finally get them together.
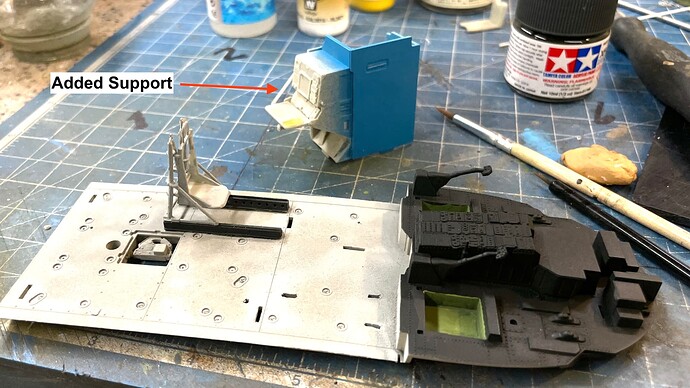
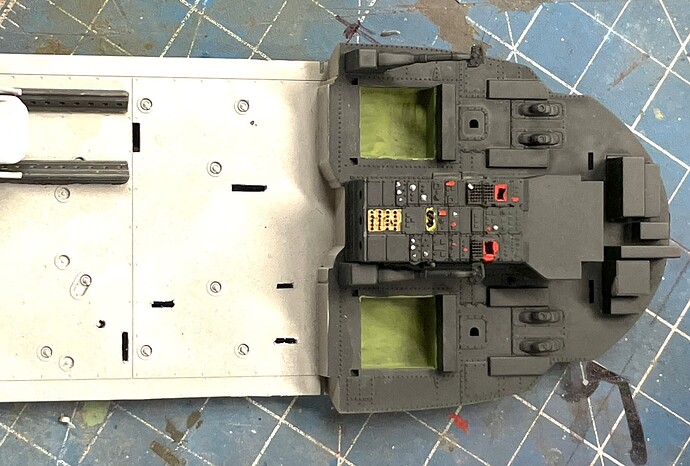
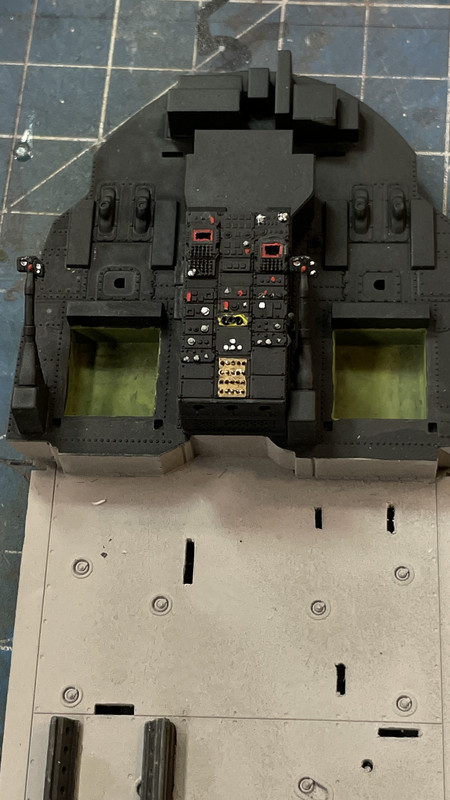
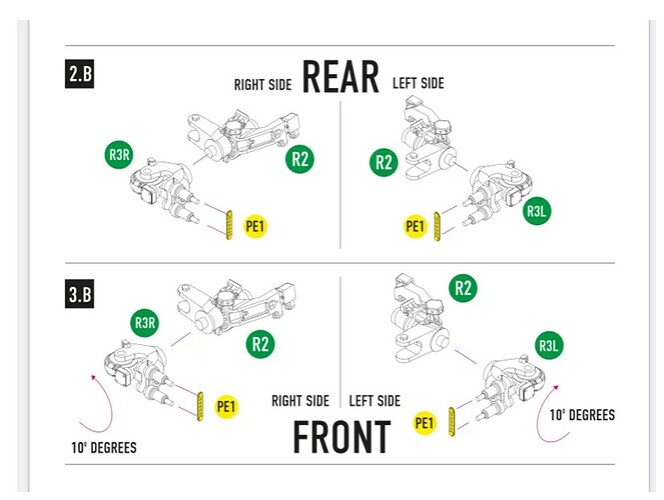
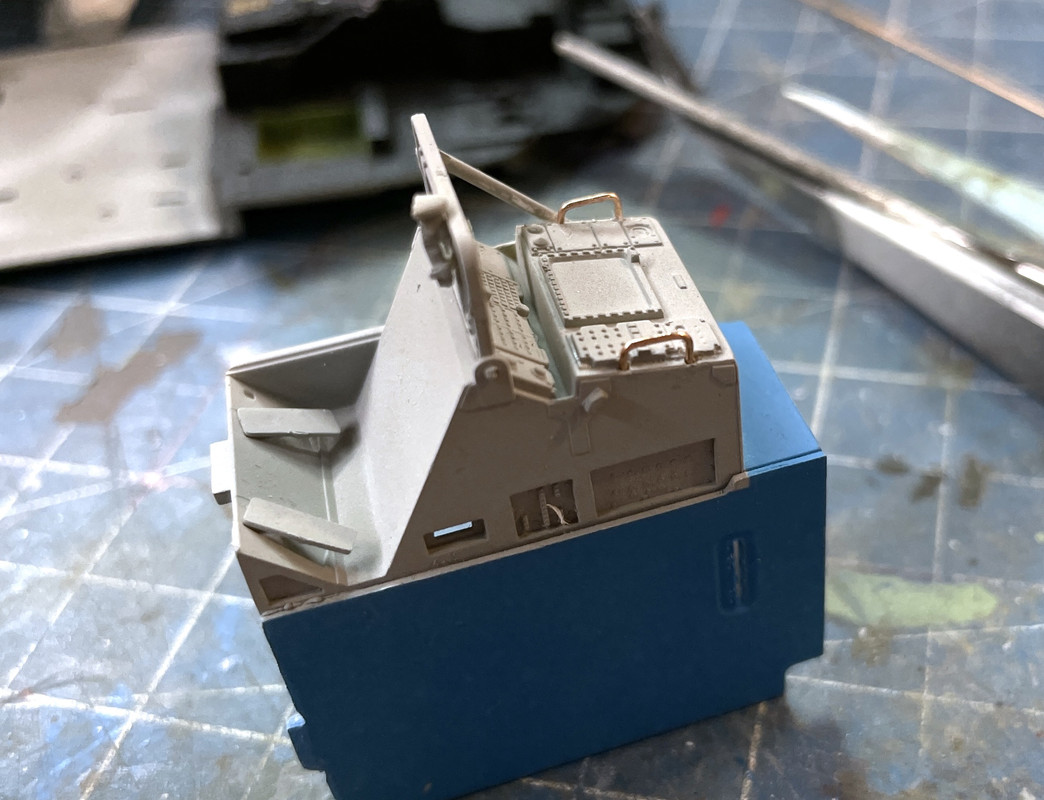
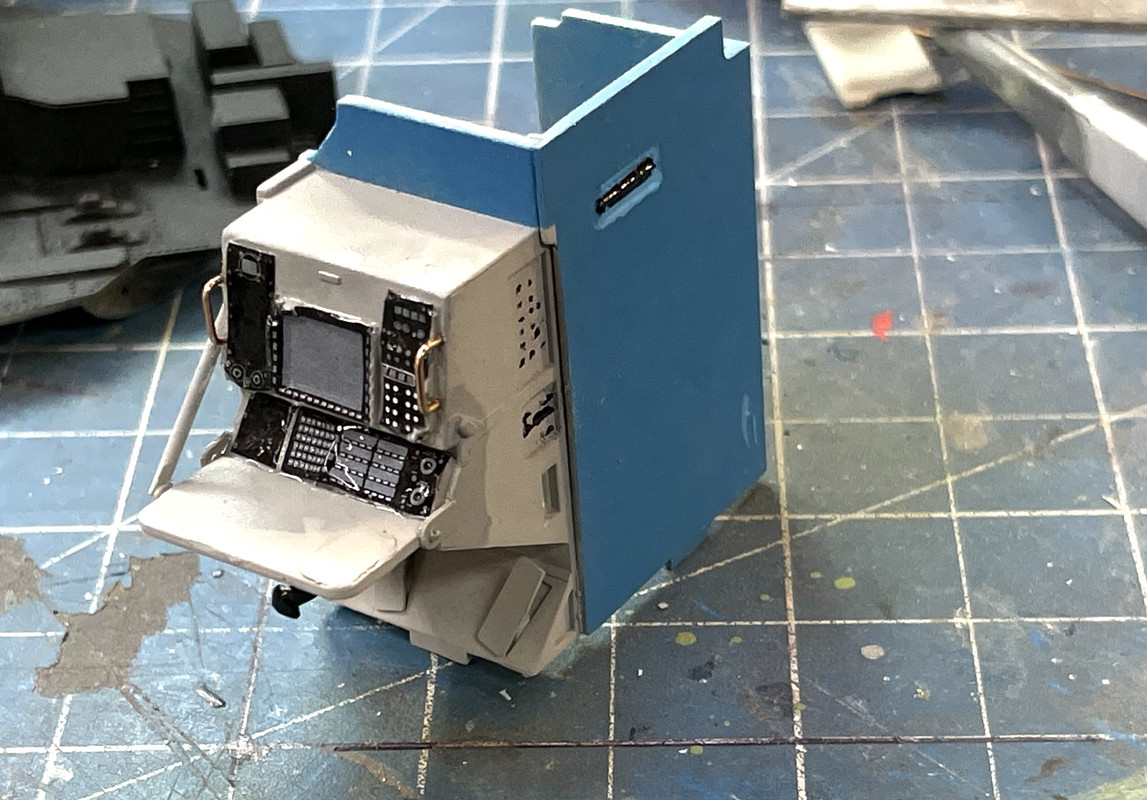
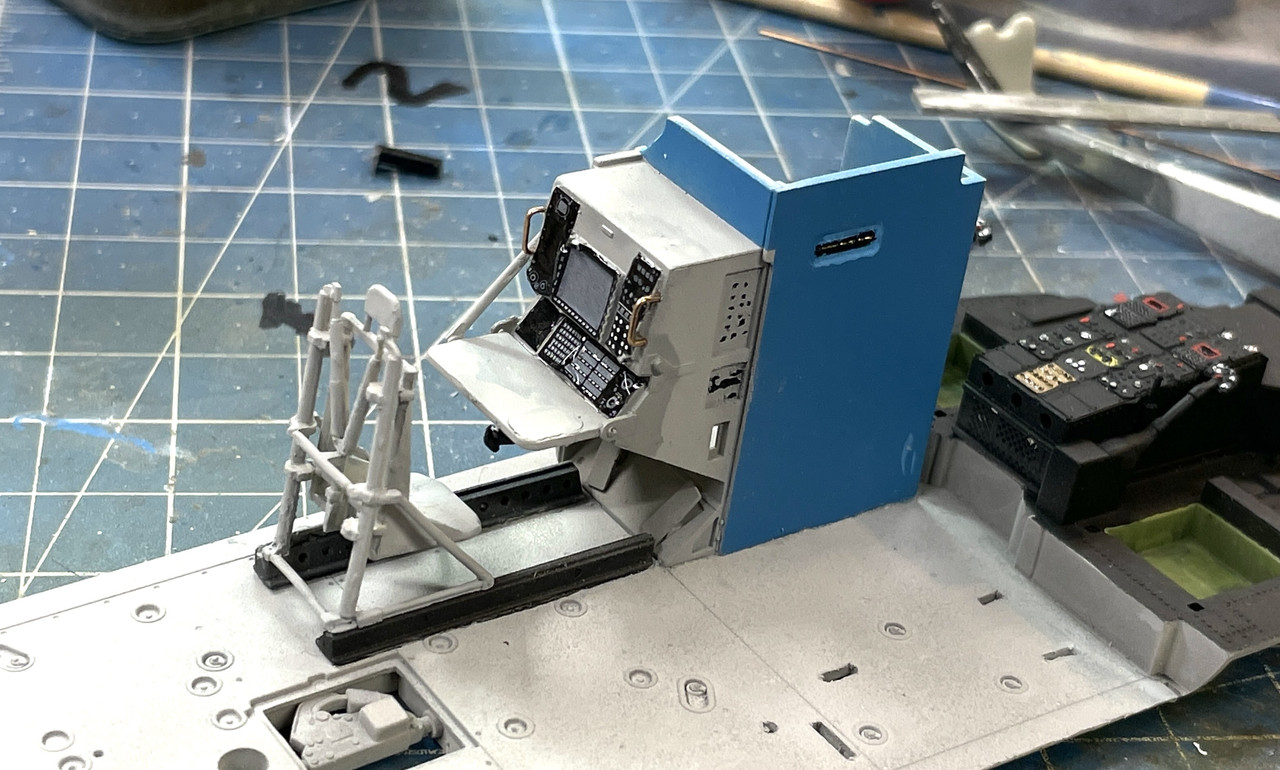
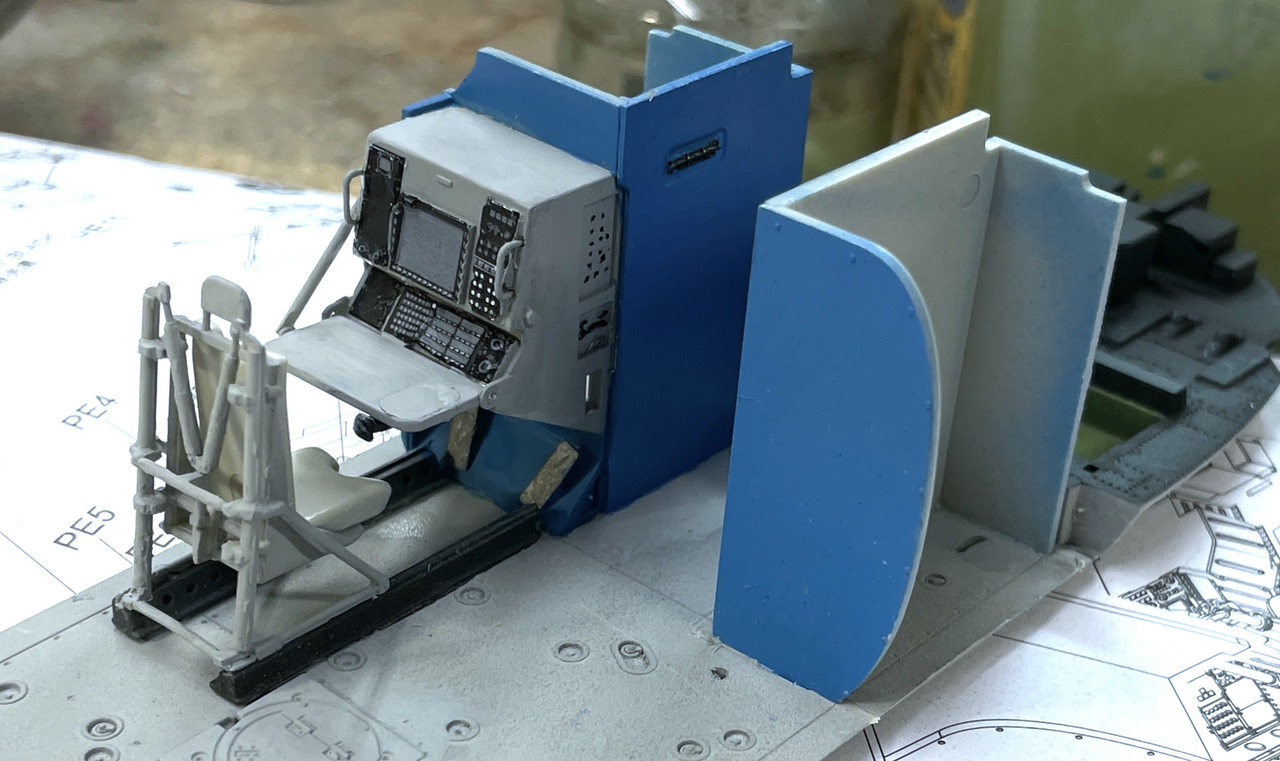
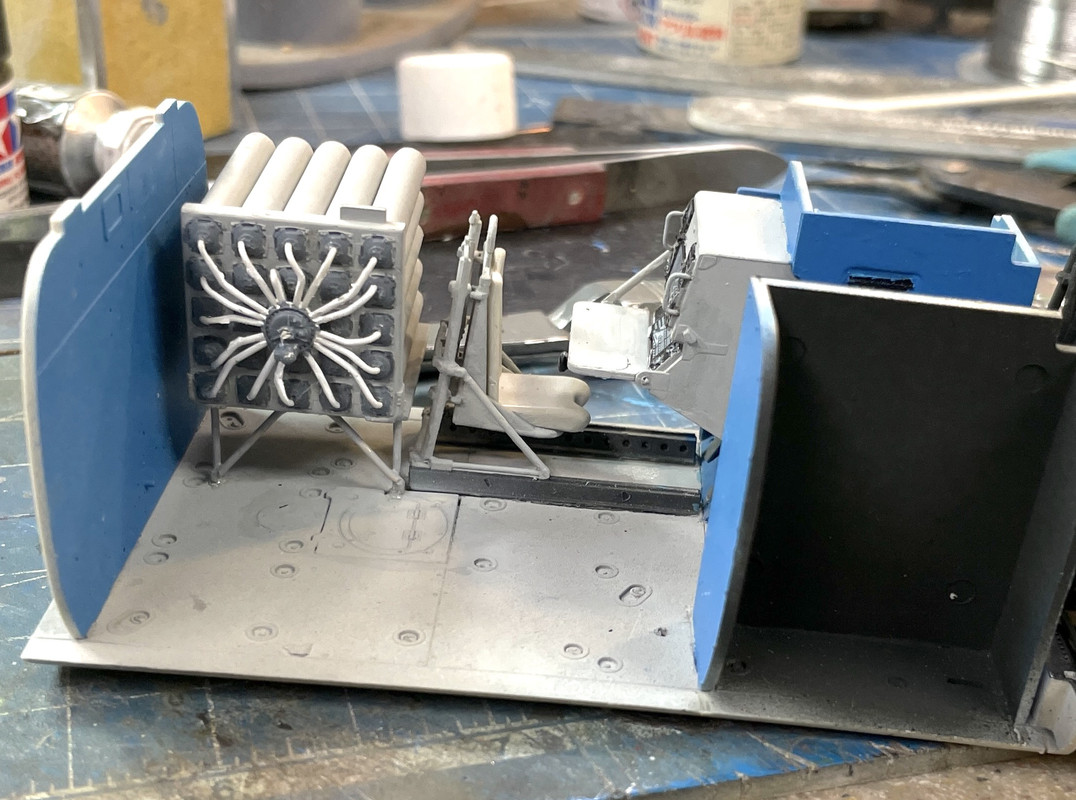
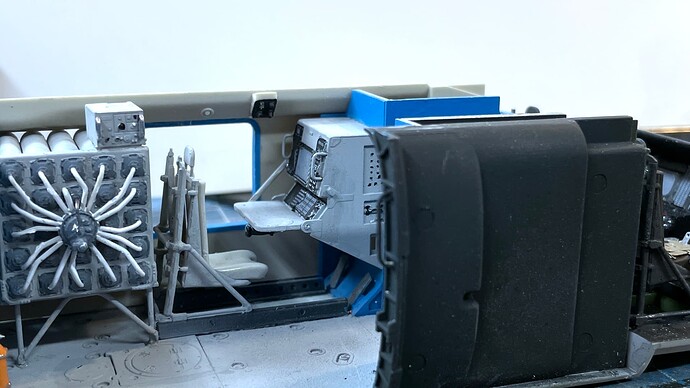
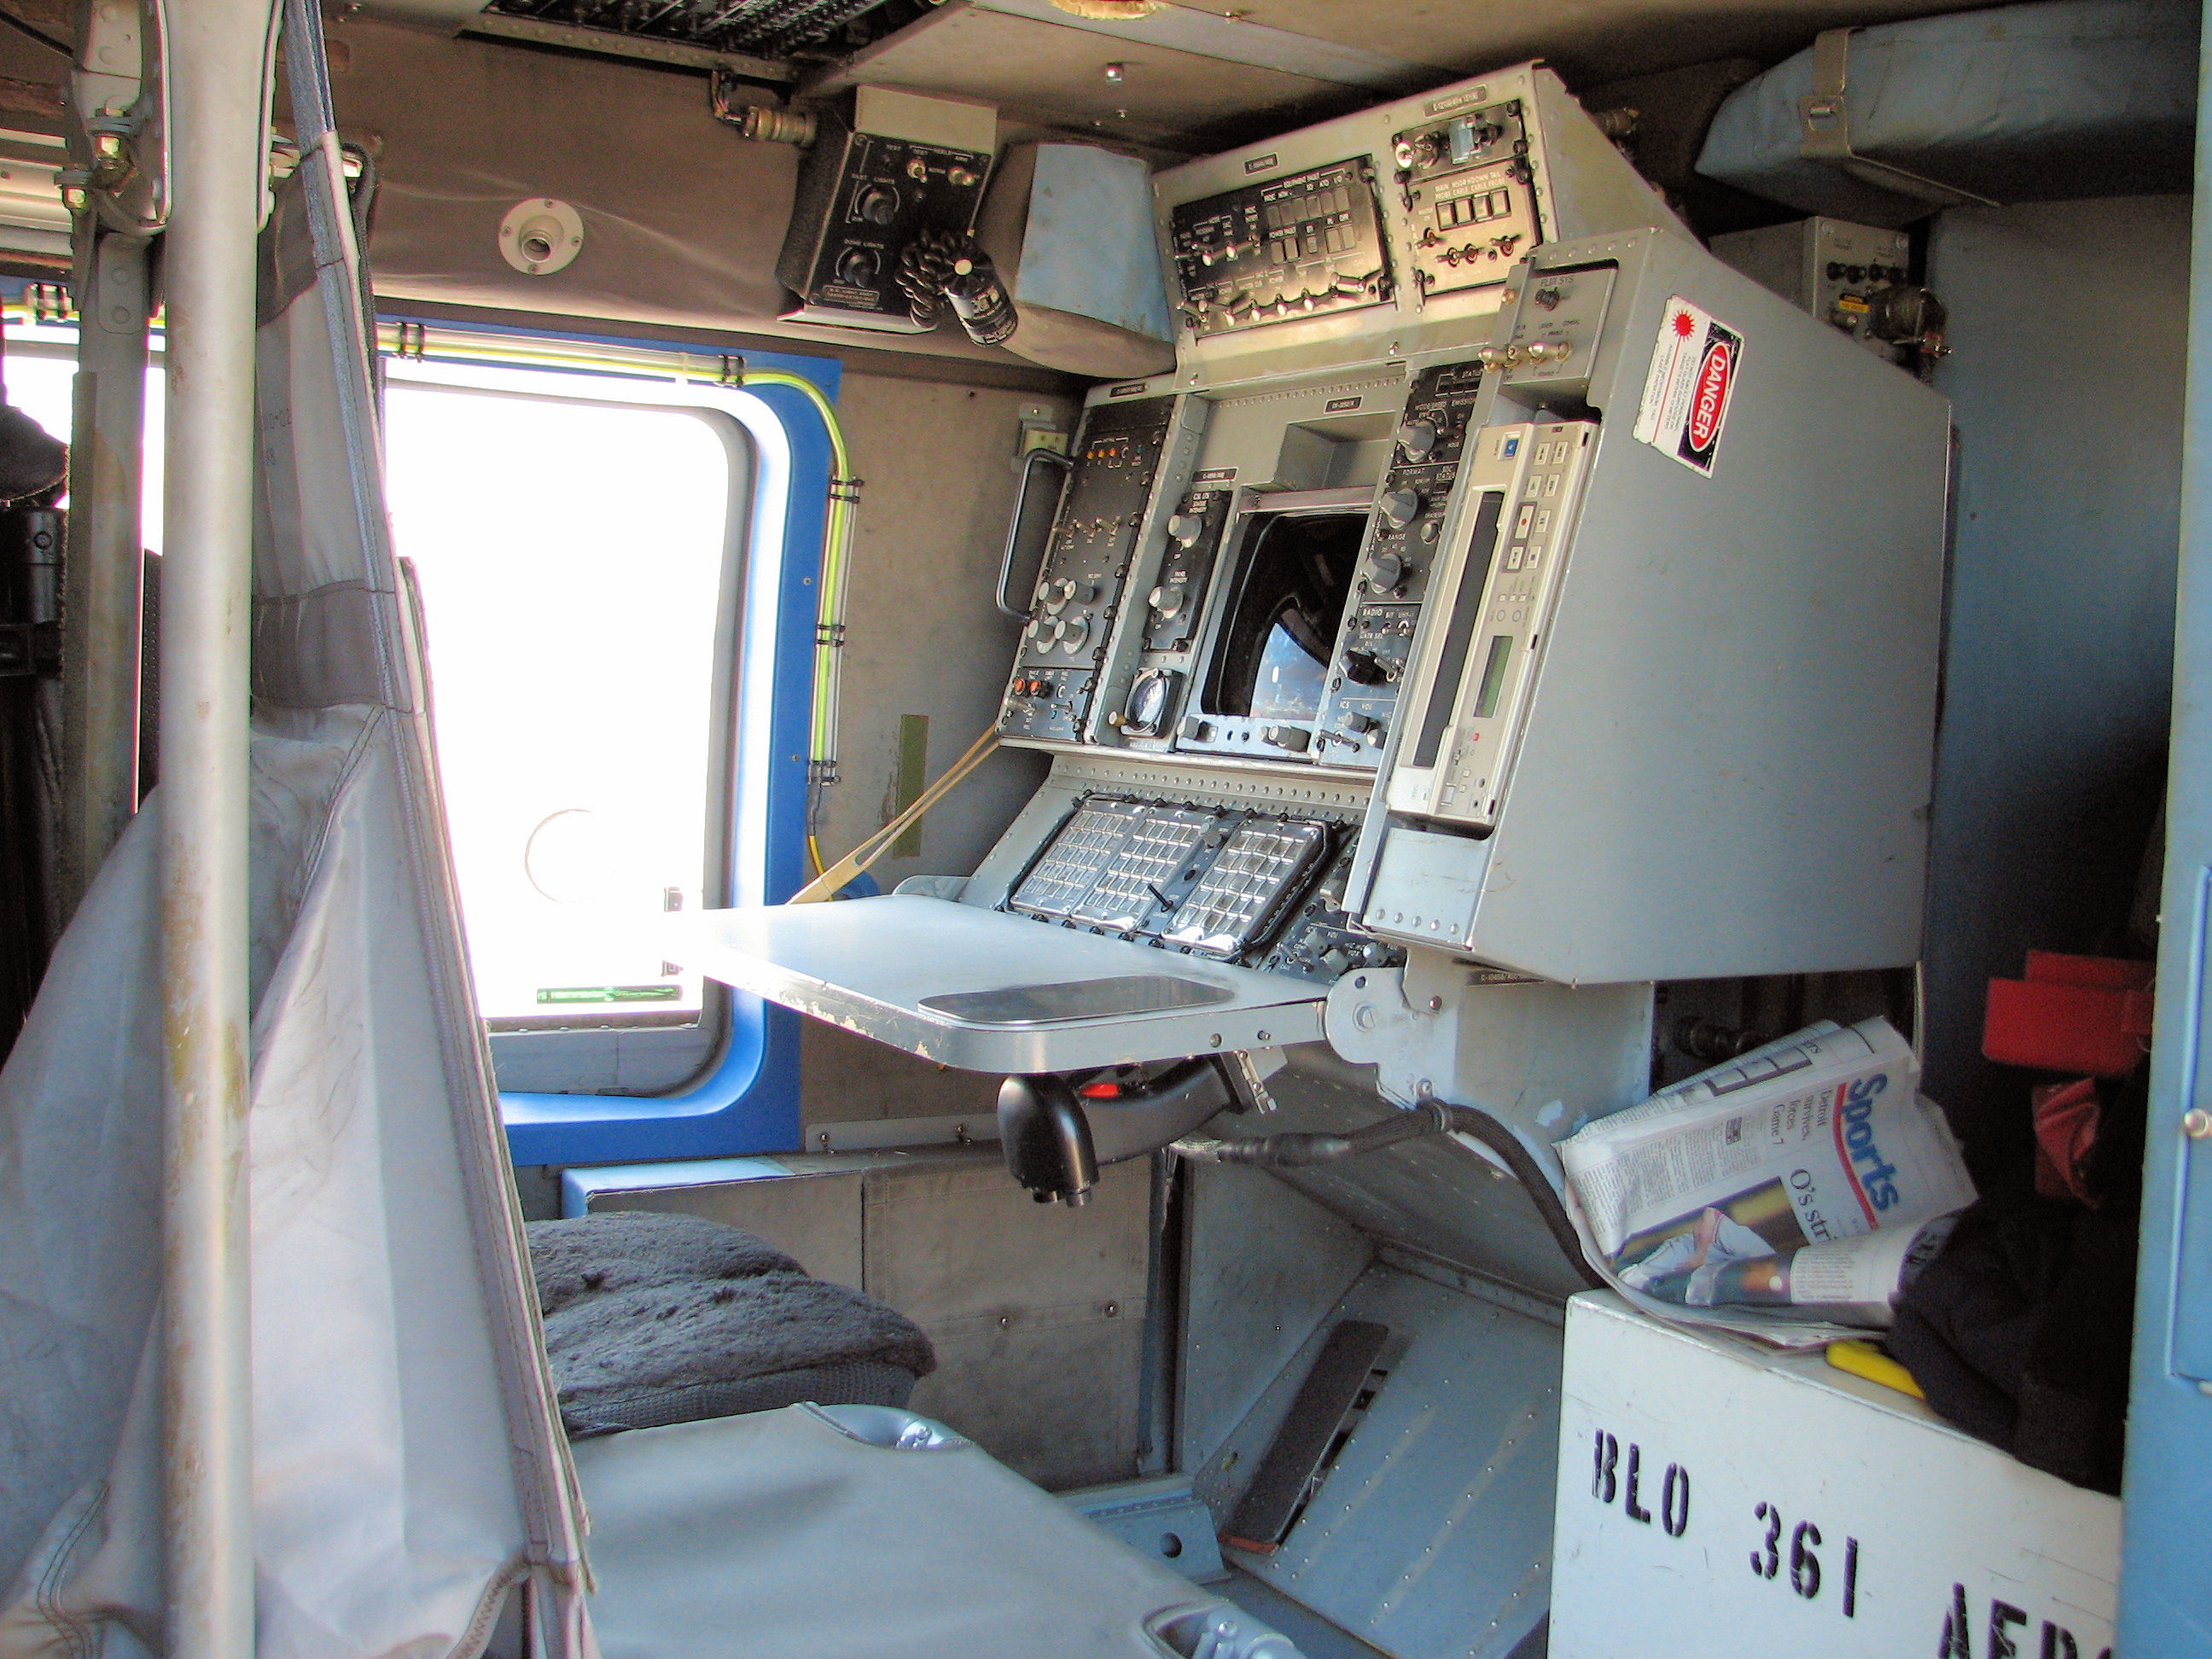
The interior wall panels are painted a light, slightly aqua blue. The weapons console is light gray in the images I’ve found. The Kitty Hawk kit is very detailed and finely molded. I did find that the PE part on the console work table is labeled PE1, but there is no PE1. The part is actually PE2.
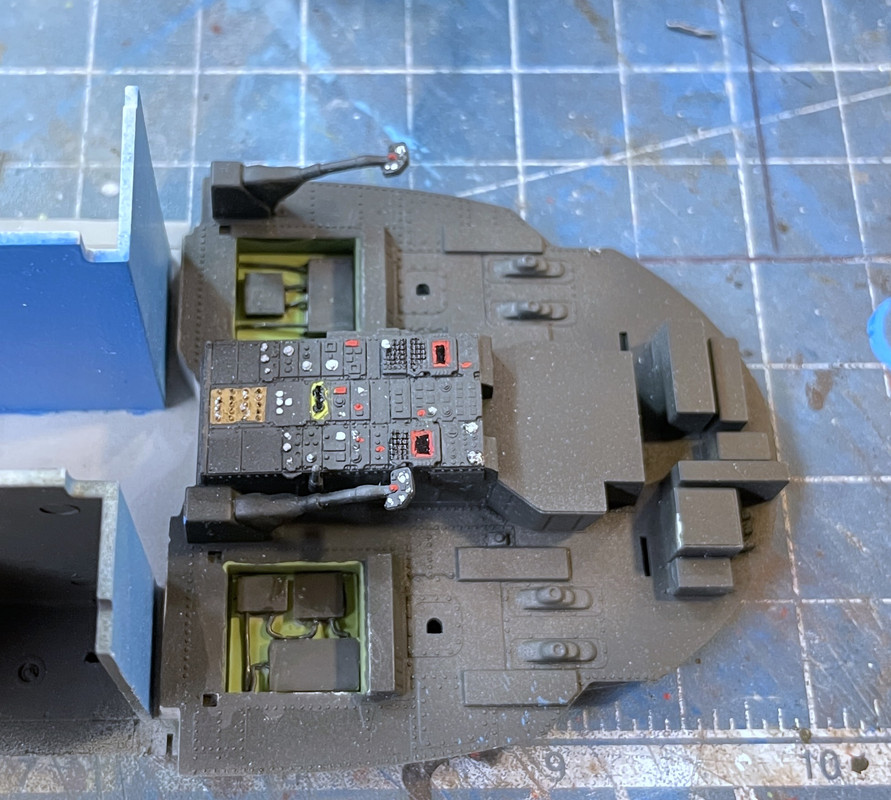
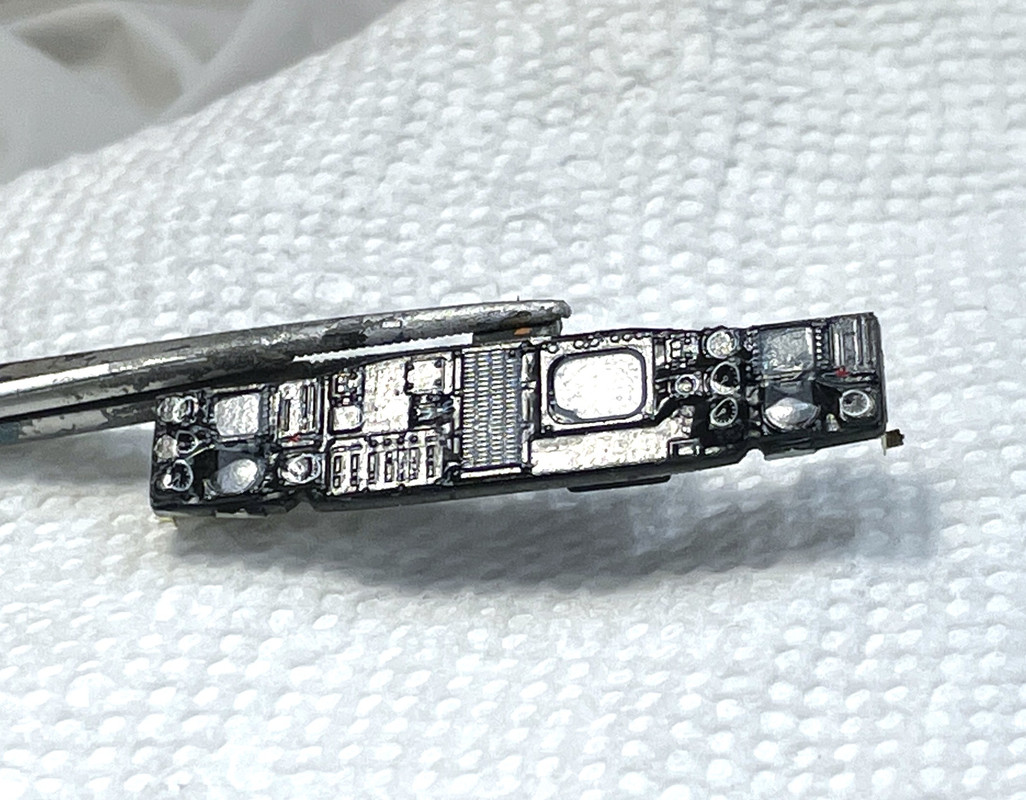
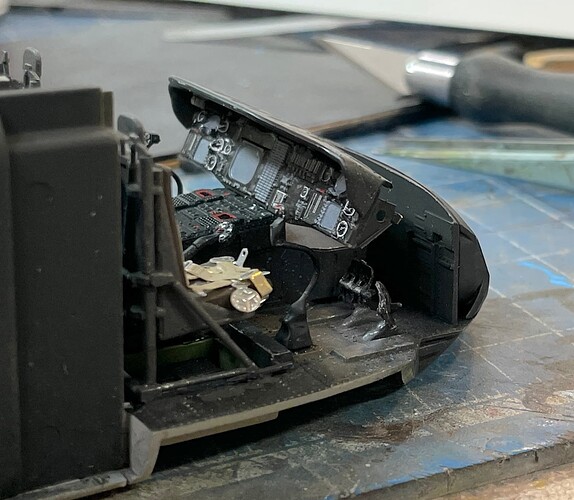
I chose to paint the control panels instead of trying to get the decals to settle in over all the knobs and switches. The picture shows WIP. I have more work to do on it.
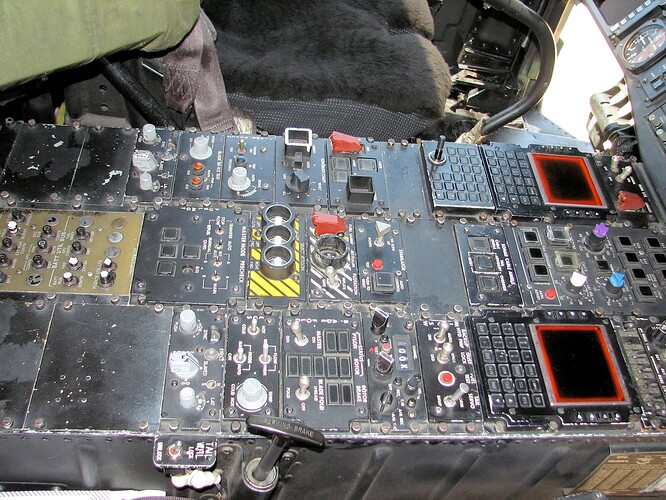
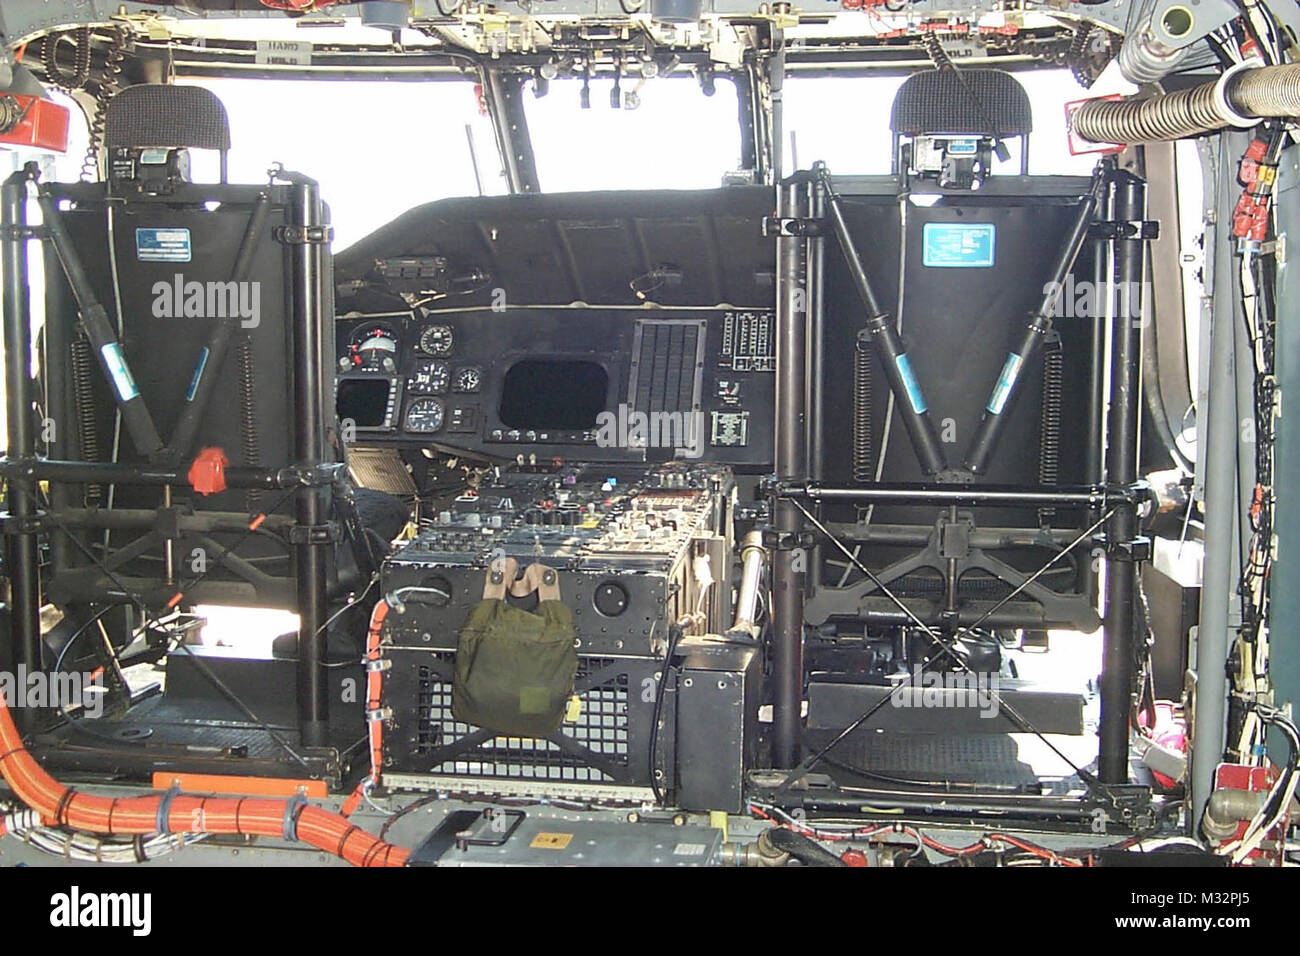
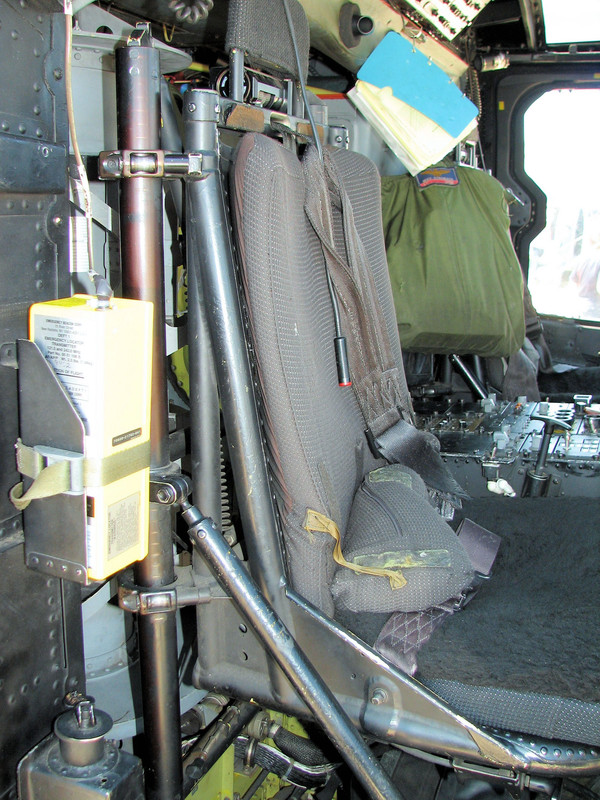
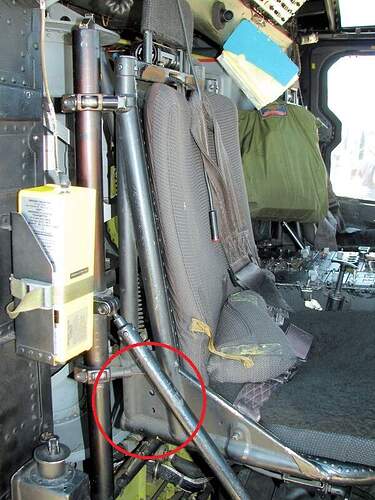
Here’s what I’m basing the coloration on. BTW: I use Nato Black instead of flat black.
Work will continue tomorrow. Being retired I get to work on stuff almost every day, although must stop work at 5:00 and no work on the weekends.
