This is my entry for this campaign. I’ll go deeper in the details of the build than in the main thread.
The kit is huge despite a low parts count. You got only 4 beige plastic sprues, 1 hull, 160 workable tracklinks, 1 photoetch sheet,1 decal sheet and a length of thread for the cable.
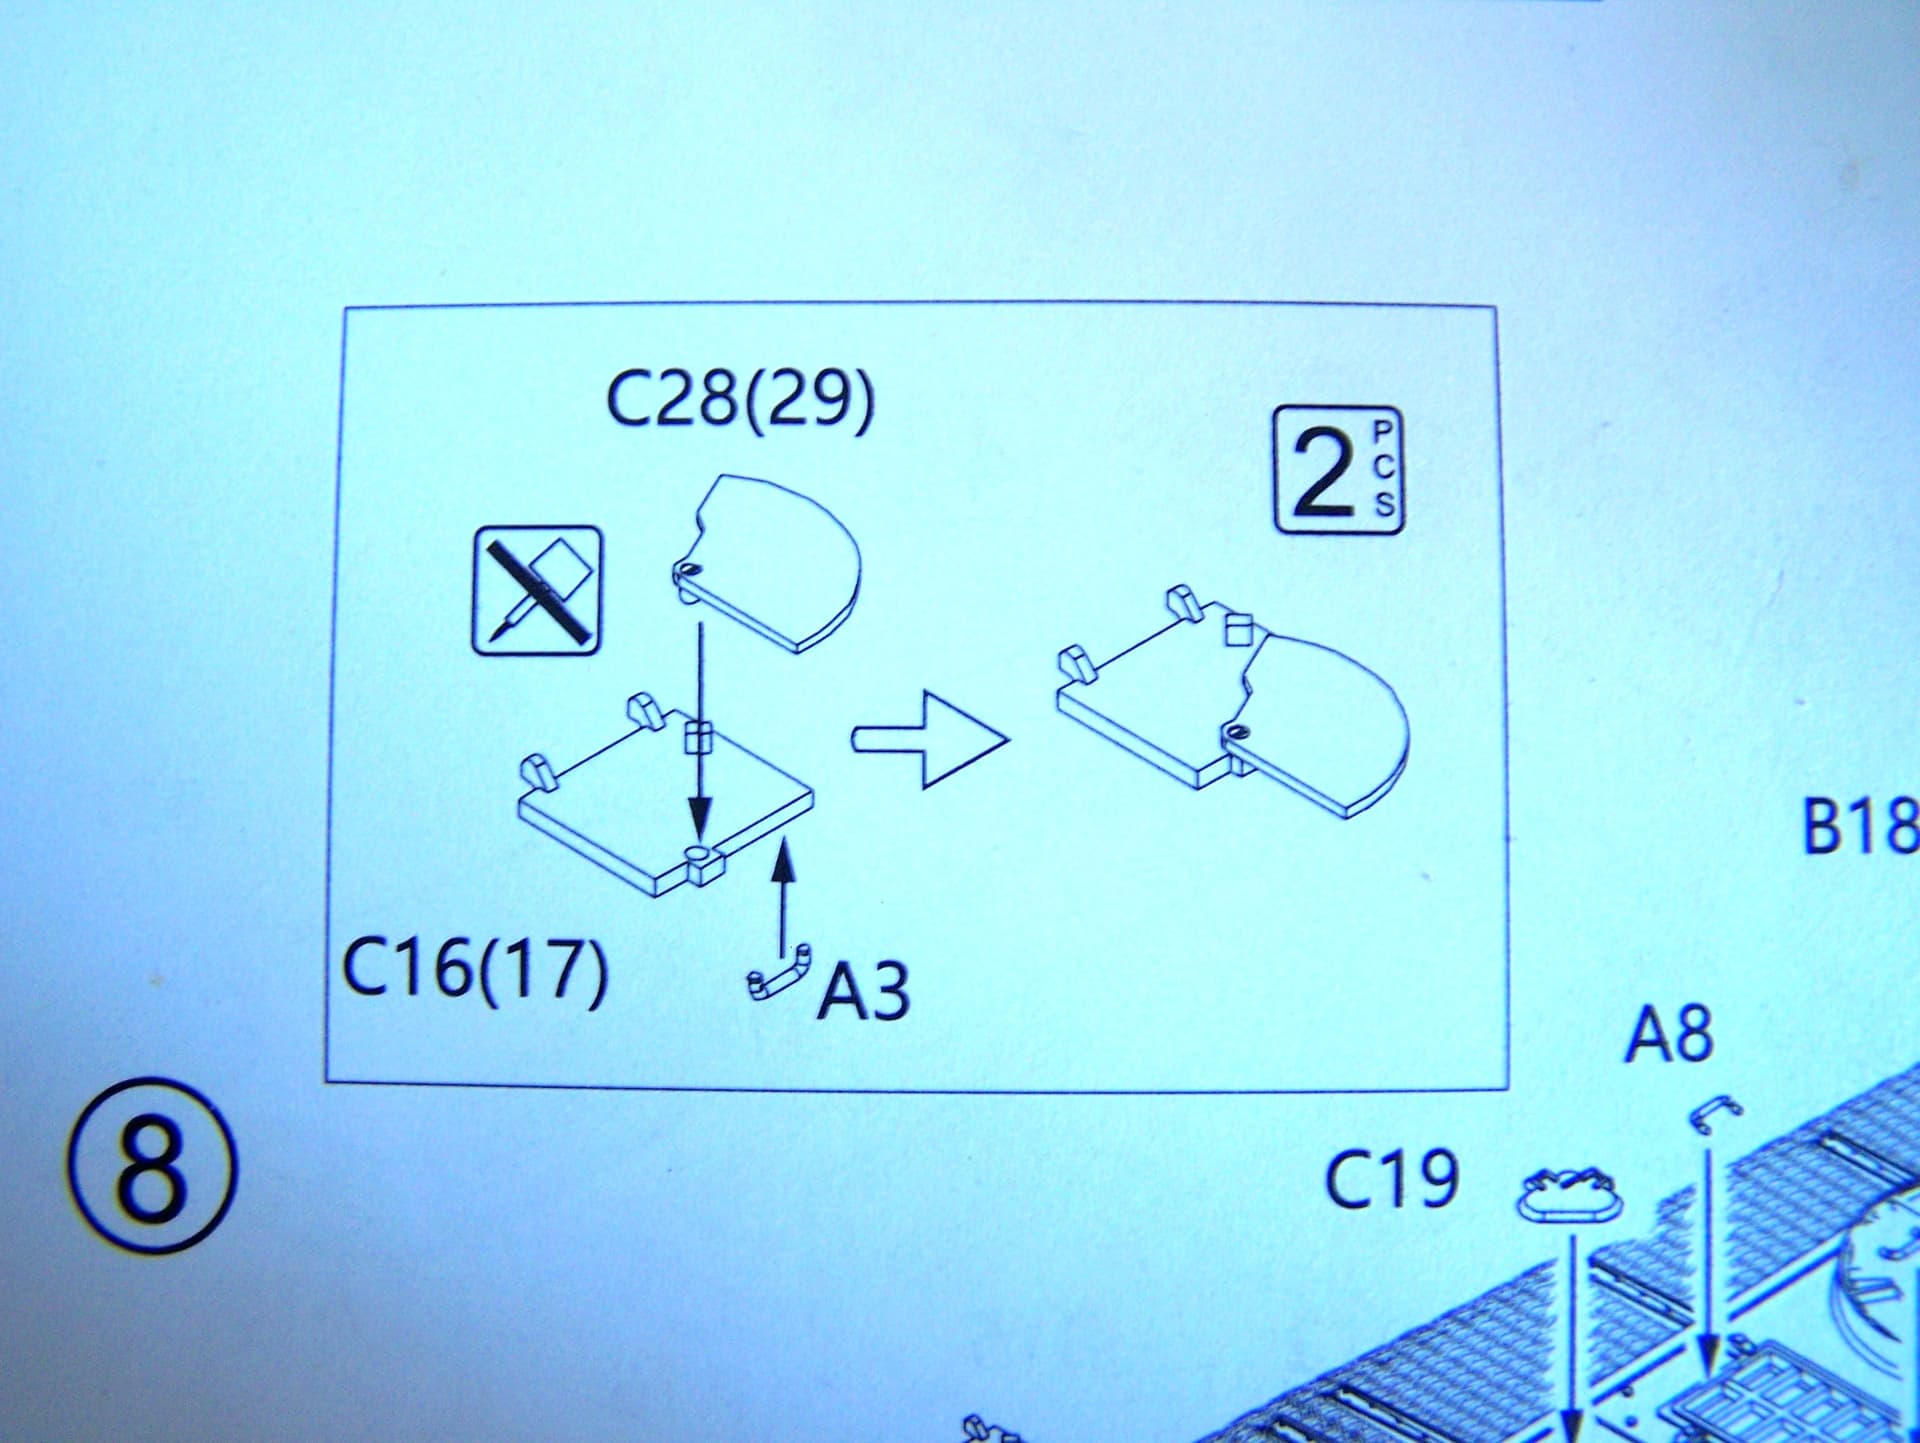
The instructions come in a 12-page booklet. The assembly is divided into 15 steps.
Two decoration options are given by Amusing Hobby with Ammo Mig paint references. However the decals offer a third option.
The instructions are clear even though the exhaust assembly step is daunting at first.
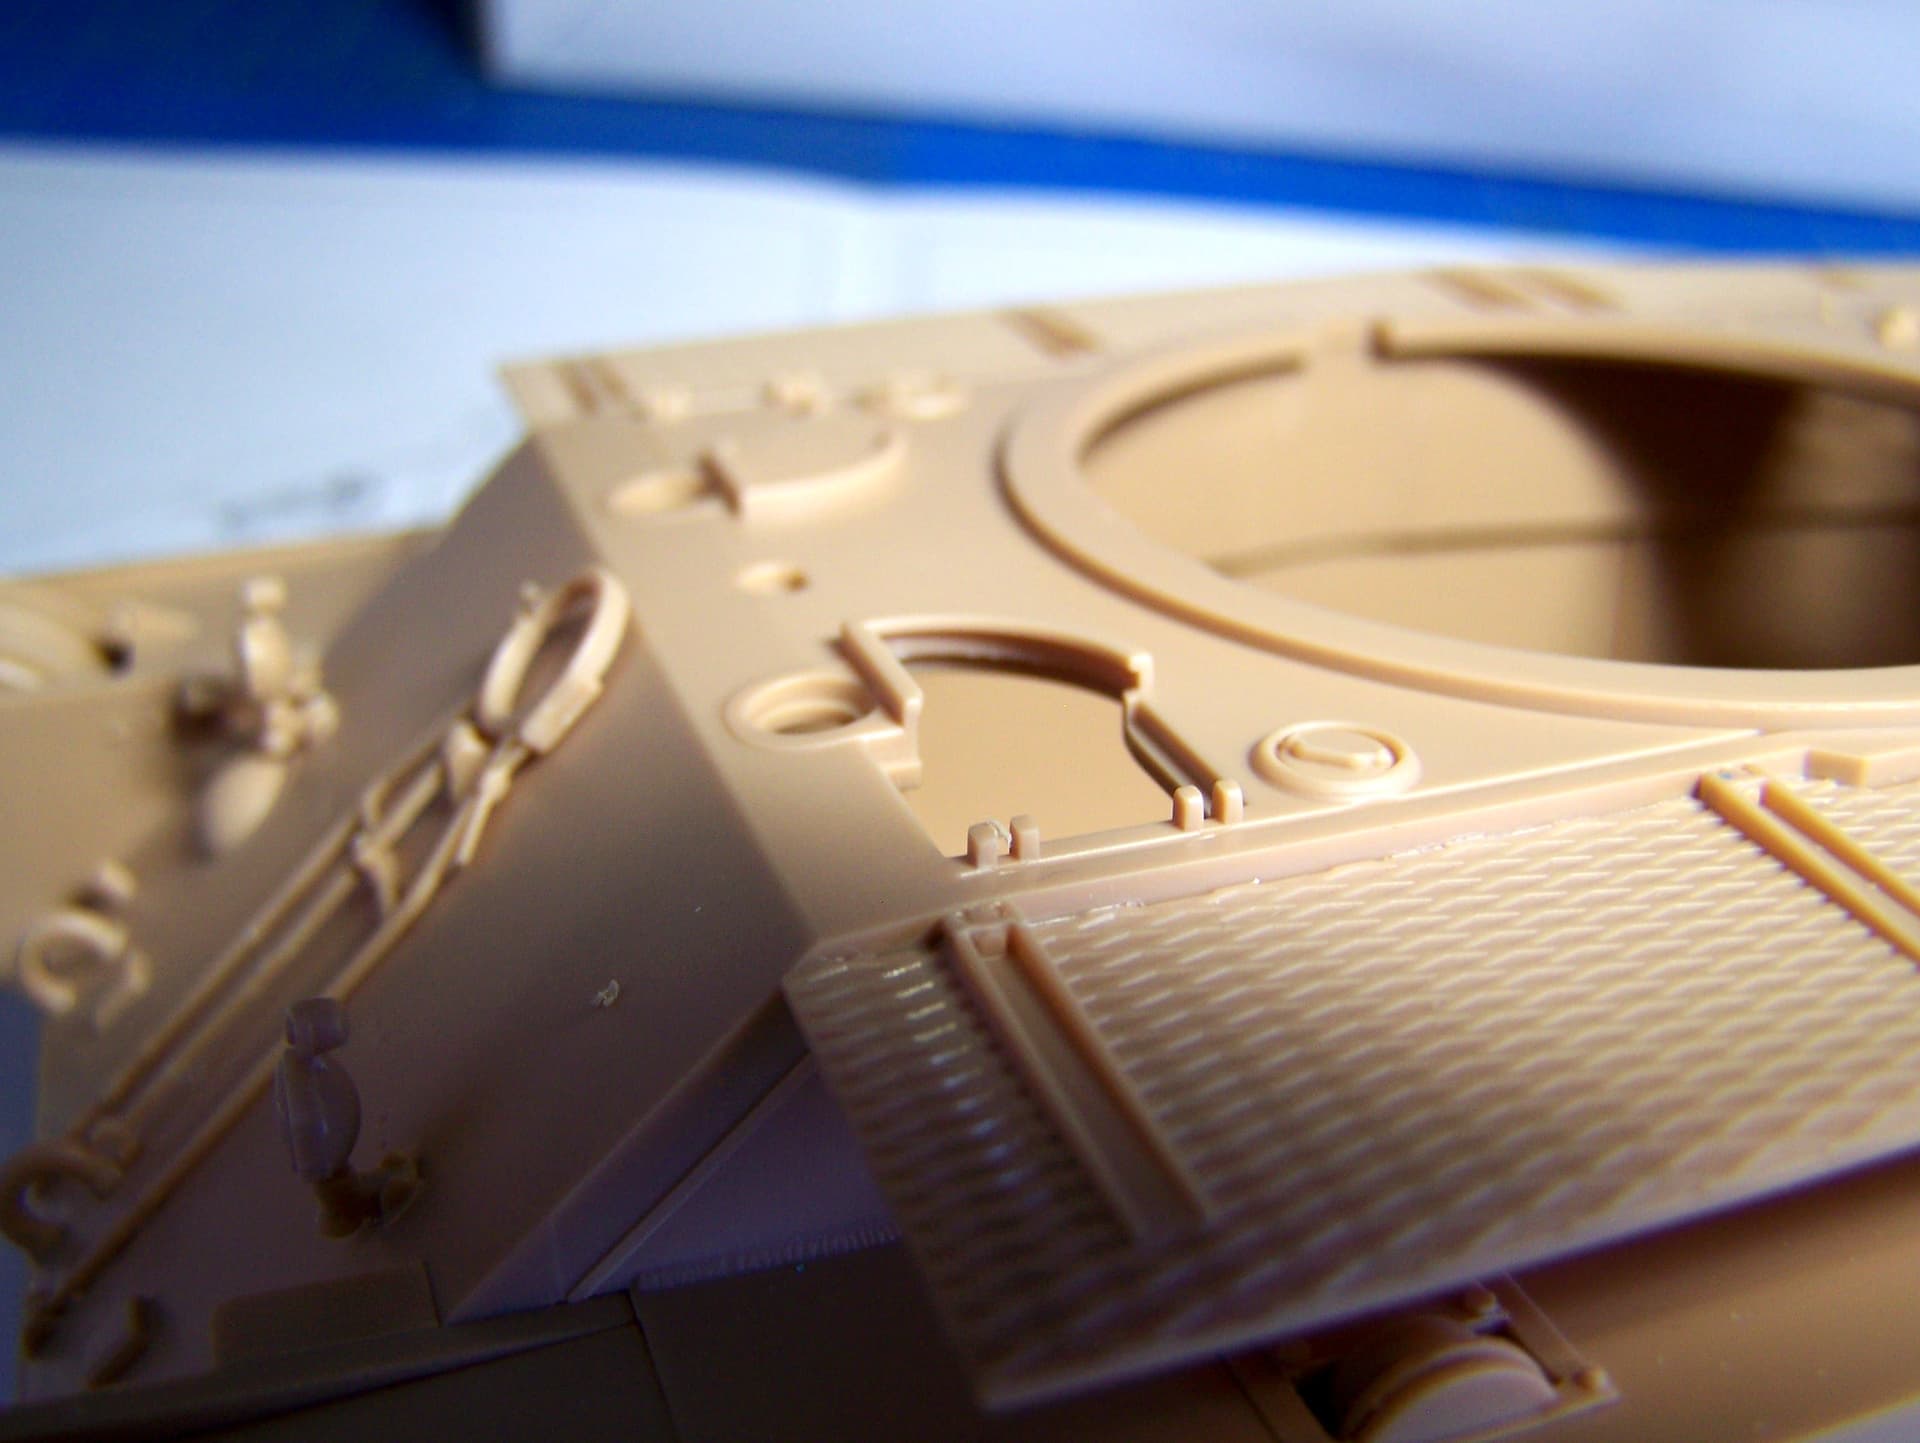
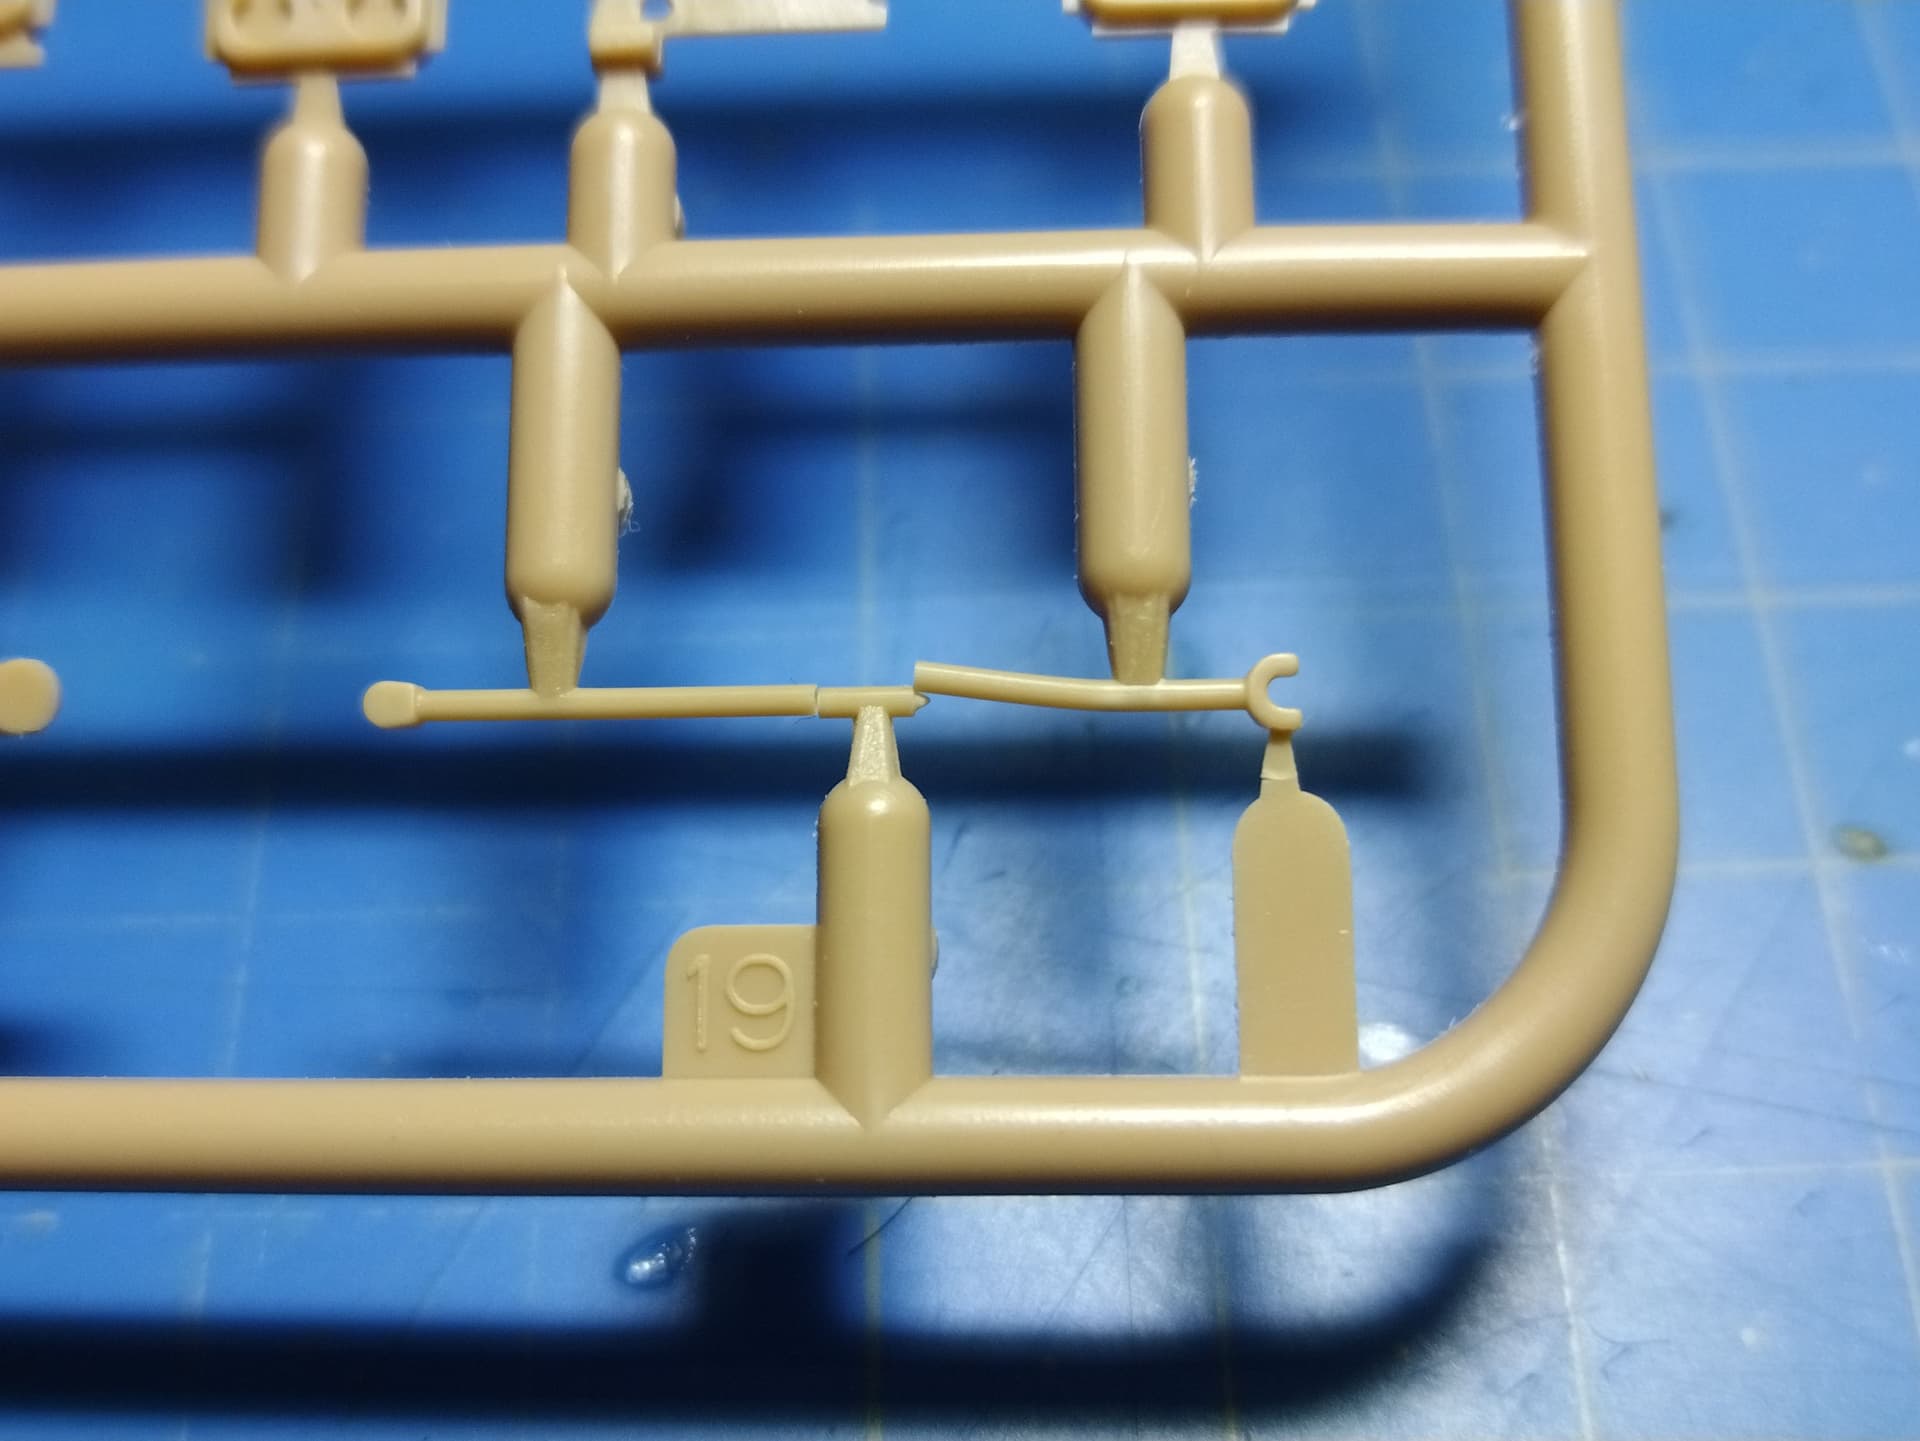
Some parts present ejection pin marks. The only ones I found having them ill placed are the front parts of the sponson. However there are easily fixed.
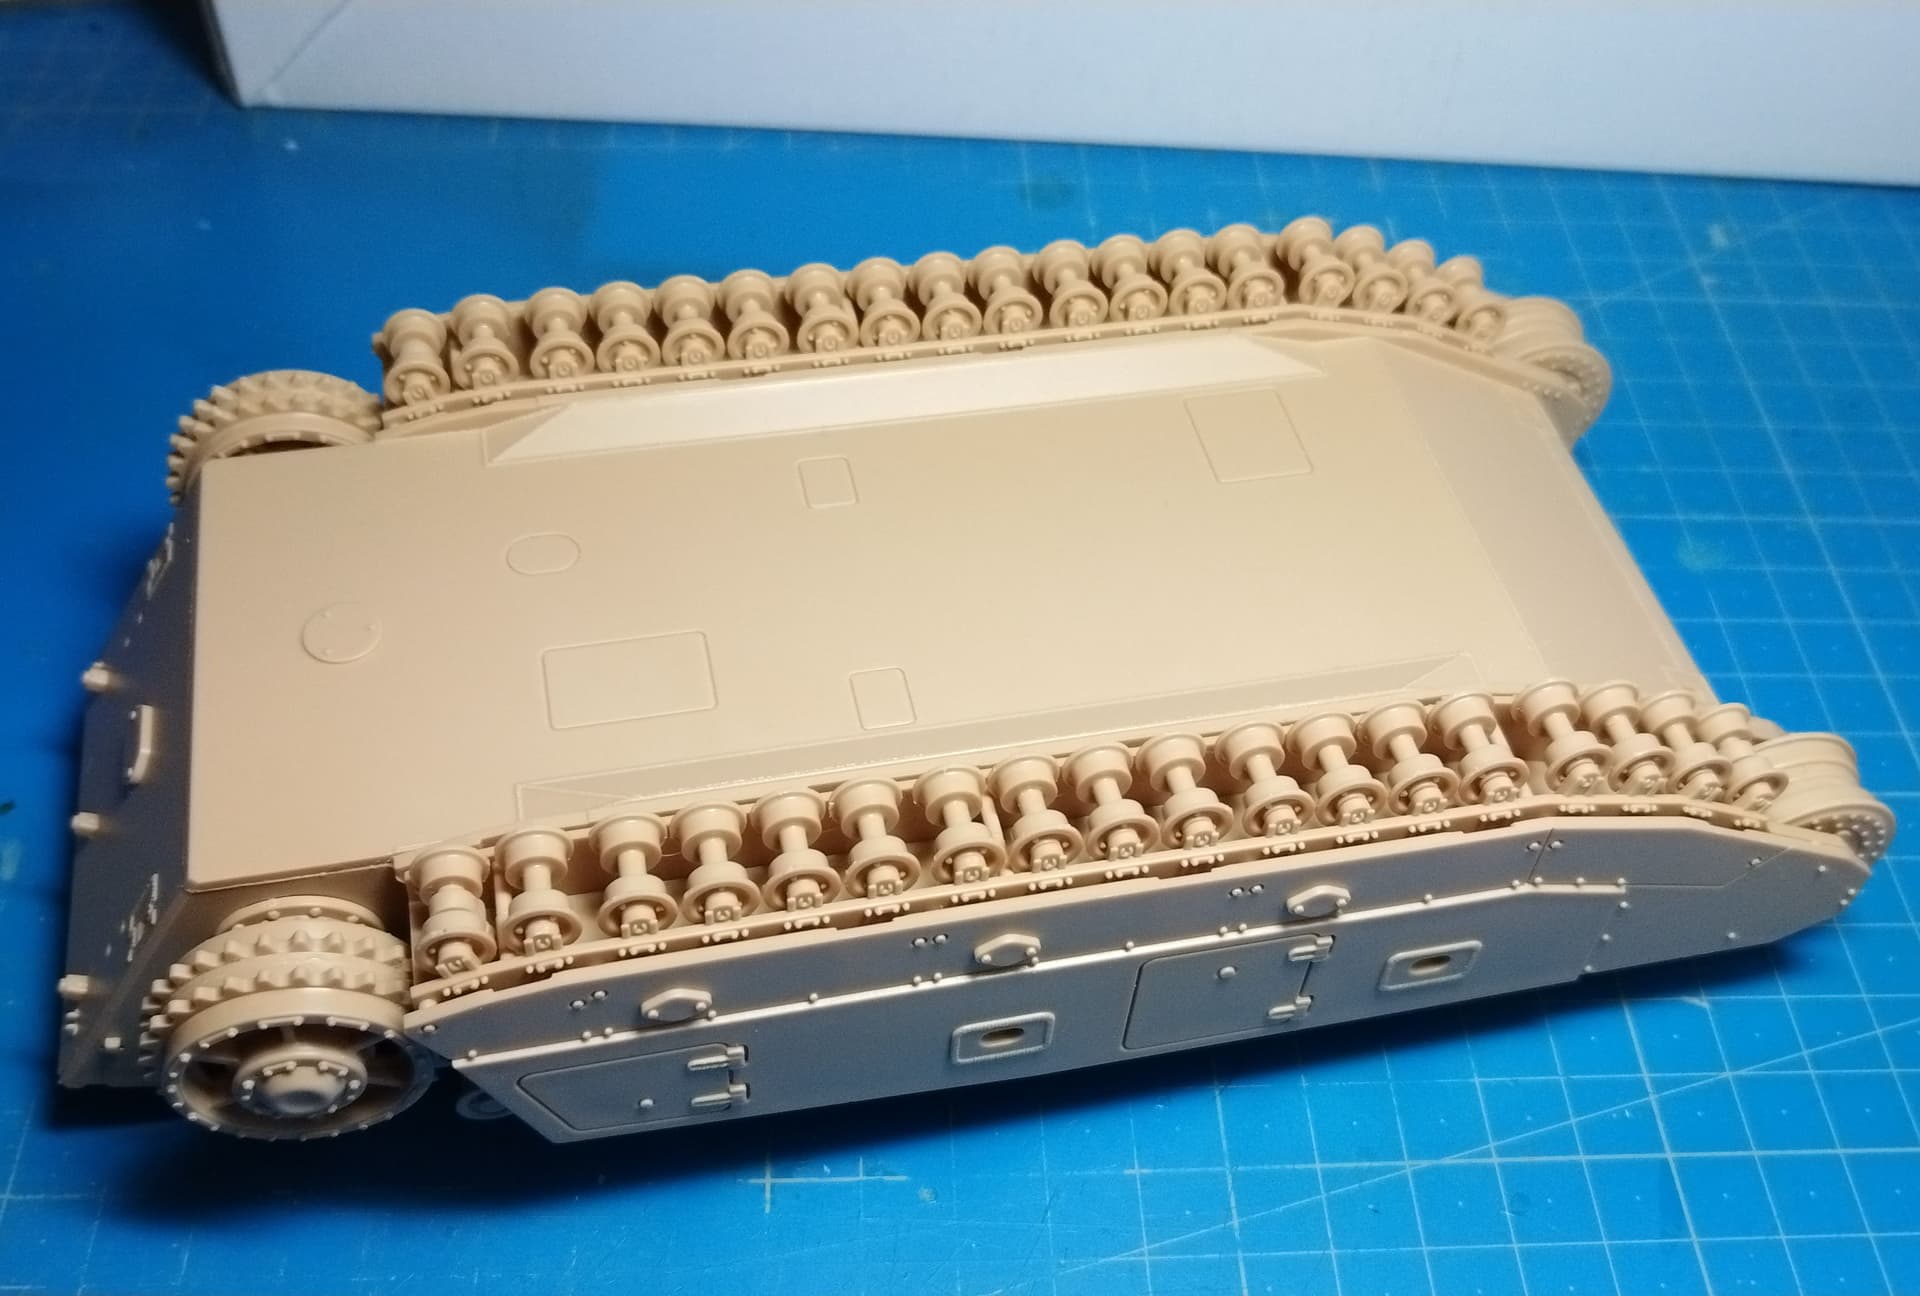
Step 1 concerns the assembly of the track rollers.18 of them are needed on each side. 16 are held by small lugs so you need to be careful when you assemble the both sides.
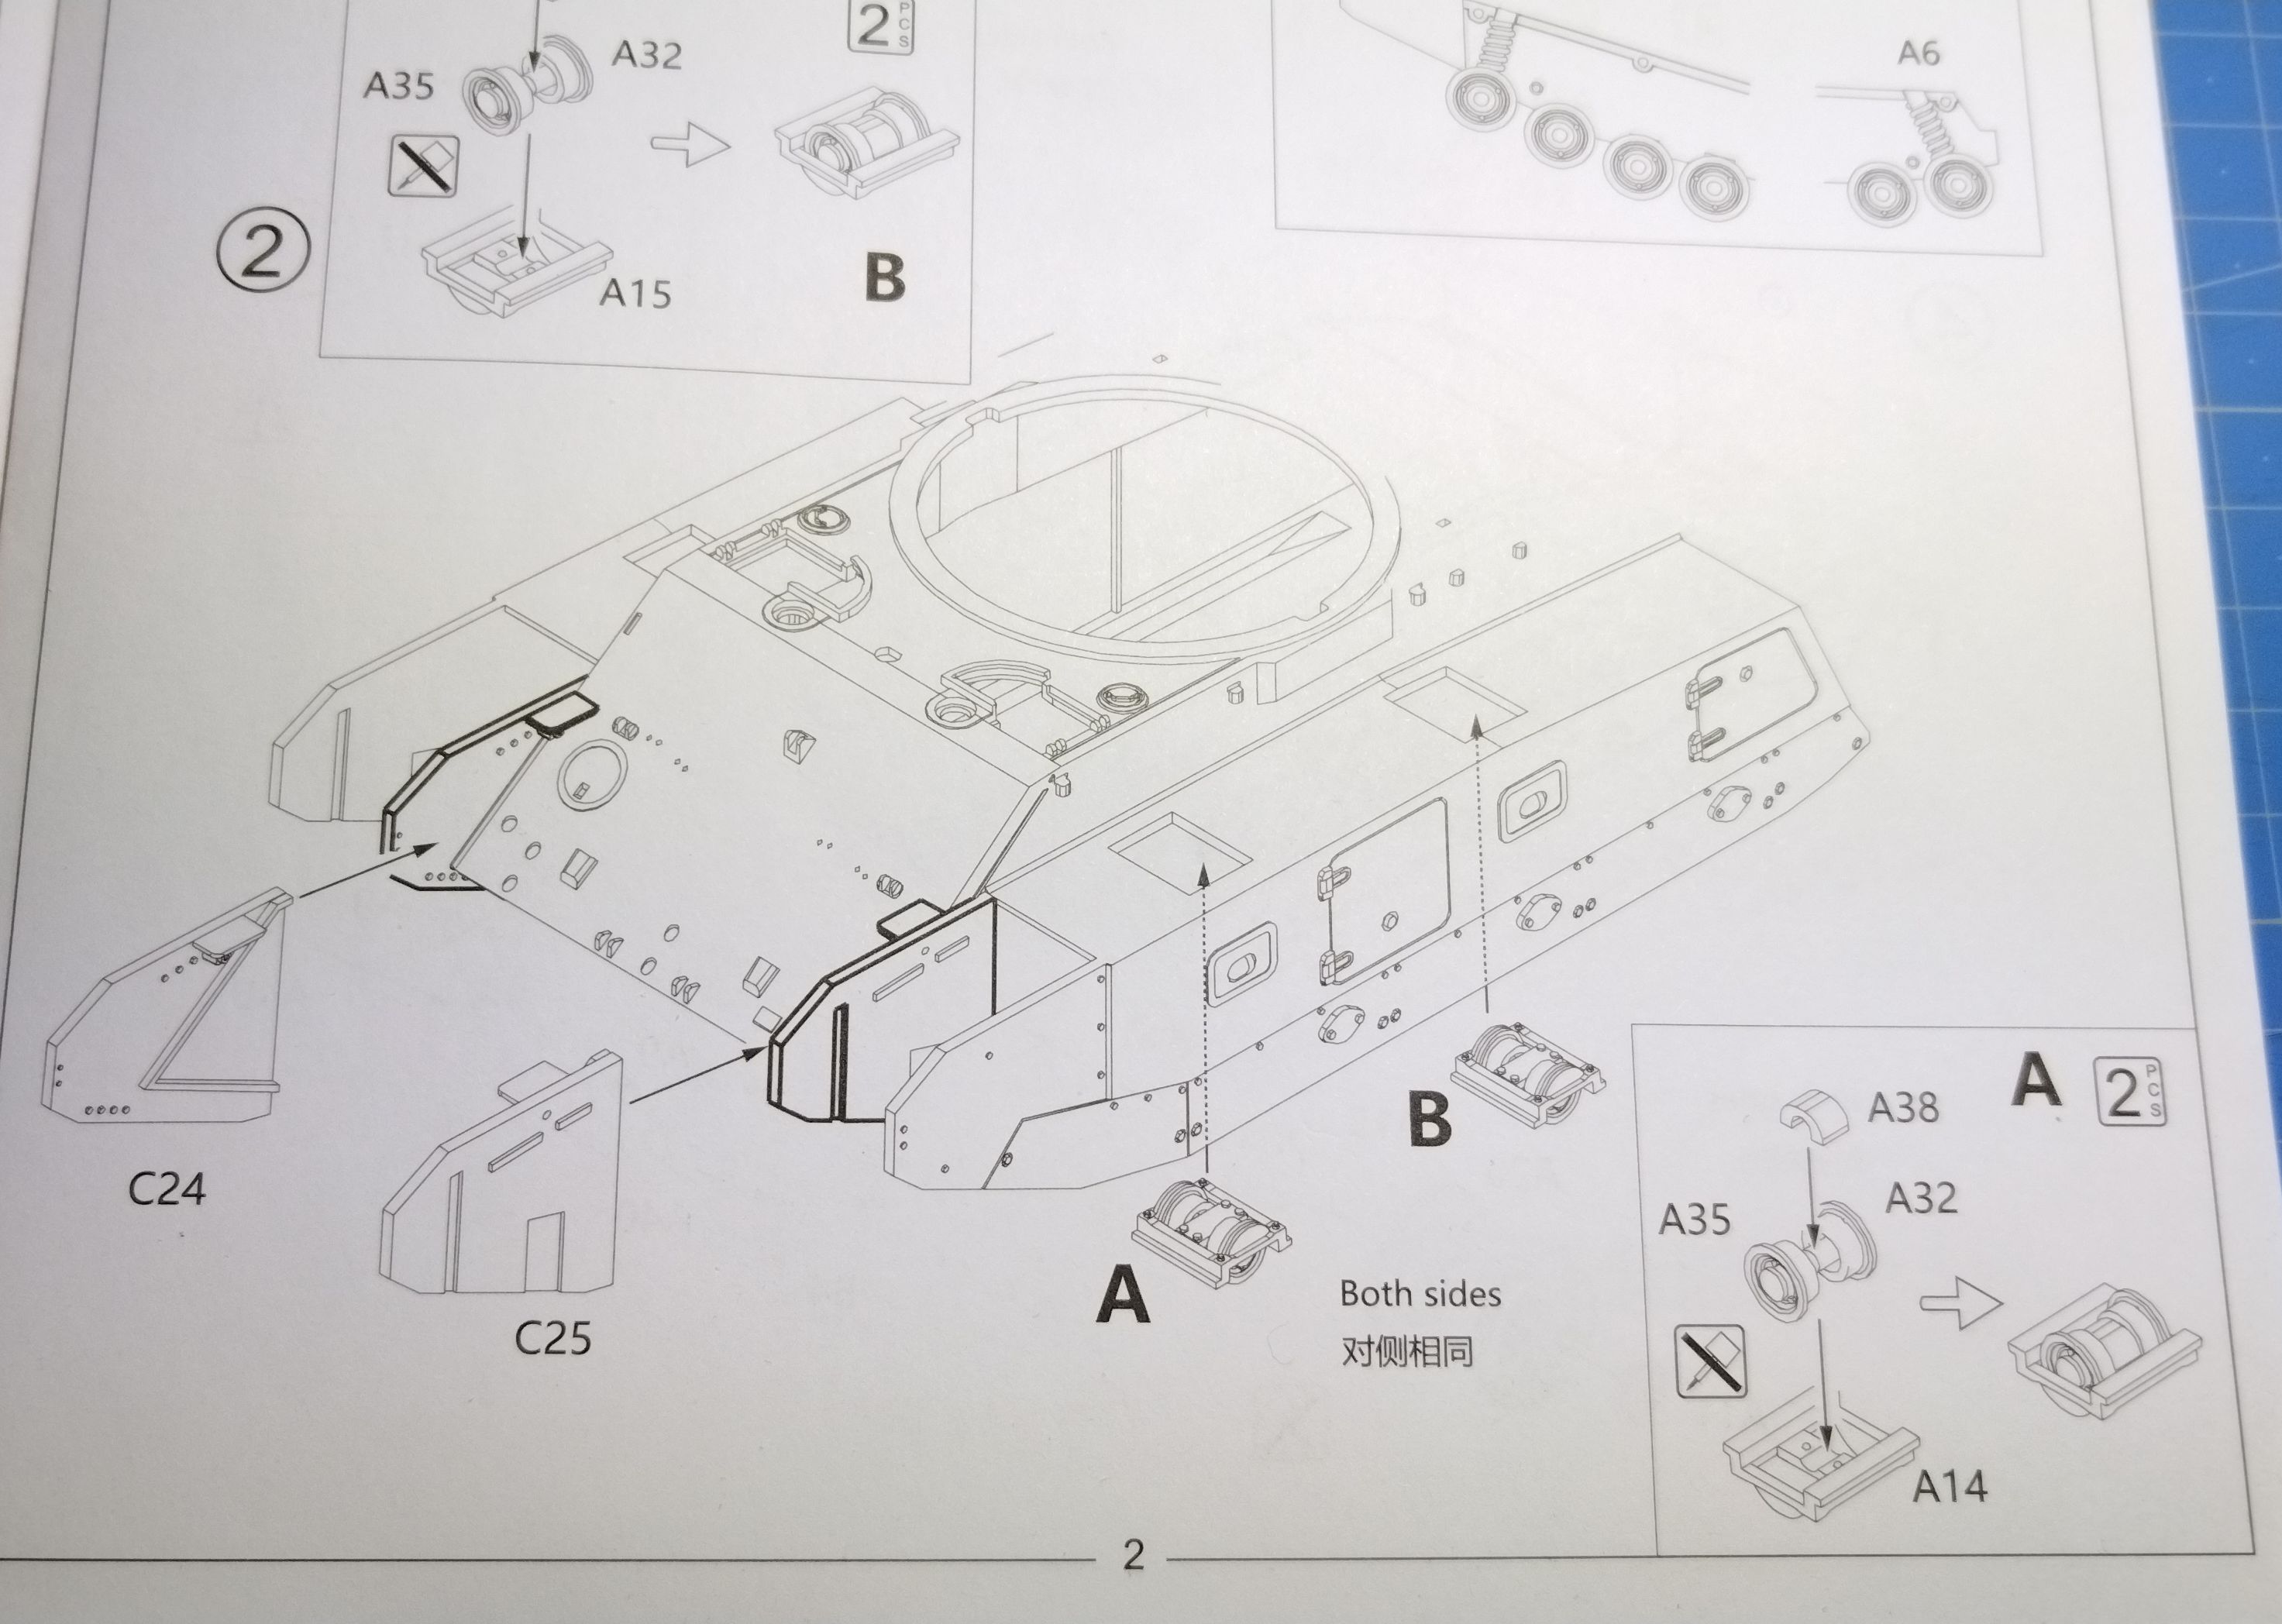
At step 2 you have to assemble rollers on top of the sponson. There are 2 sub-assemblies A and B. To be honest I have’t found any difference between part A15 and A14 and still don’t know why there are different.
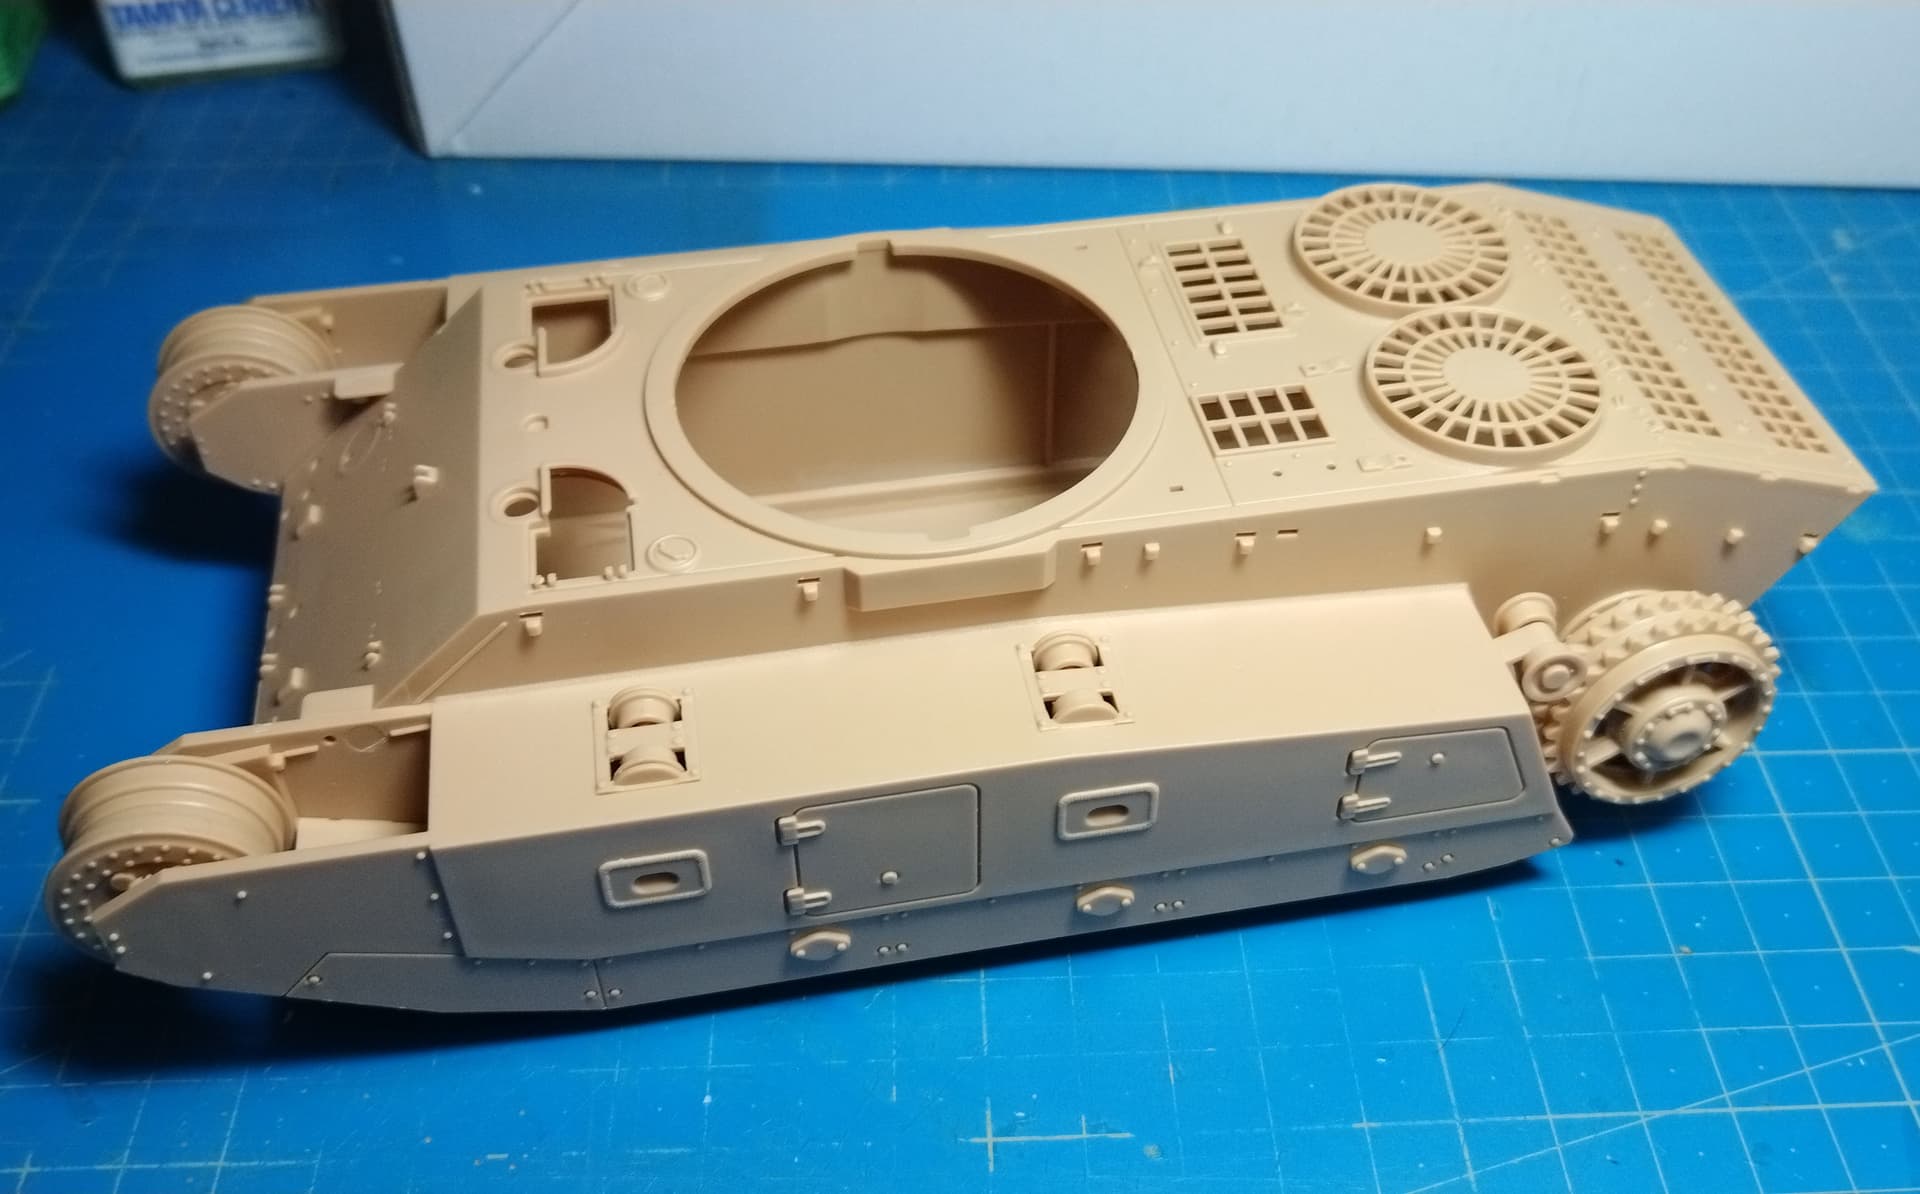
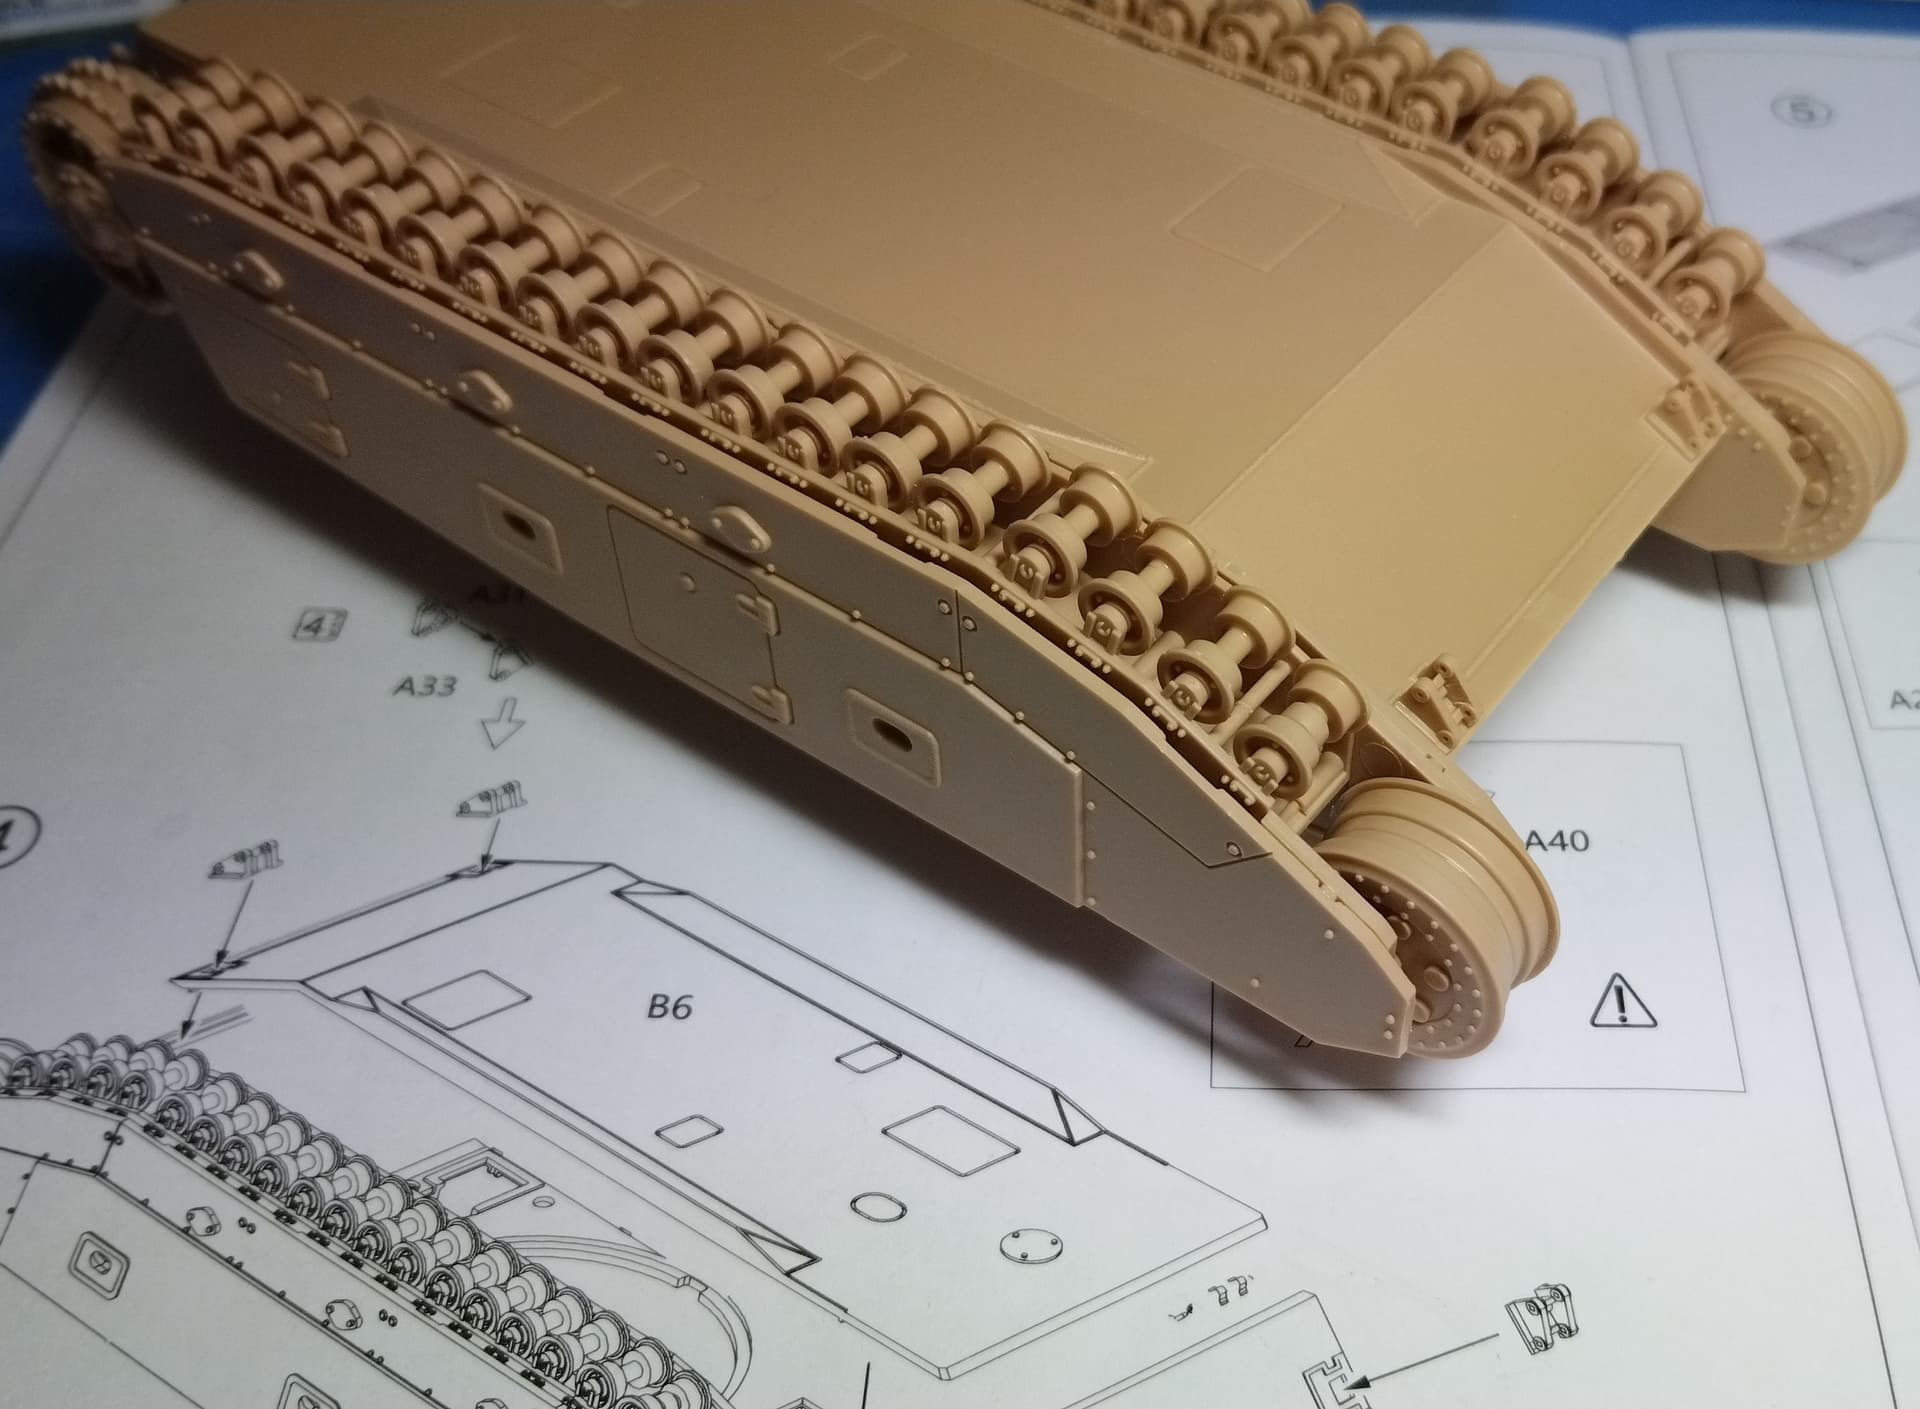
At step 3 the hull and track rollers are assembled.
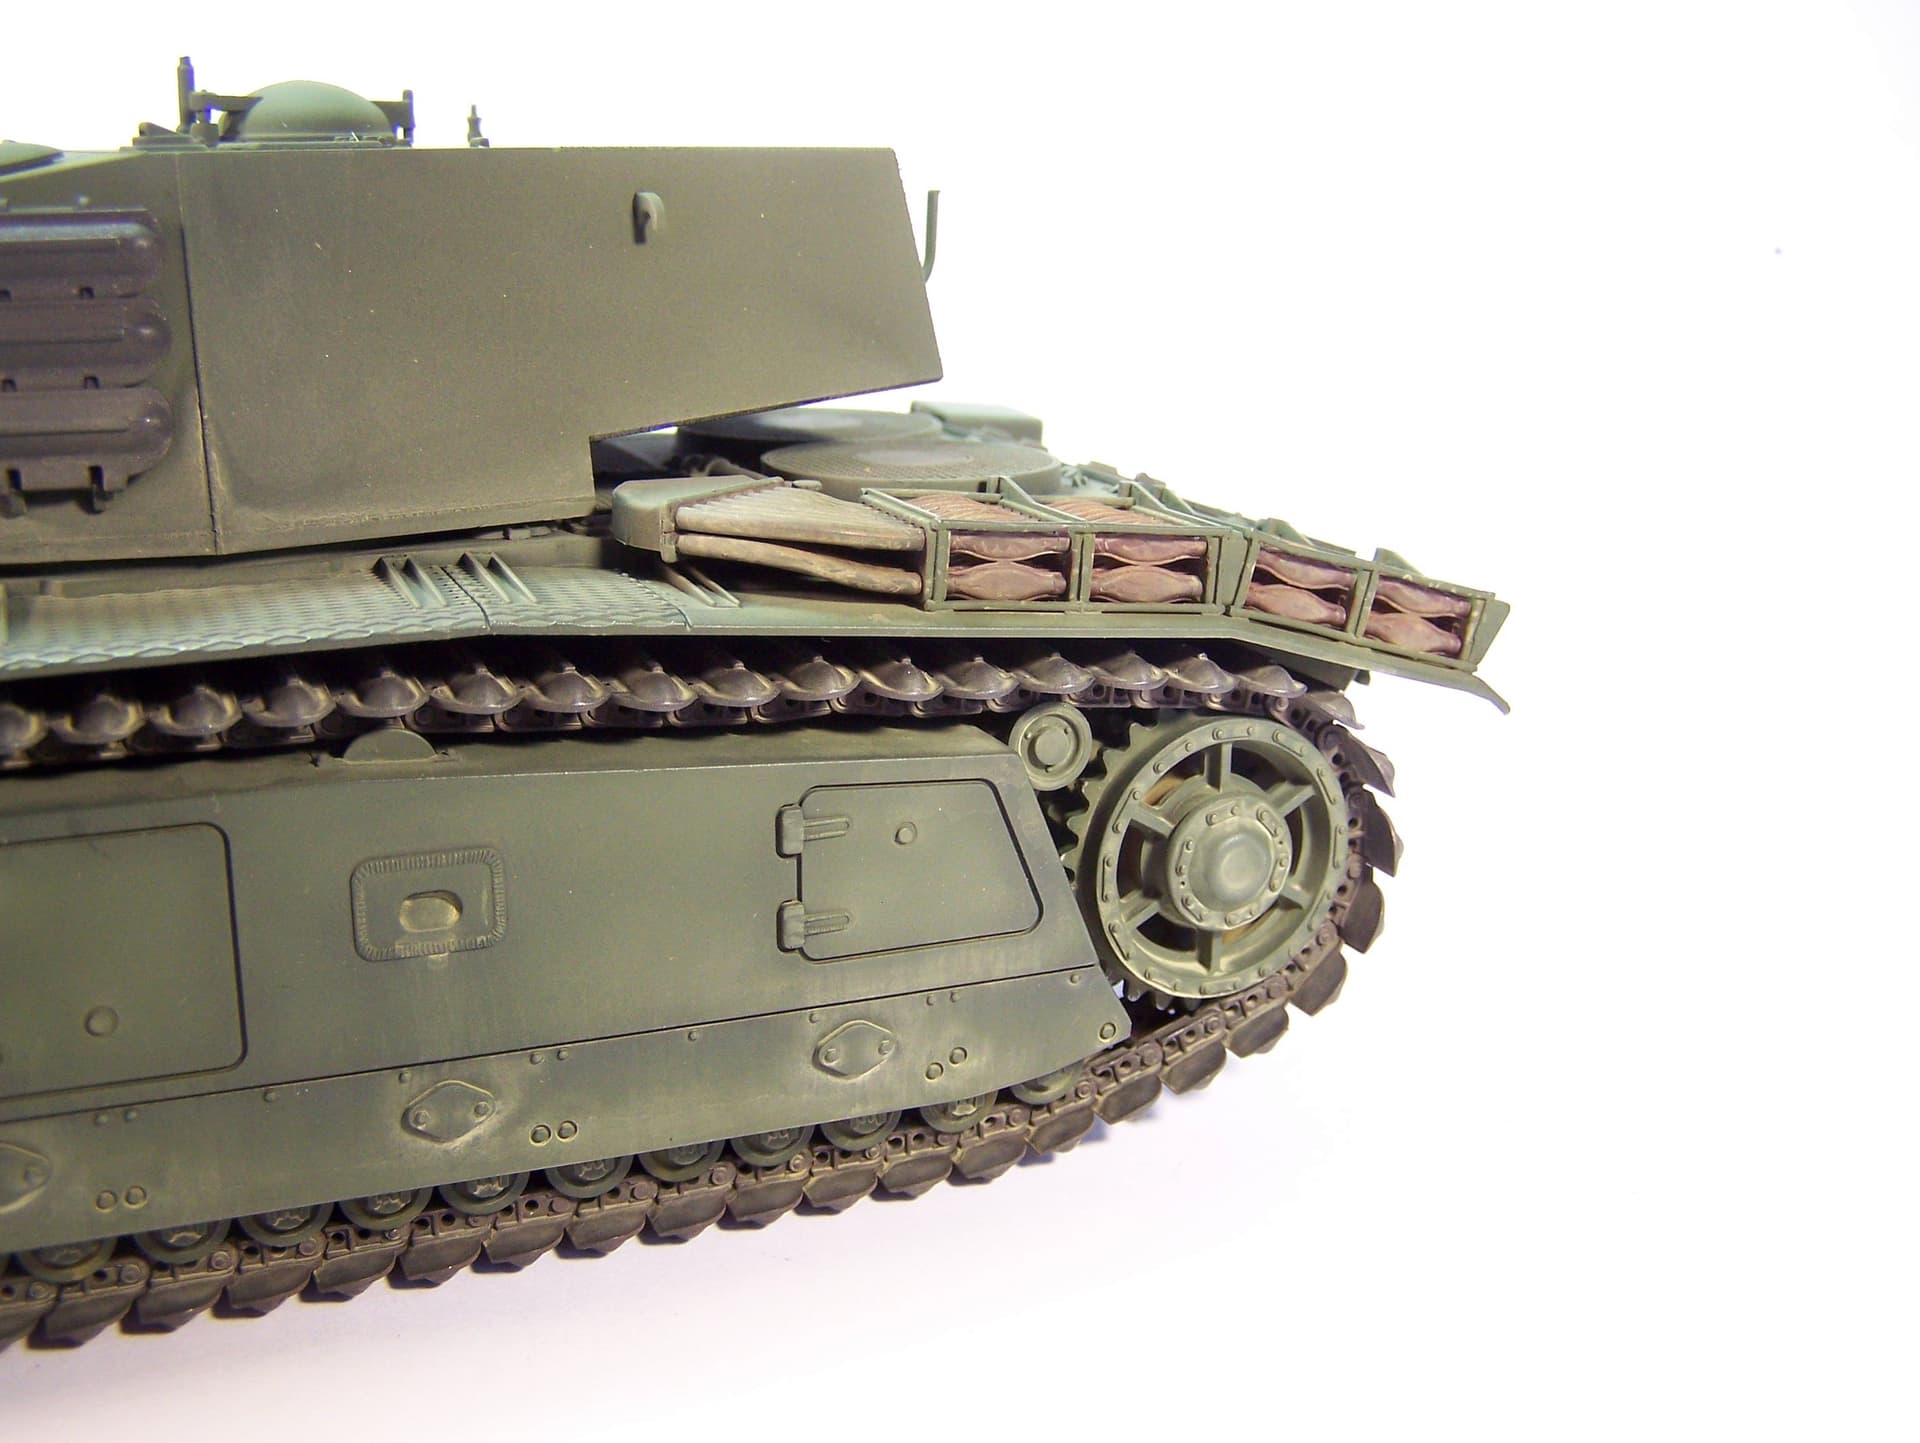
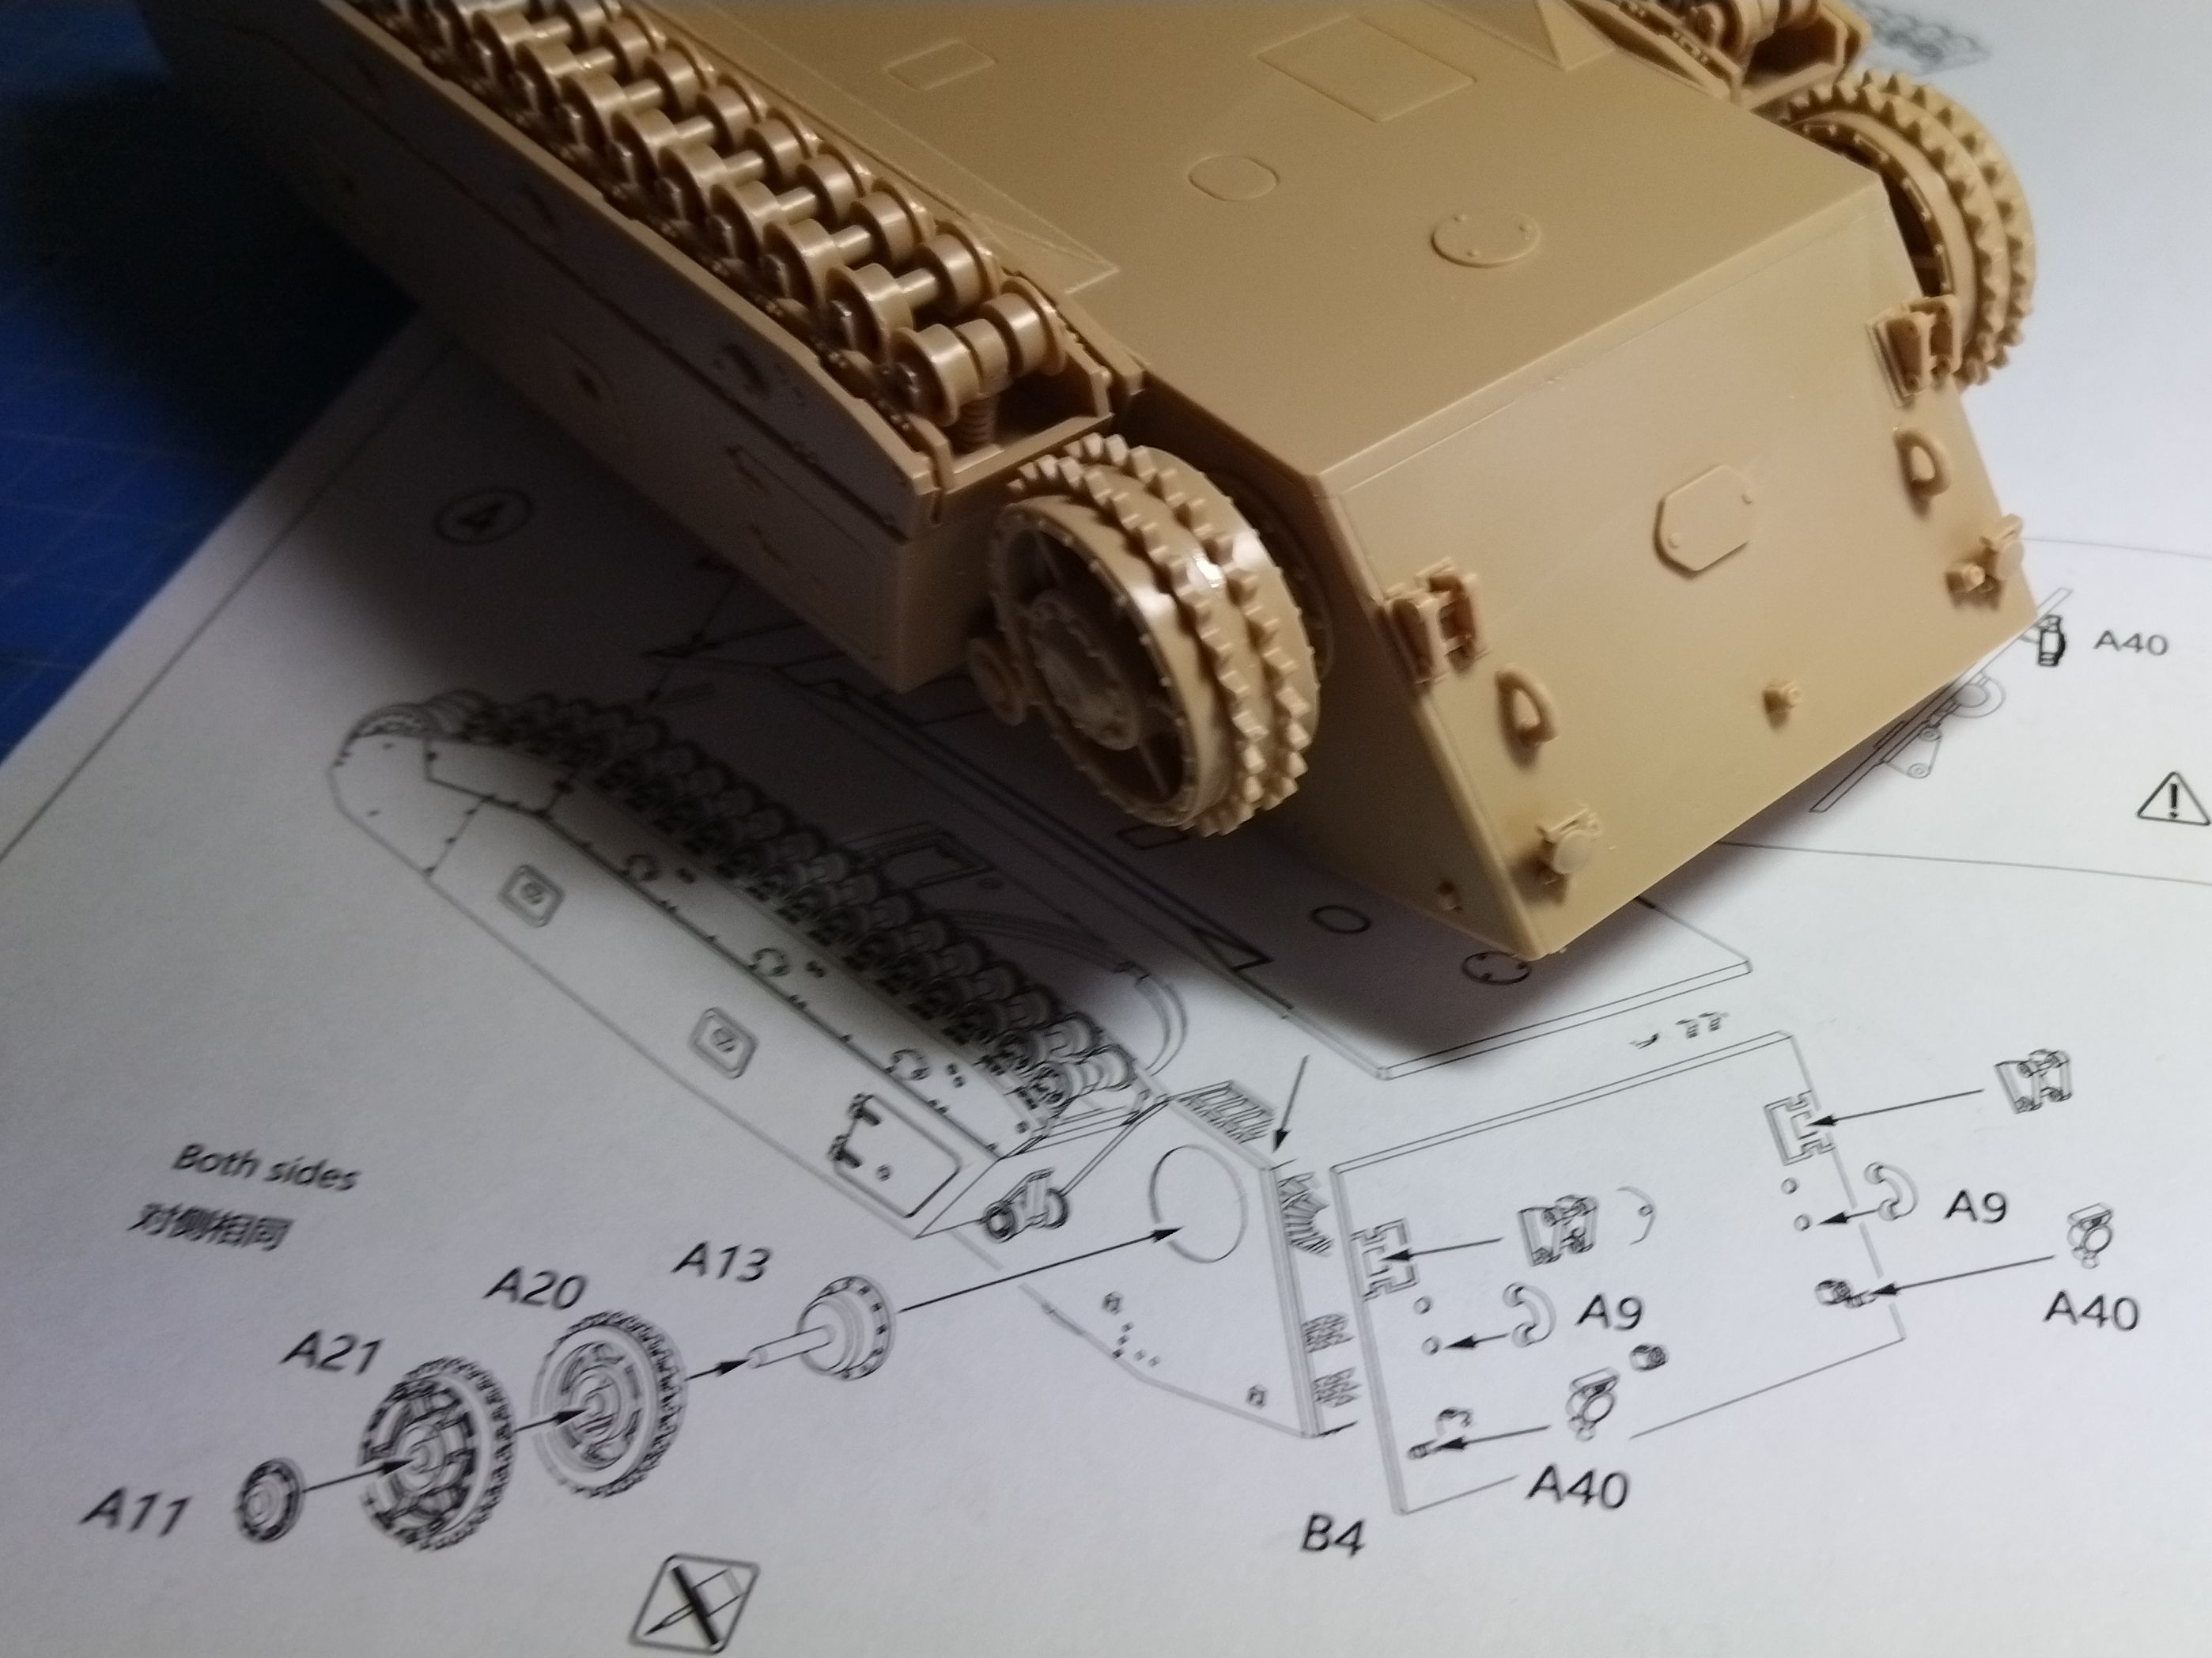
At step 4 the drive sprockets are added. To glue the both parts together you need to remove some plastic of the inner tube in which the shaft is inserted. The sprockets are mobile provided you don’t glue the hub cover to the sprockets but to the shaft end only. This is not an issue for the moment. However when the tracks are in place I’ll glue the cover to the sprocket with the right alignment.
I think this might just inspire me to finish my oh-so-nearly-completed one; I had a minor mishap when I accidentally snapped off the antenna. Could I get started again? Nope - not for something like a year. Something apposite will be on my gravestone I’m sure.
How dare you ? This is a magnificent piece of art.
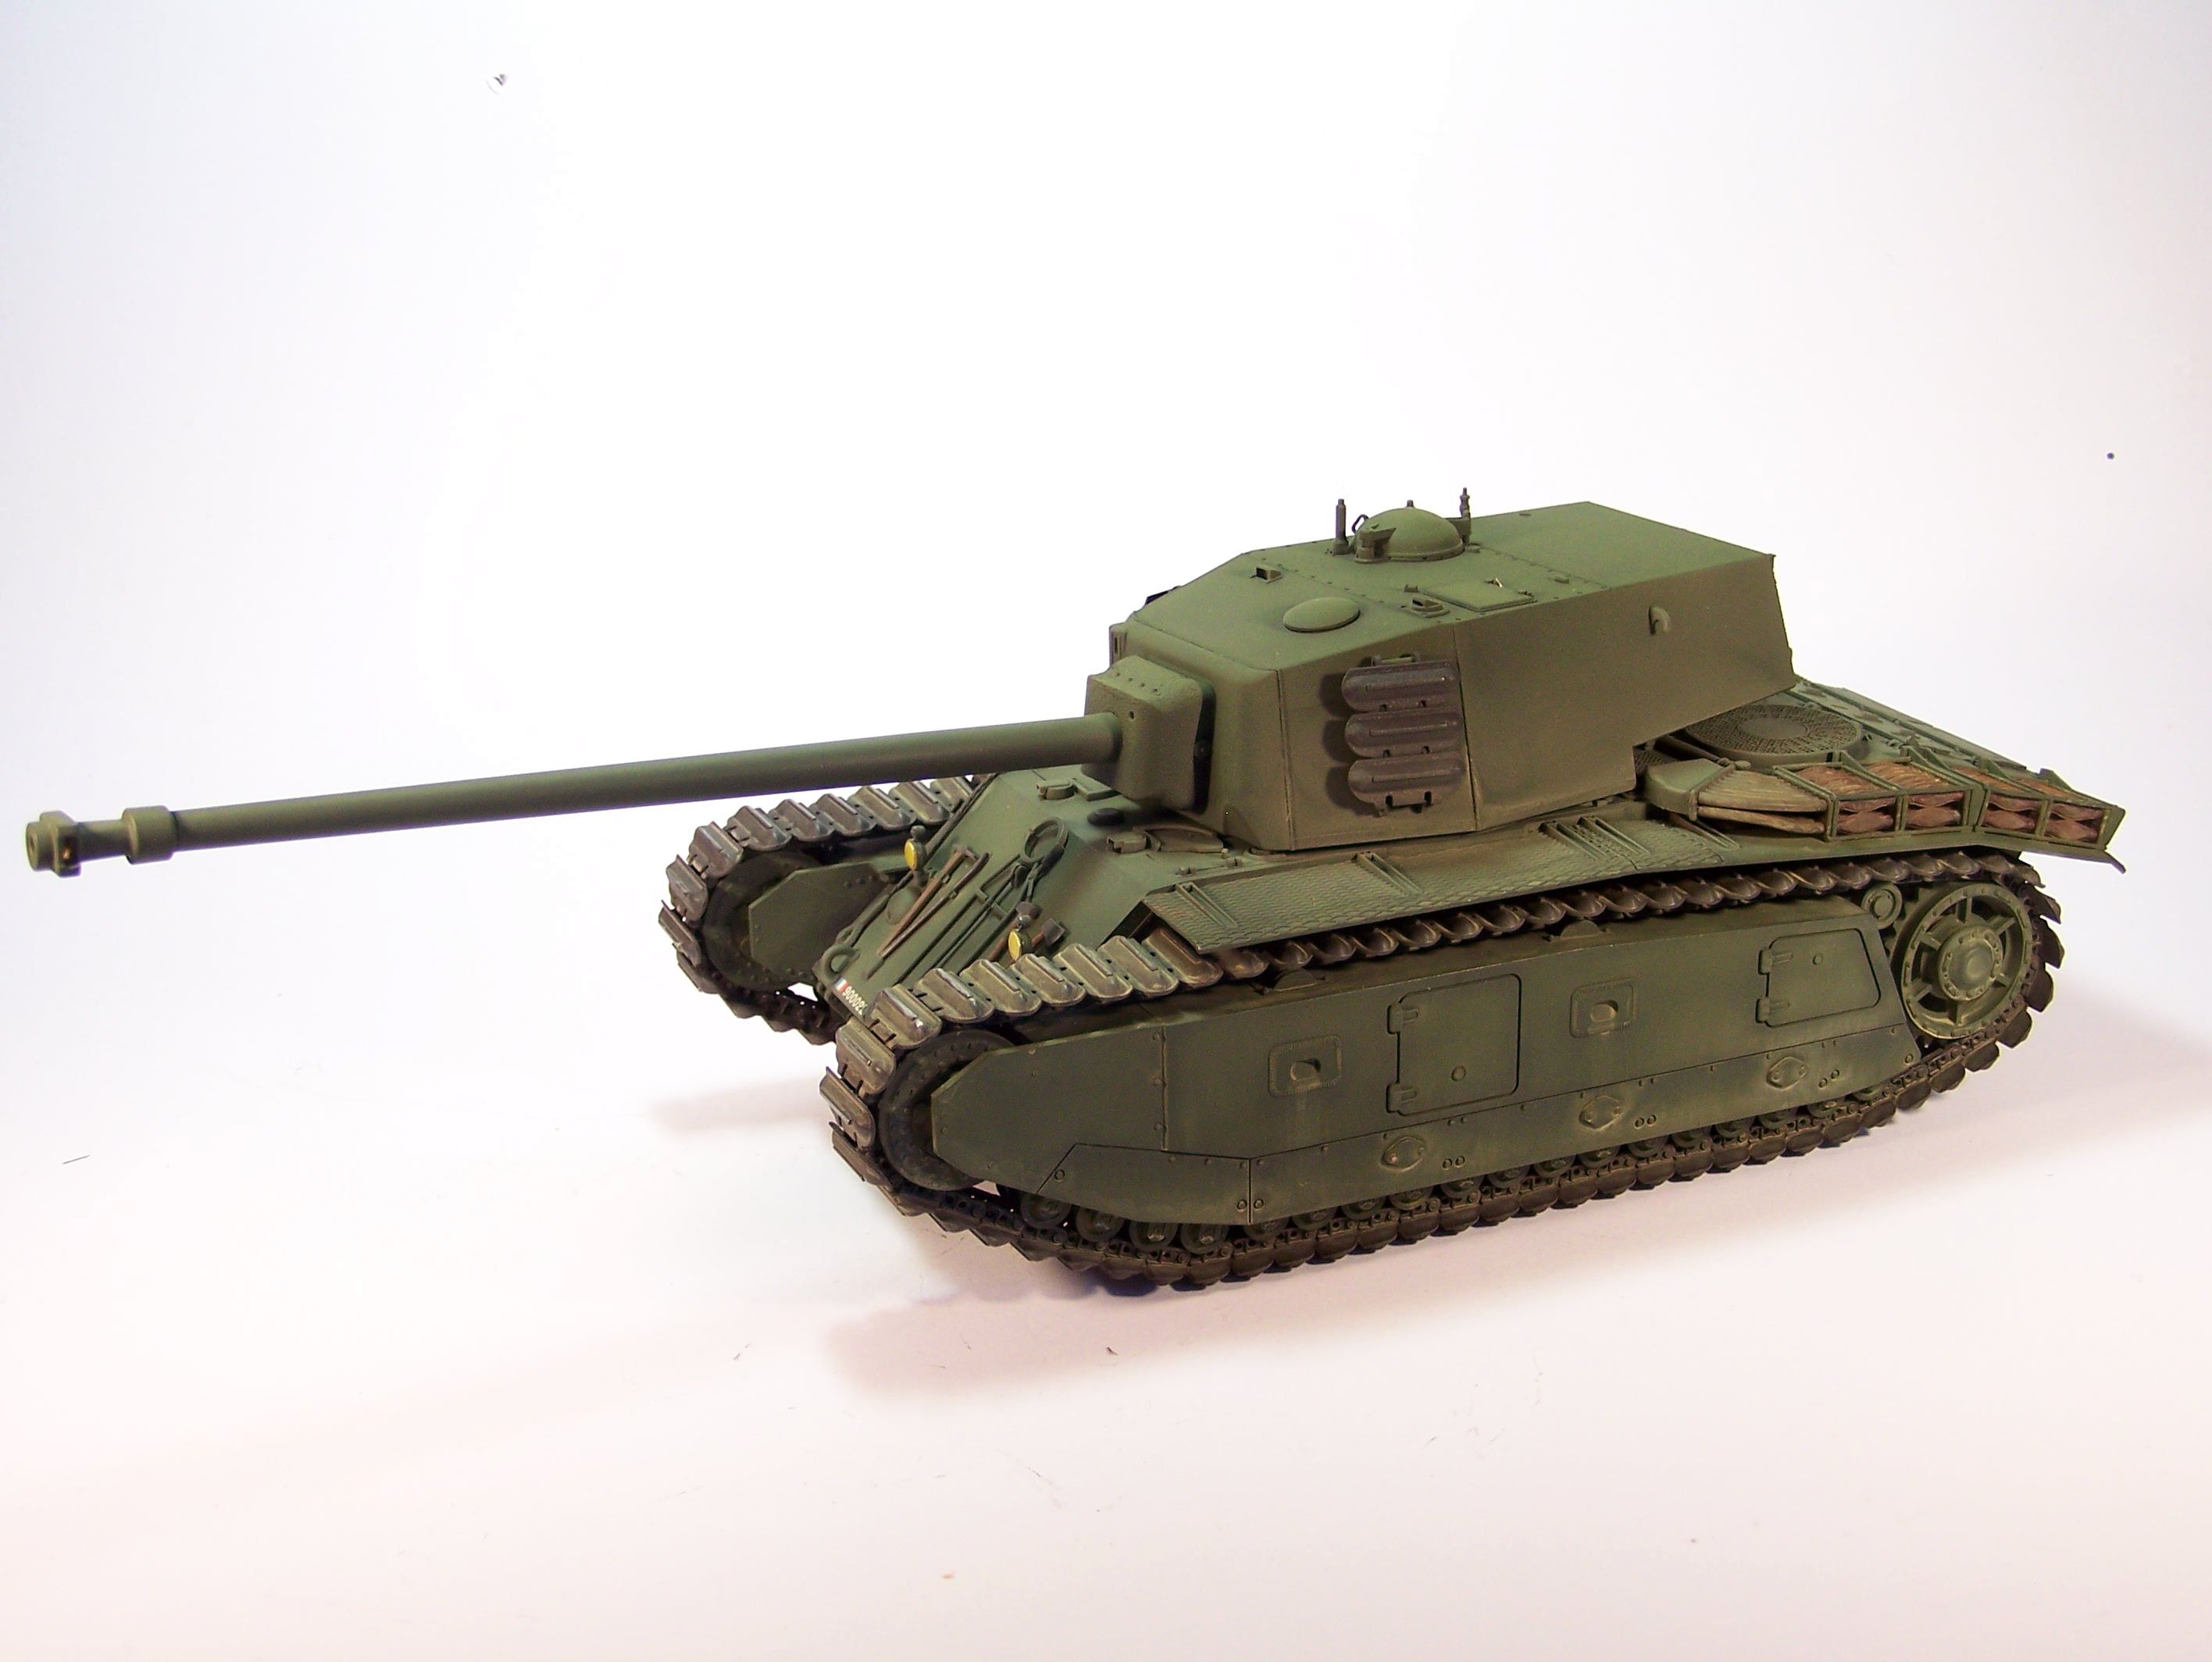
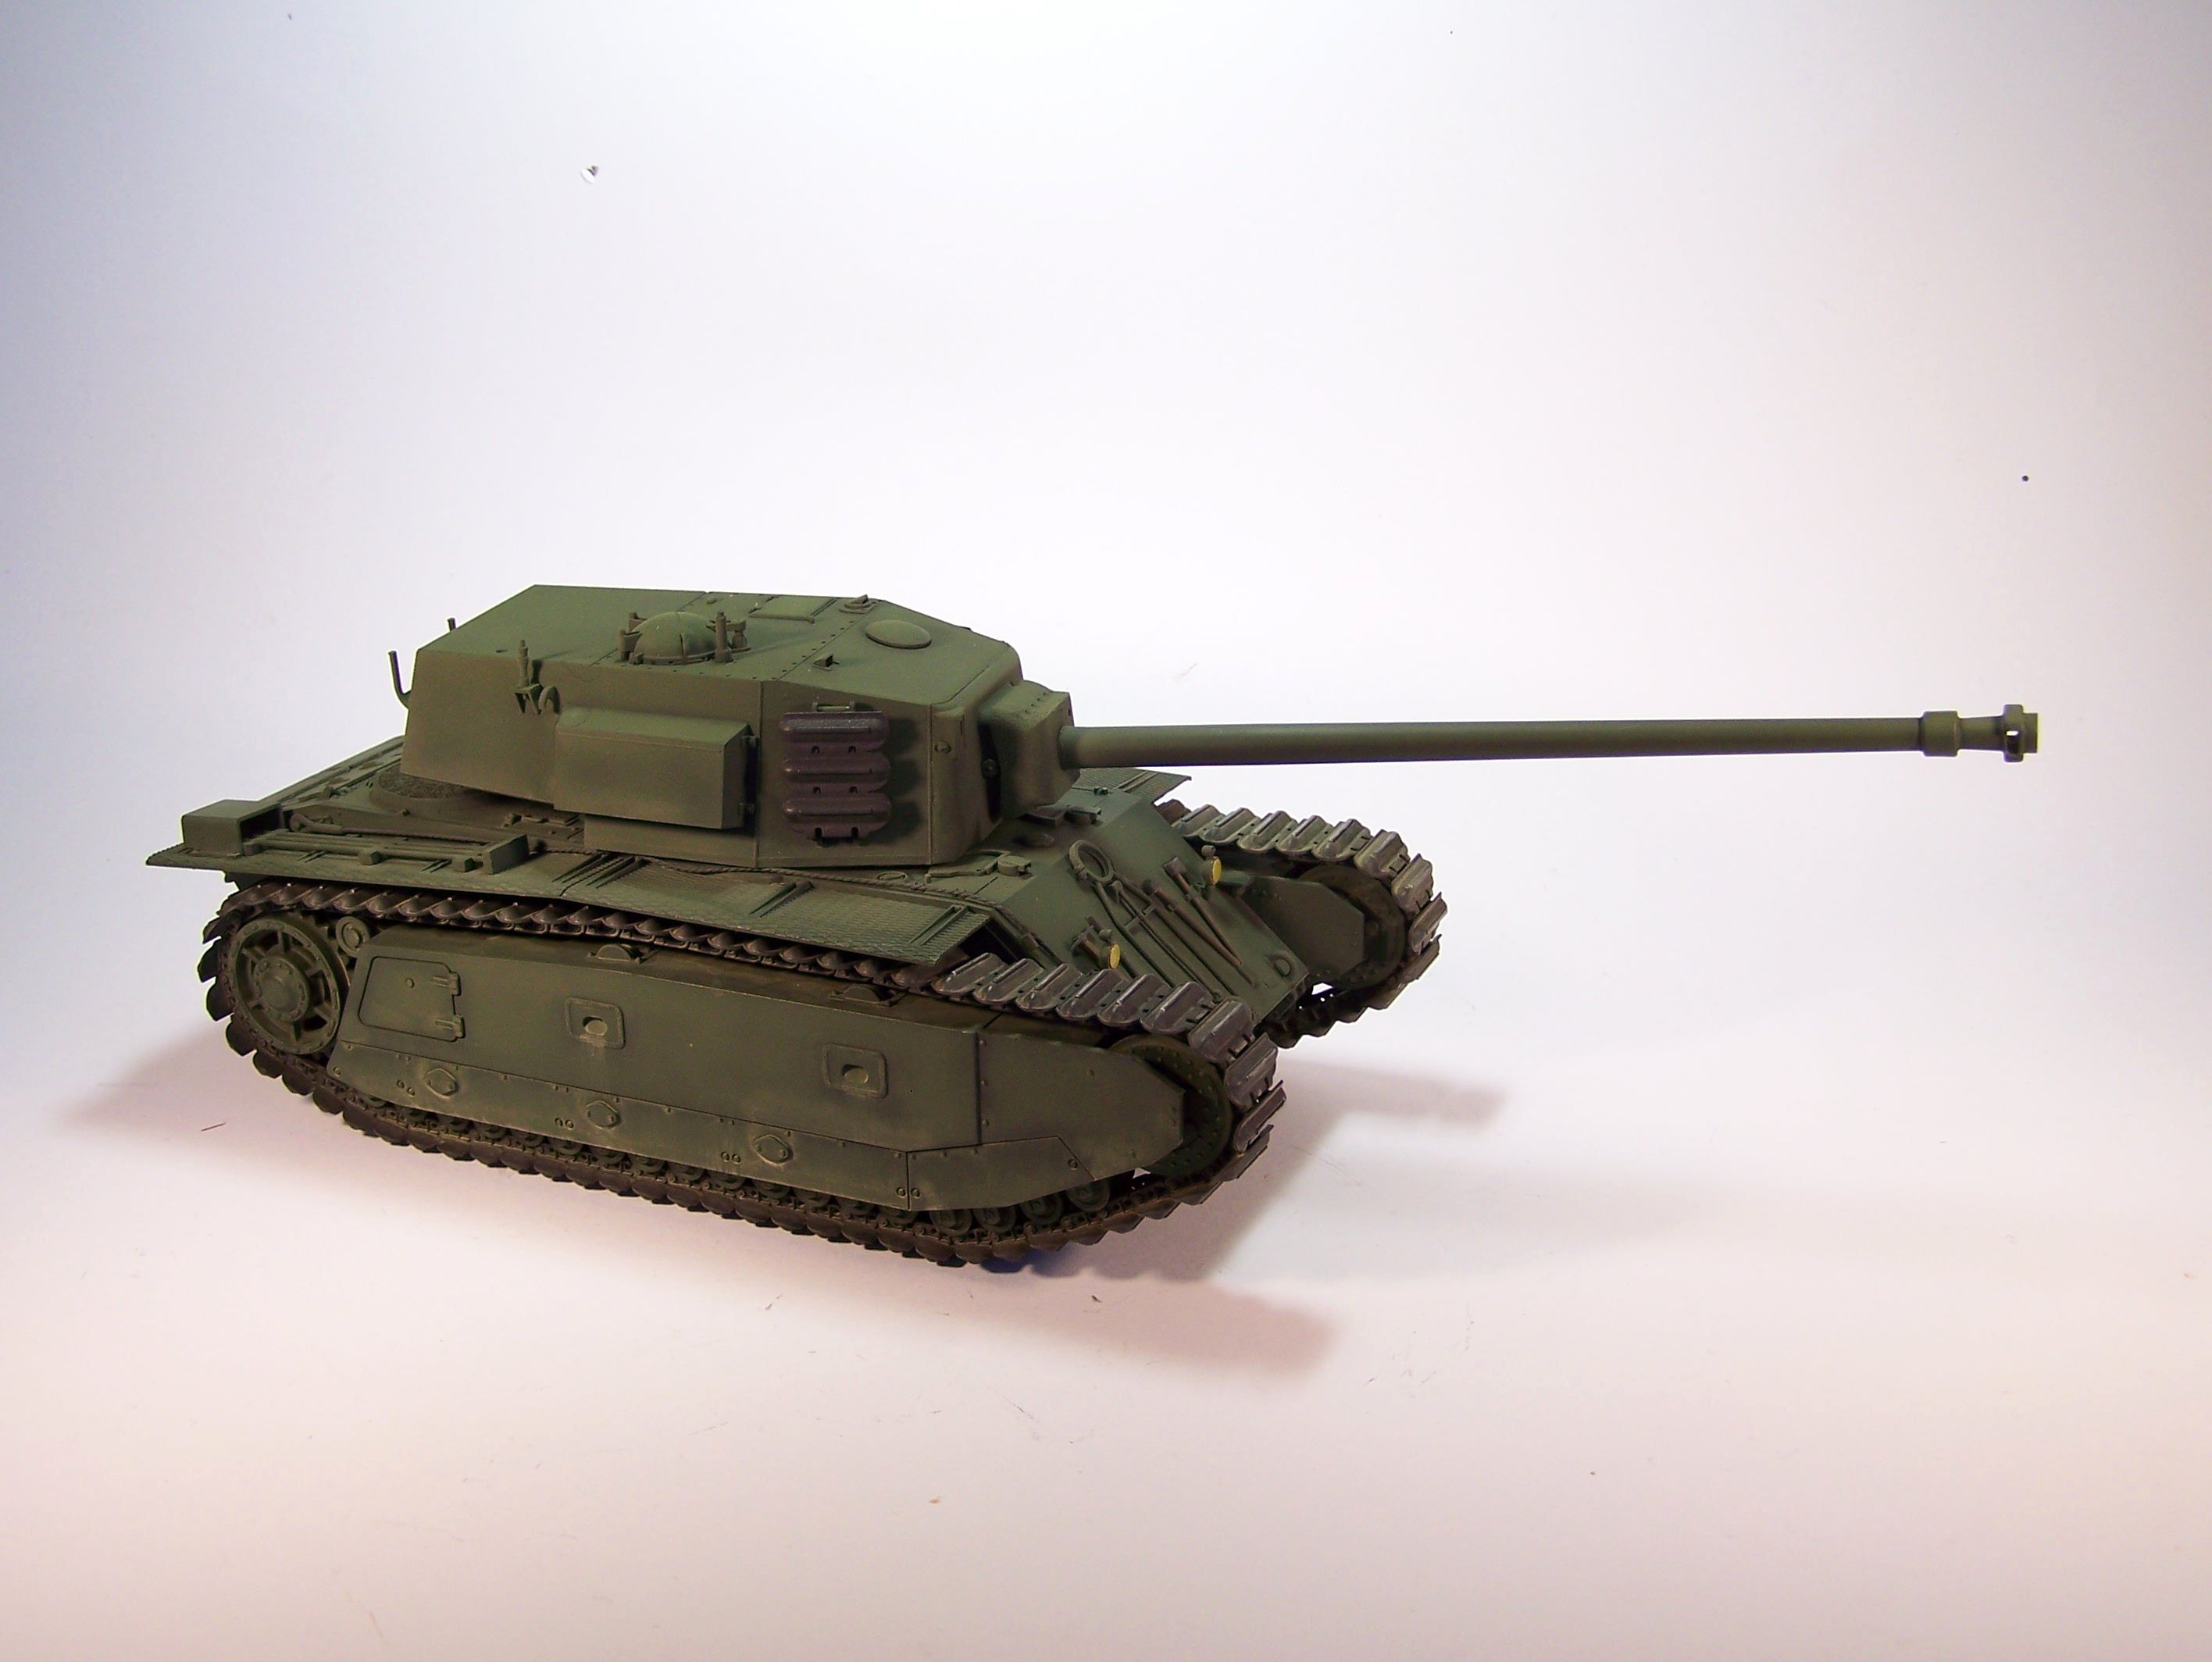
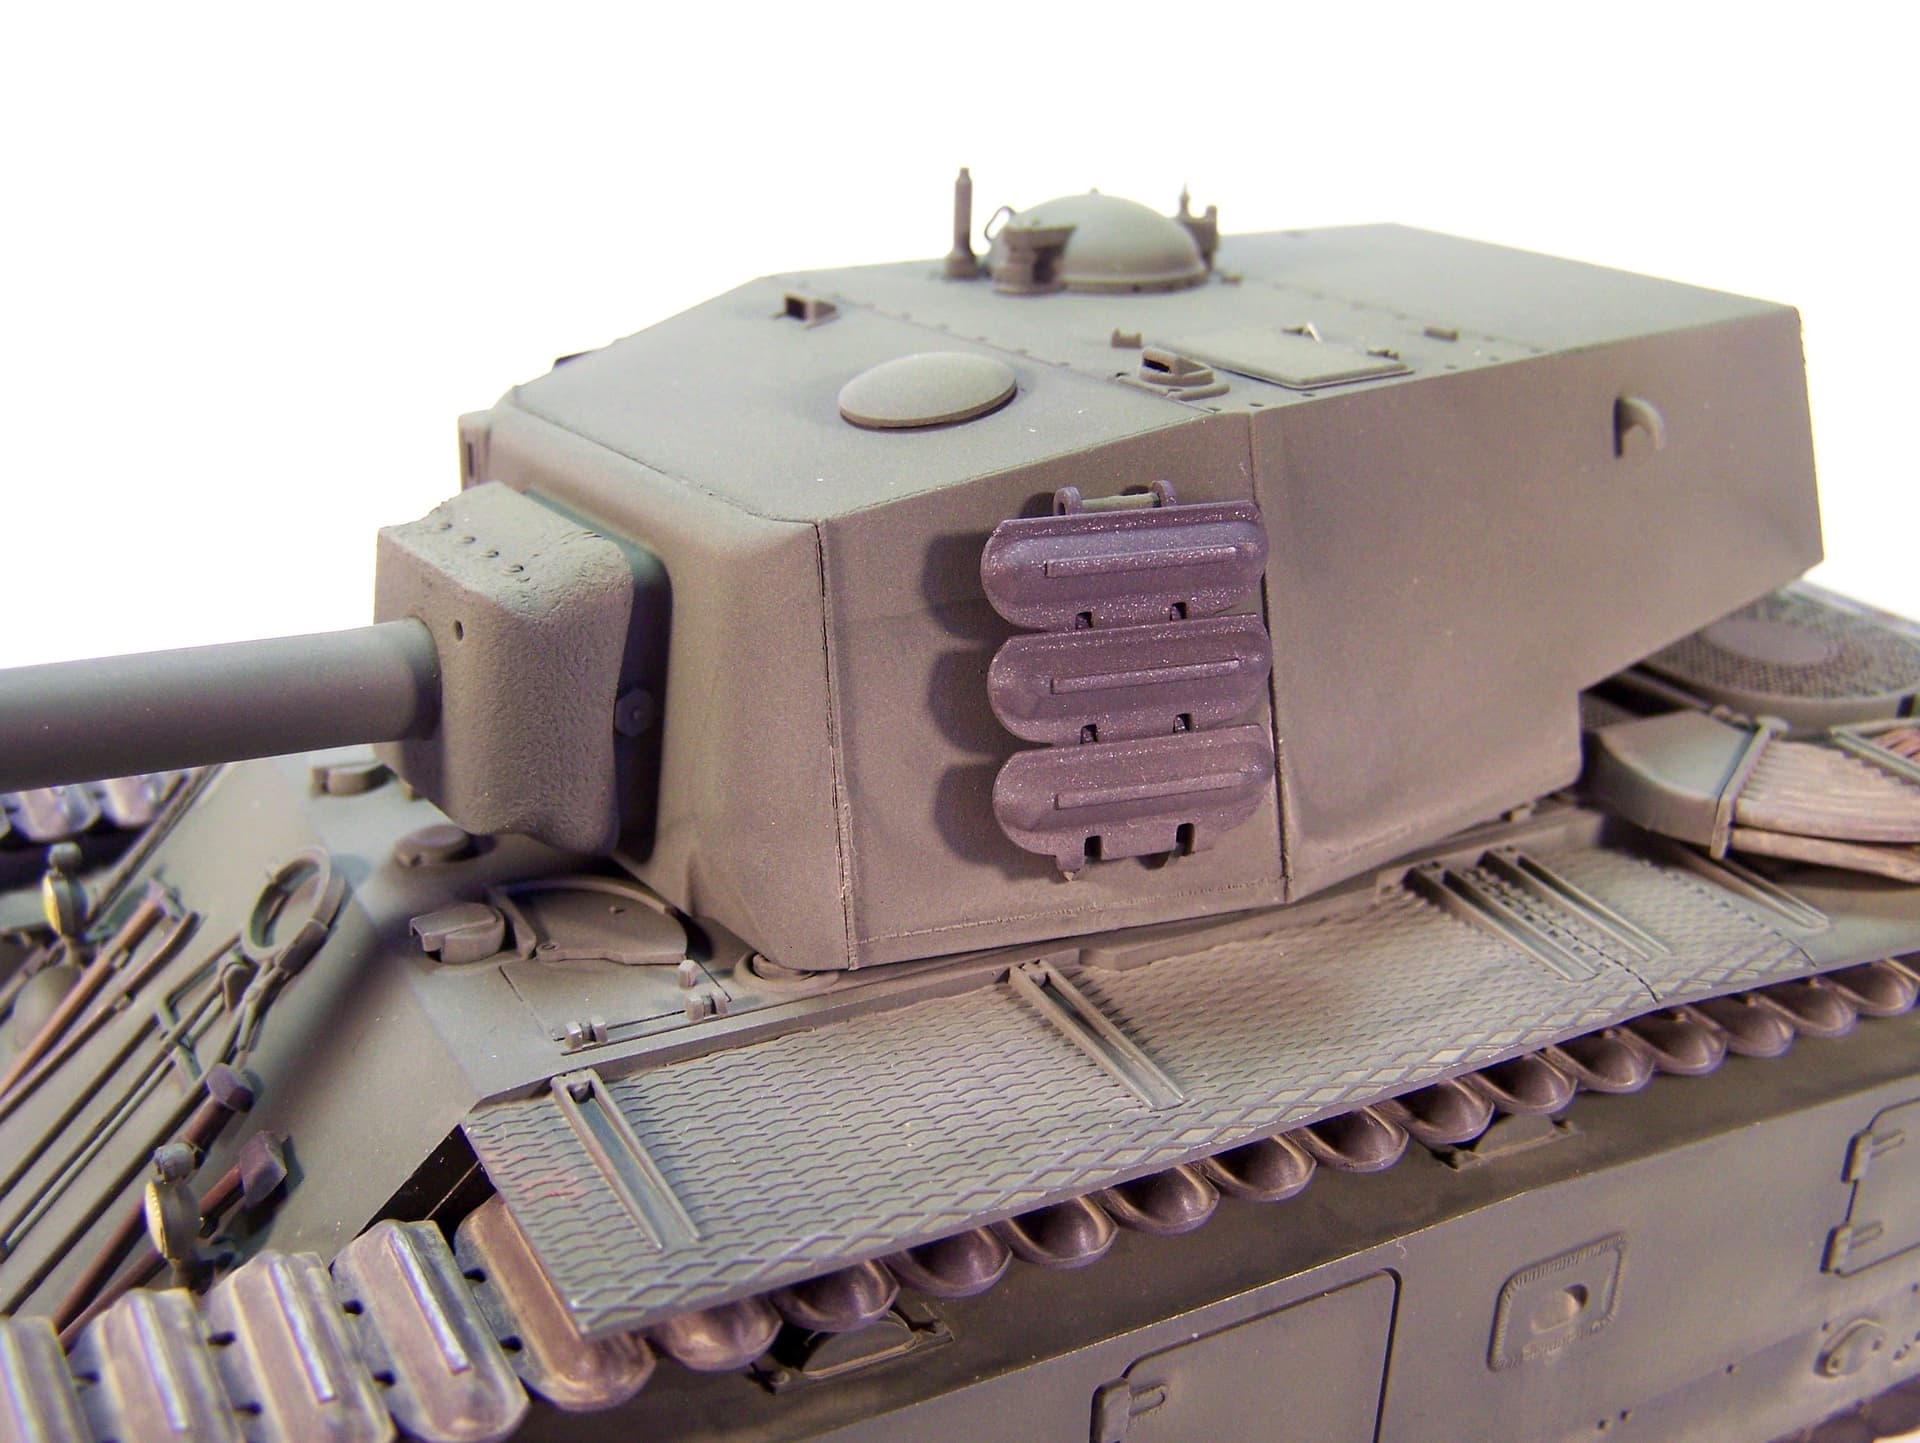
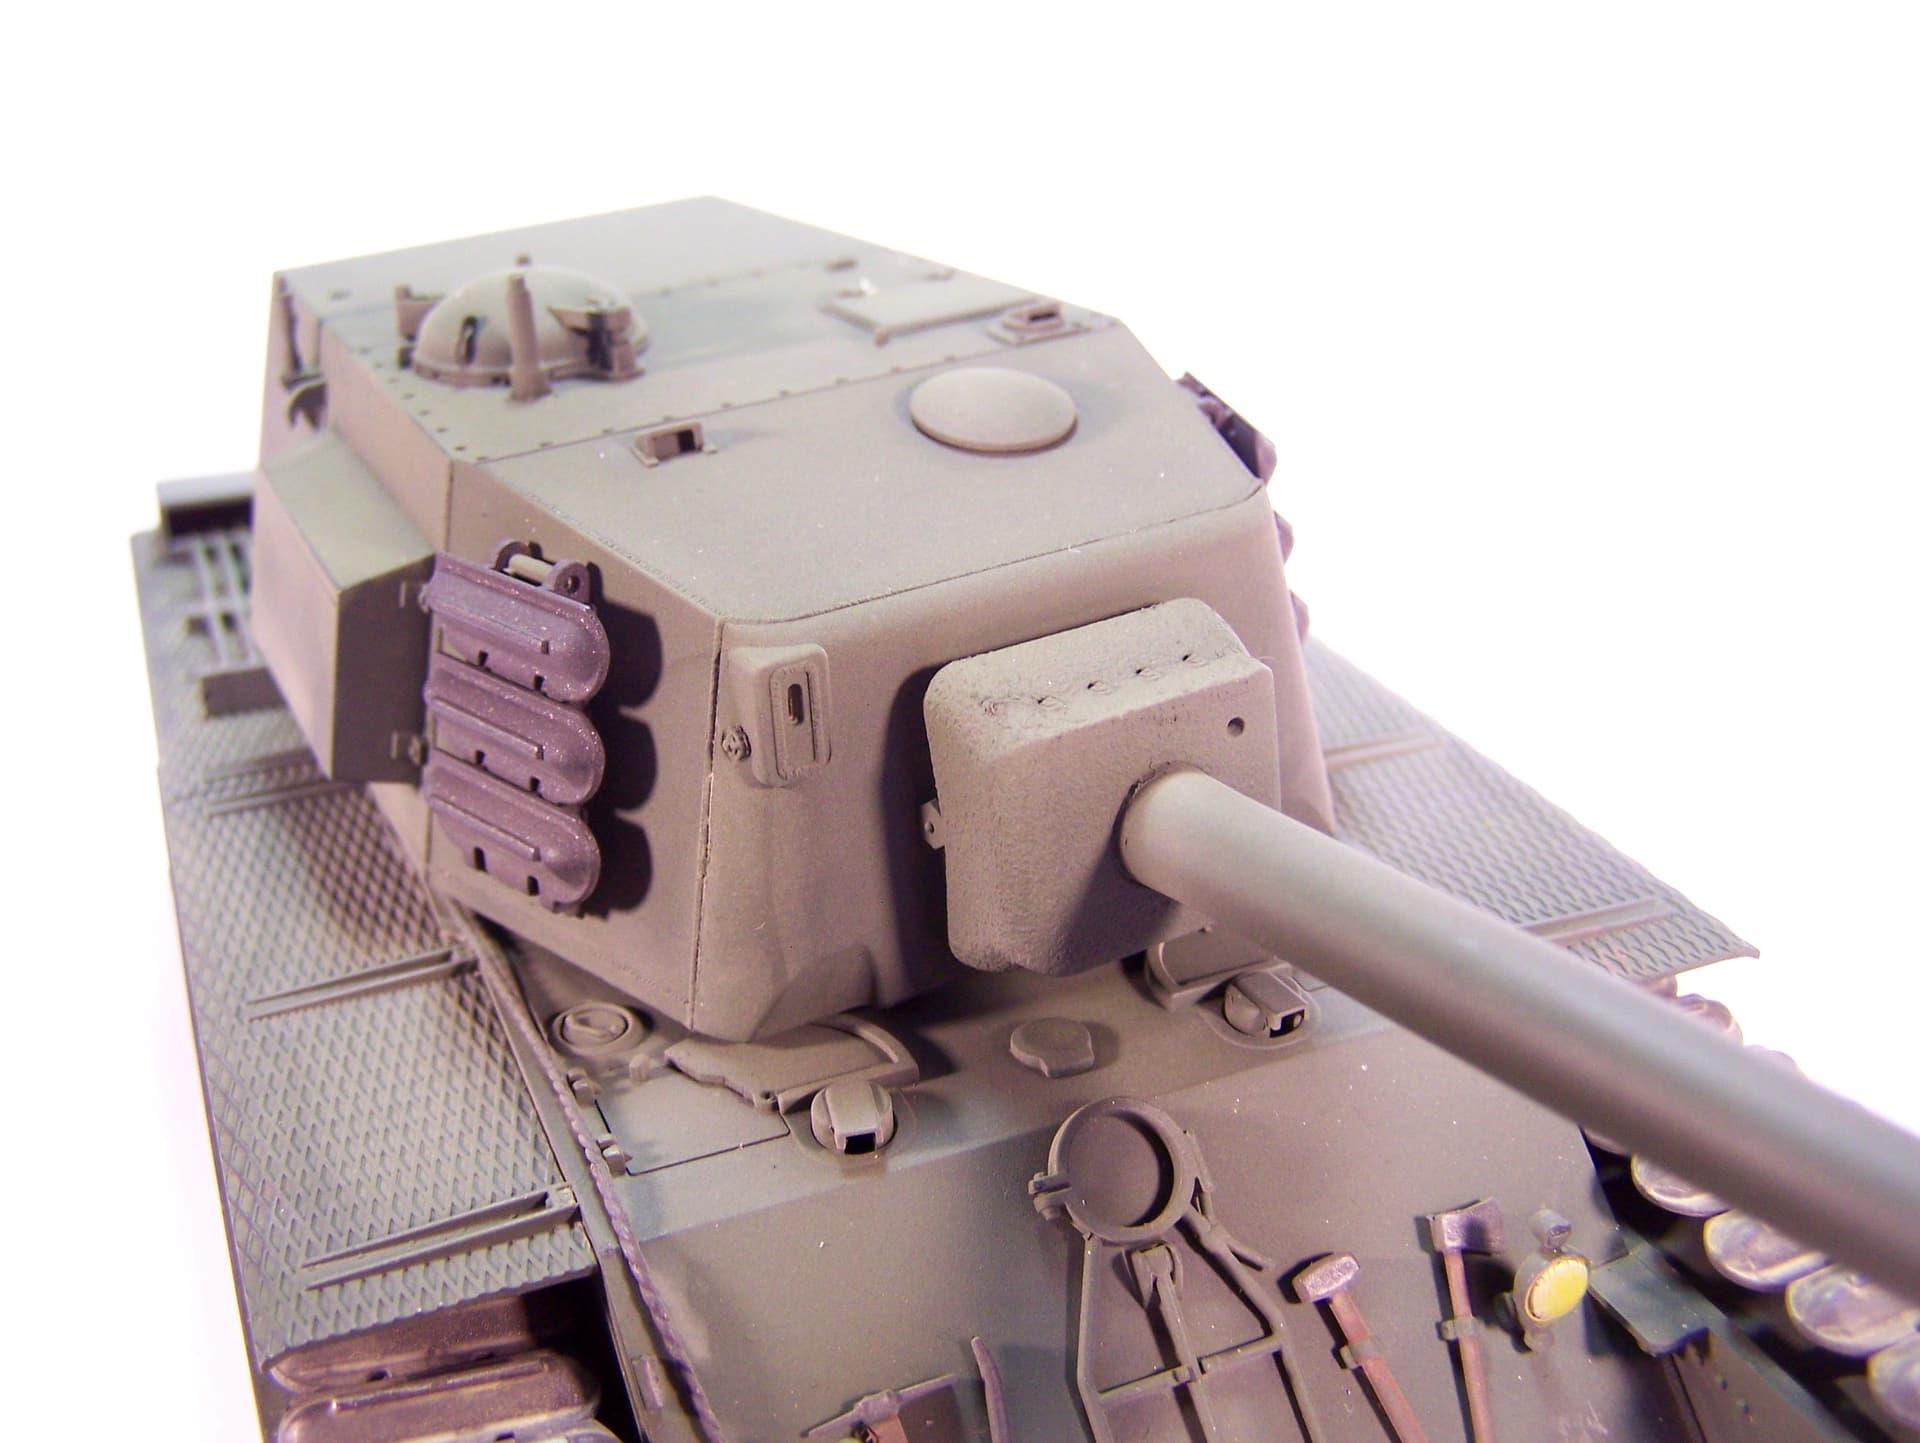
It looks like the child of a B1 bis and a Tiger 2.
3 more steps completed today.
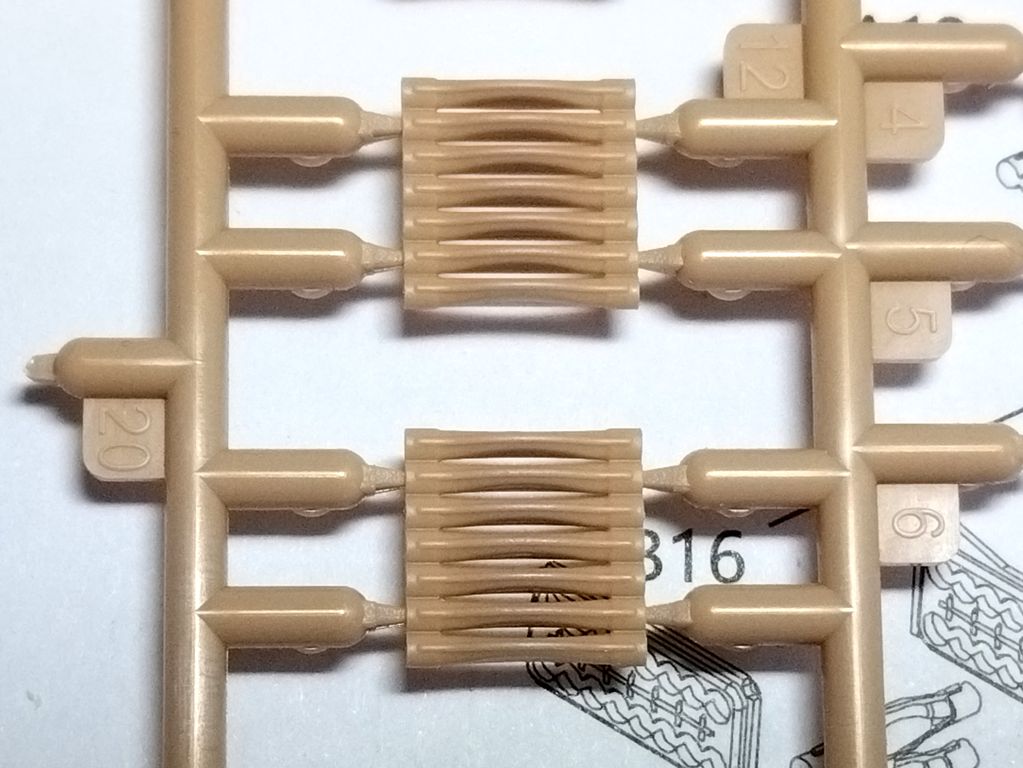
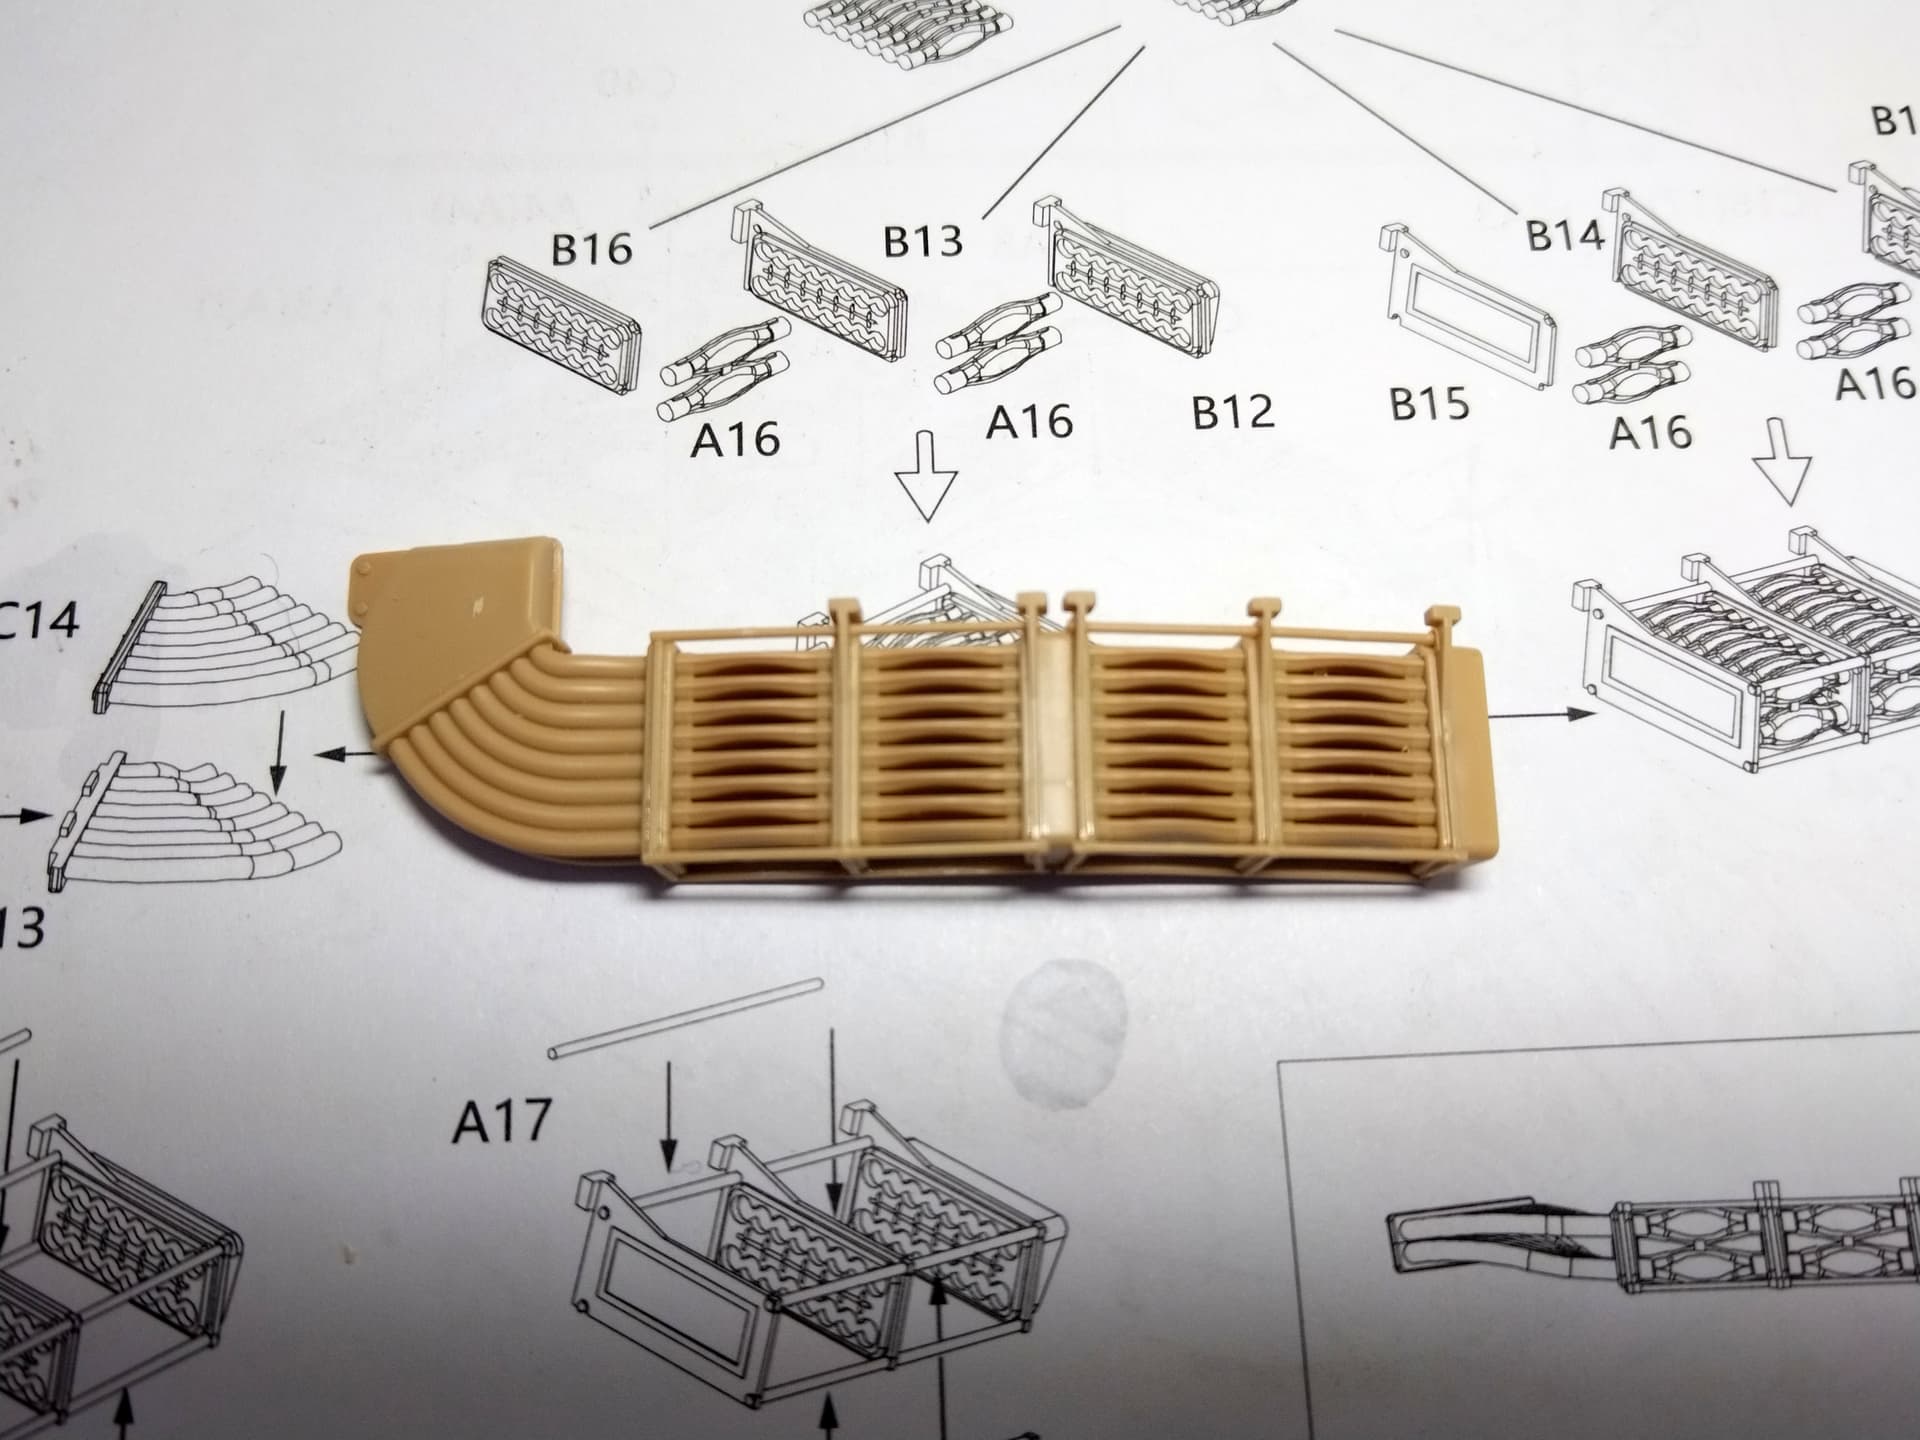
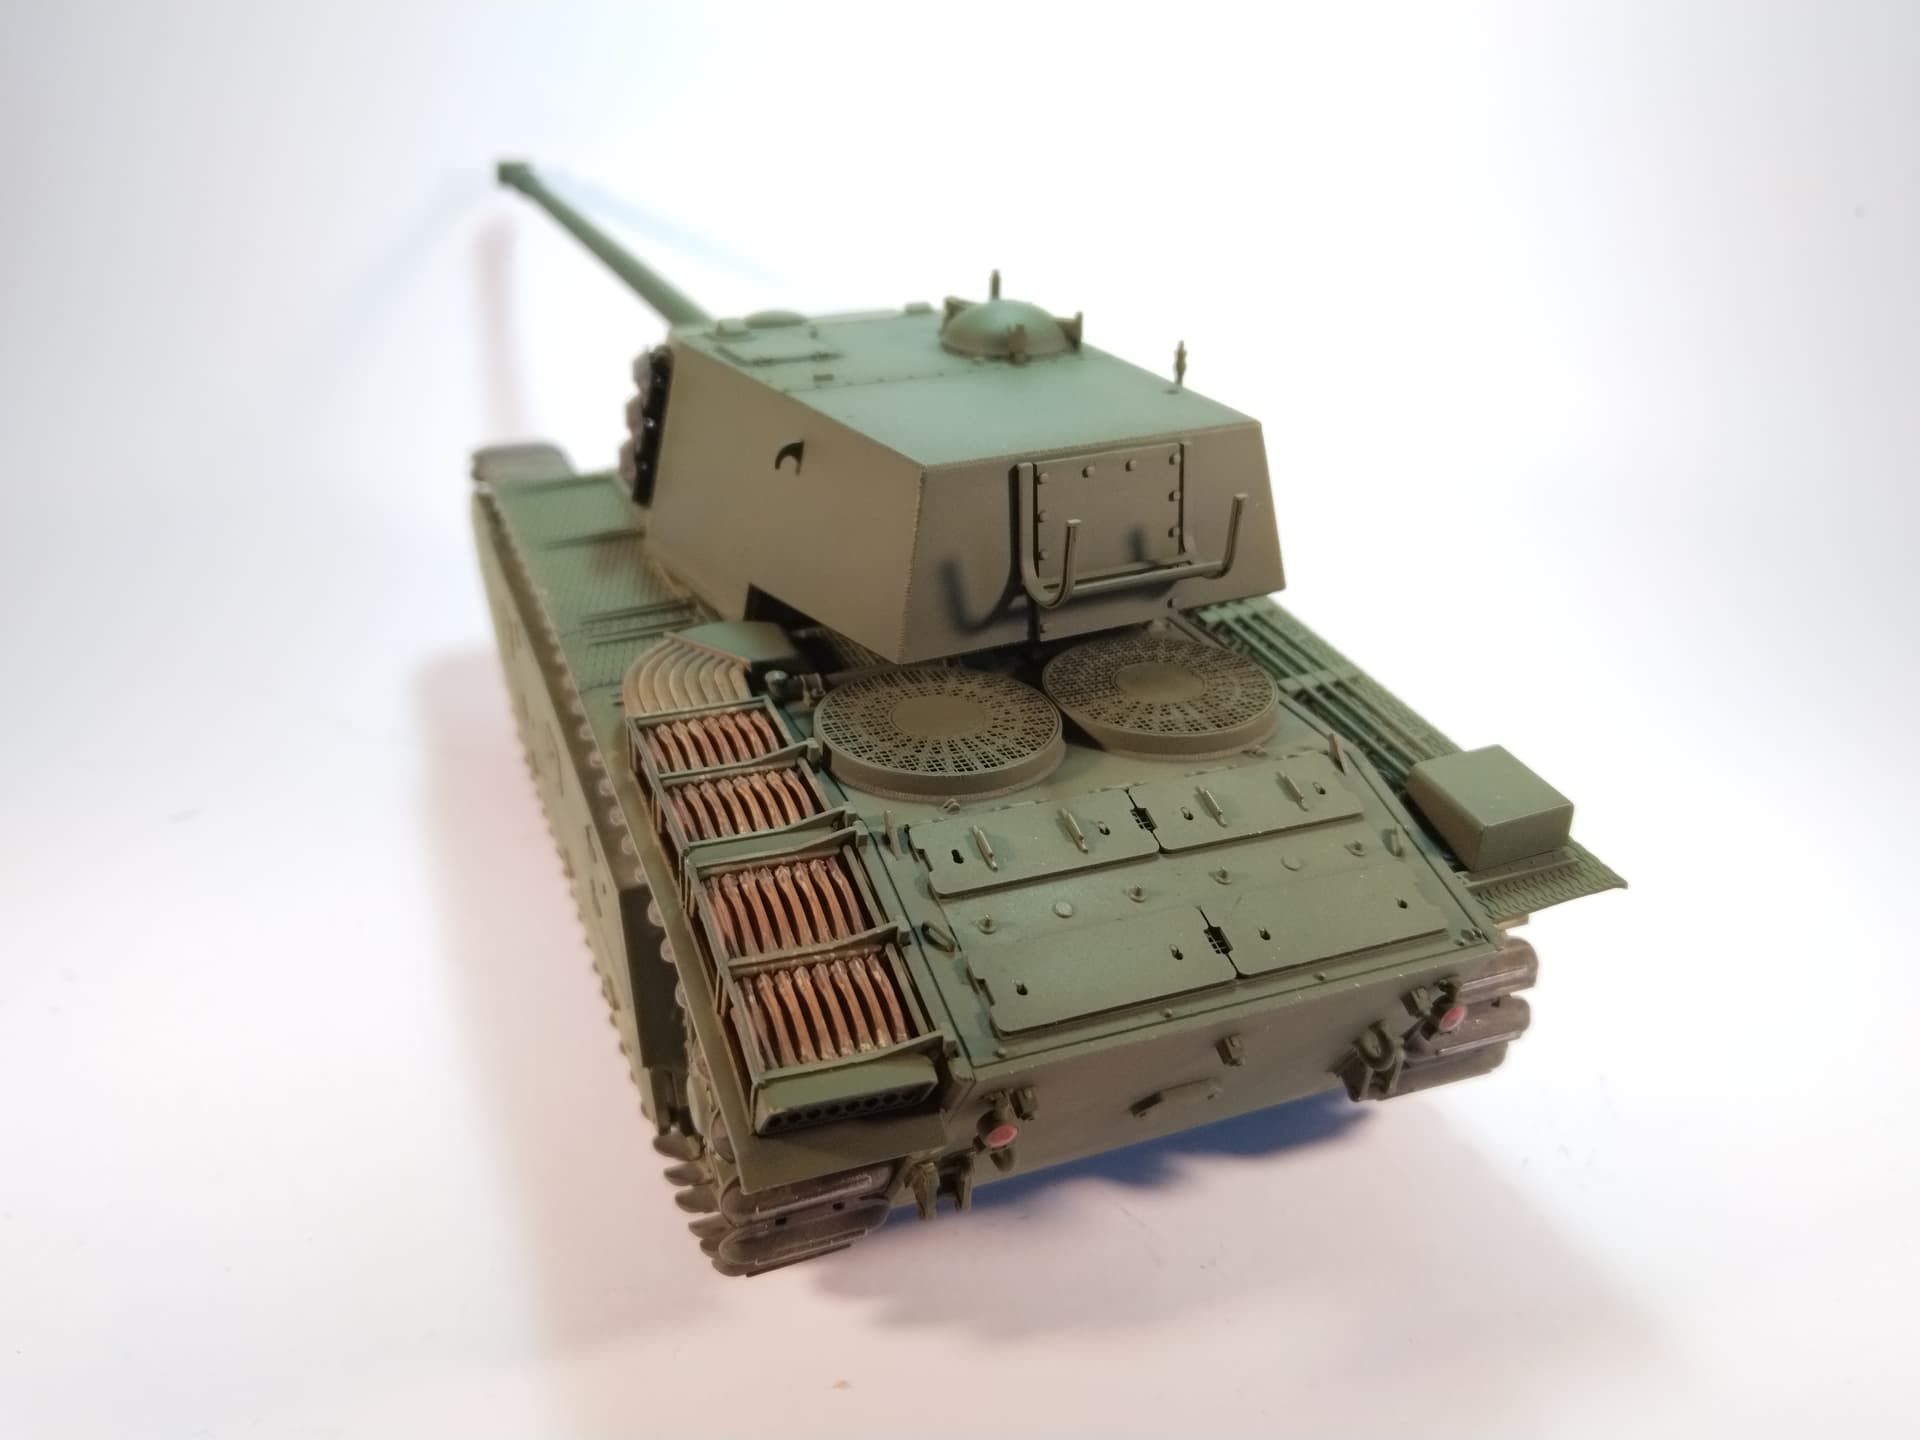
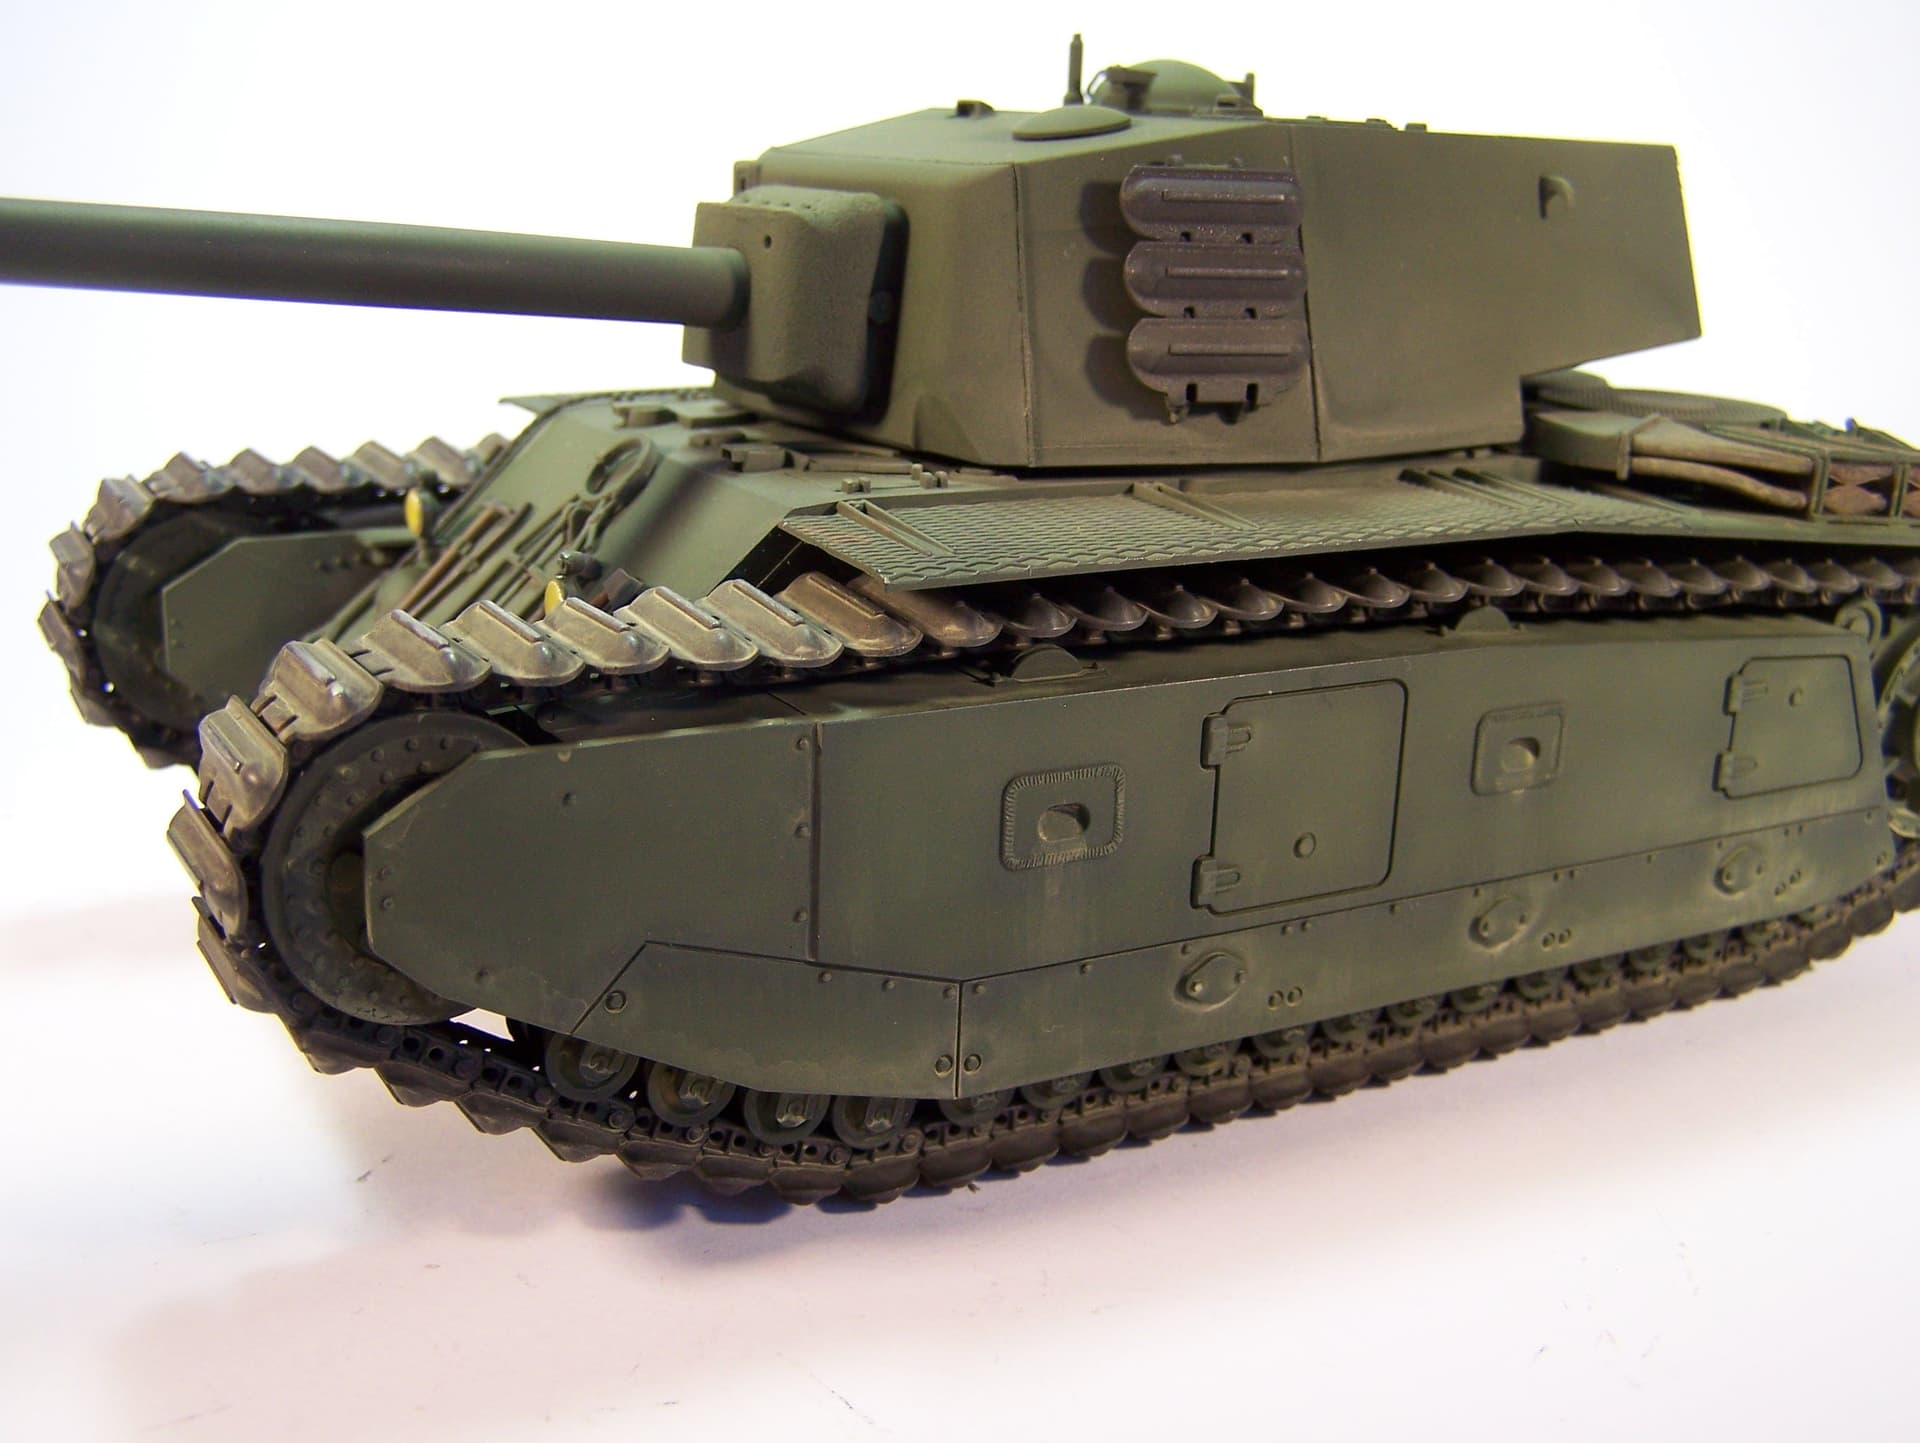
The exhaust assembly looks daunting on the instructions but comes easily in fact. The only thing you need to pay attention to is the direction of parts A14. On one side there are tiny flat rectangles which help hold the both parts together when they are glued according to the instructions. I noticed that it was easier to glue the lower part to one frame then add the upper part and then only glue the second frame.
In the end you have a strange looking exhaust.
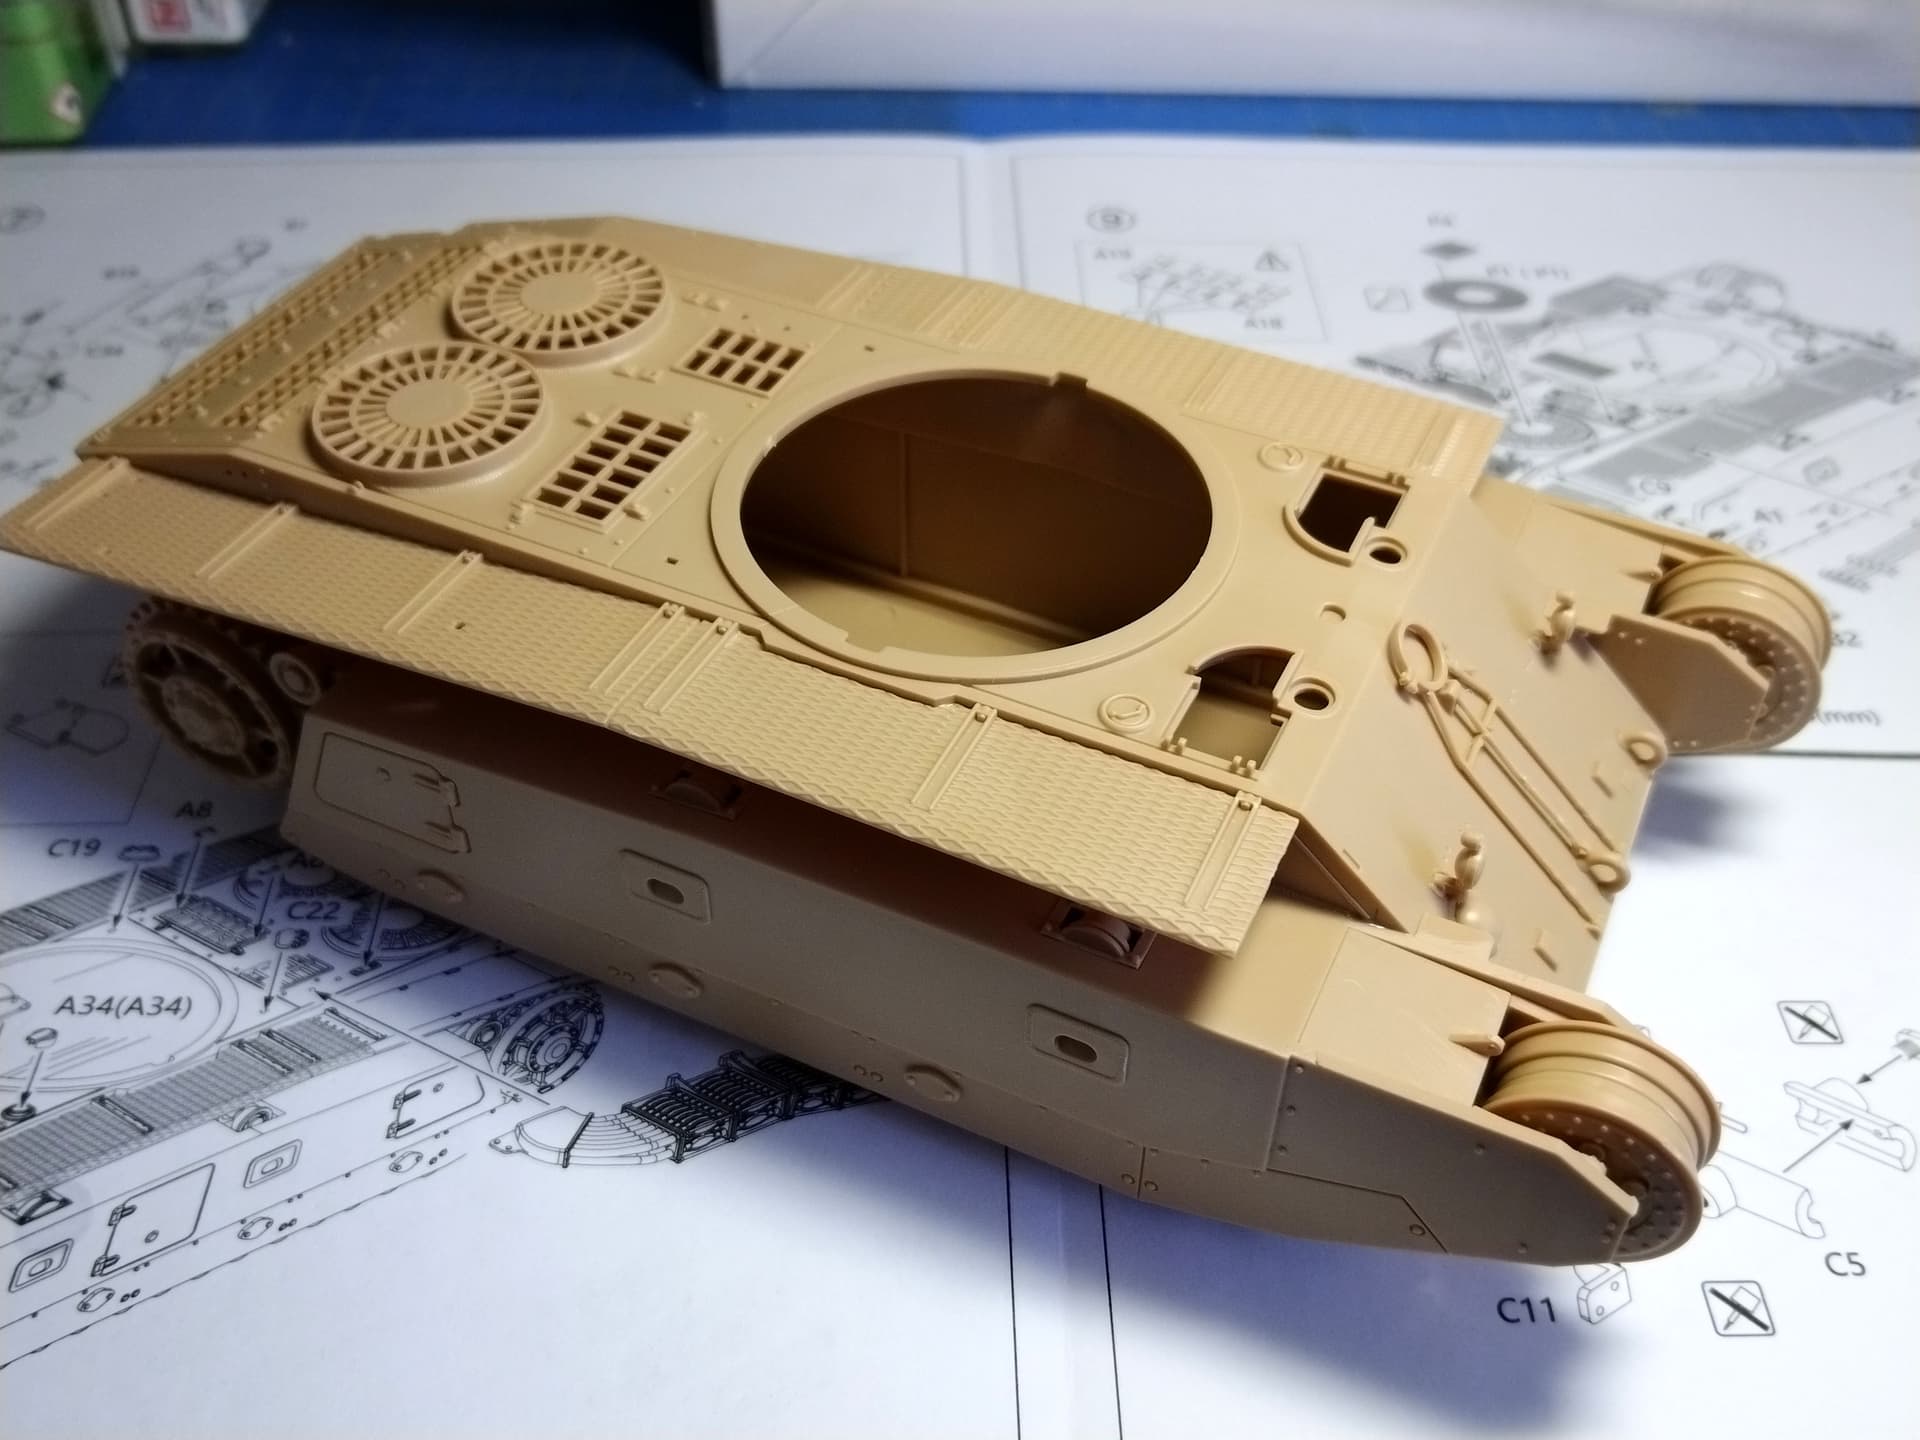
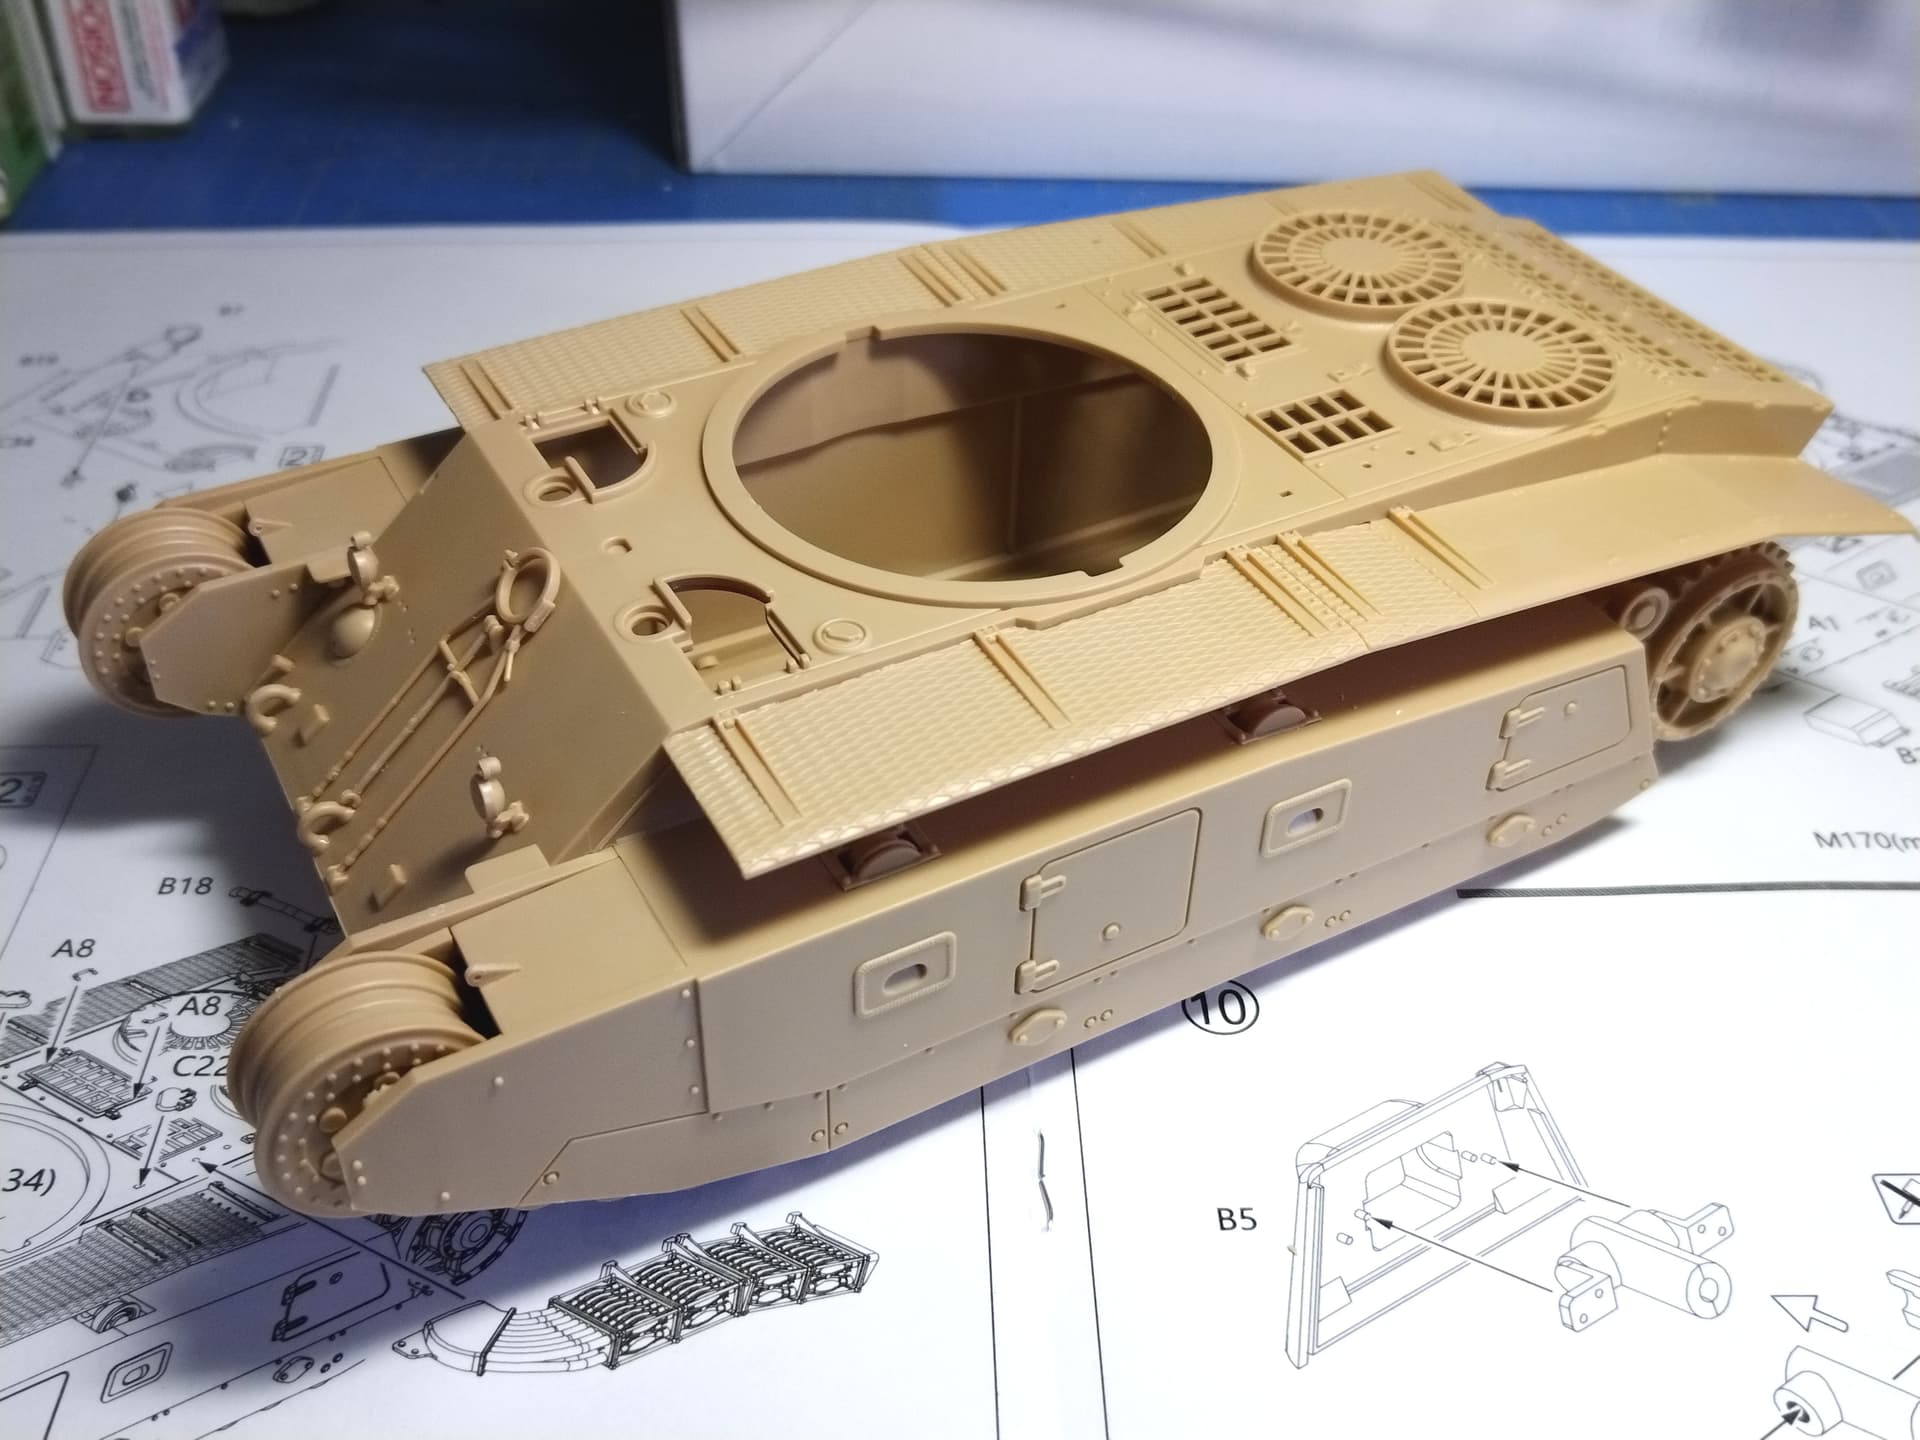
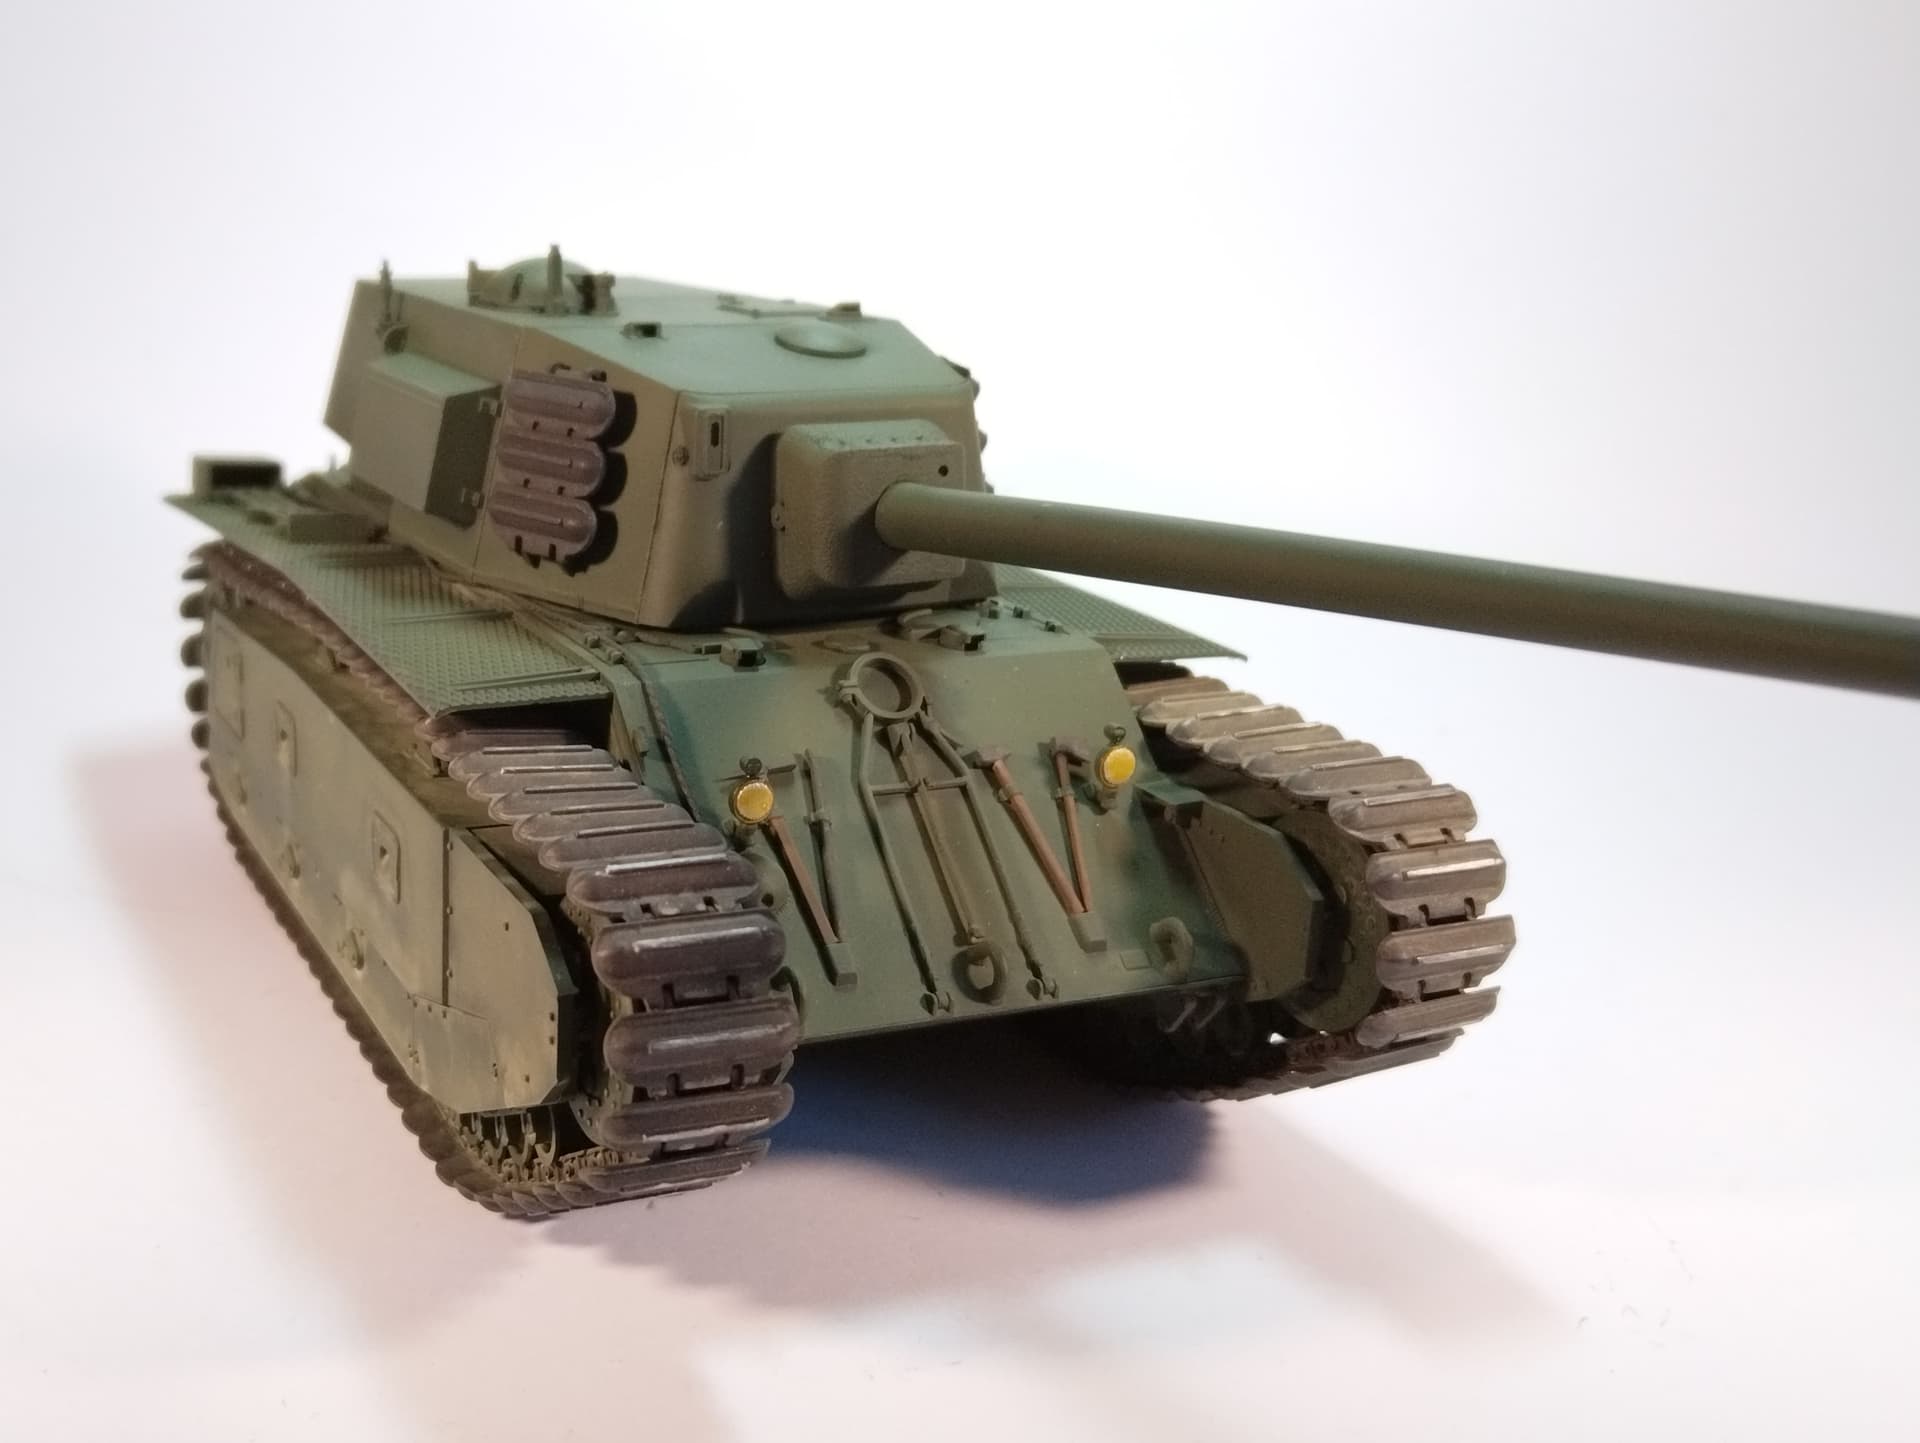
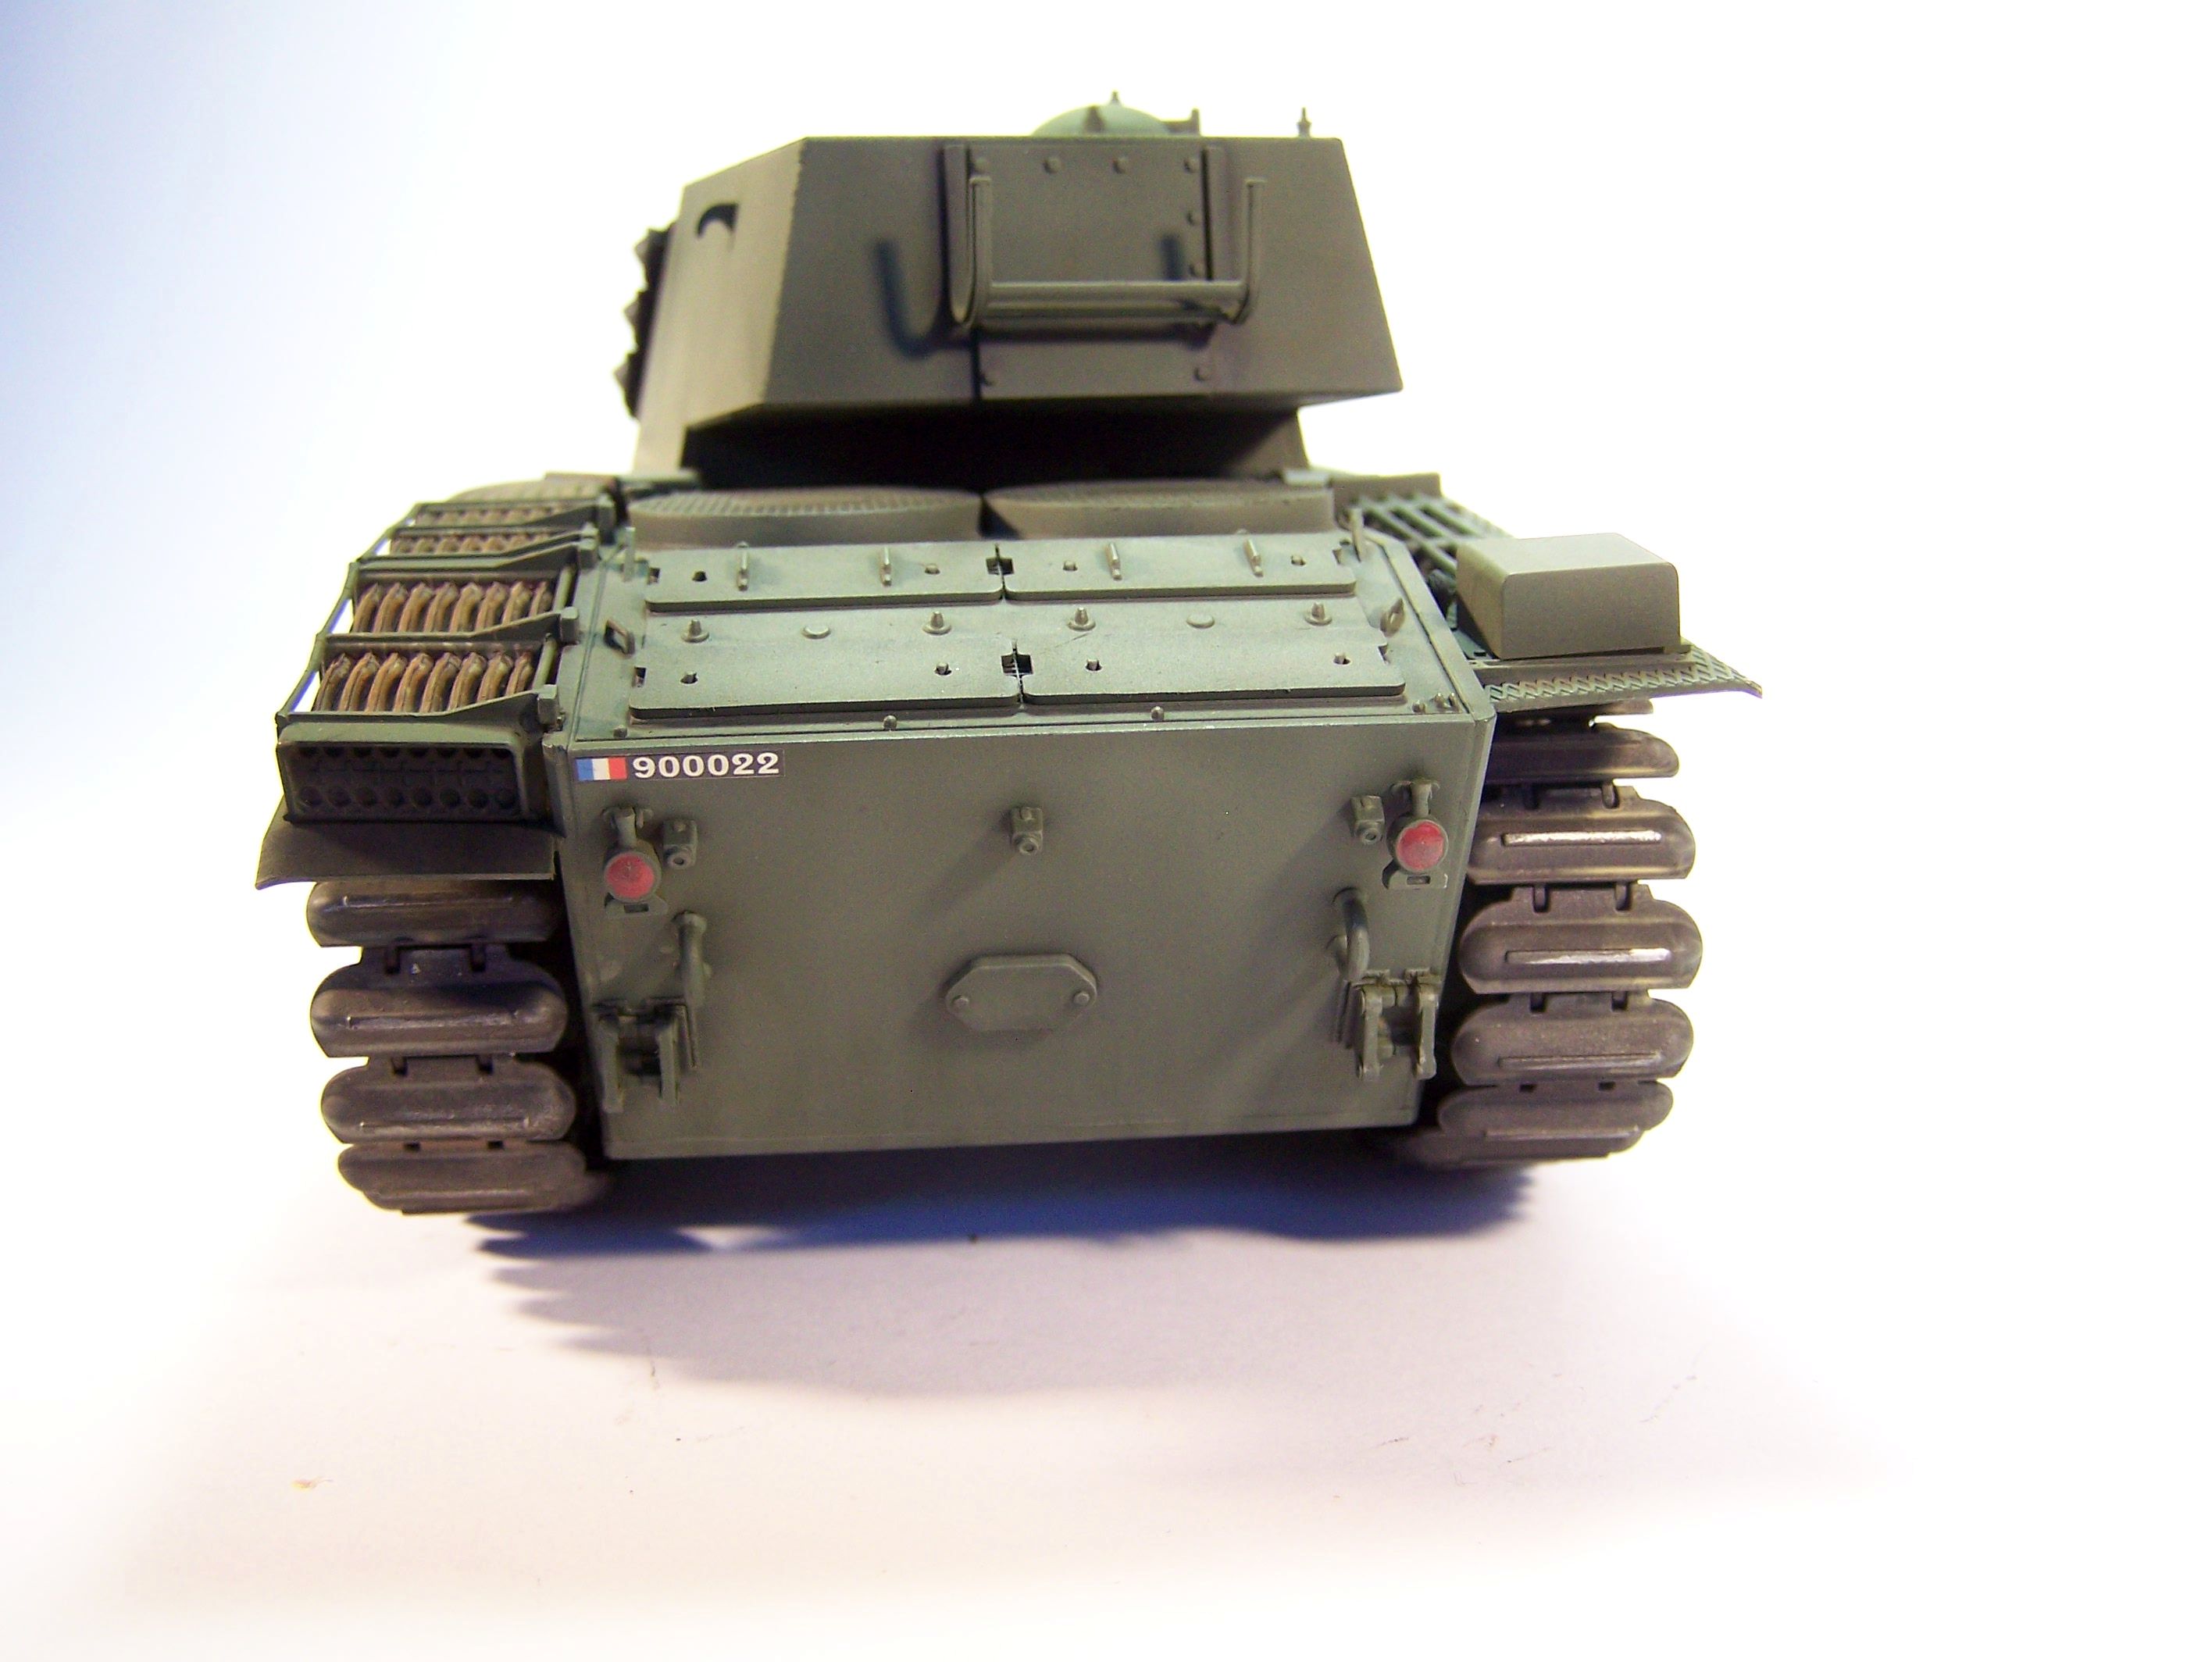
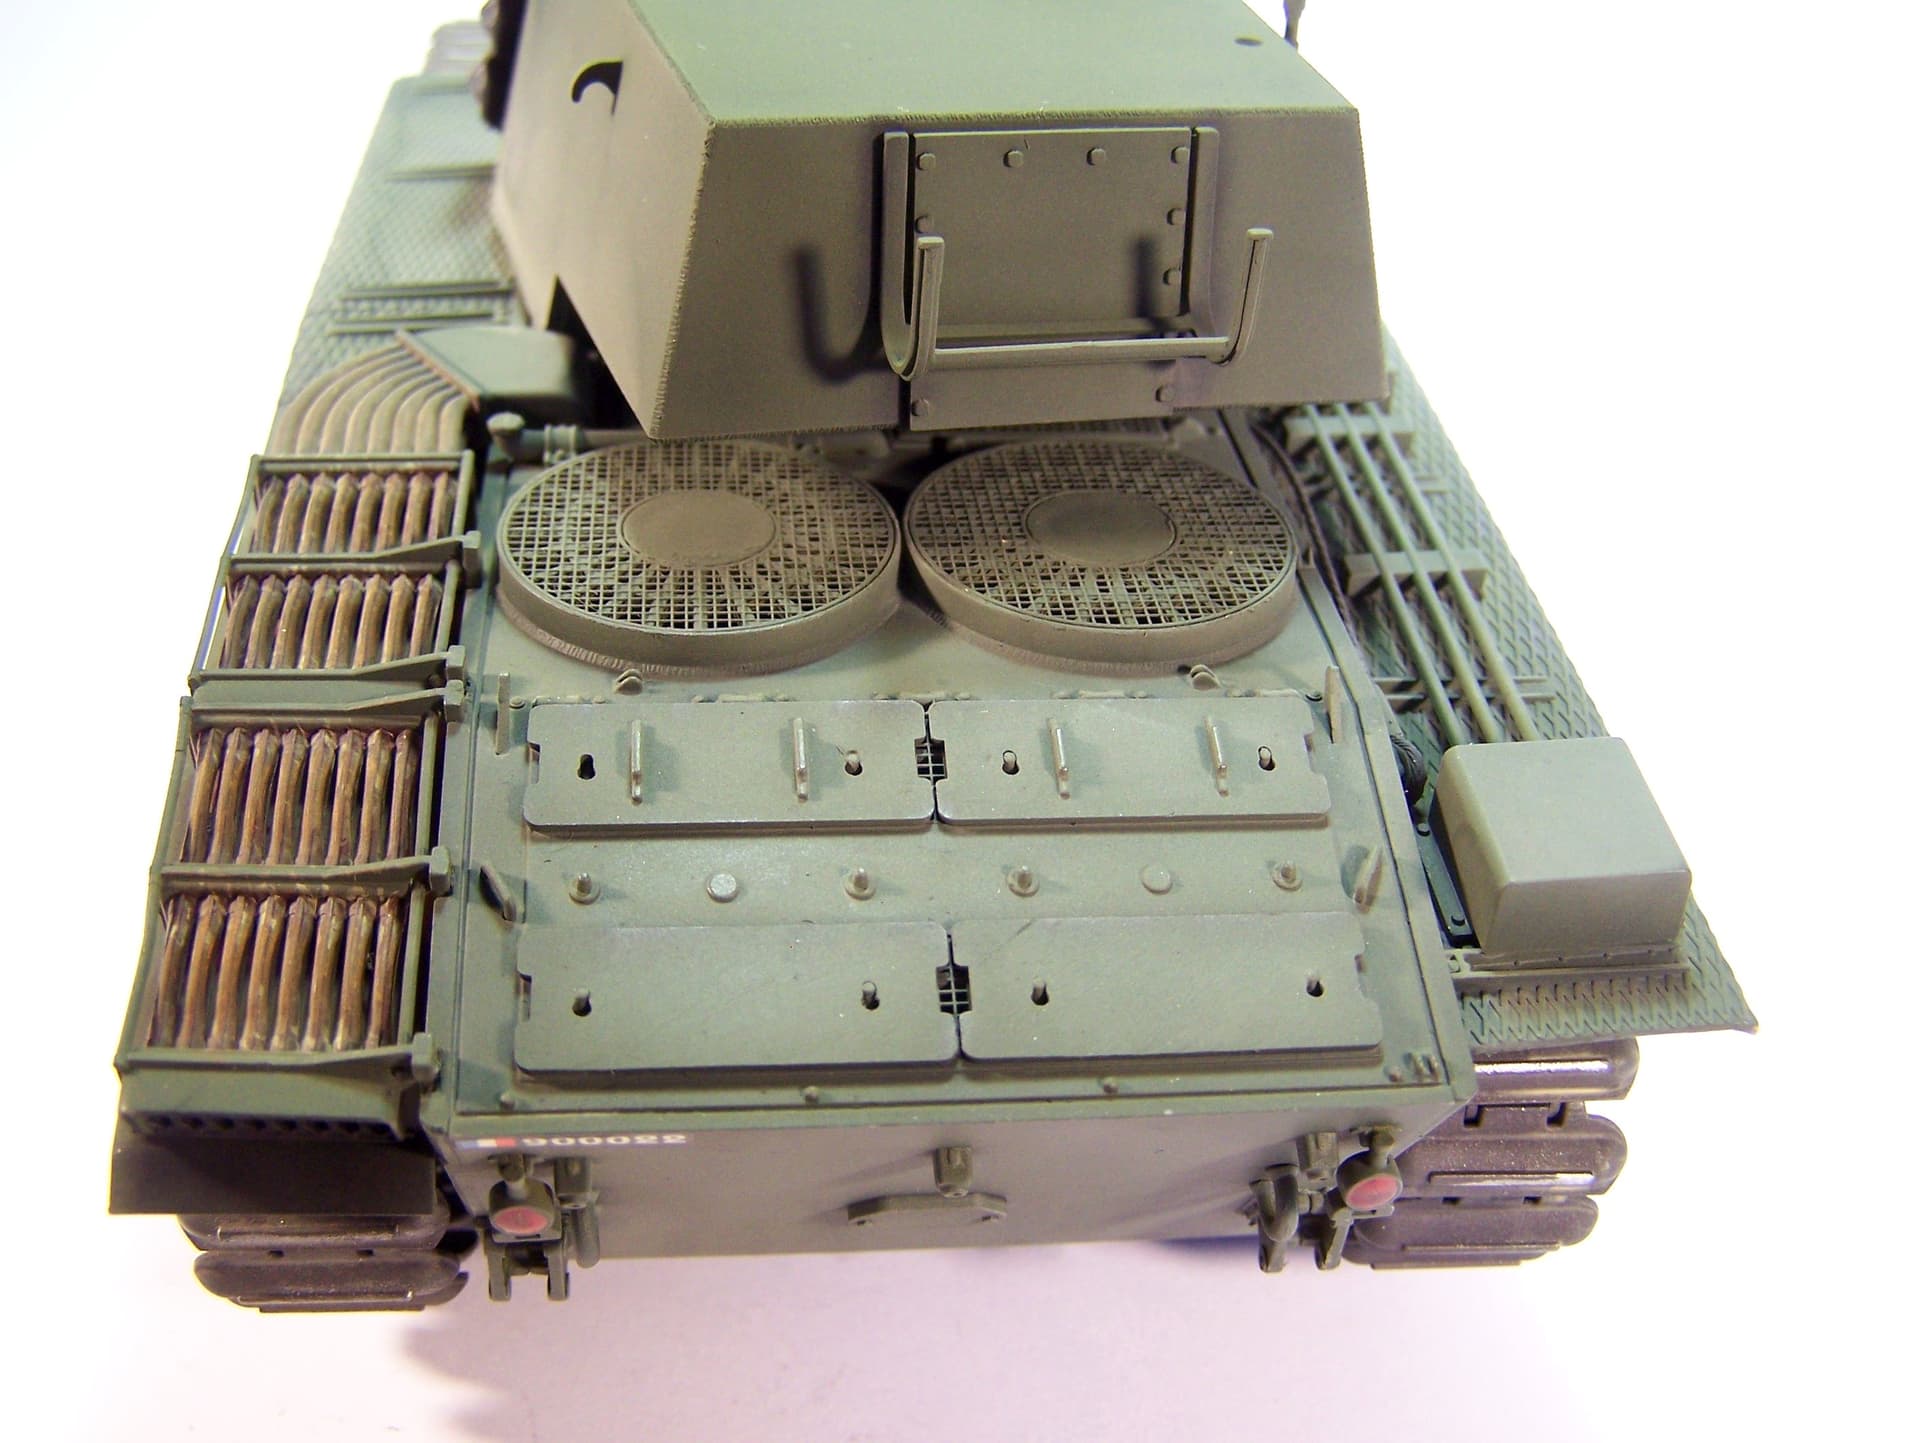
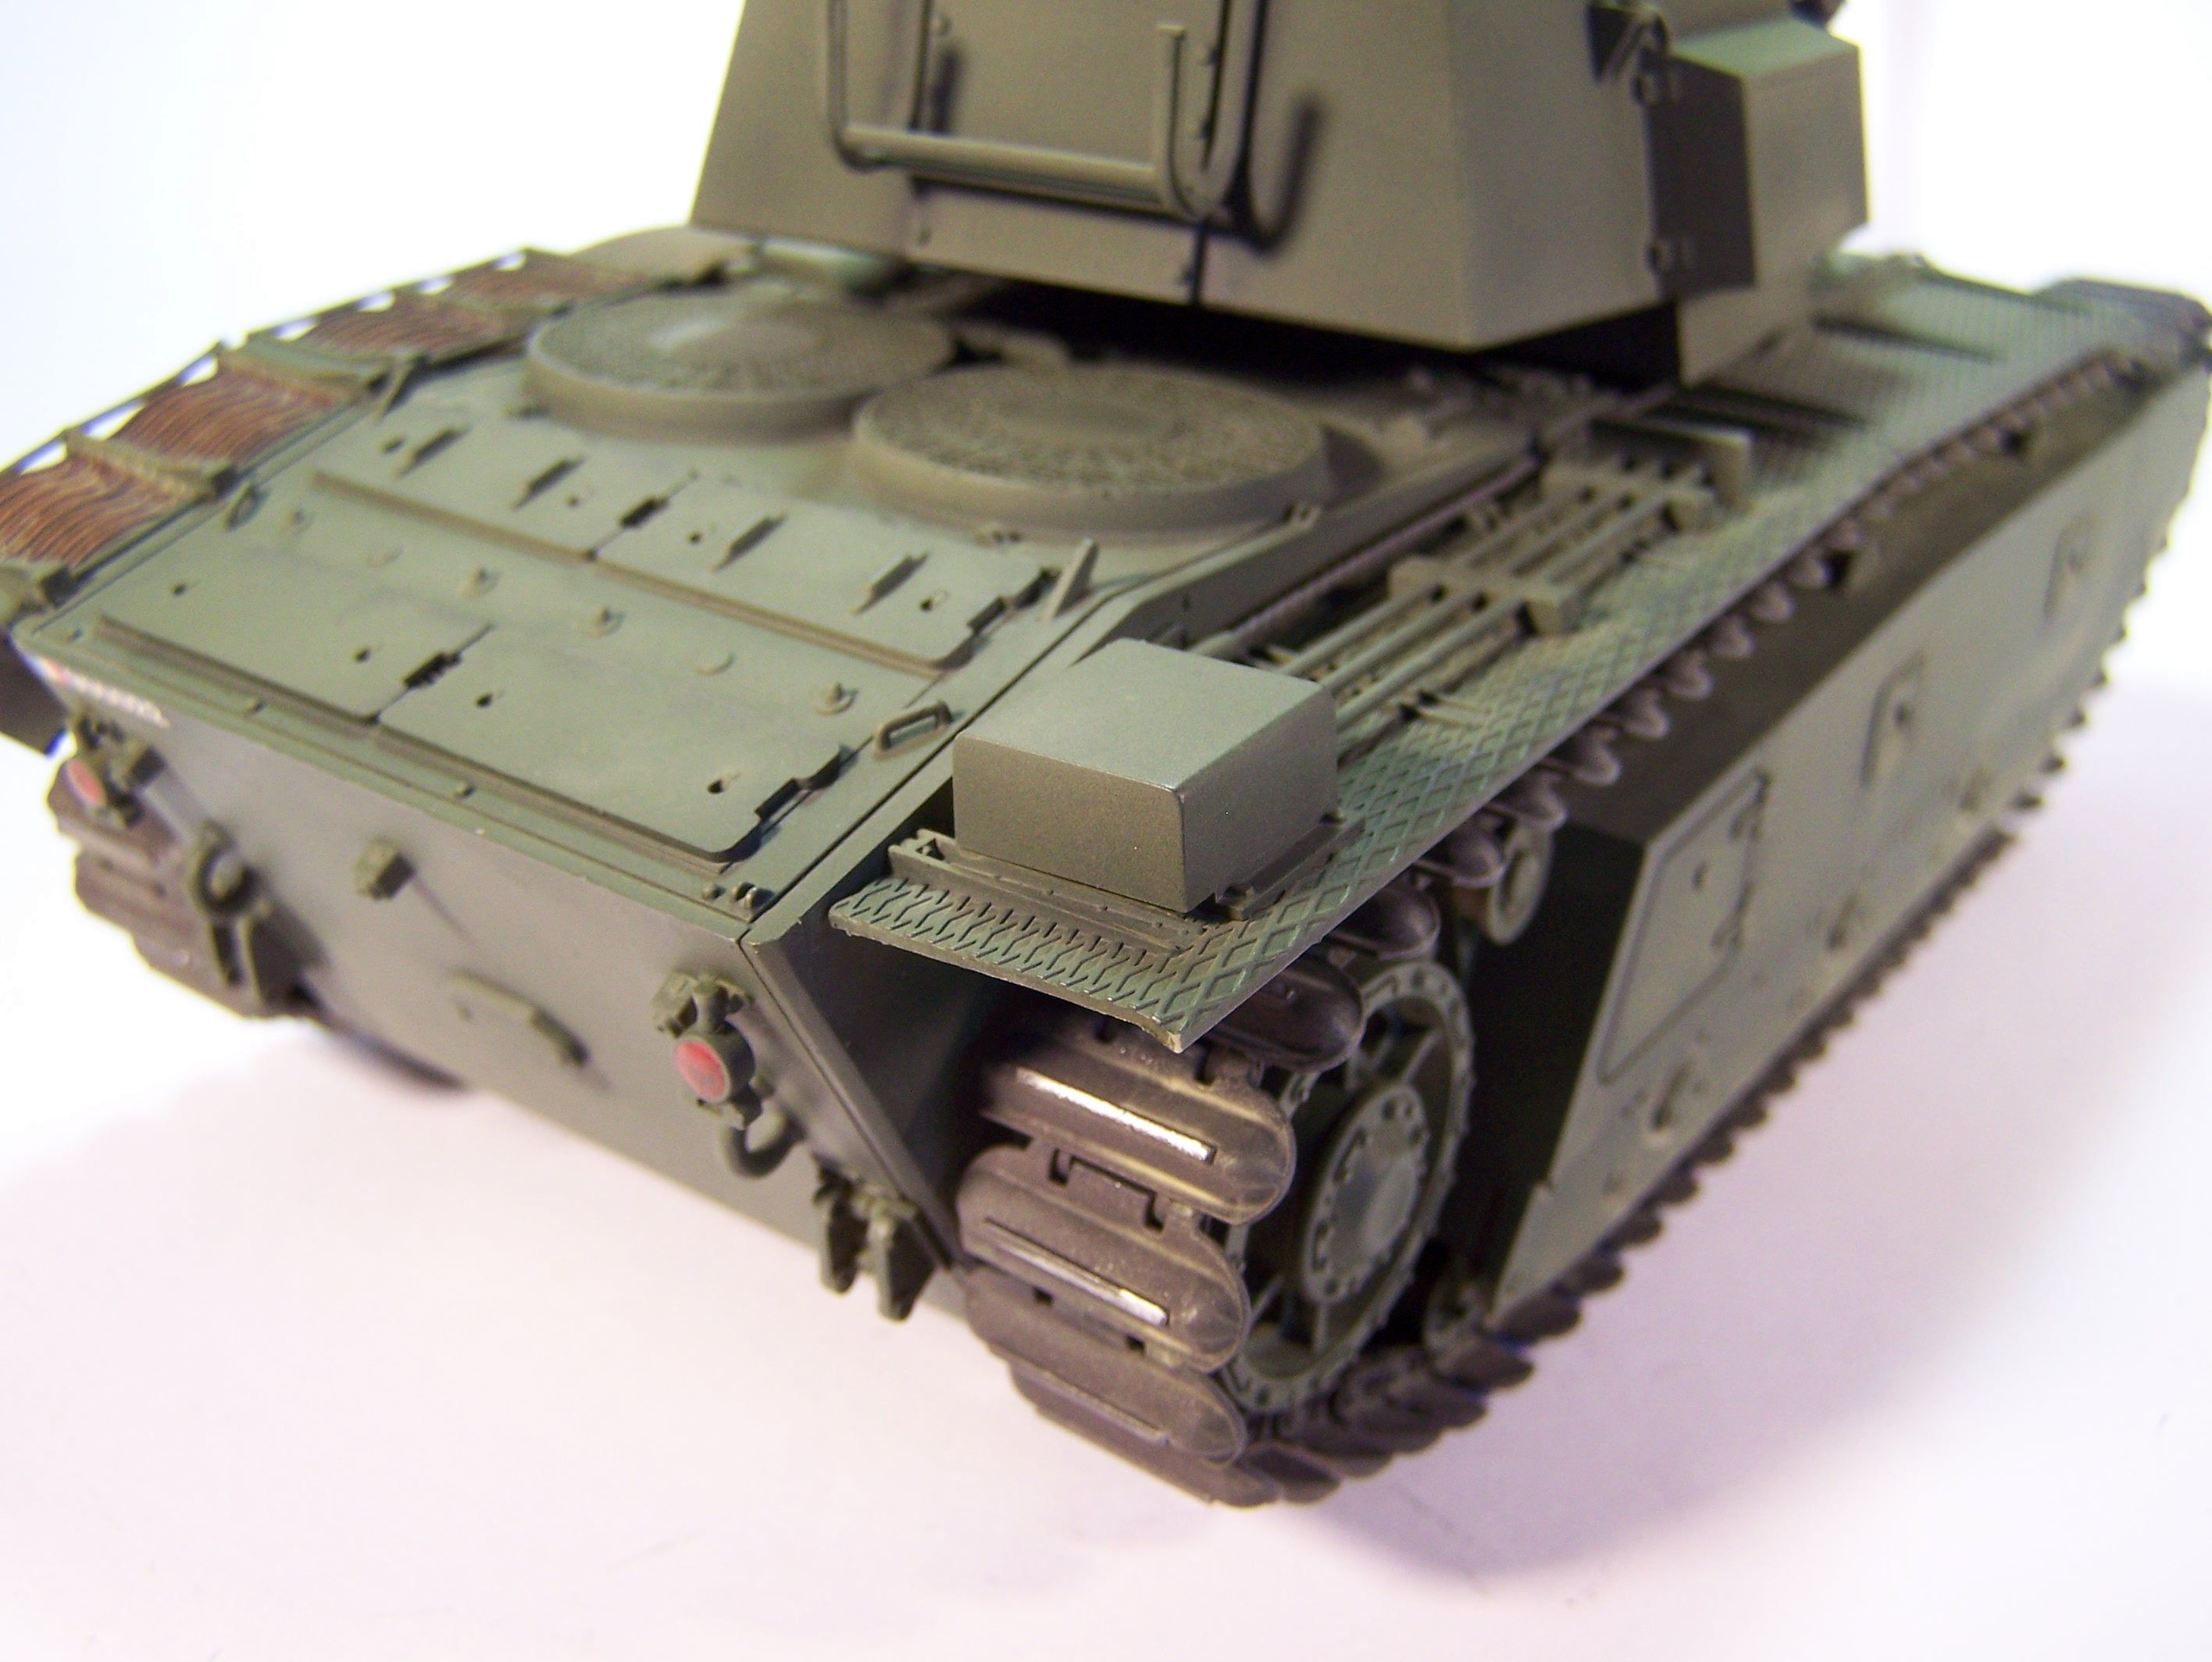
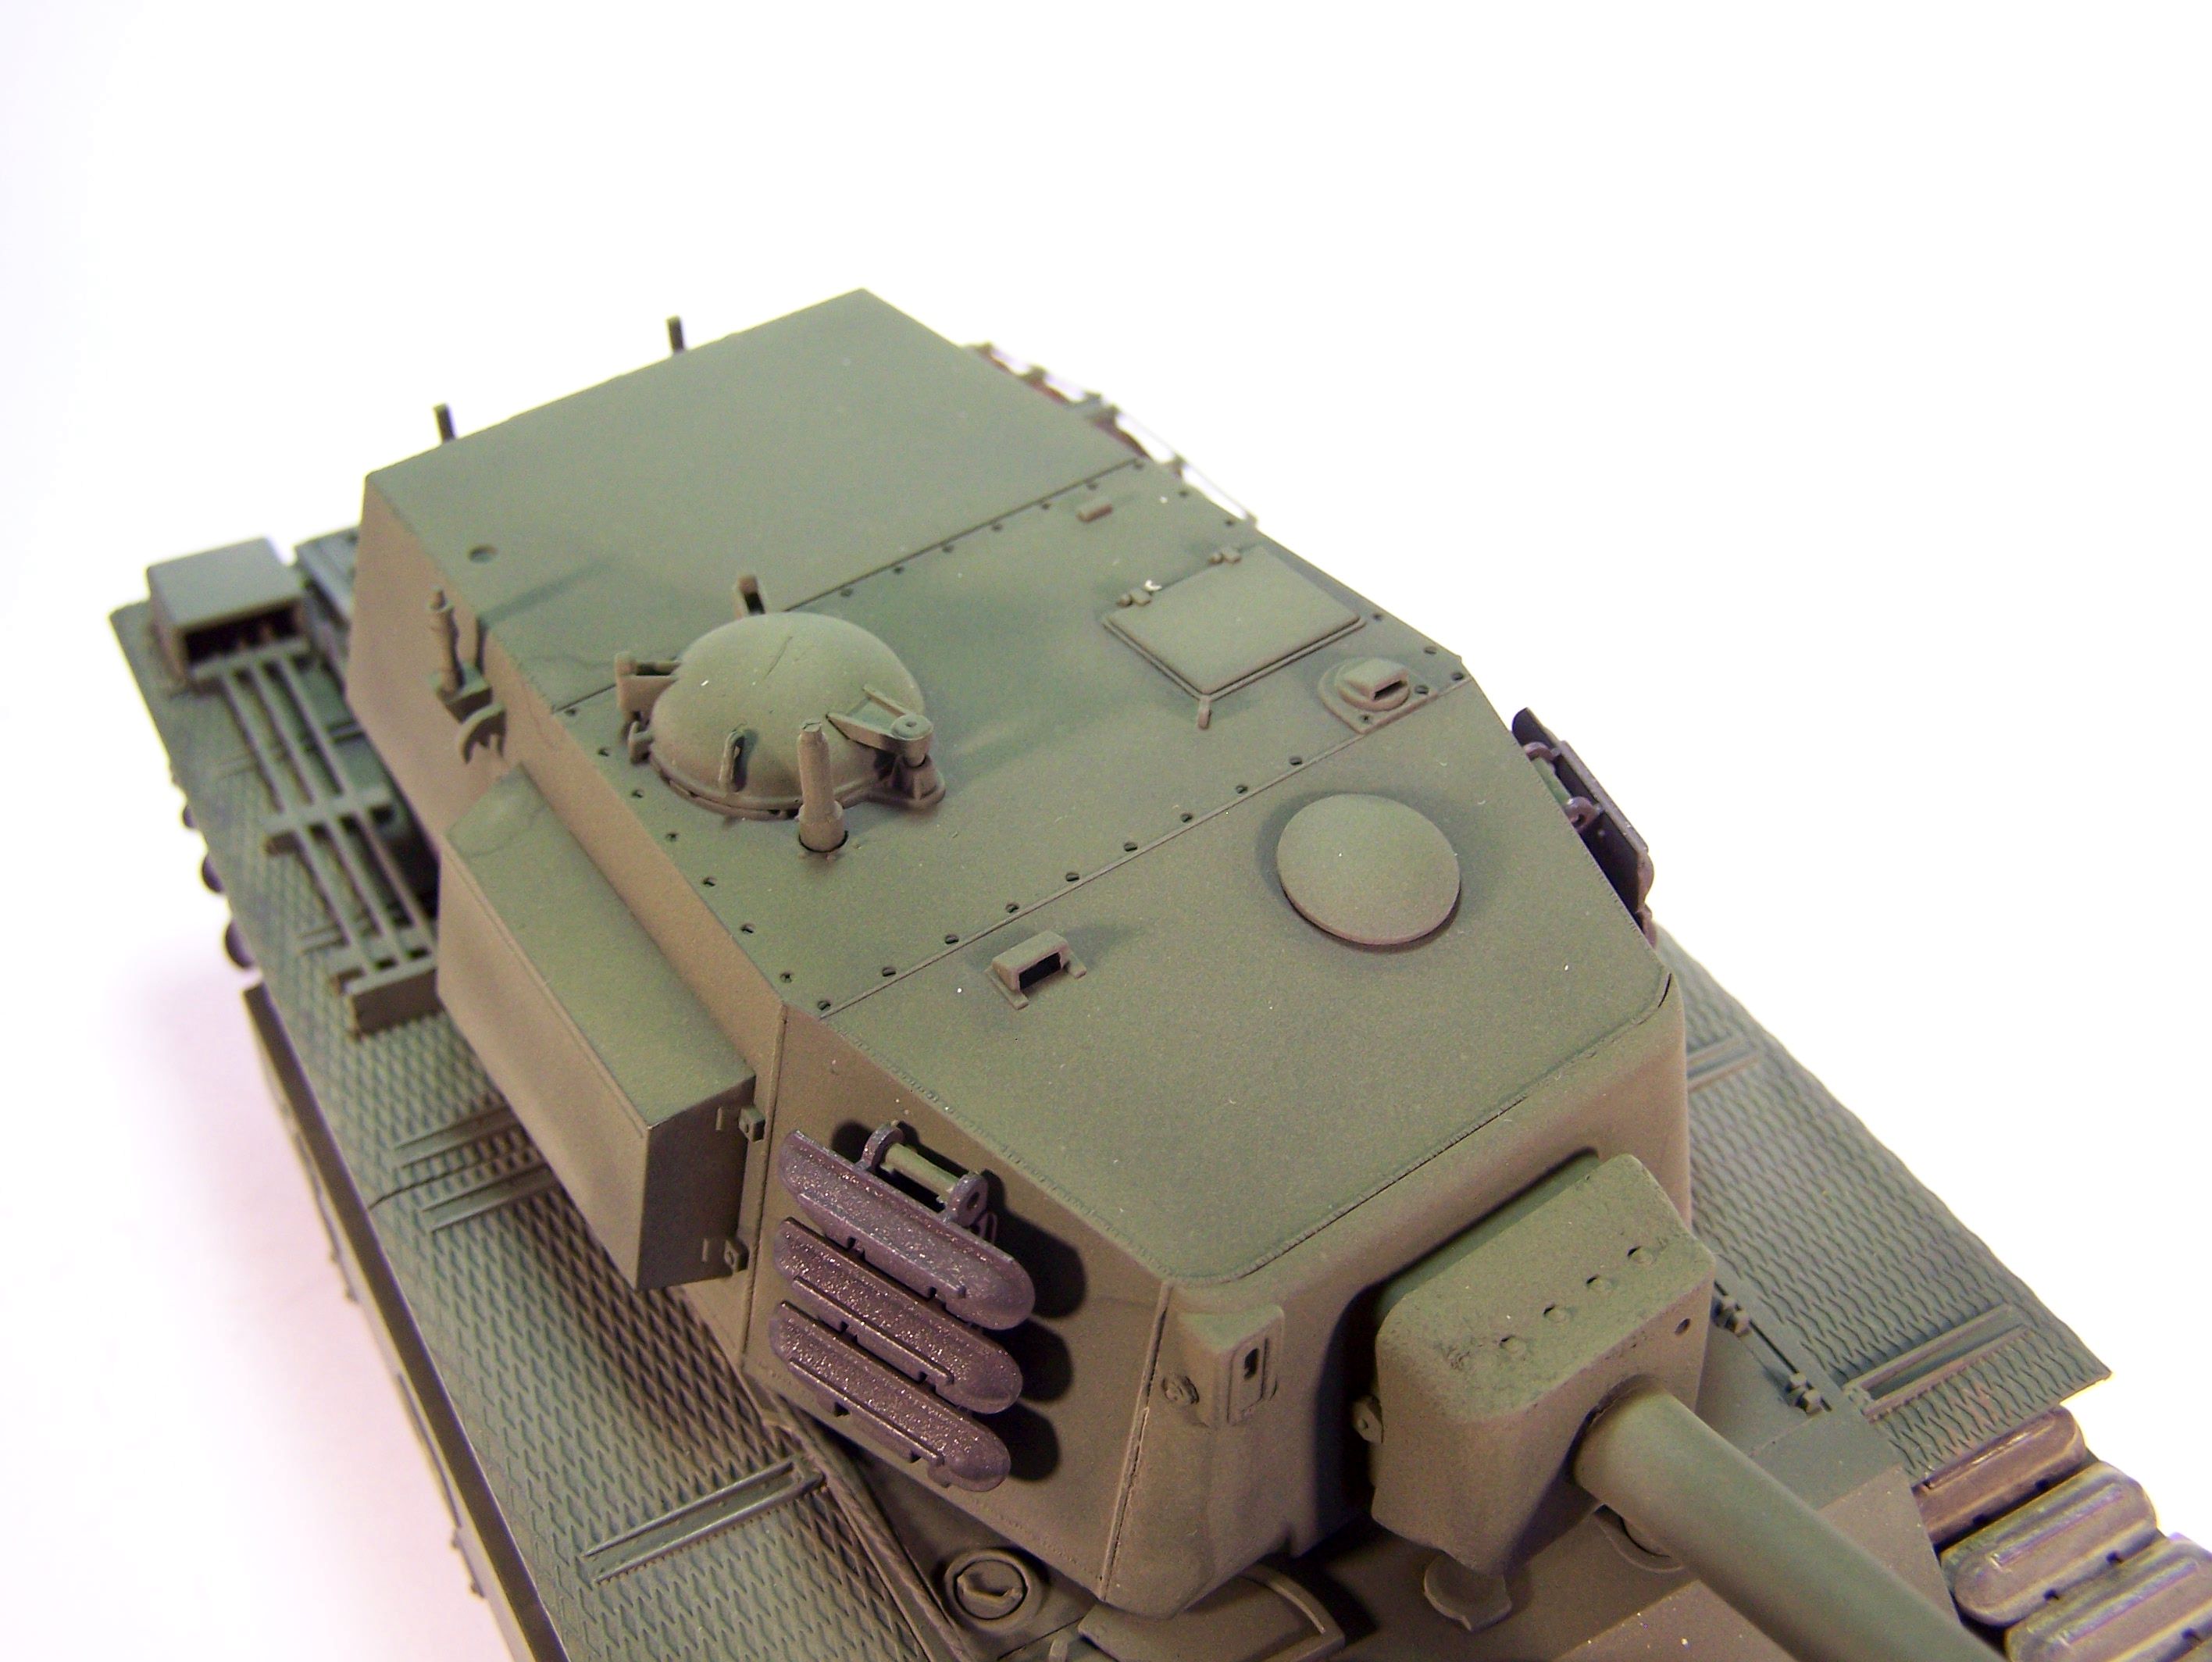
More progress on the hull which is 98% complete. I still have to decide whether or not I glue the tools prior to painting the whole thing.
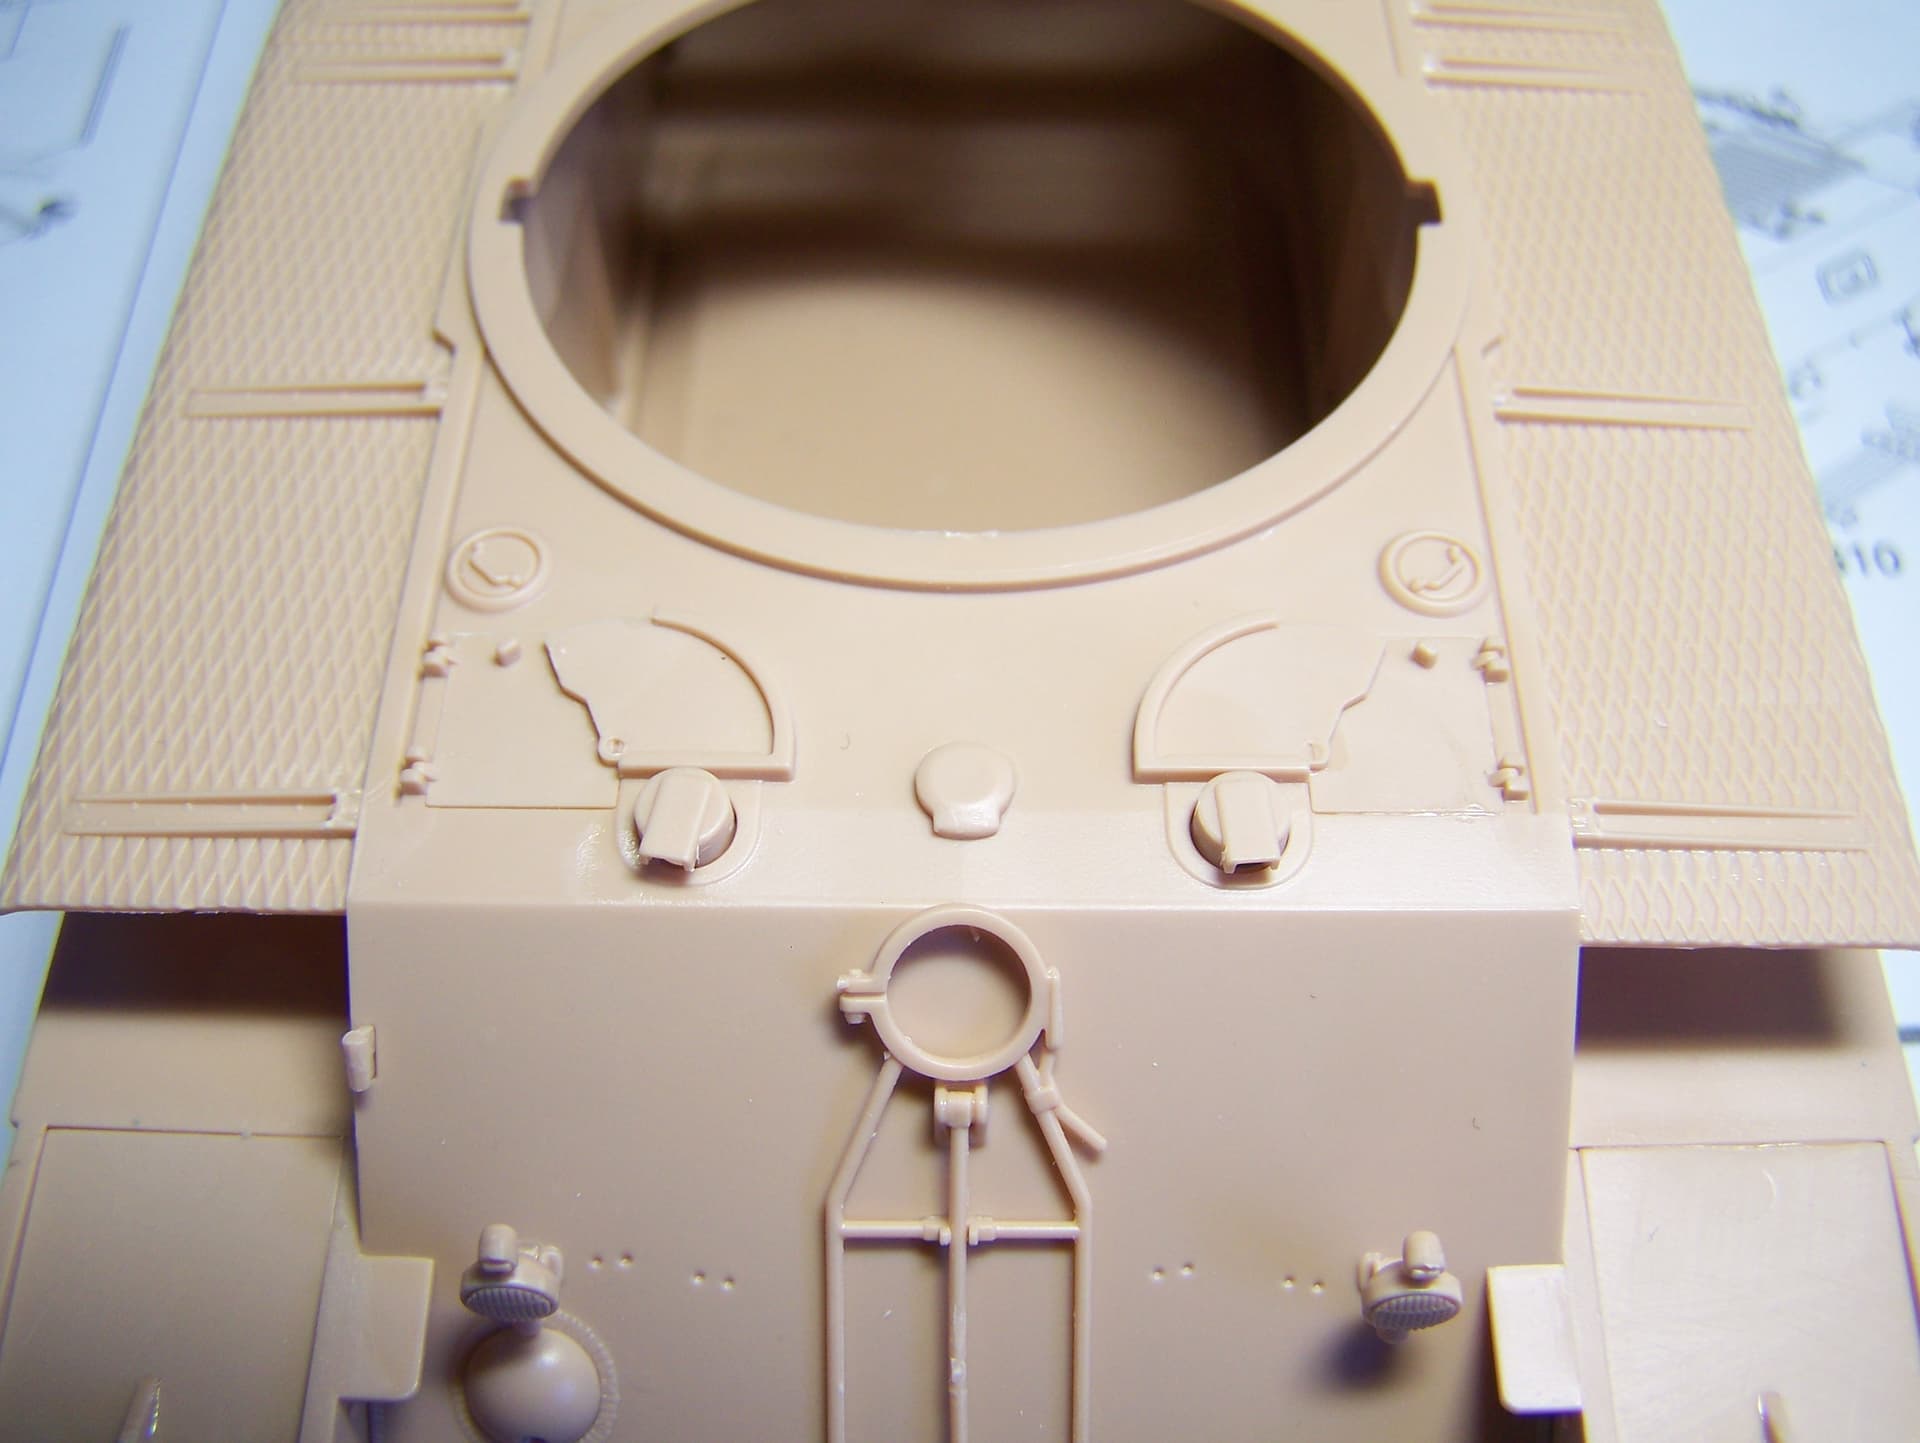
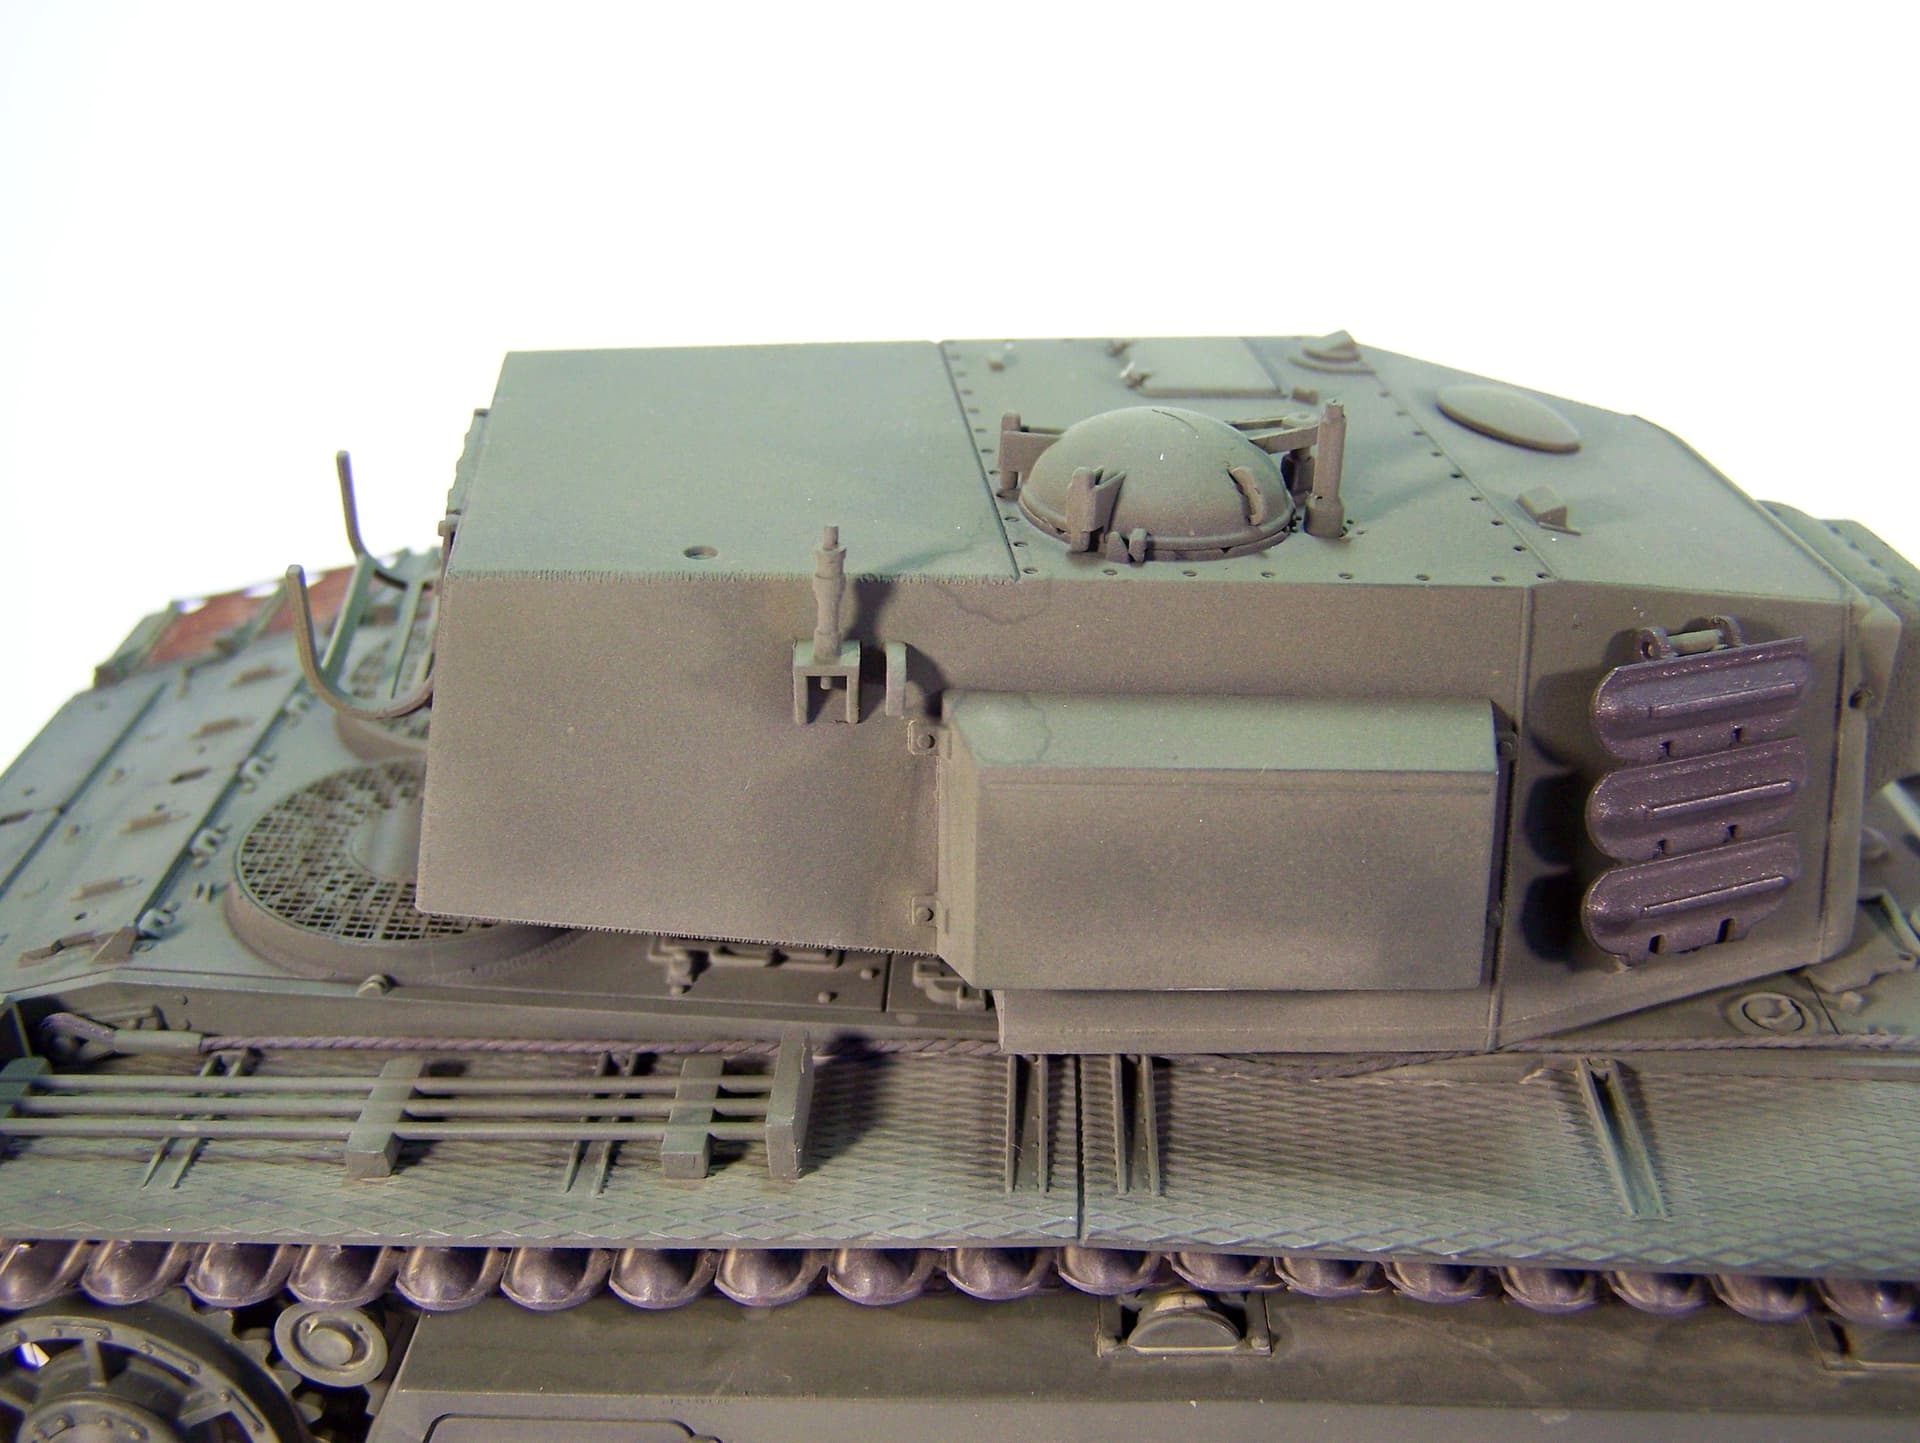
The driver and the radio/MG gunner hatches are a bit tricky to install. Amusing Hobby tells you to assemble the two parts of the hatch and then install the sub-assembly. This can prove difficult as there is a groove in which the rotating part is supposed to be inserted. So I decided to glue the squarish part of the hatch first and then to have the rotating part pivoting as on the actual vehicle.
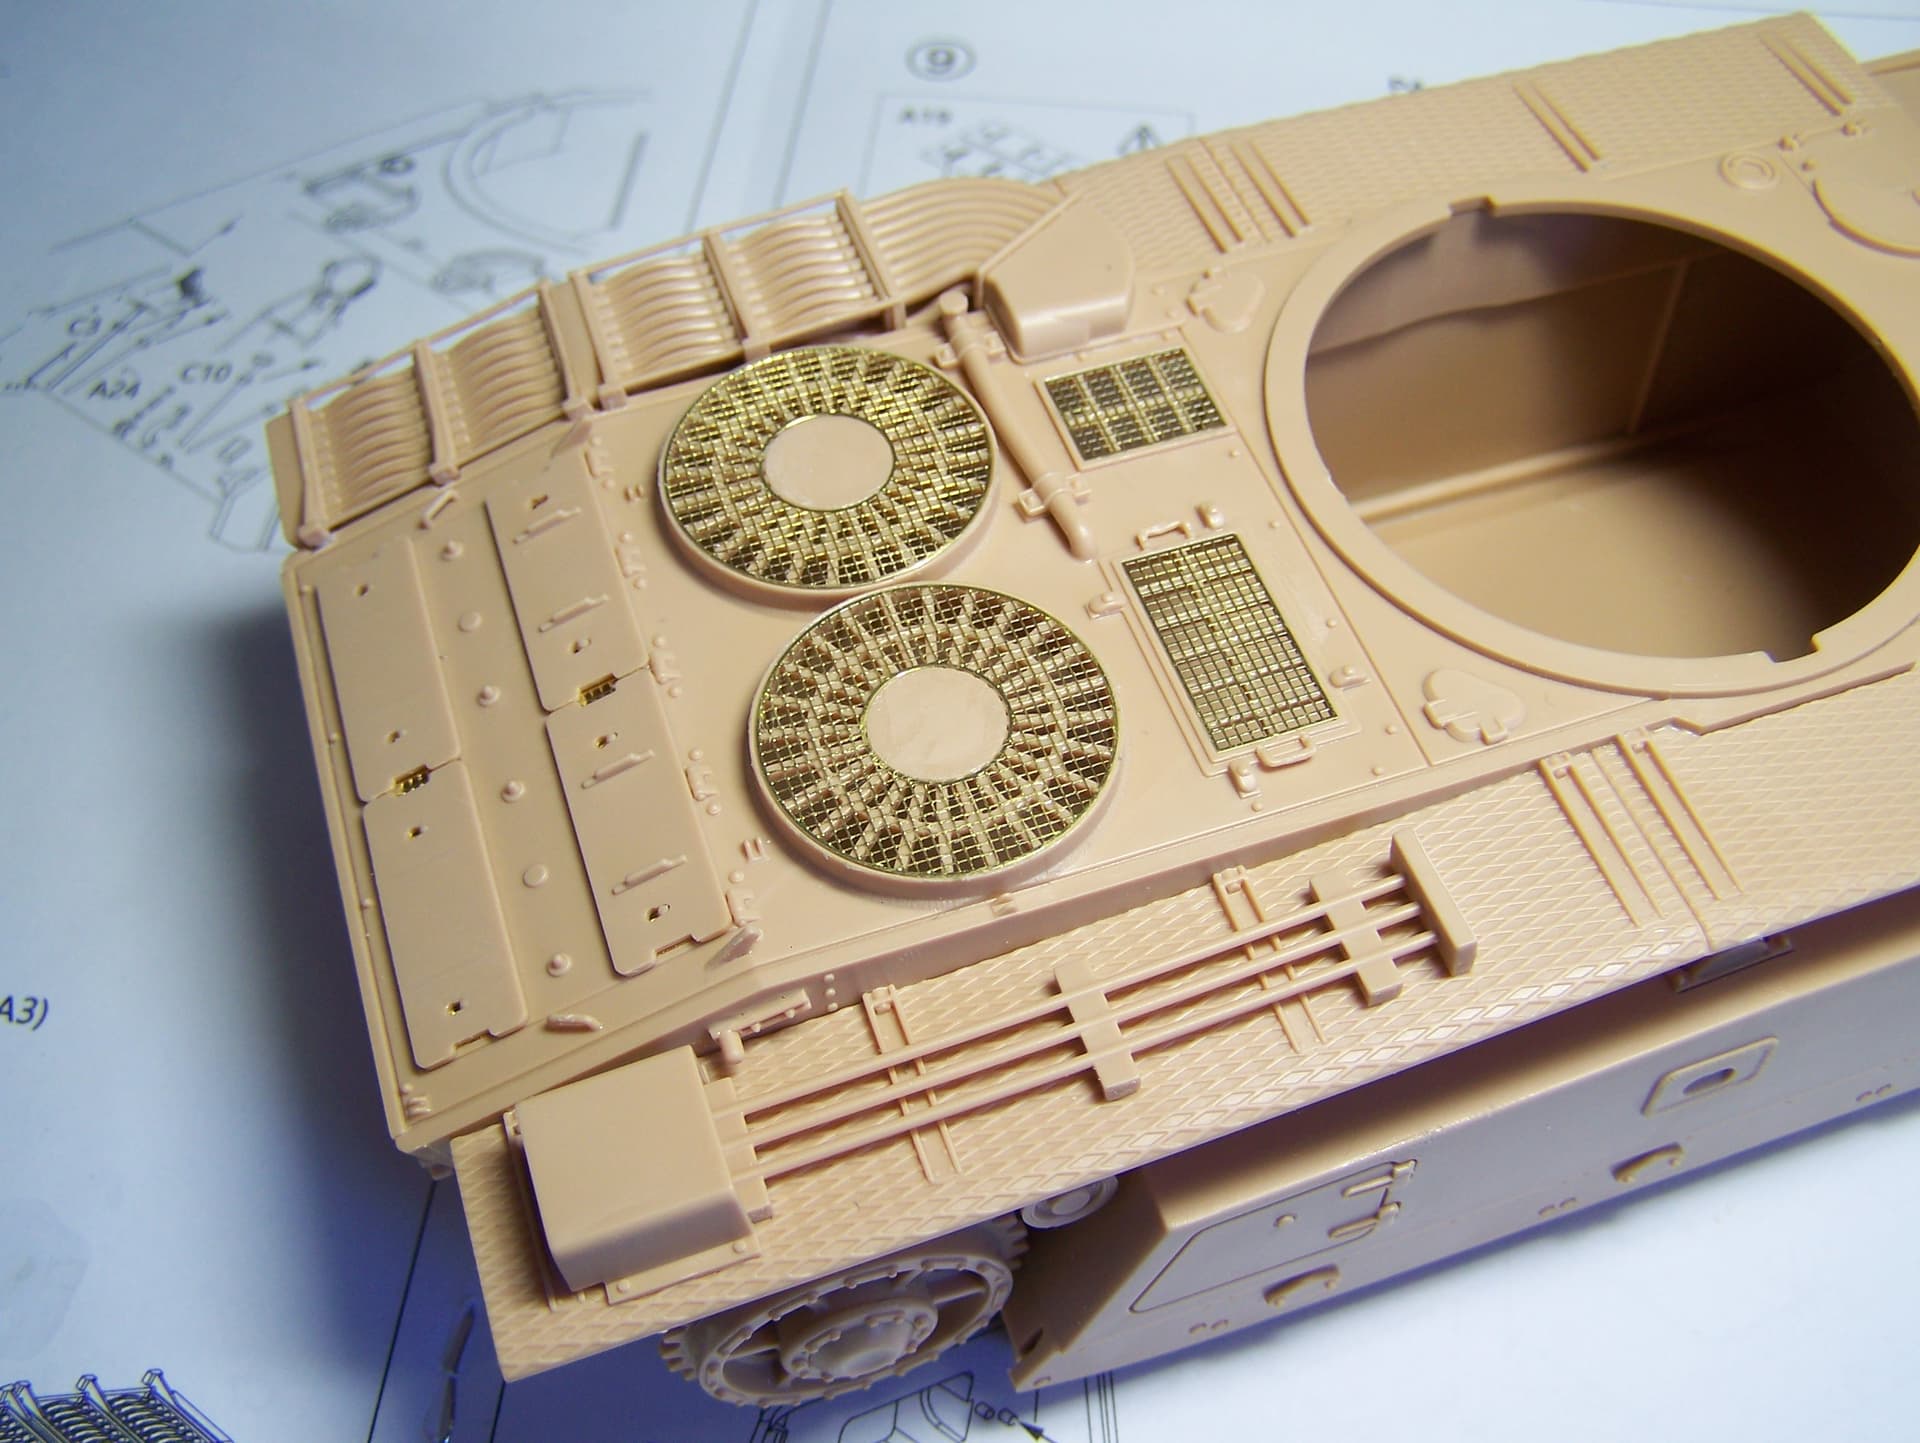
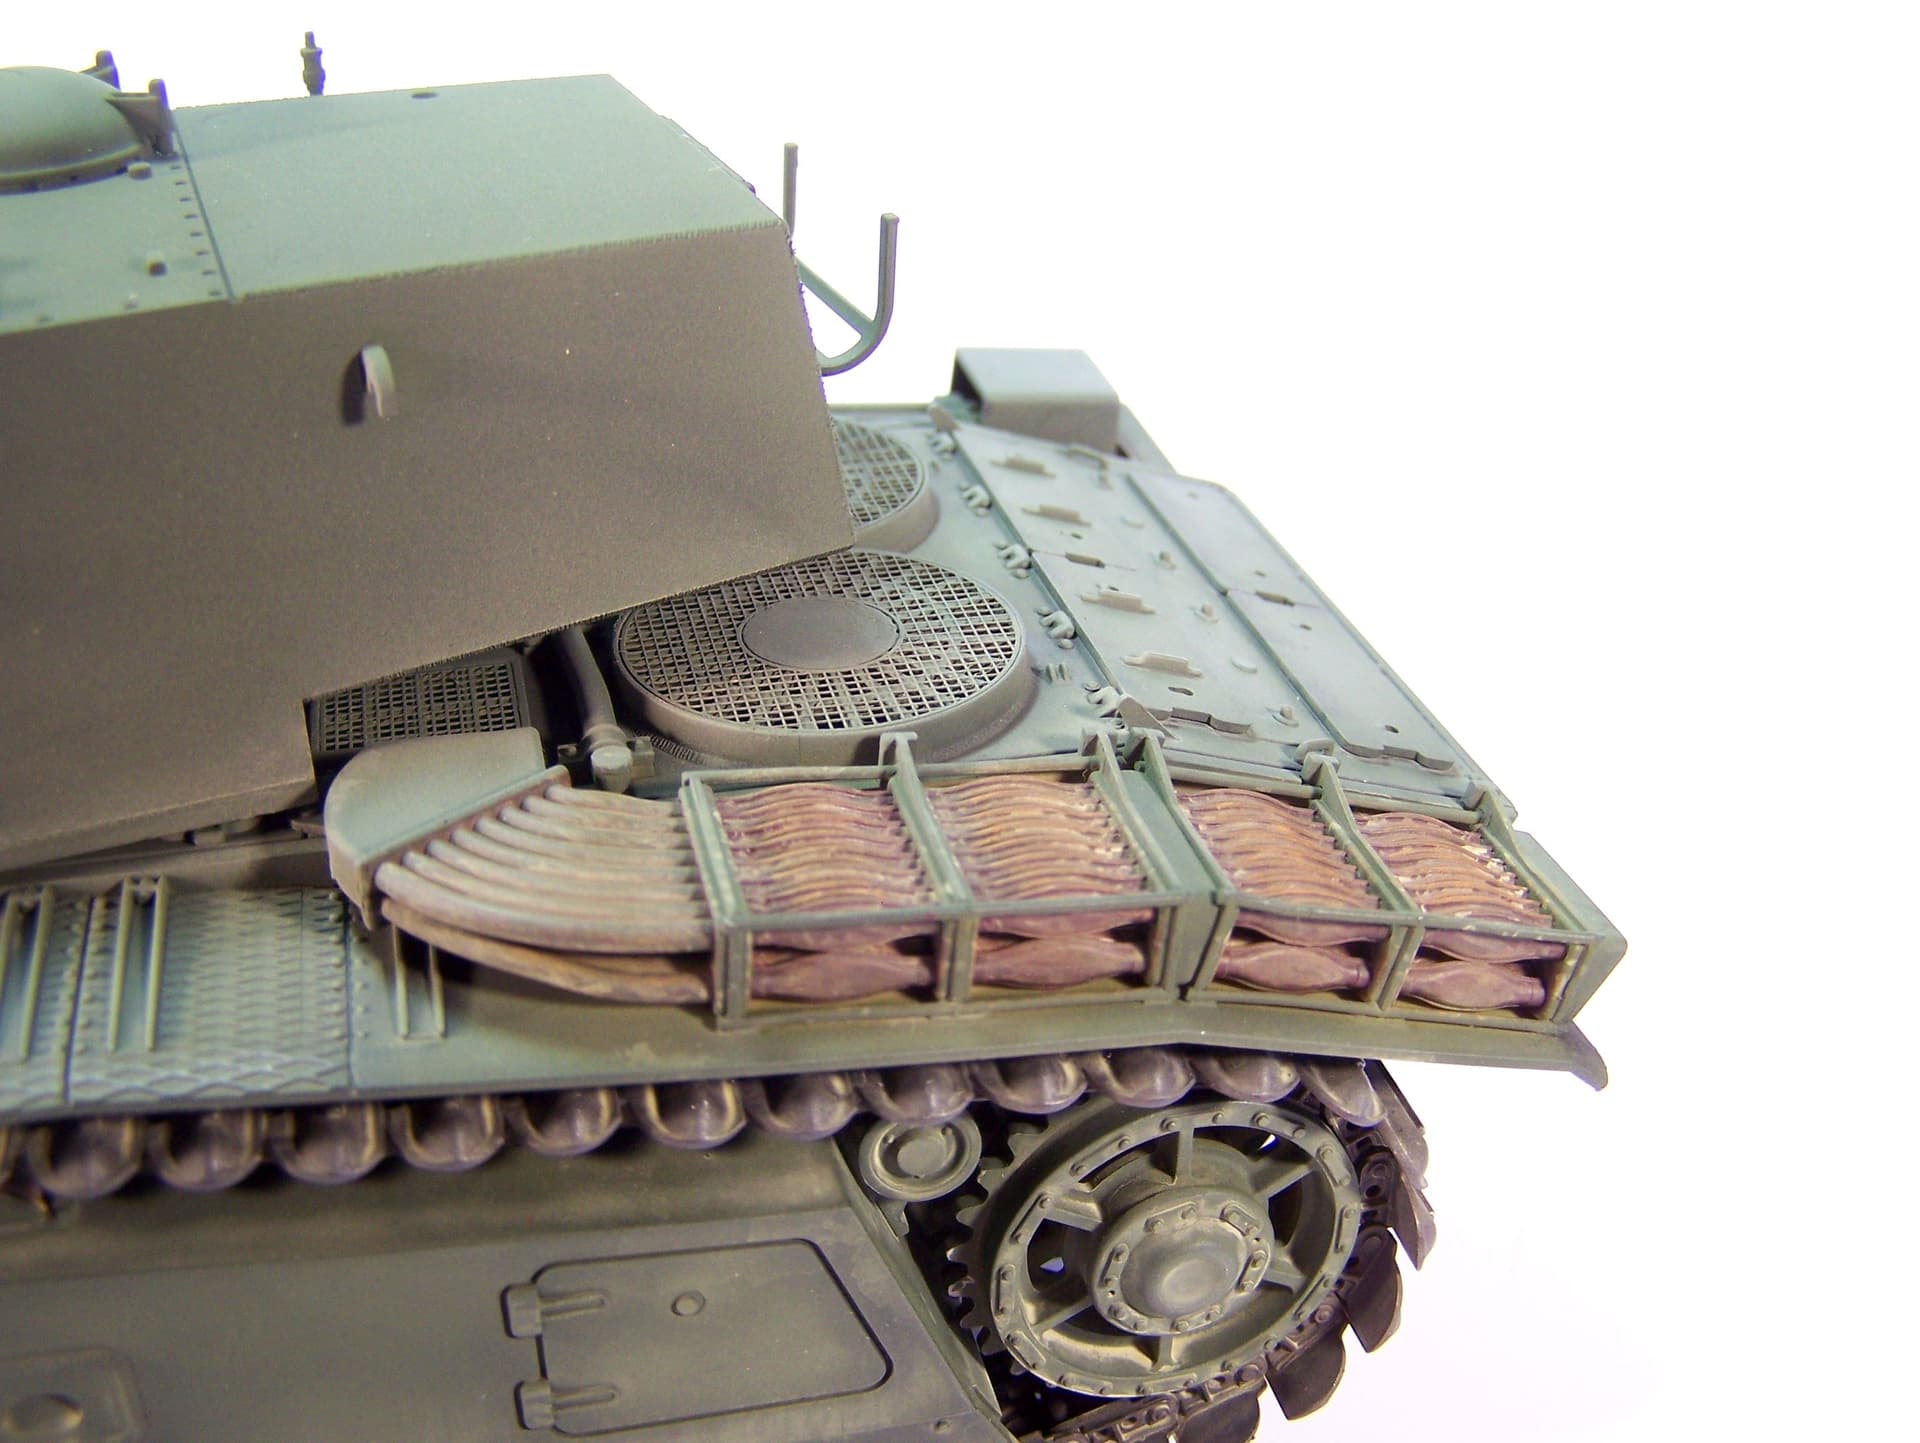
Then I tackled the engine deck as per the instructions at steps 8 and 9 which was a piece of cake. You’d better glue the gun cleaning rods first so it is easier. The PE grilles perfectly fit into their locations.
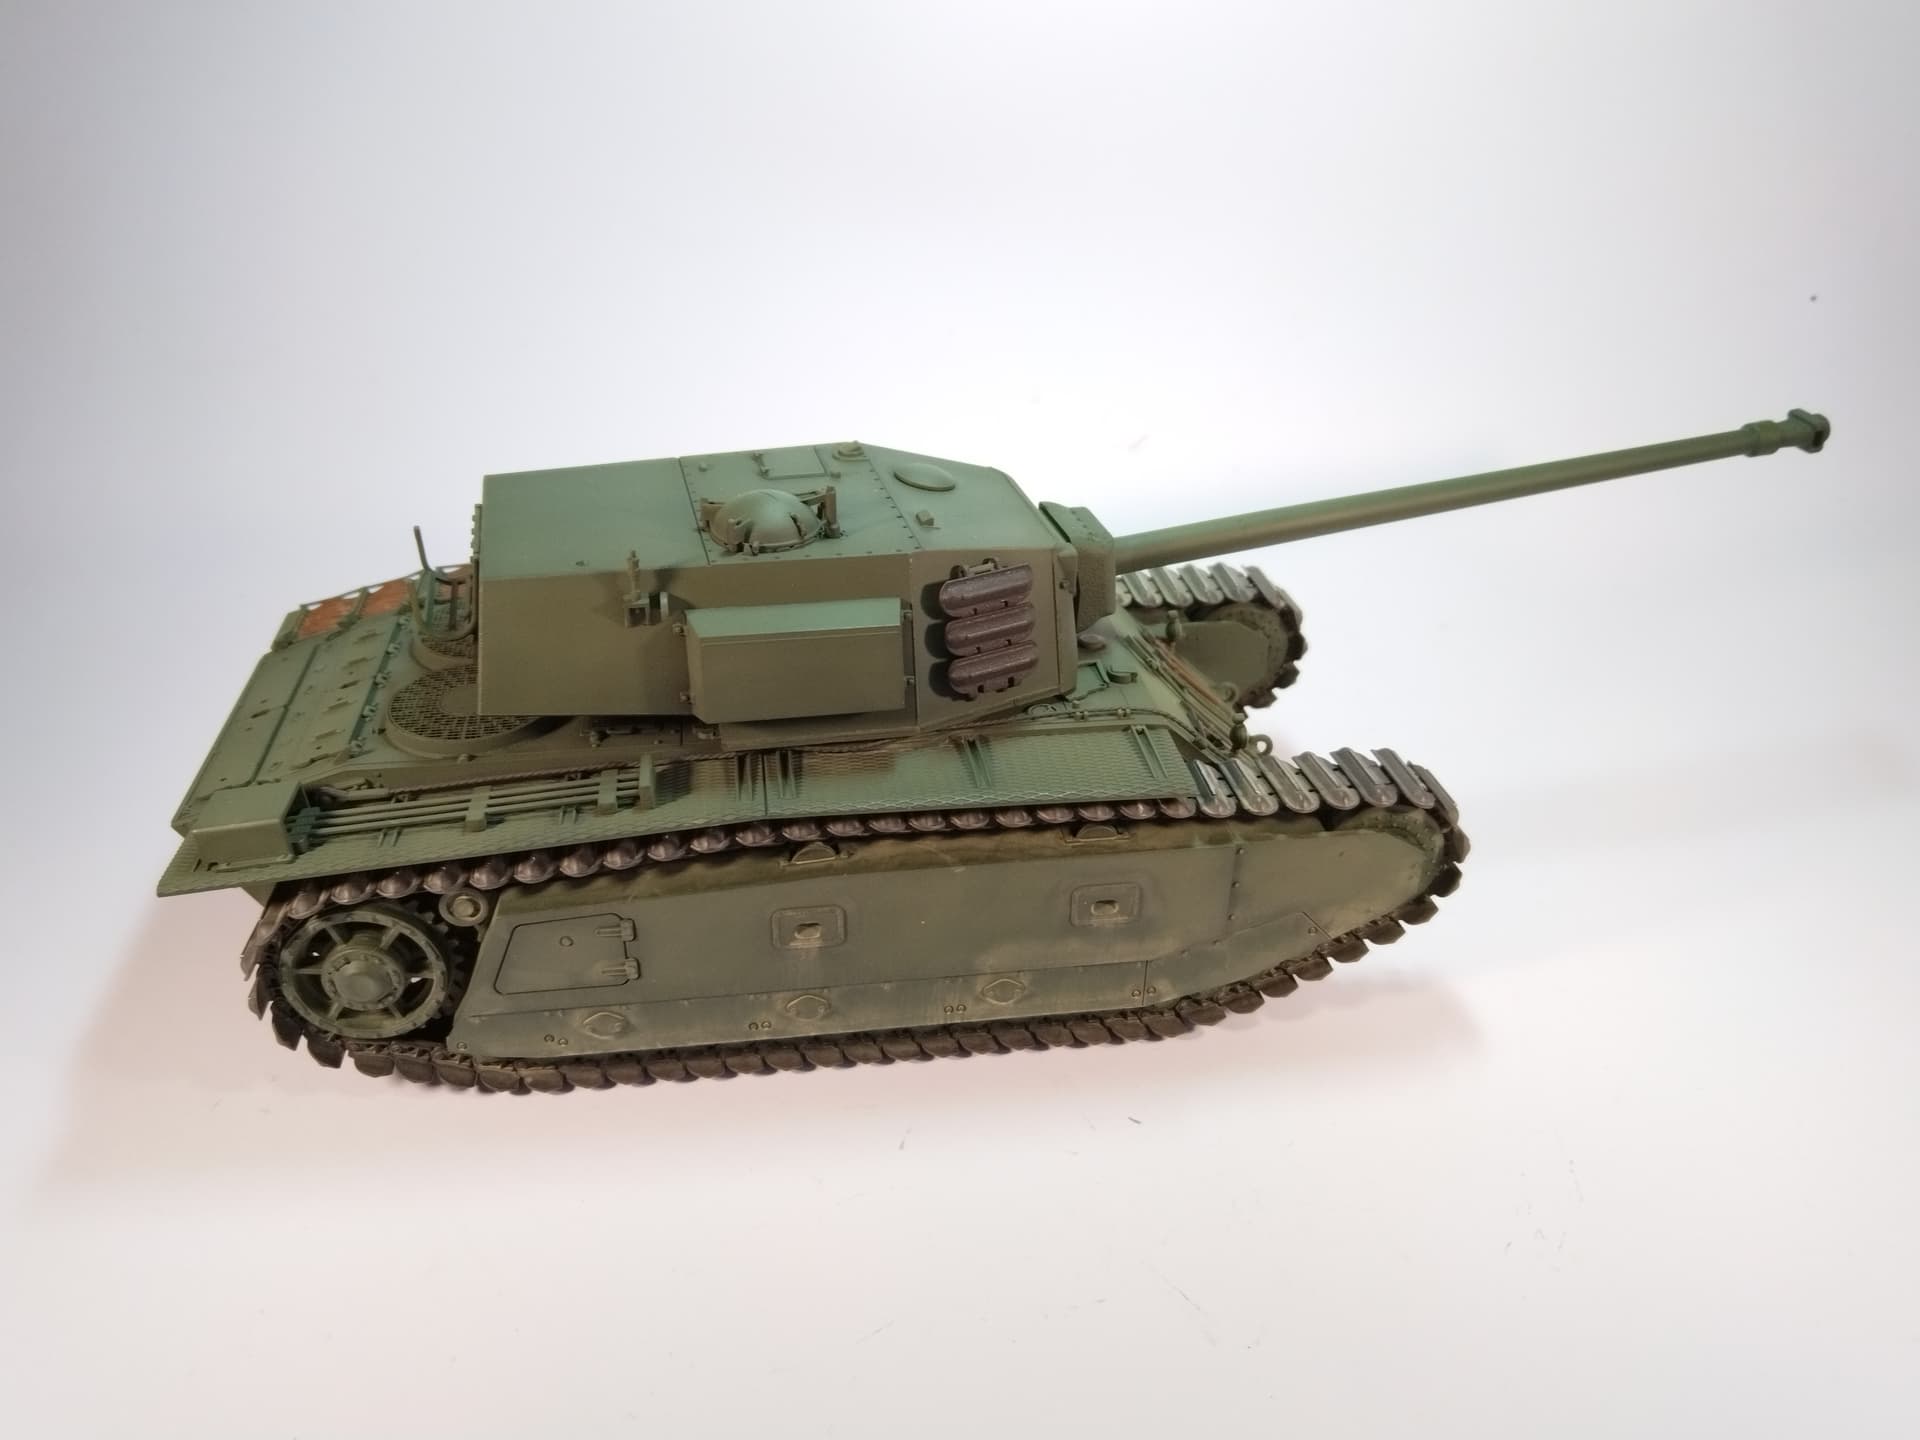
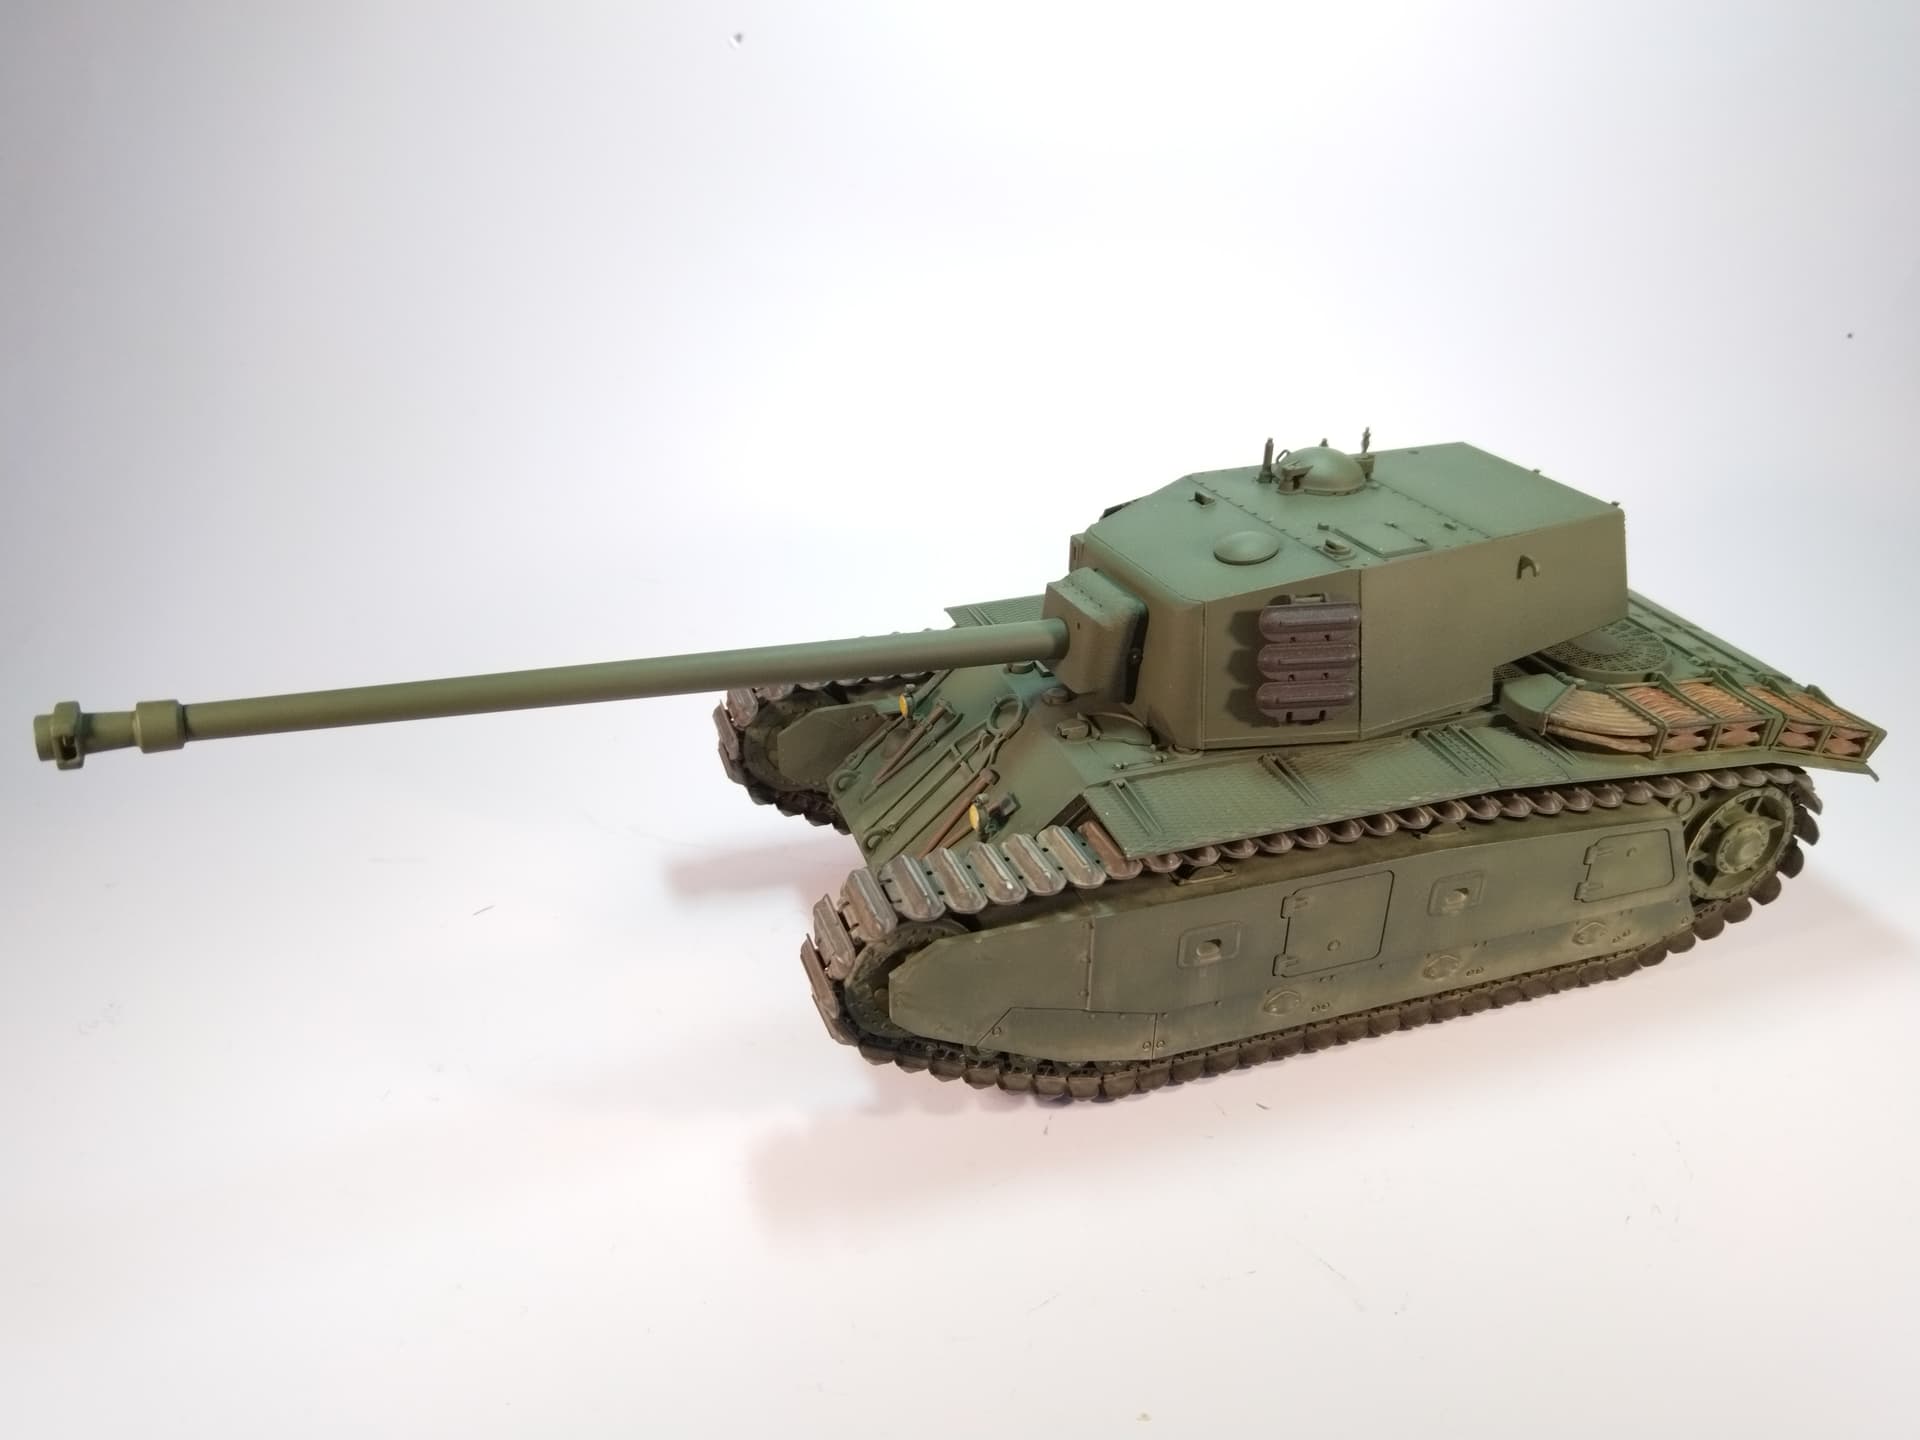
The ARL is getting dirty, a little bit. The turret sides need some streaking to break the monotony of the green. I’ll try to keep a light hand though as I don’t want to overdo it. Those tanks did not last long. Their service life didn’t exceed 2 years.
I have added more dust all over the tank. Not much though as I didn’t want to show it just after some training session in the field but just like if it has rolled on one of the dusty lanes in Mourmelon army base. The chalky dust is depicted with diluted XF-57 buff and XF-60 dark yellow to give more color diversity.
I call this one done. This was a fun and quick build. To be honest I didn’t anticipated such a quick build.


 Good luck in work!