Probably and then sent the studio a invoice for lost gear due to filming. ![]()
What that means for me is sanding the inside of the pioneer rack as Italeri has raised lines for tool placement.
Probably and then sent the studio a invoice for lost gear due to filming. ![]()
What that means for me is sanding the inside of the pioneer rack as Italeri has raised lines for tool placement.
Thank you all for kind welcoming.
Every workbench pictures motivate me.
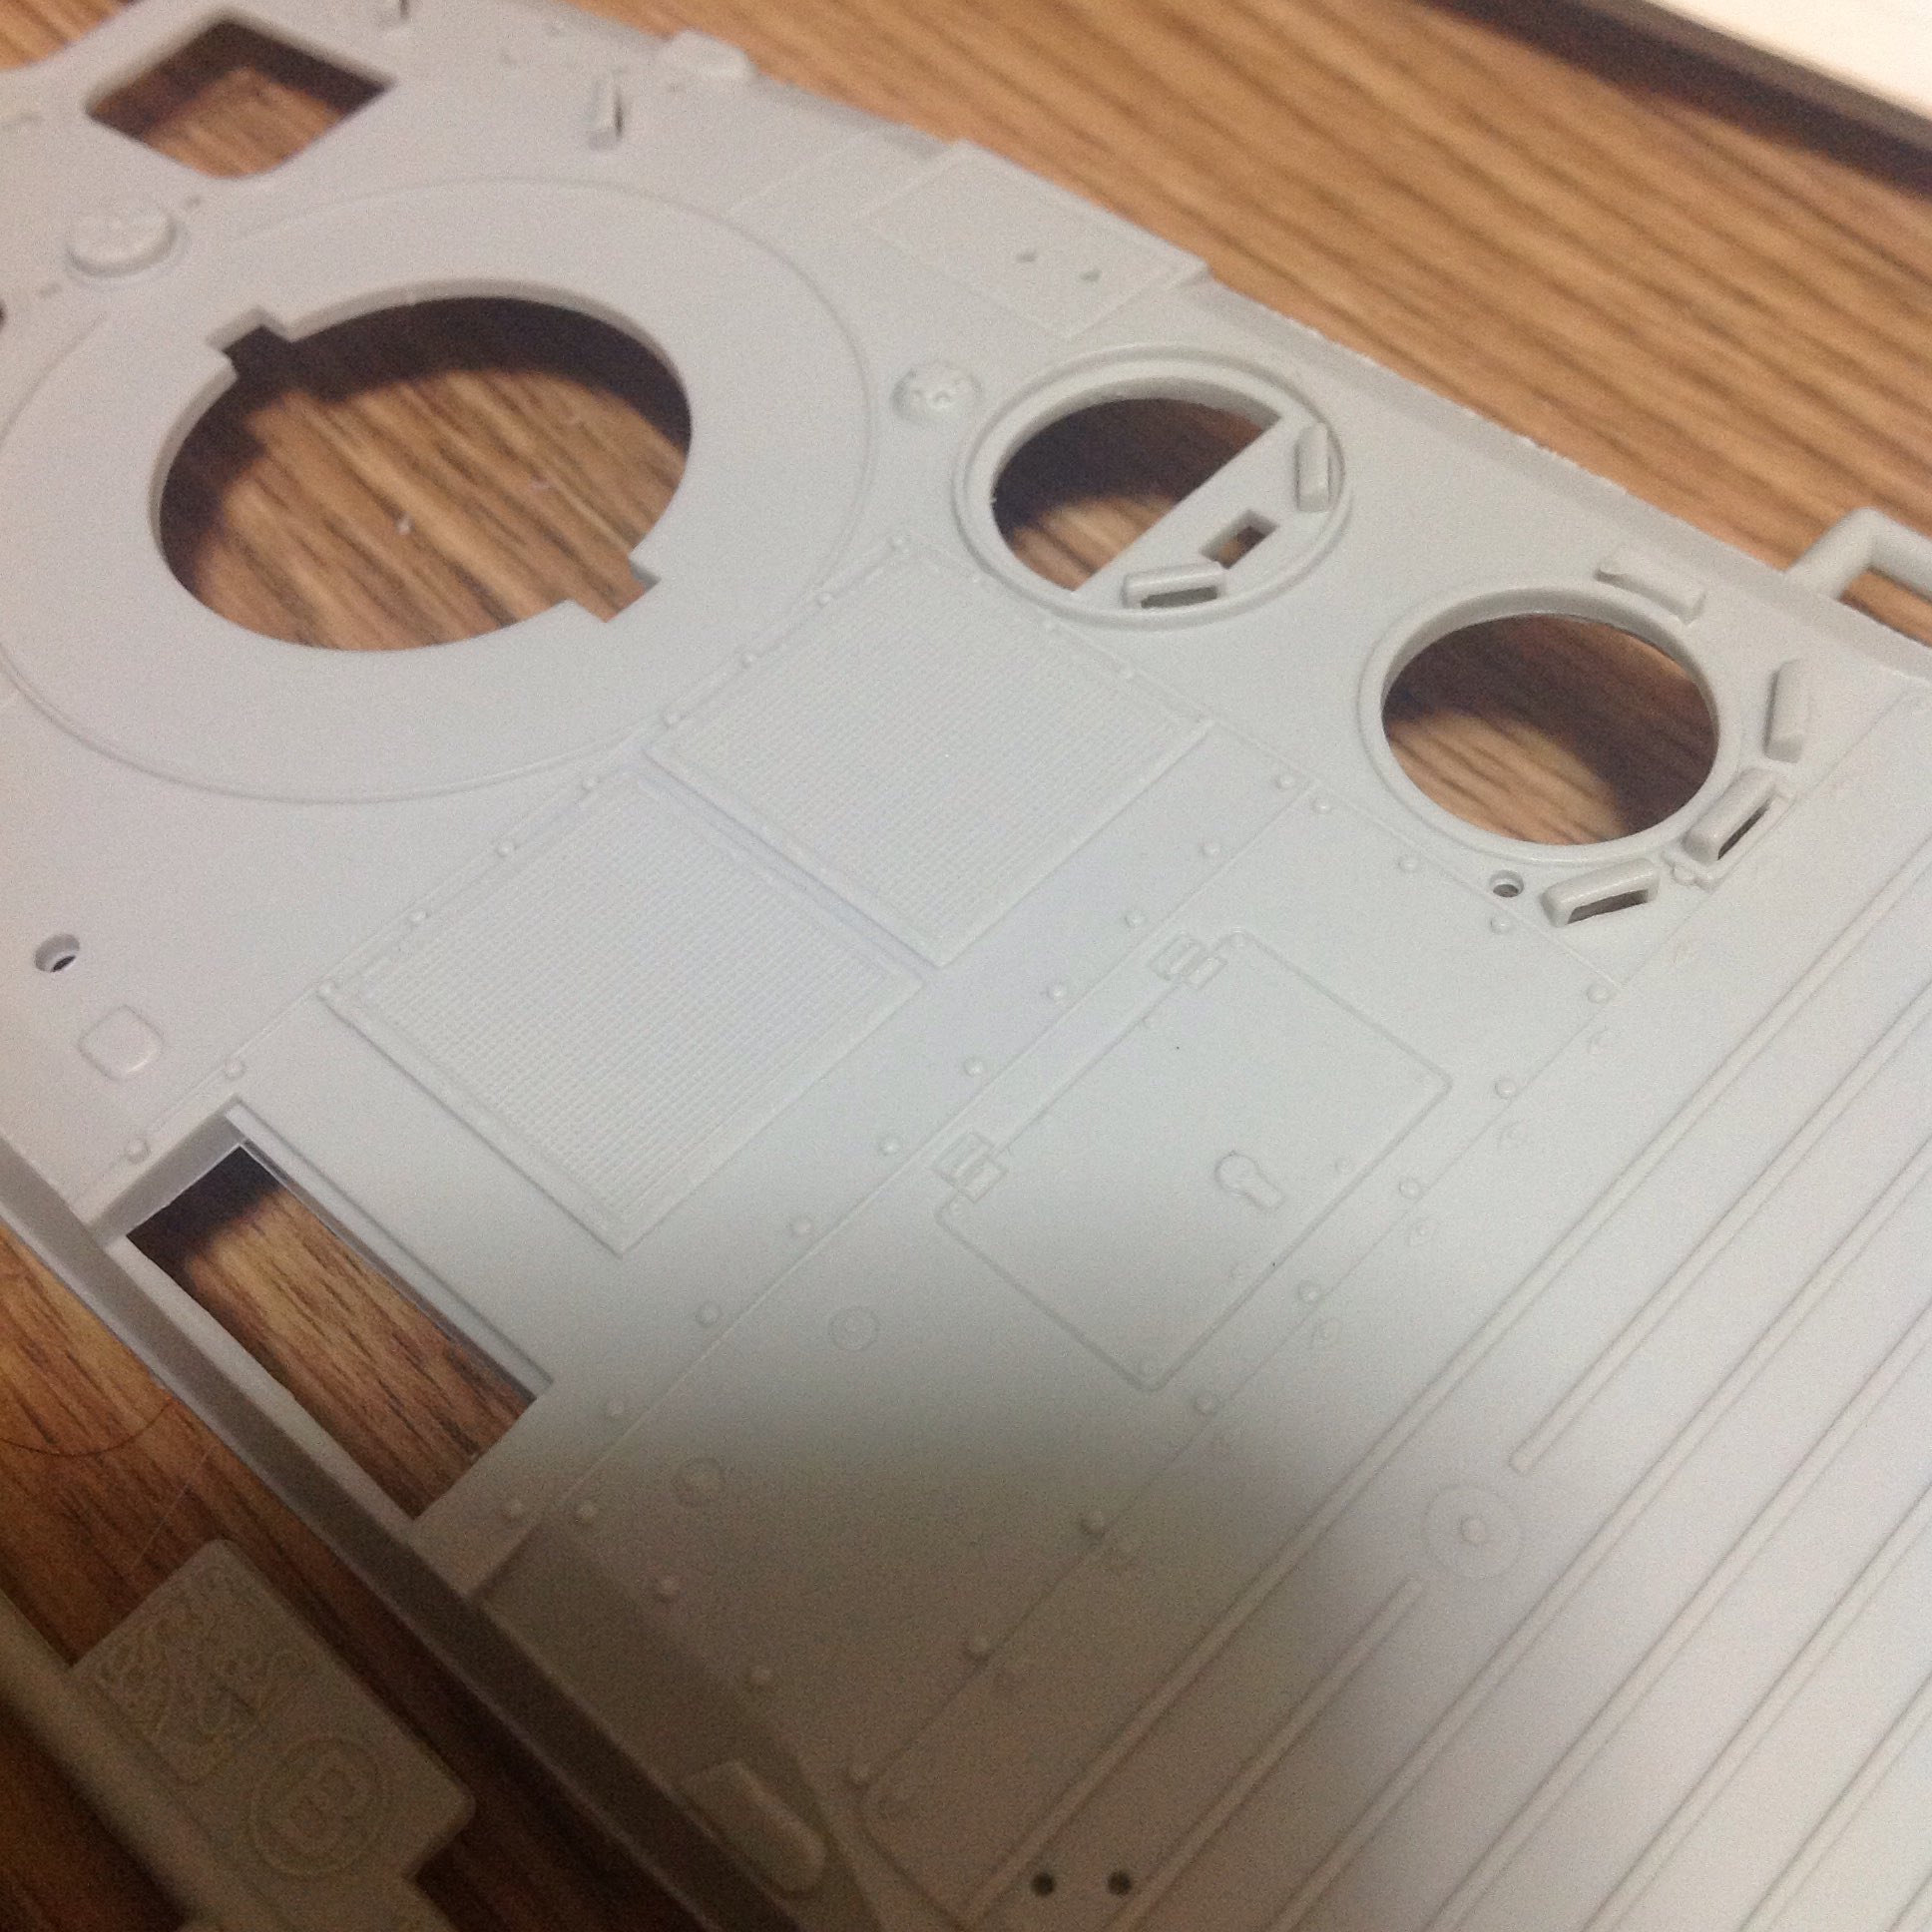
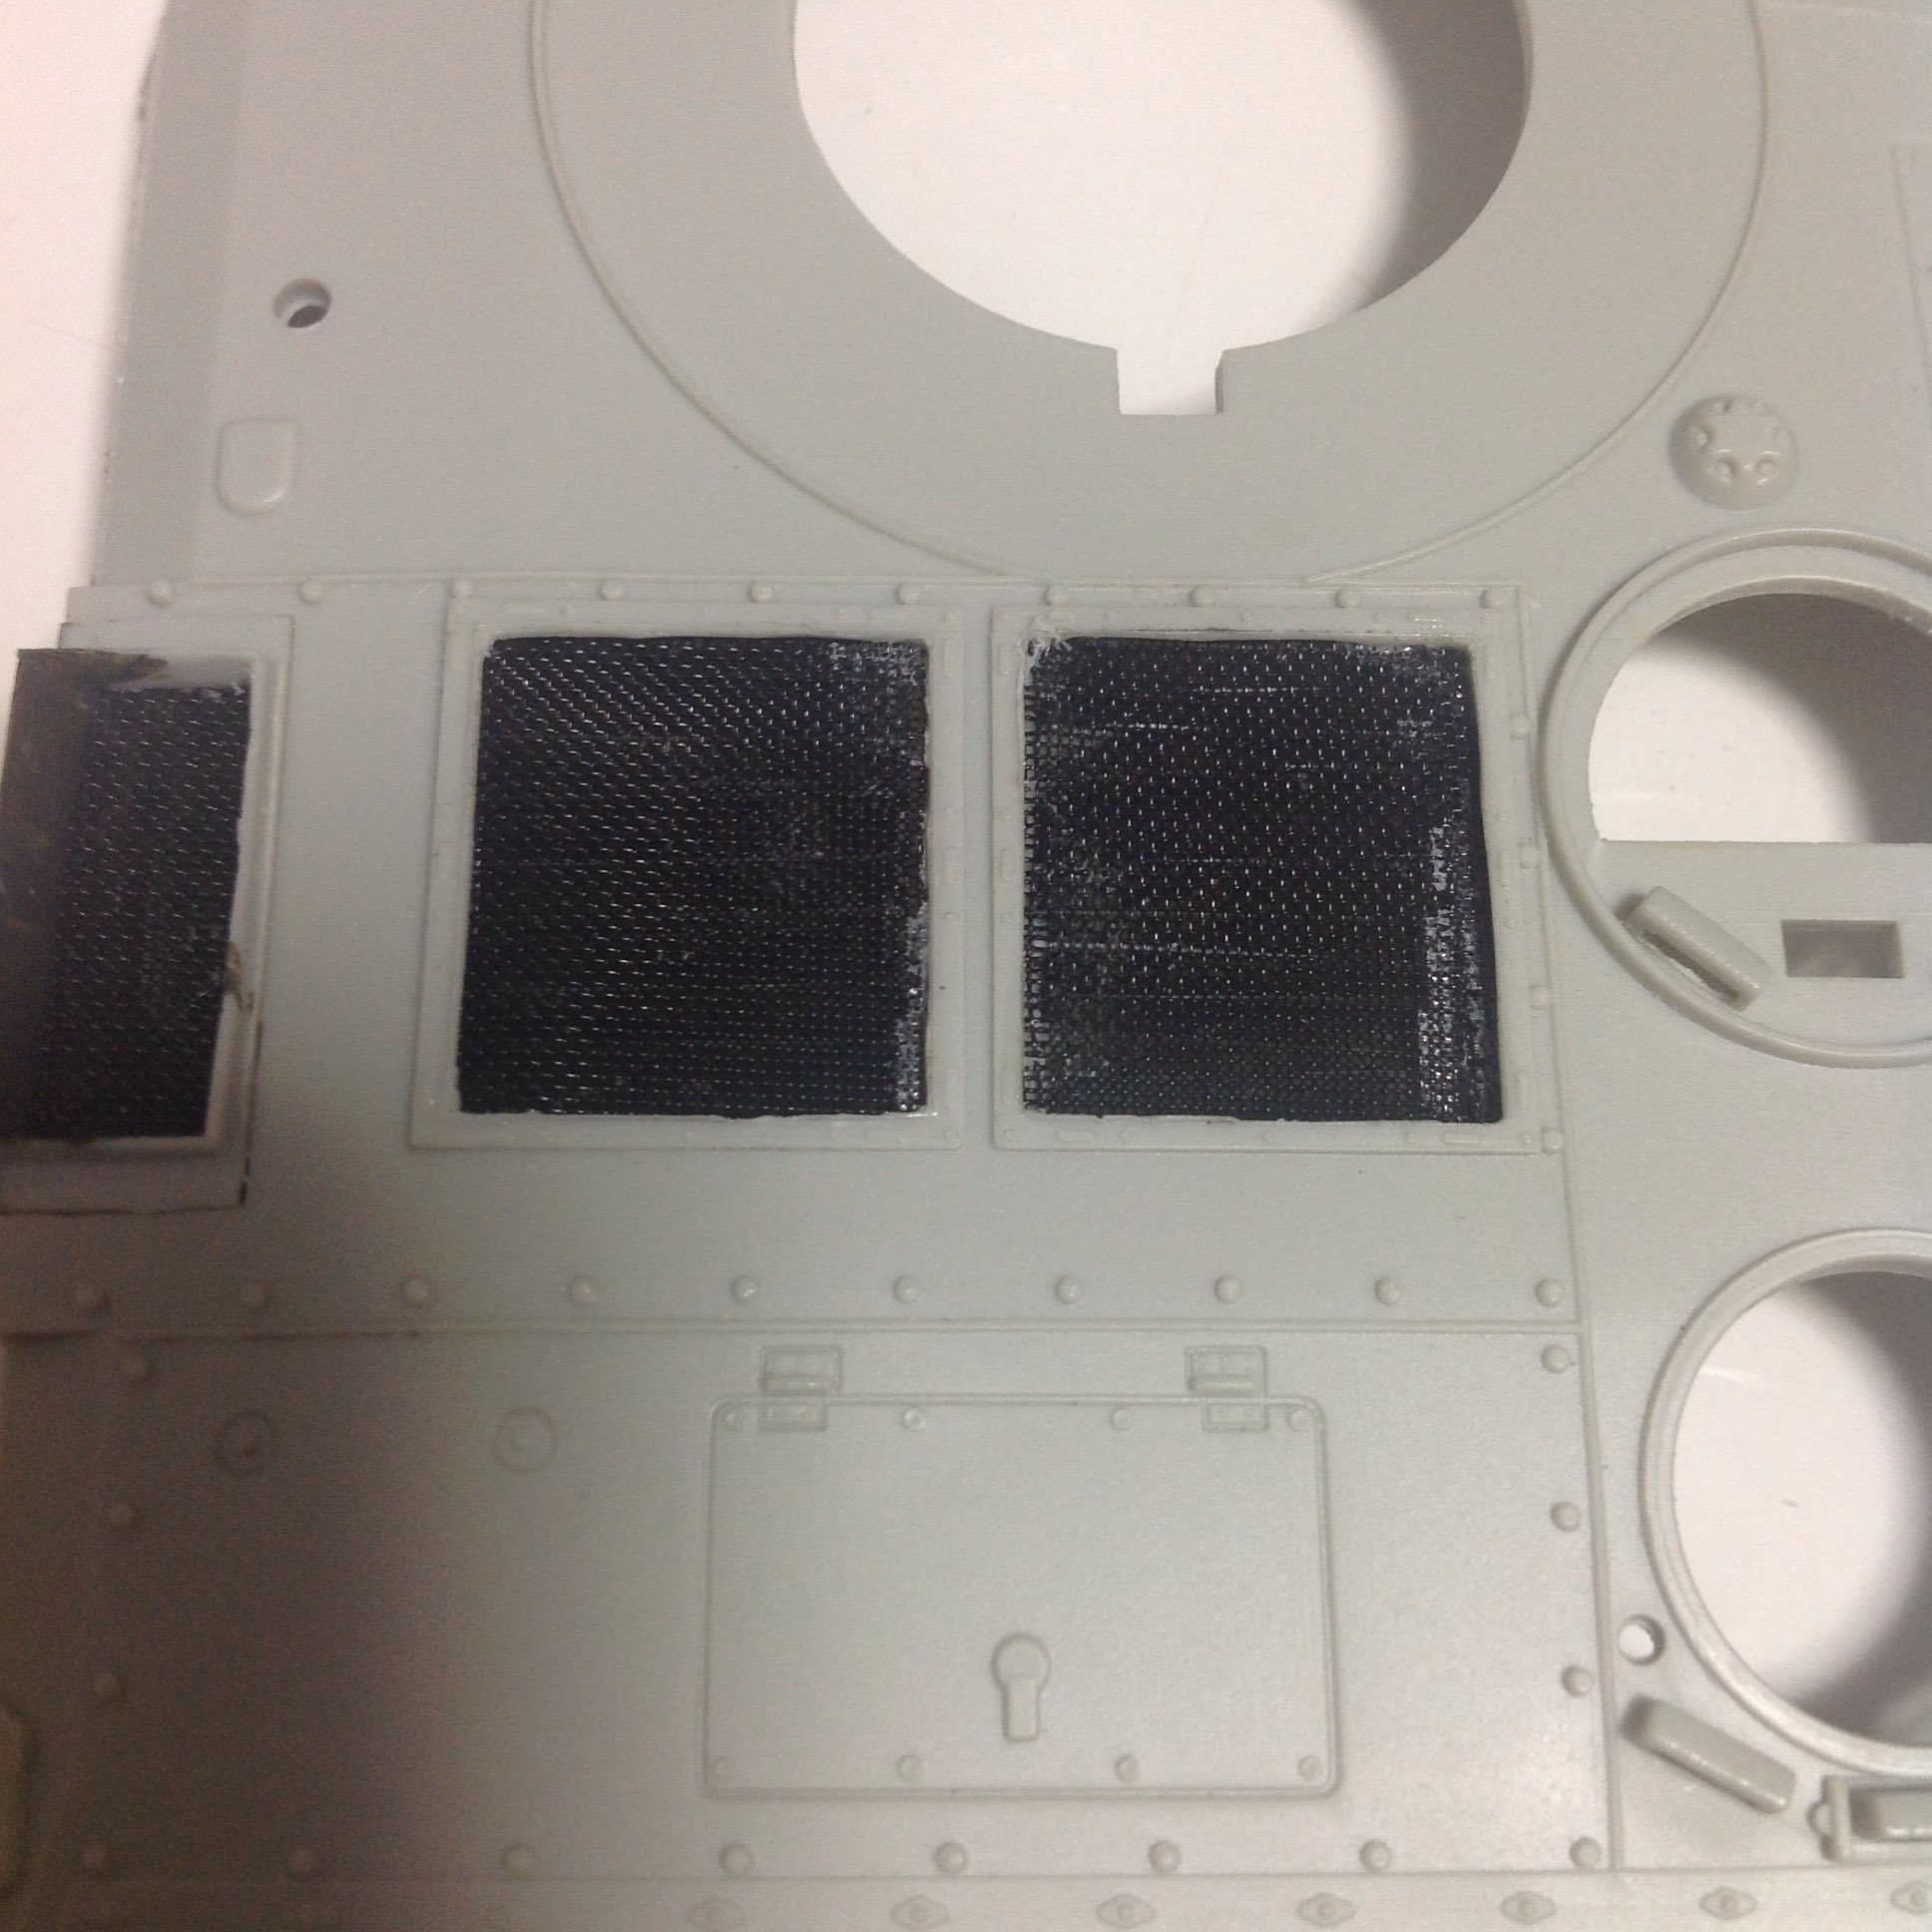
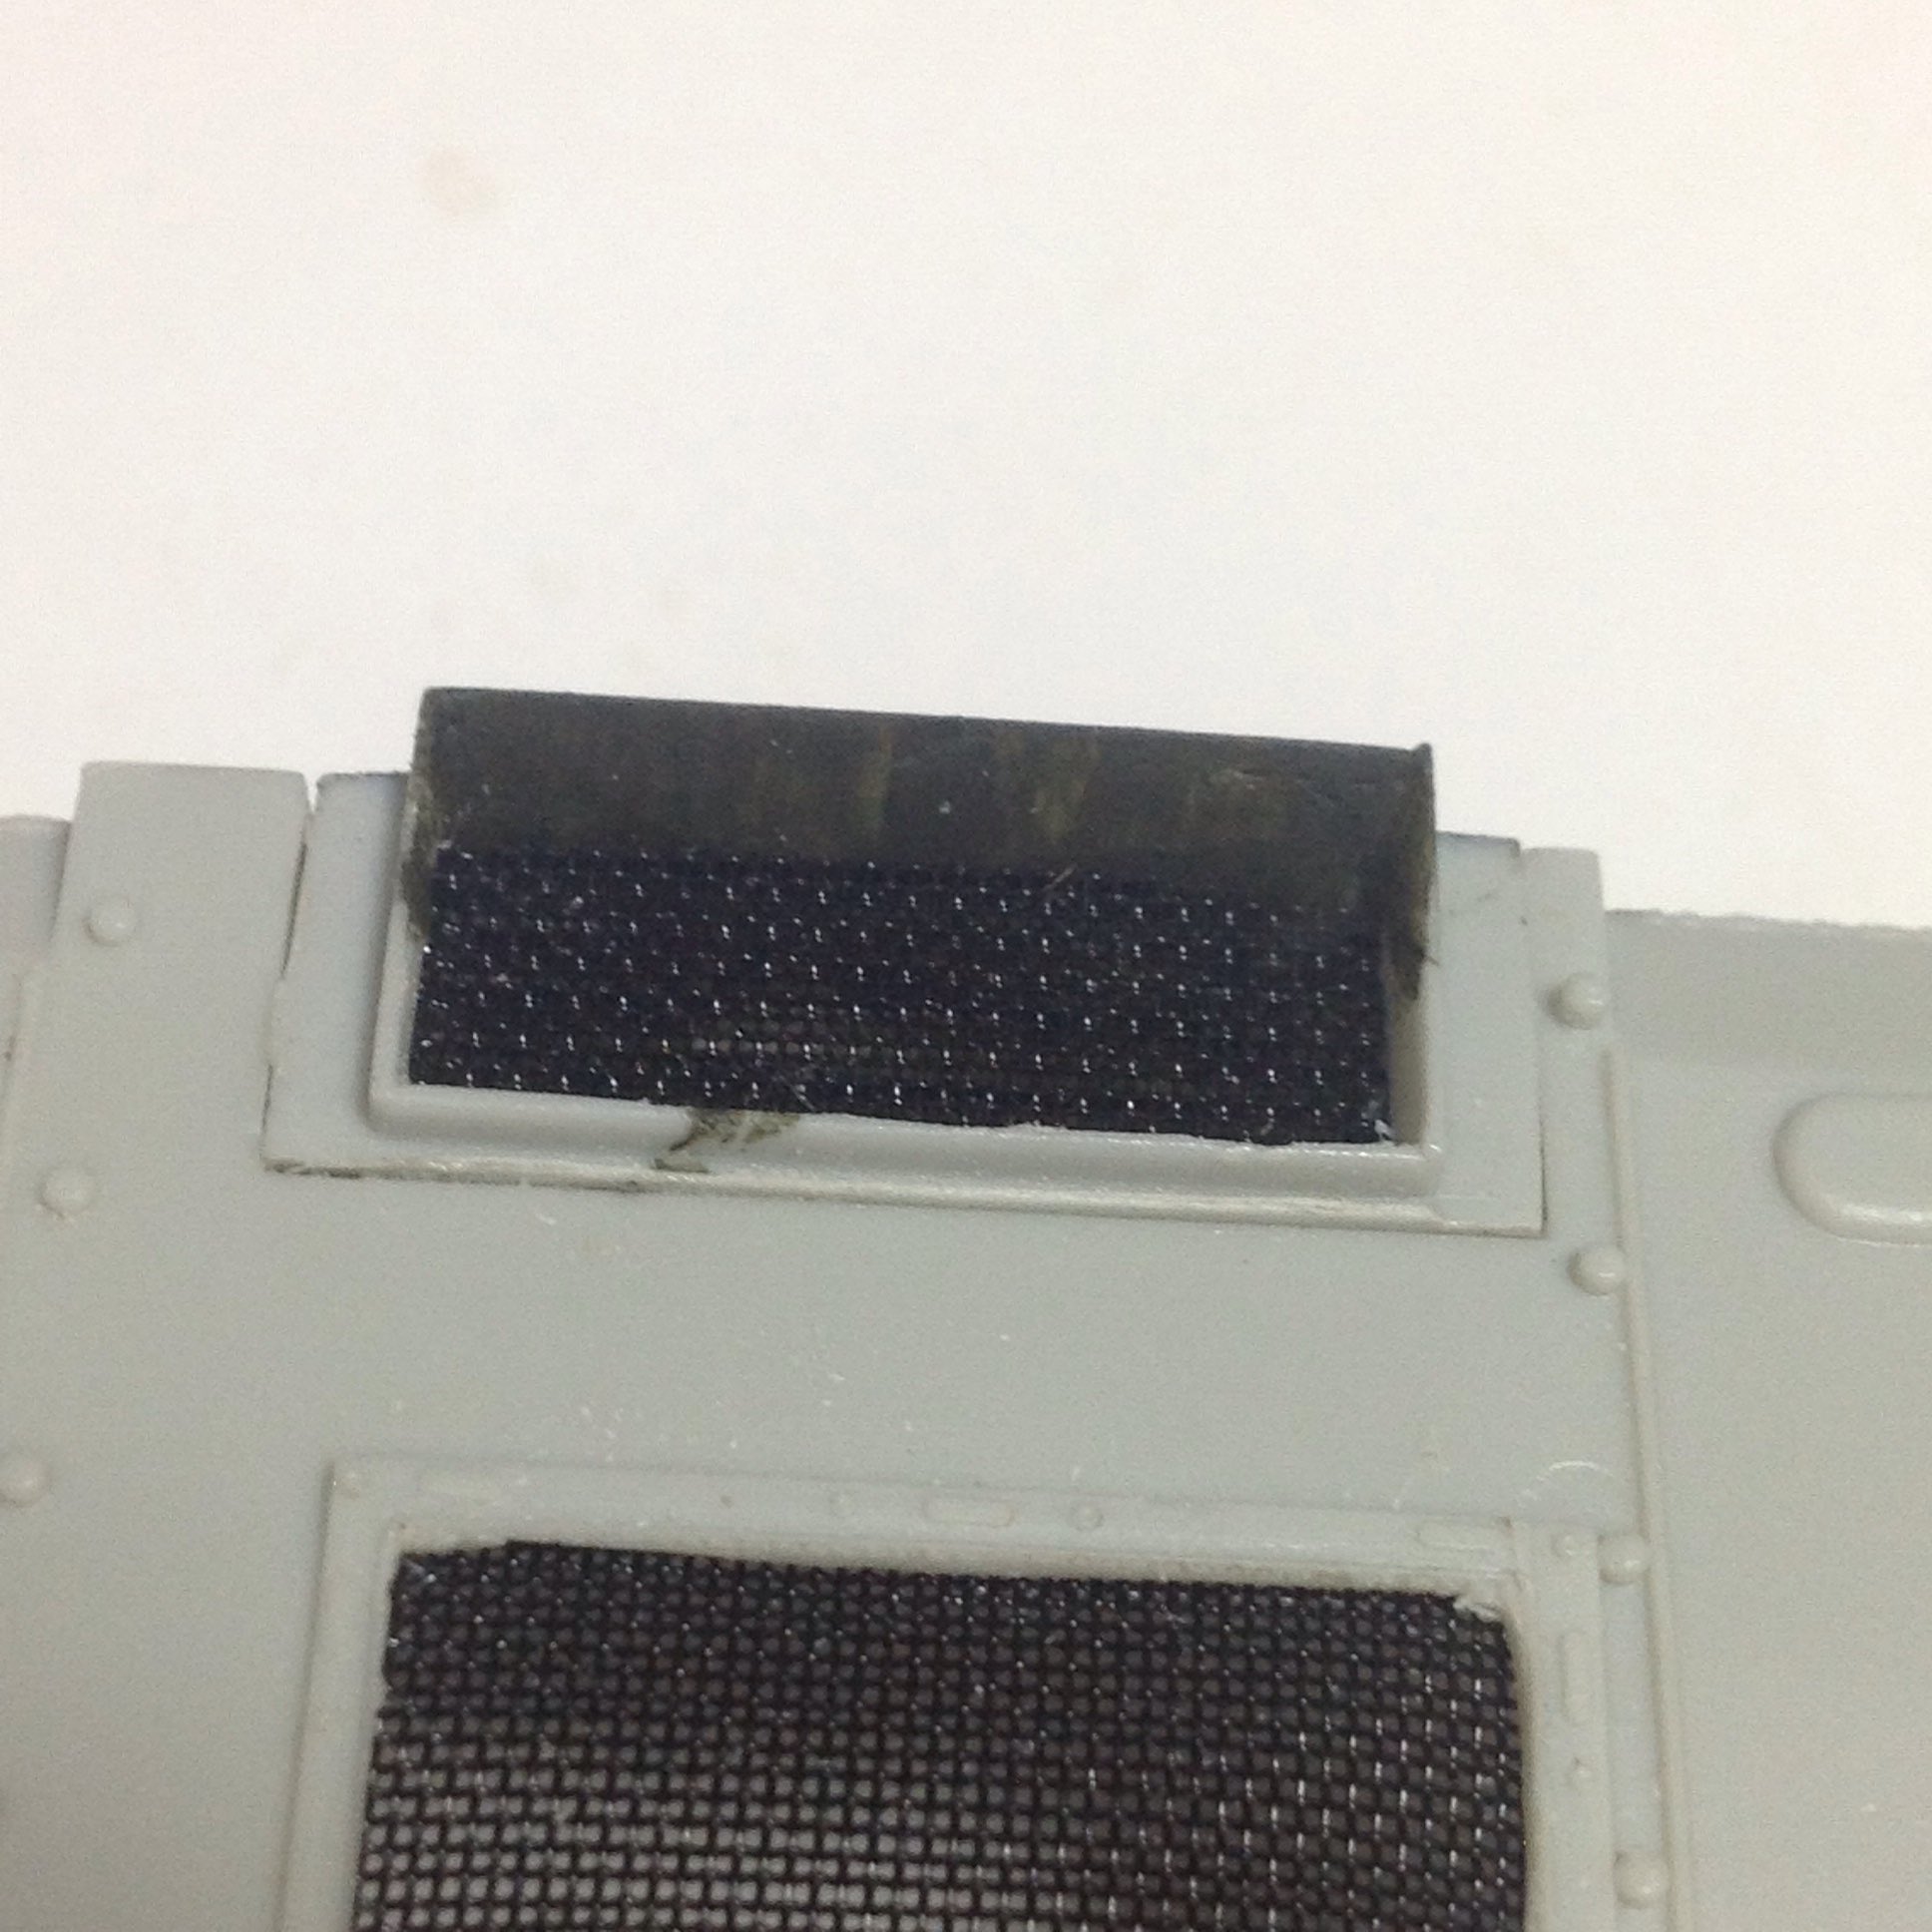
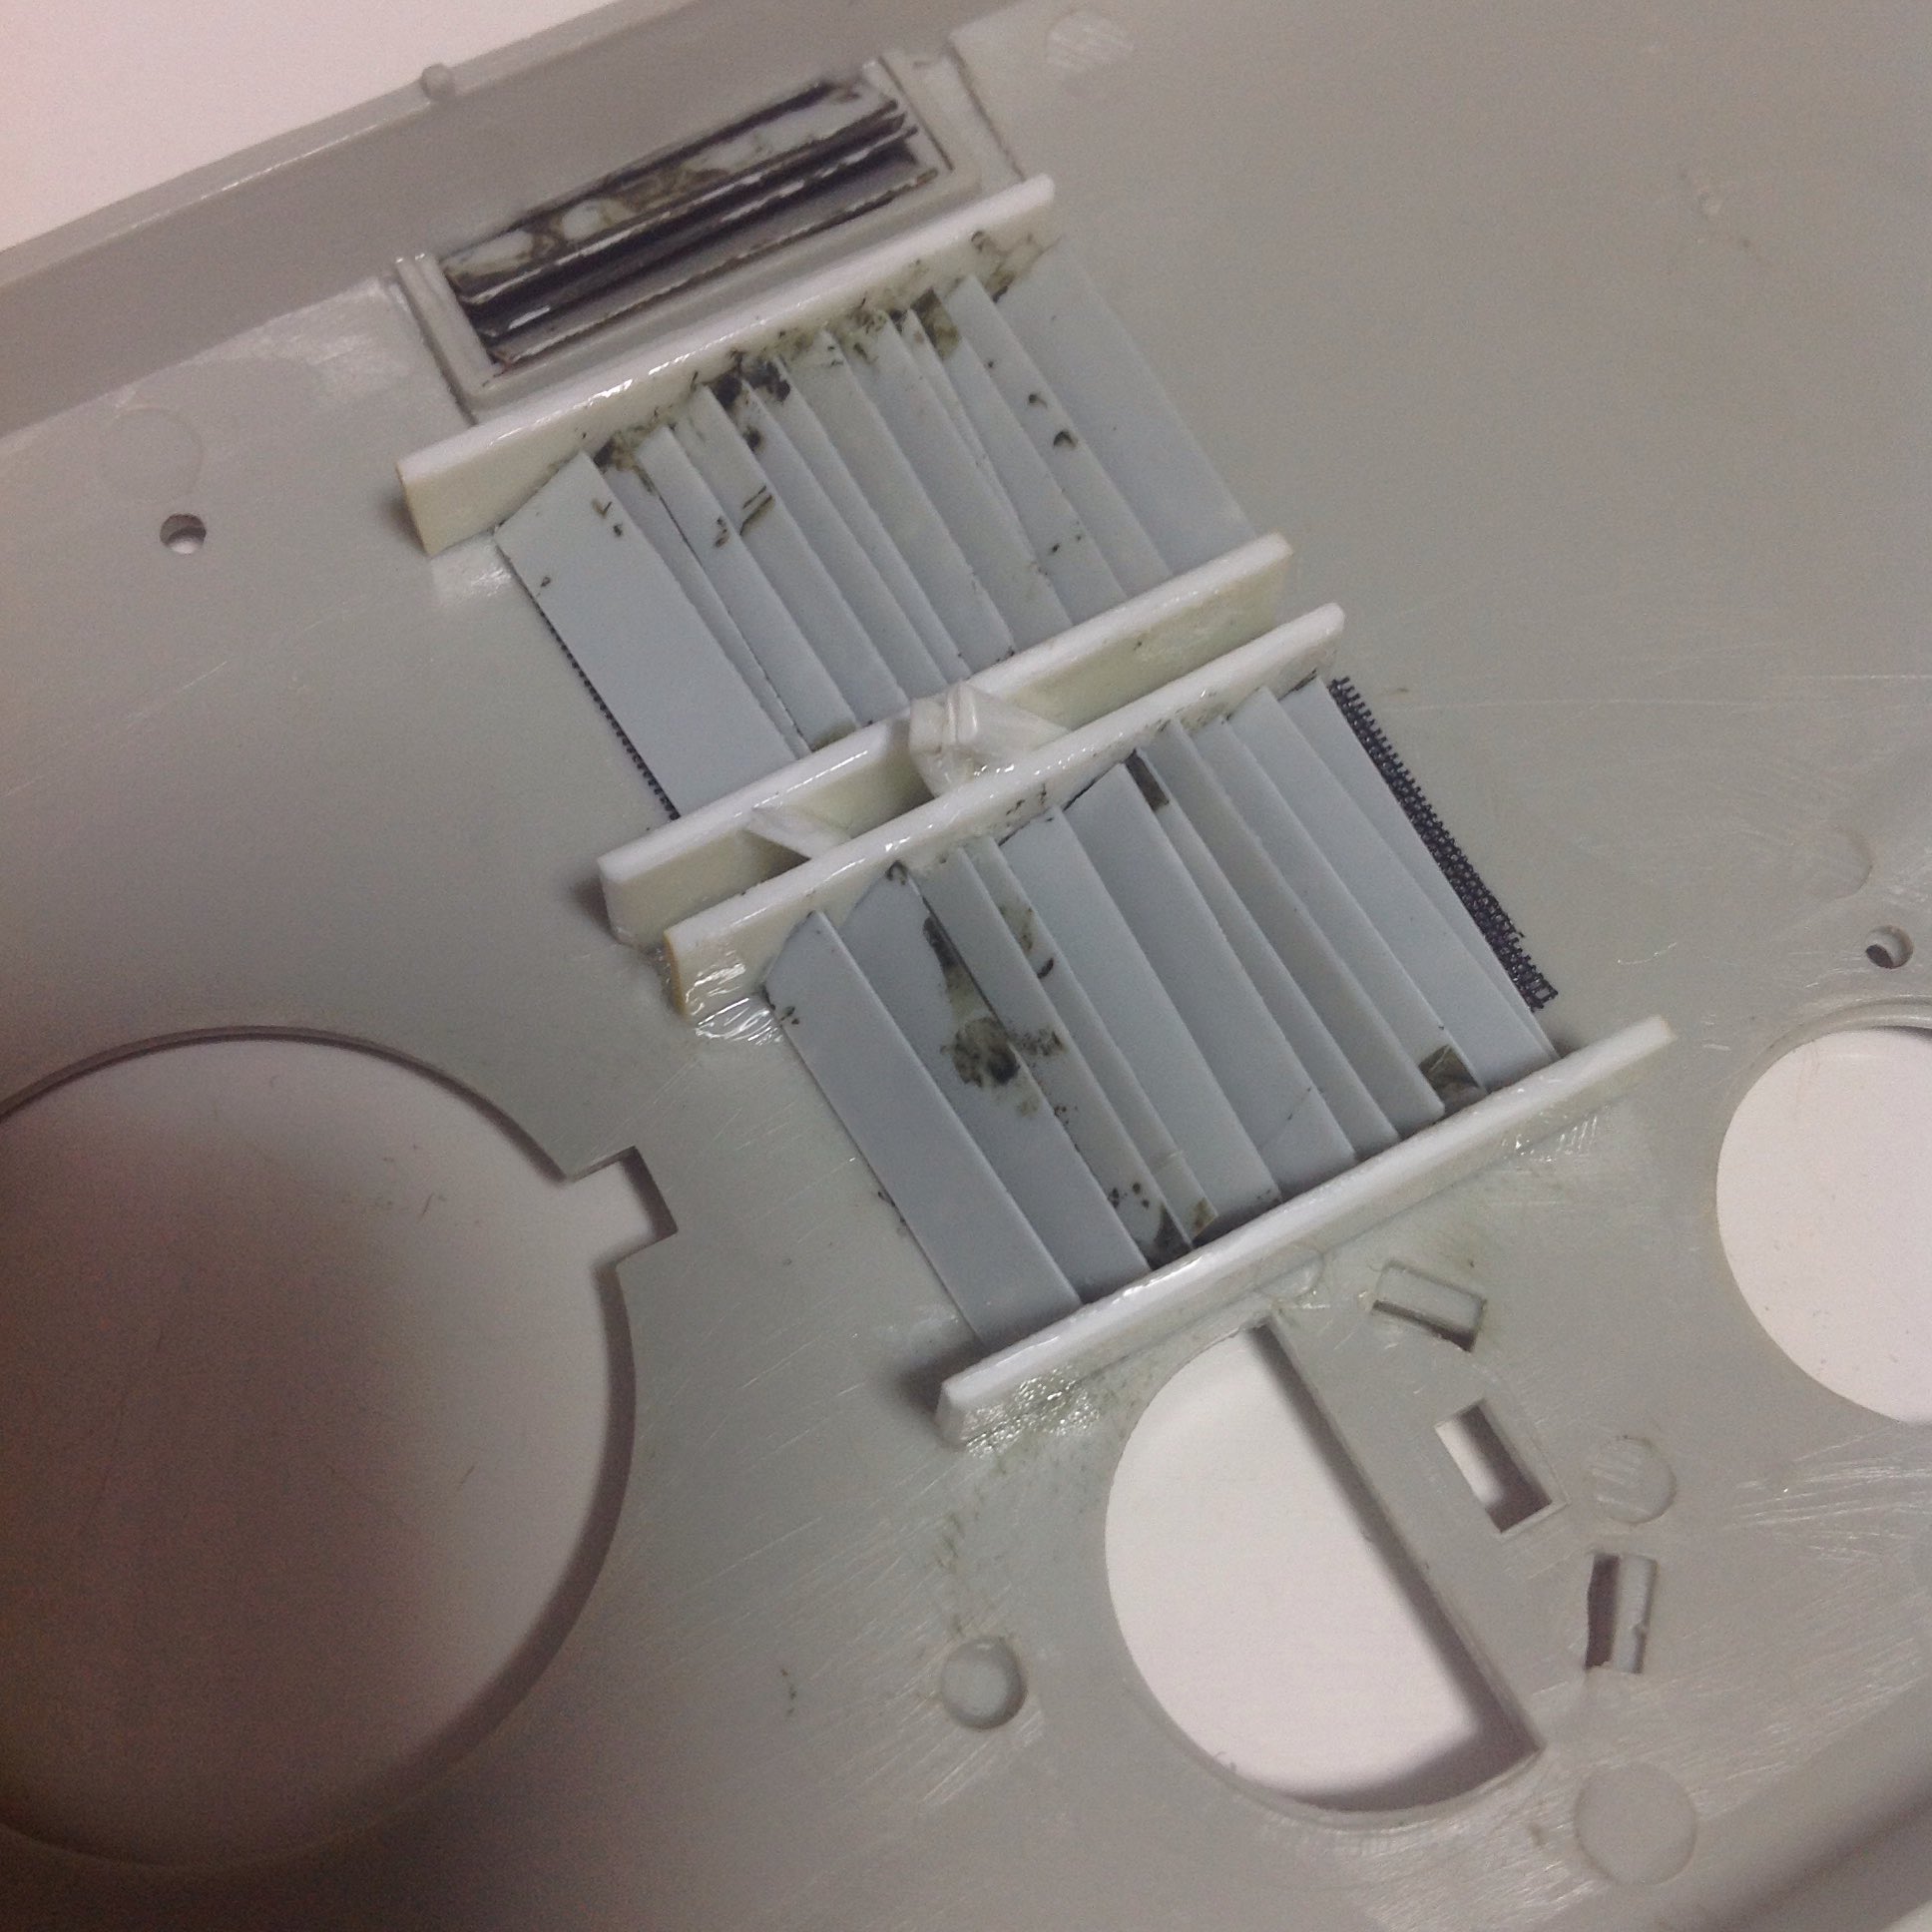
Now, I’ve started to improve the engine grill of BMP-1 IFV. I removed the molded kit-mesh and replaced it with junk nylon object. And the plate of around exhaust shaved as possible as
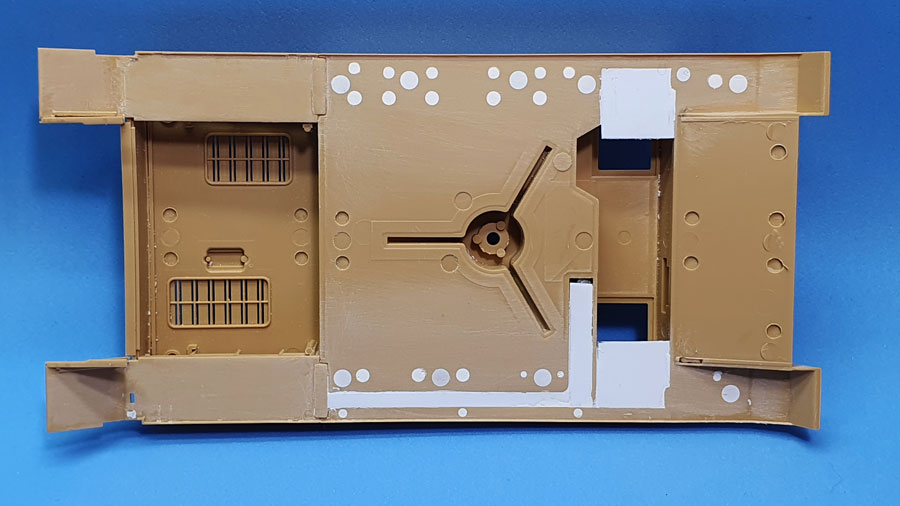
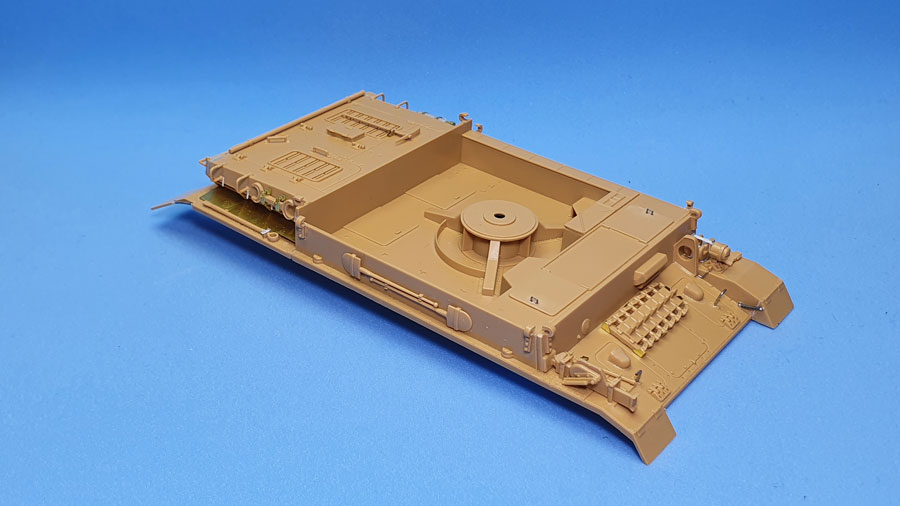
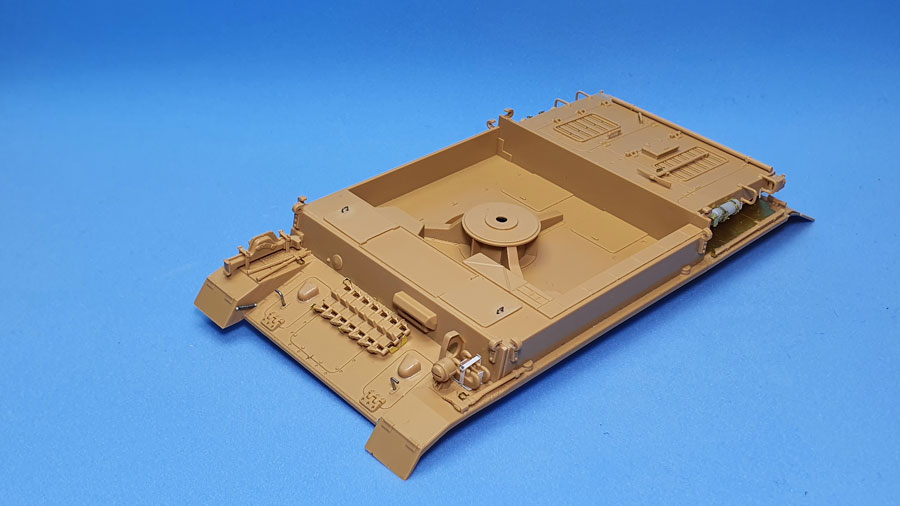
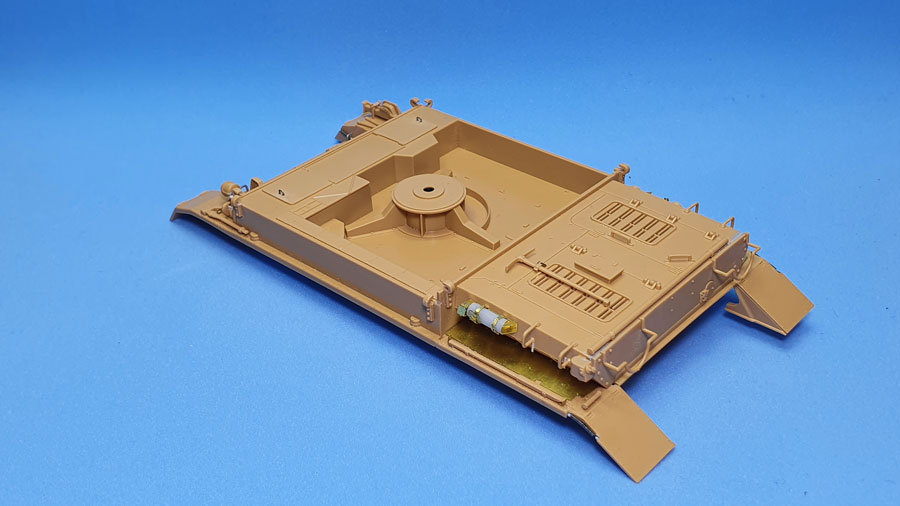
The upper hull bottom was plagued with ejector pins marks, I´m not really sure if this will be visible once the tracks are installed but, I take no risks.
I also try to make a more scale appearance to the walls of the armored ventilations for the transmission unit.
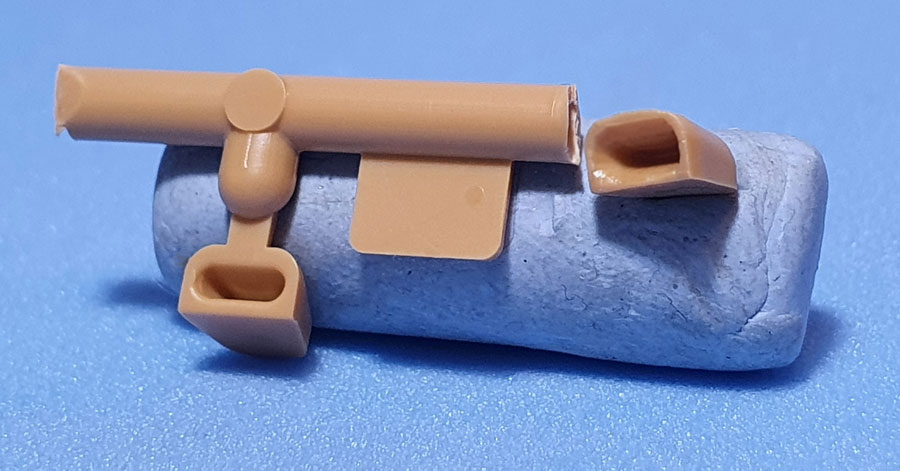
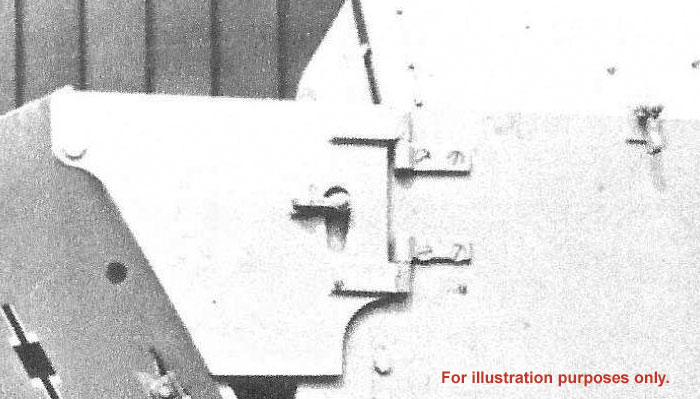
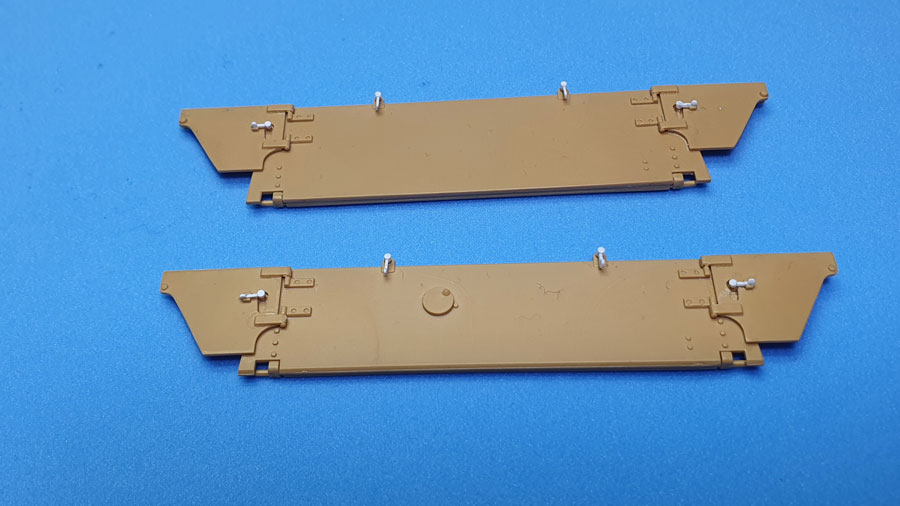
Tamiya try to simplify his models as much as they can, but certain simplifications are not accurate, and as an example the retaining lugs for the frontal and rear plates that swings, depending on weapon configuration, are molded for the travel position only and integral to the armor plate.
As I want to depict a Möbelwagen in antiaircraft configuration those supports must be repositioned. So, I scratch build some of these, the kit´s molded were remove and the new ones repositioned accordingly.
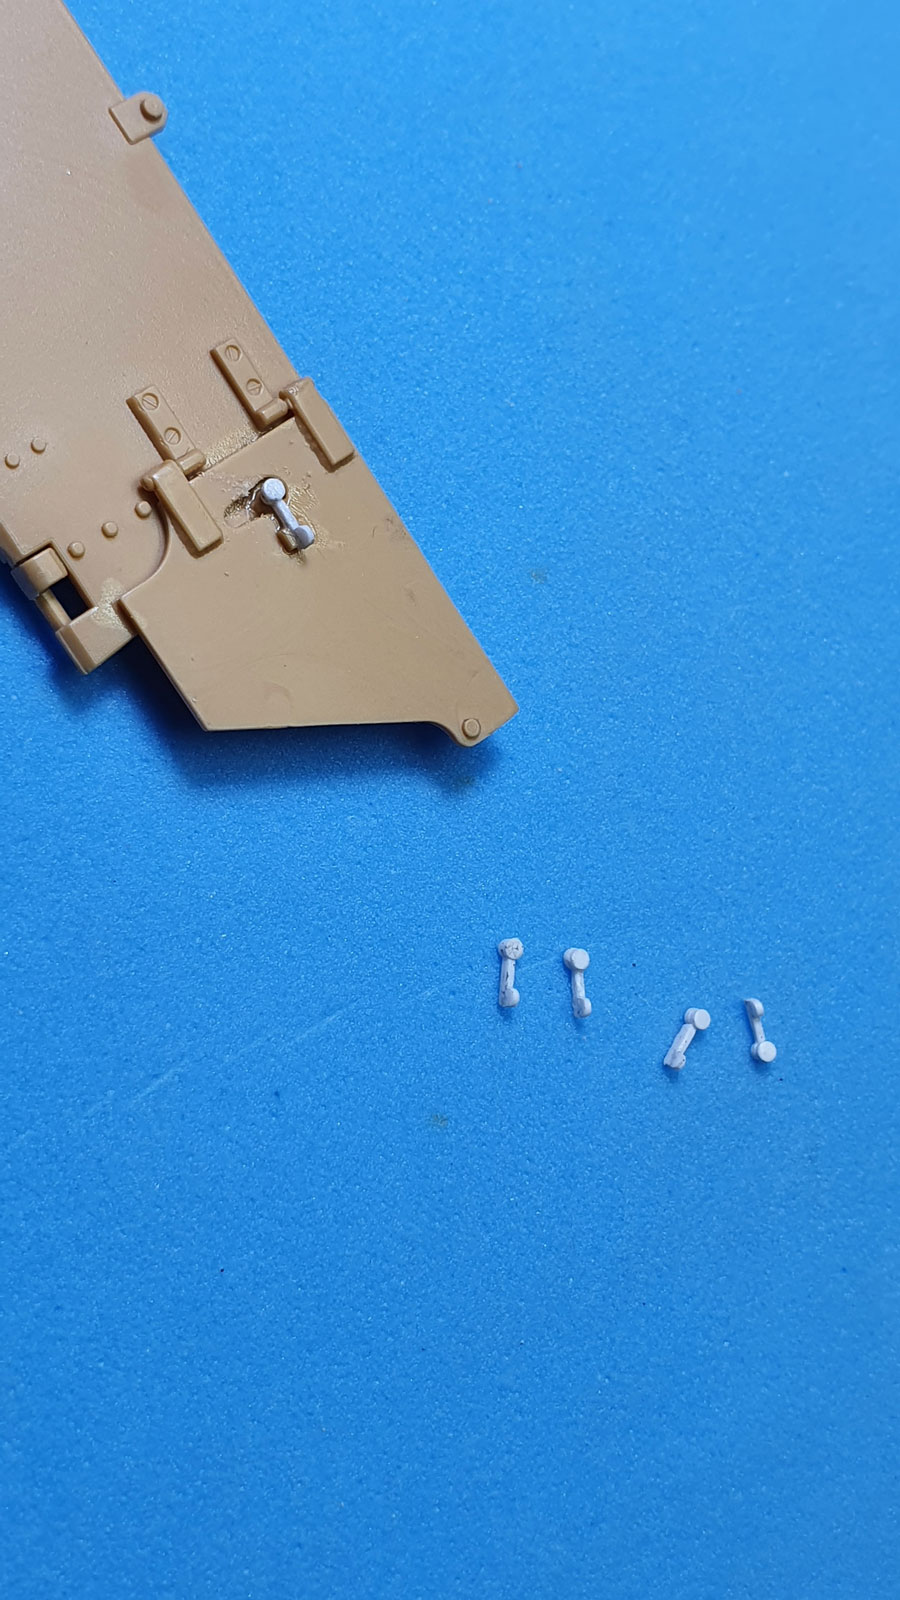
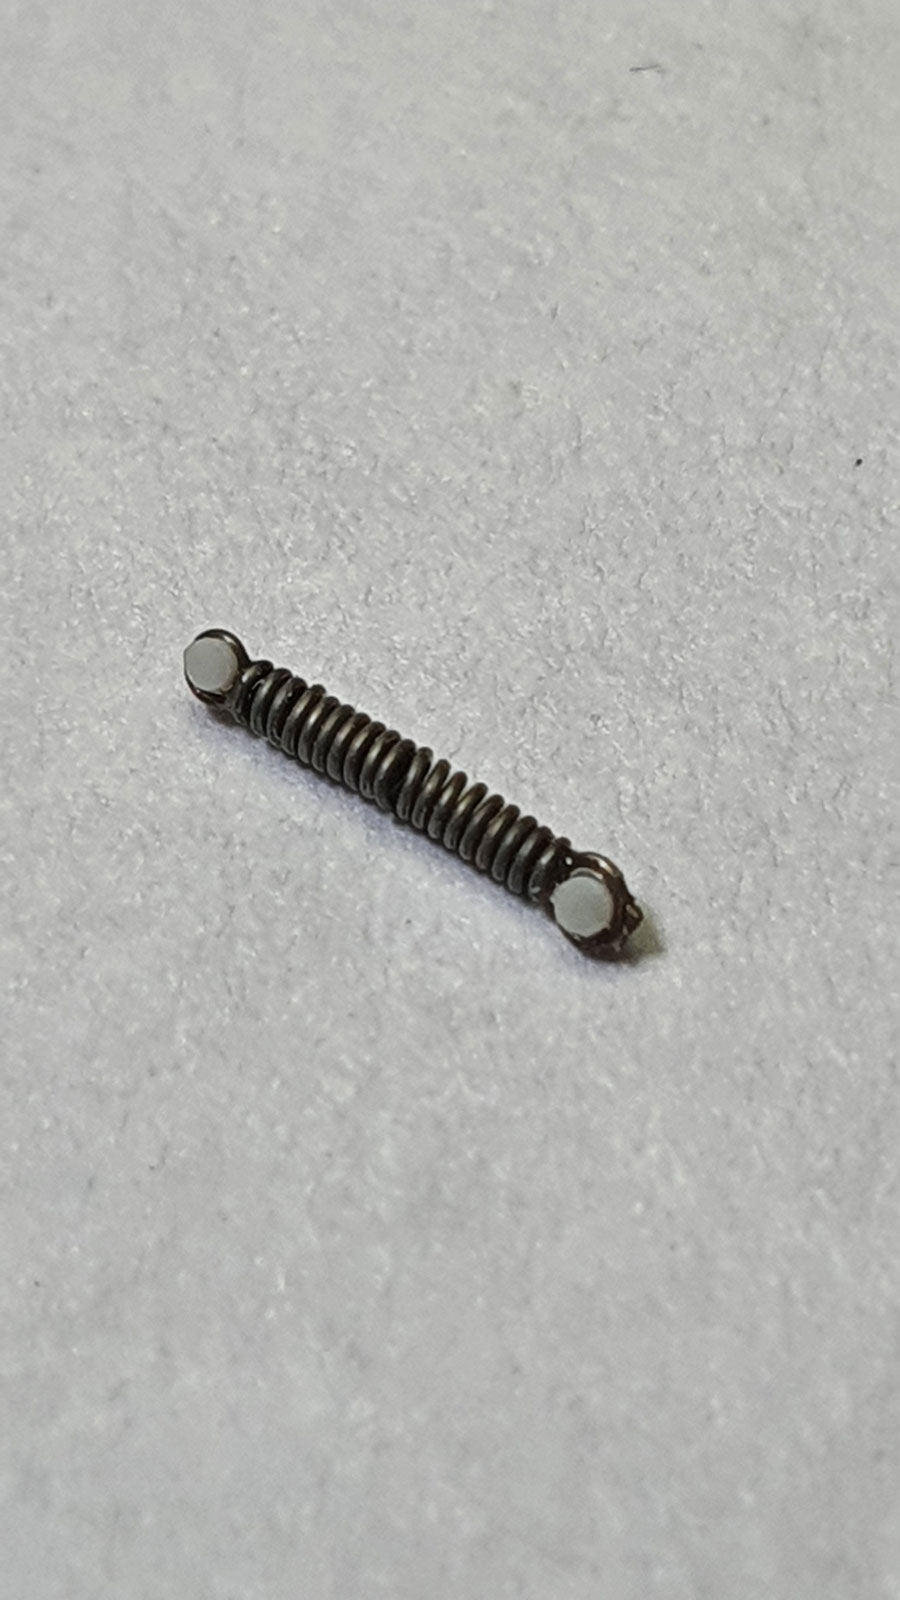
Also replaced were the mudguards retaining springs, front and rear. It´s an easy task, just rolled a piece of fine wire around a dowel and insert two pieces of punched plasticard to help the fixing.
That´s what I do for now.
 Cheers!
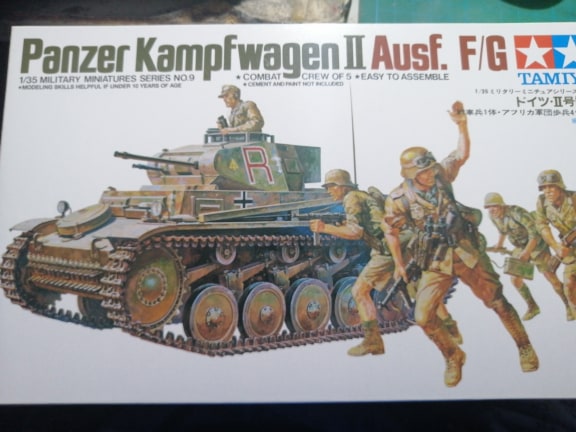
Hey folks, let me join in with this Tamiya Panzer II. I started her last night and I primed her this morning. I’m planning to paint her in a two-tone troppen scheme  This was among the first 1/35 models I built when I started around six years ago. This is now my third time building this kit, looking forward to finishing her!
Konjuro,
This is the first kit I built too but only 36 years ago! I have fond memories of it. God knows where it is now…
Regards.
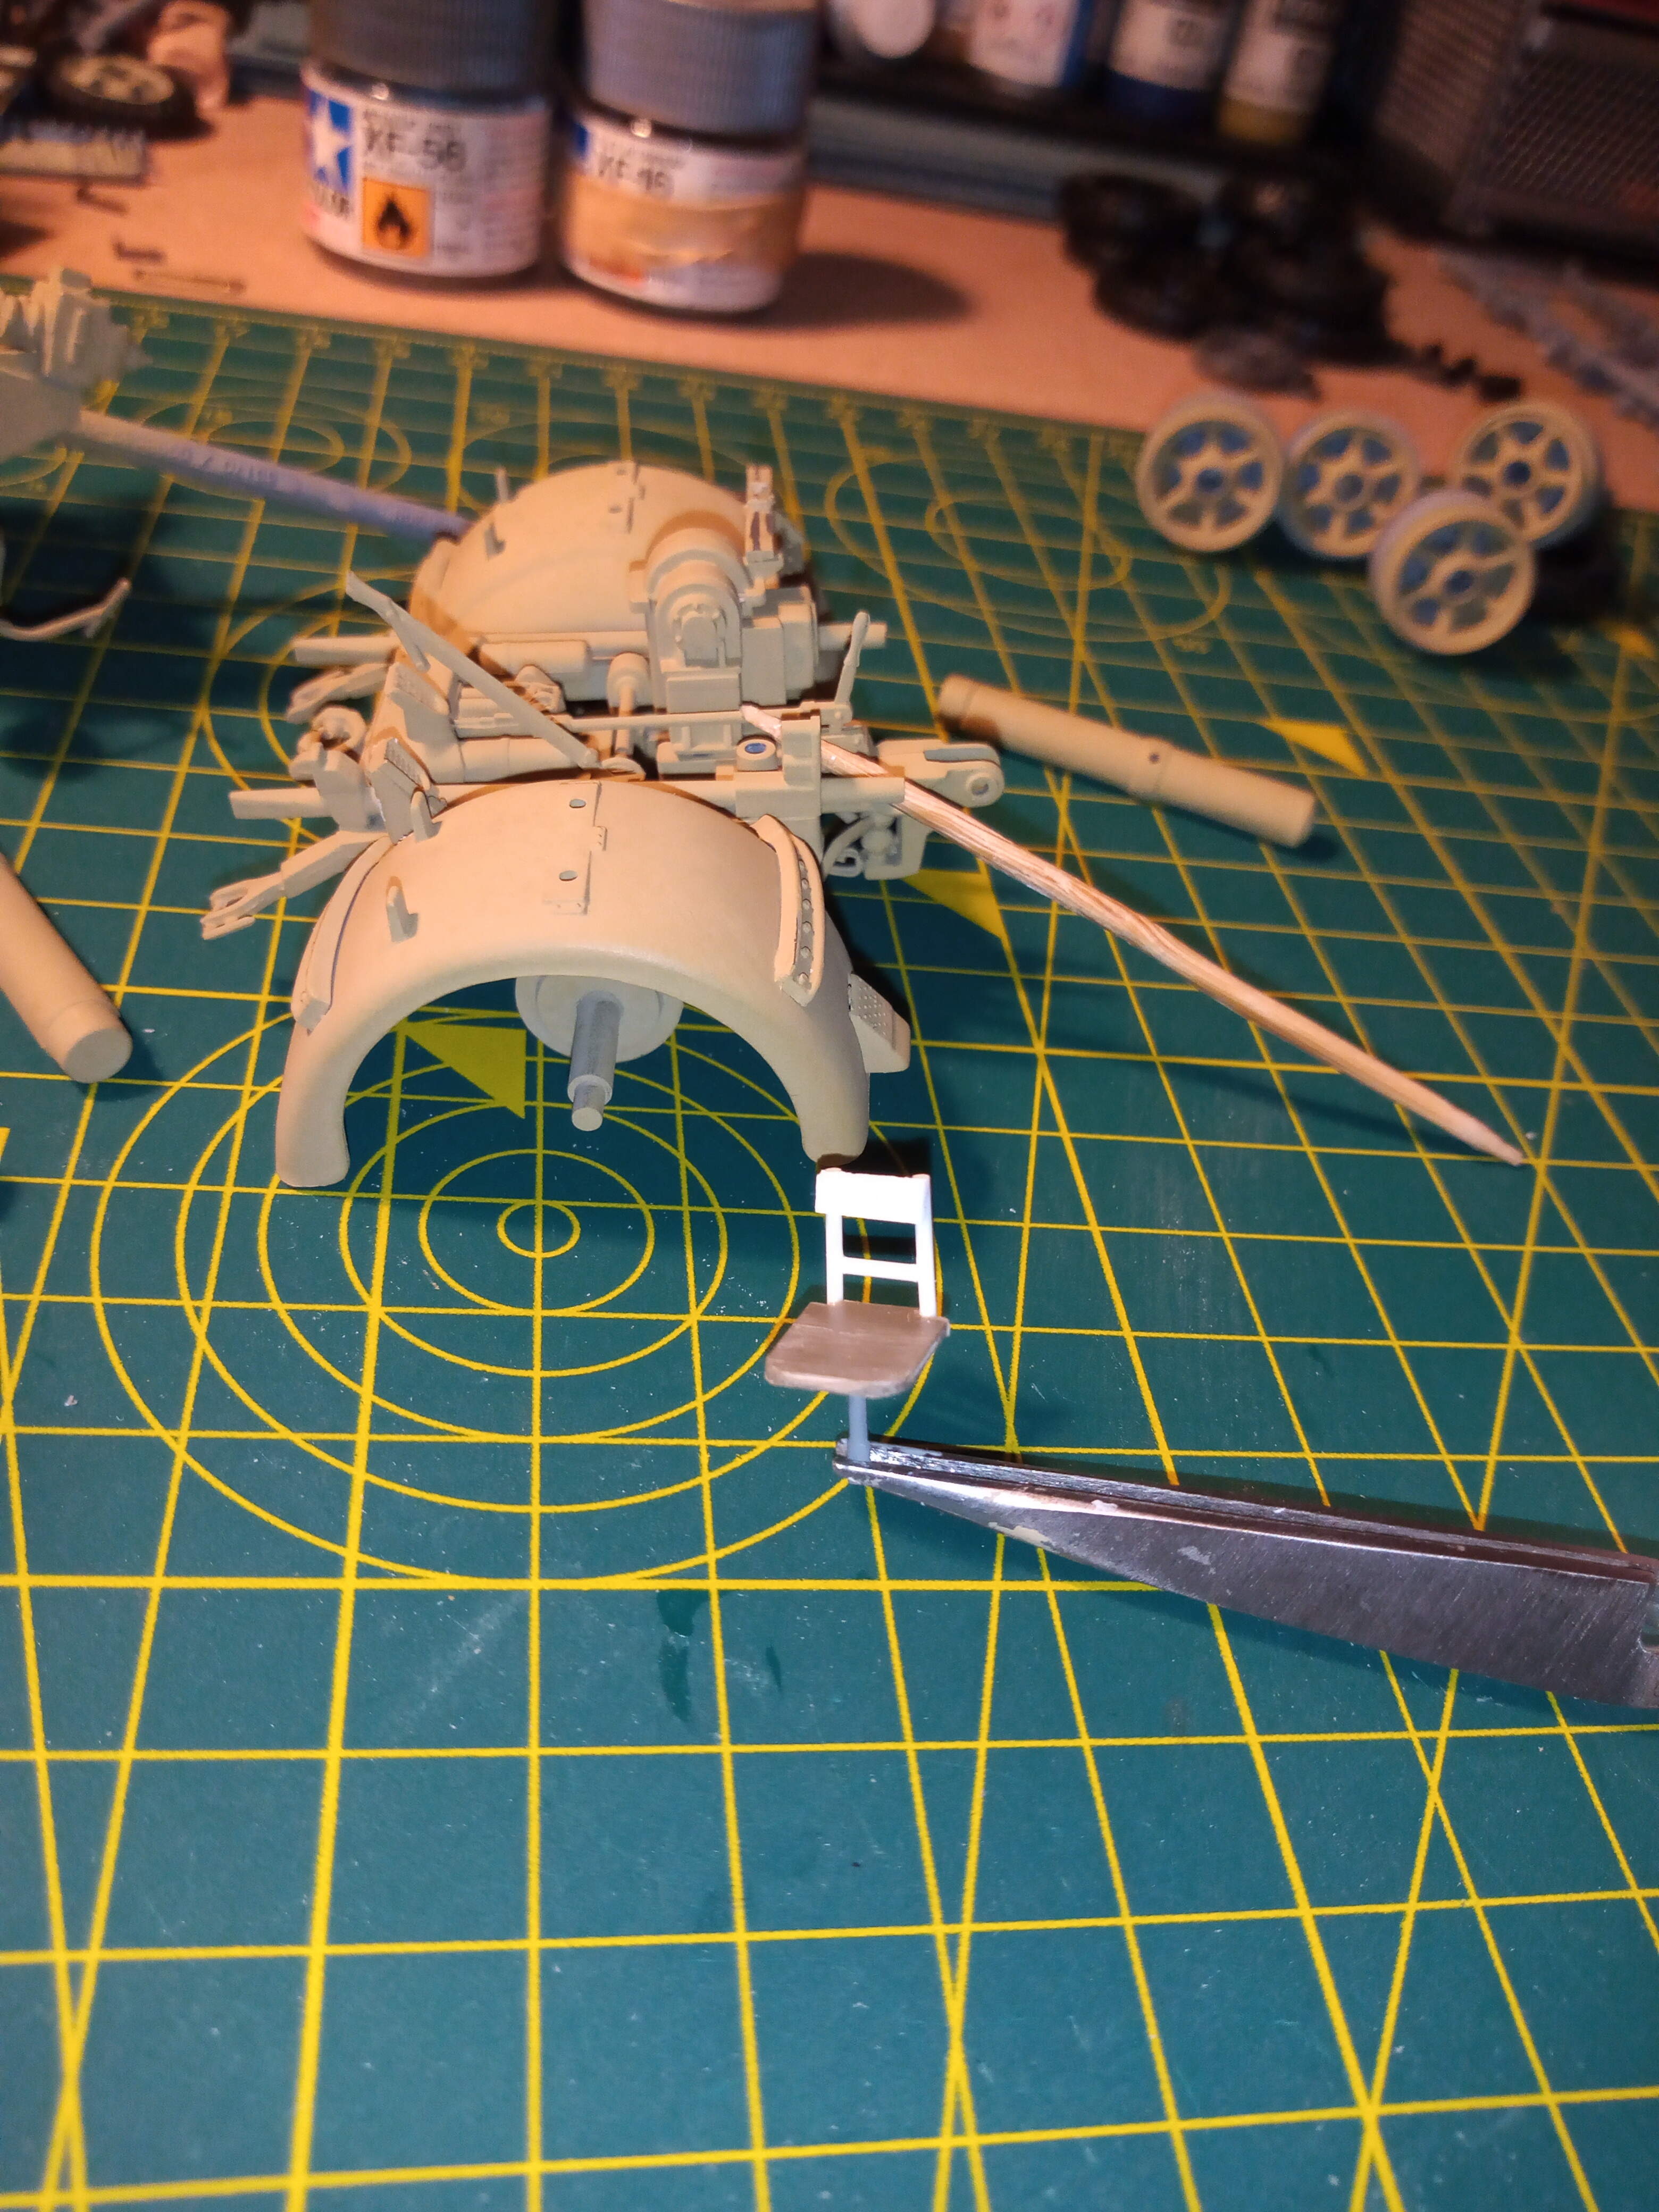
Just built an extra crew seat for the rear bogie. I am thinking of doing the front or rear bogie with a 2 tone cam finish to create a bit of variation from the single dunkelgelb… ?
Have filled and sanded various sink holes that were obvious and tidied a few seam lines which stuck out after the paint.
Next will be giving a fair amount of bare metal finish to most of the moving bits.
I have the same one standing in line for a paint job, but will build the PzKpfW III first, so that both get a coat simultaneously.
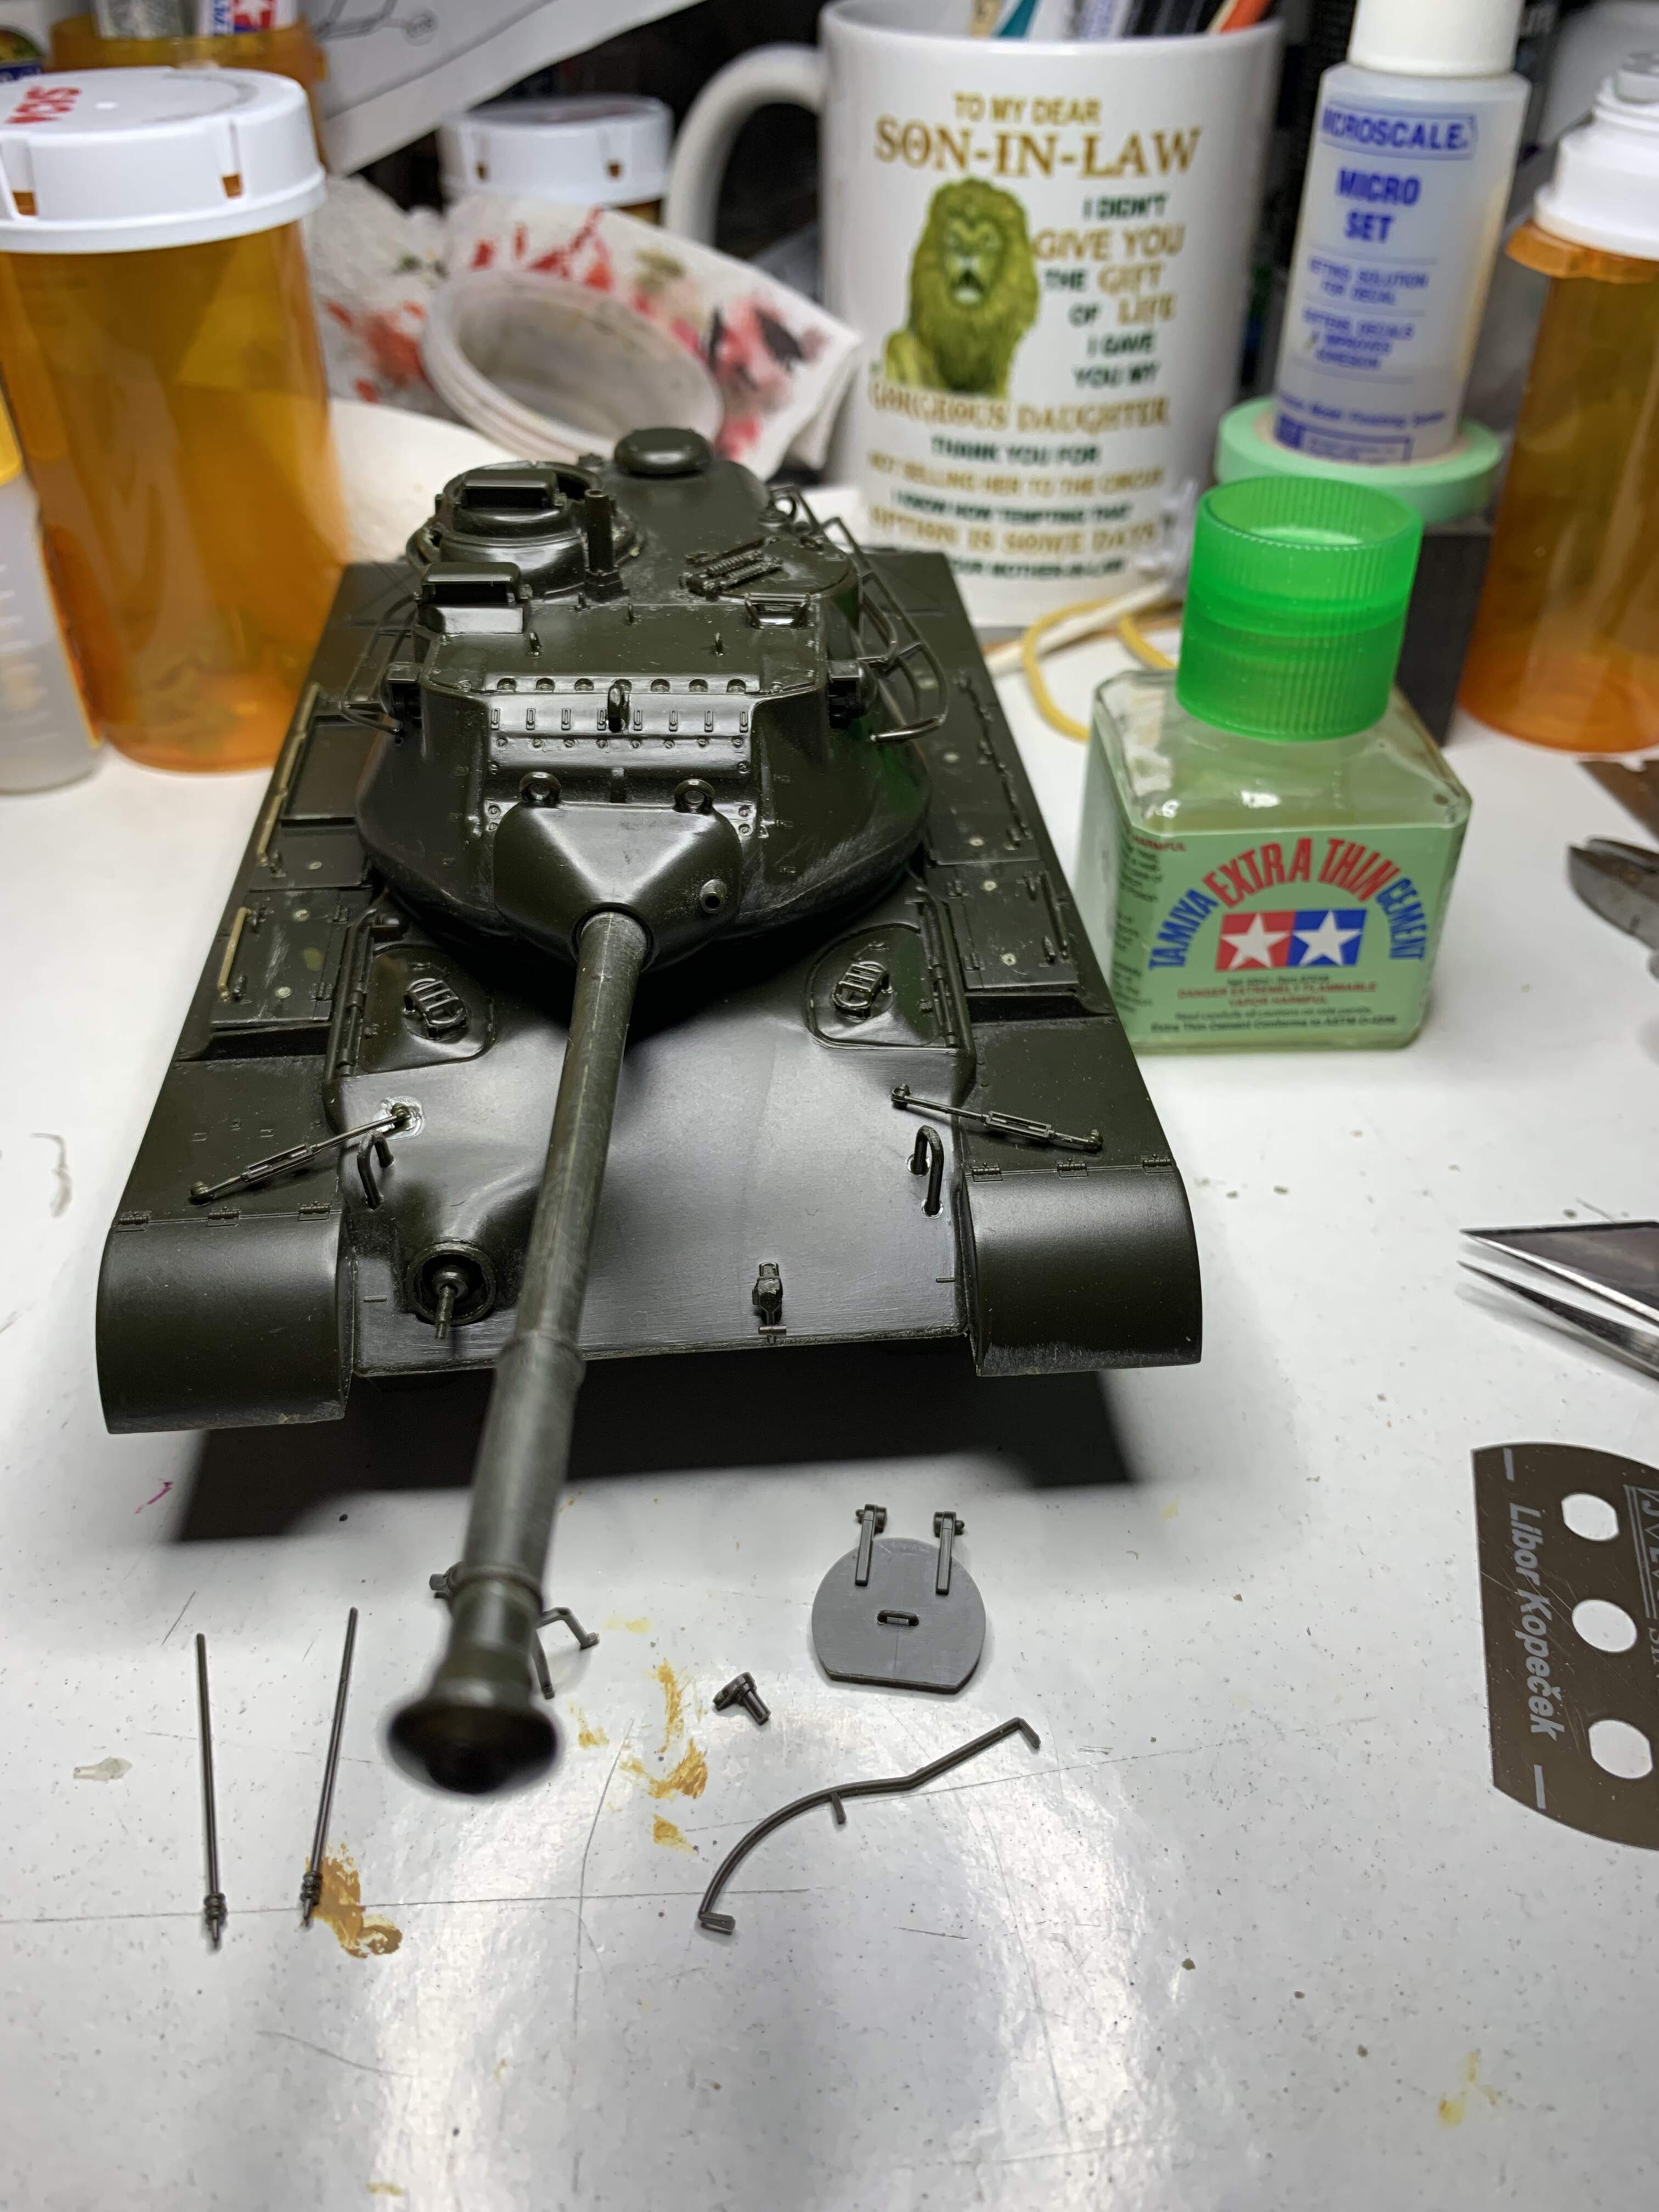
Almost done with the turret.
The carpet monster got me when I wasn’t even looking with the TC hatch bracket. 
Hopefully tomorrow the headlight assemblies and finish off the turret. Then check the wheels for completeness and ask Jack one last time for parts.
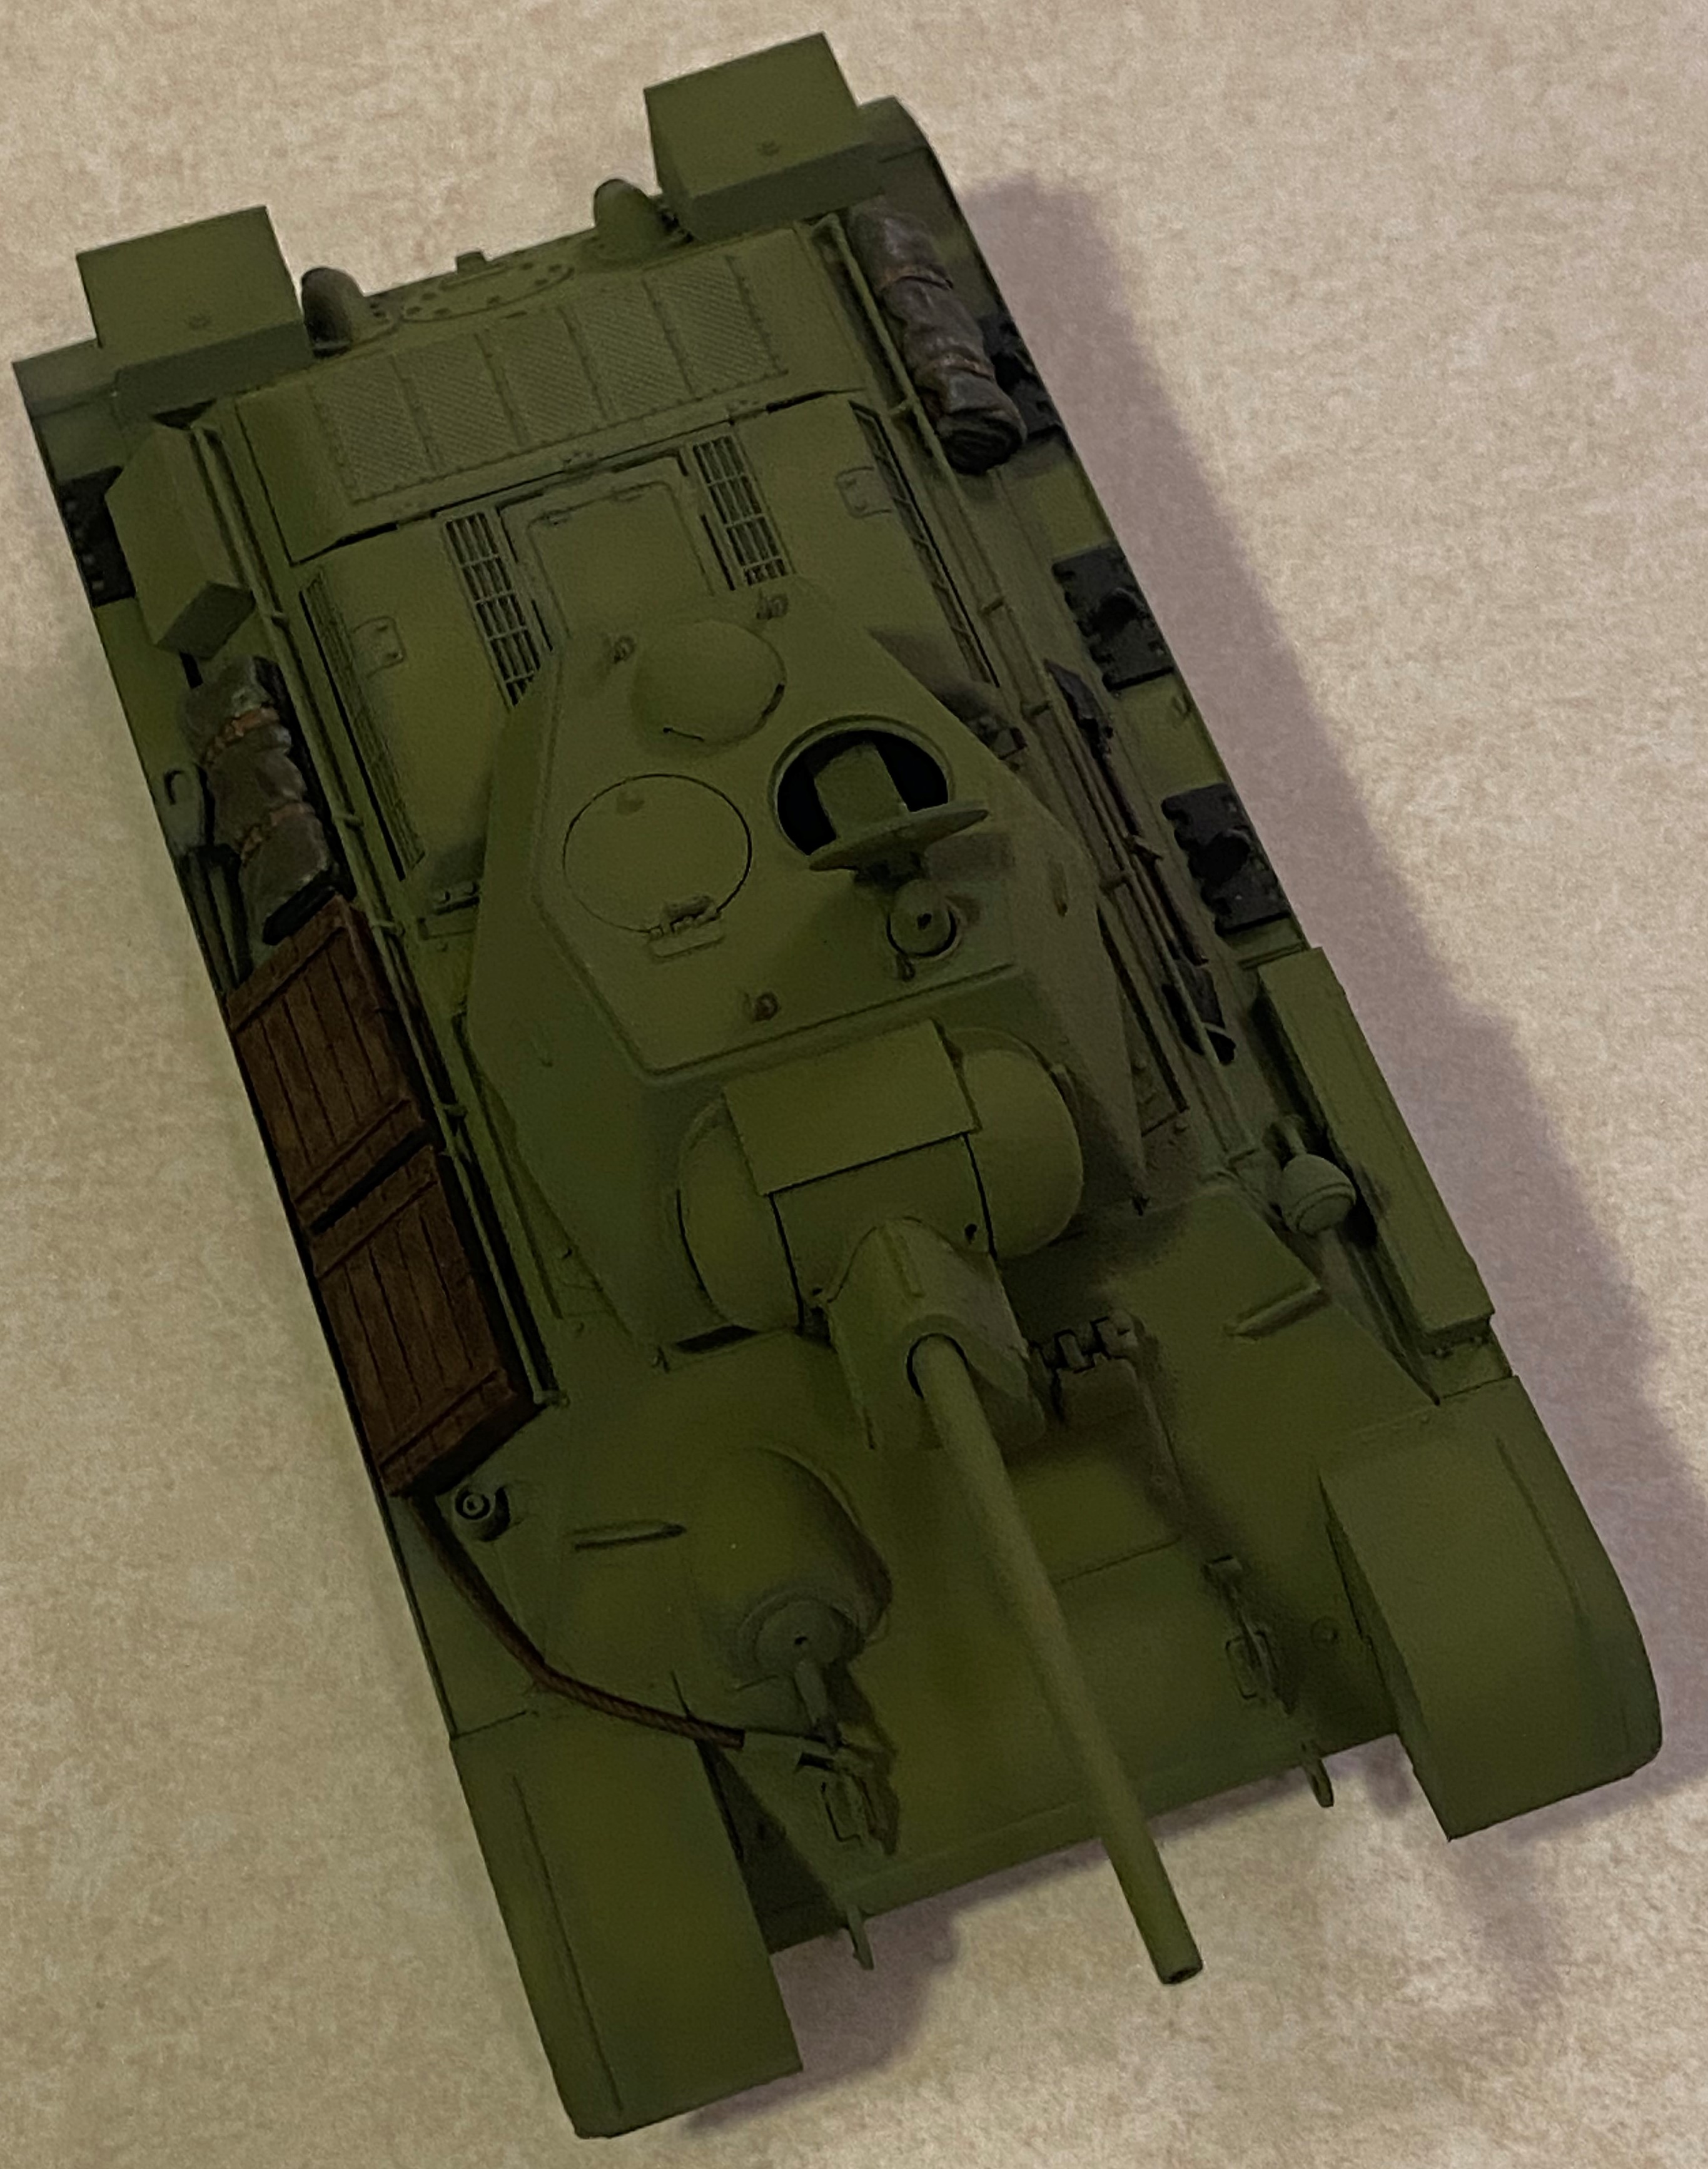
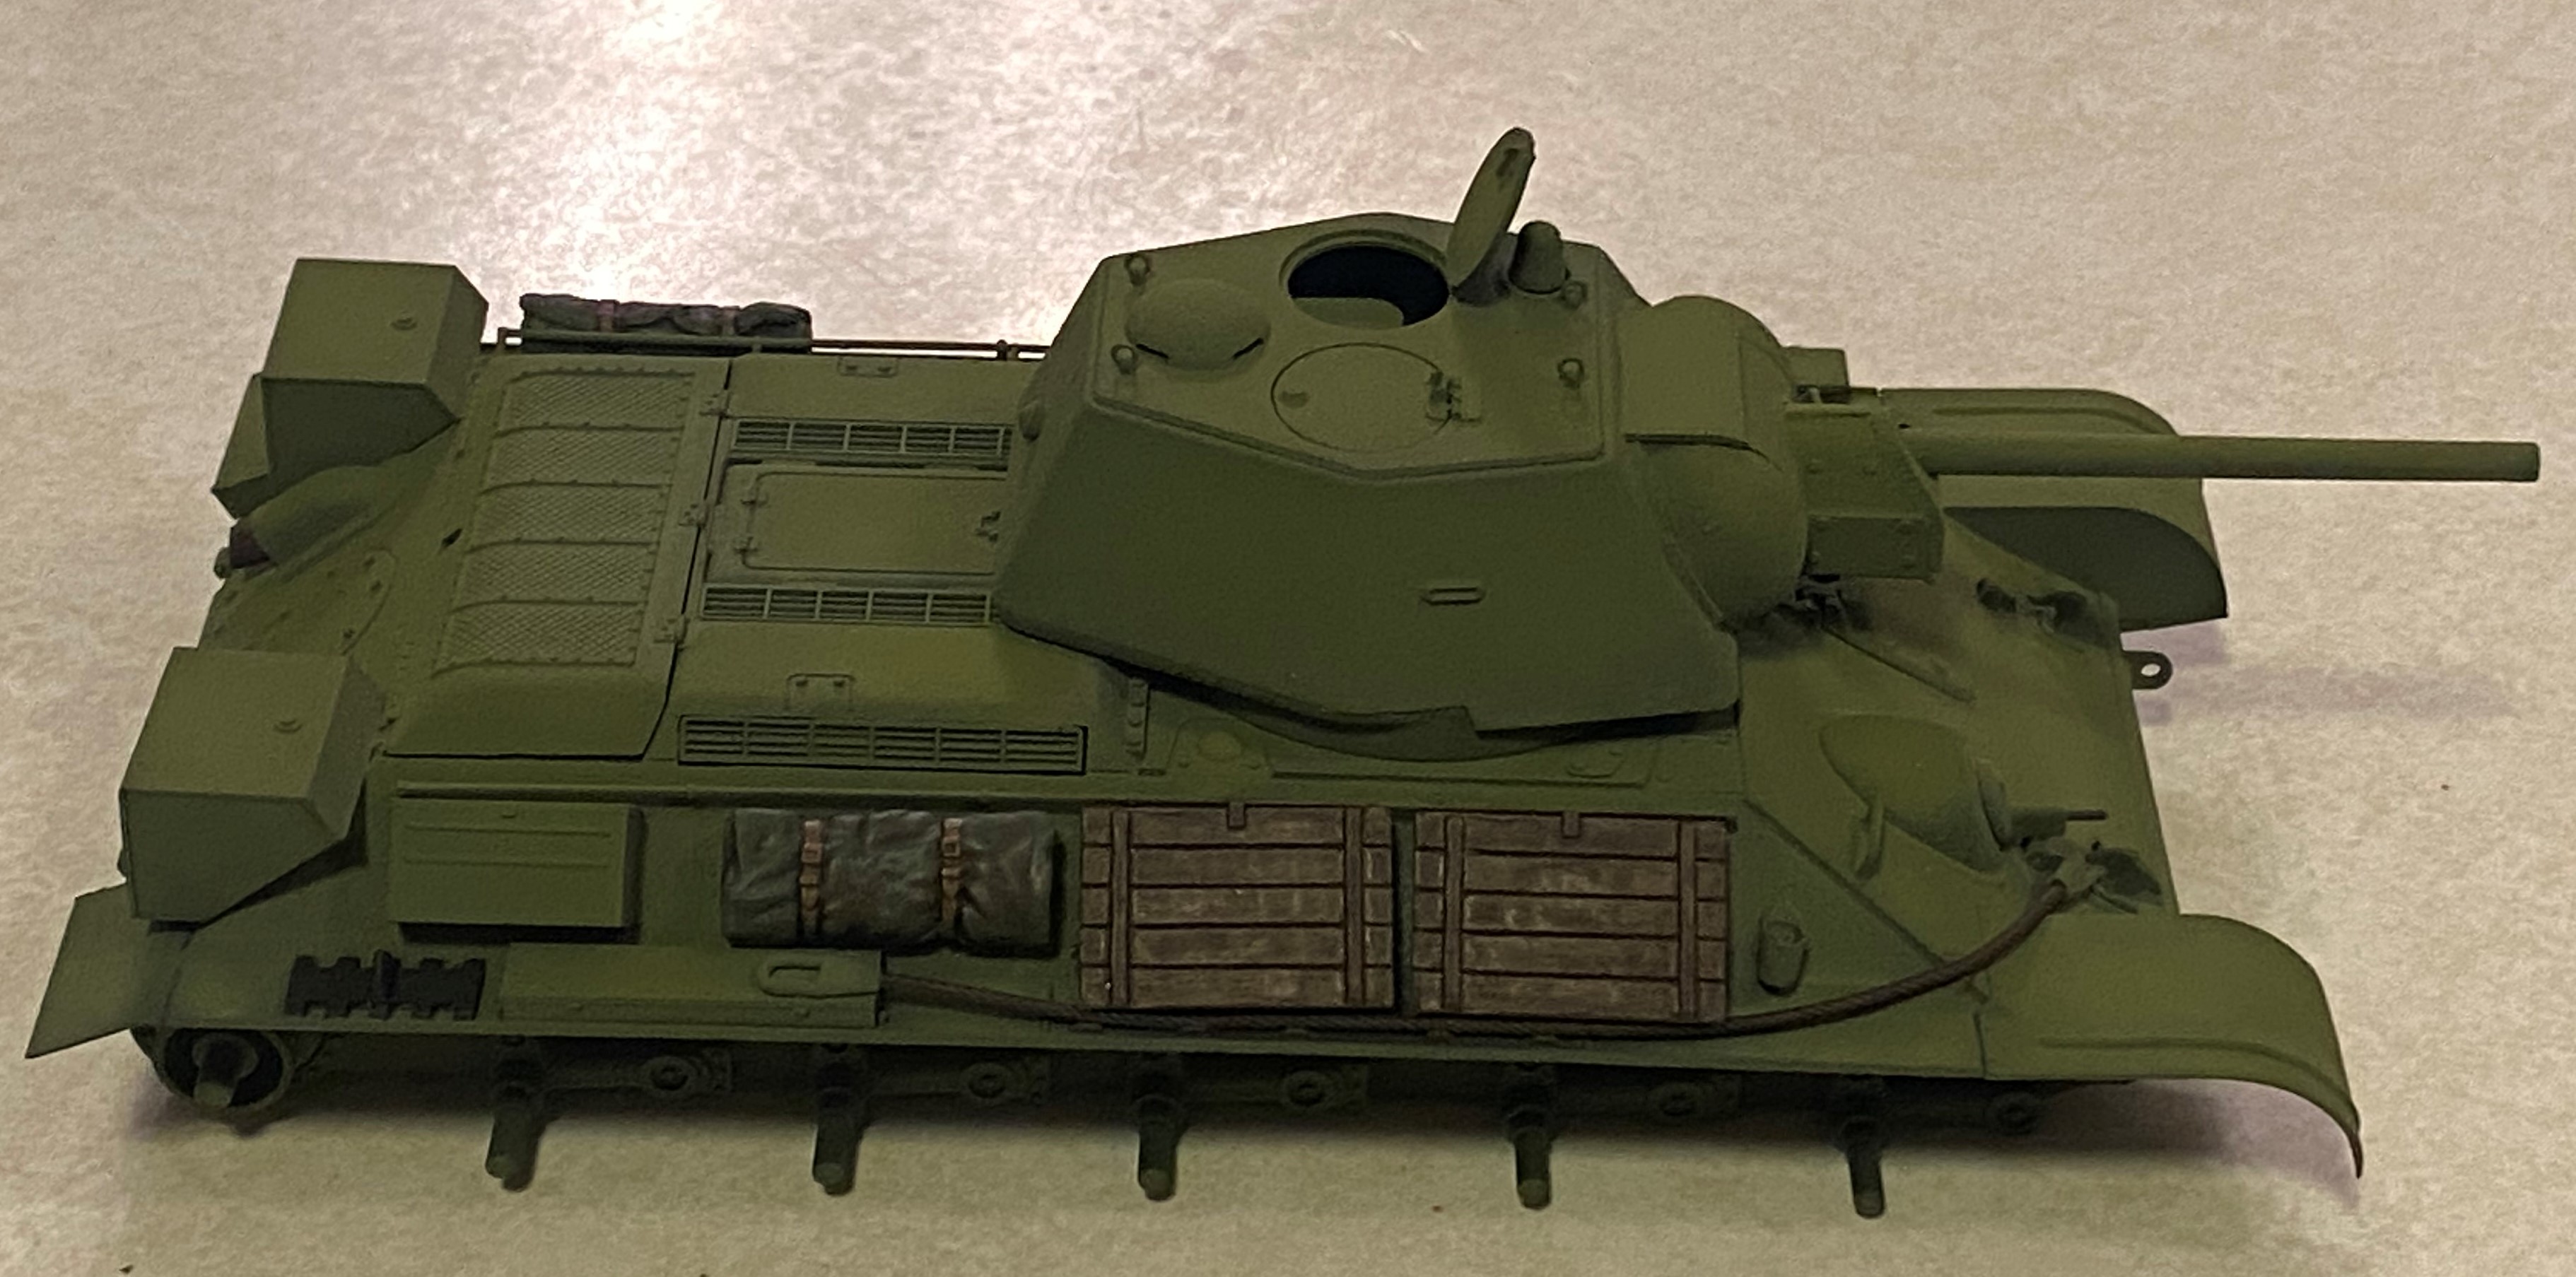
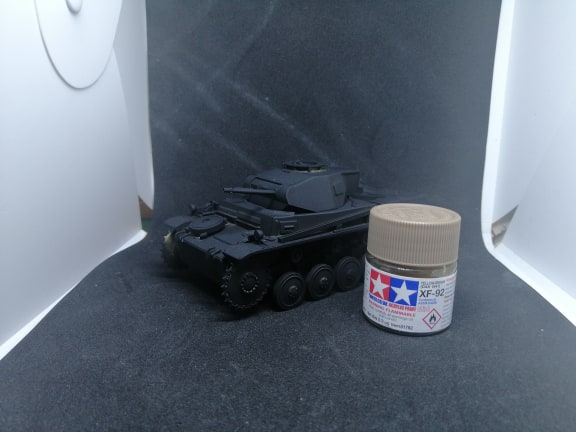
Basecoat of paint is down. Forgive the picture as I took this at night, in my kitchen and with my phone.
Photo does not really show off the preshading or tonal variations in the paint but its there. (not shown are the wheels which are also all painted up)
Next will come gloss coat, decals, washes and some simple weathering. I am not going to weather this too heavily as I am going mark it up as a Guards tank which, according to the instructions, were only marked up for ceremonies. I would imagine the tanks would be cleaned up before a ceremony
Once all that is done I will end with tracks and my least favourite thing, painting up the figure.
Love it, Rory! 
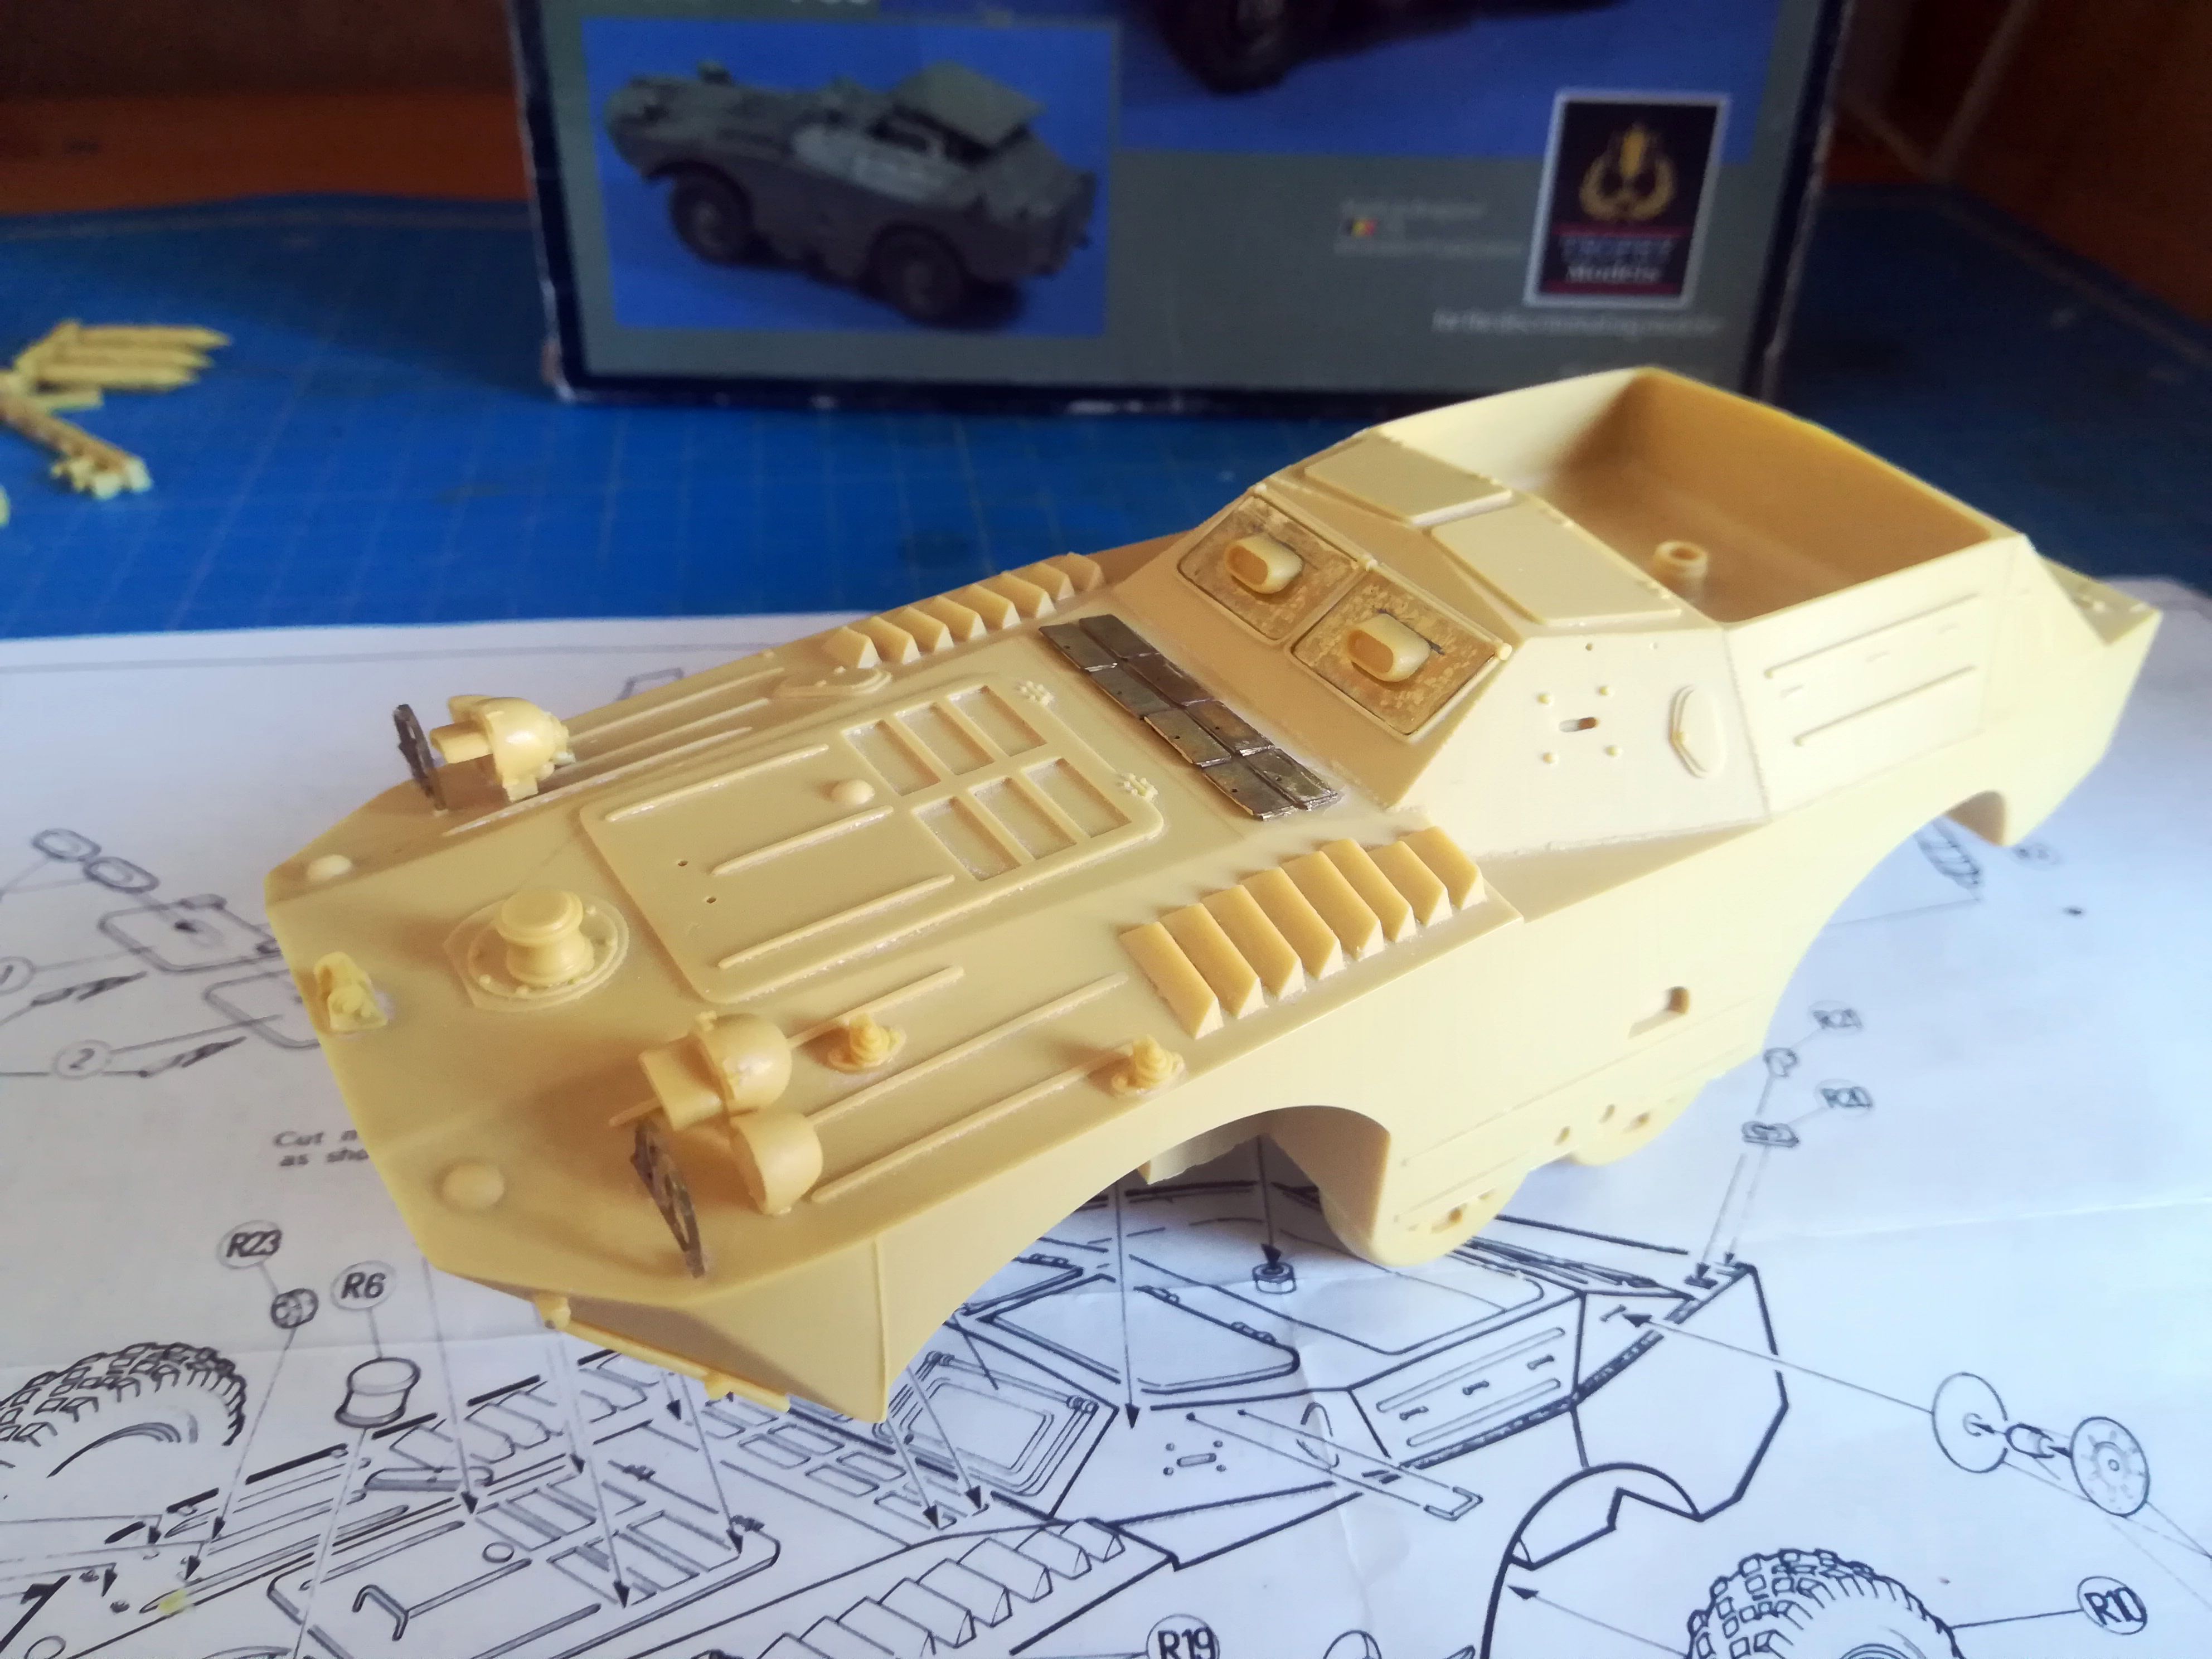
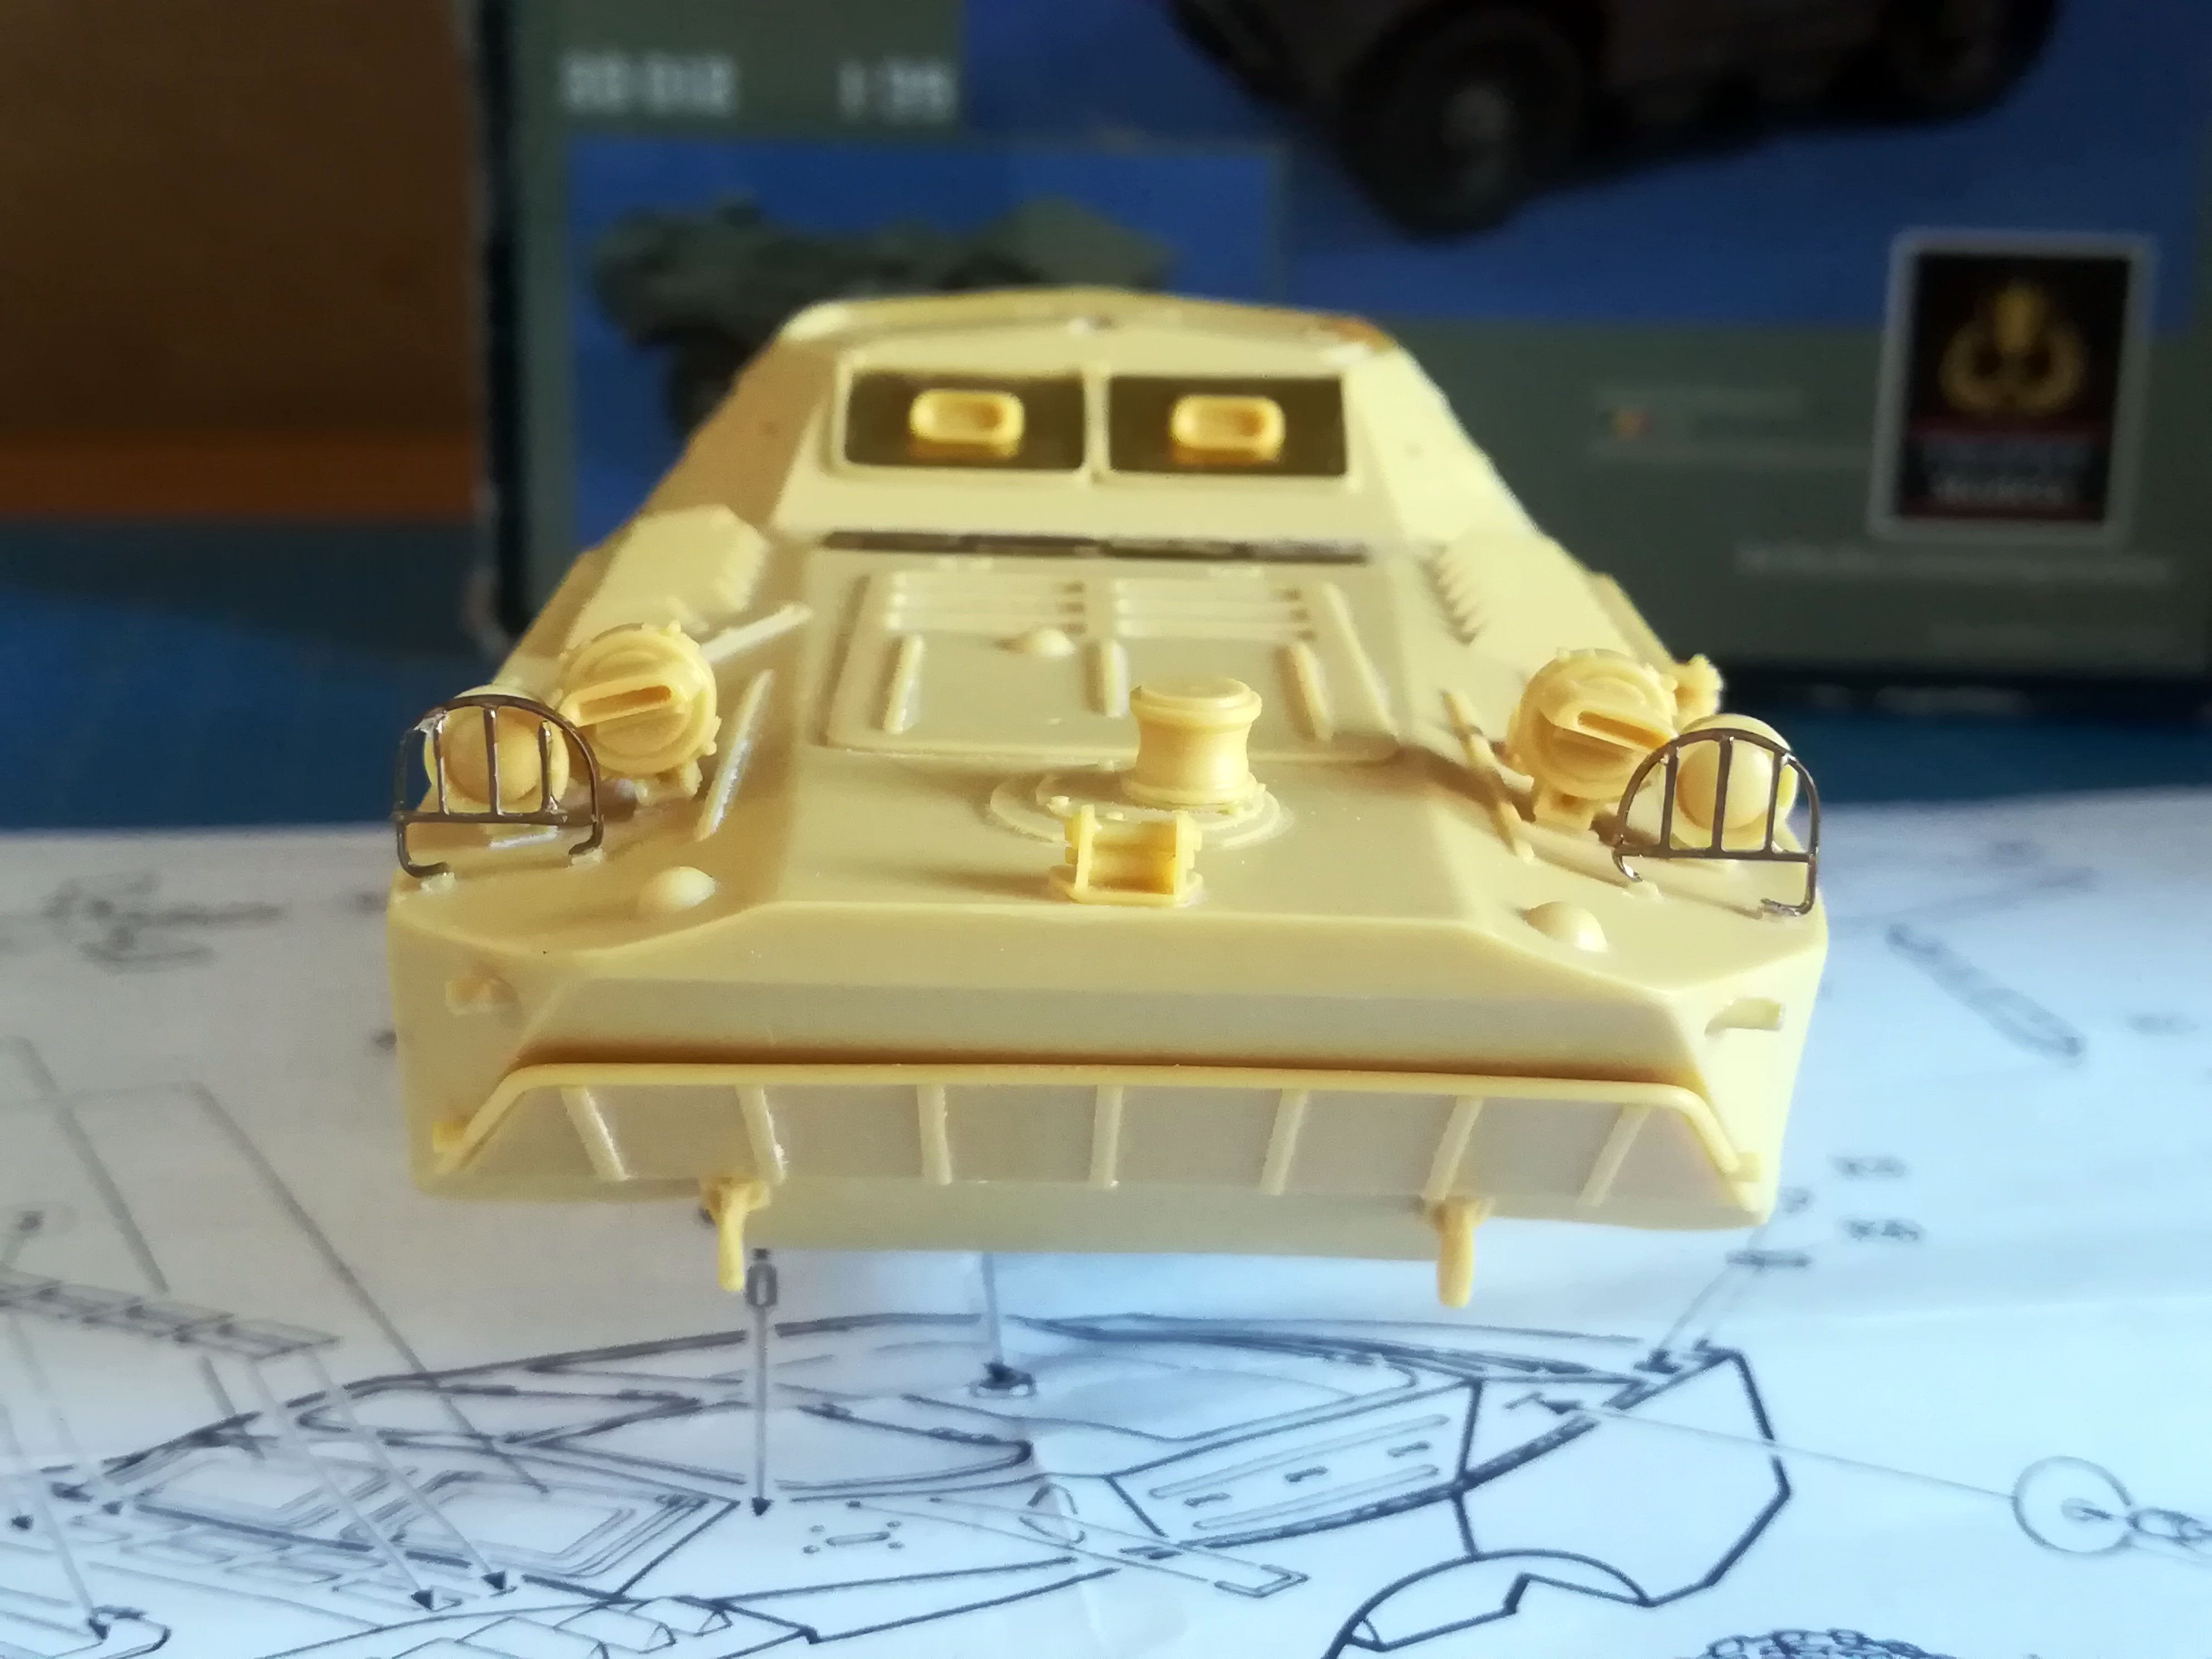
I managed to get some time to spend on the 9P110. To be honest I expected better from a Verlinden kit. The PE is so thick that you hardly can bend the parts. The instructions are vague in several areas. You don’t systematically have marks to position the parts. The underside is over simplfied but I won’t try to fix this as it would mean totally rebuilding it.
Here are my progress so far. Those pics are probably the last one before long as Christmas time with grand children all around is not the best way to concentrate on the workbench
Olivier
I hear you on Verlinden, but we thought they were the bees knees back then - only game in town.
Have a great Christmas with the family Olivier. See you in the new year then.
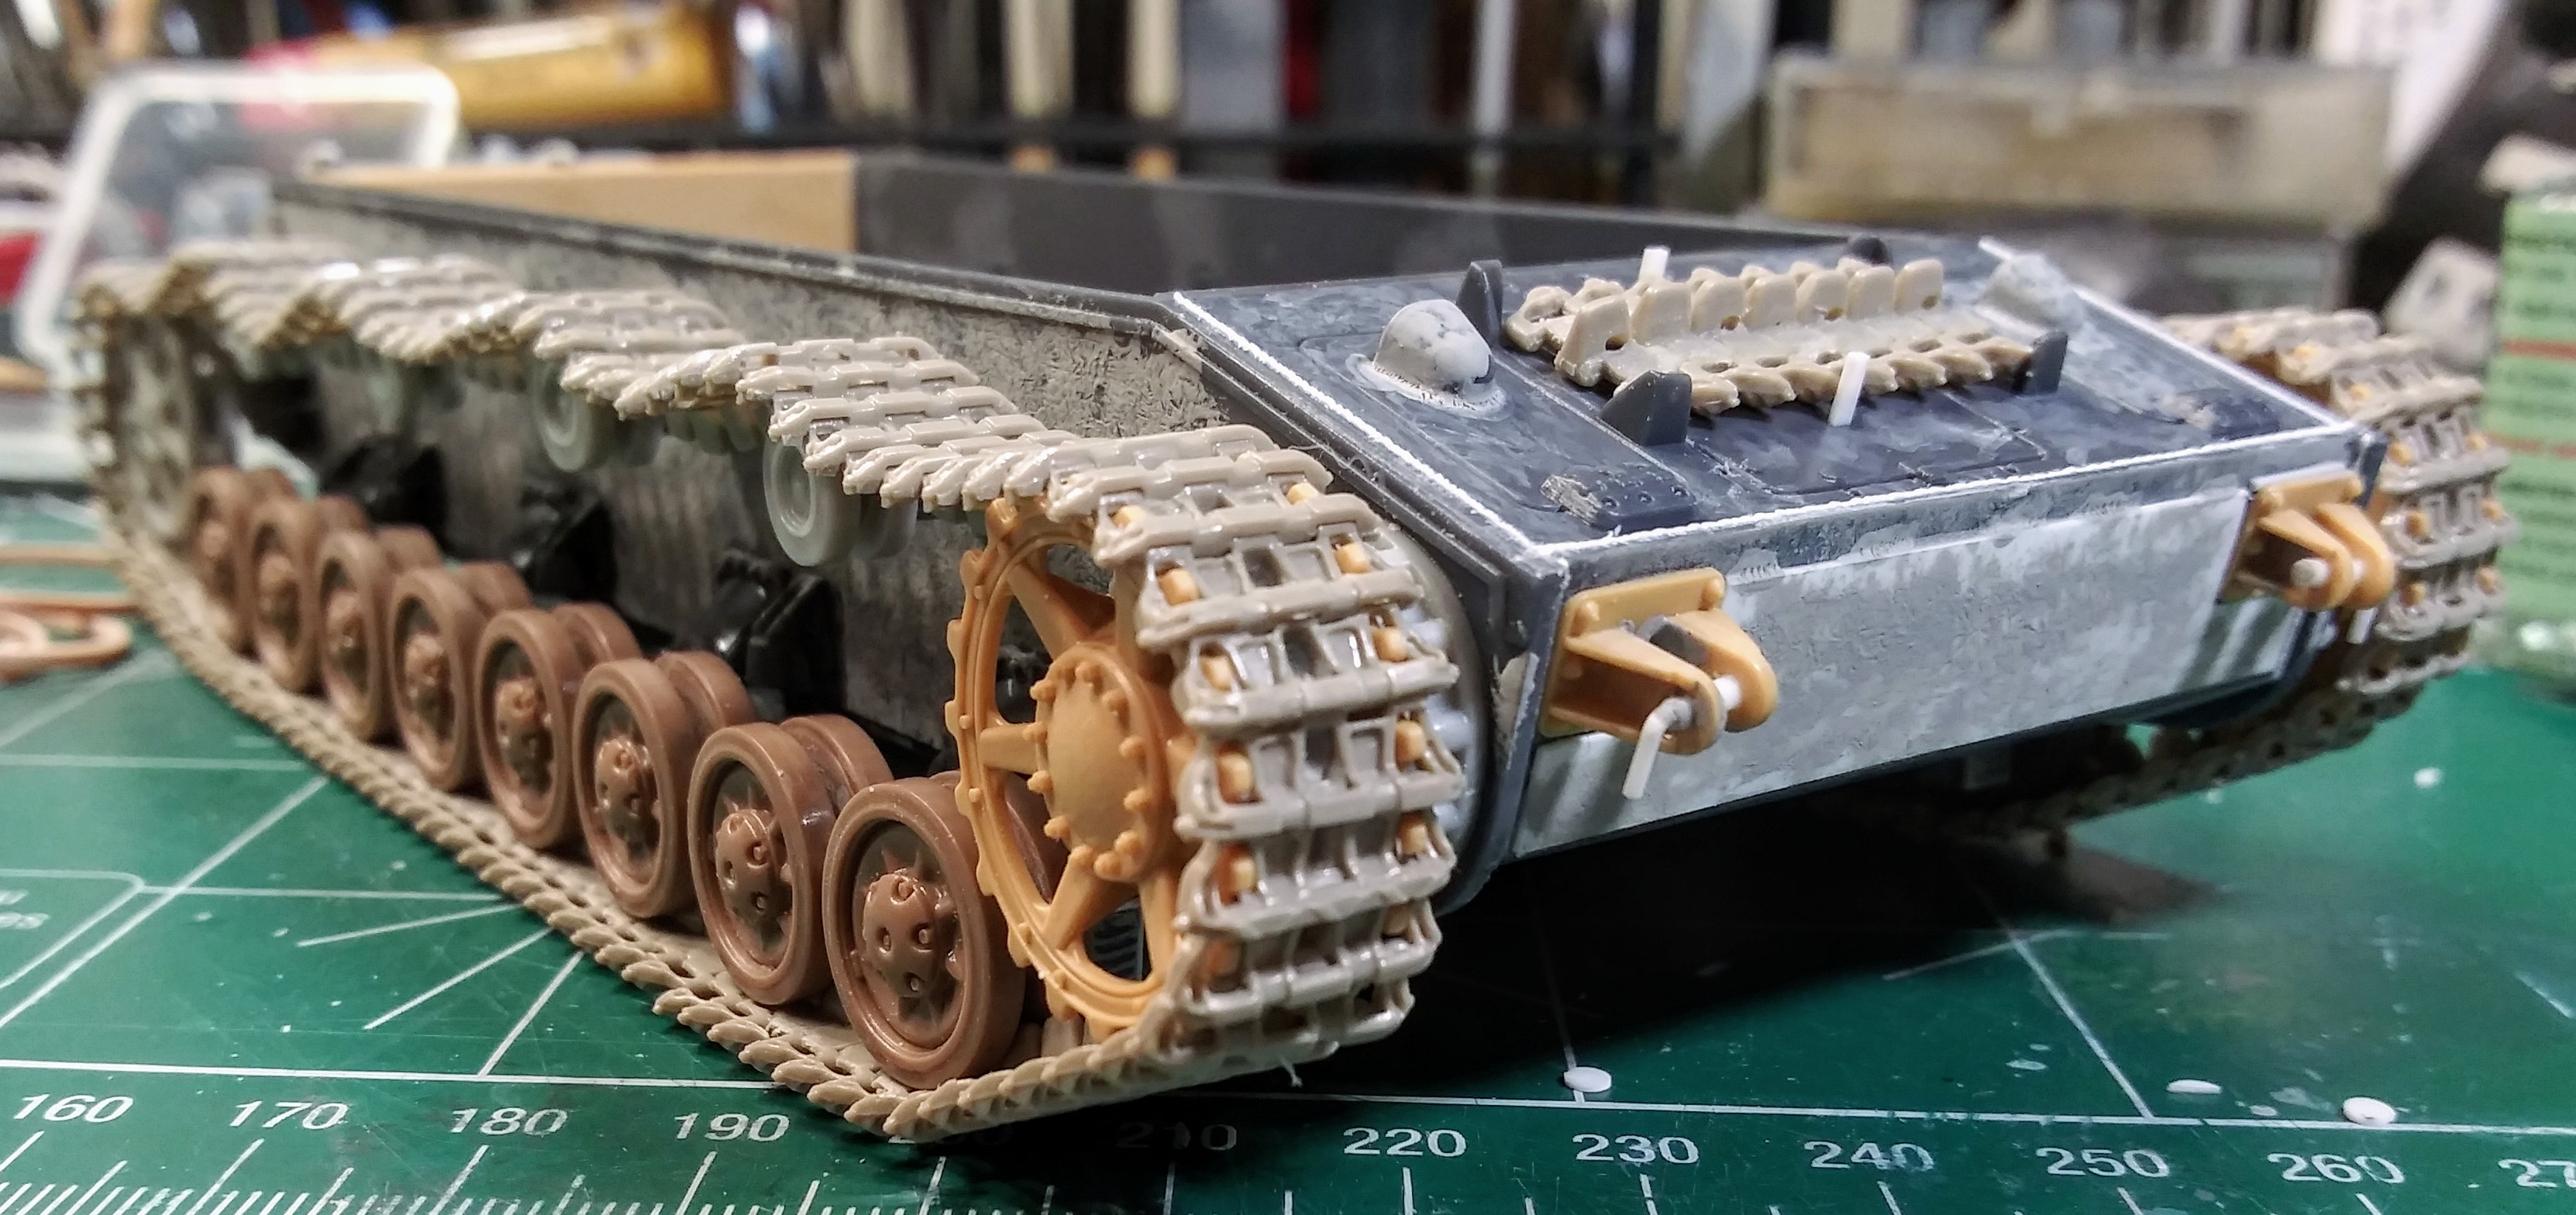
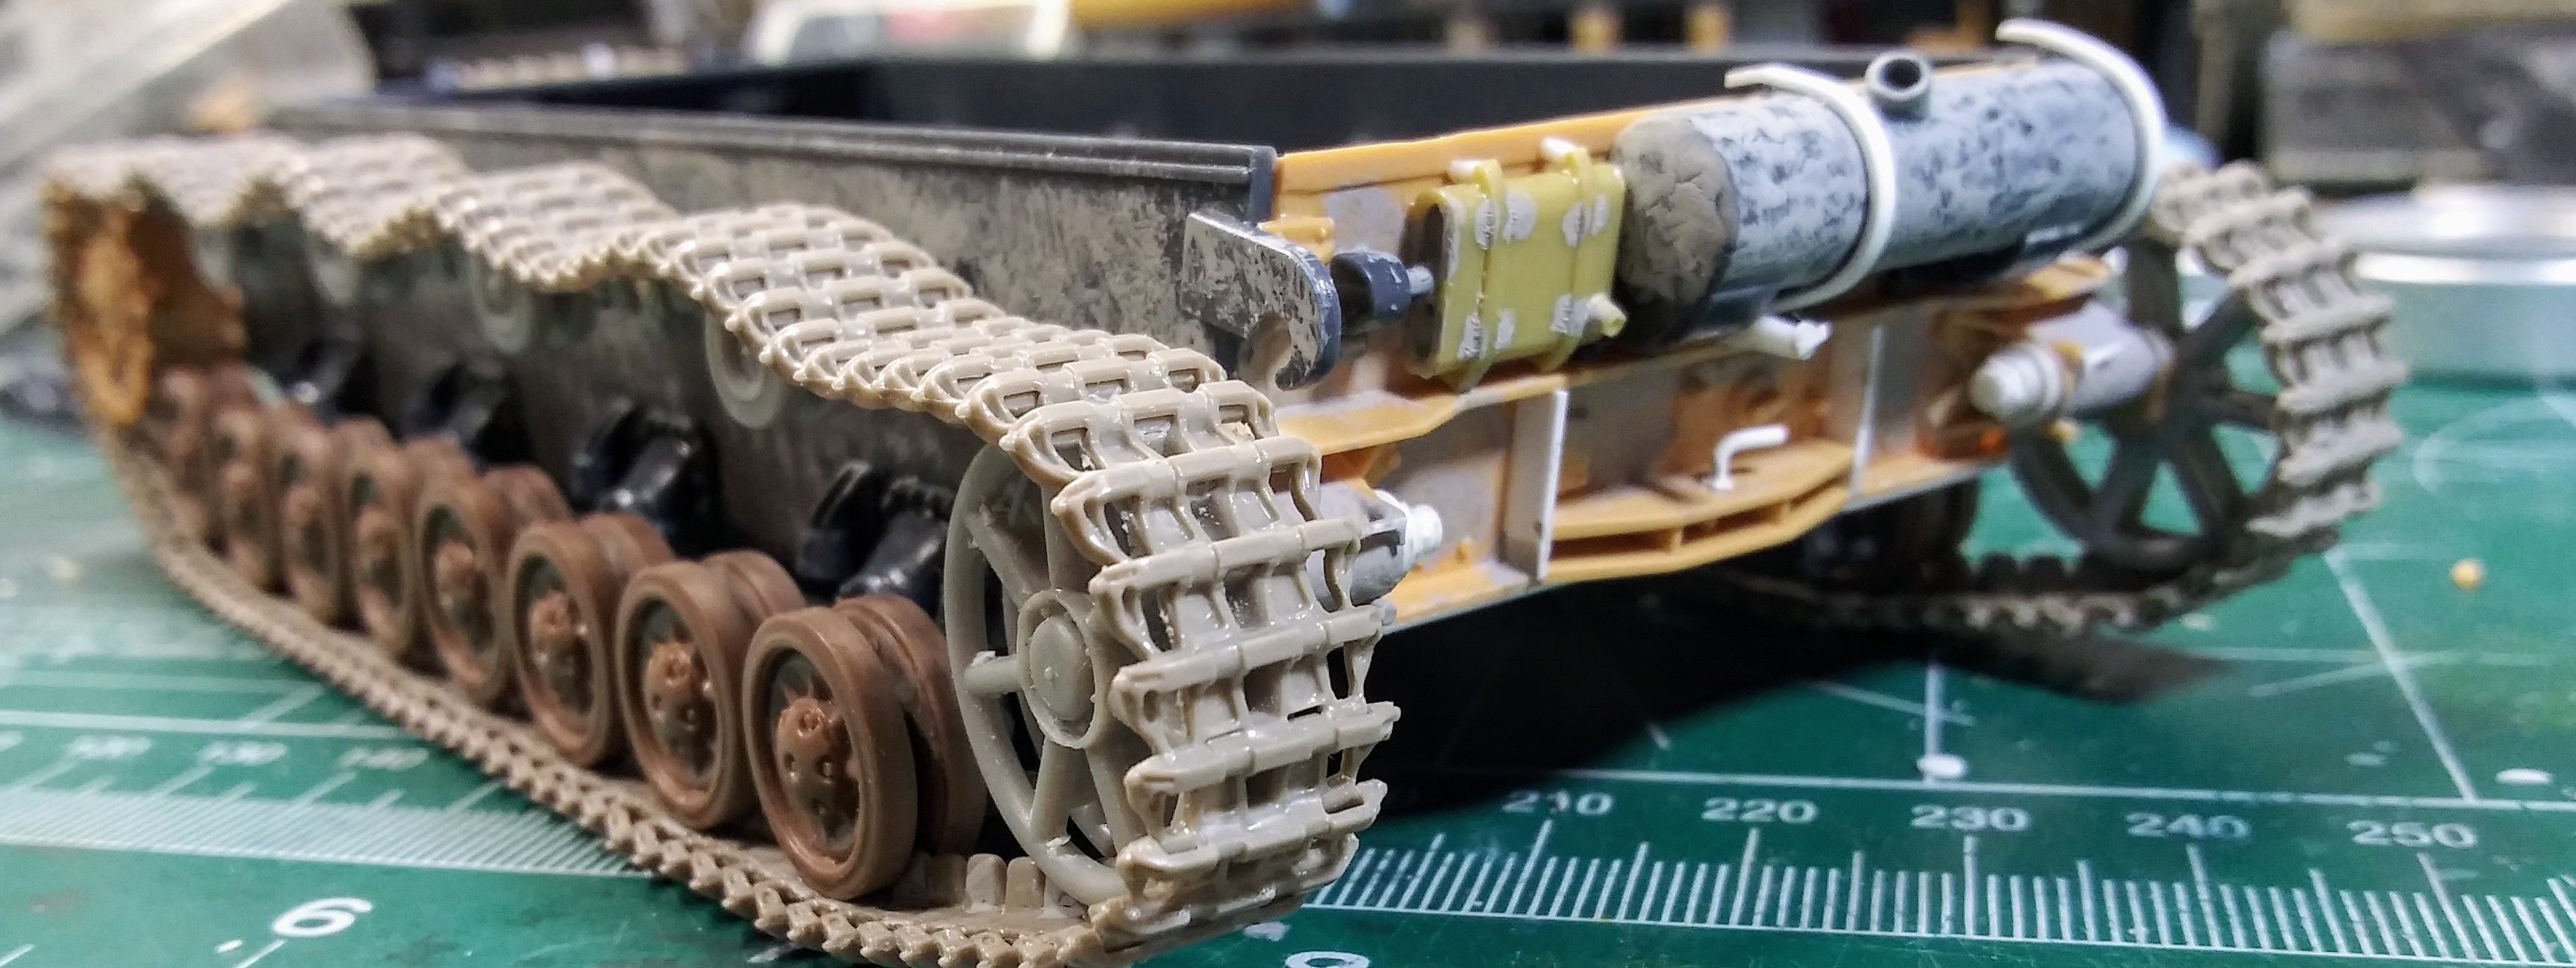
Calling the lower hull & suspension completed for the moment. Might tweak a things later. Now for the upper hull.
Wade, it’s looking great with where you have it at the moment. I would just mention one little thing. I am a fan of track sag and what you have is easily within the realms of possibility, but I would say the tension between the sprocket and 1st roadwheel is maybe to tight ? It probably would be as tight as that if it were turning, but if it’s static there would probably be a bit of a droop in that area ? Just a thought, but like I said, it’s looking great
@Johnnych01, John that’s an excellent point! Thank you. Definitely a missed opportunity to have a bit of sag between the sprocket and first road wheel. That makes two major goofs with this set of tracks. I’ll see if I have an old set of mid 90’s clasp Fruil’s to replace the Model Kasten’s and fix the issues.
Sorry if that has caused even more work buddy… Is there no way to introduce some sag with the fitted ones ? It wouldn’t be a deal breaker to leave them as is…you have put alot of work into them…
No worries John. I’d rather have issues pointed out than not. I don’t think Its possible to introduce sag under the sprocket at ths point. I will fiddle with it and see. Missed the opportunity is just part of the game sometimes when one gets carried away
Found the set of clasp Fruil’s but they are the much later ice tread pattern nit appropriate for a F2/G.