Couldn’t wait to get stuck into this one, so let’s go.
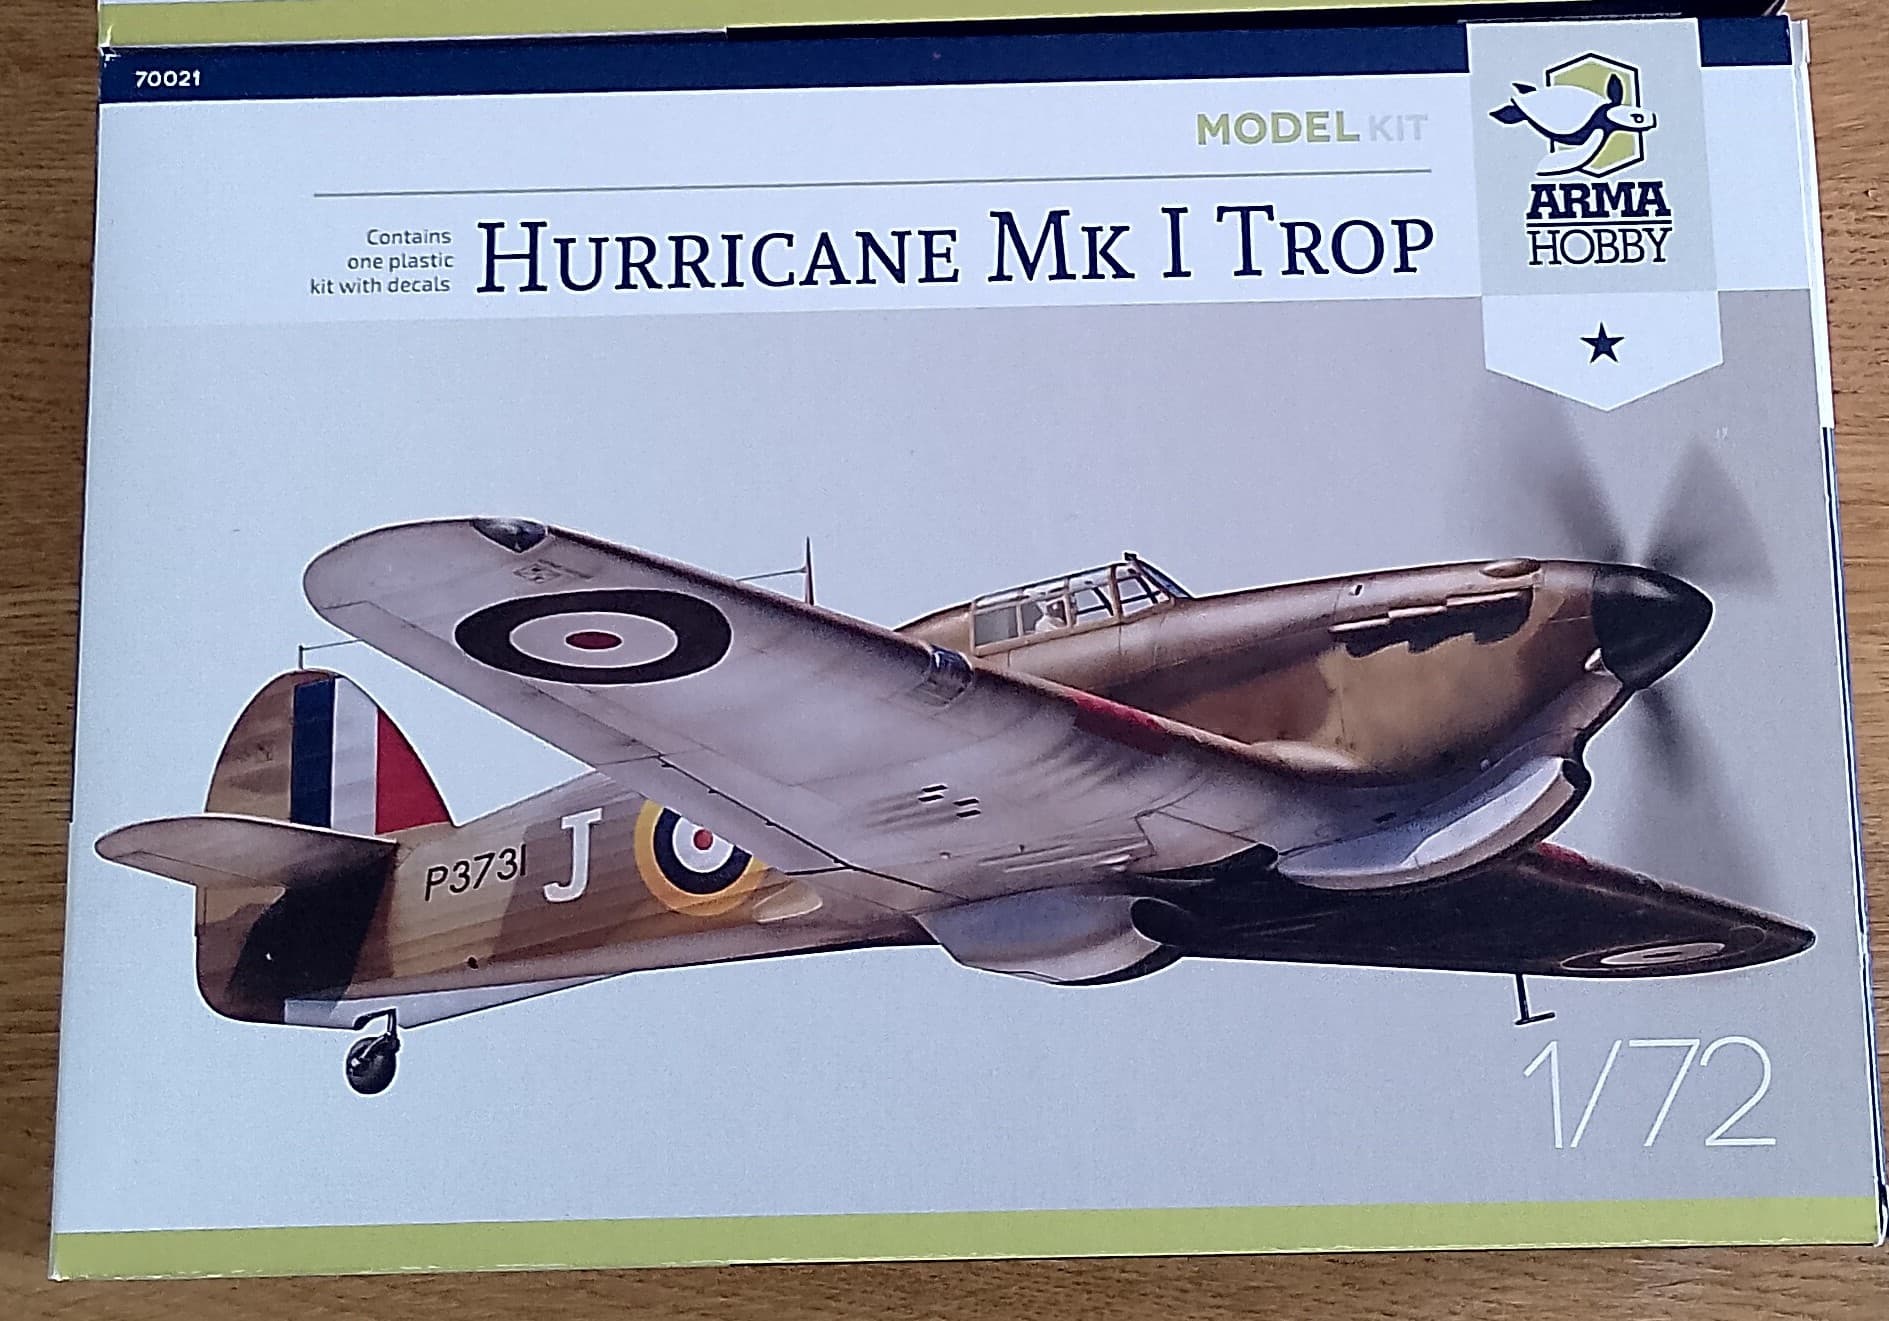
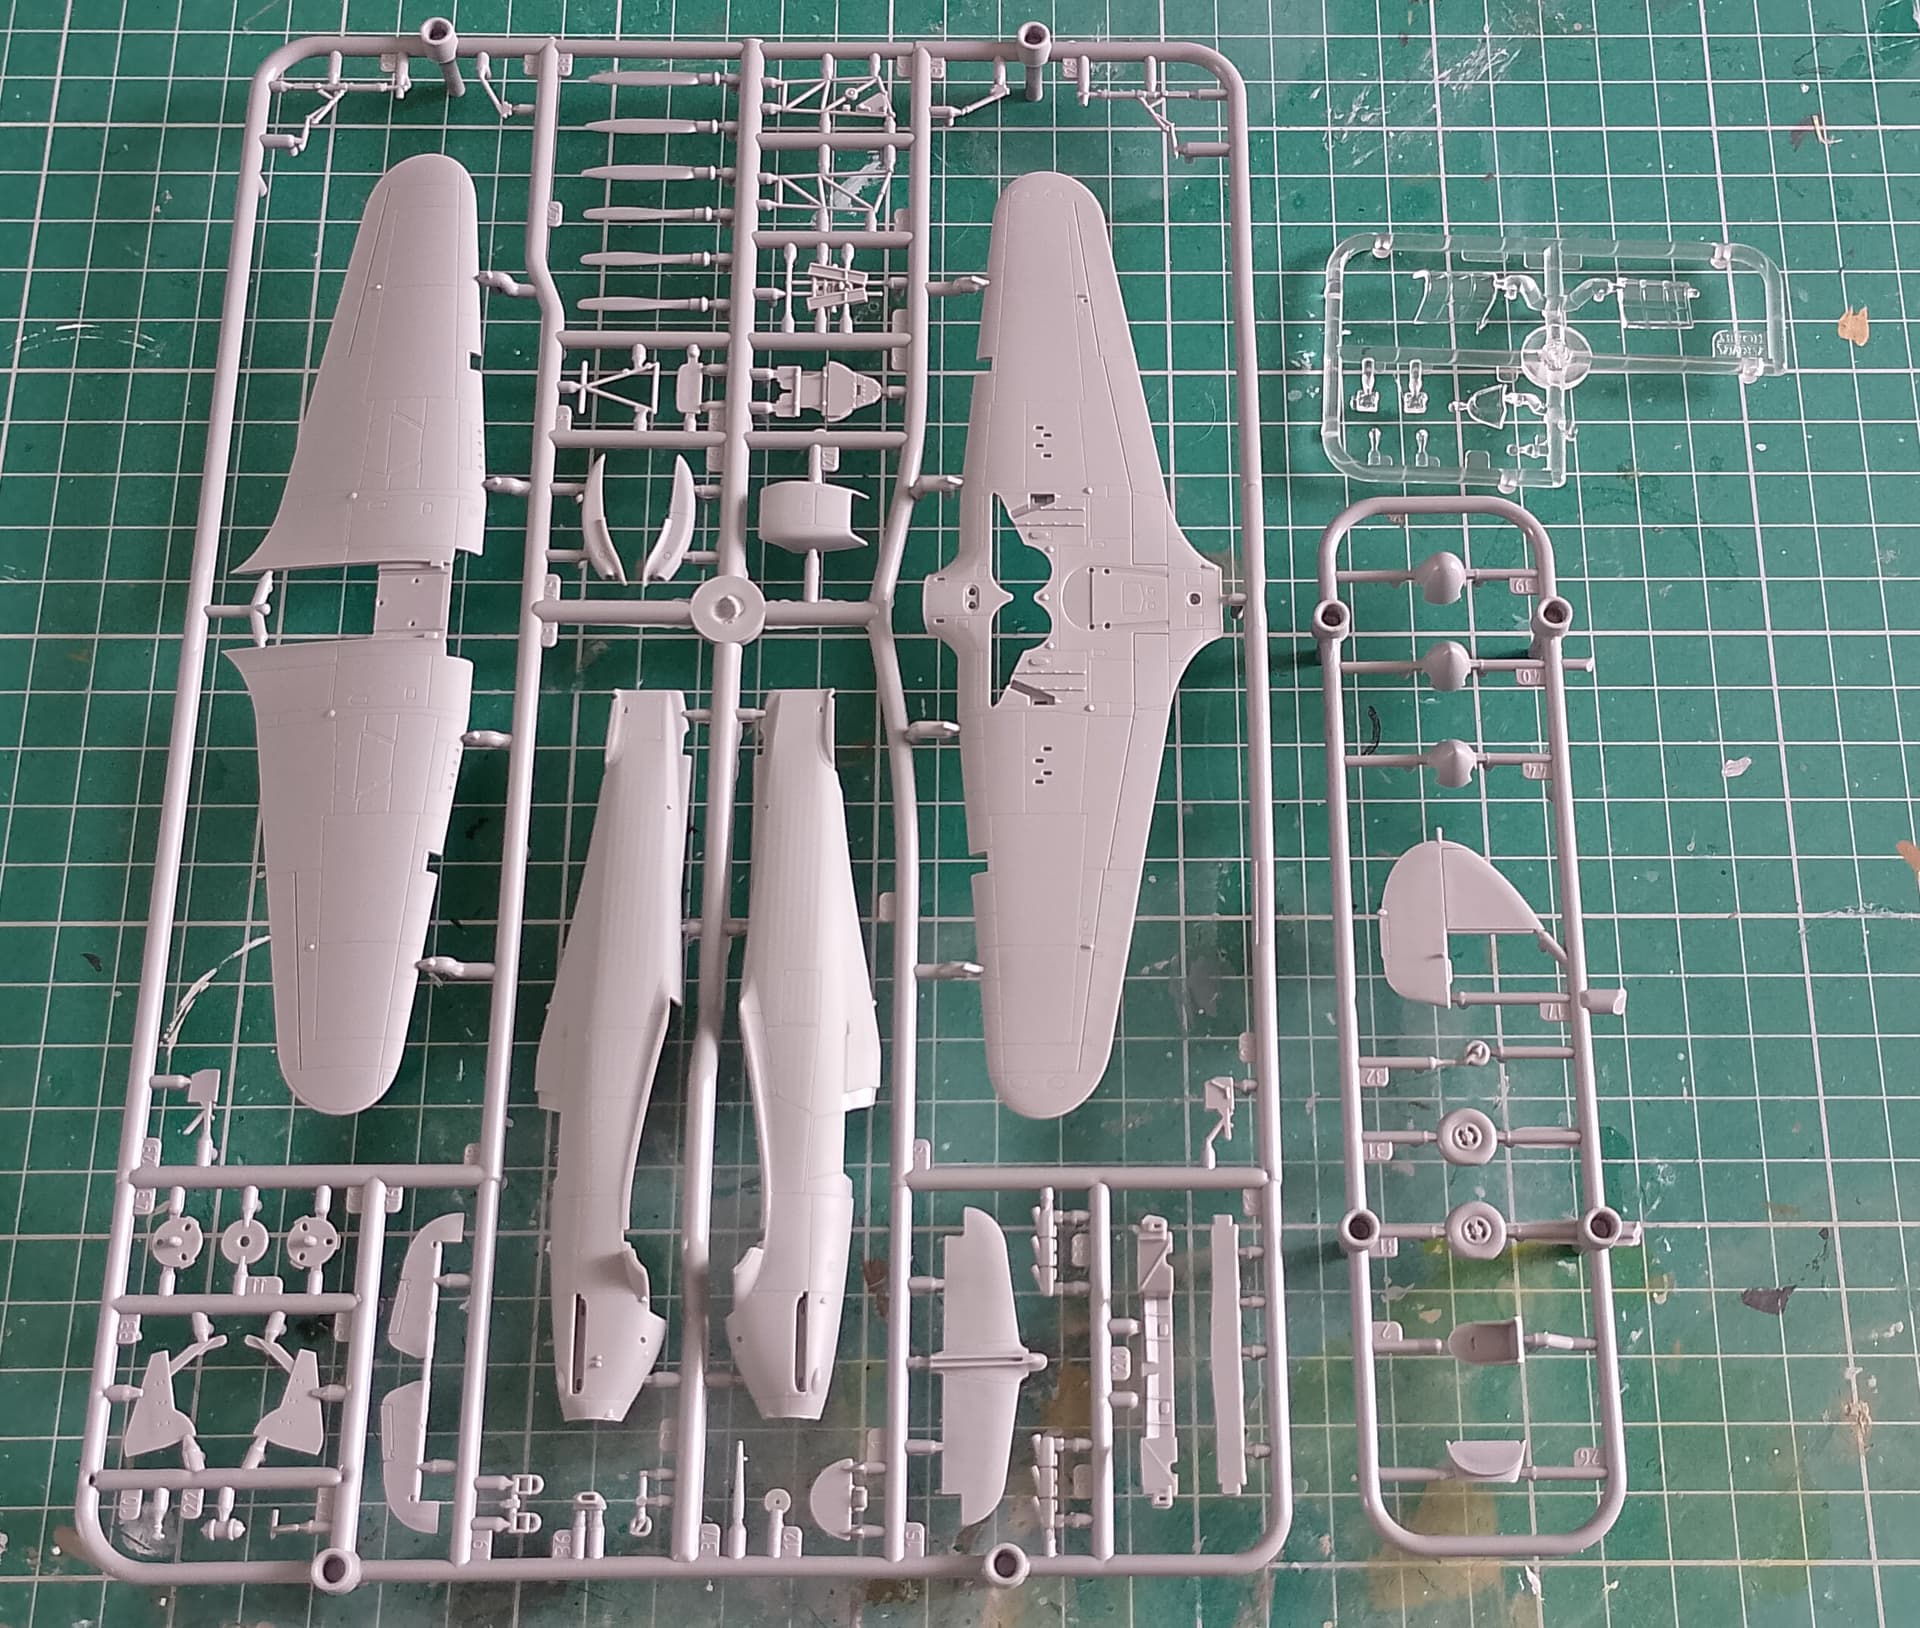
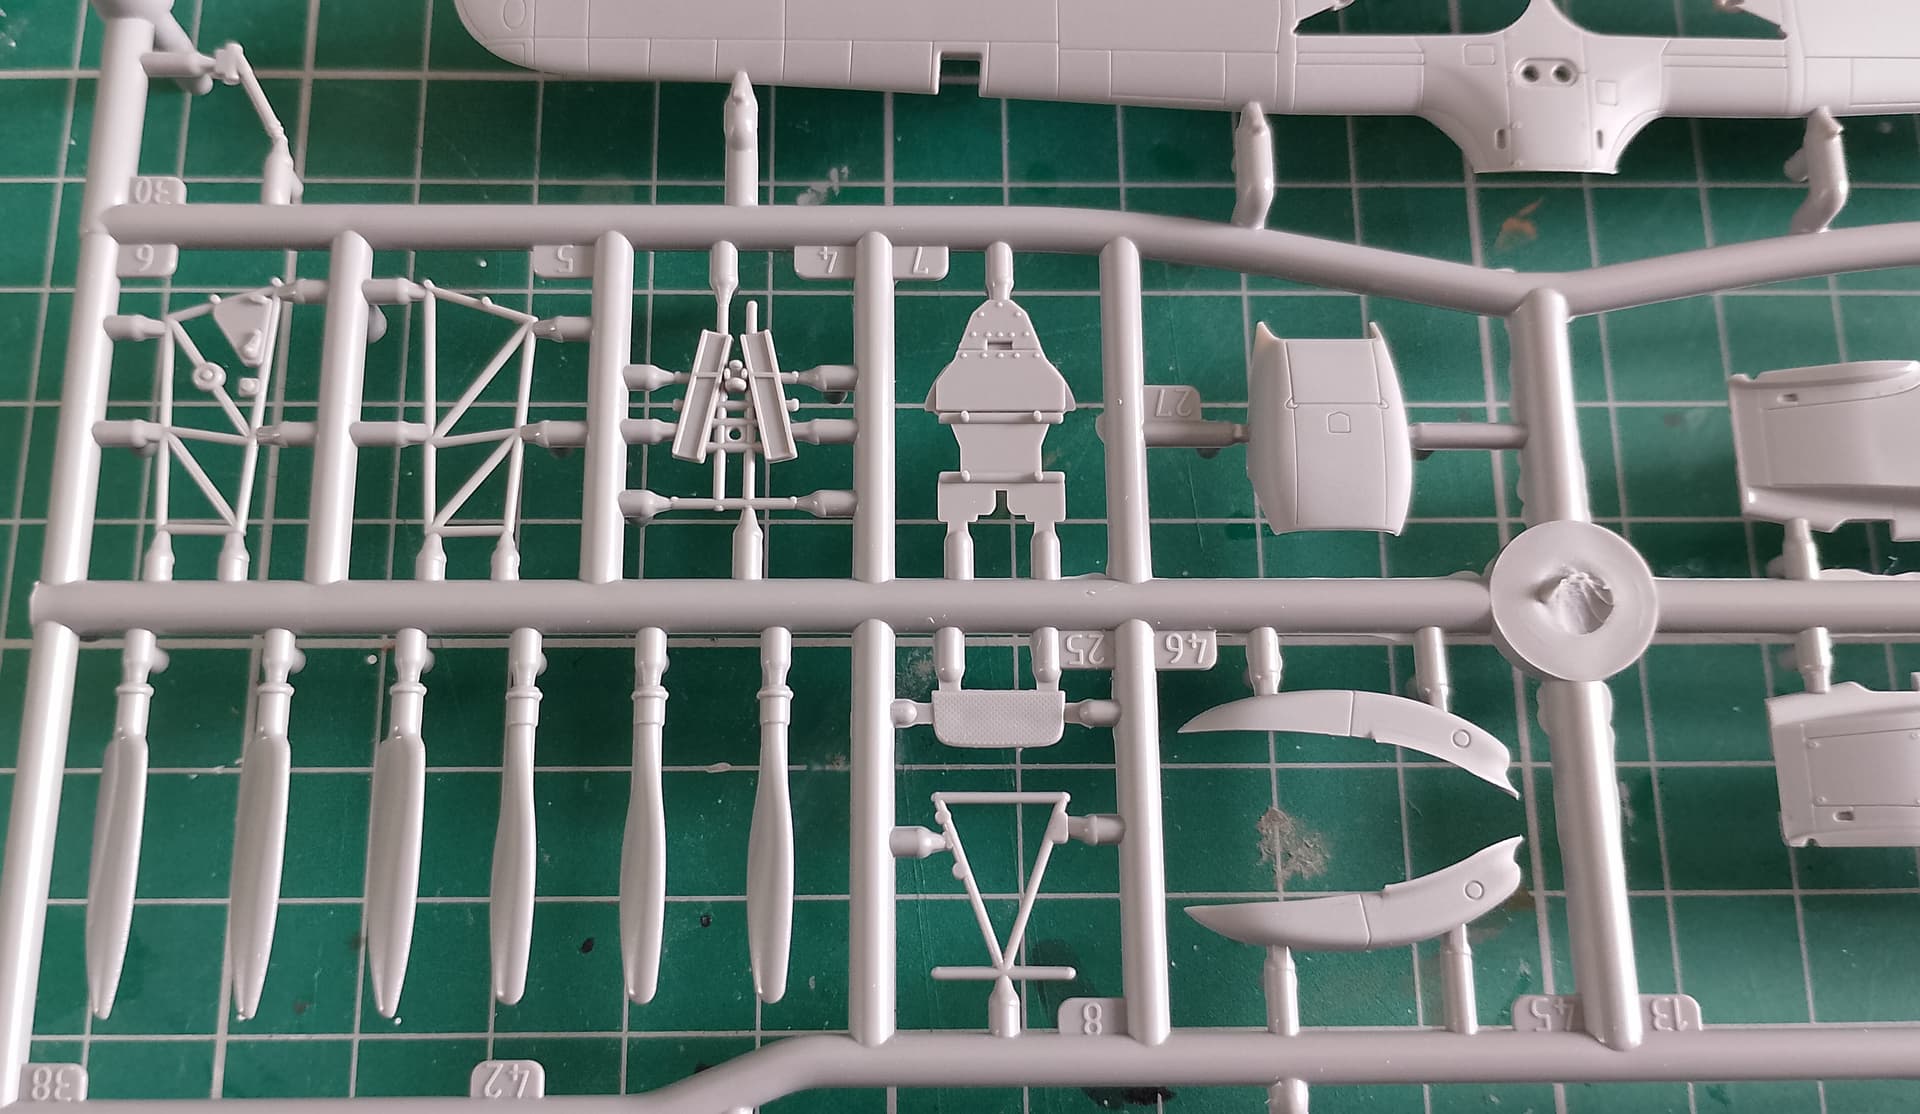
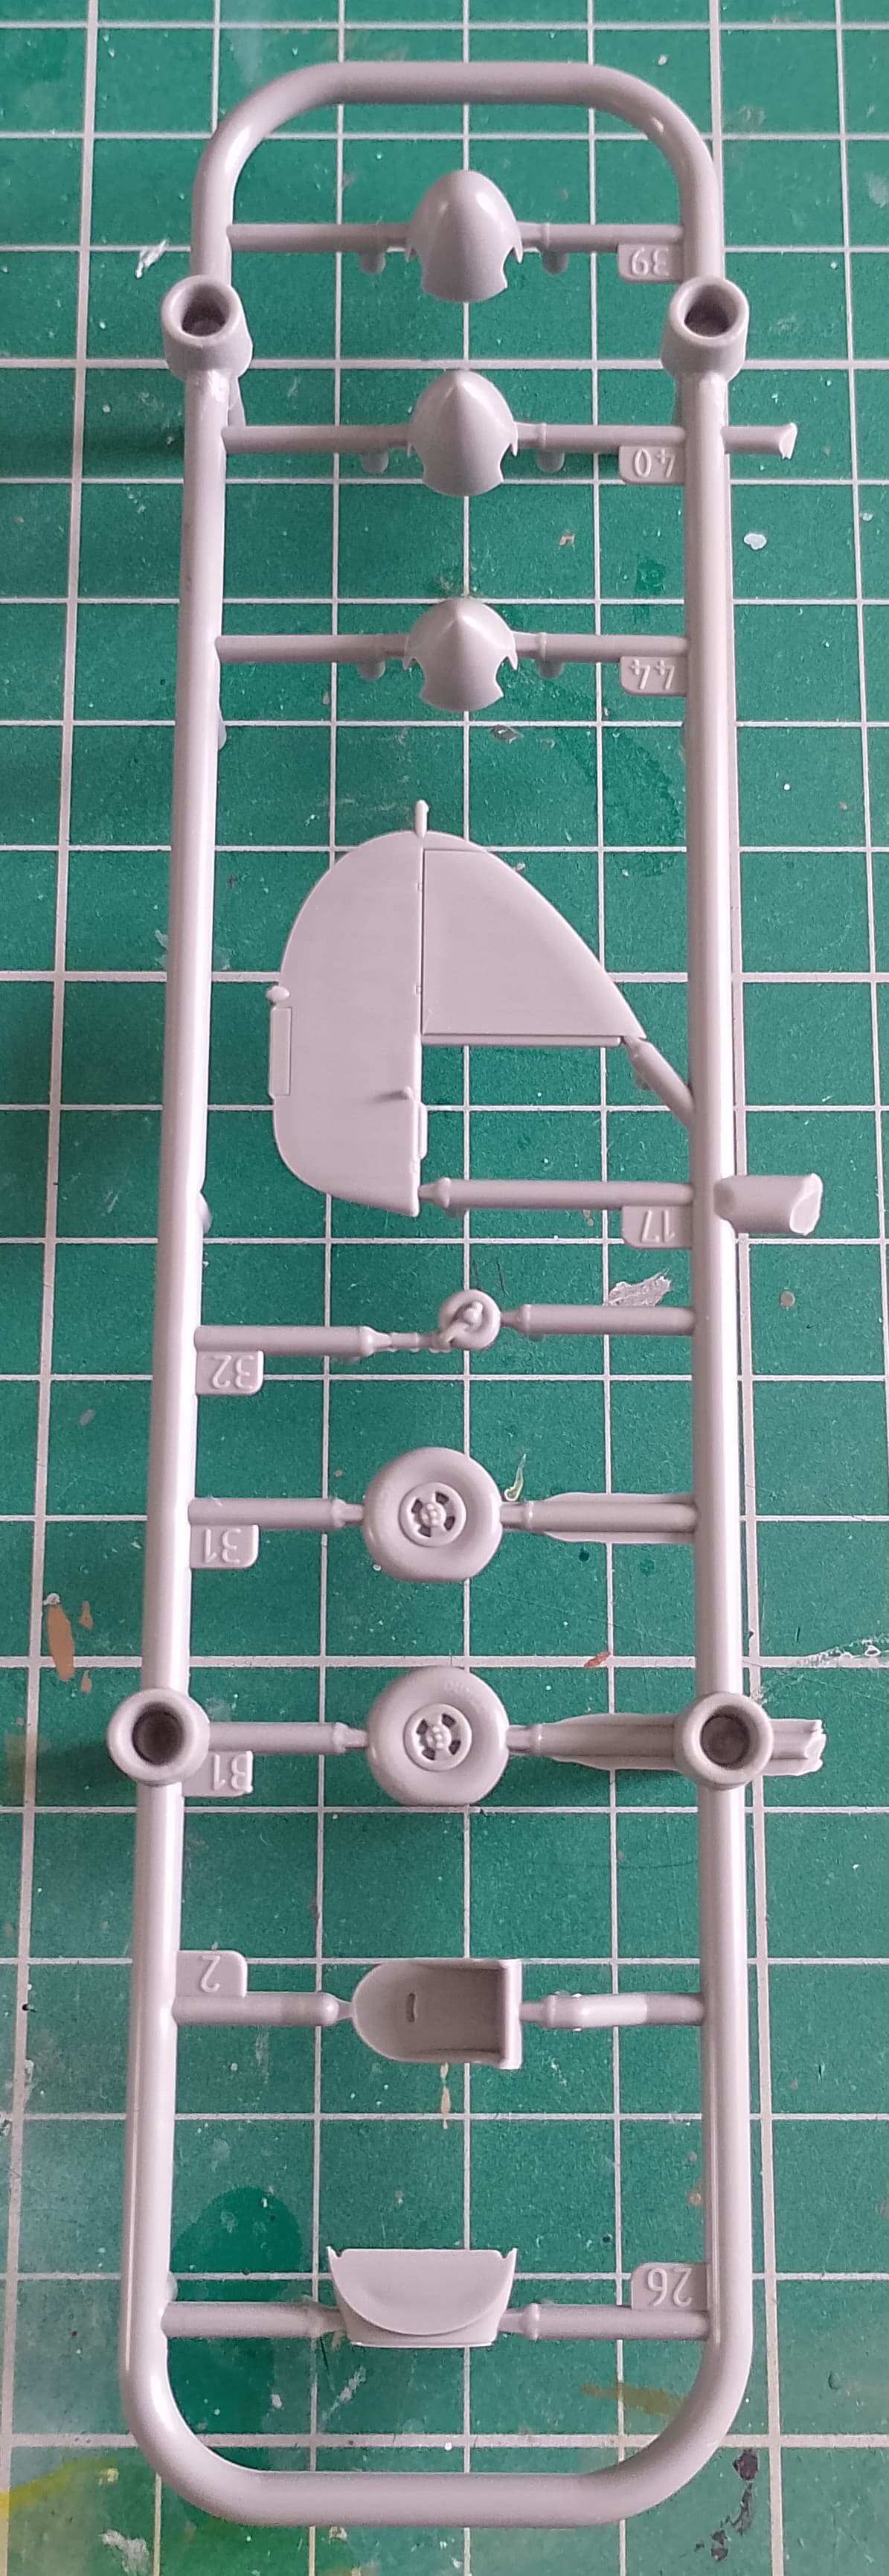
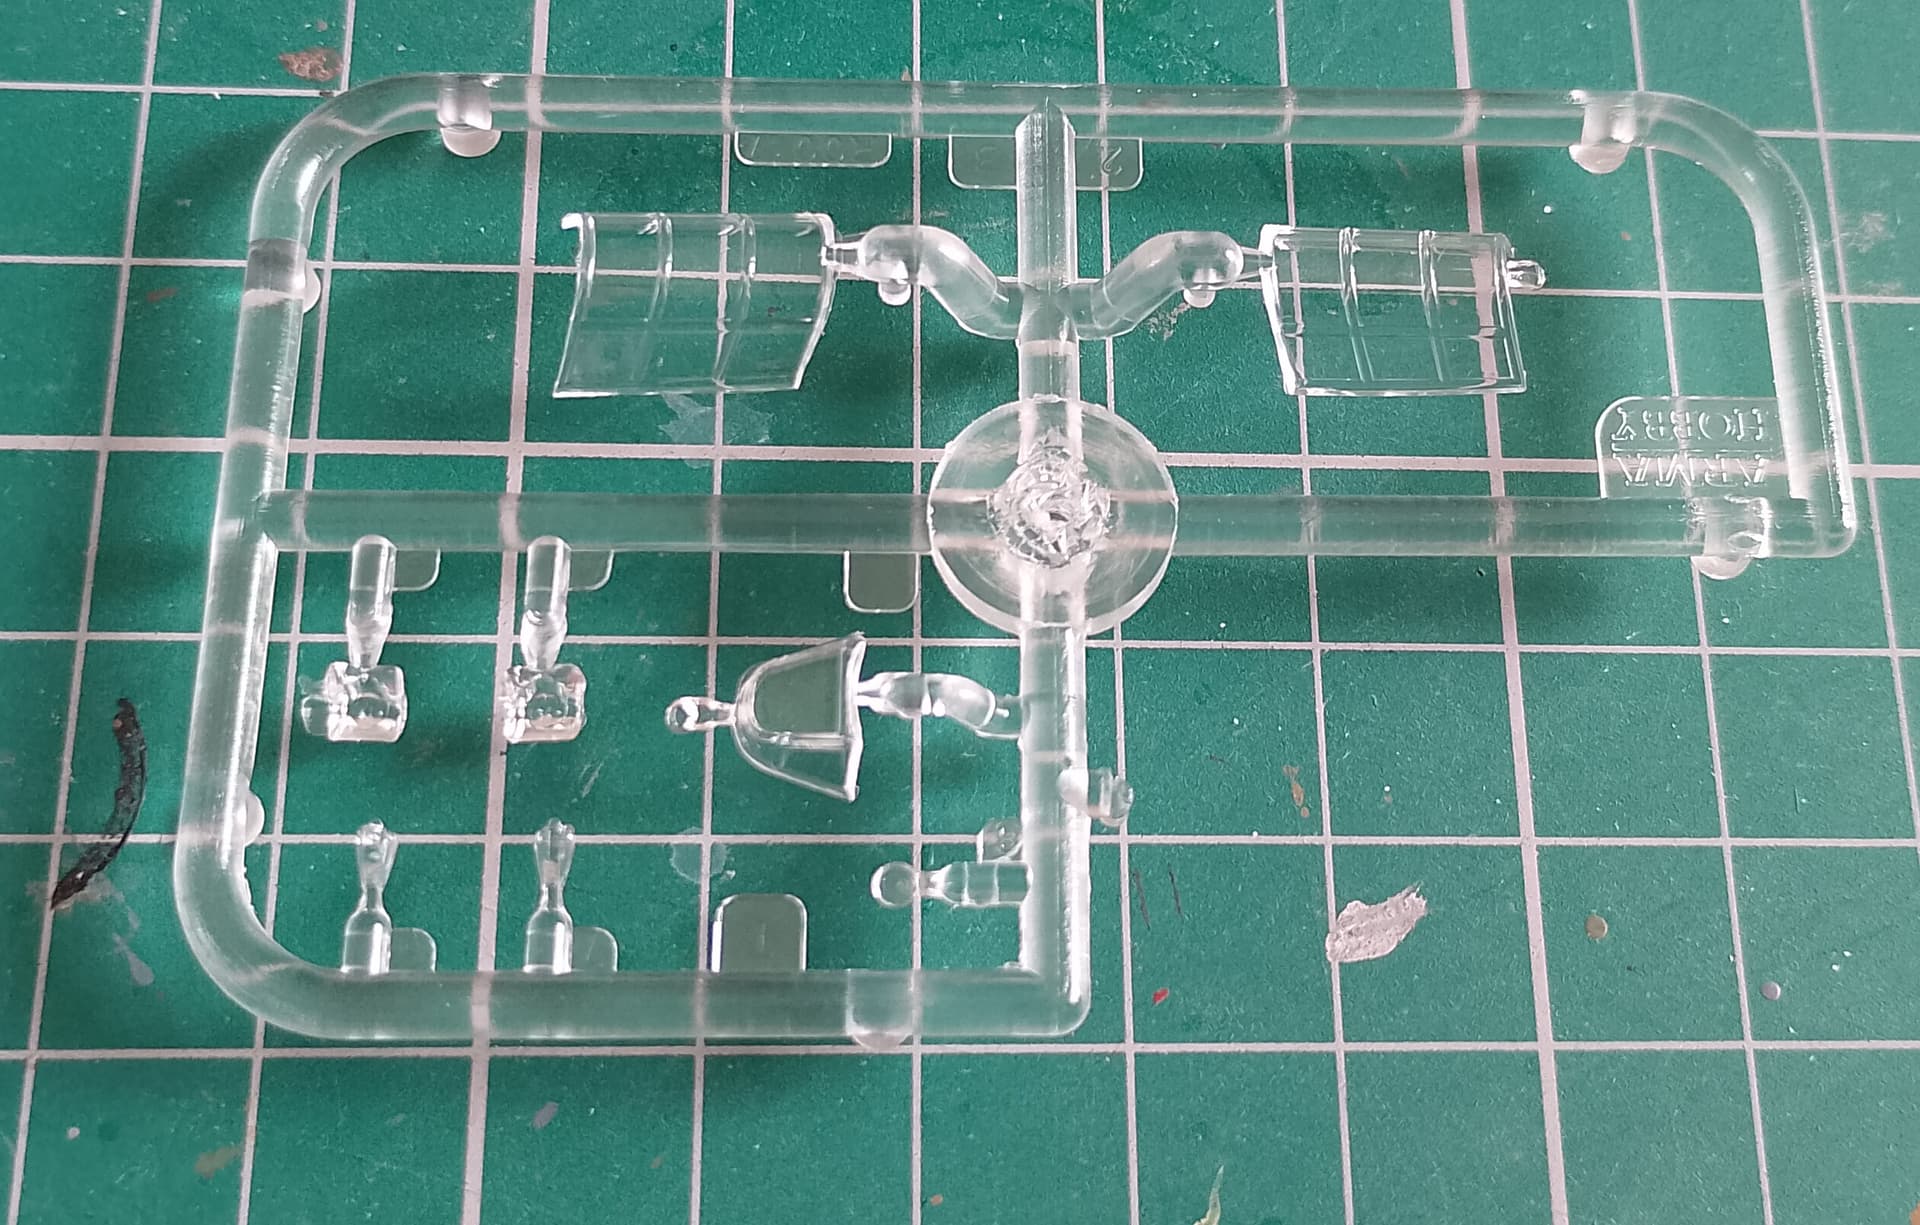
Main parts are on one large sprue, a second smaller sprue and transparencies.
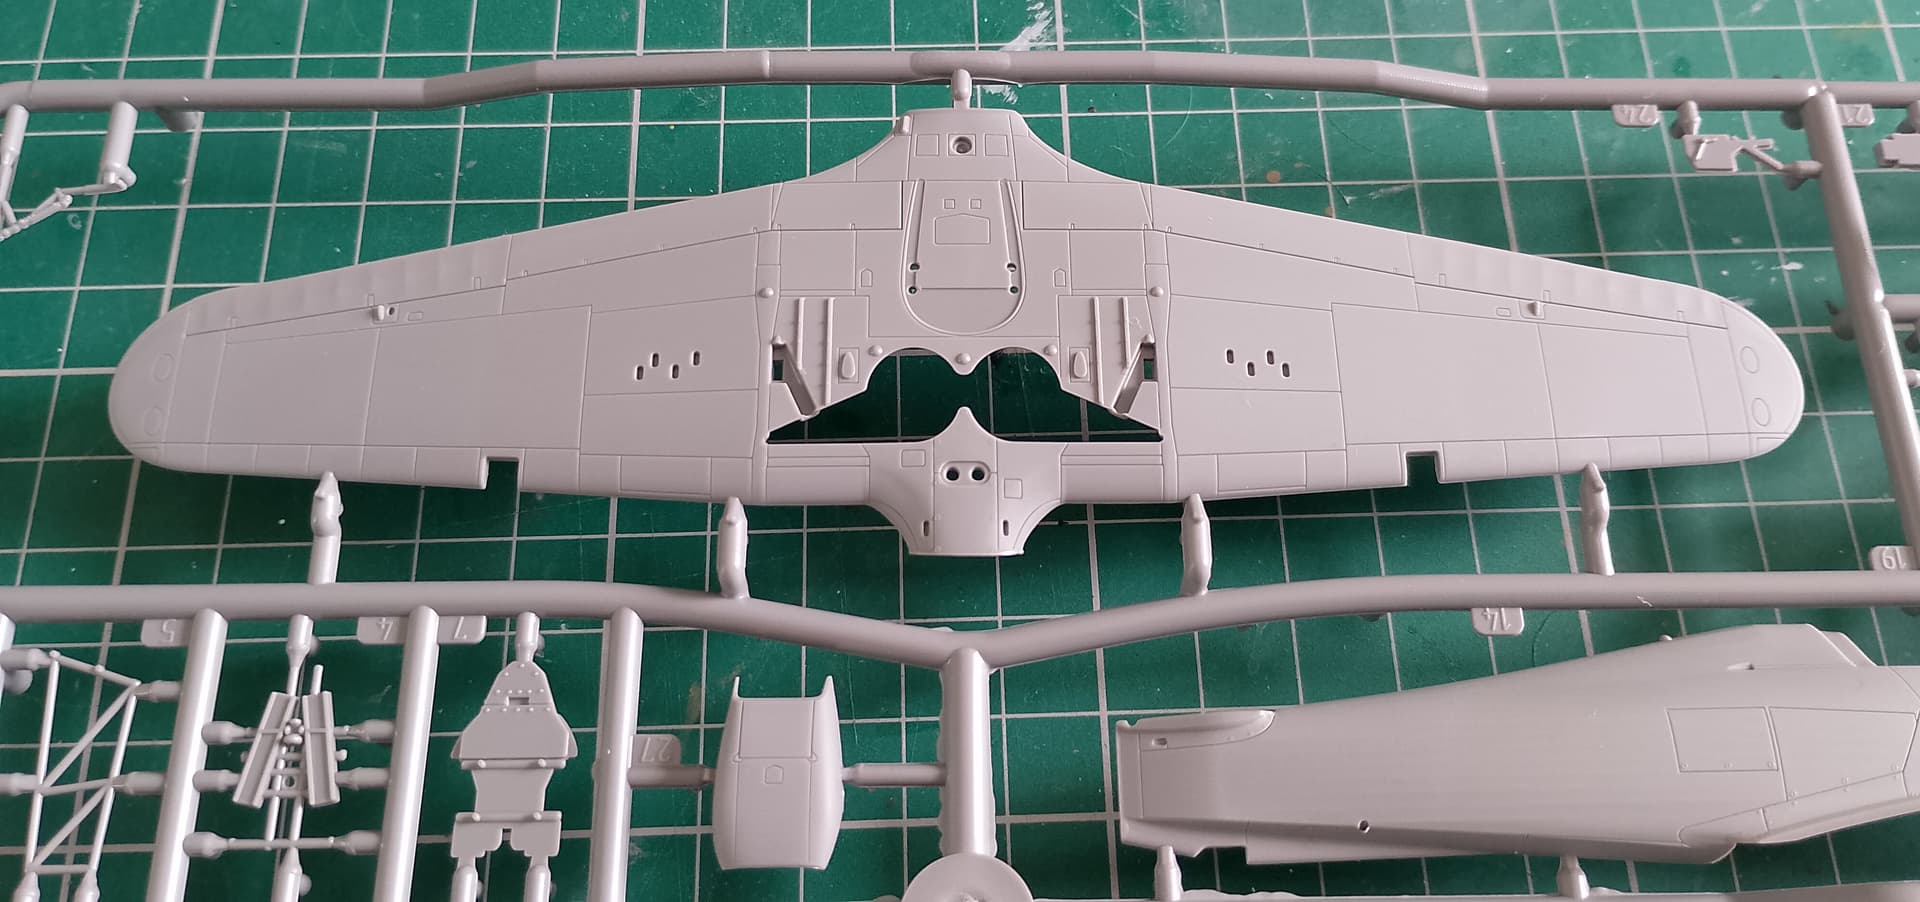
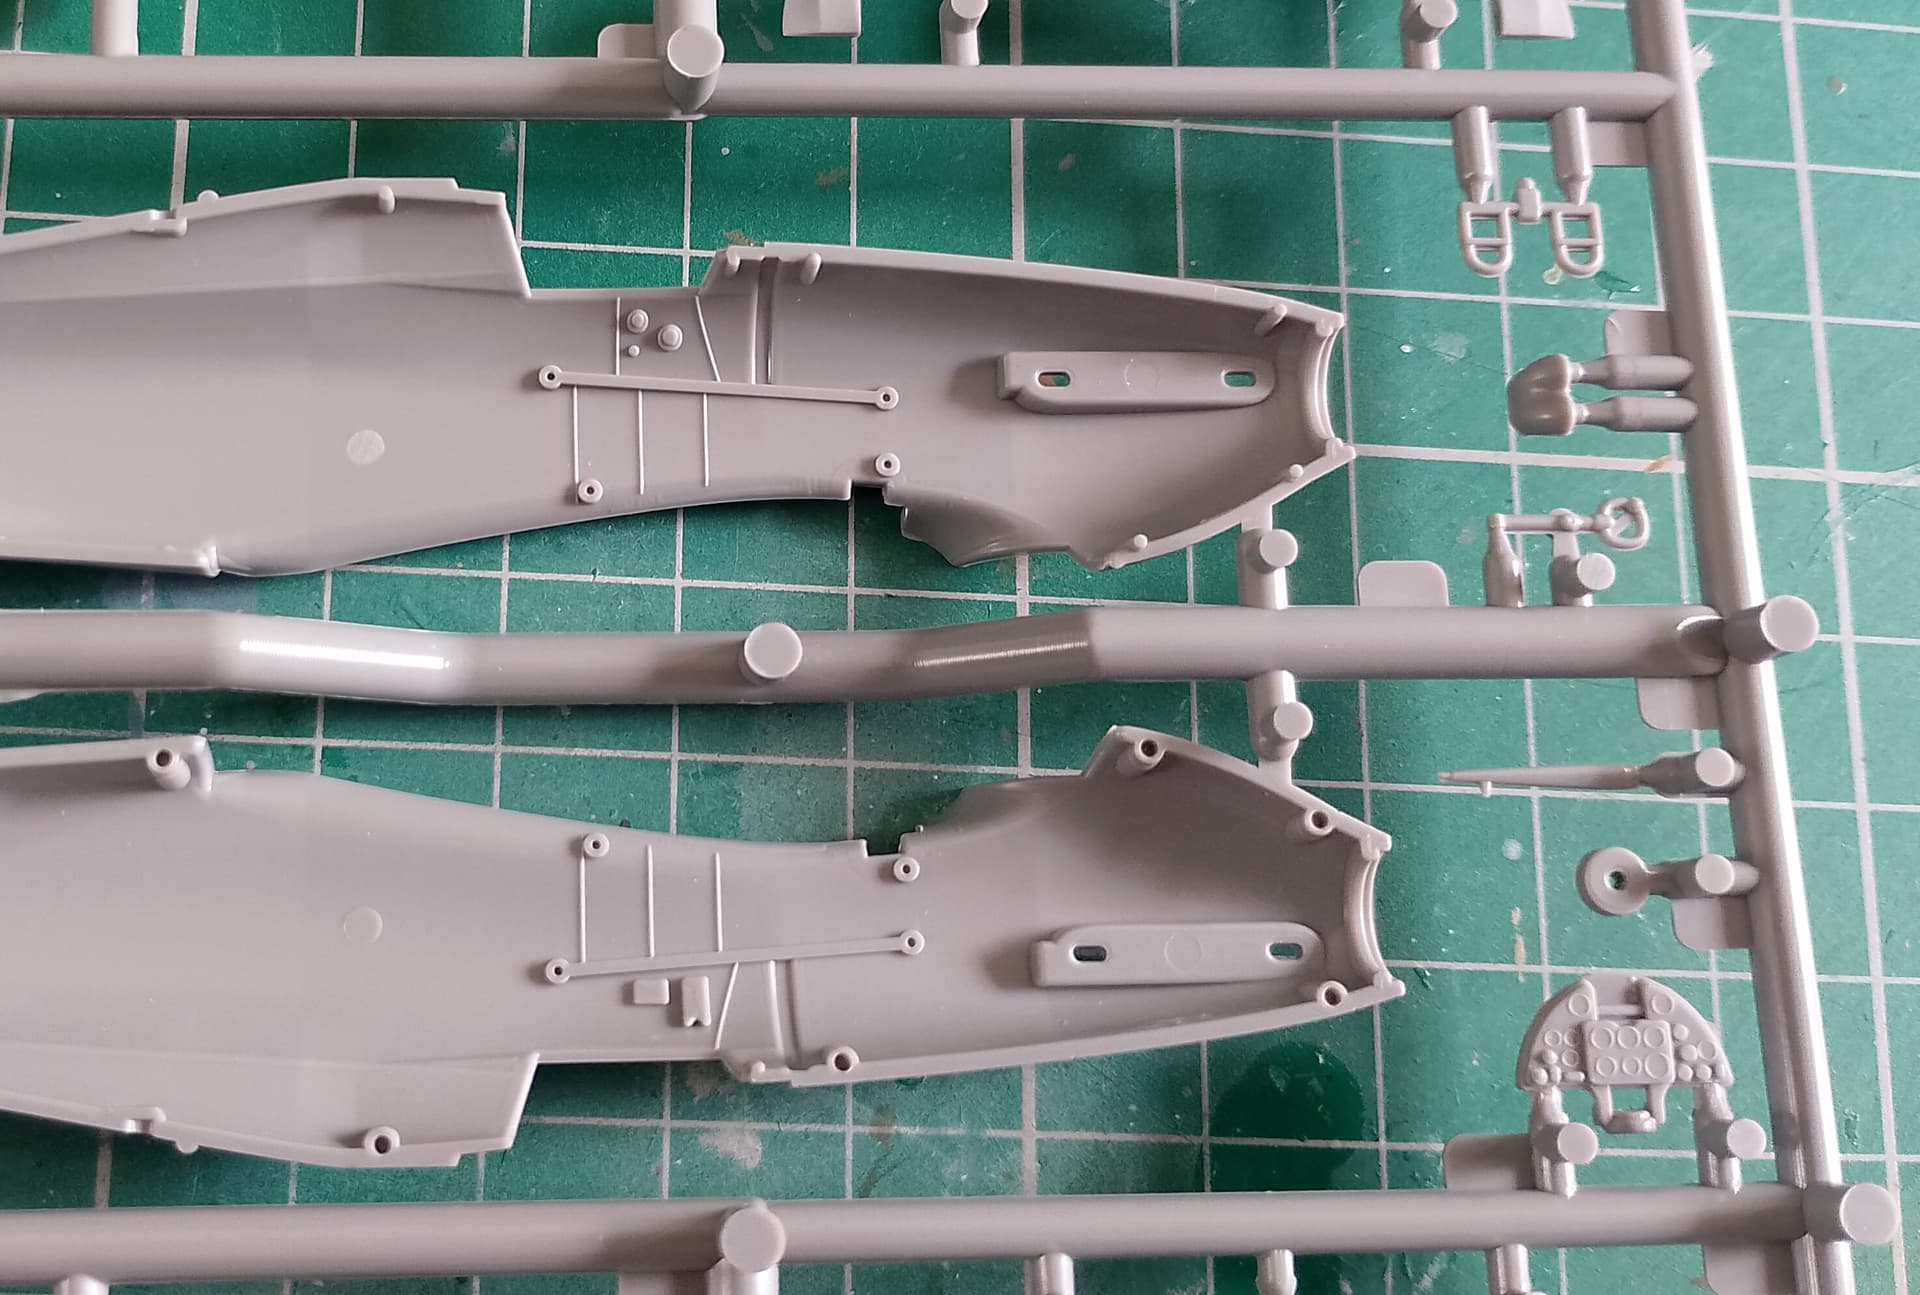
Detail throughout is nice and sharp.
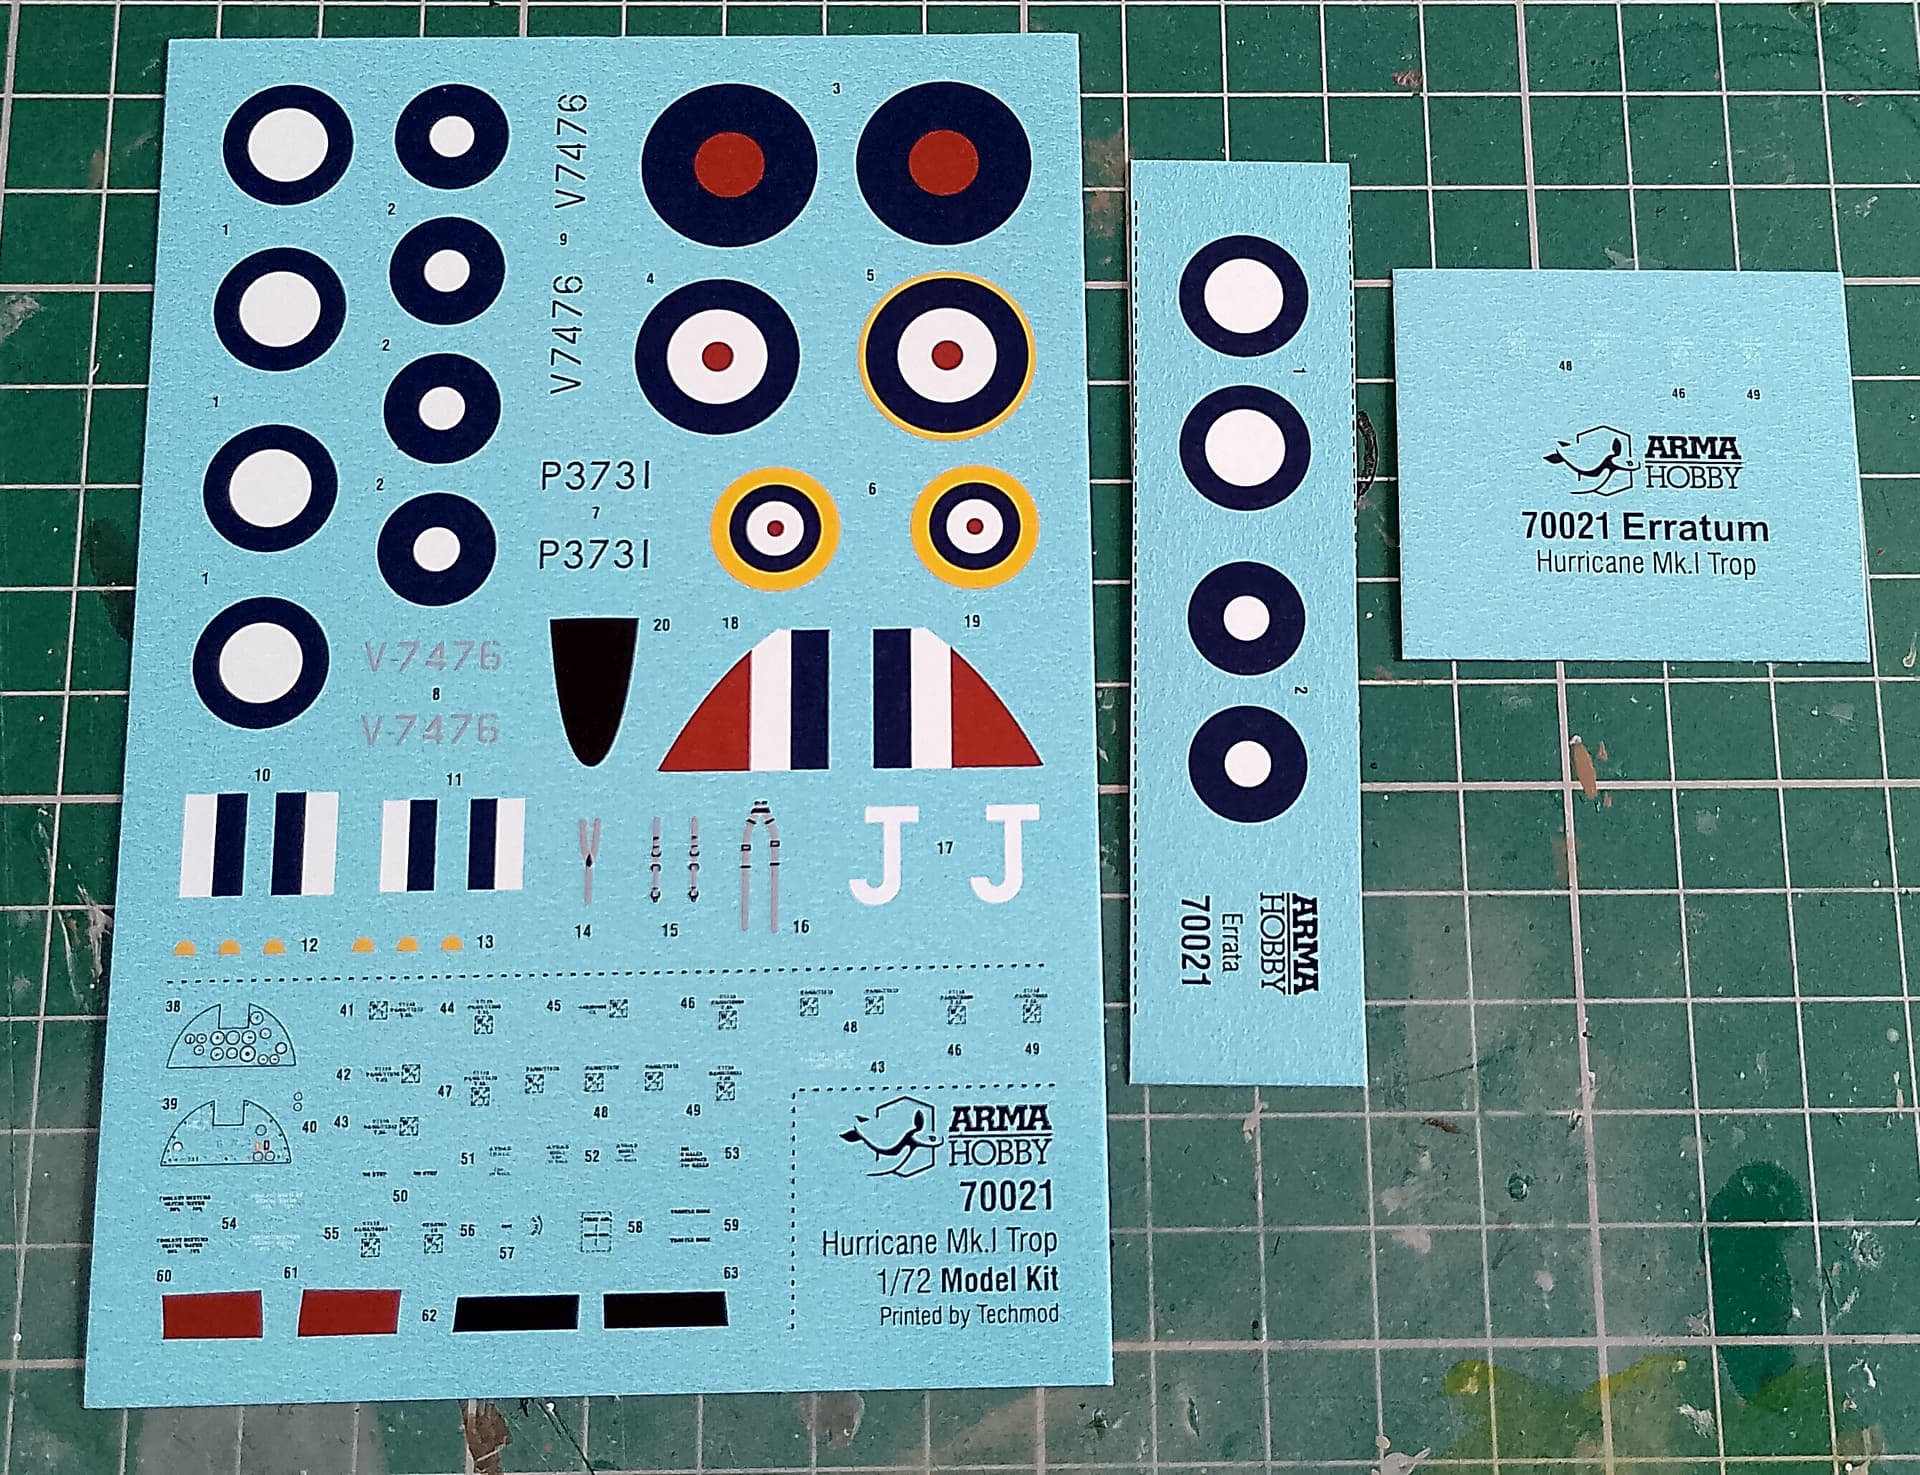
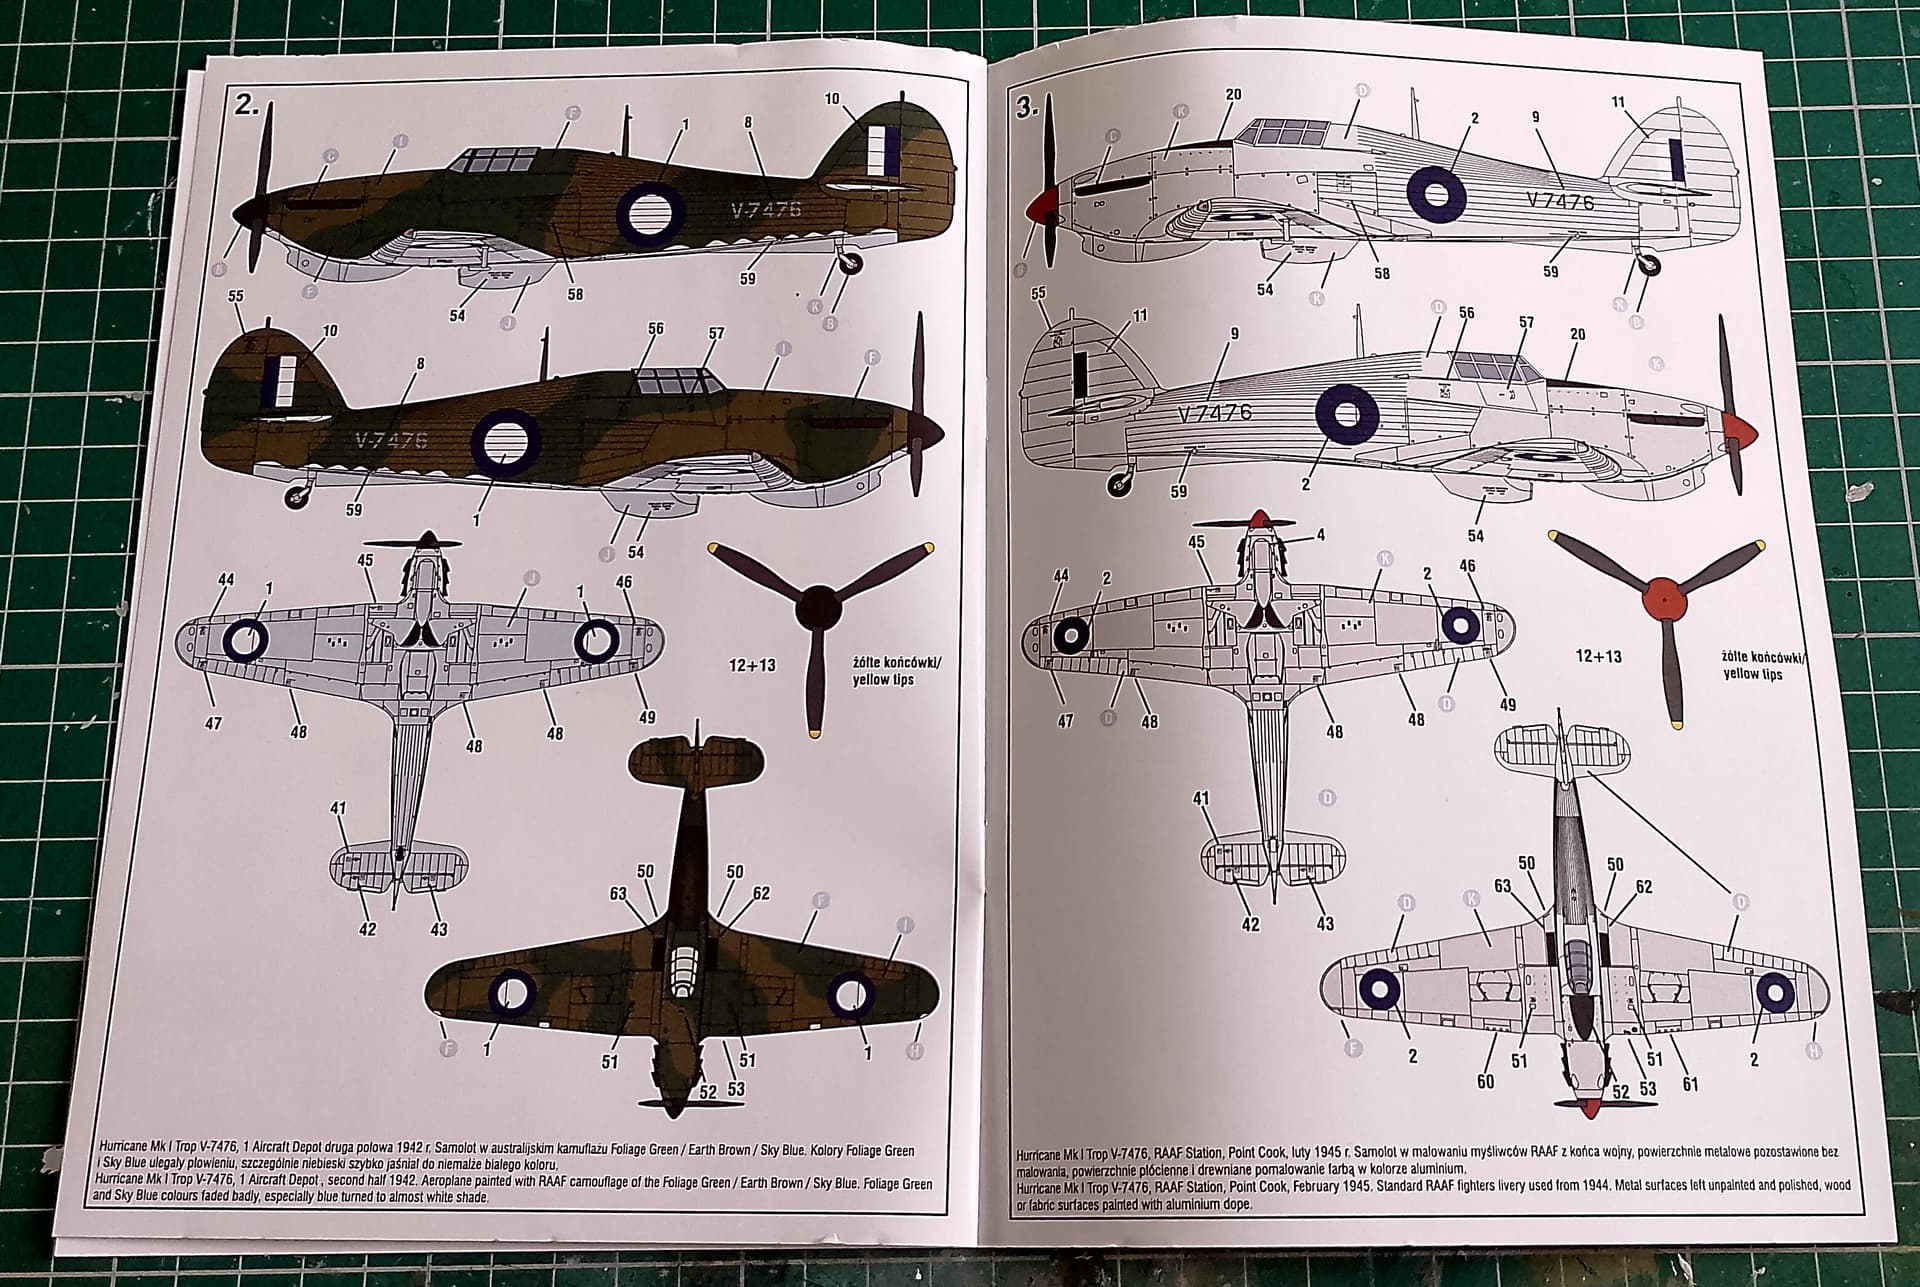
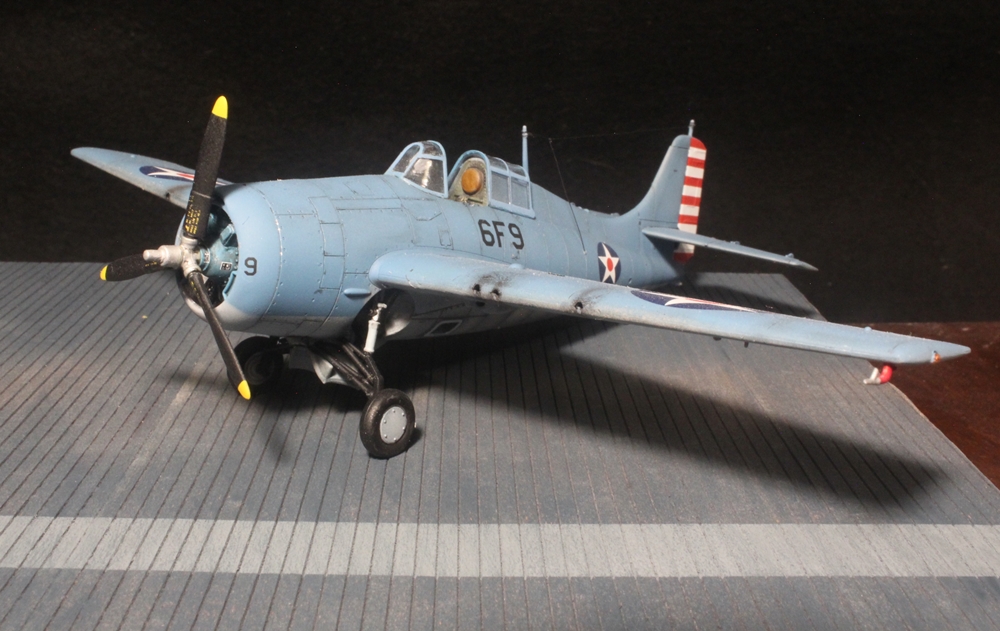
Marking options for three aircraft: 2 RAAF and 1 RAF based in Malta in late 1940. This is the option I’ll be doing.
A very simple but well detailed little kit. So lets get going.
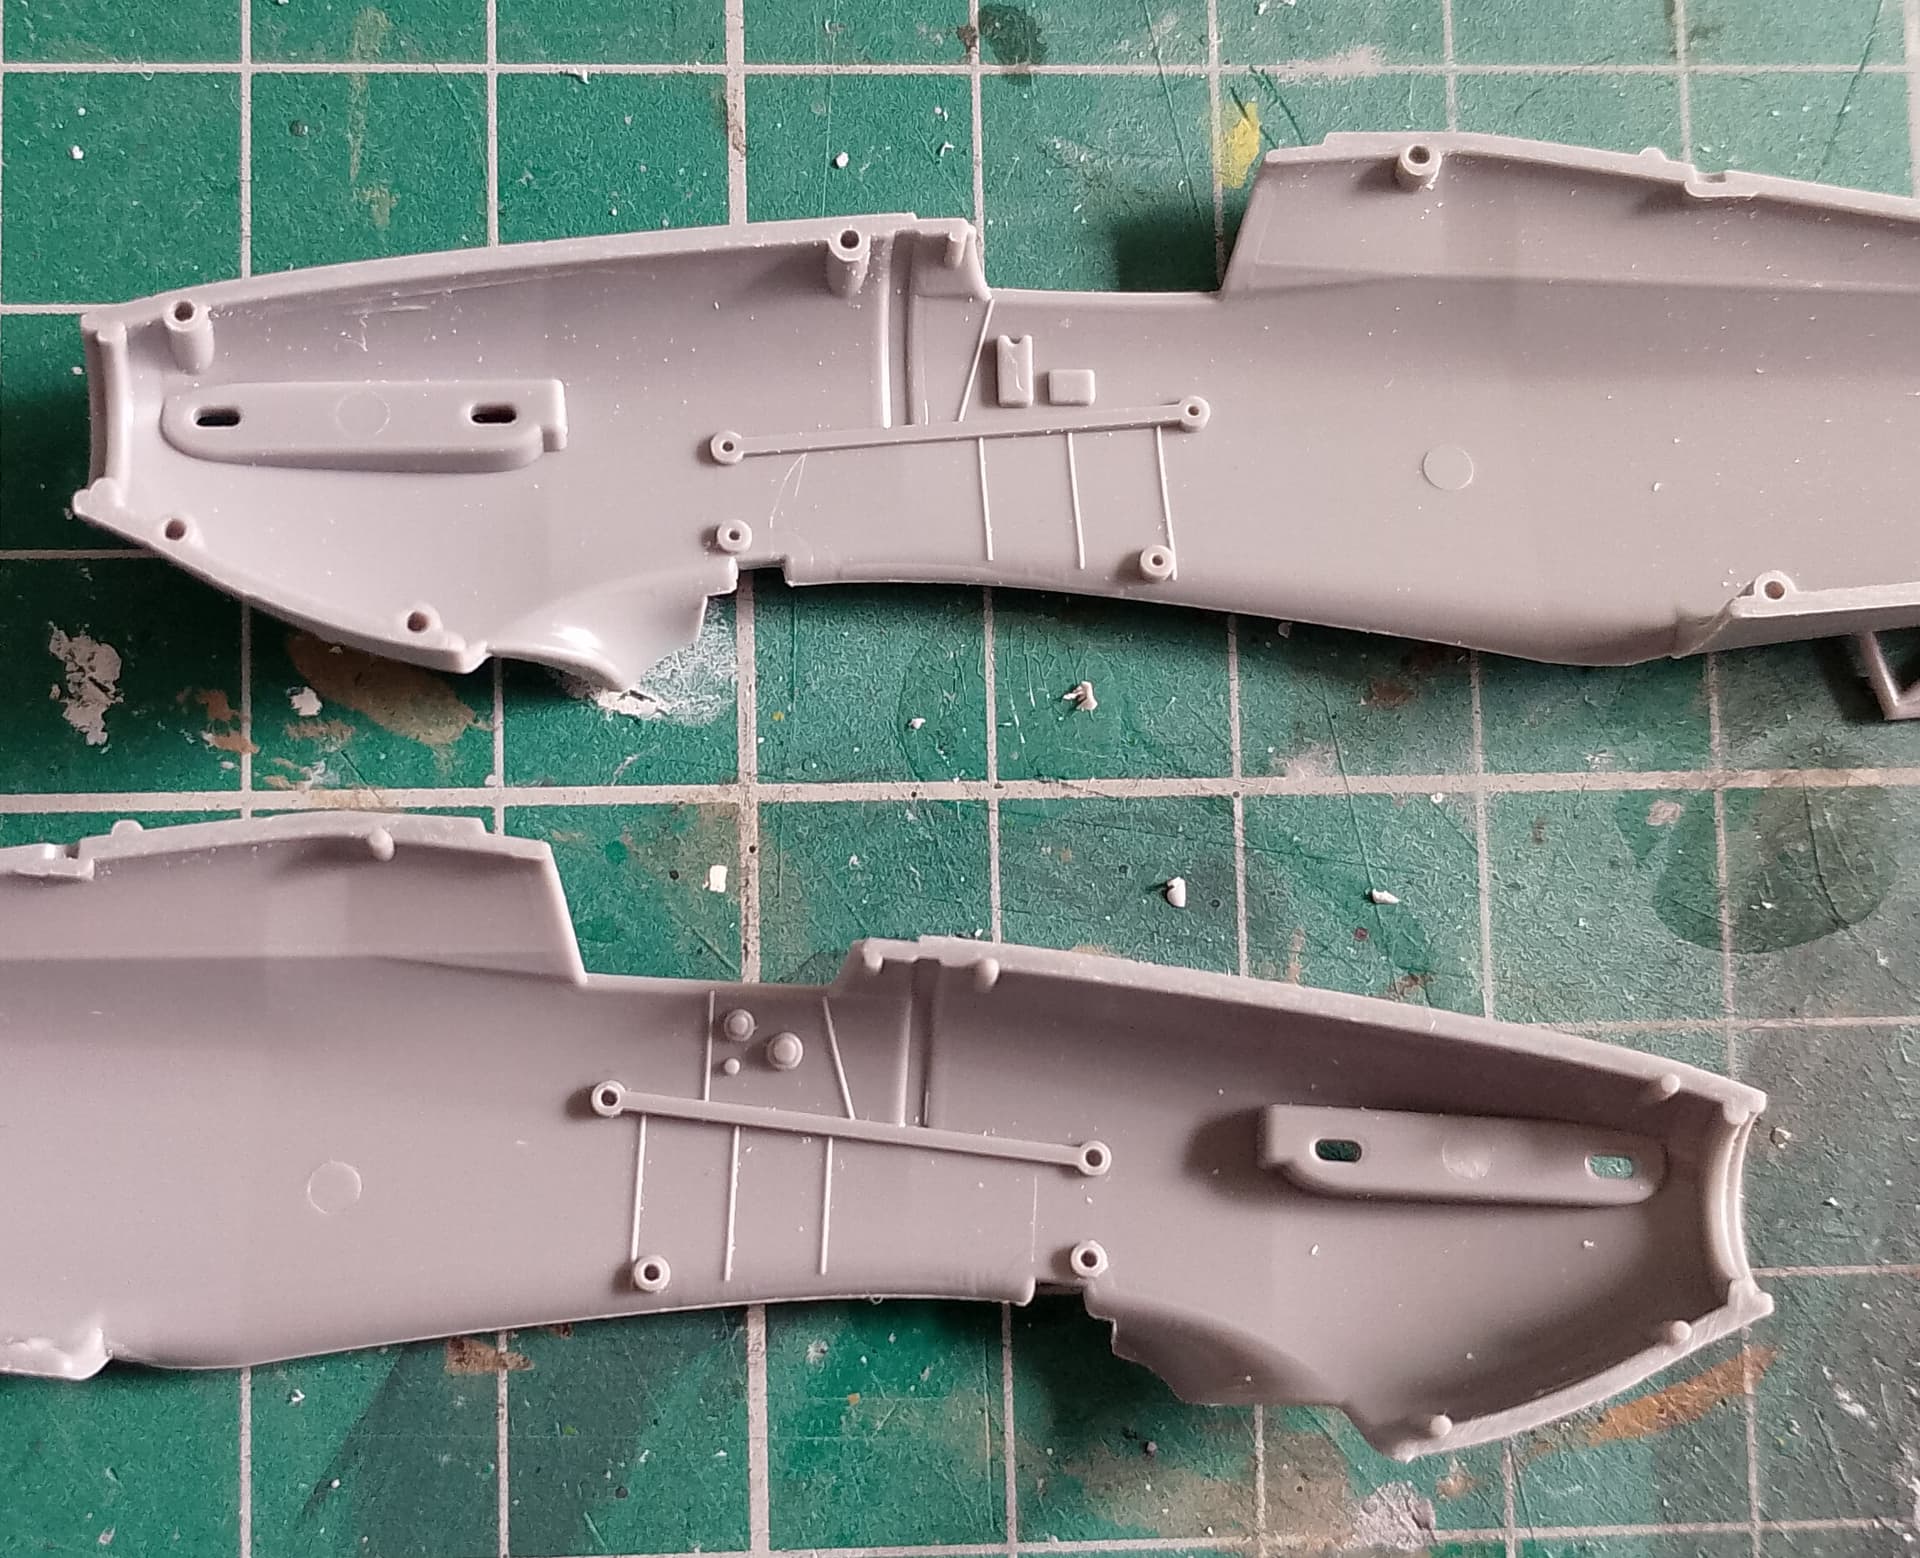
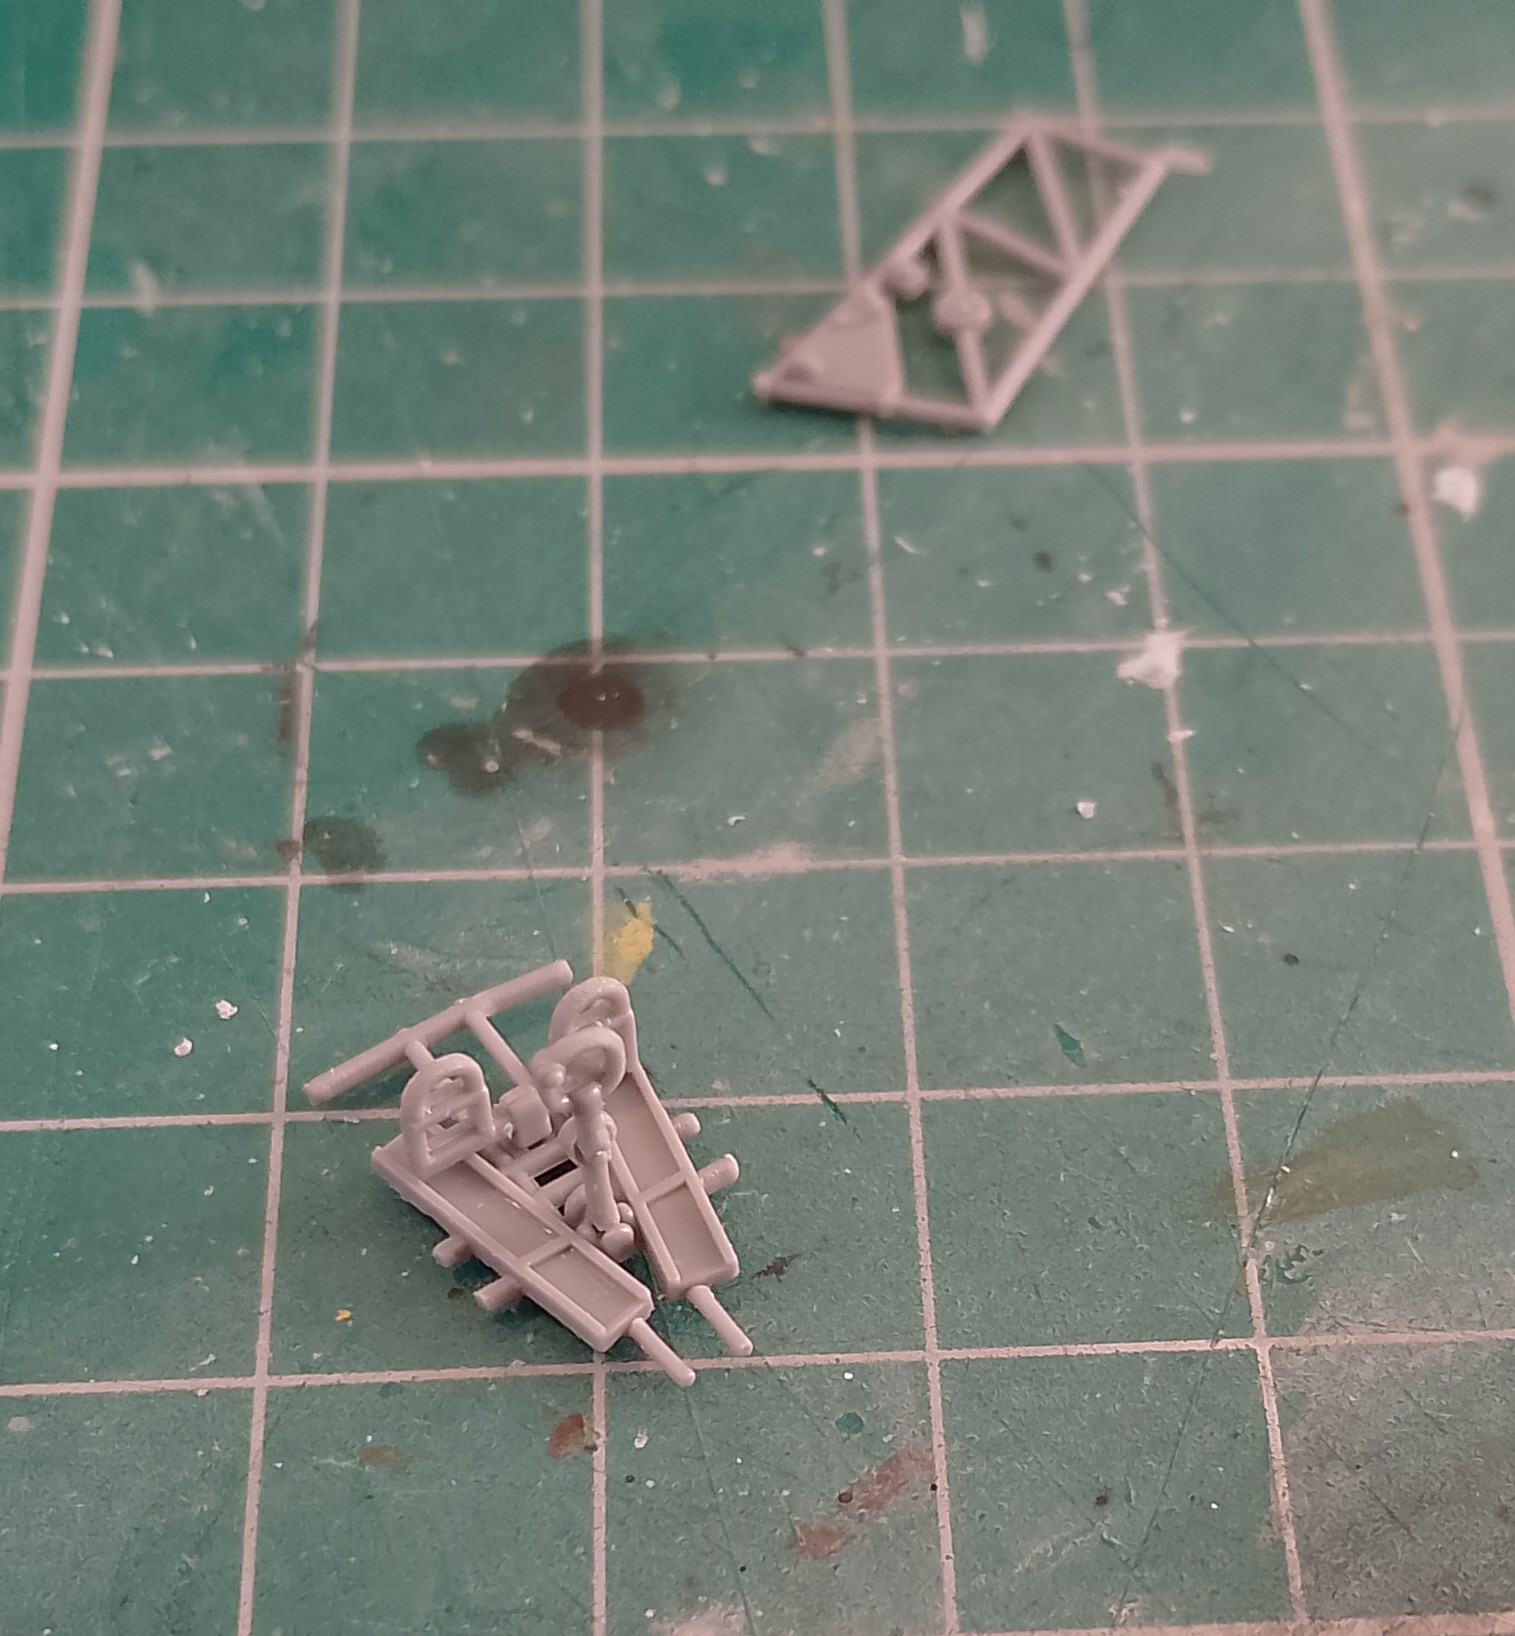
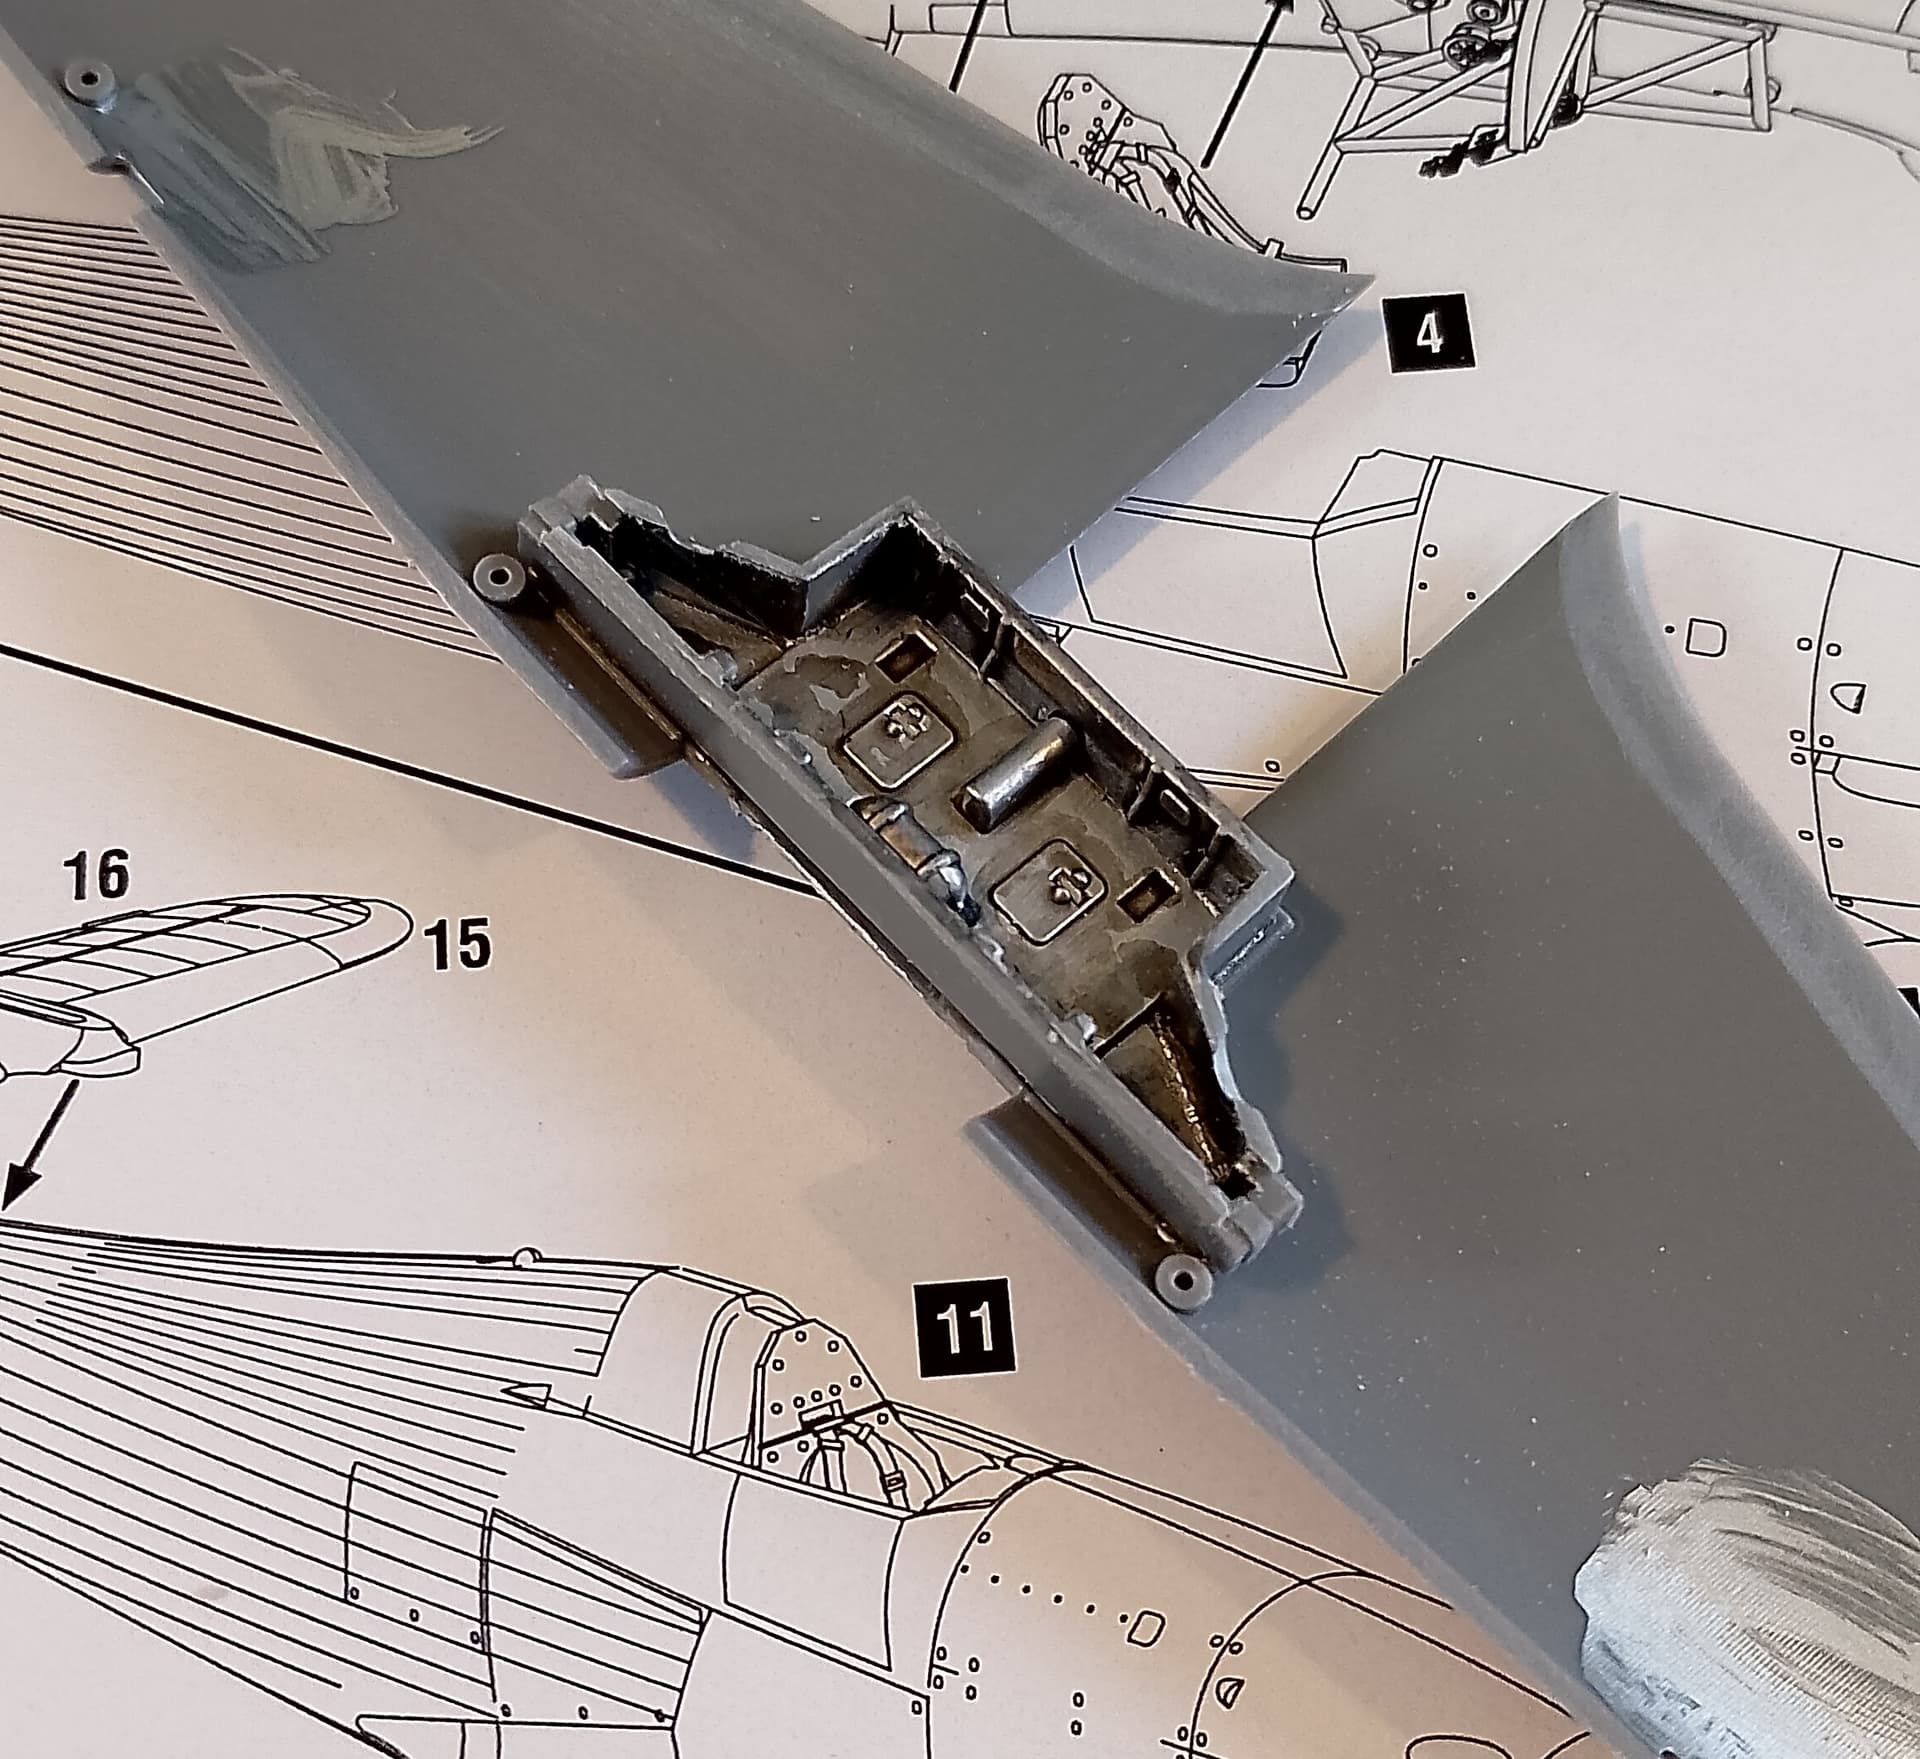
Everything starts with building the main wheel wells. Did need a bit of trimming at the join (tongue and groove joint) to get them to fit together.
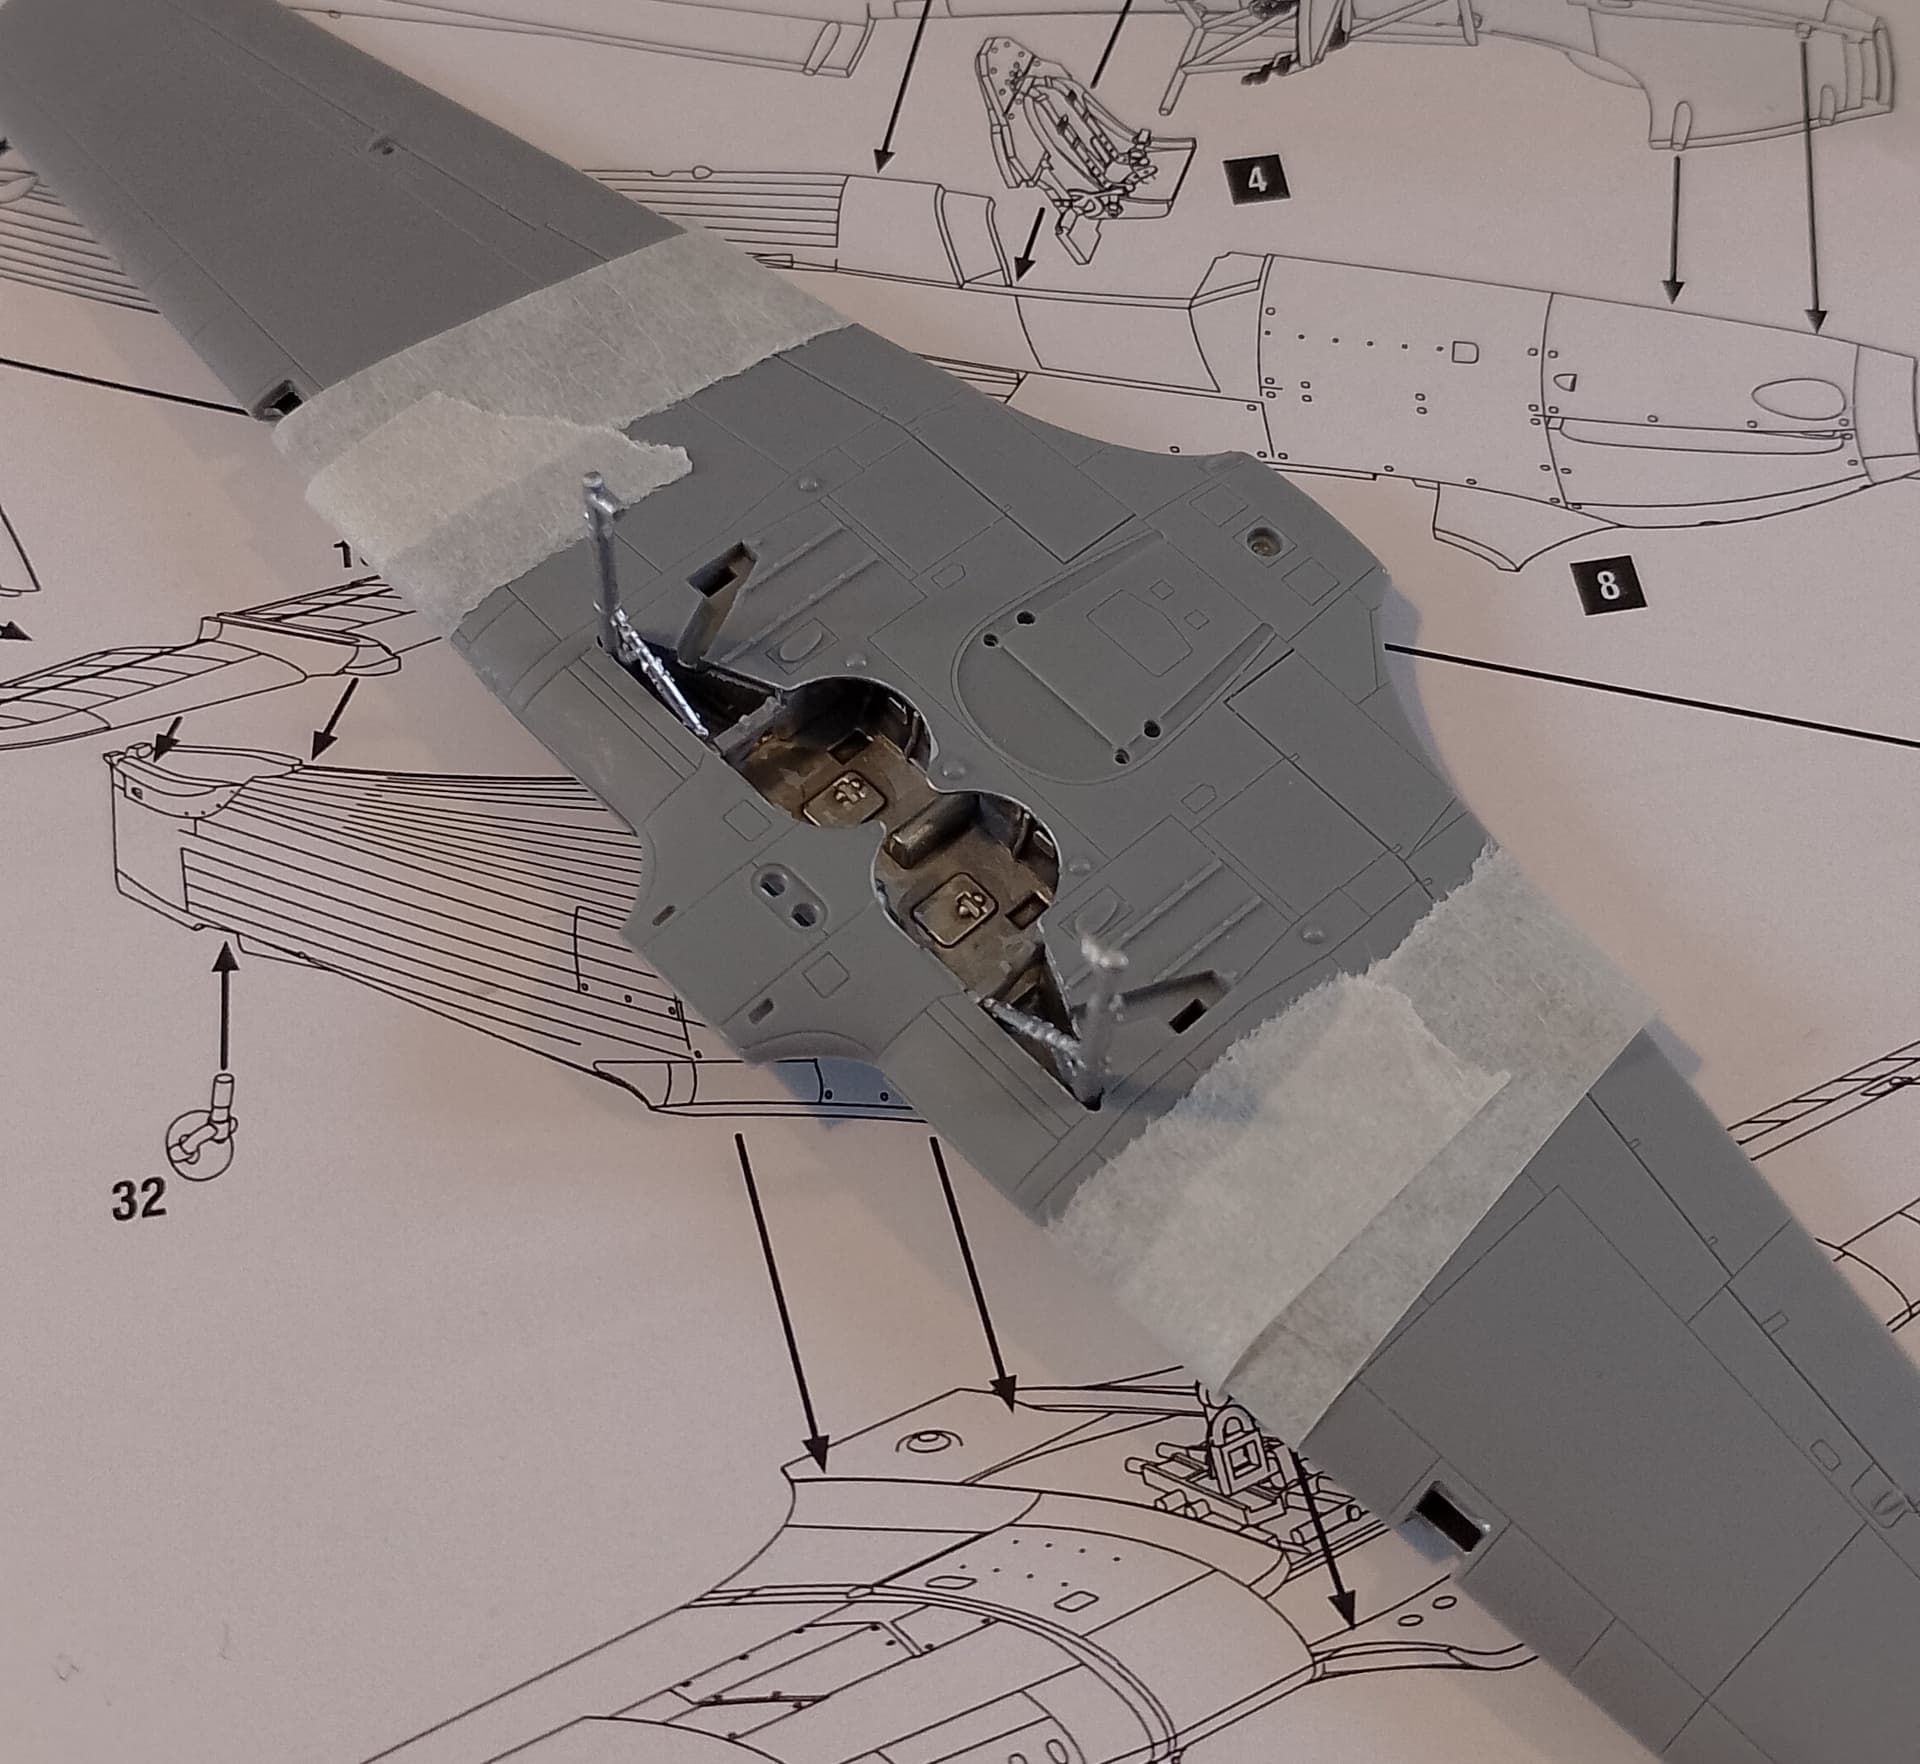
While that was setting, started on the cockpit. I did find the sprue gates on the frame parts a little thick and a razor saw was needed to cut them out. Felt a sprue cutter would risk breaking them. Even then I managed to break one!
The mounting holes for these needed opening up a little on the fuselage halves.
Rudder pedals and control stick went together easy. Stick needed a little trim at the bottom to fit in in it’s slot.
And a little bit of aluminium and RAF interior green paint brings today’s work to a close.
So far so good.
Thanks for looking.
15 Likes
Looking good so far.
Curious about Arma’s kits, I will follow this one closely .
1 Like
Thanks.
I’ve got 3 of their Hurricanes so far, 2 Mk.1s and a IIb and I’m very impressed.
I keep meaning to get some more. I think they did an Oscar recently? And the new Mustangs due soon look very tempting.
1 Like
I don’t generally do aircraft, but I did get a couple of Arma’s Hurricanes (because I love the Hurricane), and an F3F Wildcat. All with the PE, etc. Really fantastic kits. Unfortunately, they’re no longer available locally, and ordering them makes them REALLY expensive!


8 Likes
Nice! They’re really well done.
I think the MK1 Hurricanes have gone OOP, so when I saw a couple for a decent price I grabbed them. Did think about getting the Wildcat last year, but somehow I’ve acquired quite a few of the Airfix and it’s such a nice little kit anyway, I never did. If I do see an Arma, I might treat myself.
I also hear good things about their P-39.
Out of curiosity, when you did your Hurricane, did you follow their instruction steps for the undercarriage? Or fit fit them after the wings had gone together?
This way just looks like an accident waiting to happen while you build and clean it all up. Not to mention a tricky masking job when it comes to painting.
I have dry fitted the wings together and I think I can get it all in after.
What are your thoughts?
3 Likes
If I remember correctly, I assembled and painted the landing gear separately, then attached them after painting the fuselage. They were still a little fiddly! Use of long forceps (tweezers) is recommended.
2 Likes
I’ve been eyeing Airfix Beaufighter (new release), and Avro Anson. Do you have opinions on these models?
1 Like
I bought the new 1/72 Beau on release, but never got around to building it. I remember the parts looked good on the sprue. I’d have to look through boxes to find it. I had to pack and stick a lot of stuff in the attic last year when we were having some work done on the house, so I’m not sure where it is.
The Anson I have no idea of. It’s had good reviews from what I’ve heard. I tend not to do much in 1/48 and I’ve been holding back for them to scale it down.
Sorry.
I’ll give that method a try on the undercard. I’ll tape the wings together and have a dry run with it.
1 Like
That might not be a problem with more recent boxings. The new dark grey plastic is more rigid than the old soft plastic.
Cool!
I was certain I’d seen a build here.
You did some great work on that. I like their included nose weight. Very thoughtful.
1 Like
Little more work today.
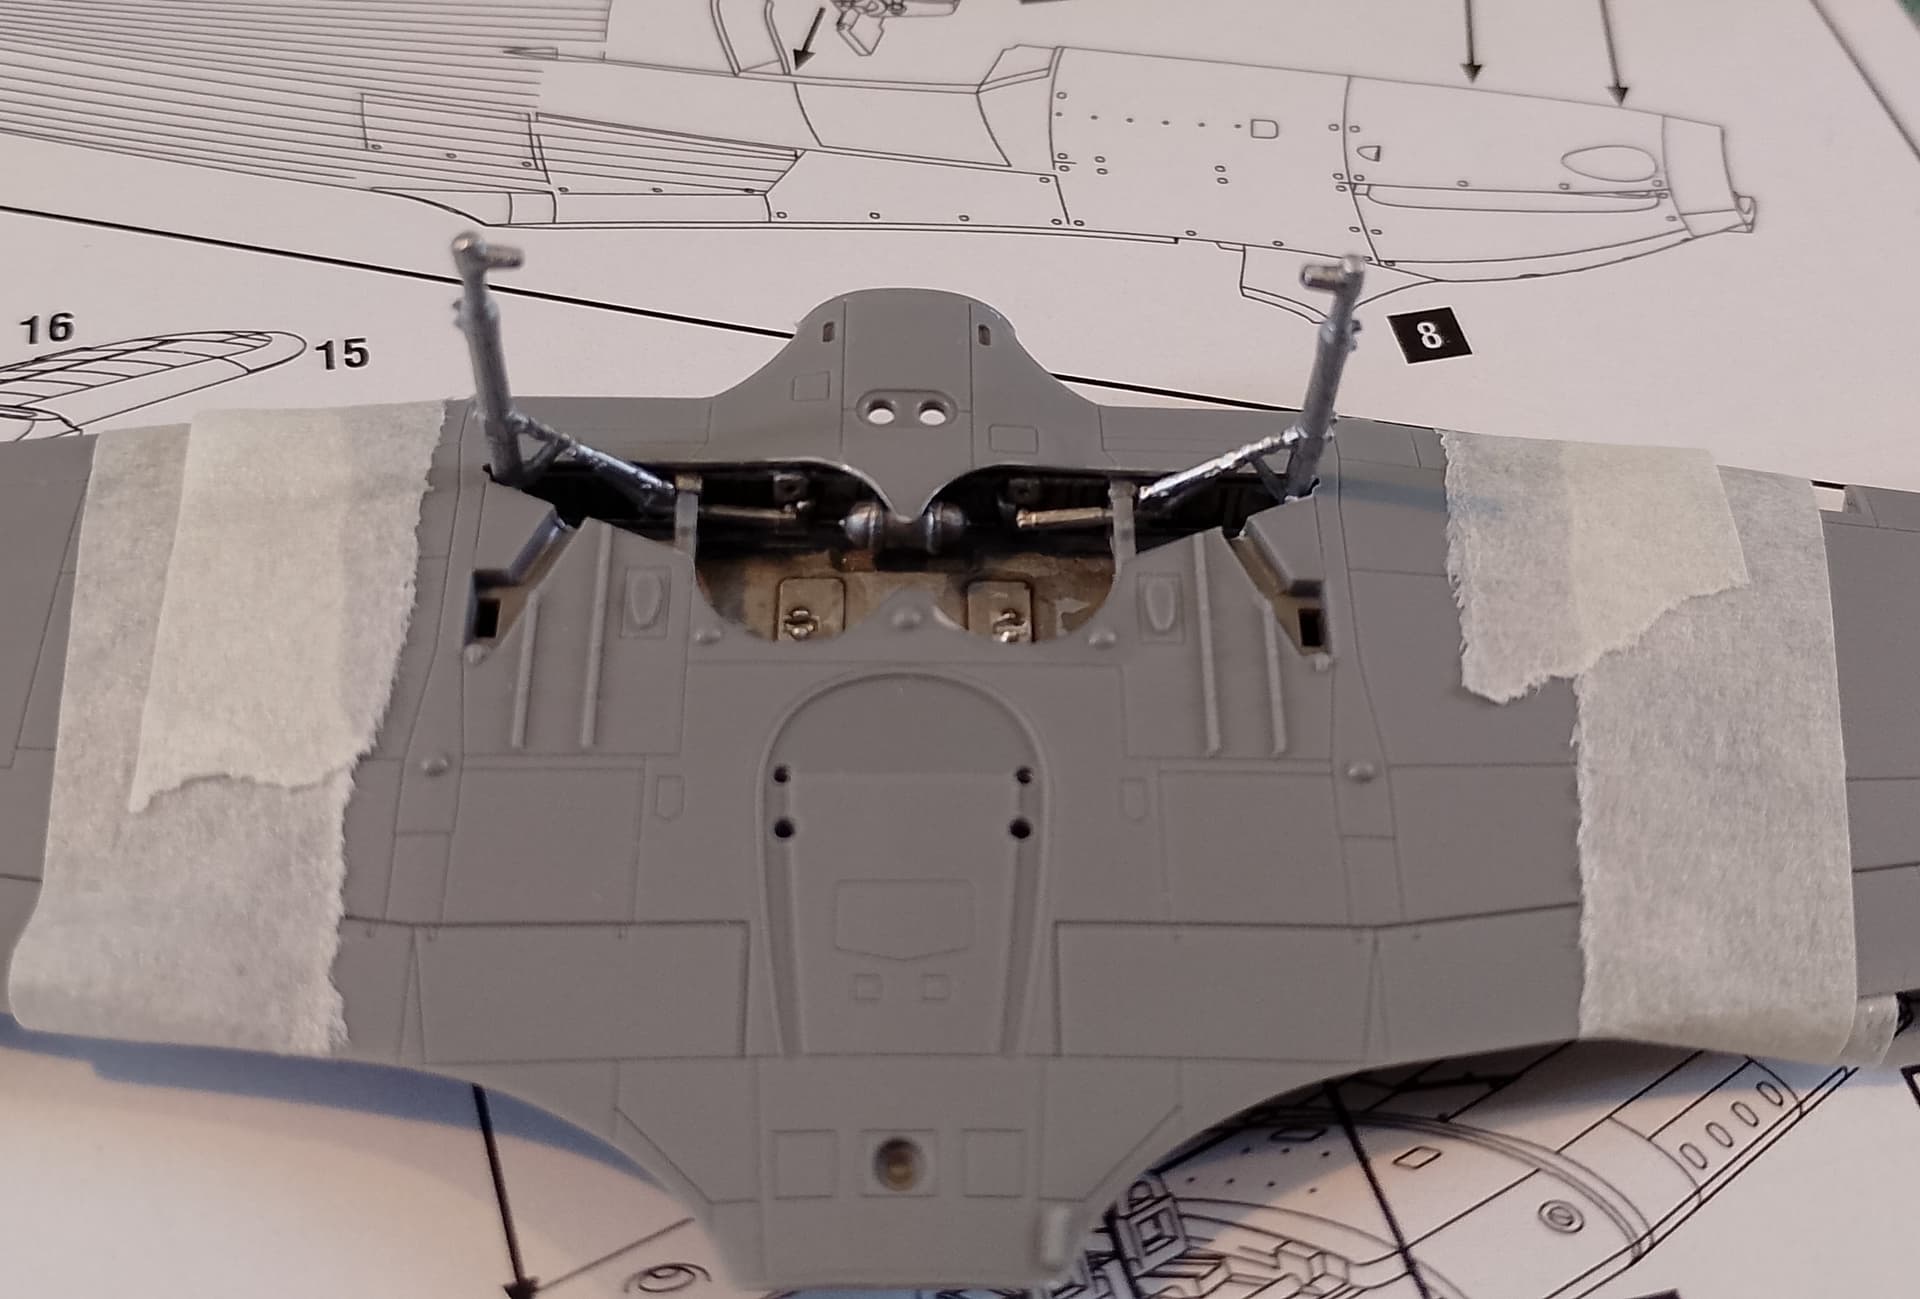
Got the cockpit frame assembled to the left side of the fuselage. I’ve dry fitted the fuselage together to keep it lined up while it sets.
Also gave the cockpit parts a wash with Games Workshop nuln oil and then some sand pigments. Brings out the details and gives a used dusty look. The aircraft on Malta, especially this early stage, were worked hard in tough conditions.
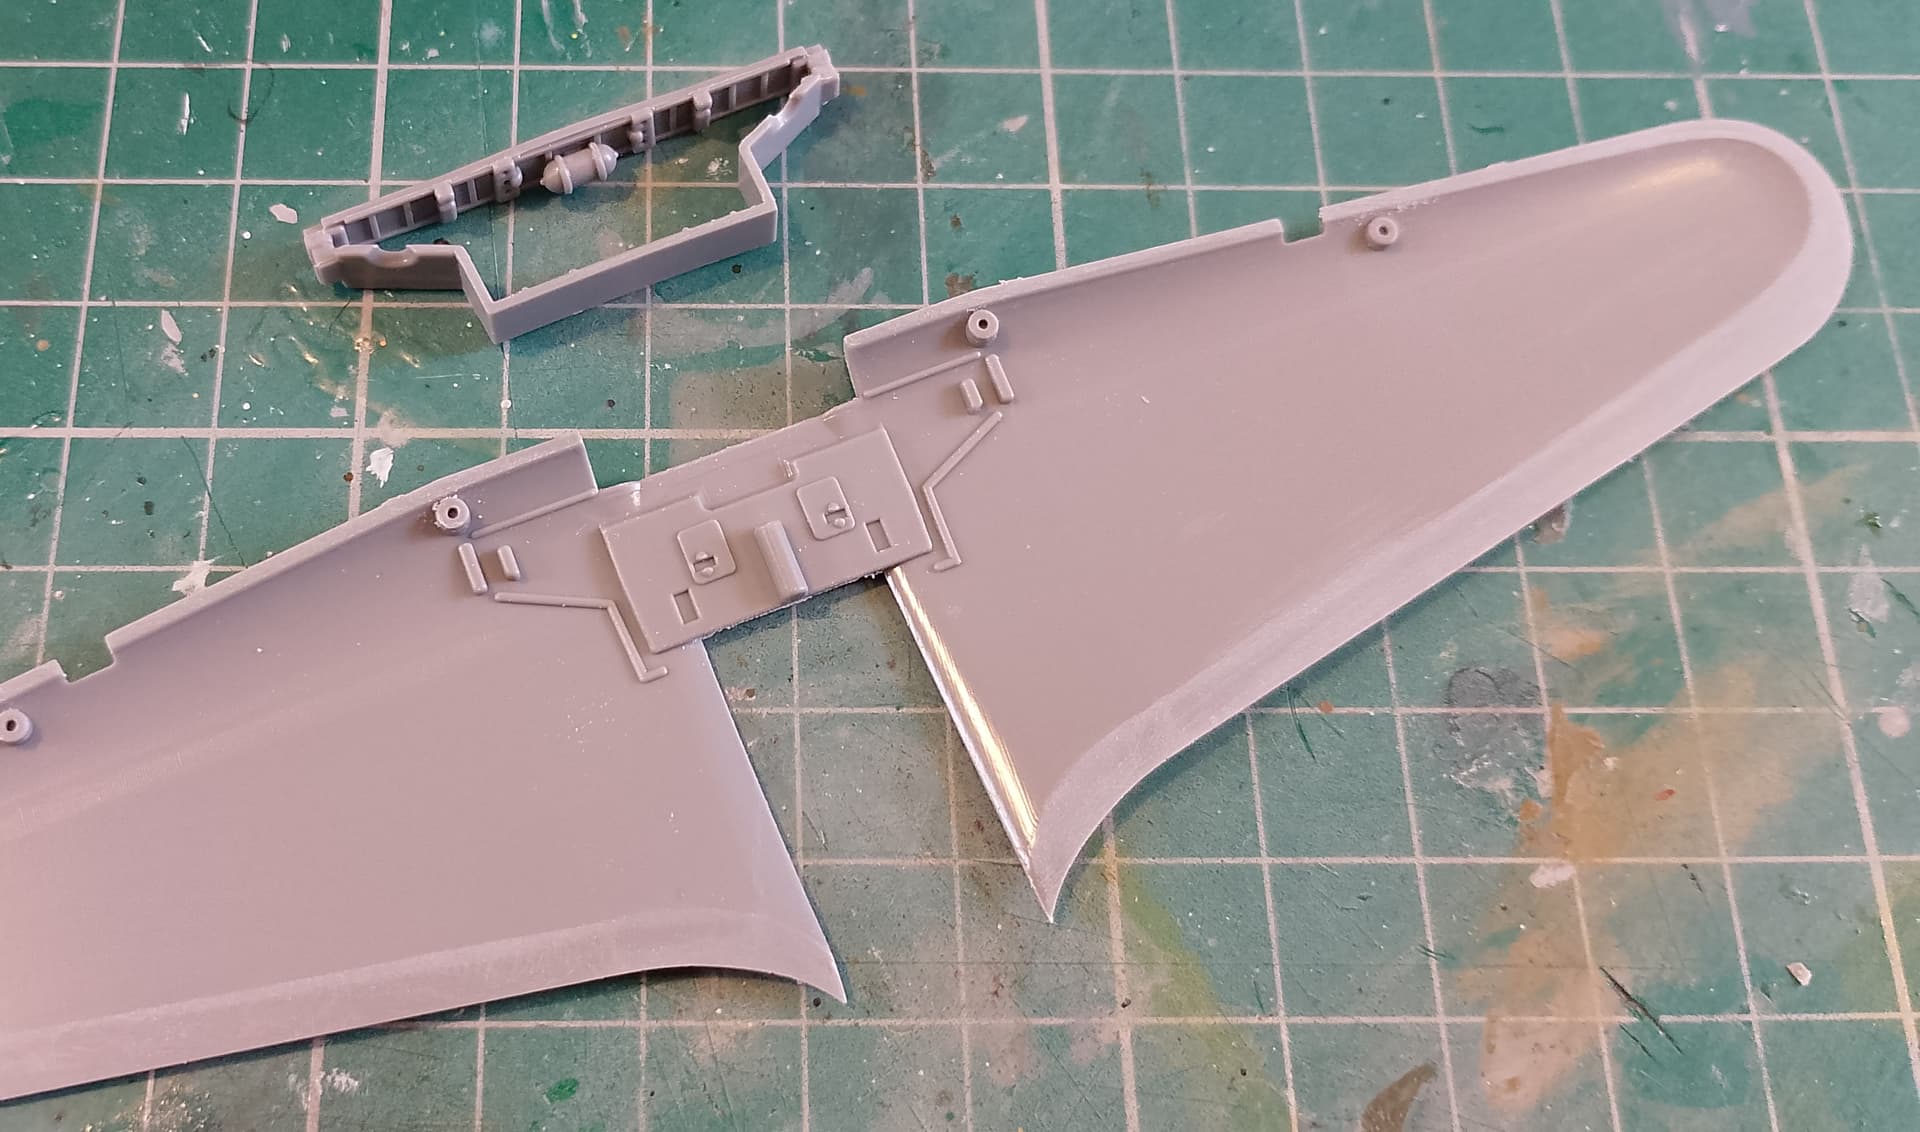
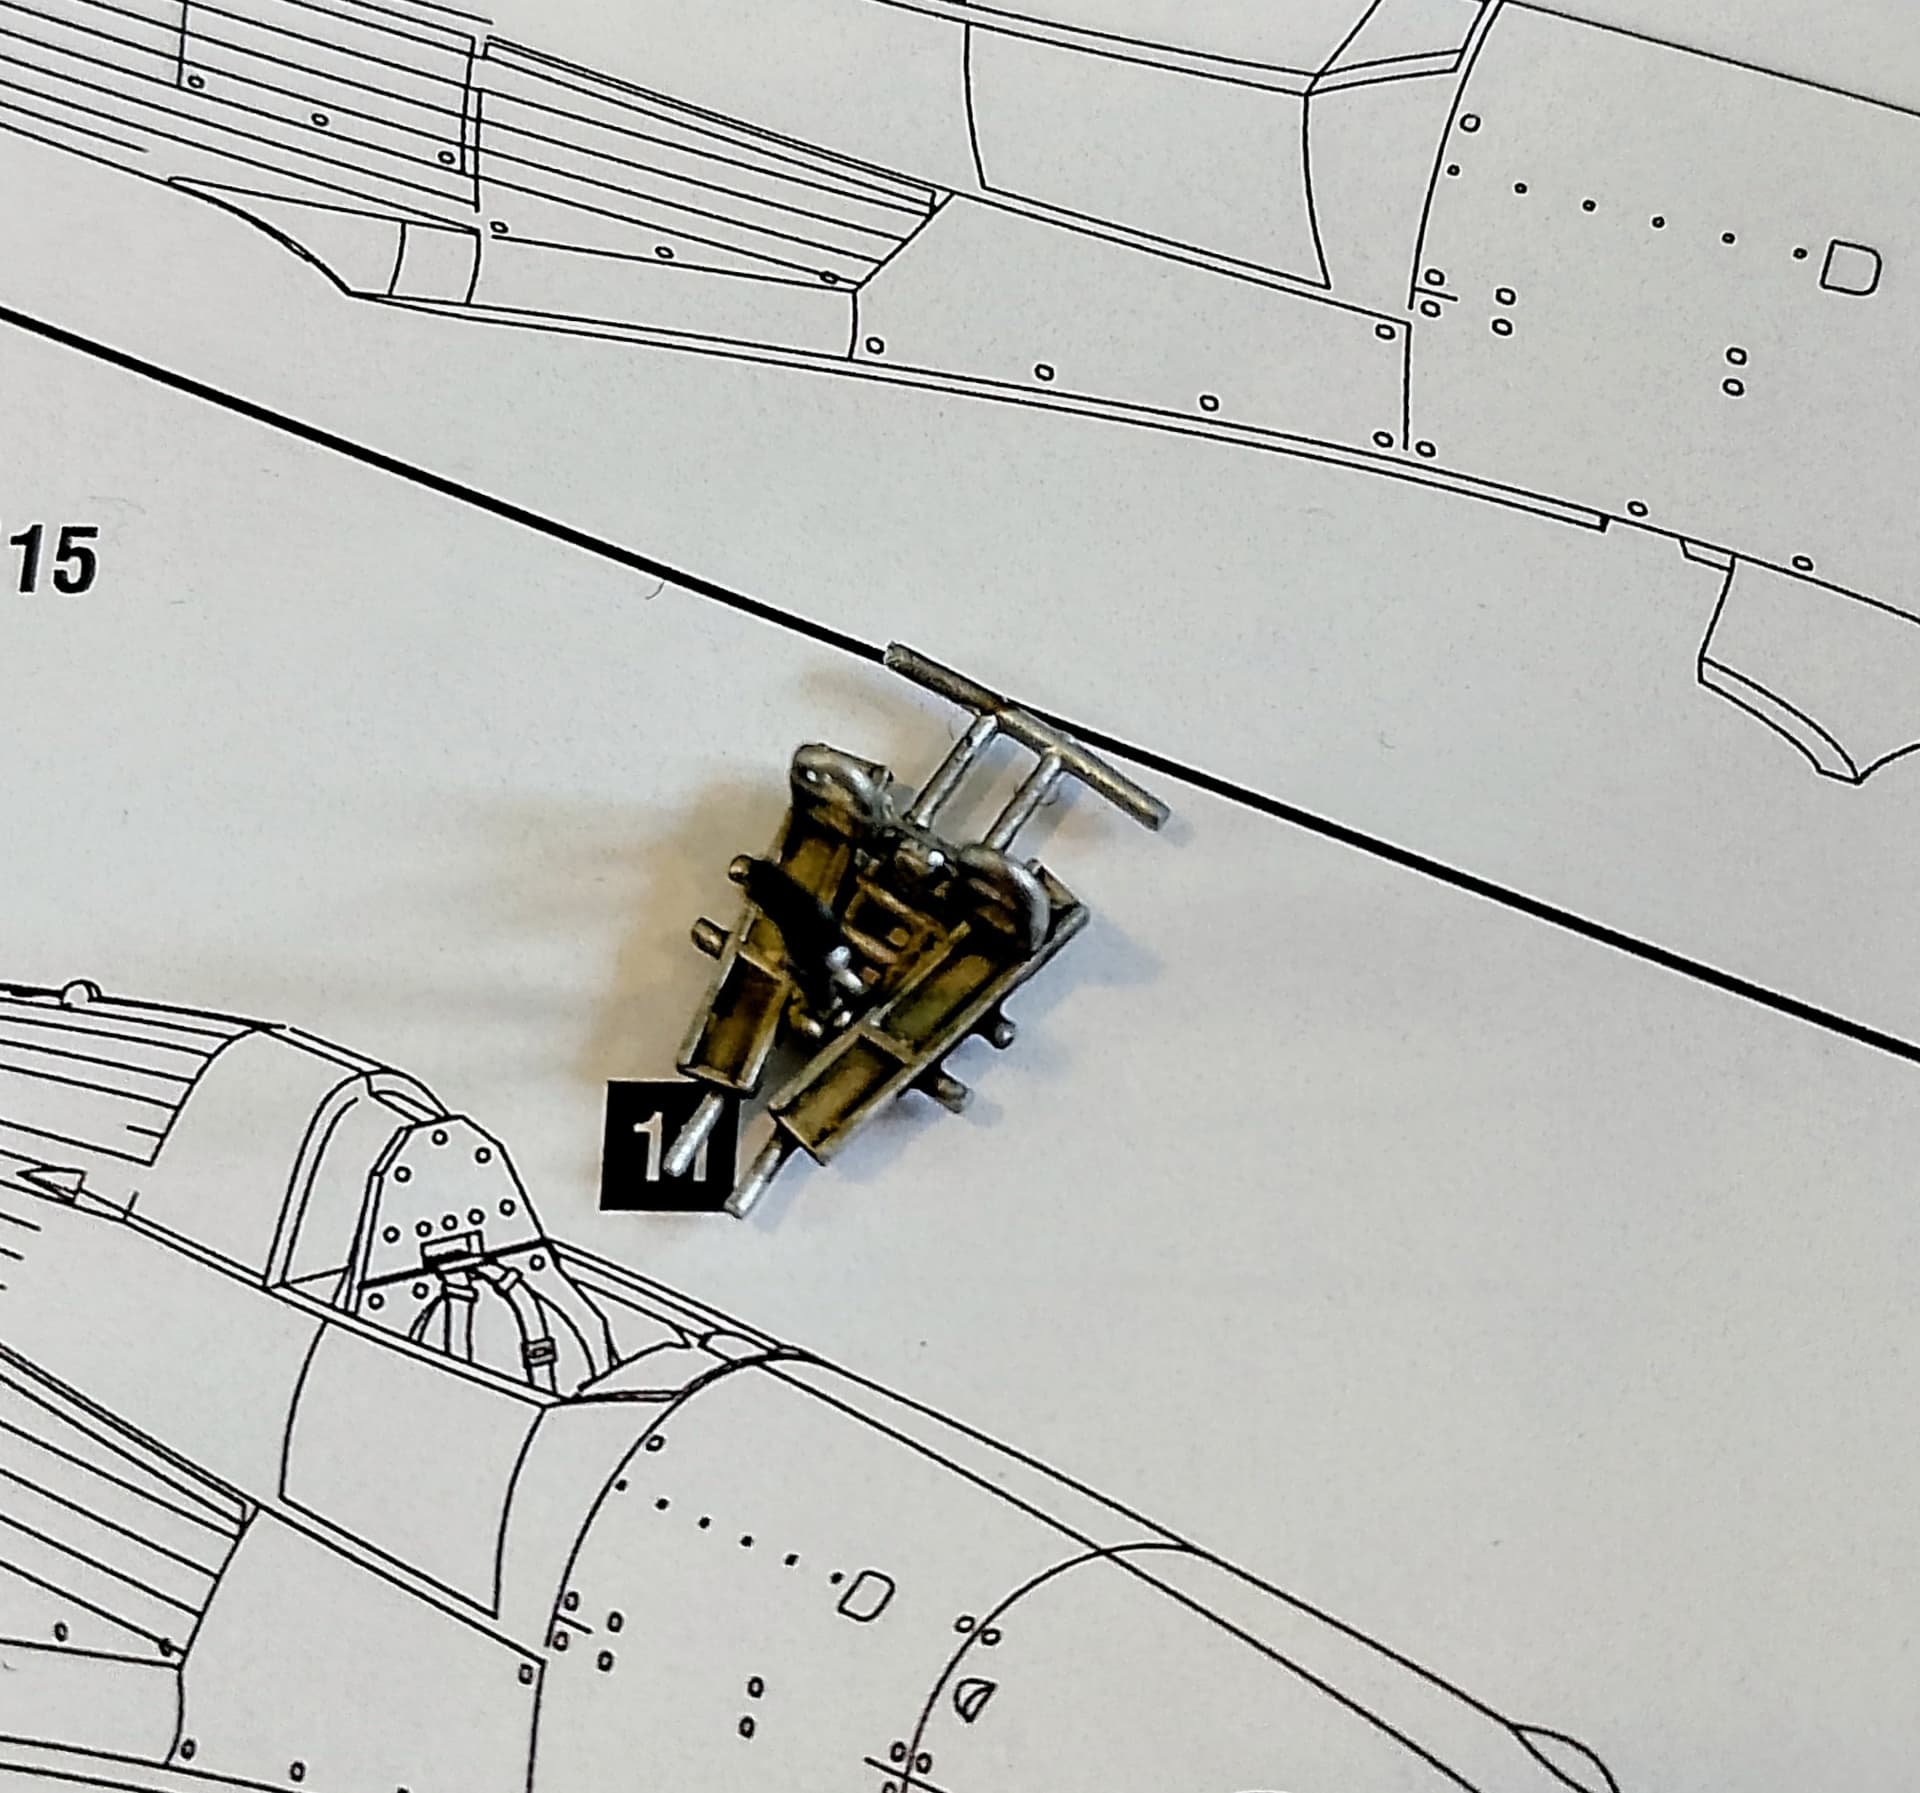
Vokes filter put together as well.
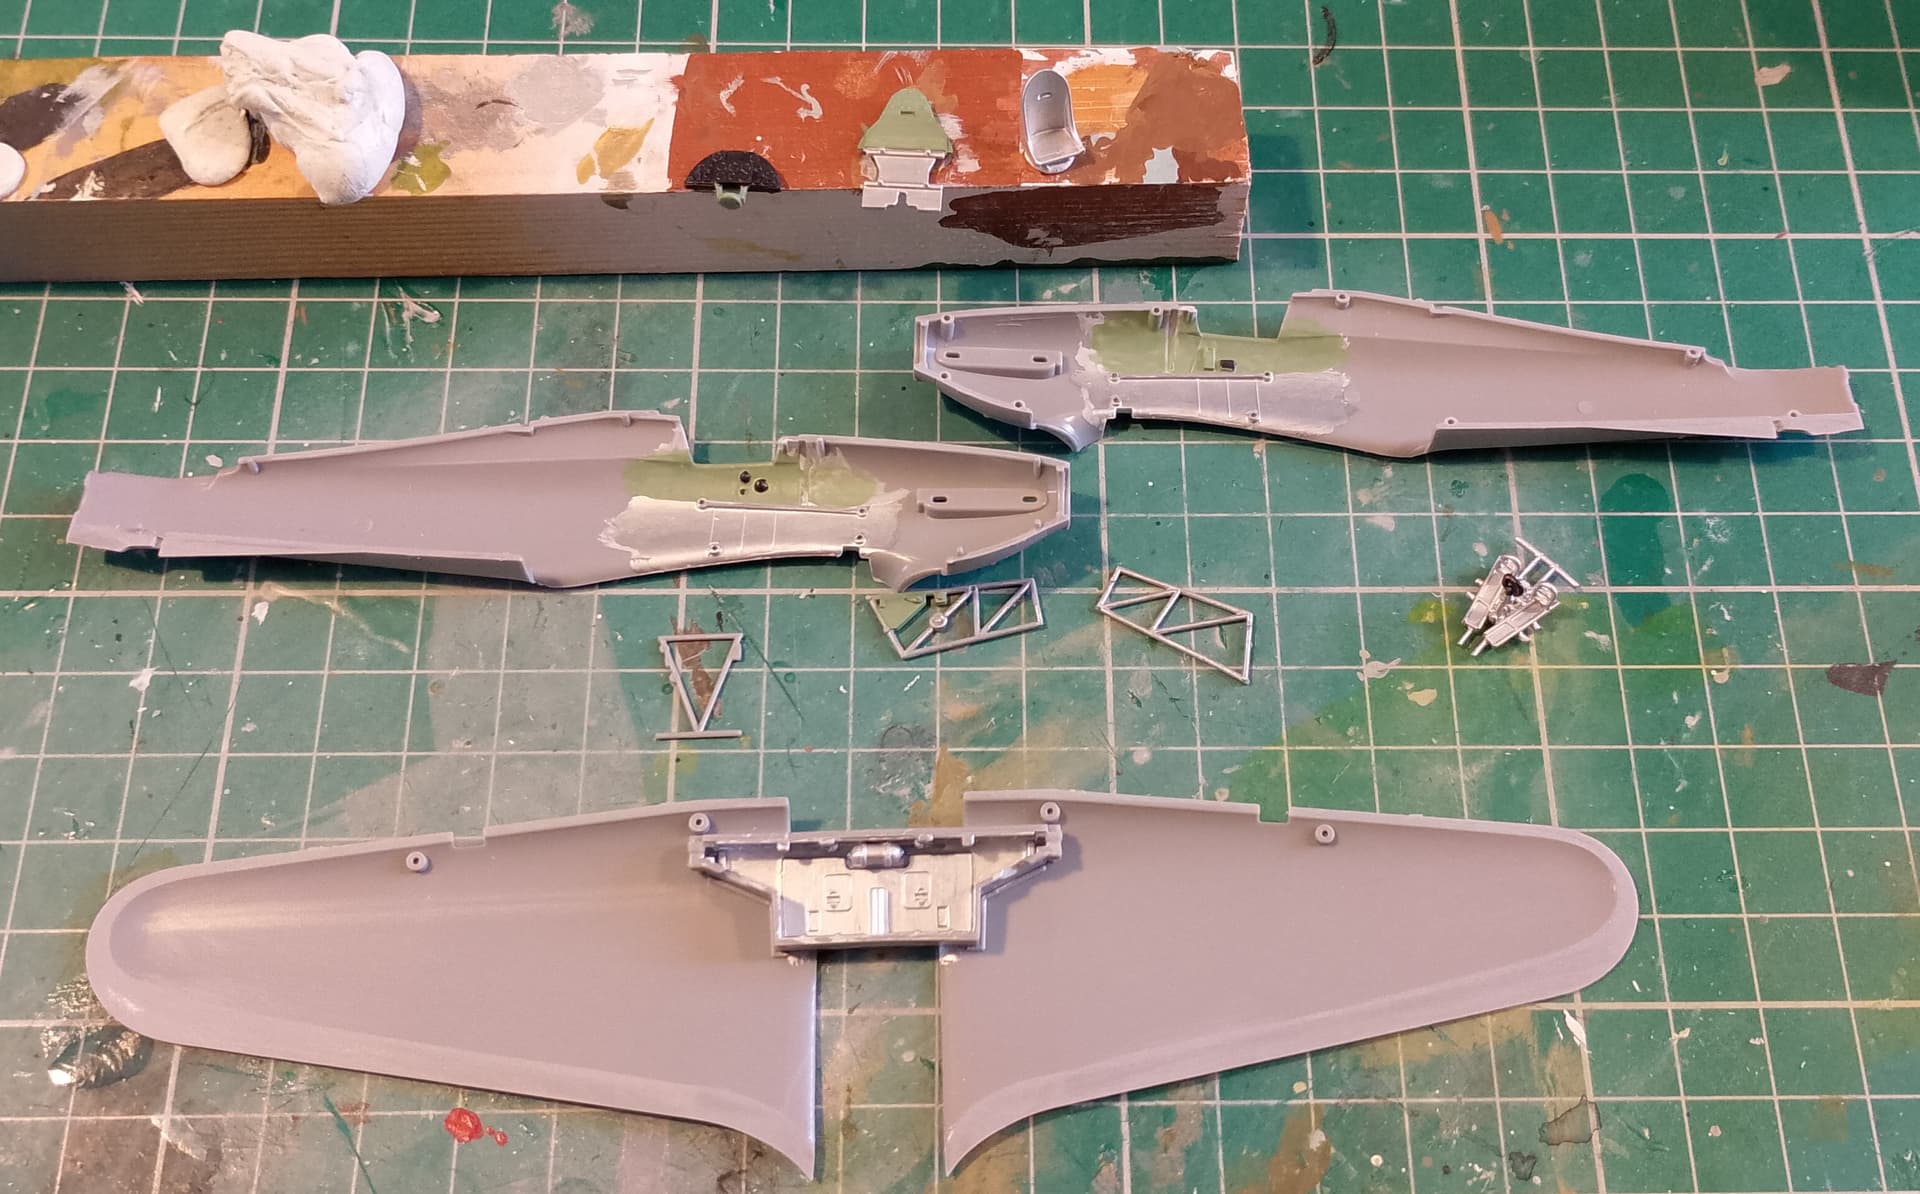
Test fitting the wings showed a bit of sanding was needed along the front part of the undercart box.
Took the opportunity to test if I could fit the undercarriage legs and other components in after the wings halves are together.
And yes it is possible. Will make it easier to carry on with the build and painting.
7 Likes
Is Citadel Nuln Oil oil based, and is it any better than an oil wash?
1 Like
Water based. I just brush it over and let it dry. Works great on metallics. Good for creating shadows and bringing out details. I used it on jet exhausts too. I’ve not tried it is a panel line wash so don’t know how it would work for that. Should be able to wipe off the excess with a damp qtip.
1 Like
Used the kit supplied decals for the instrument panel and seatbelts. The IP decals come in 2 parts. A lower one with the dial faces and another over the top with the surrounds and coloured parts. Belt decals are bit basic but will be fine. Don’t think I’ll use those on the next, but as it’s the first I thought I would try and see how they looked.
Also got the wings together.
That’s about it for today. Should be able to get the fuselage closed up tomorrow. This really is going together quickly with no trouble so far.
6 Likes
Fine Molds Nano Dread series has some nice British (and other) seat belts.
Injection molded but very fine and well detailed.
7 Likes
I’ll have a look for those thanks.
Finemolds sometimes aren’t easy to find in the UK.