I remember LS. They did some obscure Japanese planes back in the day. This one certainly looks great built.
Paul
I remember LS. They did some obscure Japanese planes back in the day. This one certainly looks great built.
Paul
The Krylon resisted Mr. Hobby paint remover but finally yielded to EZ Off oven cleaner with hours of soaking and scrubbing with a toothbrush. The parts are now in primer and awaiting paint.
While doing more trial fitting a gap turned up between the fuselage and the lower wing. It was large enough to need more than a smear of putty so we’ll see how some thin plastic card does.
Paul
I thought some of you might enjoy the method Hasegawa suggests for rigging their F4B-4. They would have the rigging wires built into the fuselage halves before joining them together. Also, both wings are also to be rigged internally before assembly. That way the “tension” wires can be pulled tight & glued easily. Only then are the wing tops & bottoms joined.
If the parts fit is good this may actually work well. It would eliminate some masking at least.
Paul
I have not heard of the fuselage but makes sense. The wing method, a number of string builders have discussed at our club meetings.

HTH
I had a really nice bright darkish blue for the tail feathers of the F4B-4 and the Krylon paint misbehaved and had to be removed. I’ve had good luck with Krylon in the past so possibly I got it on too thick or made some other error.
Rather than try it again I wanted something in the Tamiya rattlecan line that is a known quantity. I got out every blue in the inventory but all were too dark or too light.
One, a French Blue bought for a Matra or Ligier GP car build kept winking at me. You’re too light says I, in the interwar years the danger was mid air collisions not enemy action. I resisted those winks.
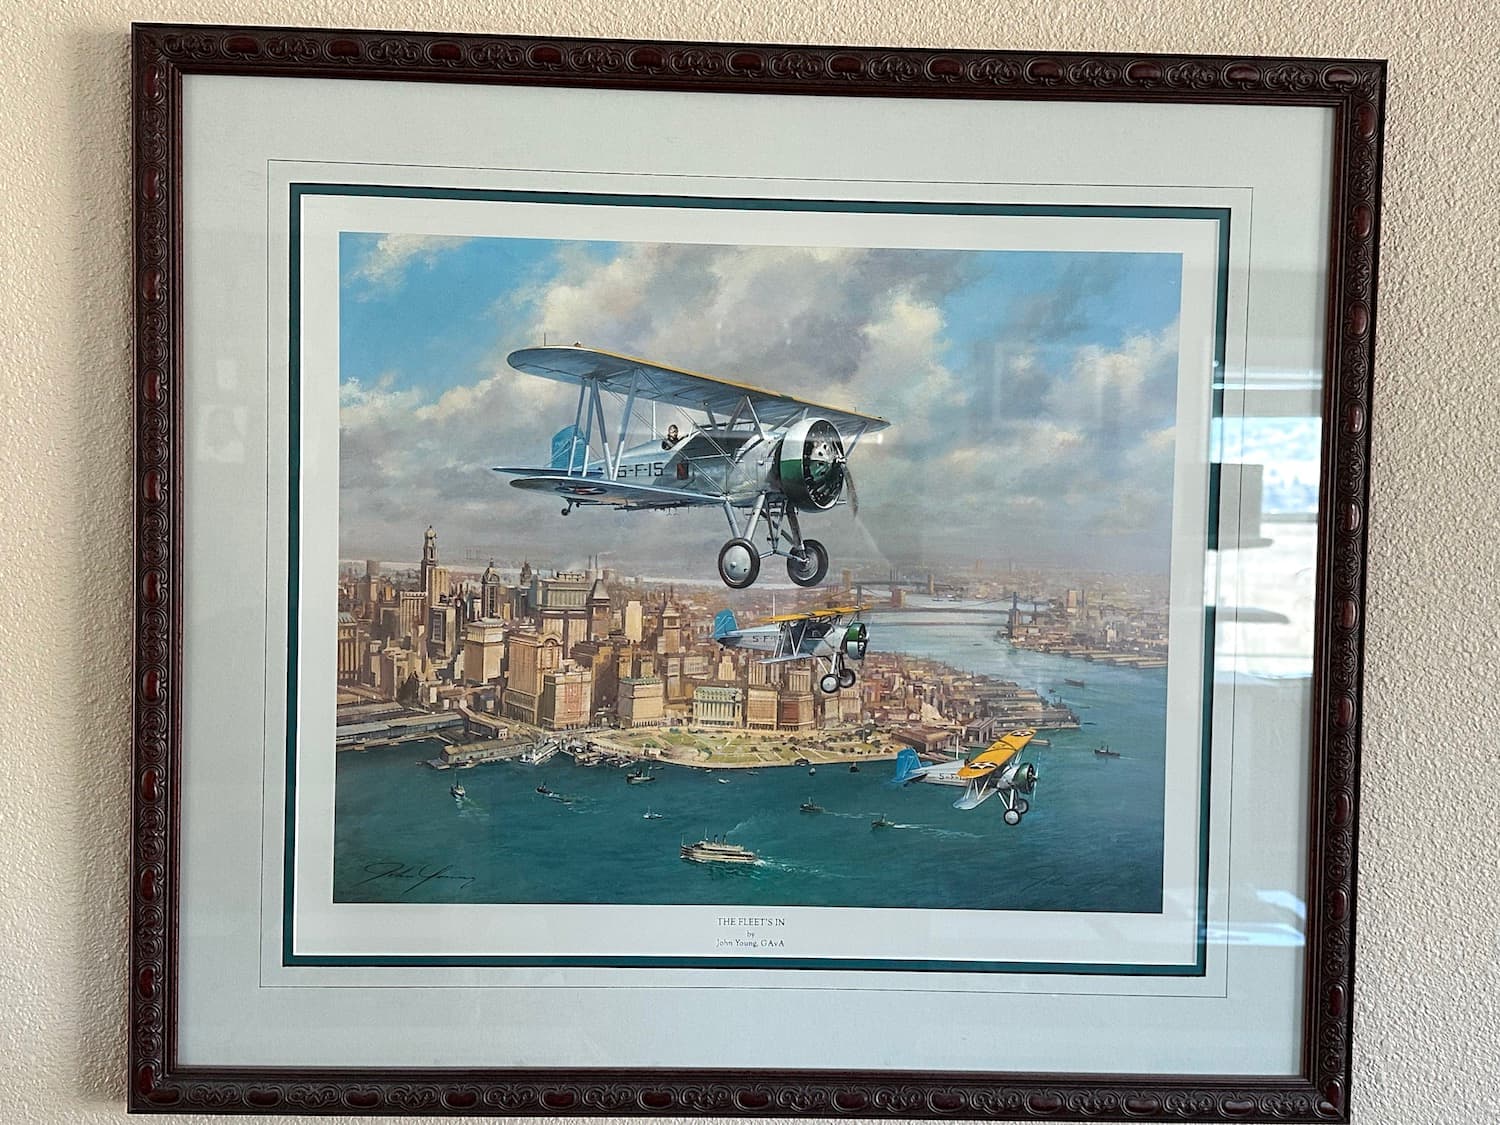
I have had a wonderful painting called “The Fleet’s In” by John Young hanging in my living room in two different houses for something close to twenty years. It depicts some earlier F4Bs with tails painted in a lighter shade of blue. A comparison showed that the shade Young chose is very close to that French Blue. I do not know what references Young used for his painting but my F4B-4 now has French Blue tail feathers and it looks happy.
Hasegawa simply said to paint’em blue. That covers a lot of territory.
Paul
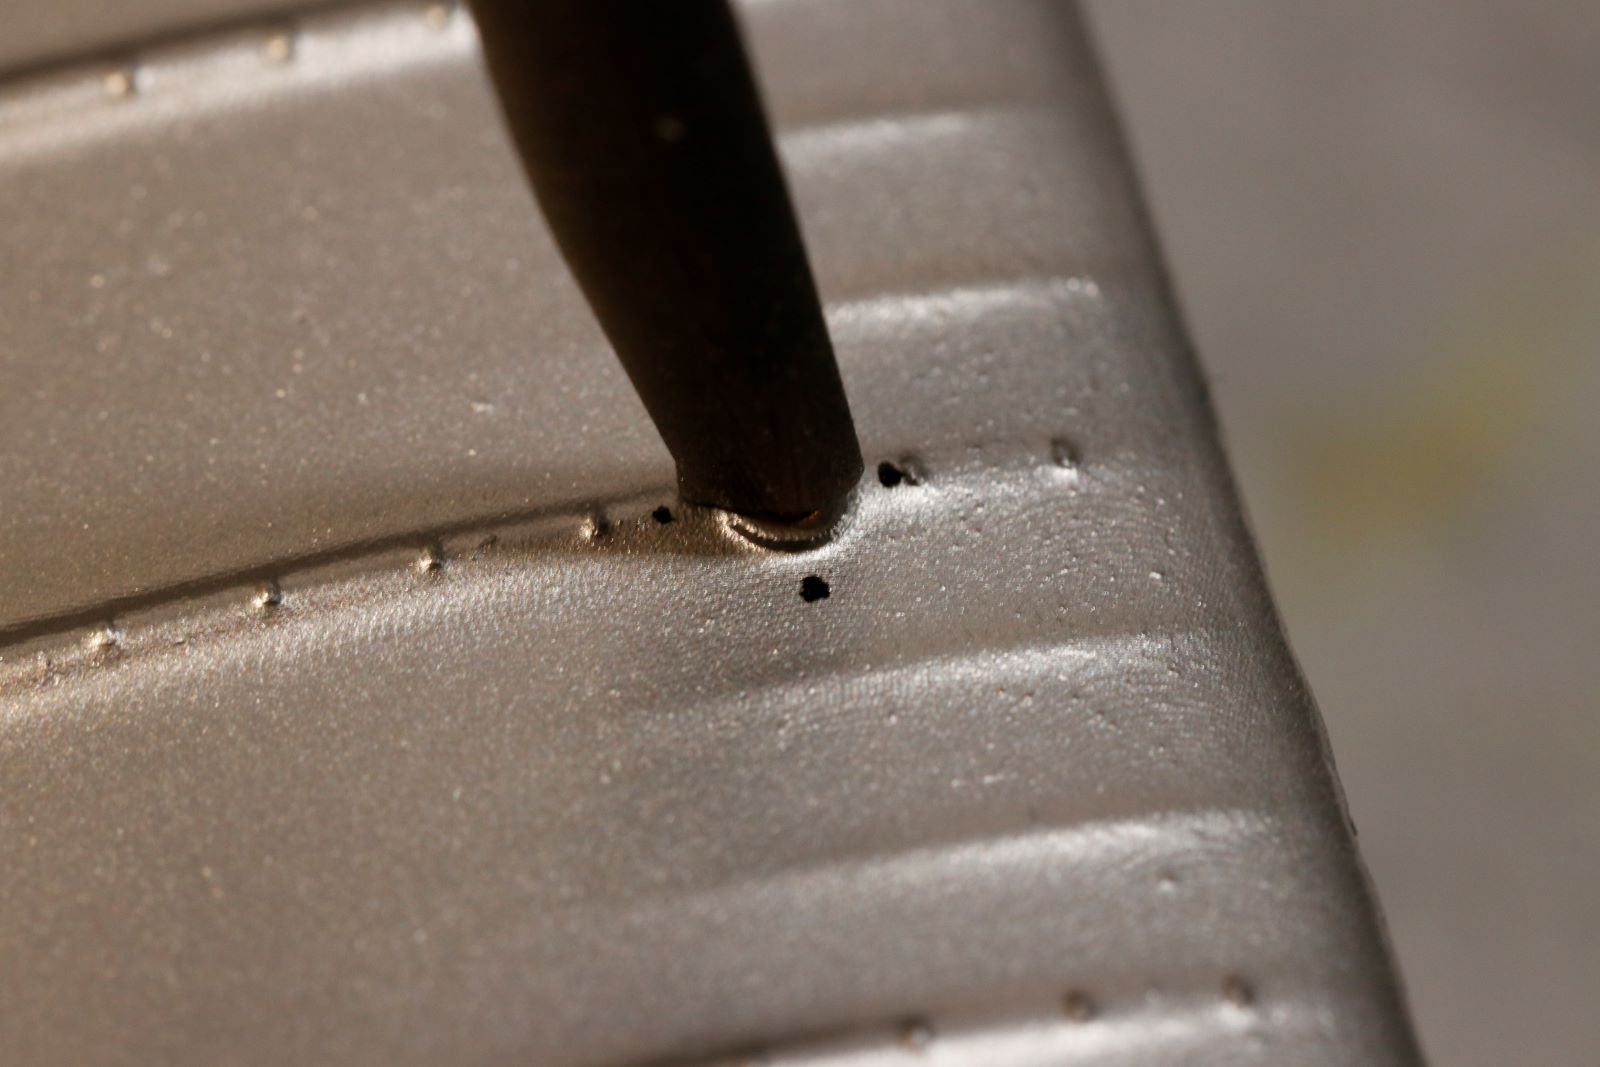
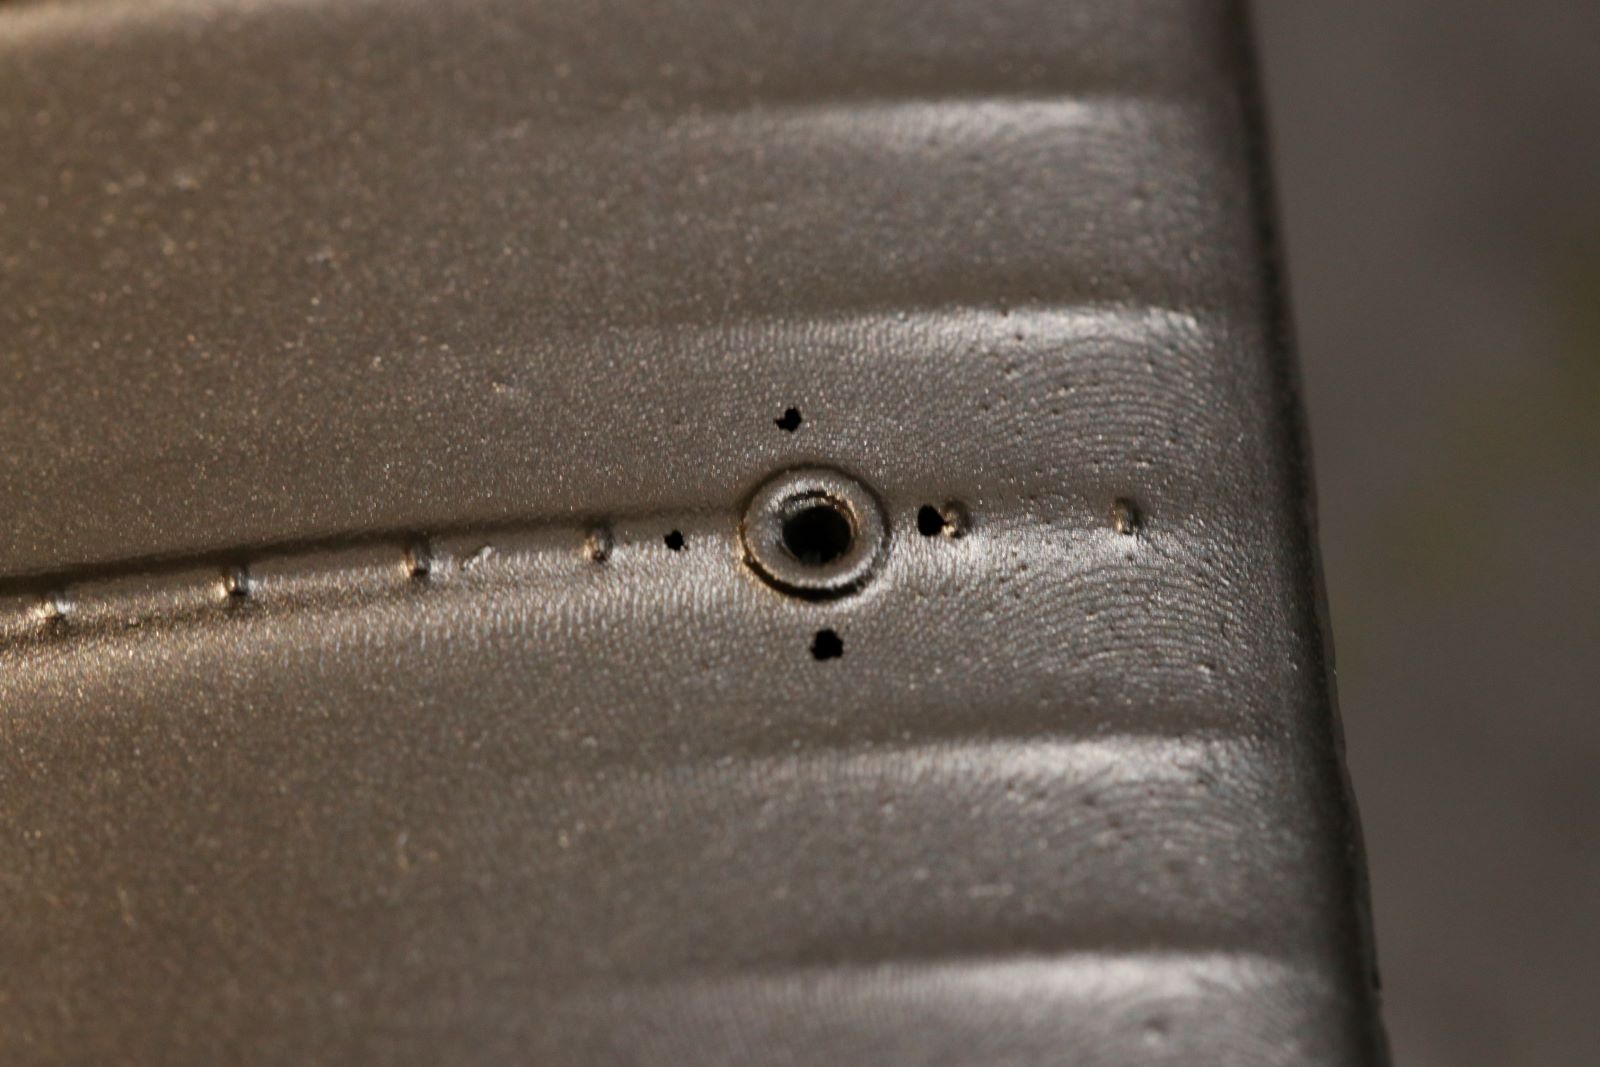
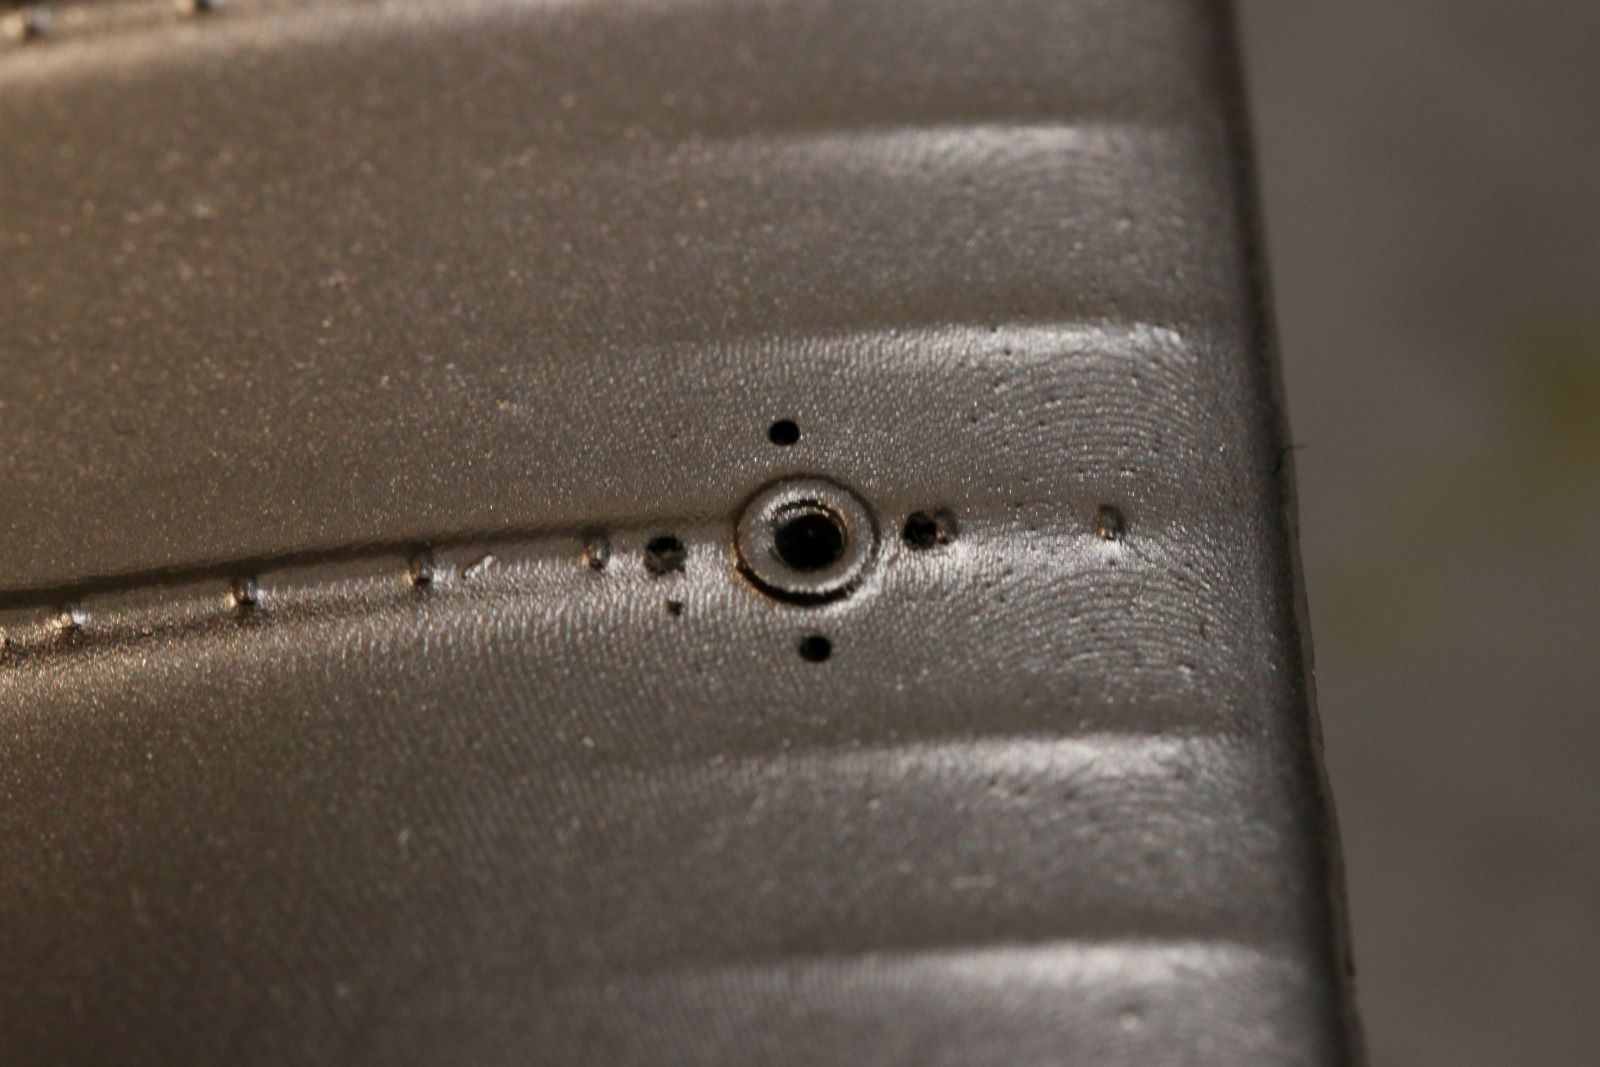
@hudson29 Hi Paul, here is step 1 of my approach to rigging the Wapiti. I will using ez-line for this but with no turnbuckles. For this kit, as shown above, there is a lot of rigging, both control and stay lines to be completed.
But starting with the wings and the stays between the struts and the fuselage I dry fitted a strut just to ensure I would clear it when putting the lines in. This an inner front wing strut and has connections to the fuselage at the side and front, the rear strut behind and the parallel outer strut, so I made four marks and then drill out 0.3mm holes. Clearly this will all be mirrored on the top wing which means I have 72 holes to drill just for the wings. It will be this weekend’s task.
I won’t be using the through the wing method because ez-line provides no strength of its own to brace the wings unlike other media but is quicker to do in my view. The actual rigging is still away off, have to finish all those holes, complete the linen effect and then attach the top wing.
cheers
Michael
Thanks Michael, this is exactly the sort of detail which I find helpful. My own F4B project is rapidly coming to the stage when I will have to decide how to rig it. I may just gin up some sort of practice structure and try to rig it just as you are doing with the Wapiti. That first step is always the hardest. I will be watching your build with more than usual interest.
Paul
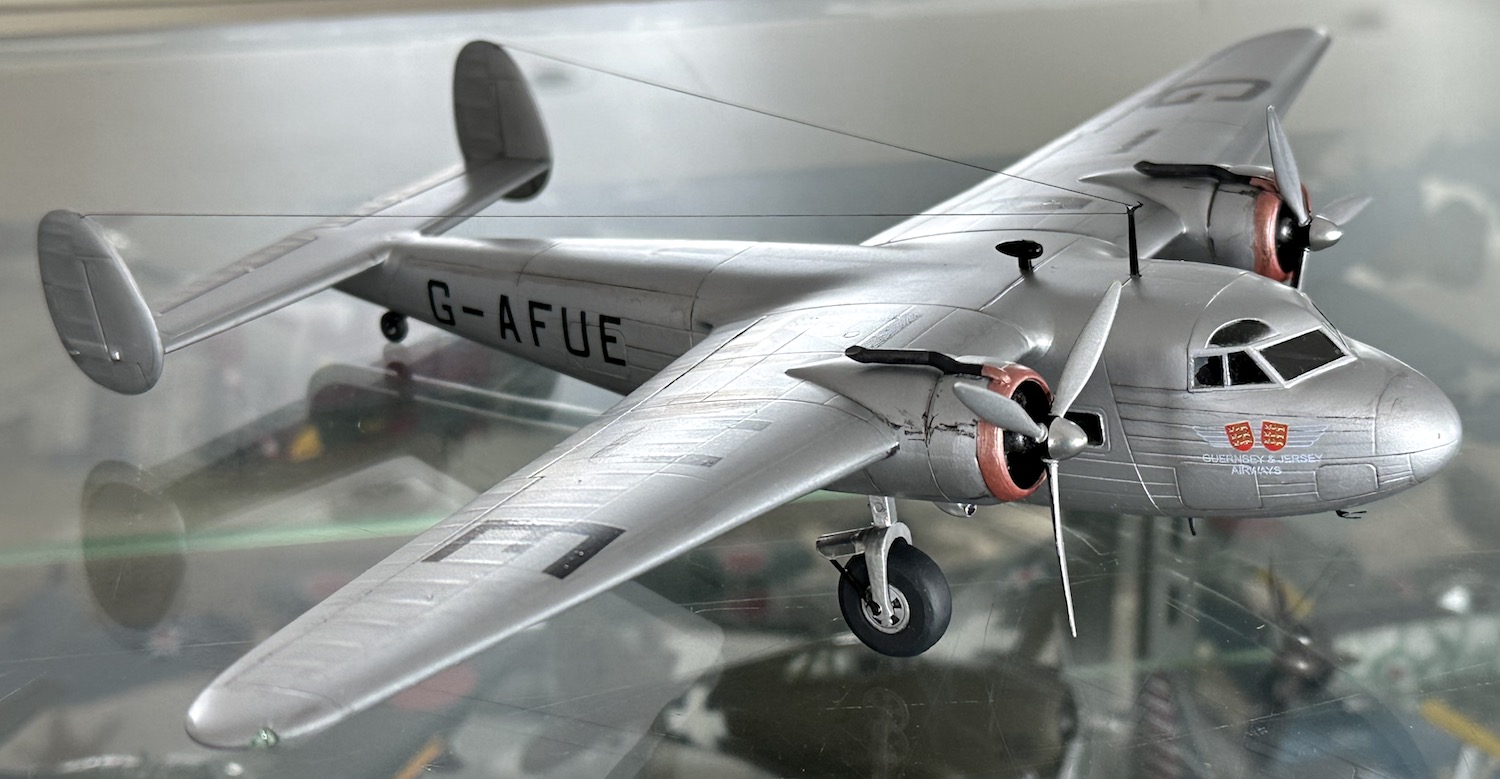
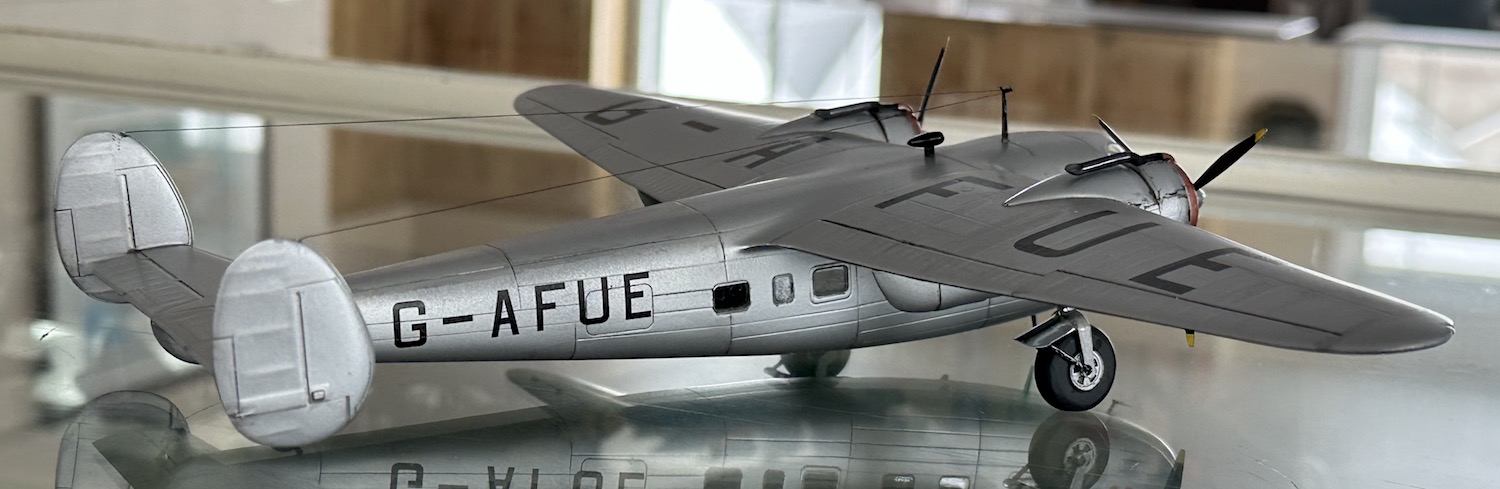
I’ve got a Heller DH.98 Dragon Rapide that I am going to convert to Spanish Civil War Republican bomber.
The Rapide is certainly a beautiful aircraft. The rigging drawing didn’t look too bad. How is the kit?
Typical 70s era Heller. Pretty straightforward and simple, but I anticipate a lot of gap filling!
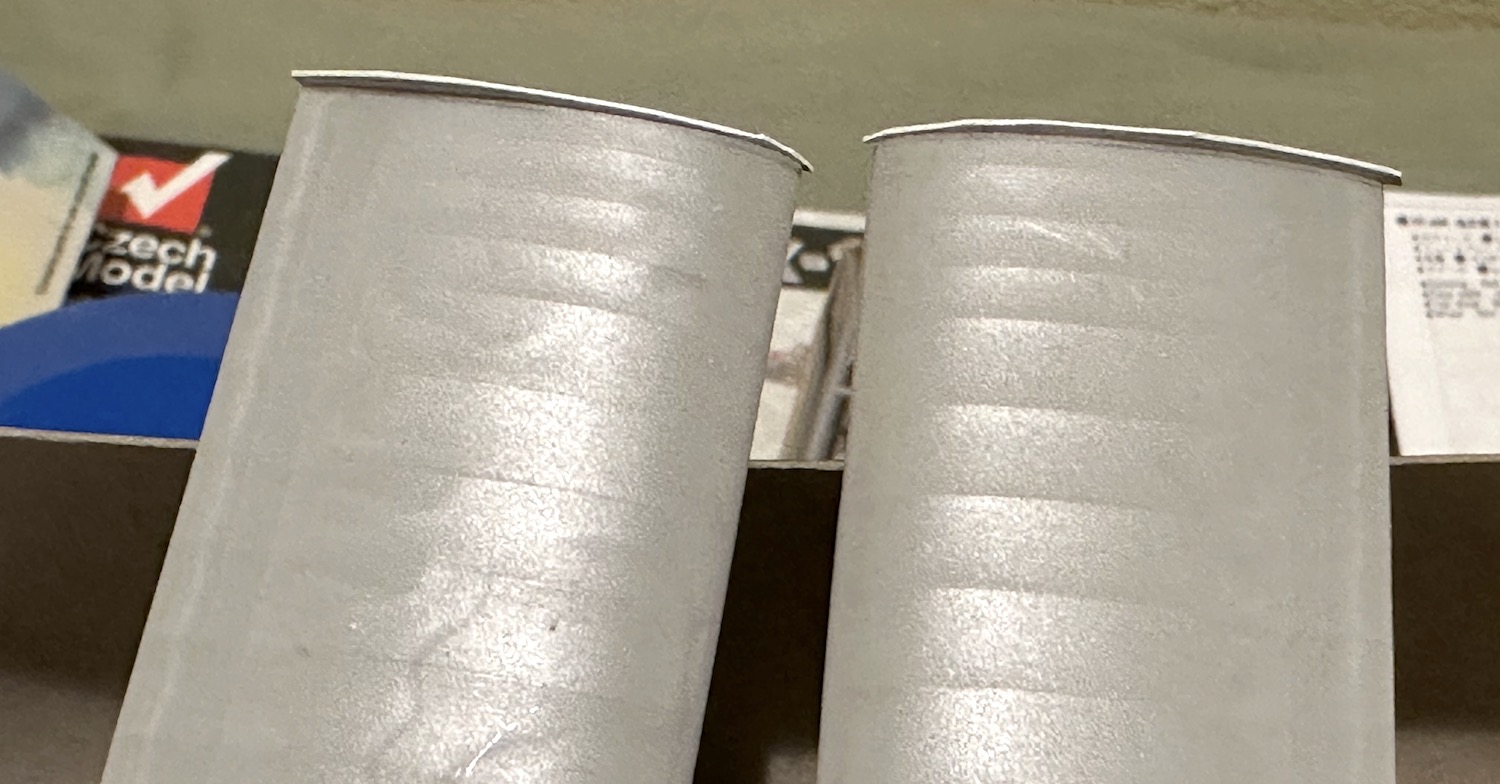
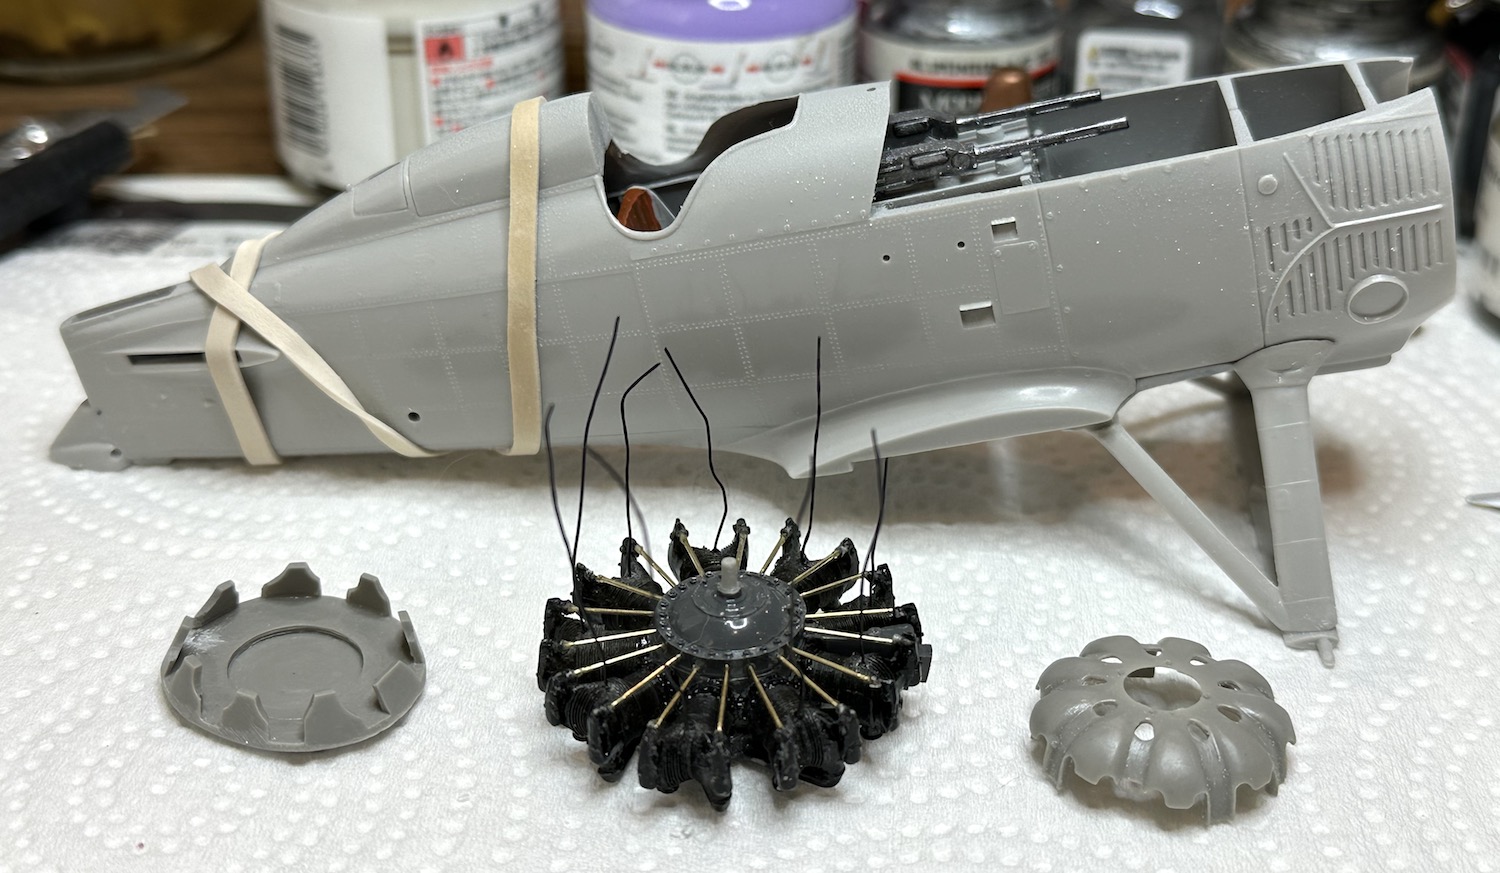
I got some more work done on the Hasegawa 1/32 F4B-4 project. The Vector resin engine is really a kit in itself and it has taken a lot of time. The exhaust stacks are all butt joints which I do not trust so I drilled them out and inserted brass pegs to fit in holes drilled in the cylinders. This looks much stronger. Ignition leads were made from thin lead wire and then painted prior to being routed back behind the cylinders.
Paul
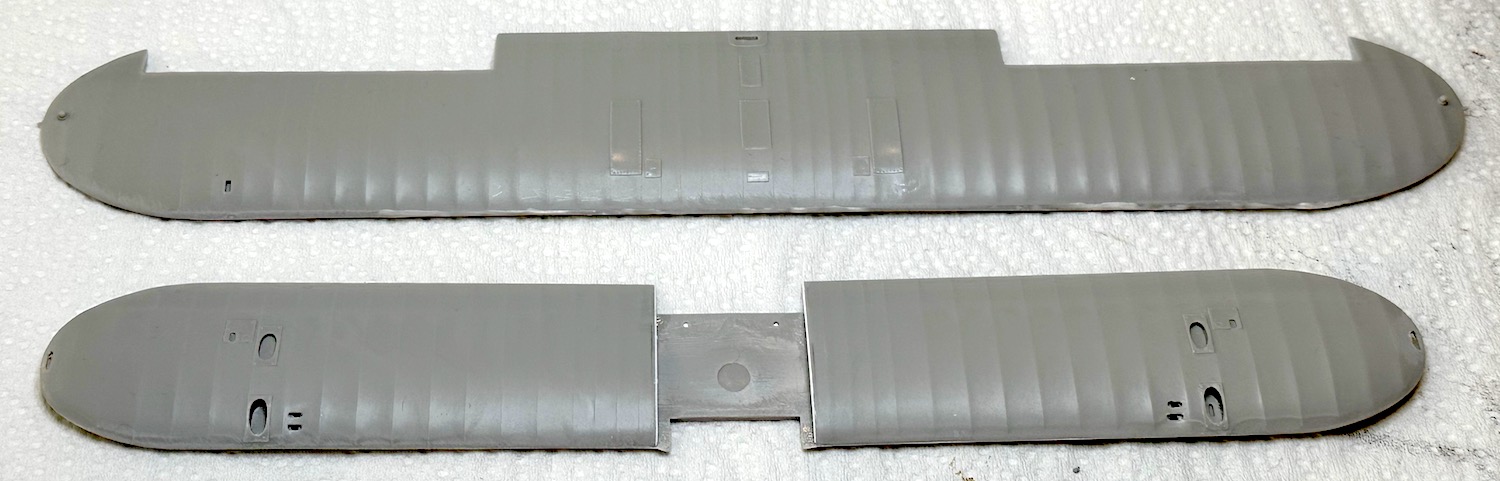
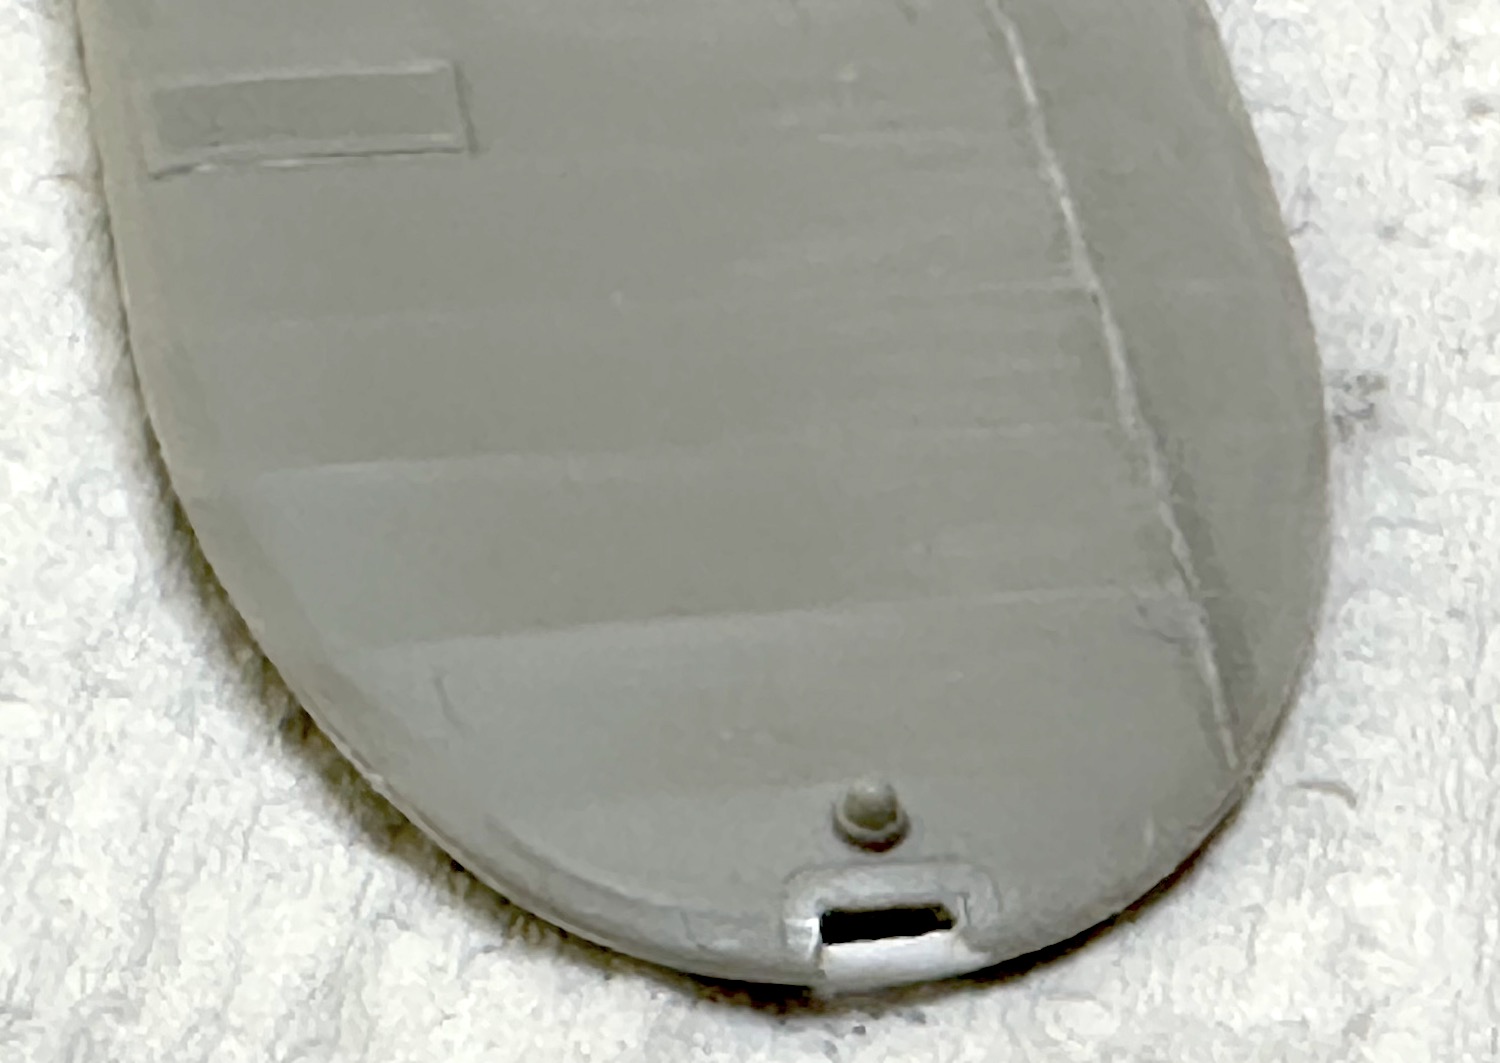
The wings are very nicely done on this 55 year old kit. They are not the same as the wings on the P-12E kit. All the proper naval equipment has been added as have the ground handling handholds (in outline) which needed to be opened up. I got too enthusiastic with one of them and lost a portion of the wing tip which had to be built back up with plastic card scraps.
Careful as I thought I was being, there were gaps on the leading edge of the top wing now filled with putty.
Paul
Excellent update Paul. That engine looks pretty big for such a compact plane.
cheers
Michael
It does seem short coupled. The requirements of shipboard use probably dictated that. The ARMY P-12 was very much the same aircraft but lacking the specialized naval equipment. They were both considered superb flyers and sometimes listed as favorites with pilots even years after they were retired.
Paul
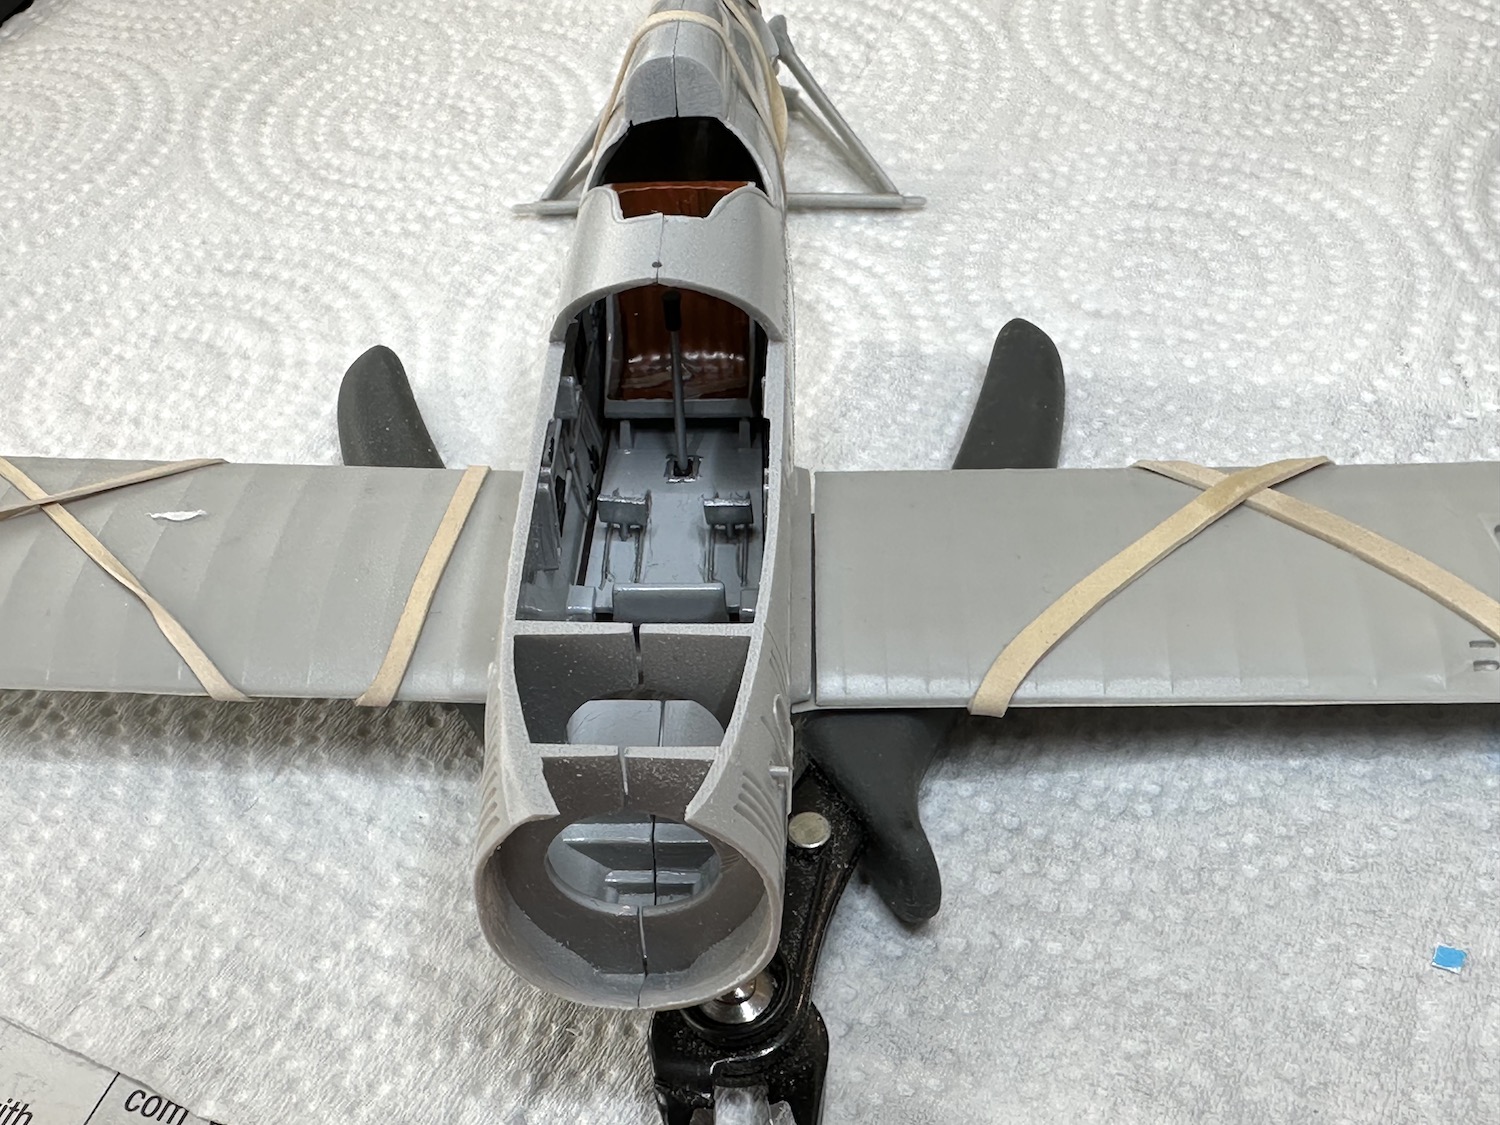
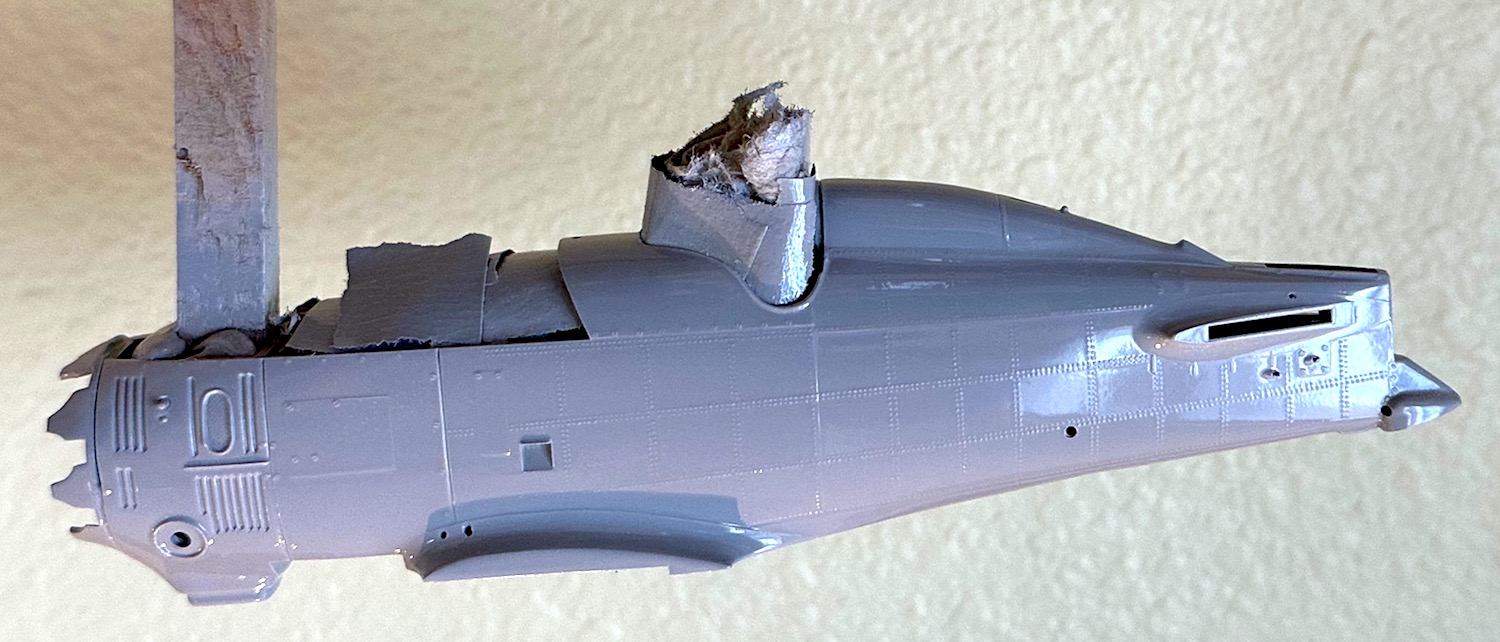
I have been working away on the 1/32 Hasegawa Boeing F4B-4 bit by bit. I started this kit with the idea of building it out of the box just to learn rigging. As so often happens, “project escalation” set in and I started to spend more time researching and adding details such as fuel valves, instrument decals & placquards to the cockpit and even a set of lifting cables that will go between the upper wing center section and the fuselage. These were unique to the F4B and not on the ARMY P-12s. The NAVY had incorporated a lifting sling into a compartment in the center section of the upper wing so the aircraft could be hoisted aboard the aircraft carriers. I found this wonderful detail in the Ginter book on the F4B series and now it will be a part of this model. Here are a couple of pictures showing the painted wings and newly closed up & painted fuselage:
From there, I rigged the radio aerials of a 1/72 scale Valom DH-95 Flamingo with the FINE size line. It came out well and gave me some confidence to tackle the F4B when the time comes.
Hi Paul, great to some color on the little Boeing and the rigging on the Flamingo looks fine. The thing about EZ line it is easy to remove and redo if it doesn’t go right the first time.
And for the things going wrong I have had a couple of steps back. I got the top wing installed and two things became apparent. The struts were too shallow ) I misread the instructions) and the dihedral on the lower right wing has slipped since I put it on last December. So both have had to come off. I am resetting the lower wing now to match the left and then I will re-attached the upper wing, hopefully in the next few days.
cheers
Michael
How does it get removed?
Sorry to hear of your woes with the wings. I hope you can correct without too much damage.
Paul
@hudson29 A pair of needle nose pliers applied at the point of attachment and just pull it away. A practice I have had to use more than a few times ![]()
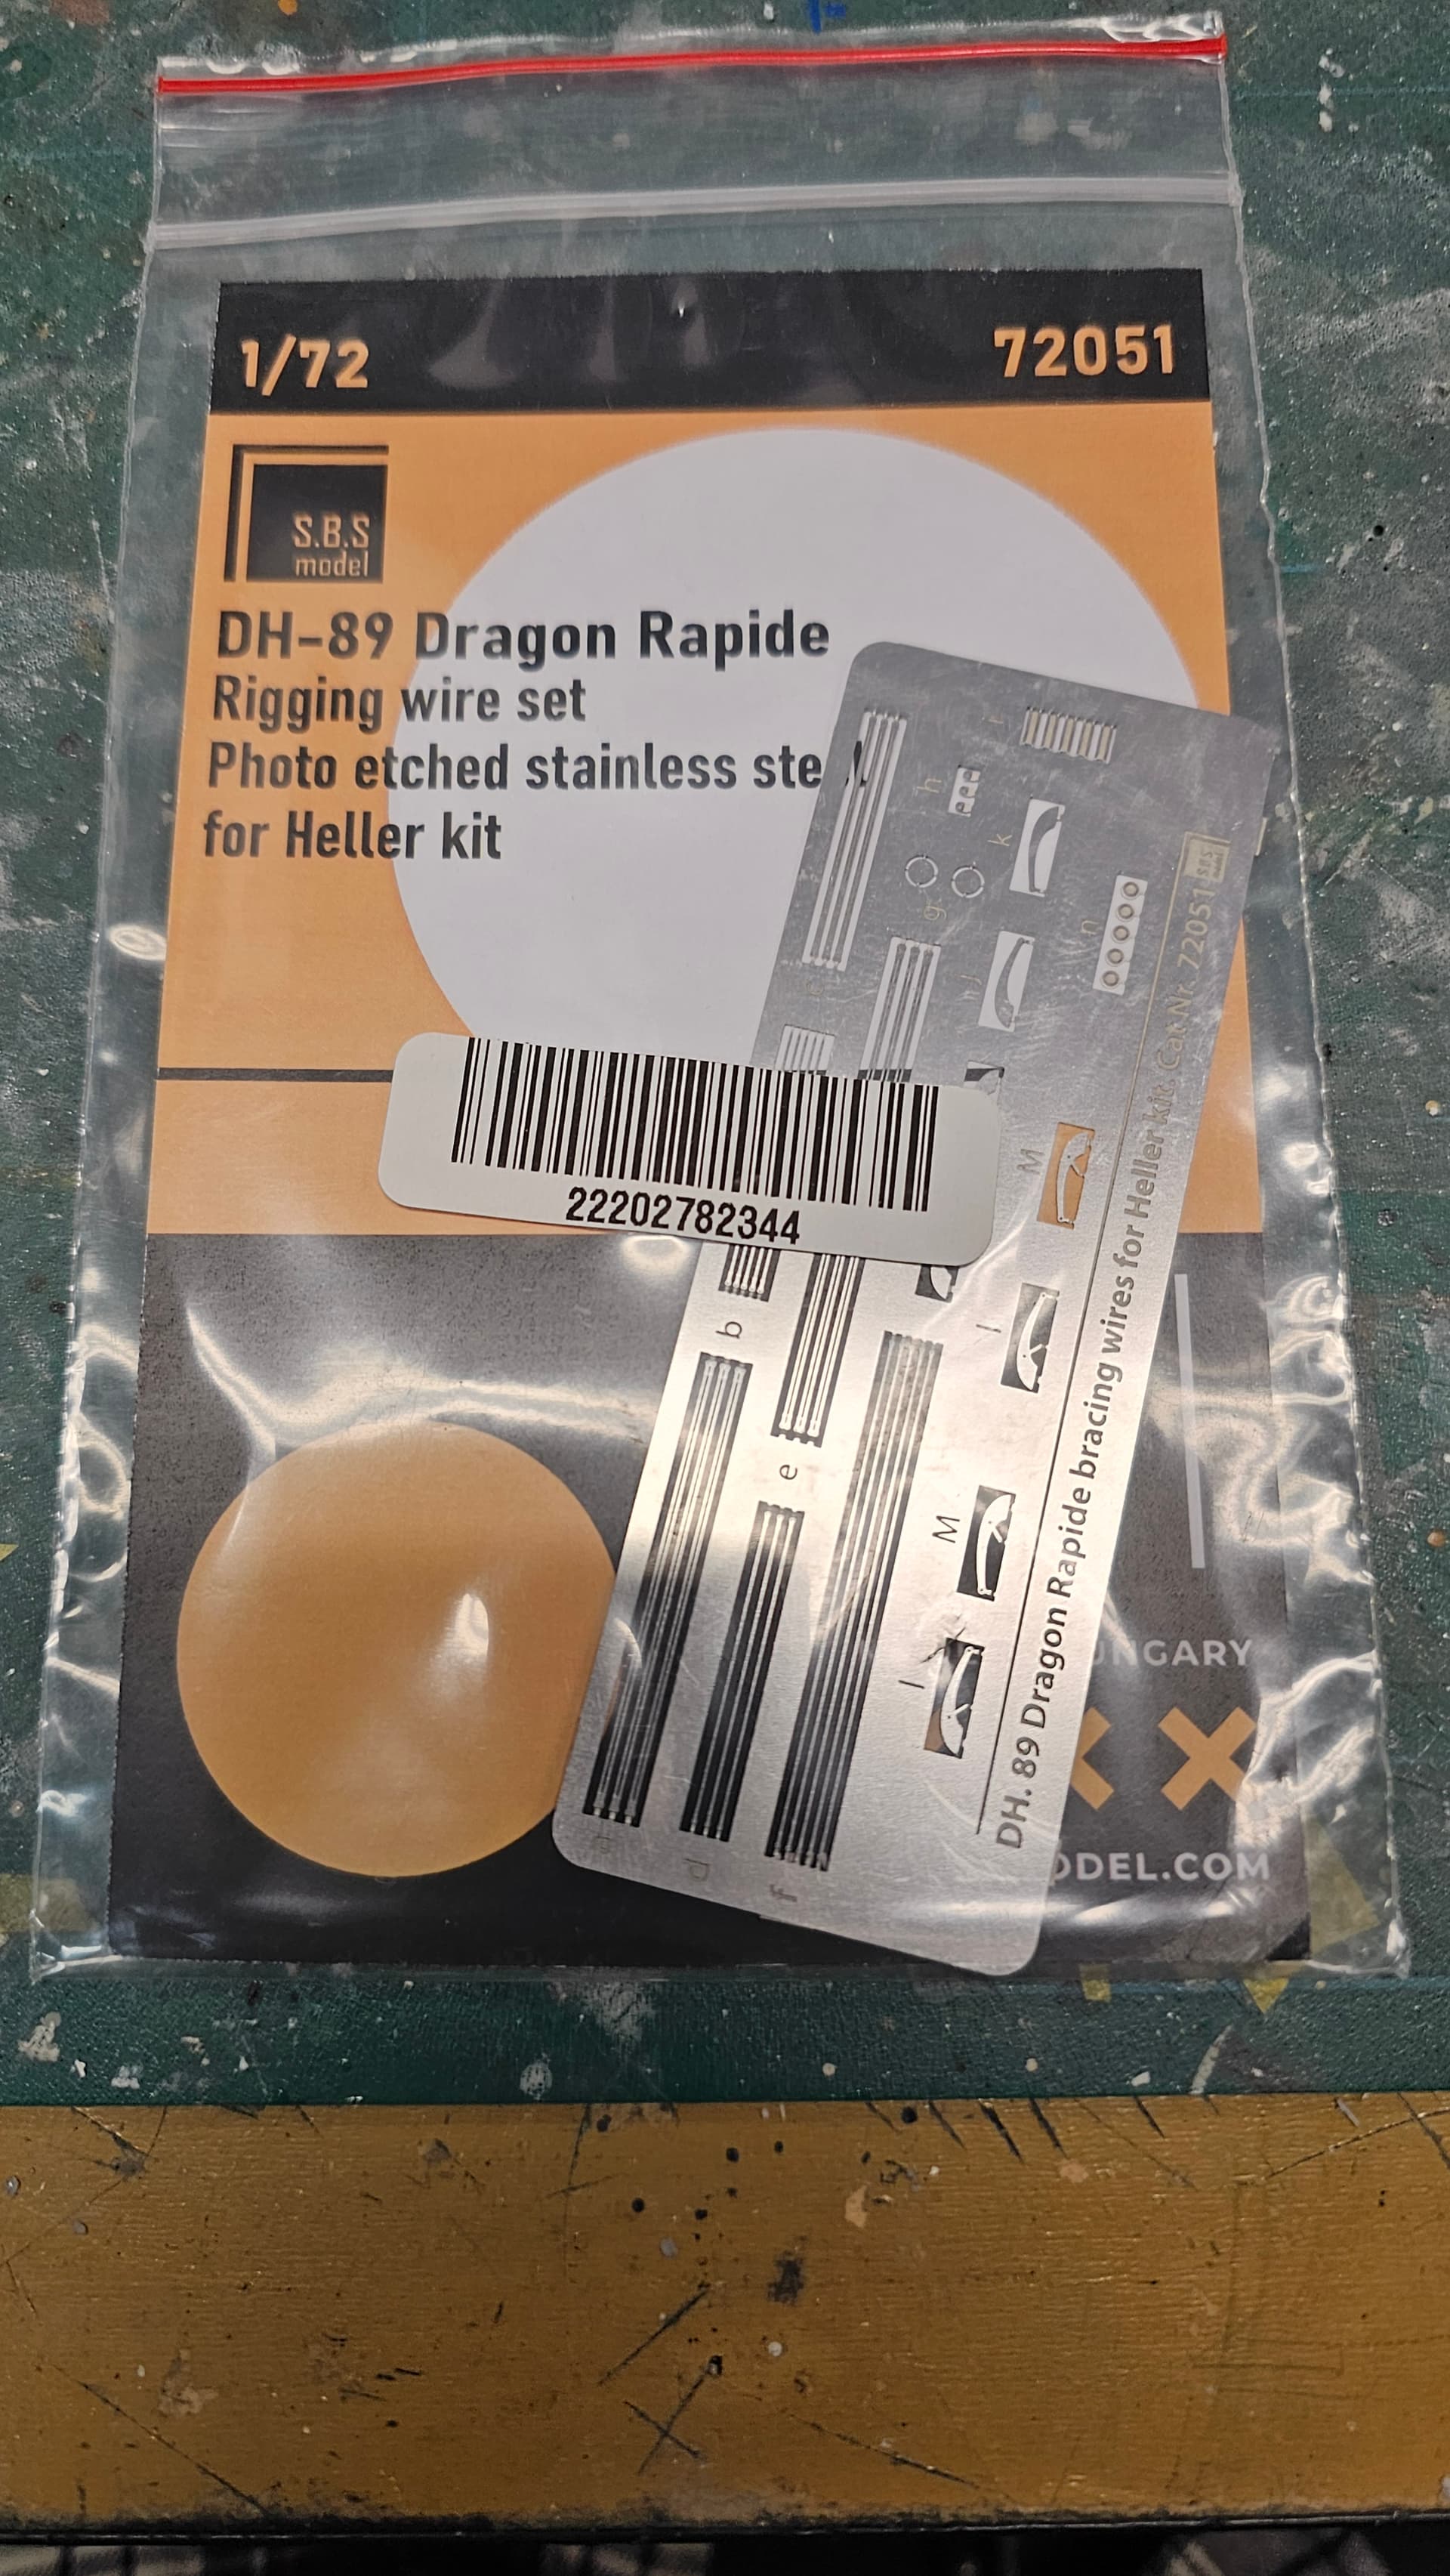
Still planning how to modify the Dragon Rapide into a bomber. However I saw this and couldn’t resist. Hopefully this still counts as rigged if it’s PE and not rigging line?
Of course it counts! There are several ways to rig an airplane and this is a method I would be very interested in seeing. Please give us a good account of how the process goes for you as you go along.
Paul