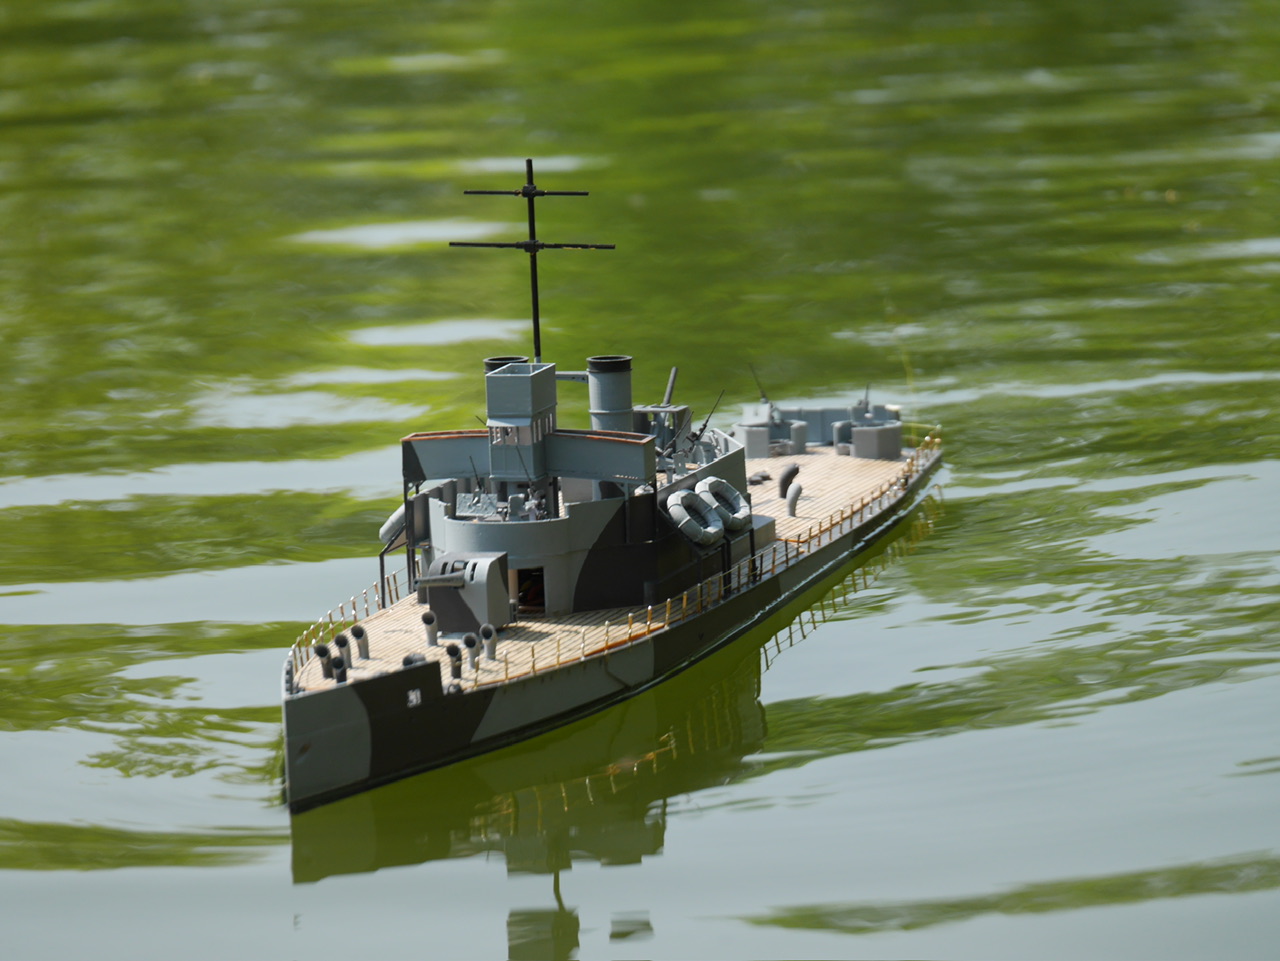
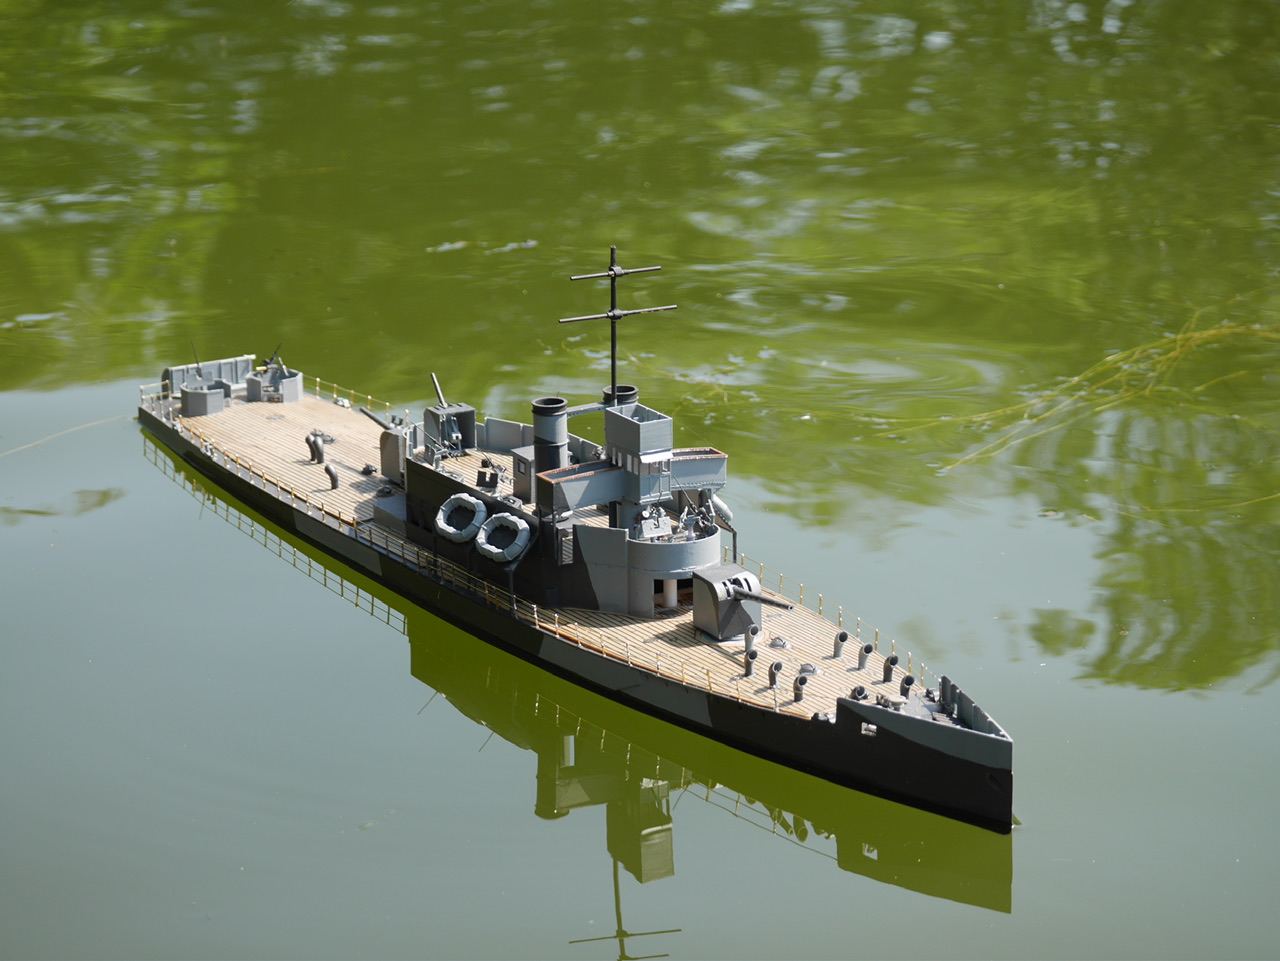
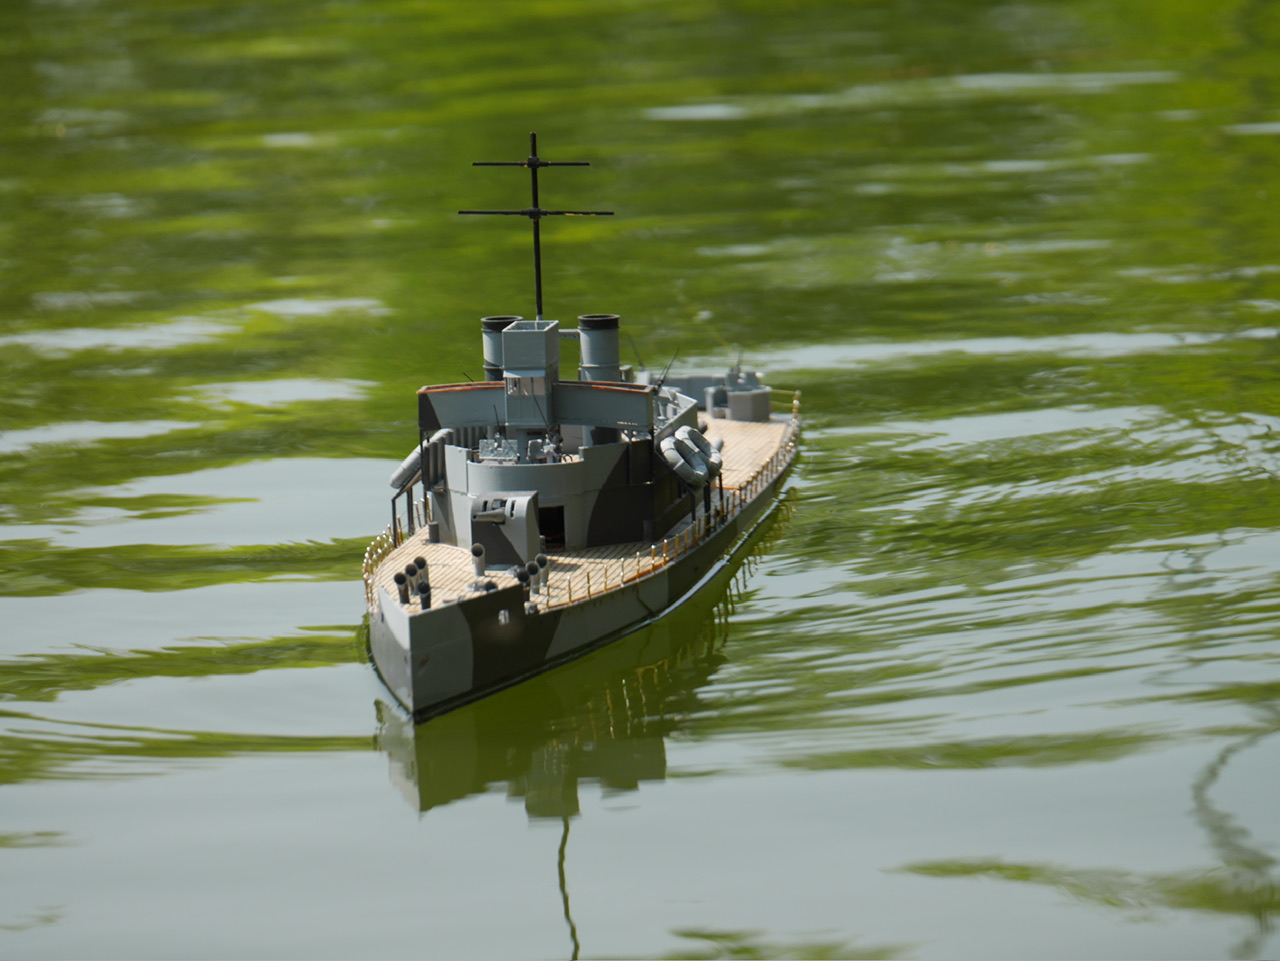
That is turning into a true masterpiece, Andrew!
2 Likes
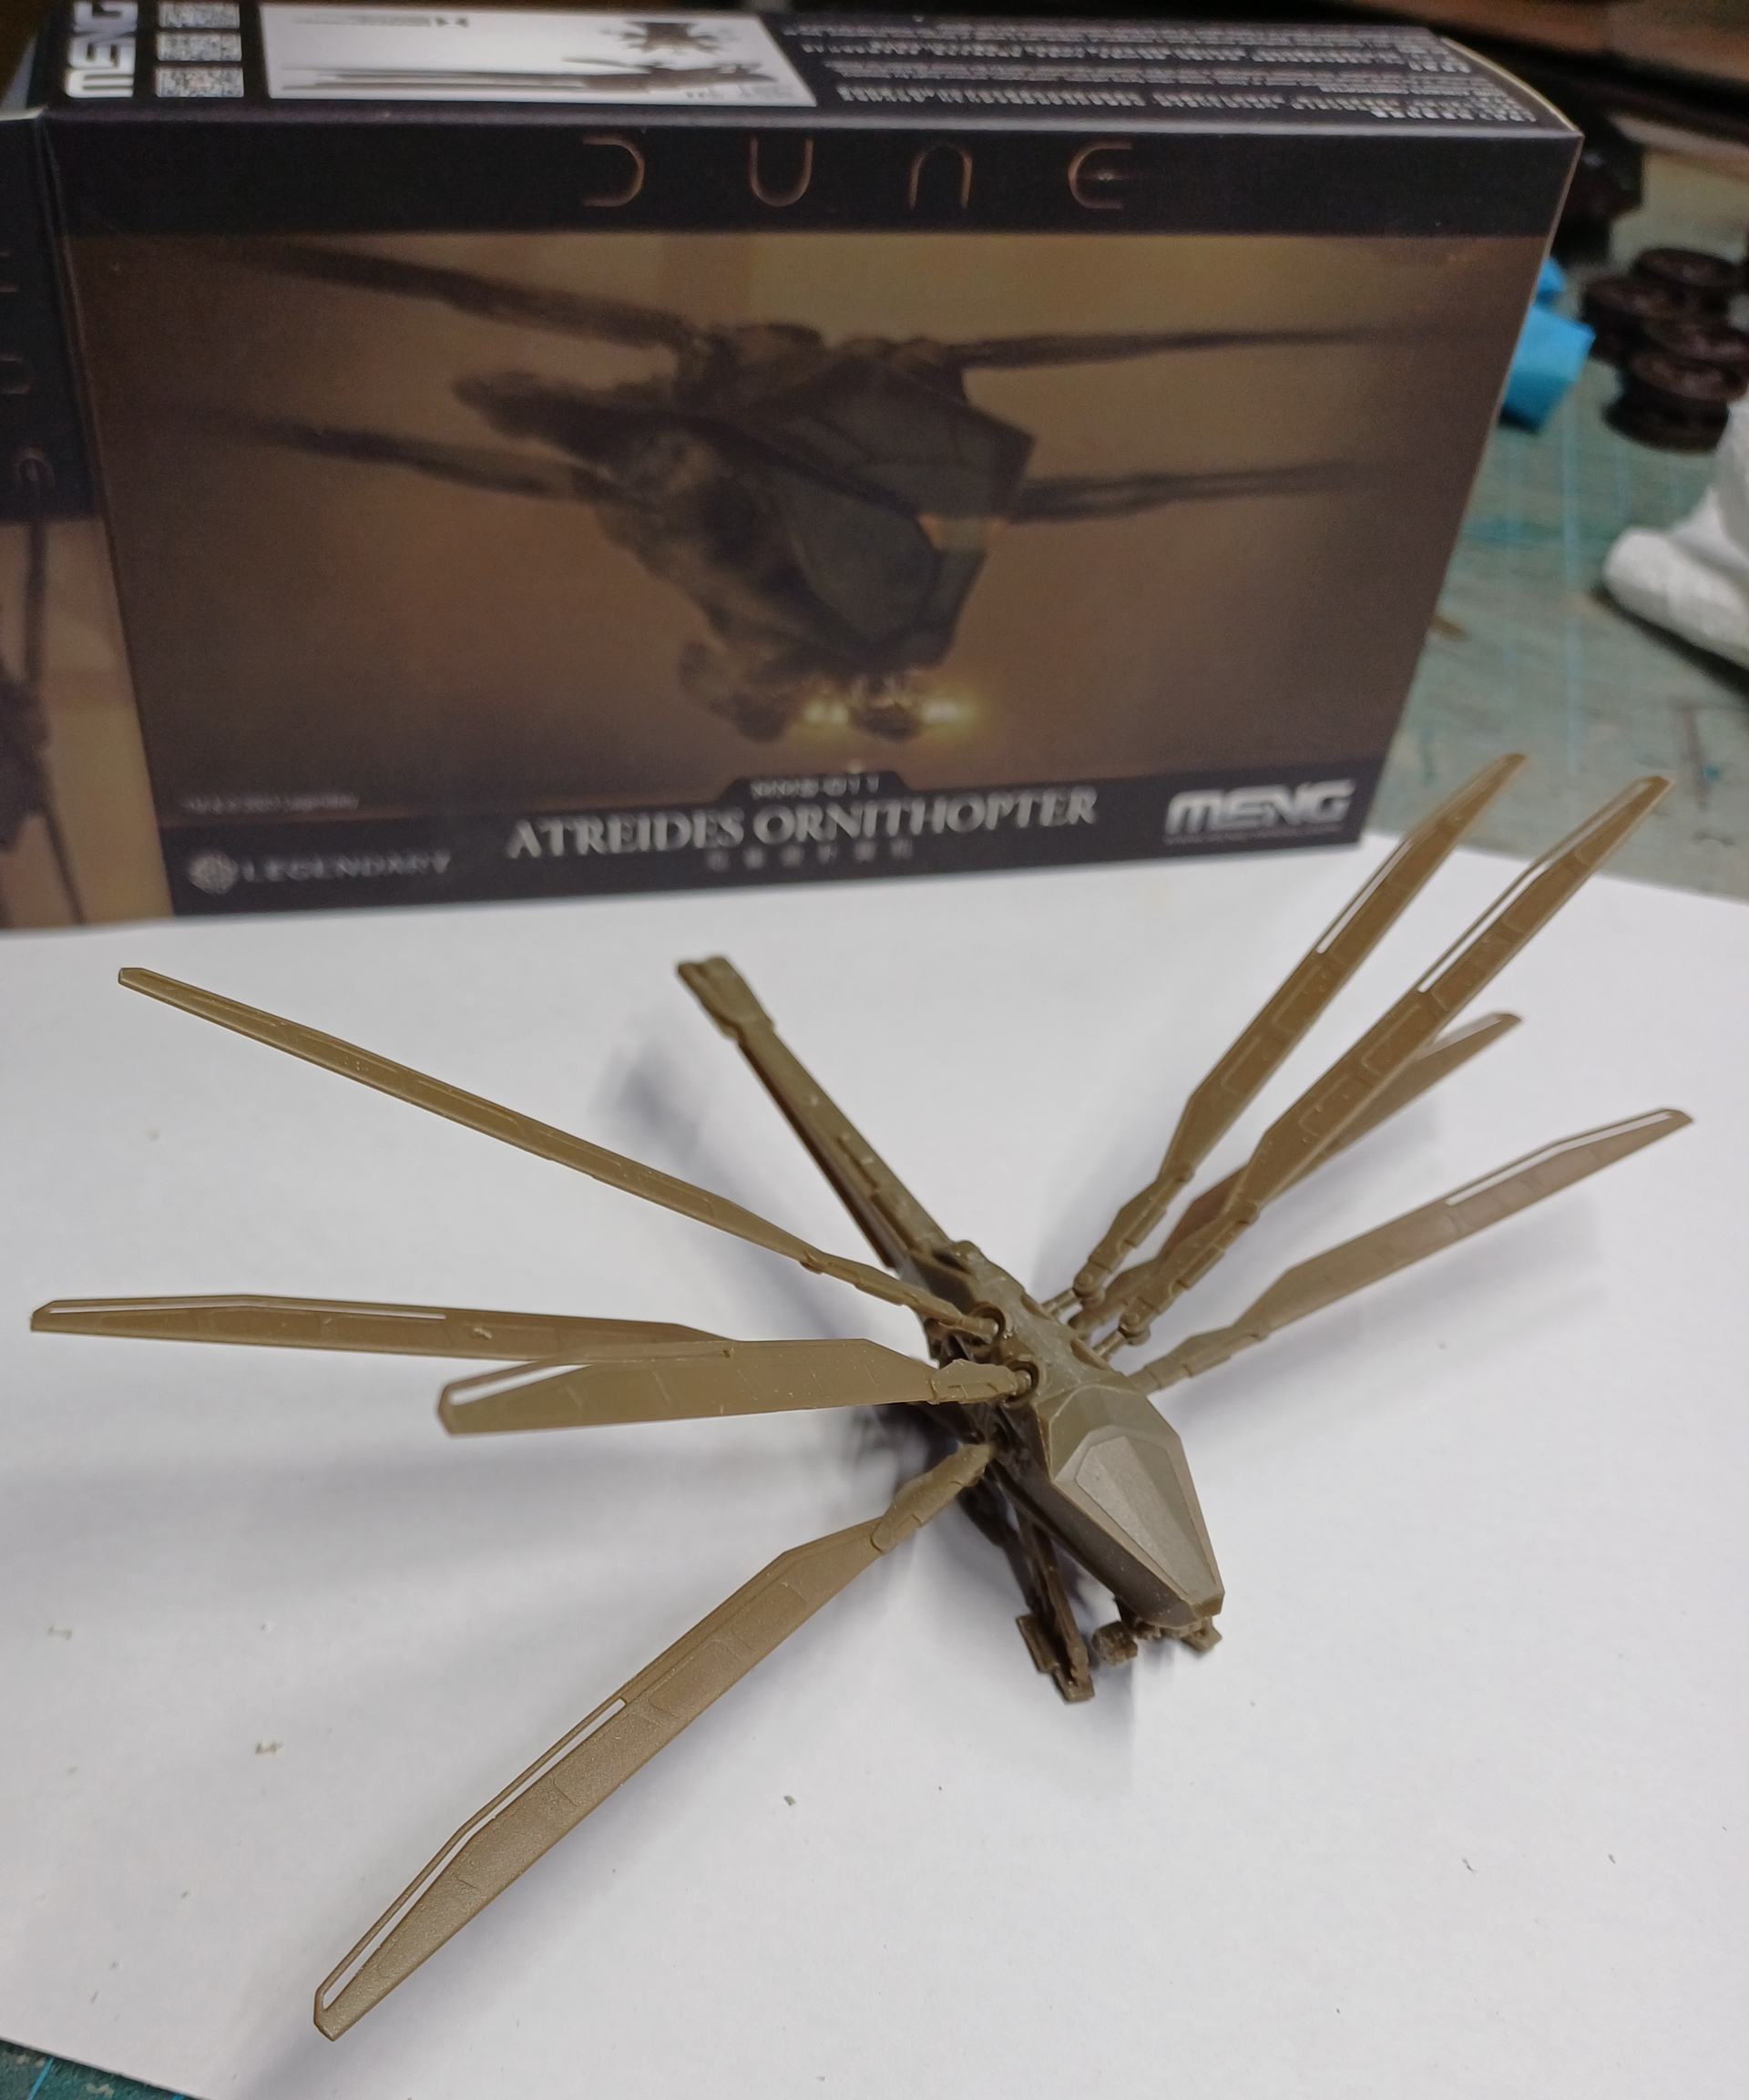
Normaly not realy into building SF models but as my grandson got me one for my last birthday I’ll join with it…. As it qualified as a bug 
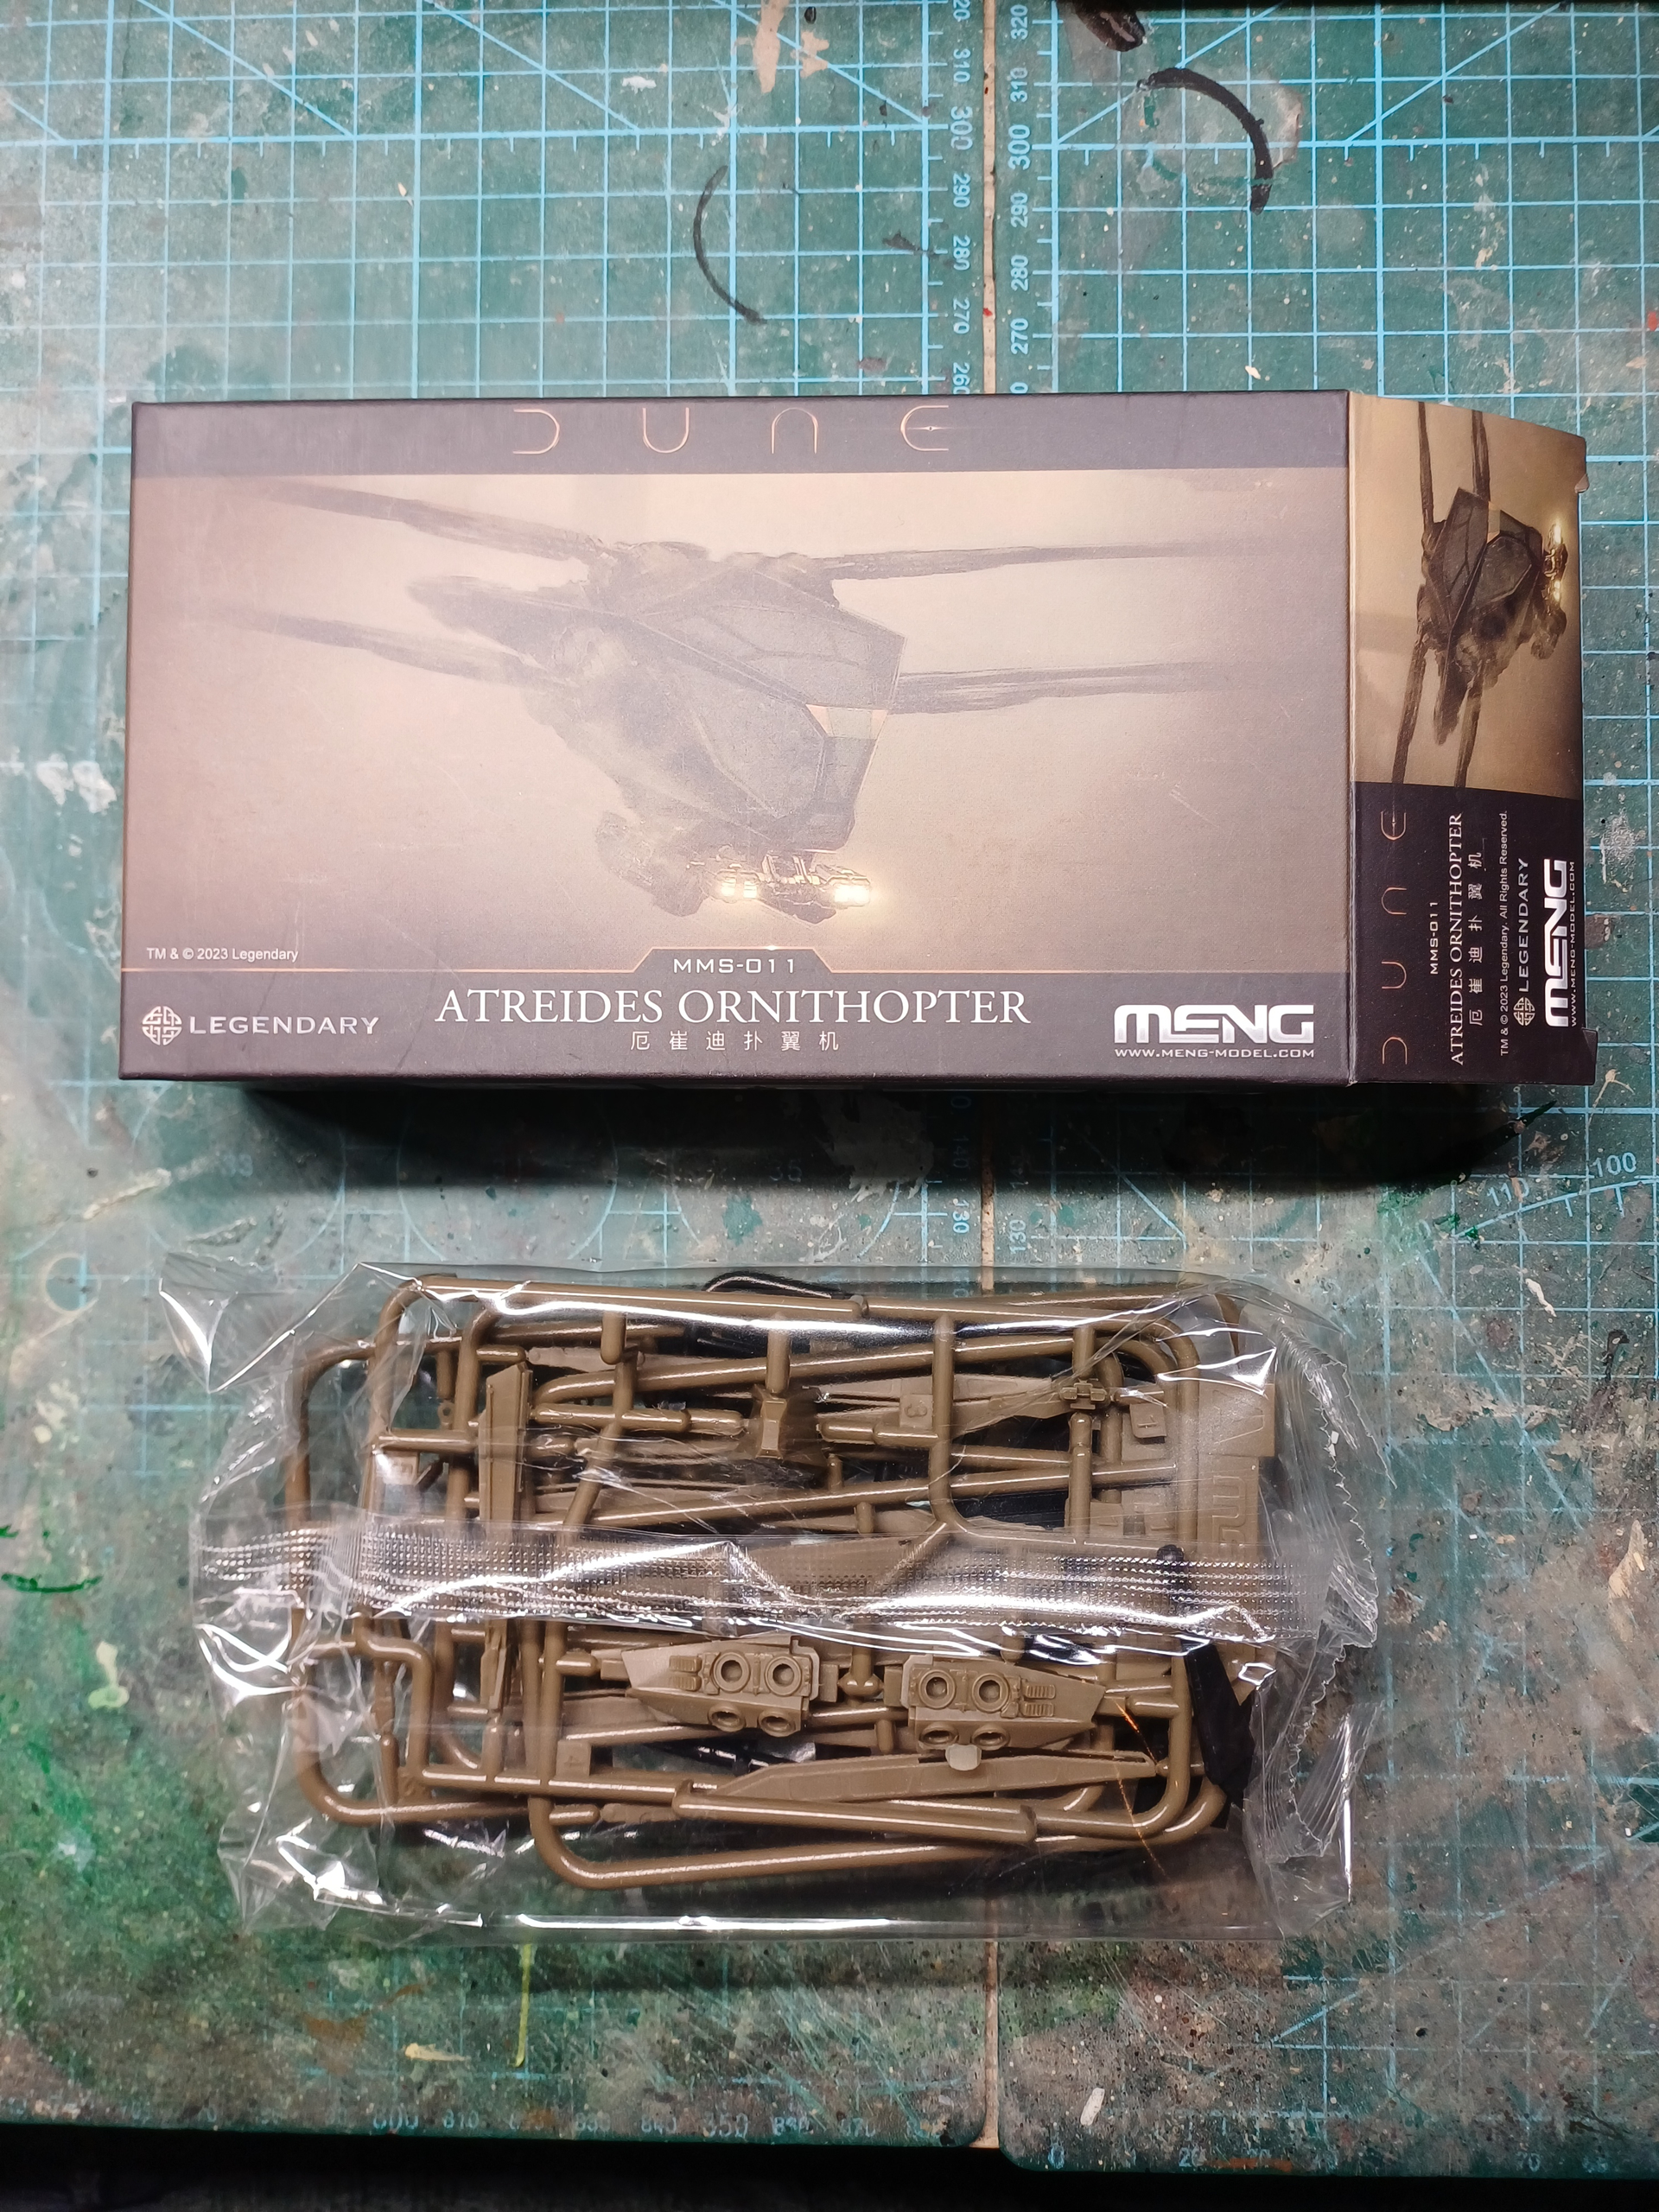

Something very different for me, tiny both in size and parts ….
Should be able to finish this in time 
4 Likes
Parts are very small, but very clean, can be done without glue. Not going to bother with changing landing gear so I used glue…
4 Likes
3
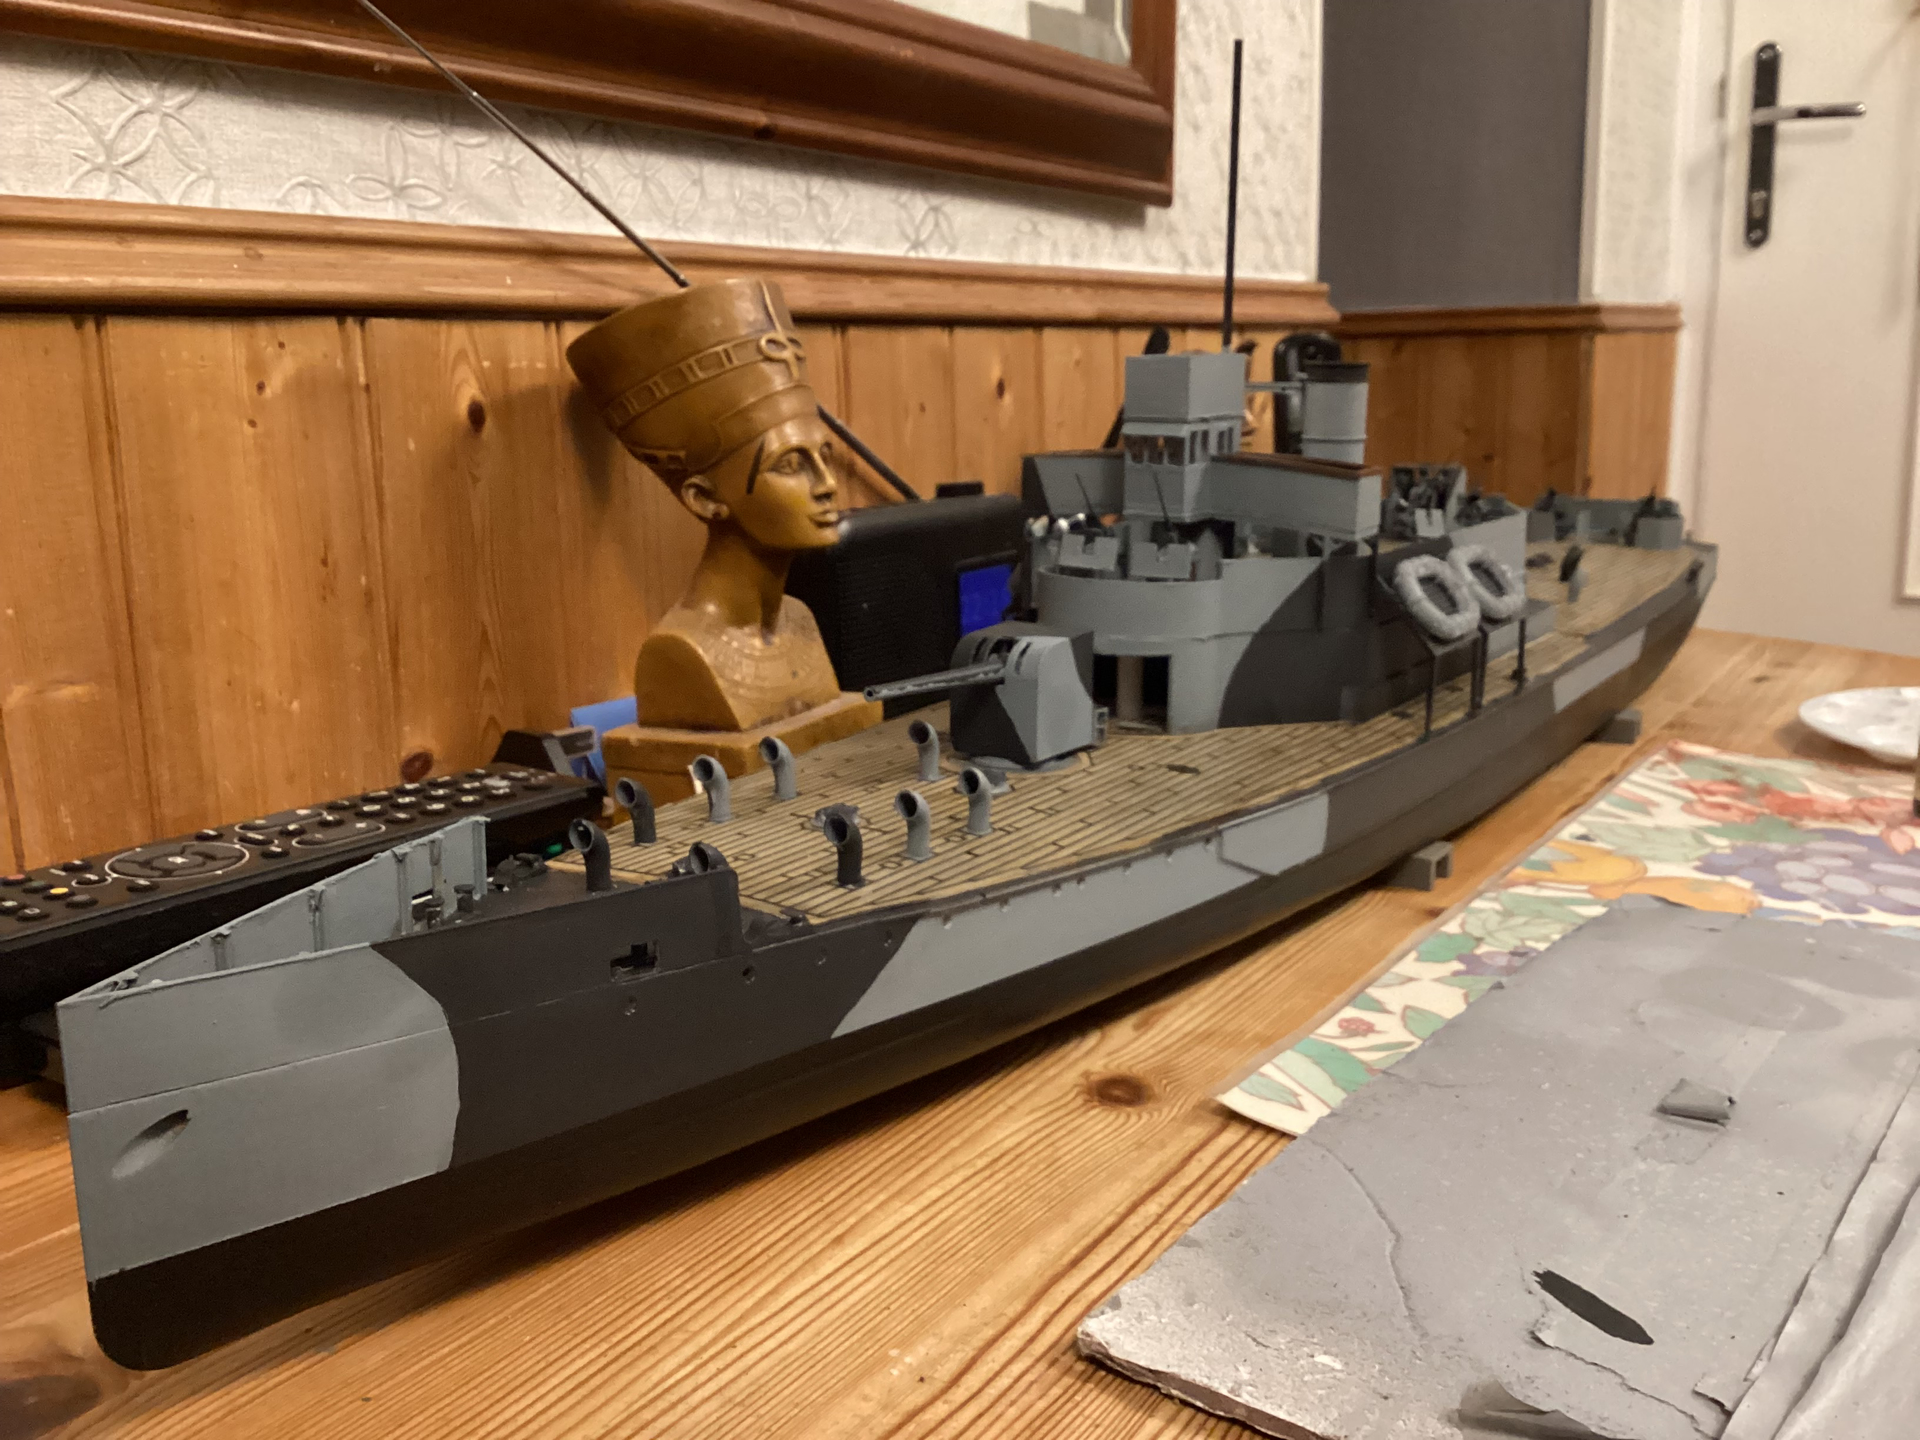
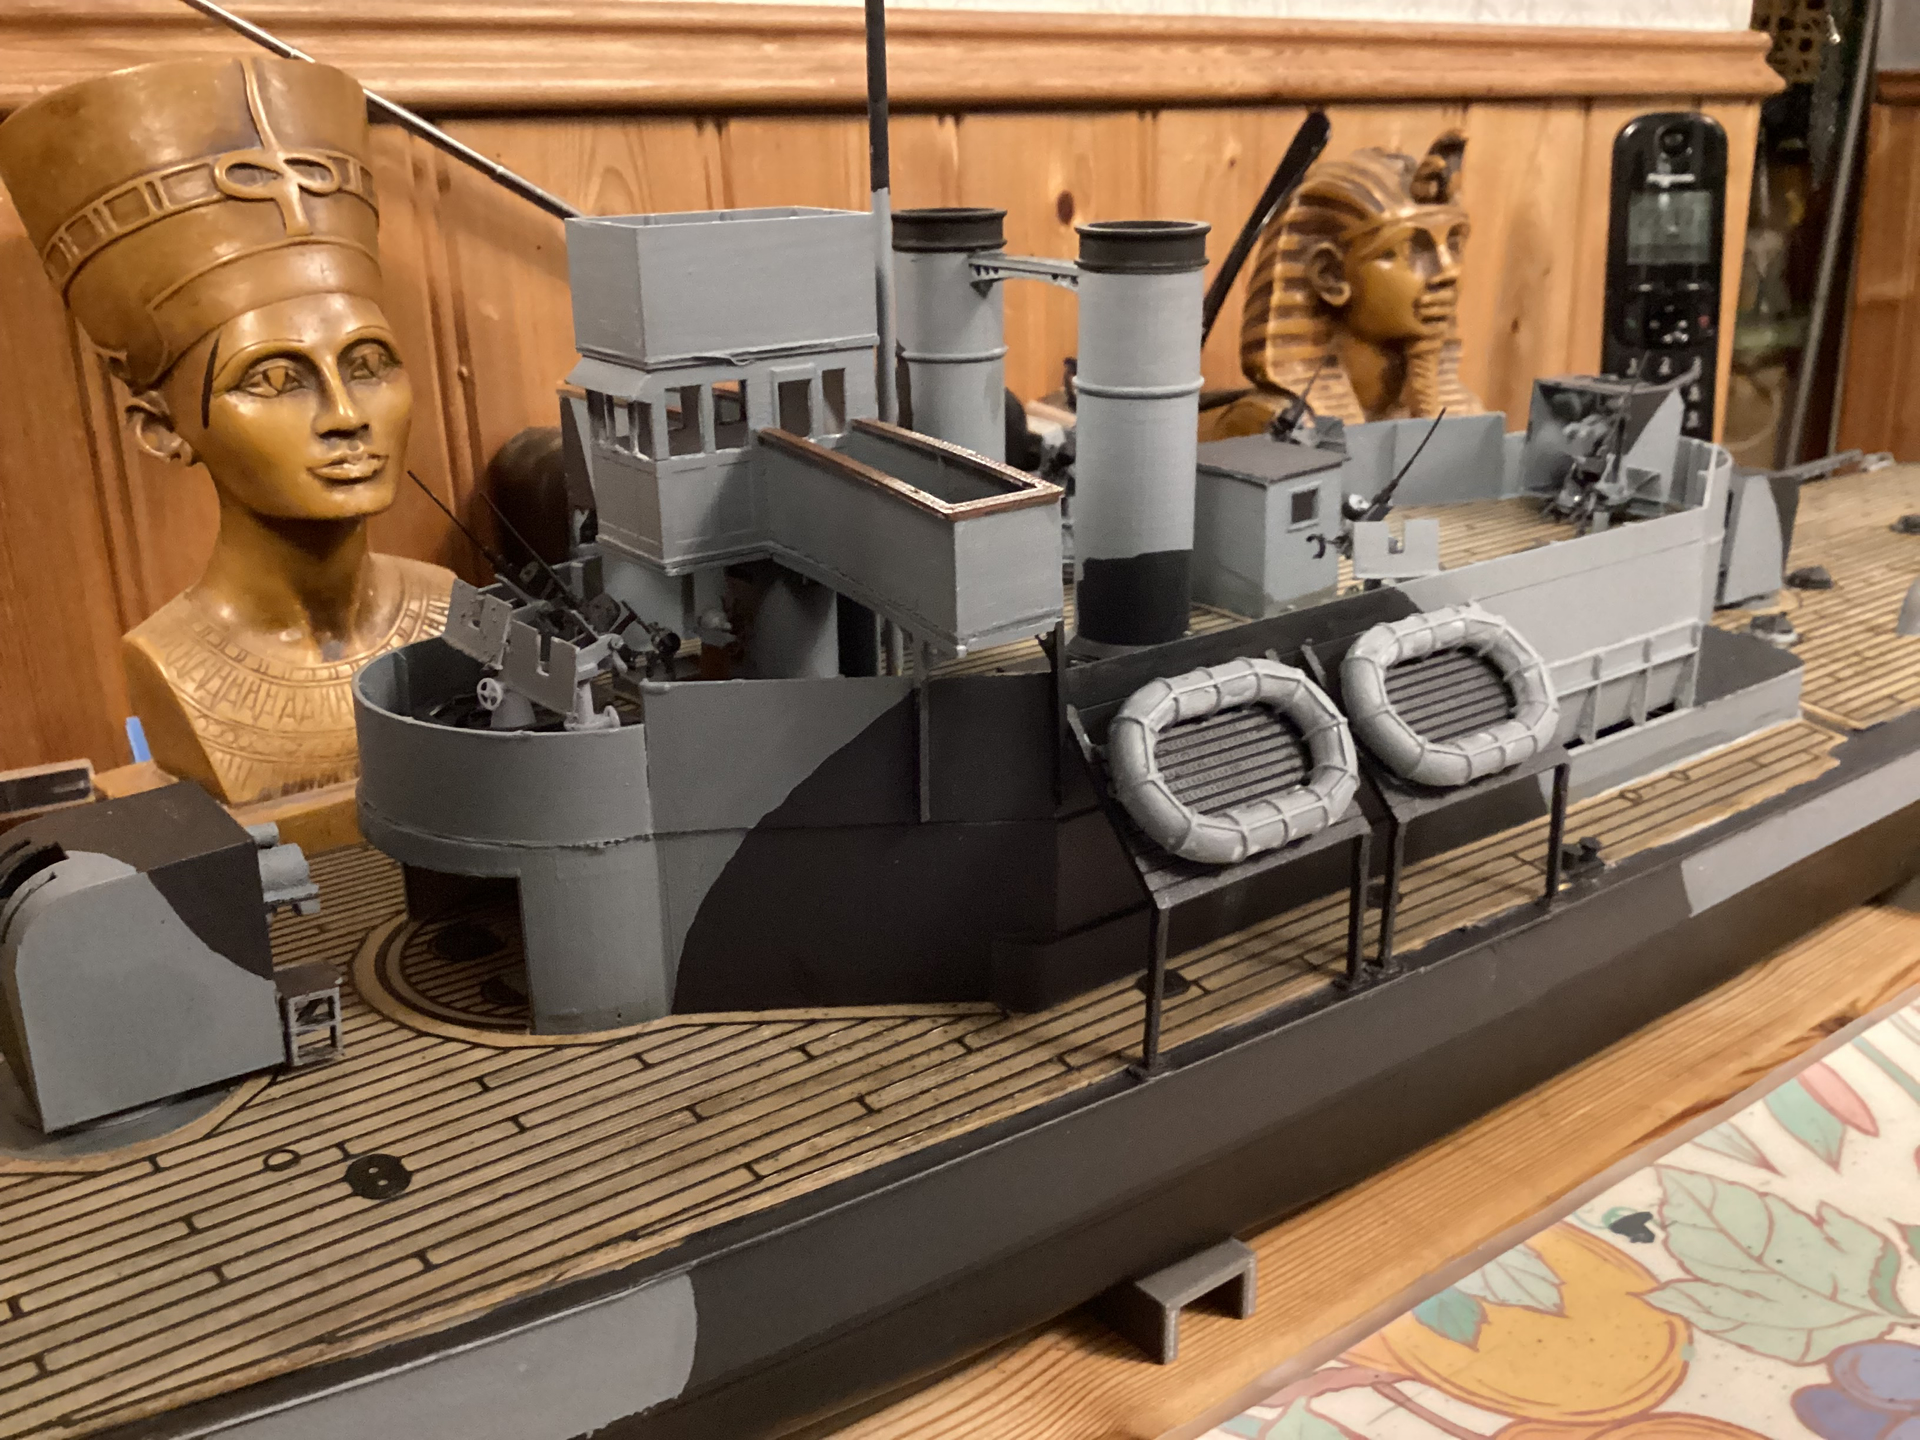
Small changes, but slowly coming on, added mast, bridge between funnels, Carley Floats and scuttle glazing, rudder servo is connected but couplings still not come. Now working on anchors and gear.
8 Likes
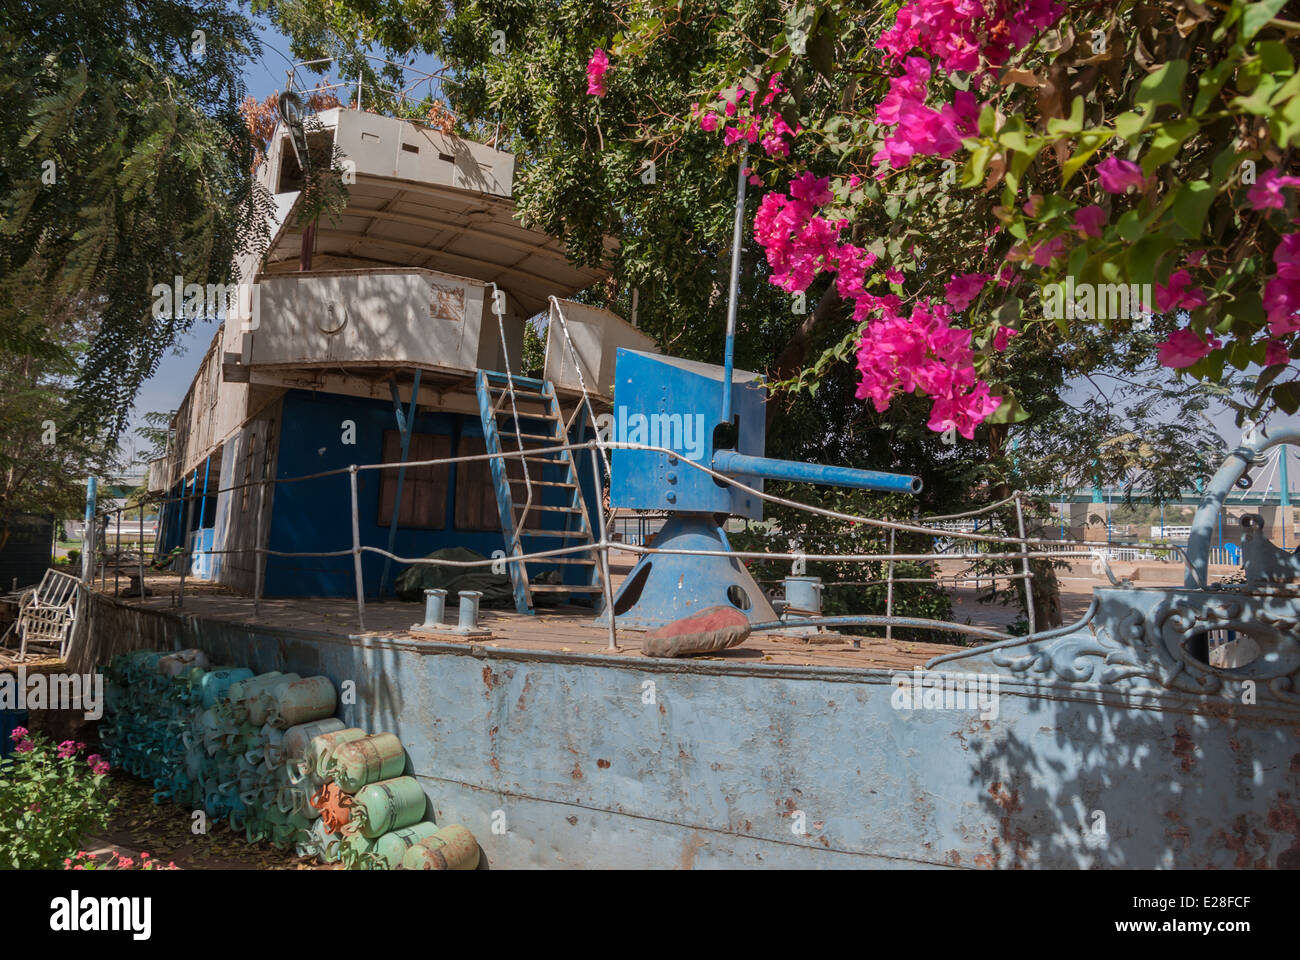
From the statues in the background, may I suggest a Nile River Gunboat as your next project? Perhaps the Melik, given there is so much information available; not the least the old lady herself (if the latest round of nastiness hasn’t finally put an end to her)…
Cheers,
M
3 Likes
Where is she? Been to Egypt a couple of times but didn’t know about her.
1 Like
Khartoum, in the Sudan. So is the Paddle Steamer Bordein, but in not so good shape as it was only saved part way through scrapping.
Regards,
M
1 Like
Hi Everyone,
Andrew, that is one most impressive build that you’ve got going on. While things may have slowed, there’s certainly some very interesting builds here!
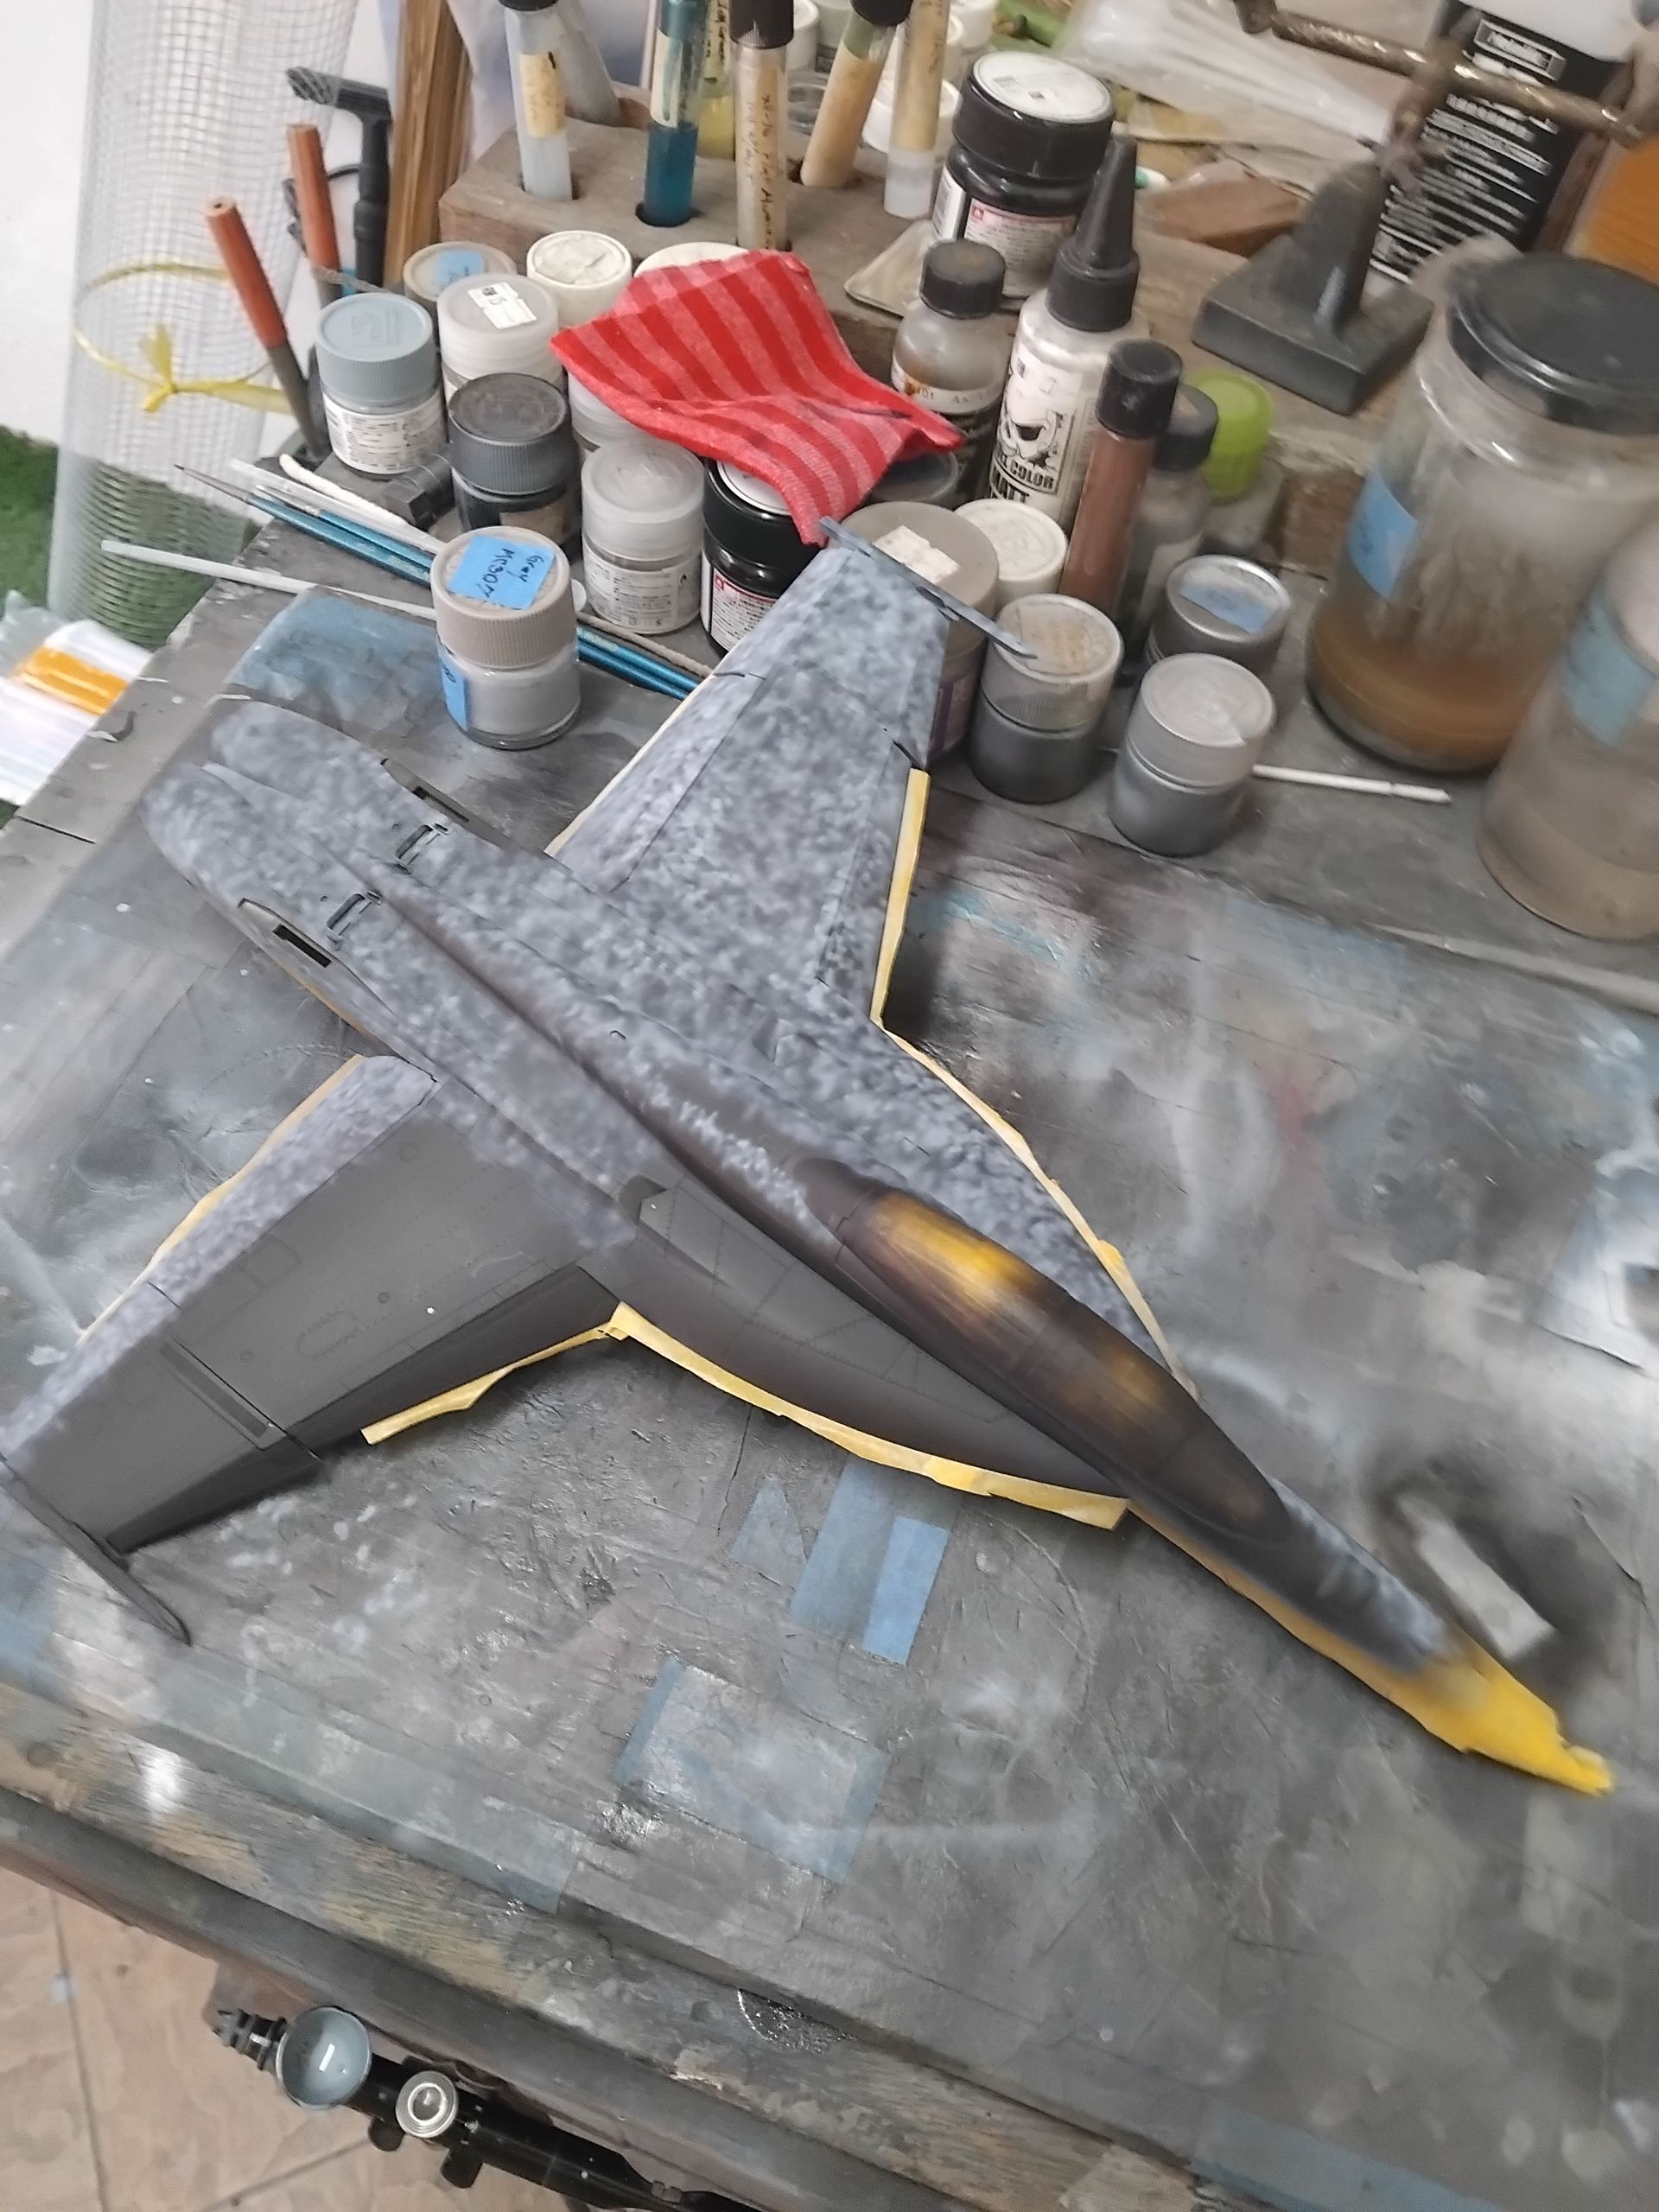
In my last update, I got this Hasegawa 1/48 F-18F’s airframe to a point of painting! This was planned as being an out of the box build, and for the most part is, with the paint scheme being for VFA-103 “Jolly Rogers”, in 2005. A rather simple scheme of light grey under a dark grey, pretty simple. While more of prop modeler, I found this project to be a challenging one
Using the black base method, the underside of the airframe was done using MC308 grey FS36375, a light grey. The upper side was painted with MC307 grey slightly darker FS36320, with the prominent black spine then being tapped off and painted.

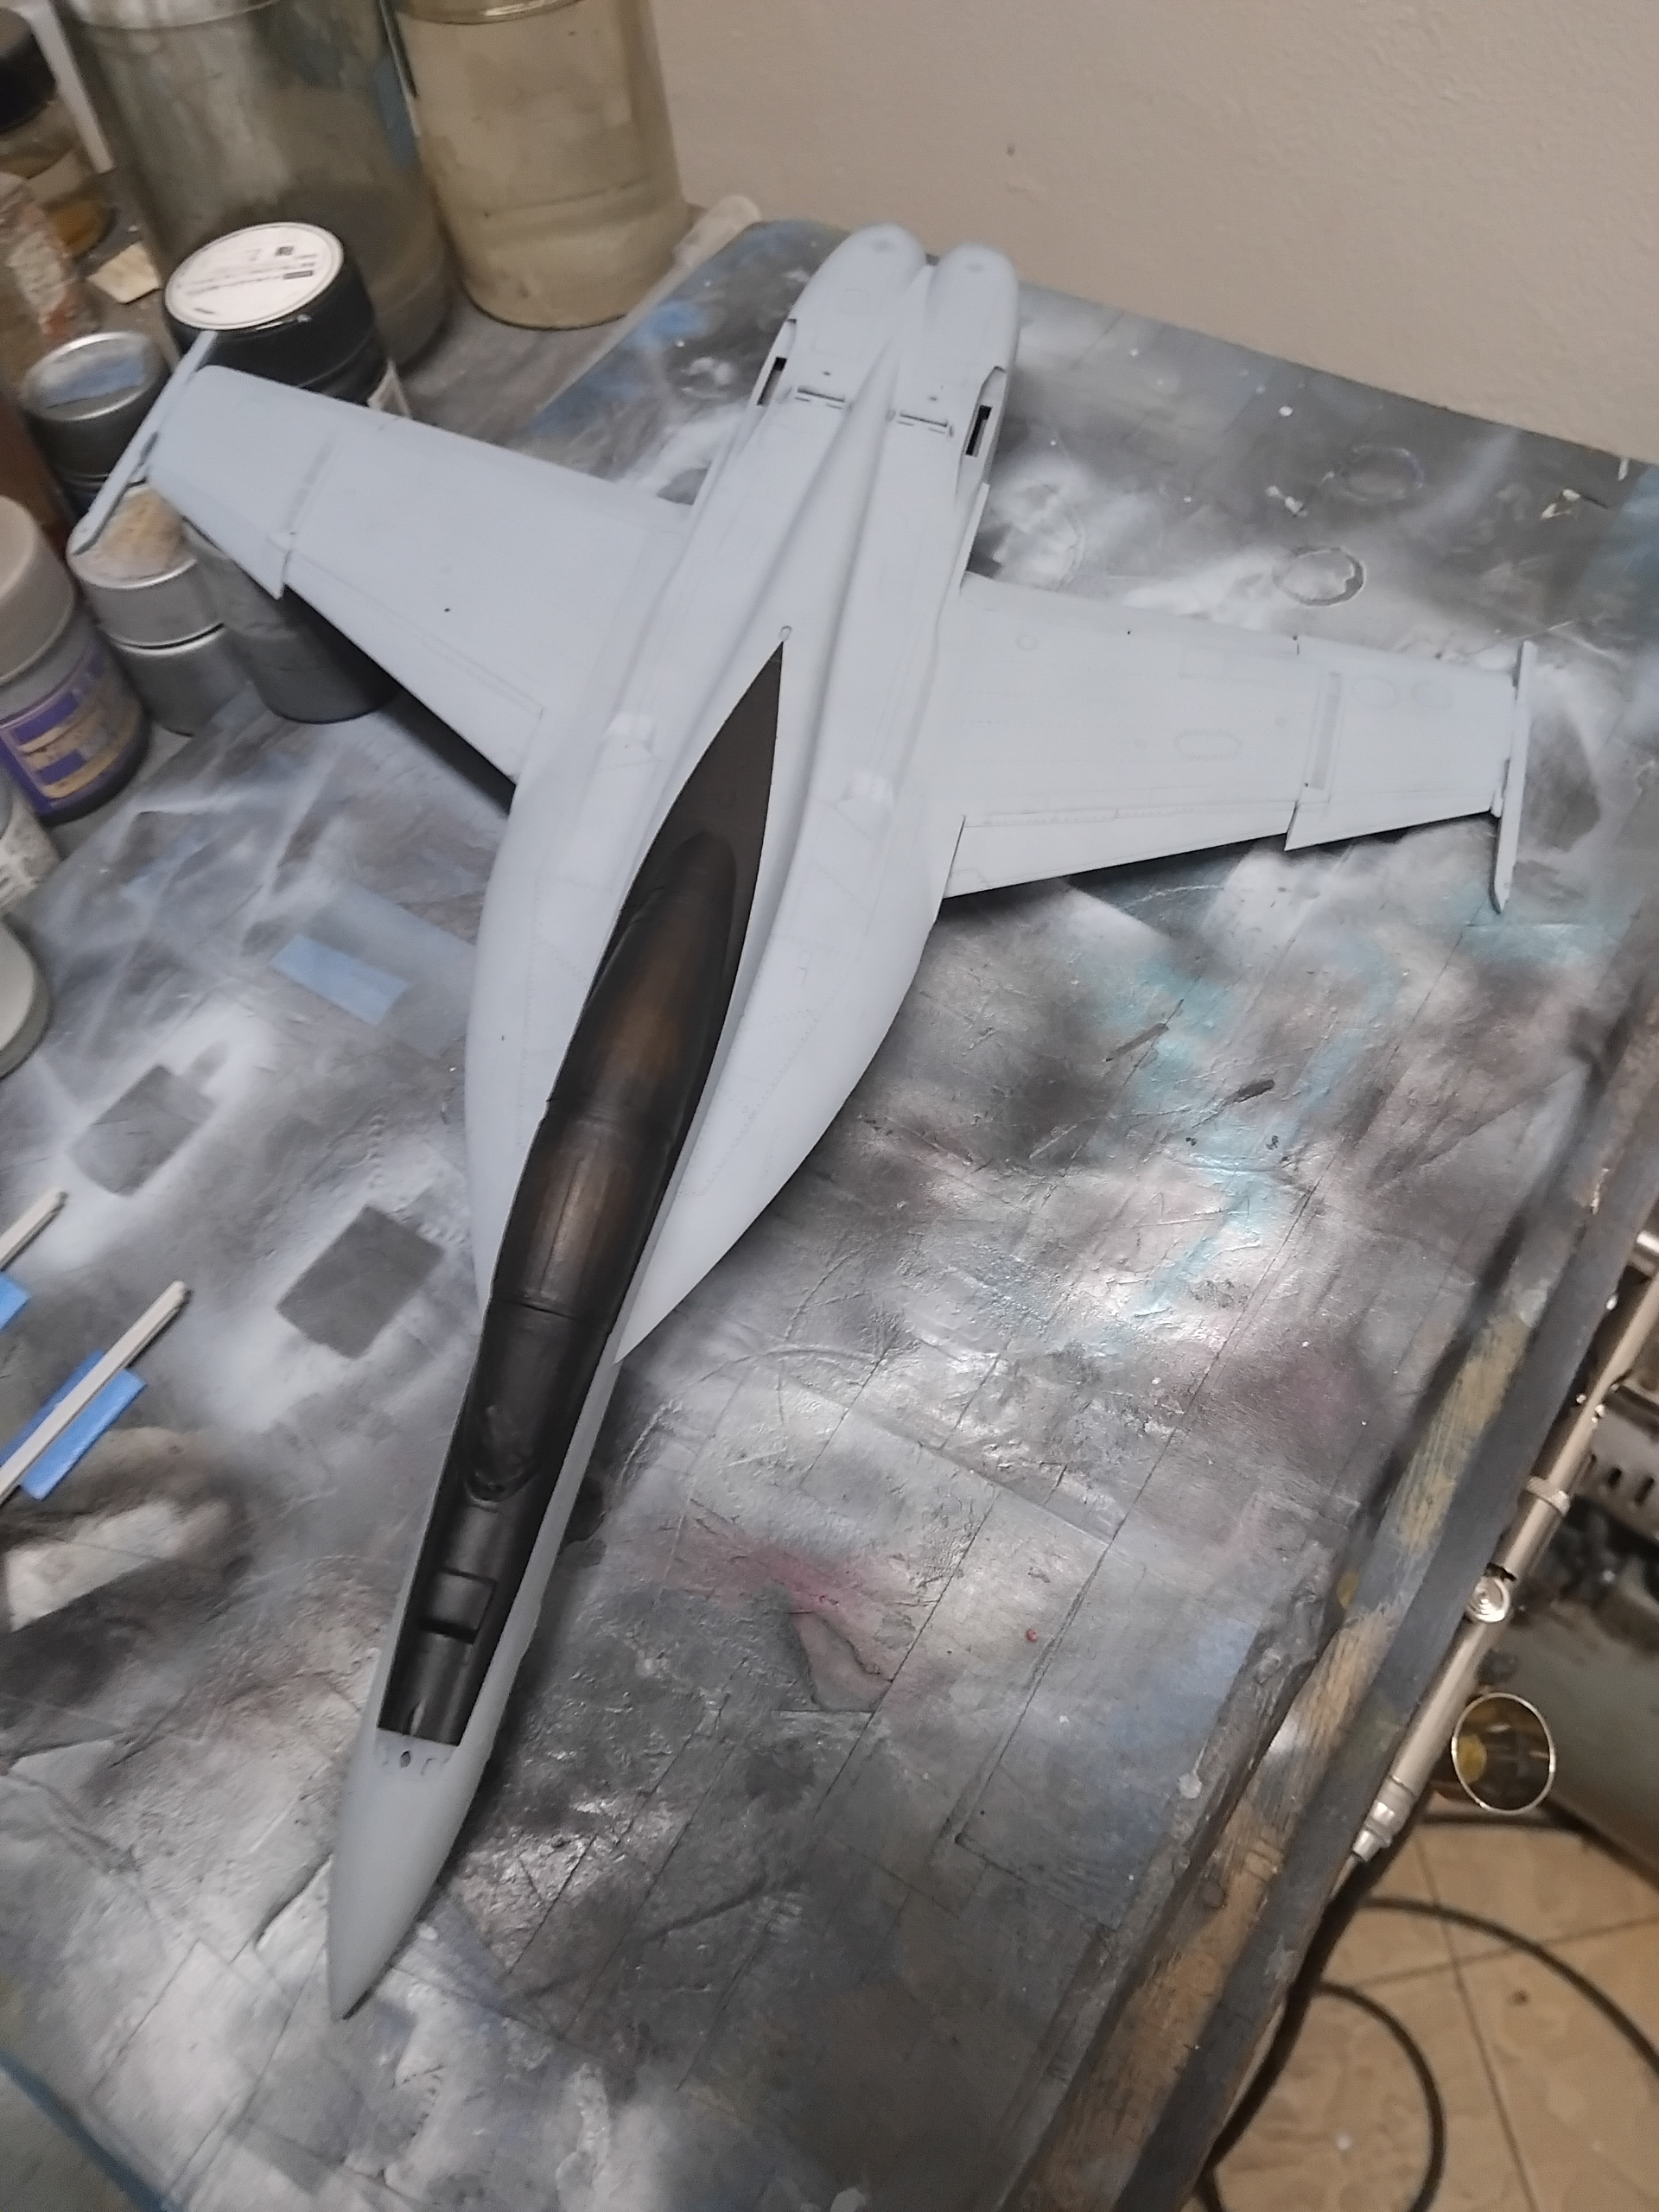
Finally, the front details were masked for painting of the grey and stainless steel for the cannons. Additionally, the greyish/blue trim colors were tapped off as well.

With a clean paint job laid down, it was time for decaling! With the supply chain getting back to normal, I was able to us Mr. Color gloss clear to lay down three light coats for the decals.

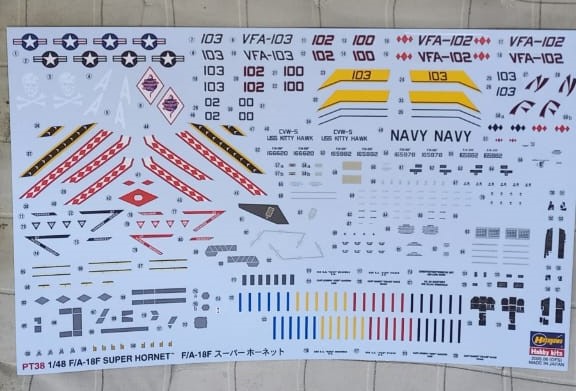
My biggest concern with this project was the age of the kit supplied decals. According to the decal sheet they were printed in 1996. Experience for me has found that the older Hasegawa decals tend to hold up, albeit a little on the thick side.
For the most part the decals laid down fairly well. Granted lots of Mr. Mark Softener was used to help eliminate silvering. Minor decal silvering did occur on the smaller ones, with the larger ones laying down and conforming nicely.
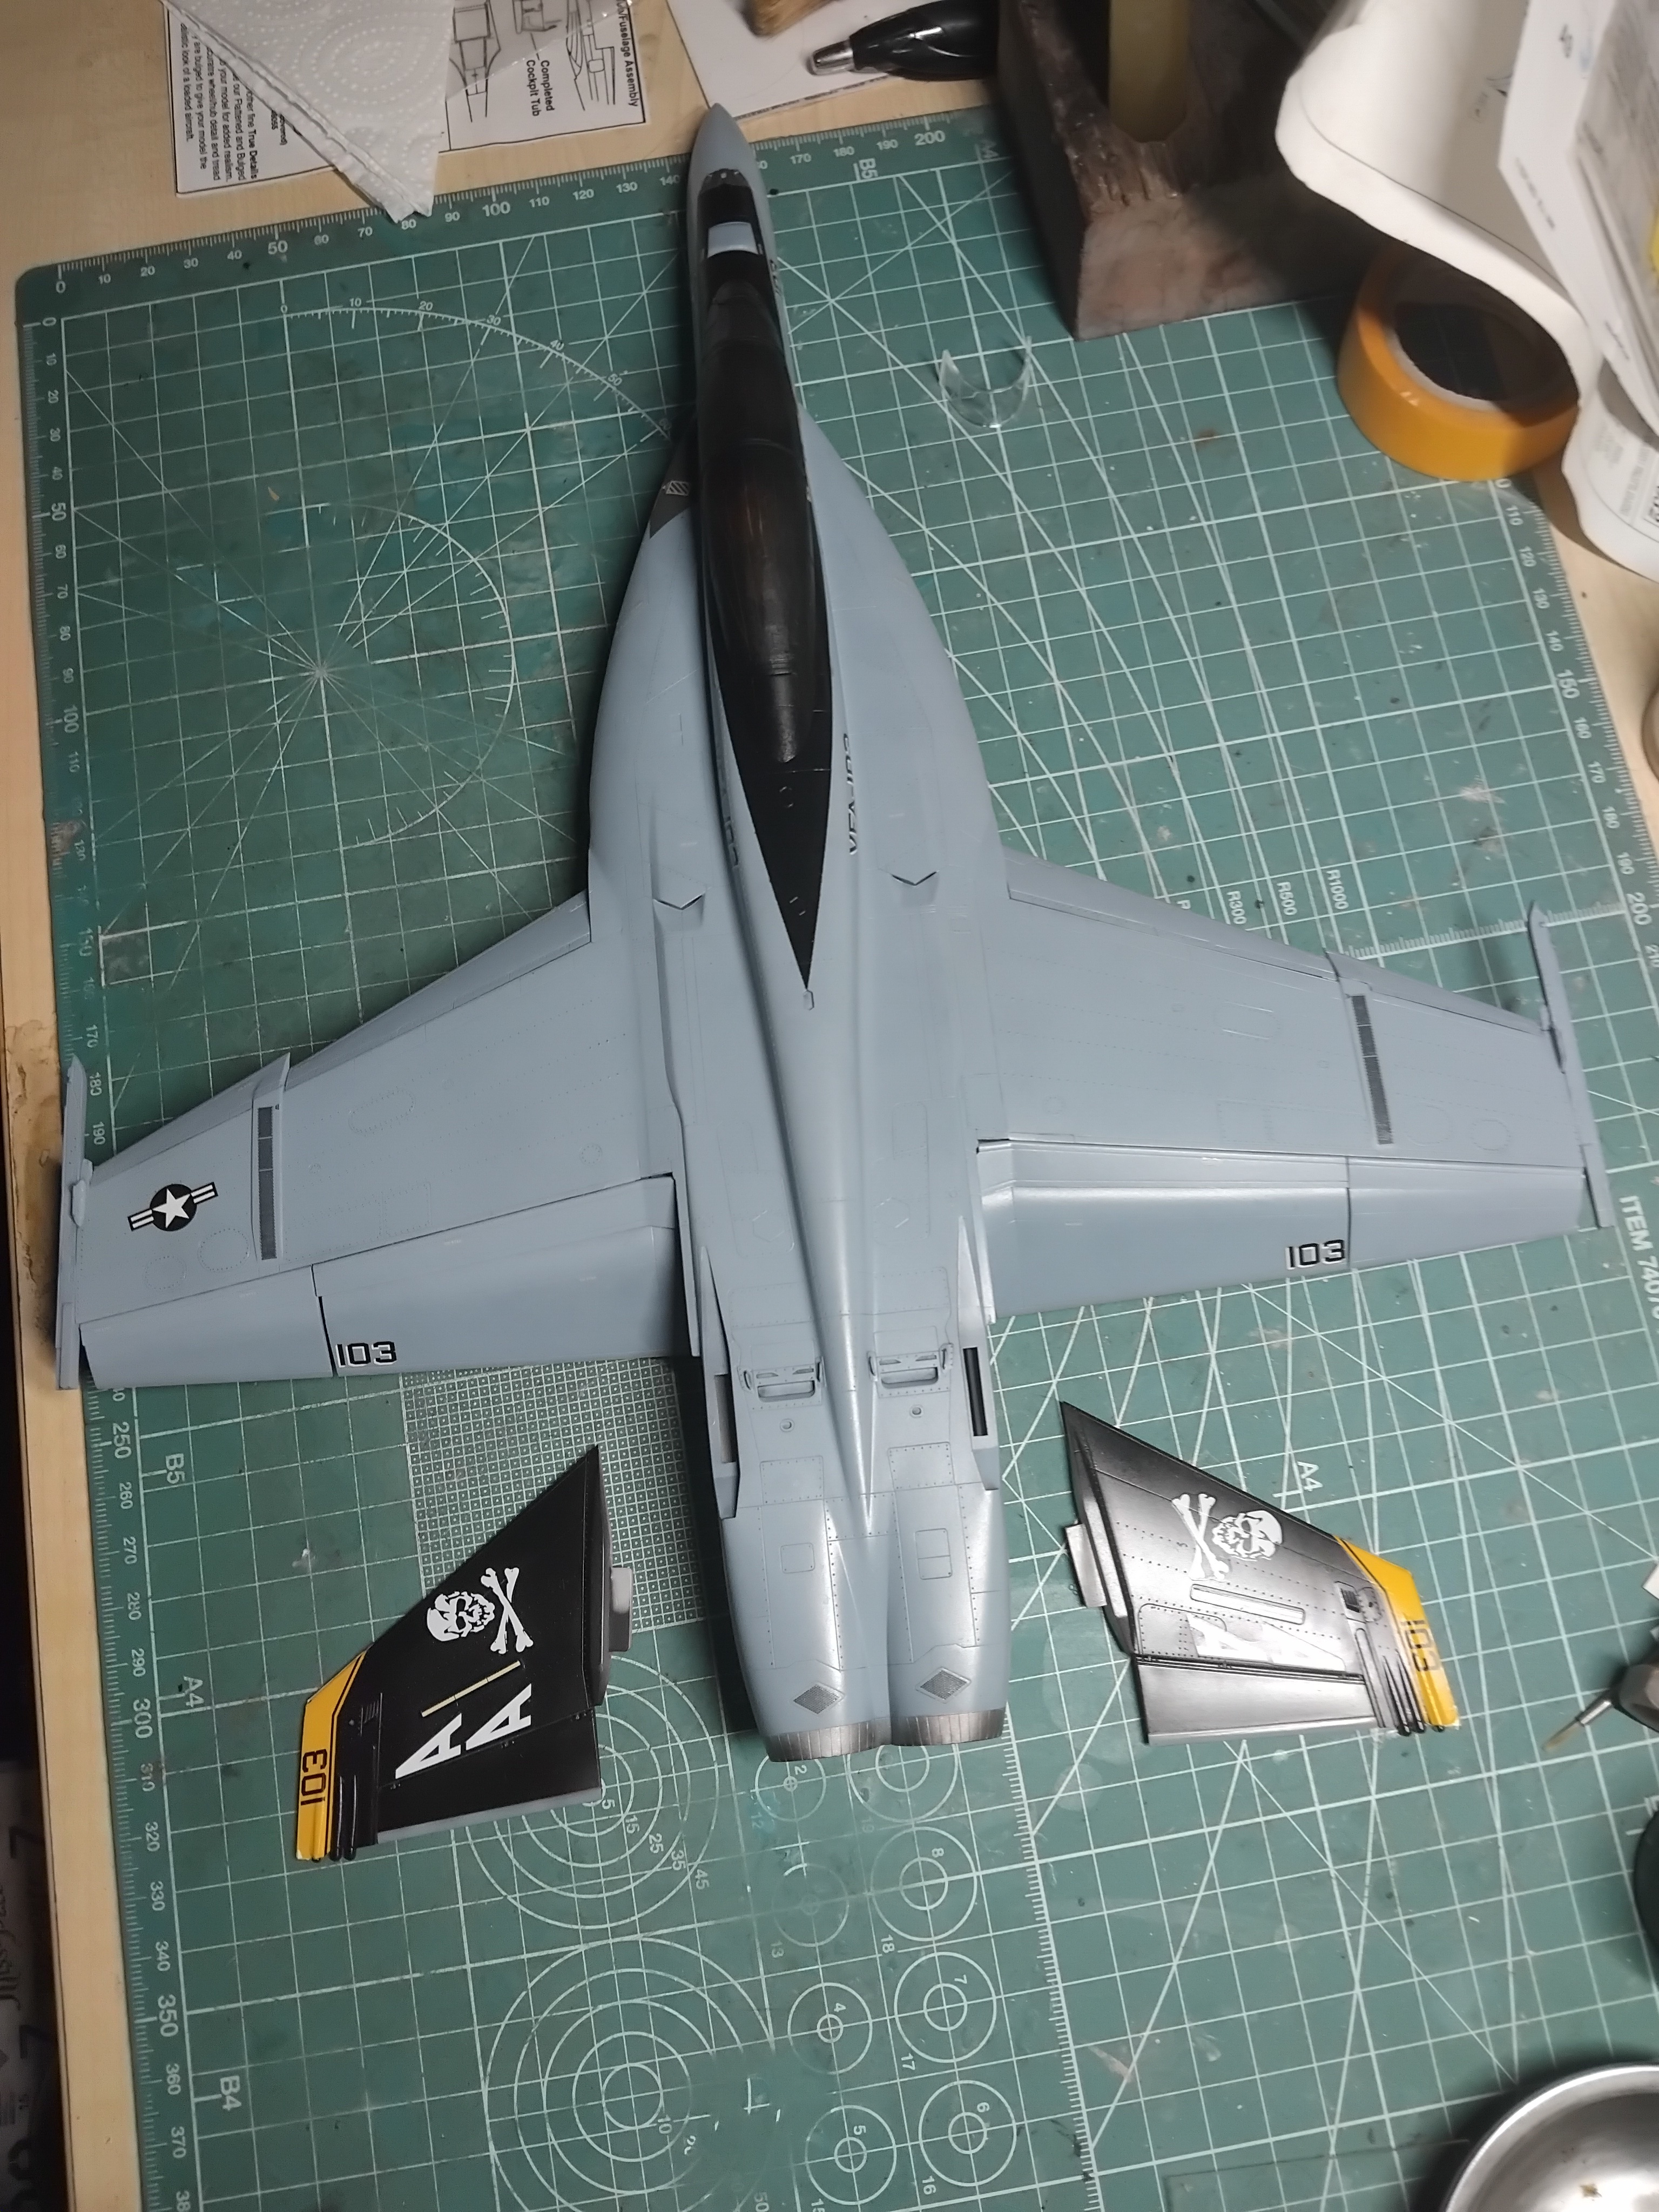
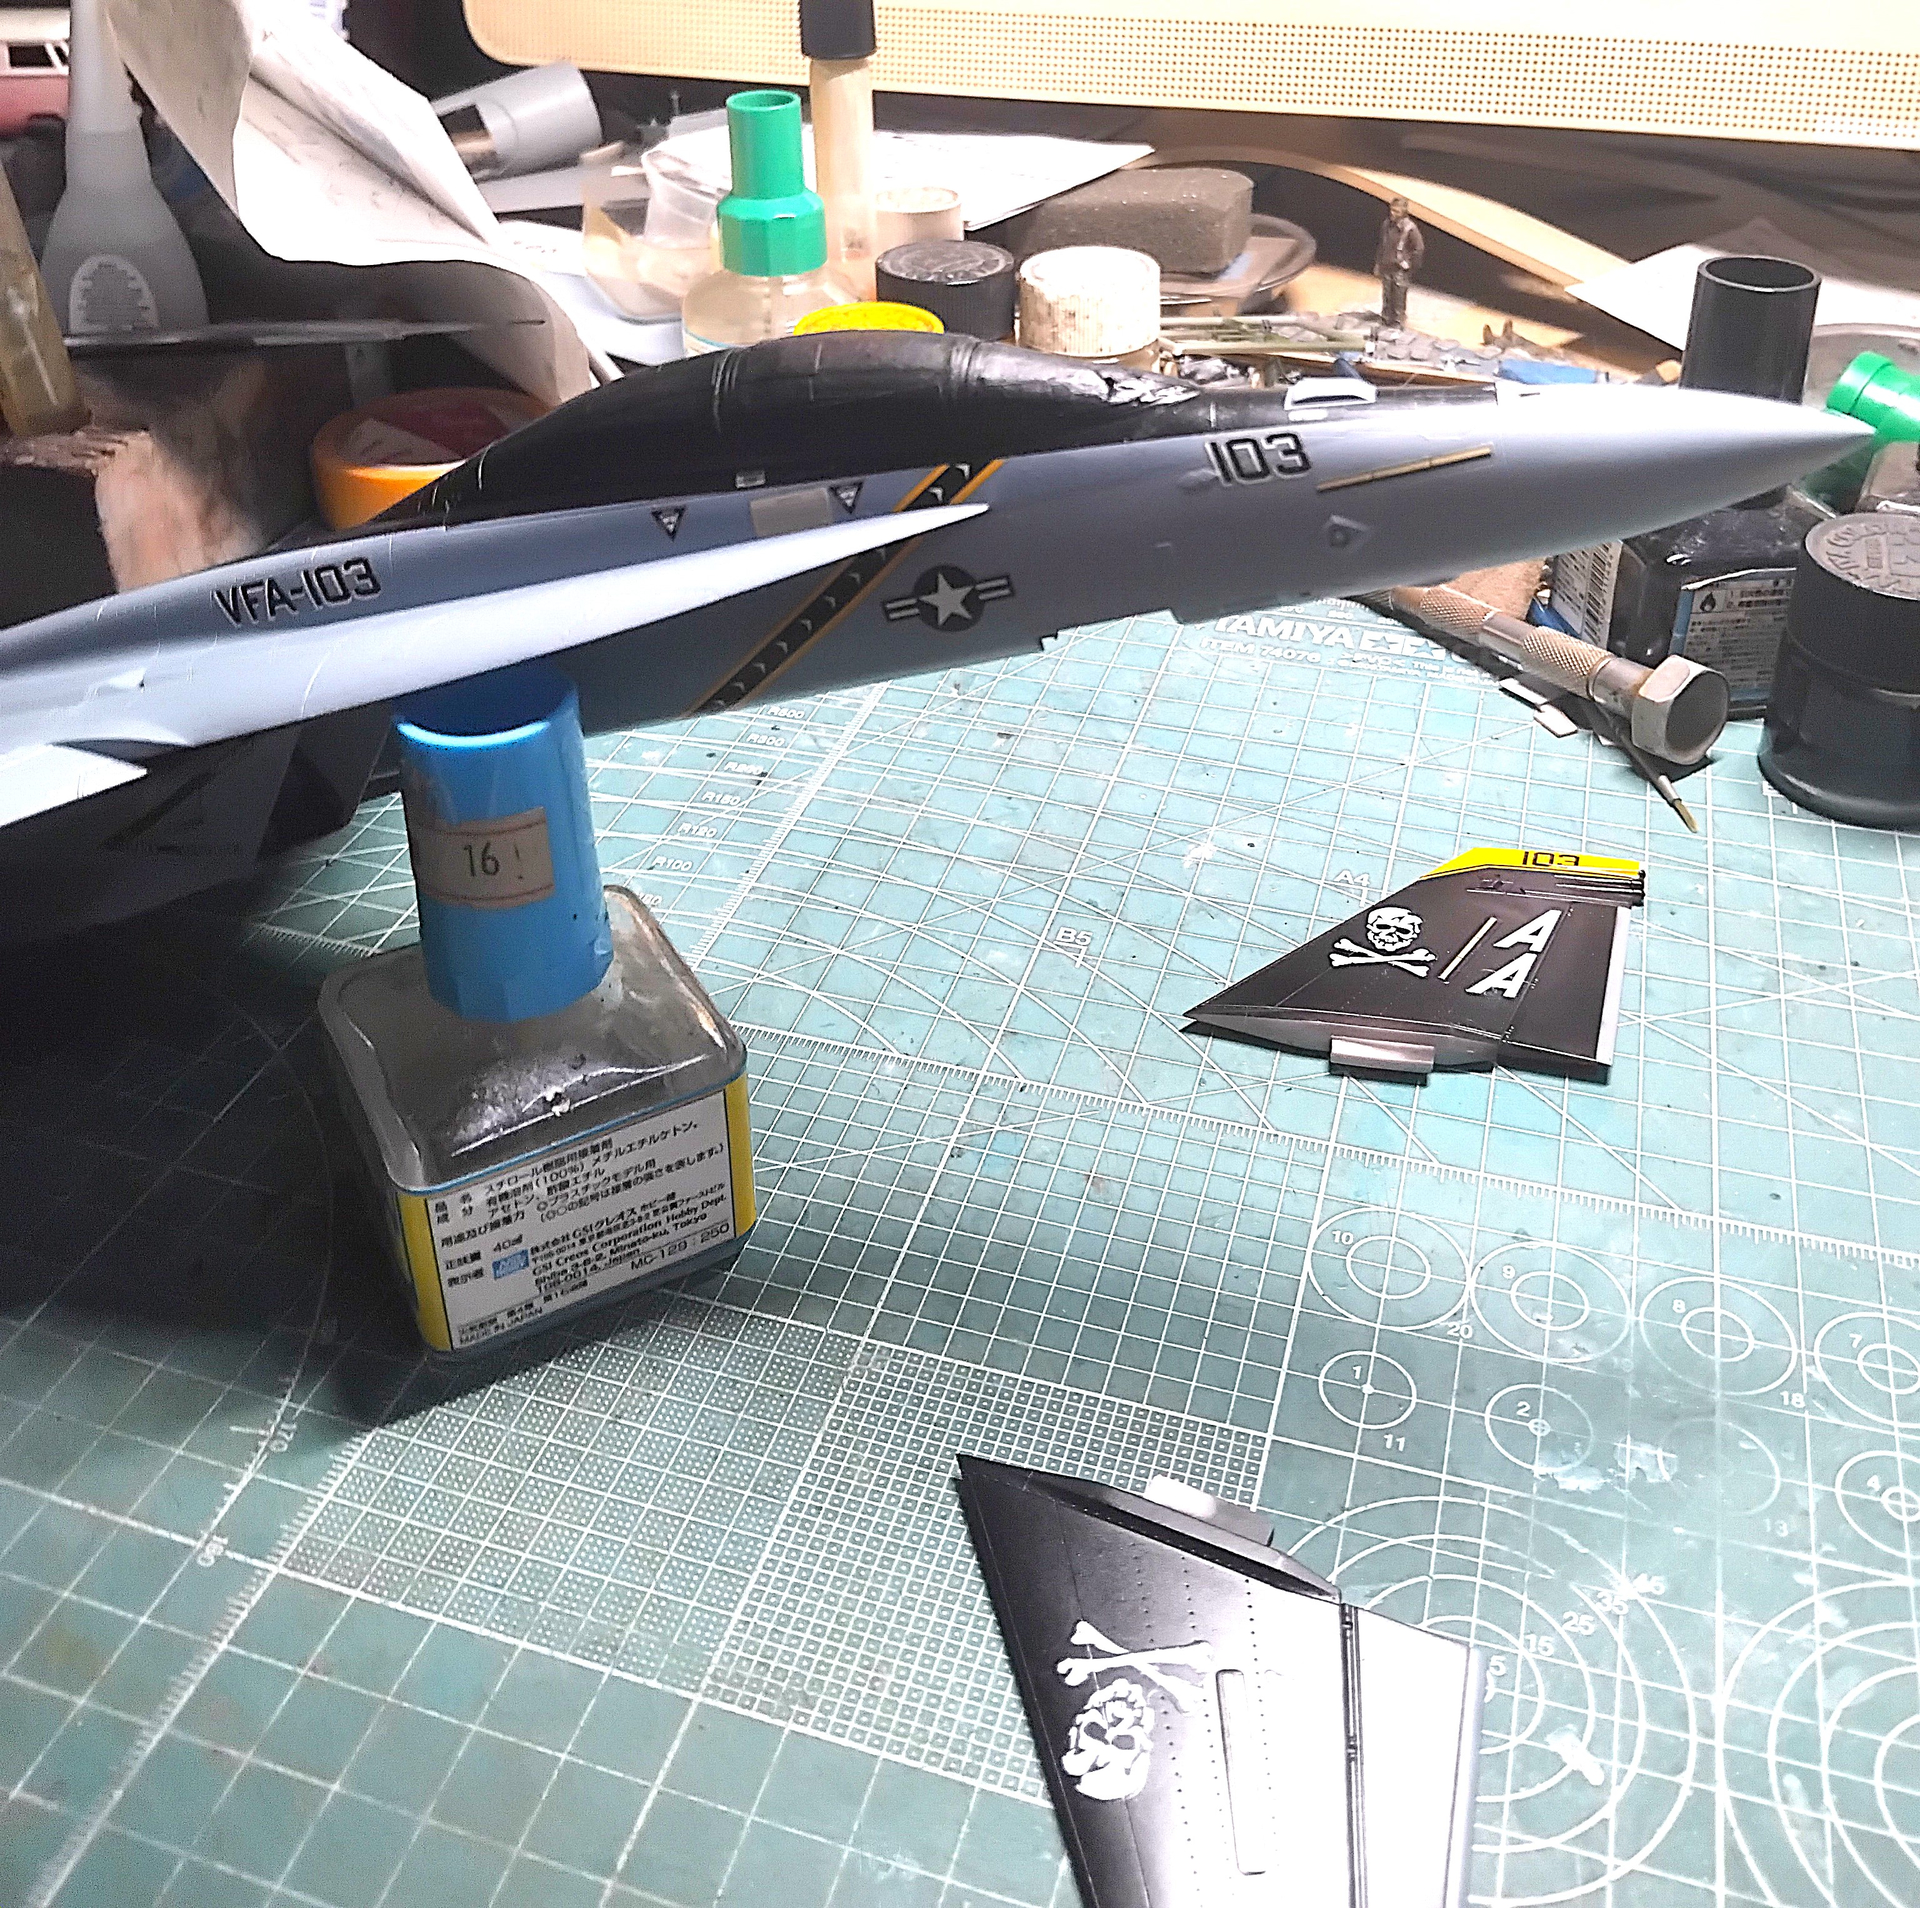
With the decals down, it’s now time to clean up the bird and get her ready for the sealing clear coat. However, there does seem to be some minor touch-ups that need to be done. I’m breaking out the Solvaset to eliminate the faint silvering that has made it through. Also, the tail area will need some yellow paint touch-ups on fins (when did rudders become fins?). Anyway, onward and upward!
Till next time, be safe, wash your hands with soap and water, drain your compressor and above all have fun!
8 Likes
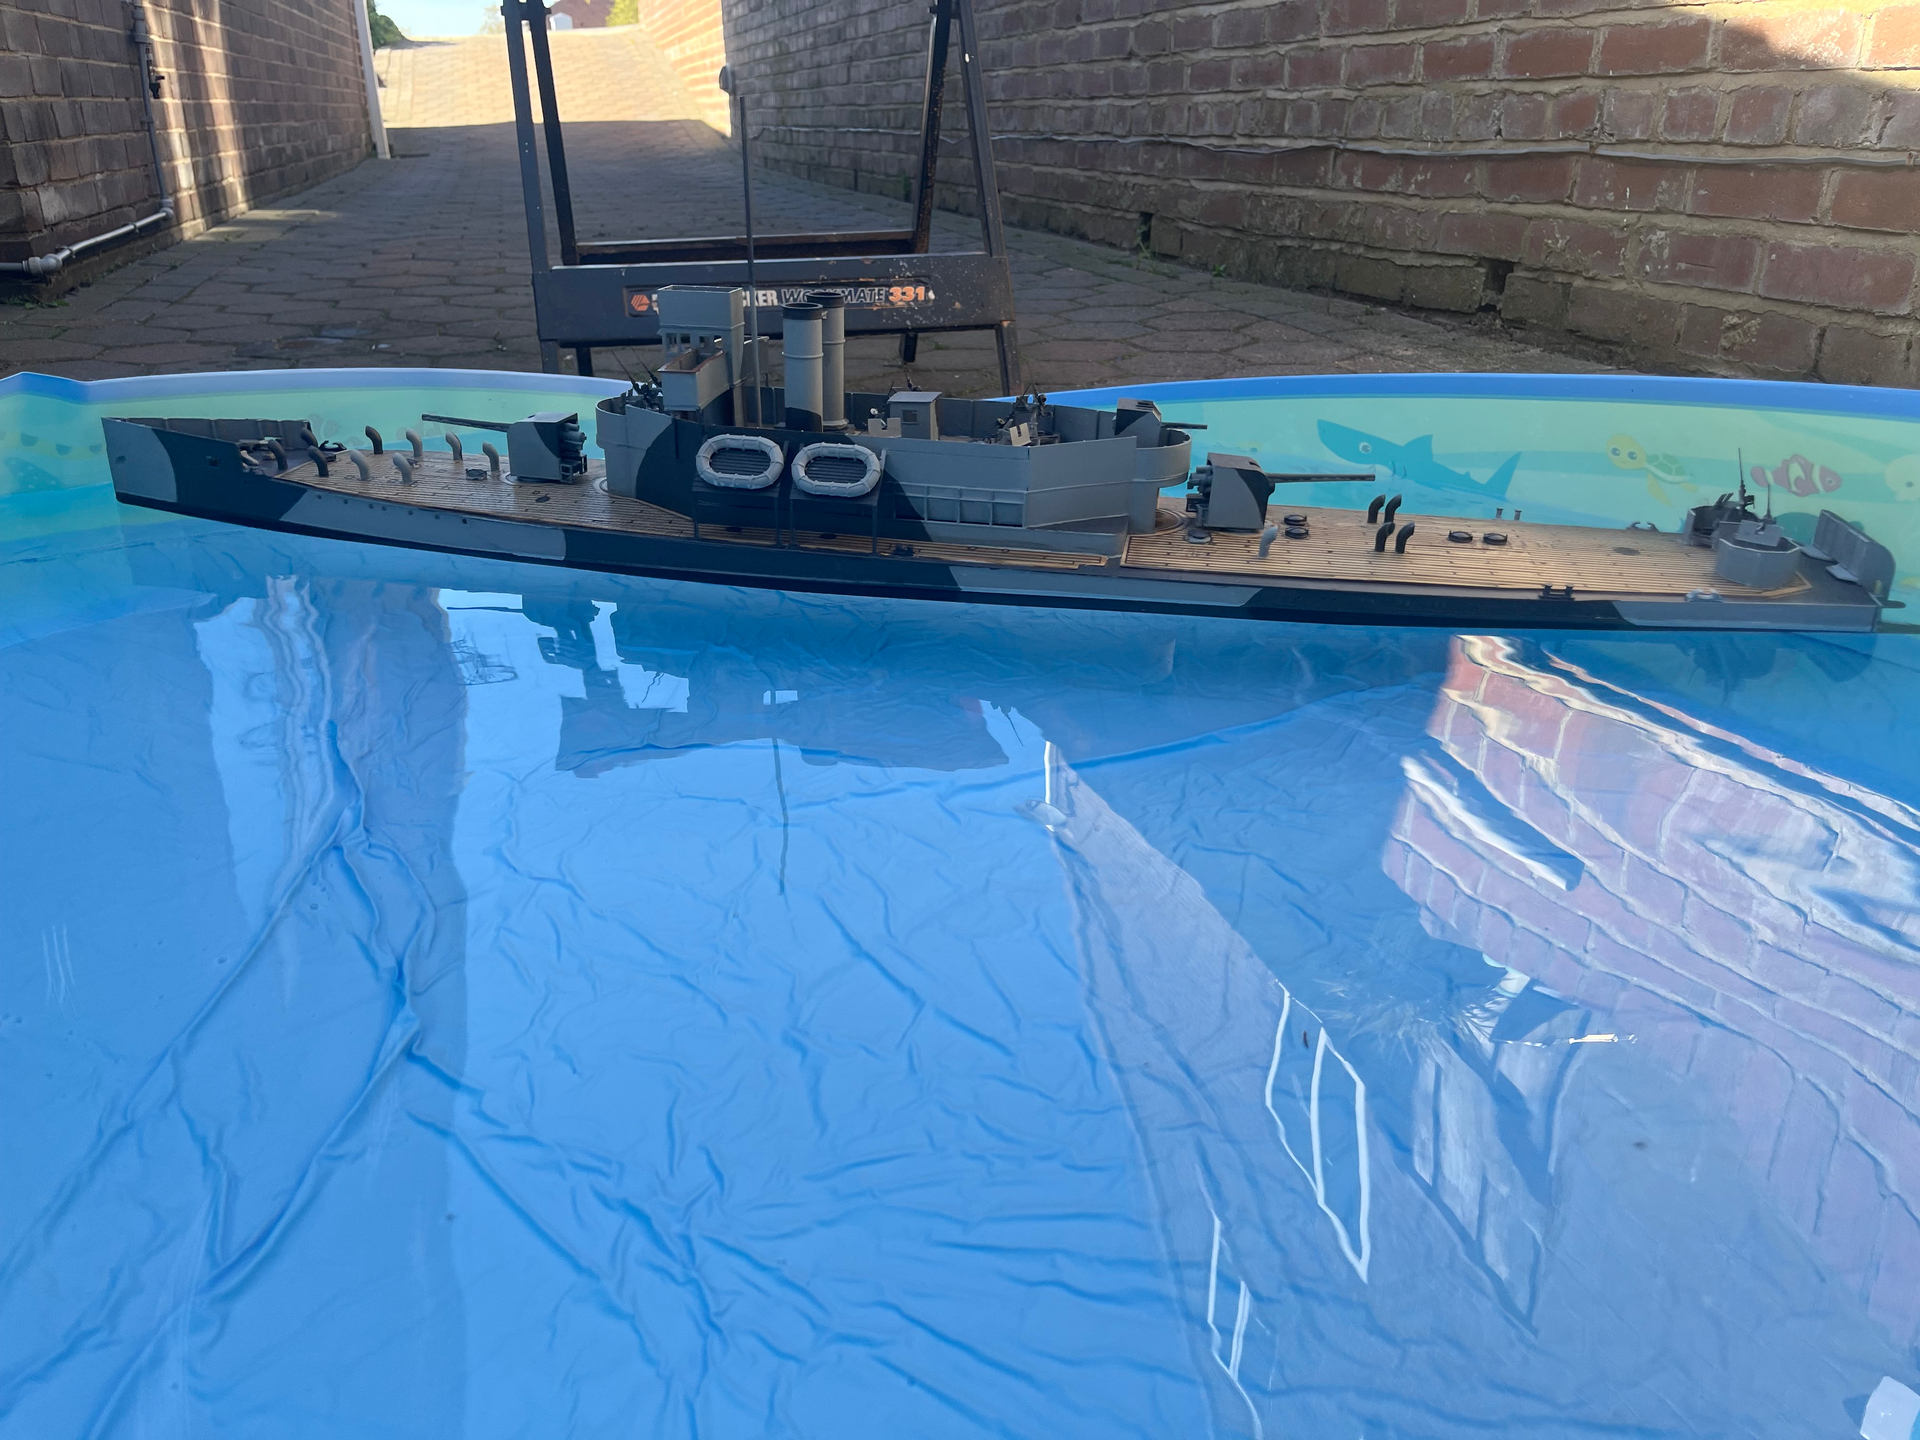
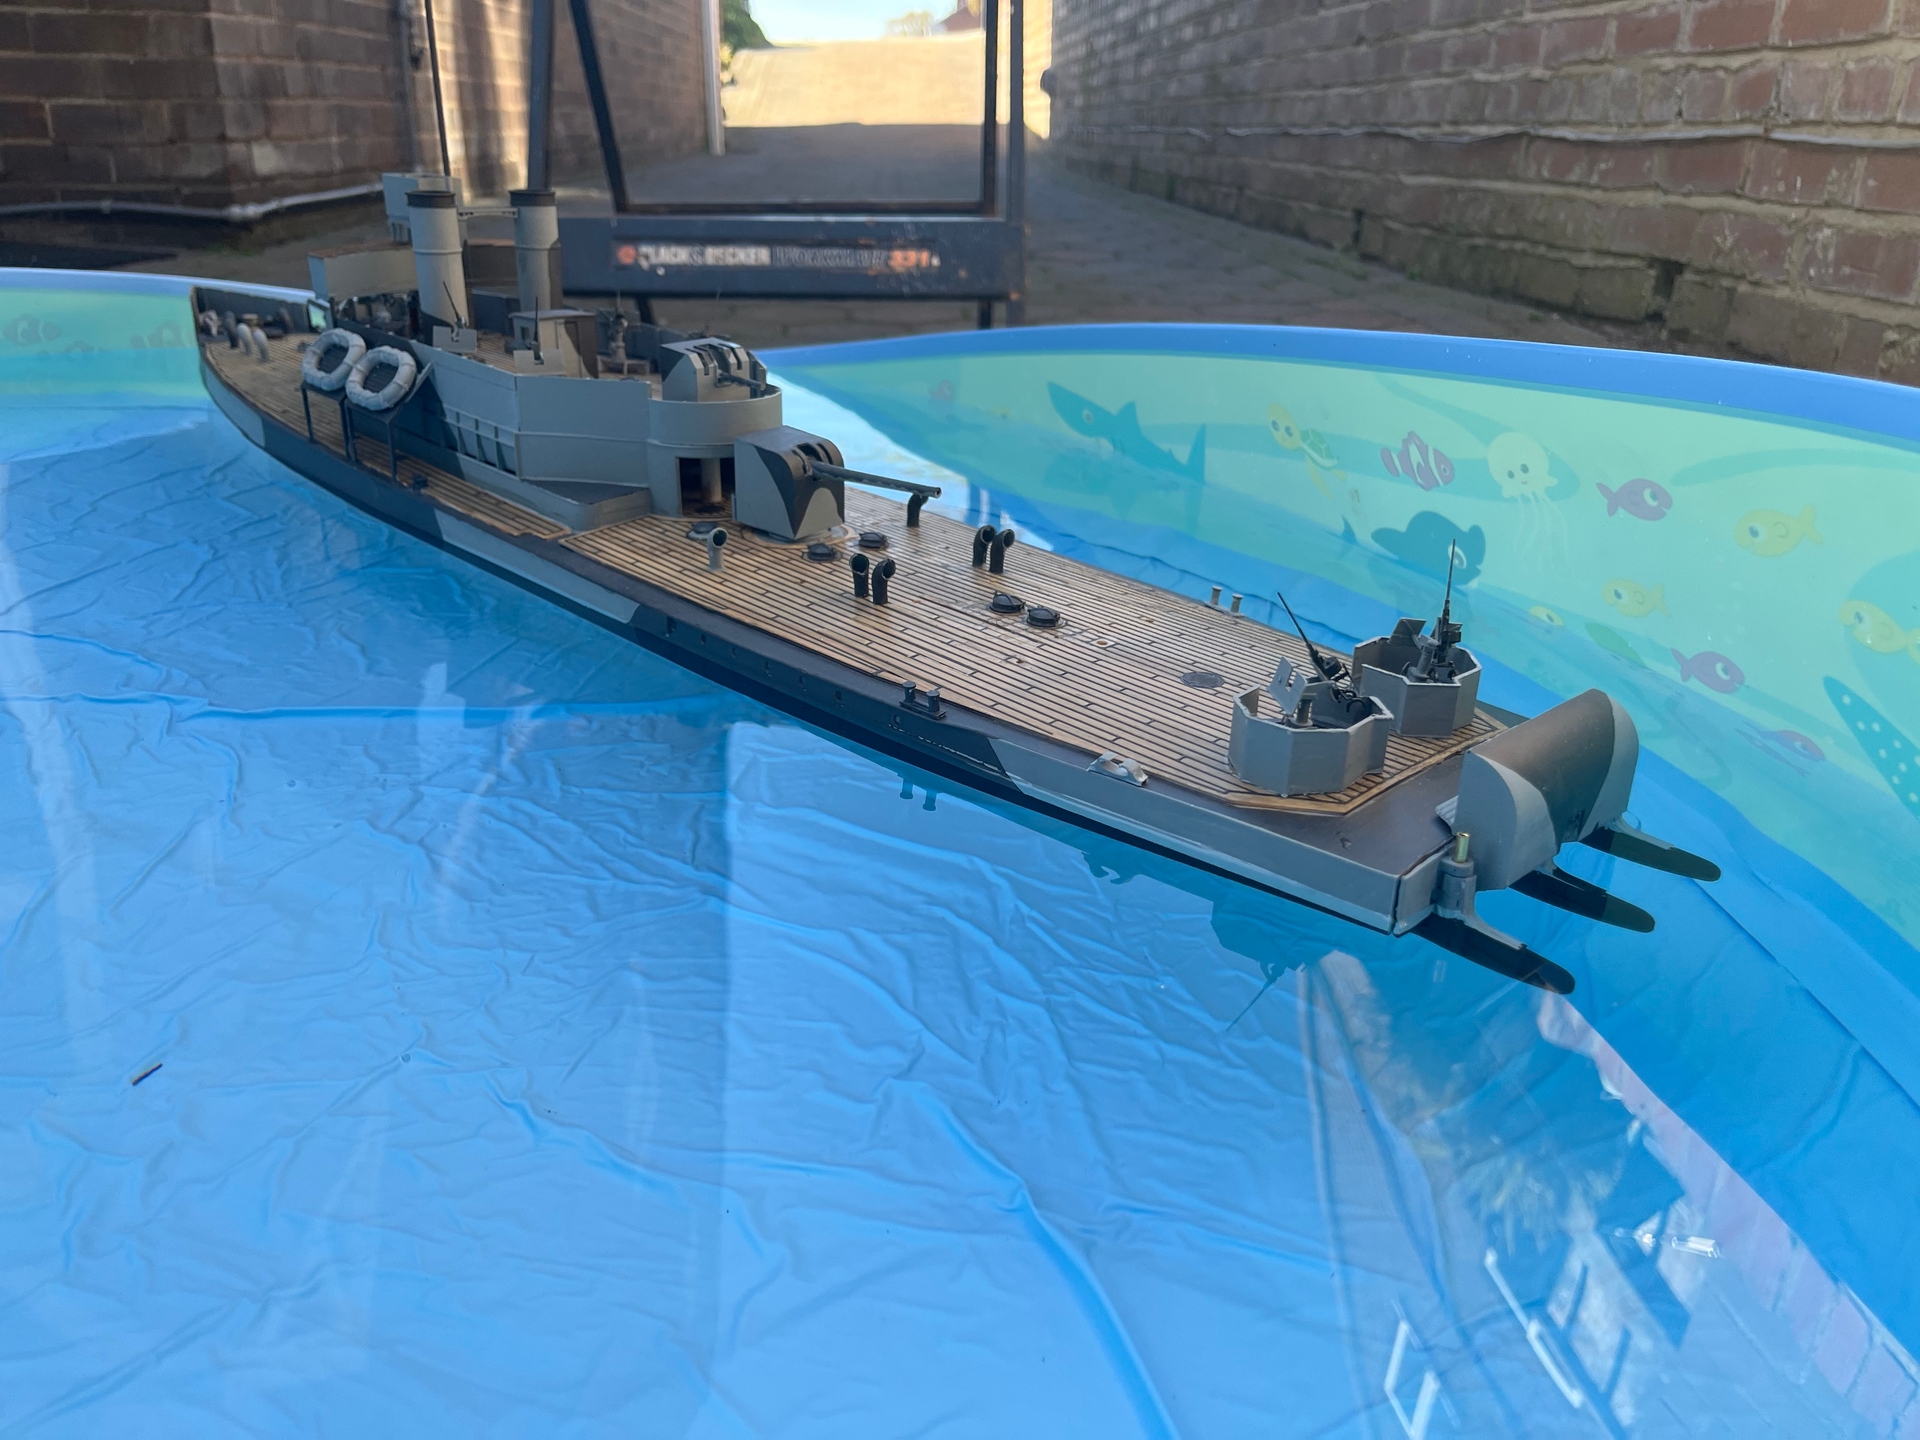
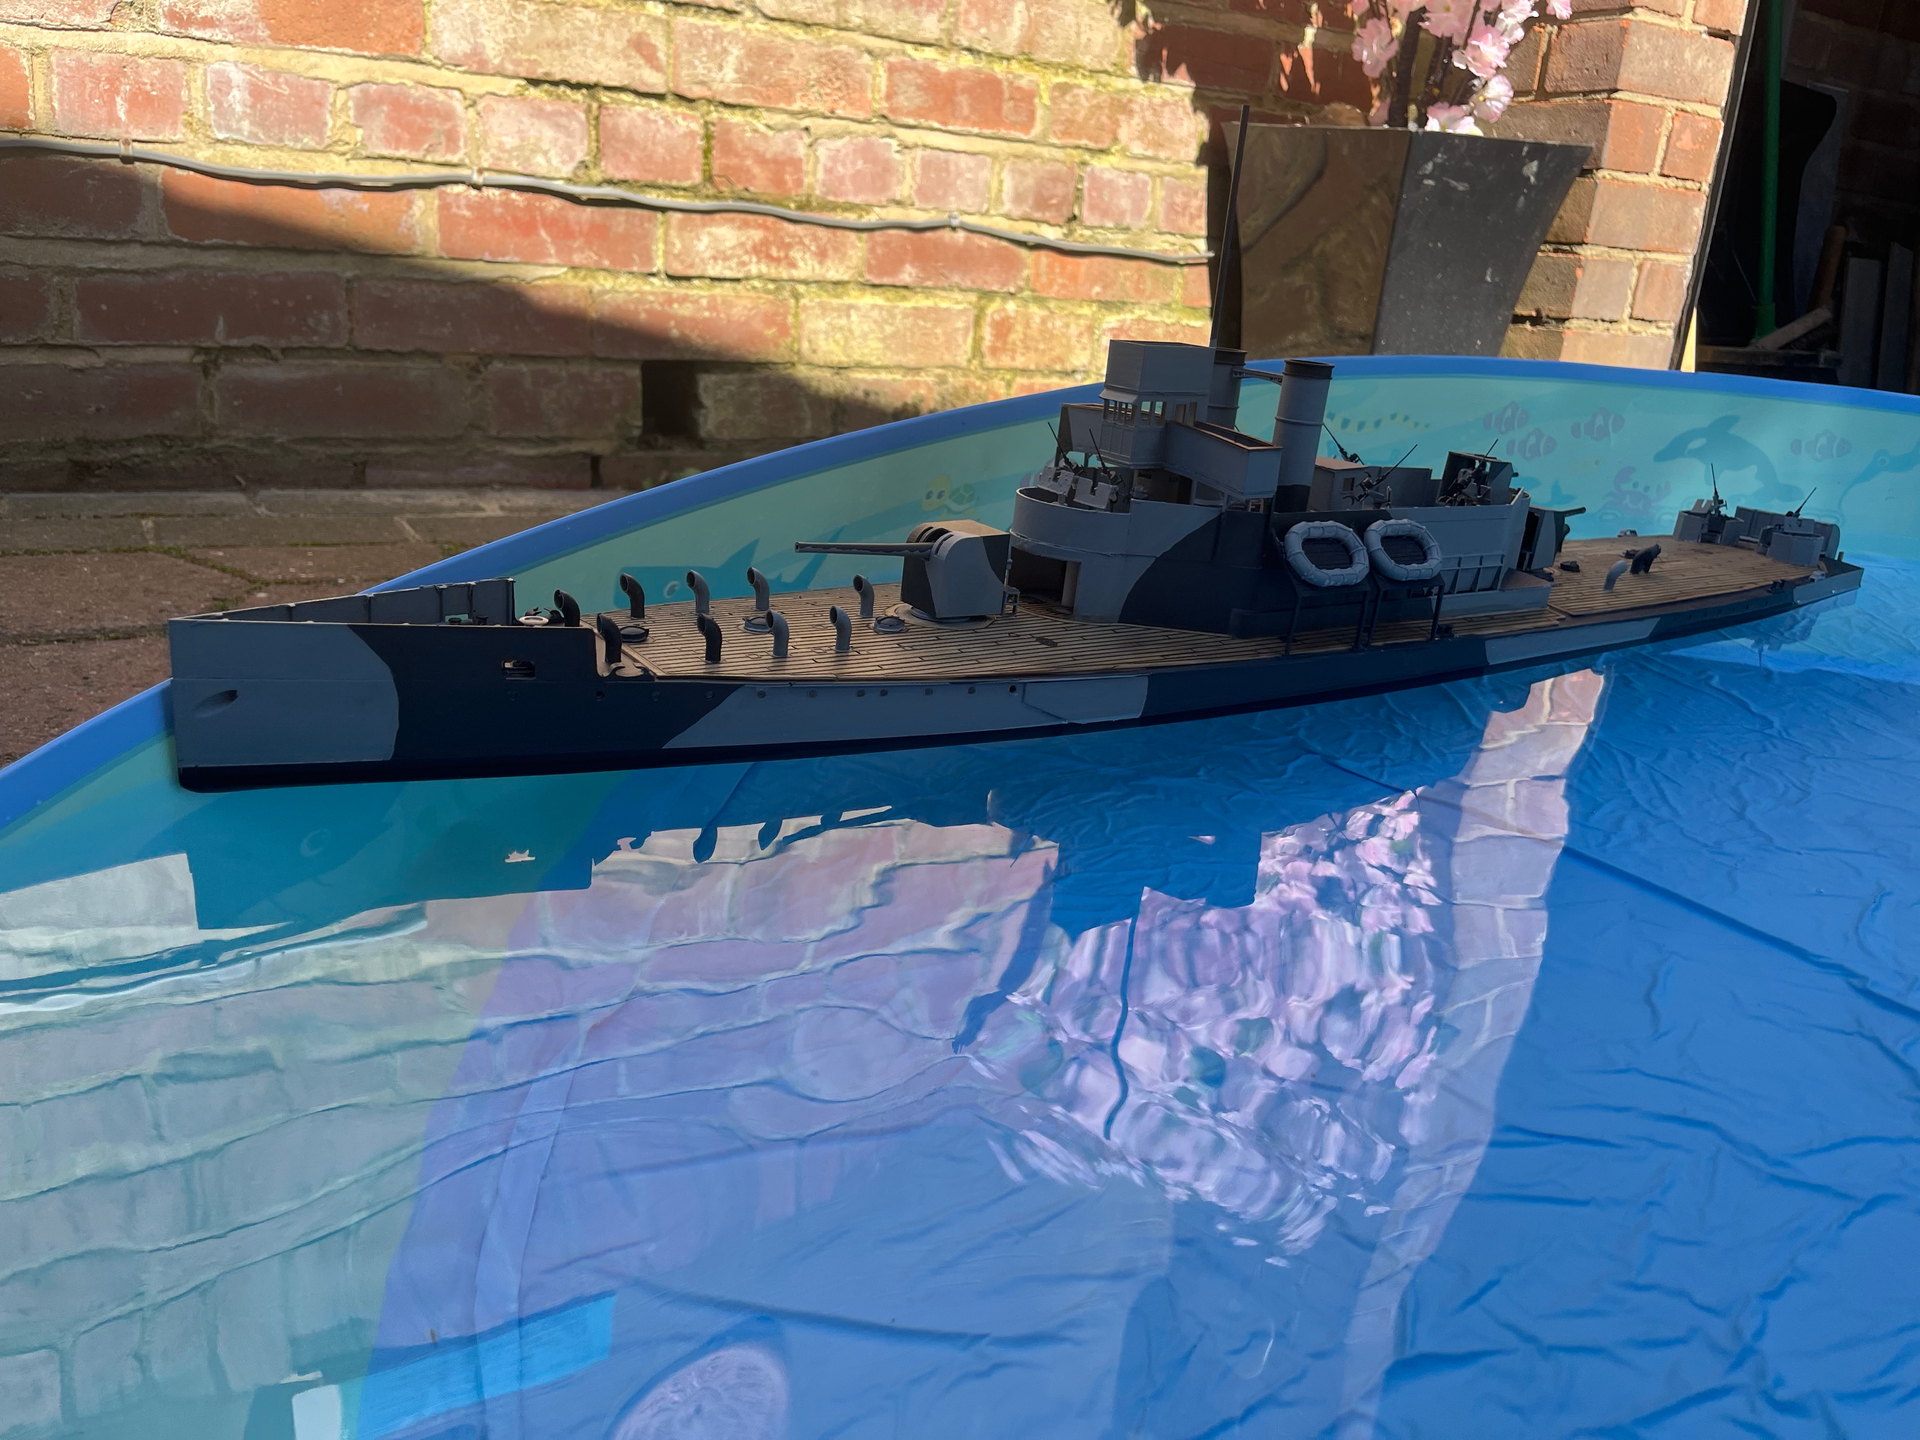
A stage not normally seen here, I need to check the hull is waterproof! It isn’t! there were two leaks in the power module both where sections are joined. A second test after correction work showed improvement but still needs more. Battery needs to be as far forward as possible, there isn’t much buoyancy aft. She is very stable and needs no ballast

8 Likes
Going to jump in with the Meng ‘Wasp’ jeep, which should be a reasonably quick build (famous last words…_) 
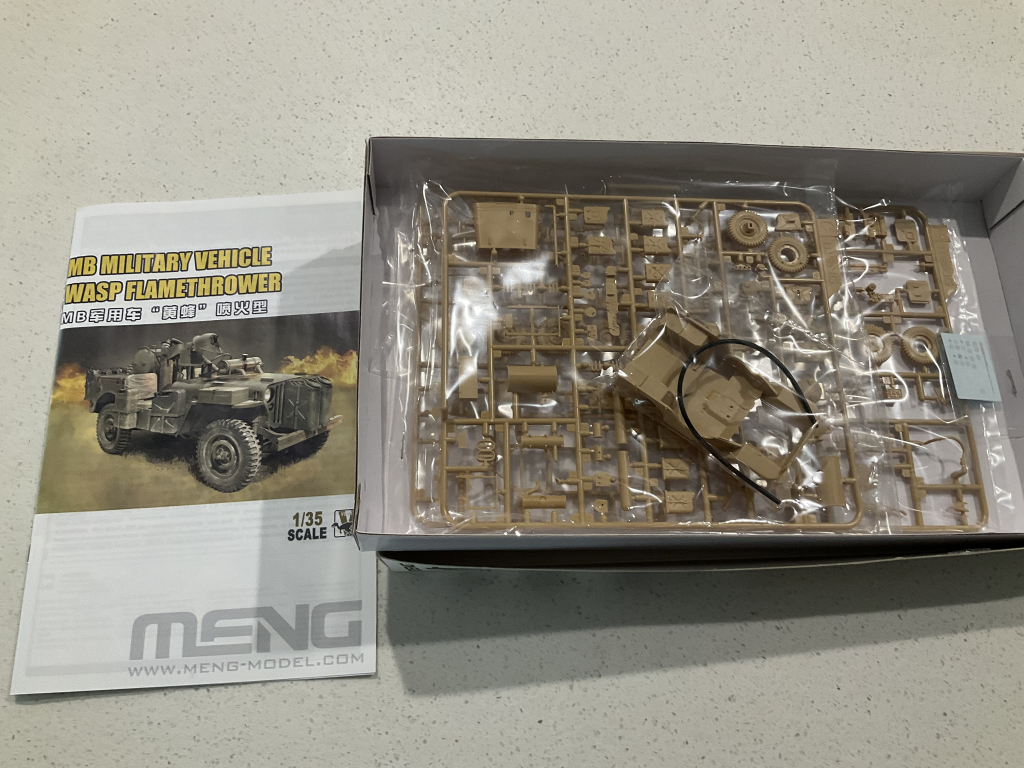
6 Likes
Peter you’re in luck; Meng Jeeps are very easy builds. So much so that they are my current favorite Jeep kit.
2 Likes
Andrew, that looks great! I only now realised that you were going to make it sail worthy for real!
Looking forward to see more!
2 Likes
A quick build so far, despite some scratch build work.
I added the missing clutch lever and bolt heads to the chassis. These are quite notable on the kit.
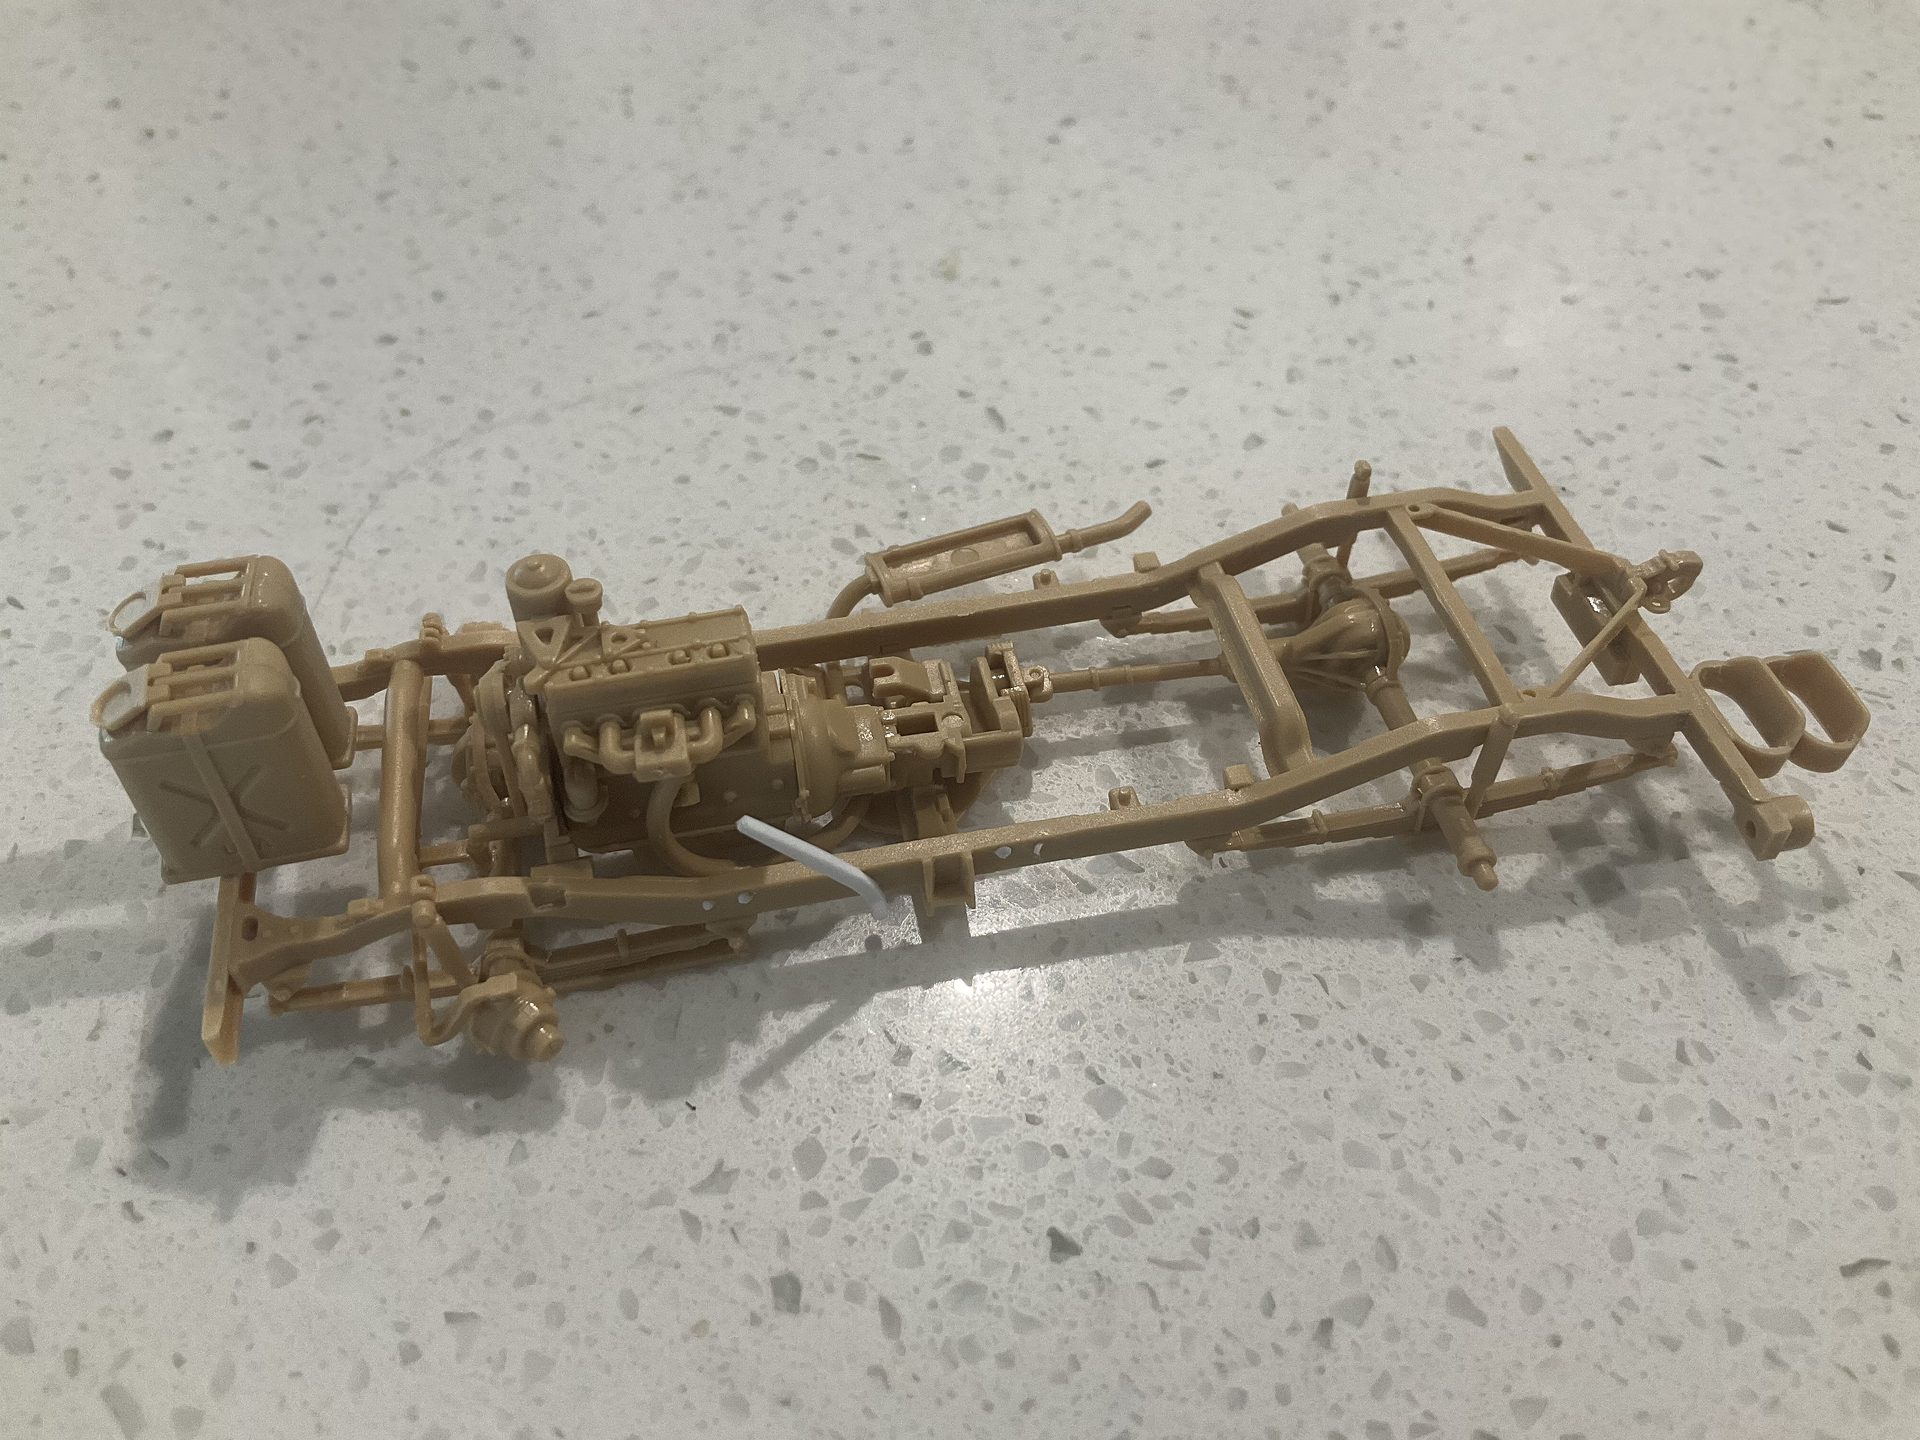
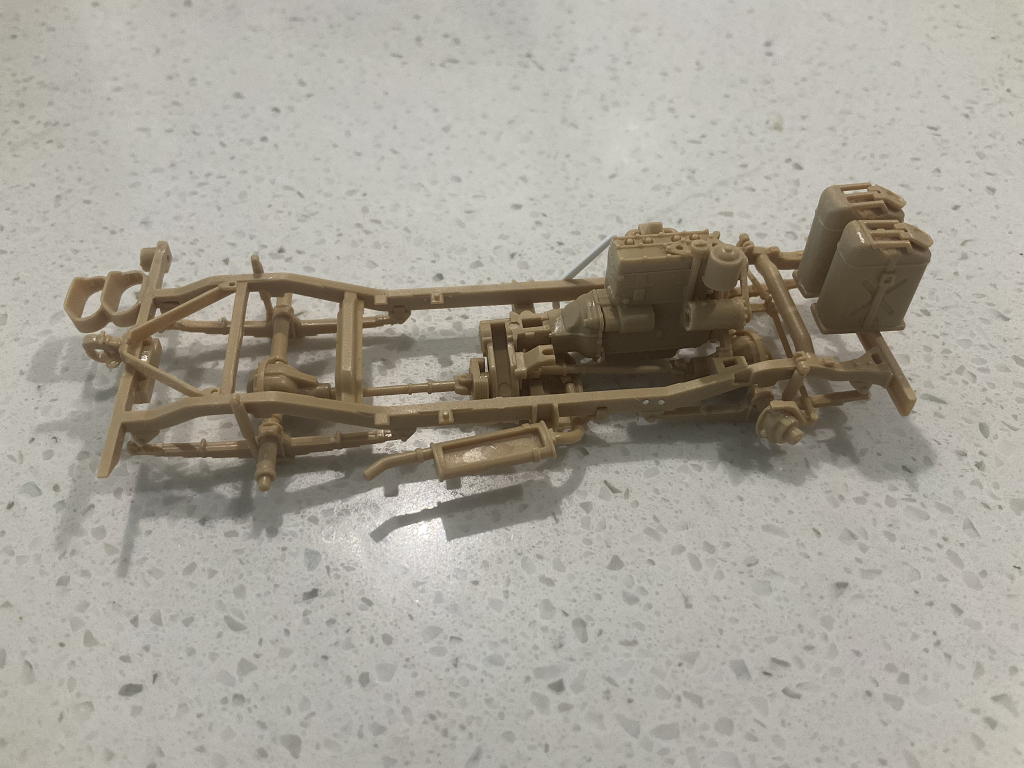
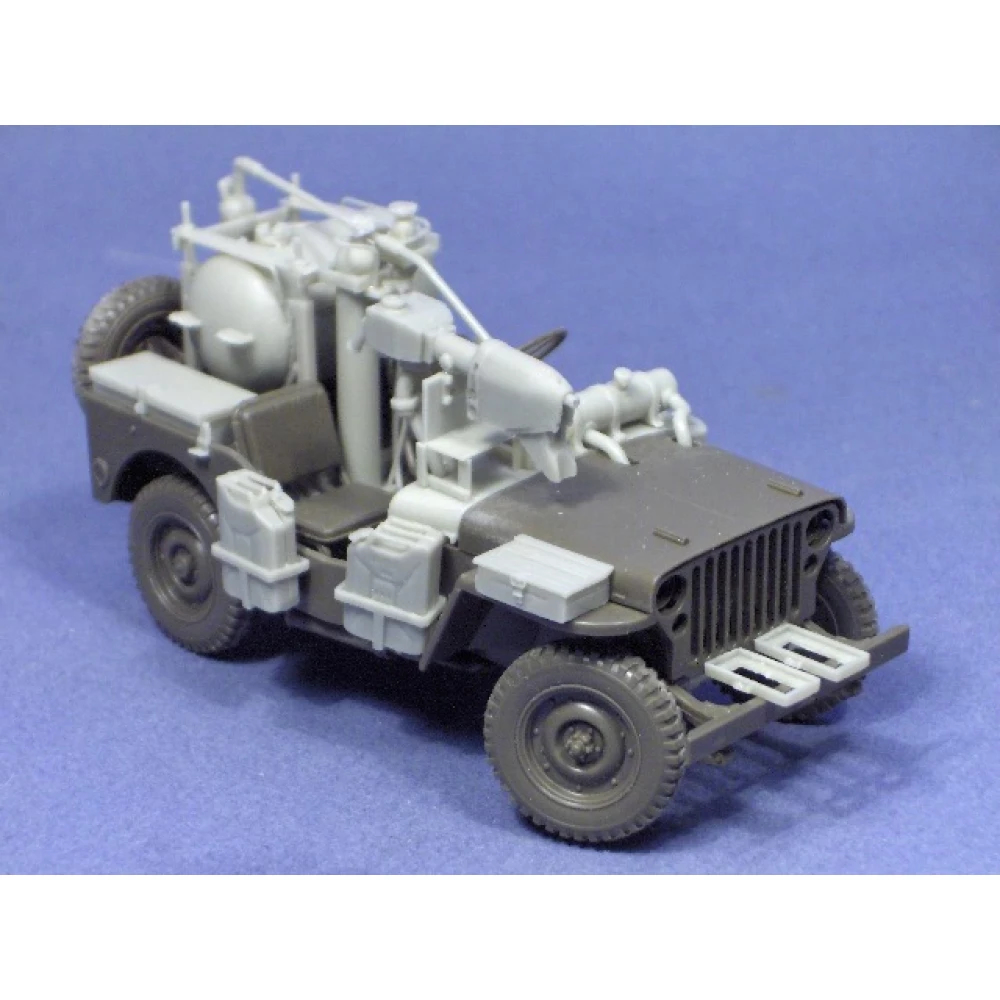
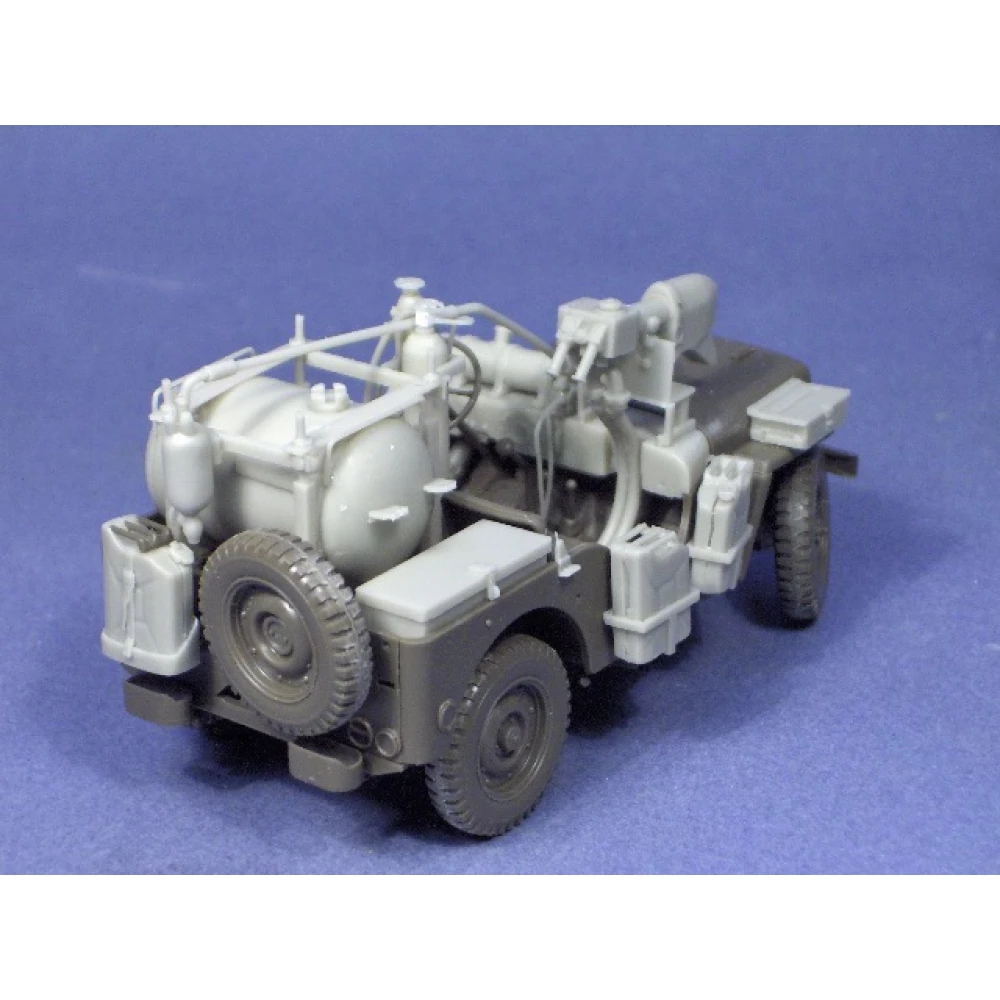
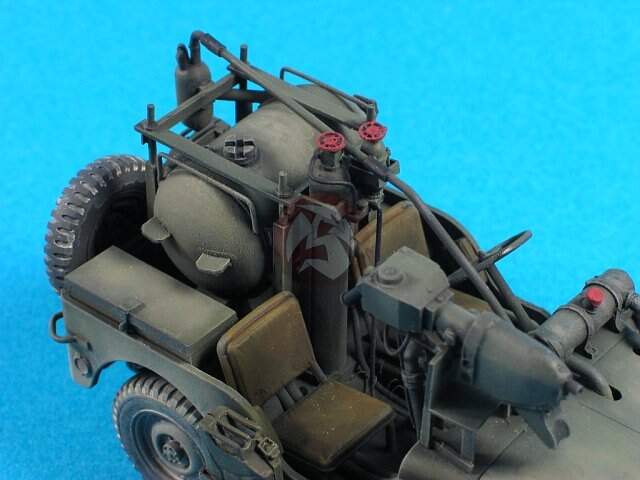
I also added the foot rest and starter button to the tub floor. The kit jerry cans are a bit ‘so-so’ - mostly disappointing. The handles were short shot in my kit. The rear 3 cans the worst part, with moulded on blobby spouts and frame parts that end up wavy when joined. I replaced the rear 3 cans from spares and made the frame to hold them. The kit ones for the sides I’ll use with replacement spouts.
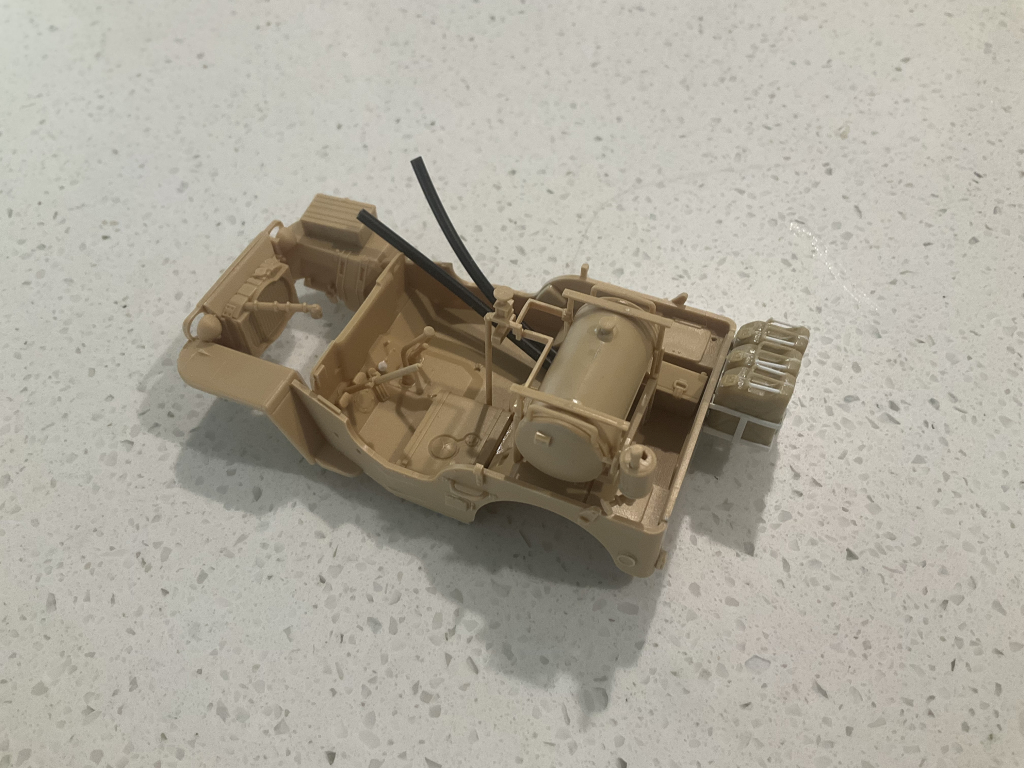
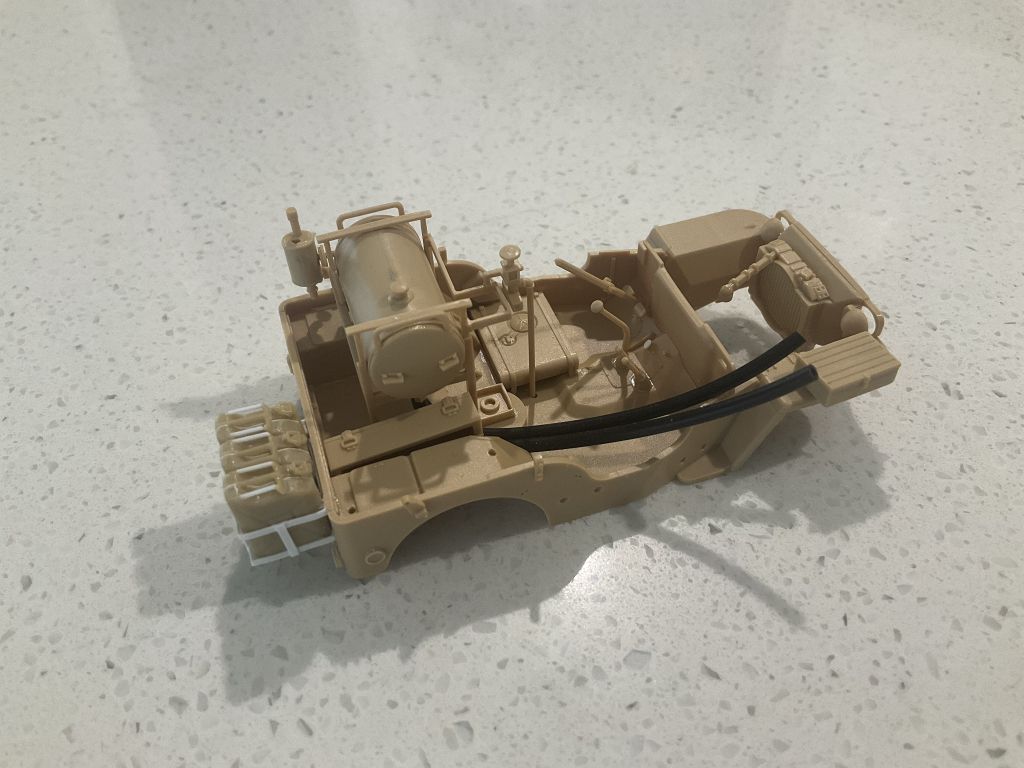
After looking at the few pics of the real vehicle, I note there are pipes coming from the standing bottle in front of the horizontal main tank, which is not represented in the kit. There is also a box in a frame on the driver’s side fender which is not in the kit. Also the handles on the side of the big tank should be lower, touching the tank itself. Debating whether to replace them or live with them at the moment:
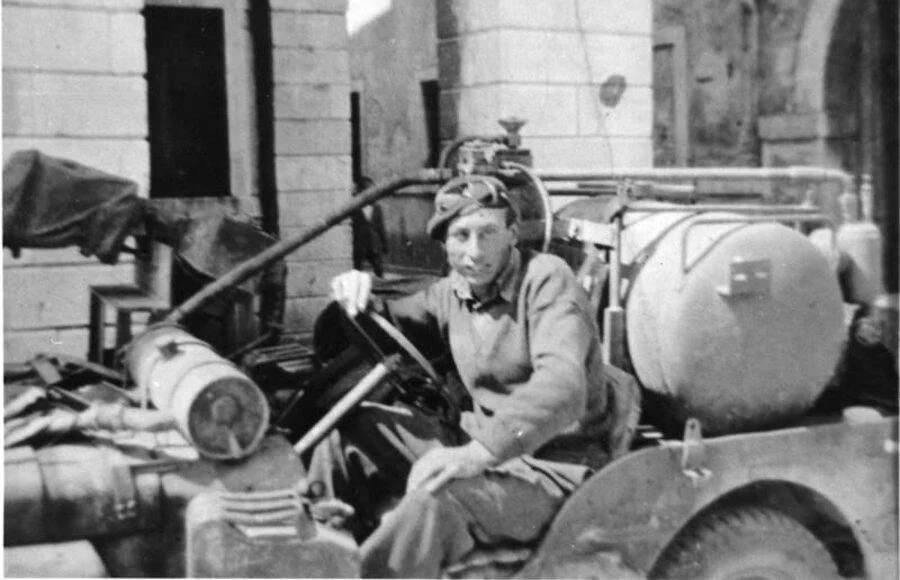
There are a few re-enactor vehicles out there, but the tank set up in those is different to what I can see in the real vehicle.
You can clearly see more pipes running from the small tank on the front on the real vehicle too:
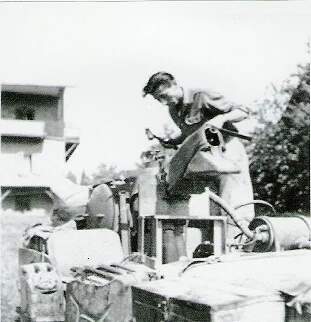
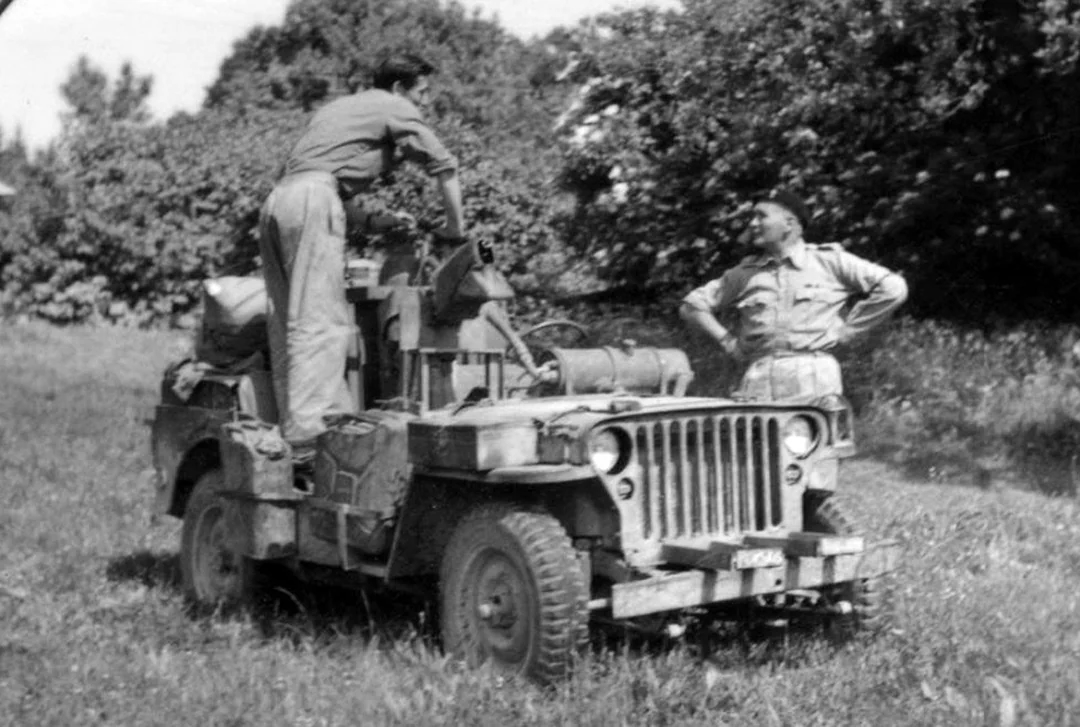
Resicast did a conversion for the Tamiya set. I had hoped to be able to see how they plumbed the vehicle, but I can’t seem to find any instructions for that online.
8 Likes
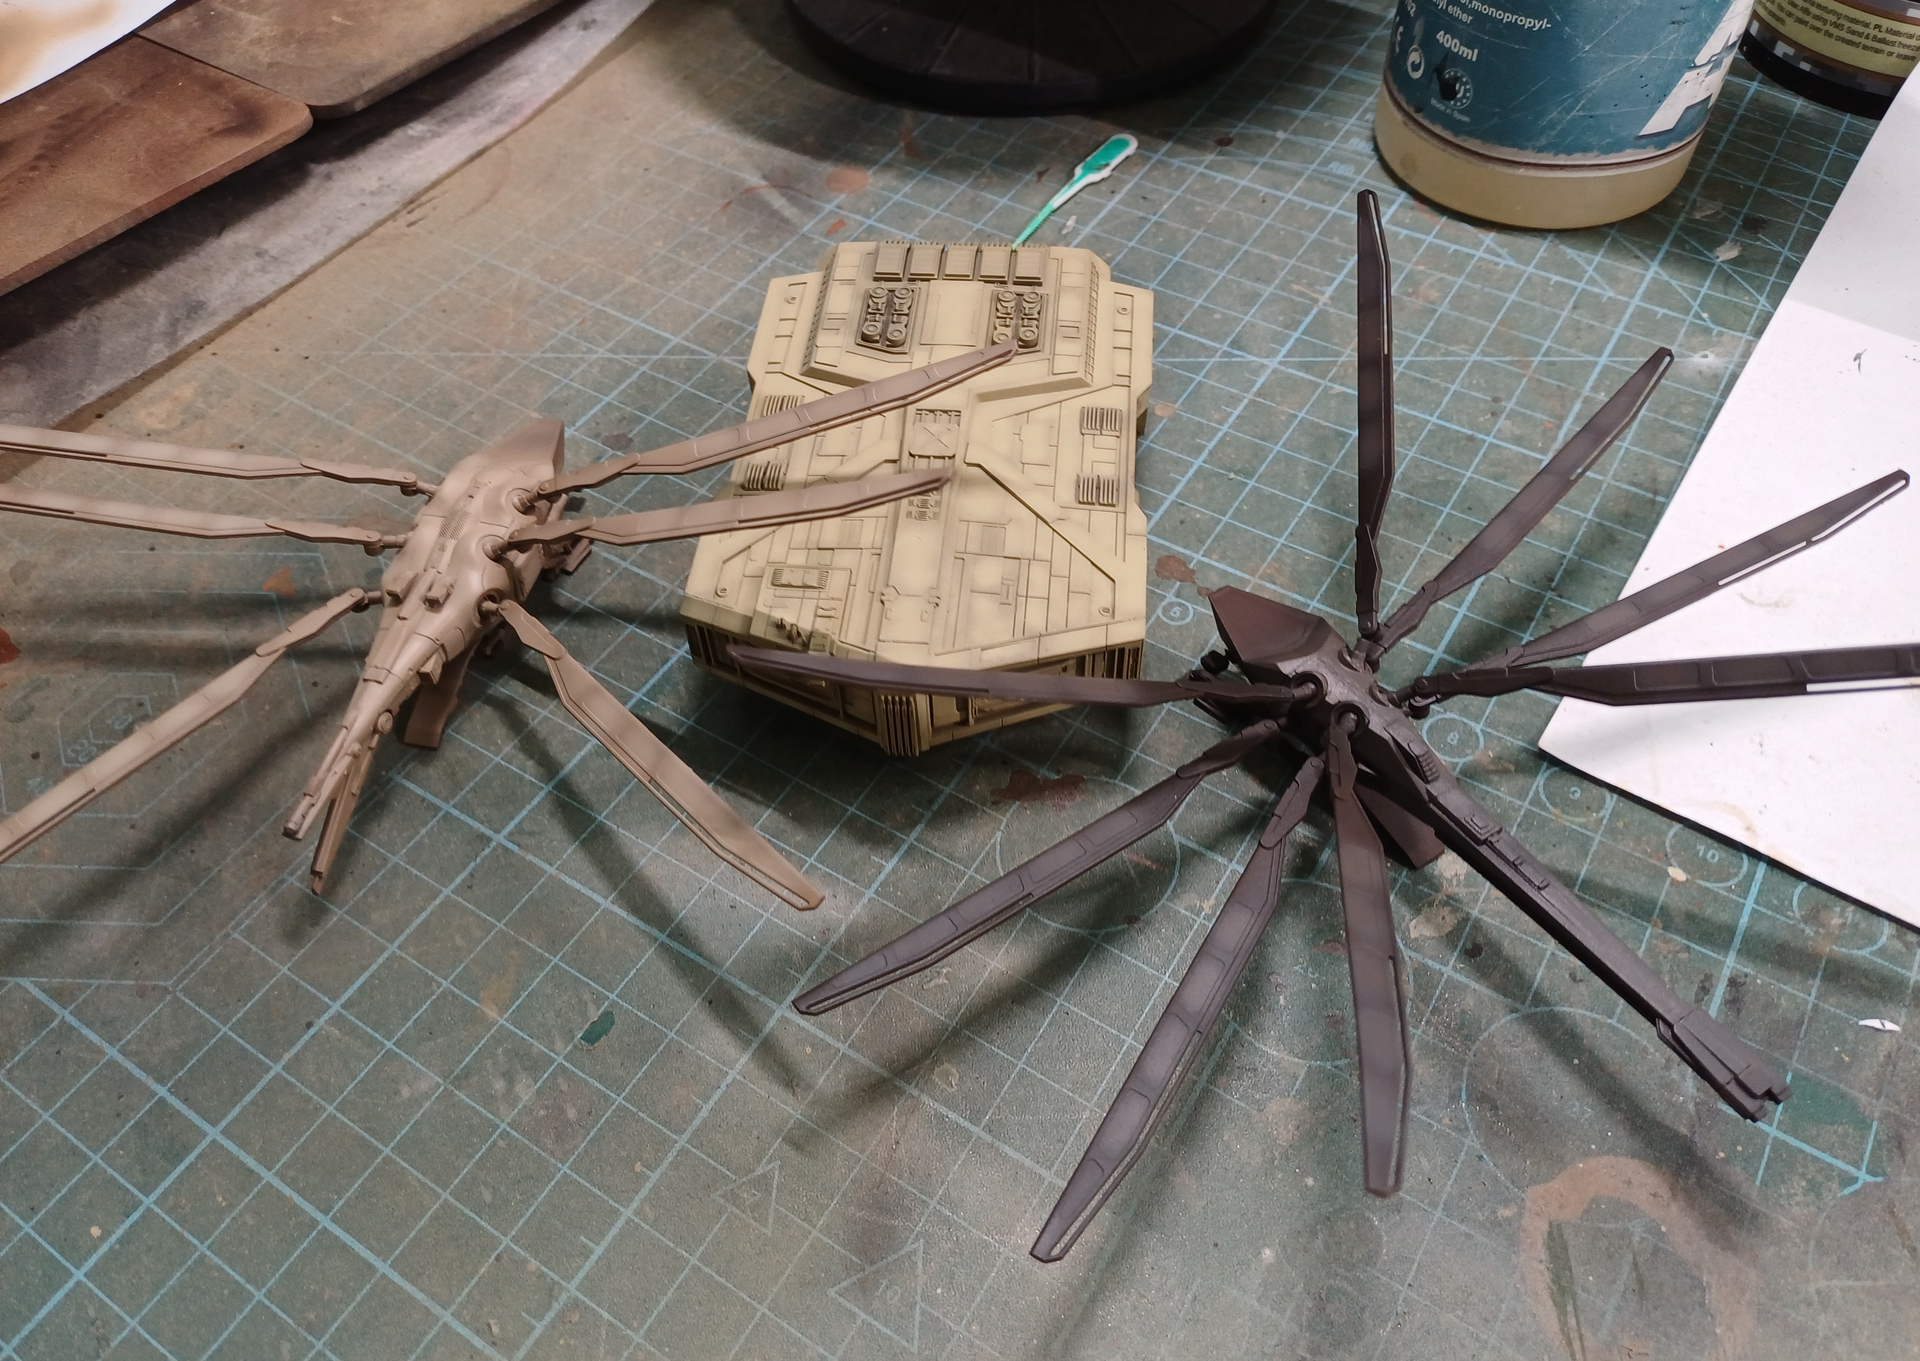
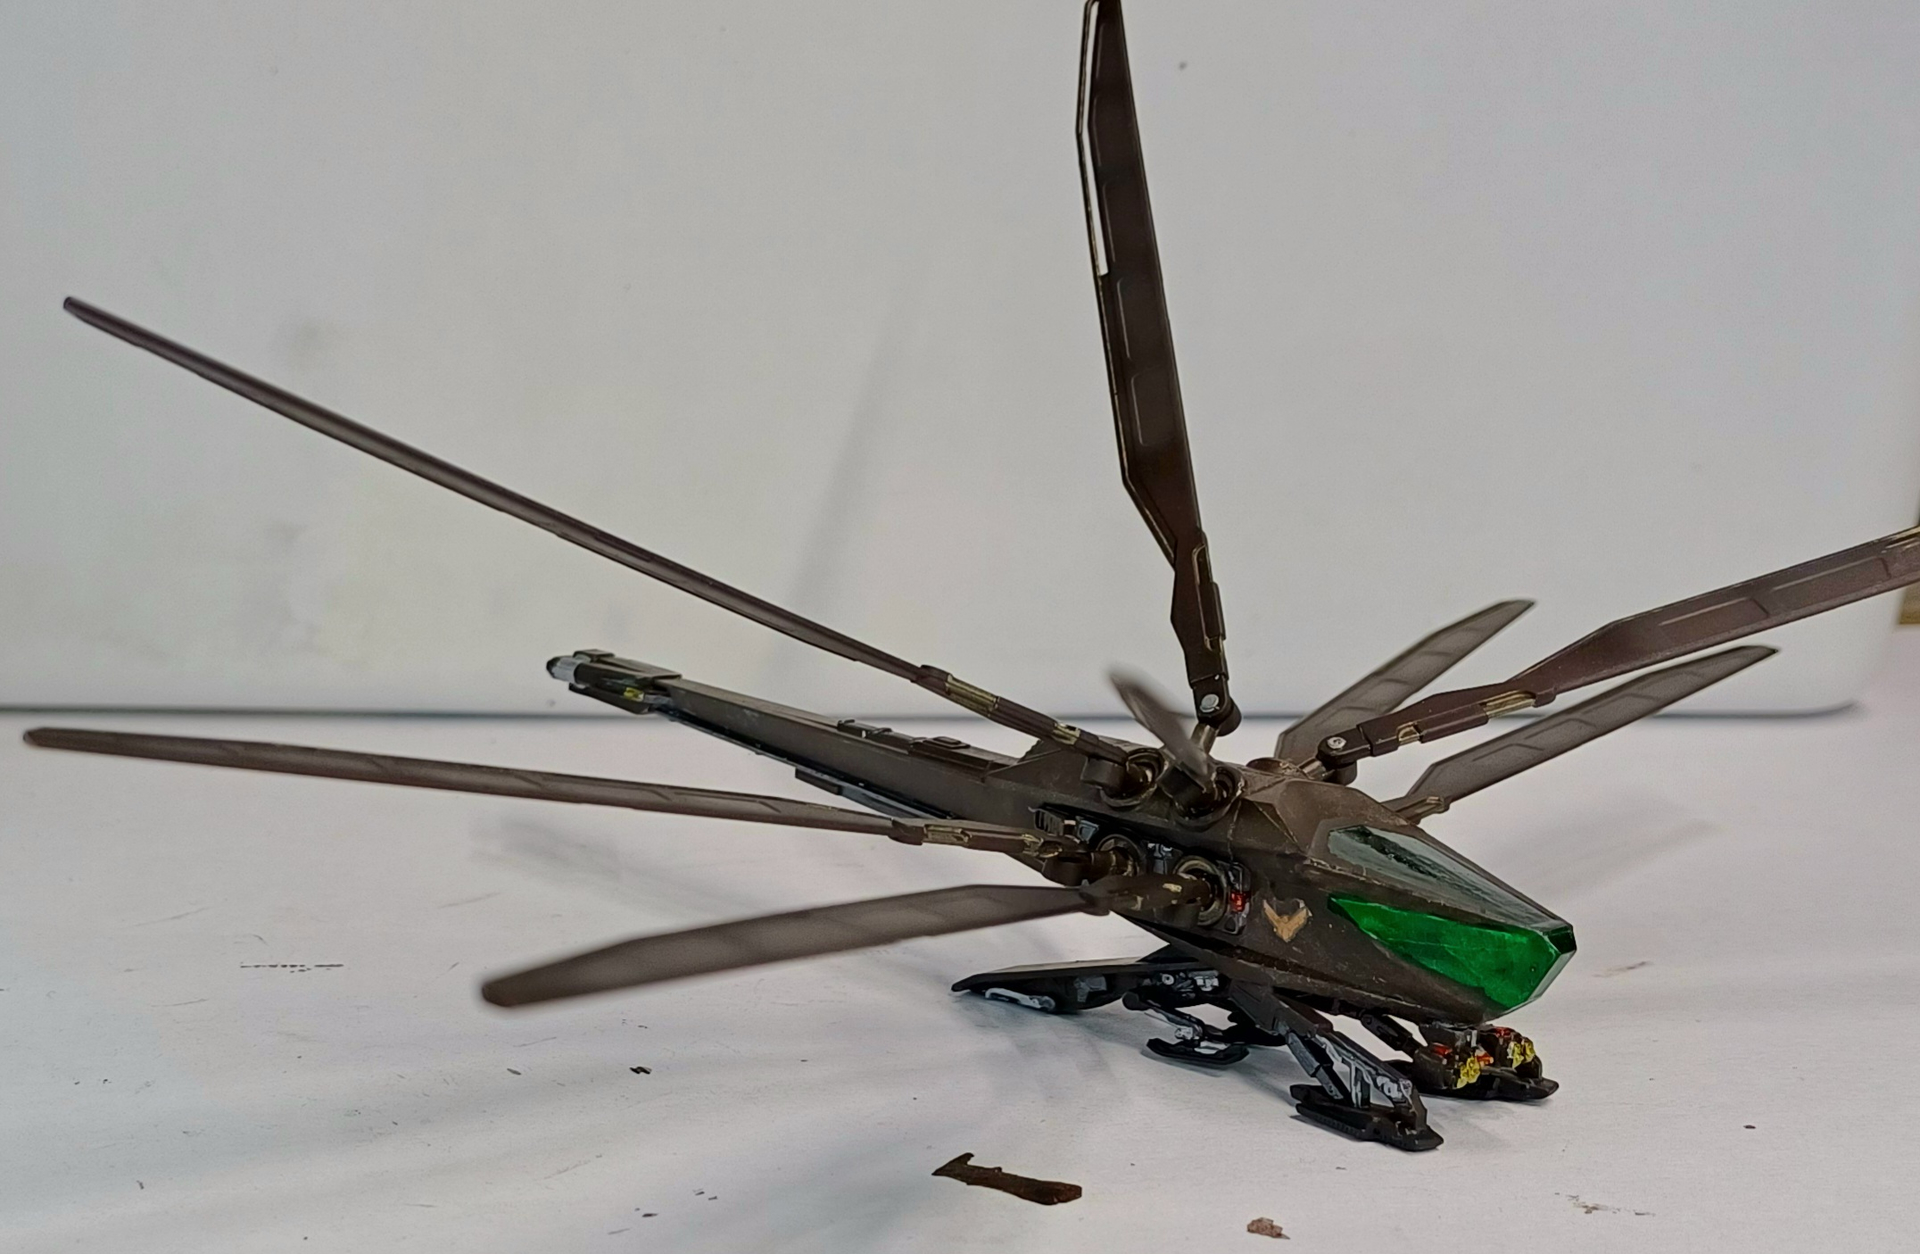
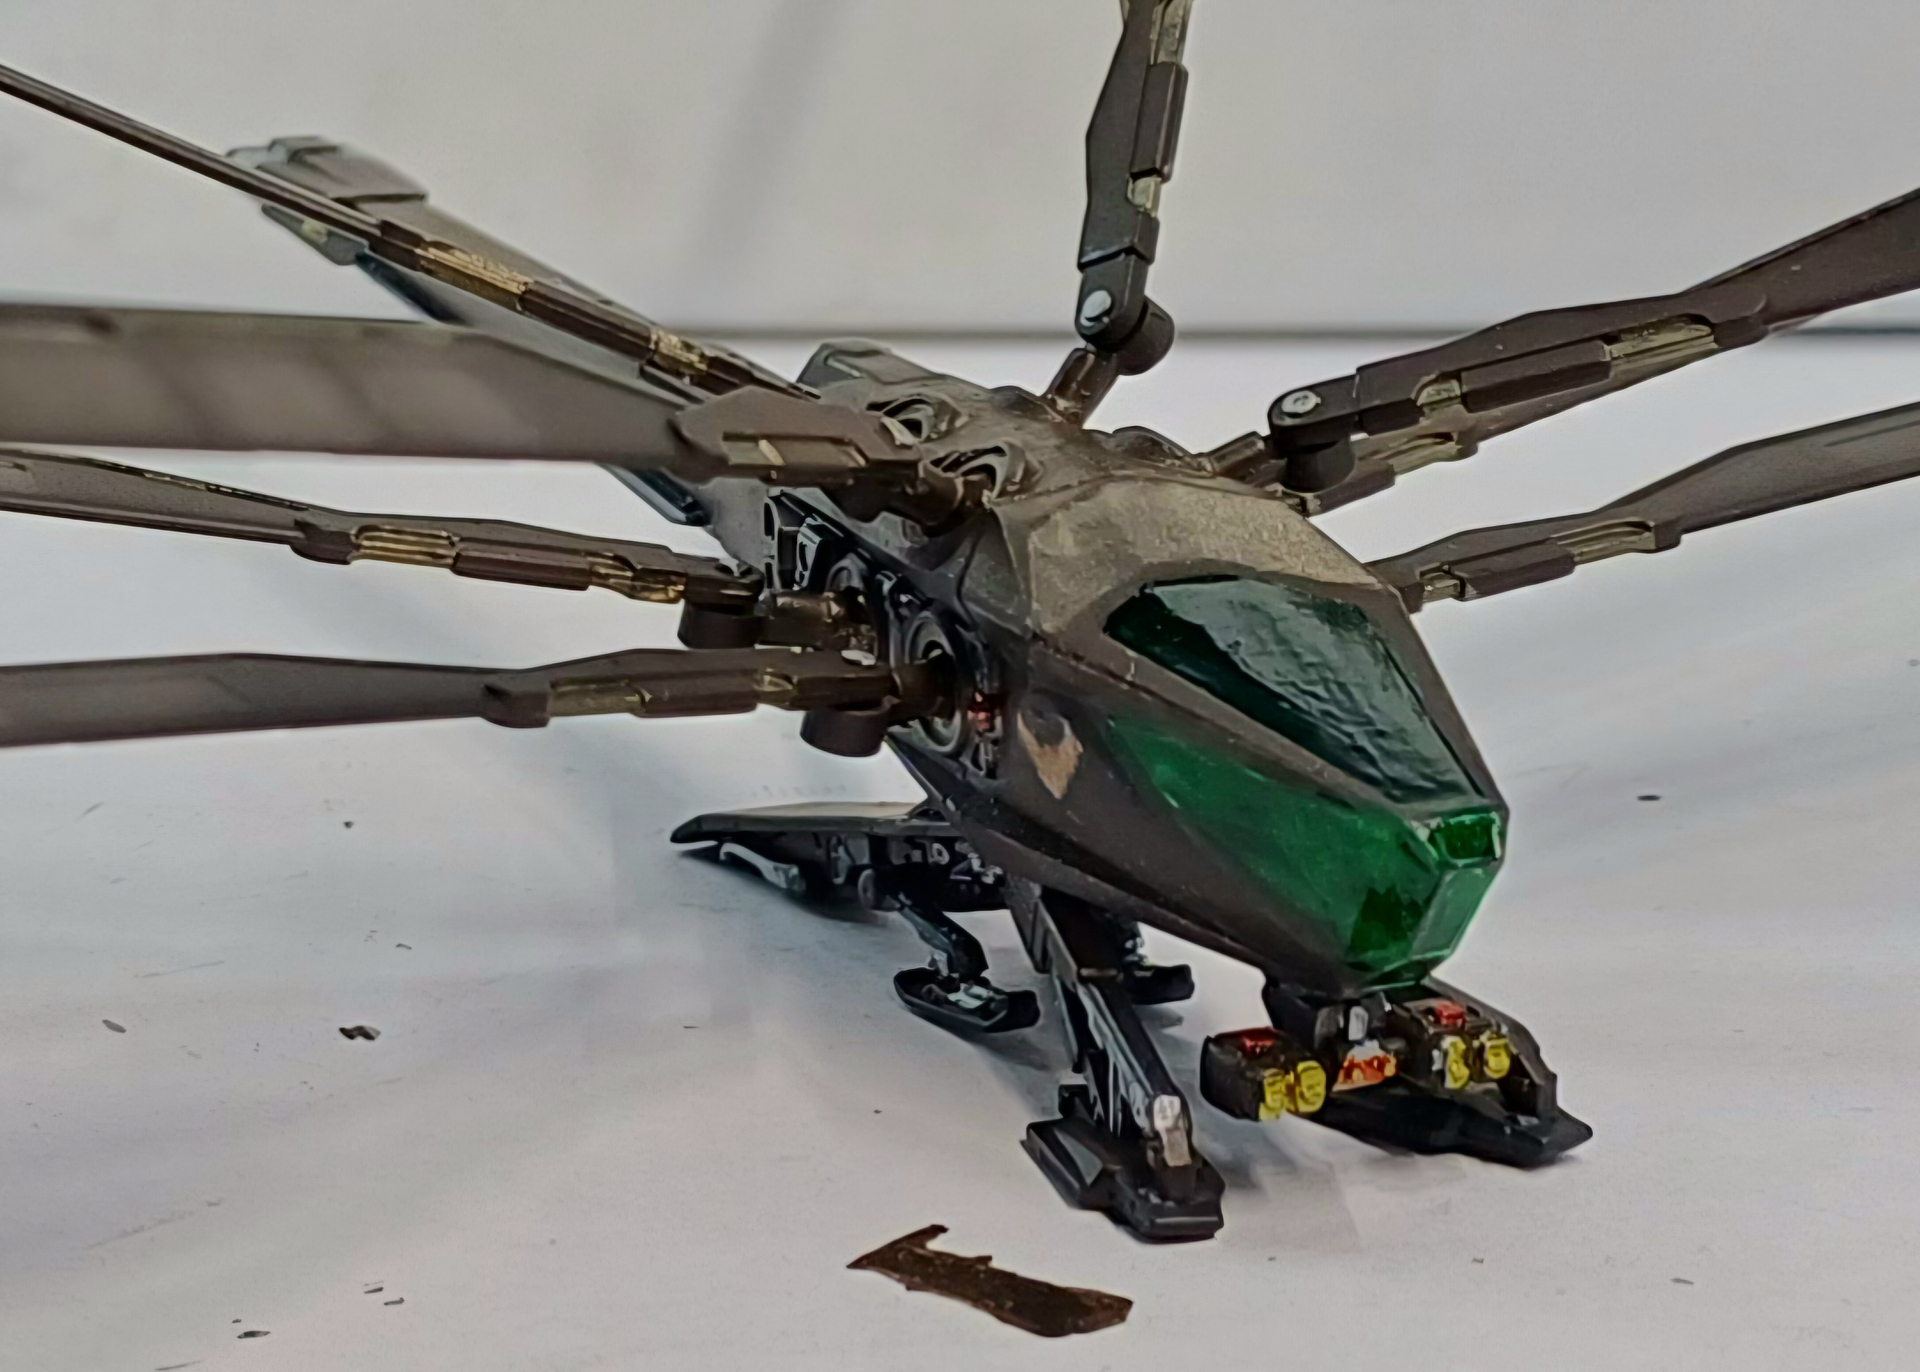
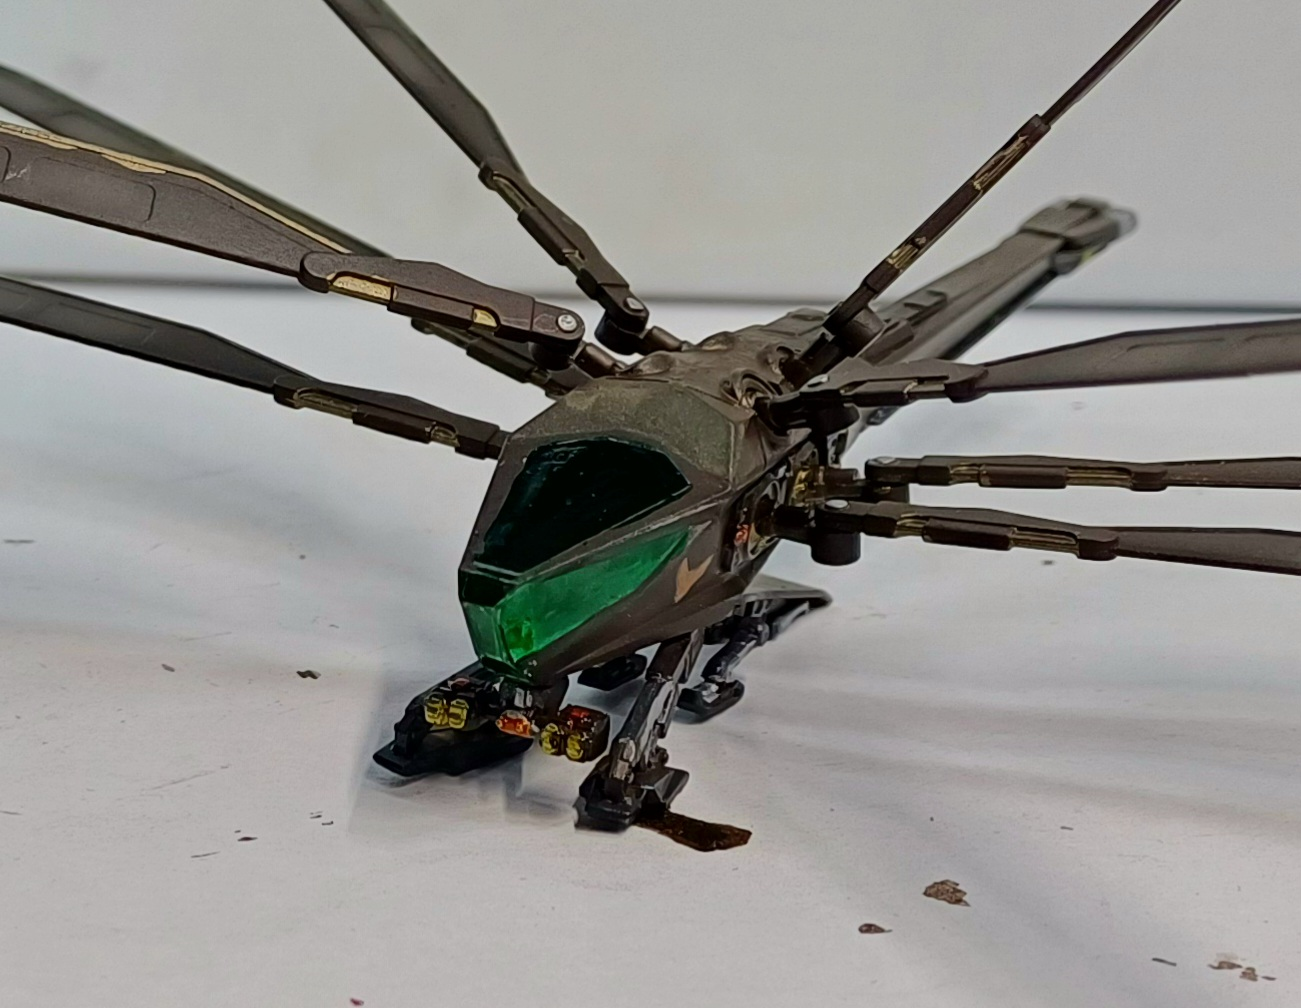
Sprayed the Ornithopter, a mix of Black Grey and Nato Brown, lightened with Portland Stone for some highlighting…

And this is what the three look like together…
7 Likes

I haven’t stopped work on Scarab but all the work is effectively invisible. During the tests in the paddling pool I identified she was sitting too deep at the stern. Basically the shape of the stern gives very little buoyancy, and I made it worse by using a free flooding stern compartment. So, new stern compartment with inbuilt buoyancy and a smaller flooded area, lighter drive motors (Super Monoperms were 103gr each, 385 motors are 66gr each) and some foam internal buoyancy just in case. Looked at an external buoyancy aid that can be scabbed on to the hull under the stern but going to try her without first. Radio is now setup and she turns in her own length easily both ways using screws and rudder. Sea trials next.
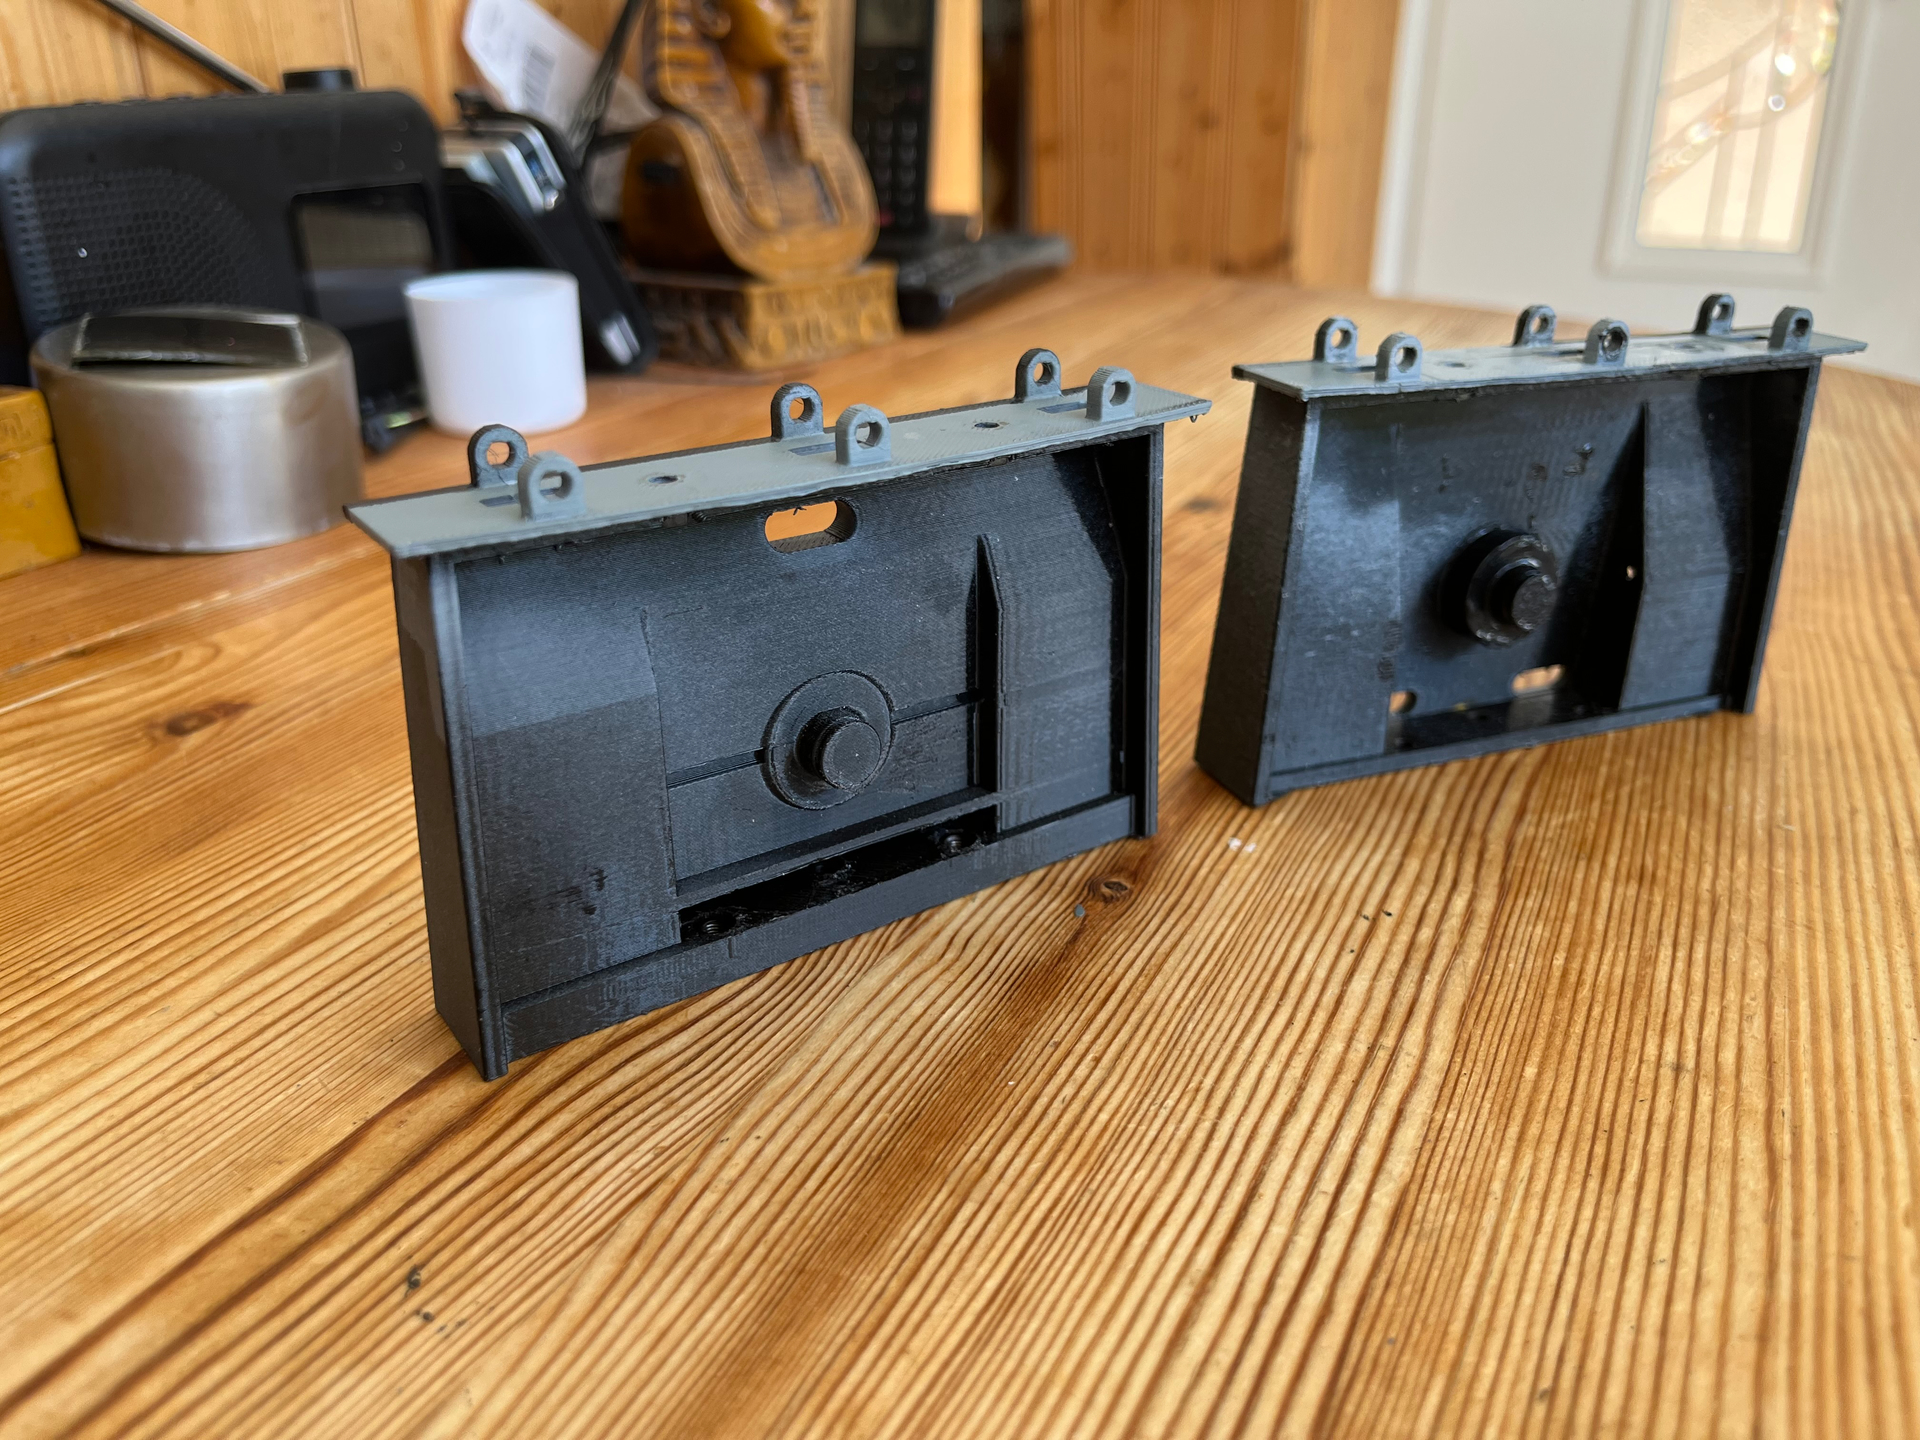
Old (right) and new (left) stern sections. Despite the extra bulk the new section is only 1gf heavier than the old
the whole power module layout with Super Monoperm motors and the old stern. The gear driving the centre tiller had to be changed slightly to accommodate the new stern
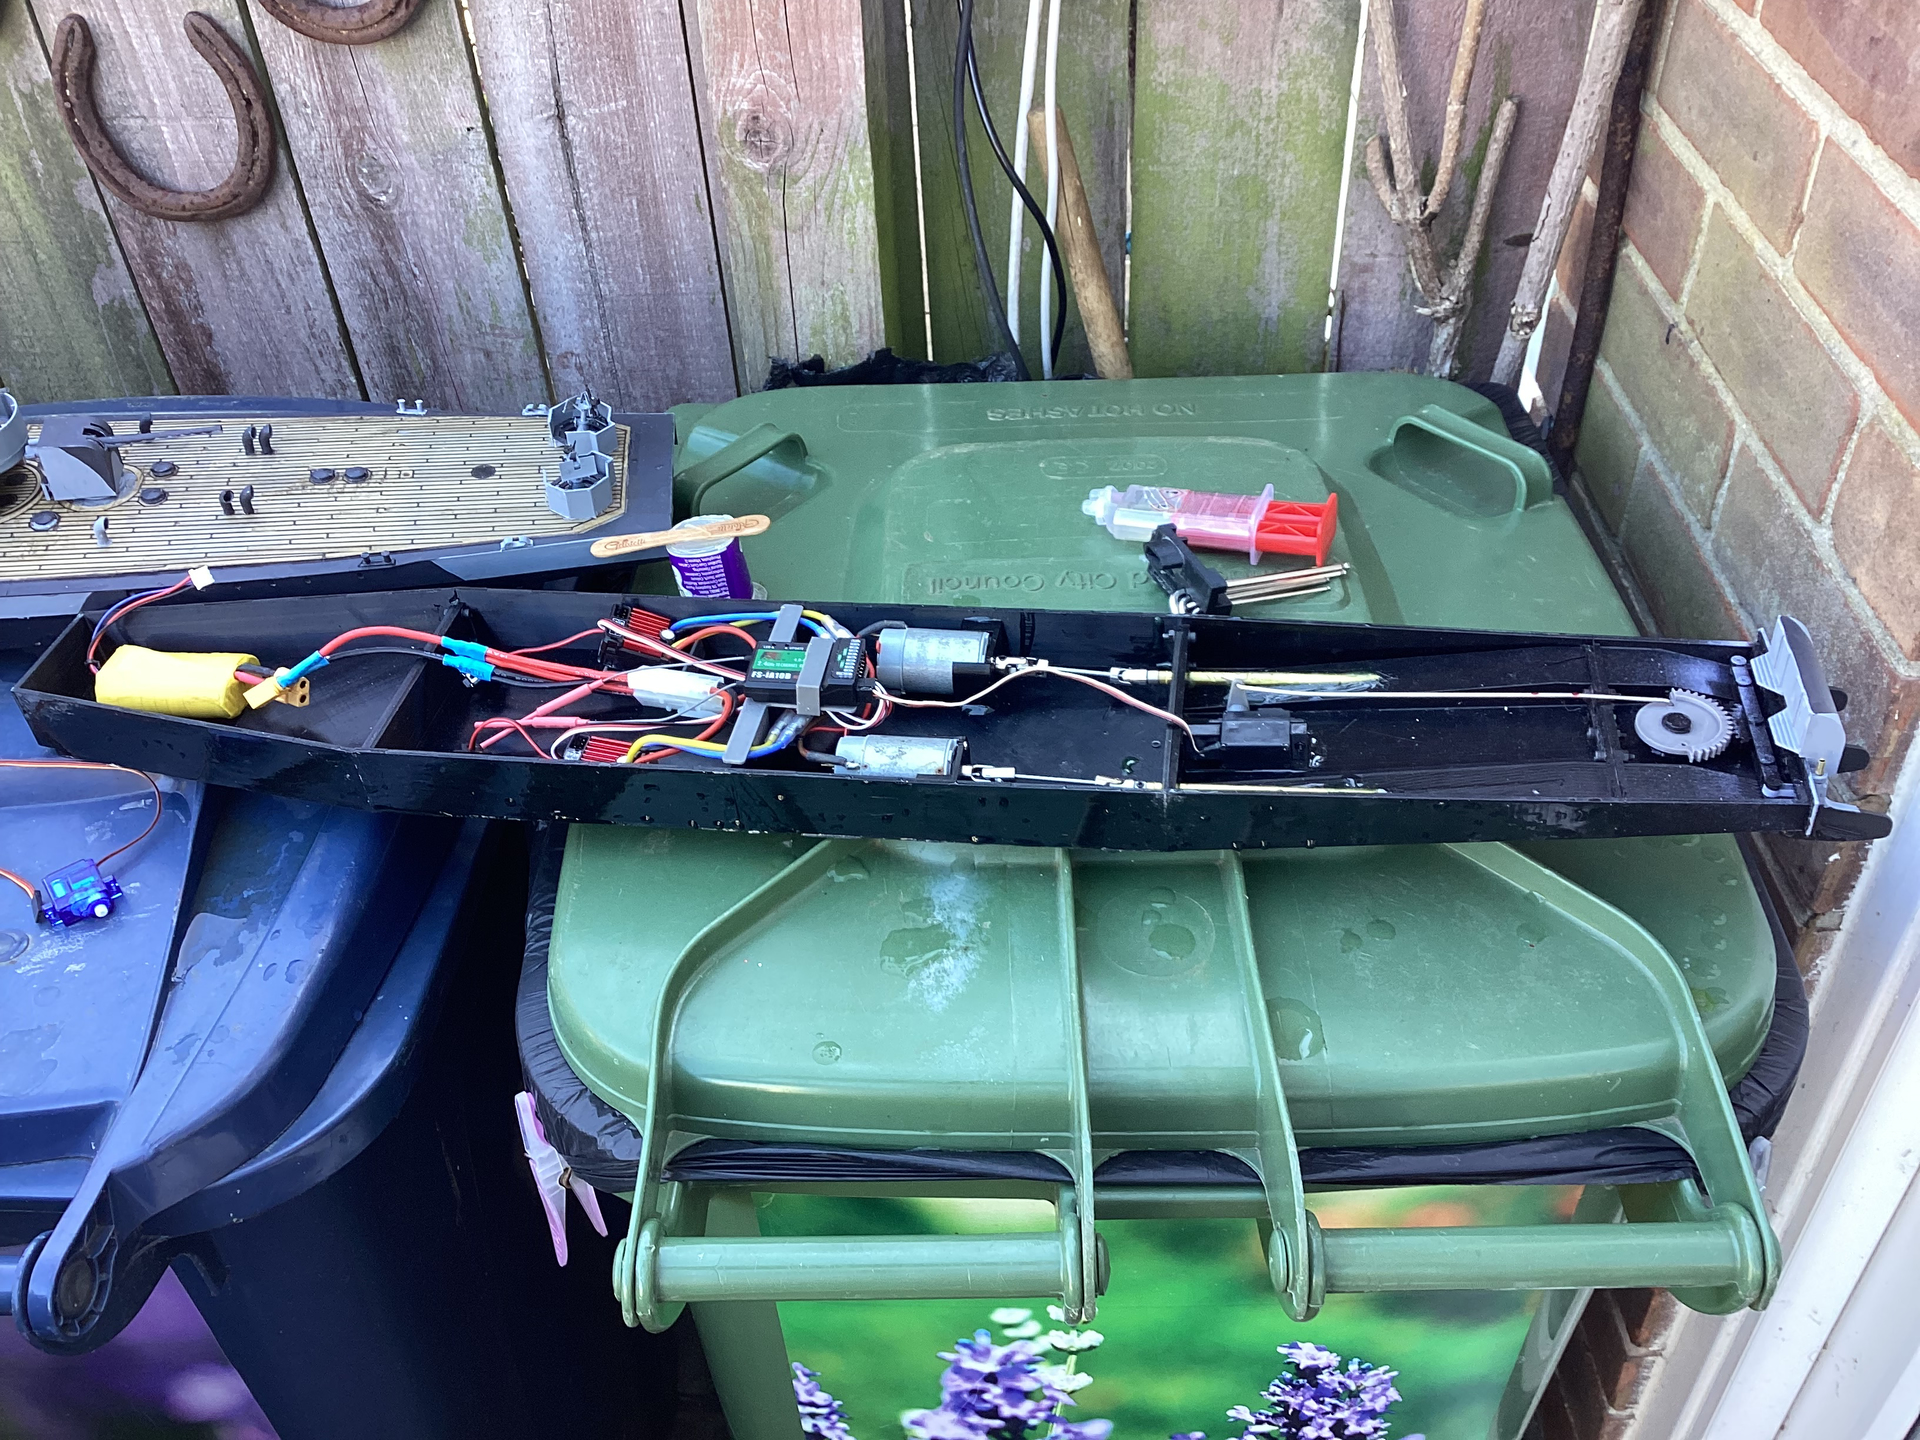
looking ok but too heavy aft for the available buoyancy.
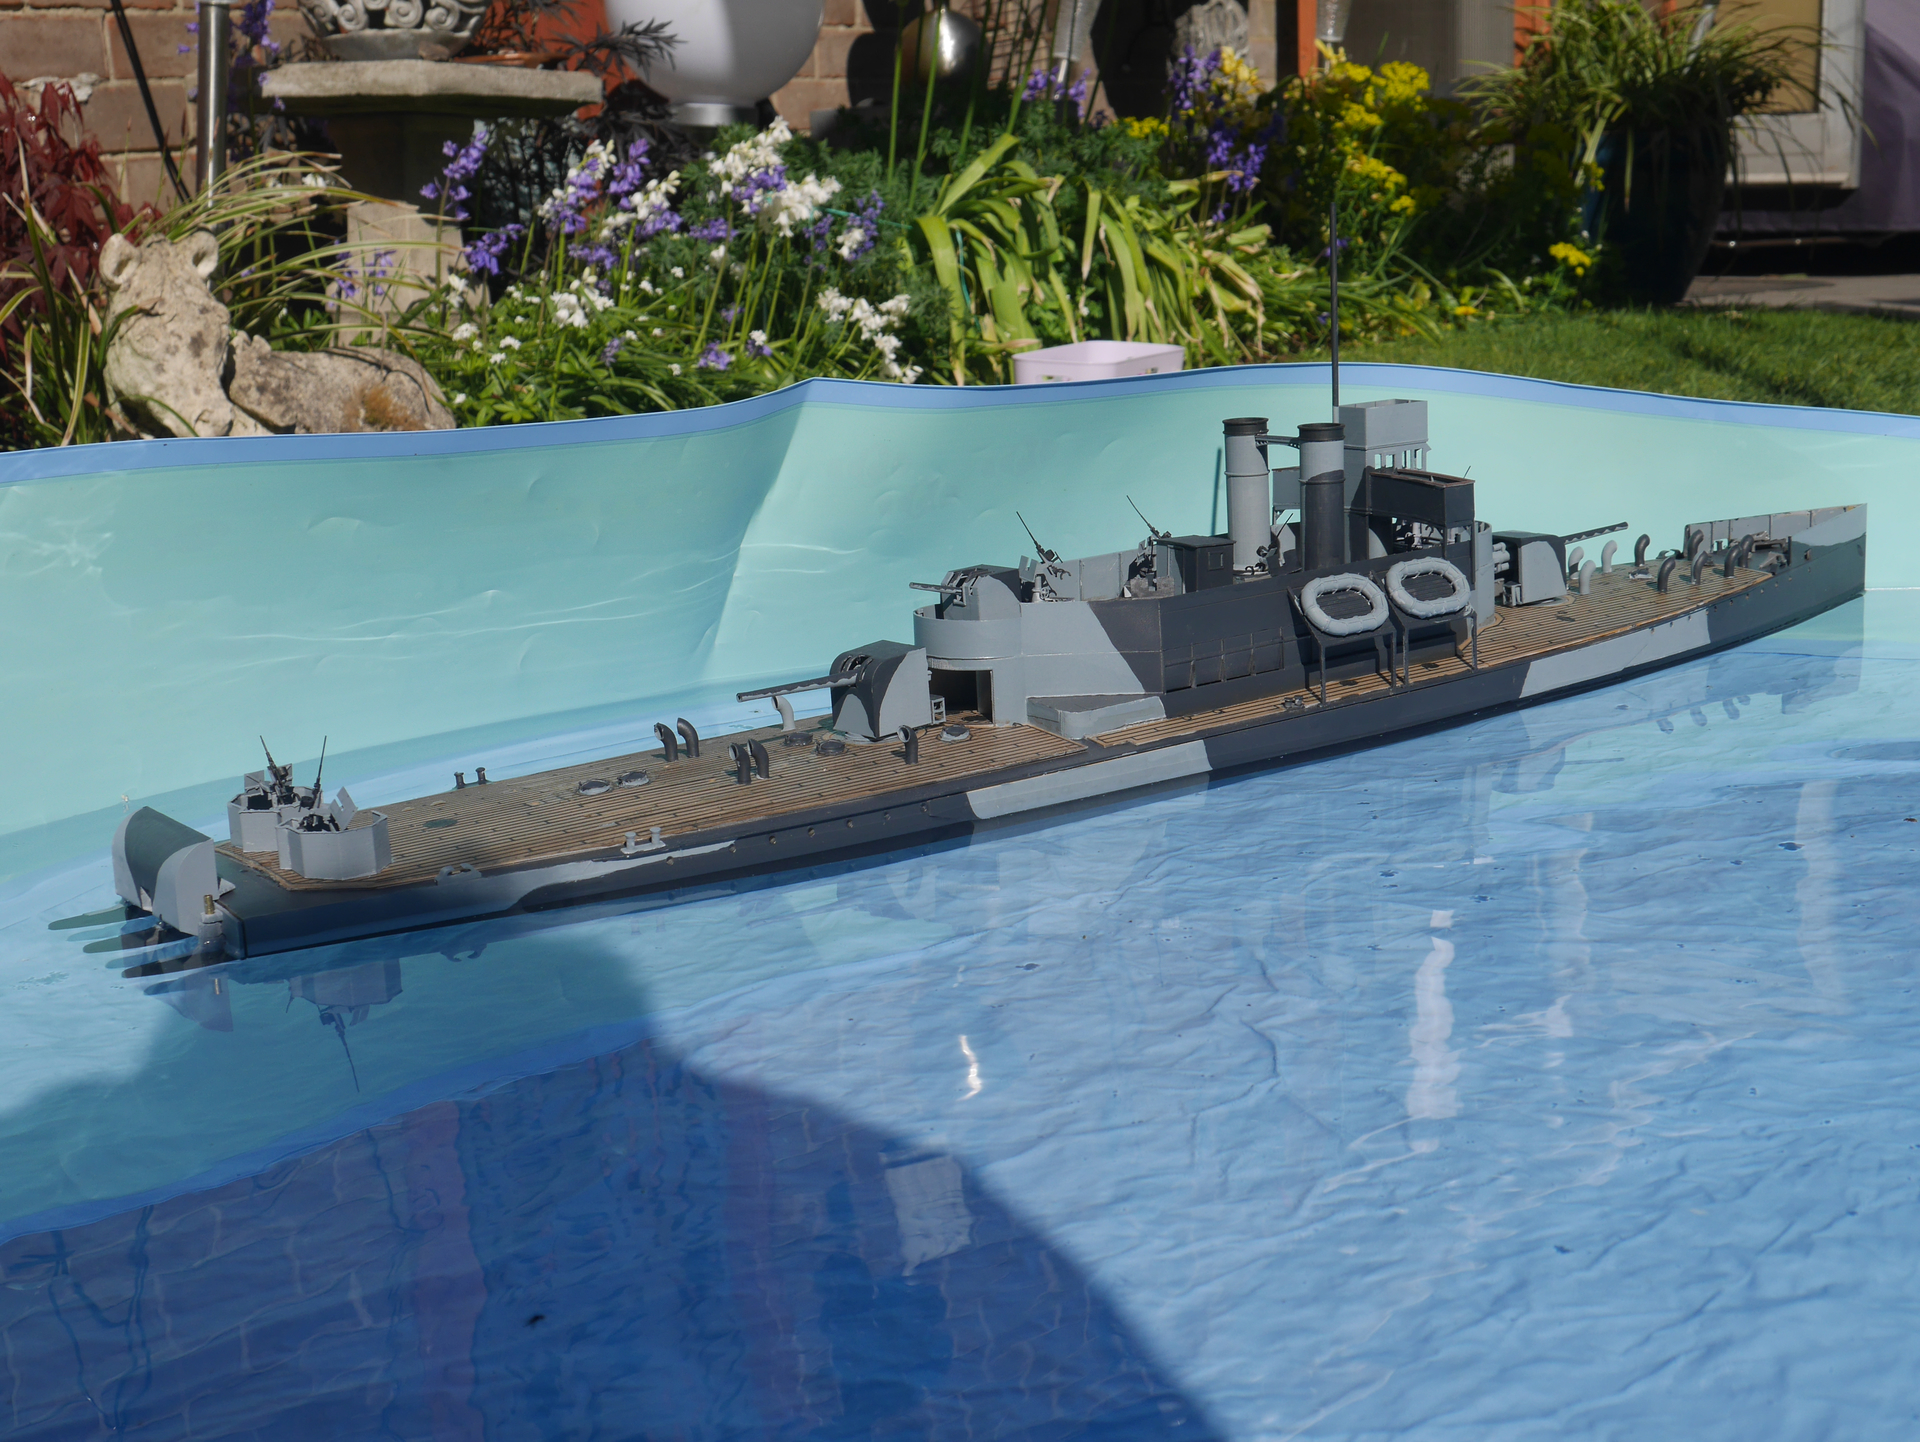
7 Likes
I did plan to maiden Scarab yesterday but the weather gods decreed otherwise. So instead fitted the port guard rails. Deans Marine etched brass stanchions and 0.5 soft brass wire

Guardrails assembled and stanchions glued in

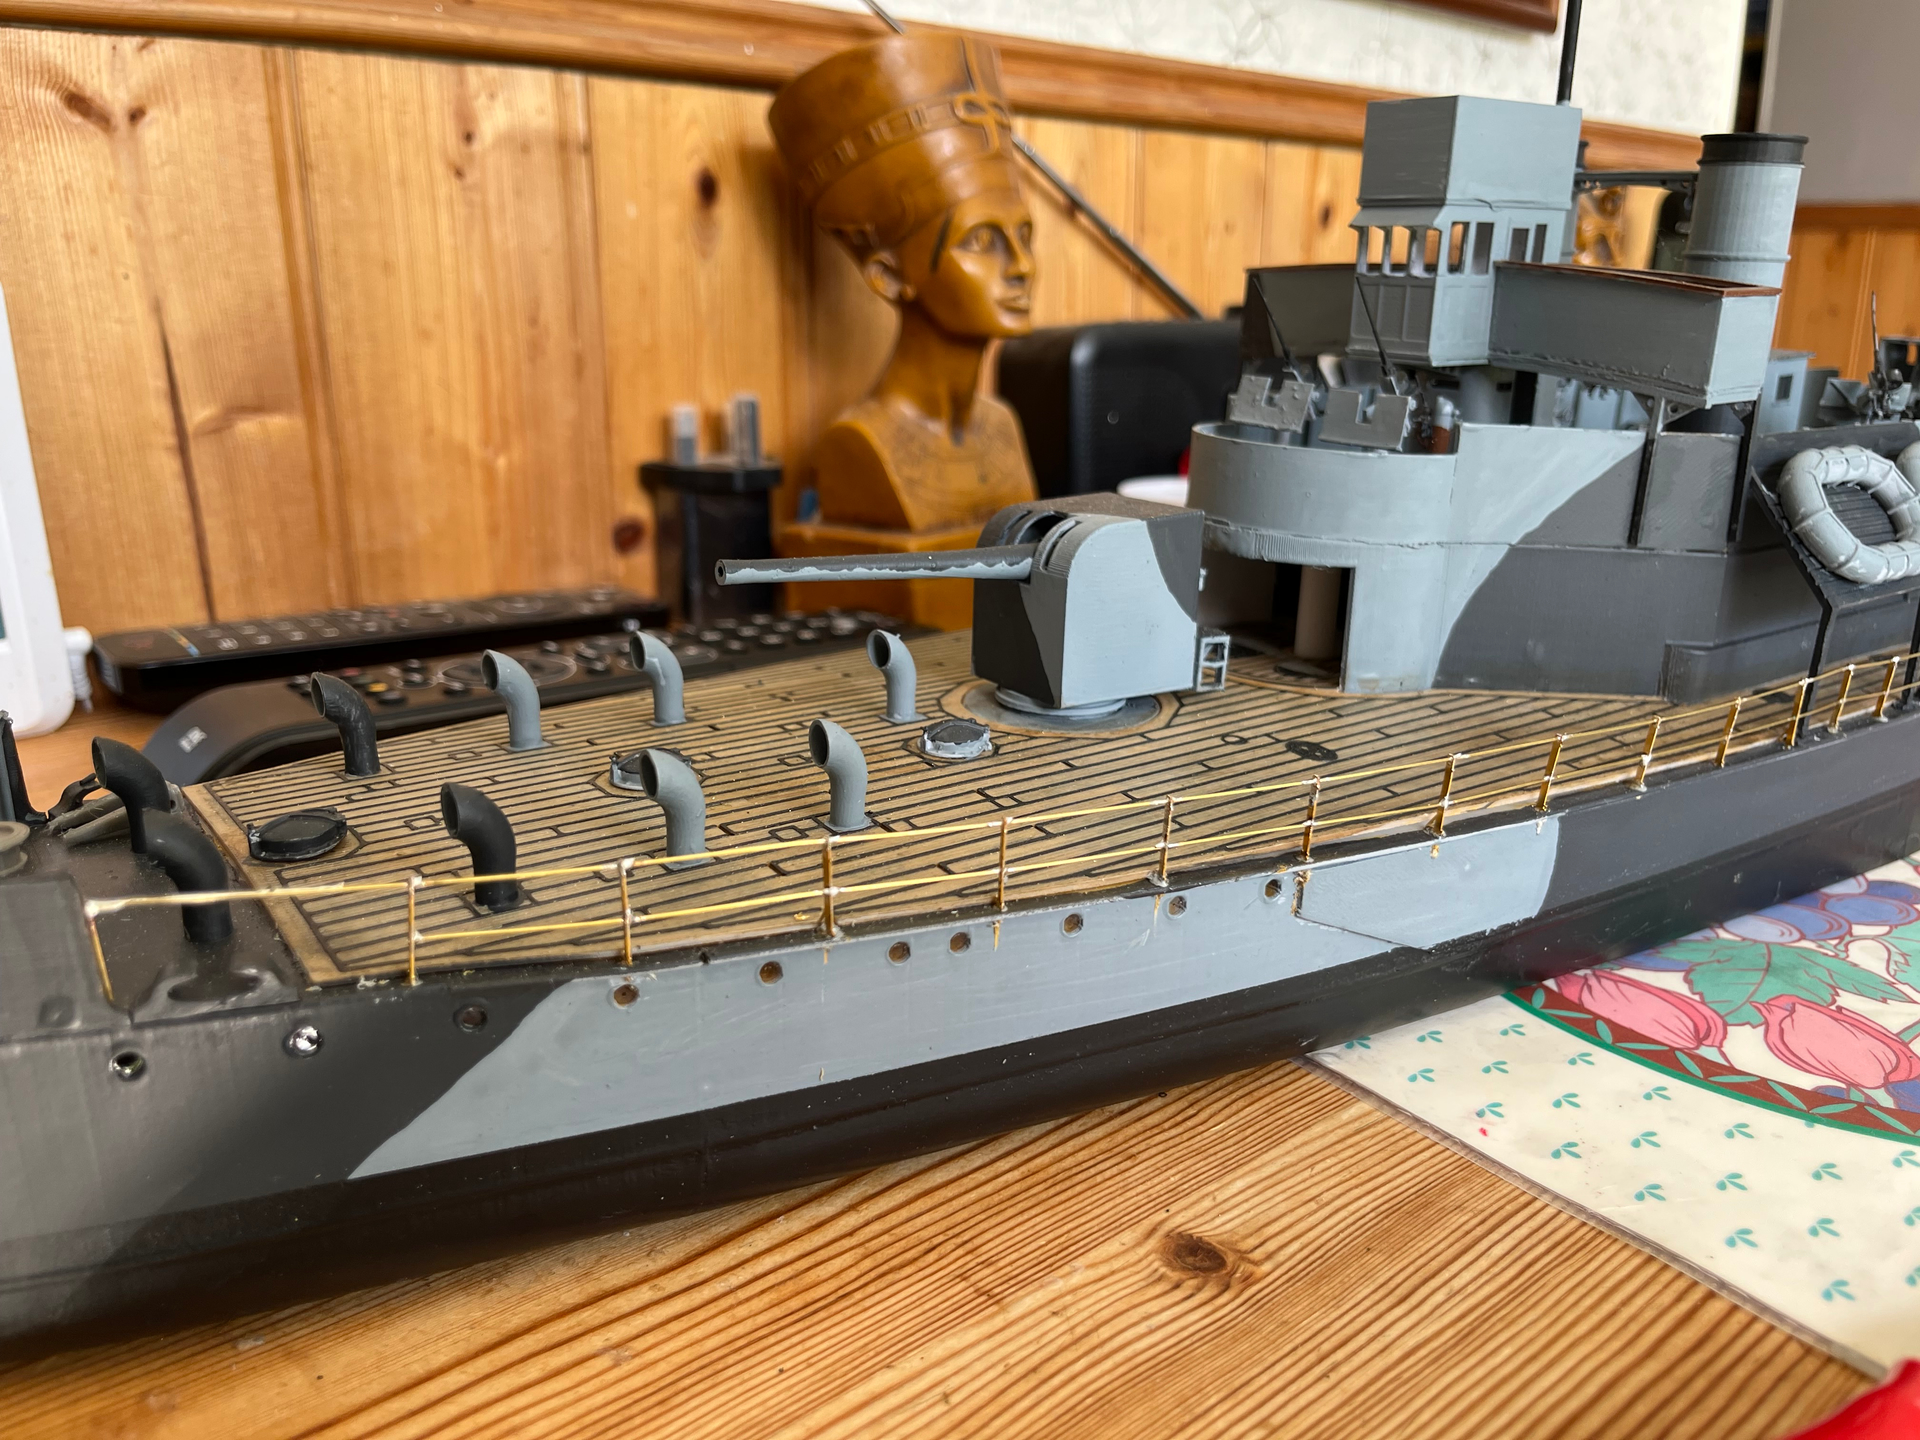
Joints soldered

[/grid]
8 Likes
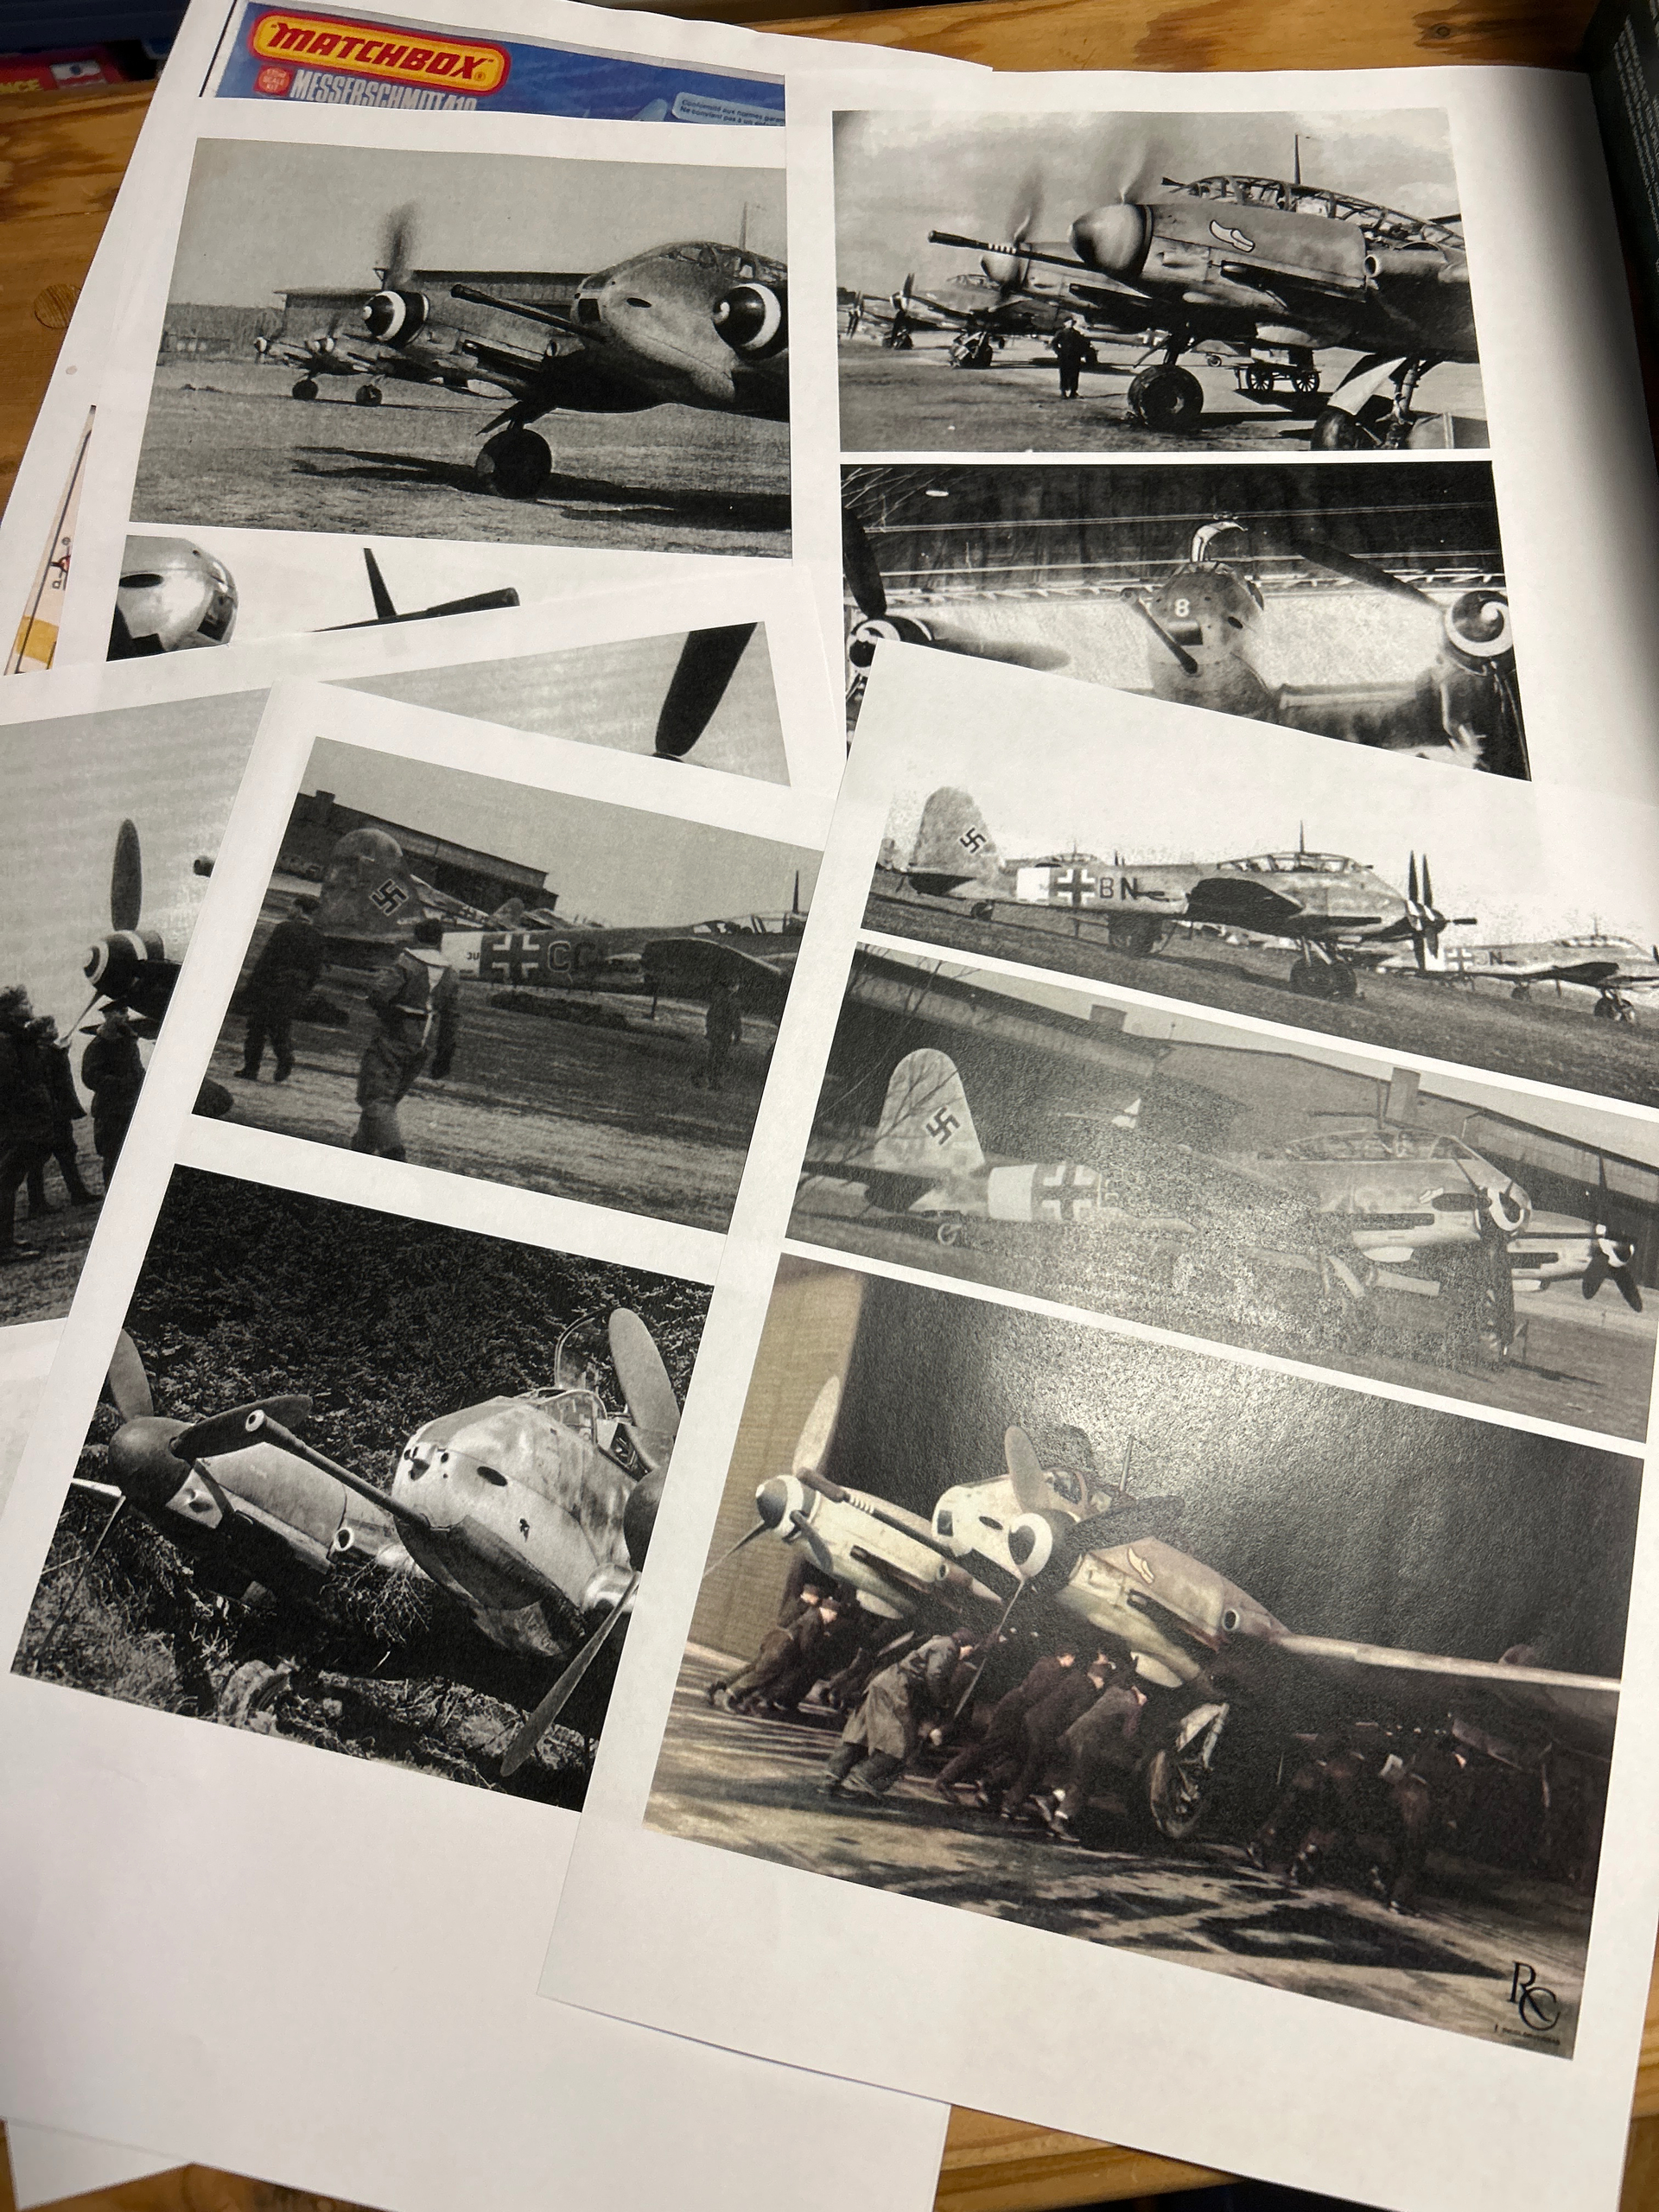
I will enter with a simple old nostalgic kit. The matchbox hornisse. I will make the gun armed bomber destroyer.
More to follow 

8 Likes
I have fond memories of that kit. One of the few times in my youth, that I actually did a decent job on an aircraft!
4 Likes