I know that feeling 
2 Likes
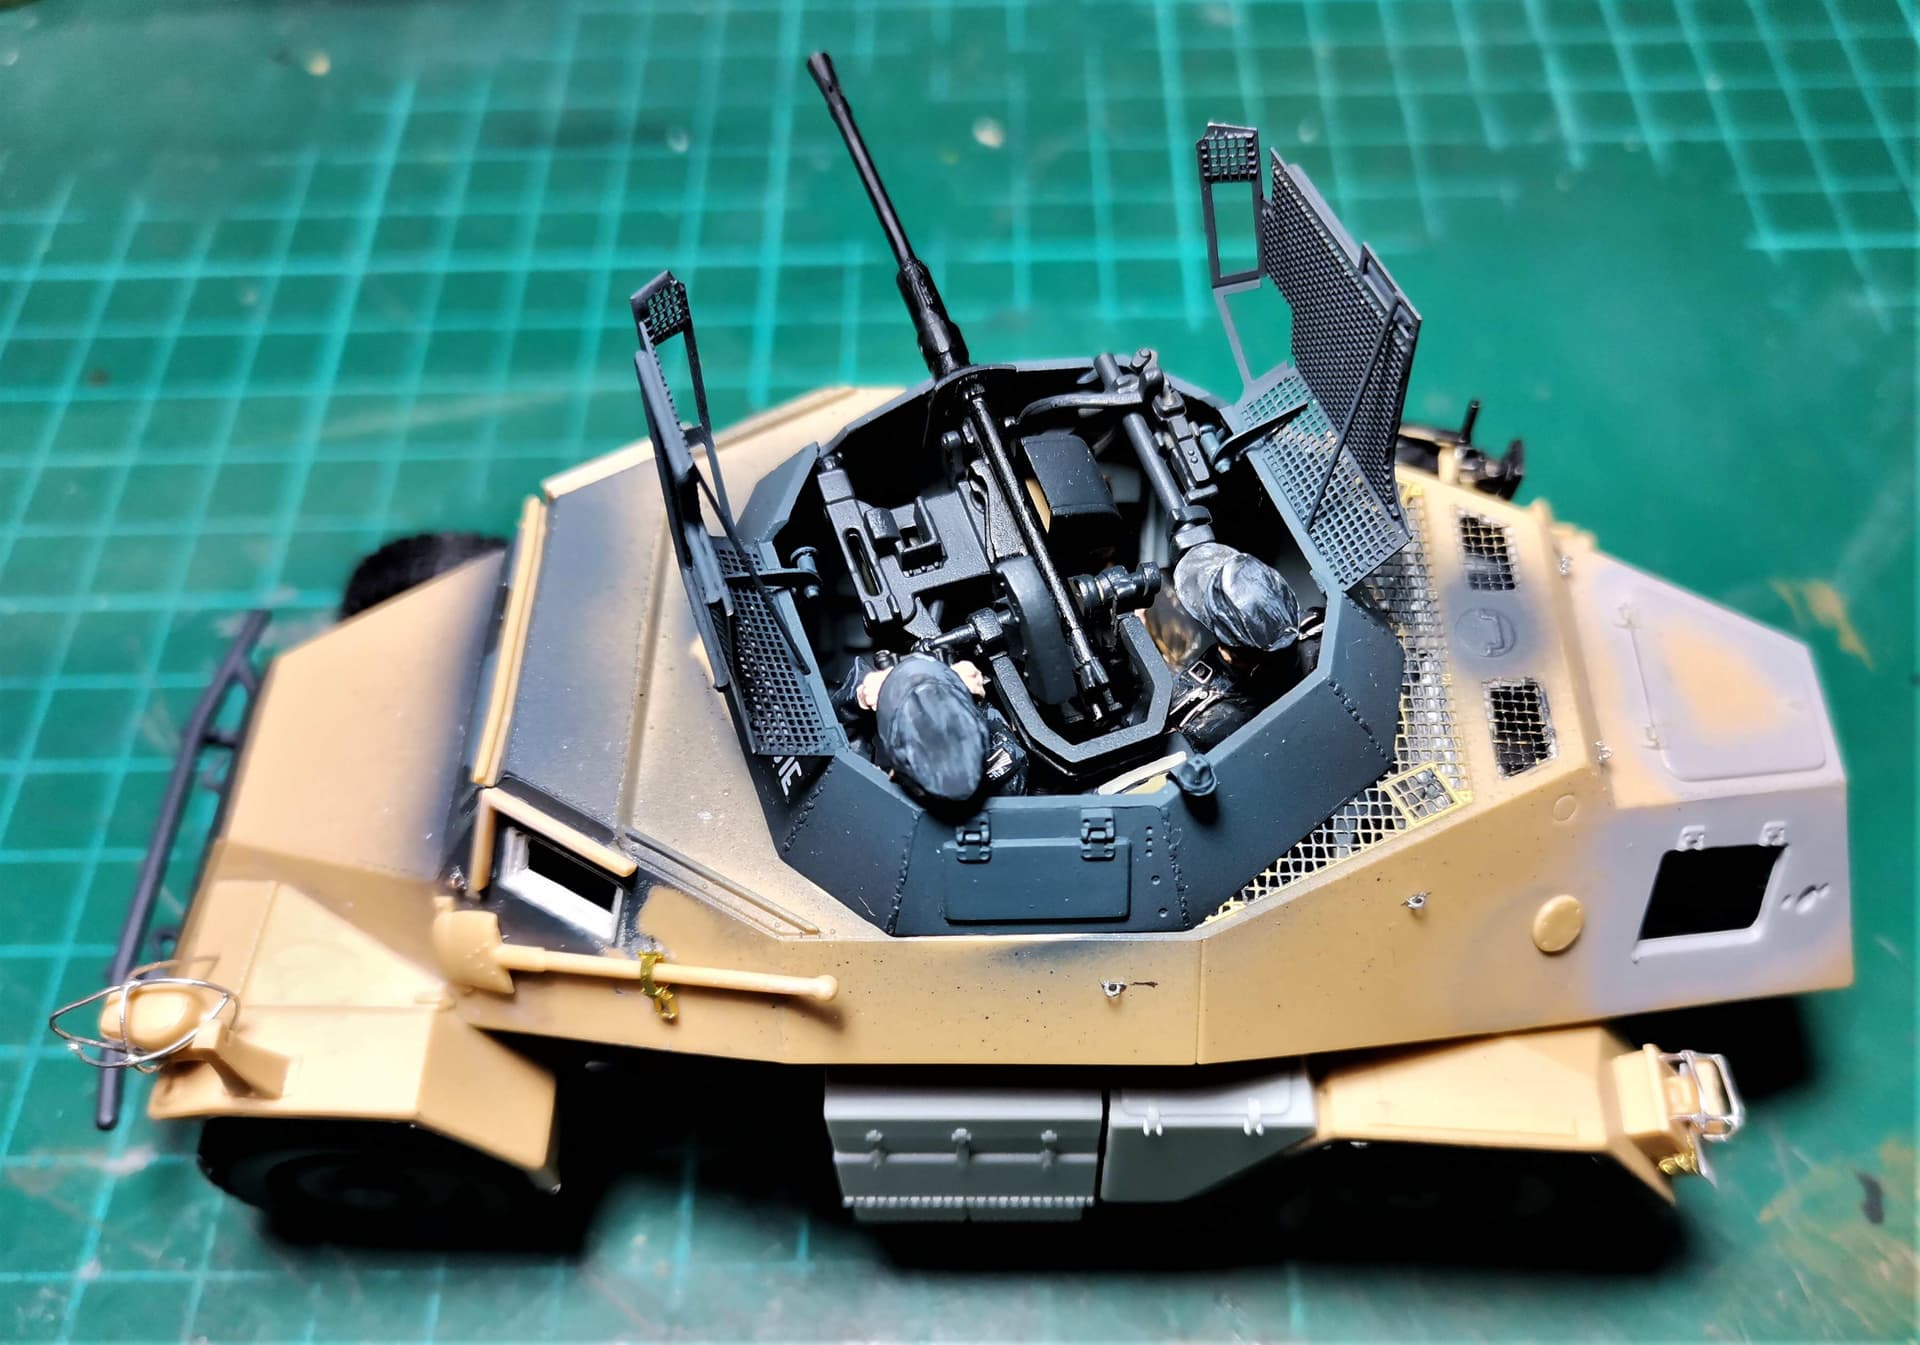
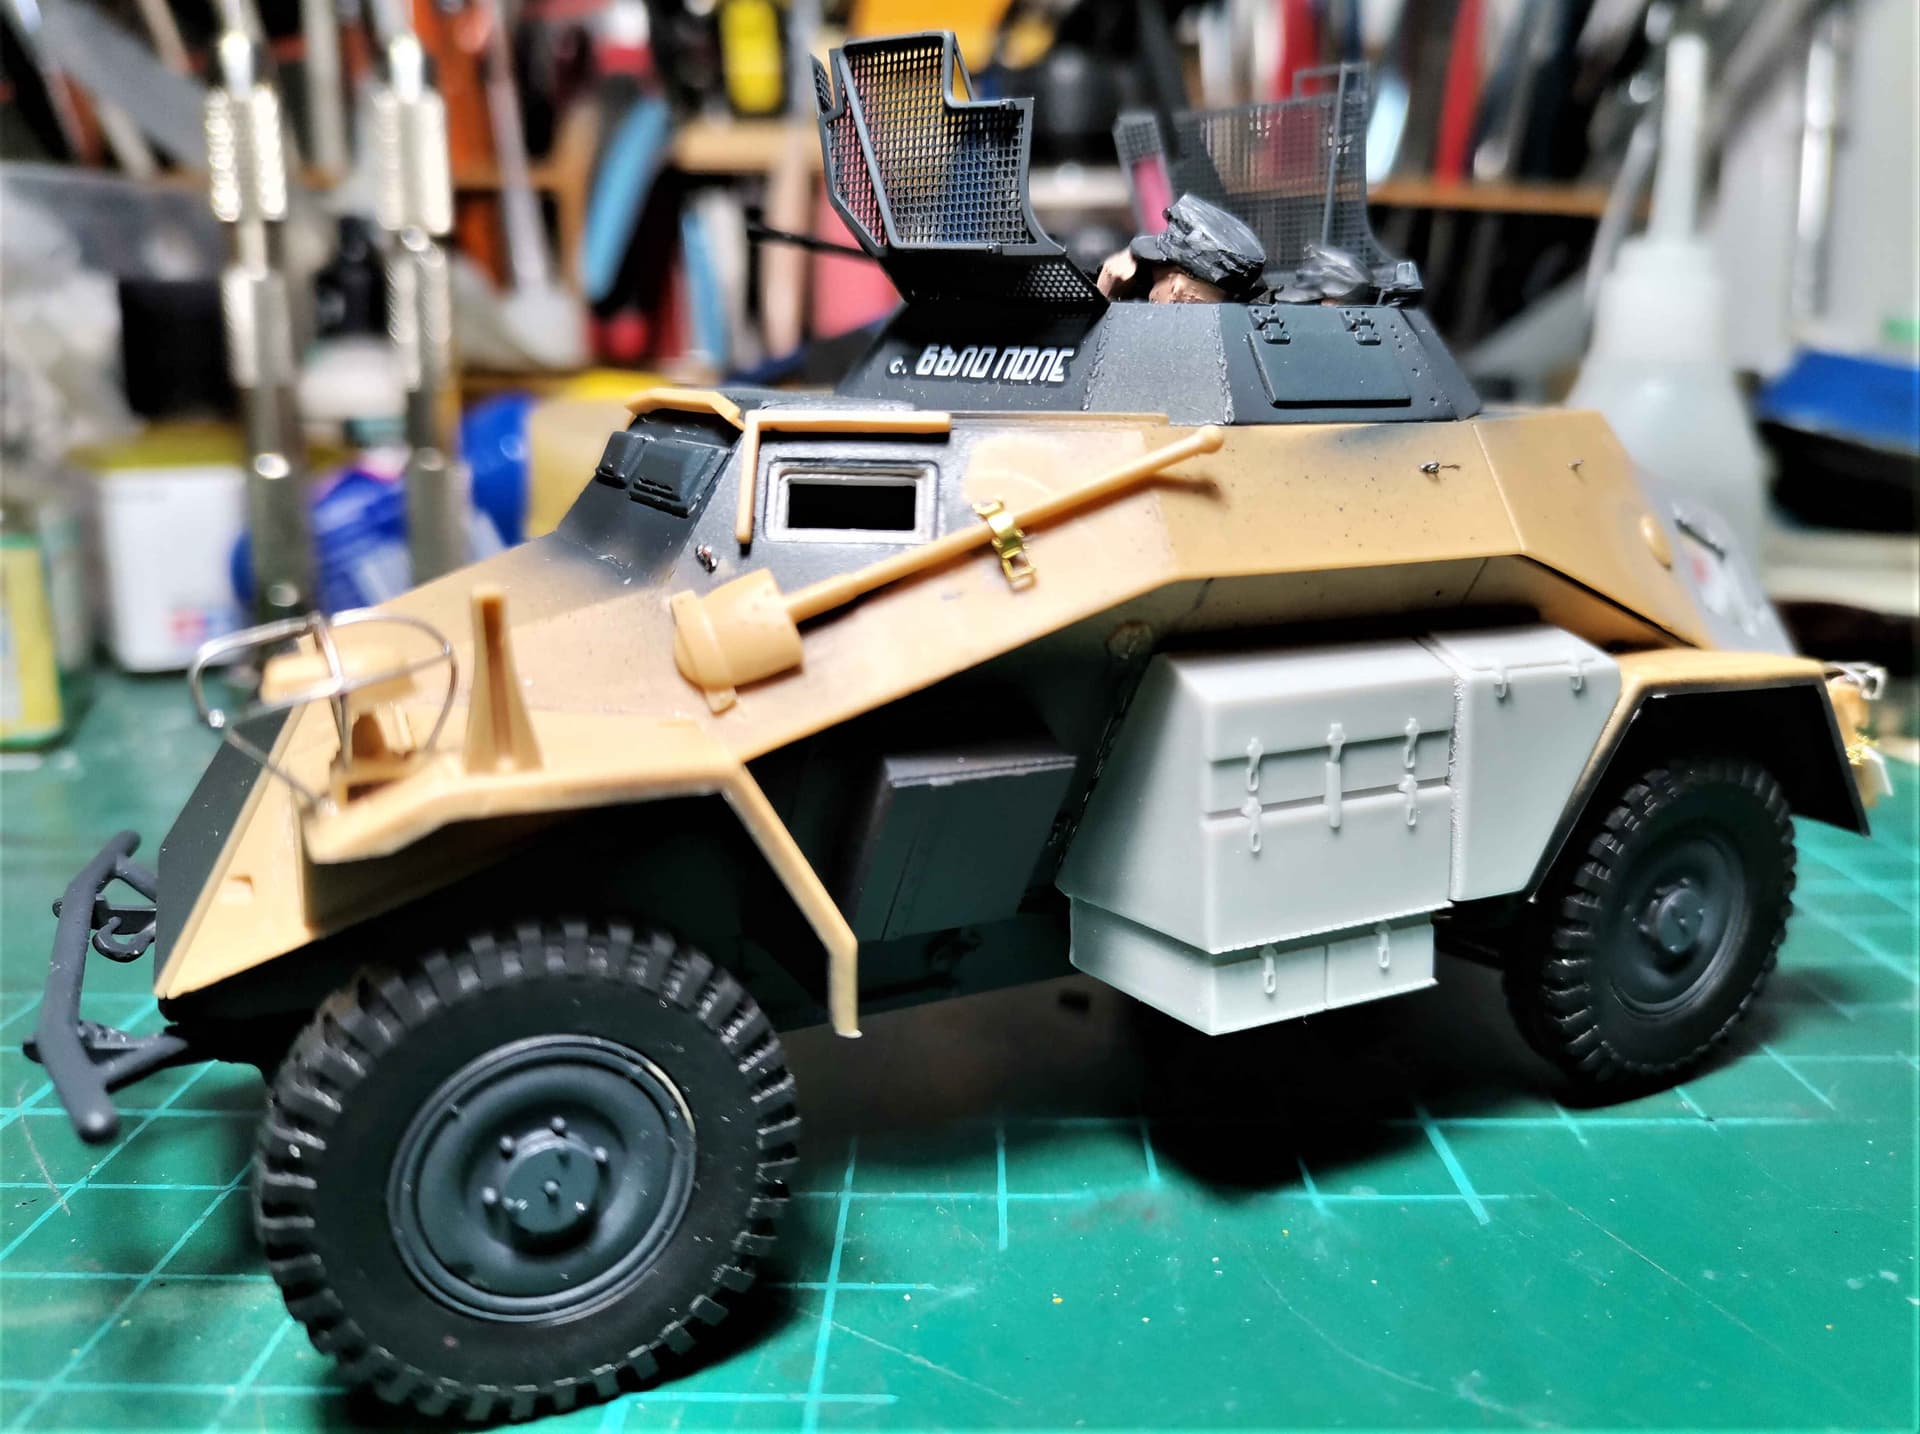
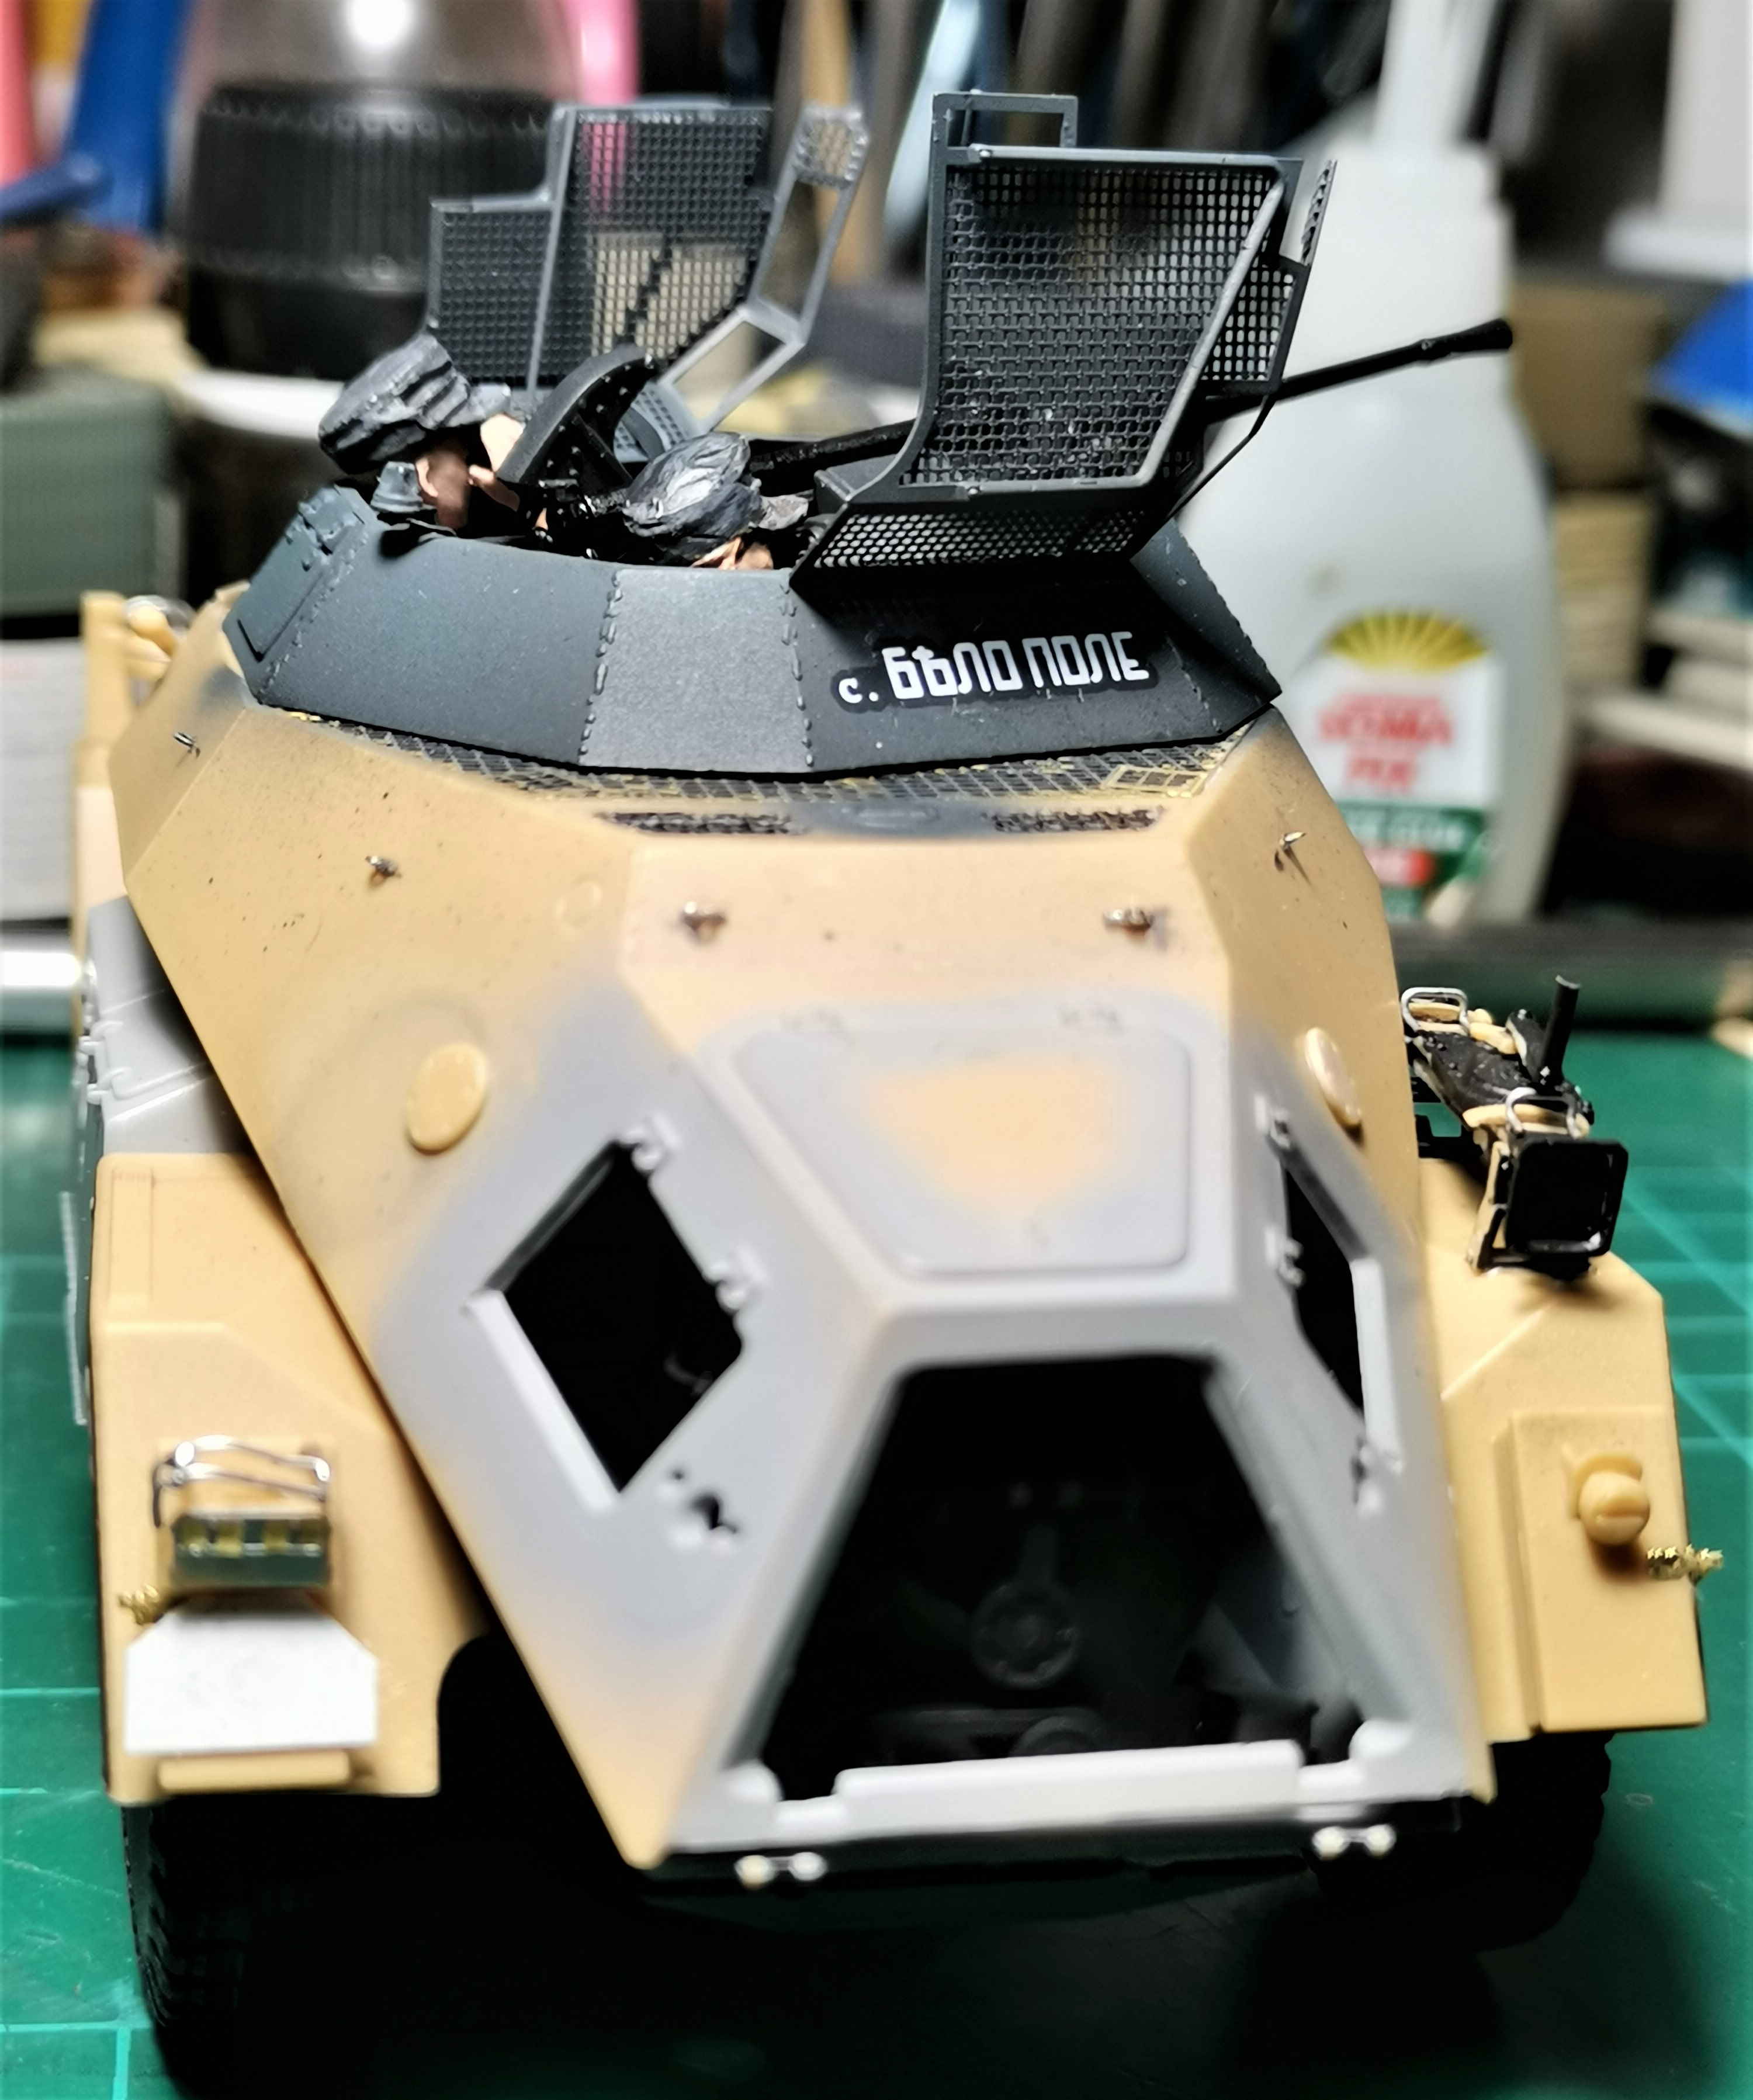
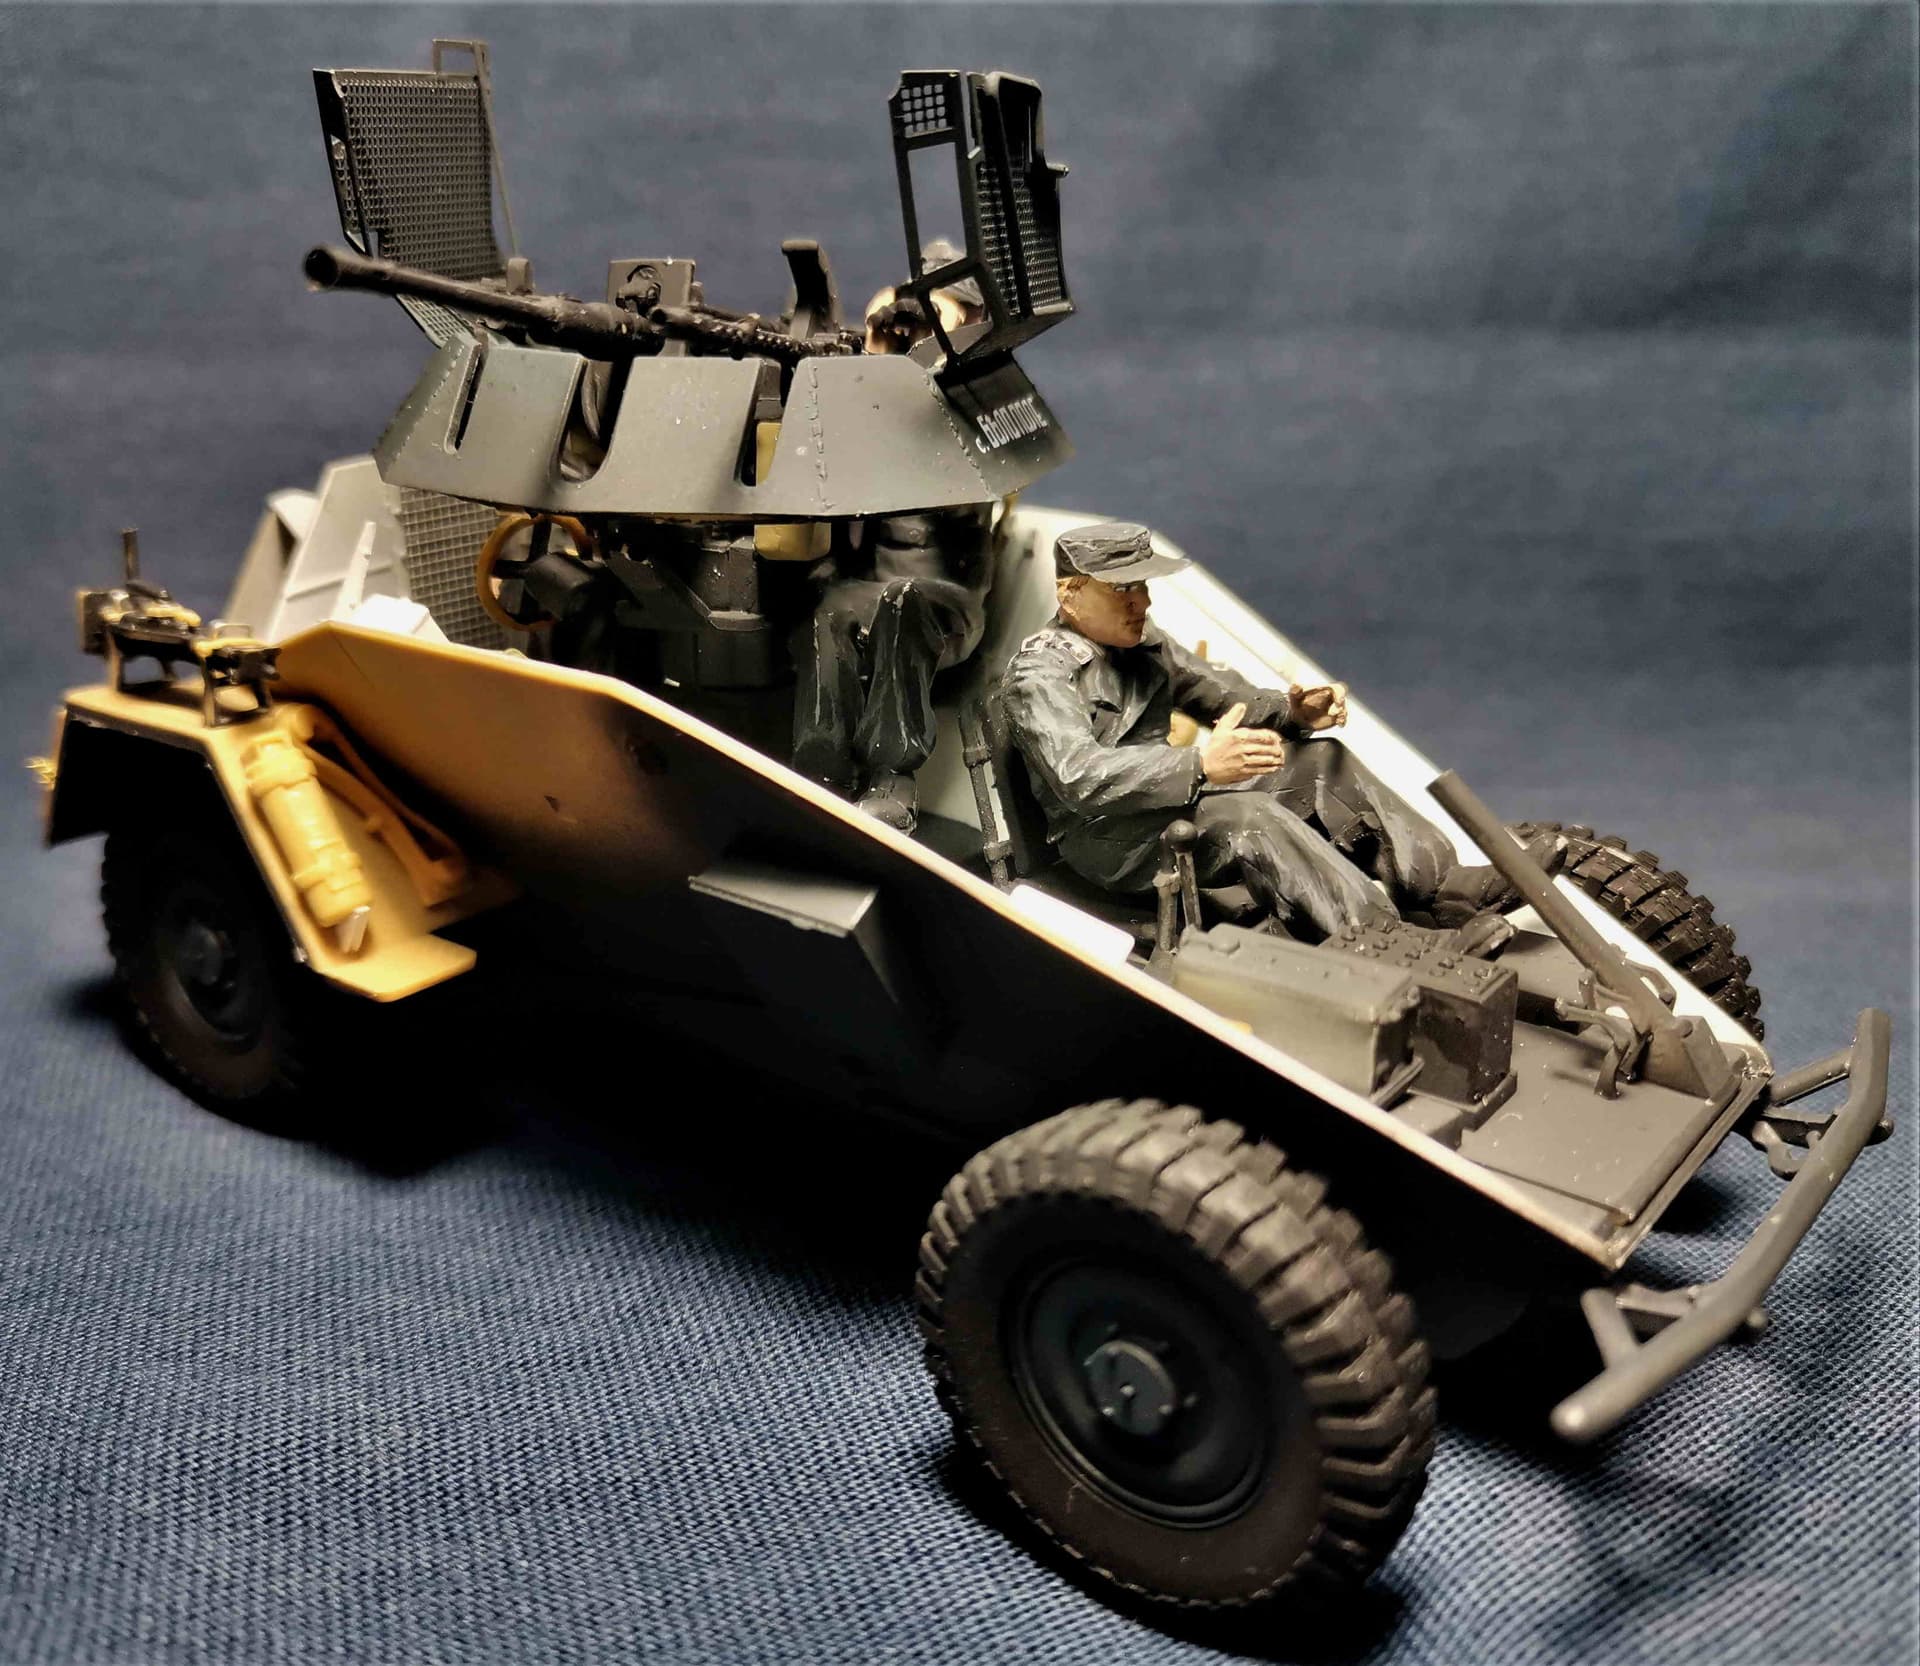
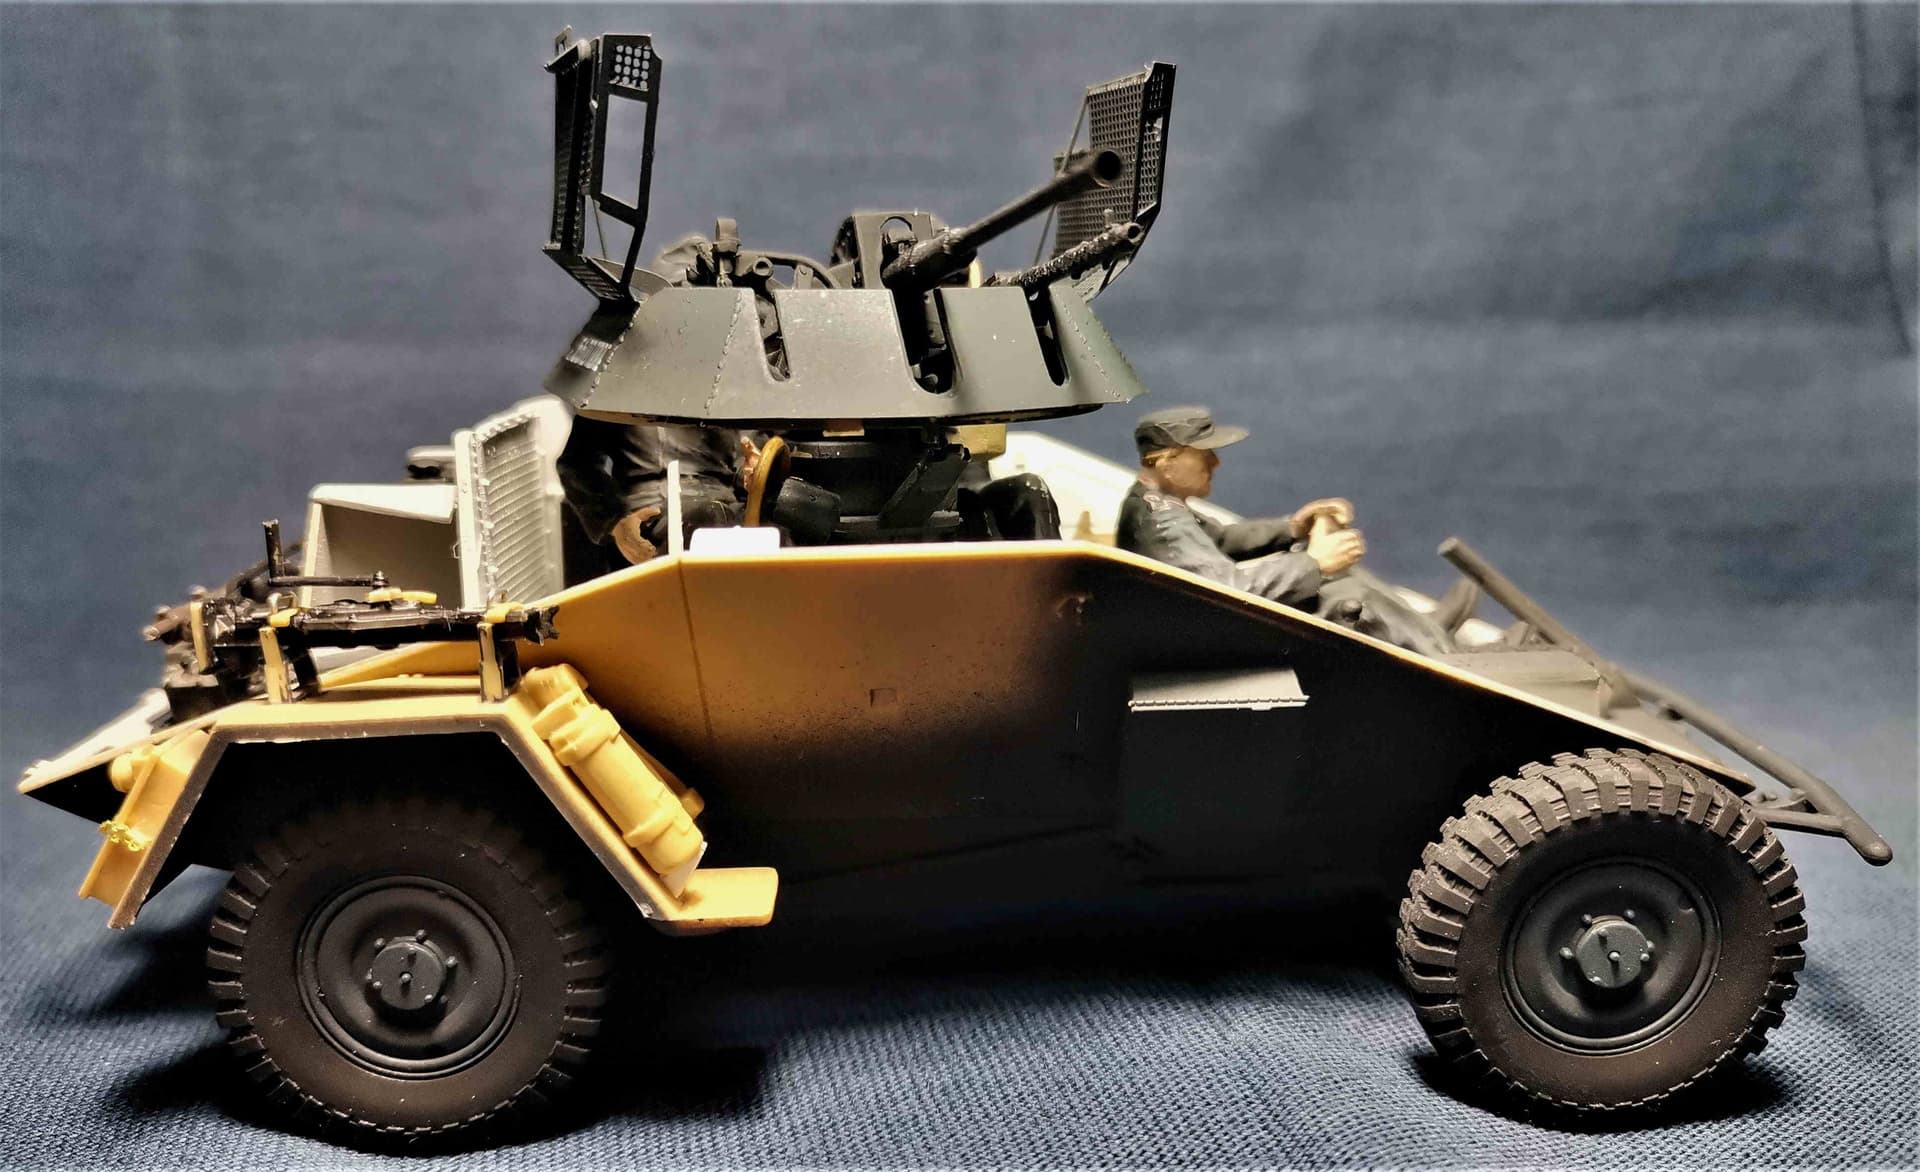
Just a short update on my Horch M.222 build:
-I soldered and added the protective cages for the Notek and the convoy light. I further soldered 8 tiny tie-downs(Passion Model) and glued them on the sides of the vehicle.
-detailed the jack and added an Aber working clamp for the shovel, plus some Voyager Model clamps for the tool boxes on rear fenders.
-had to “borrow” the spare boxes on the left side from the other Hobby Boss kit I’m using- Tristar only give the big one, but not the later introduced one (between the big one and the left rear fender).
-figures returned yesterday from the paint and decal shop. Another splendid job by Kalin! @k_mero4
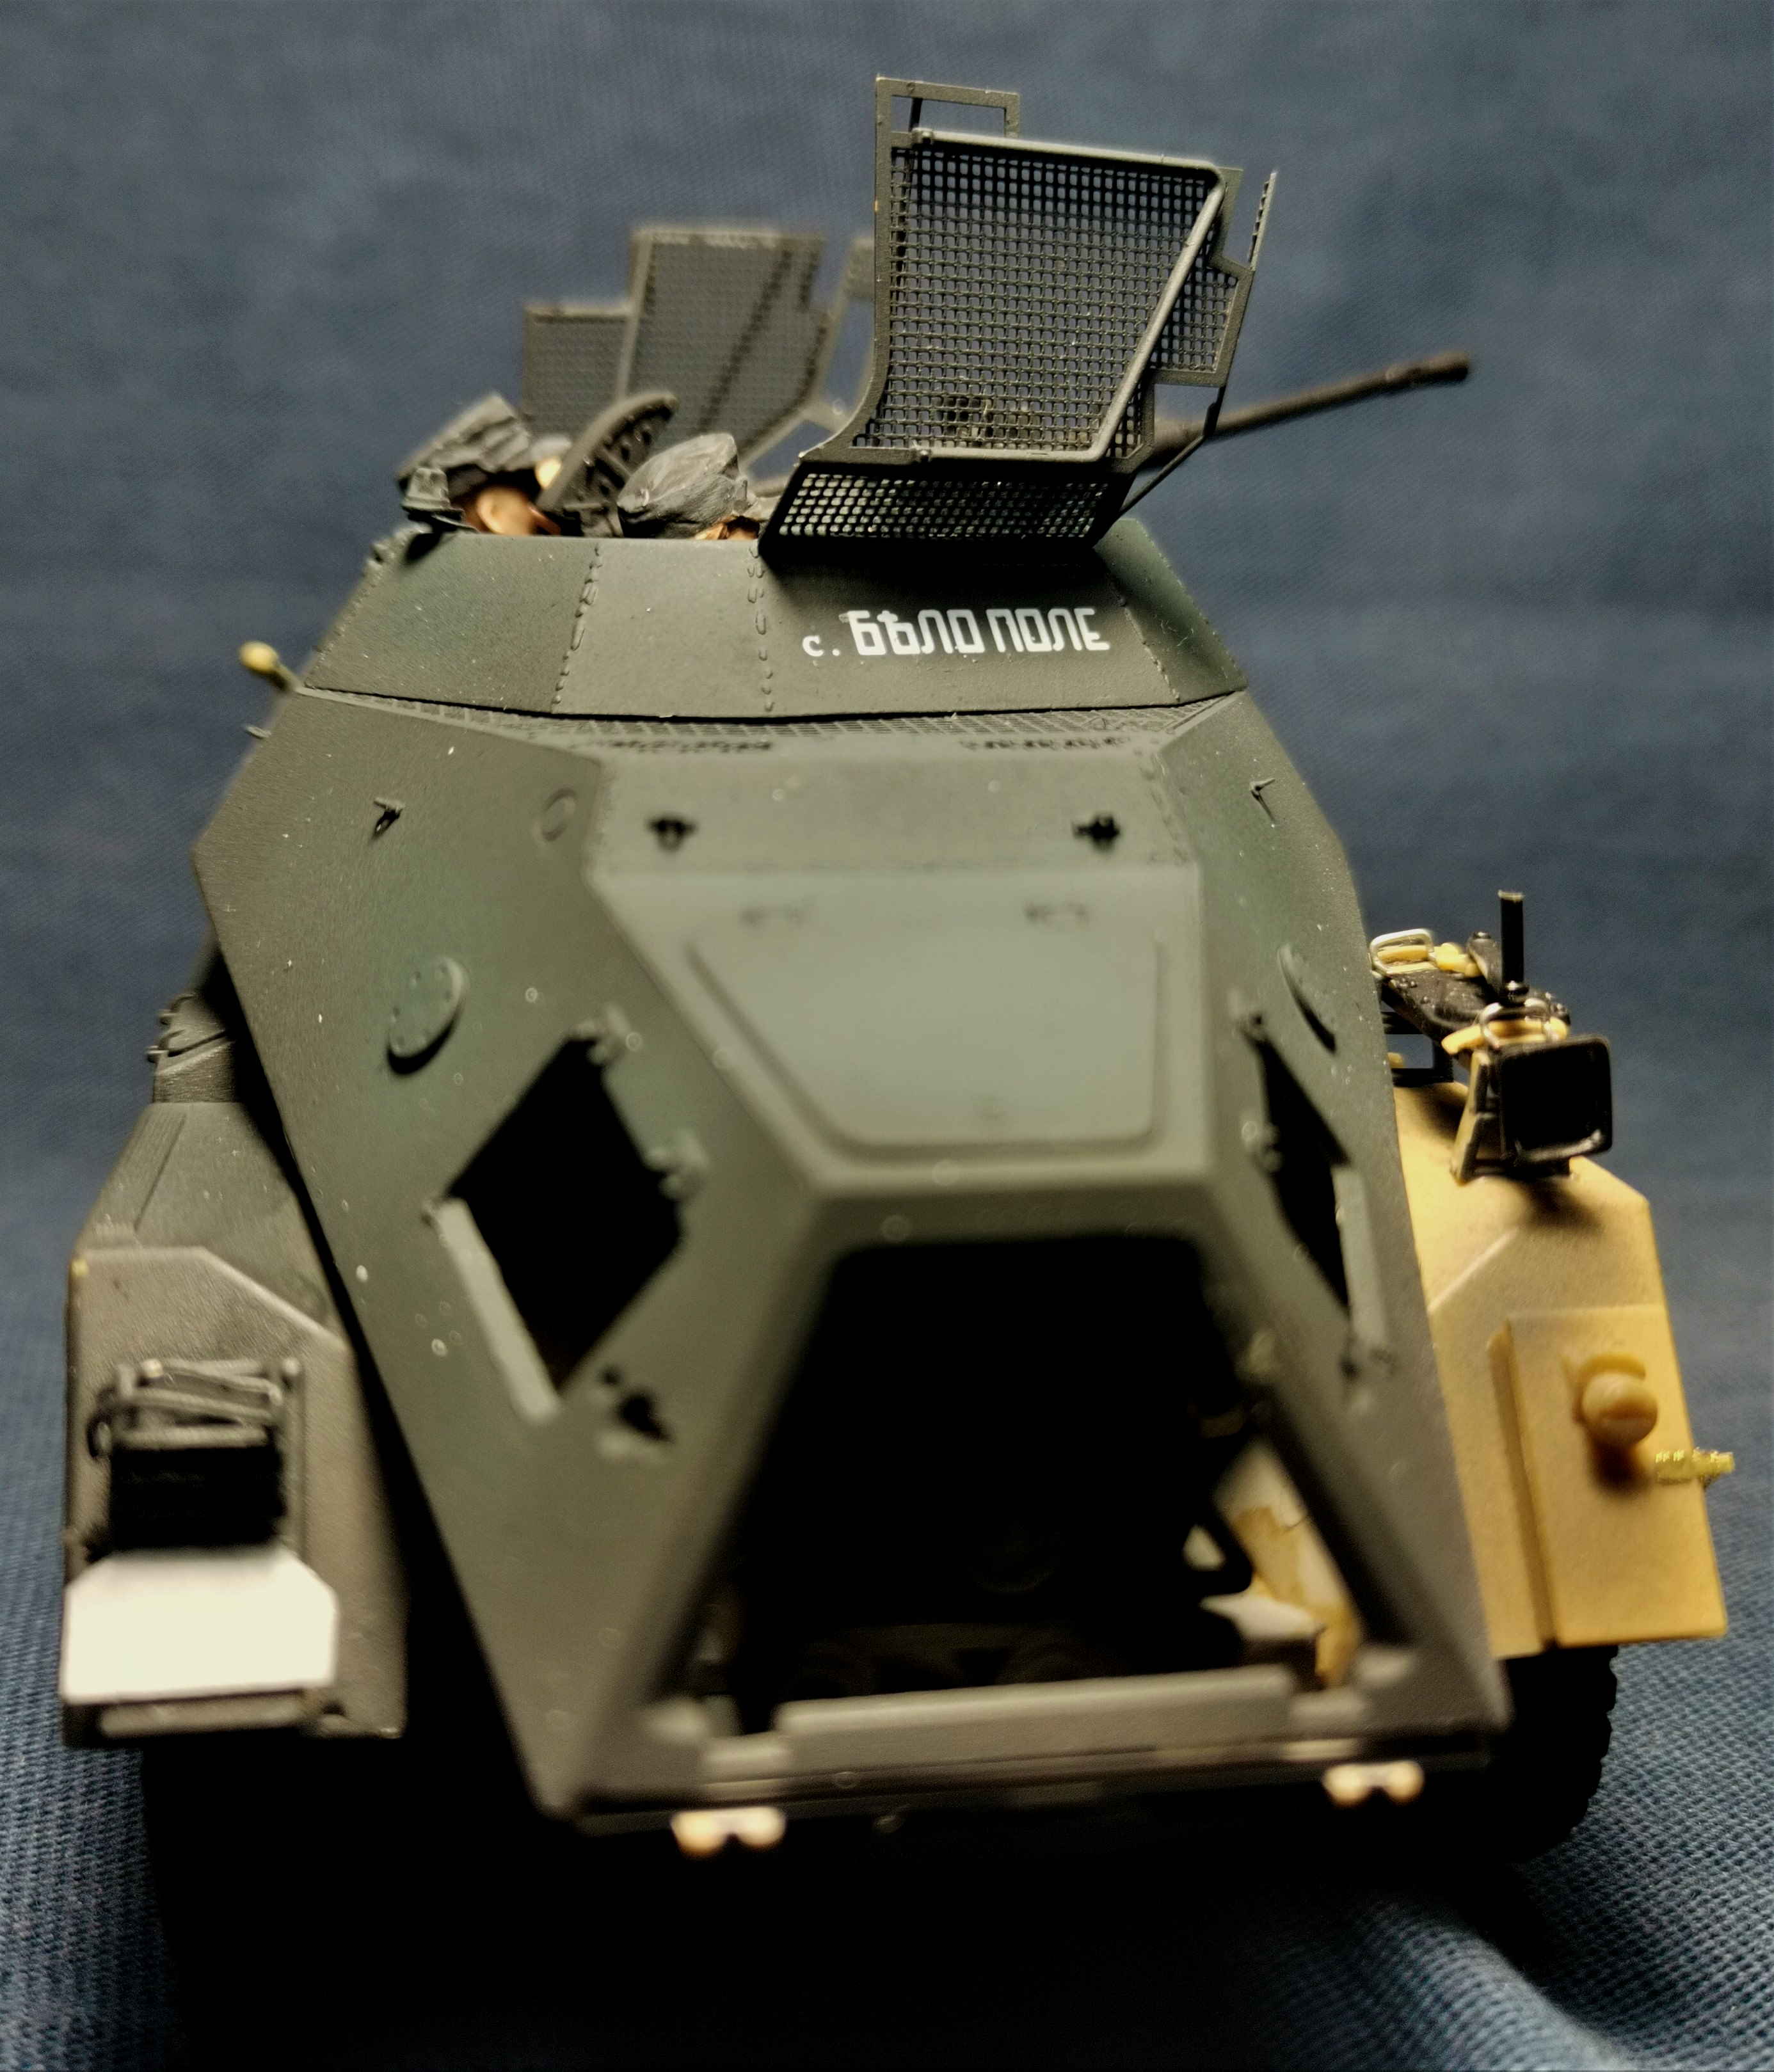
-managed to squeeze the CO and Gunner in the turret and added the decals on the turret side.
Some pictures:
Cheers,
Angel
7 Likes
Fantastic attention to those tiniest of details Angel … its looking lovely and well done on the working clamps
1 Like
Angel that’s just incredible. Fantastic detail.
1 Like
Angel, I promised you a sticker with the sign of the armored brigade. When I saw the inscription on the machine, I remembered. He’s with you on Monday.
Sd.Kfz.222 is becoming more and more complete. Congratulations.
Kalin
1 Like
Looking very fine Angel. Kalin nice job on the commission build figures. I am still waiting for someone to make the face painting machine like on the Jetsons…

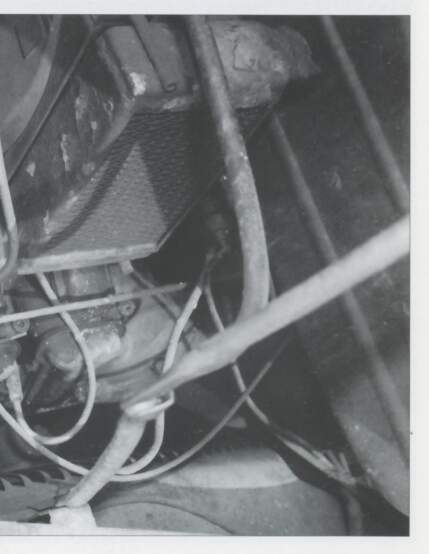
Did a little work on the Steyr yesterday. Whether I could get the hood support right in styrene was bugging me, so I had to go and do it. A lot of time test fitting, measuring, matching references and resizing to get it right. Was vey fiddly as the join of the back of the hood is only in the middle section, so keeping it level to work out the hinge length was a nightmare. I am satisfied with it in the end.
I also added some of the lines and cables as well as the pulley belt.

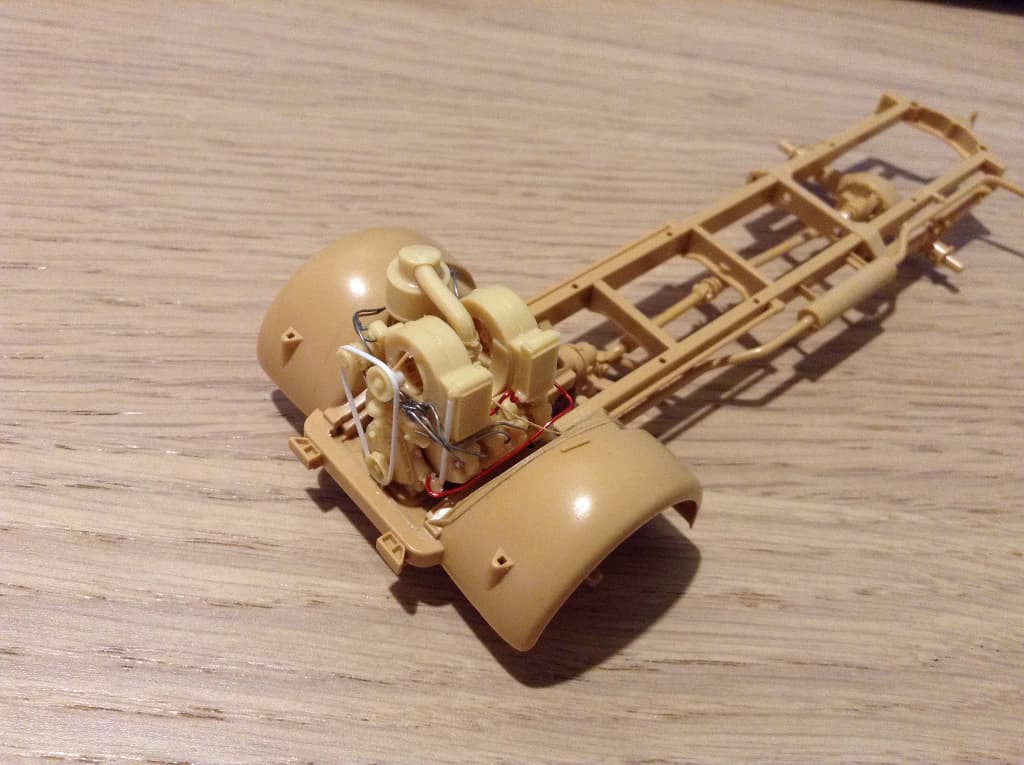
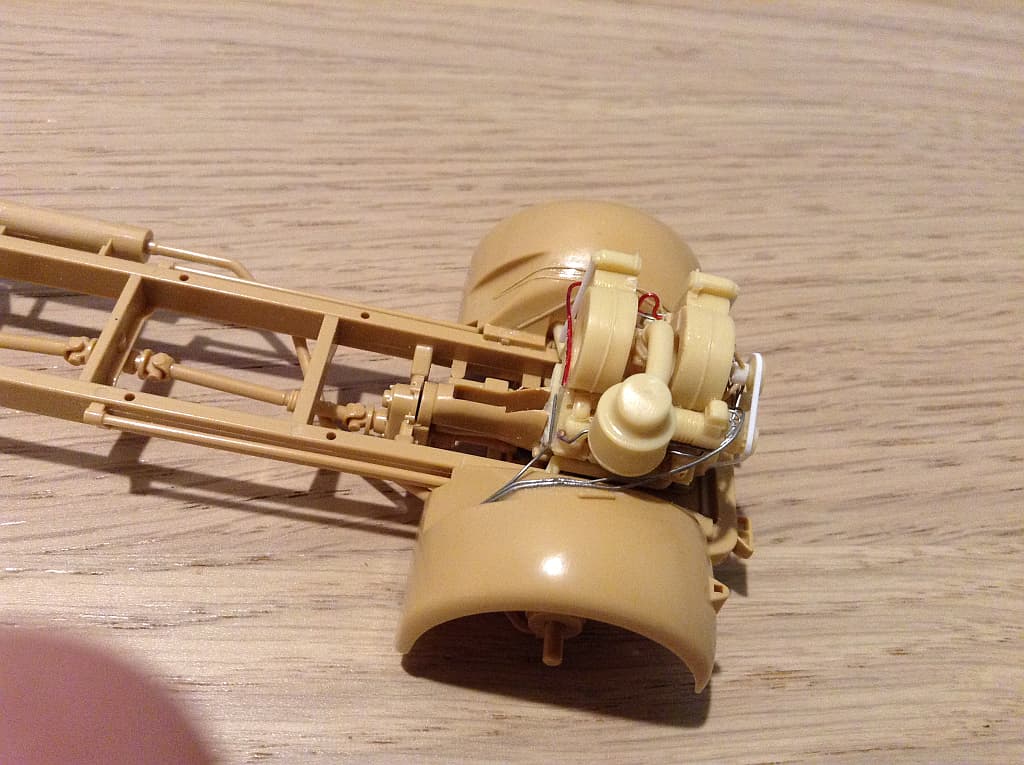
and how it looks dry fit so far

5 Likes
Looks very nice Peter. Some smart looking details there.
2 Likes

Peter, thanks for the compliment on the figures. I try to help as much as I can.
I like the idea of the machine, I support it.
Perfect work on building the engine. Congratulations.
Angel, watch and learn how it works. 


ПУЦ от първия ред. (PUC (Professional Training Center - an educational institution for acquiring a professional qualification) from the first row.)
Kind regards and Cheers!
Kalin
2 Likes
@ petbat (Peter). Just to satisfy my curiosity, could you provide a reference image for the hood mechanism?
Cheers!![]()
1 Like
Nope, I can’t provide a reference image, I’ll need to give you 5 Mike, so you can see it properly…
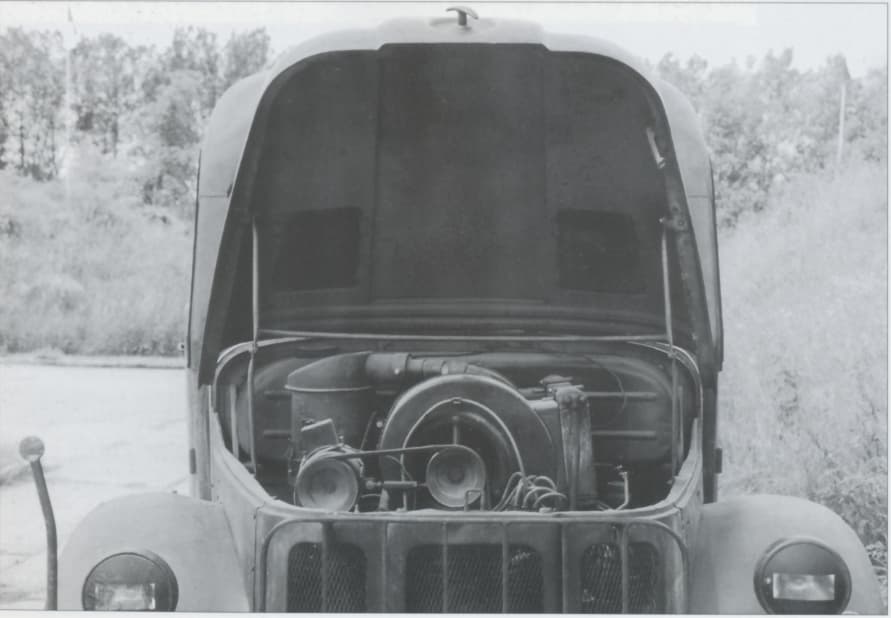
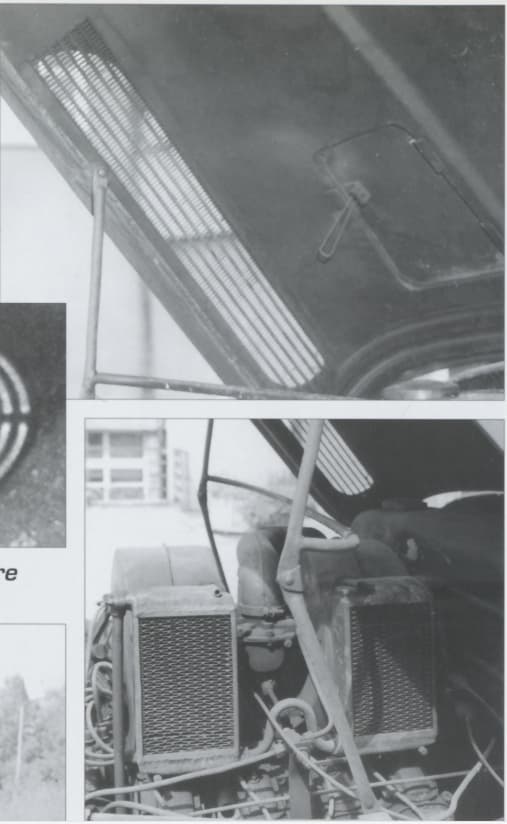
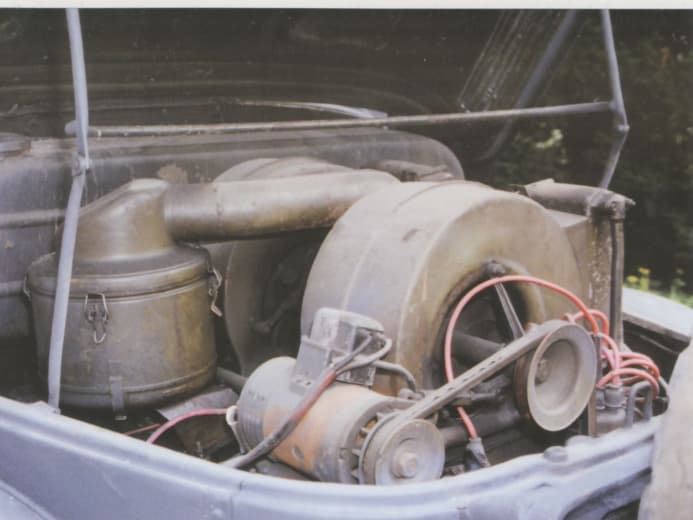
In the last one, you can clearly see where the contact at the rear is only on the centre part of the hood.
4 Likes
Awefull job on these hinges, mate!
Are they working 


Cheers,
Angel
1 Like
About as well as your local council employee…

3 Likes
I think a good ol’ under-engineered 2x4 could have done the trick though! ![]()
![]()
Well, I suppose that’s about five-grand worth. You know what they say…
Scooby Doo, Kookaburra, and all the other critters like what you’ve done with that contraption!![]()
Cheers!![]()
1 Like
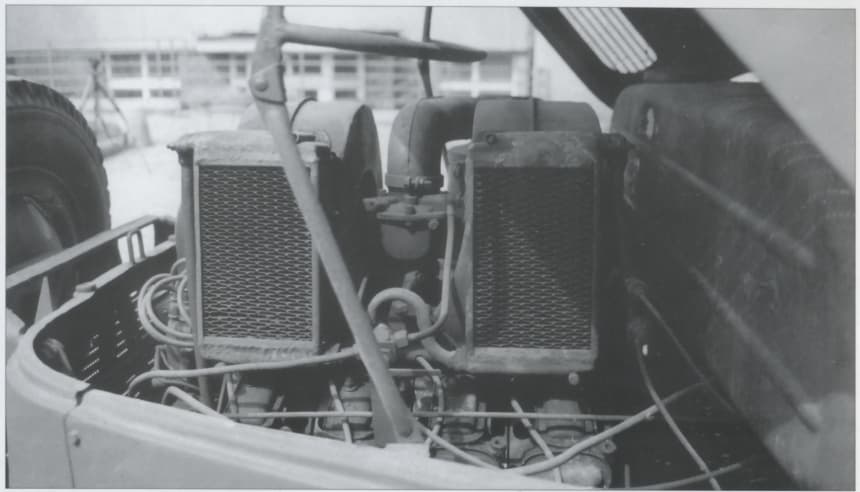
My thoughts exactly. I can understand the lateral U shaped bar was needed to pull both arms backward at the same time so you could close it, and the U shape was needed to clear the engine itself, but one single metal rod hinged at the front of the hood, that clipped up onto the hood, that you just pulled out and wedged the free end into a socket in the front of the bay would have been a hell of a lot easier.
Unfortunately, if tasked to make it using a 2 x 4, the engineers would still have designed something like this:
Bill is in the mail ![]()
2 Likes
Some “cut-away” pictures of the Horch M.222 I’m building for this Campaign:
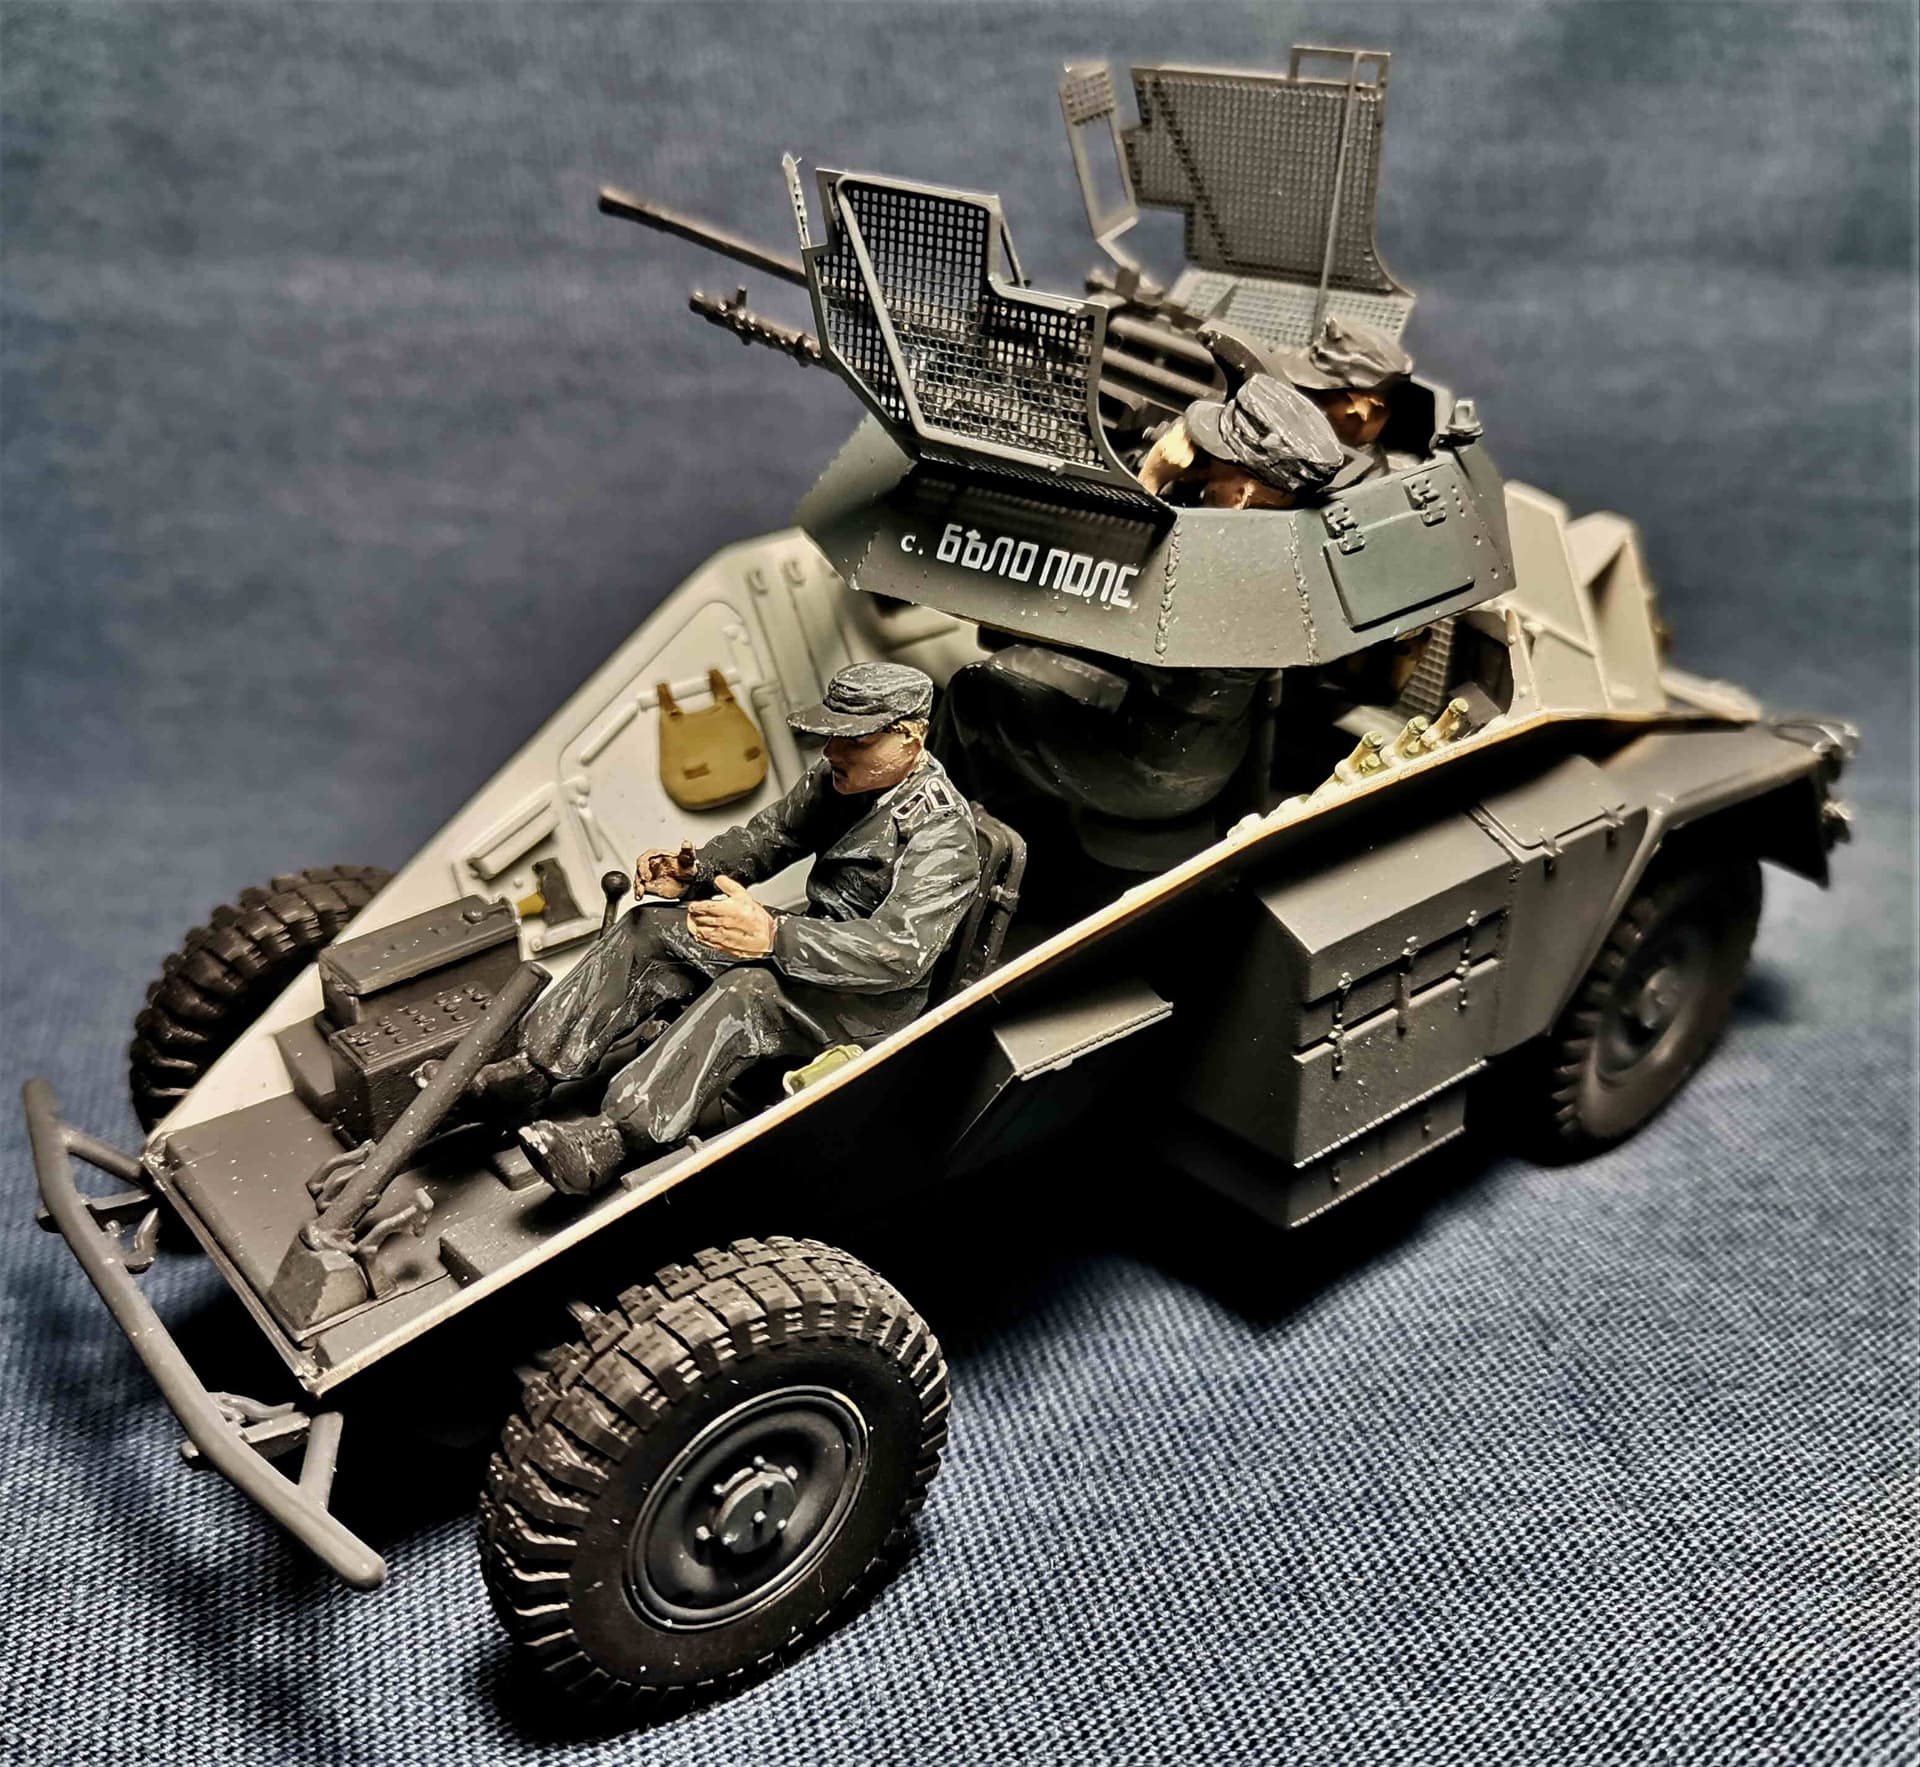
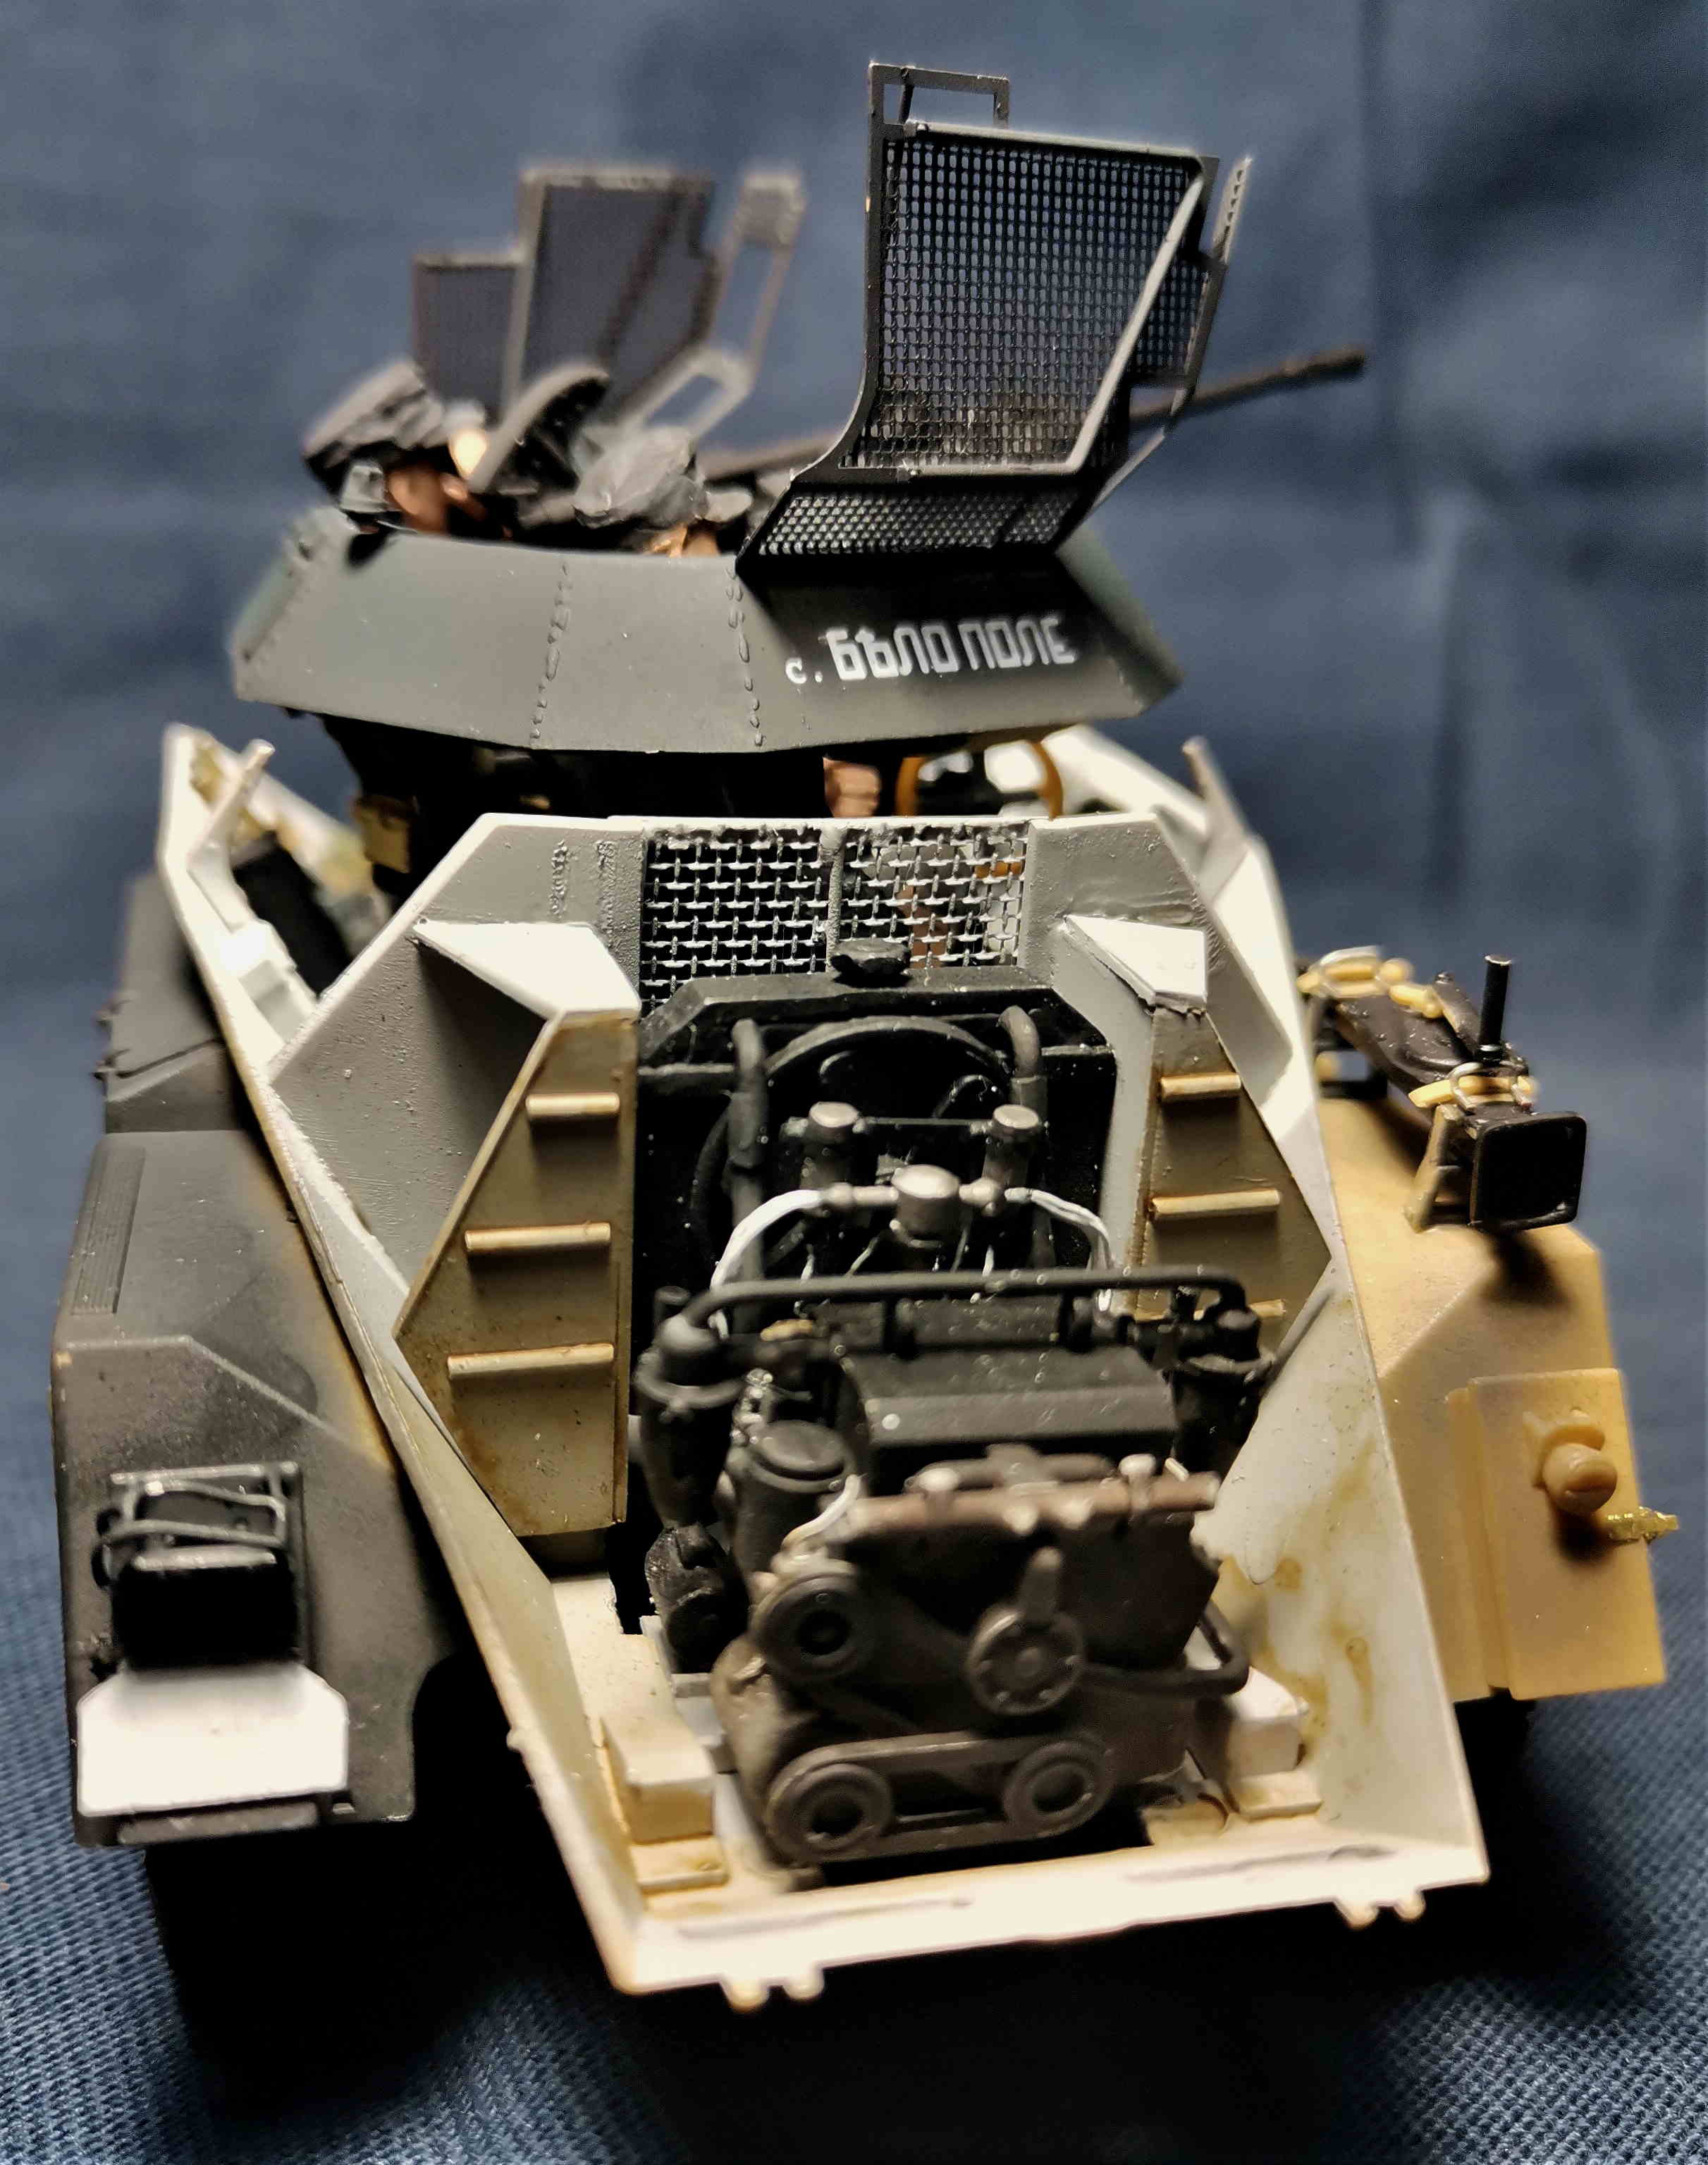
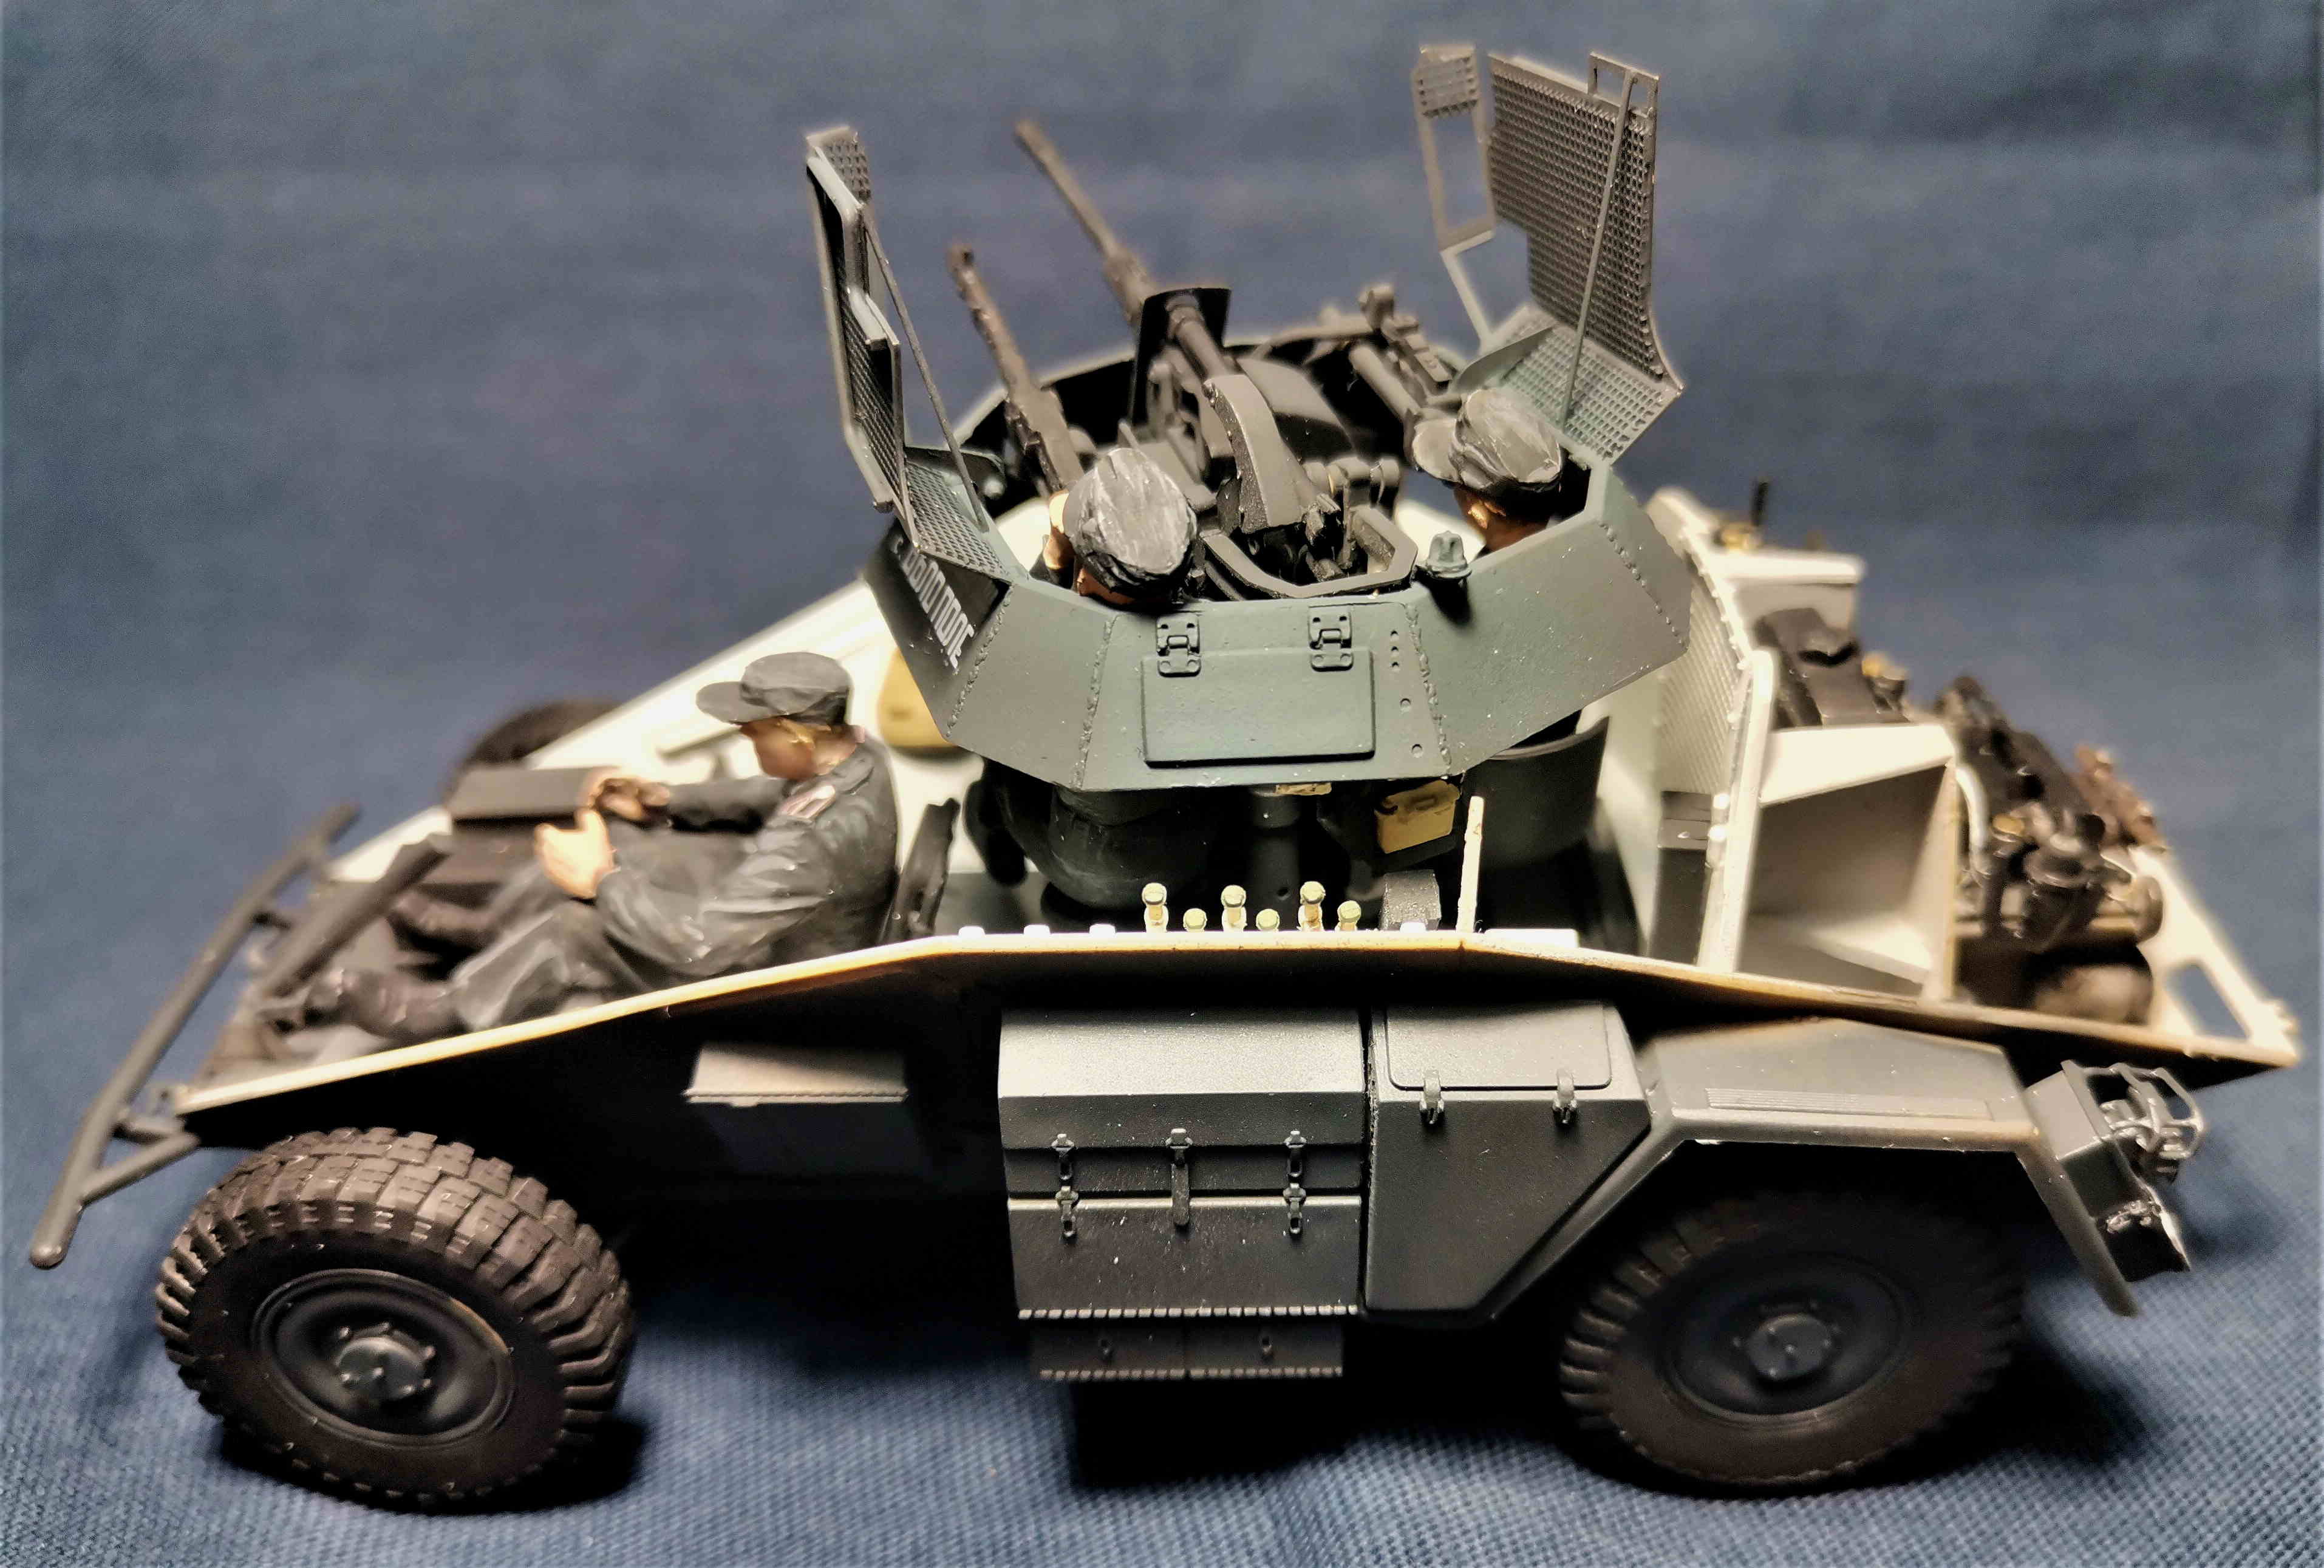
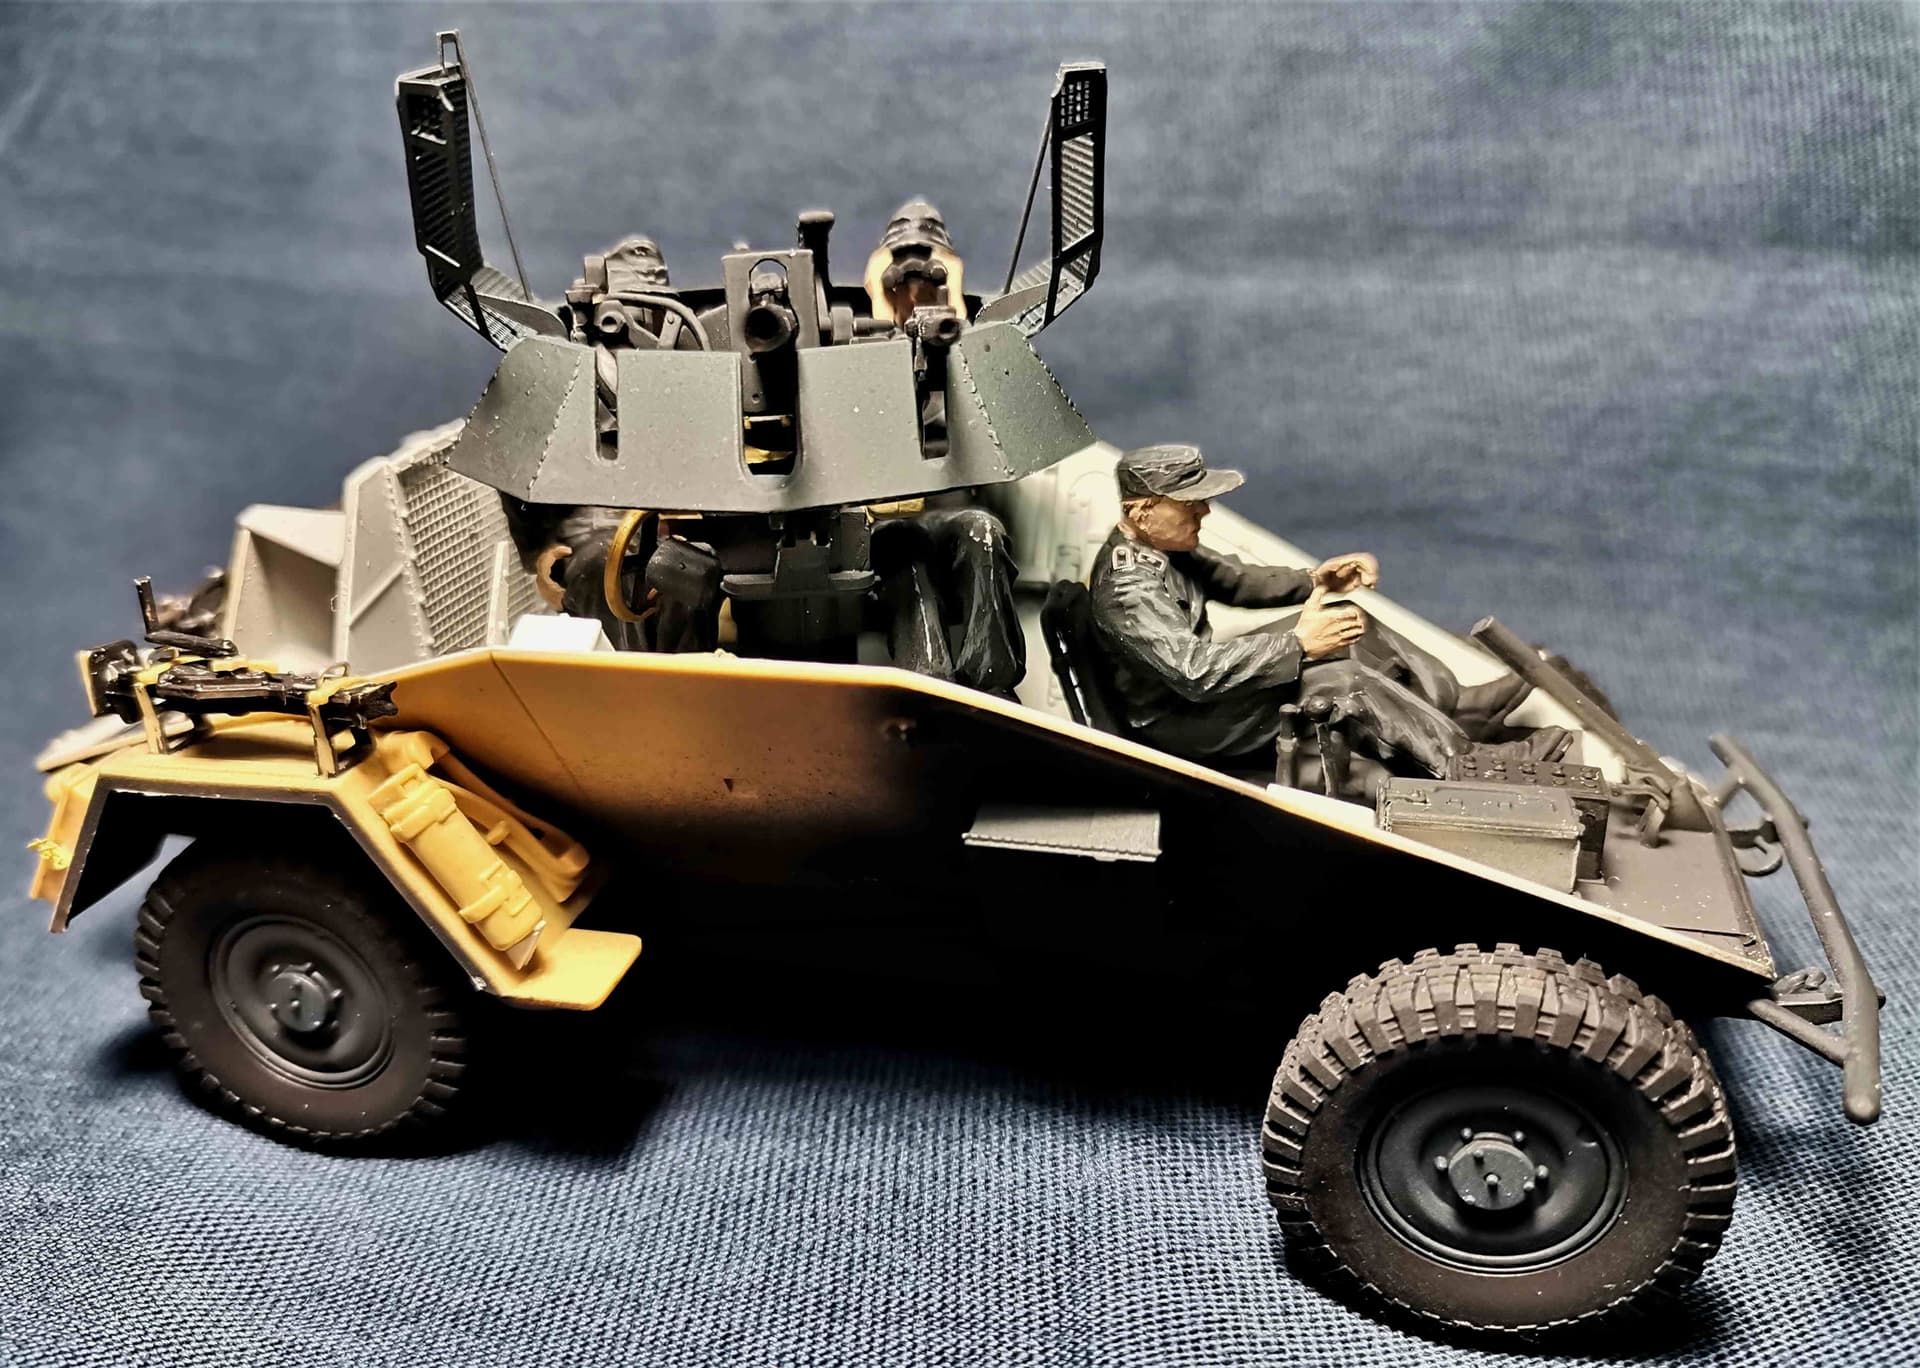
This is the second Sd.Kfz.222 I’m building(after Tamiya’s #35270) and I have forgotten how difficult it is to paint an open-toped vehicle(even without the added complexity of engine and crew).
Therefor there are still parts unpainted or even not glued.
But I have now upper and lower body parts “married”

And with some minor masking will soon bring this build to completion,
Cheers,
Angel
7 Likes
Isn’t this model over?
Well done boss. It’s real. It’s a pity that the meeting place changed this week. I expected you to brag.
Cheers!
Kalin
1 Like
Yeah, the damned COVID lockdown measures…
Anyway, we will prevail!
Cheers,
Angel
1 Like
Looks absolutely wonderful Angel. Just fantastic.
Sorry you guys missed your meeting. It is one of the things I most enjoy, meeting with my club members once per month.
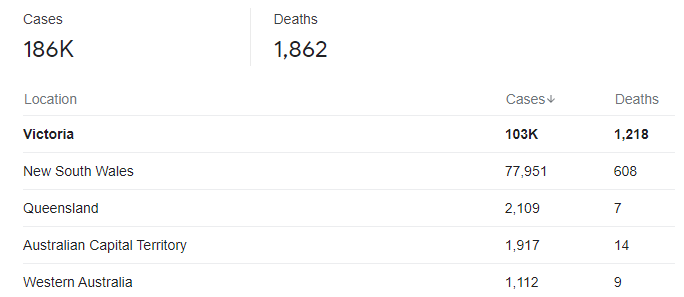
Covid has meant my club missed a few meetings last year and earlier this year. Where I live, lock downs were more preventative when a cluster bloomed than for any other reason. We have had it very very easy here in Queensland, just 2109 cases diagnosed and 7 deaths from a state population of over 5m, but we expect everything to go down hill once we open our borders to people in other States of Australia, then plummet with a vengeance when we open to overseas travellers. That will mean many more missed meetings in future. One of our smaller states has been the centre of our worst results:
Even so, Australia has been nowhere near as bad as other countries.
This is will be the new normal way of life unfortunately.
Hope you guys get to have a meeting next time.
1 Like
Phil has just suggested a ‘Made in France’ group build. He okayed my suggestion of the R35 Renault in Bulgarian Markings… Sweet… my recent R35 purchase is now heading up the pile…

2 Likes