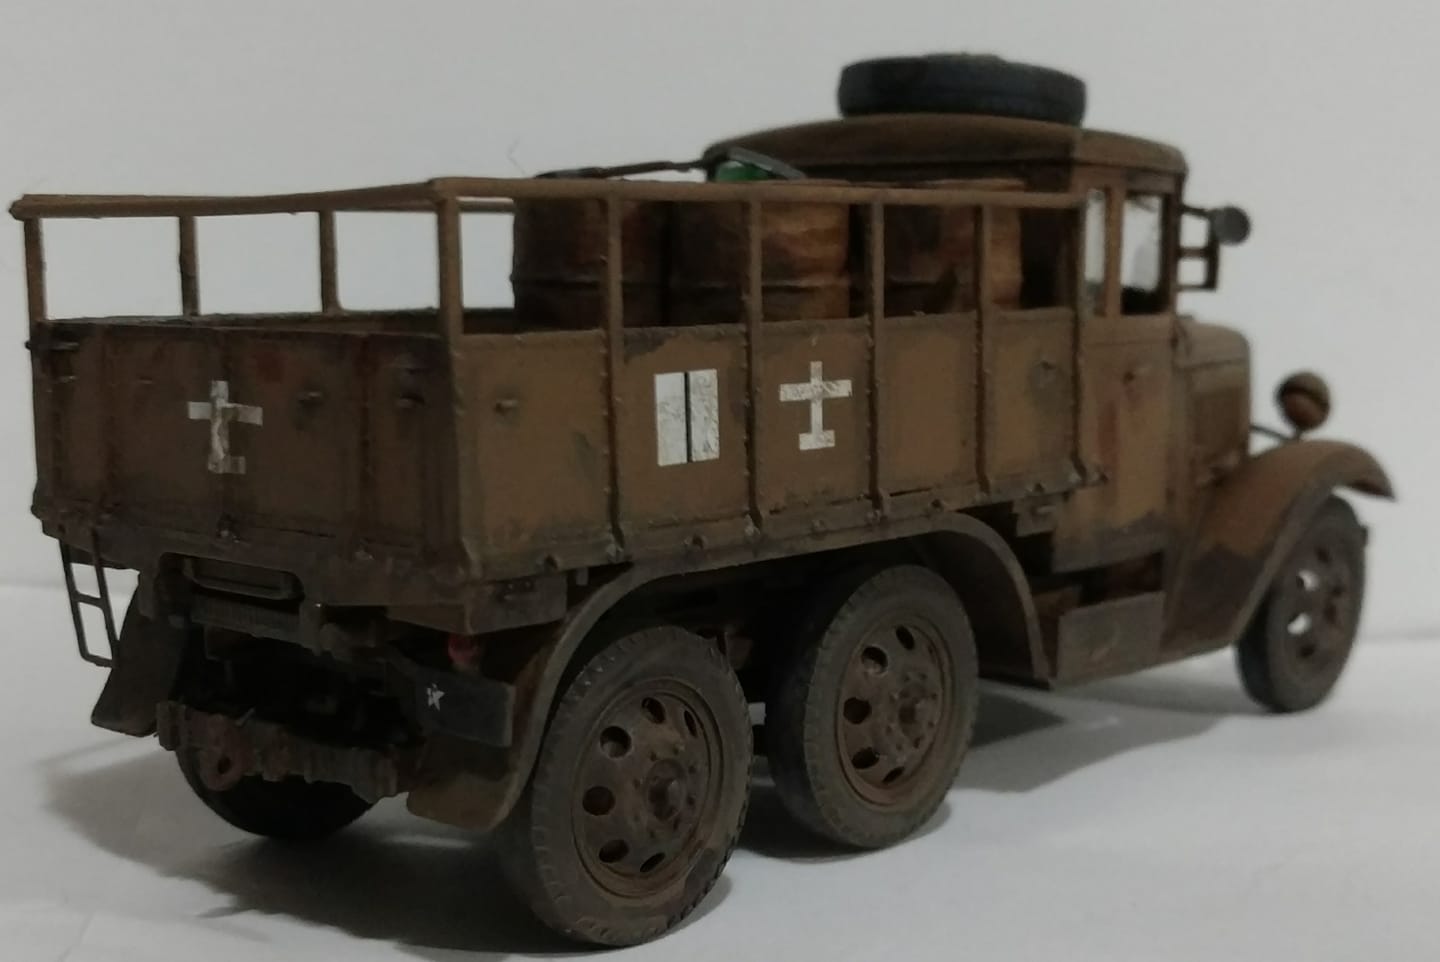
Okay, I guess I better show where I am up to on my Scammell R100 Pioneer build. I was without power for 4 days here (Cyclone Alfred) so I could not post my start pics first up. Here they are though:
Some resin wheels included, to replace the kit wheels that have an odd pattern. Also a dash panel for the alternate ‘late’ dash.
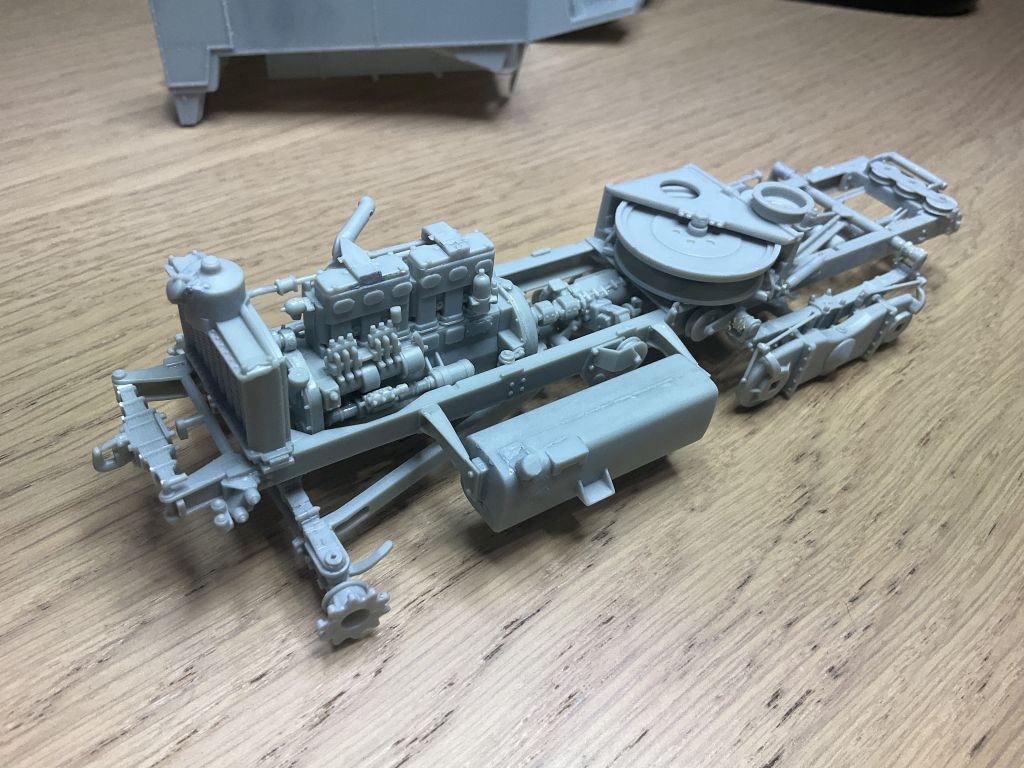
…and where I am at build wise
The Thunder kit has a real ‘Italeri feel’ to it especially with the flat pack chassis and all the leaf springs being halves. There are knock out marks, some with tubes where styrene went inside the pin housing, a few small sink marks, items in several part assemblies (I assume to avoid sink marks), etc. You need to be very careful to make sure everything is located correctly as there is some movement and risk of mis-alignment if you are not.
All in all, I am enjoying the build for a change from armour.
That looks interesting. I take it the power loss was the worst of the cyclone, and you’re otherwise OK? There’s an obvious joke about the cyclone blowing you from Oz to Kansas…
For me it was Tom. Some others were less fortunate.
Not sure Kansas is where I’d want to be at the moment. I have my eye on the Scandinavian countryside for my next trip, or Spain and Portugal. These are the few of the European countries still unchecked on my list.
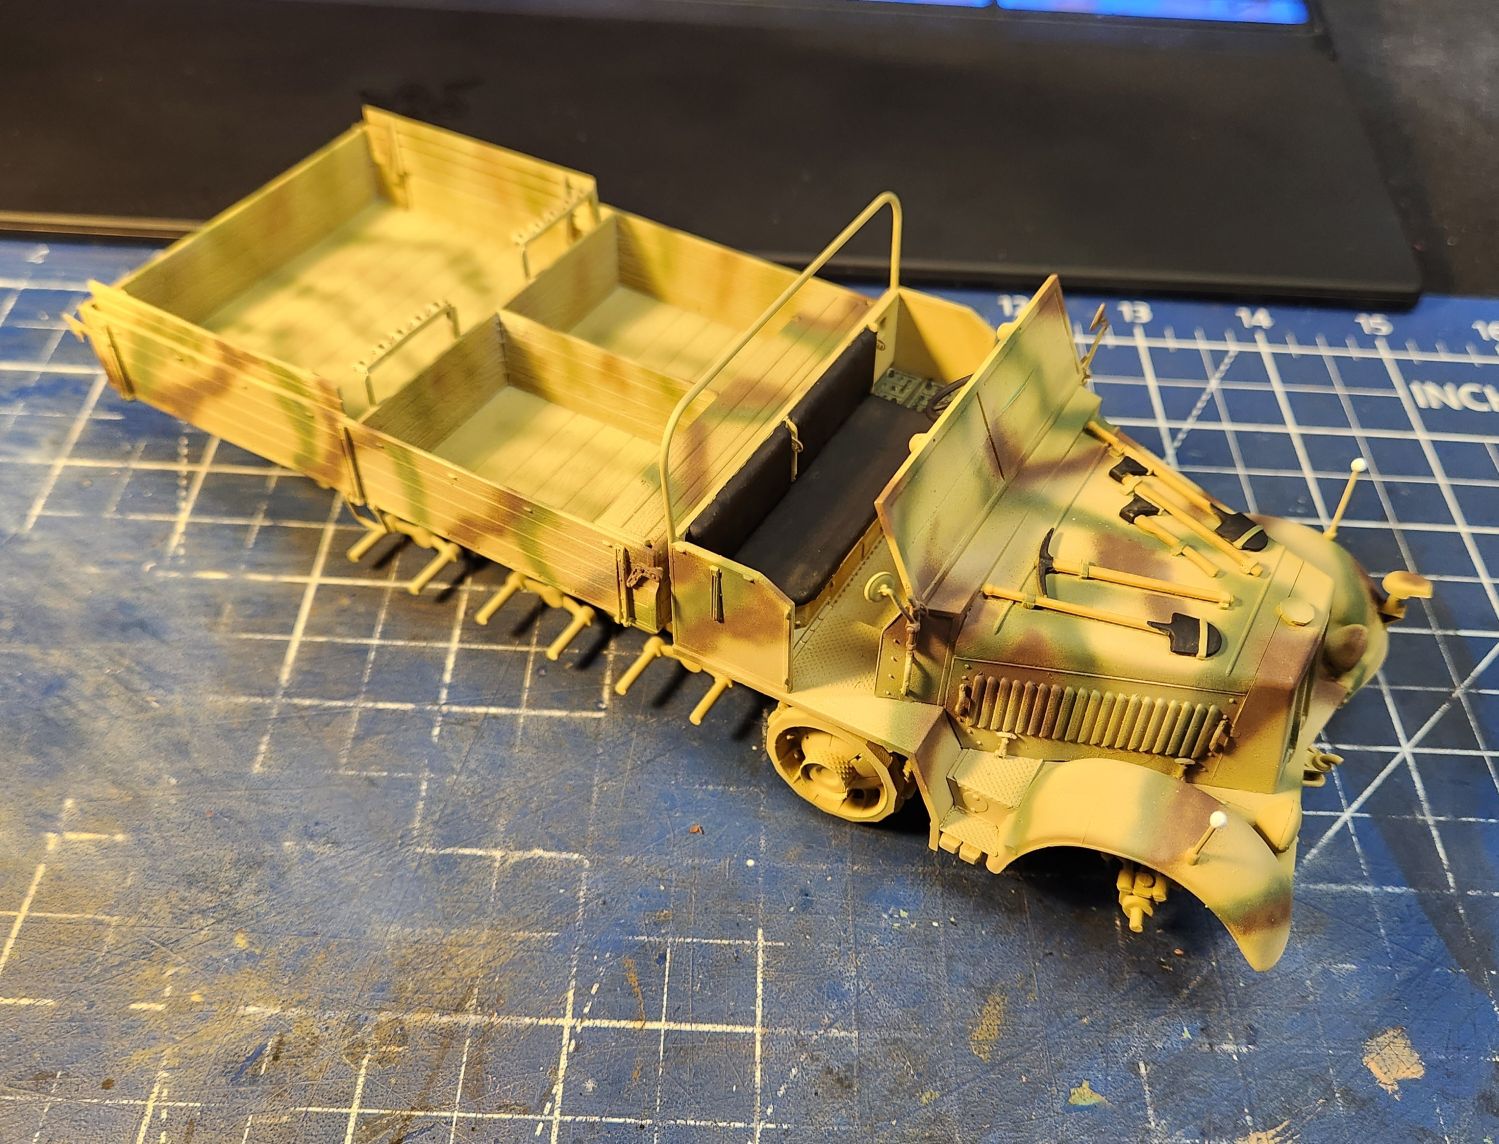
The Trumpeter Sd.Kfz 7 late finally has its base color on, so now it awaits me deciding on a camo pattern suitable for what I want to depict. From there I can do all the detail painting and finishing. I have spring break coming at the end of March and both my daughters (same college) and my wife (we both teach but at different schools) have different breaks so I will have the house to myself during the day all week the first week of April. Plenty of time to finish up.
Someone has to protect the convoy. 1/35 Cadillac Gage V-100 (M-706) Armored Security Vehicle. Car C-58 " The Vuture" , C Company , 720th Military Police Battalion, 89th MP Group, 18th MP Brigade. Bao Loc, Republic of Vietnam. 1971. v100
Those are nice models! But they only count for a badge if you built them during this year-long campaign, and posted in-progress pics here along the way.
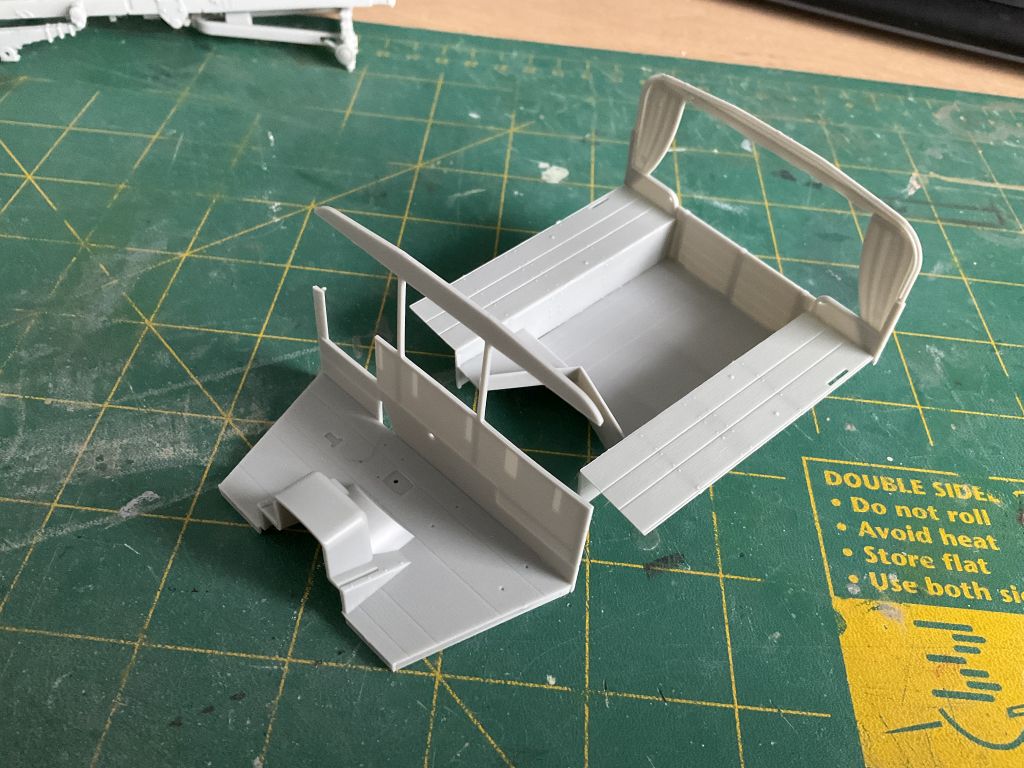
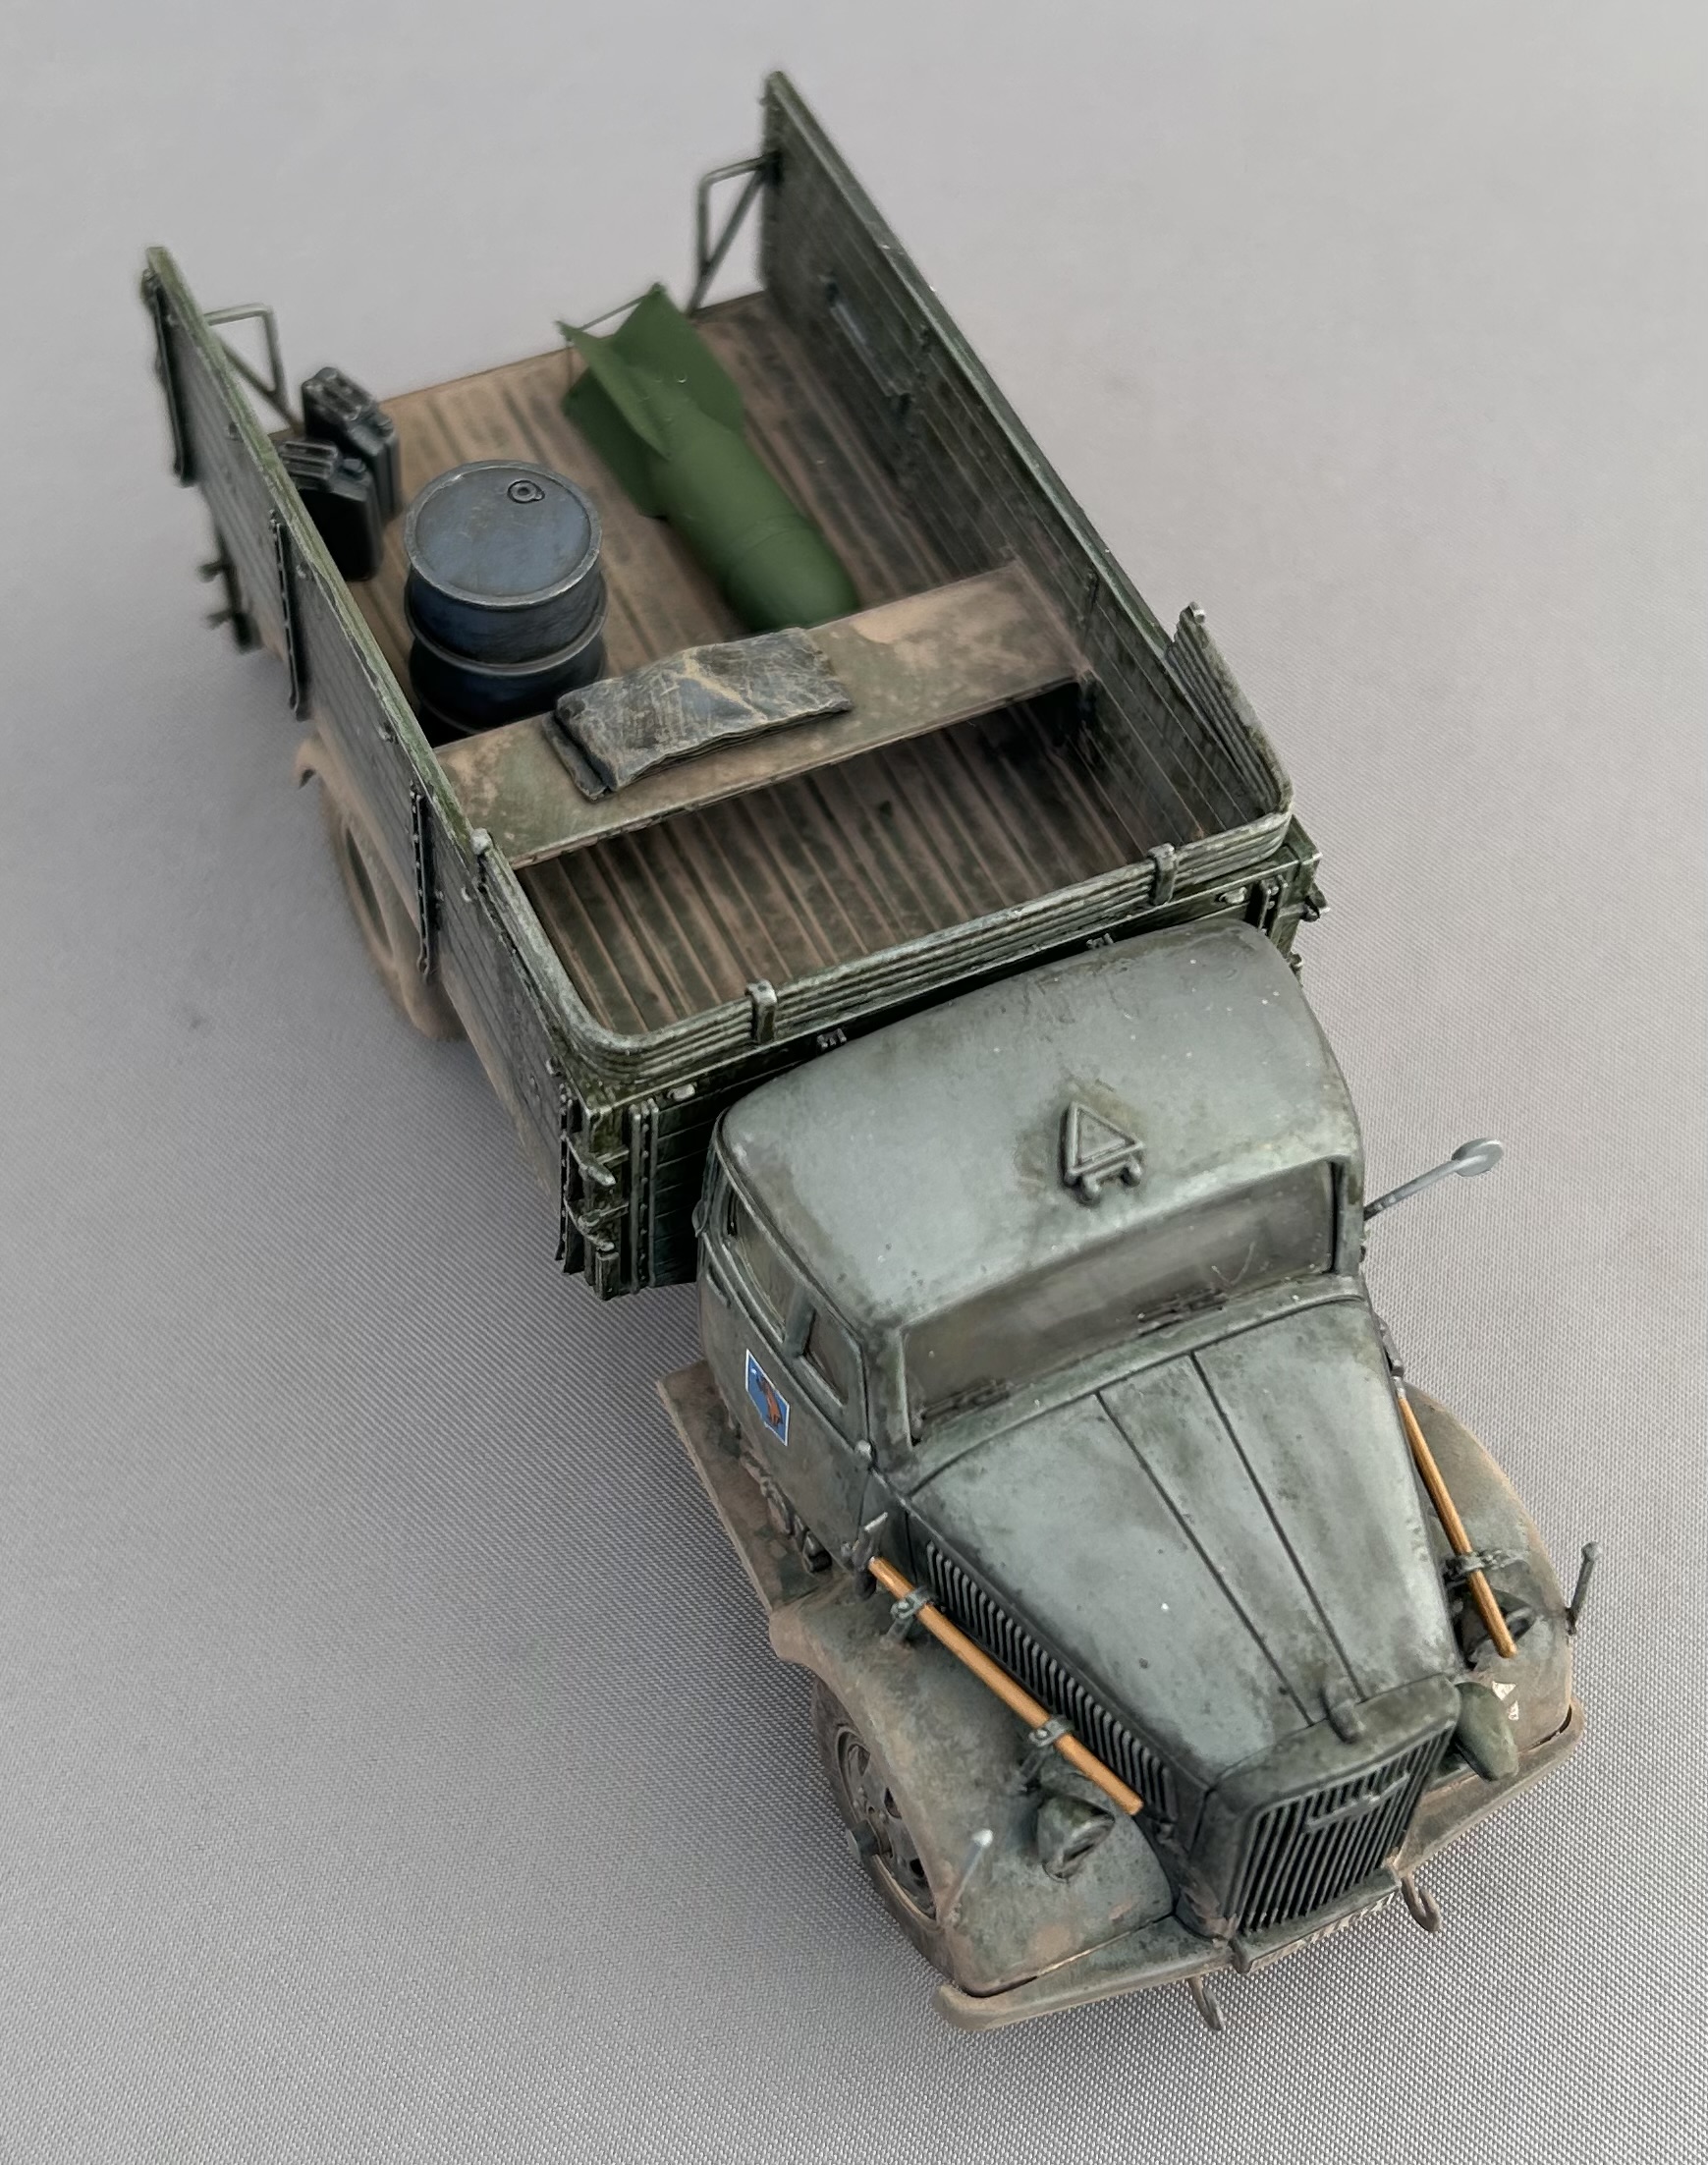
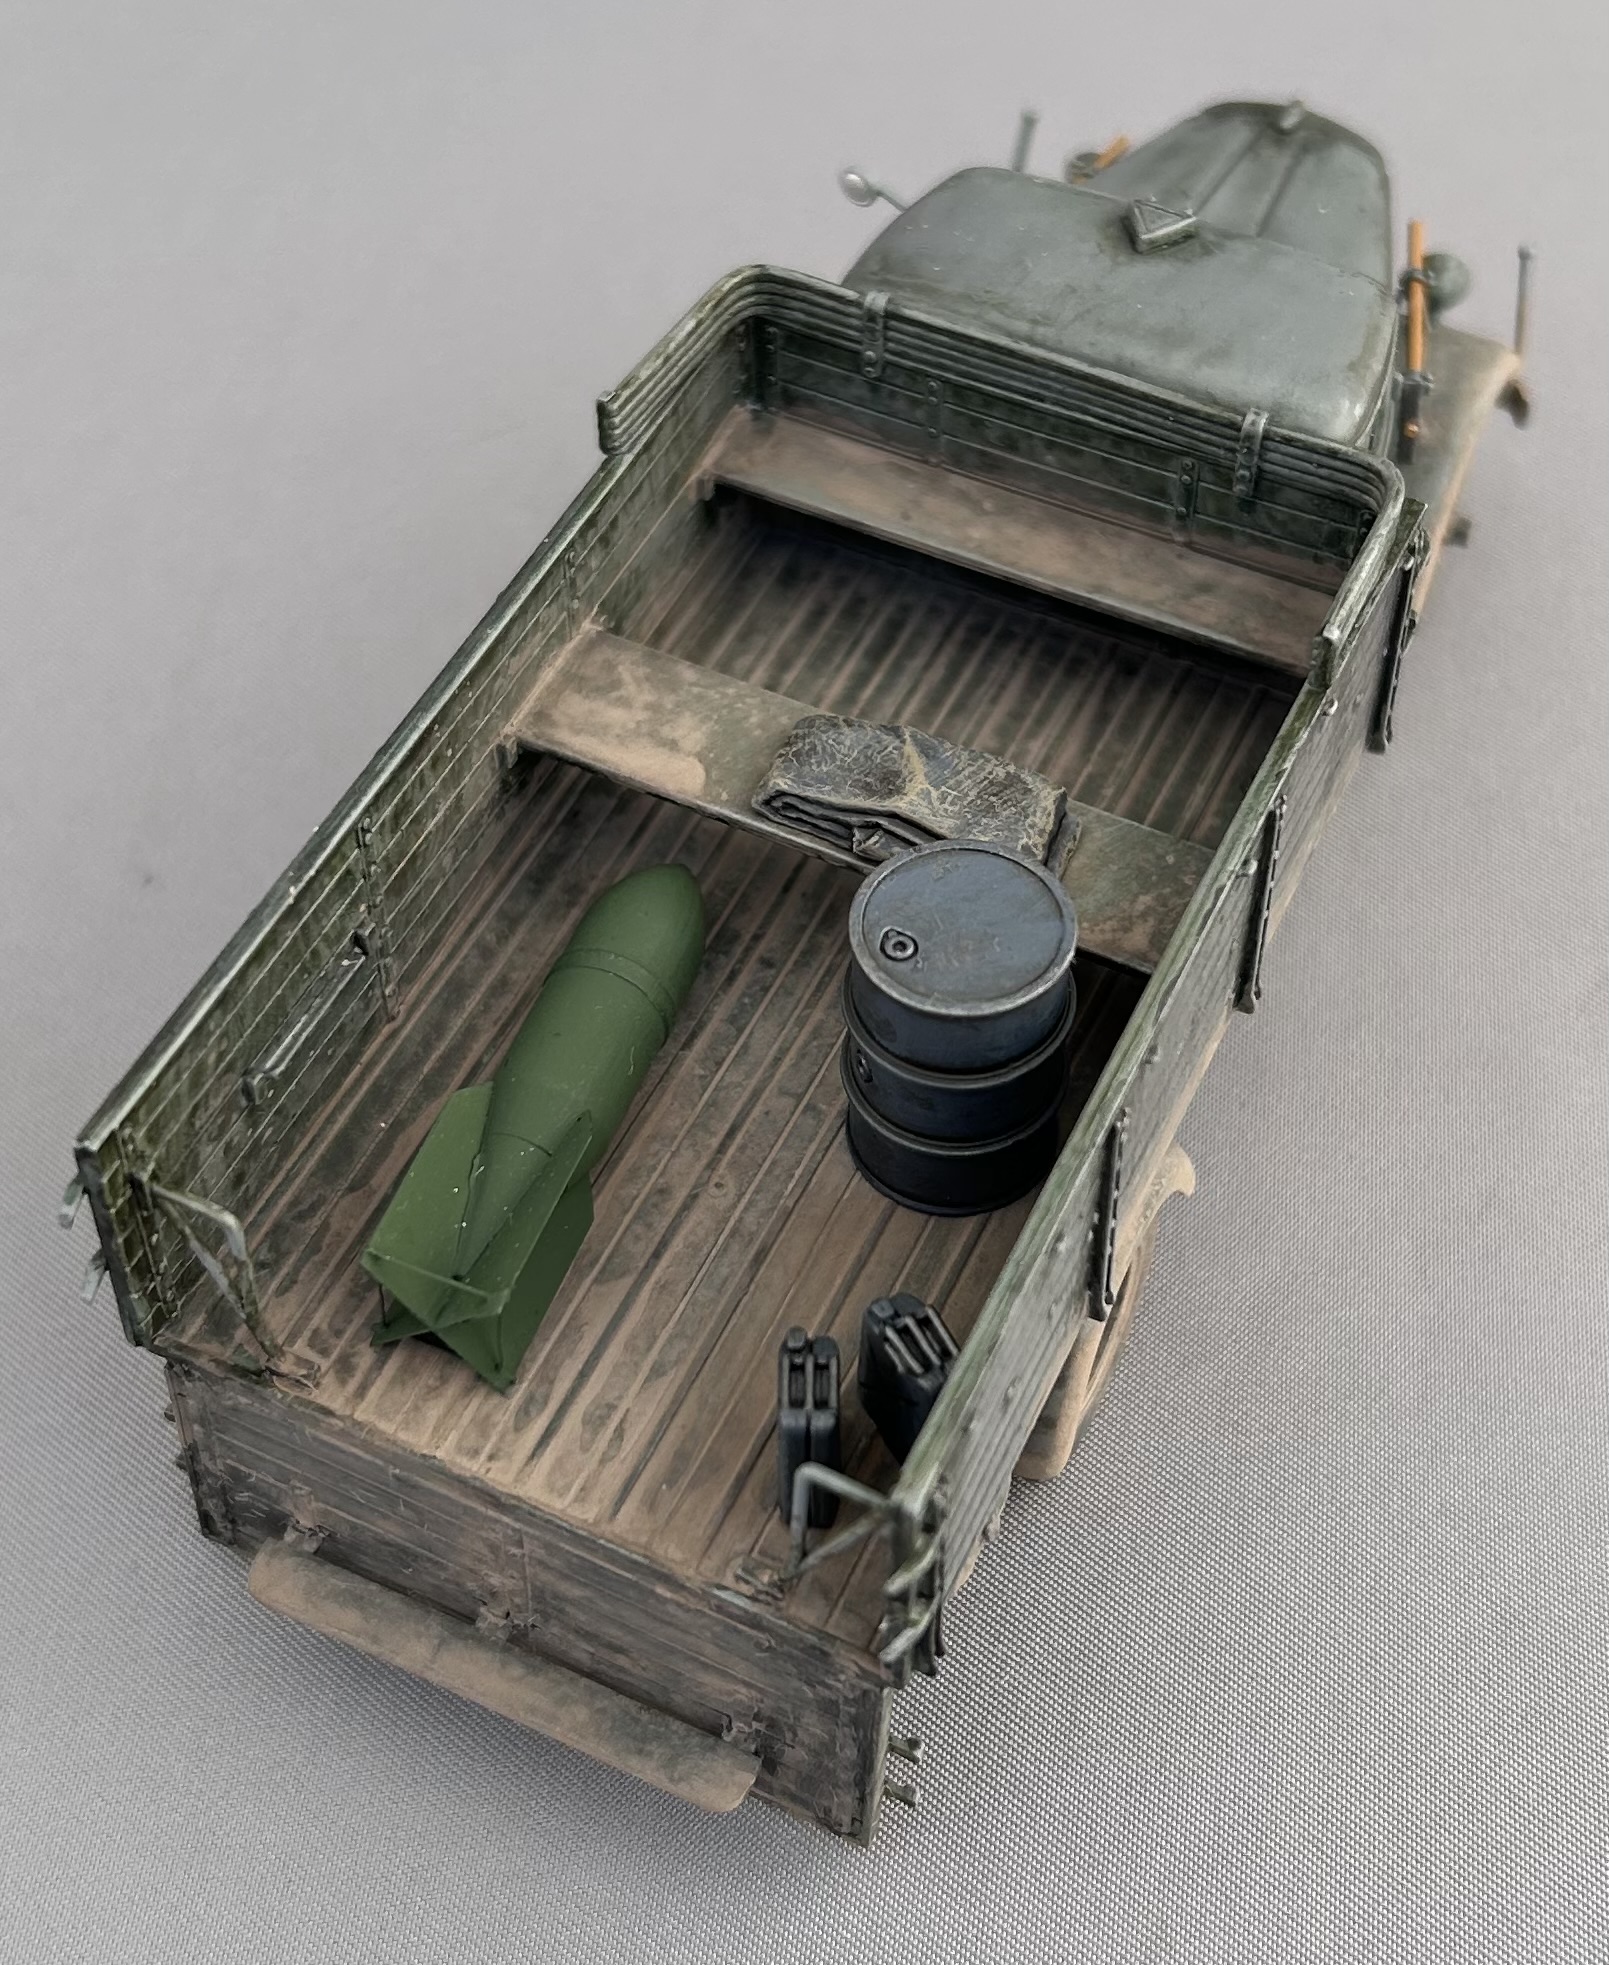
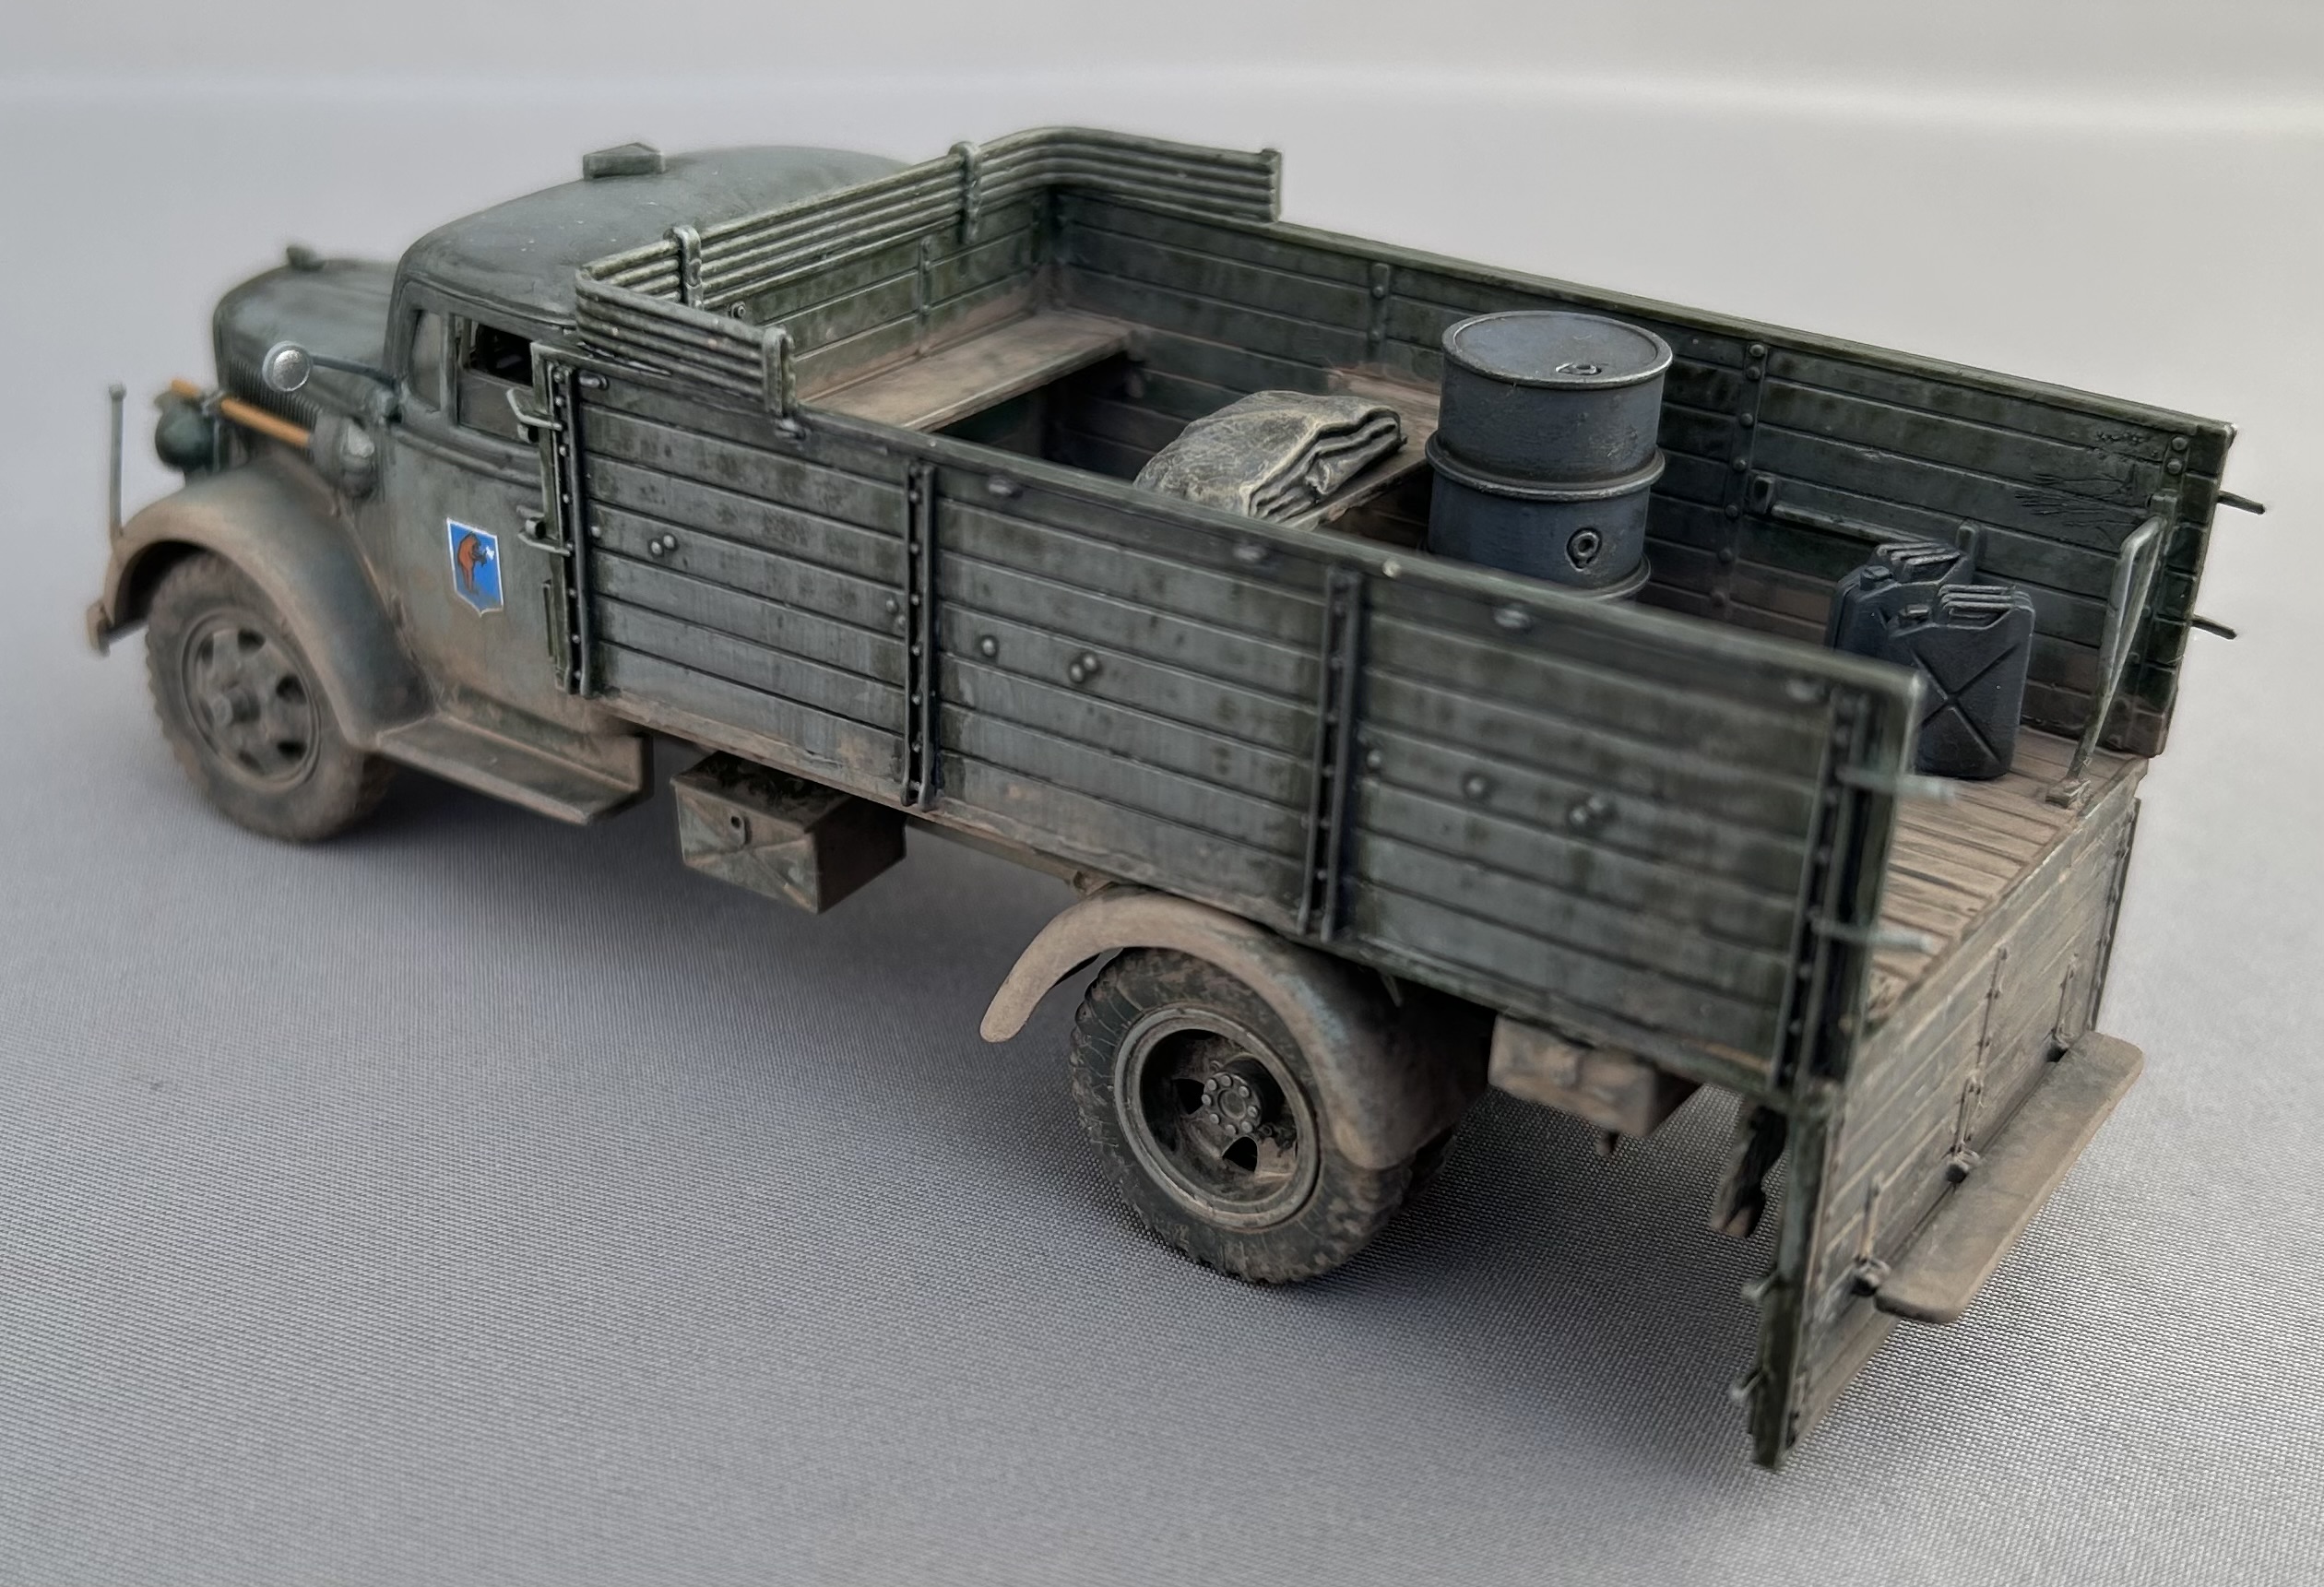
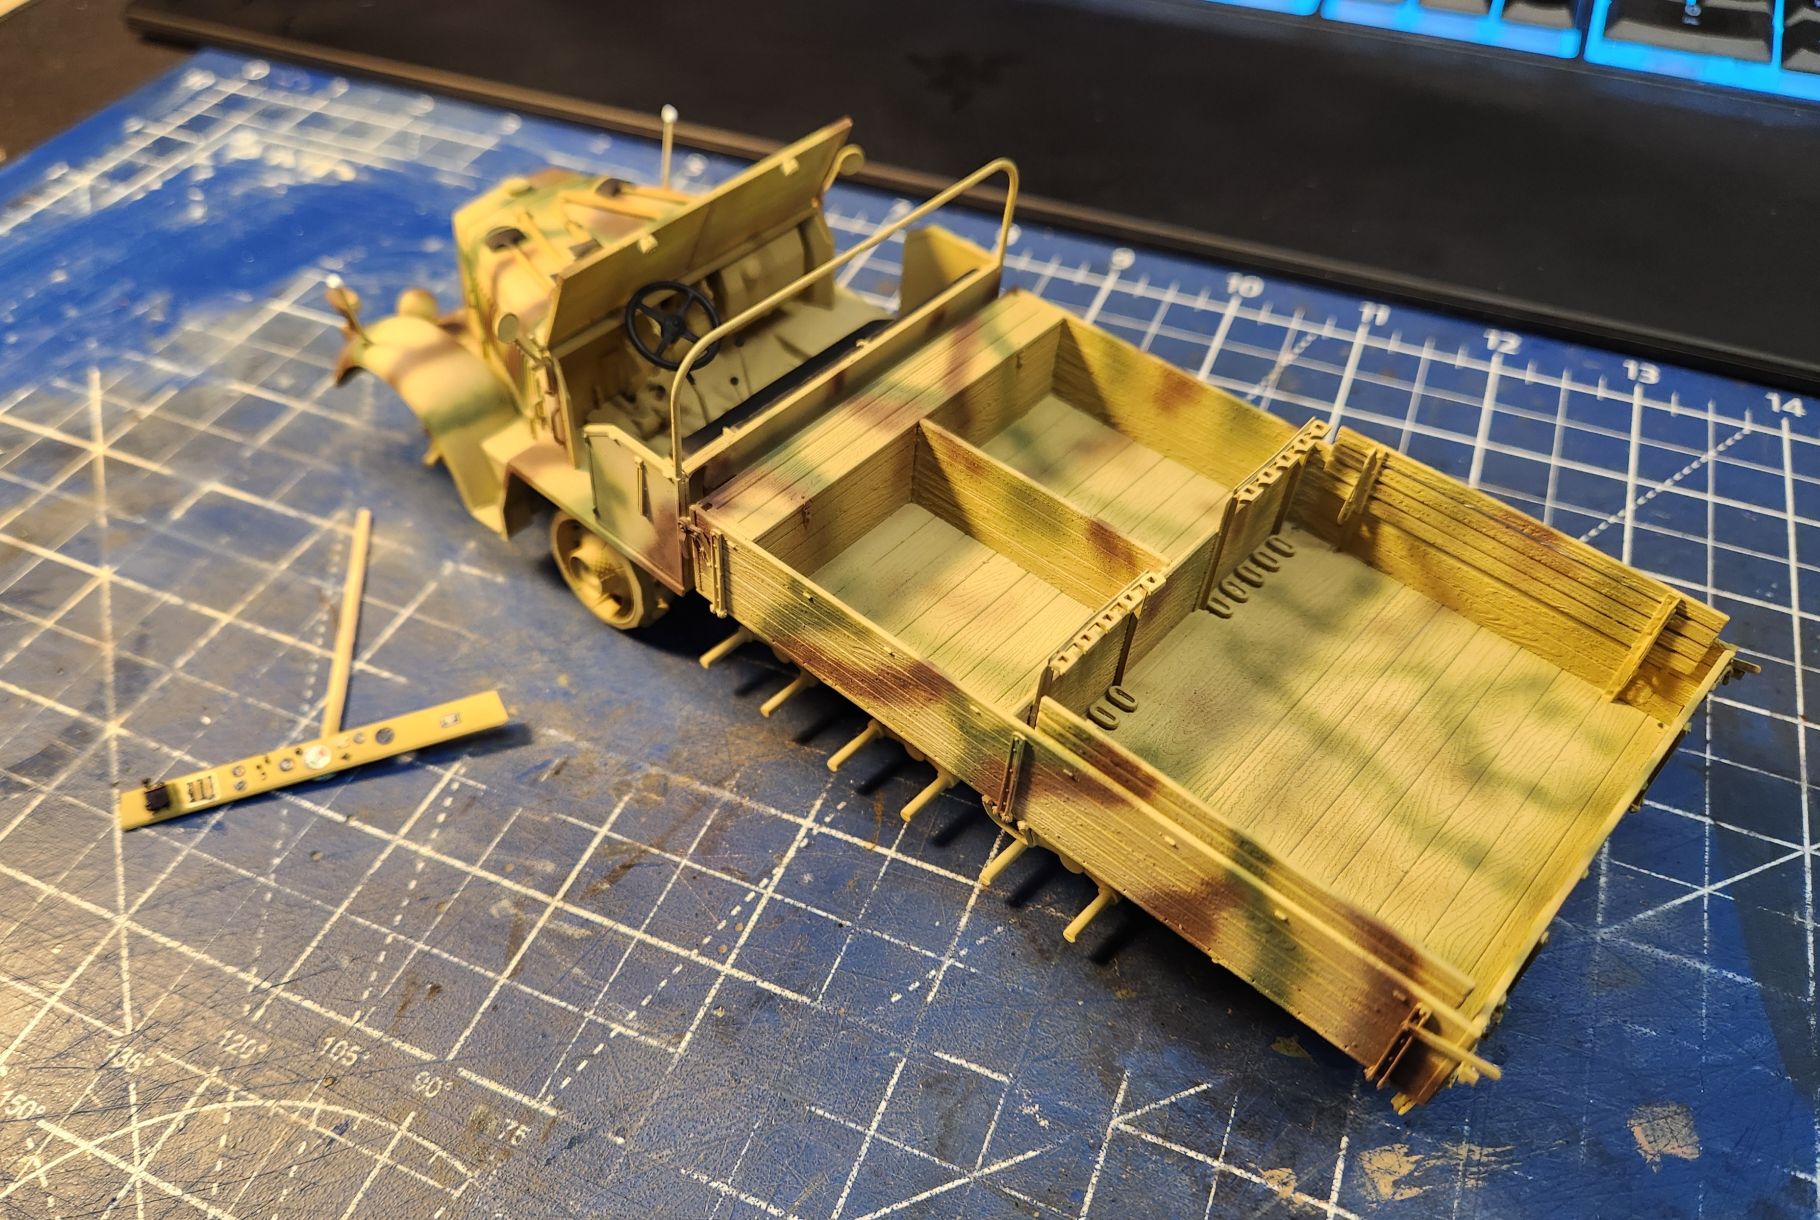
Okay. Too humid on the weekend to paint the Sexton I am doing, so I got some more time on the Scammell Pioneer R100.
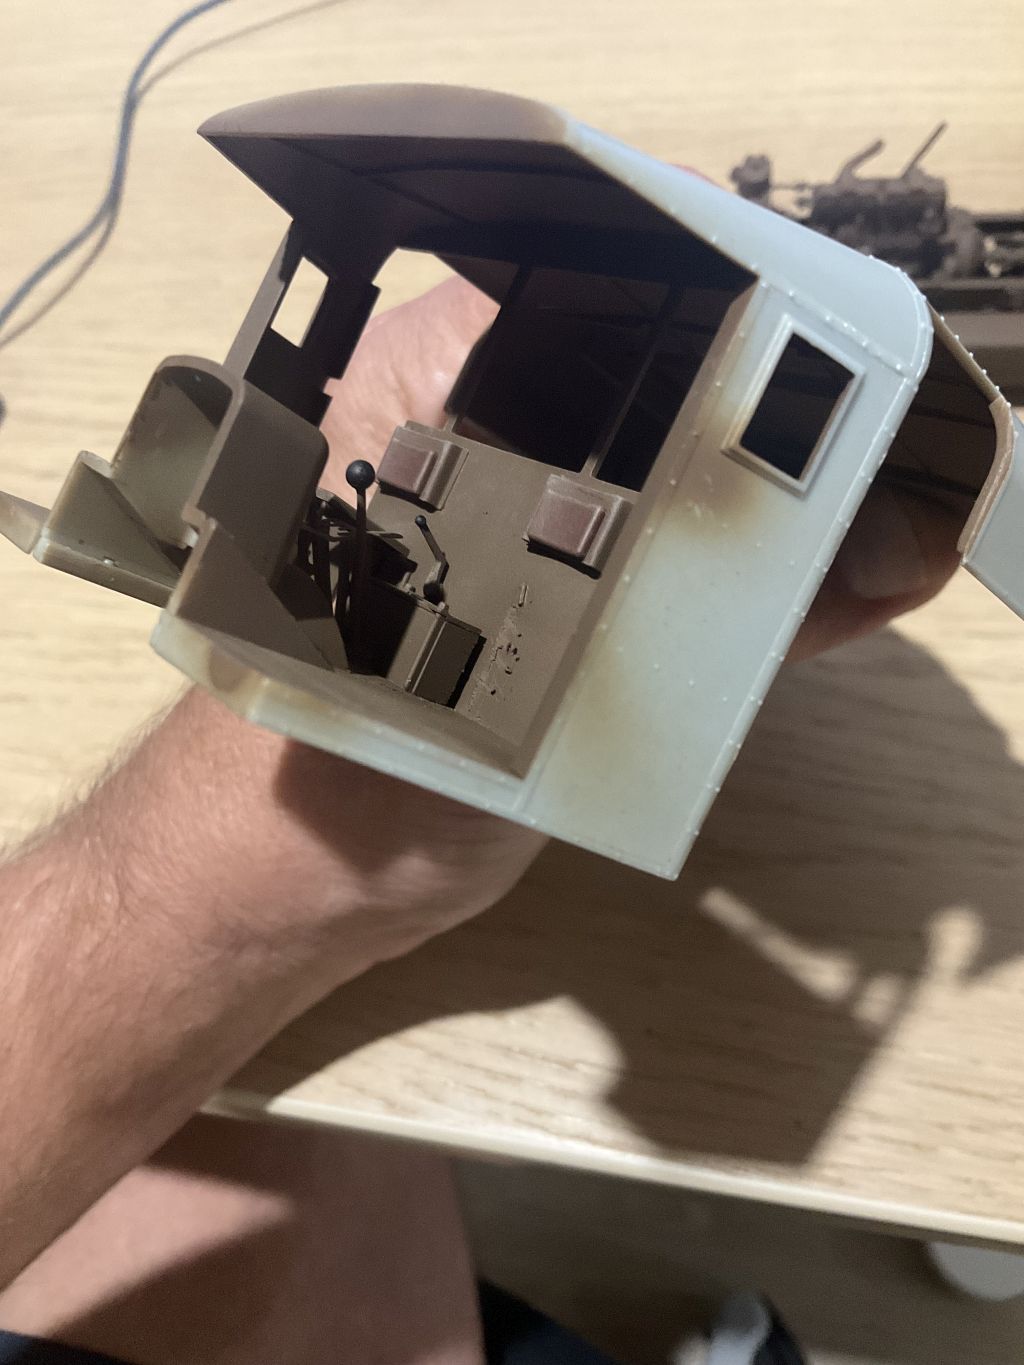
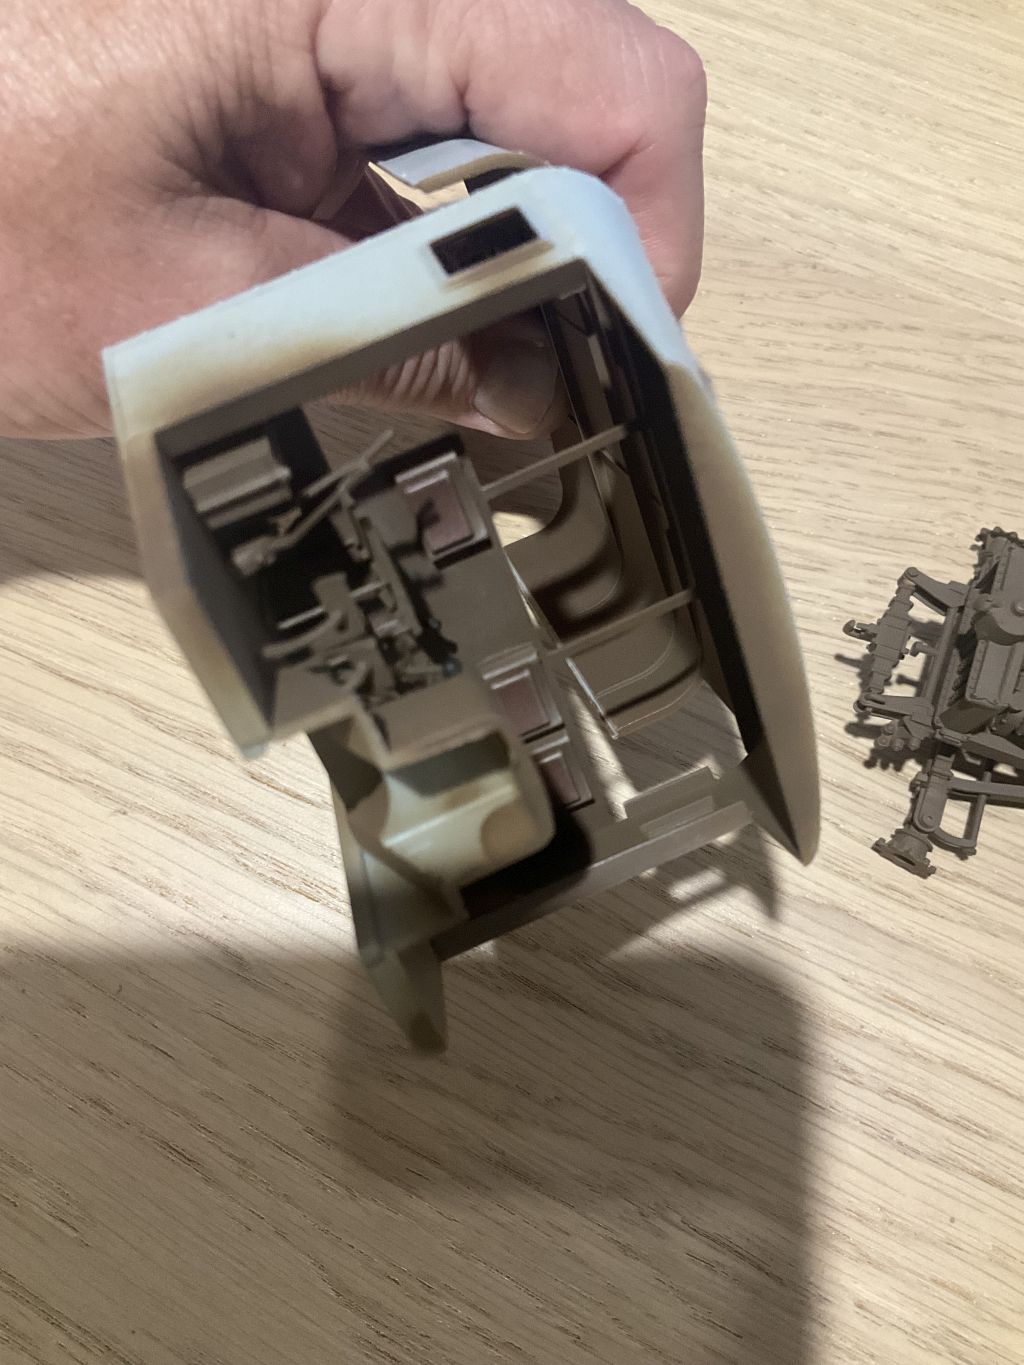
My assembly does not follow the instructions, but I needed to do it this way for test fitting the parts. I still need access to paint the interior before closing it up, so the larger sections are all dry fit for the most part. Decided not to model it without the engine bay side panels, so no wiring or anything needed there.
There are a lot of knock out marks on the inside of the cargo area, but the stowage I will be adding will cover them all (I hope). Some small sink marks on the outside too.
The PE Frame around the gear lever was a test of patience to fit. At one stage I contemplated hanging a jacket over the area instead… I added some wiring to the fuel filters on the inside of the firewall, I guess you will have to look forward down the rear side roof window to see it when done, but I know it is there.
Hope this works for an update I’m Not very good at the whole picture thing but I’m almost rest to close up the cab and I got my panel liner and decals down now just need to flat coat and push for the finish.
Wait, are you entering this vehicle in this campaign AND 'Got Hitched" or did you post the wrong pic in one of them? You can only enter a kit in one campaign at a time is the rule, I believe.
Just now did the tools indicator knobs, and bits in the office of the Sd.Kfz 7. Dash to be installed along with the wheels/tracks to finish assembly and then decals and weathering/wear. While this lot dries I am contemplating what color filter to meld the camo, and I am also going to try and make a rolled-up bed cover and cab top. The kit includes a fully-extended cover but no folded option.
Finally got some paint down on the Scammell Pioneer over the weekend. It has done nothing but rain here at the moment. Started some detail painting of seats, etc. I’ll post pics when it is worth showing something.
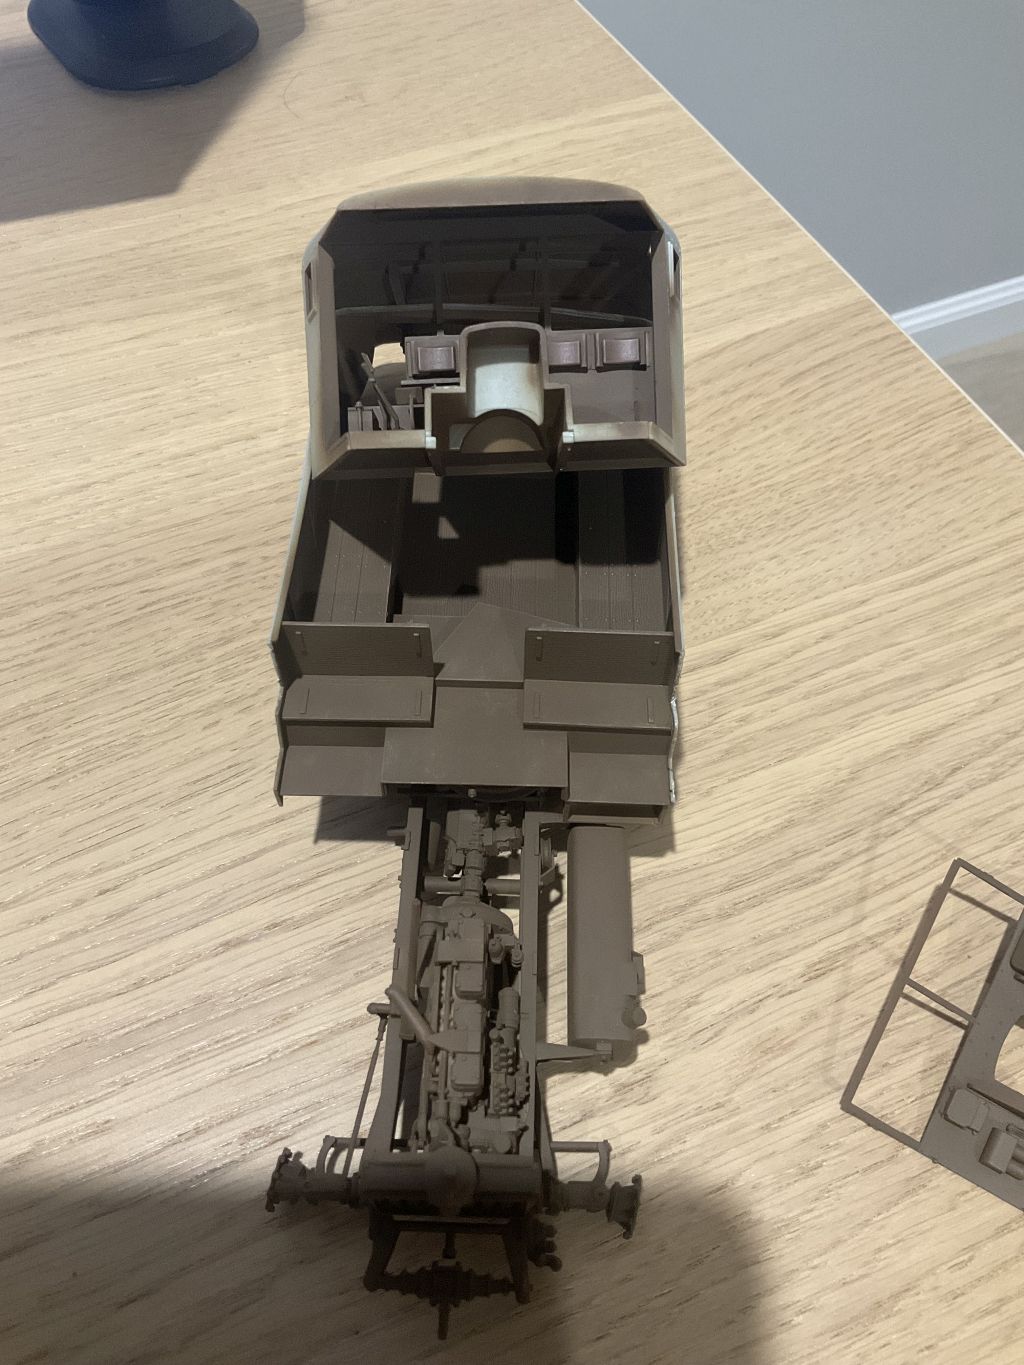
That horrible scarring on the rear cab wall is where I had to cut away the kit seat. I managed to break the forward legs on the bench seat in the front passenger side when trying to add the separately painted cushions. I have now replaced the kit parts with brass rod bent to shape. now under primer. This kit has some super delicate parts and has to be handled very carefully. A bit over engineered in places, but it goes together well if you take care.
Back to the detail painting in the cab, then the rear windows can go in.