My answer to your last question might possibly surprise you as it flies in the face of everything this group has been taught . . .
I spray the model with Matte Clear (Tamiya TS-80) BEFORE applying the decals!
I spray it on very dry to give the decal a slightly rough “toothed” surface to adhere to. I then BRUSH ON some Future just in the area where the decal is to be applied and while the Future is still wet I apply the water soaked decal. As this starts to set I will apply another top coat of Future to completely entomb the decal.
(This also does wonders to build a tiny transition curve/ramp between the model surface and the edge of the decal film, usually making the edge disappear entirely.)
I allow this all to dry completely (overnight) and then go over the decal area with several more coats of Matte Clear to hide the shine of the Future.
I try to preach this technique far and wide on this site but usually I get responses like “no way”, “old fashioned” or “Solveset is better.”
So . . . To those folks that scream NO, I just say “whatever is working for you keep doing it!”
BUT . . if you are having problems in successfully applying your decals then you MIGHT just want to try it my way! *
*Not really even my way. This technique was taught to me by Monte Kelch of Cincinnati. He is now retired from modeling at age 83 but the man has way more “wood” hanging on his walls and more first place trophies than I will ever hope to have!
Honestly NOT trying to beat a dead horse here but simply trying to exhibit unassailable proof of the technique.
Click on any of the photos in the post to enlarge for a better view:
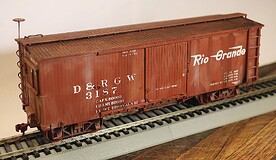
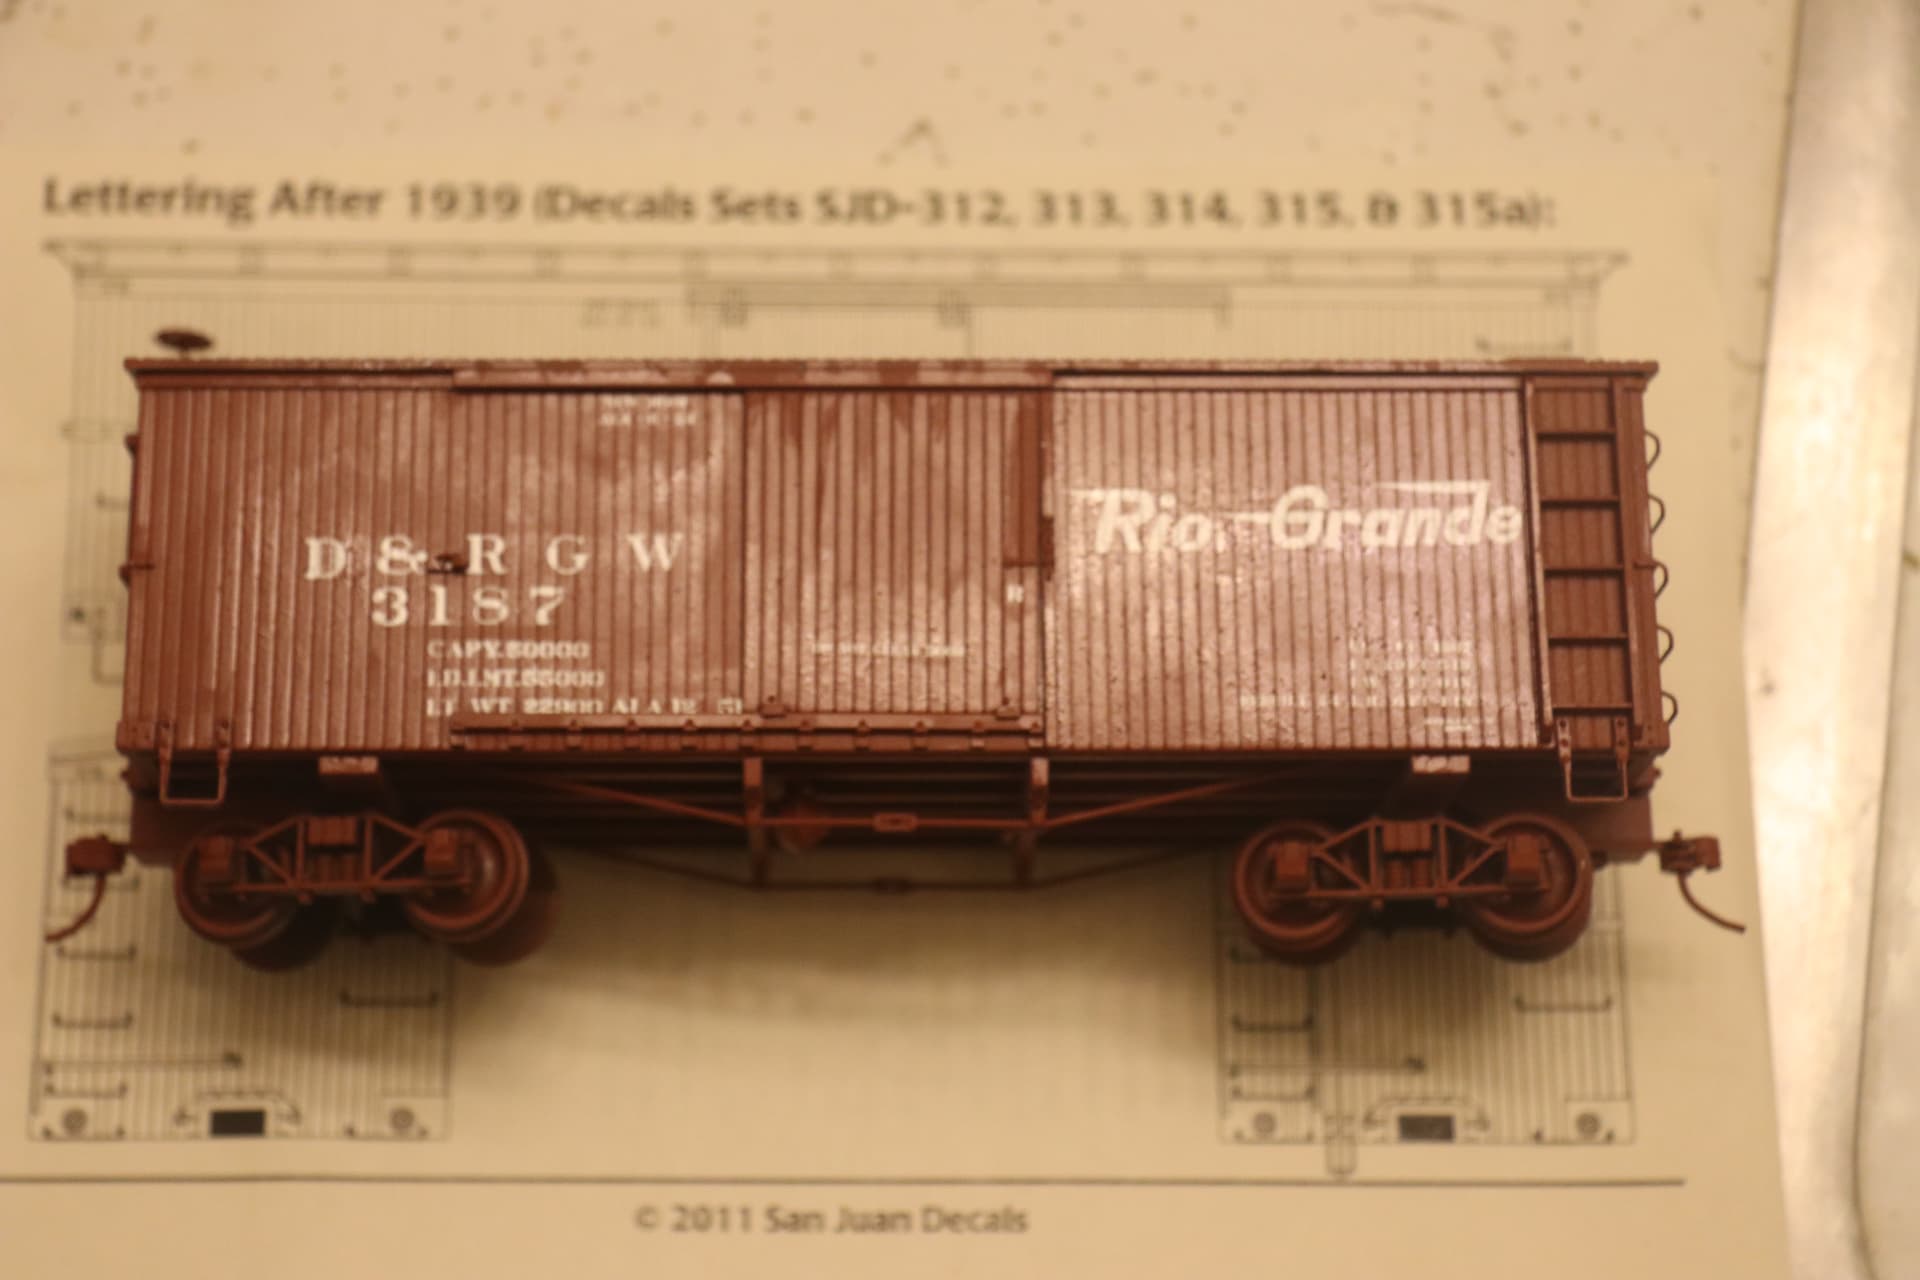
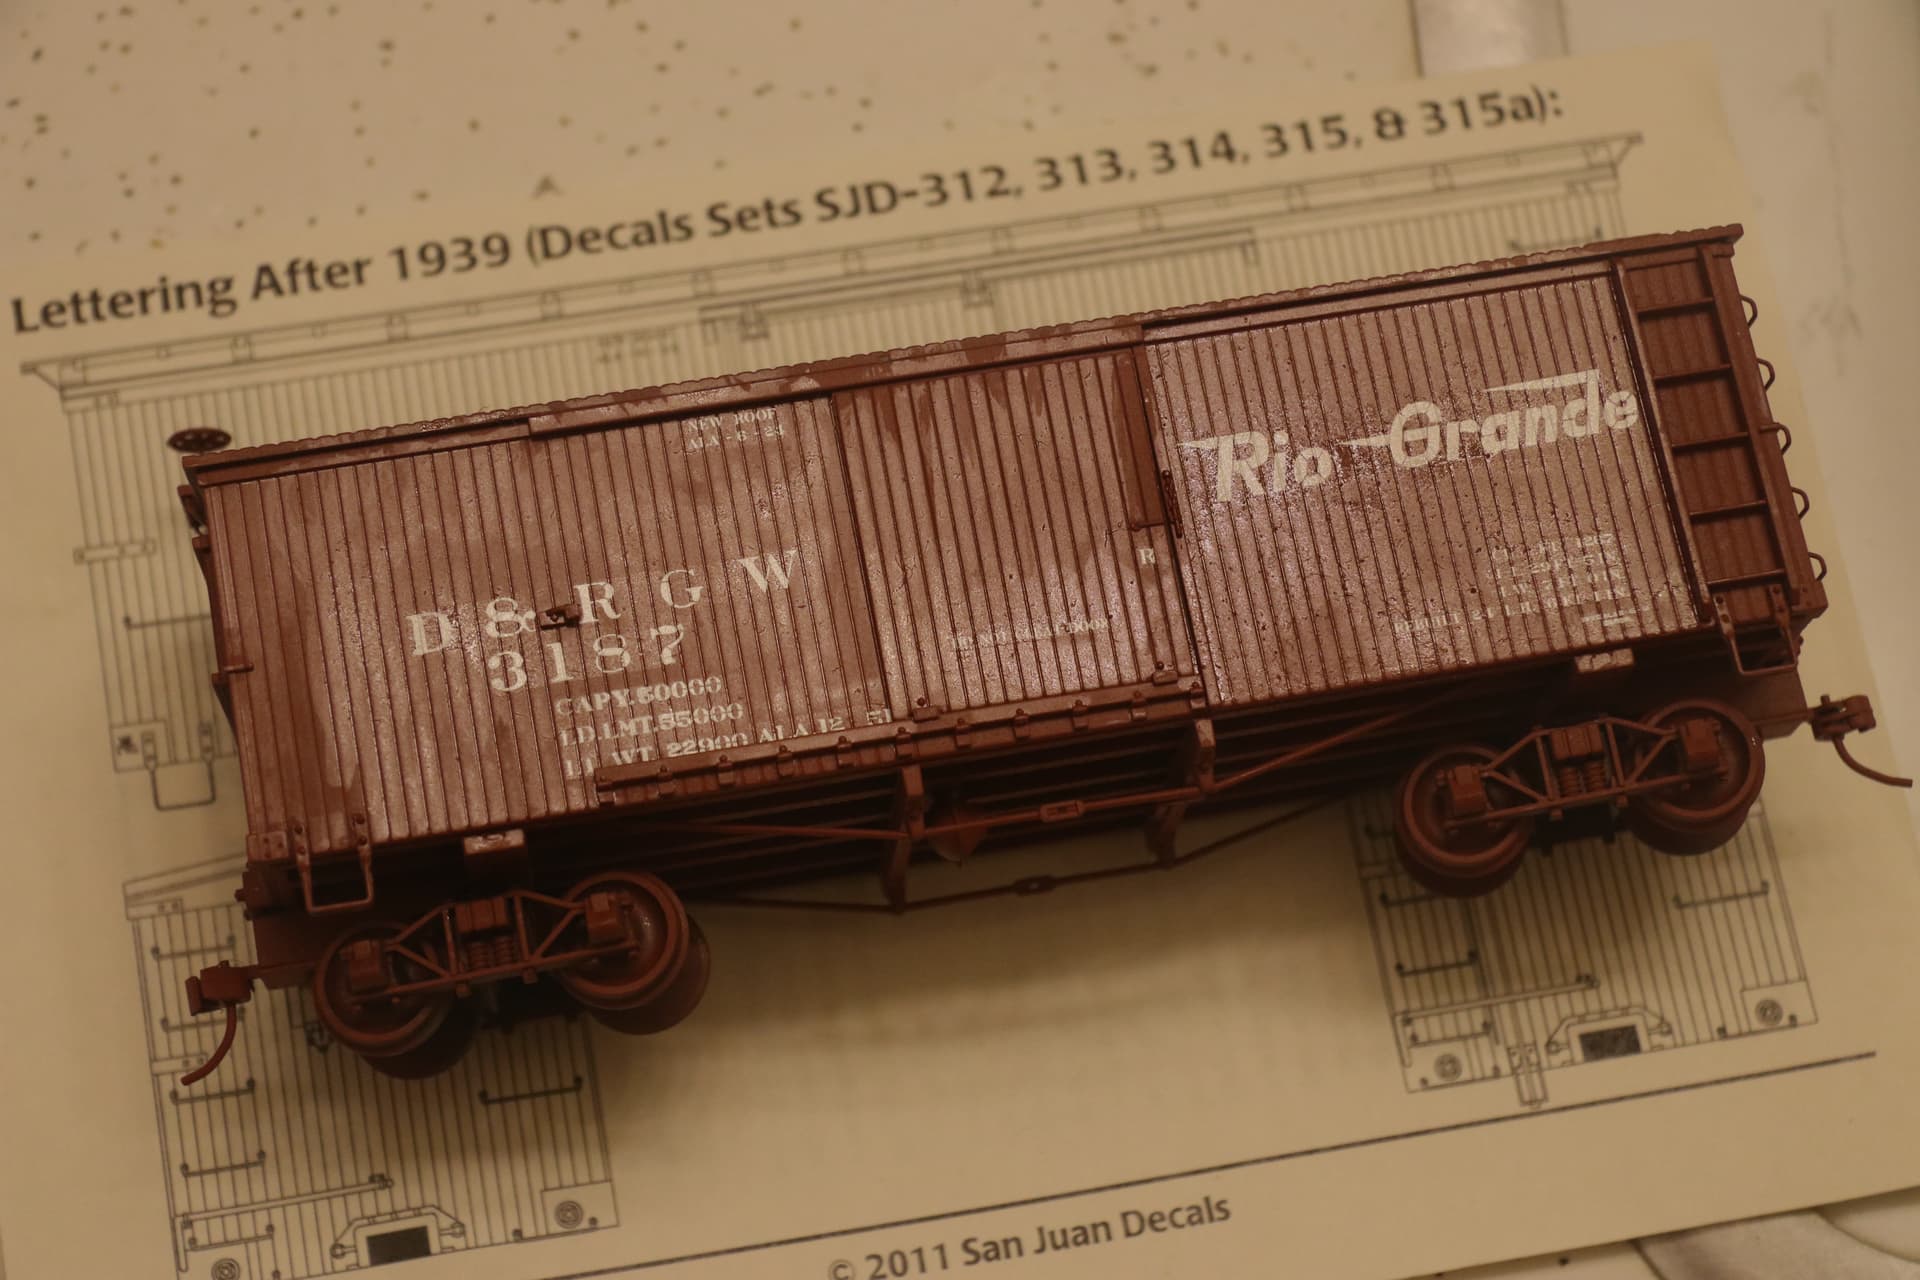
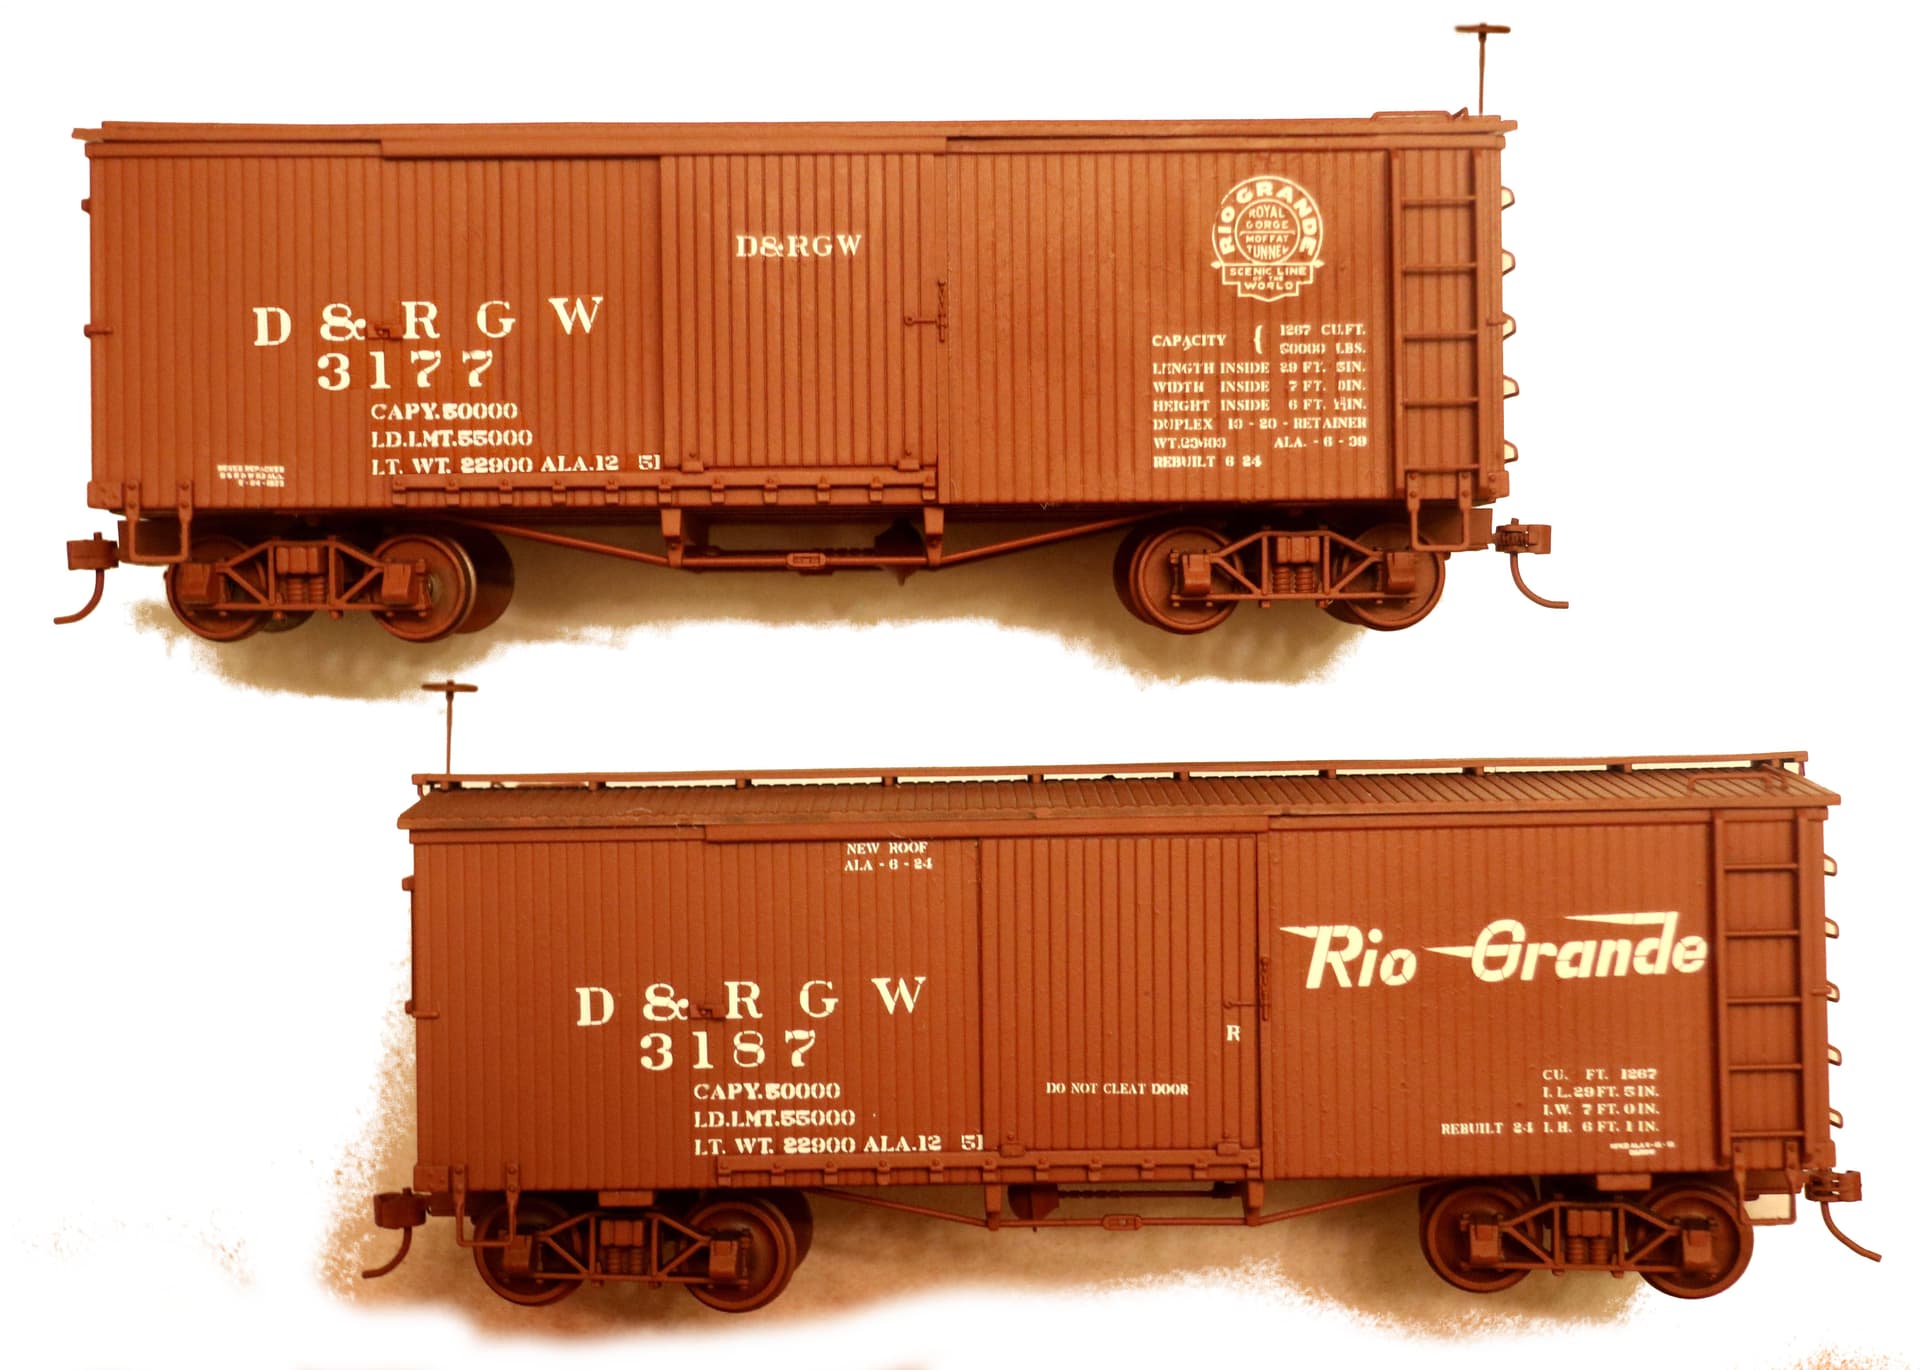
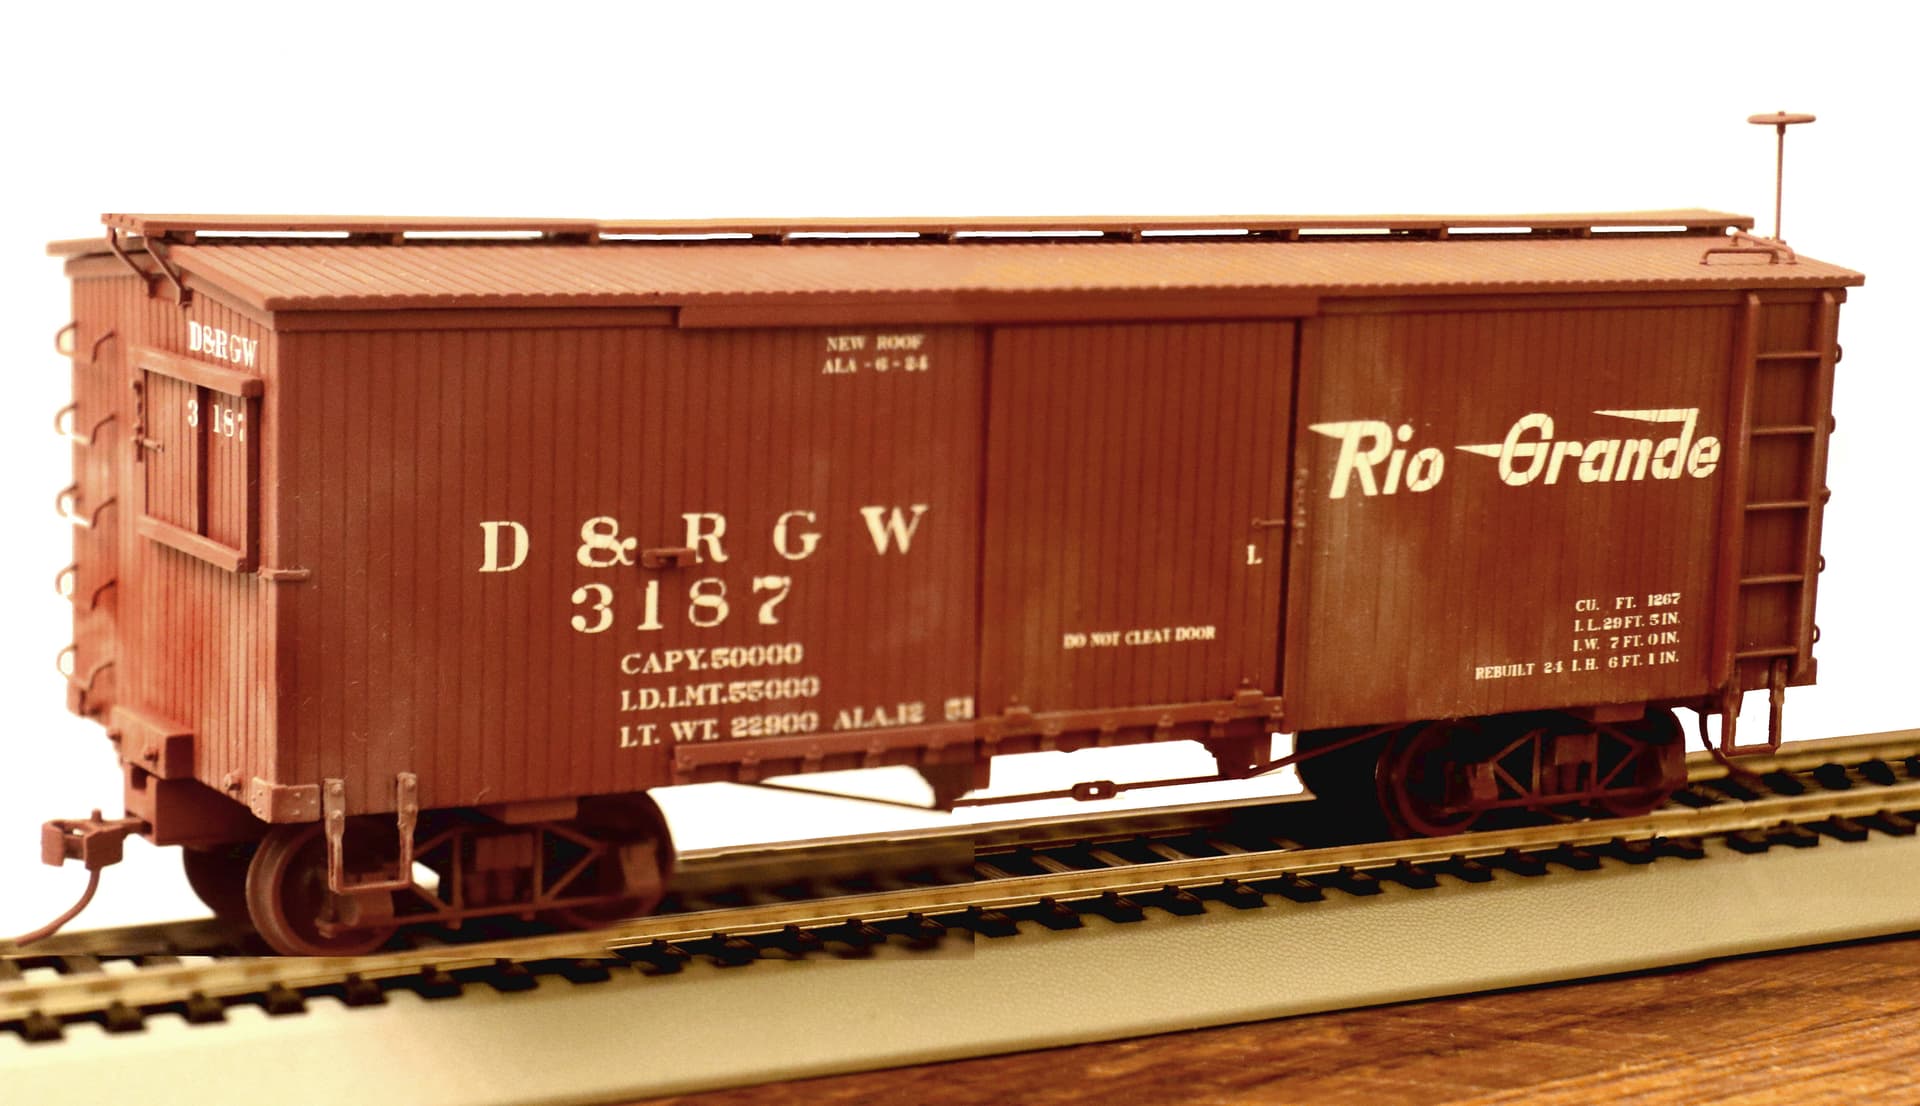
I consider the following to have been my greatest decaling challenge:
A pair of repainted On30 (1/48th scale) Plastic Narrow Gauge Railroad Boxcars.
First an all over spray of Tamiya Matte Red Oxide Primer (Rattle Can)
Then I flooded the entire side of the car with Future and applied the decals to this wet surface. Followed by a second top coat of Future (while everything is still wet) using my brush, or a knife or my wet finger tip to push the decal down into the scribed siding.
Final finish coat of Tamiya Matte Clear (TS-80 rattle can) to seal the decals and kill the shine of the Future. Applied extremely dry!
Pigment weathering “scrubbed” into the tooth of the matte surface with a stiff brush. Using pigments over this rough matte surface makes them almost completely permanent with no further sealer coat being necessary.
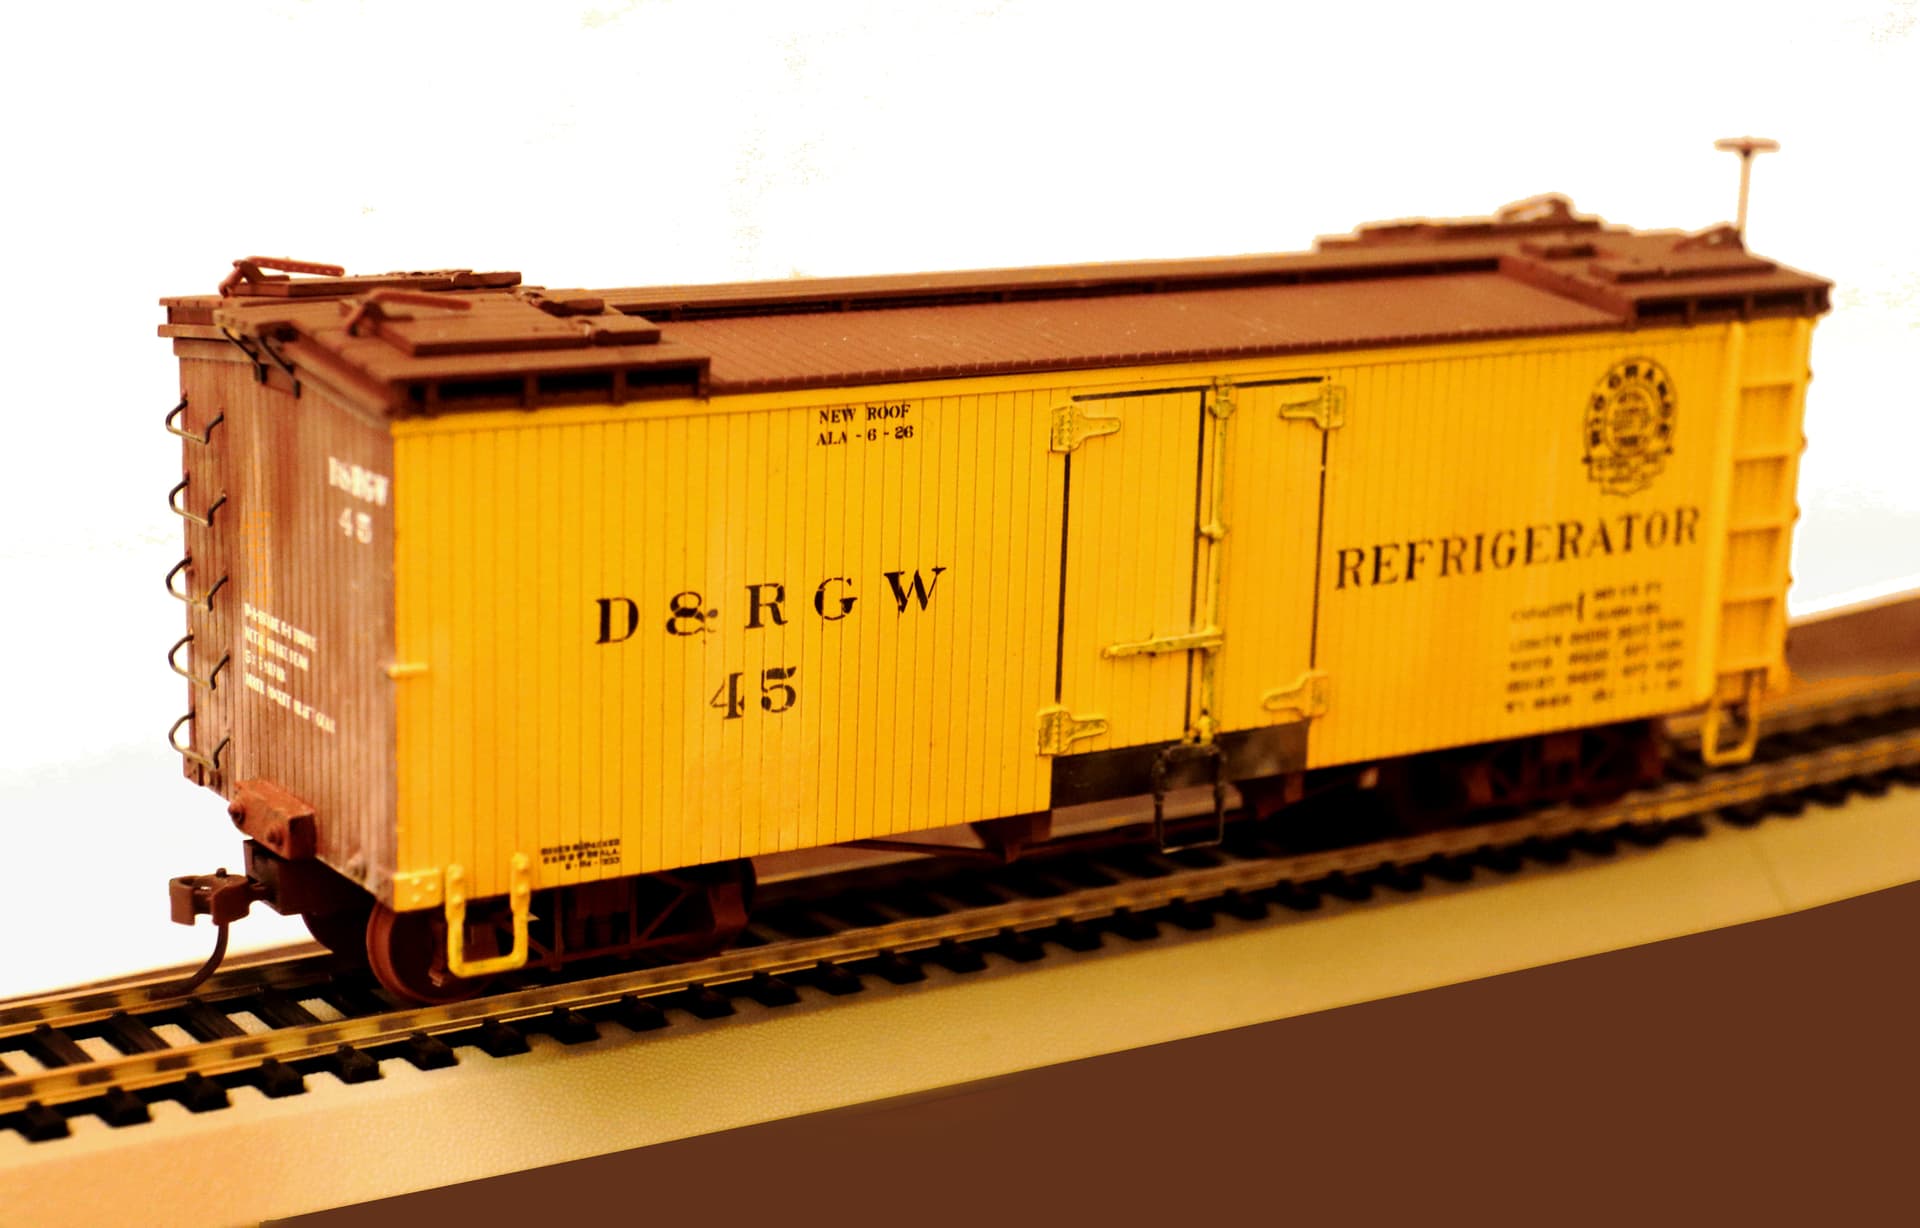
A much easier car to letter using the exact same process:
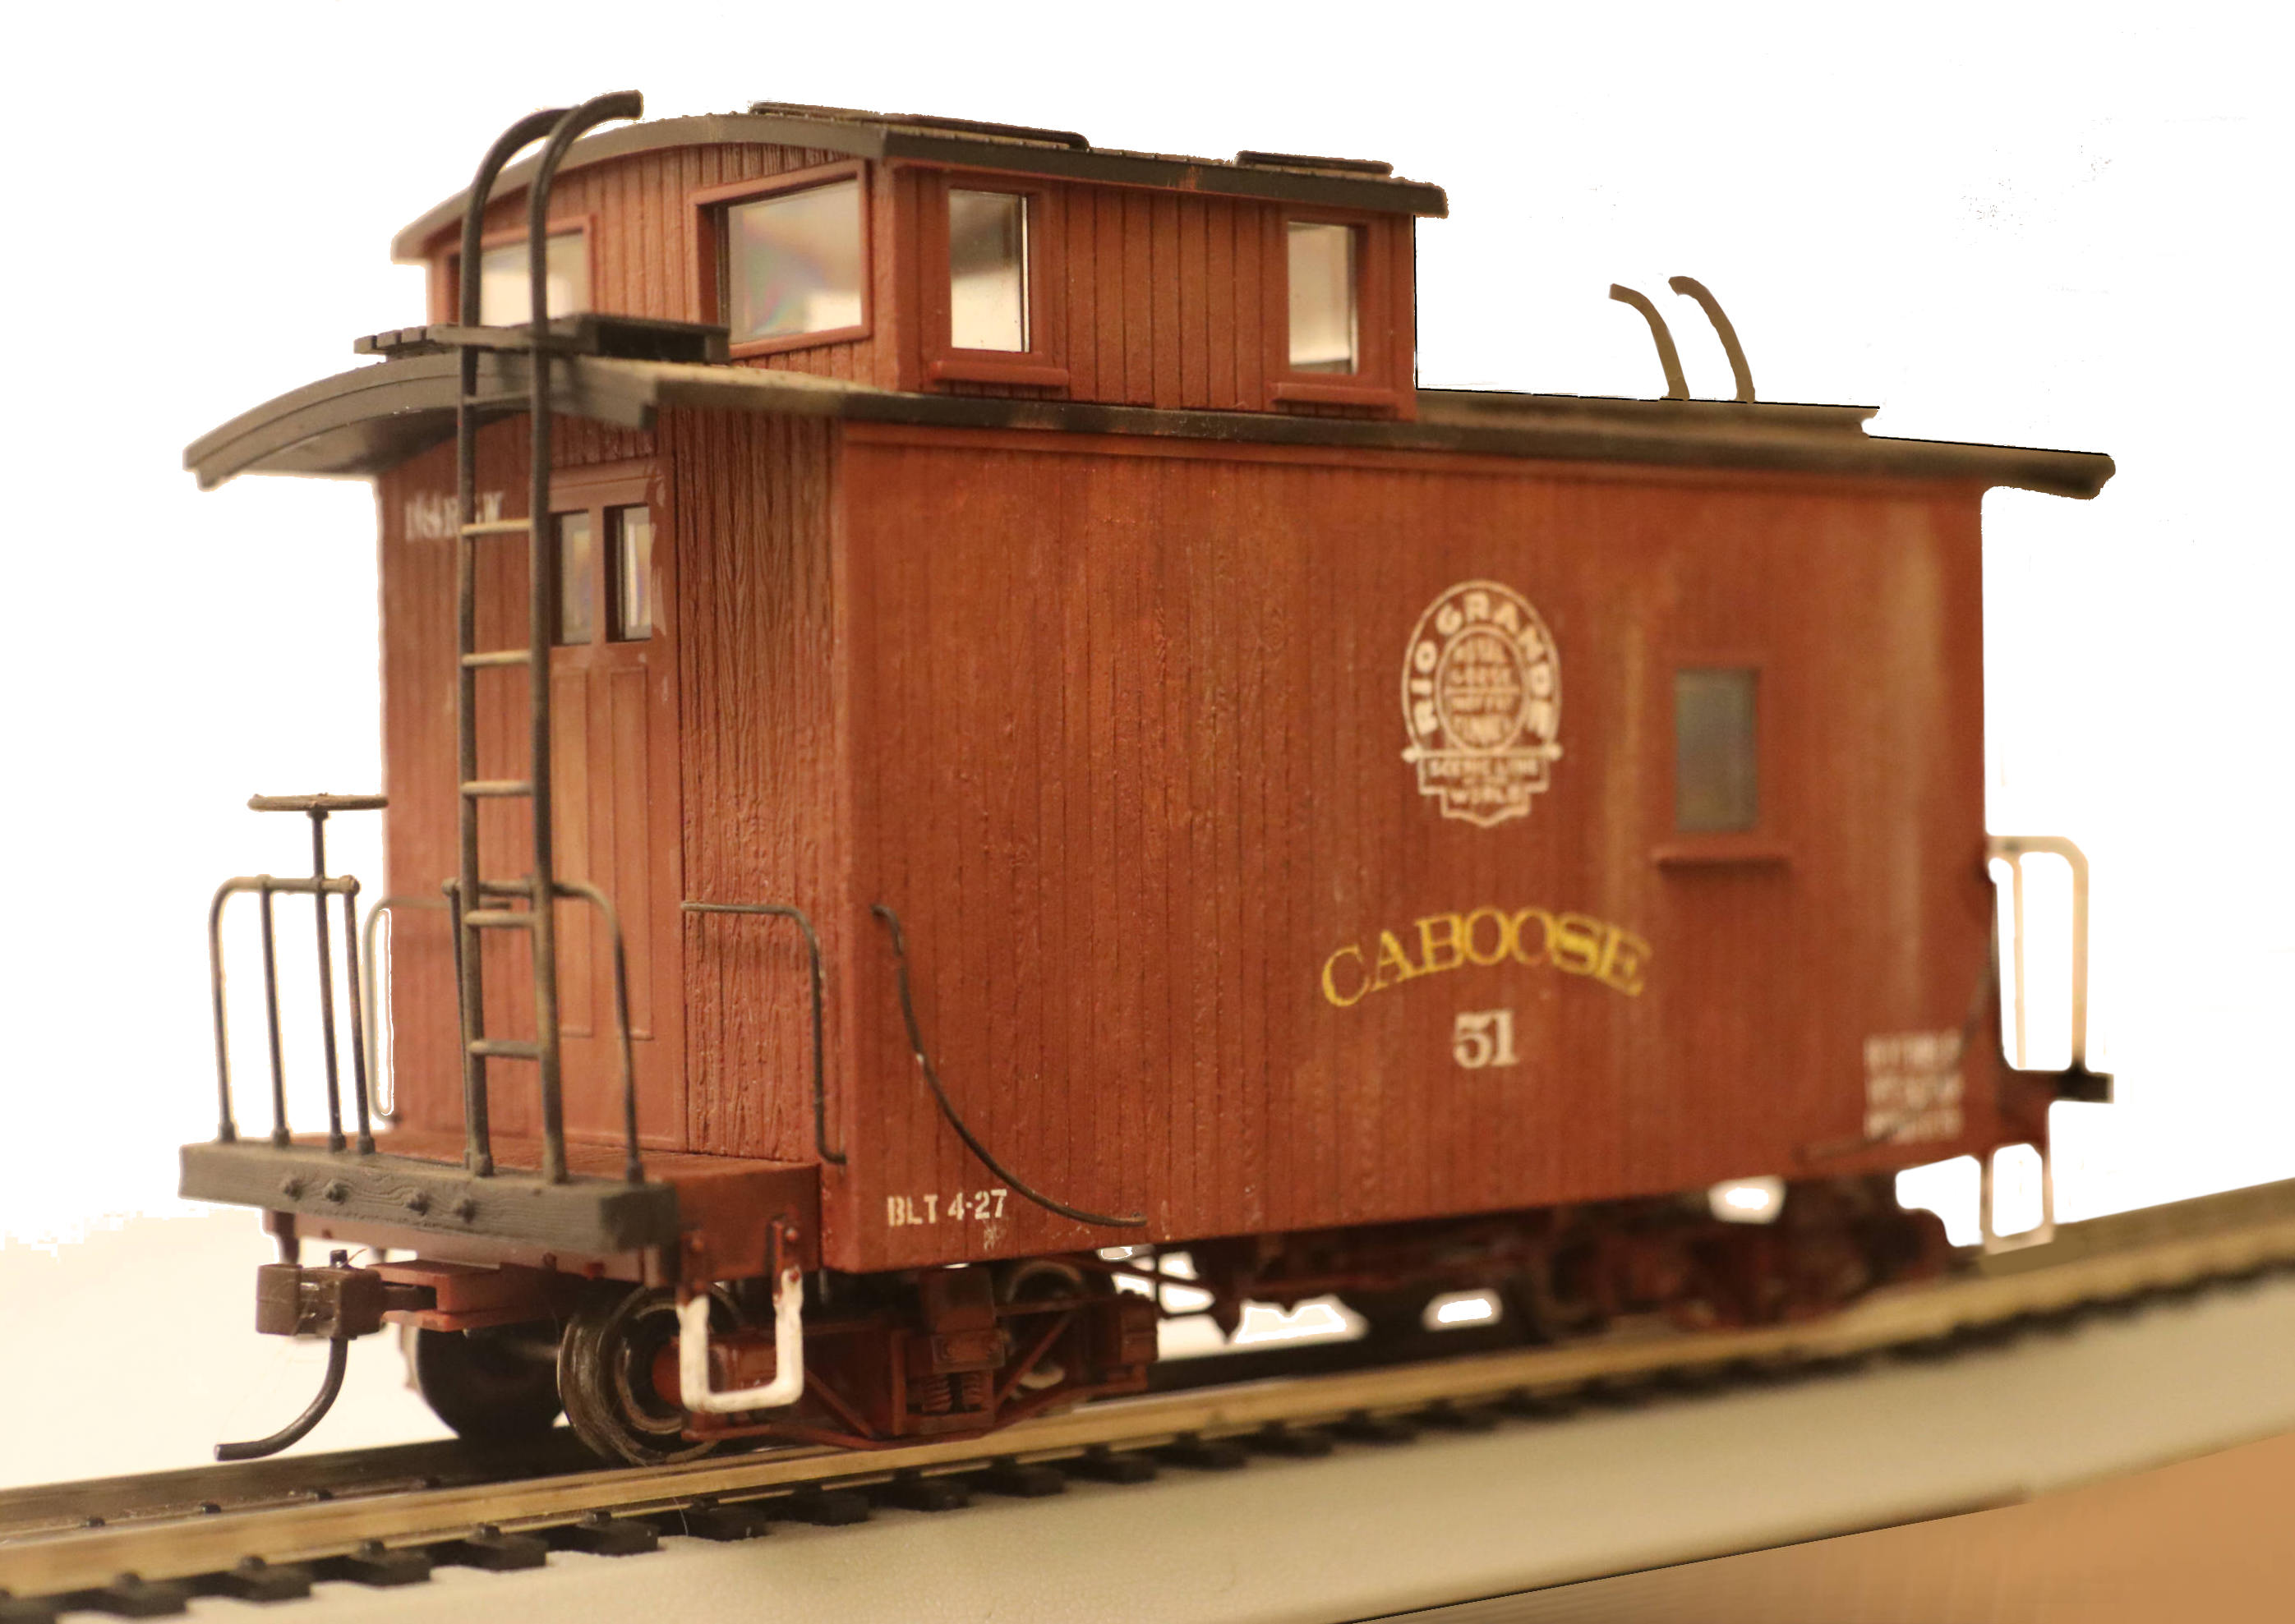
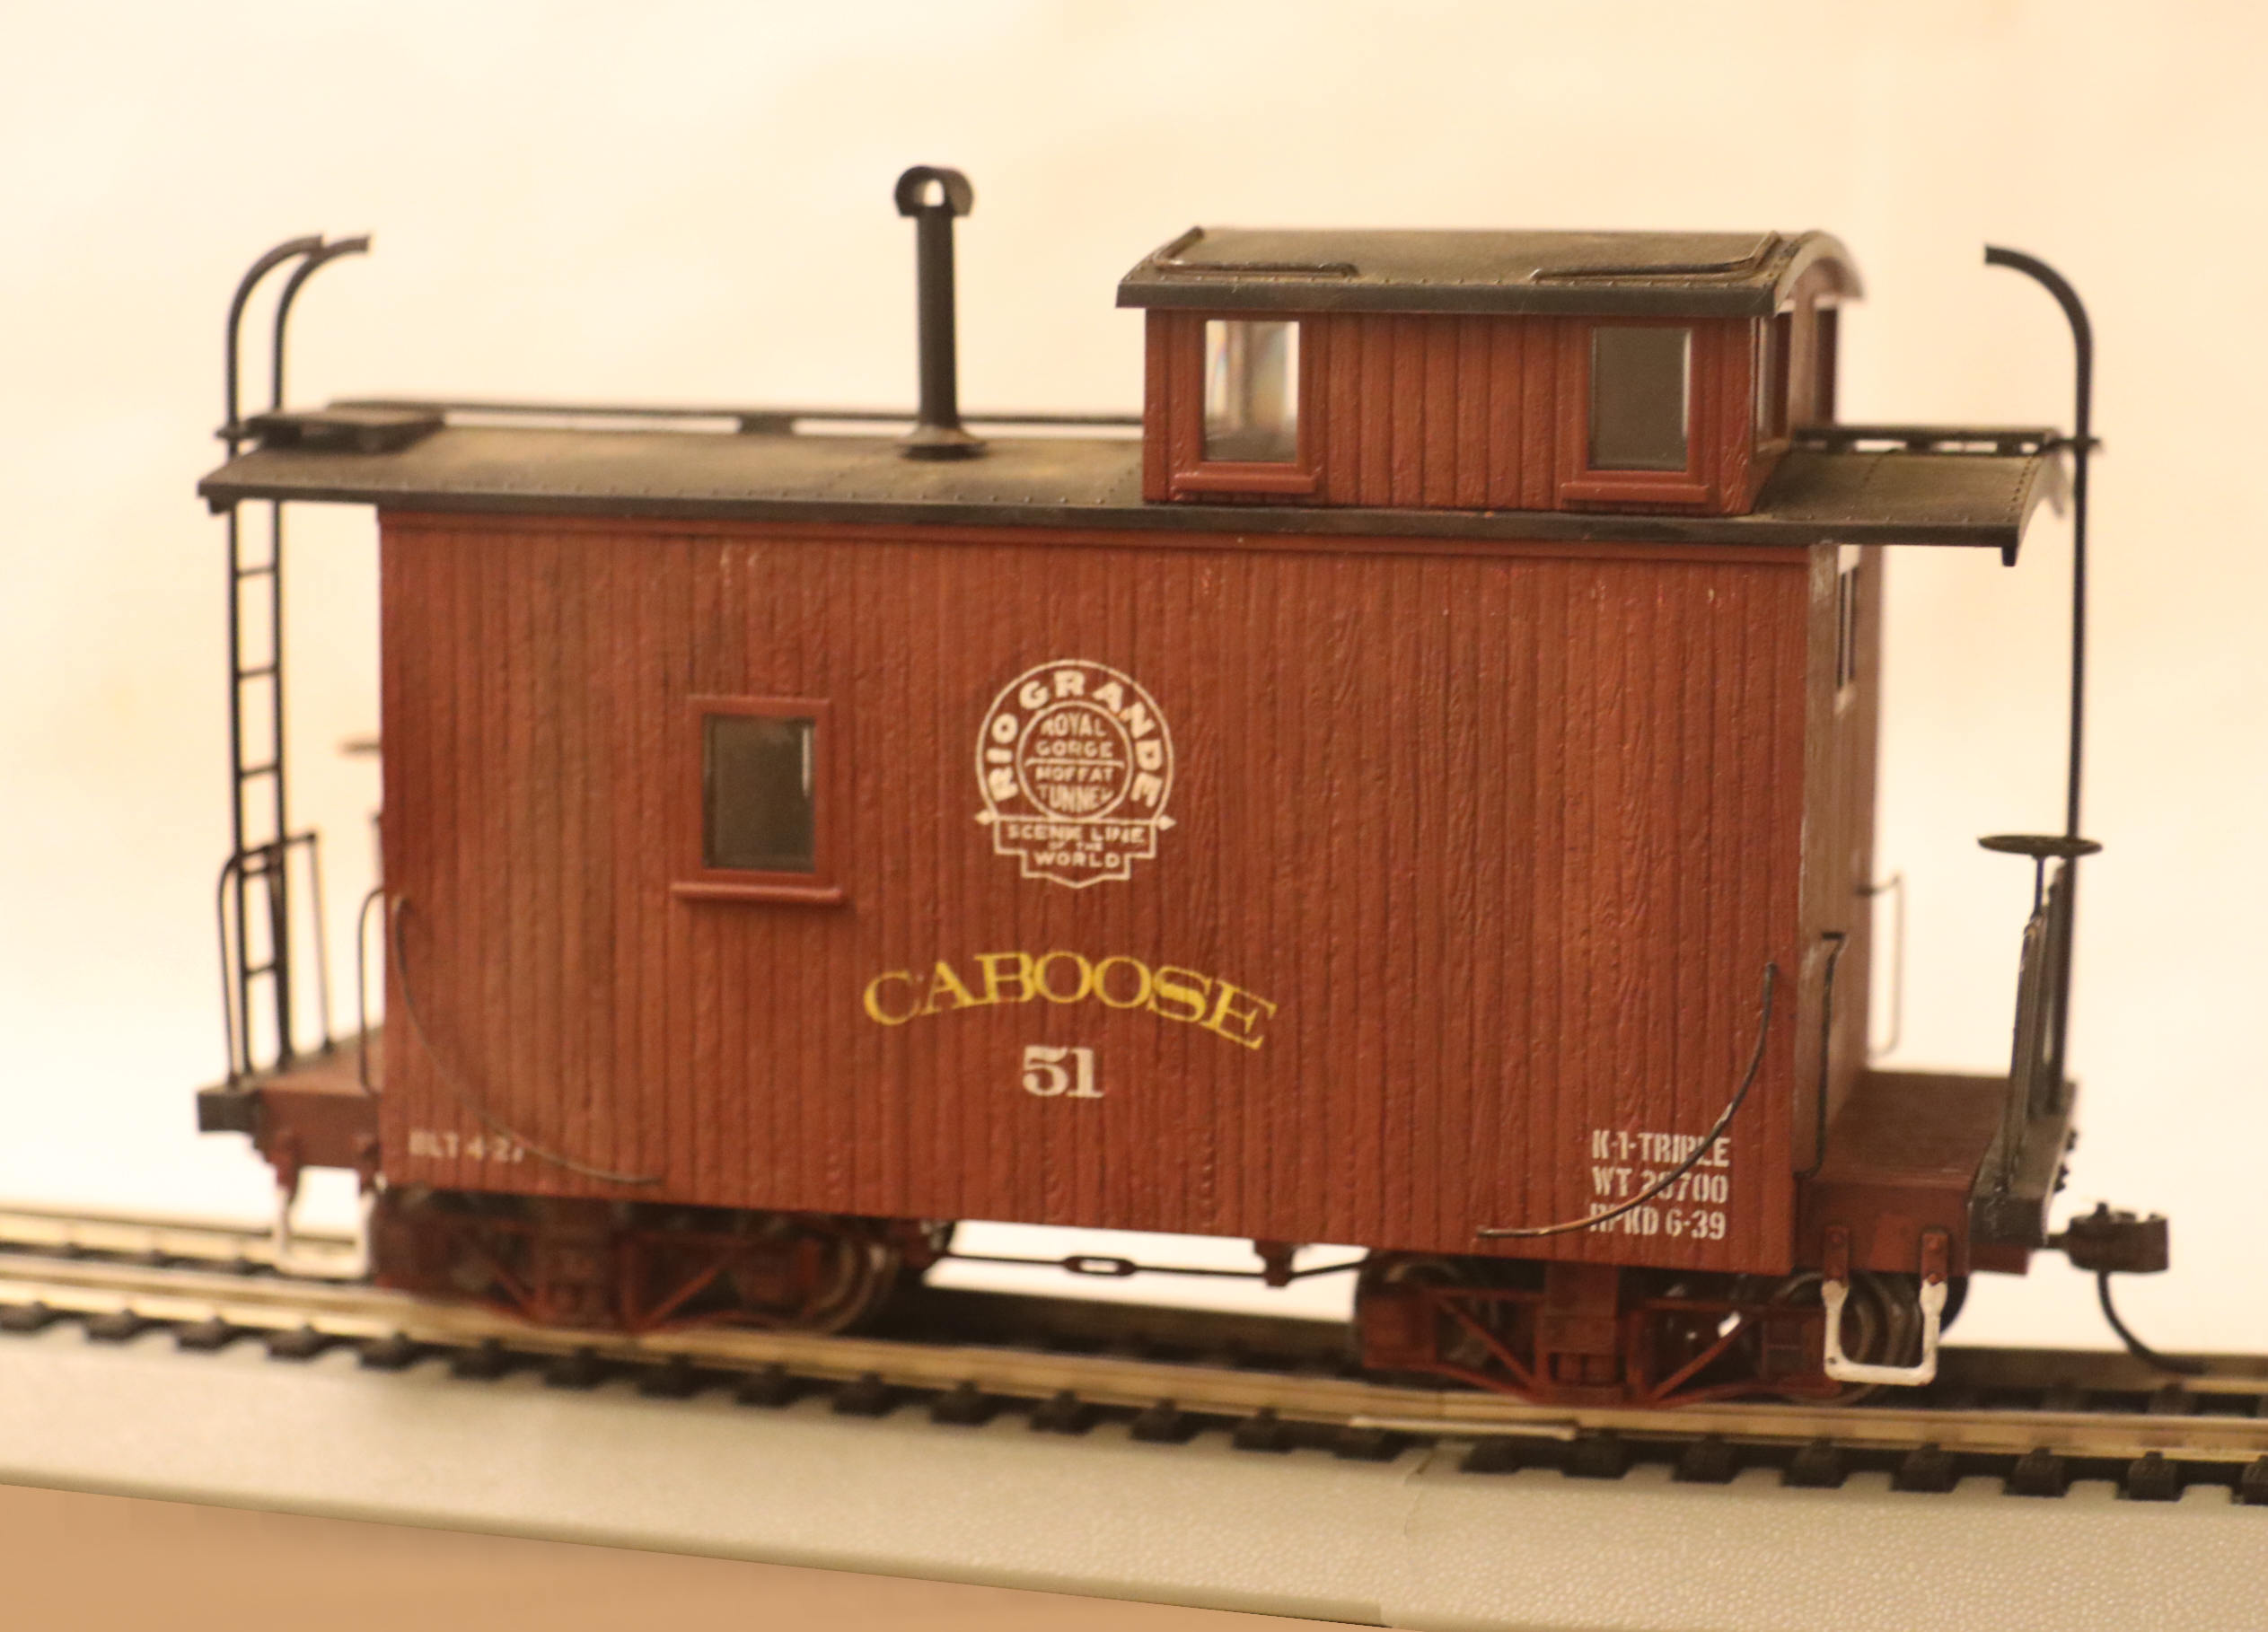
And finally a Caboose thrown in for good measure:
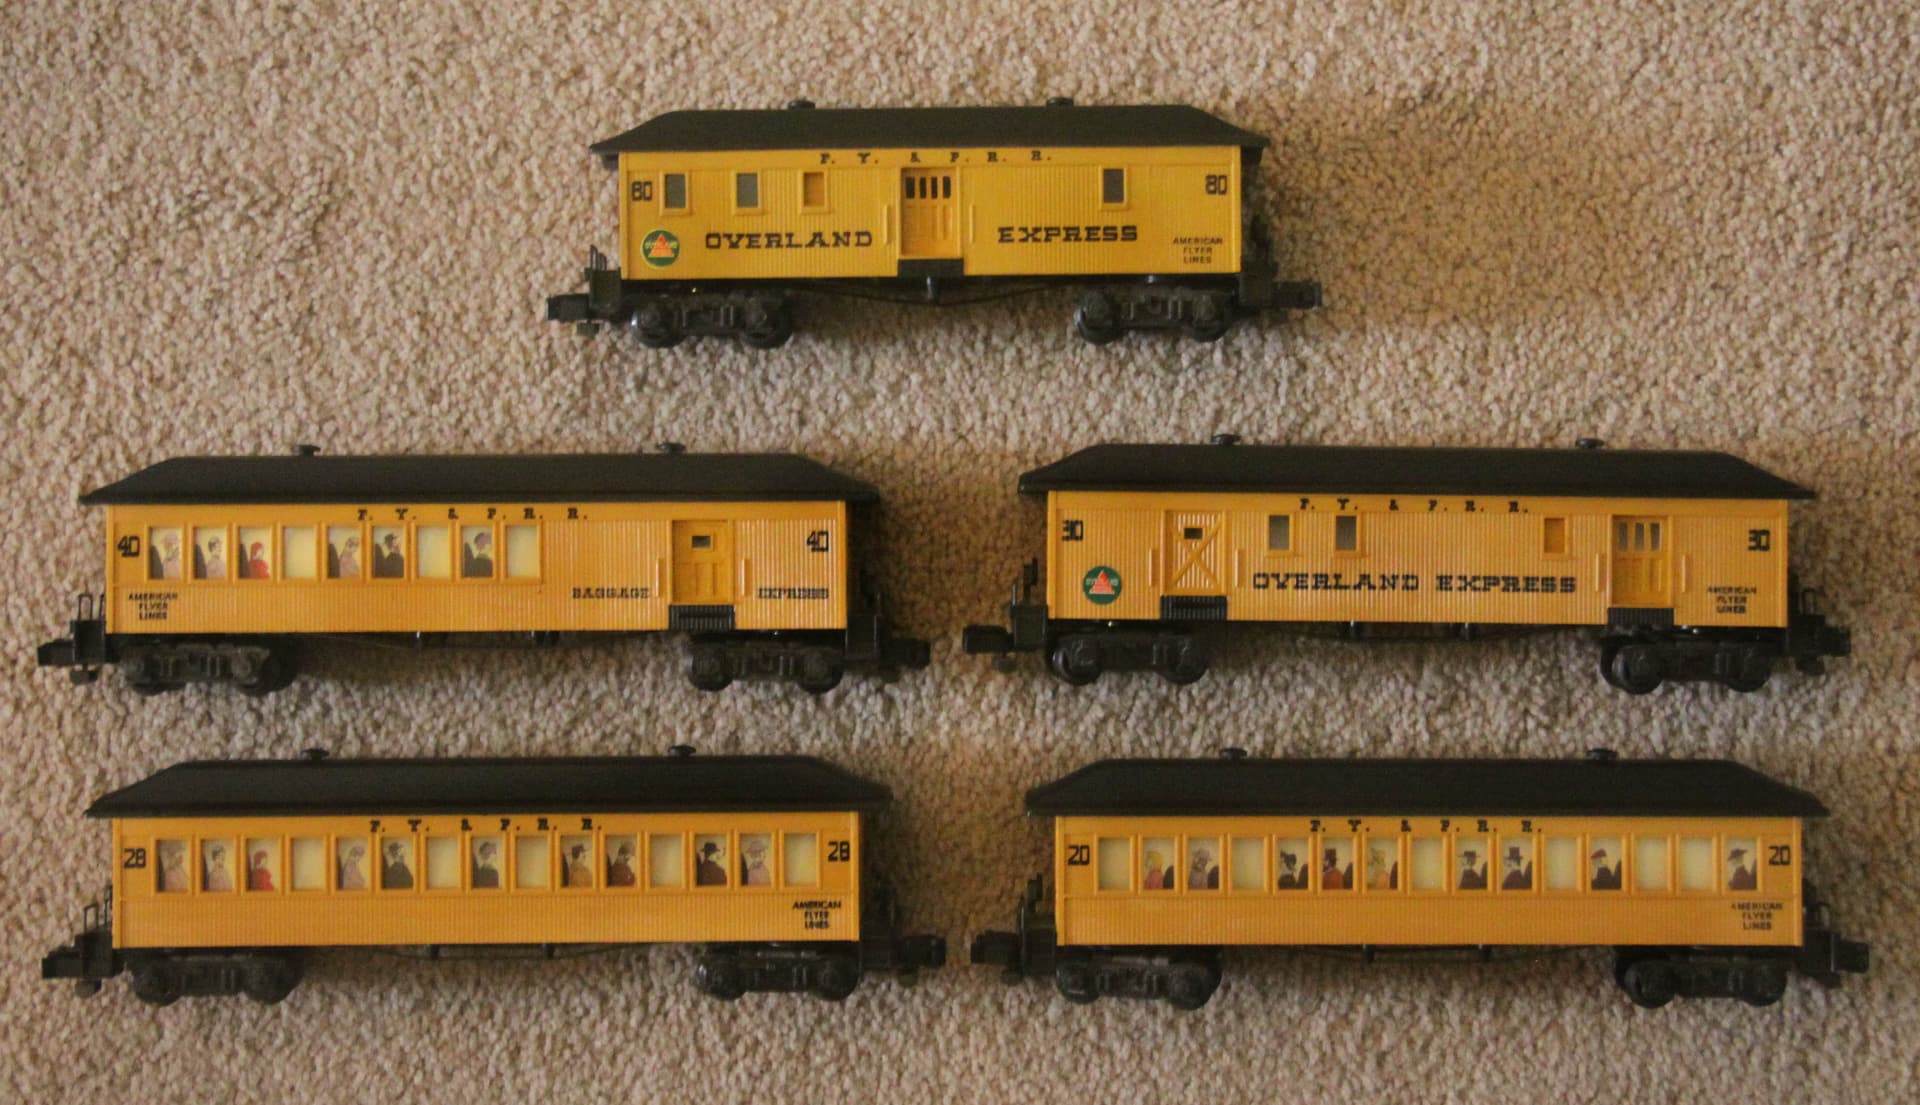
One more in the Railroad Division:
This one is a much shortened American Flyer, S Scale, “Frontiersman” single door baggage car.
An Additional Note: This car was BRUSH PAINTED with Home Depot, computer color matched, Berr Brand matte house paint. (One pint will cost you about $6 - no charge for the color match.) I used a 1 inch wide soft brush and only vertical strokes to paint the yellow and keep the brush strokes to an absolute minimum.
Going over this matte yellow, first with Future while applying the decals and then with several coats of Tamiya Matte Clear you will be hard pressed to find any visable brush strokes. Also the color is more or less a “dead on,” exact match for the AF factory painted cars being hauled right next to it in the same train.
I do hope the group finds this information of some interest.