Not much happening.
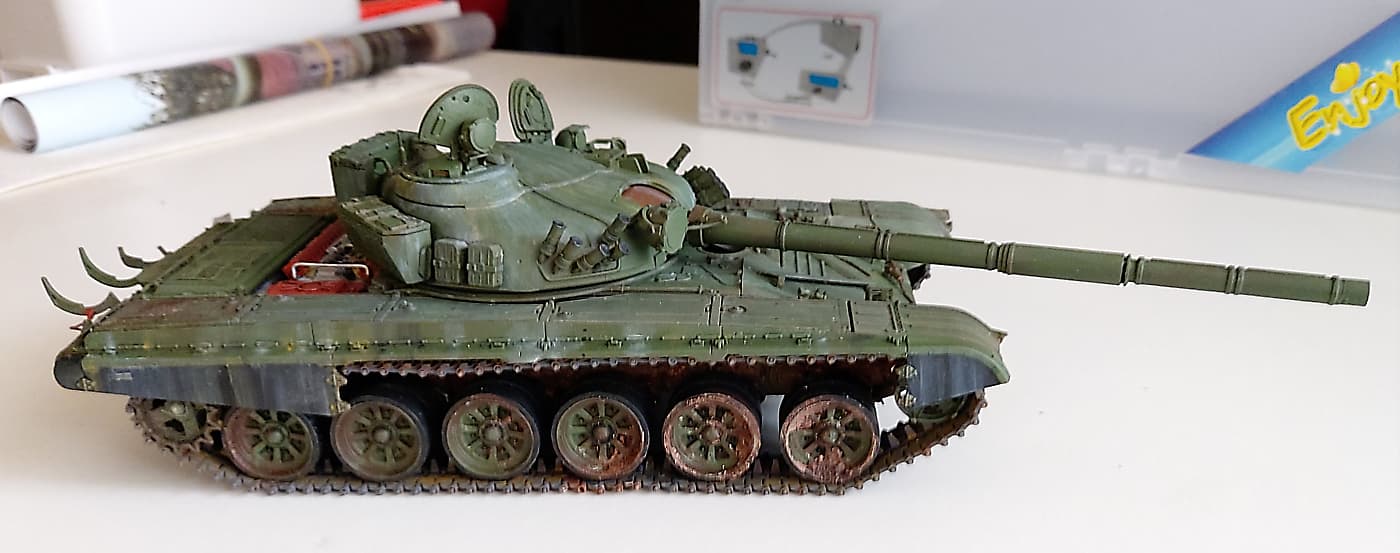
I installed the side skirts. I was going to replace the rubber areas with real rubber. (I have some sheets of very fine rubber). But I’m not sure of how it would hang or how the paint would go on. (The rubber is green).
In the end I couldn’t be bothered so one less step.
I’ve enjoyed this kit so far. Better than I anticipated. But health issues have browned me off somewhat and my fire has gone out. Time to move onto the next build. I’ll paint this up as burnt but not much more. Then again it needs to be on a diorama to ‘work’. I’m sure I bit off too much with this build!!
If it wasn’t for those melted wheels I would leave it as is. A T72 with a broken track.
Come on guy suck it up and finish with the same flurry you started with.
Health issues can really take it out of you and make you feel blasé. Don’t worry about finishing it right away. It would be a shame to come this far and not finish it off with the same care as the rest of the build and painting. Maybe just step back for a couple of days and look at it with fresh eyes or just wait till you’re feeling better and more motivated.
Yea, get better soon. The tank can wait, you can finish it up later. Maybe build something else and then come back to it with a fresh mind. It will come out well in the end!
Ken
OK Im sucking it up. Good day yesterday so a few jobs done. Ive been known as stubborn and not prone to giving up. So I will keep at it. Im very tempted to put it to one side and start a “fun” project. But I just know I wont get back to the T72.
Besides I have a wife that has a big stick!!! She wont be happy with a half finished project. And we know a cranky wife means a miserable life!
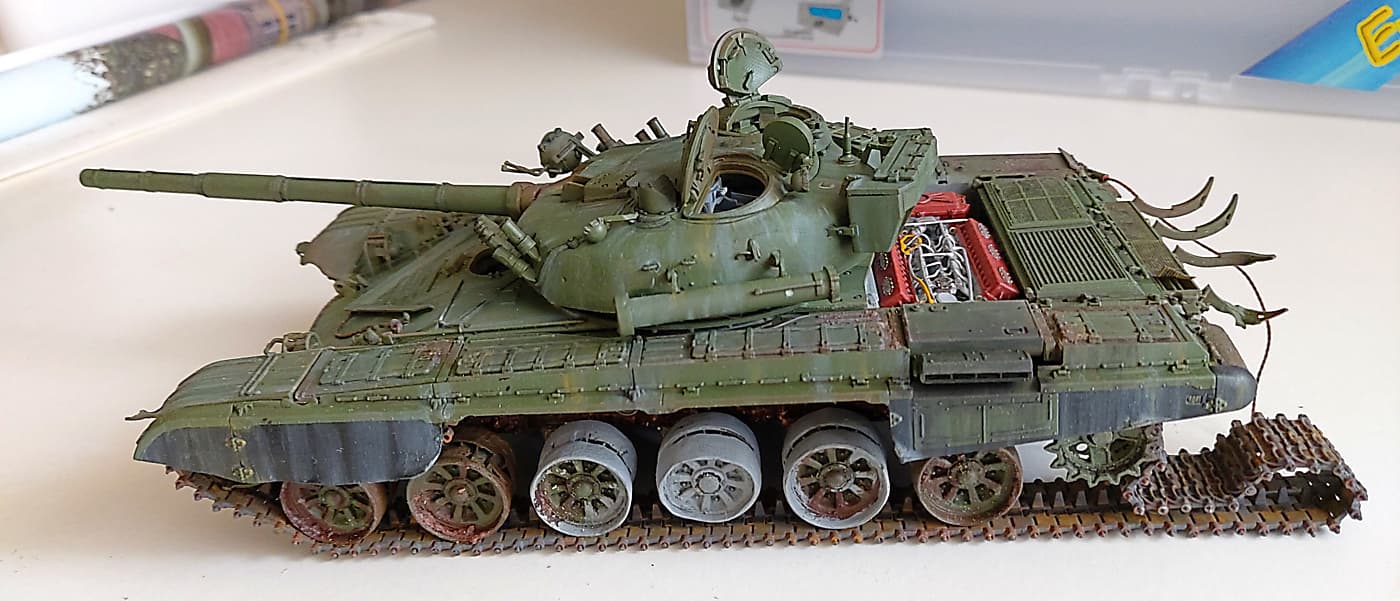
An update. Installed some hoses to the rear tanks. I avoided the kit supplied hoses and used lead wire. On reflection I should have tried harder with the kit parts. These look a bit under scale and the kit provided a spring to imitate one of the hoses which looked the part. The kit spring was a pain to get to hang naturally. (The extra cable is some detail I just added to the rear to give it a bit more ‘clutter’. Ignore it).
Next step is painting the burnt areas. Black then various oranges. White around the burnt wheels. Wish me luck. It will make or break the build.
I’m still pondering if the tank will have the turret in place or blown out.
A lot of procrastinating going on!!
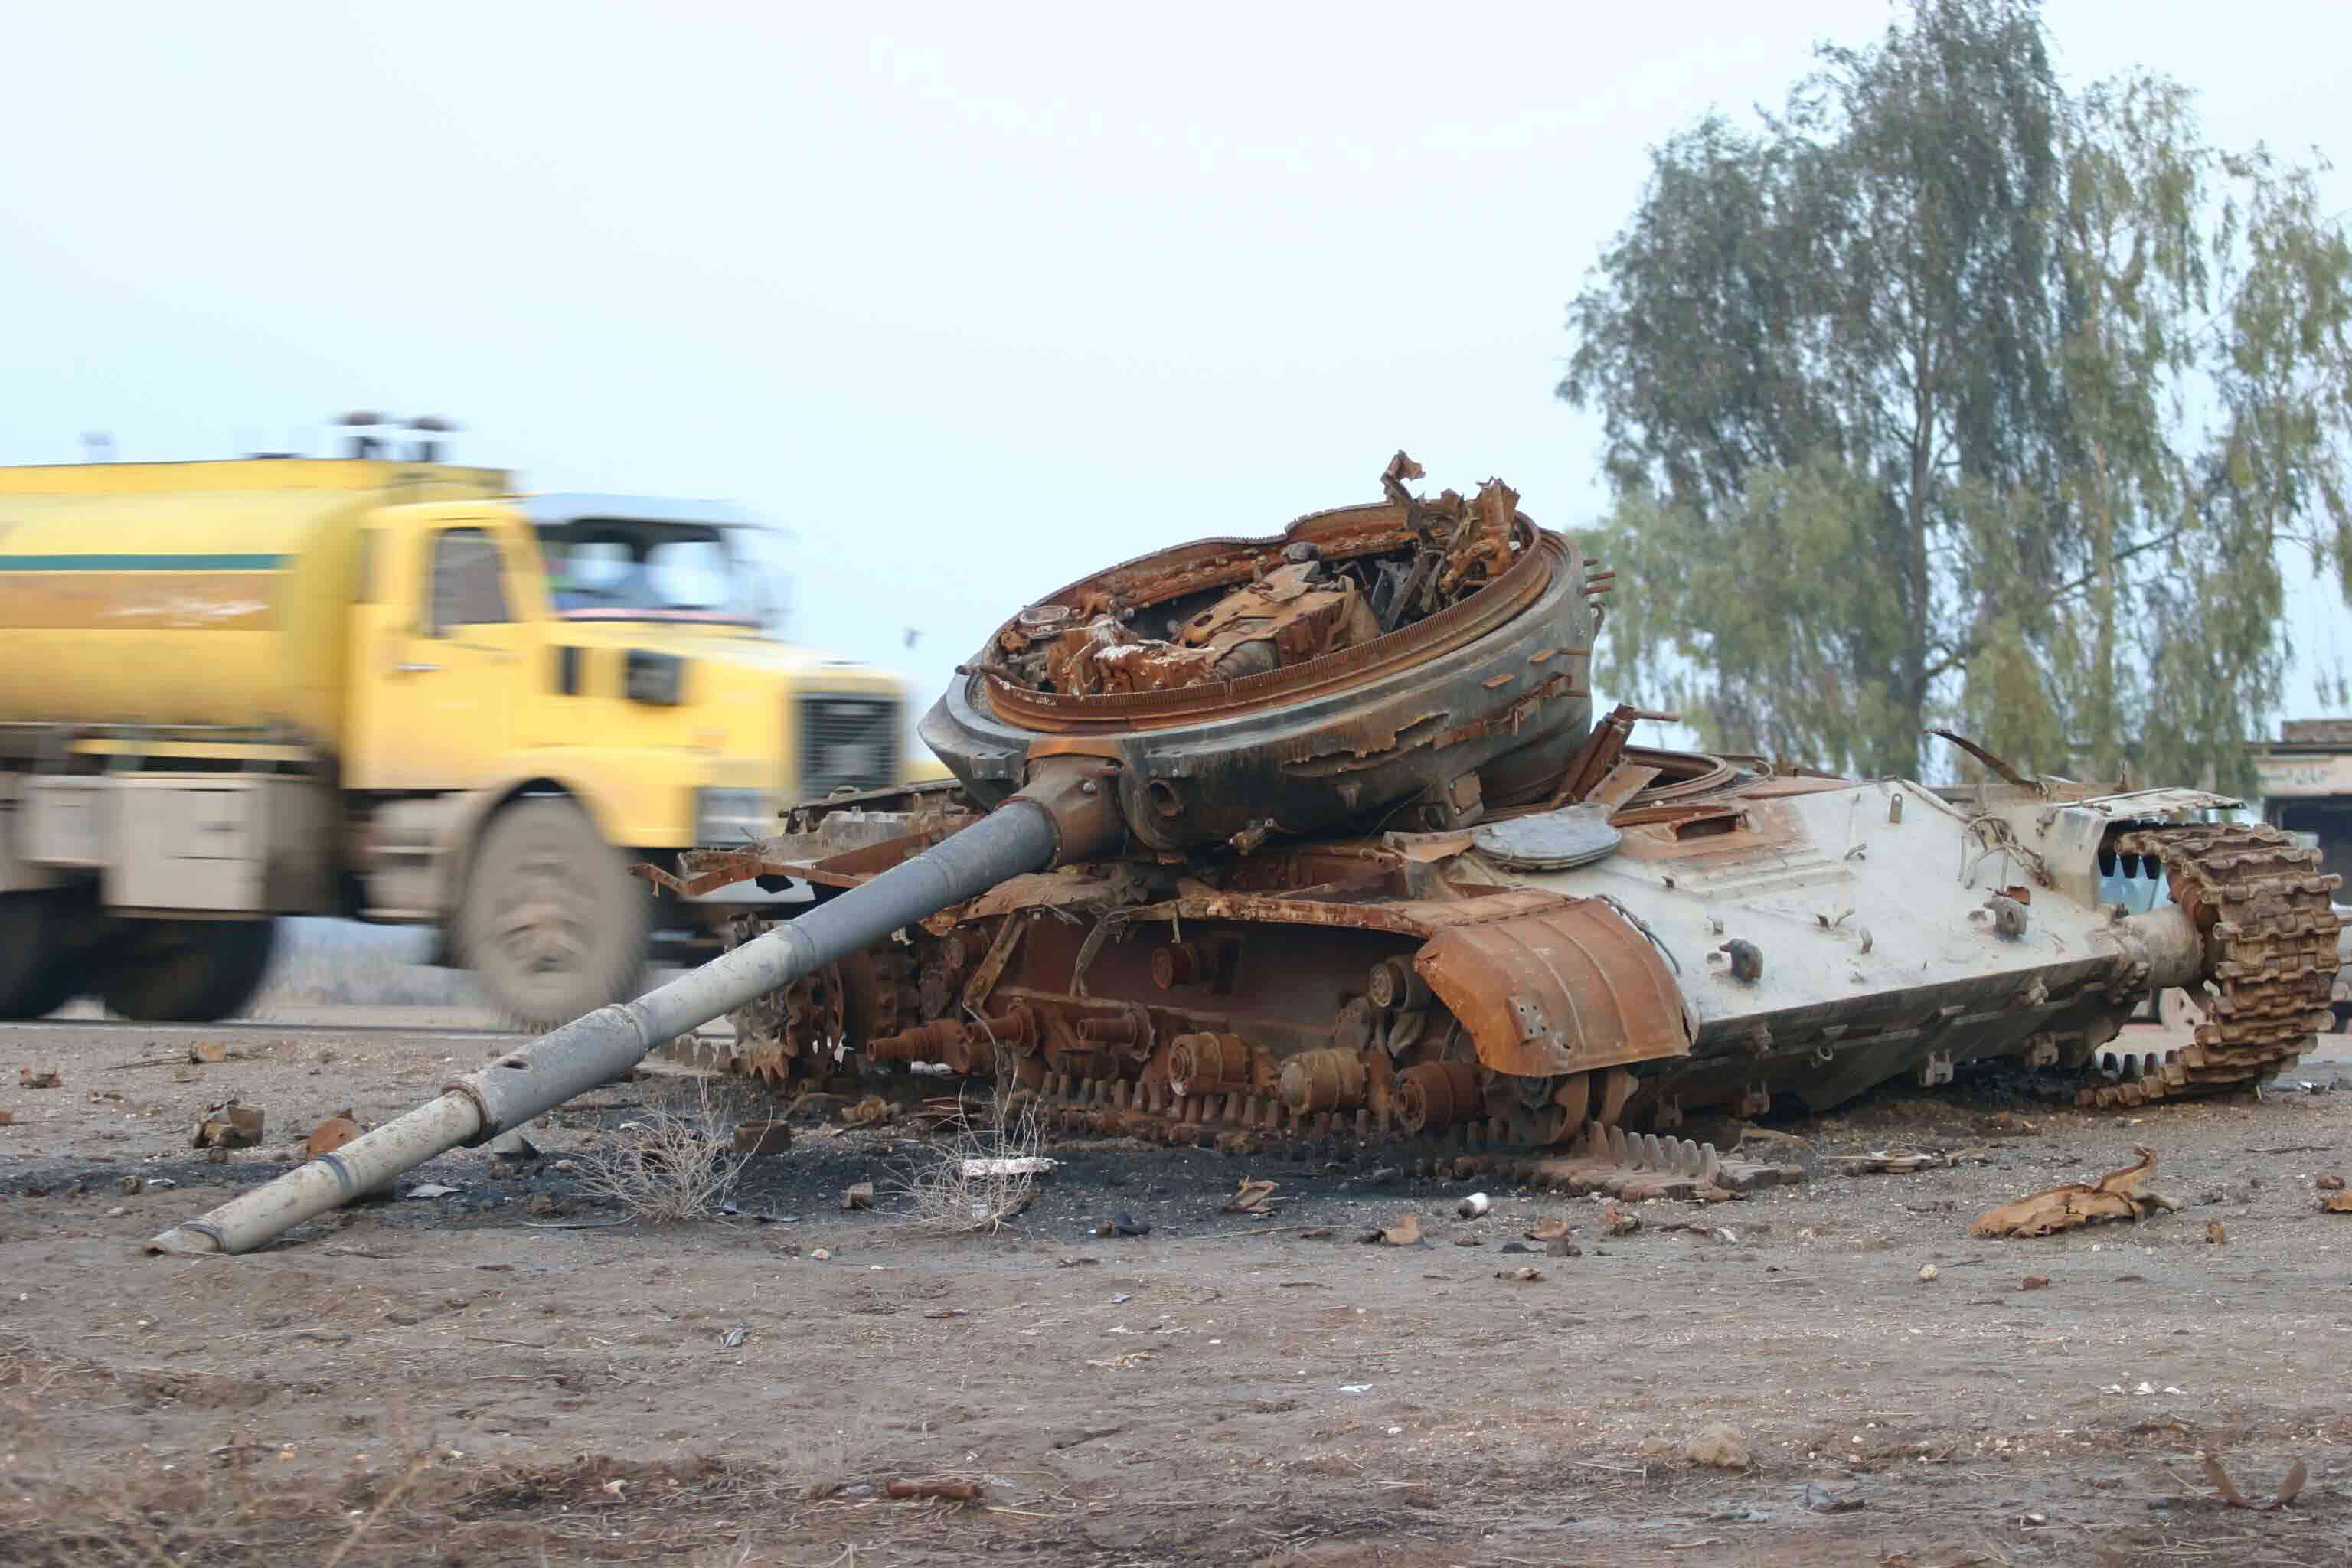
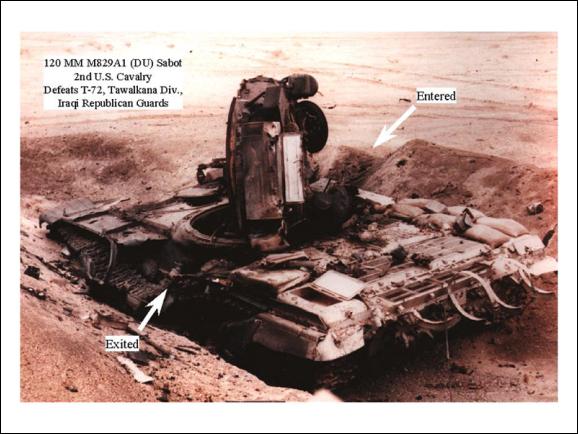
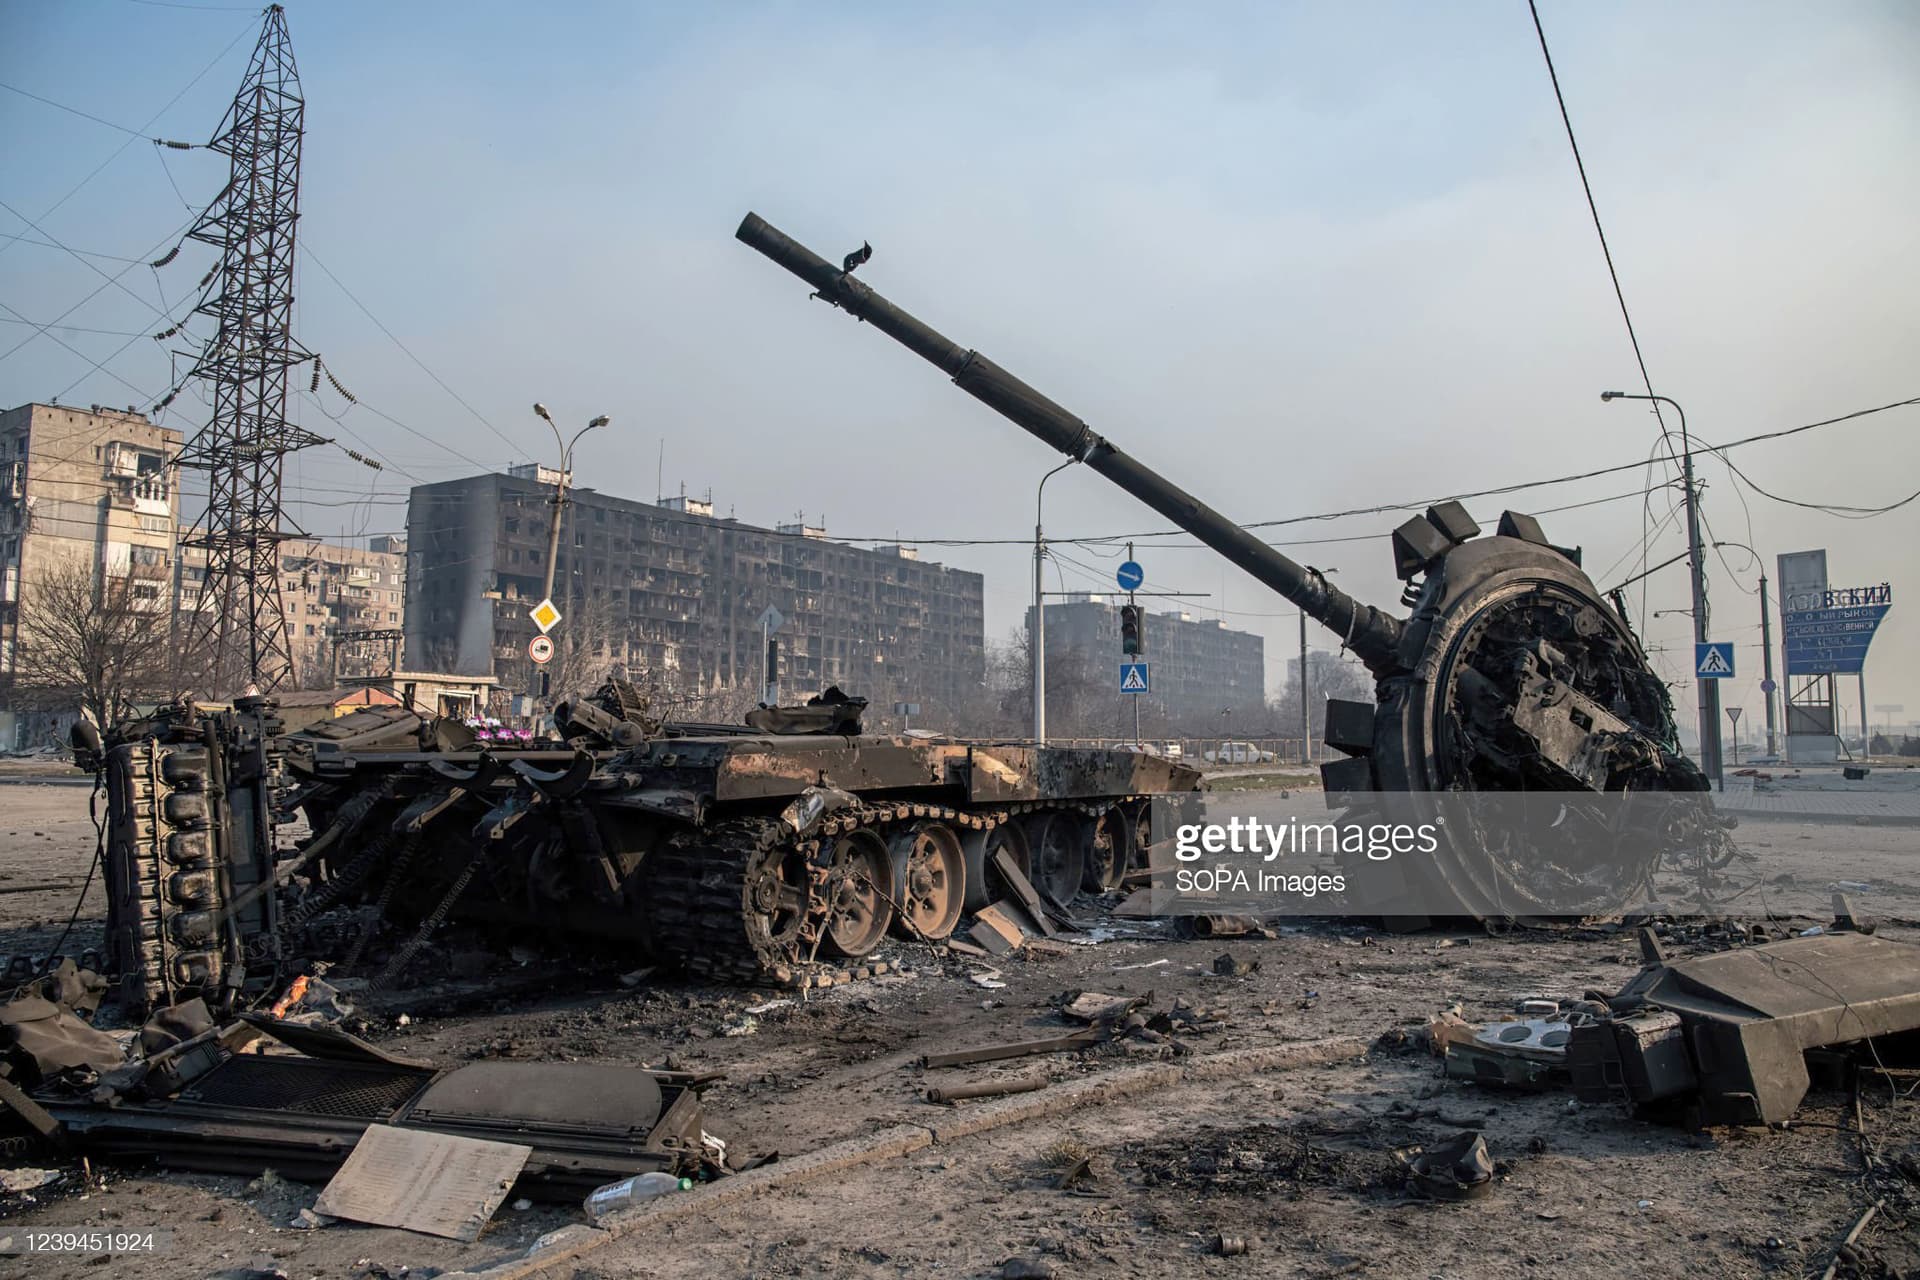
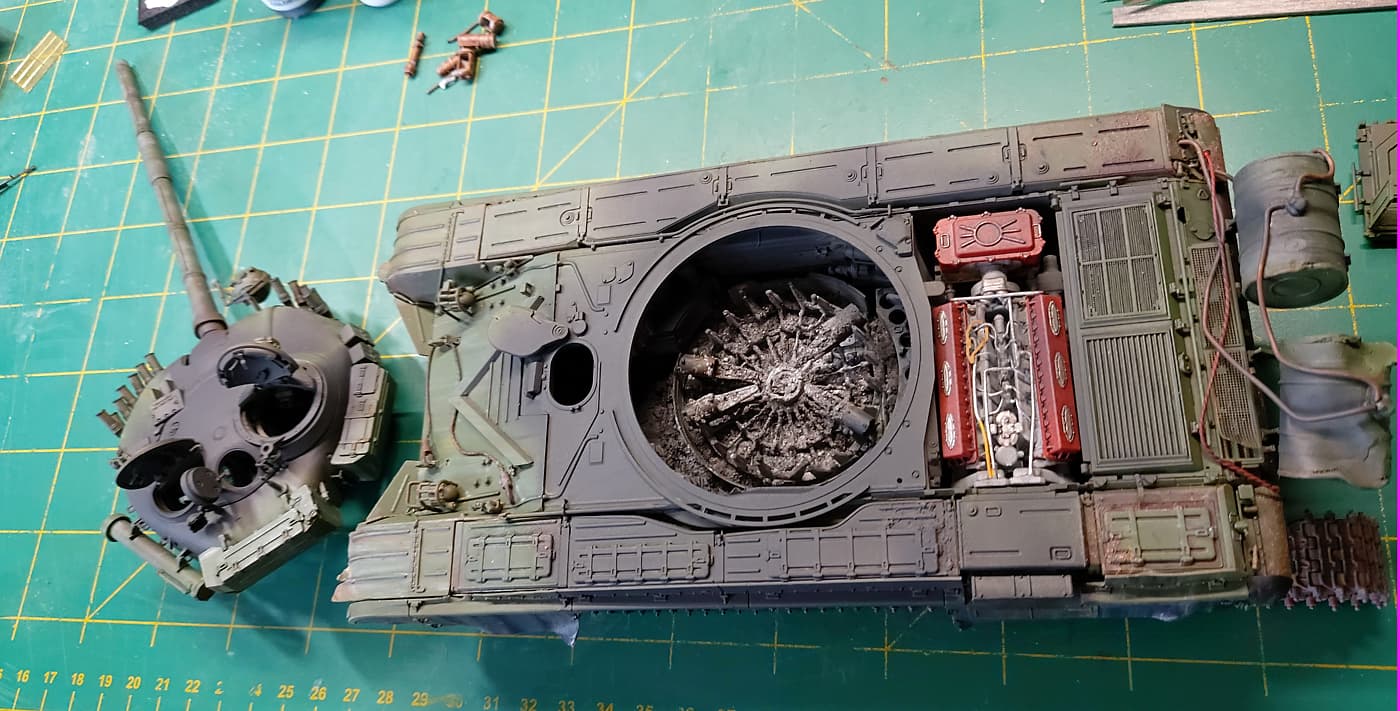
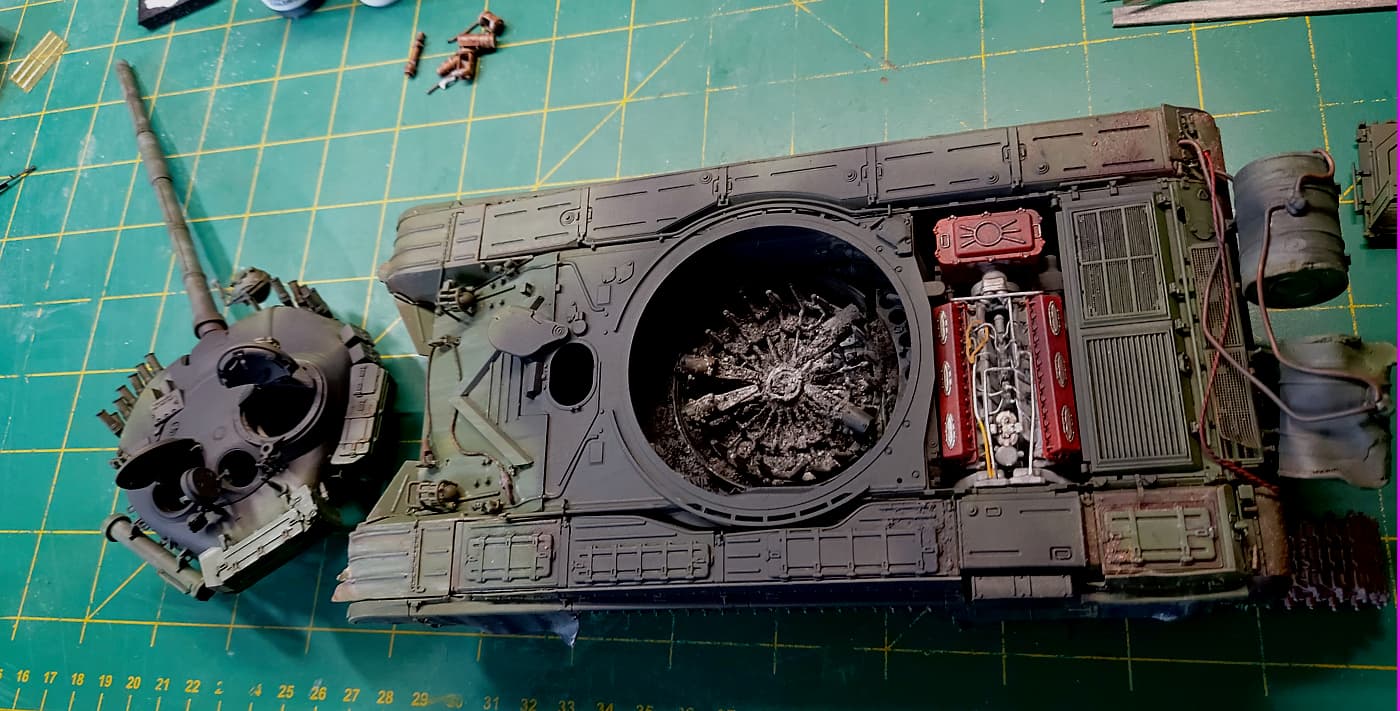
I’m still deciding how to stage the darn thing. Having the turret off means lots of details inside. All the images I’ve looked at show a lot of debris that needs to be replicated. Mostly soot etc etc. So how to make it look realistic?
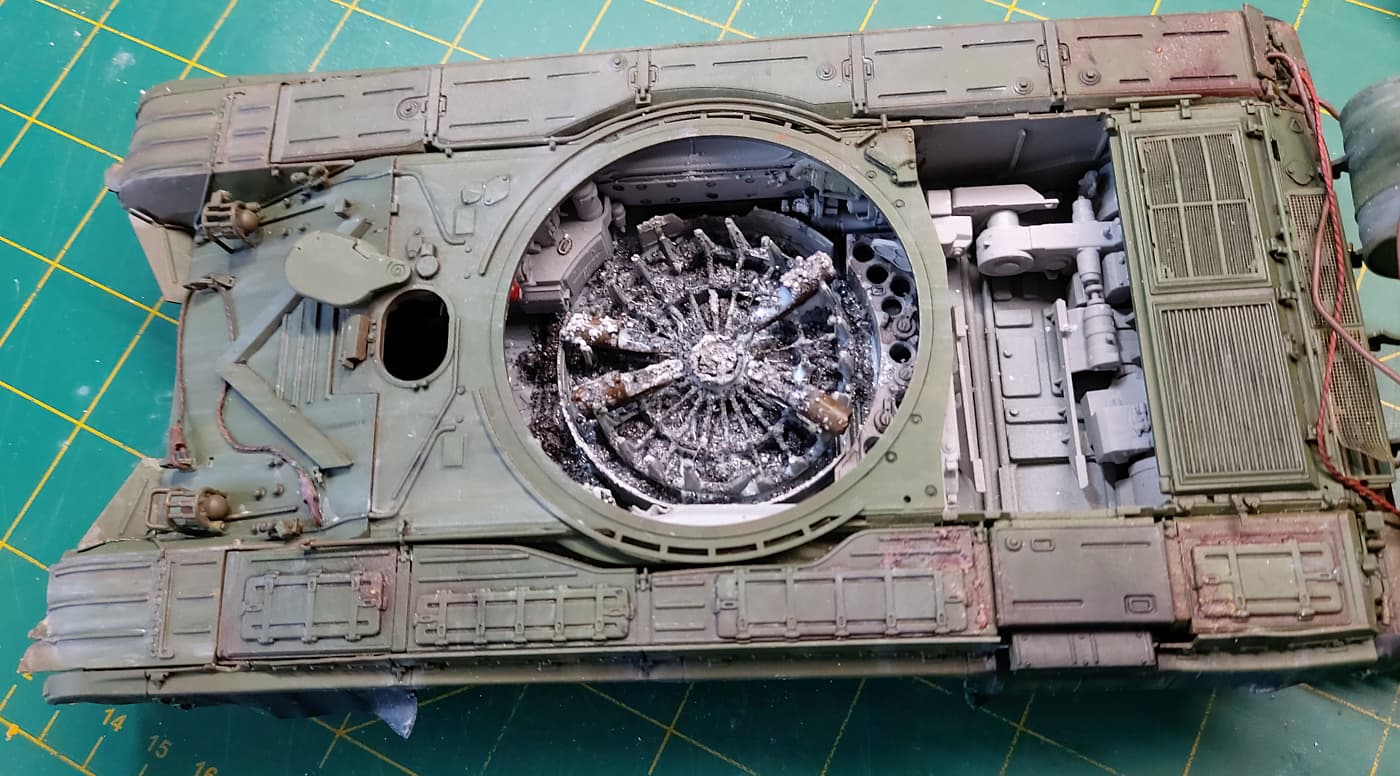
Here’s my effort. (Excuse the image I had to lighten it to see inside). I mixed some black and brown chalk into some plaster of paris. I’ll put larger bits and pieces in once I get towards the final stage. But I think it came out ‘ok’. I’ll add more in other places at some future stage.
Yes the engine bay is very empty. Once the engine is in very little is visible.
I’m trying to be gentle! I love the destroyed tanks but I’ve also grown to like the T72. So it caught fire and went boom but didn’t total itself in doing so. Make sense? I ‘smoked’ the engine but not enough to hide the detail.
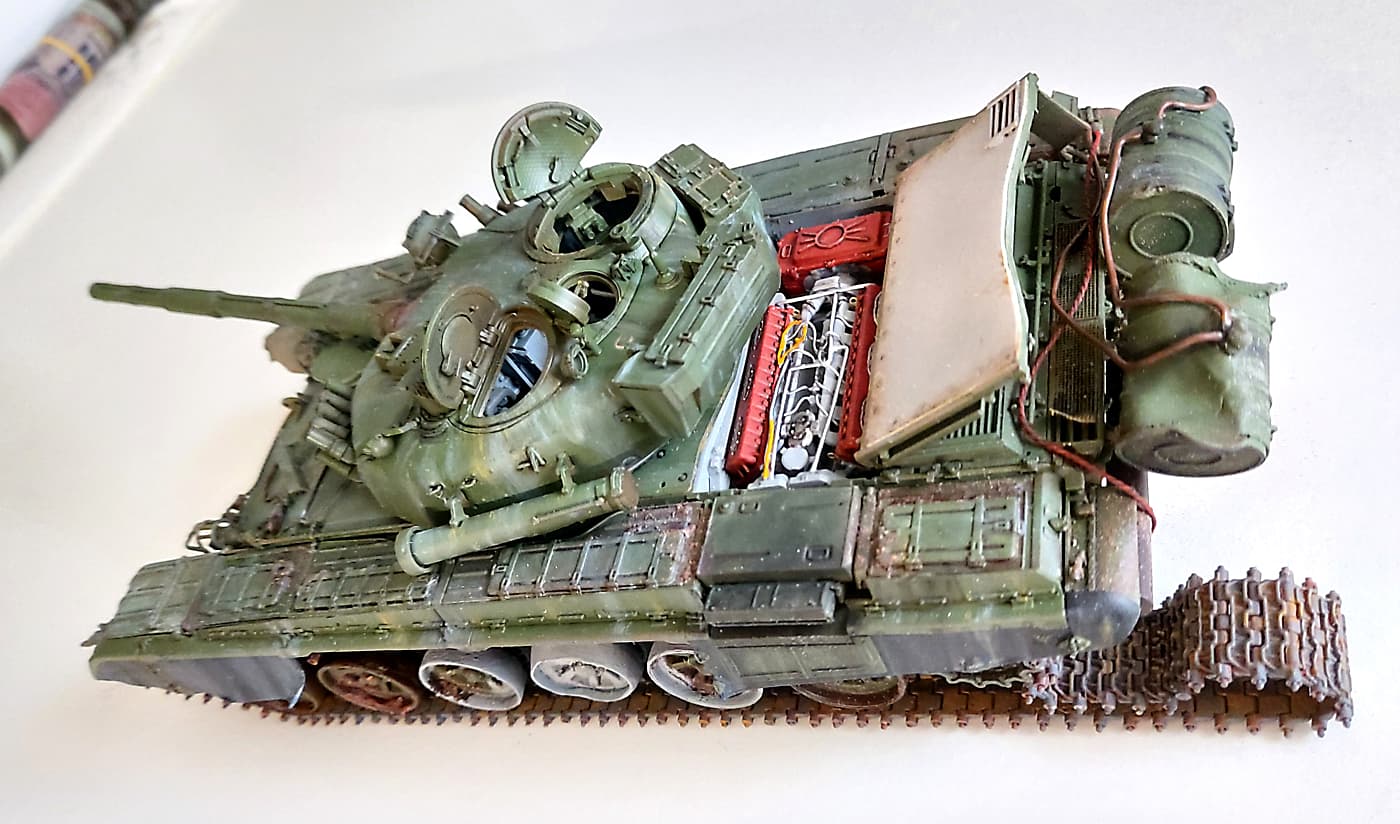
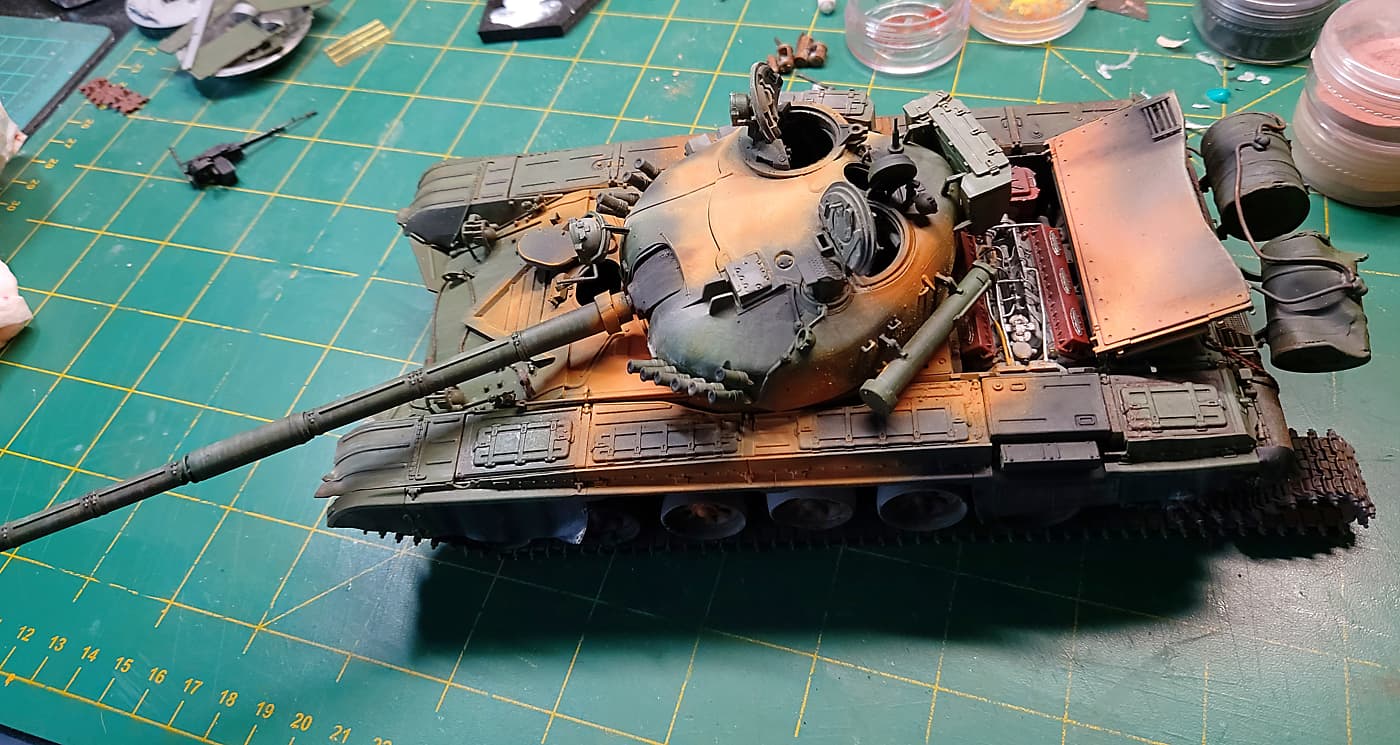
I’ll add some junk inside later. Next the orange/rust colours. That’ll be fun!!
I had a ‘debate’ with my airgun to start with. I changed from a 0.5 needle to the 0.3 needle to have more control. For whatever reason the 0.3 needle refused to work. Having lots of blow back and bubbles in the paint cup. I couldn’t figure it out so the 0.5 needle went back in and it worked fine. So it was an ‘interesting’ paint job. I think I’ve said before I HATE airbrushing.
Again I lighten the photo too much. It’s actually much darker than it looks.
OK it’s Sunday afternoon and I could have been out cutting the grass. Cleaning out the gutters or doing other ‘fun’ jobs. But instead I slaved away at the bench!
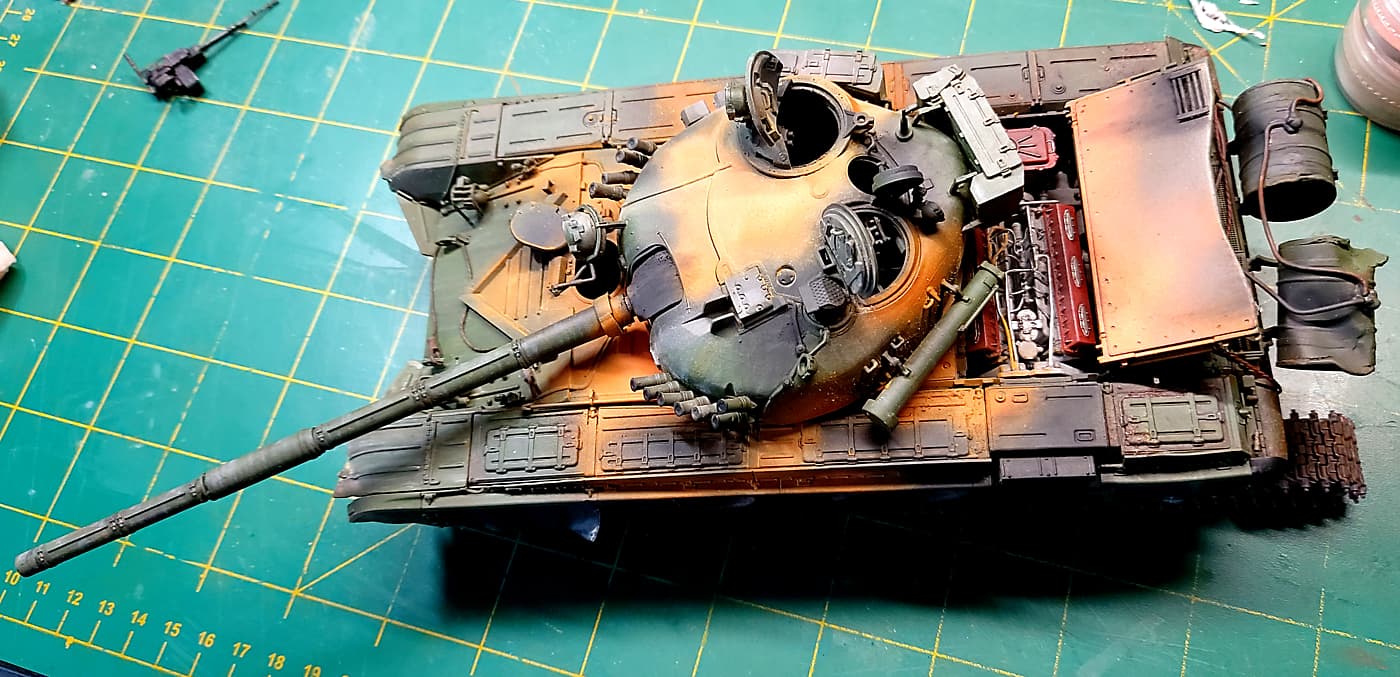
AK Light Rust. What a PITA. It just would not spray. Would not flow and had a dry tip every few seconds. Changed needles. Thinned. Added flow medium. Changed pressure. I even Cursed a LOT. (I tried a few other colours afterwards on a test dummy and they sprayed fine). So no more AK Light Rust.
I then sprayed over it with a very light spray of brass. Don’t ask why but I think I read about it on the web somewhere. Anyway once dry a session with chalks. Chalk is great and I like them a lot, (along with makeup). But you have to be careful with finger marks once done.
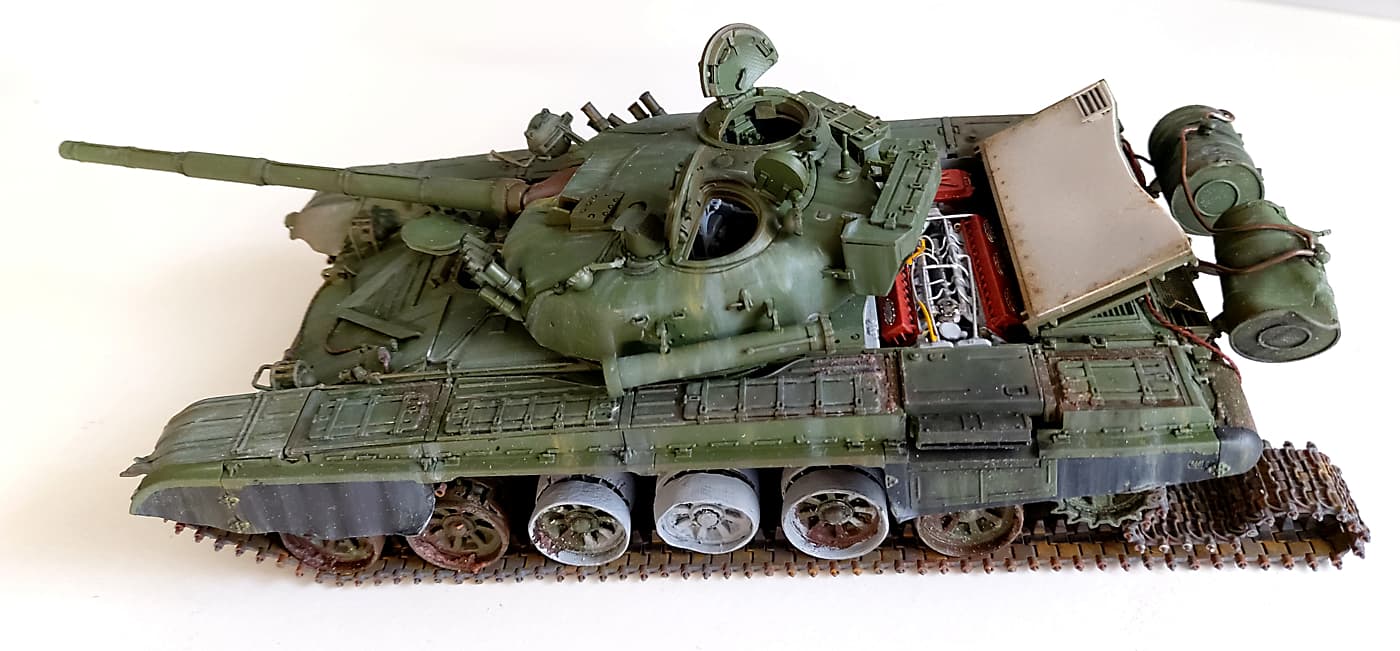
So some details to go. A few paint touch ups and done. BUT turret in or turret out? Hmmmm. This modeling involves a lot of procrastinating.
How about just popped and somewhat askew? Be a shame to hide all that work you did on the floor. Have you finished with the rust? I ask because it seems from the photos that the color is pretty uniform. Might look better with some variation of the rust color.
Since you put all that work into the interior, you should keep it visible. Play around with it, see what you like best. You can go from just partly askew, to completely blown off, or anywhere in between. There a plenty of photos in this thread you can use for inspiration, so try a few and see what you like. If you are not sure, post some photos of the positions you like and see what others say.
Ken
Thanks guys. I’m still playing with the colours. Hard to pick up with a phone camera. But using chalks I’ve ‘mottled’ the colours somewhat. Added some whites to represent ash. I think you could fiddle for a long time on the colours. Some of the images I’ve looked at have ‘sharp’ edges to the rust colours while others have nice gradients. So no one right way. If I started to spray again I would put on a wider area of burnt orange.
Also internet images may have been taken the day after or weeks after the tank was destroyed. With time the rust fades.
An update. I’m getting a bit browned off with this project. I’m getting mental blocks as to how to finish it off.
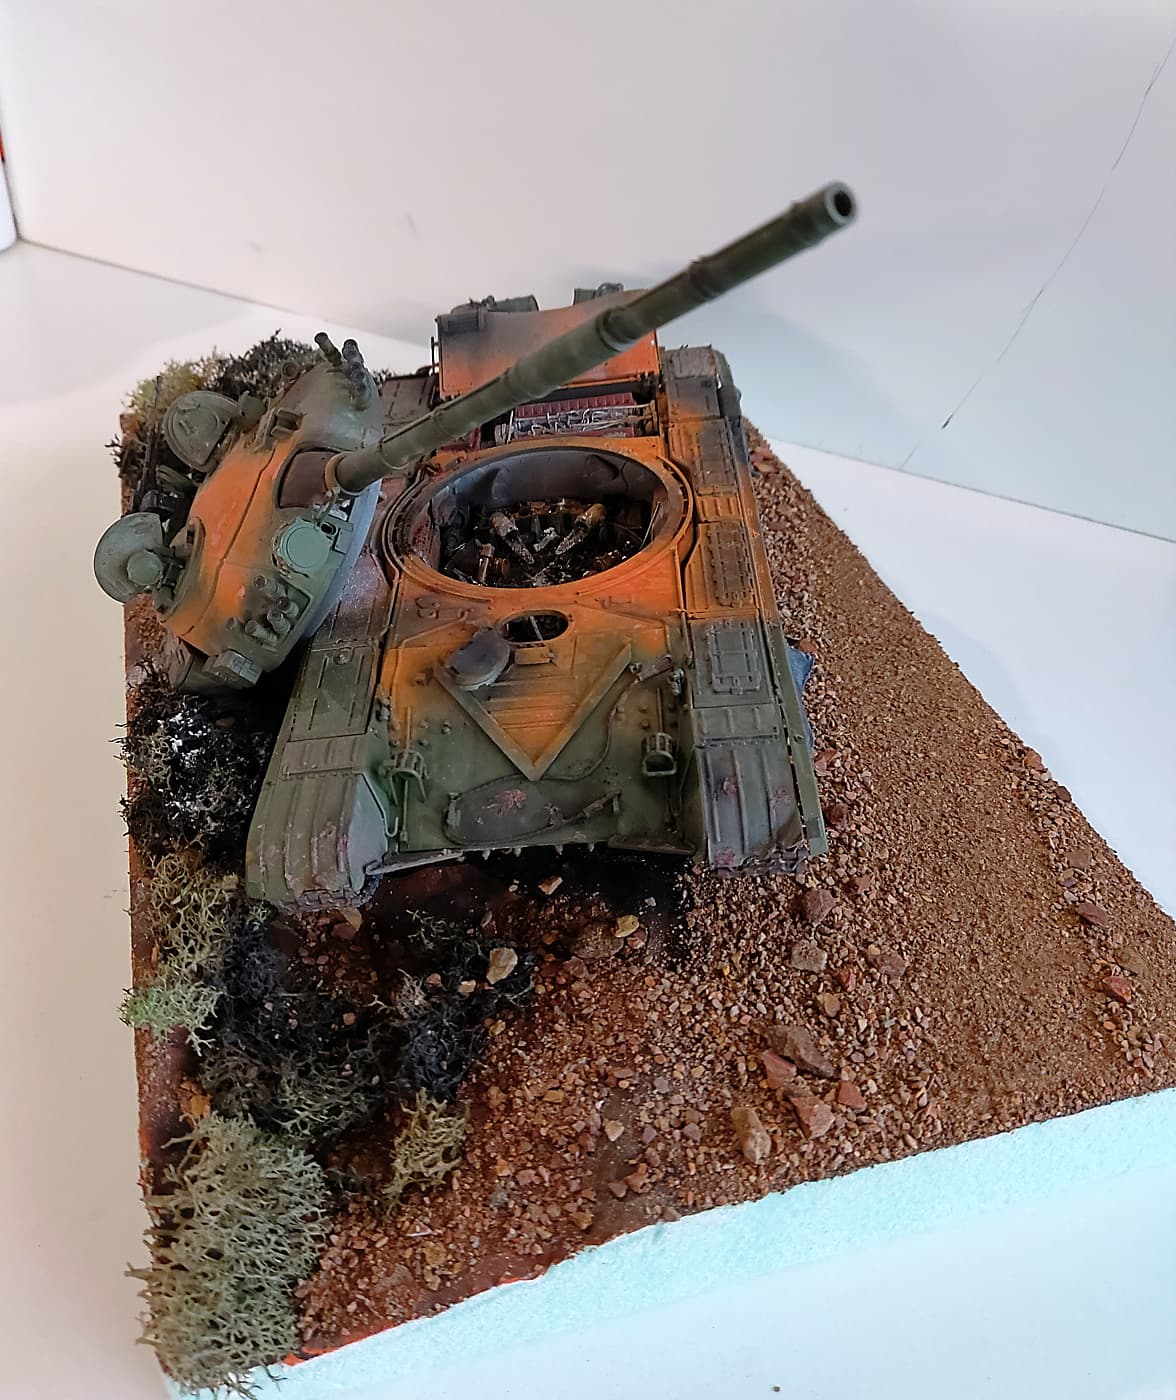
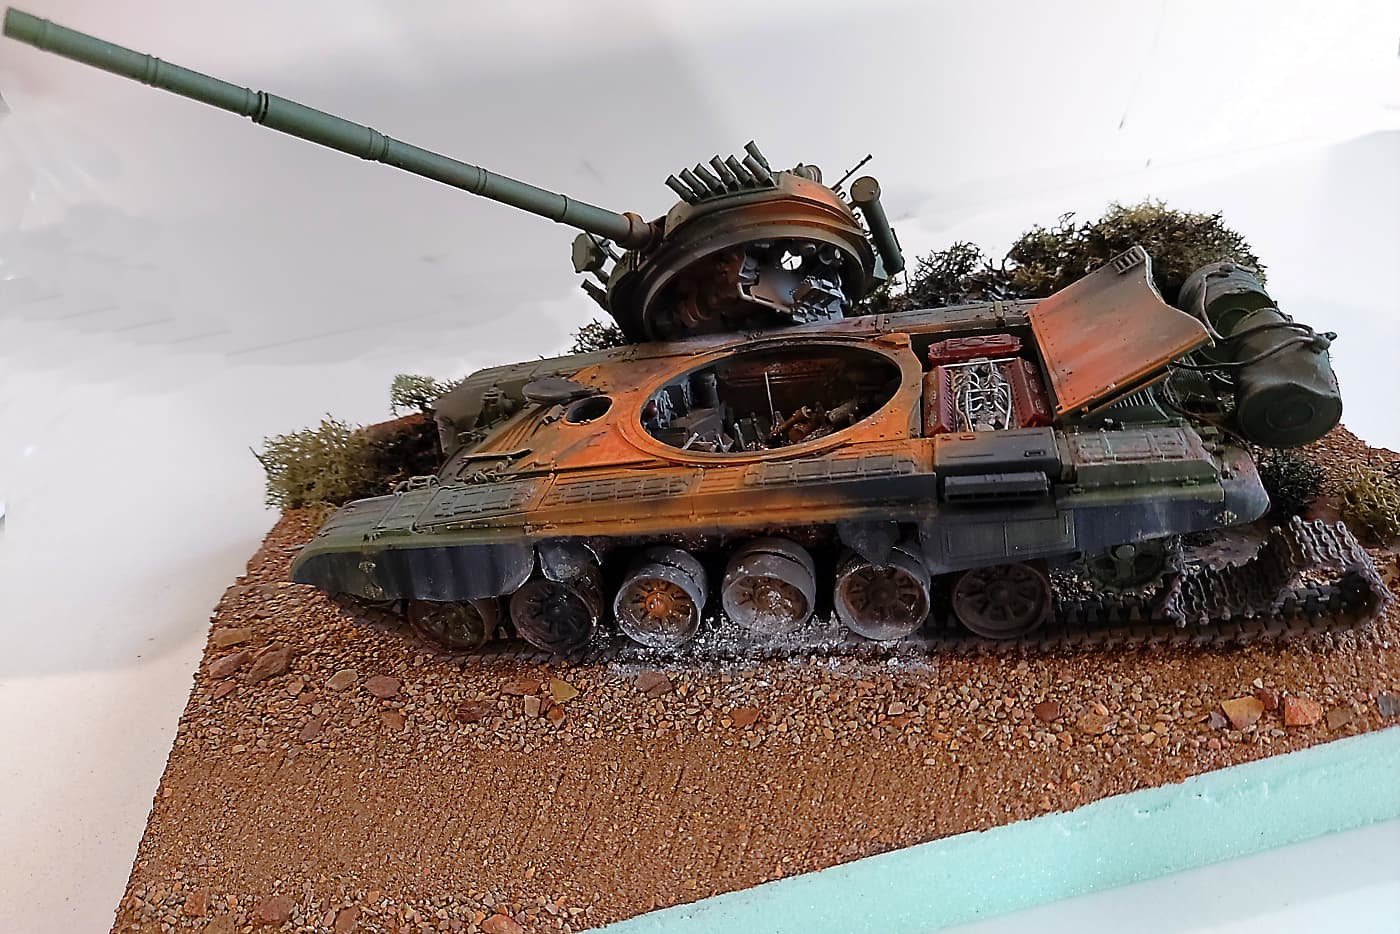
I’ve built the base. (Small roadside diorama with the T72 in the ditch. Fire that burn the surrounding bushes).
Here’s the mock up. Nothing is glued down except for the road base. Gravel/stones etc.
White ash etc to be applied.
Detail still to be added to the T72 and the ditch and bushes.
What’s the feedback? Am I wasting my time or does anyone think it will ‘work’?
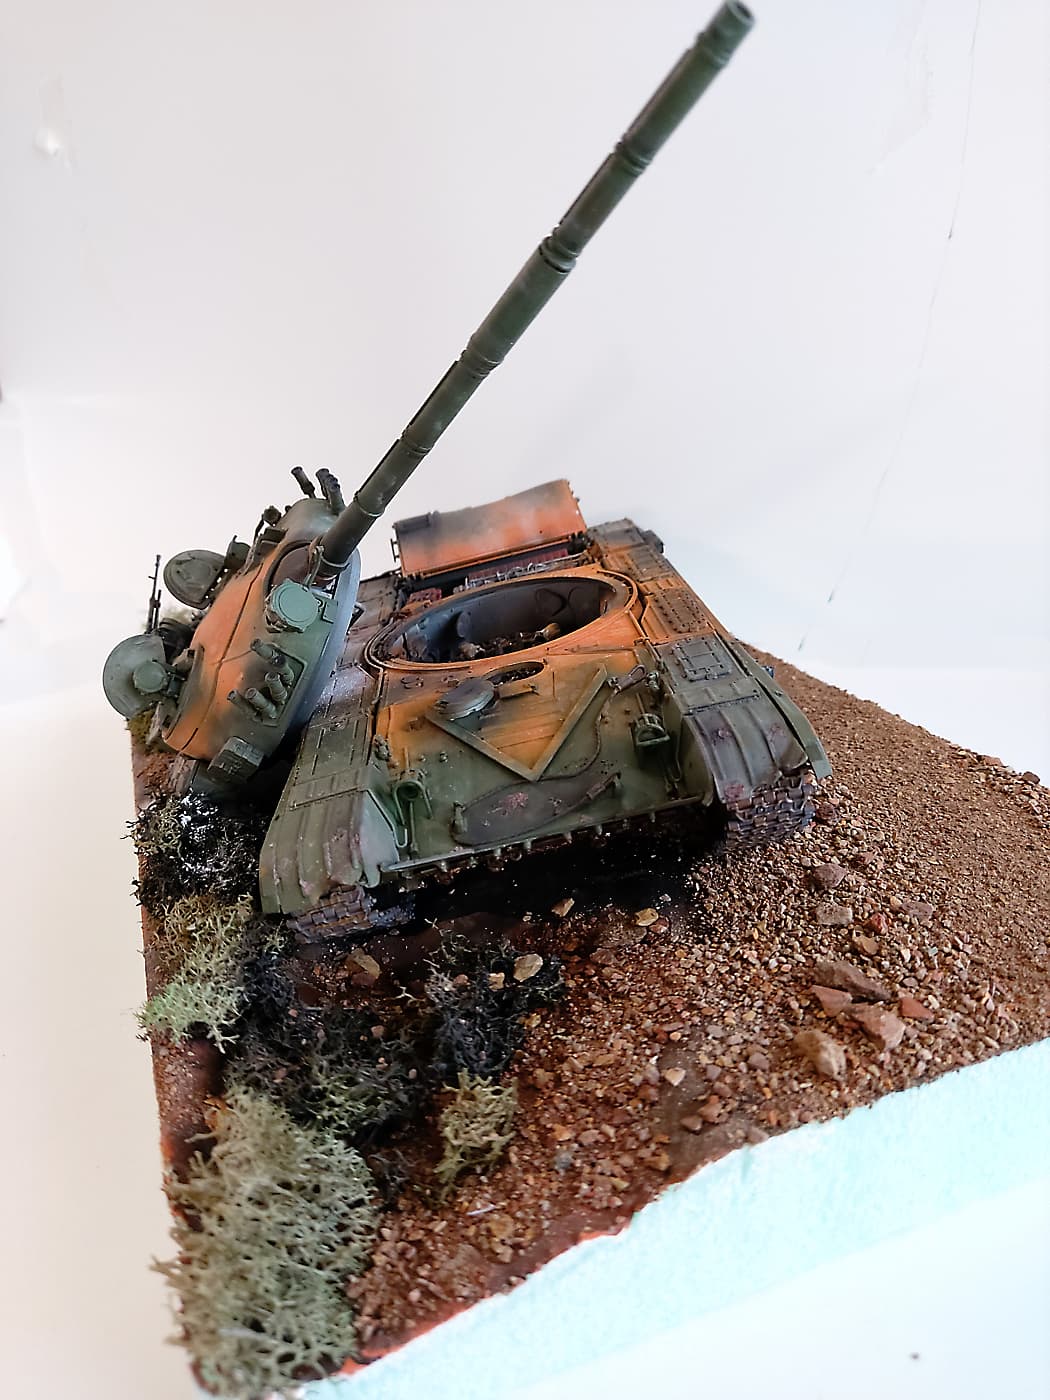
I think that’s the job done. You have a good believable position with the turret, the detailing is great and you get to see the turret inside and the destroyed hull fighting compartment.
The little display base just completed it. Nice and simple but has the real effect.
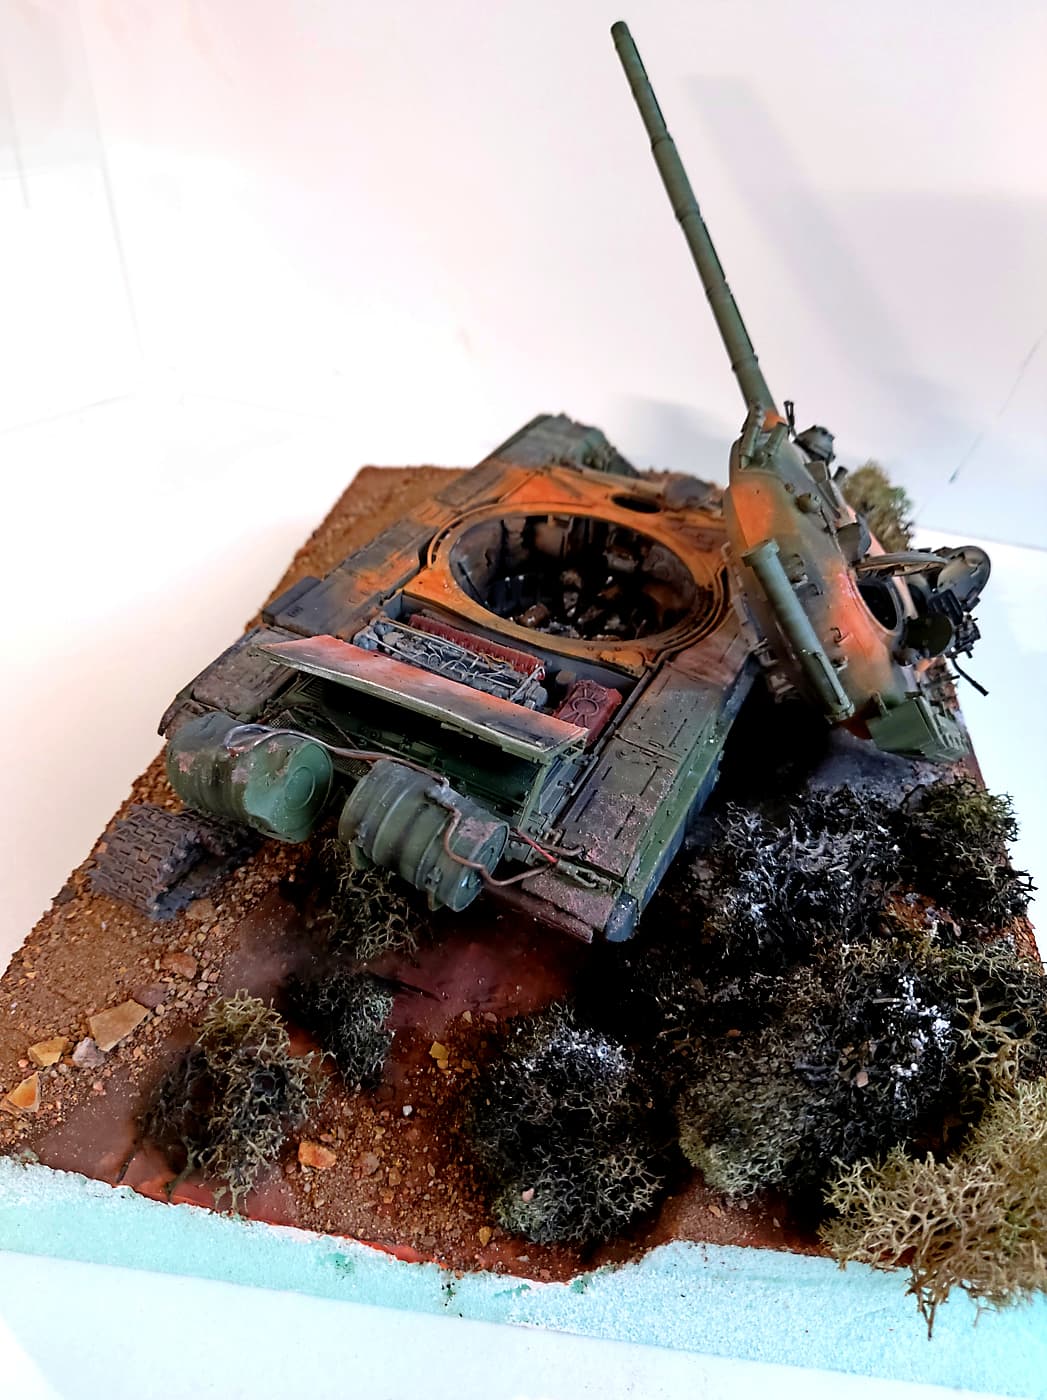
Only thing I would do, is tone down the engine colours, maybe some soot or a grime wash …
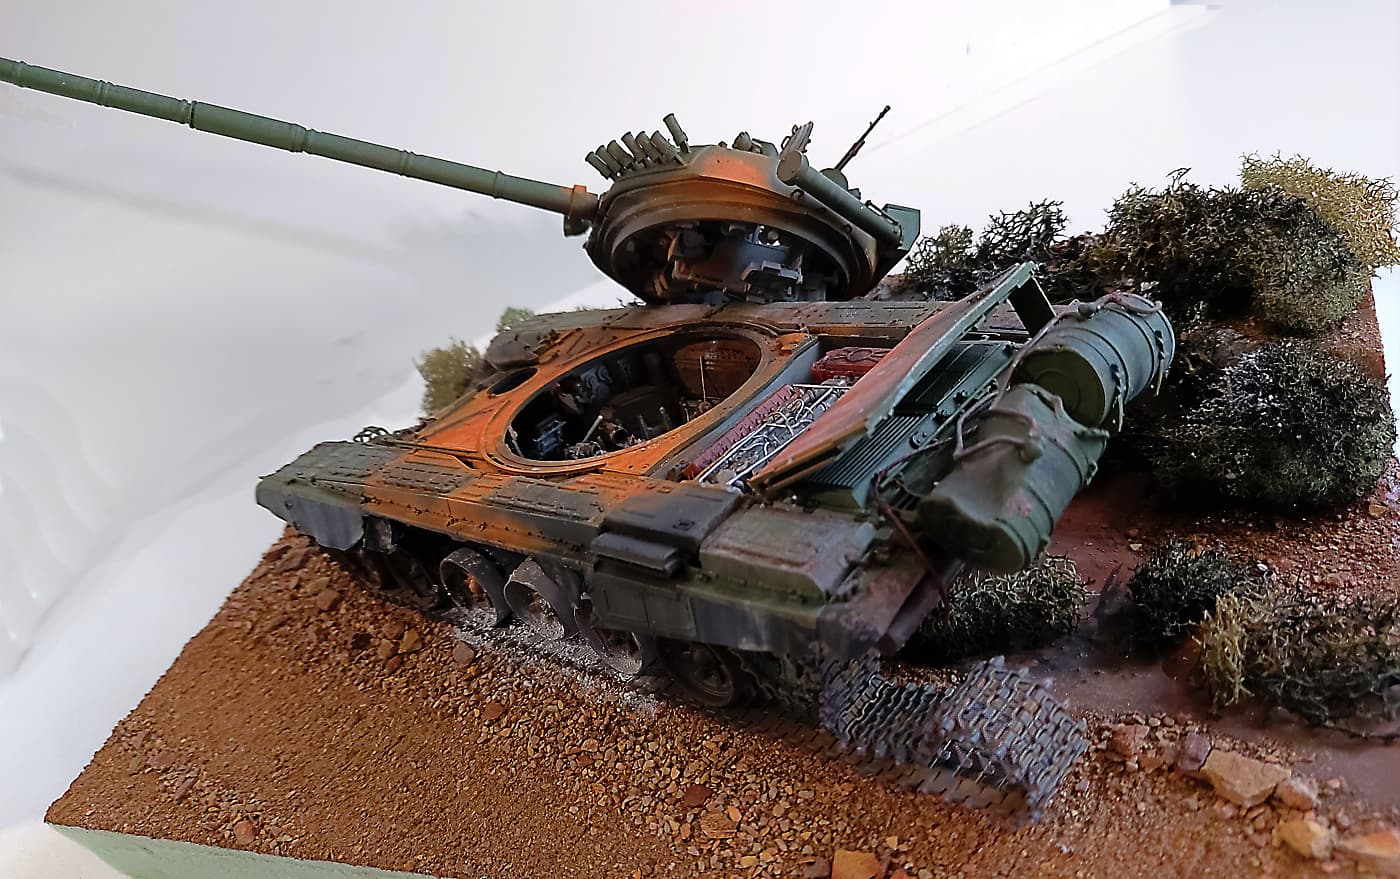
The inside of the fighting compartment does look very good with the chalk powders mixed into pastes. It’s all done really well
OK folks enough is enough. As I have mentioned I’ve burnt out on this project. Pun? Any way I cobbled together enough to sit on the shelf. I may comeback at a later date and finish off some more details. More smoke affect. Finish the base etc etc. (Does anyone believe that? Does anyone go back and finish a build?)
Sorry about the image quality. Phone camera.
Some thoughts. The kit is a nice kit and given time I would love to built a full T72 again. They are ugly brutes that have character. Instructions are somewhat vague. Aren’t they all? Not knowing how armor ‘works’ makes decisions harder. Not knowing what burns or melts makes it harder. Not knowing what goes ‘bang’ makes getting the destruction believable.
I looked at a zillion images of destroyed armor and no two where the same so I sort of ‘winged’ it with some steps. The colours were an issue.
I’ve enjoyed detailing the engine. Destroying the rubber side skirts. Note some of it I replaced with ‘real’ rubber. I’ve enjoyed finding something that looks like burnt ash. (Plaster of Paris with a small touch of black chalk in it). All the paint is AK. Everything is weathered with chalk.
I’ve been sick a lot during this build and I lost the plot a few times. So continuity was an issue. But in the end I just decided that I had started something crazier than my skill level should have attempted. Lesson learned.
Thanks to everyone who followed along.
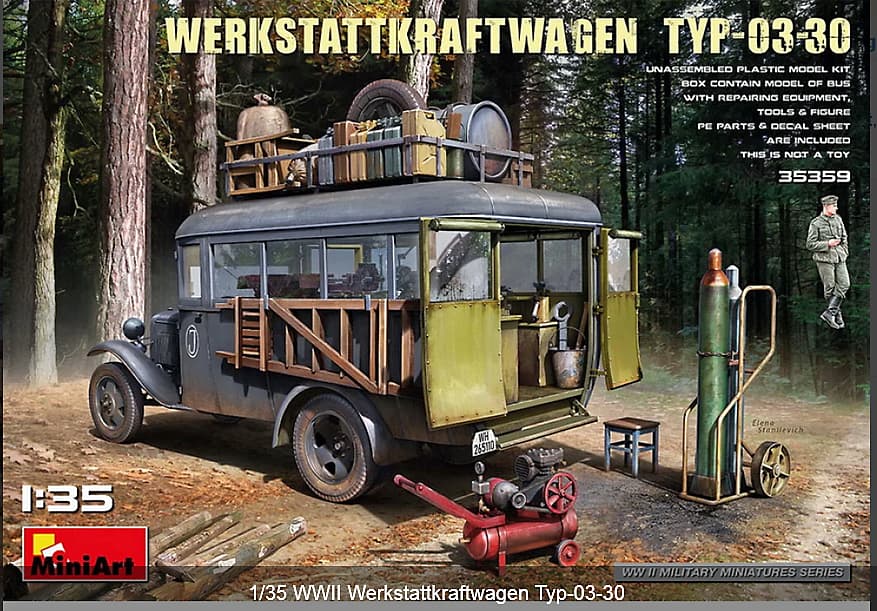
My next project will be a freelance job that no one can say is ‘wrong’. Anyone interested can follow along in the Automotive threads. It will be a hack of one of MiniArts kits. (See below). A Ford Model A which is a Gazz and then a part of the German military and now a surfy wagon!!! Fantasy!!! https://forums.kitmaker.net/t/1-35-scale-surfy-wagon/23332
Thanks to those who gave their feedback. It was all very helpful.