That’s the main advantage of being retired. ![]()
That tracked cannon is awesome! Was the metal barrel part of the kit or aftermarket? What was the problem with the tracks? They sure look great now.
Paul
That 8 wheeler really looks great, its even got turn signals. How did you paint the markings?
Paul
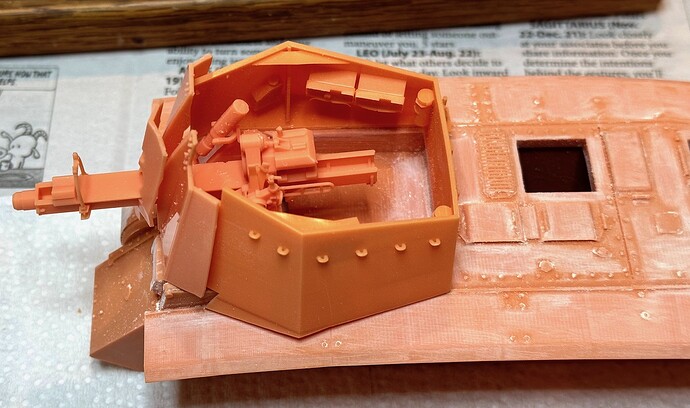
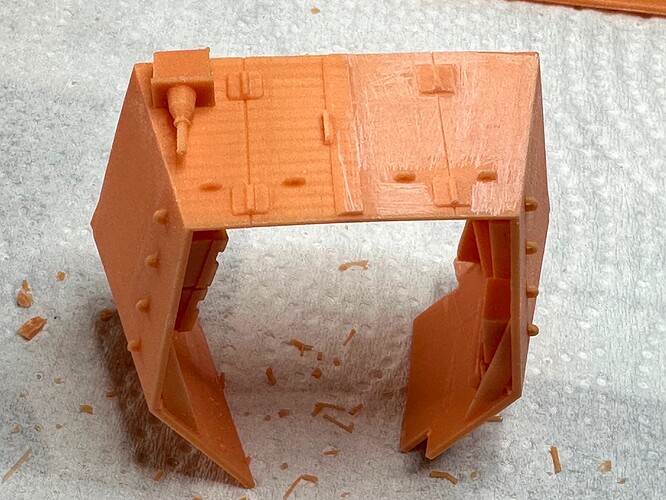
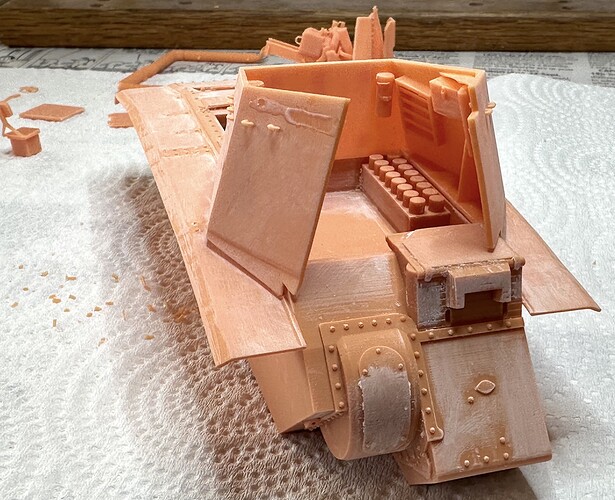
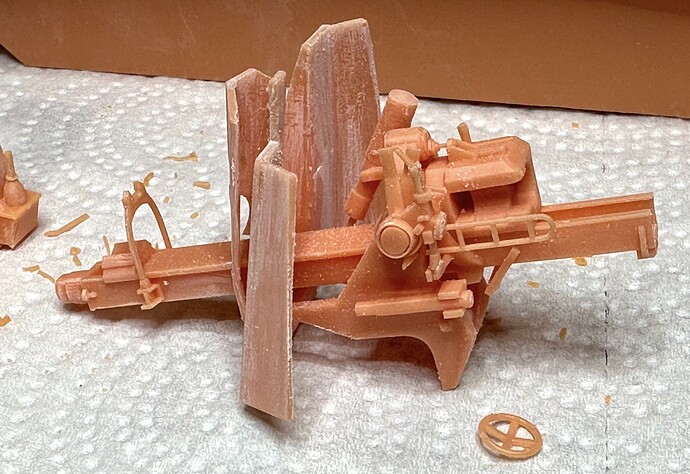
I have been piddling along with the SSModels 3D printed LeFH1BB2. There are no real directions and the one page sheet is of very little help. It did help me figure out the SSModels really did forget to include a barrel. By careful comparison I was able to affirm that I had all the pieces intended but that a barrel just wasn’t included.
I bought this kit months ago and had the seller replace the broken hull & track assemblies and then signed off on it. I can’t very well complane now that a part or parts are missing.
I see two options. If there is an aftermarket barrel available, I can order it. I understand that this same gun was used on other German vehicles. Does anyone know if one is available and if so, how to I call it out for an online search?
The other option is to make one myself out of wooden or plastic dowel with some sort of flash device out of the spares box. Low rent possibly but it would save the project.
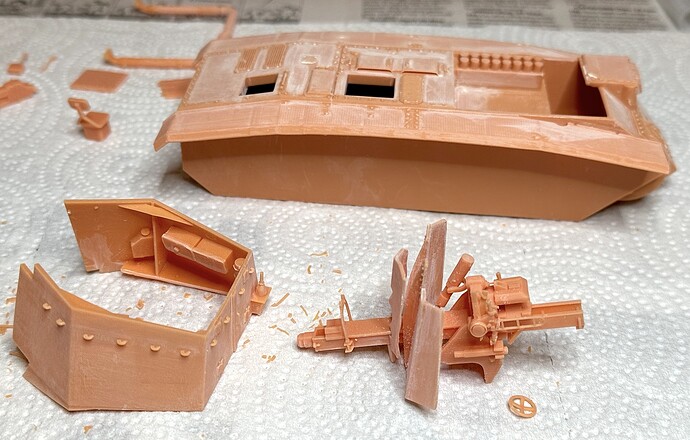
The gun & shield were all made together as one part. It was hidden in a mass of sprue trusses that made the job of freeing the part difficult and hid the assembly pretty completely. I broke off one wheel trying to remove it.
Paul
The gun is a 10.5 cm leFH 18.
How about a Gruson Fahrpanzer-the newly released kit by CSM?It is a pre-1900 gun.
I’ve received mine 2 weeks ago.
And started it last Saturday evening(unfortunately-no pictures made of construction steps).
May I join this GB?
Cheers,
Angel
I guess this falls into this campaign.
Eh, that is not a link to a campaign?
No, it is a link to an M777A2 Howitzer I am building, hence pertinent to this campaign (correction), Group Build.
Sorry, I misunderstood you. I thought you responded to Angel.
Thank you Paul.
To paint the markings I made cardboard stencils for the Zs then I used masking tape for the squares. The crosses were just painted with a brush like the real ones.
Olivier
Where is the green with envy emoticon???
Thanks for that, I found one online and ordered it. There is plenty to do while waiting for it to arrive.
Paul
This will be coming out to play soon…
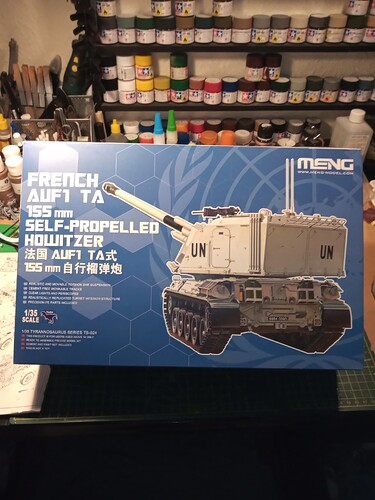
The AUF1 TA.
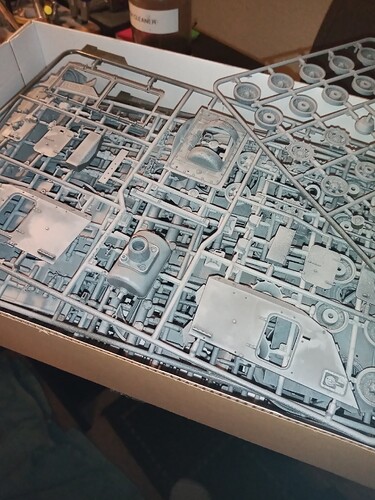
Lots of sprues…
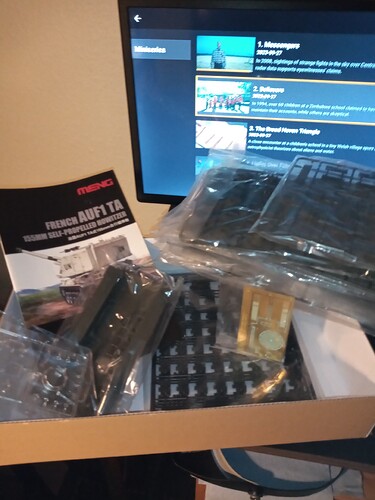
11 veh, 4 track links, 1 clear, 1 PE, hull tub, very nice instruction booklet, decals for 2 options
I will be doing the UN version ![]()
Nice choice.
On my site I have some pictures of one shot in 2008 in Lebanon. And you can check the walkaround section of my site for the accuracy issues of the kit.
Olivier
Thanks Olivier, I will definitely do that ![]()
I received my Model Shipways OD paint for the Napoleon build. Never again. Two bottles of sludge paint that needed to be HEAVILY thinned and still managed to clog up my airbrush every few seconds.
Checked out some of the other OD paints I had and found one reasonably close, so that’s what I’m going to use.
Next step, as most (if not all) the “wood” parts are now OD, is to assemble the two trail halves with the hitch part. There will, I’m sure, be some tender loving hits with a lightweight rubber tipped mallet to get those two parts aligned and evened out.
These kits certainly are unique, and I love the subjects, but I’m thinking a nicely written letter to the manufacturer about their molds might be in order. Drilling out the axle holes in the two wheels will be a challenge to keep the bit straight boring through the much off set molds. ![]()
![]()
Mike
I’m on the blocks, ready to start cutting a bit of plastic… hopefully tomorrow now …
Today I primed all the pieces on the general sprues and the track sprues…
I won’t lay all 15 of the wagon sprues out …
Ready to go… Countdown timer is on lol
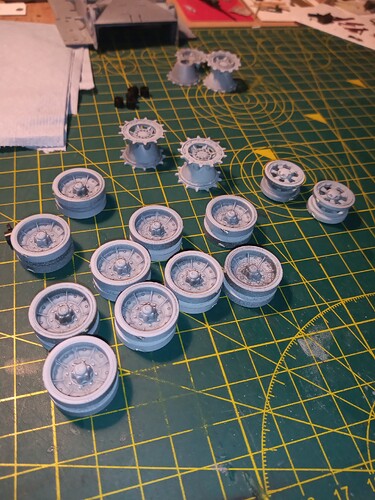
Not a huge amount done but made a start on the running gear.
They all need to sanded back a bit to get the tyres smooth. Once I have done that, I may get them all painted up and can just put them to one side. Might also do the tracks and get them assembled and out the way … ![]()
Wheels are sorted and all the outer rubber rims are sanded smooth now as are the idlers.
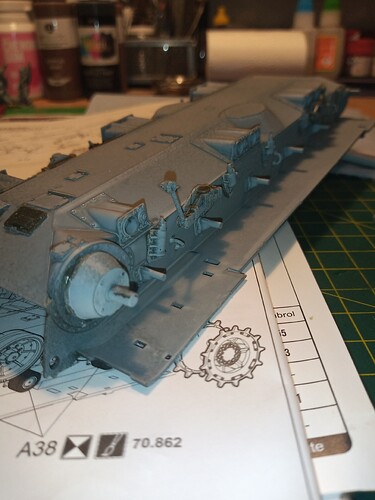
Started on the hull side suspension bits, all pretty straightforward but there was some tiny flash and sanding required.
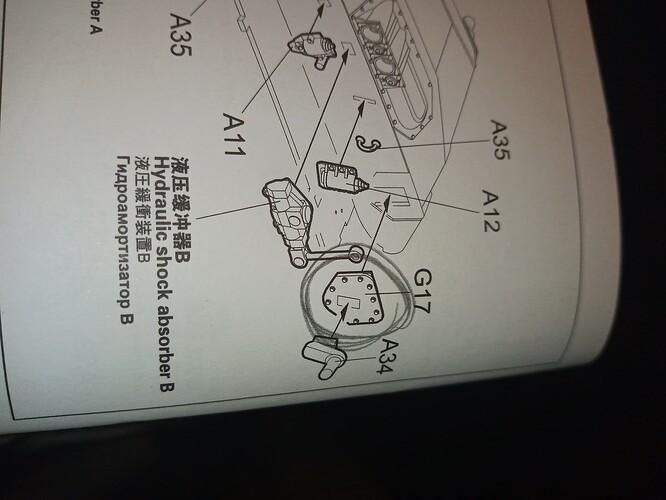
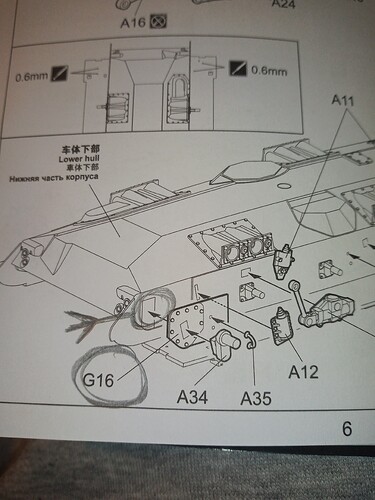
One issue was the parts G16 and 17… Bad fit issues due to the way the inner mounting box for the idler arm sits…
Needed to carve a bit away to get a snug fit …
Fitted the various bits to both sides,
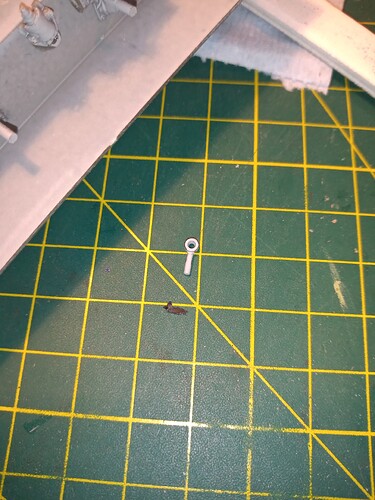
And of course it wouldn’t be modelling if I didn’t break something…
One of the drop arm links broke in half, not a big issue as I will just wait and fit the other end on the axle and then glue the 2 broke bits together…
