Oh Hell No! Last year was WAY too long. I’m not signing up for this year to last 10 years. 
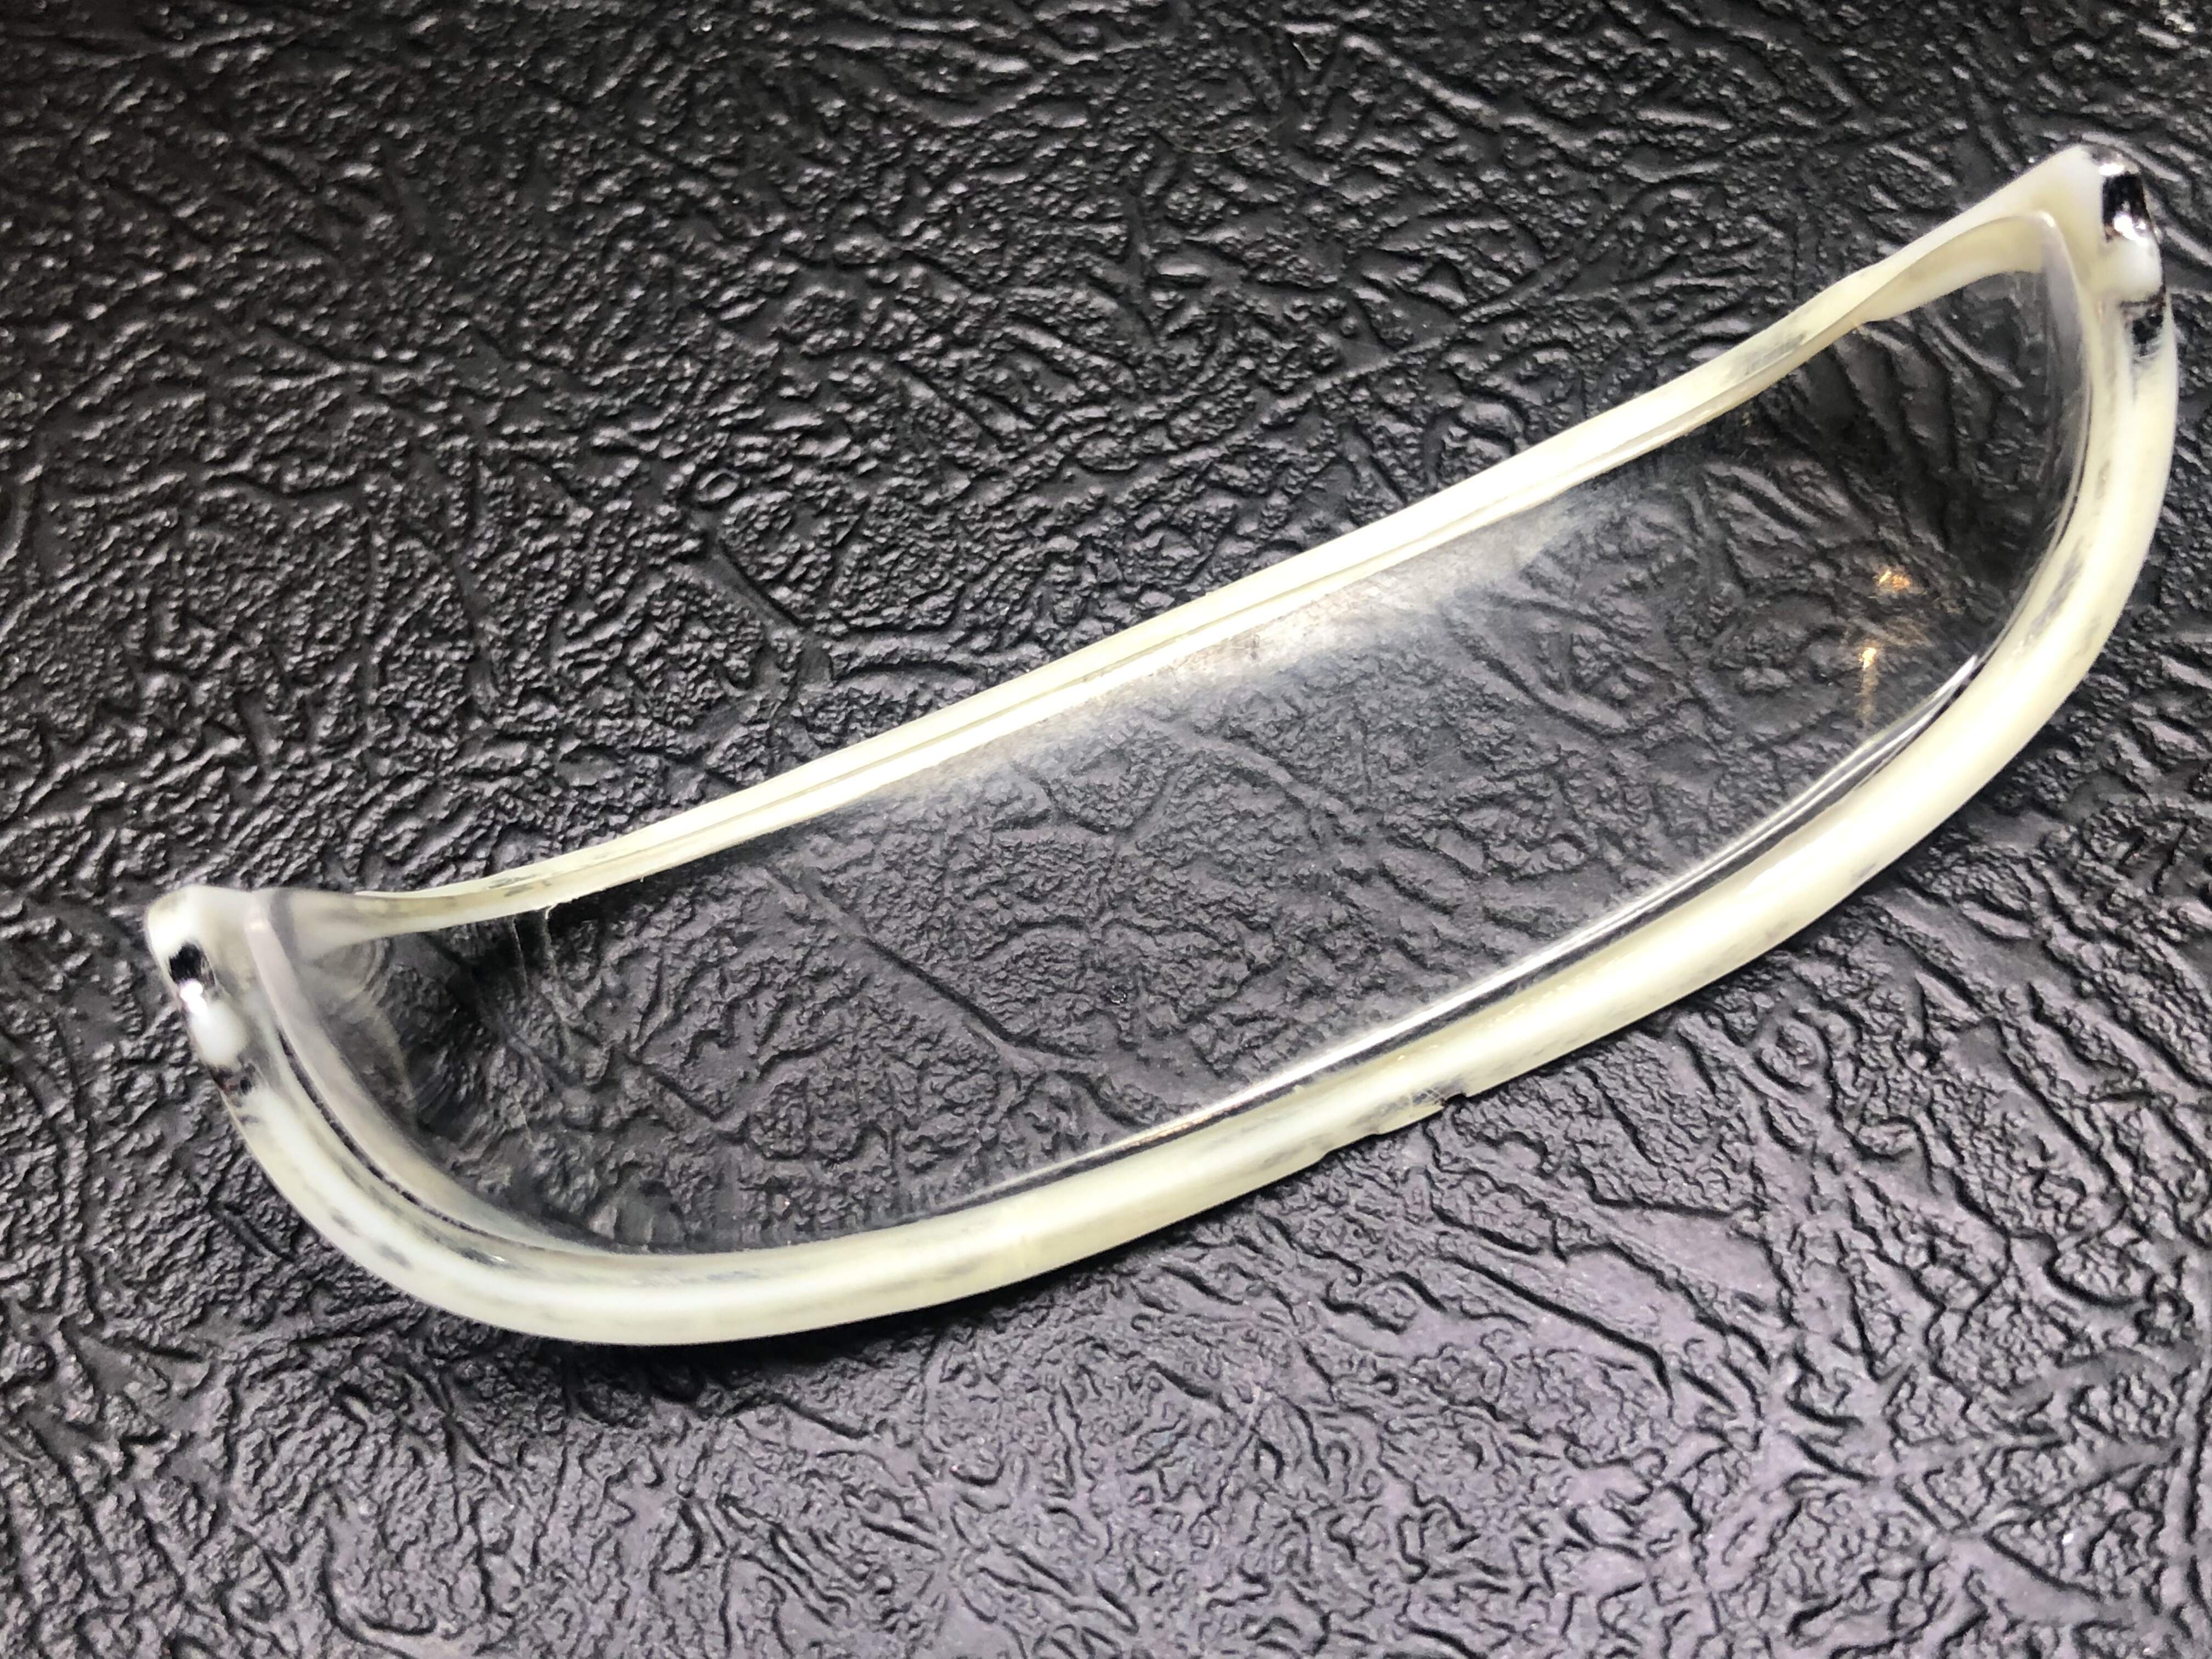
There’s always a sting in the tail! Getting to the final stages of the '54 Corvette and I just knew that the windscreen was going to give me trouble. The chrome plating was rubbish so I stripped it off with a view to either painting or foiling the frame then gluing on the clear part. Looking at the gaps I just knew that wasn’t going to work. I decided that I would use TET and clamps and do a small part at a time working from the centre outwards to get the frame “wings” to pull in on to the glass at each end.
Well, it is almost there.
Before shots - dry fit.

State of play now.

There are still a couple of small gaps which I will fill with white glue once it’s fully cured. I will also need to do a bit of polishing on the clear where some TET escaped the join.
I have also noticed a slight upward dent in the centre of bottom frame which will need to be built back up so there isn’t a gap between it and the car body. More on that later.
Cheers, D
1 Like
D,
As far as the difference is paint tone on the engine hood, been there done that, and hated myself for it. Even though I paint all sections of a body at the same time, I’ve still encountered this issue, so I took to actually counting painting passes.
If just one part needs another pass, everything gets another pass. This has really helped me when the issue comes to strip, repair, re-prime and re-paint is needed. It’s usually pretty close, but honestly, never exactly the same. But in my world, close is good enough.
Excellent job on getting that windshield to fit. Should come out absolutely perfect once installed.
Joel
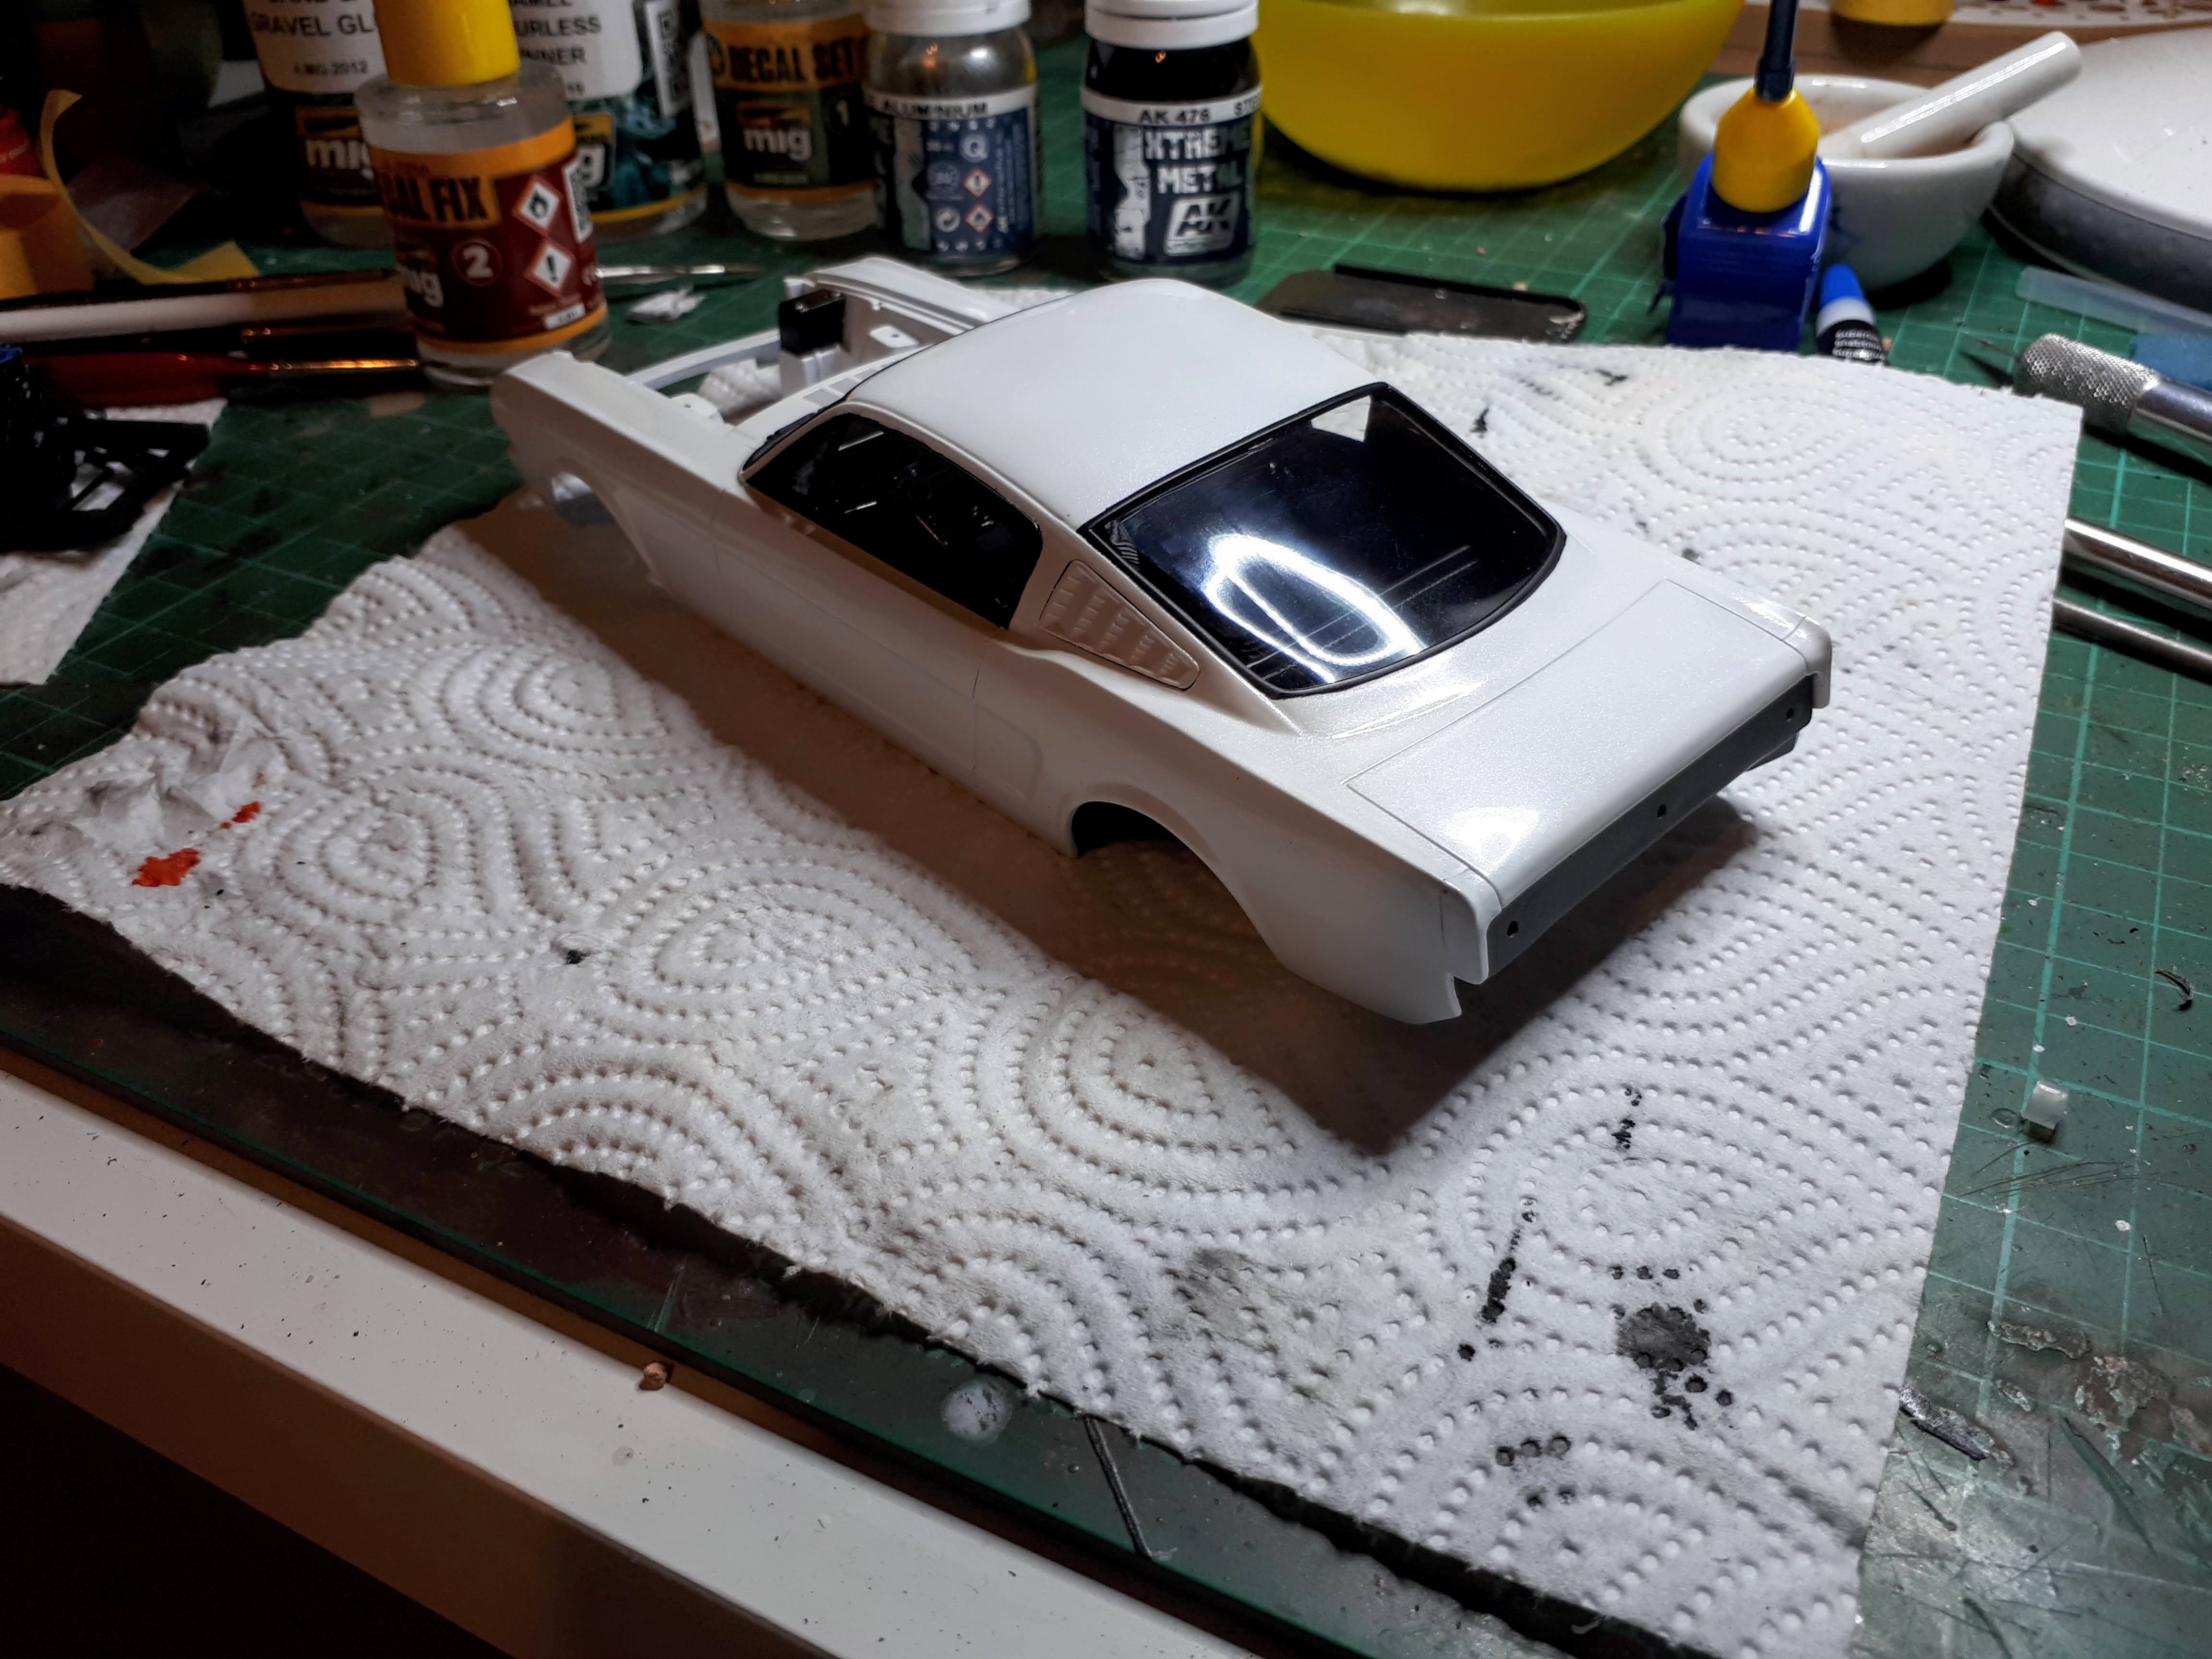
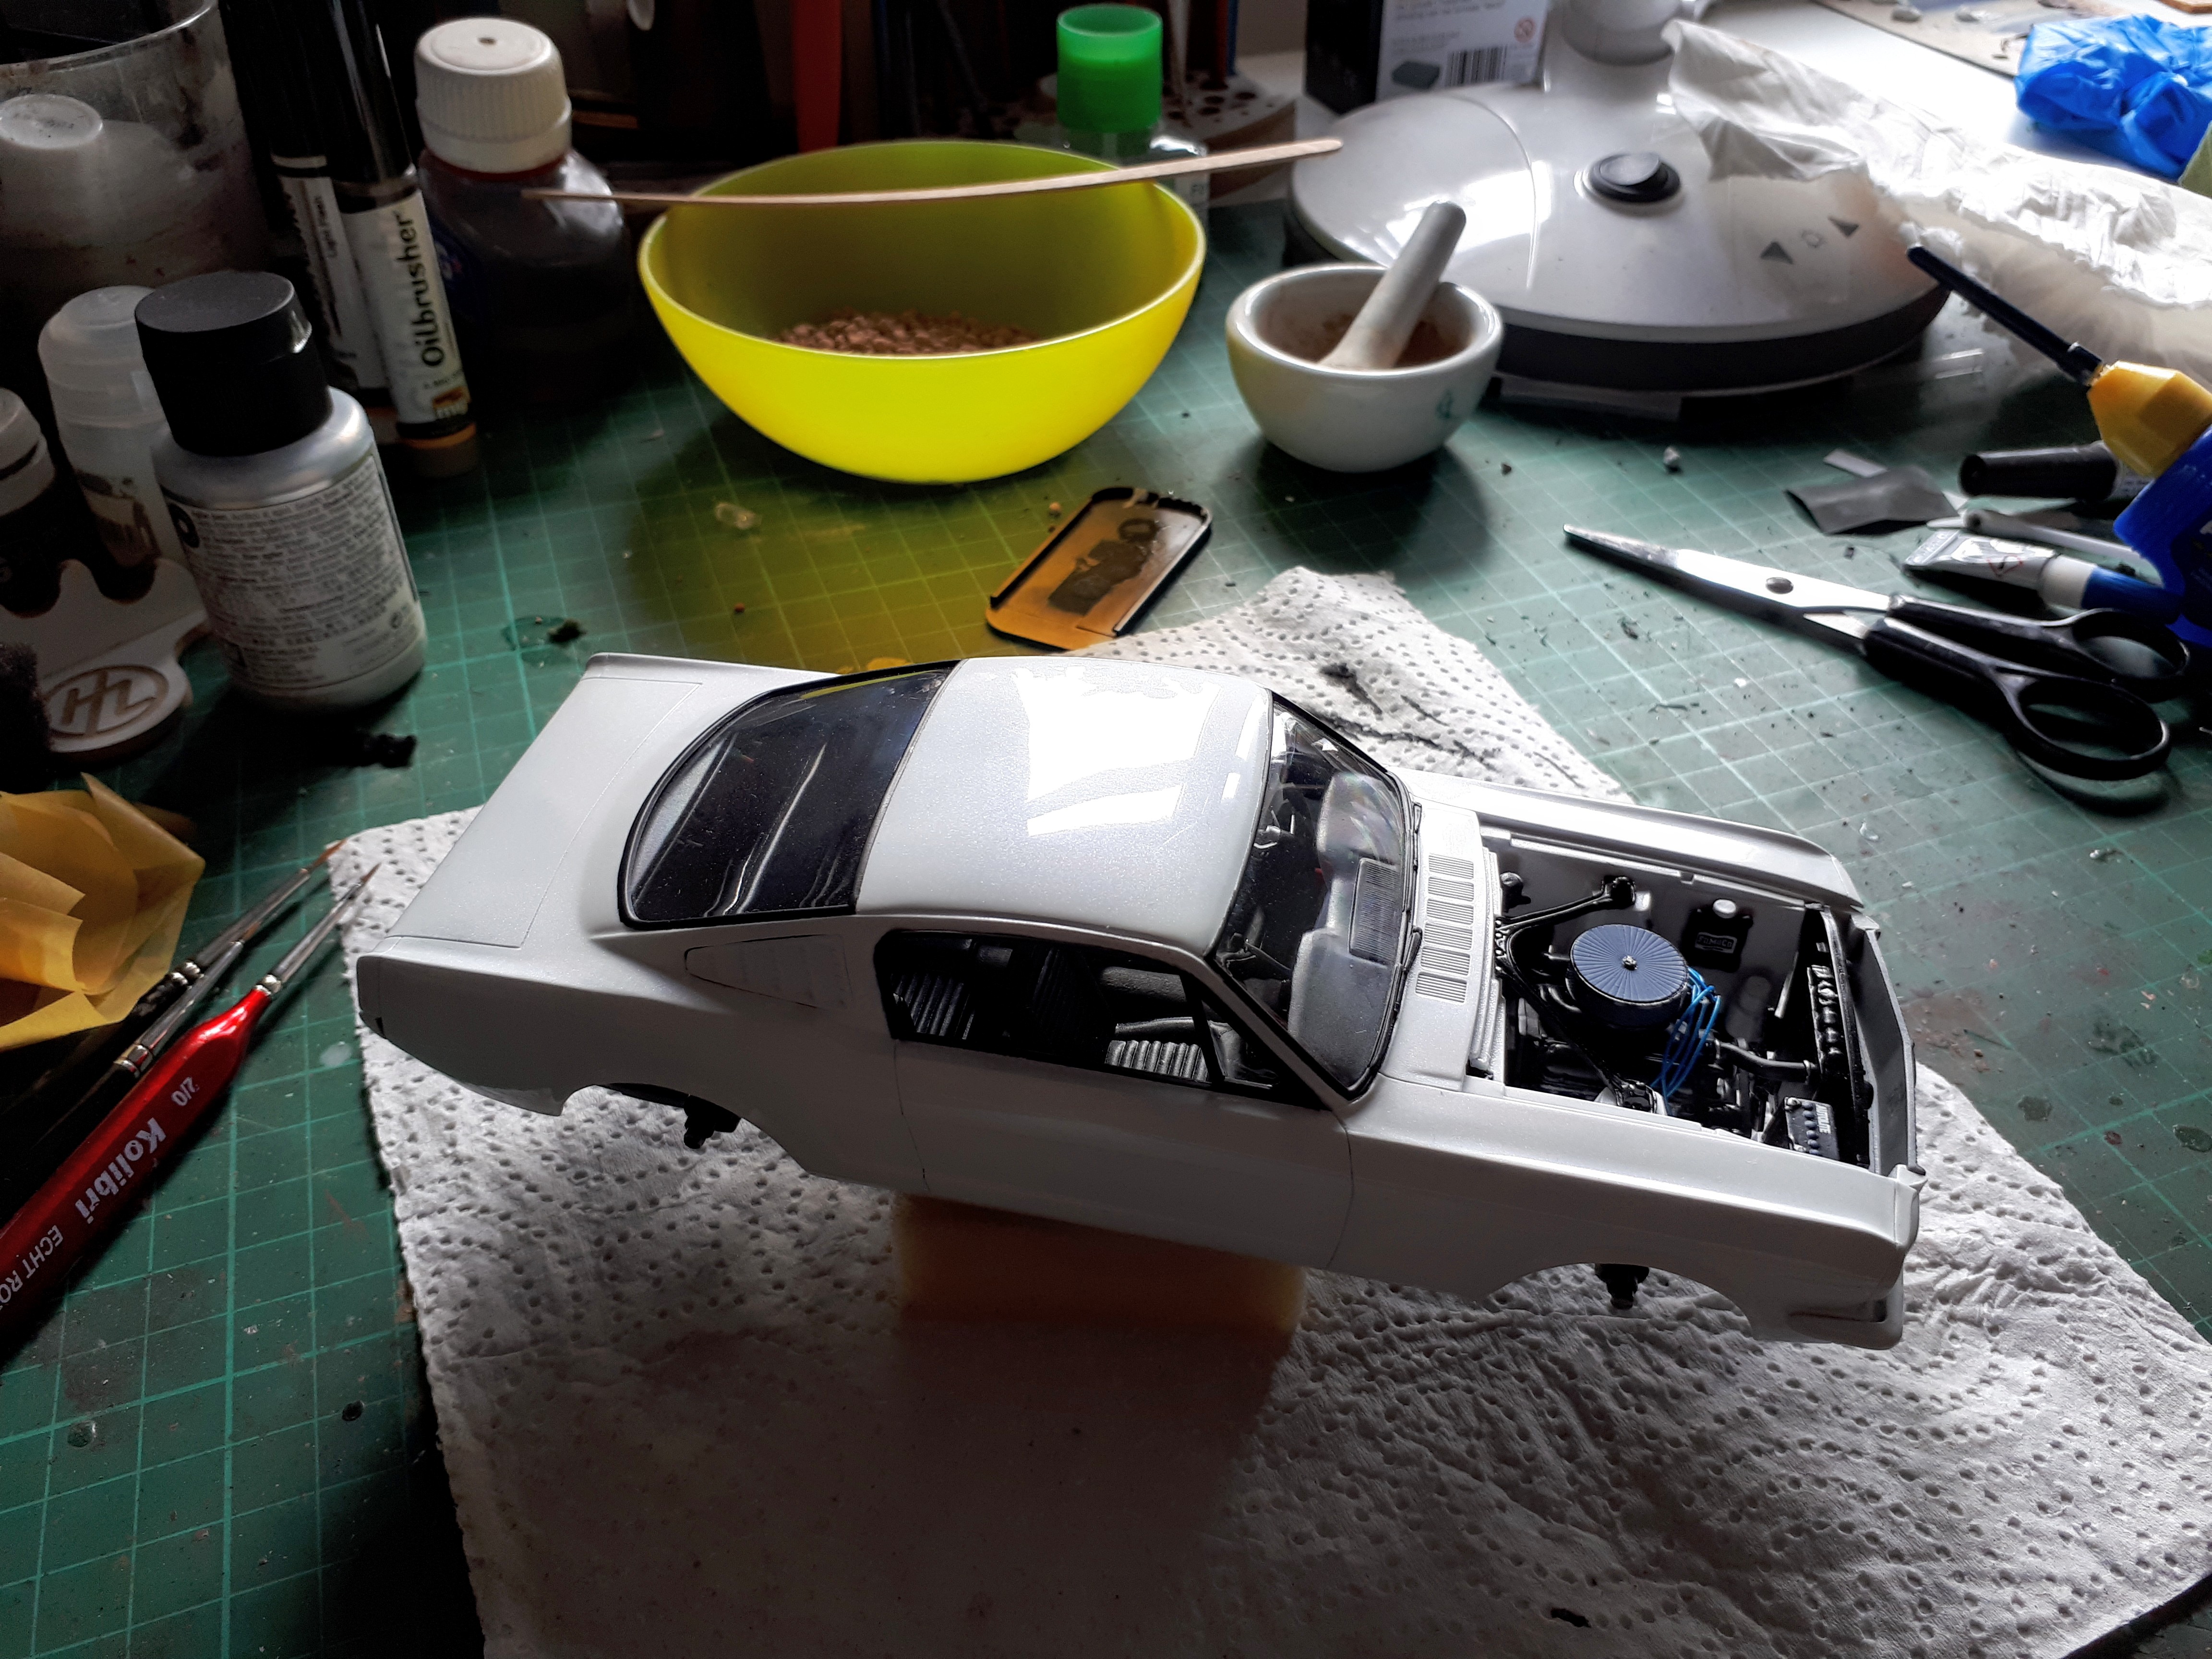
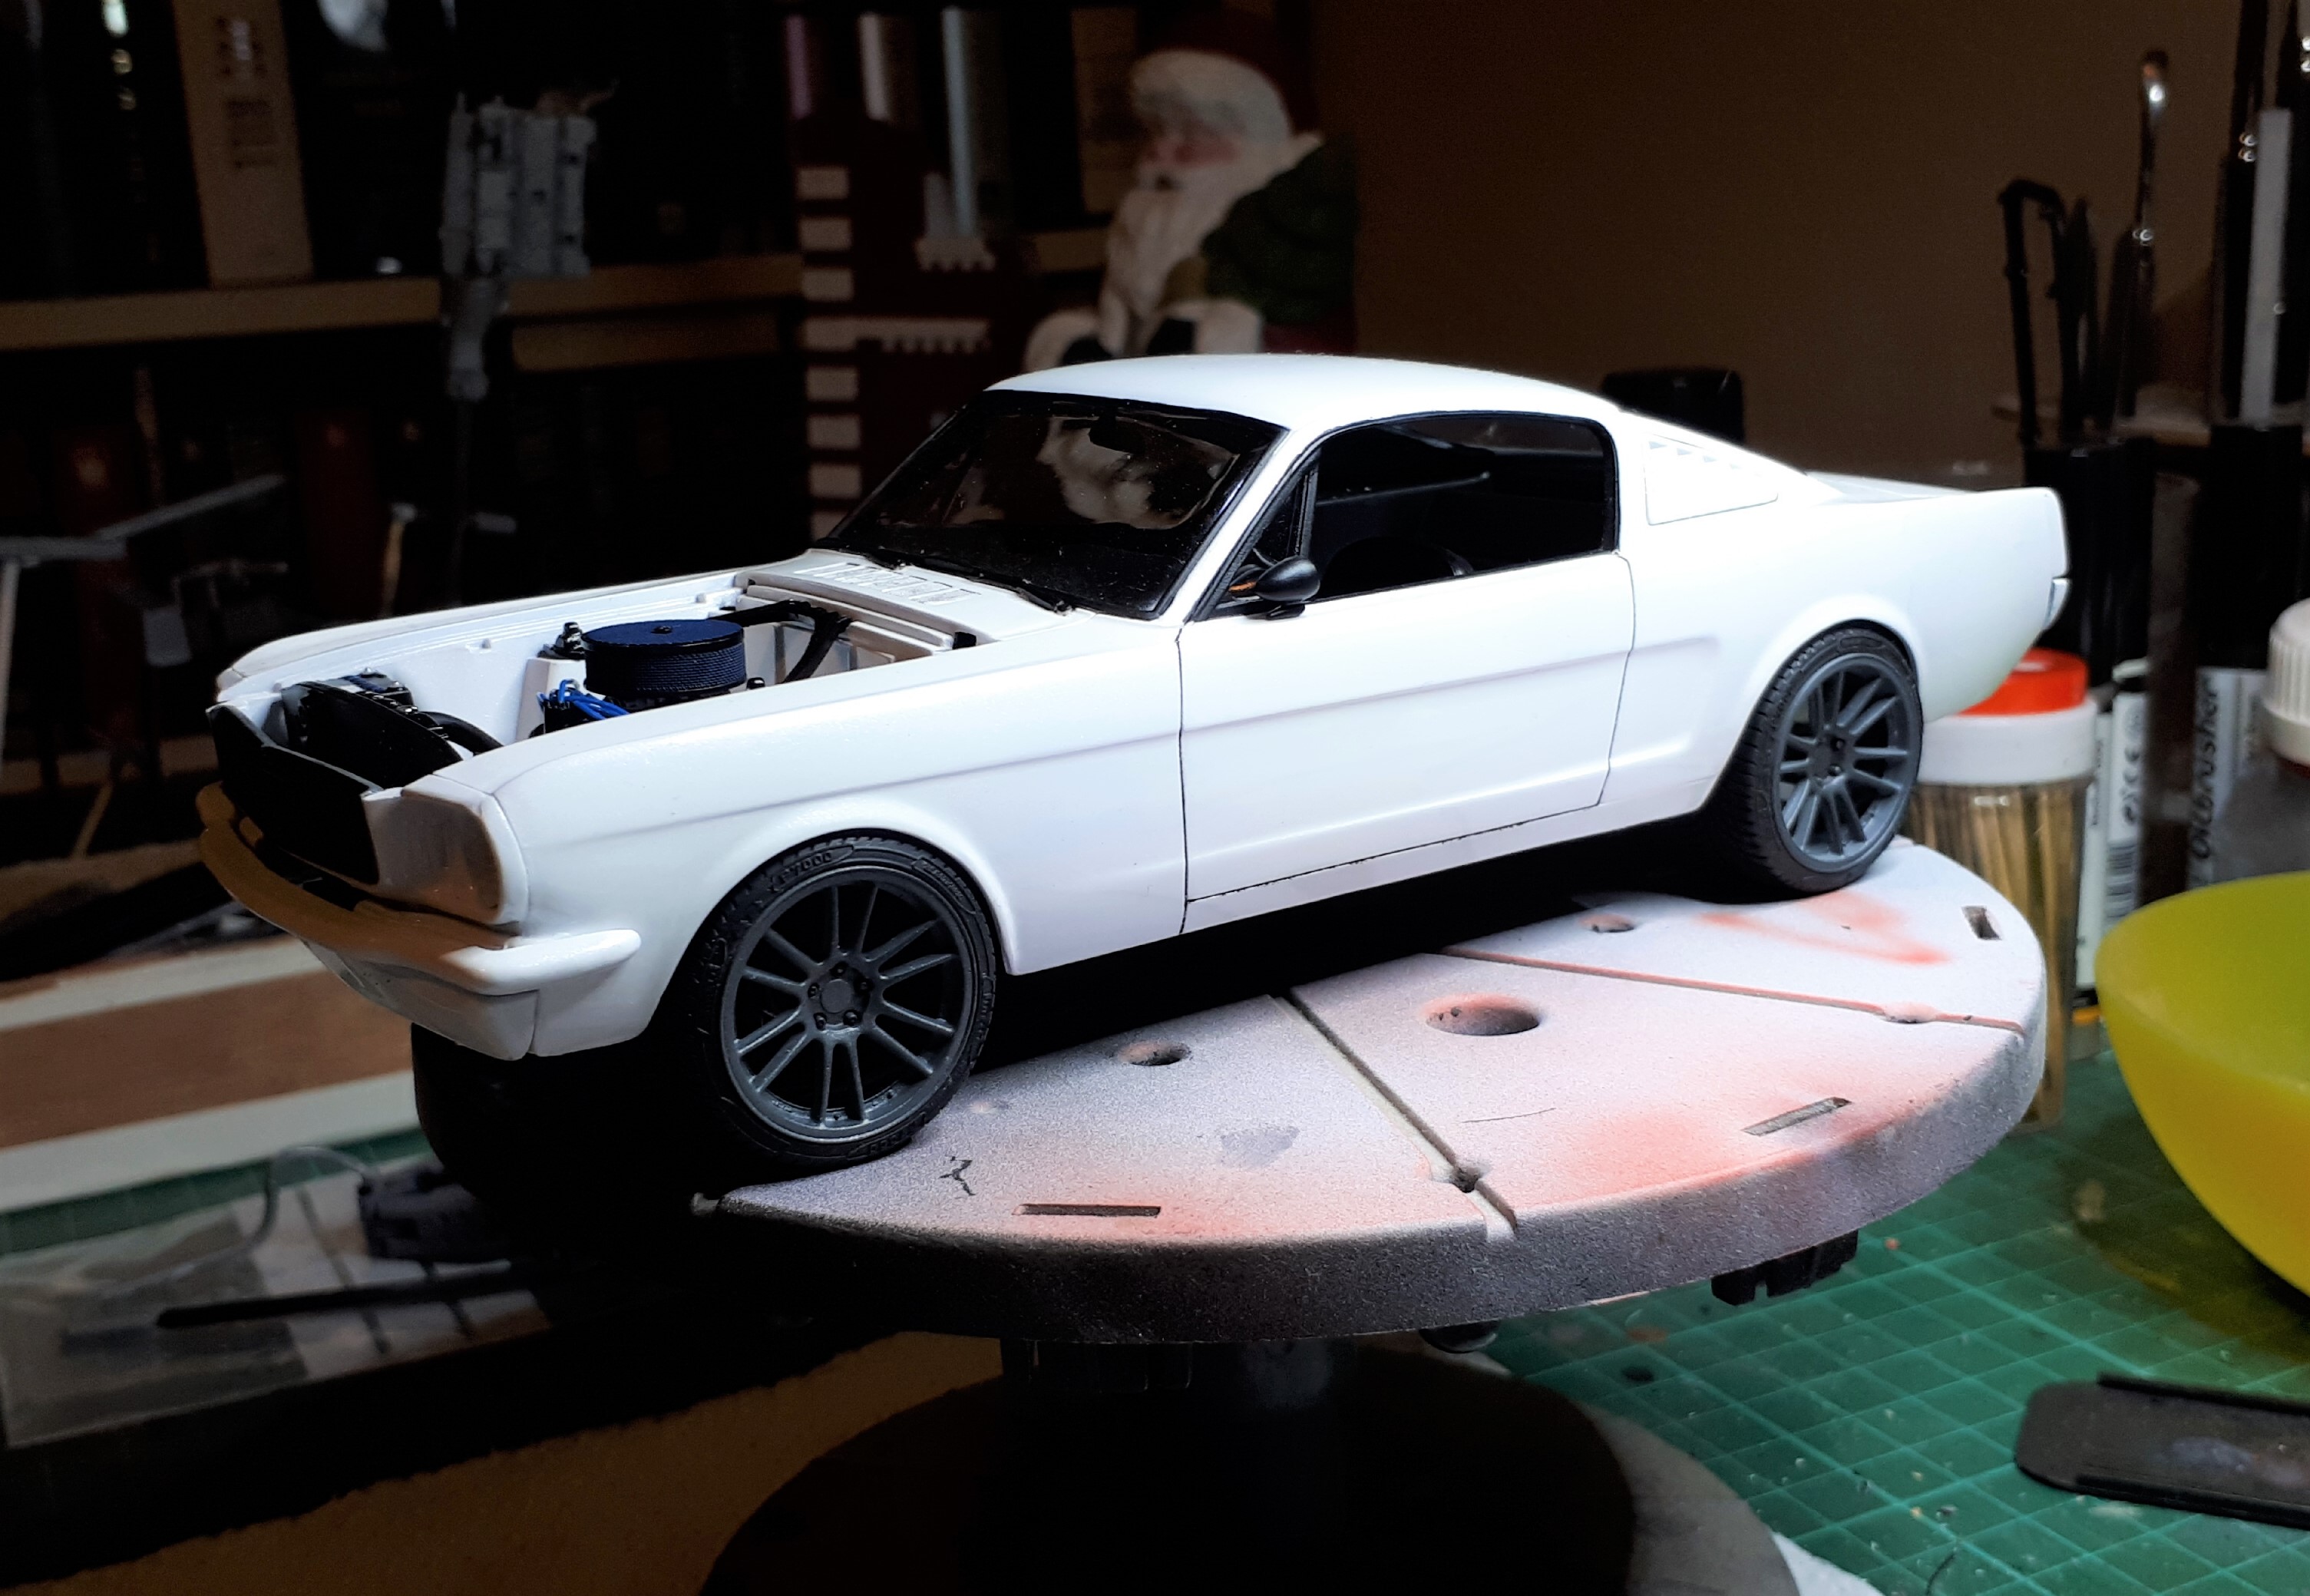
Got a bit of work done, though I’m not all that pleased with the result. The paint bled under the masking tape, for the window trim, and some of the paint chipped of, when the masking tape was removed.
A bit of tiding up will improve it, I hope. Windows and interior has been installed as well.

3 Likes
Time for a “State of Play” update here folks.
5 weeks in and we have a few Garage Queens well on the way, and a couple of completions!
Cosimodo (Michael) - Ford Escort Rally - 1/24 Belkits kit - COMPLETED
Betheyn (Andy) - Renault Alpine - 1/24 Tamiya kit - COMPLETED
AussieReg (Damian) - '57 Chevy Convertible - 1/25 Revell kit
AussieReg (Damian) - '54 Corvette - 1/24 Revell kit ('53)
md72 (Mark) - decisions, decisions! 
Littorio (Luciano) - Hemi Cuda
Lakota (Don) - Corvette
Hwa-rang (Jesper) - '65 Mustang
Cheers, D
One of those really delicate, fiddly jobs that can really sap the enthusiasm. Just as well I enjoy the challenge!
Here you can see the gap in the middle I was talking about.
I built up the underside with some Evergreen strip.

Then set about carving and sanding it back to shape once it was cured. Much better now.
Next step is to polish out the scuffs and try out a new product!
Cheers, D
Bummer! That is a nasty bend Damian. I’m confident, with your expertise, you can fix it.
1 Like
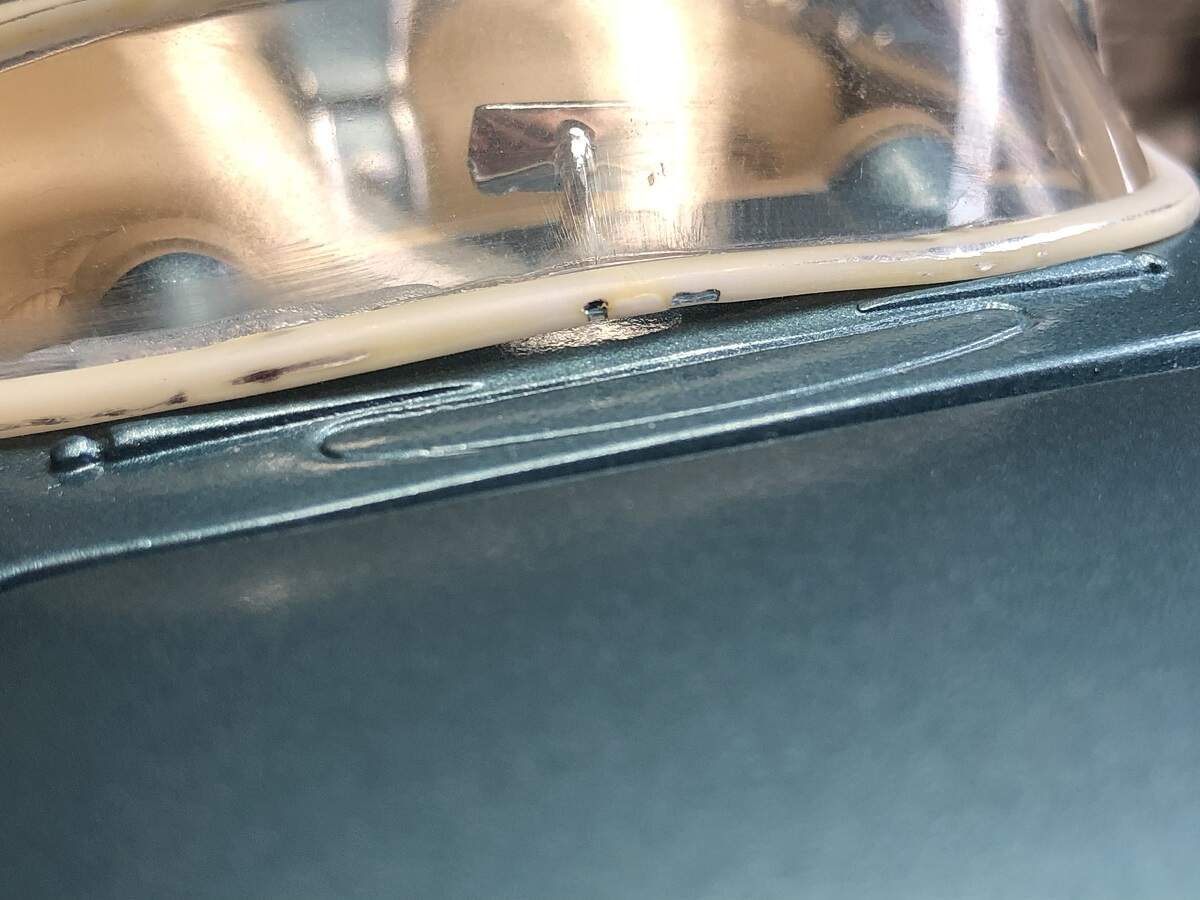
Time to try out a new product, I’ve been reading good things about the AK Gauzy Agent as a treatment specifically designed for clear parts. Obviously a modeling related alternative to Future floor finish.
Once I got the windscreen firmly attached to the frame, and reworked the bottom frame as much as I was comfortable with, I dipped the whole thing in the Gauzy and let it cure overnight. At first it looks very milky-white, and you need to wick away the excess as it self-levels, but once it has cured the result is a beautifully crystal-clear windscreen. I had polished the blemishes with fine sanding sticks but the marks were still faintly visible prior to this treatment.
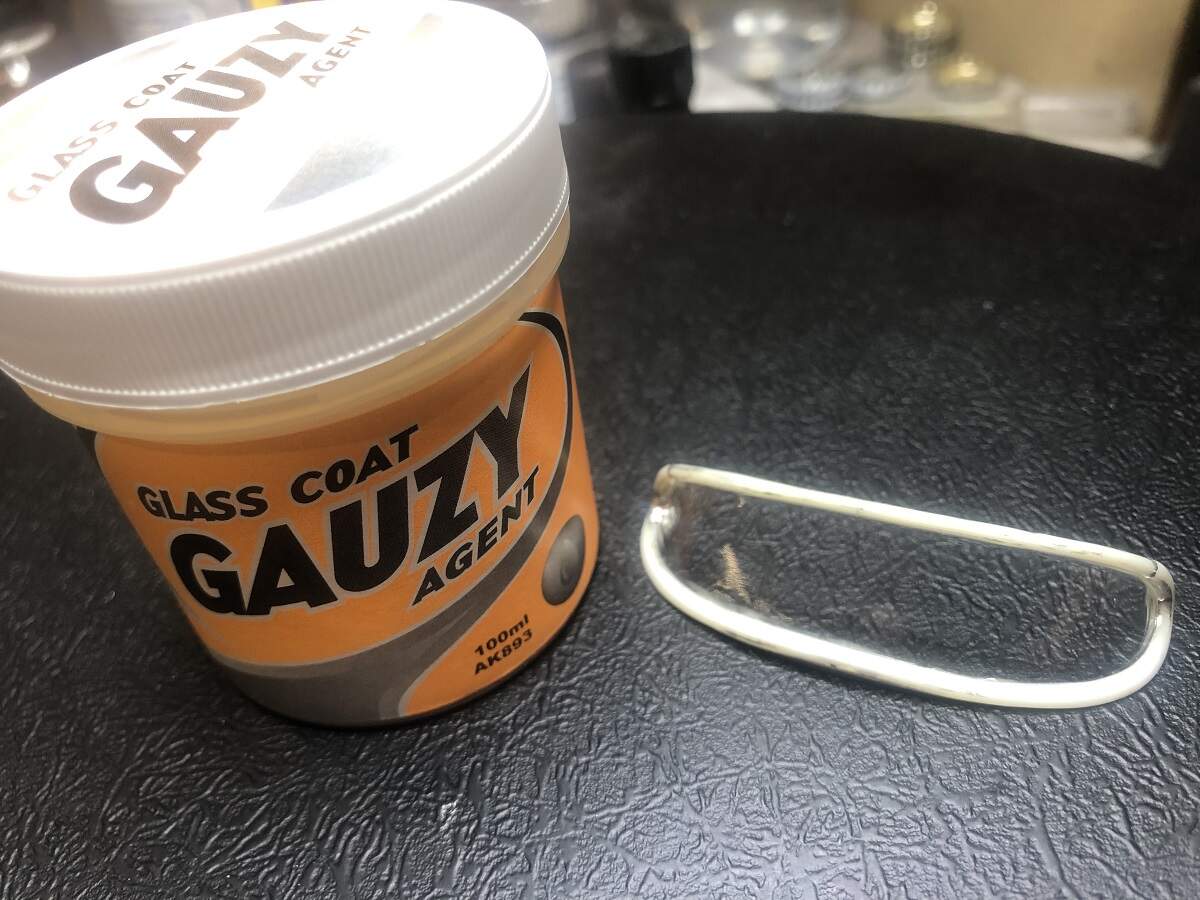
As you can see there is no distortion of the black base through the windscreen. Very impressive product and highly recommended after this first trial.
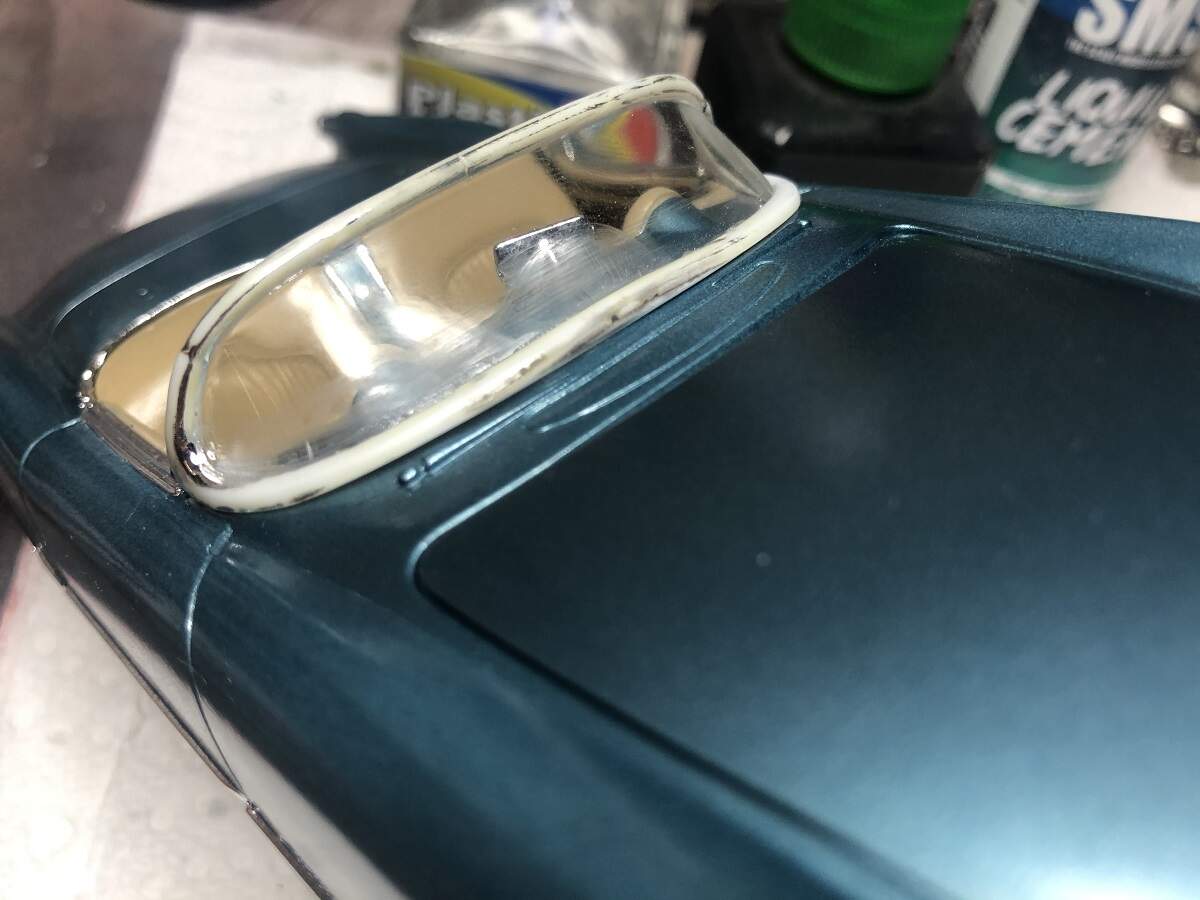
On the downside, one thing I feared has come to pass. It required quite a bit of force to get the clear part to meet up with the frame, and the result is a few fine stress fractures in the clear part. These can be seen just in front of the mirror in the image below.

There is nothing I can do about it now, so I am hoping that the Gauzy will give it some strength and stop it from travelling any further through the clear part.
I will BMF the frame now and then just dry-fit the windscreen assembly so that if the damage gets worse I can just remove the windscreen and maybe replace it with one from another kit.
Getting close to the finish line now, just some BMF and detail painting to go. Getting this one across the line will keep me on target for my “One Completion Per Month” goal to reduce my WIP list.
Cheers, D
2 Likes
More baby steps towards the finish line. I’ve given the first run of black panel line wash on the body and brown on the seats, and also a drop of Vallejo Chrome on the wipers and roof cover latches.
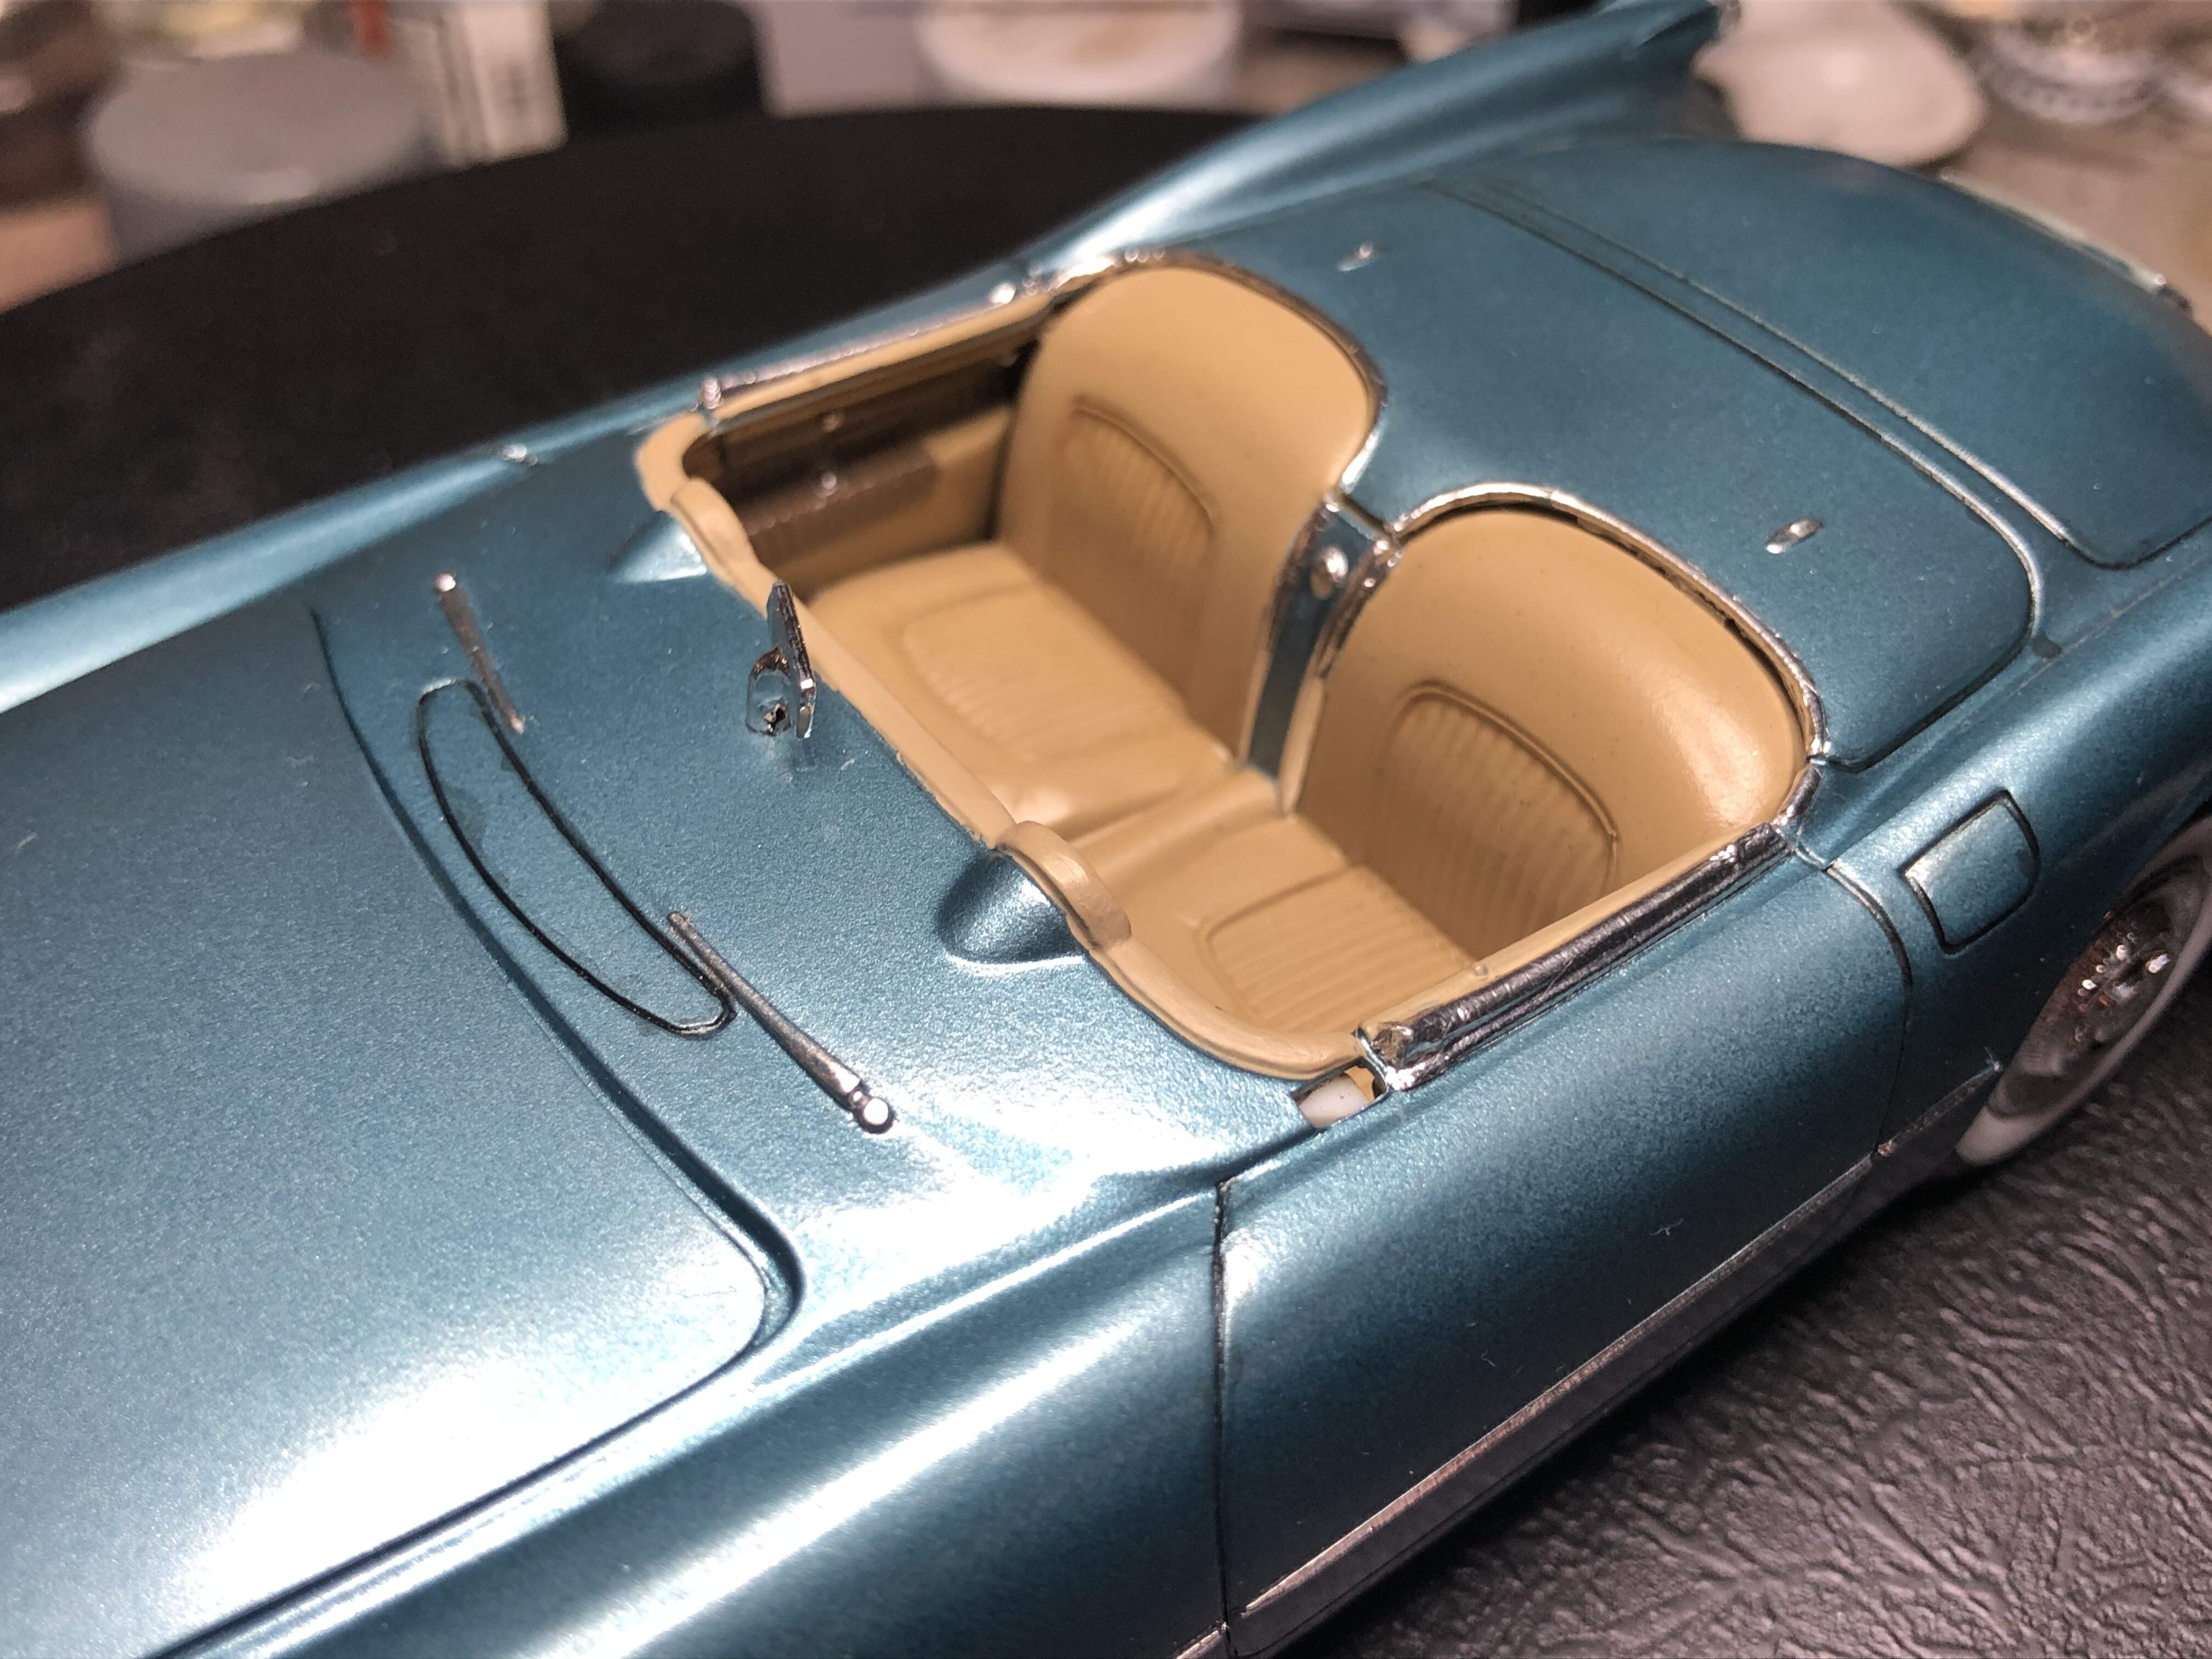

I also cut out the rear license plate decal and white-glued it in place.
Next up, a second coat of PLW and the clear license plate cover, and then BMF on the windscreen frame. The final steps will be to flat-coat the ragtop (currently glossy white) and fit the clear rear glass in place, and installing the steering column assembly. The ragtop won’t be glued down, it sits in place quite neatly.
Cheers, D
1 Like
Looks great D. Lots of fine detailing.
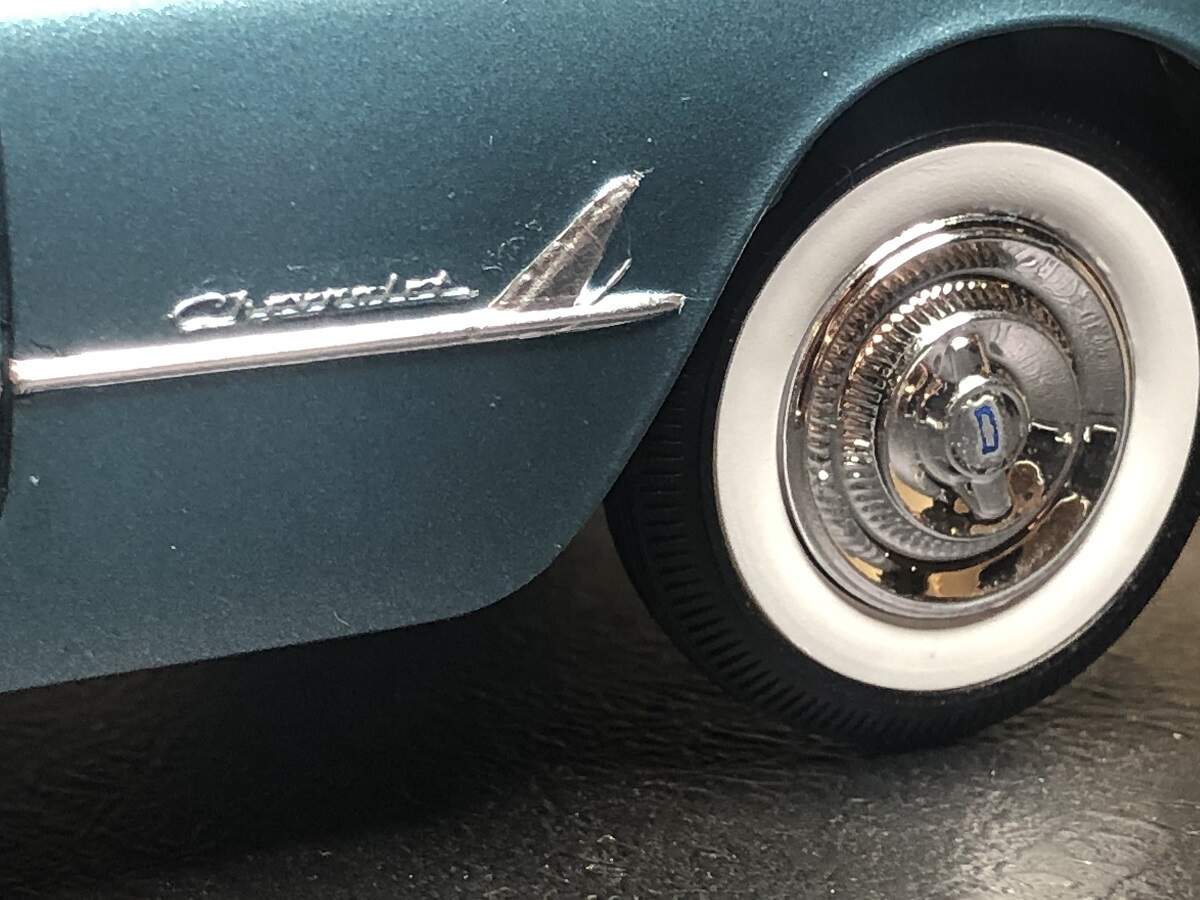
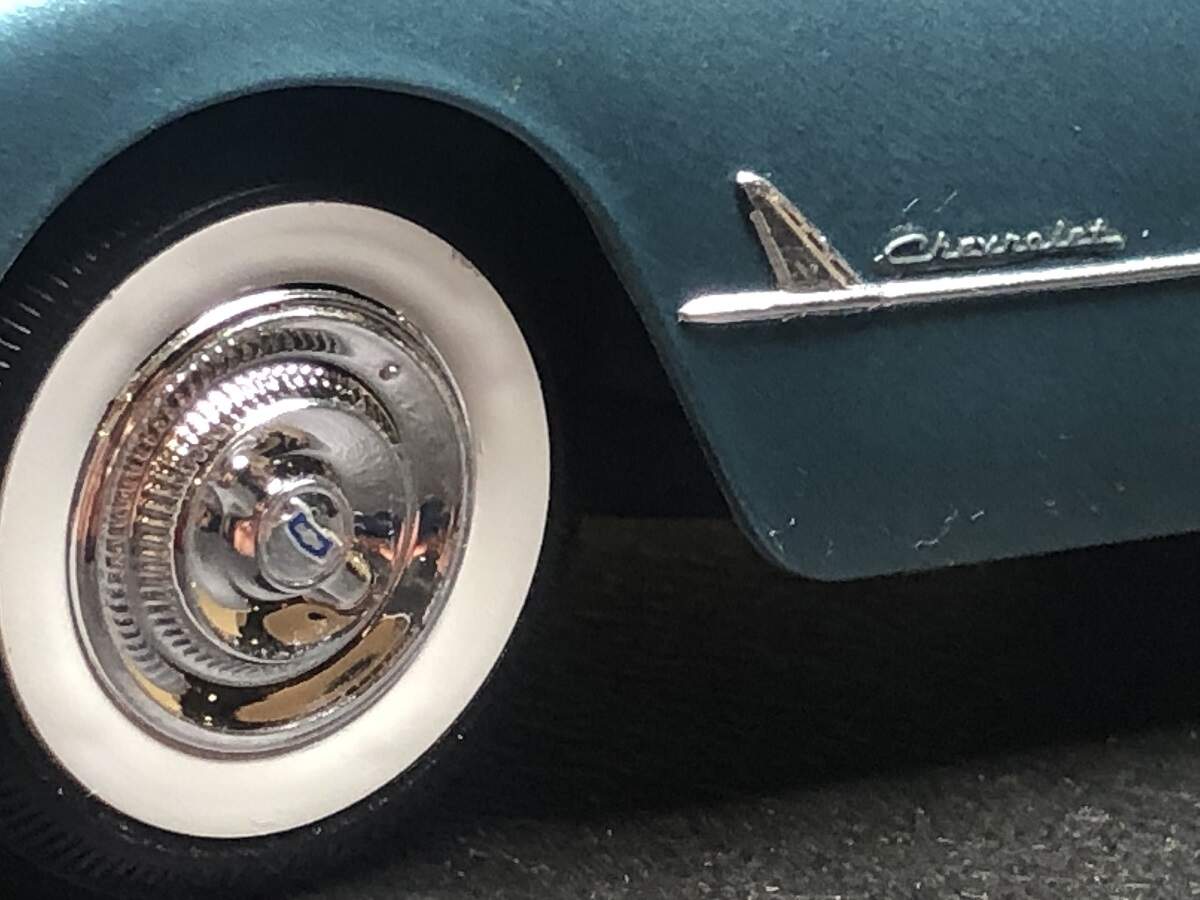
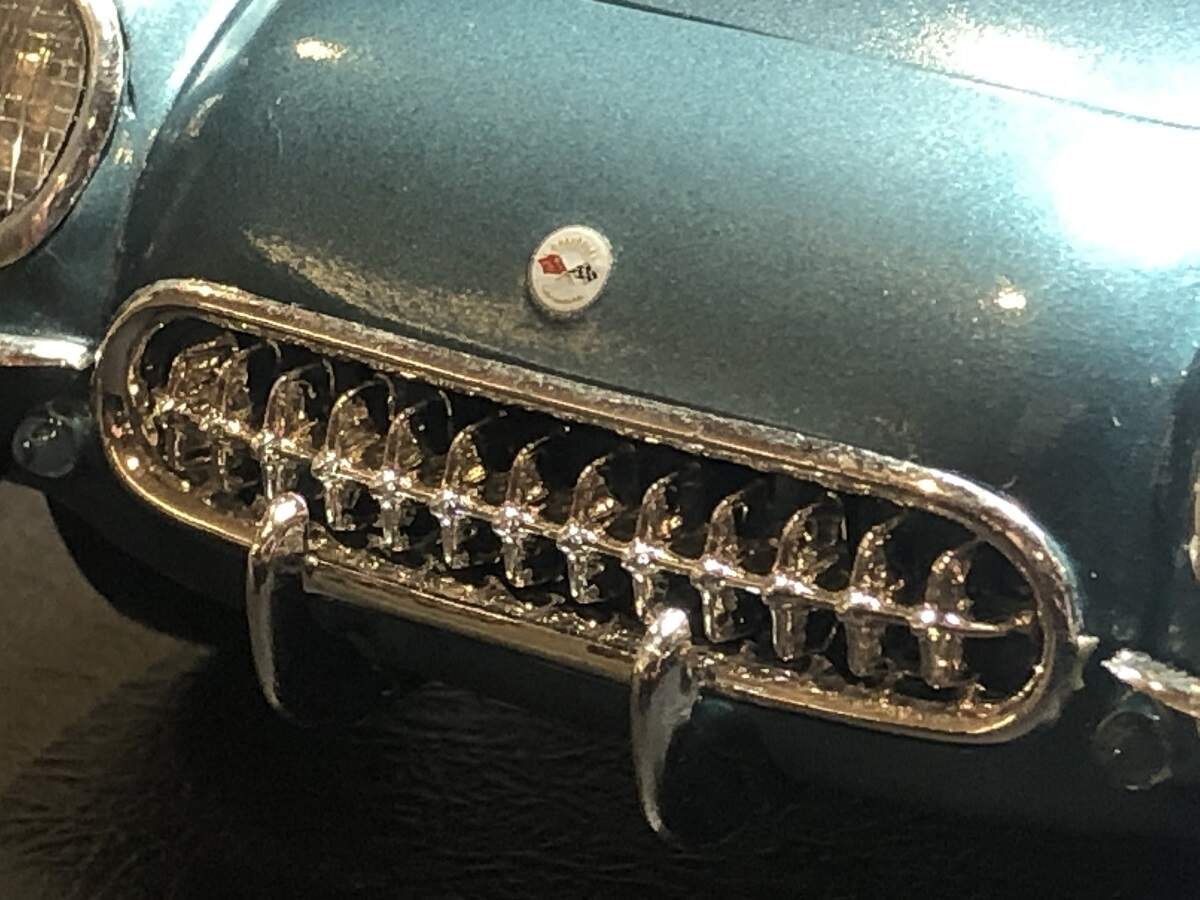
Thanks Jesper, I appreciate the feedback! The details just keep coning as well. The kit comes with a very nice set of decals including the wheel centre badges, the Chevrolet name badges behind the side flashes, and the Corvette emblems for the nose and steering wheel centre.


Cheers, D
1 Like
So at the end of the month I’ve just scraped this one in to stay on track for my plan this year. I want to knock over one of my WIP pile each month and try to minimize the new starts from here on in. I’m cautiously optimistic, but notice I said “minimize” and not completely stop!
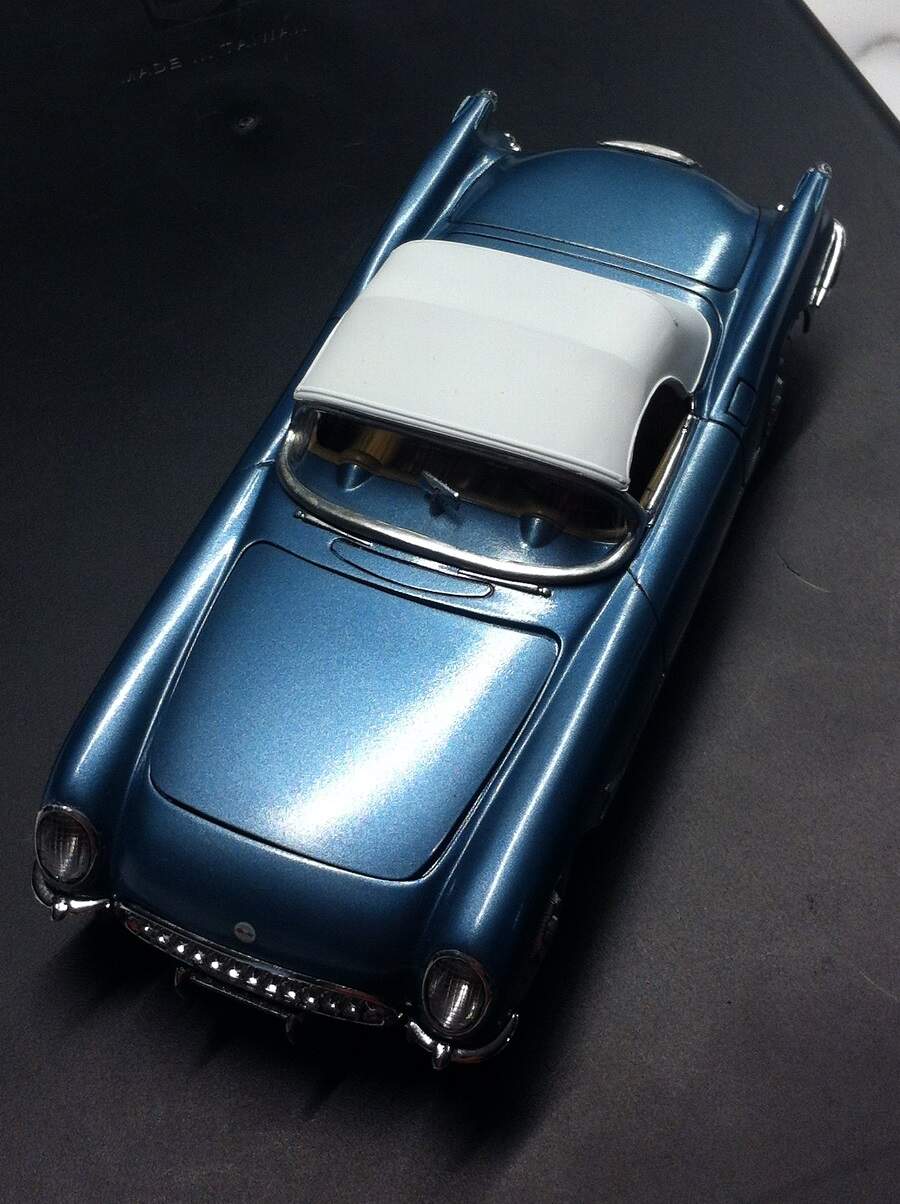
Anyway, a couple of shots of the completed '54 Corvette. Please excuse the crappy quality, these were shot on my old phone camera. I will get some better shots in the coming days.
The last couple of items to add were the steering wheel assembly and the windscreen.

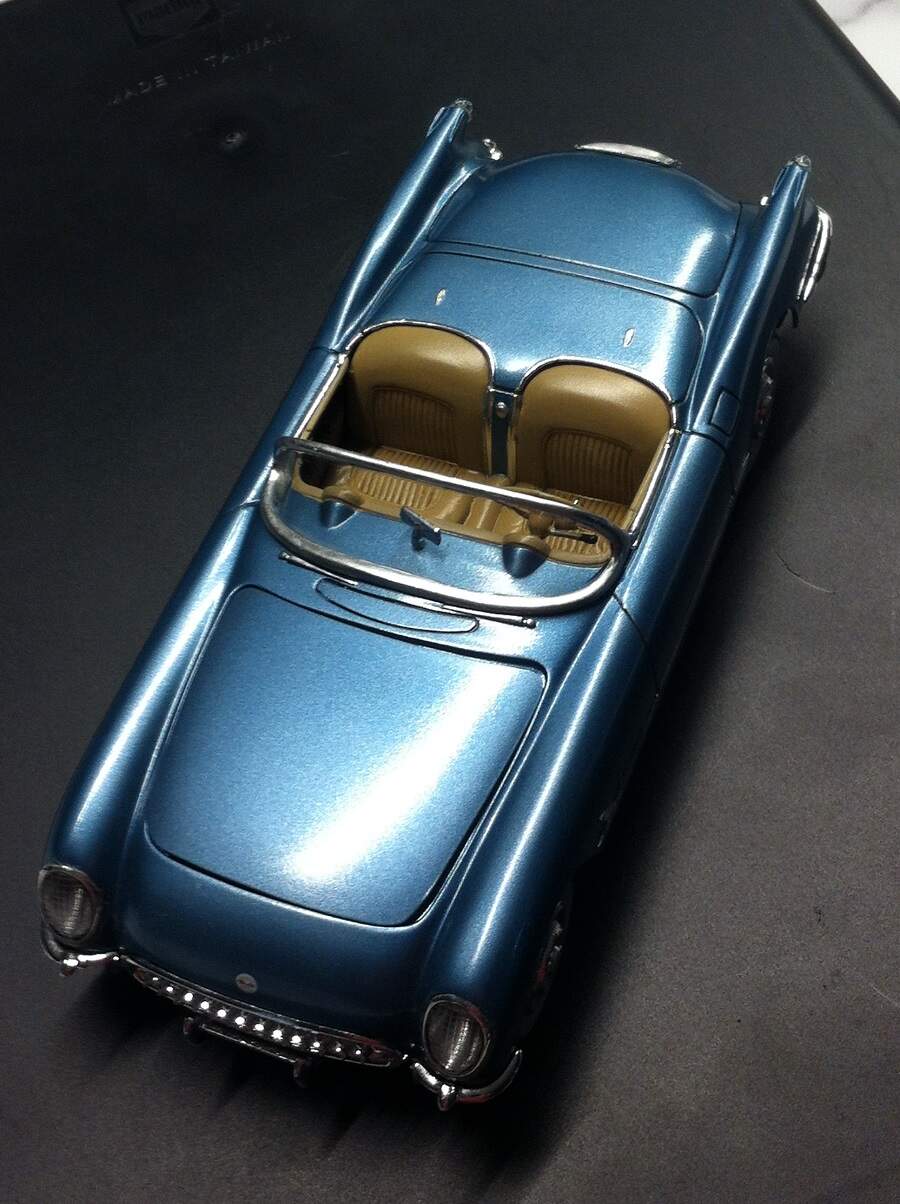
I had the ragtop already painted, it just needed a flat coat and the window installed.
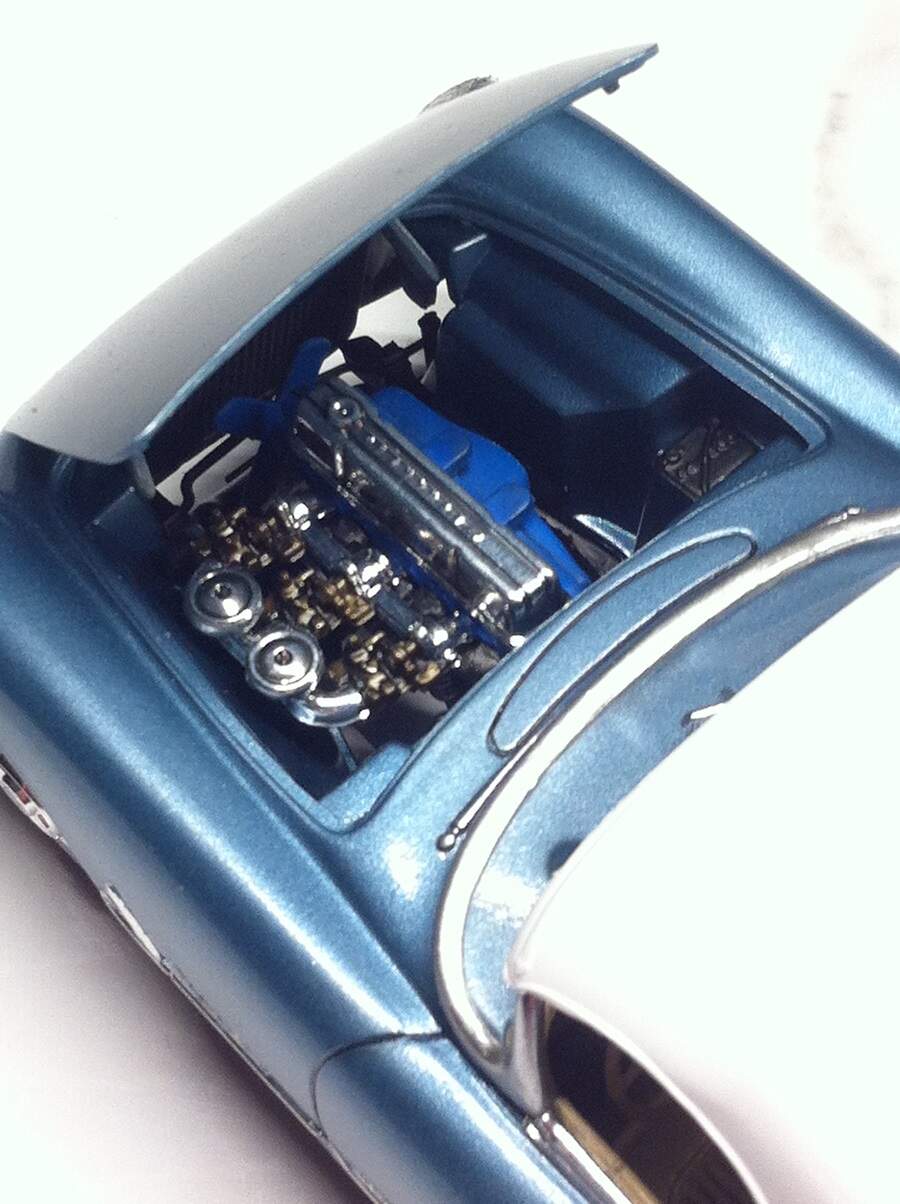
And the mighty “Blue Flame” straight-6!
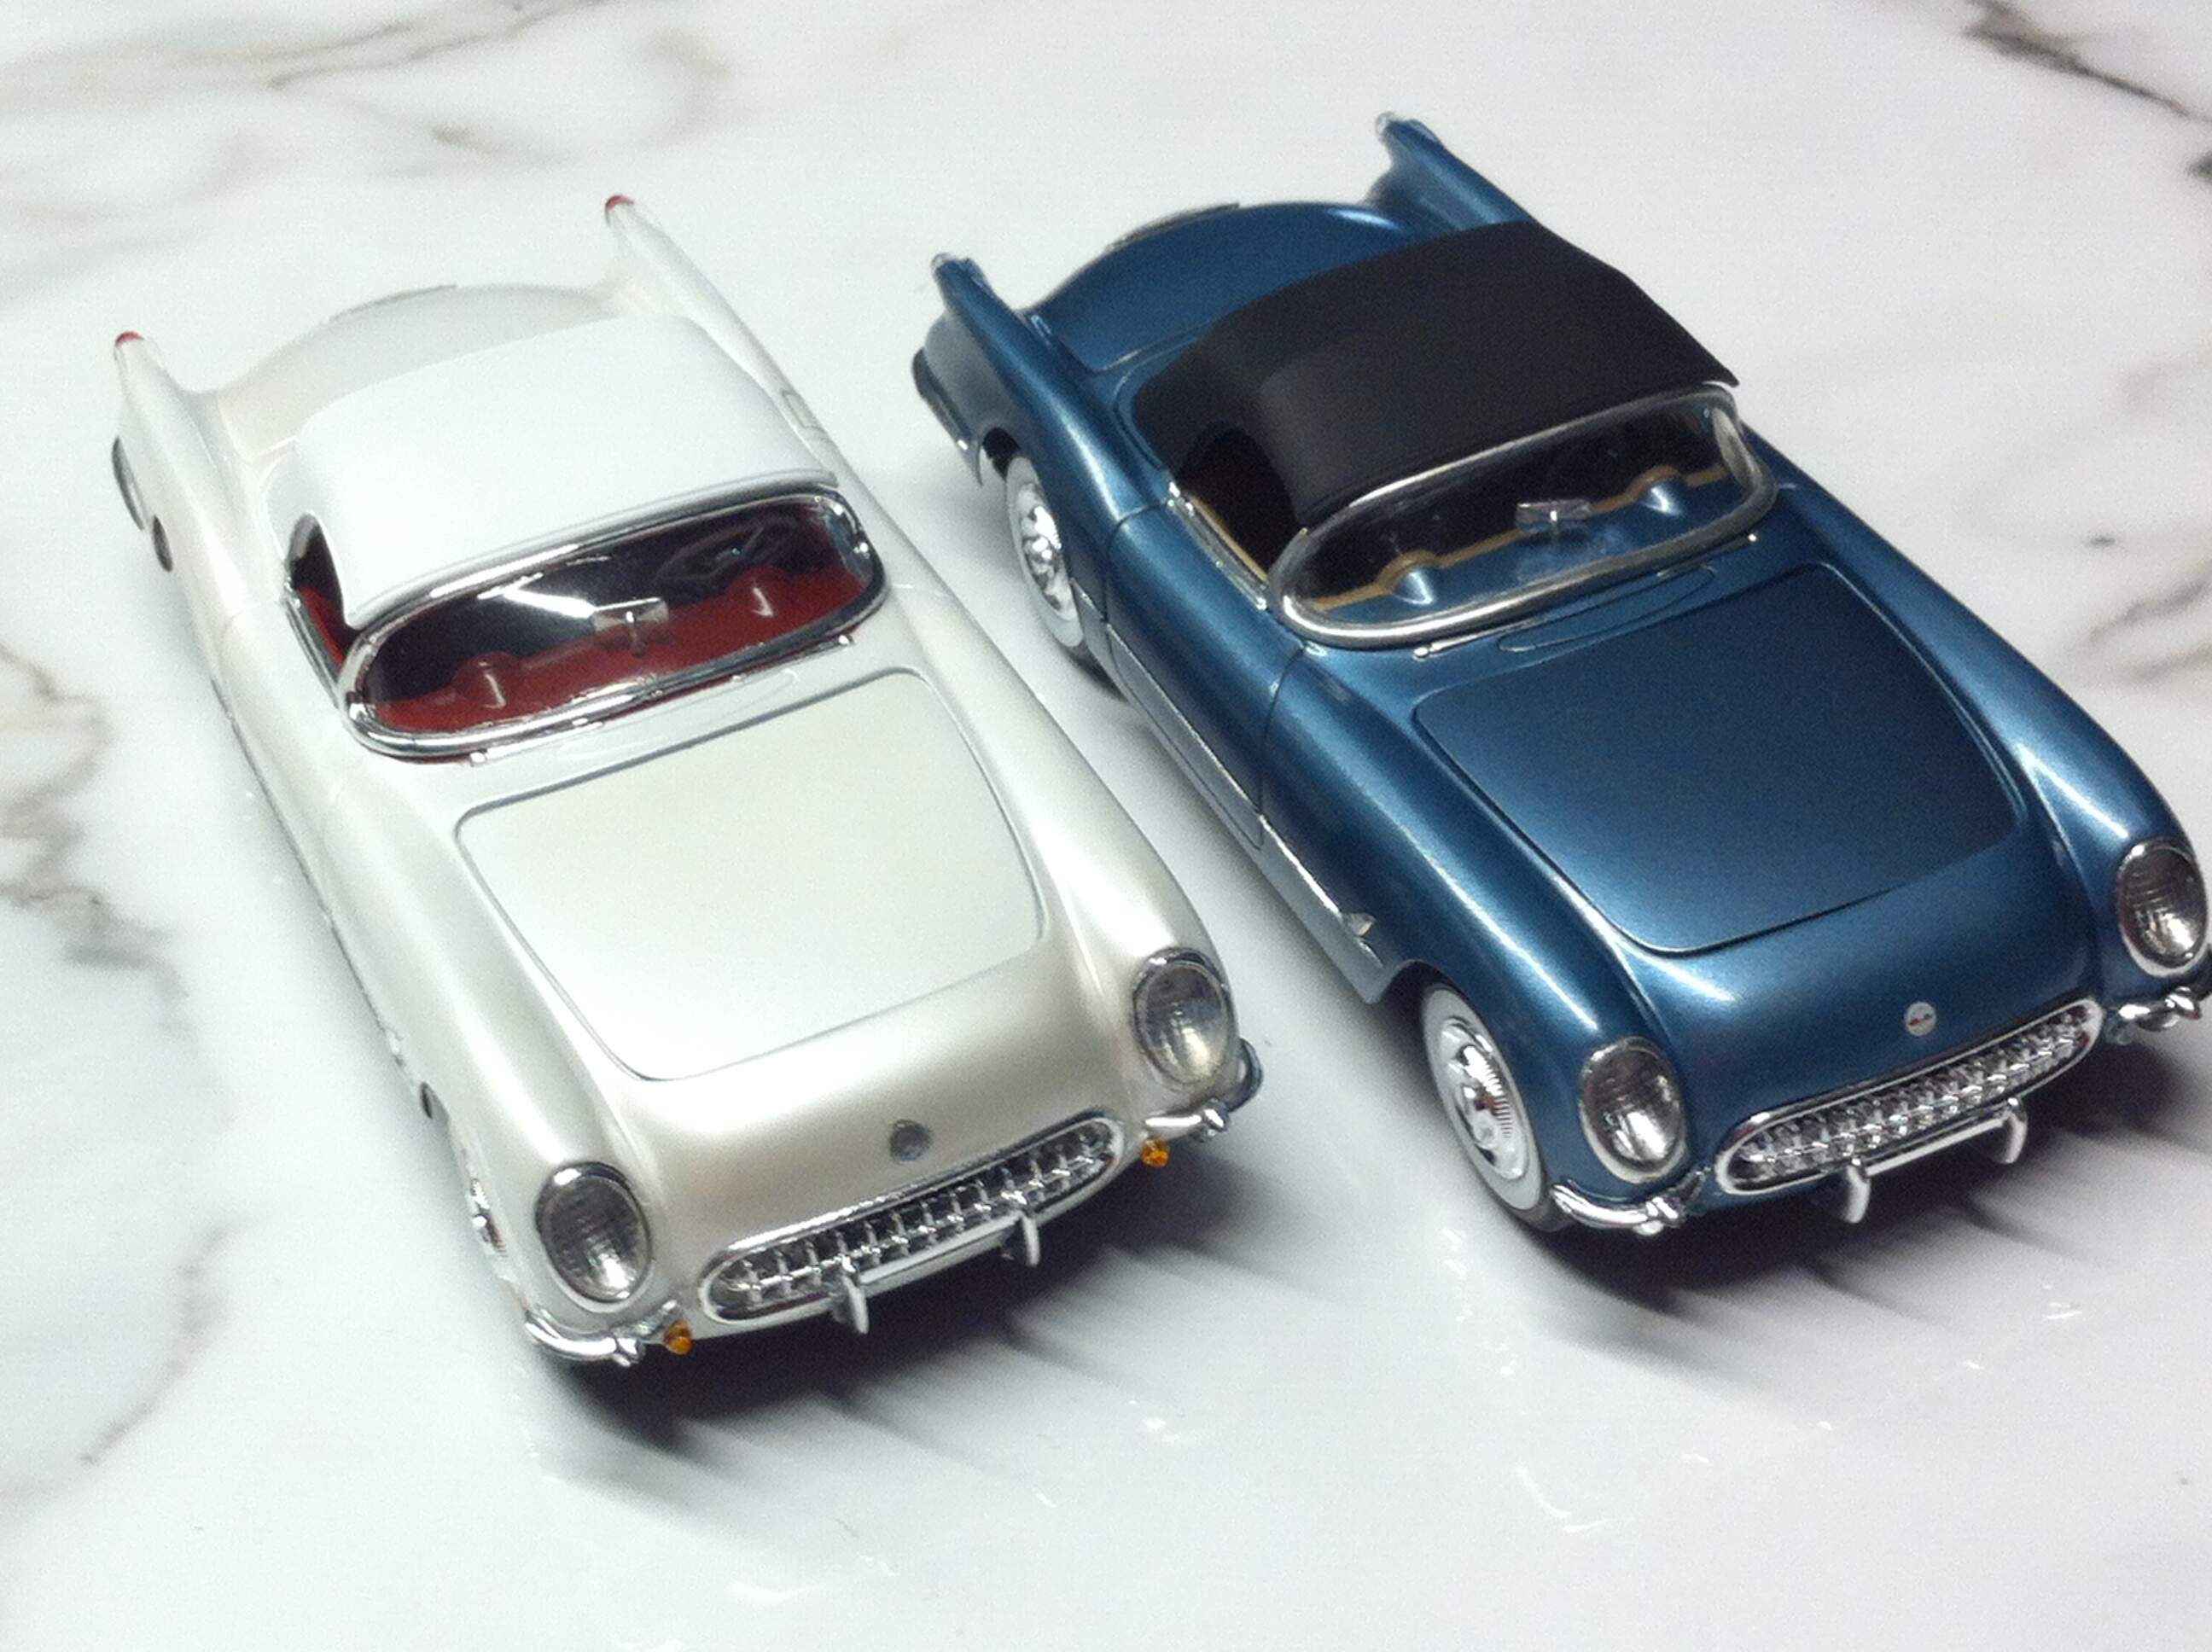
The '53 came out to see his younger brother as well.
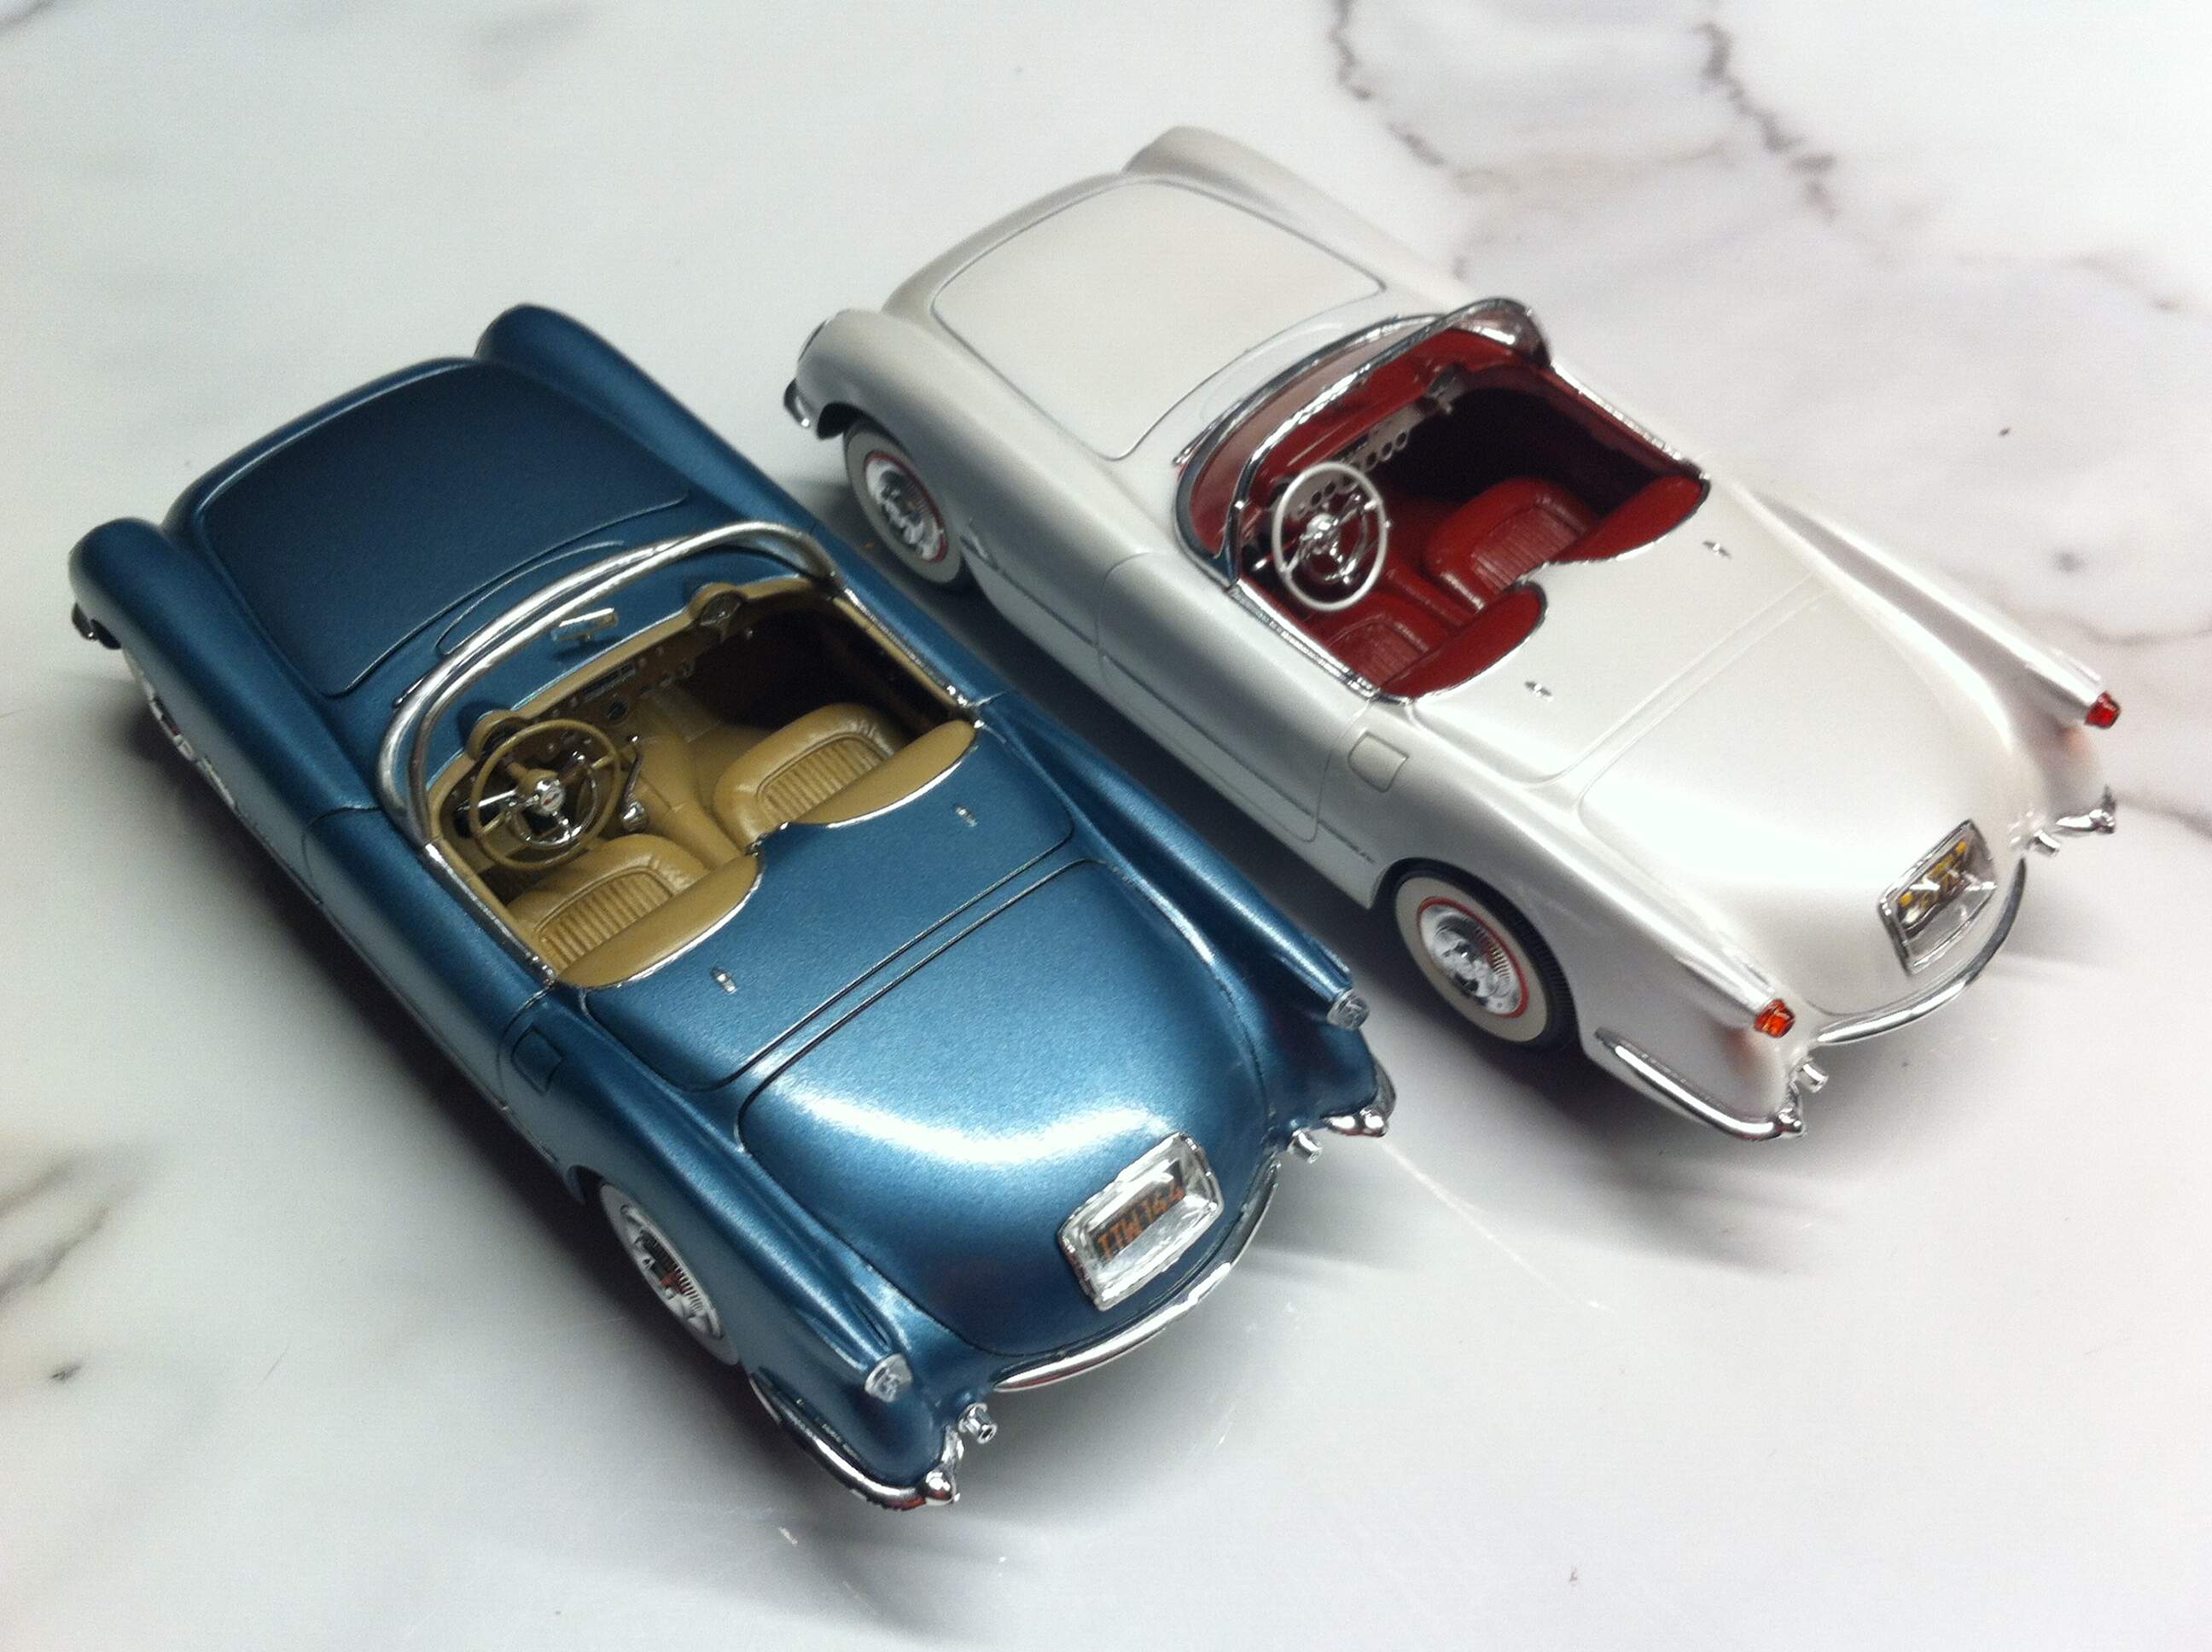

They swapped lids to check the look.
Cheers, D
4 Likes
Fantastic addition to your Corvette garage Damian and the pair together look amazing!
cheers
Michael
1 Like
Damian: Gorgeous cars. Congrats on two beautiful builds.
1 Like
Michael, Jesper, thanks guys! I’m very happy with the way they’ve turned out. Seeing the two together has inspired me to get back to my BMW 507 duo, they will be the next Garage Queens to get dusted off so stay tuned for updates on that thread soon!
Cheers, D
Almost there.
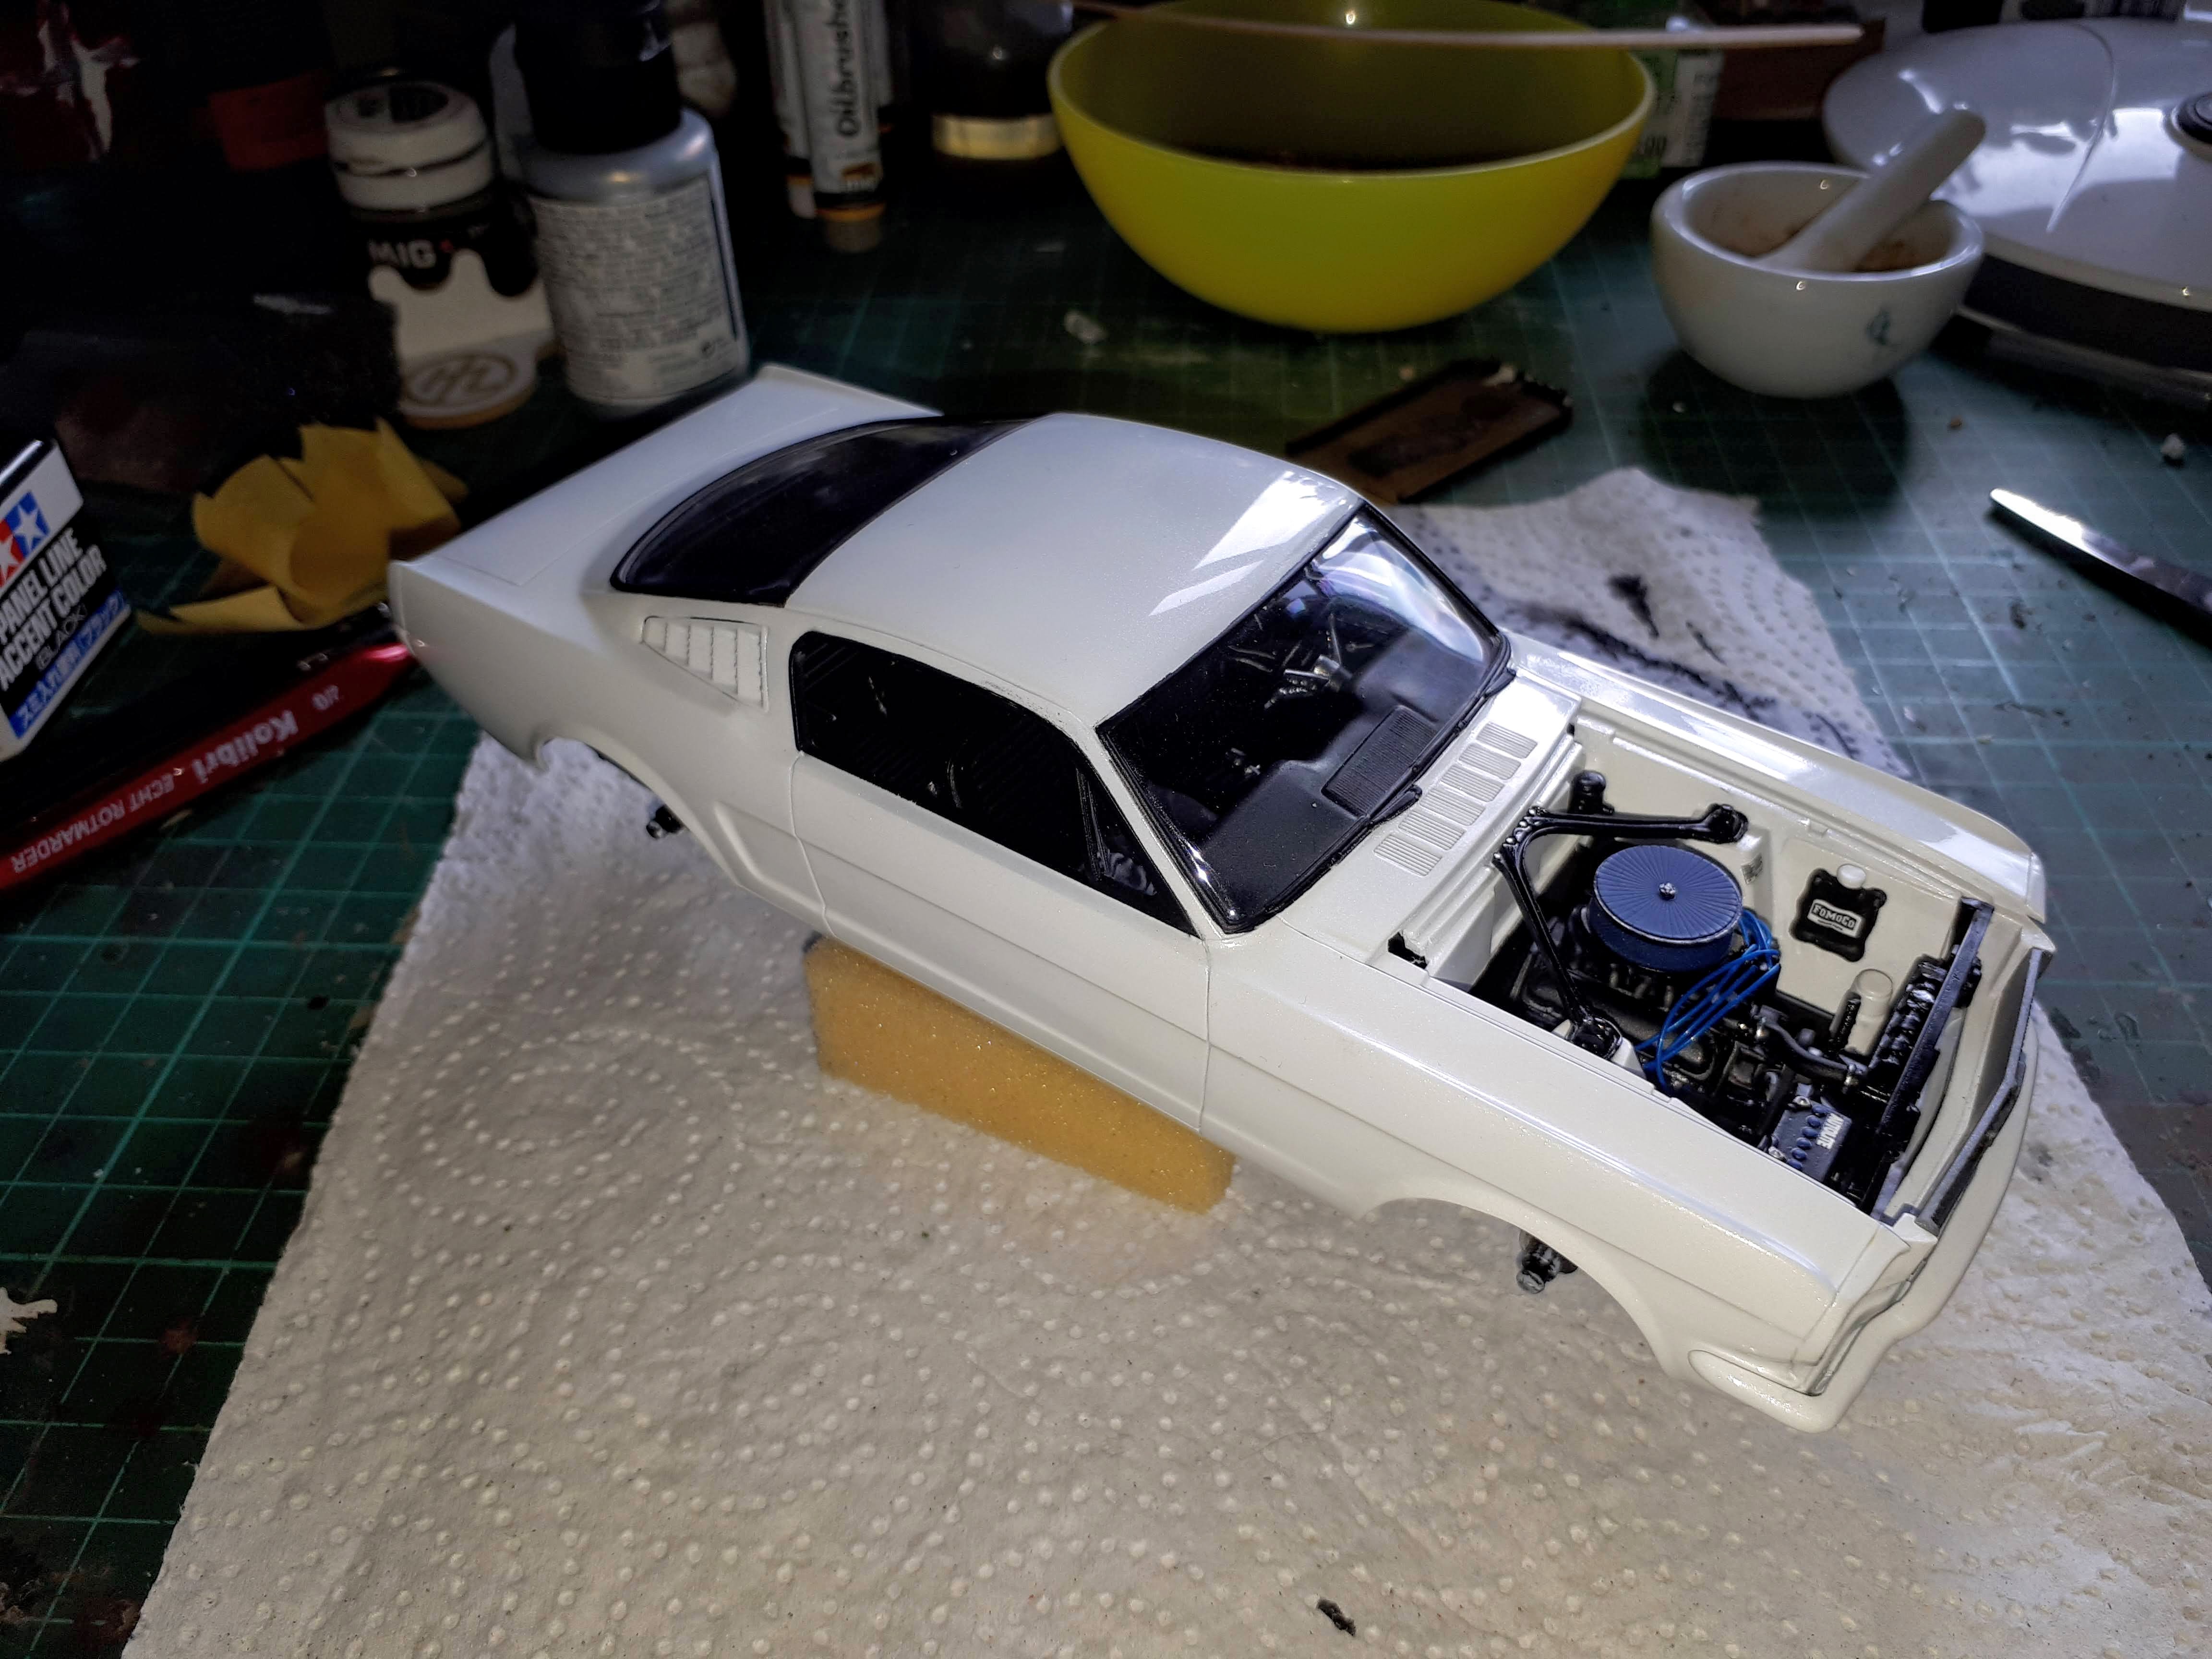
Front panel/bumper, grill and headlights glued in place.

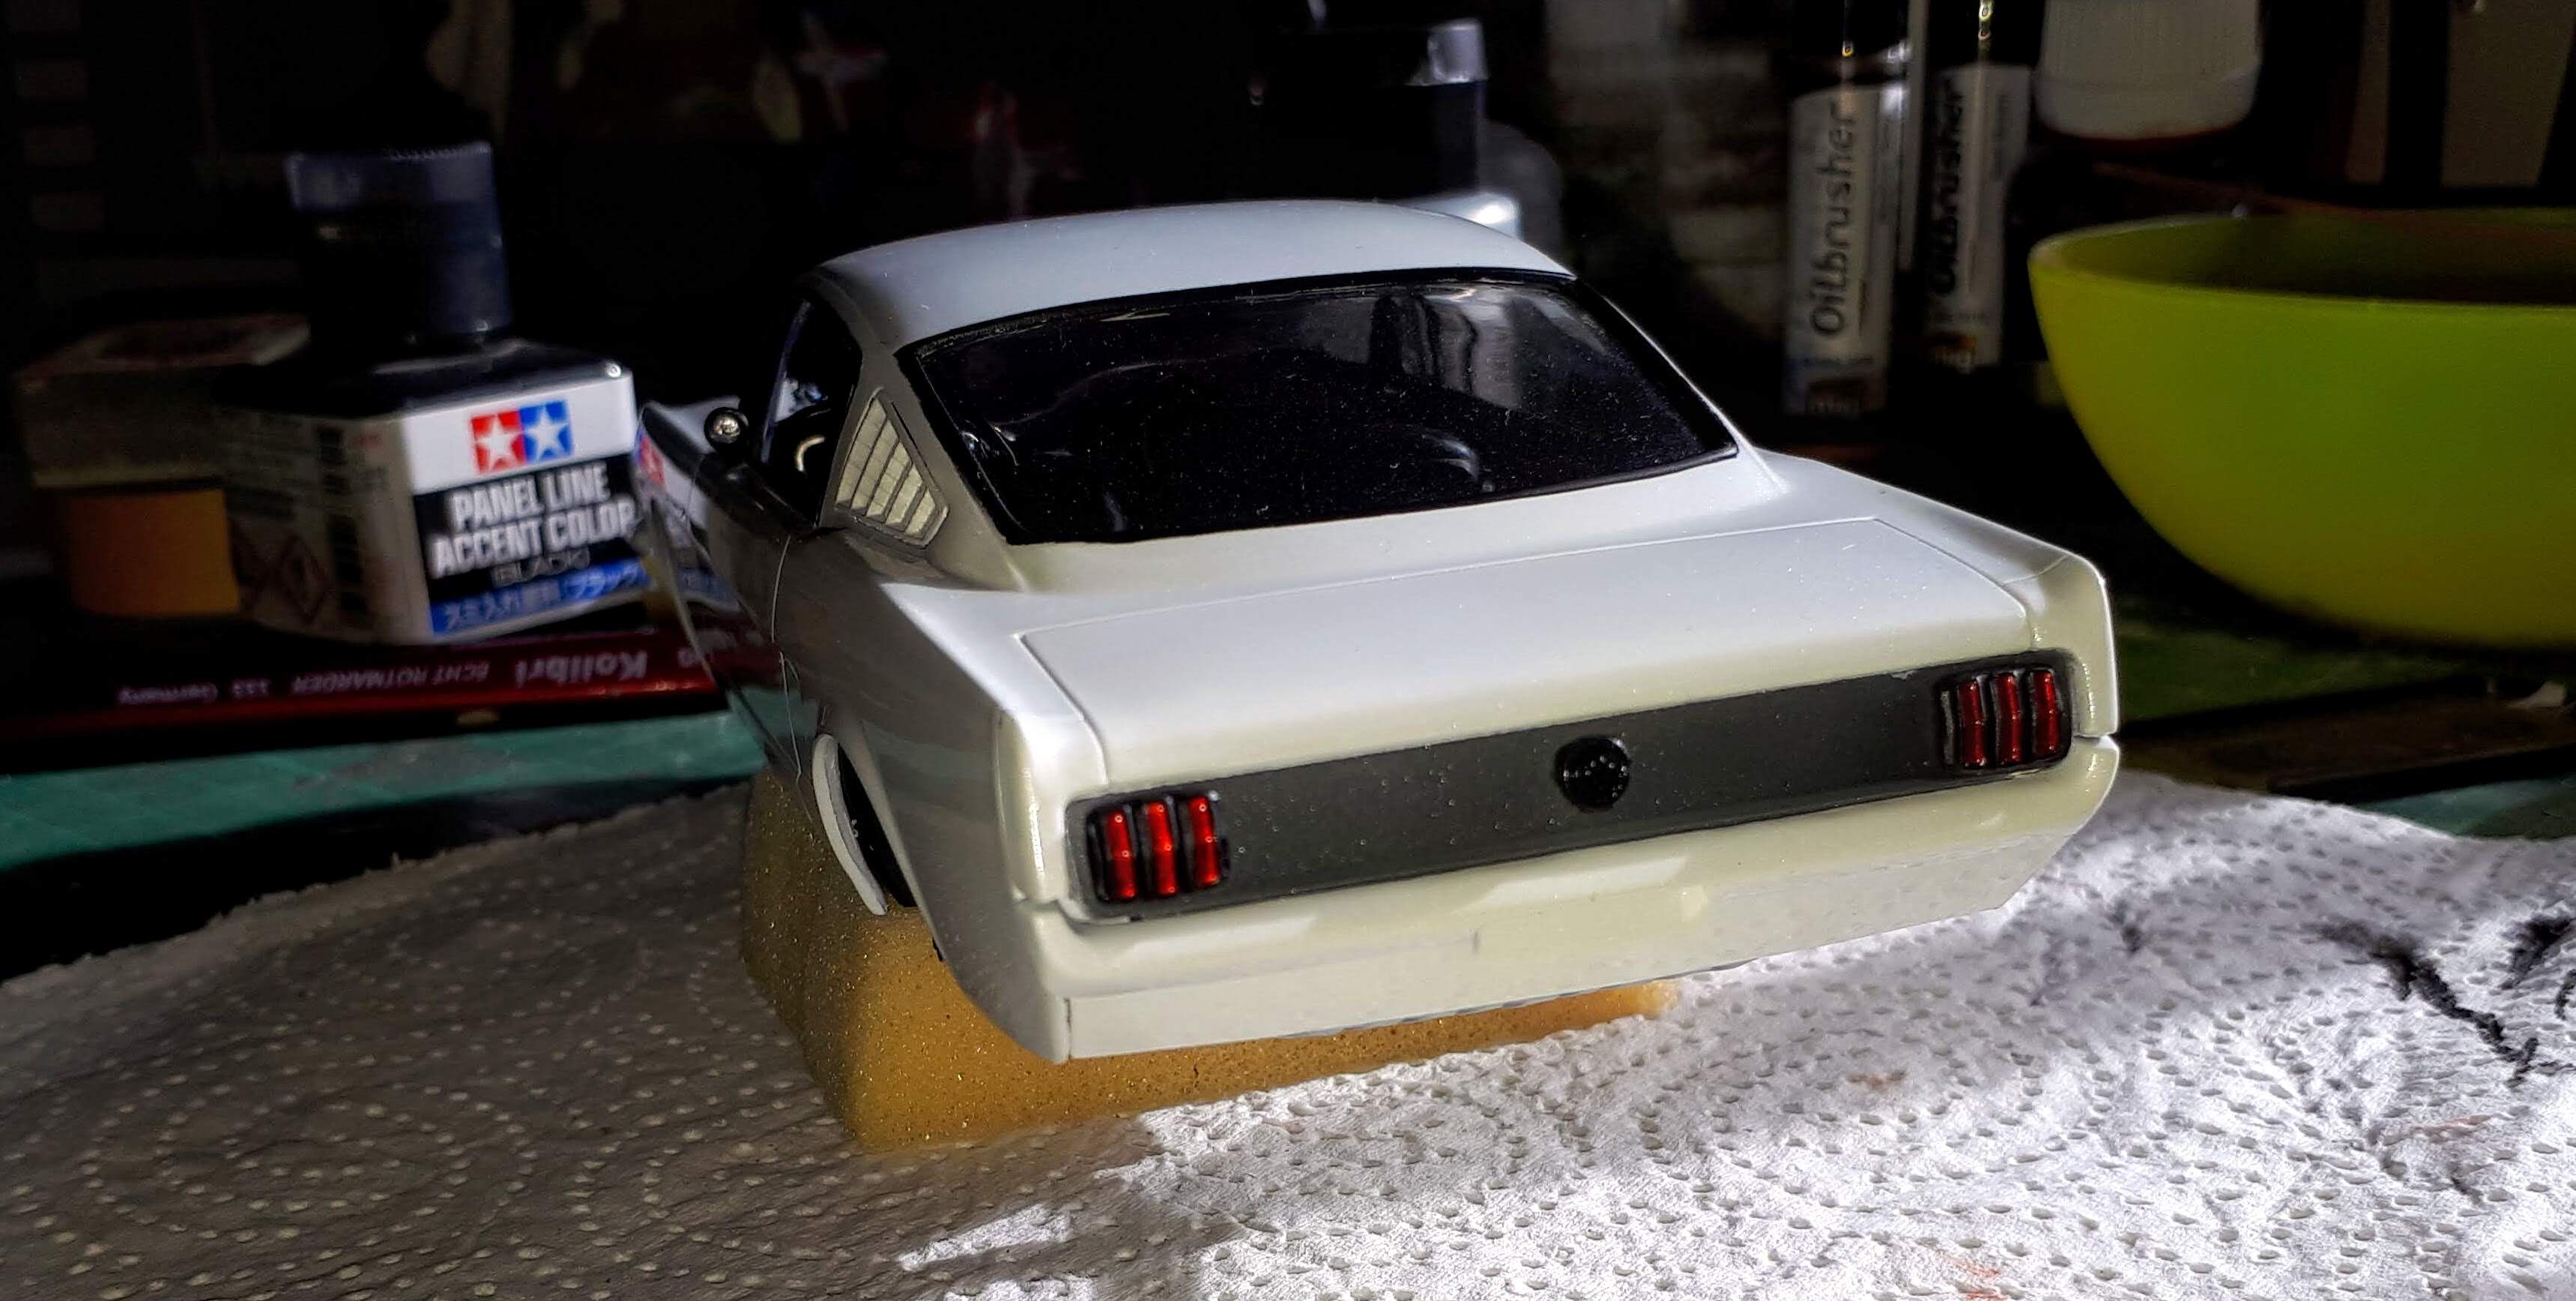
Rear panel/bumper, lights and fuel cap added. A bit of touching up is needed, next to the right rear light, I can see.
Engine done.

2 Likes
Superb clean build Jesper, love the finish. Really neat engine bay as well. This is looking very very nice!
Cheers, D
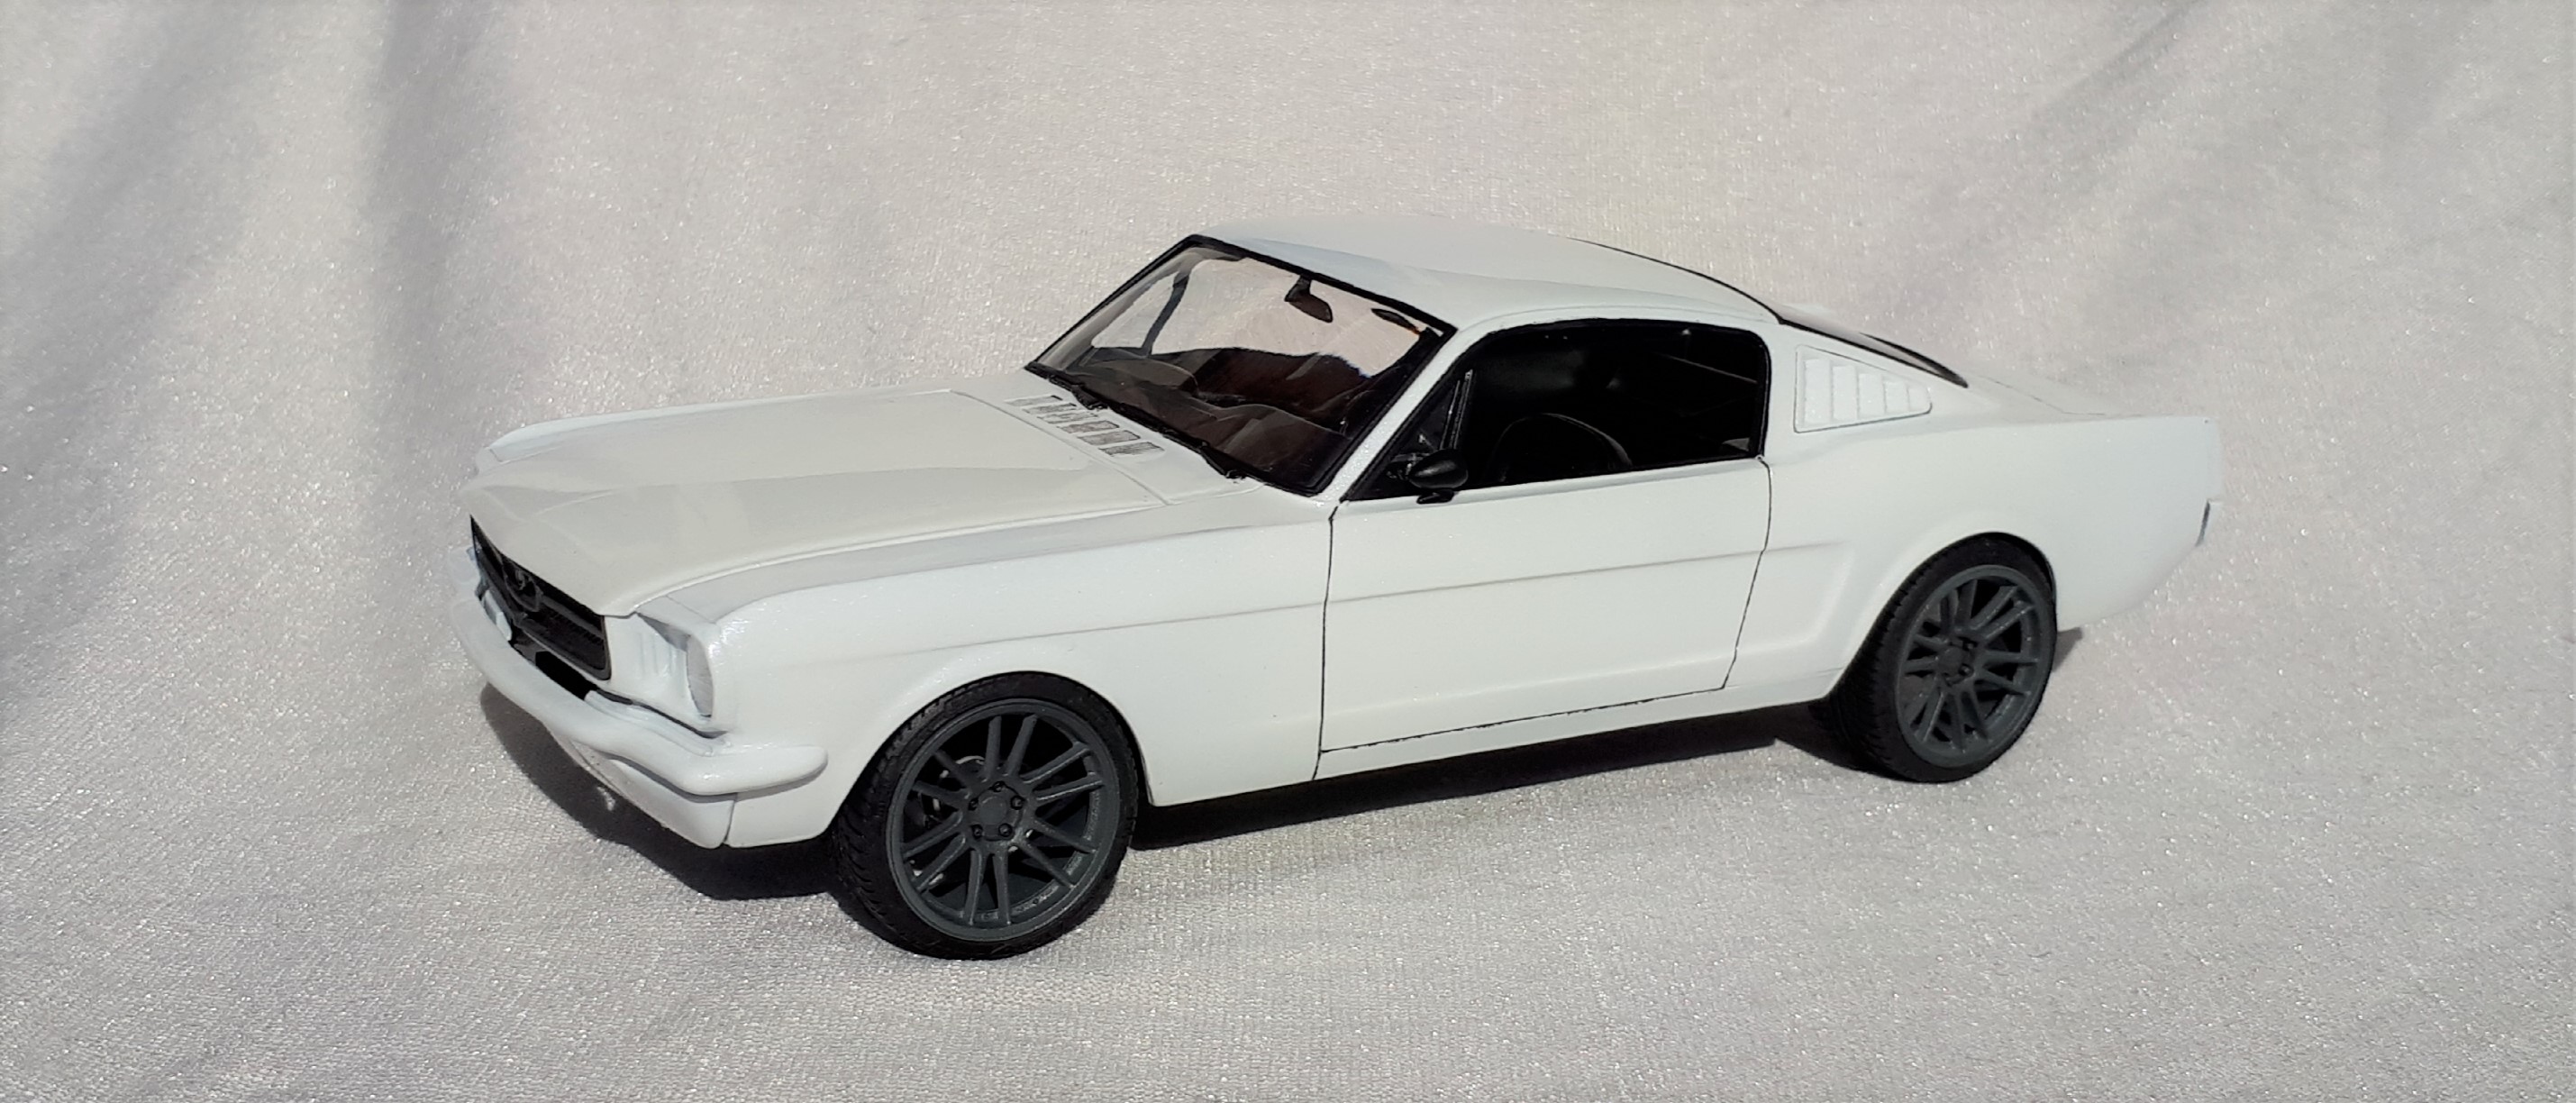
Nice work!