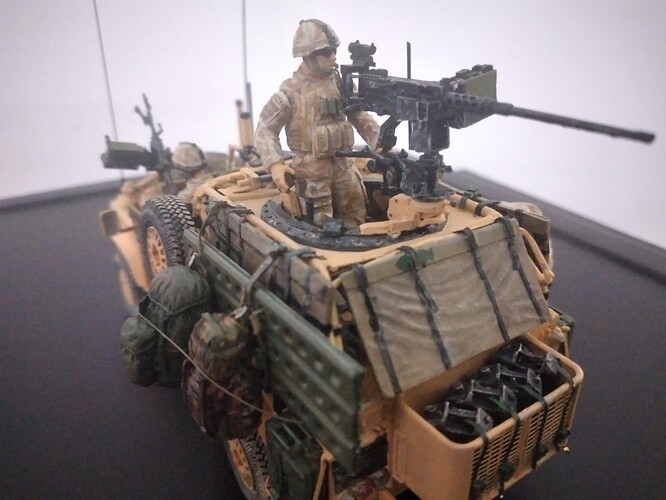
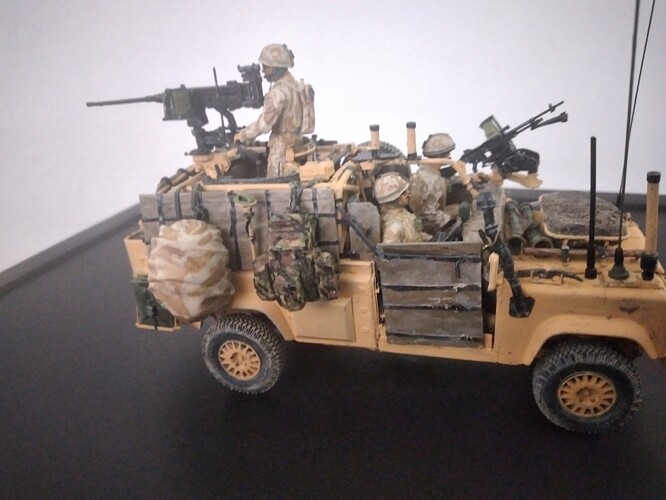
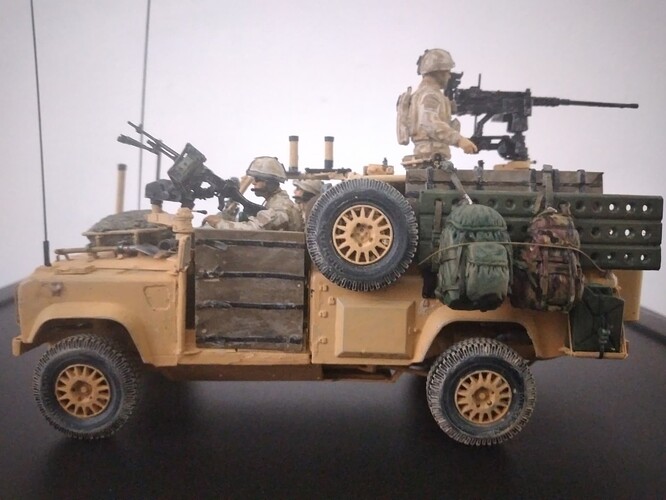
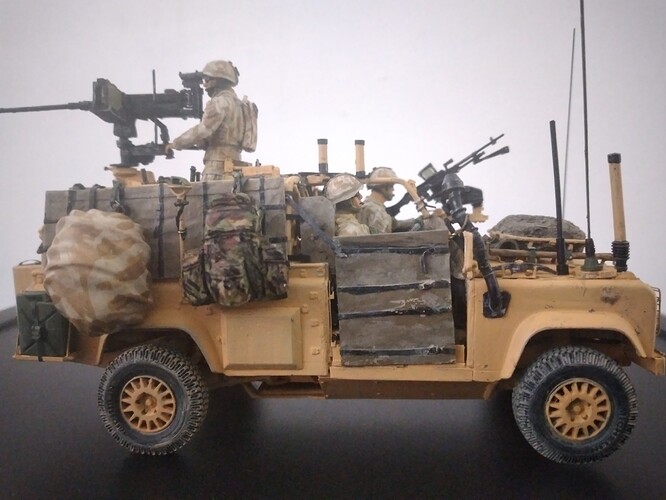
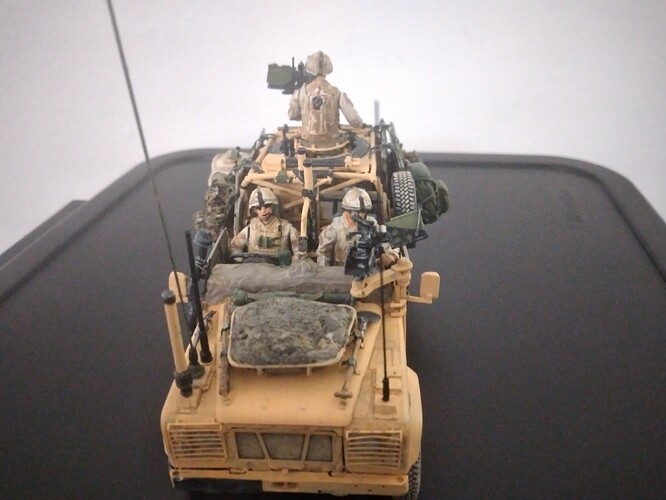
Not bad; could’ve been worst.
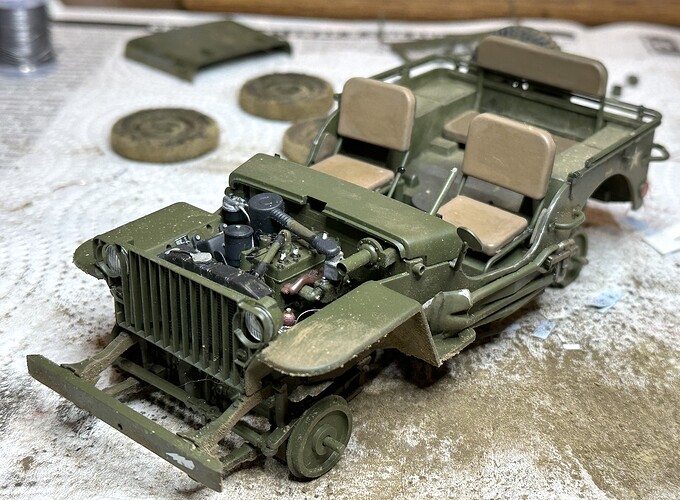
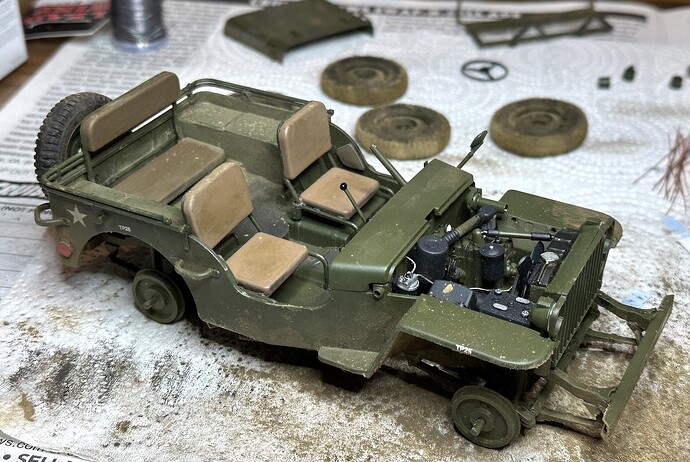
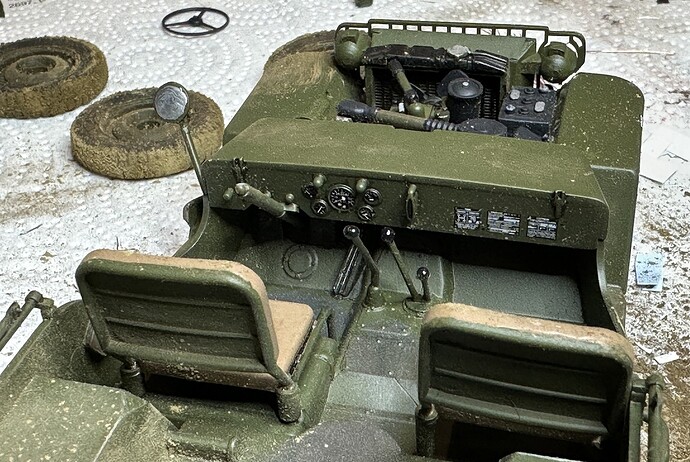
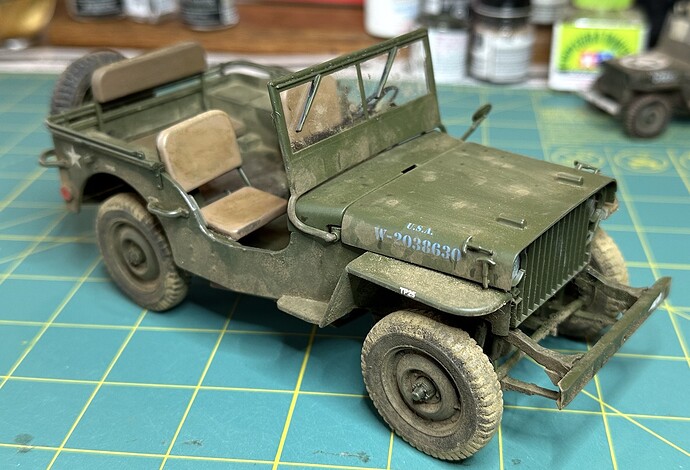
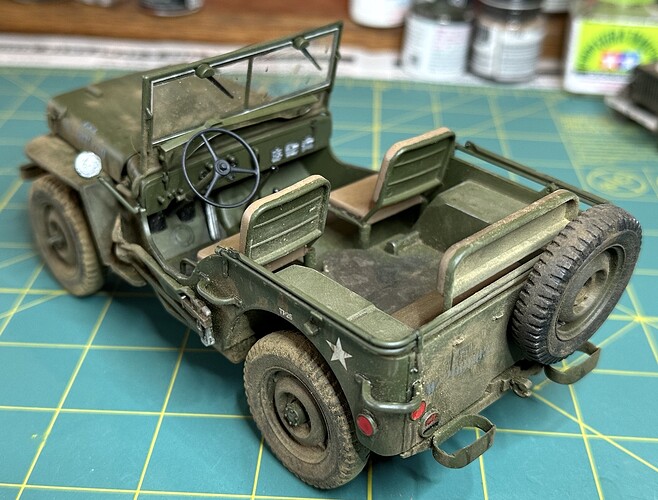
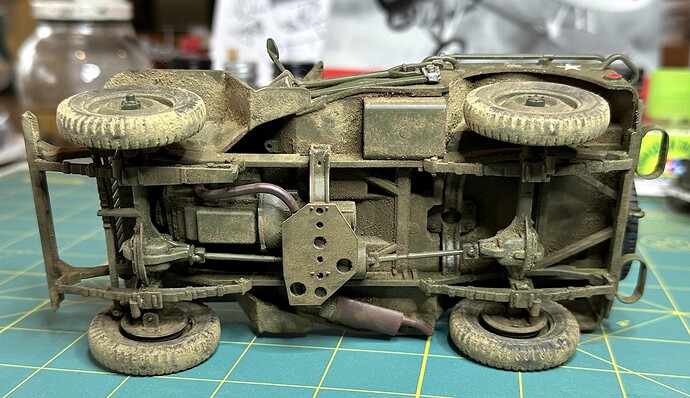
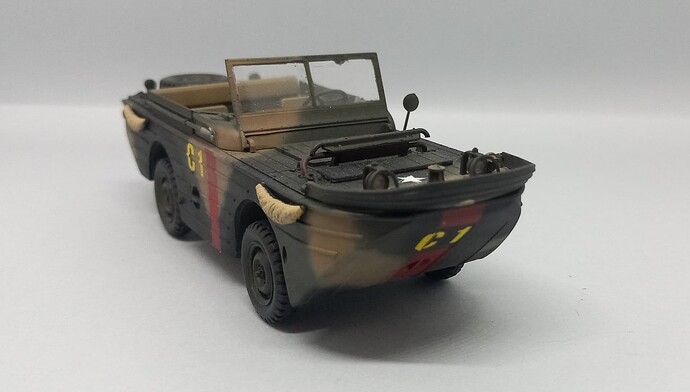
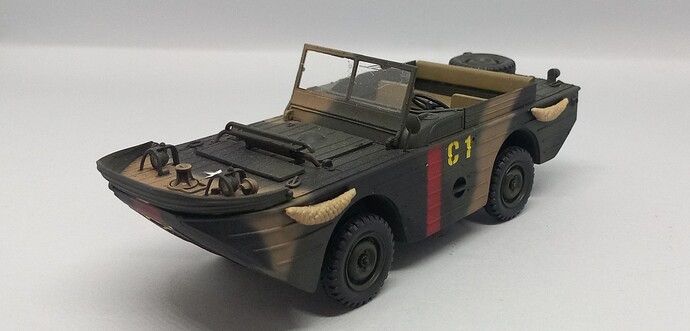
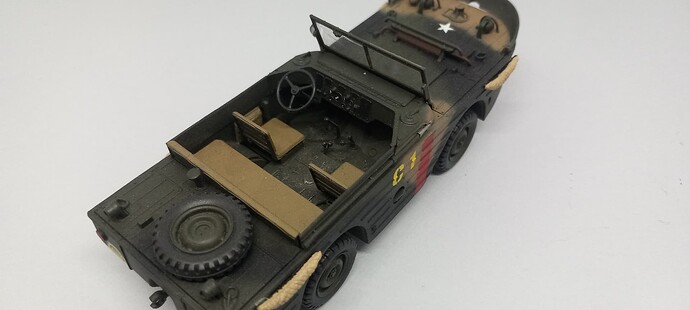
Here are a few more pics. This Jeep is getting some mud & dirt to make it look more a part of its surroundings in New Guinea, 1943.
Paul
Nice work, I particulary like the underneath rendering.
Hello all,
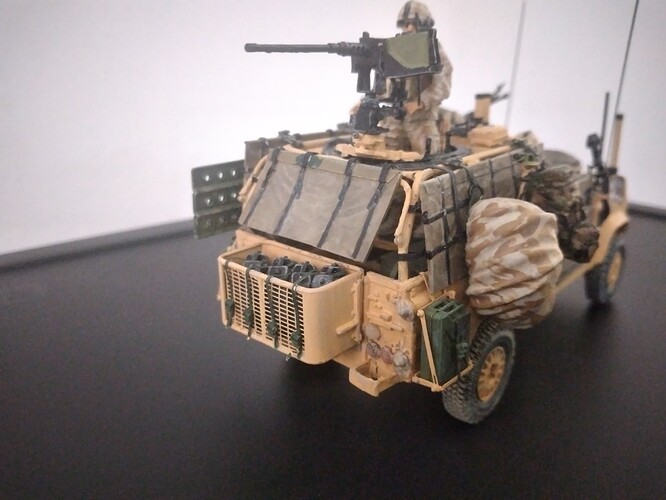
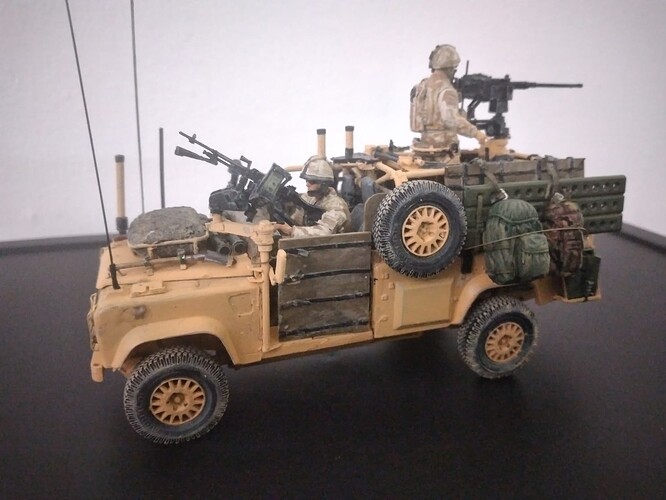
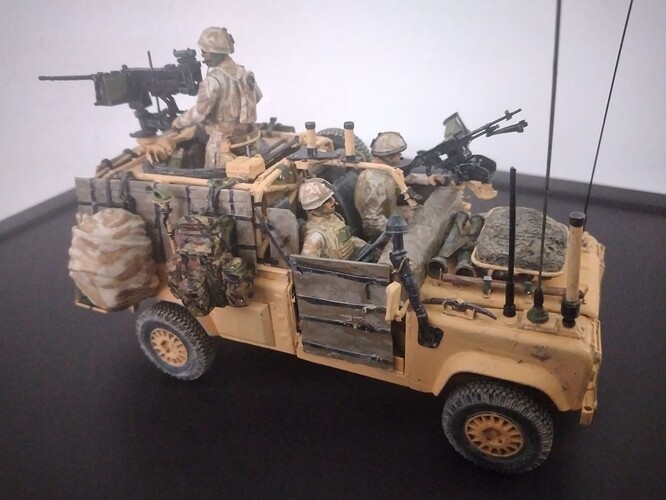
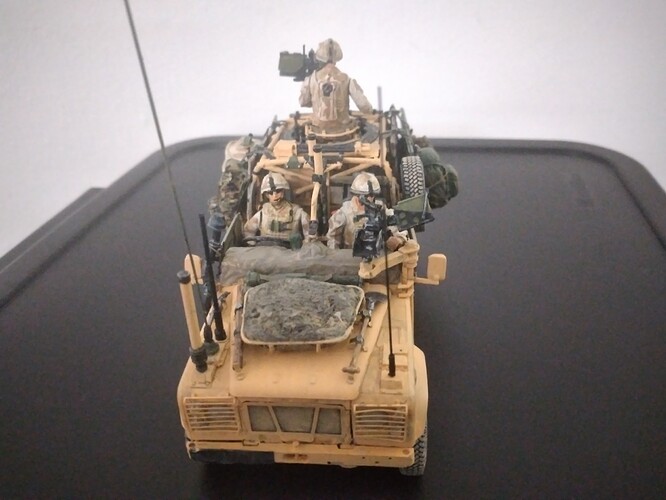
I must say to my WMIK:
YOU…ARE…TERMINATED ! ![]()
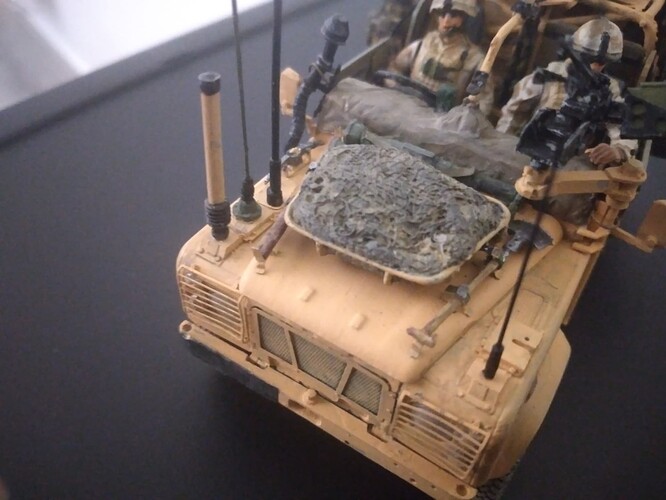
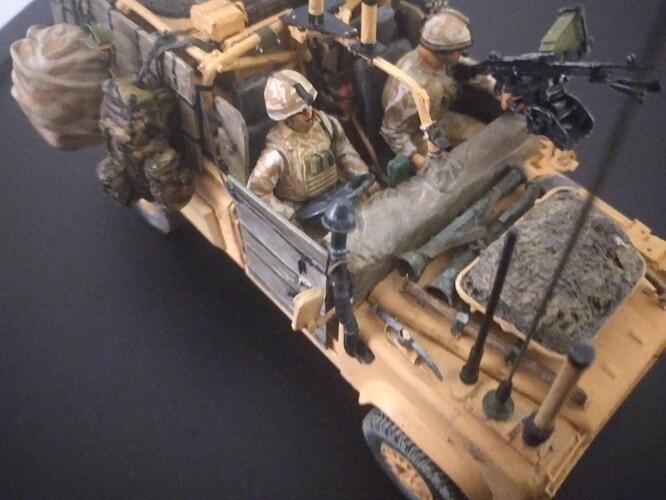
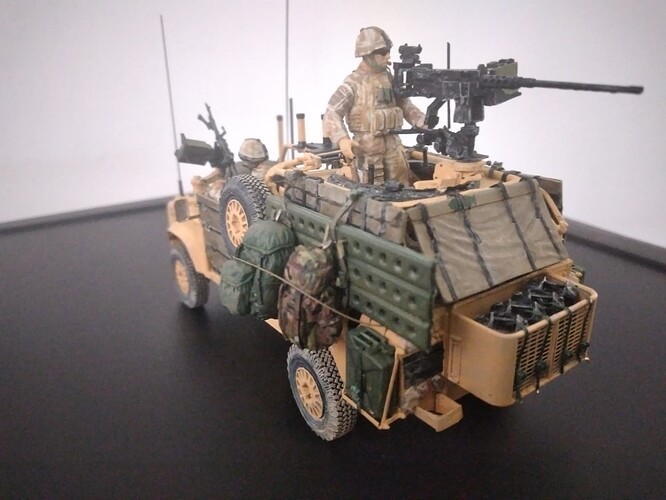
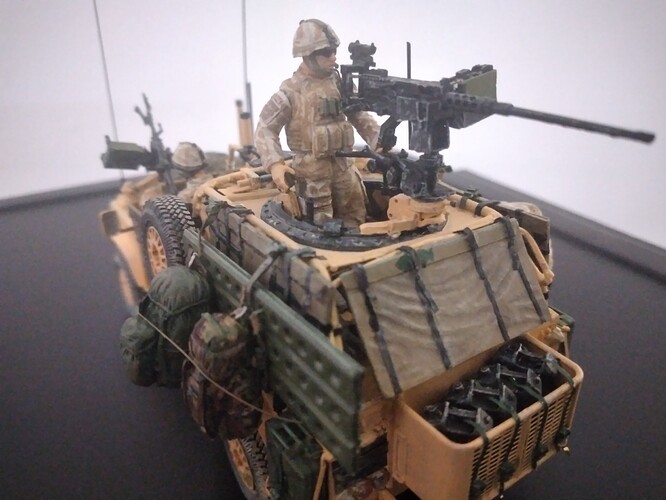
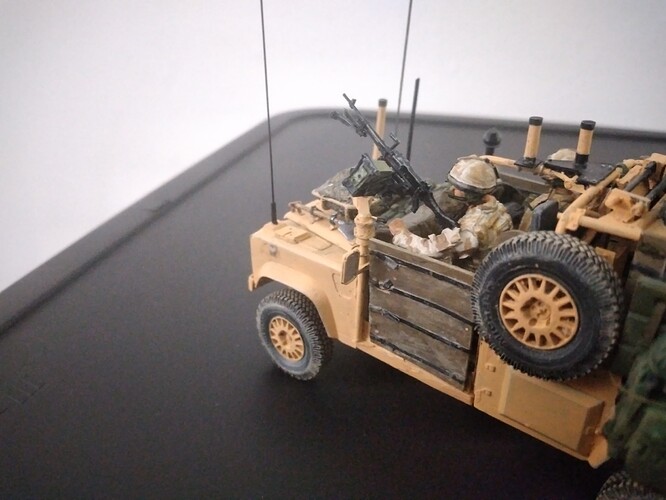
So last pictures of my finished model:
Carabiners were made with tin wire.
The black antenna in front of the pick is my own built.
Bungee cord made with stretched styrene
The armor panels are called MAPIC (Modular
Armour Protection Installation Kit) and it is made by a company called JANKEL.
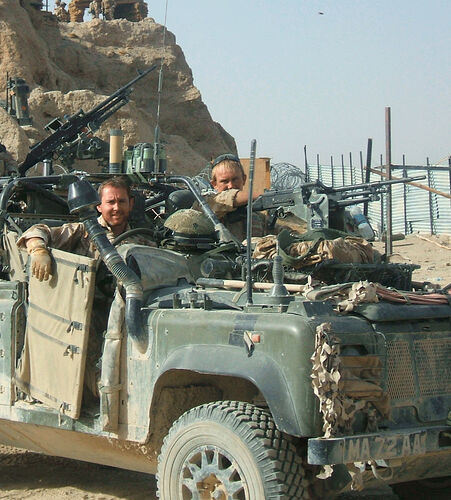
Accurate Armour is very vague with the straps locations so need to find pictures of the real things to make it as right as possible.
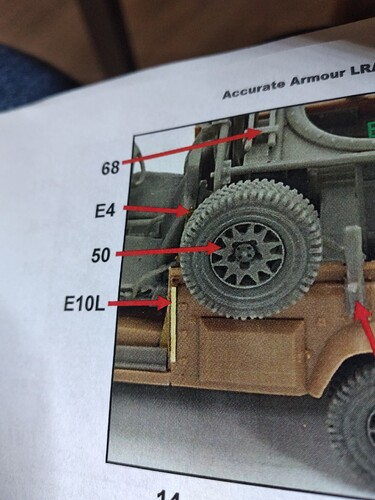
A big mistake in instructions: the photoetched parts with hinges for the 2 front side armor panels straps must be glued on the outside of the vehicle. IT IS WRONG !
Picture of instructions you can see the part E10L (R for the other side) both have little pins to insert folded straps glued on armor panels.
Right location is on the thickness of the bodywork.
The 2 front side panels were too large. Need to remove a width of 3mm.
This update set was very difficult to build because instructions are very vague and a few elements are built as real things like jerrican holders so with a lot of parts (not necessary in my mind)
What a magnificent build! Despite all the years and add ons, I can still see a Land Rover under there. I had a Series IIA for 48 years and these vehicles are close to my heart. Great job on this, its a pleasure to look at.
Paul
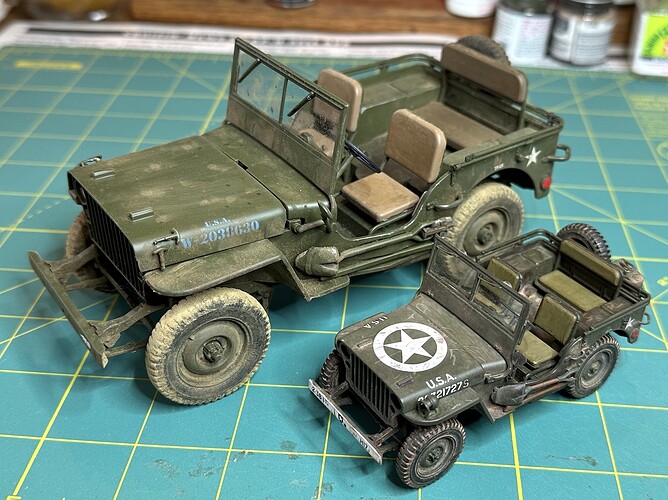
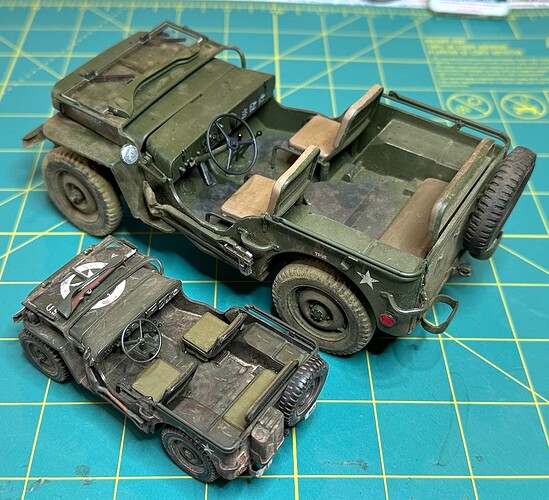
I finished my own build for this campaign. It is the 1/20 Fine Molds Jeep, an early slat grilled model. The markings are for New Guinea in 1943 and I tried to make it look like it might be in that hot muddy place.
The last two pics show it next to the 1/35 Tamiya Jeep done for another campaign some years ago.
Thanks everyone for sharing your builds and to our leader for getting this off the ground and running.
Paul
Oh wow thank you for your nice comment !
I like a lot your jeep you have made a great job on it.
The color shade and the dusted effect looks real.
Congrats for this very nice model.
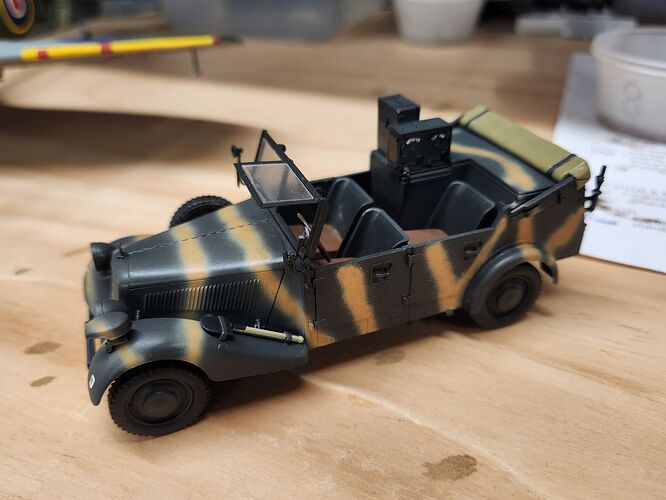
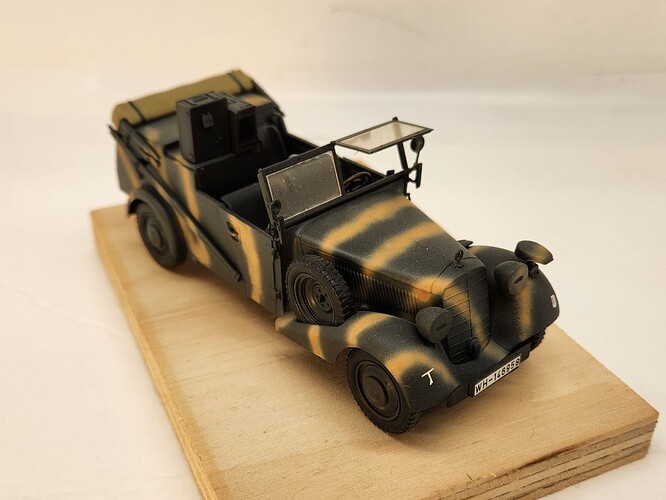
Because the weather has been crap for the past few weeks plus getting finals sorted with my students I was going to make a base for my entry but didn’t get past cutting the wood. But here is the kit itself finished:
This was a fiddly kit which I knew about Master Box, but there aren’t many alternatives if you want one so you work with what you have. The other build thread of this kit by SamS shows how you can overcome the kit’s deficiencies but I I didn’t go that route.
Mate this ended up really nice! I like the colour scheme and overall it’s just a nice, neatly done model!
Agree there’s some bits that are fiddly and need a bit of tweaking. I can’t see it on yours but mine had odd gaps at the lower sides of the front grille which needed filler. Not from my incompetence but the grille seemed to be too narrow towards the bottom. Odd. Also, in line with your warning, the windshield frame snapped coming off the sprue but was repairable.
I love all the work you’re putting into yours; I tend to go OOB for the most part.
Deciding to go with the open driver’s side glass was something I expected to go horribly wrong but other than falling off once it went okay. That plastic is just so thin and brittle.
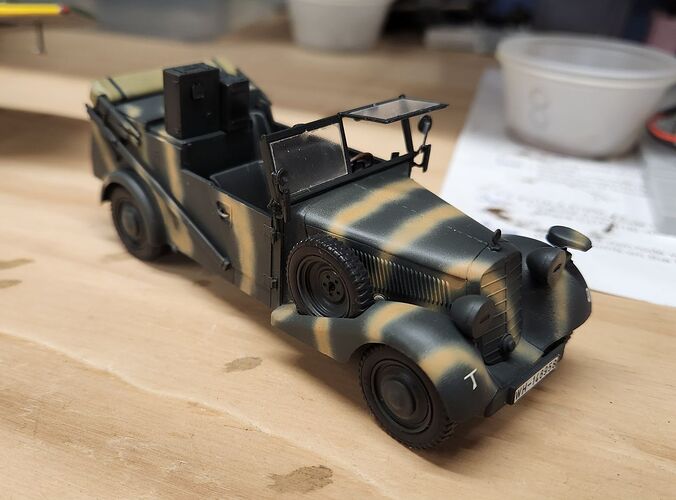
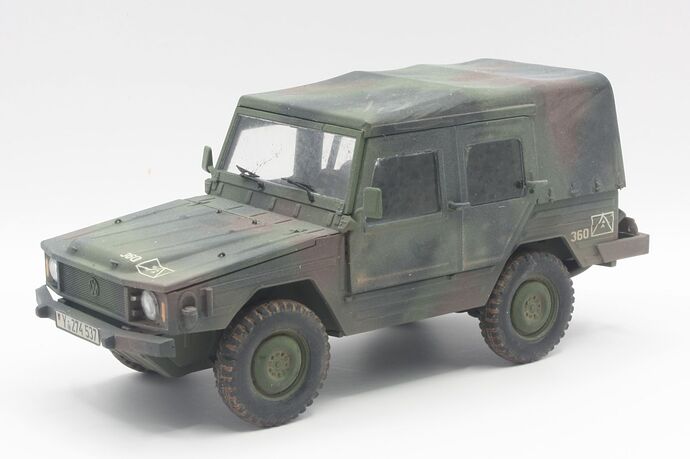
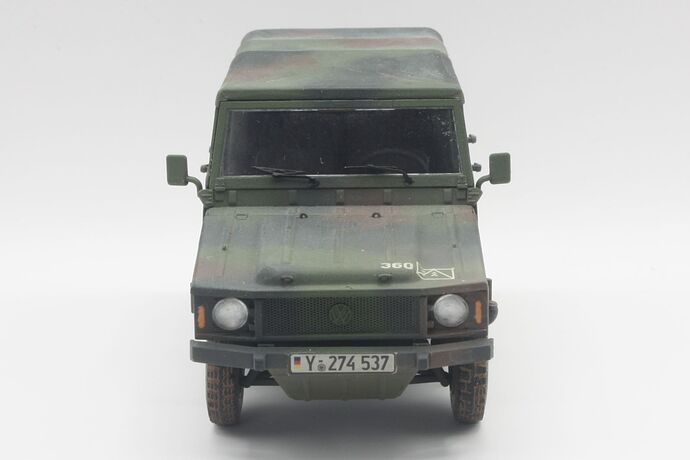
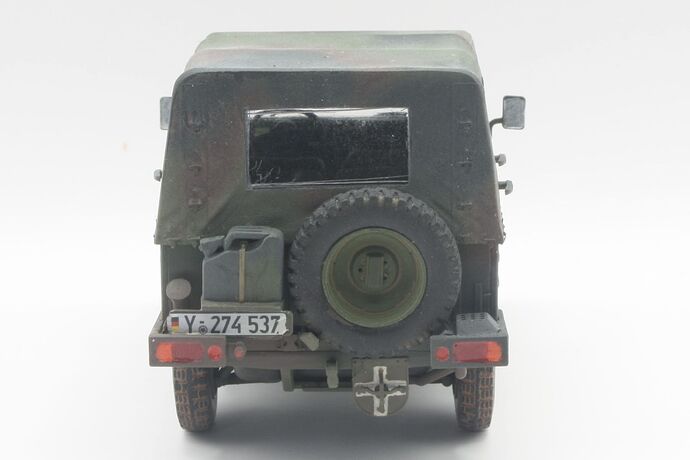
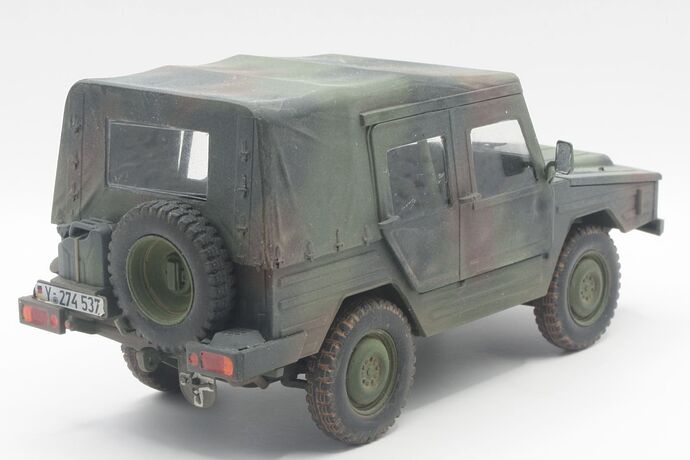
Finally got pics of the Iltis! It was a tough little model, and if I ever did another I’d probably use CAD to rework the multi-part suspension into single-part units to avoid all the micro-fiddling. And I’m not happy with the AB camo - I should have brushed it to get hard edges. Also I thought I was being clever leaving the roof loose to display the interior. But when I added the spare tyre it trapped the roof! So, no interior pics I’m afraid…
Still it was fun, and I have a ride home!
I find the best solution to mirrors is candy wrappers. The inside Mylar chrome is good for scale. Use a punch and die, or the flat end of a drill bit on a soft pencil eraser to punch out a disc and use a little PVA to glue the disc in place.
Wow guys, you have rolled out some sensational stuff since I last visited. A lot of inspiration here. Nice to see such varied subjects turned out so well.
Okay, the end of the campaign is nigh. Are there any guys out there than need a little more time?
I will be returning to Australia within the month. My purse was emptied a little earlier than expected due to unforeseen circumstances, so I am happy to extend by a month if needed. This will allow me time to get home and send the email to have the award allocated to all finishers. Just let me know if there is anyone straggling…
I am still stalled at the painting stage but might be able to finish in a month.
No problem. A month might give me time to finish mine too. I originally planned for a 6 month holiday and expected to be home to finish it… 10 months later…
Anyone else out there that would finish in a month?
I haven’t started but I had a kit set aside to build that could be done in a month
Me neither. I always intended to participate, lots of ideas and a couple of false starts, nothing achieved. I even bought one of those AK Interactive Toyota FJ43 kits which sent me sobbing into a very dark corner as soon as I opened the box… Would a single wargames-scale Jeep count without offending anyone who’s produced something substantial?
Regards,
M
[quote=“steviecee, post:326, topic:32041”]I haven’t started but I had a kit set aside to build that could be done in a month
[/quote]
I’m in that same position myself, but I don’t think I will be able to it now ![]()
