It would be rude not to ![]()
3 Likes

Is this to far alonh to use for this Campaign I hoping to use it for this and the Convoy 2 builds. Also it is an M983.
3 Likes
Remember I mentioned about cabling and pipework…
This is what it looks like for real…


Sadly, on the kit … There is nothing… …
Not even the winch control handles…![]()
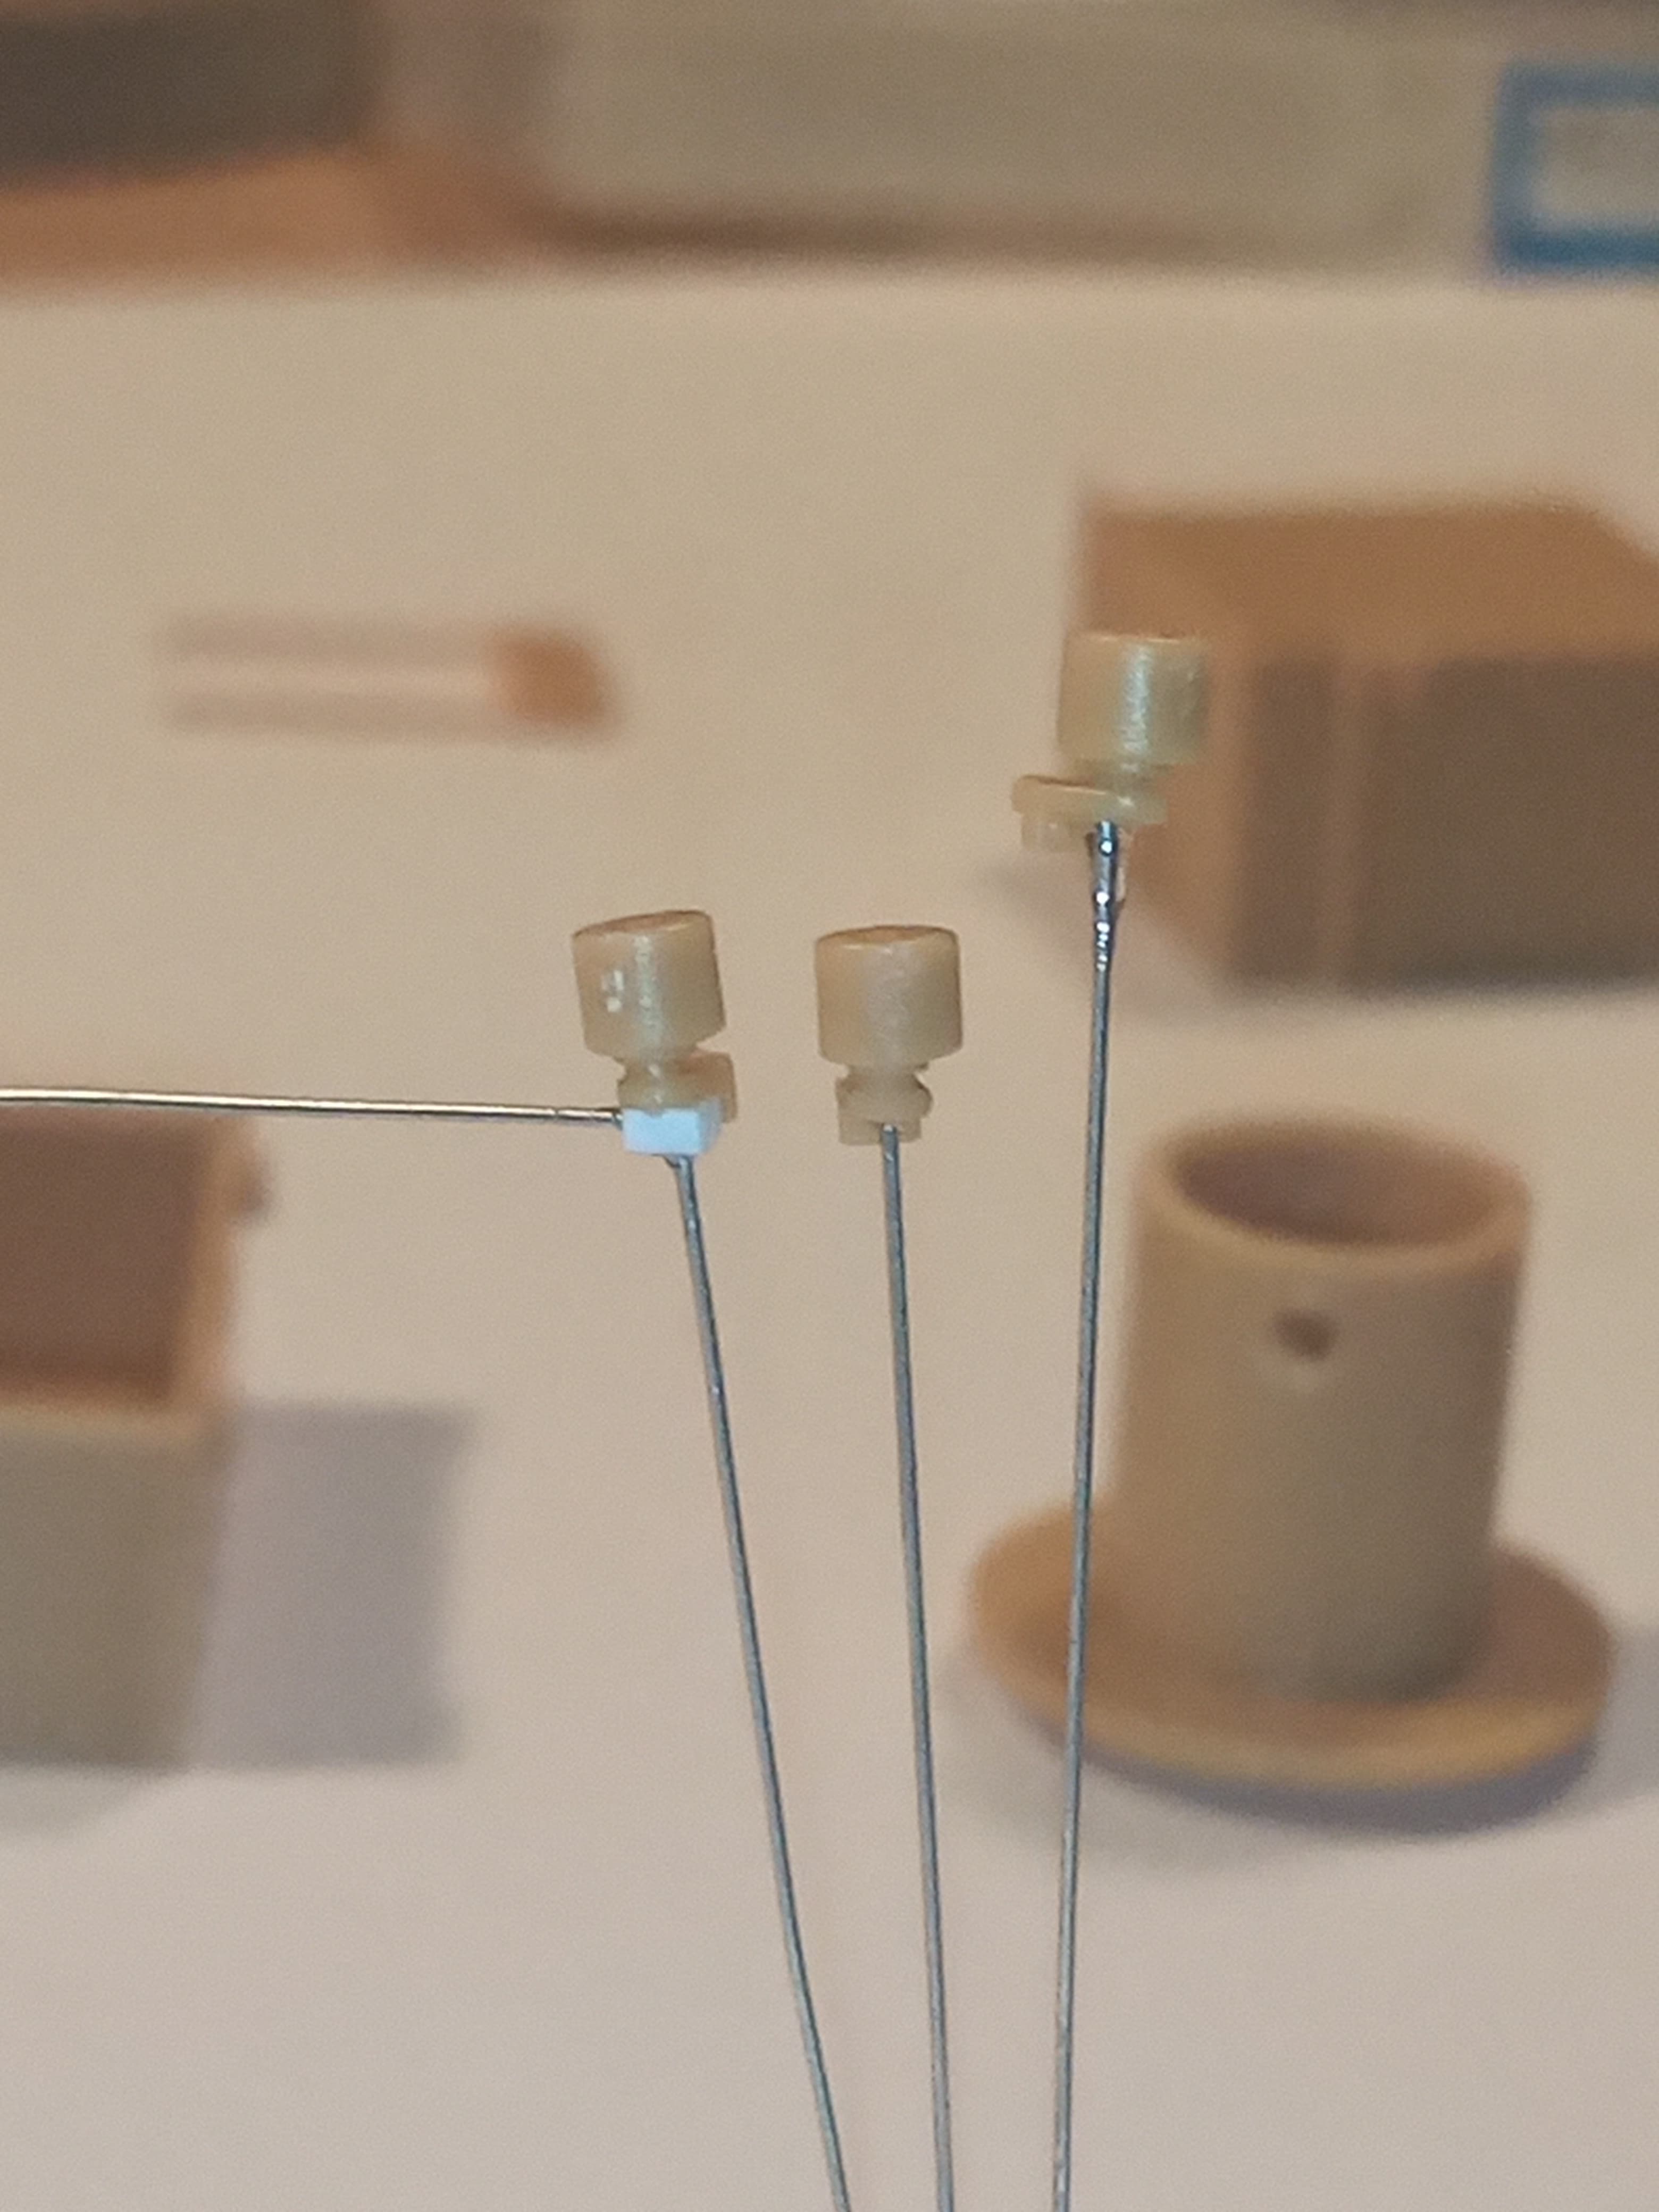
These are the 3 master cylinders and the kits one (feeble) attempt at moulded on pipework…

They will need 4 bits of pipework…
The kit offering…

Here we have about 80% of the parts that build up the winch and it’s housing.

Before I throw that altogether, I am going to try and test the water by detailing one area on the left hand outer wall…
It’s the small hydraulic block that has the 3 ports on top

And the kit parts moulded


The real part has 5 pipes coming out of it, and is mounted away from side wall on a small plate under it… So the kit parts and the 2 bolt heads above it will need to be sliced off carefully and reused…
There is also a lot of cables/pipework that runs on the outer wall, but behind all the part of the winch controls, which I will also try and add.
4 Likes
Oh I forgot… I added some locating rings for the battery box securing arms.


Not perfect but the kit parts were super fragile and thin and I didn’t like them.
6 Likes
Wow, for such a new and large kit, that winch assembly sure is a sorry excuse for the actual thing. Typical ‘Horror Boss’ approach though.
However, that kit of scratch building will be right up your alley, John.
2 Likes
What exactly are you thinking of Mike?
1 Like
Bloody hell John - I thought I made my life difficult enough!
3 Likes
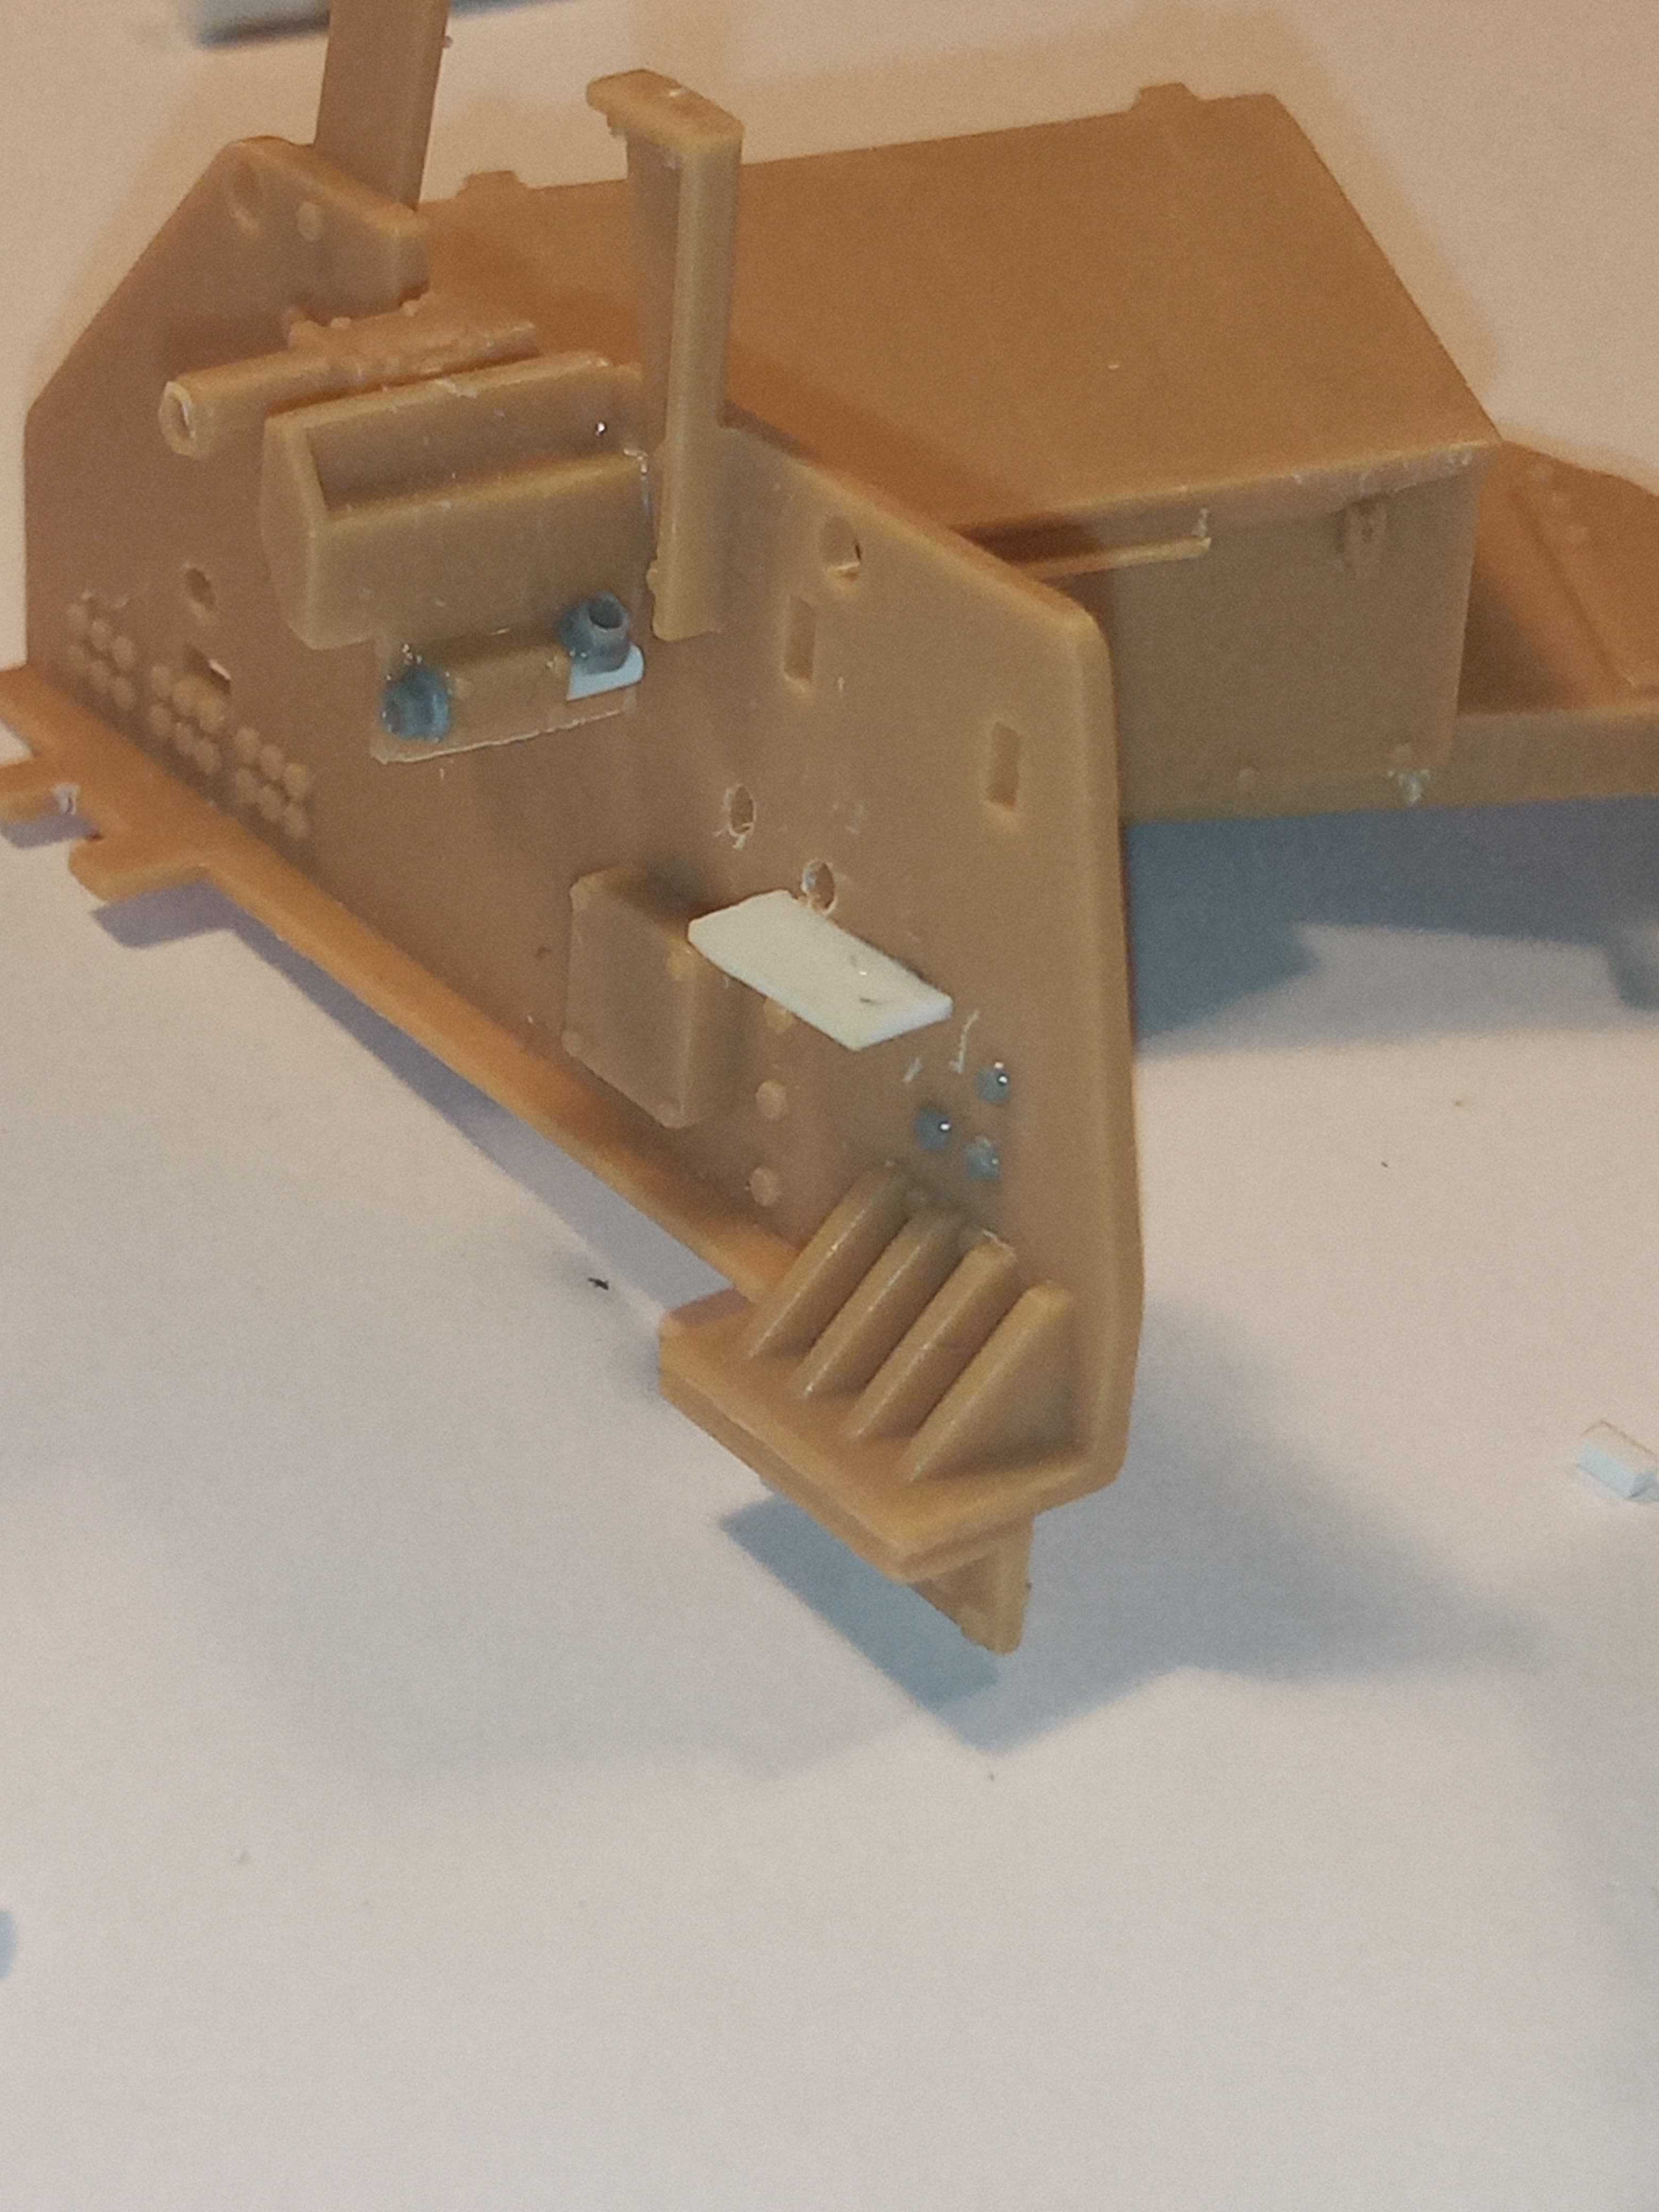
First bits done.
Added 3 new MENG bolt heads.

Also drilled a hole in the winch drum so I can anchor the cable through that.

Put in the 5 pieces of pipework on the hydraulic block, and the piece of white plastic card will end up being the mounting plate.
Drill size for the pipe holes was .10mm, then .30mm and a .40mm

And the 4 pieces of pipe for the master cylinders… Added a small square of cut plastic on the one with 2 bits of pipe, and the drill sizes were the same as above.
Time to give the eyes a rest lol
6 Likes
Inspired by Max Lemaire’s build in The Soviet Arsenal in the War in Ukraine I’m going to do a Ukrainian Gaz-66 towing a D-30 Howitzer for this group build. Hopefully mine turns out half as good as his.

4 Likes
And even more annoying… I just realised that they don’t include a spare wheel for the tractor unit that sits on top of the trailer swan neck… Bear in mind, in nearly every single picture you see, there is a very prominent and obvious spare wheel visible … I may try and use a trailer spare wheel, but again, there’s an obvious difference in size between the two. ![]()
4 Likes
John,
Just my 5 cents:
Wrap one of the tractor wheels in an white glue soaked napkin- as if you’re about to do a canvas.
Once it sets, remove carefuly the wheel, shape the “cocoon” with some water and you will have a spare wheel, protected from the elements to place on the trailer.
I’m following your build and superdetailing closely!
![]()
Angel
7 Likes
Angel, thats a really smart idea… thanks … I may have a practice with that and see what it looks like ![]()
![]()
3 Likes
A cropped picture of a build I’ve finished 7 years ago.

Takom only gives 1 spare wheel in its Hanomag SS-100 tractor kit, but on the reference picture the tractor had 2 spares.
The one behind the cab is an “empty shell”.
Cheers,
Angel
7 Likes
That’s a very good fix Angel ![]() …
…
This is the plate that has 2 electrical cables connections at the bottom… And it should have 3 airline connectors just below the top… But Yeap… Missing
And remember the very busy area on the LH winch side …

I did a quick dry fit showing how empty the kit offering would look…


There are a few bits missing which I’m detailing at the moment, but even then, it’s pretty empty … Shame really as it’s an obvious area that is easily seen for references when designing a kit …
5 Likes
Started to build up the LH wall of the winch housing and the components that go on that side that need pipes adding.
I was pondering the issue of the cables and various pipes and came up with what looks like decent solution…
And that was the 1.4mm MENG bolt heads.
While they are still on the backing plate, I drill out the centres of the bolt head, going a bit larger each time, and then slice them off and they act as the pipe union on top of whatever they go into…
The holes match up with some of the larger hobby wire I recently got.
How they look.


And the side wall with some parts added with the bolt heads drilled out, and the hydraulic block mounting plate fitted.
I decided it would be better to build it up to a certain level, as it will make getting the pipelines and cables the proper length so much easier …
6 Likes
Down the rabbit hole we go …
LH side overall…

And the close up hydraulic block and pipes and more cables from the block below. .


The 3 master cylinders (upside down until they dry)

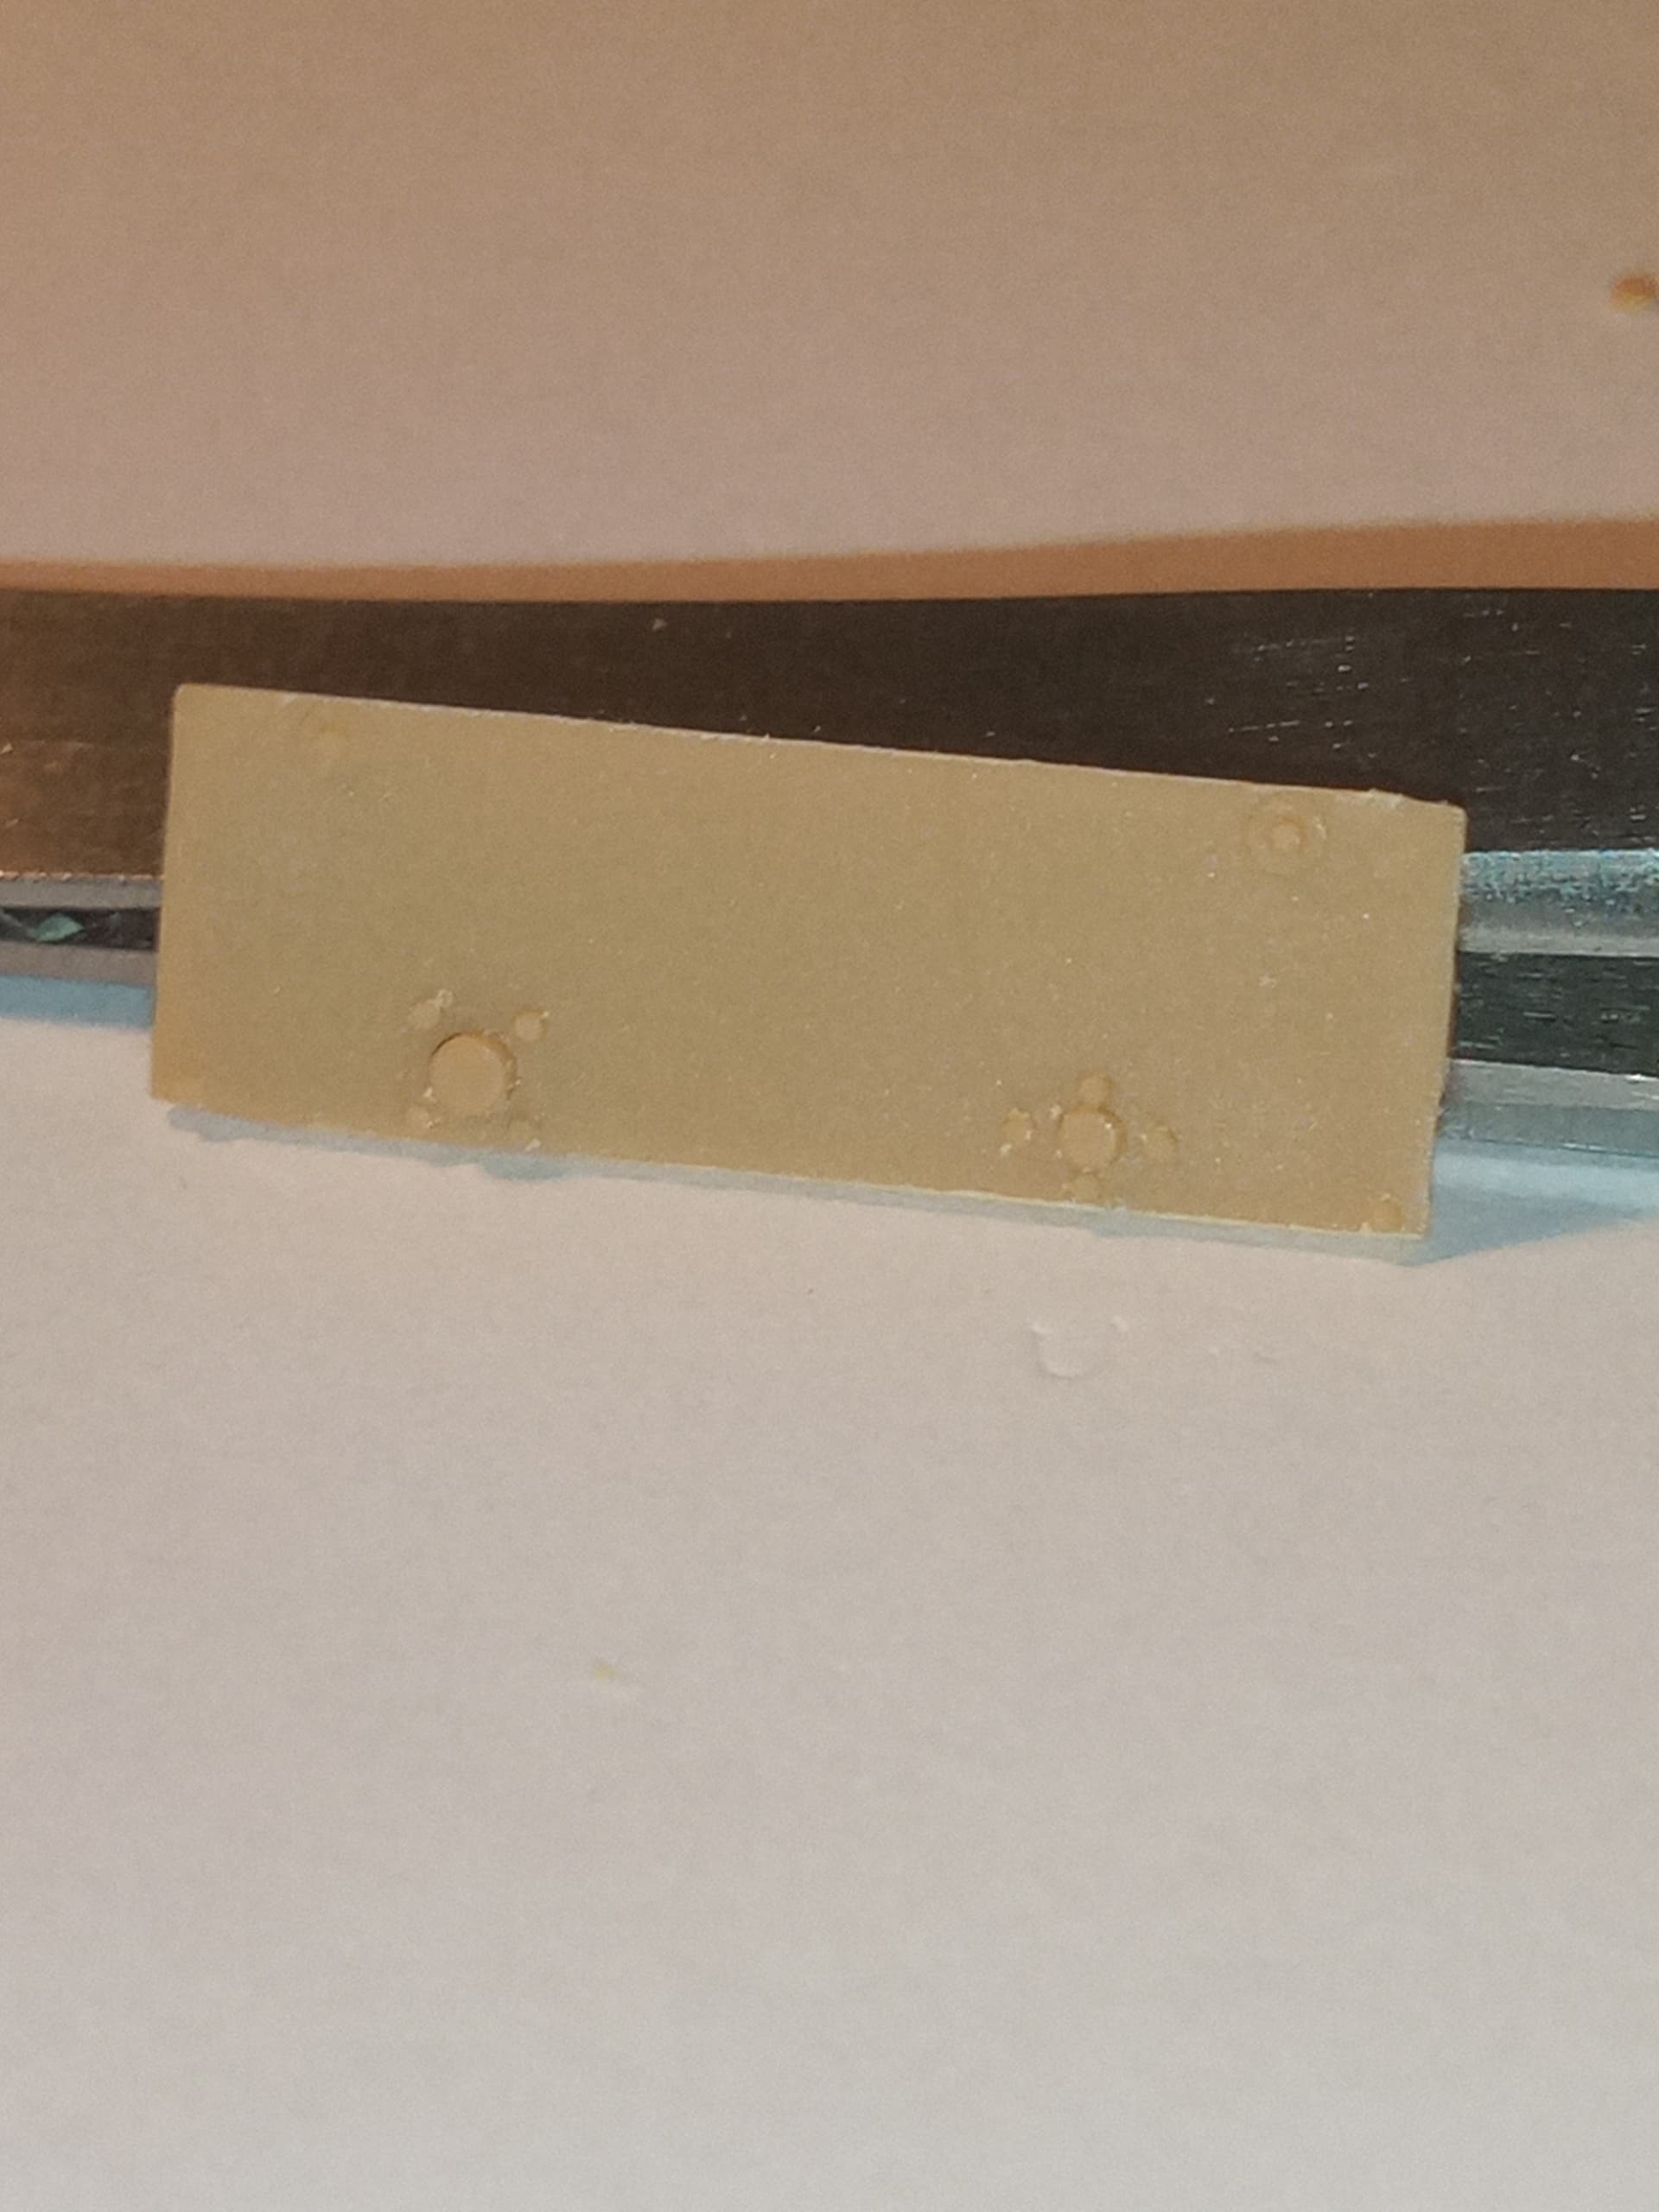
Added a white plastic bit for a joint point for a pipe.

Airline points with handles, from old PE.


And this is just the start… ![]()
8 Likes
Have also done some basic cable and pipework on the rear of the chassis and up to the front of the 5th wheel that will be visible …


They match up about 80% of what’s there, this is more to just give the general feel for the pipes and cables…
8 Likes
Man I am really starting to enjoy this one…
2 Likes
Haha… I’m not !! No, honestly… I am enjoying this detailing. It just seems odd to me that they didn’t even attempt to add any of even the basic winch detail, or winch cable … It will definitely be worth the effort though.
2 Likes
