Phil,
Looks like you’ve made it over the hump. It’s looking really good!
Thanks for the encouragement. I have all the instructional markings on the top and about half of the ones on the bottom. One more weekend and I should have those finished up and the panel labels on. Then I can get back to finishing the kit ![]()
3 Likes
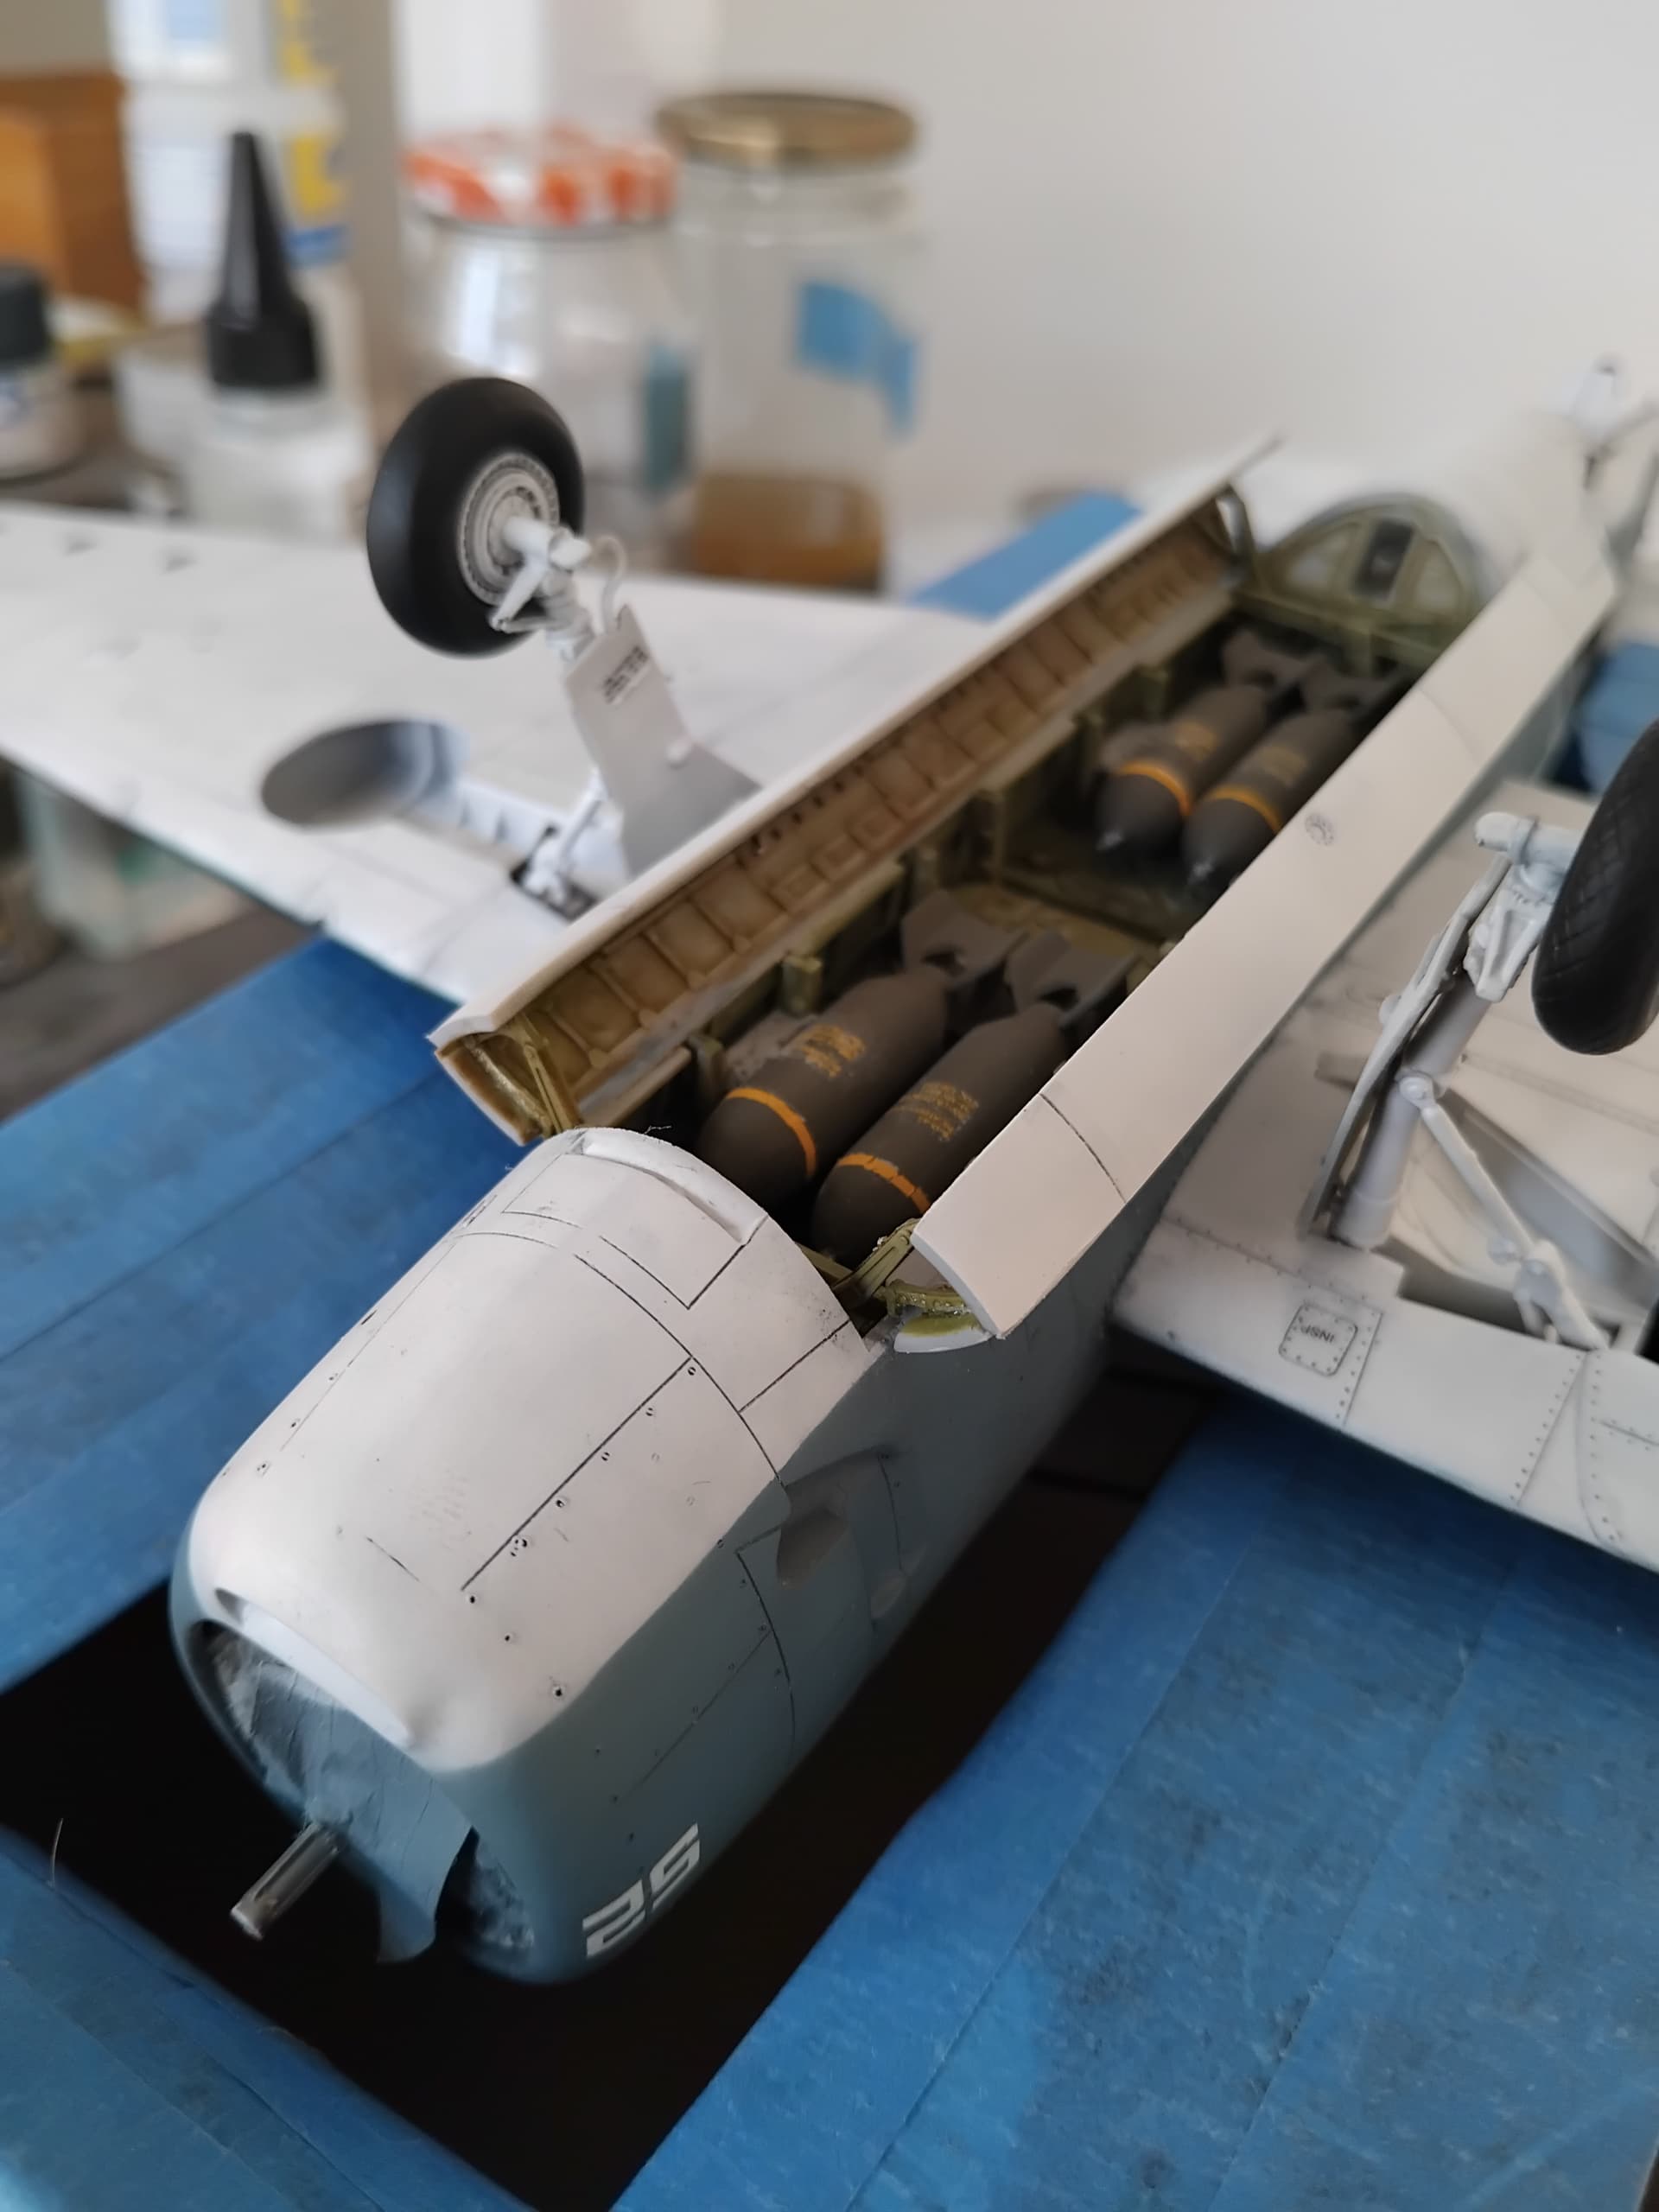
Weapons for the Reaper, these are from the kit, painted as inert items. I also changed the Maverick seeker heads to clear units using 1/2 round beads from a craft store.

4 Likes
Hi Everyone,
Ernie, I really like the idea of using the craft beads, it adds a nice level of realism. Phil and Gary, keep plugging away, it looks like there’s a light on the horizon! It’s really nice to see these kits all coming along!
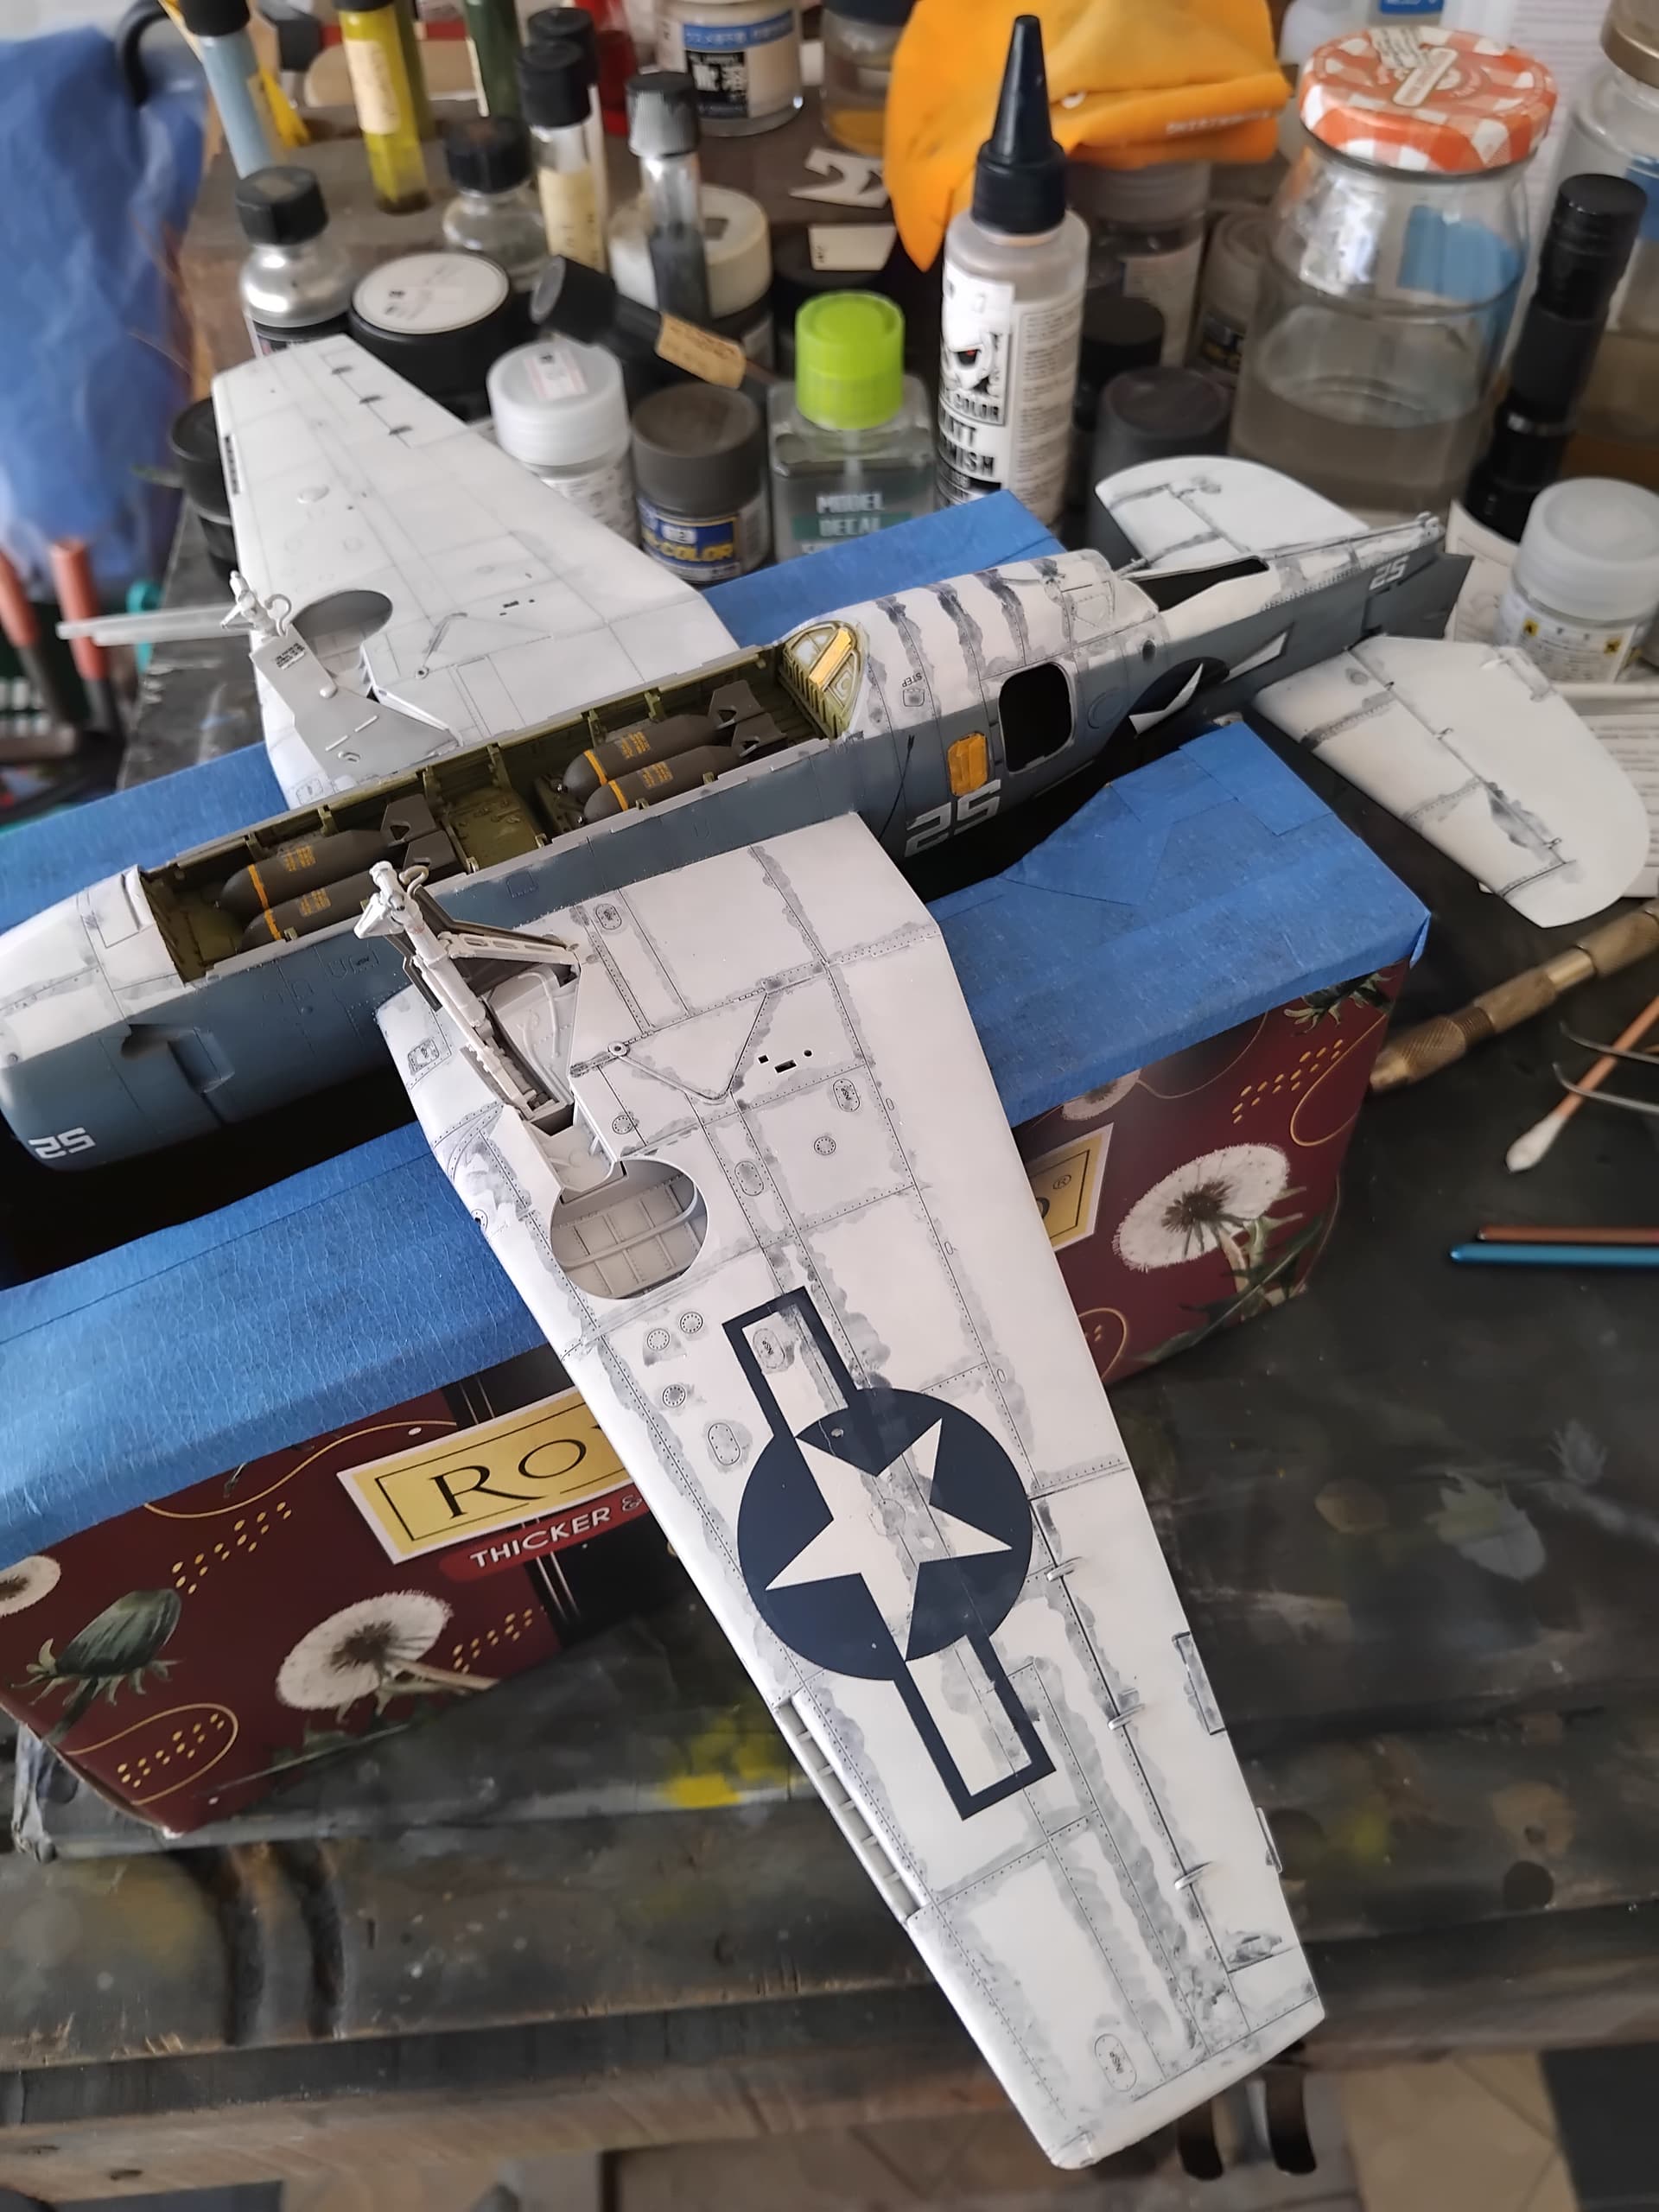
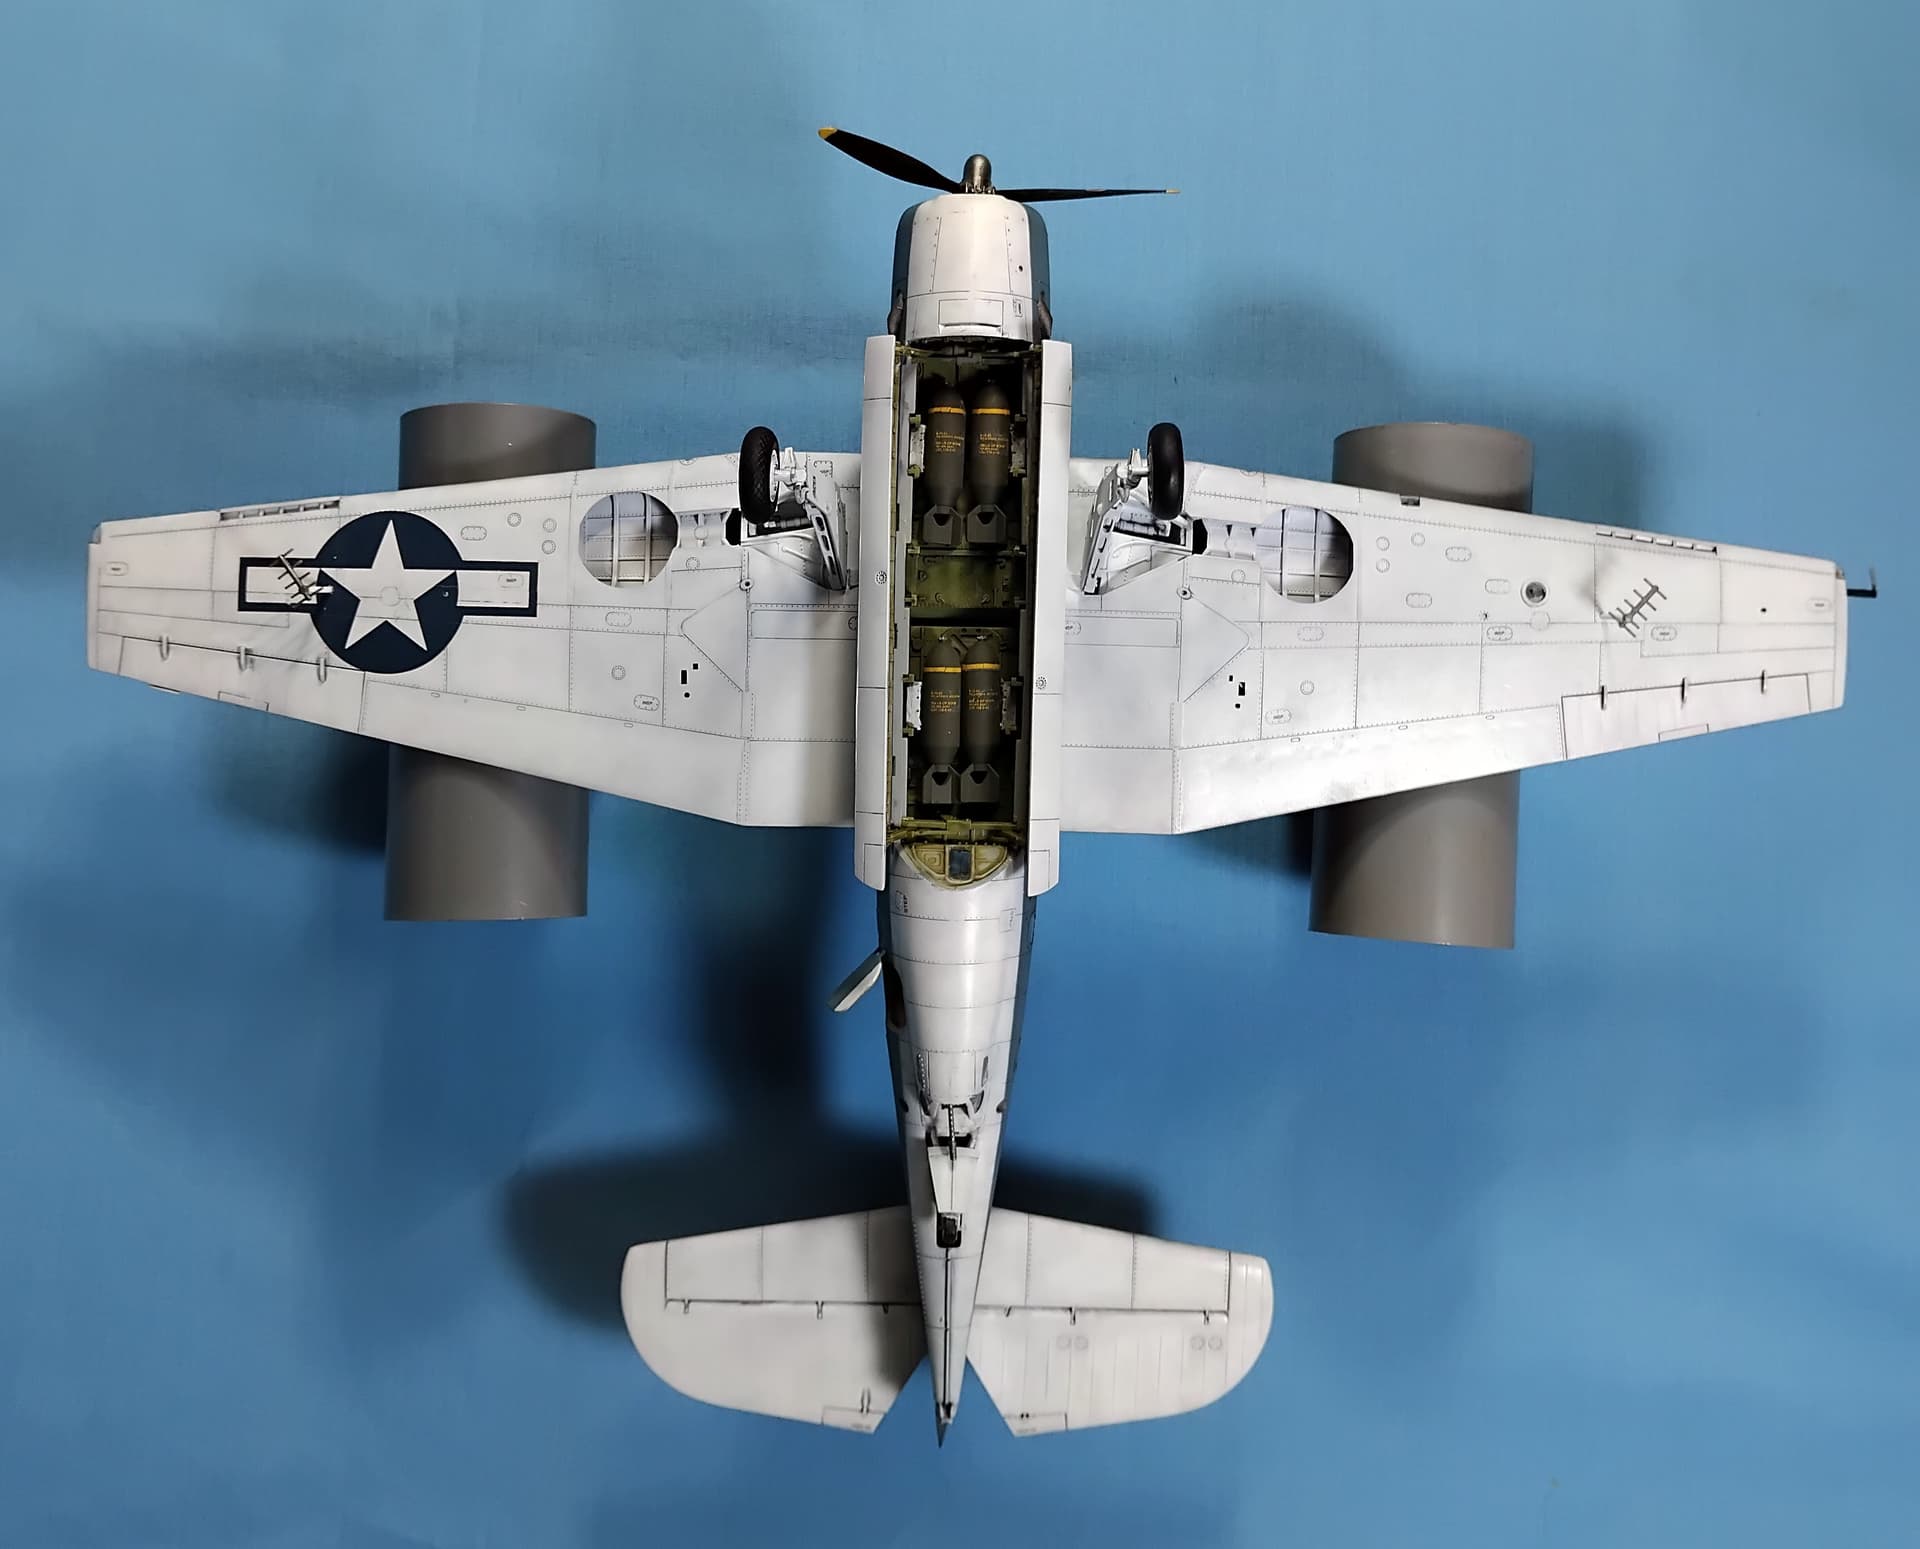
After my clear coats dried, I went about sanding down some of the areas where build up had occurred. I used a 3400 grit sanding pad, and then backed off to 4000 and 6000. The results were mixed, as was the decaling process. Per the decal sheet, they were printed/screened in 1996, armed with 28 year old decals didn’t give me a warm and fuzzy! So, I ventured into the decal dungeon and my spare decal bags. Needless to say, the pickings were slim. AM made very nice decals, however, the only thing that really goes bad on a plastic model kit are the decals. In my experience any decals over 15 years are suspect. I did test some out, and they seemed to be fine. Starting on the underside, the insignia looked pretty good, retaining it’s form, not shattering, overall, pretty good. When I did the top wing decal, I noticed that the white ink had gone bad, with odd translucence being observed. I pulled it and replaced the remaining insignia with Techmod generic 40" star and bar decals, these looked much better. I used 36" star and bar for the fuselage, which looked too big, but research showed that they were big. I had to use the numbers from the original decal set, and for the most part they look pretty ok, in my mind any translucence was chalked up to normal wear and tear on the bird. Most of the stencils went down without a problem, the one exception being the tail code area, where one did break up. Still all in all, it looked the part! I sealed everything with some clear lacquer and got the oils out.
Given that this plane spent a lot of time in the hanger of the USS Enterprise, I deviated from the usual burnt umber wash, and mixed up some Payne’s grey lightened with white and thinned with turpentine. I gave the plane a wash, and will admit that AM did a great job on the engraving and rivet detail. I took the wash very nicely.
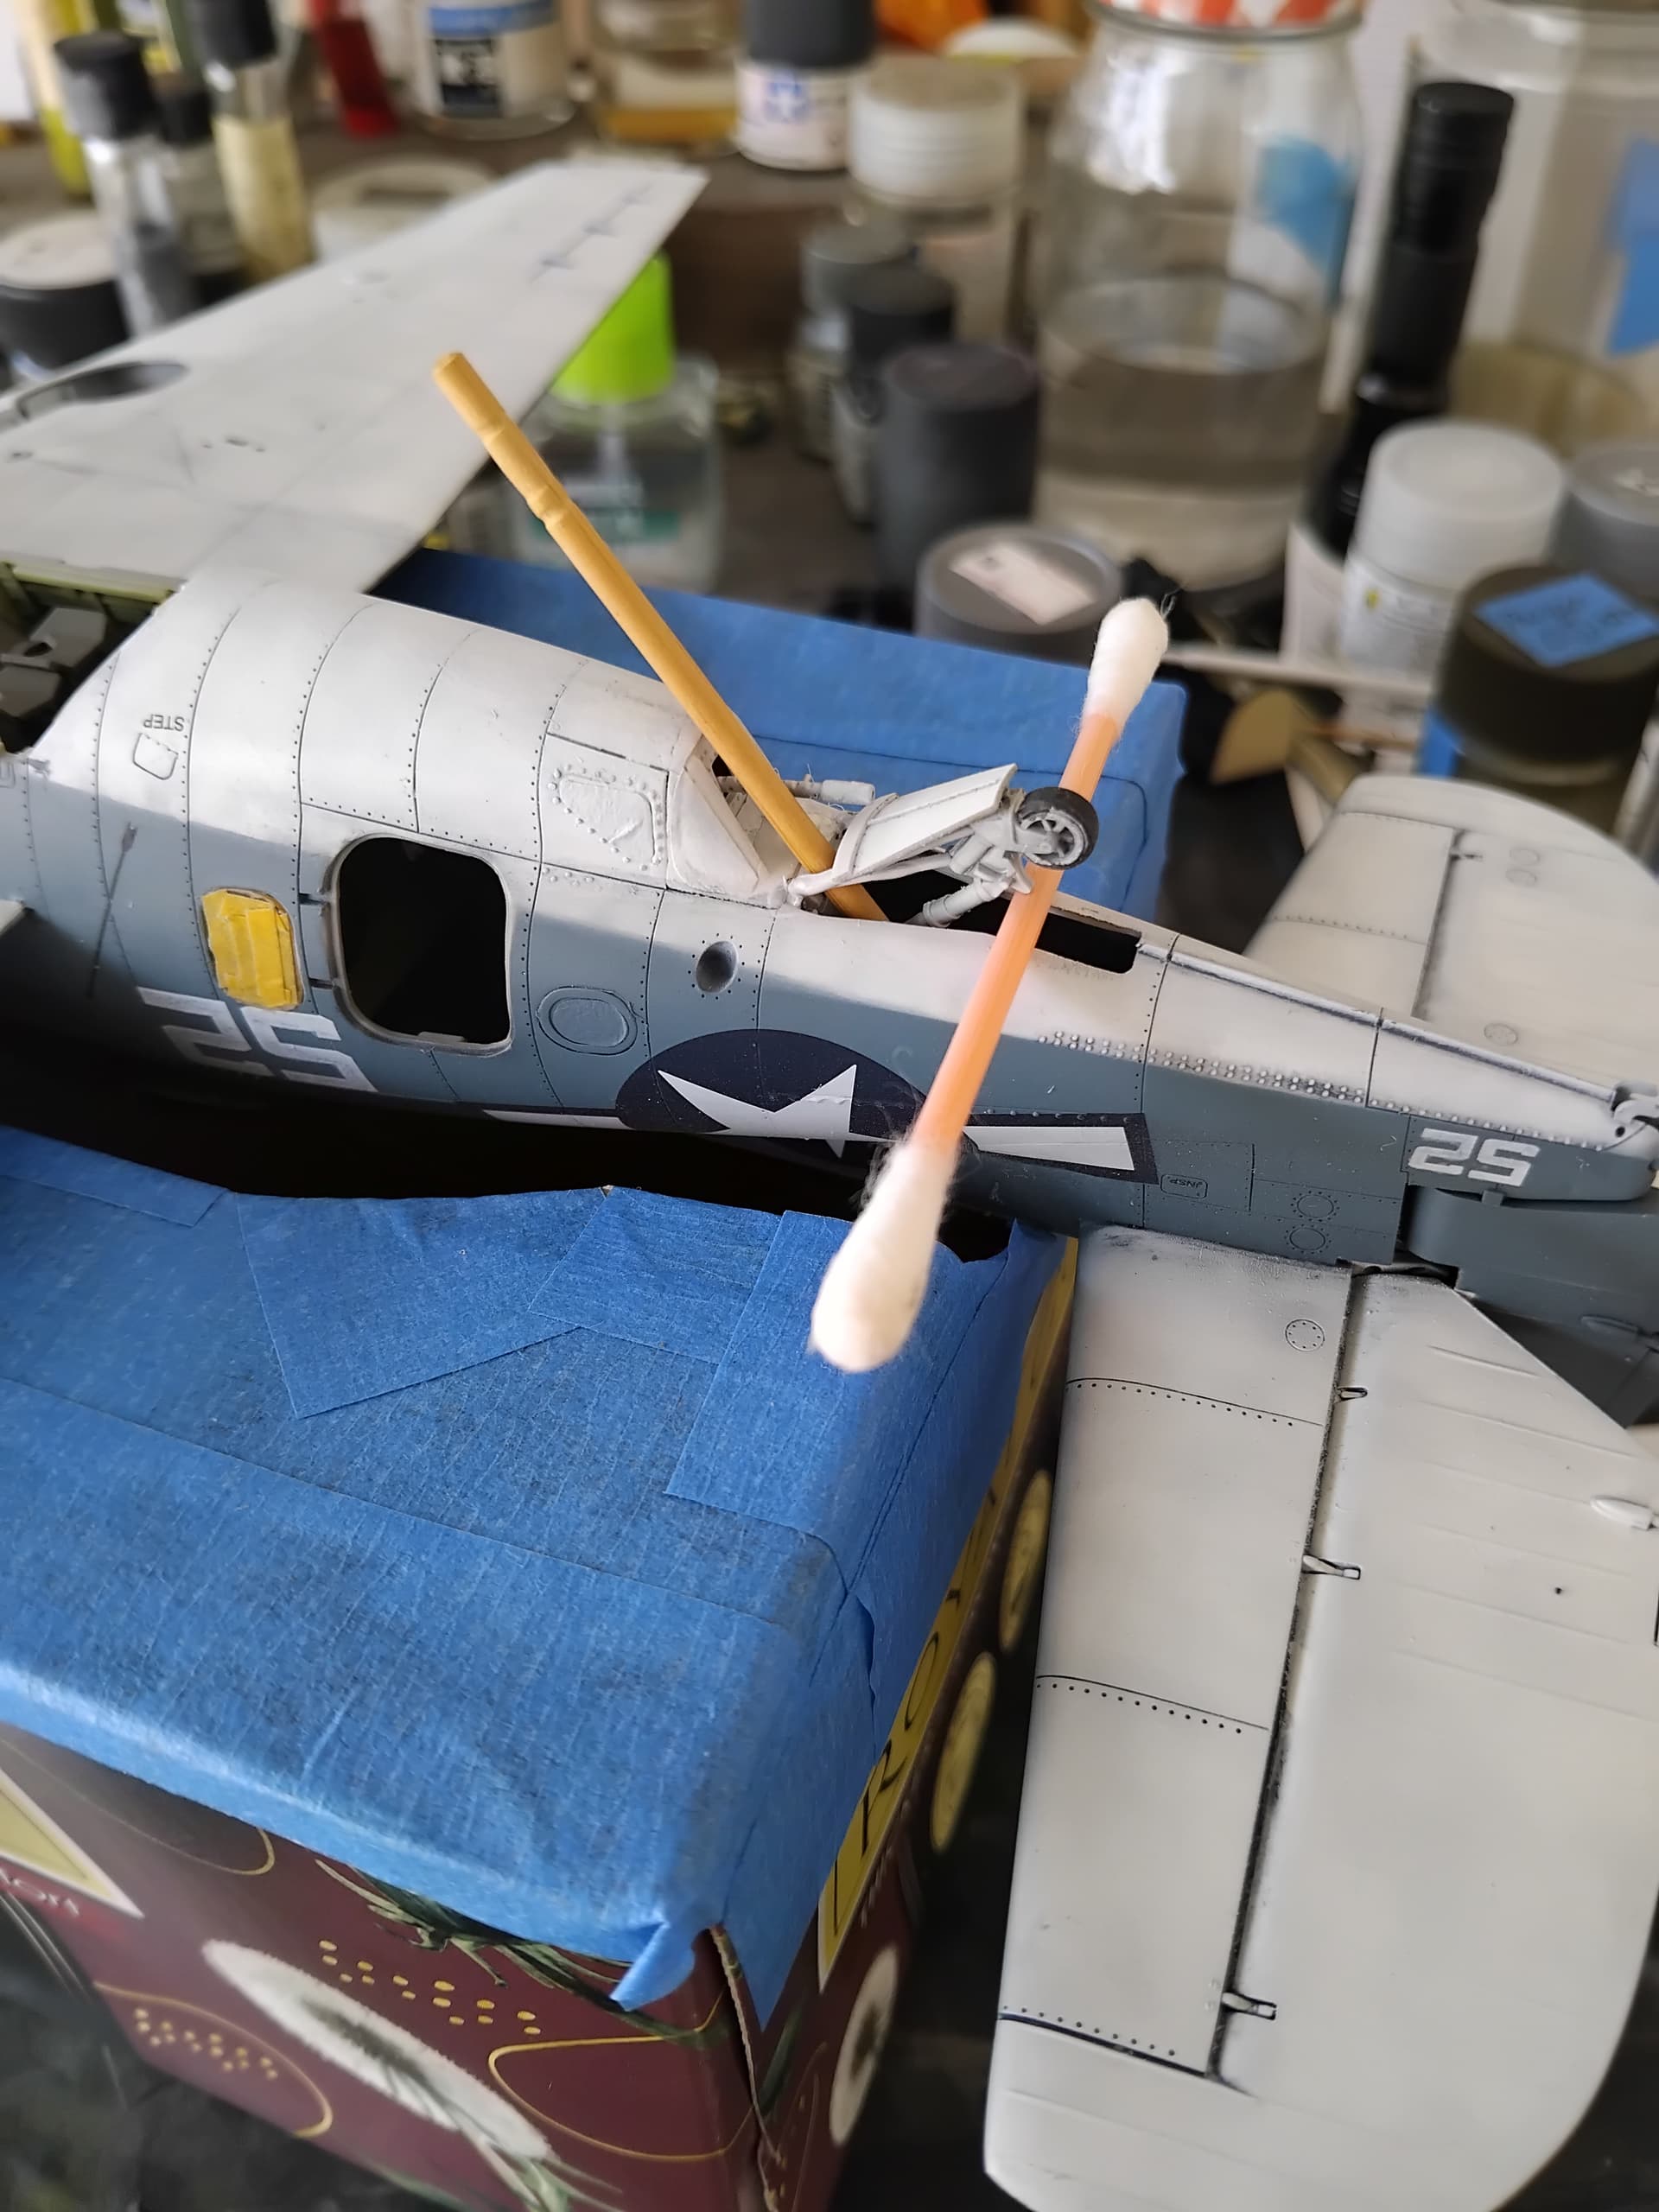
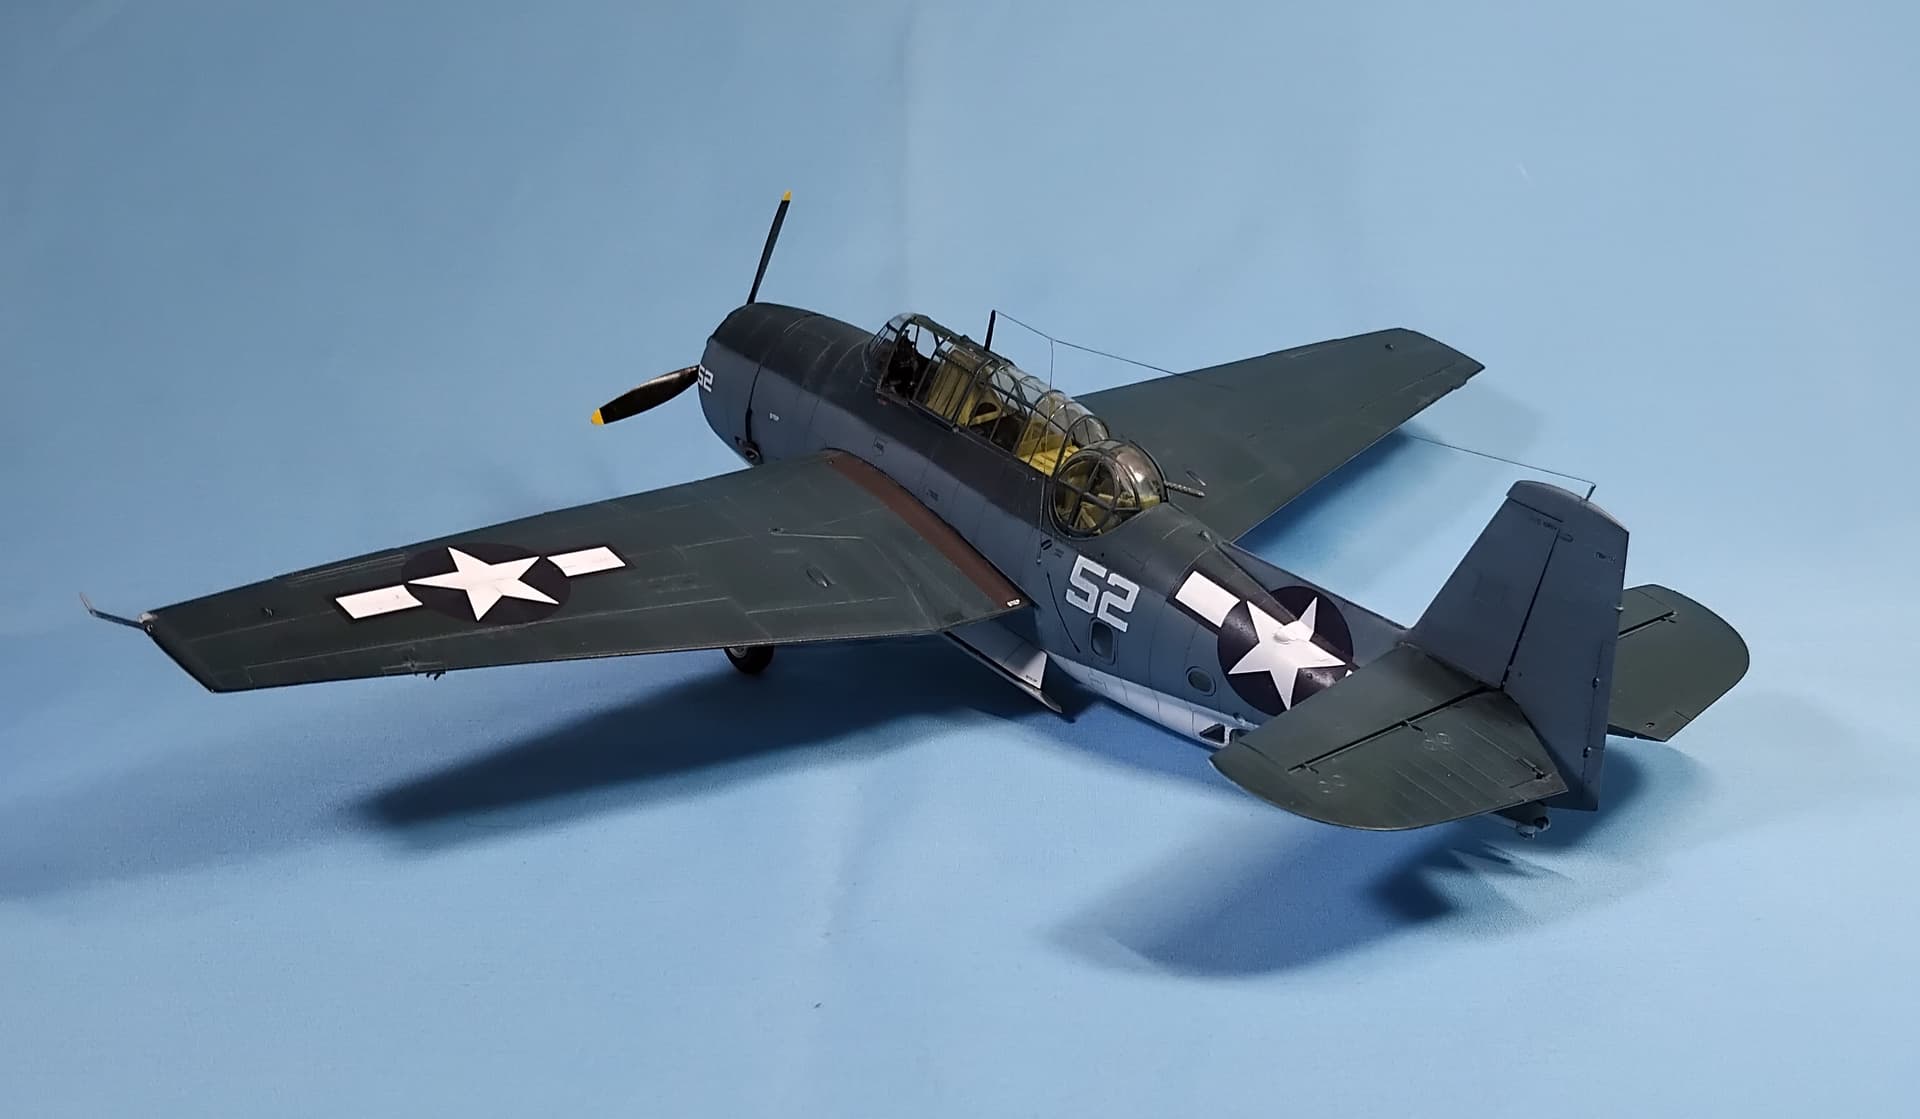
Following the wash, it was time to get onto the little things. One of several places that I ran into issues was the tail wheel. The design here is less than banner, add to it the builder not following the instructions, and you get a tail wheel that looks odd and doesn’t support the rear of the plane. Armed with epoxy and superglue, and a lot of patience, the tail wheel was made to comply!
Getting the landing gear covers to fit onto the airframe were also a challenge, as they didn’t seem to fit quite right. I remedied this by carefully cutting off the tabs, attaching the covers, and then using the tabs to fill in the area that they were designed to go into. It turned out ok, and with my audience will go unnoticed.
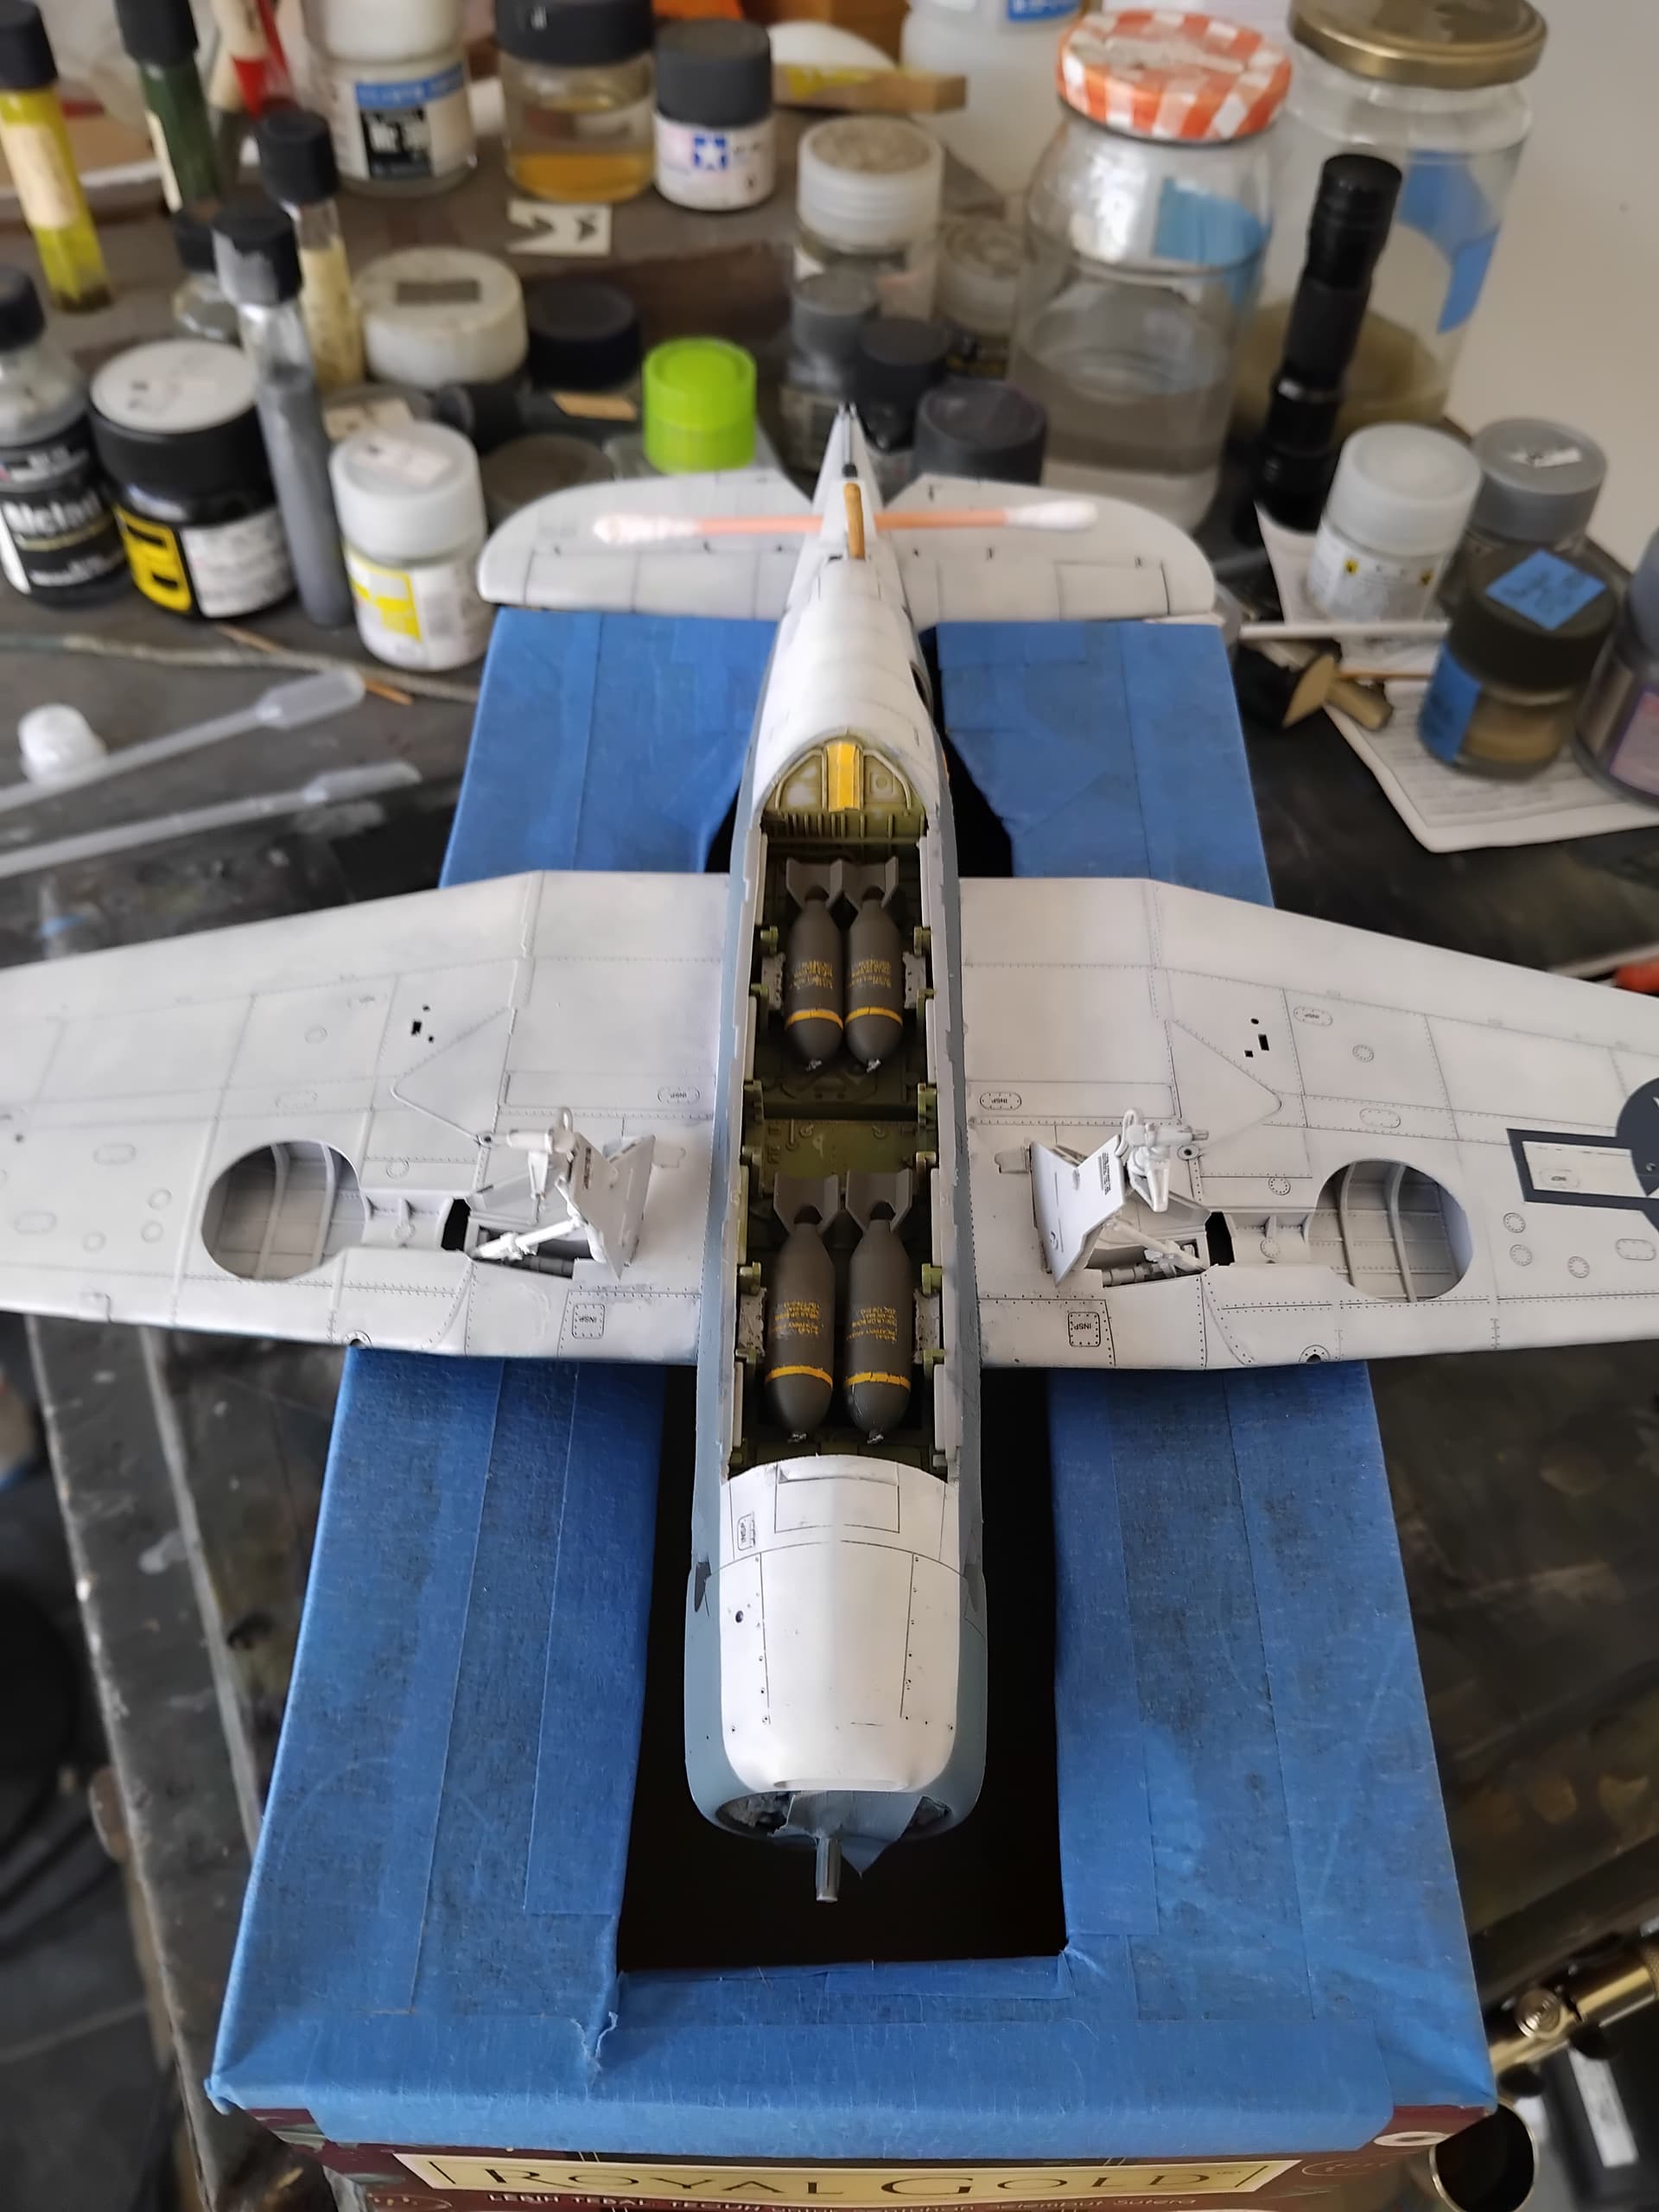
Then came the biggest post build challenge. The bomb bay doors. The design is pretty neat, as they allow for the bay doors to fit such that they represent the real thing. The instructions would have you bend the bay door along a groove and then they fit onto the bay door supports. No matter how I tried to configure the bend, they refused to complete the bend properly. I wound up cutting the doors along the groove, cleaned up the cut and then attached them separately. This method led to a very acceptable bay door fit.
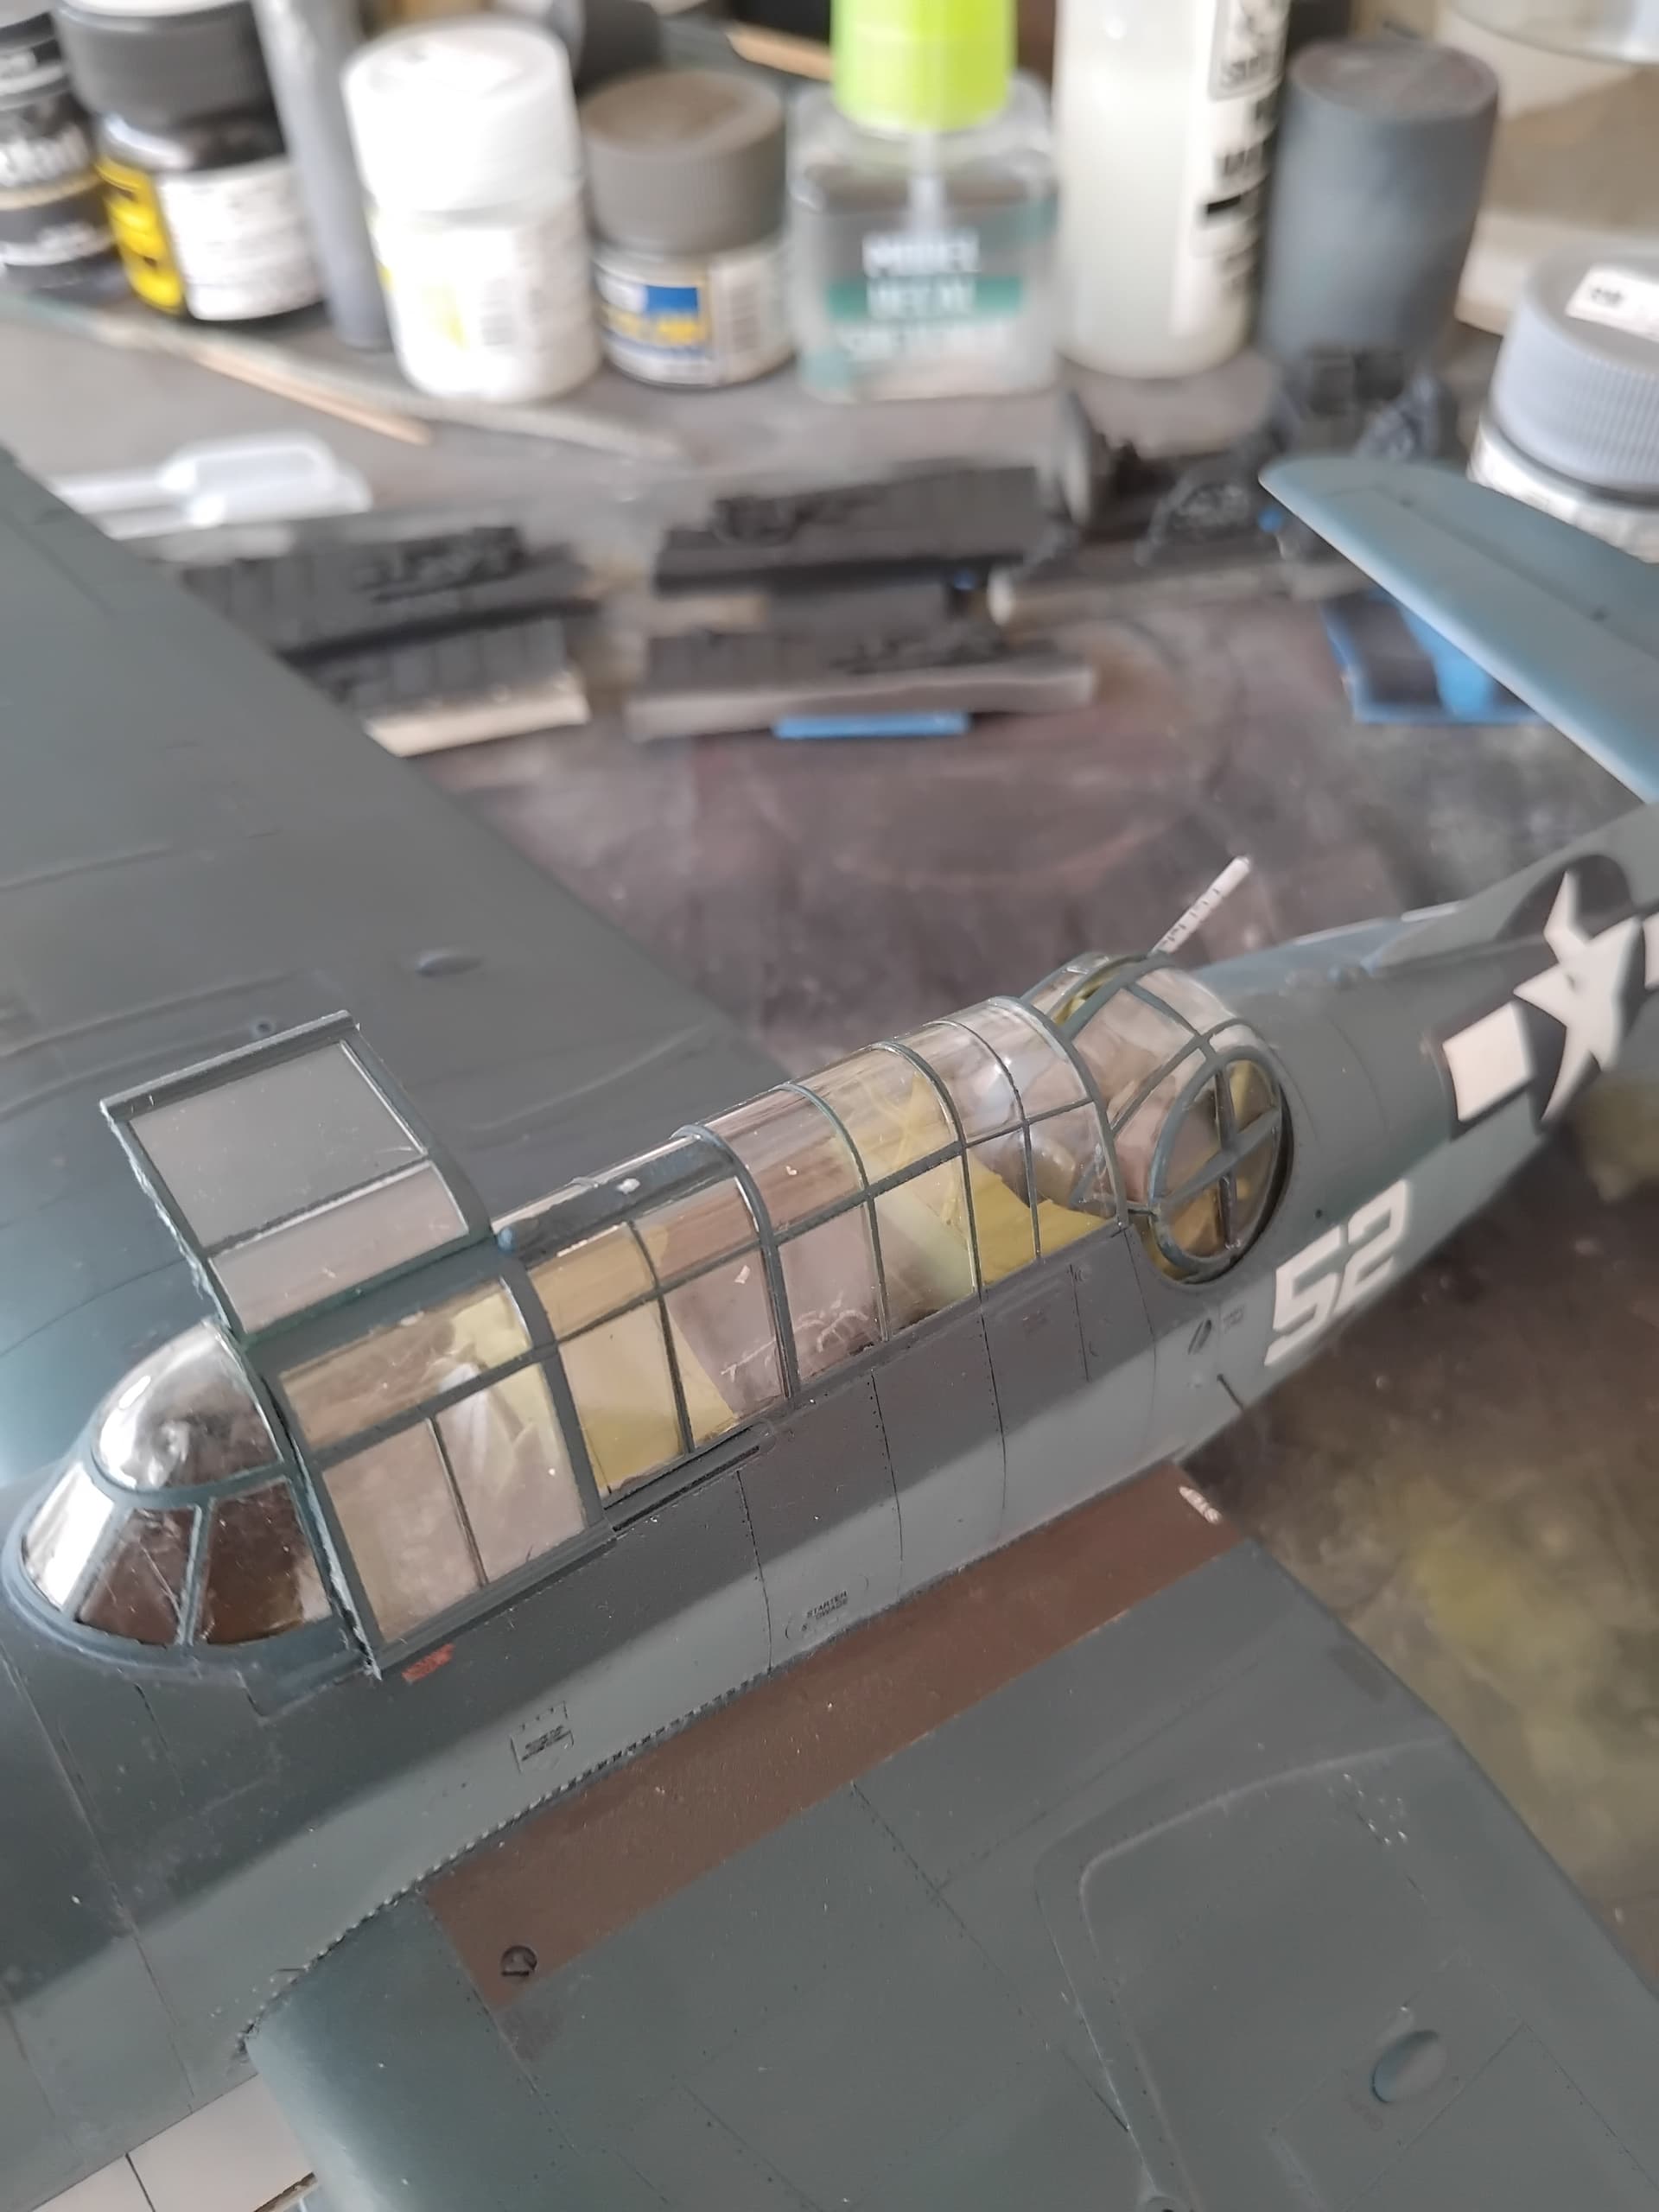
Next came the arduous task of removing all the masks. Here, the Eduard mask set once again proved its worth. No leakage, and a great savings of time during application. I feel with these greenhouse canopy’s they are a must! Following the mask removal, I pulled the pilot side canopy’s off so they could be repositioned in the open configuration. It was also at this time I regretted using the kit supplied decal seat belts, instead of replacing them with some generic PE belts. Oh well, points to consider on the next one I do!
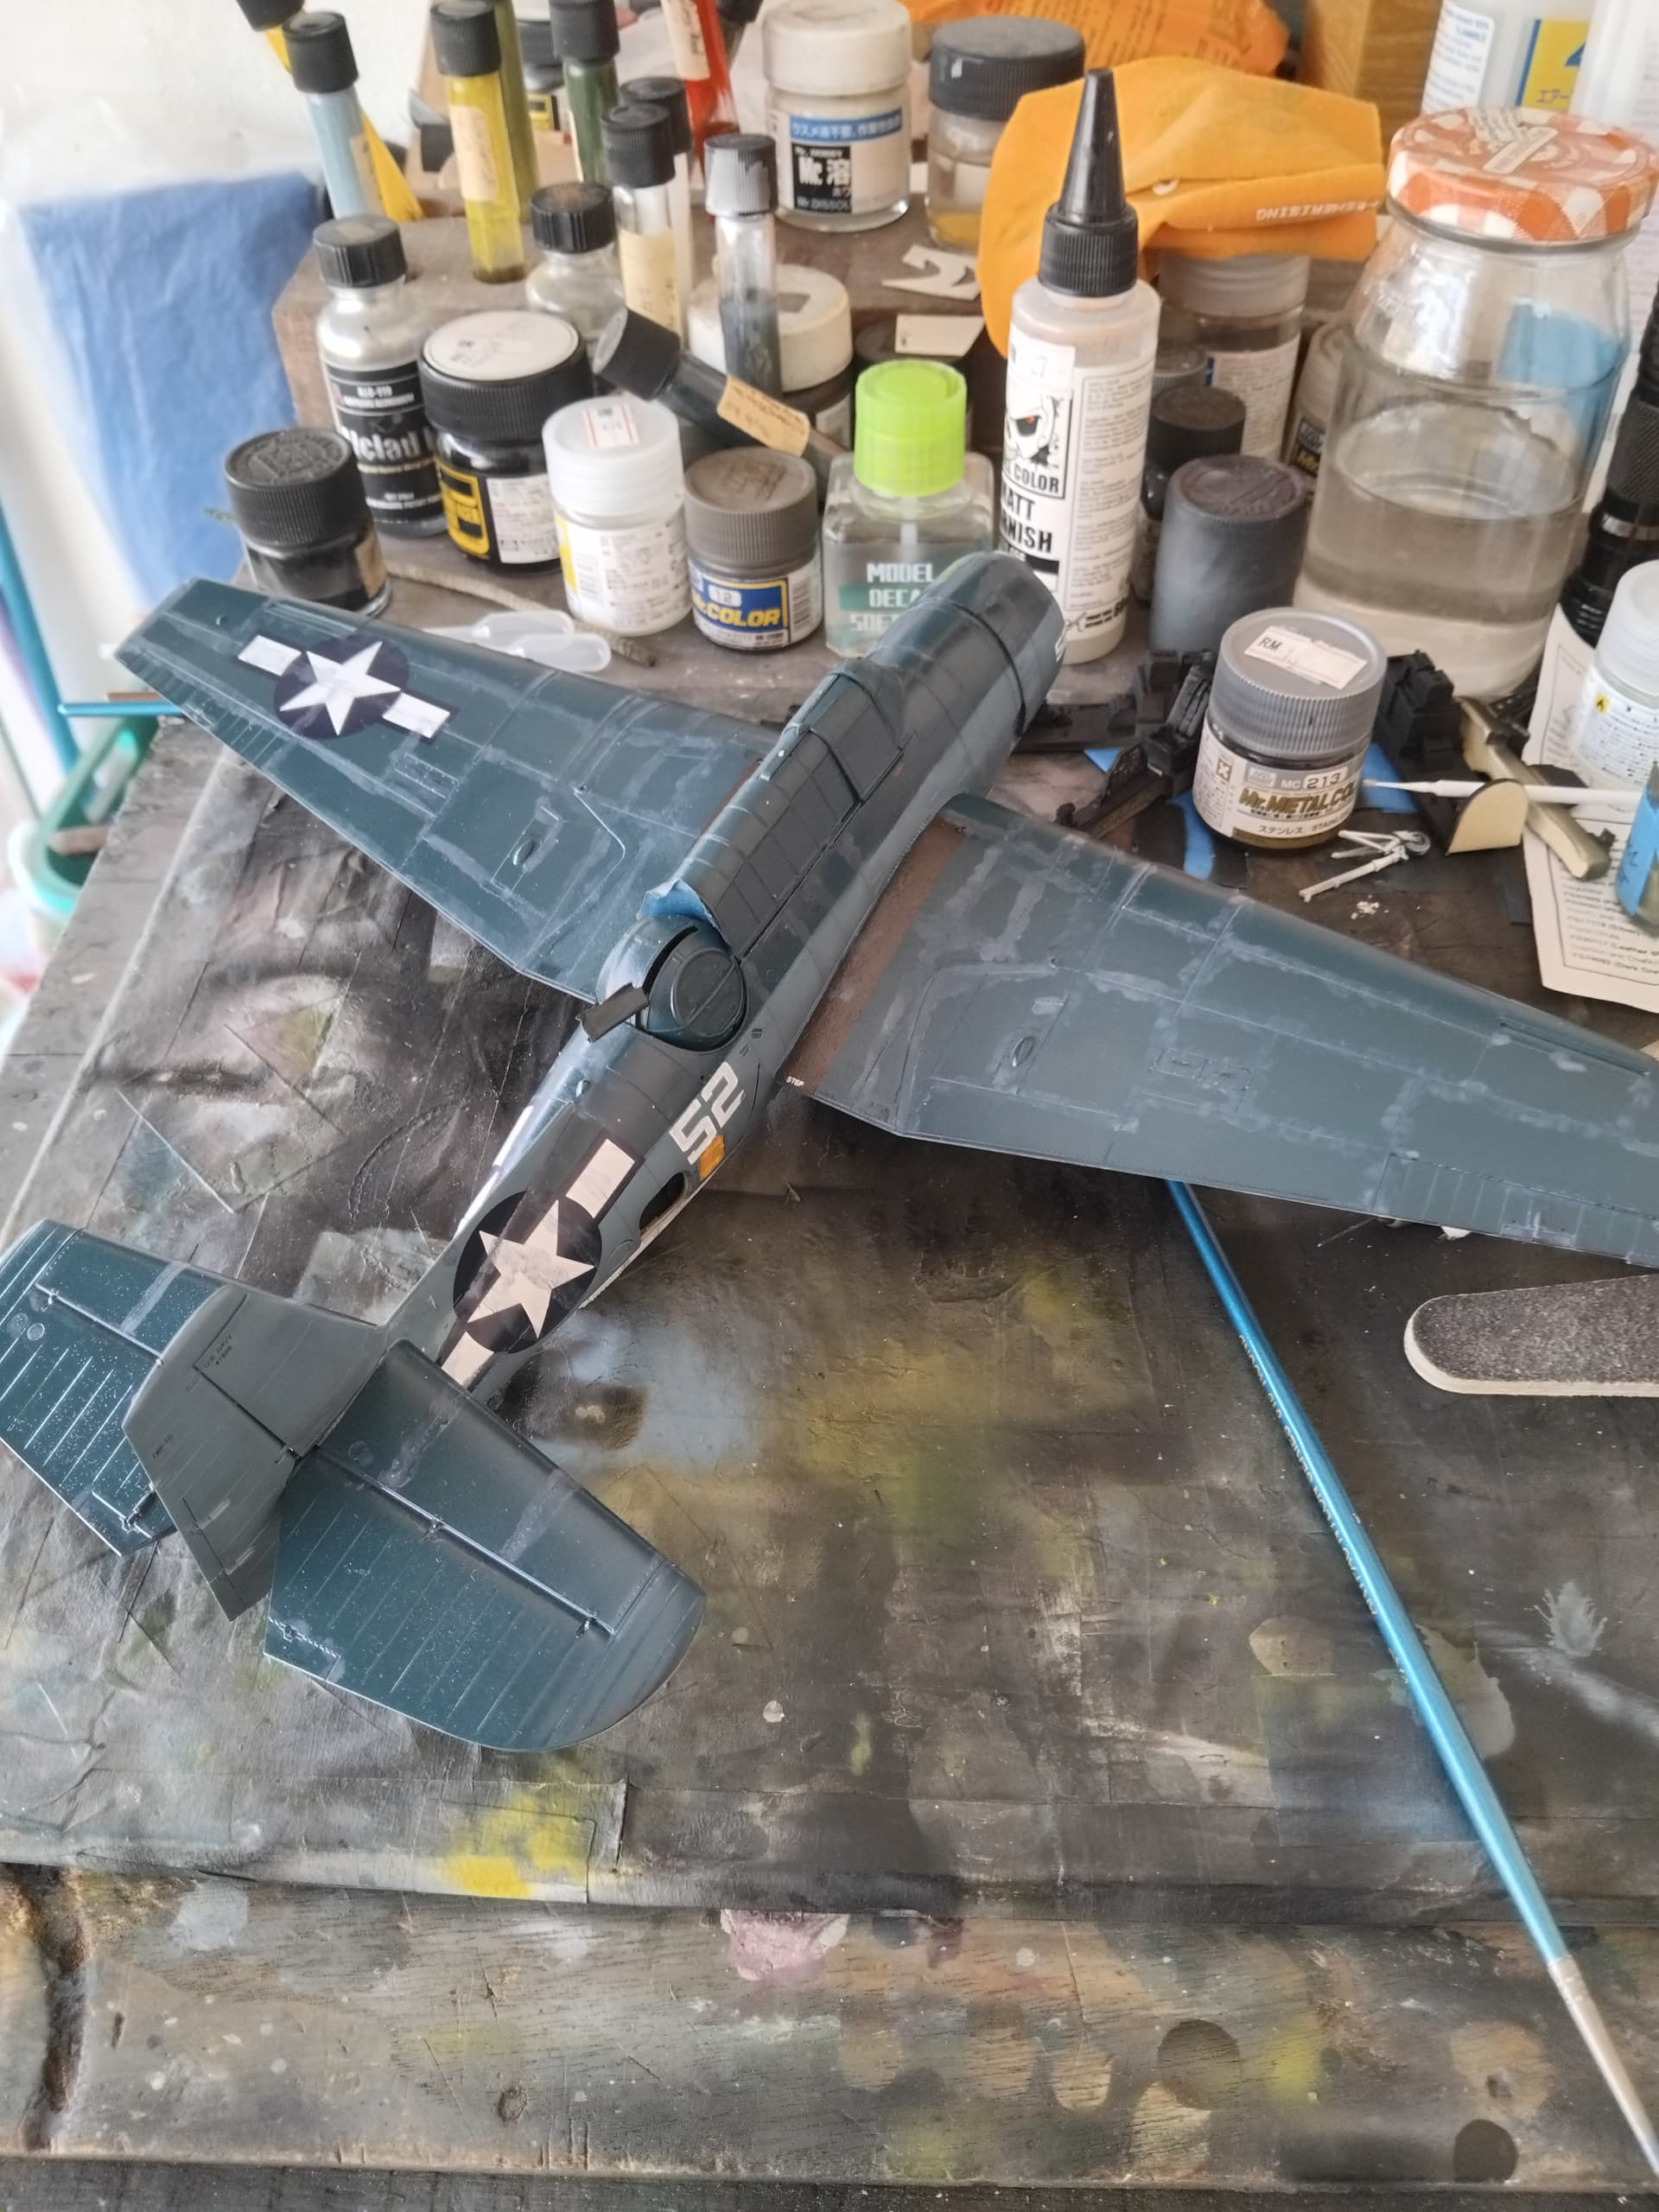
With that done, I attached the radio antenna, and the pitot tube, got them properly painted and added an antenna wire. After an inspection I did the happy dance and called it done! The only thing left was its photo shoot! Hope you enjoy.
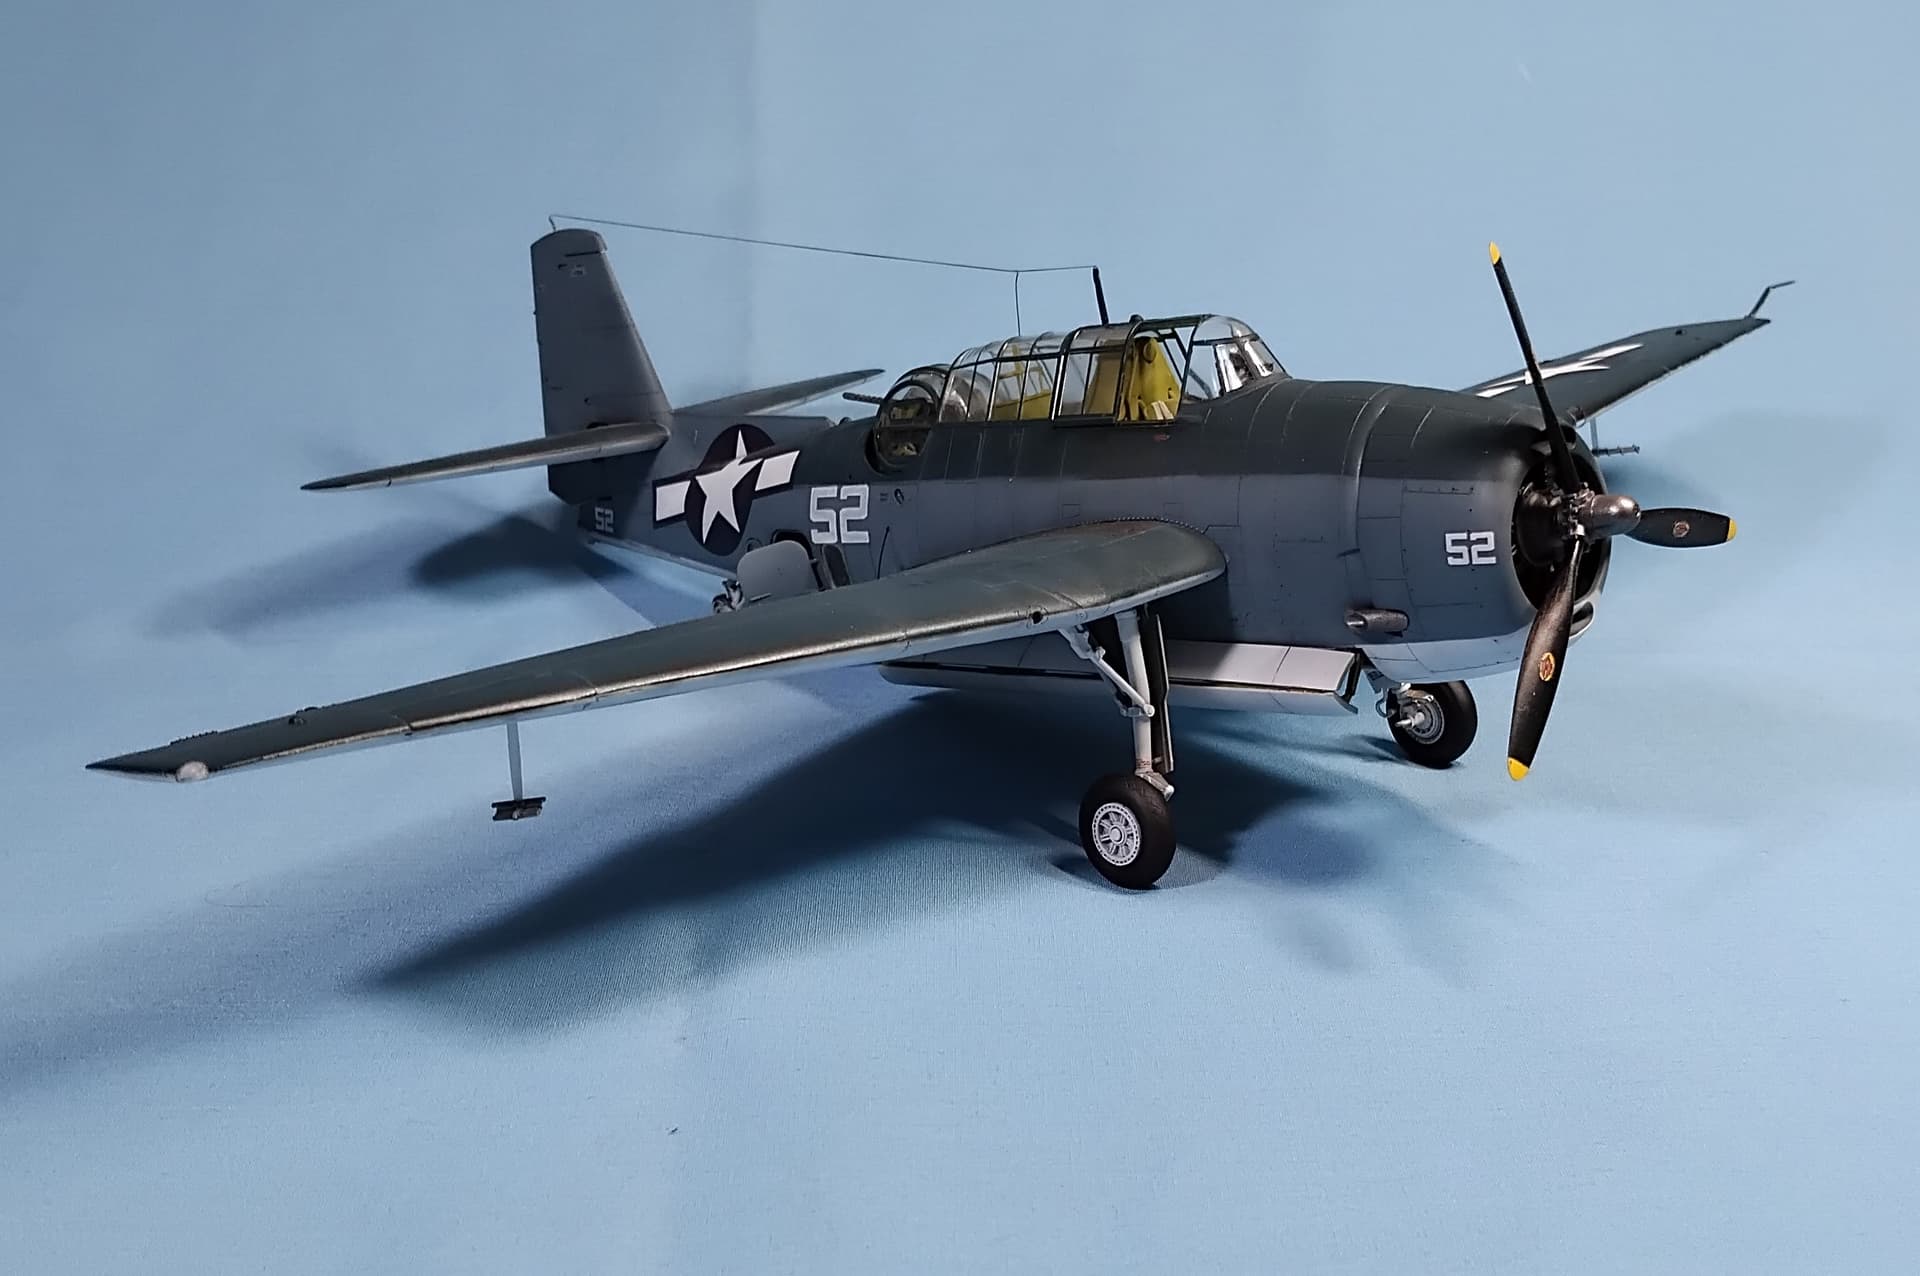
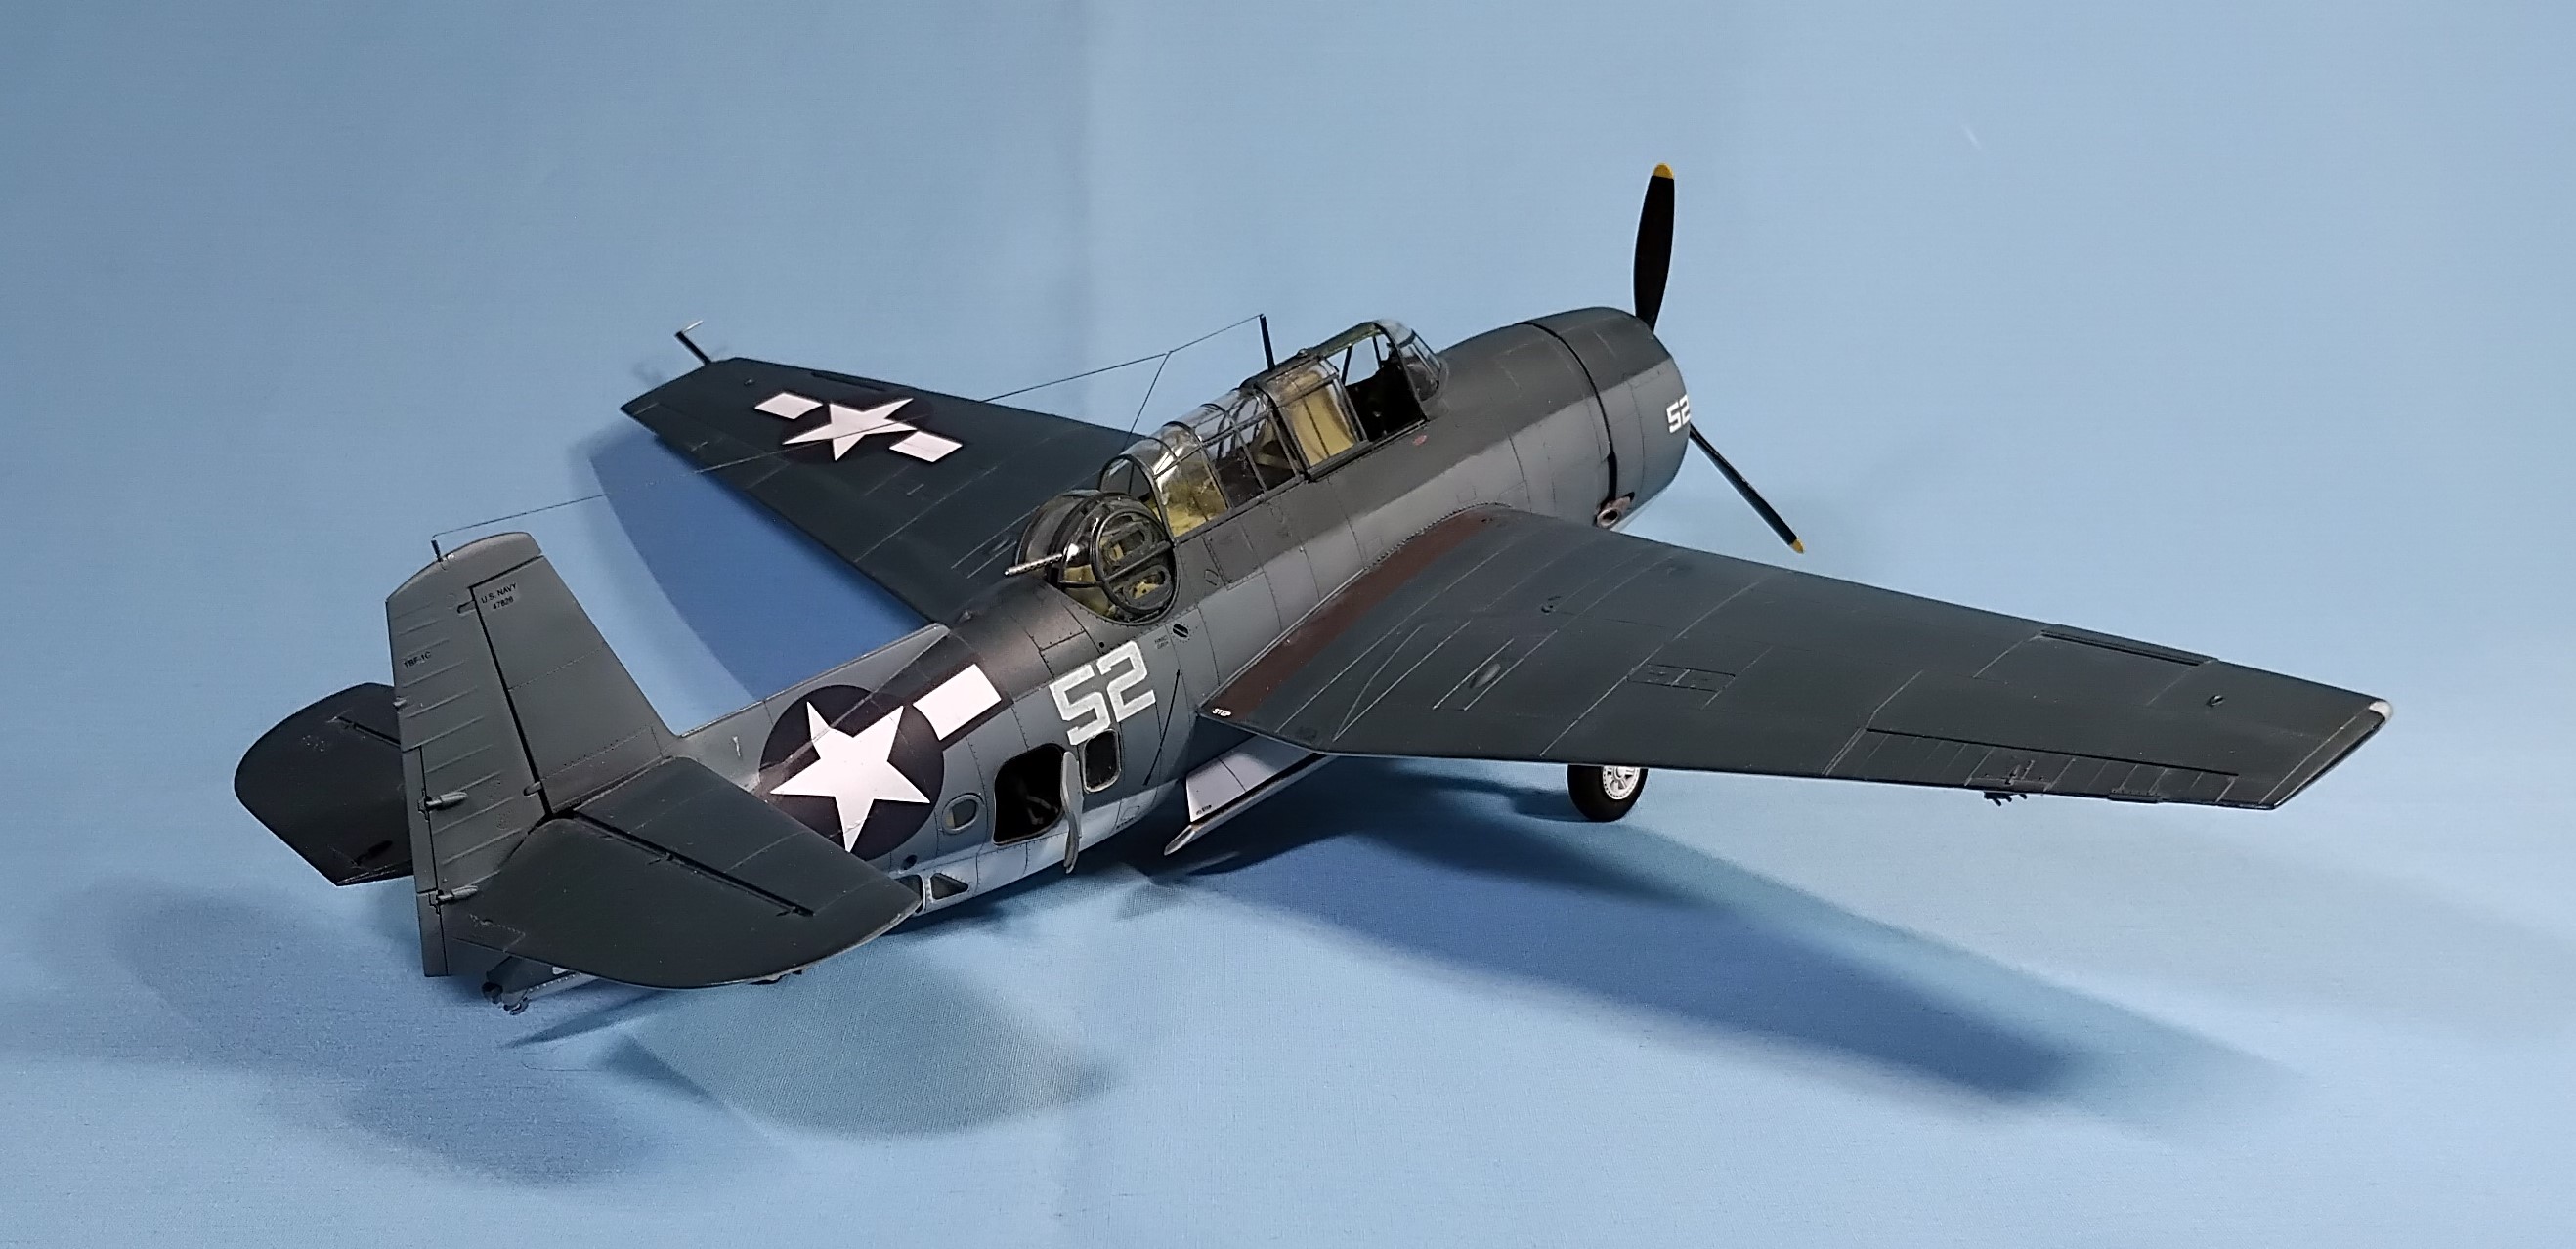
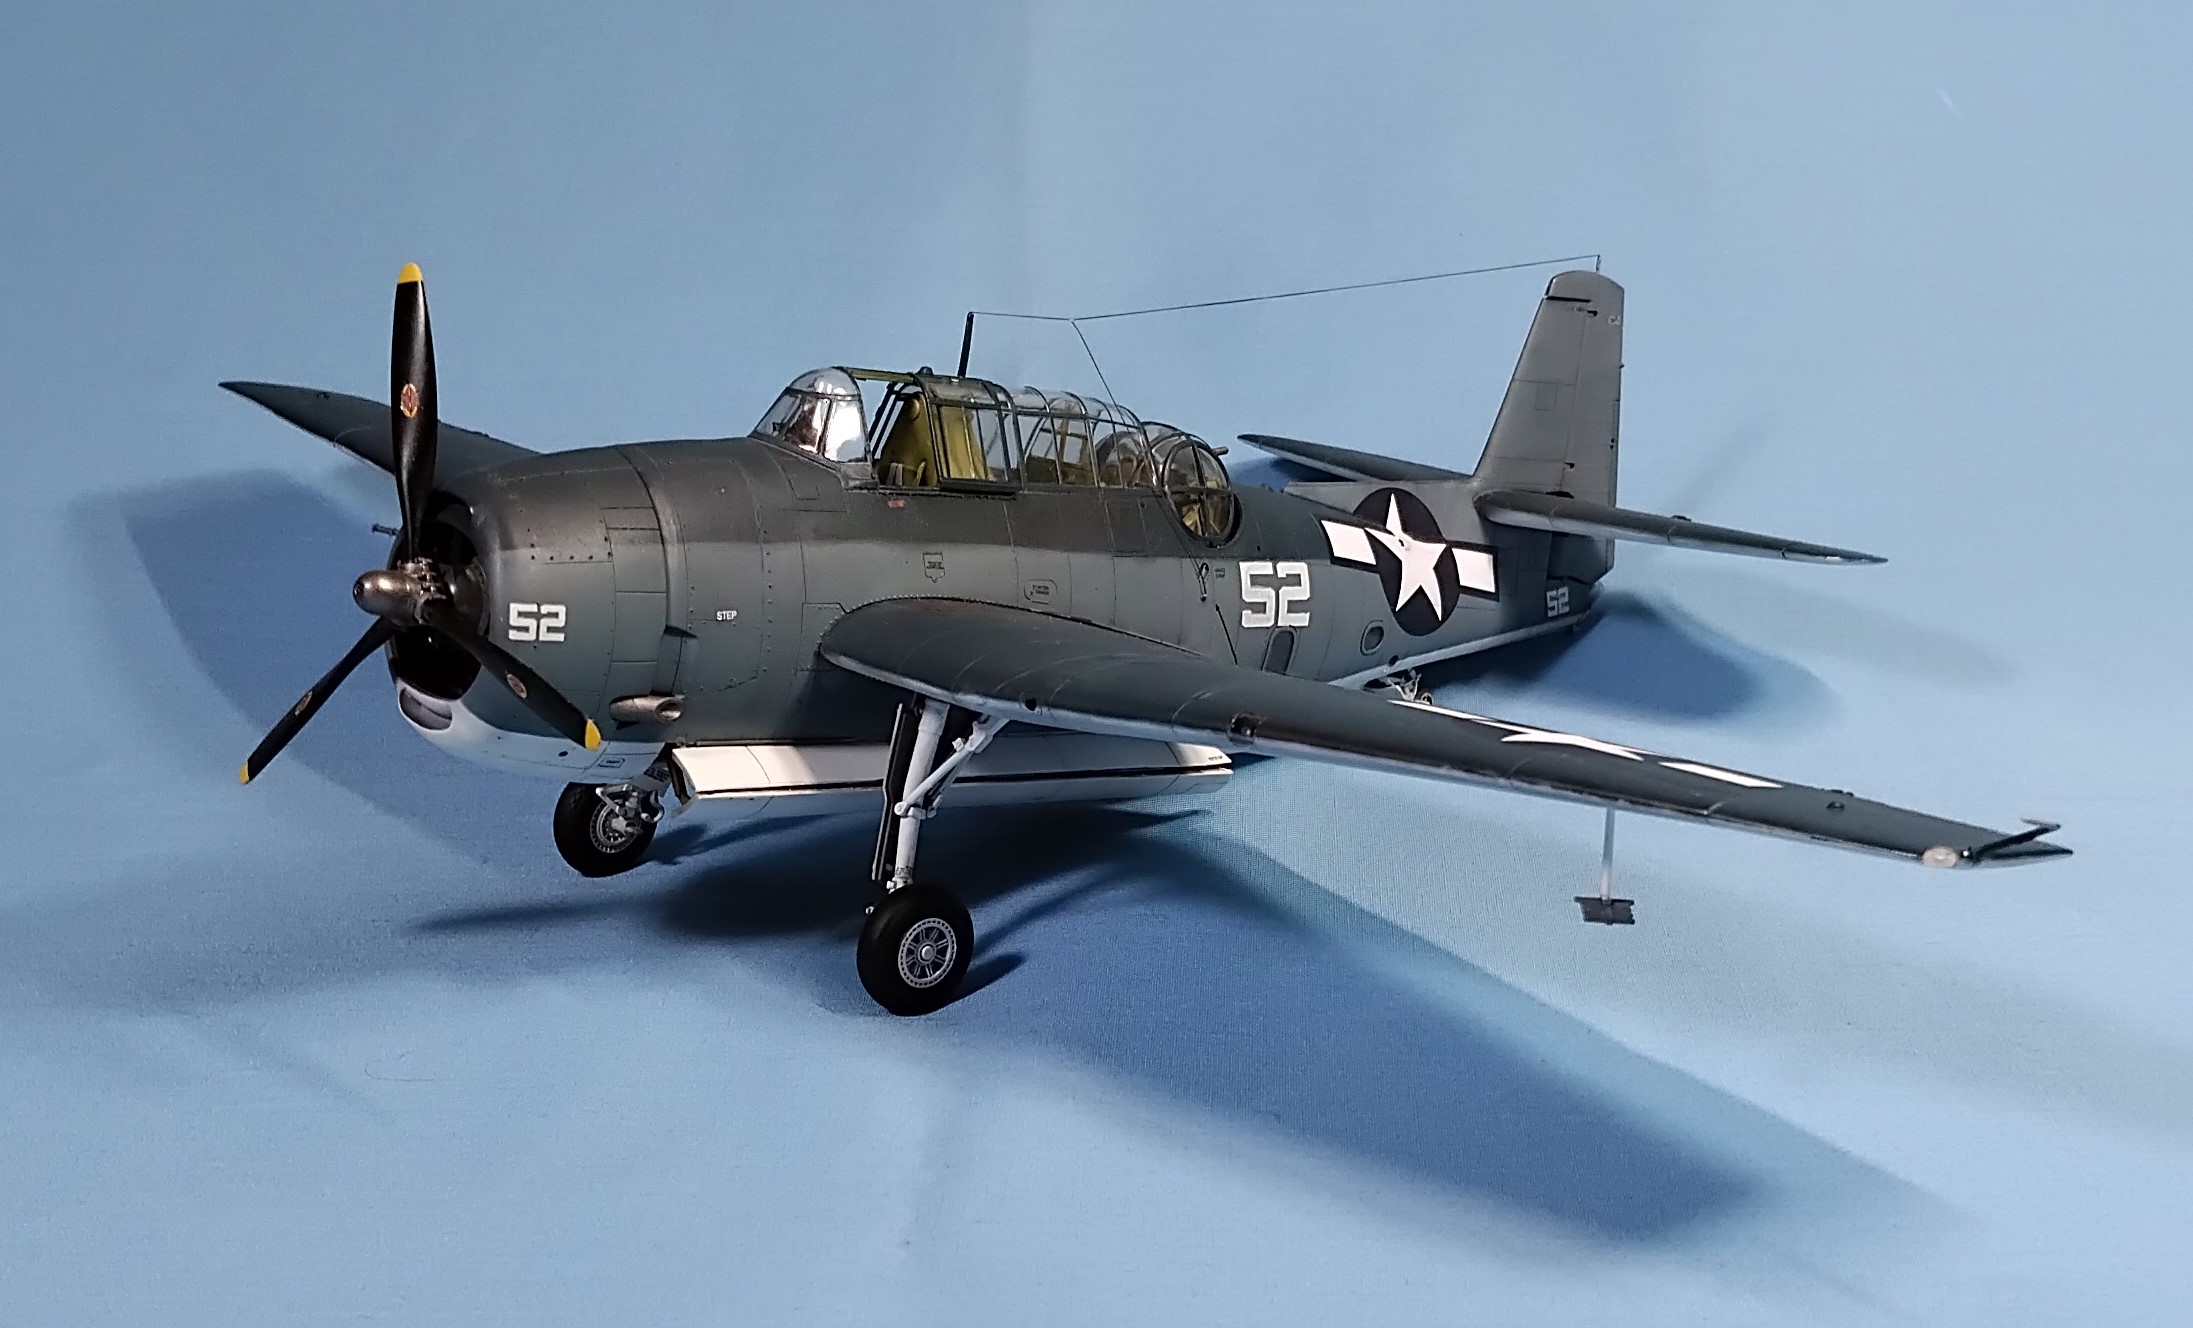
Overall, this is a very nice kit. Academy has obtained the molds, so anyone looking to build a beautiful rendition of a TBF-1C will be pleasantly surprised. Aside from the bay doors, this is a kit has no vices and is reasonably priced. I’d recommend it to any modeler!
Till next time, stay safe, wash your hands with soap and water and have fun!
8 Likes
Georgious looking plane ![]()
![]()
![]()
1 Like
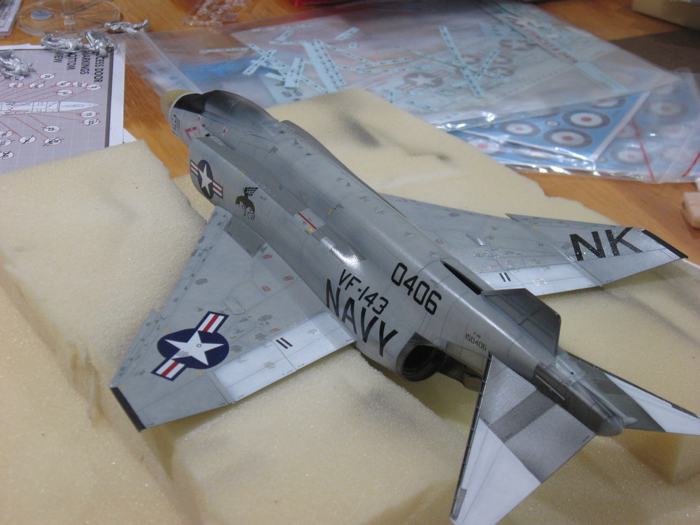
“All” the bottom markings are on. “All” = except for the one that disappeared (I put it in water and came back and the marking was gone [label was in tact] - not in the water, not on the table, not on the model … weird; and for the ones that are invisible under weapons and such; and for the couple that didn’t fit after previous markings were in place. Anyway, I’ll let these dry and then do the top and side panel markings.
5 Likes
By the way, anyone know a good chiropractor???
2 Likes
Looks great! Keep at it! Soon you’ll look back and say wow. It’s impressive.
That’s a LOT of decals!
Remember, I warned you that it was “Death by Stencil”. Your effort is noticed, and it looks really good!
1 Like
I’m glad it’s noticed. Does this mean I’m going to get a “Hangar King” medal at the end???
![]()
2 Likes
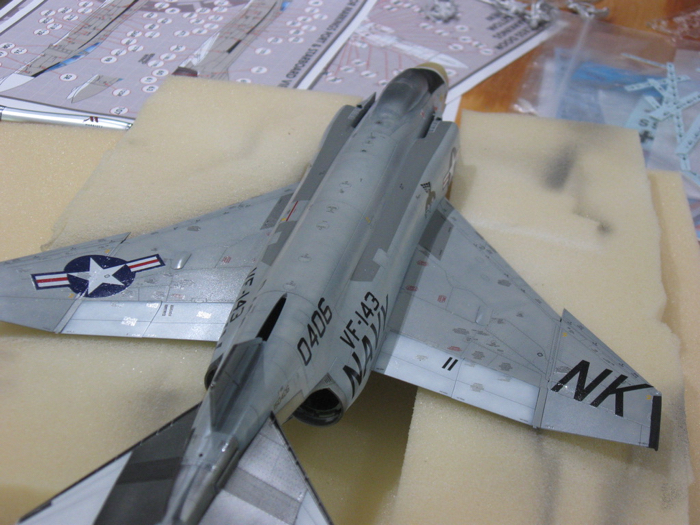
Left side done. I’ve resisted counting them before now, but I have 25 to put on the right side and the markings are done. I wonder if I still have the kit instructions somewhere so I can figure out what I need to do next???
4 Likes
You can always download a new set from ScaleMates.
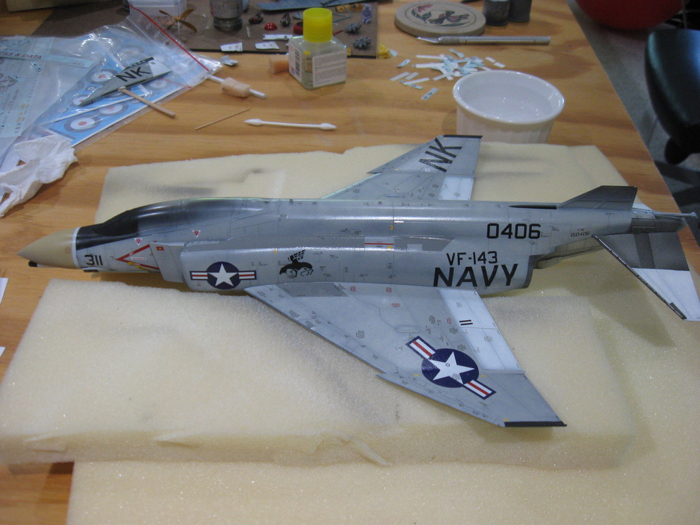
I kind of don’t believe it, but the right side stencils are done also…
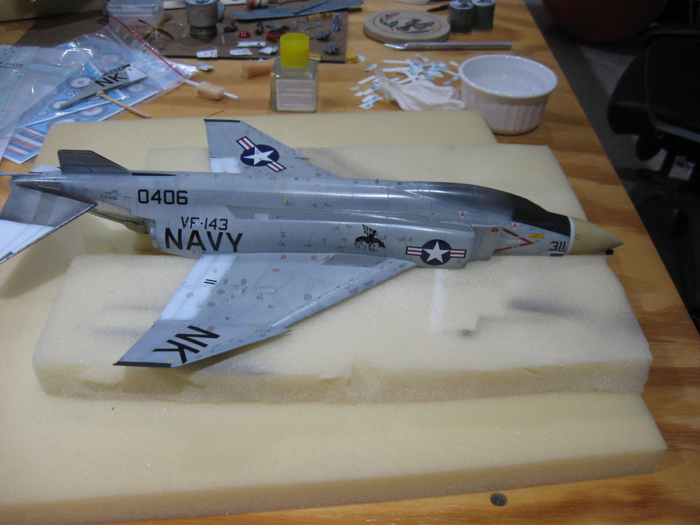
Next up is landing gear I believe…
4 Likes
You missed one. ![]()
2 Likes
Ryan, I’m still laughing! Thank you!! And you’re probably right.
1 Like
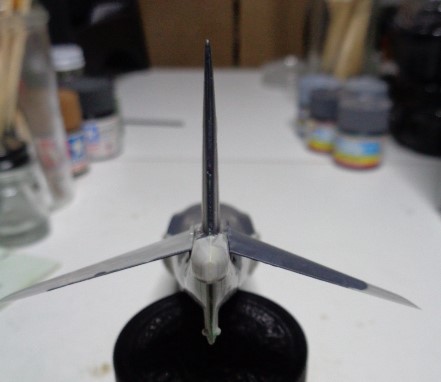

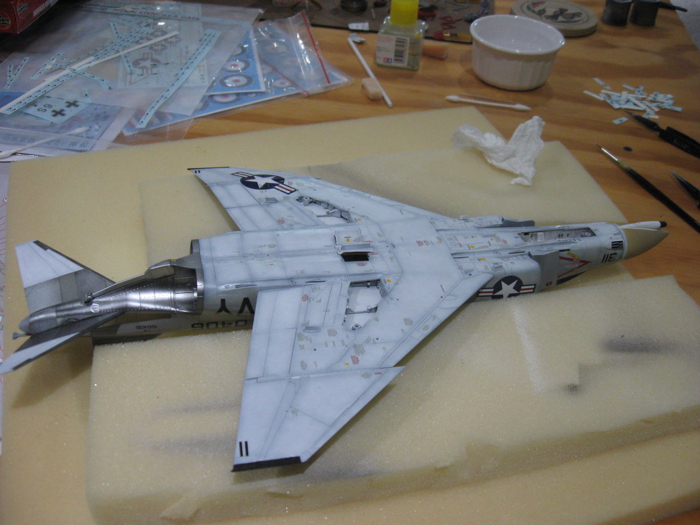
Glued the horizontal stabilizers onto the Sea Harrier.
2 Likes

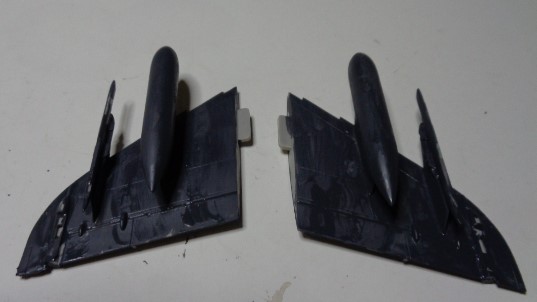
Added pylons and tanks under the wings.
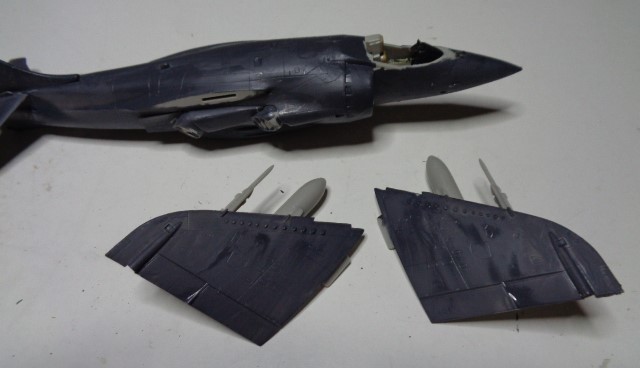
Totally forgot I still have to apply decals! Could be tough with those fuel tanks in the way.
2 Likes
Put the first coat on the bottoms.
1 Like