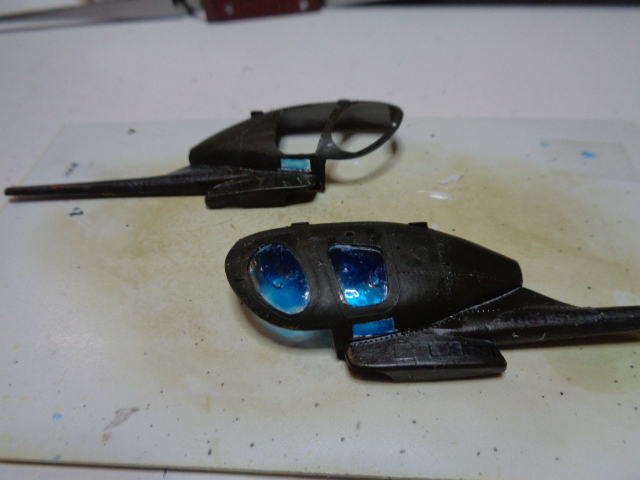
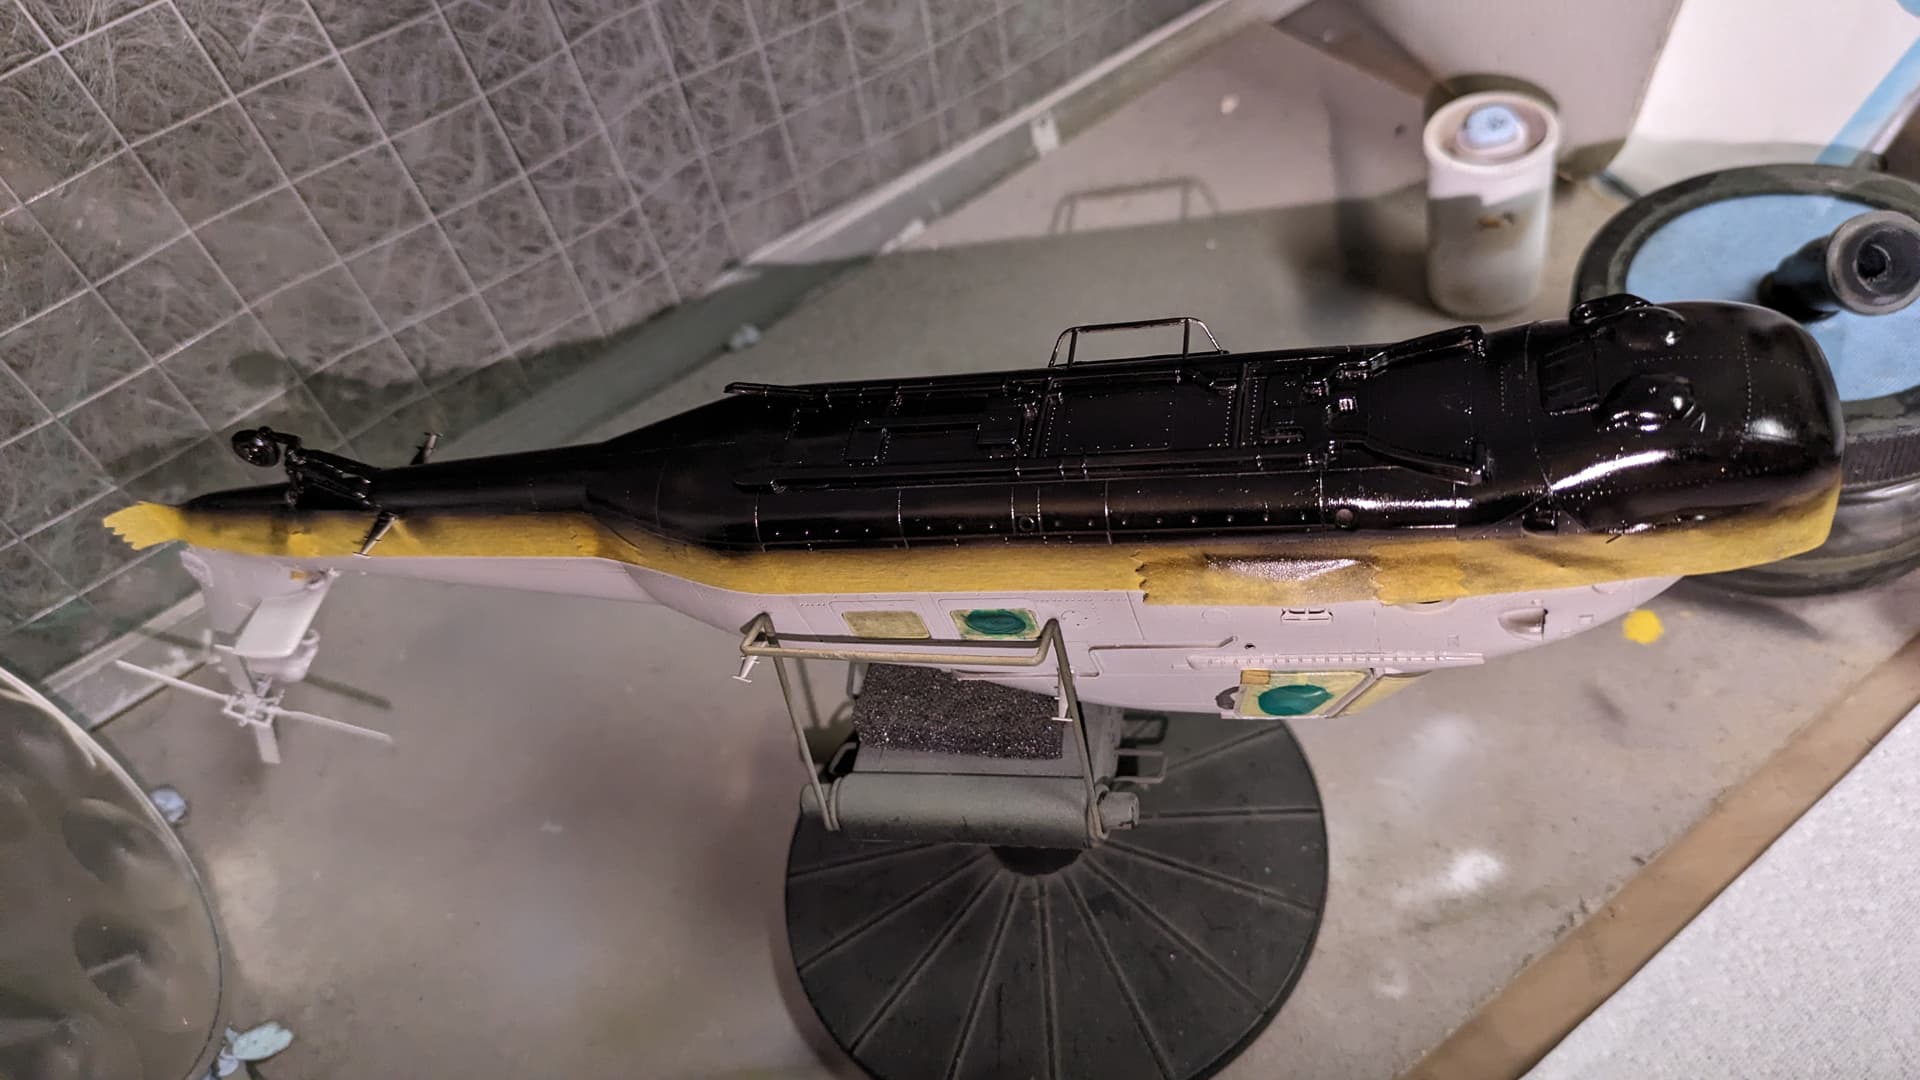
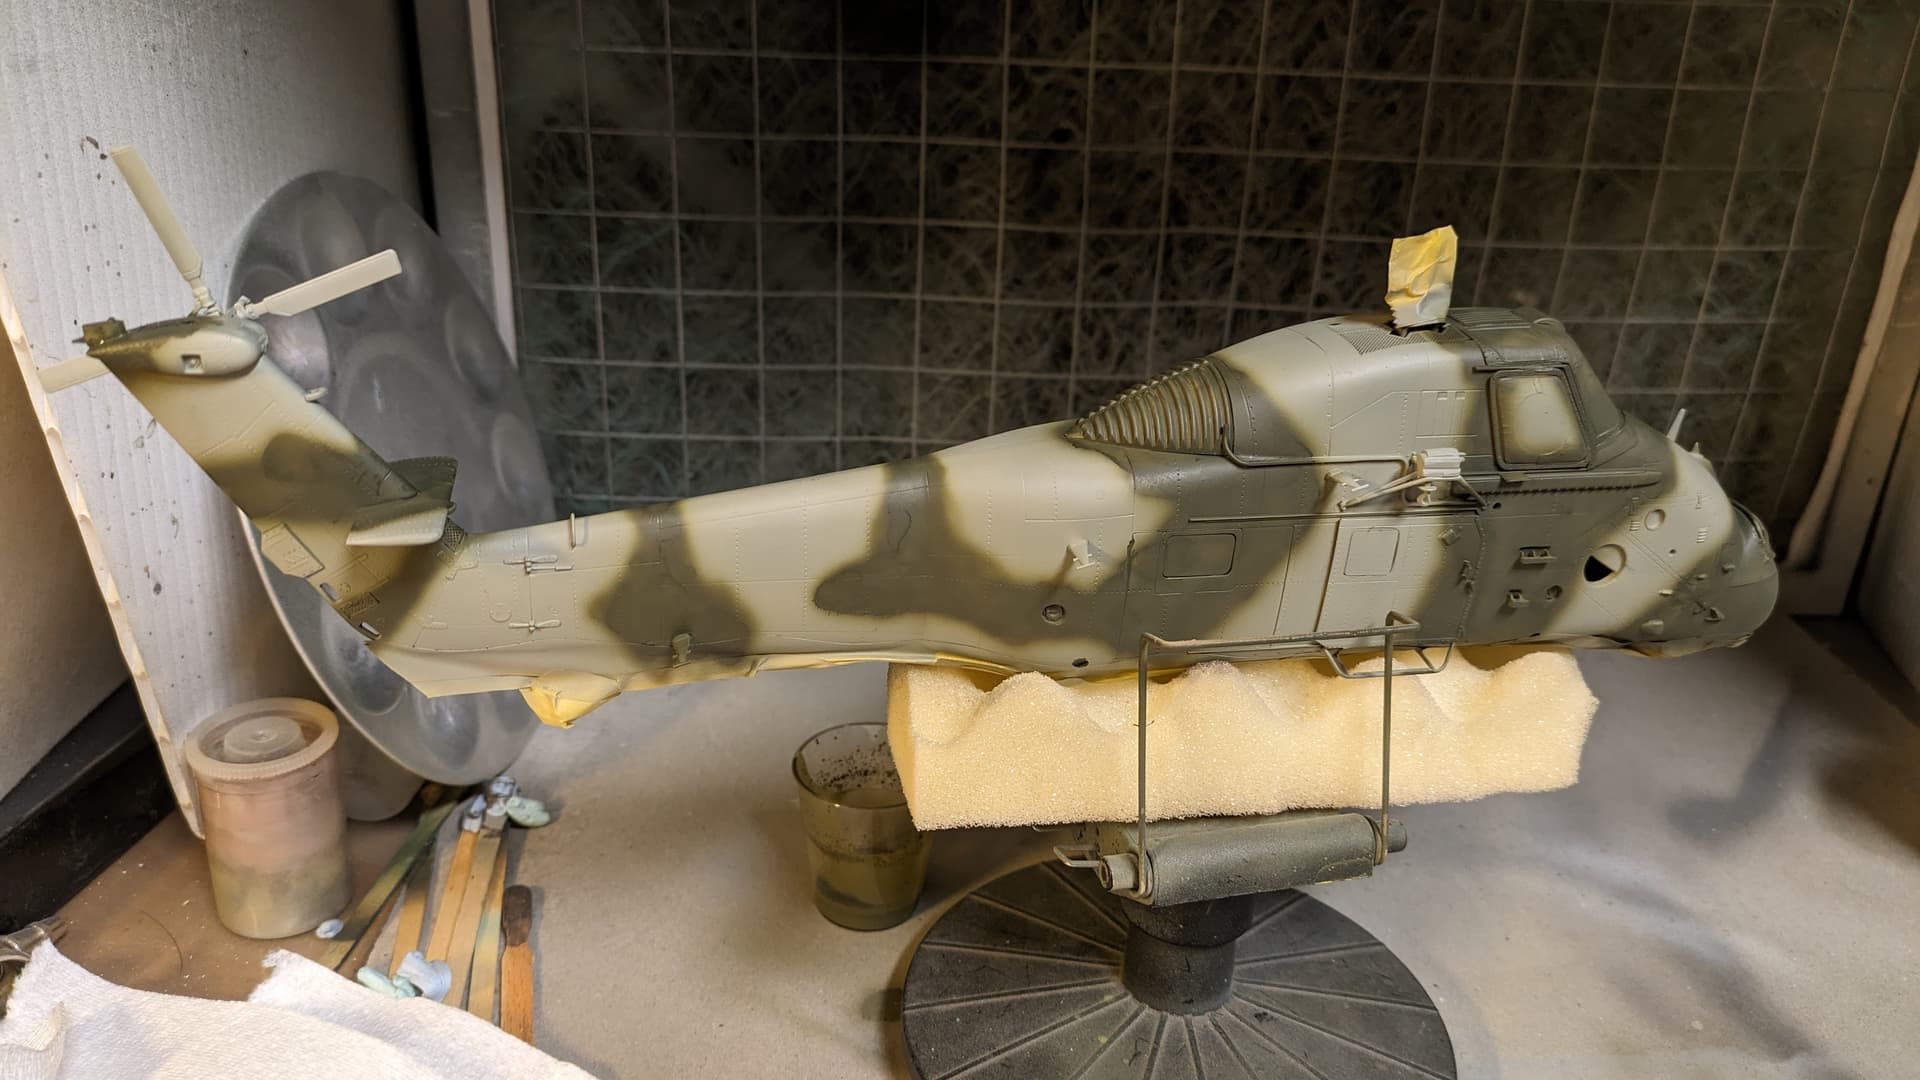
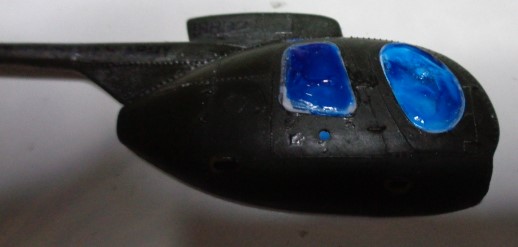
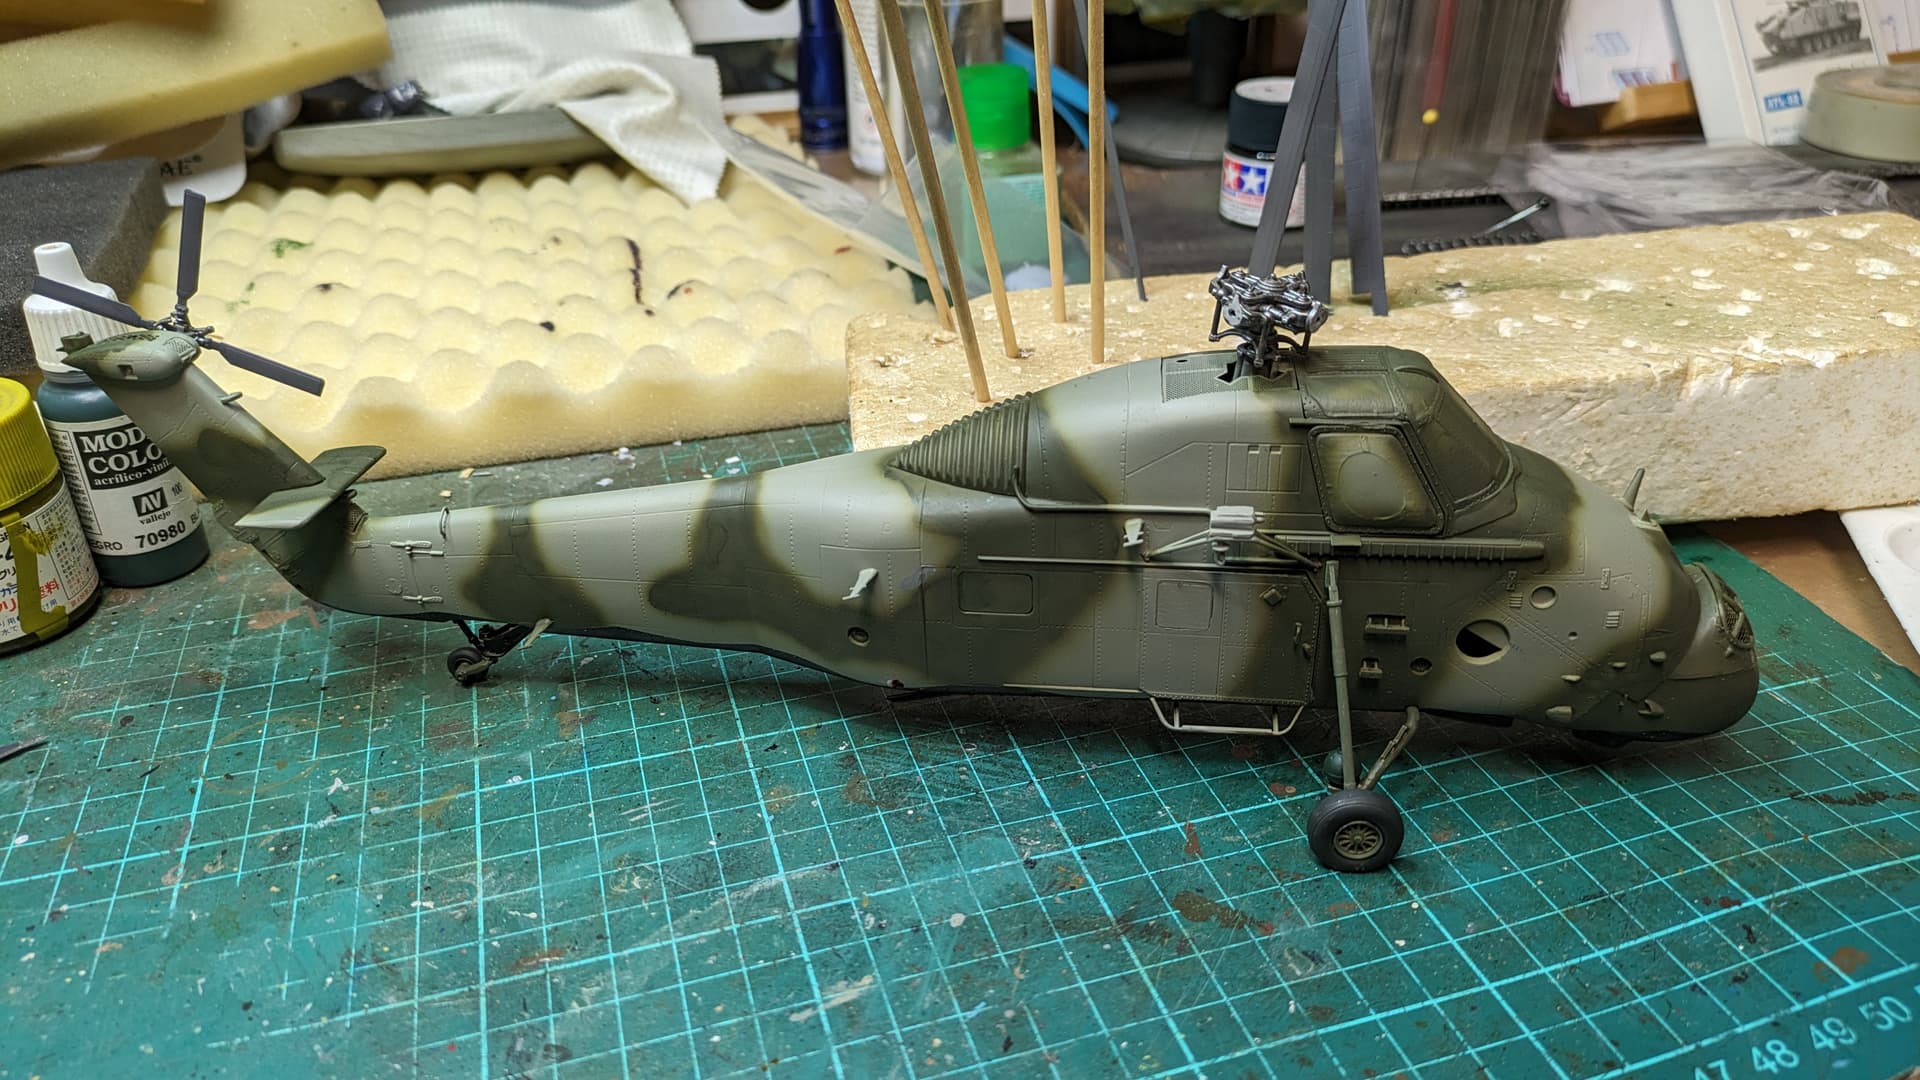
Added the rest of the windows to the AH-6. This is the first time I’ve used Micro Mask. Since all the the clear parts have no solid braces, it’s ok to slather the Micro Mask on. Easy to use but sometimes it seems to gather more in lower areas.
I’ll be curious to see how the Micro-Mask works out. I know i had some years ago and tried to do some wheel wells with it but it would not come off. Possibly I waited too long to try to remove it . . .
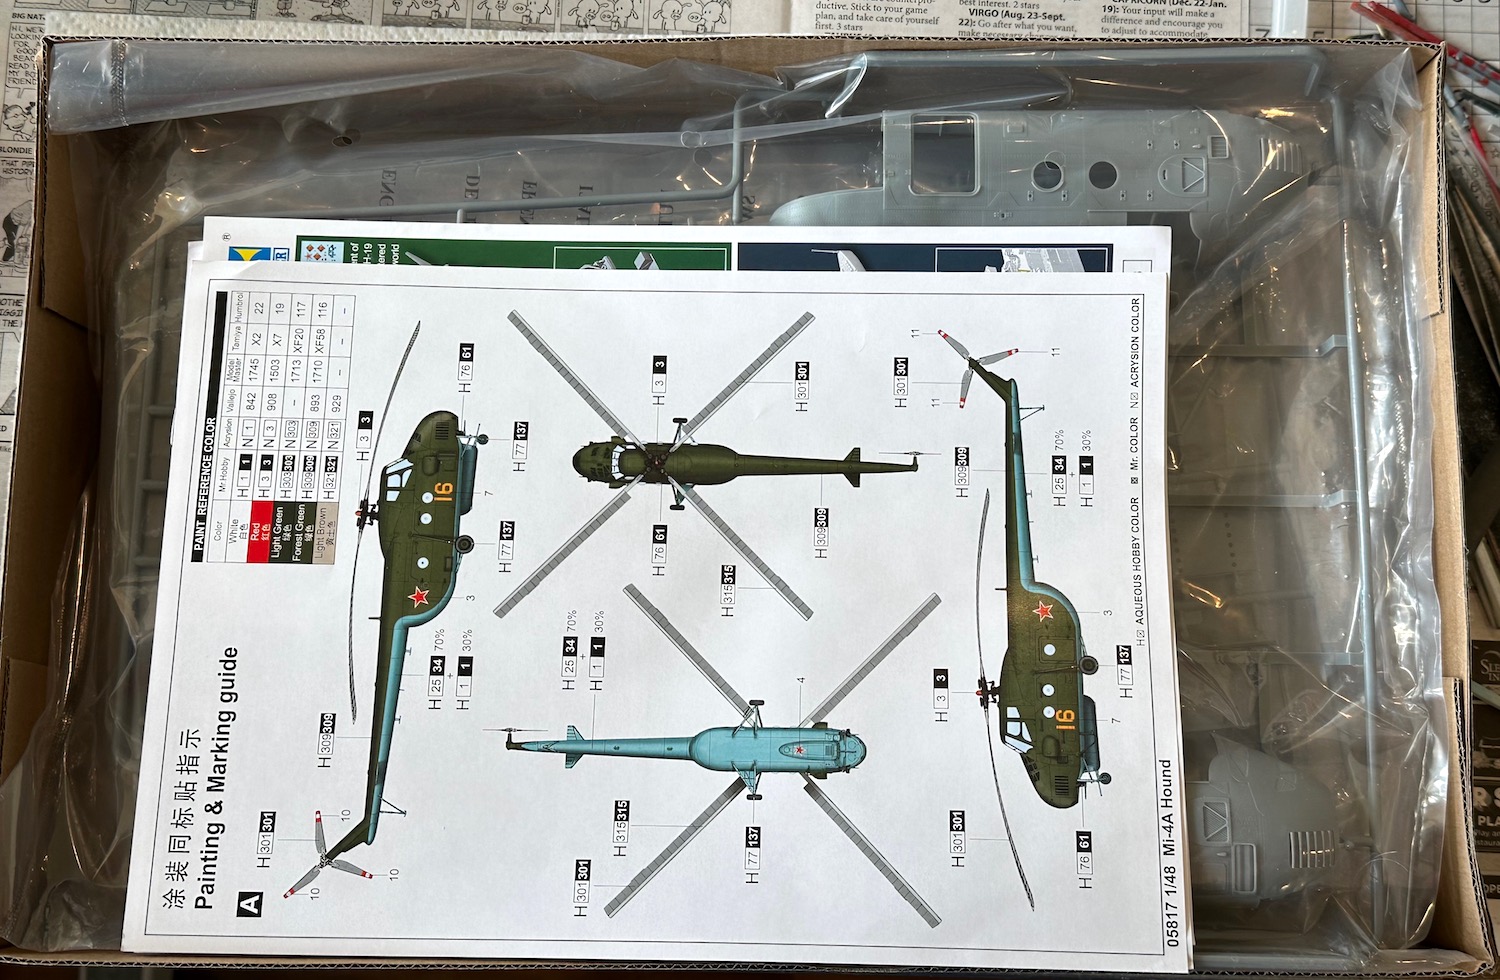
I finished the Bell 47/H-13 for this campaign but thought it would be fun to build this Trumpeter Mi-4 Hound that arrived recently. Its such a great model that I couldn’t resist starting it.
Yes, I’ll have more pictures in a few days. This kit has great detail & the fit has been excellent so far. Many parts are “keyed” rather than just having locating pins so the orientation is easier to determine.
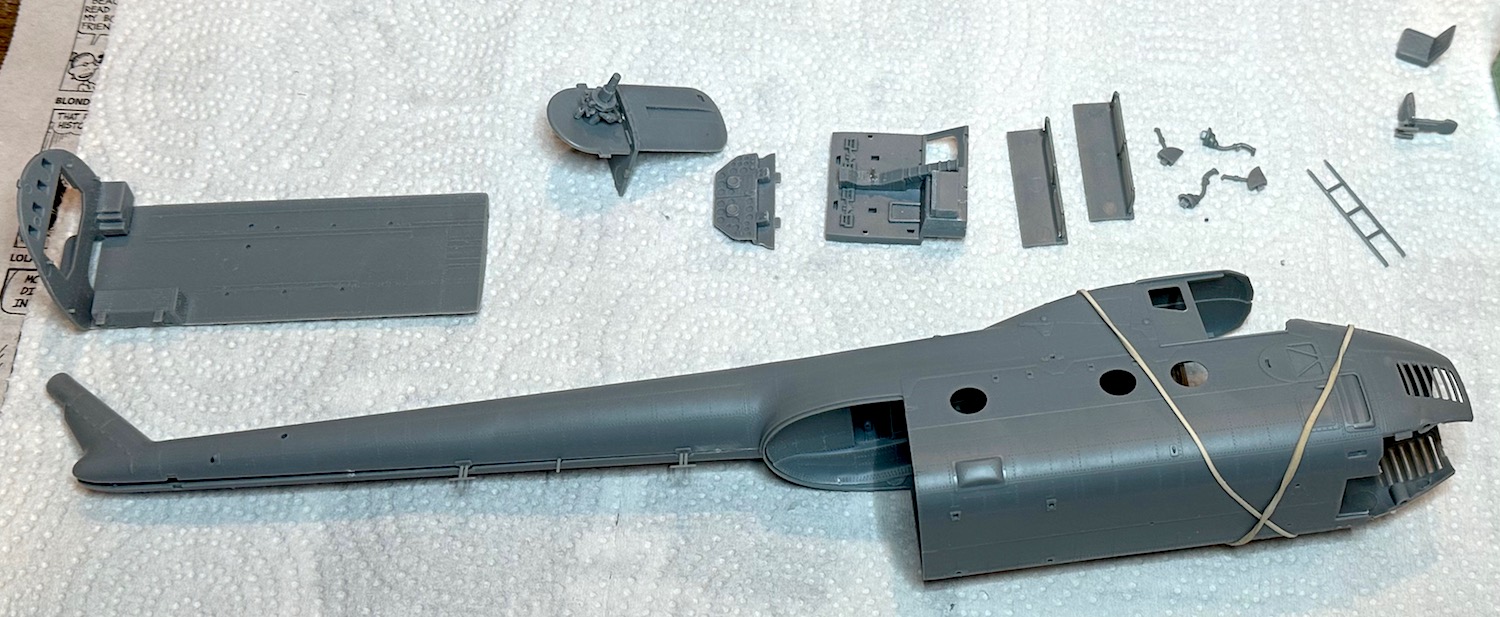
I’m wishing that they had provided PE grills on the engine cowlings to see the engine which is a little gem. Pictures of the real Mi-4s show the motor through these grills.
An oddity is that there seems to be no provision for locating the side door or the rear clamshell doors open. I’m not sure how to approach this yet. This wonderful interior just begs to be opened up to show itself off.
There is a mask set & an Eduard color PE cockpit set for this kit that should make a real difference as the cockpit doors can be posed open to really see everything there…
i have the italeri kit and i so want to build it right now but i can’t as work is ramping up for Christmas. you’ve done a fantastic job on that paint work mate.
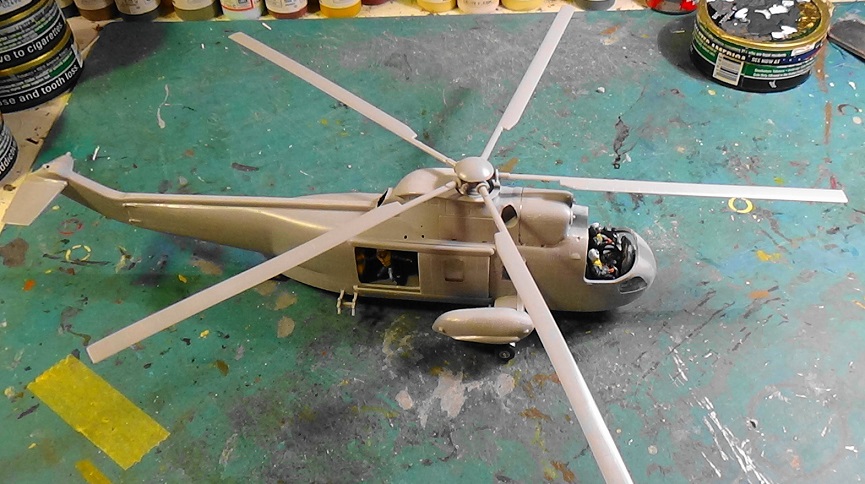
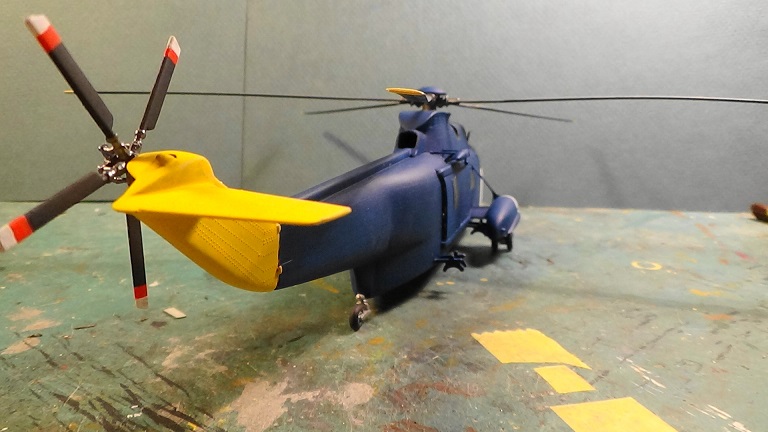
I love that Wessex! It makes me keen to do the H-34 again.
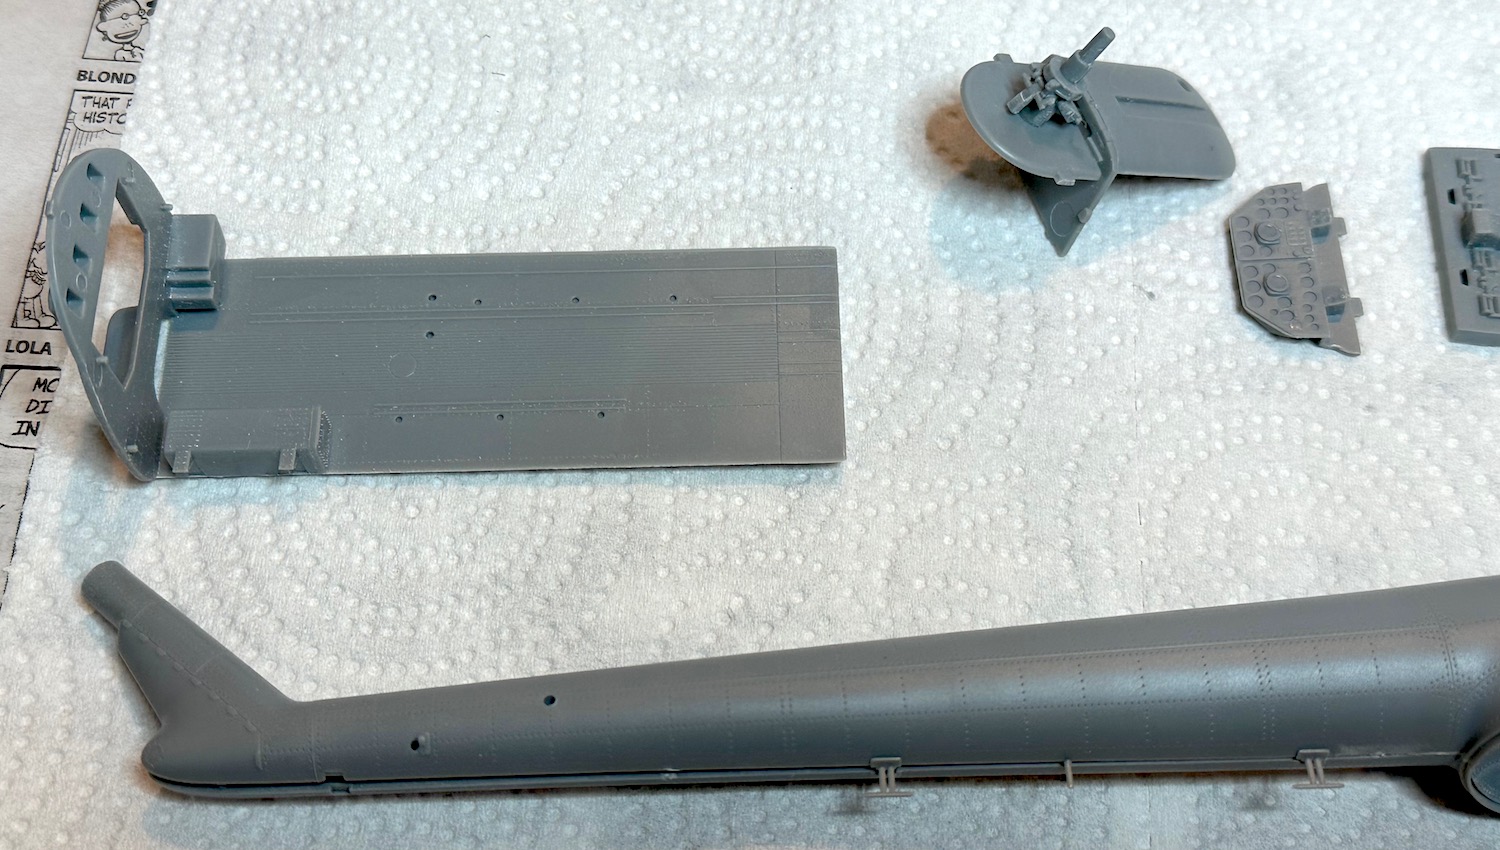
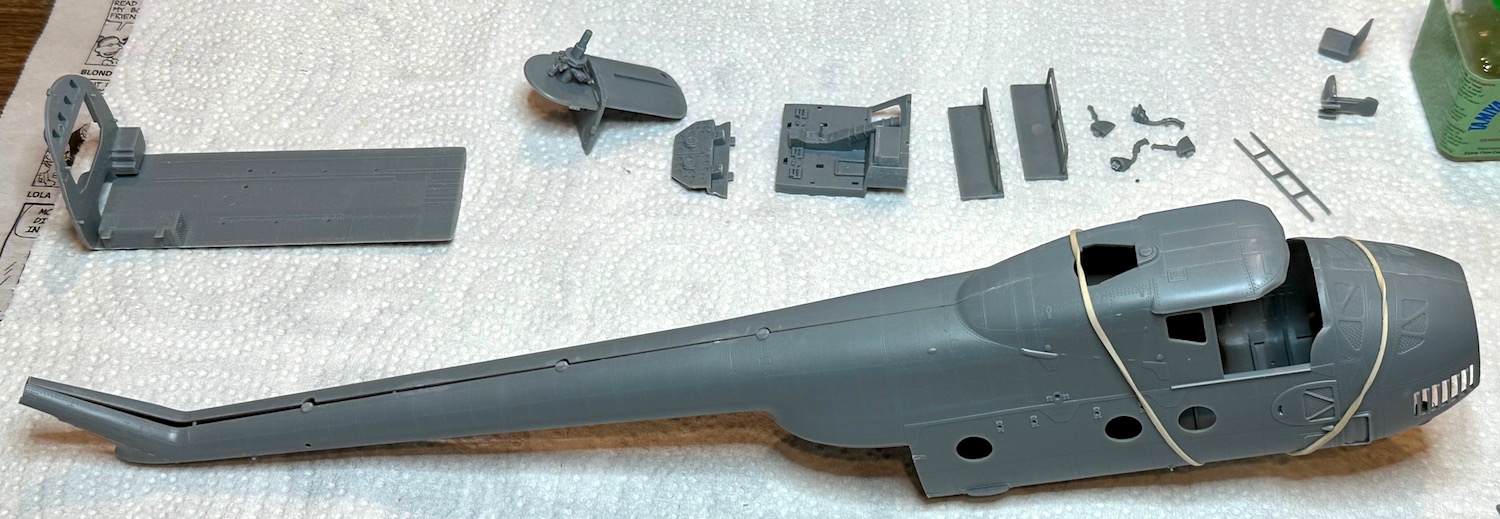
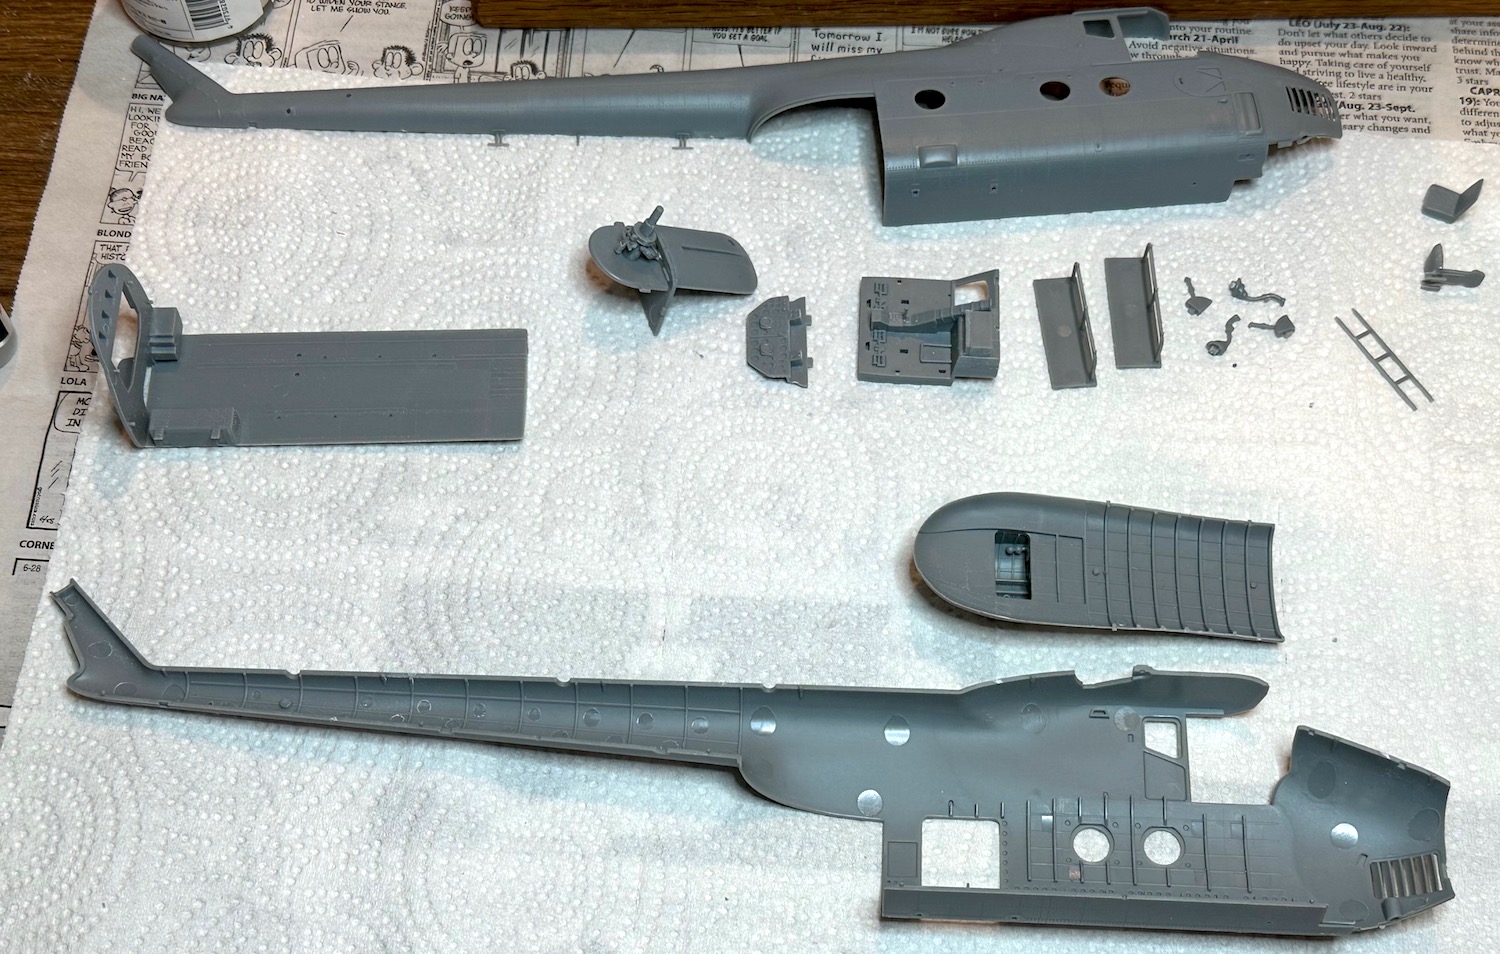
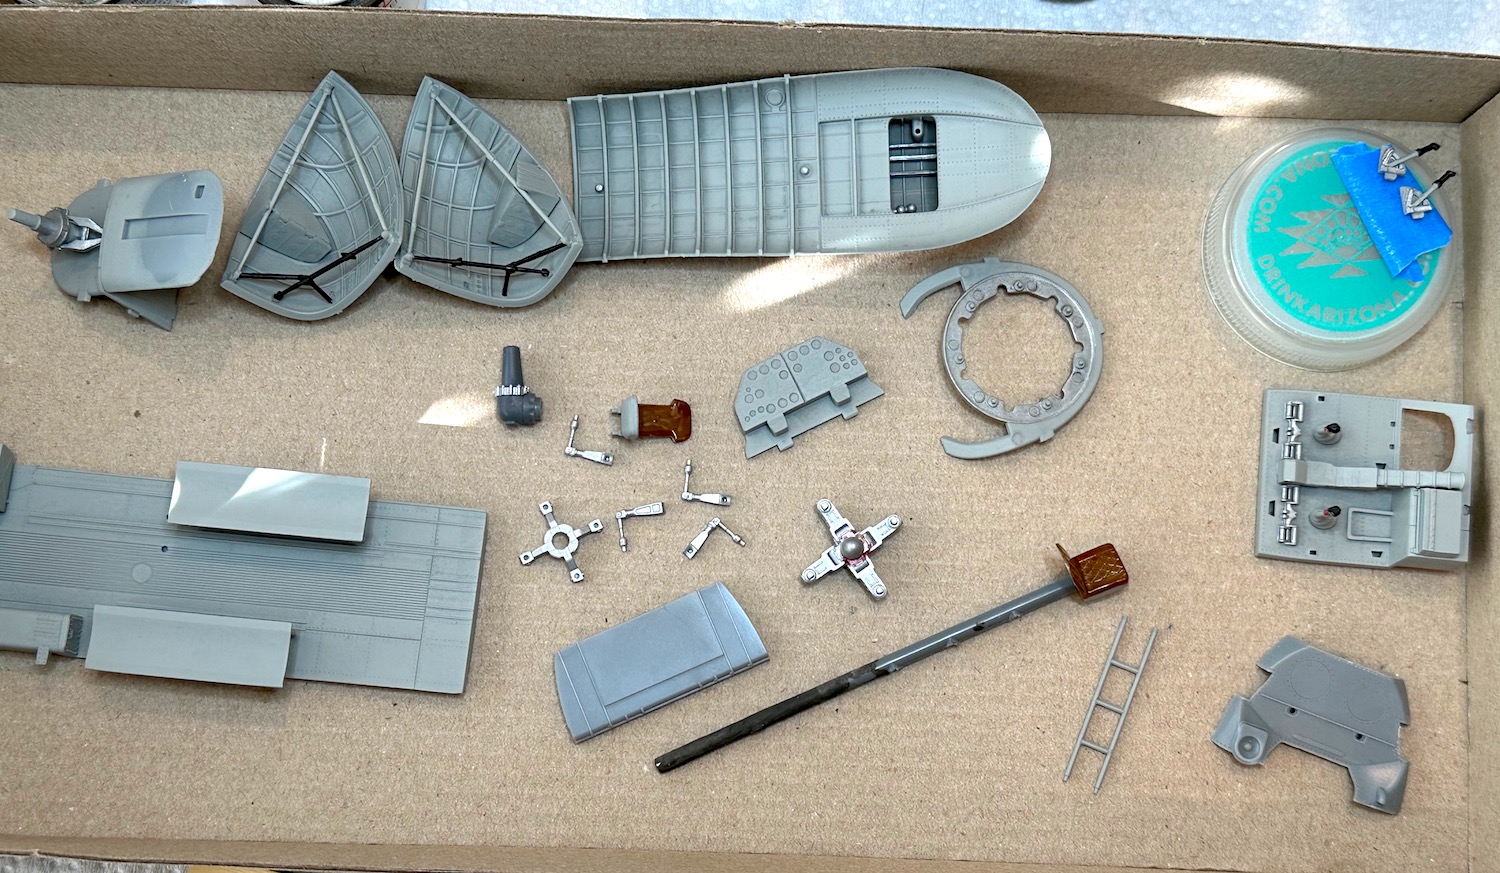
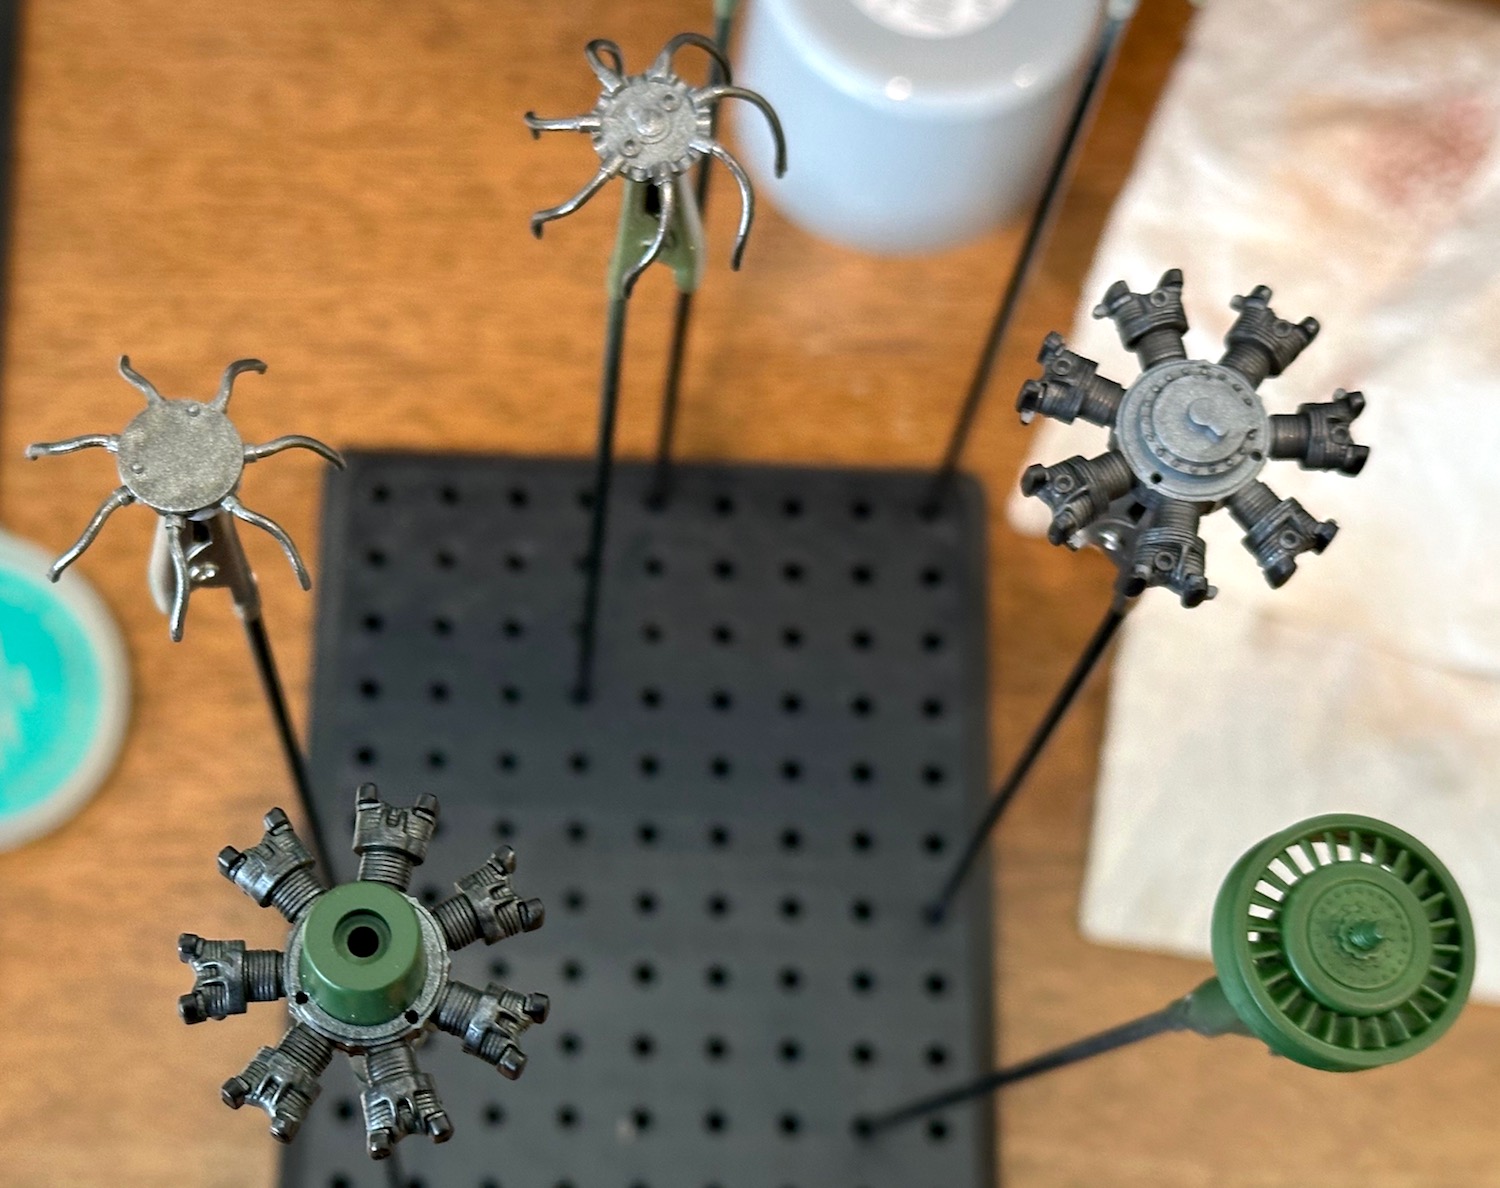
I got a bit of work done on the Mi-4 Hound. The motor is a little jewel, too bad almost none of it will be visable once installed. I’ll take some pics to remember it.
The Eduard 3D decal set requires that the kit detail be sanded off, too bad as its nice!
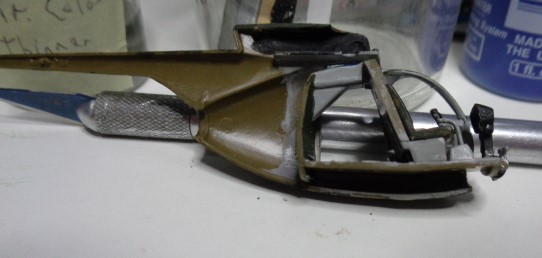
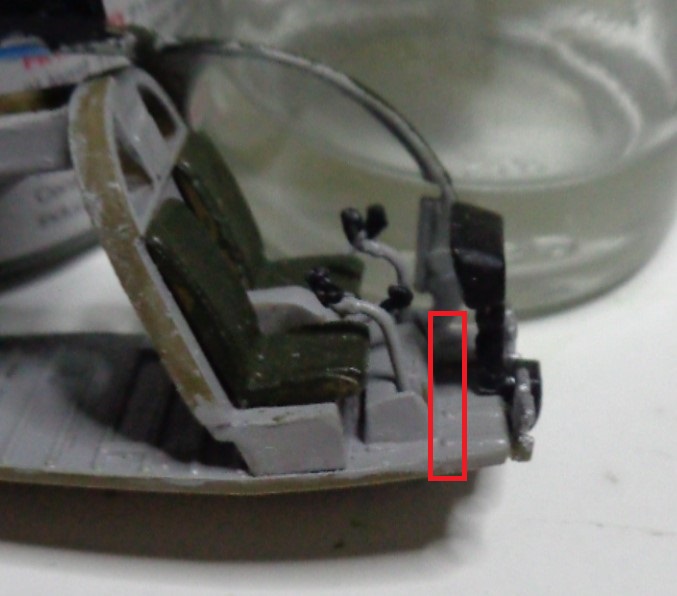
A major problem has cropped up. As I was trial-fitting the fuselage together, a thought popped into my mind to fit the front canopy on. The floor is too long for it to fit. The pedals and instrument panel are mounted to the front of the cockpit floor, so it’s not a simple matter of trimming the floor back. I can’t move the cockpit back or else the front cockpit bulkhead will no longer be aligned with the doors (assuming I can loosen the cockpit from the fuselage half.
Actually, I might try trimming the dead space between the cyclic box and the pedals/instrument panel (the red rectangle). I think the cockpit floor sticks out enough to get at it from below. Now, where did I put my razor saw?
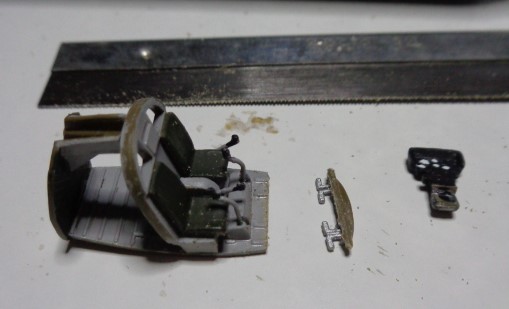
Ah! Found it! The cockpit detached from the fuselage at the last seconds of surgery. It would have been easier if it did that in the beginning. A bit of trimming, then reassembly. And best of all, no blood was spilt!