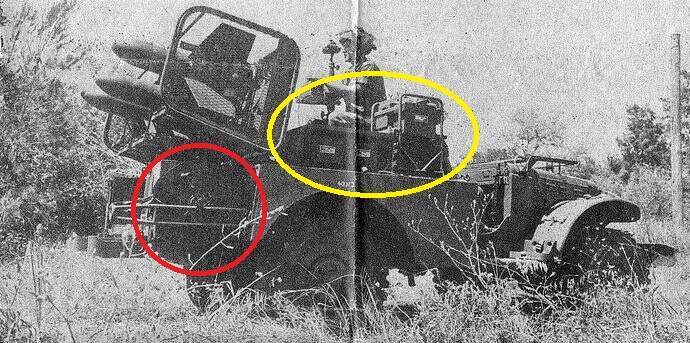
The taller item in the yellow circle looks like a generator, used for operating the missiles when the vehicle engine is not running or when the missiles are ground launched. The other part may be the electrical control box connecting the joystick to the missiles.
Not just those, but Panzer IVs and Jagdpanzer IVs as well. Syria, a former French Mandate, received them from French, but also from Spanish and Czechoslovakian stocks. Egypt on the other hand, a former British Mandate, operated mainly ex-British and American vehicles right after WW2, but these were quickly phased out after modern Soviet equipment became available from the early '50s. Having said that, M3/5 halftracks appeared on the battlefield as late as the Yom Kippur War, some of them carrying Russian made B-11 recoilless rifles.
Thanks everyone for your contributions, great to see somuch help from all sides
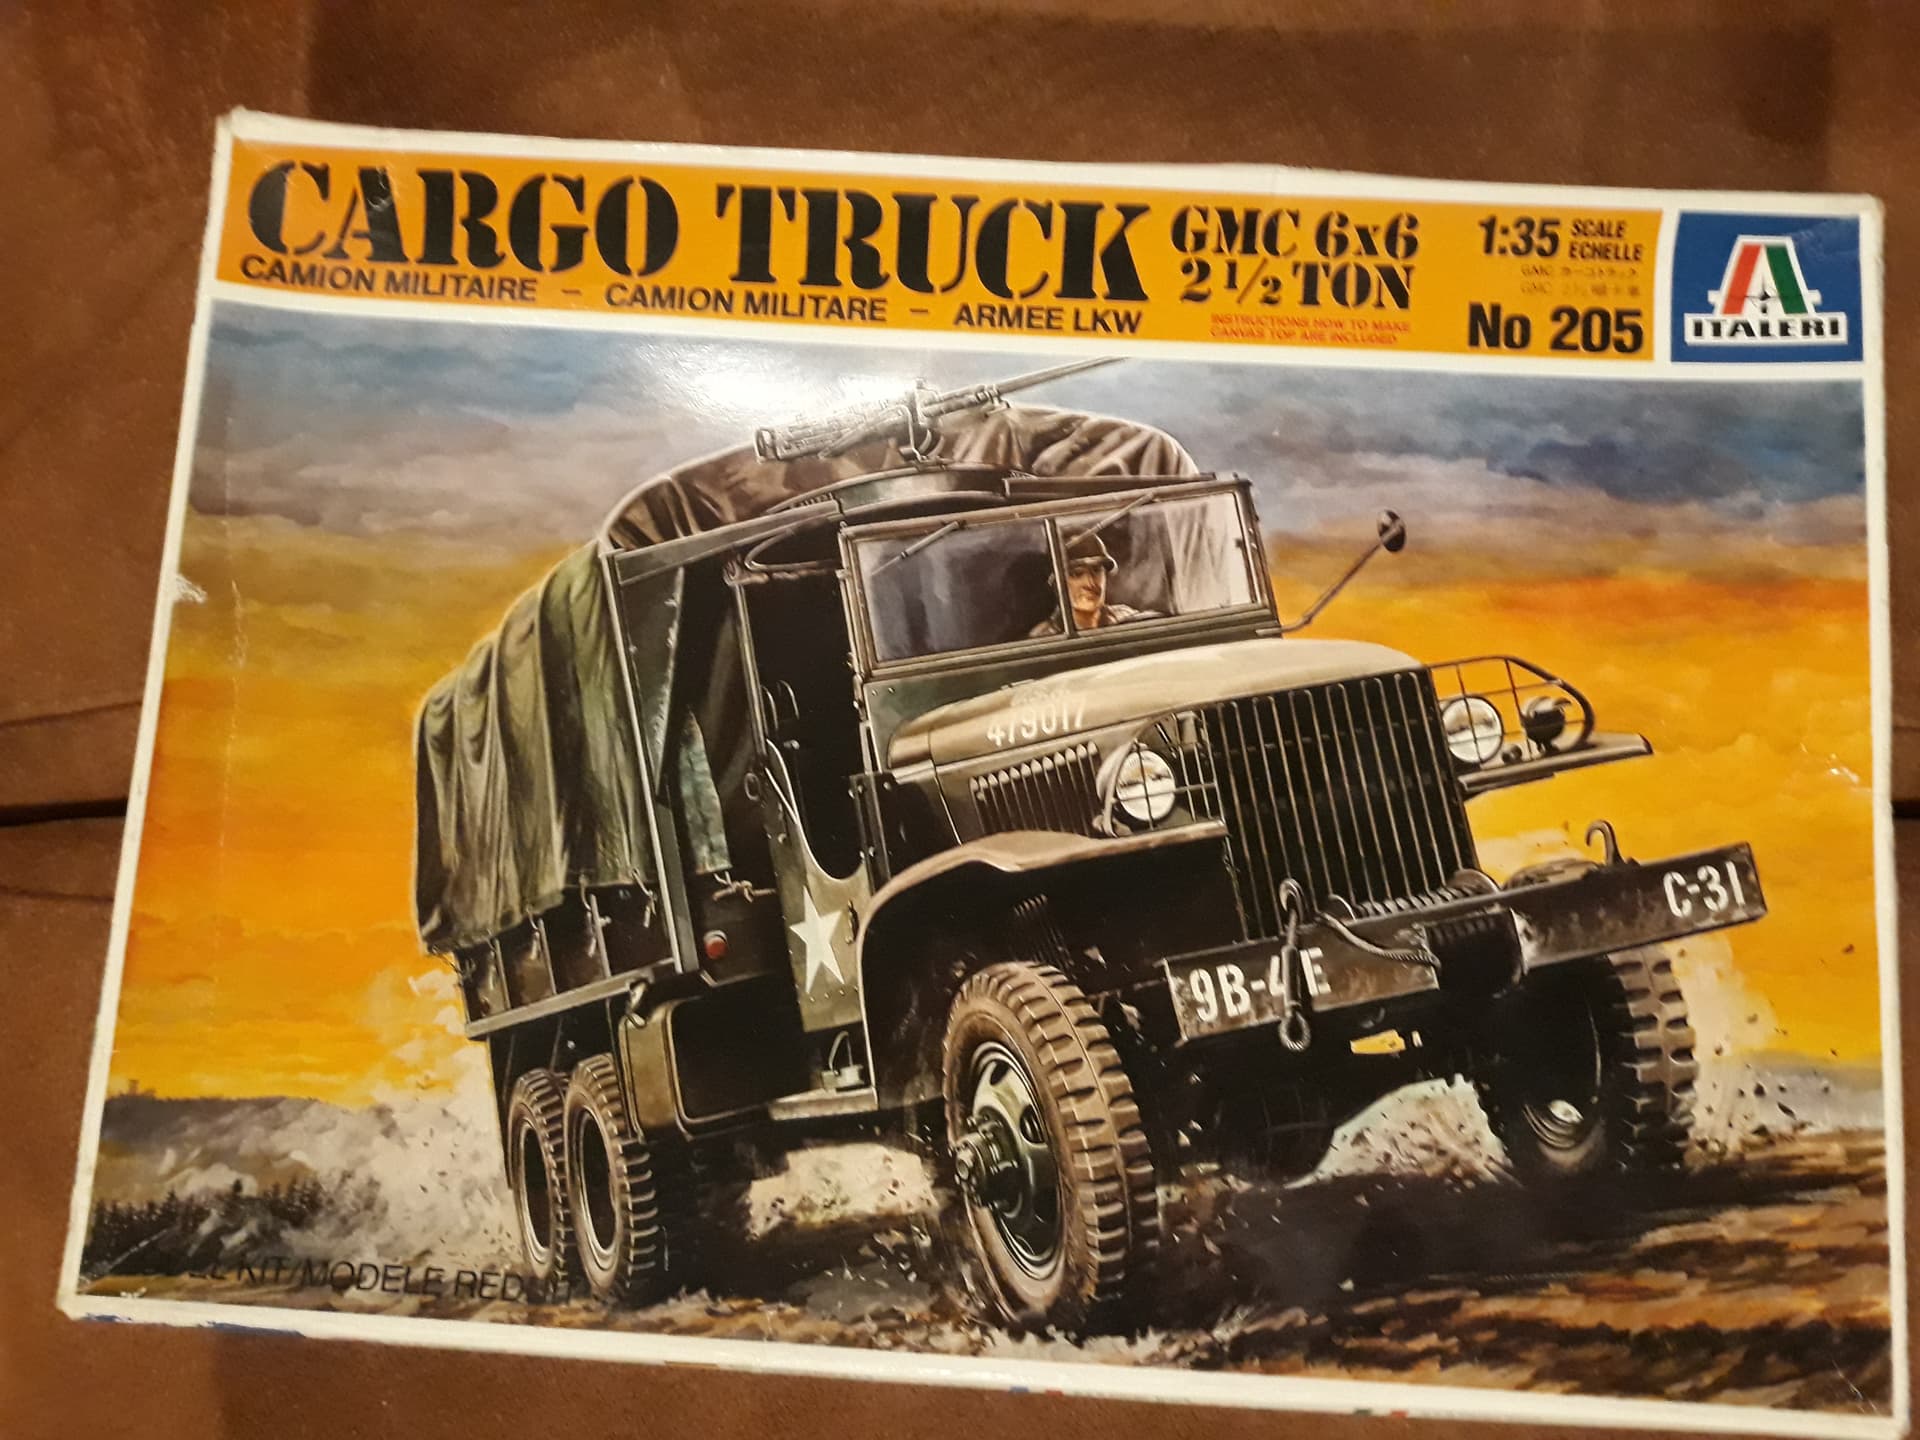
I will keep the Mule in it, just because I like it knowing it is a big What If… also because I happen to have this one but no Soviet trucks… (yet)
@tankerken : I remember that build, as well because I was already looking at iDF verhicles at that time
@18bravo Nice idea about that leadfoil, must remember it! Too bad I don’t do WW2 diorama’s, otherwise I could keep the Mule for that.
There is a relatively expensive 3D conversion to turn the Dragon kits into an M5.
Now this will make you laugh, but you could use the old Monogram kit as a base for one, I say this because it has the correct fenders, which are the hardest part of the conversion. Obviously you have to round the rear corners of the fighting compartment, but you can do that by sectioning lengths of Evergreen tubing. I believe it was 1/4 inch or the next size up. If you don’t care about replacing the front axle and differential no one will probably notice anyway. There are a few other minor differences which are easy to fix.
I also still have my forms from which I vacuformed the correct fenders. If you absolutely had to have them, I might be talked into making another set. It’s PITA though. Only one out of every three attempts or so actually works out.
You can also just slice the fenders off of an old Monogram kit and add them, along with all of the other necessary changes, to the Dragon half track.
@18bravo thats interesting, i didn’t think there would be that much to do for an M5. As far as I’m tracking that hull was rounded but i haven’t seen a great picture of one in awhile. This is good information though, going to have to explore this more.
Aside from the fenders, and rounded troop compartment corners, the other difference is the sliding shutters for the side doors and windshield armor. On the M3 the are mounted on the outer surface of the armor plates, on the M5, they are mounted on the inner surface.
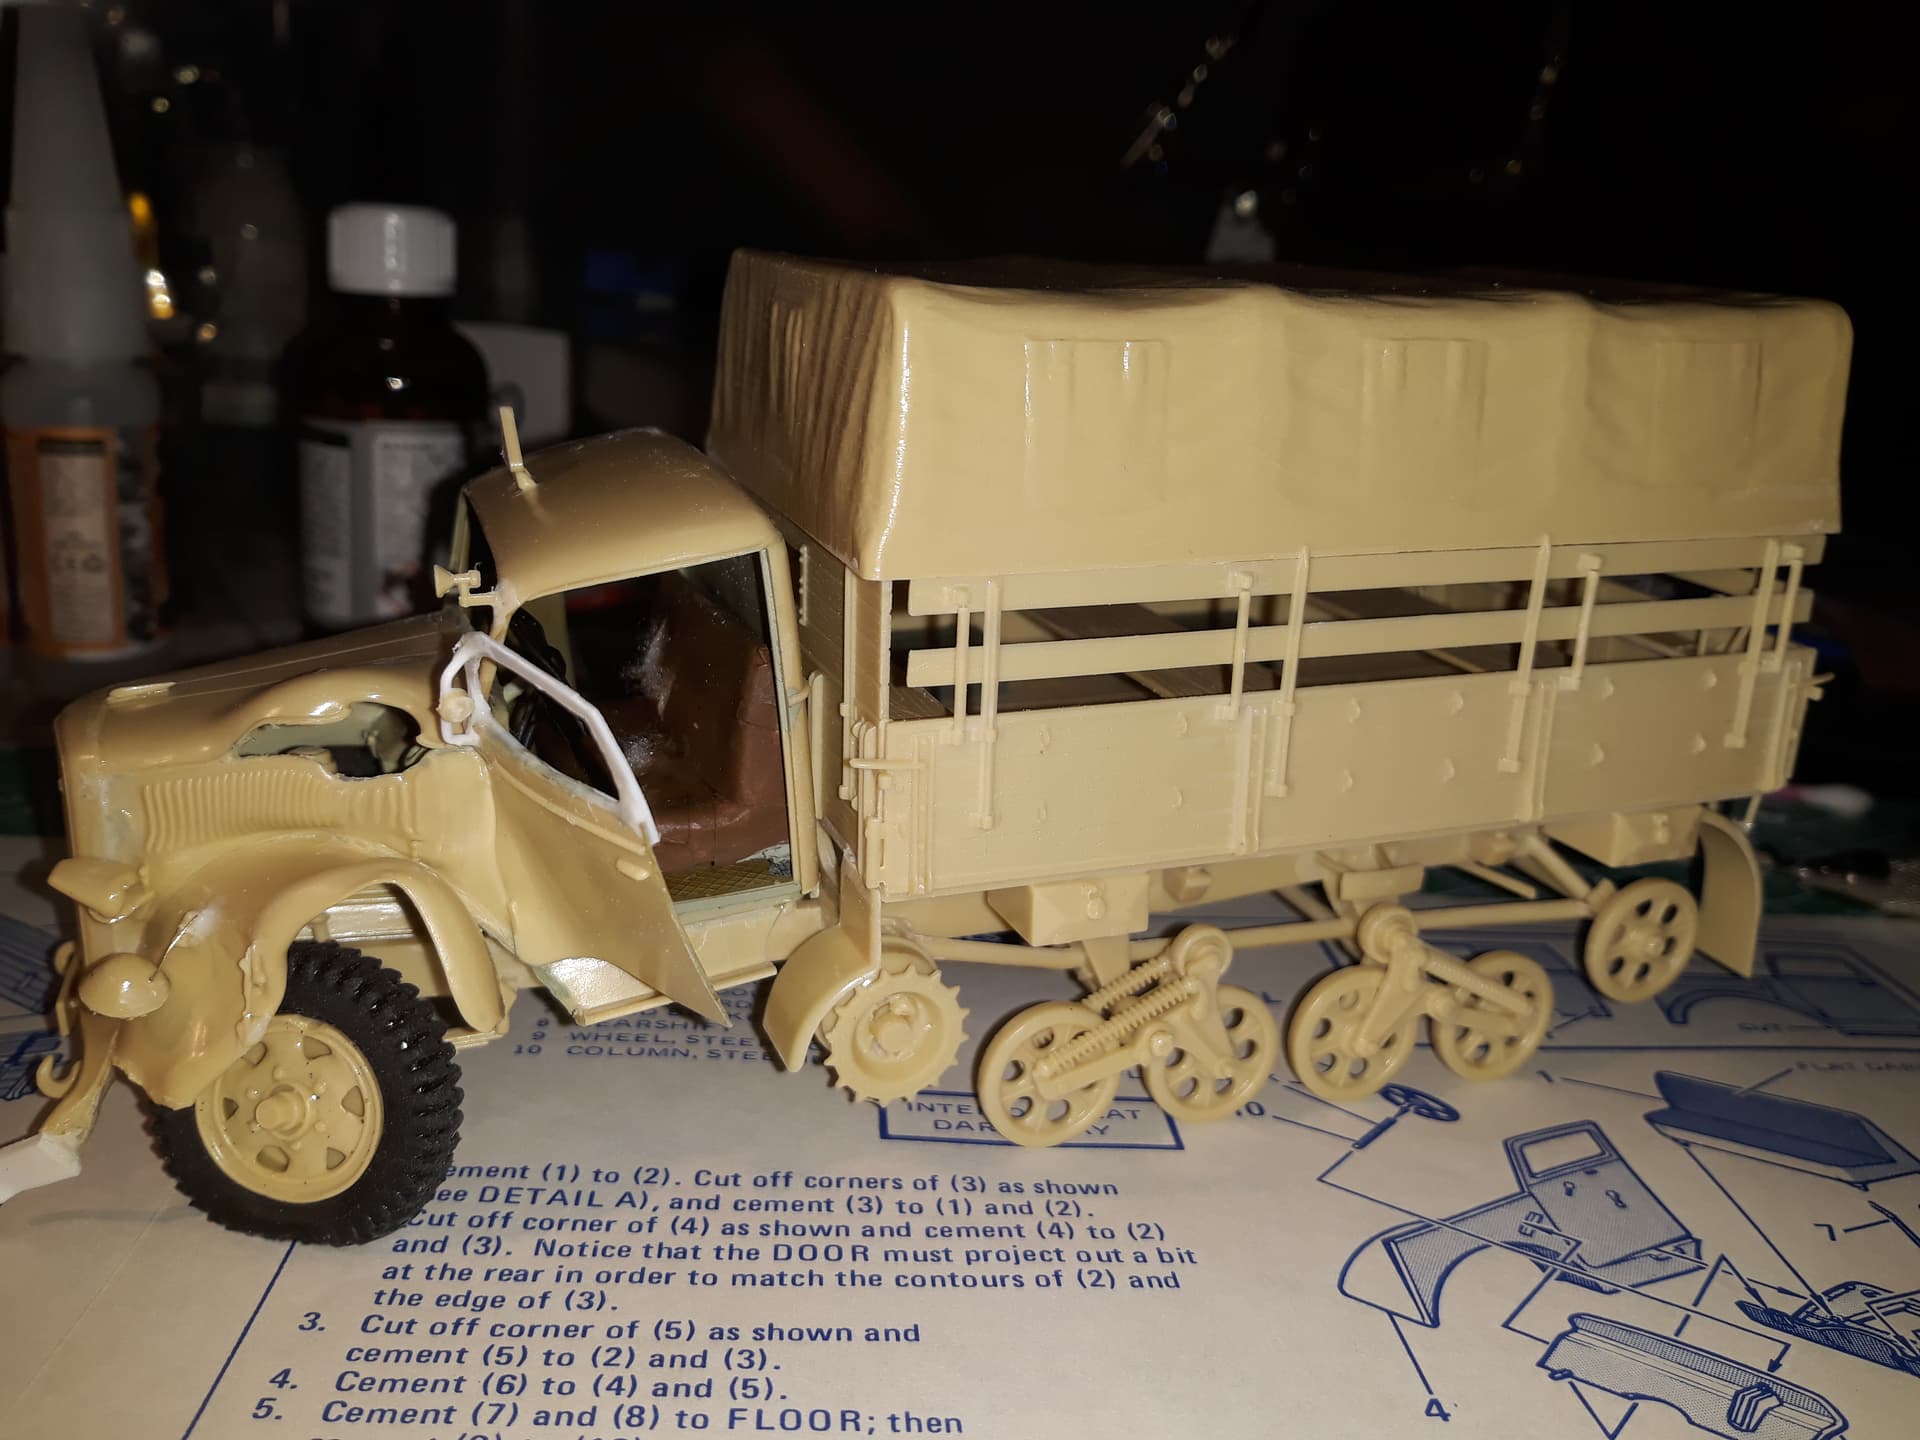
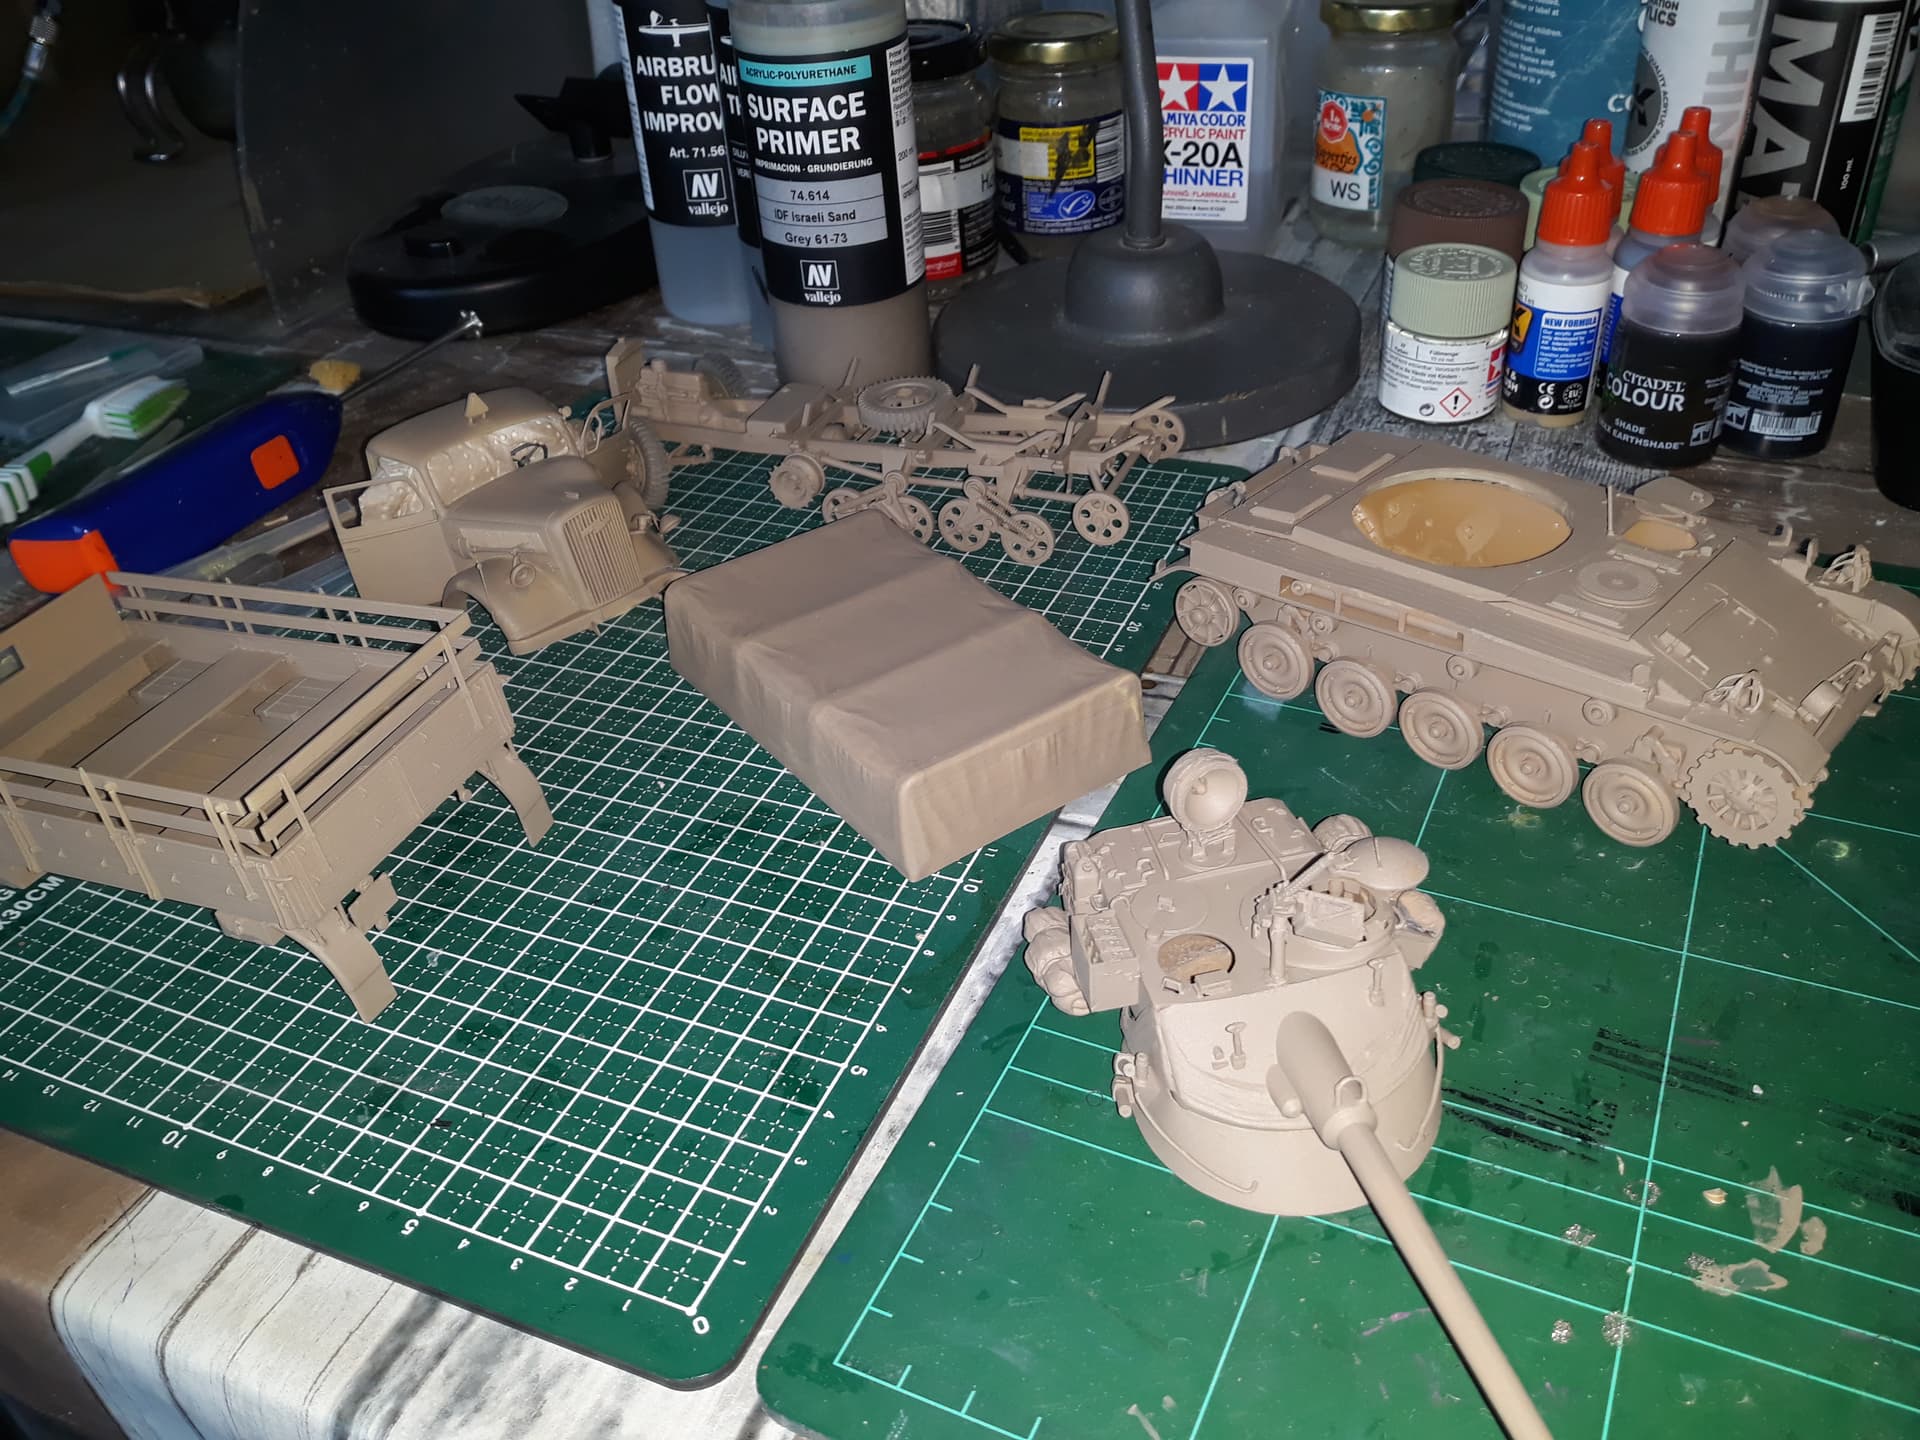
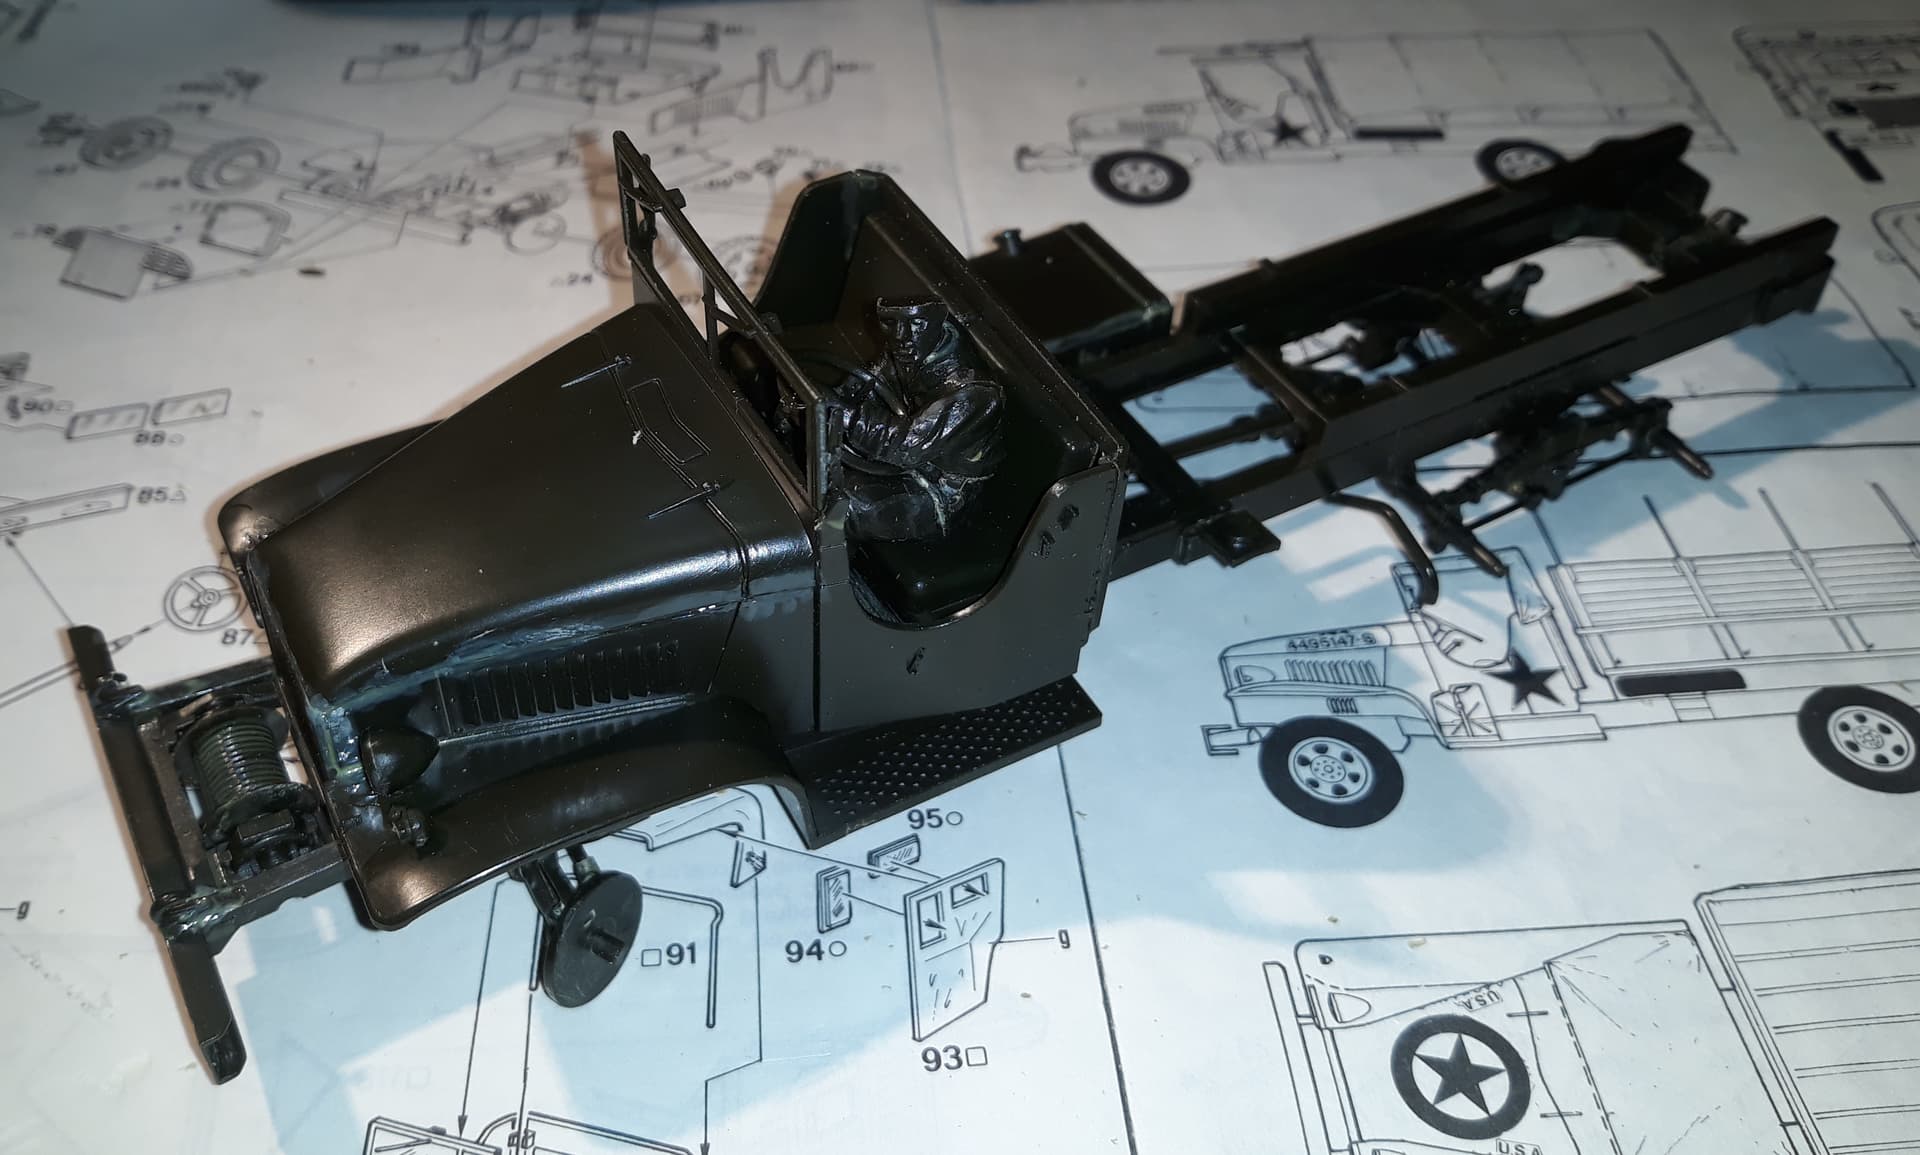
Been working a bit more on the Mule.
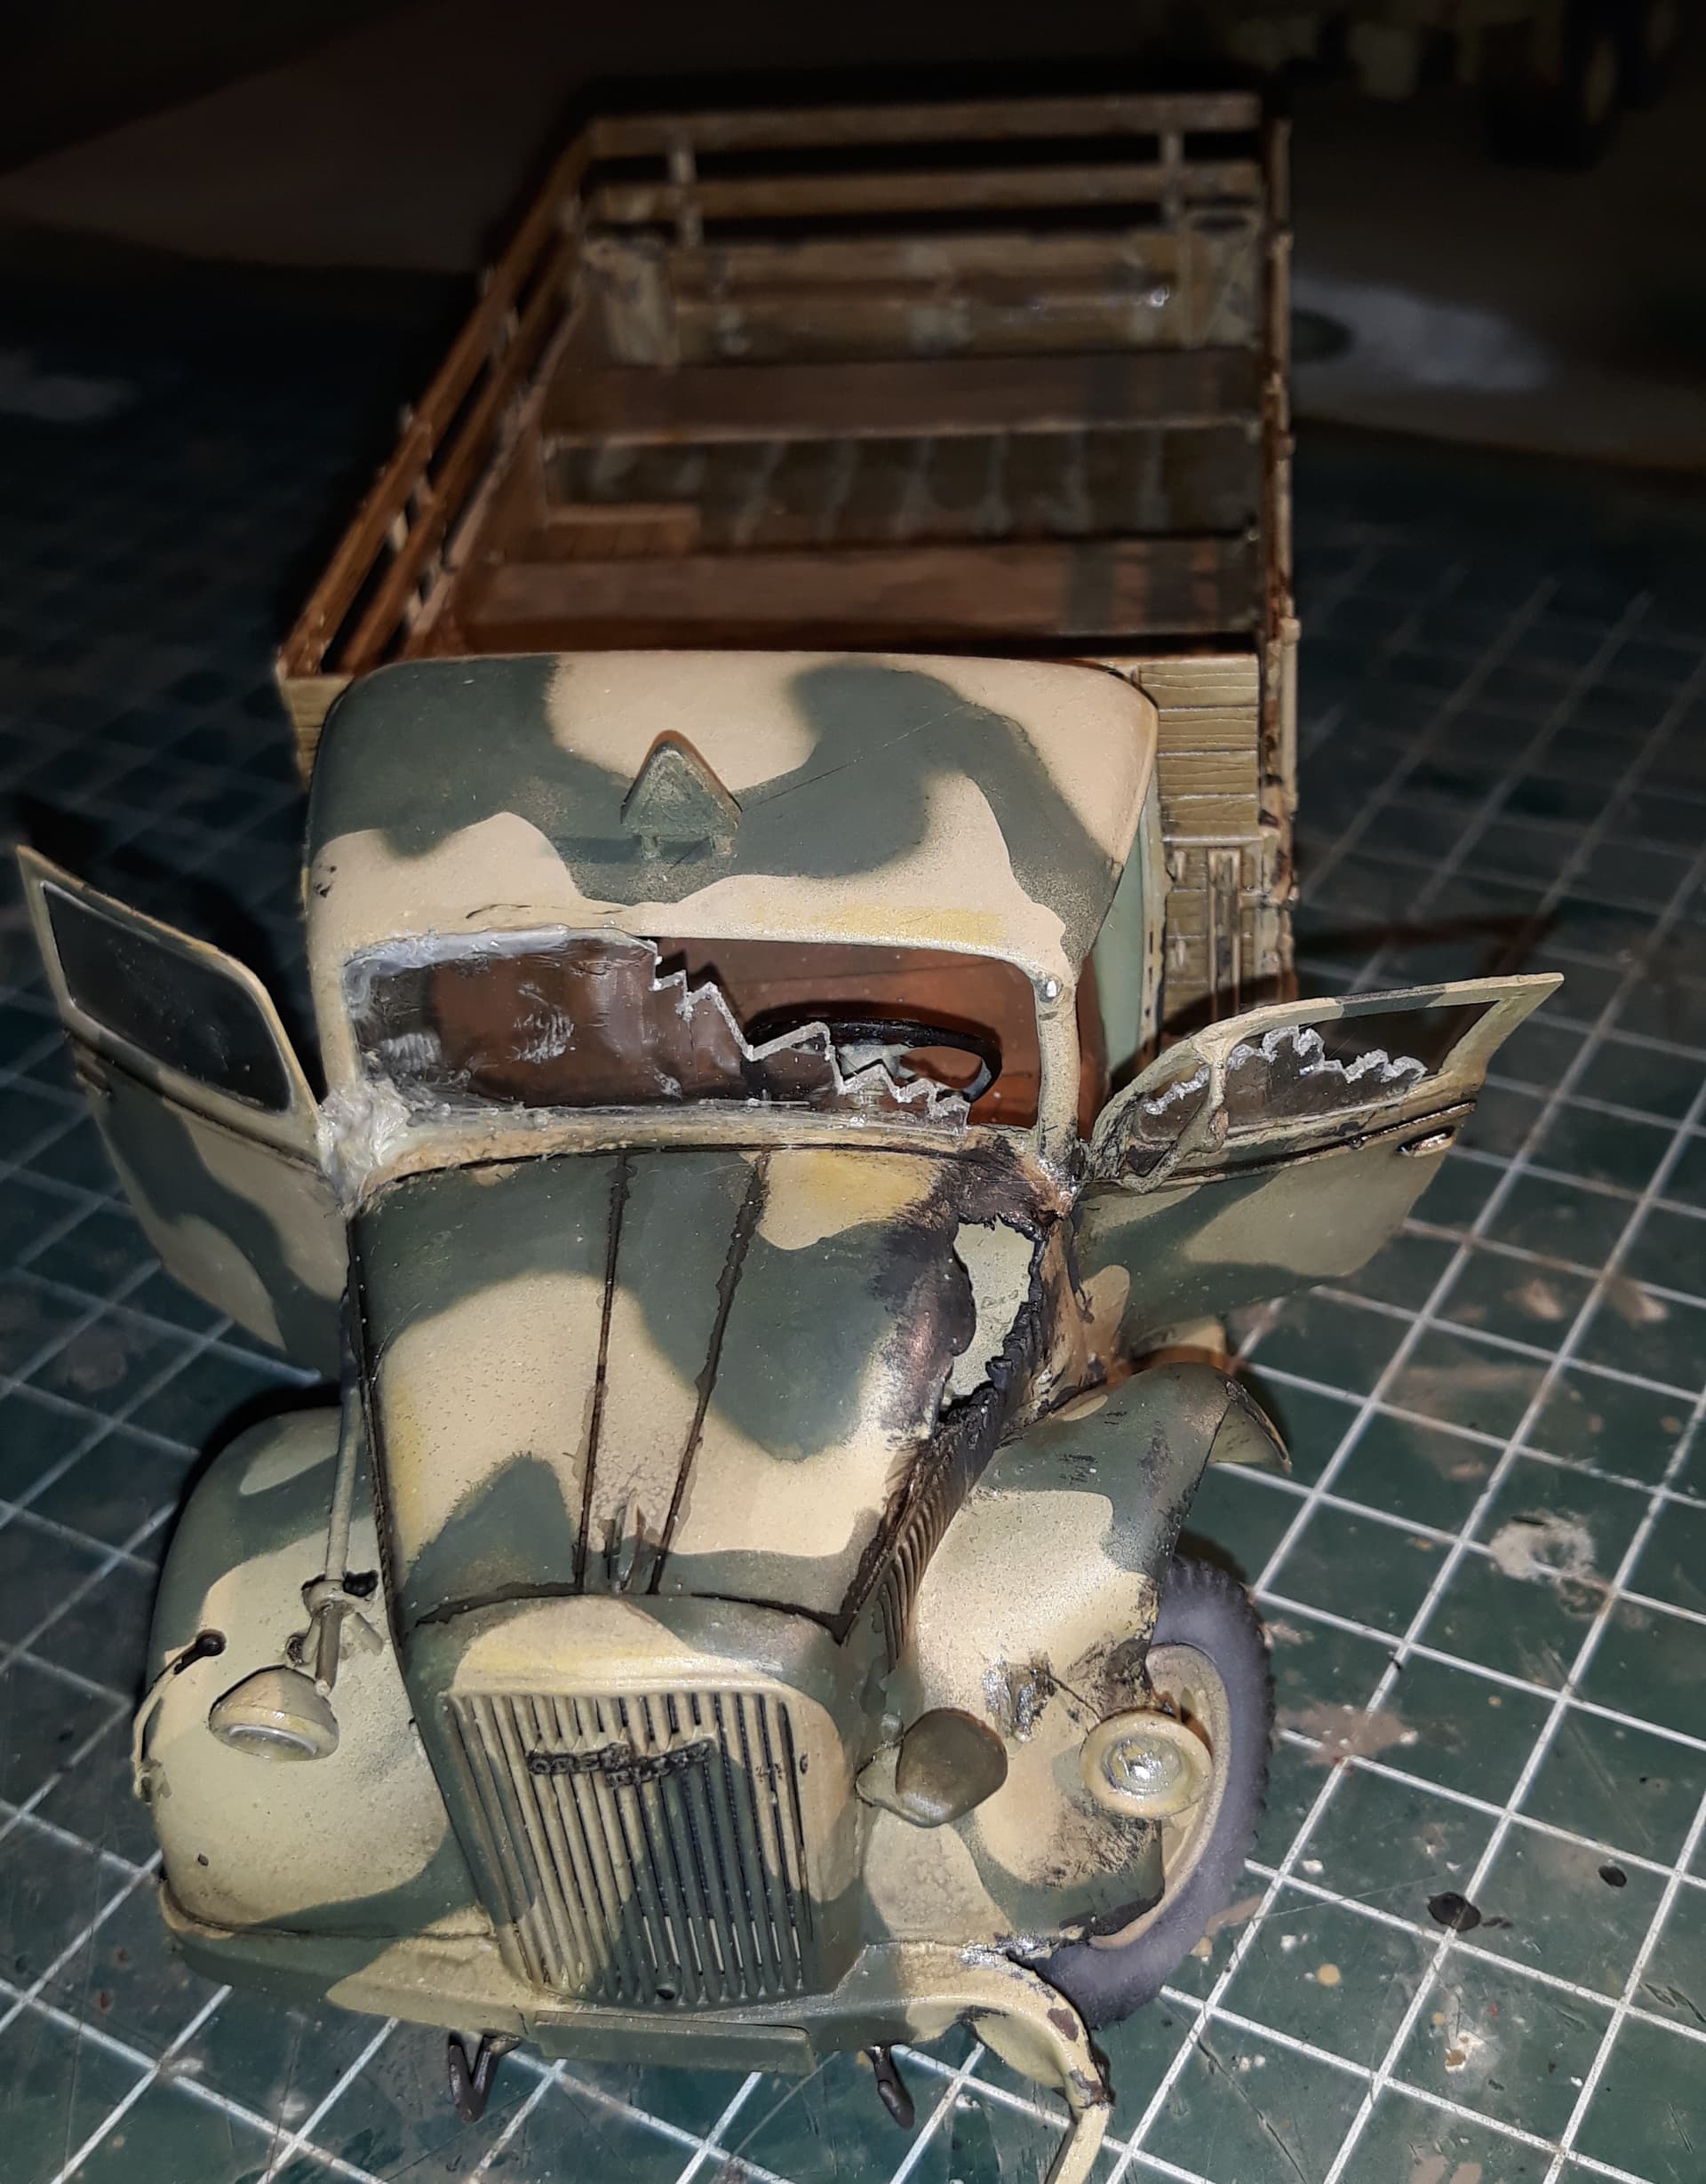
As I was trying to get the front fender a little bit more dented, I managed to ruin the window part of the door…
just had to cut that off, I mean, look at it… unrecognisable…
And so I had to replace it…
And made the headlight hang on to the fender by its wiring…
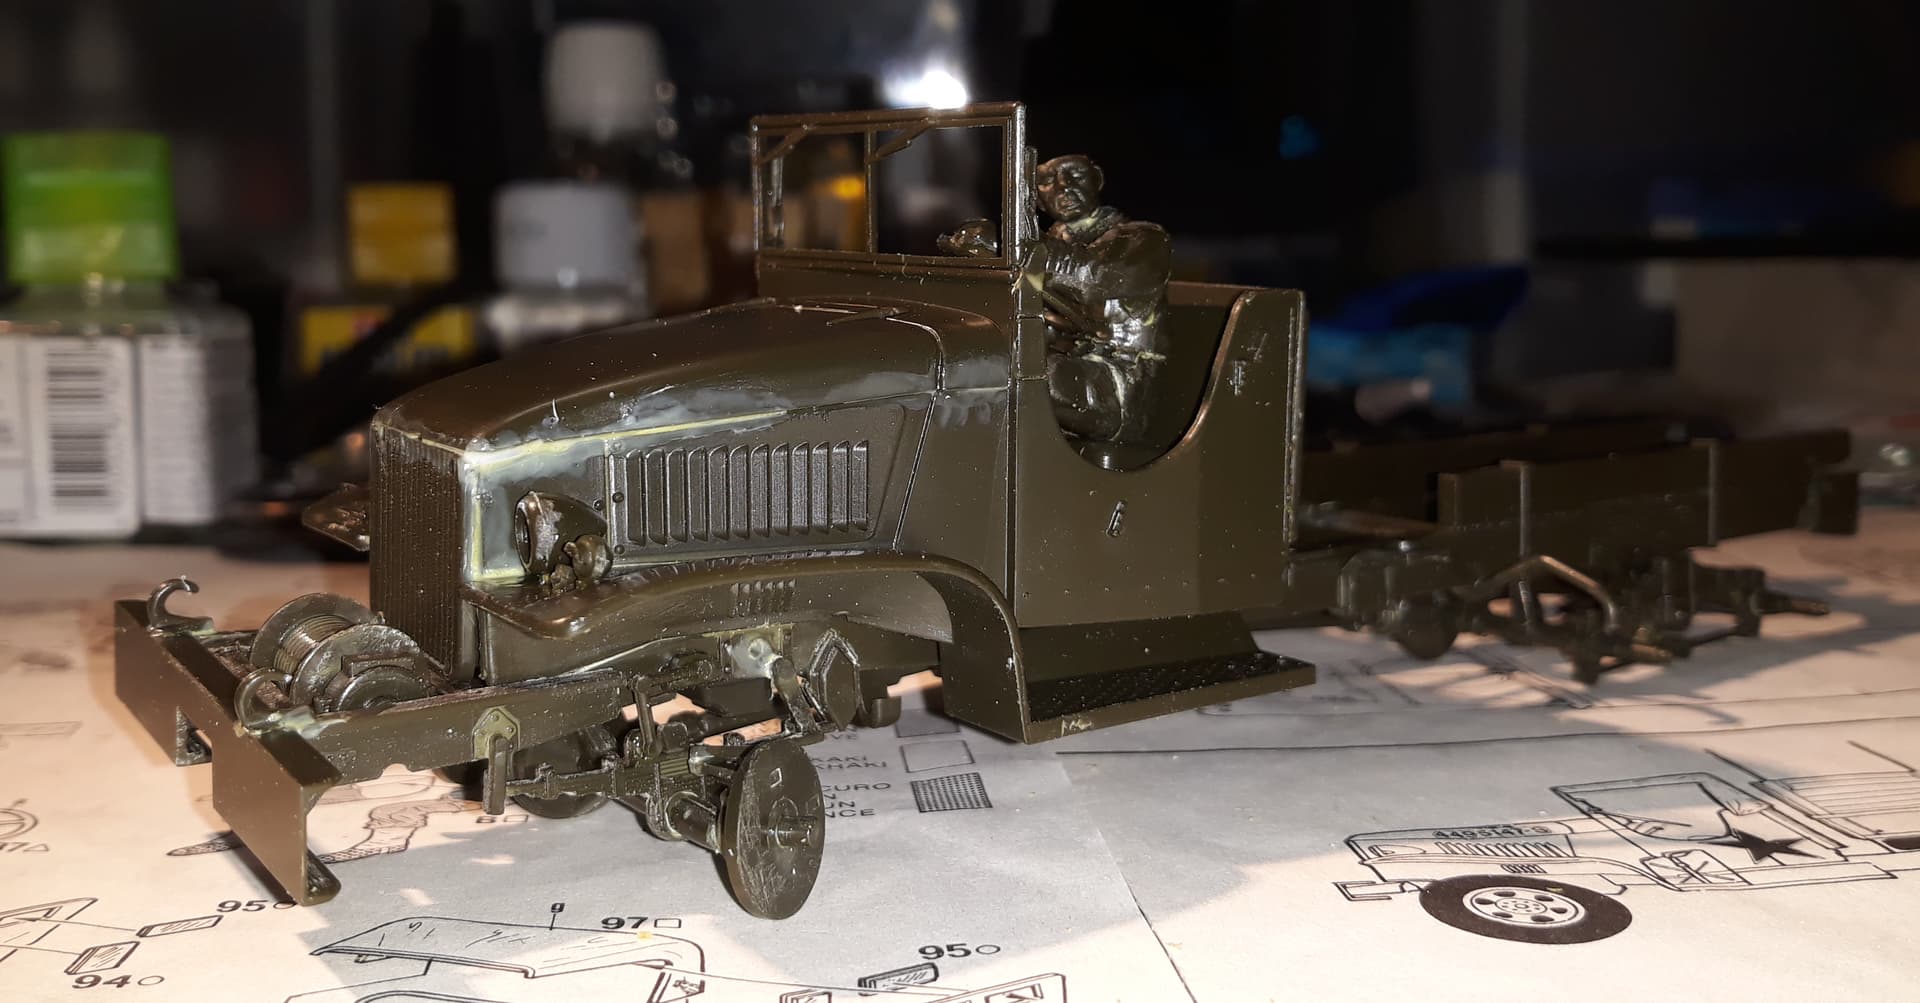
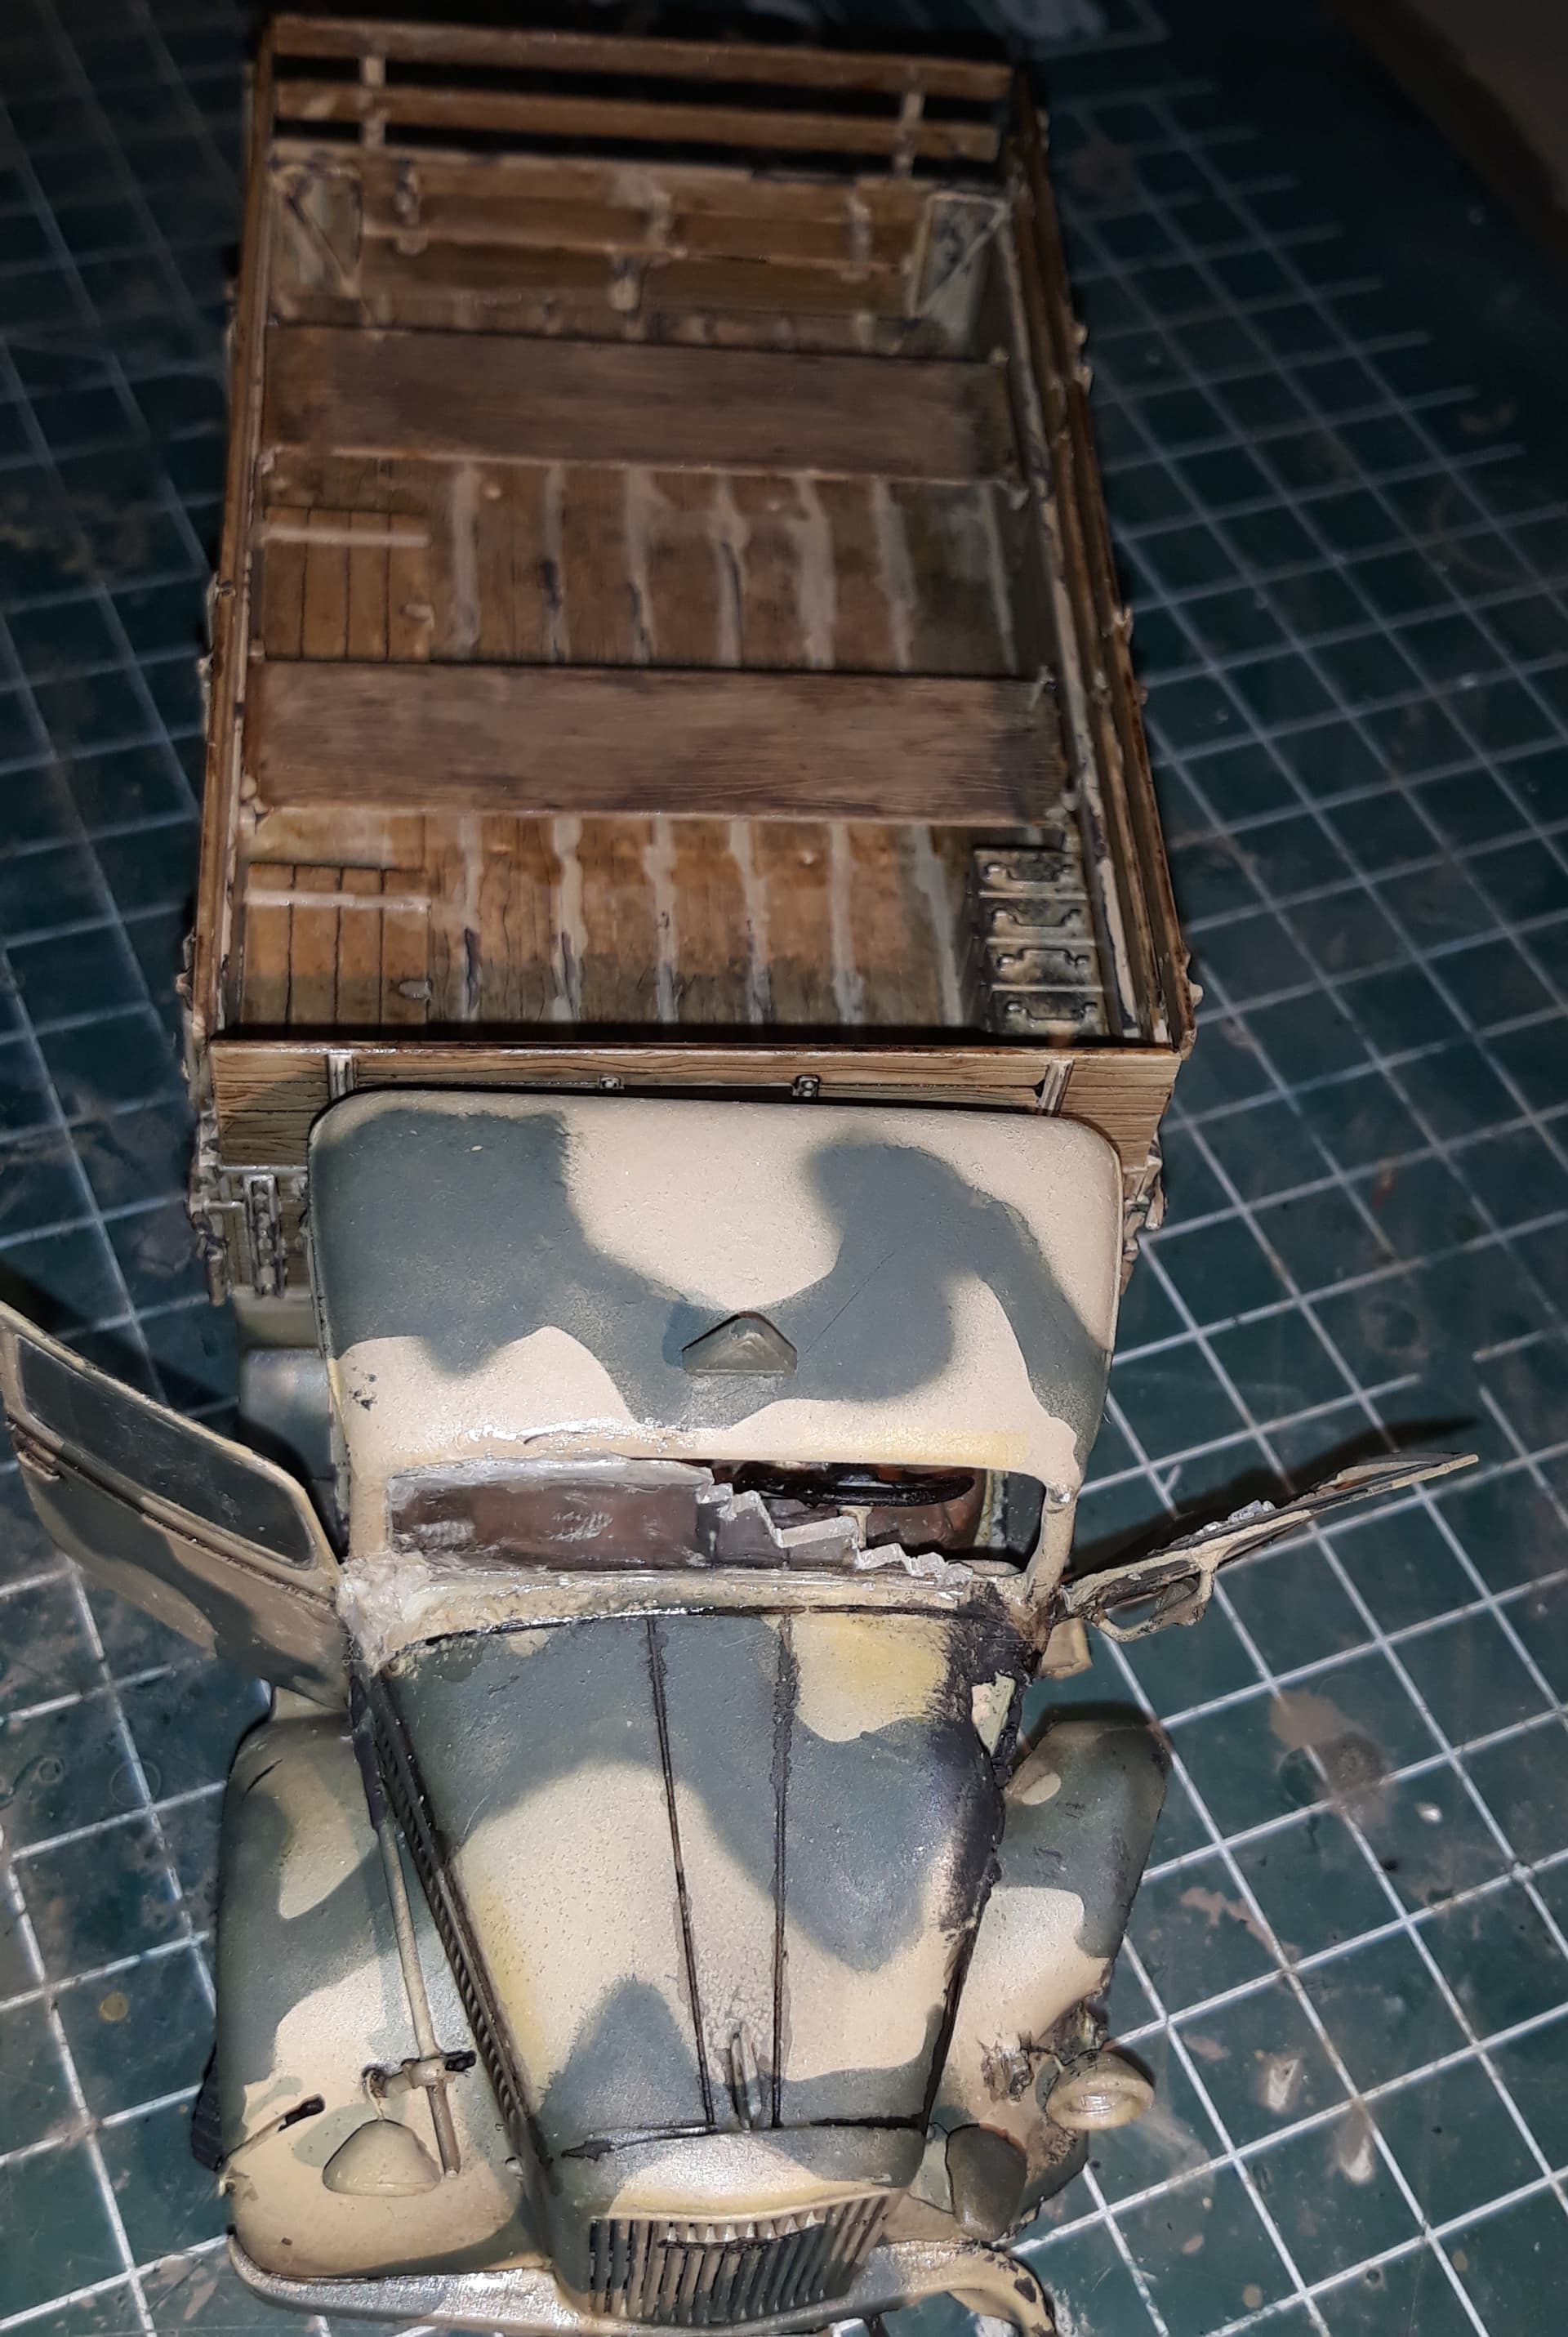
Spare wheel is on, tires are solid rubber, not hollow like the LAV tires…
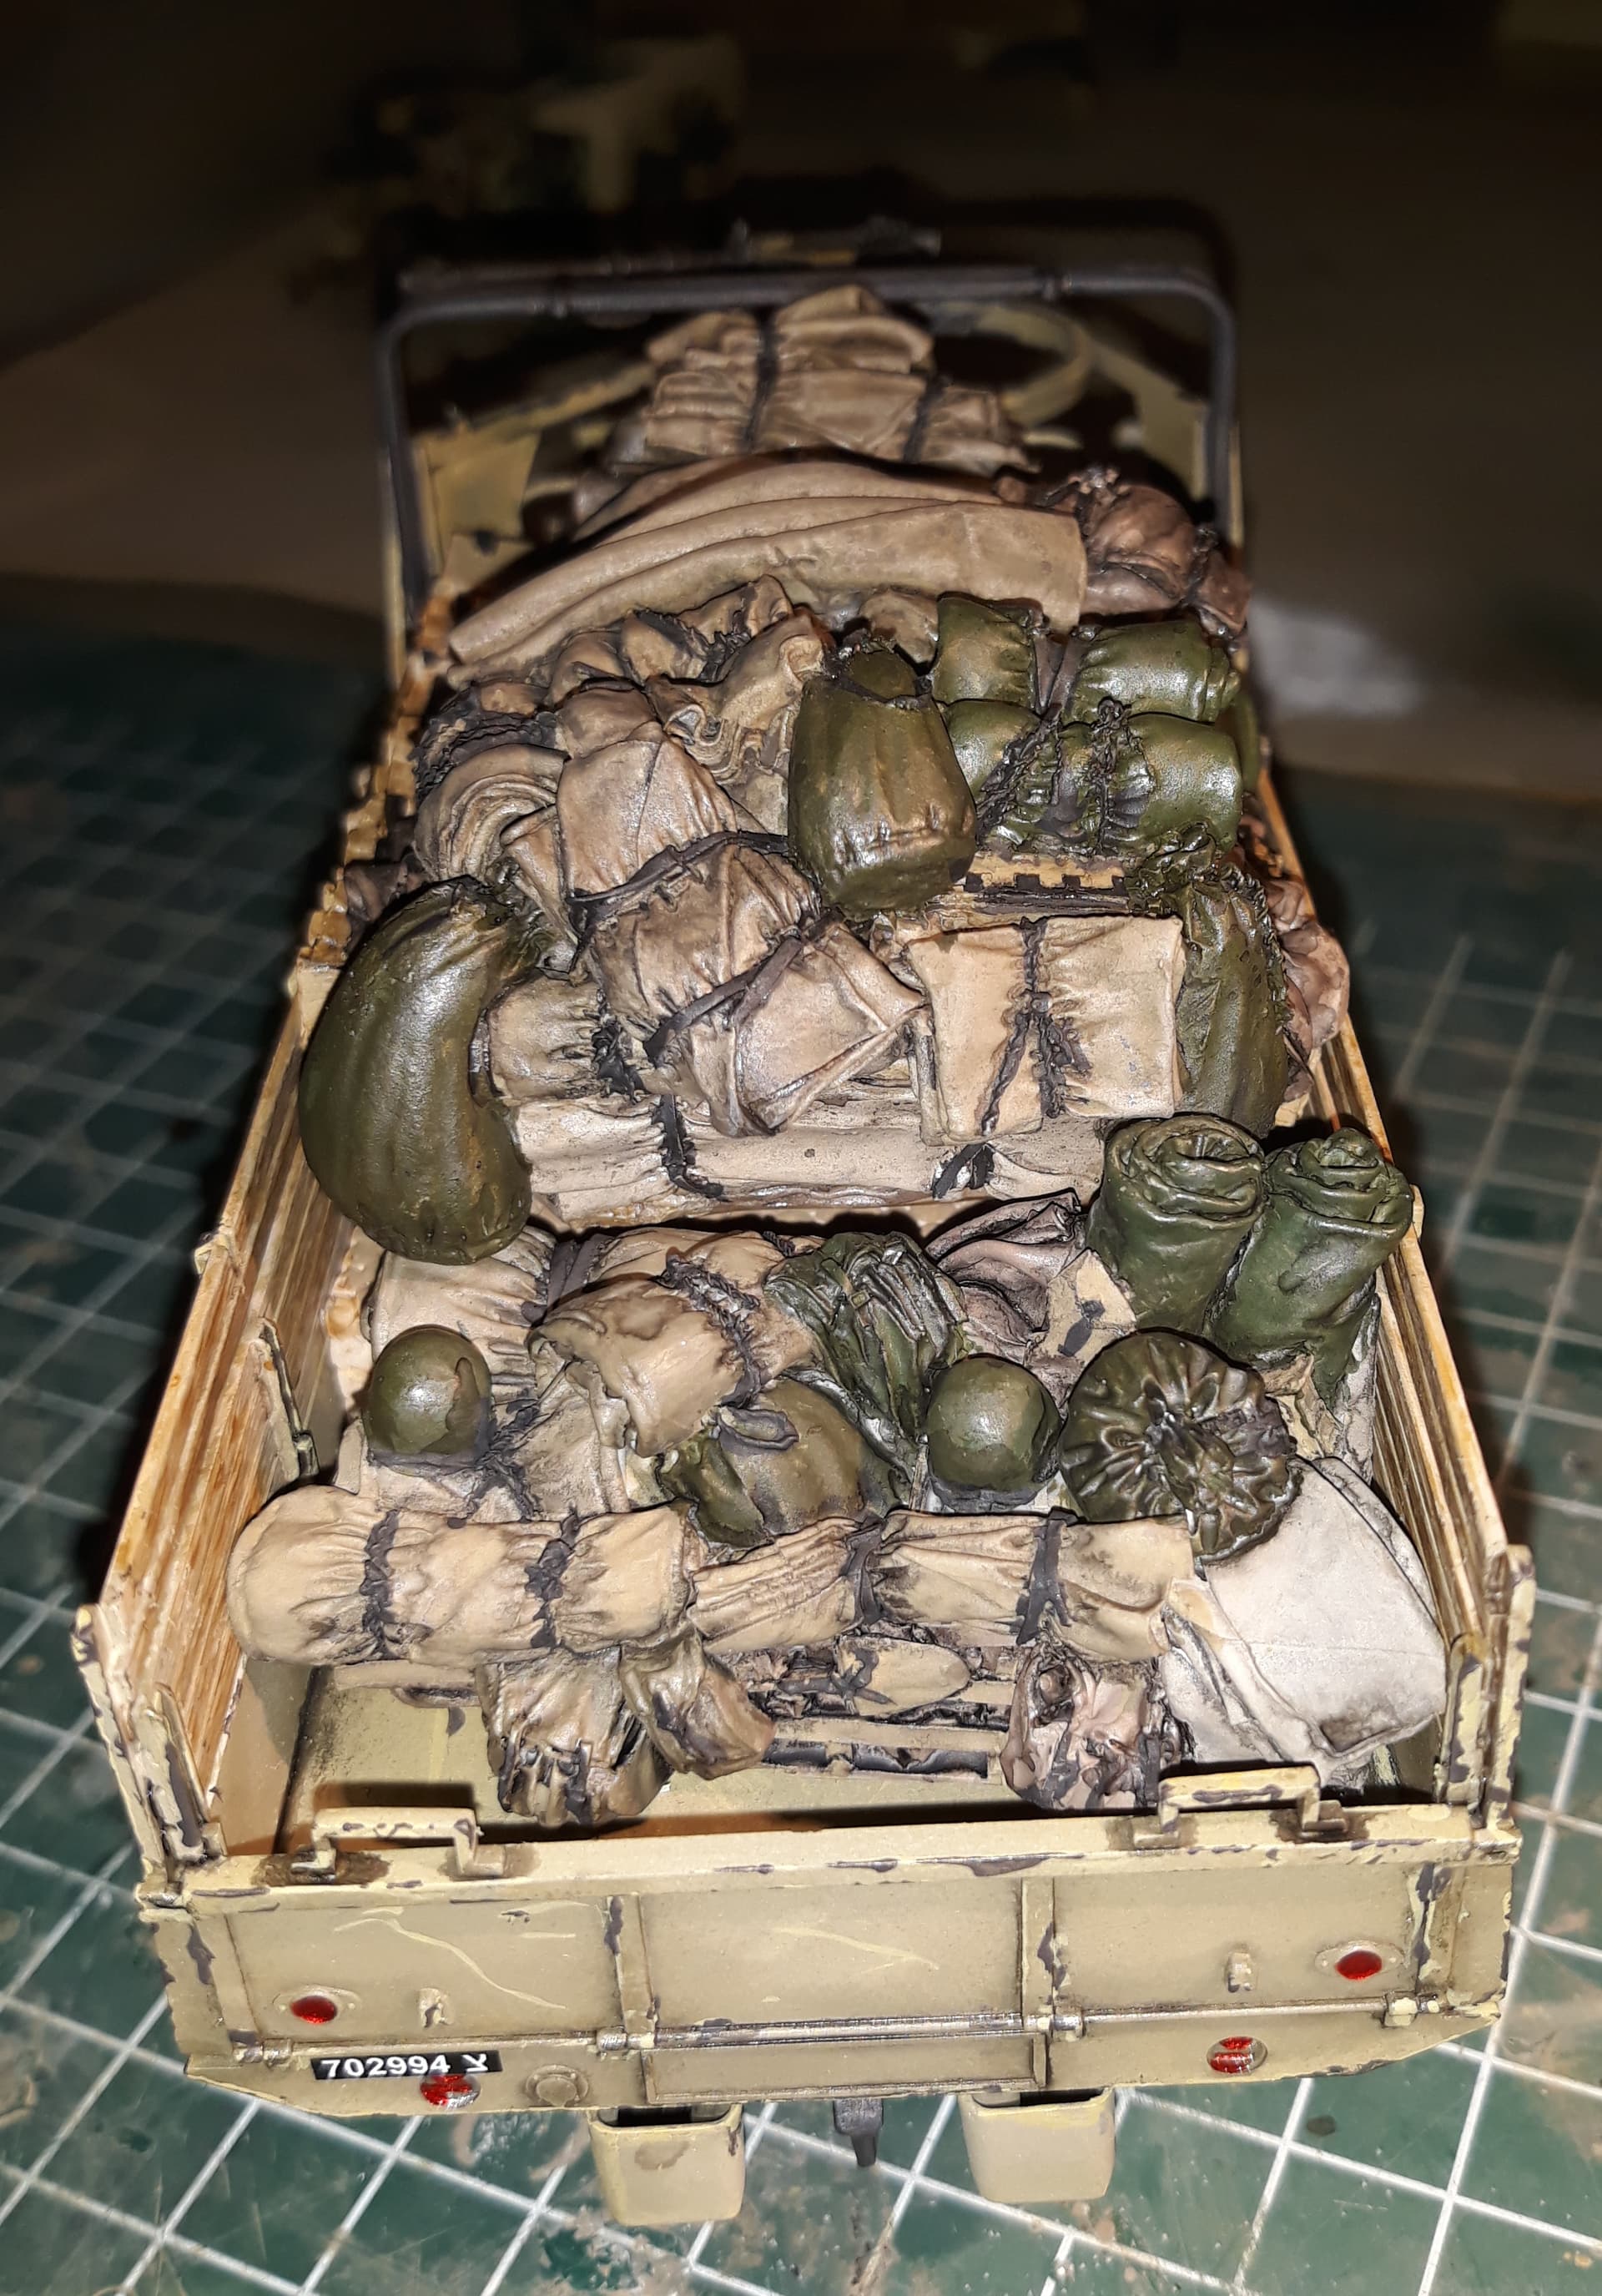
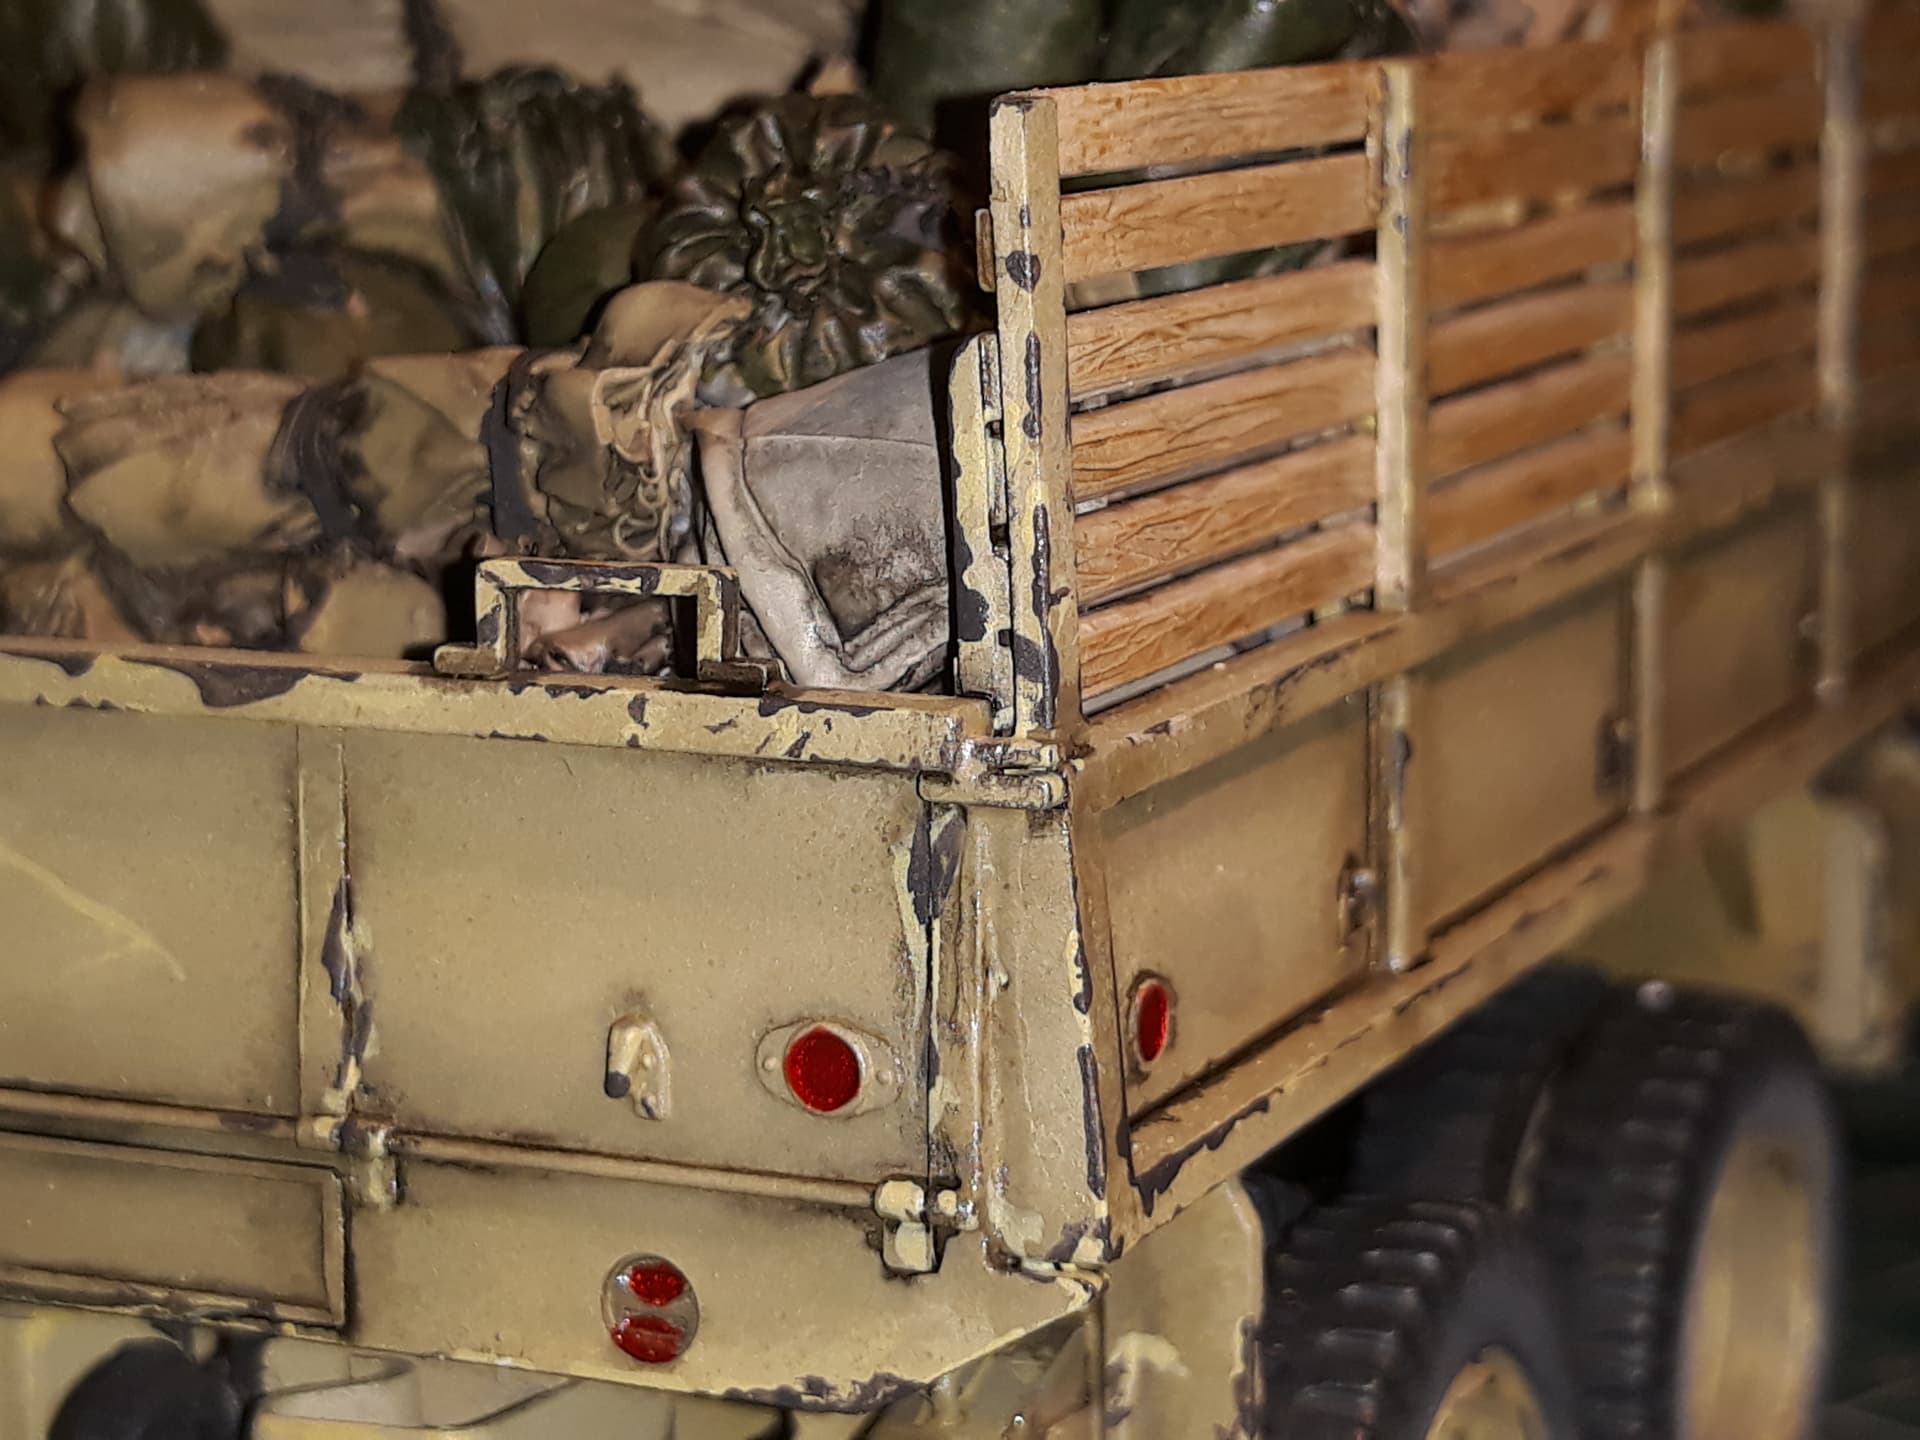
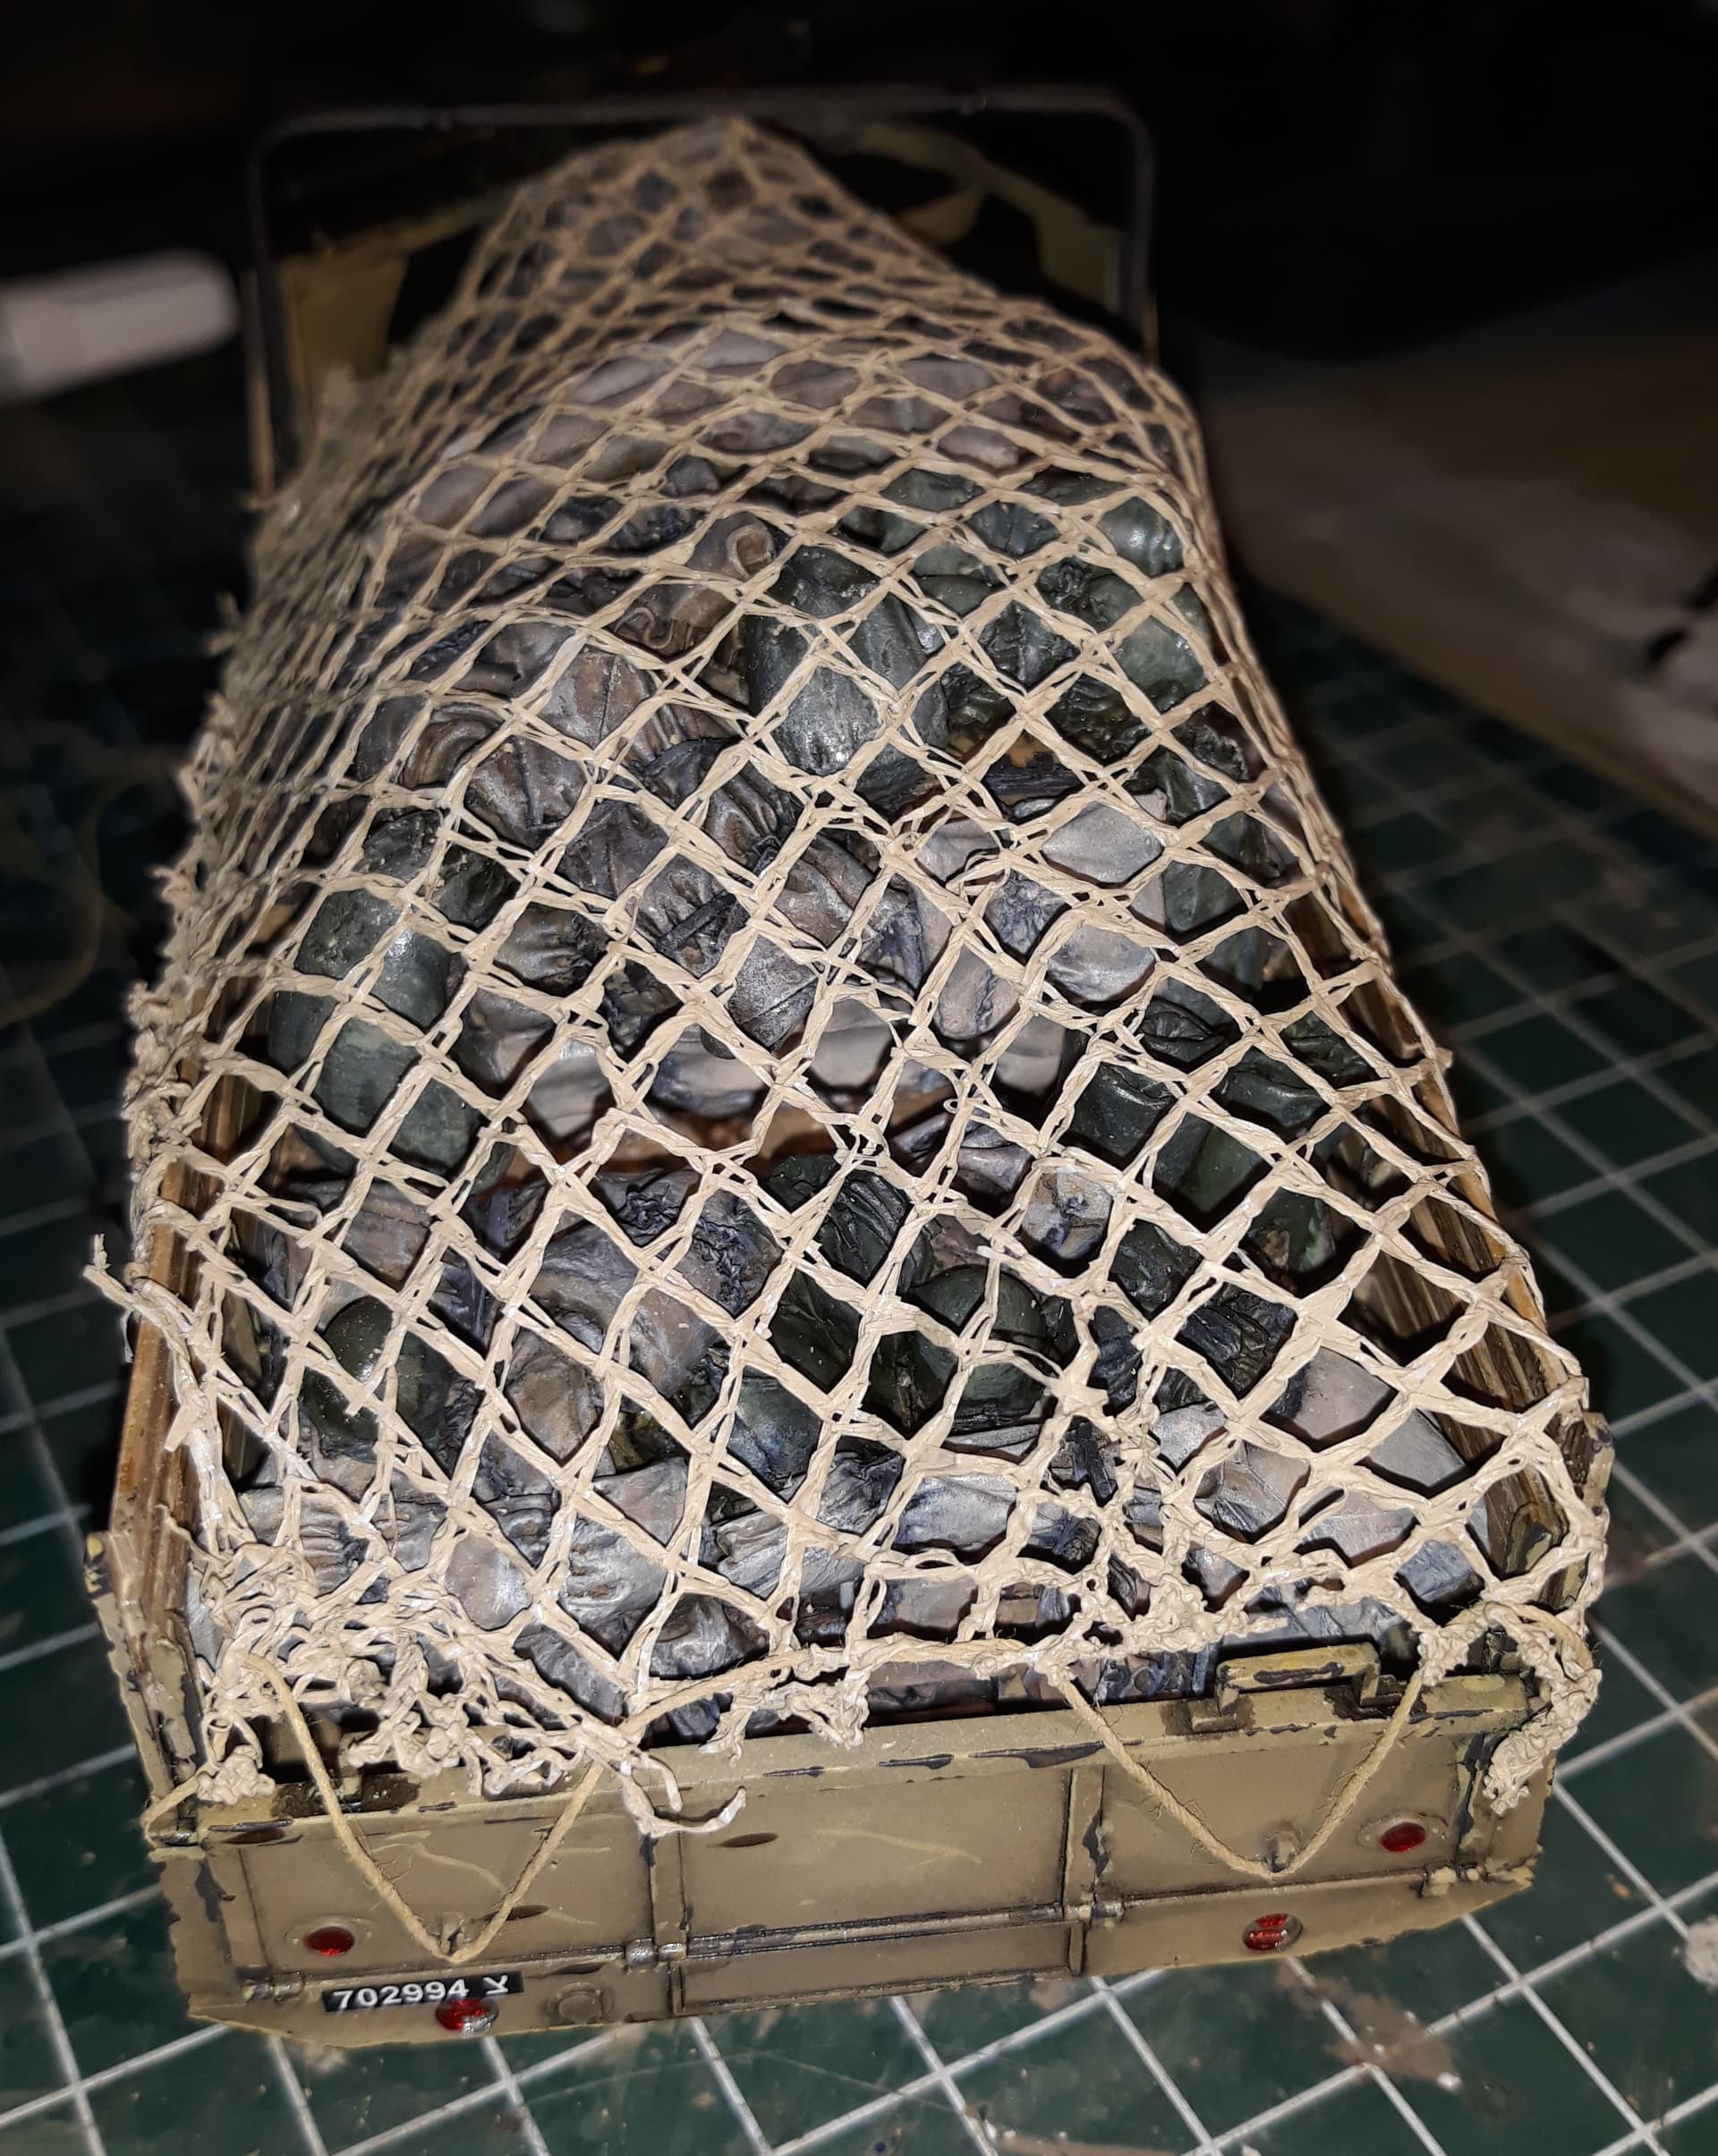
Think it is nearly ready for the paintshop, just not decided yet about the back, over on or only the tarpaulin bows… think the second option, I will leave the back open and visible…
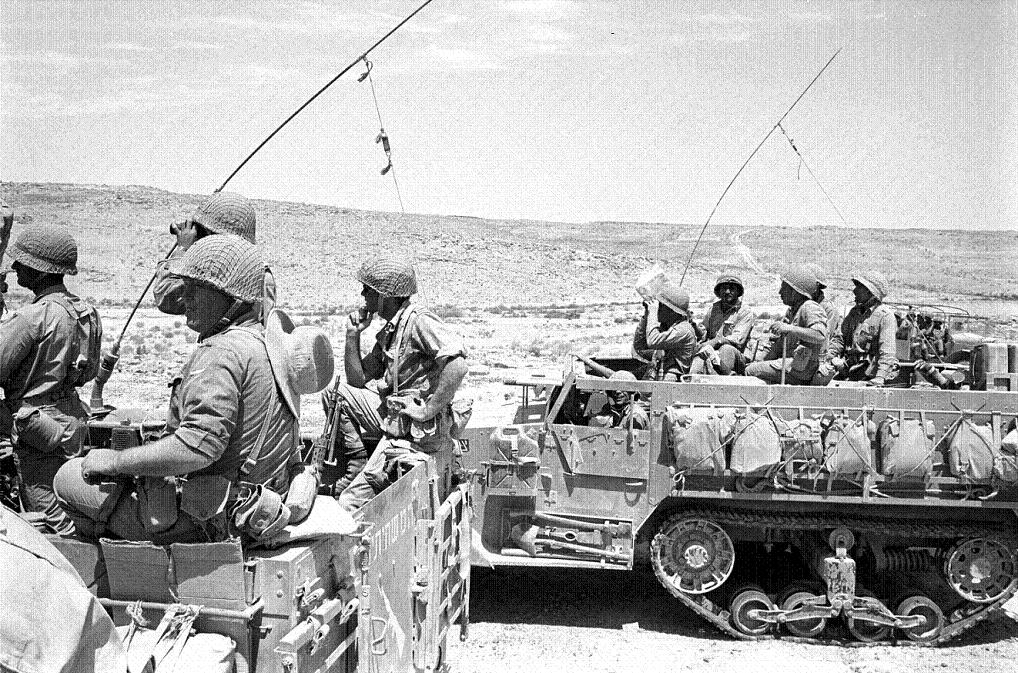
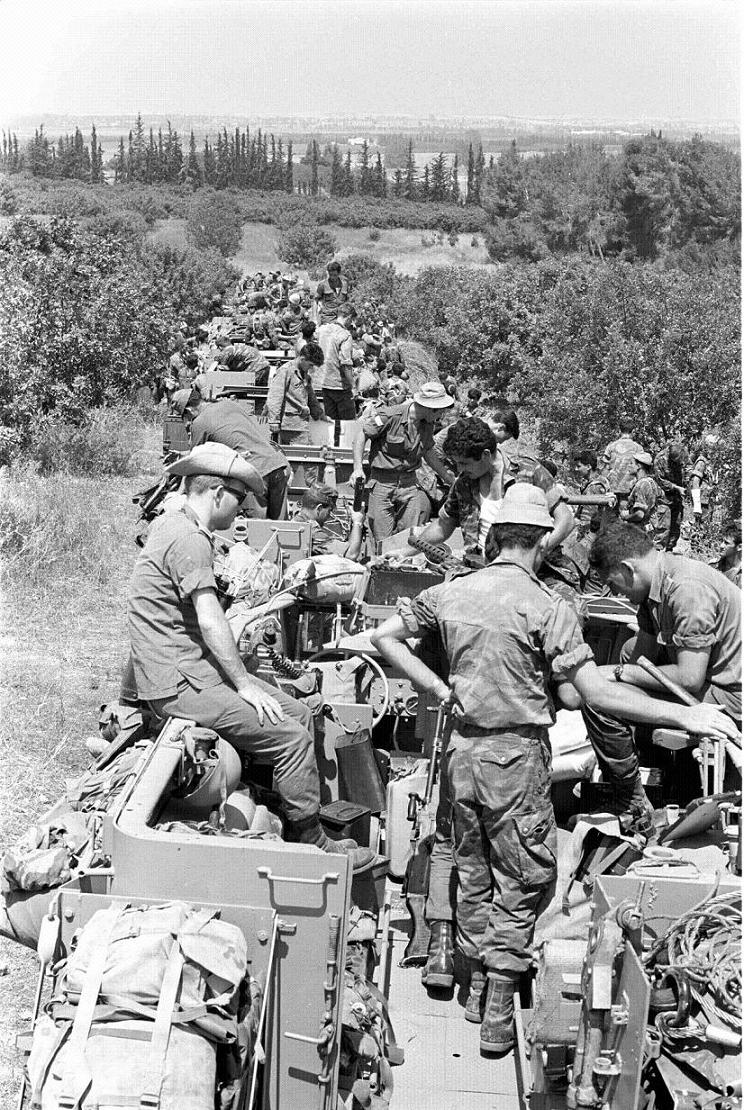
Man, what an impressive build/project. Great work on the rigs and figs, BTW. I saw some of the wrecks along the highway leading up to Jerusalem, back in late '02. What I really am bummed about is I never got a chance to see the tank museum on the way back to Tel aviv. Oh well, you’re bringing it to life right here.
Thanks for those great pictures! But have to be honoust, I notice lots of different uniforms, helmets, barets, even floppy hats, and a very nive green scenery with what looks like mountains in the background, but I doubt thats the detail you are referring to, so you will have to help me out here…
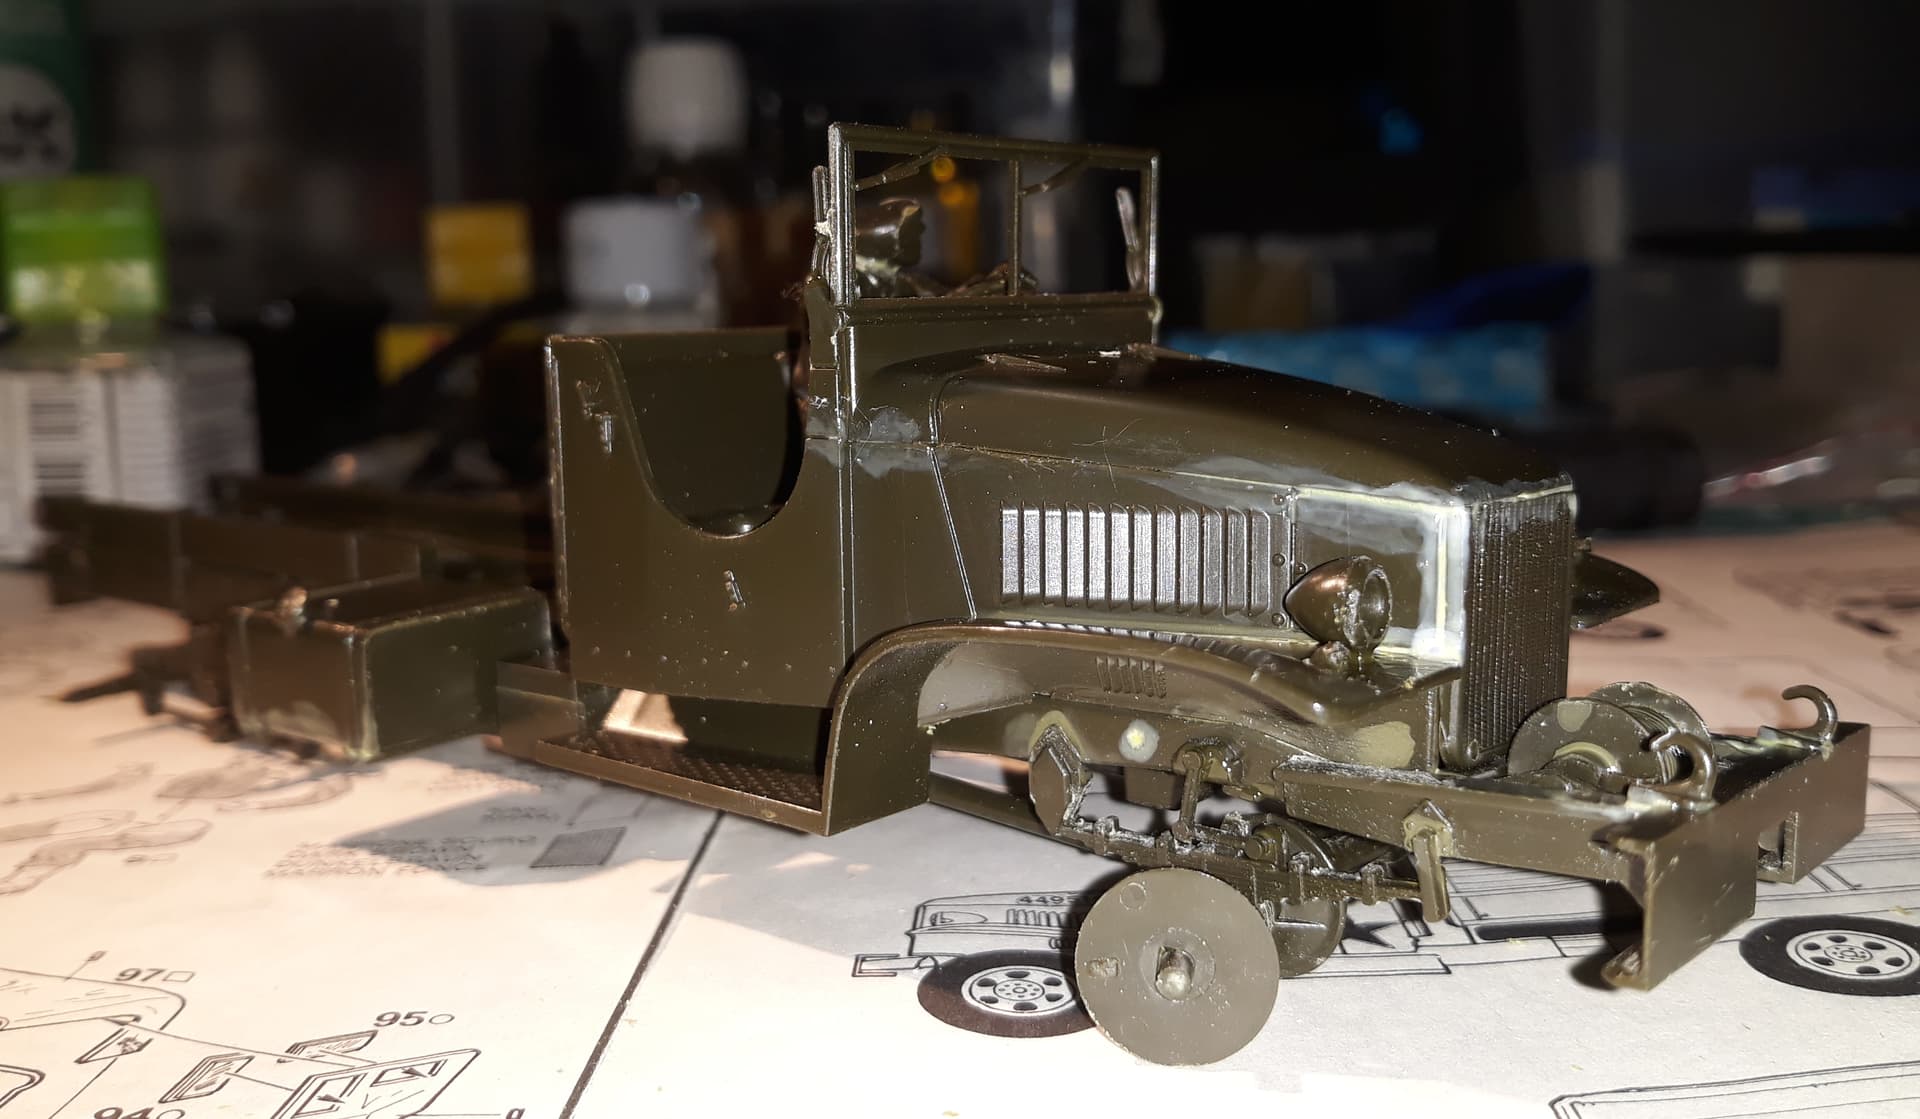
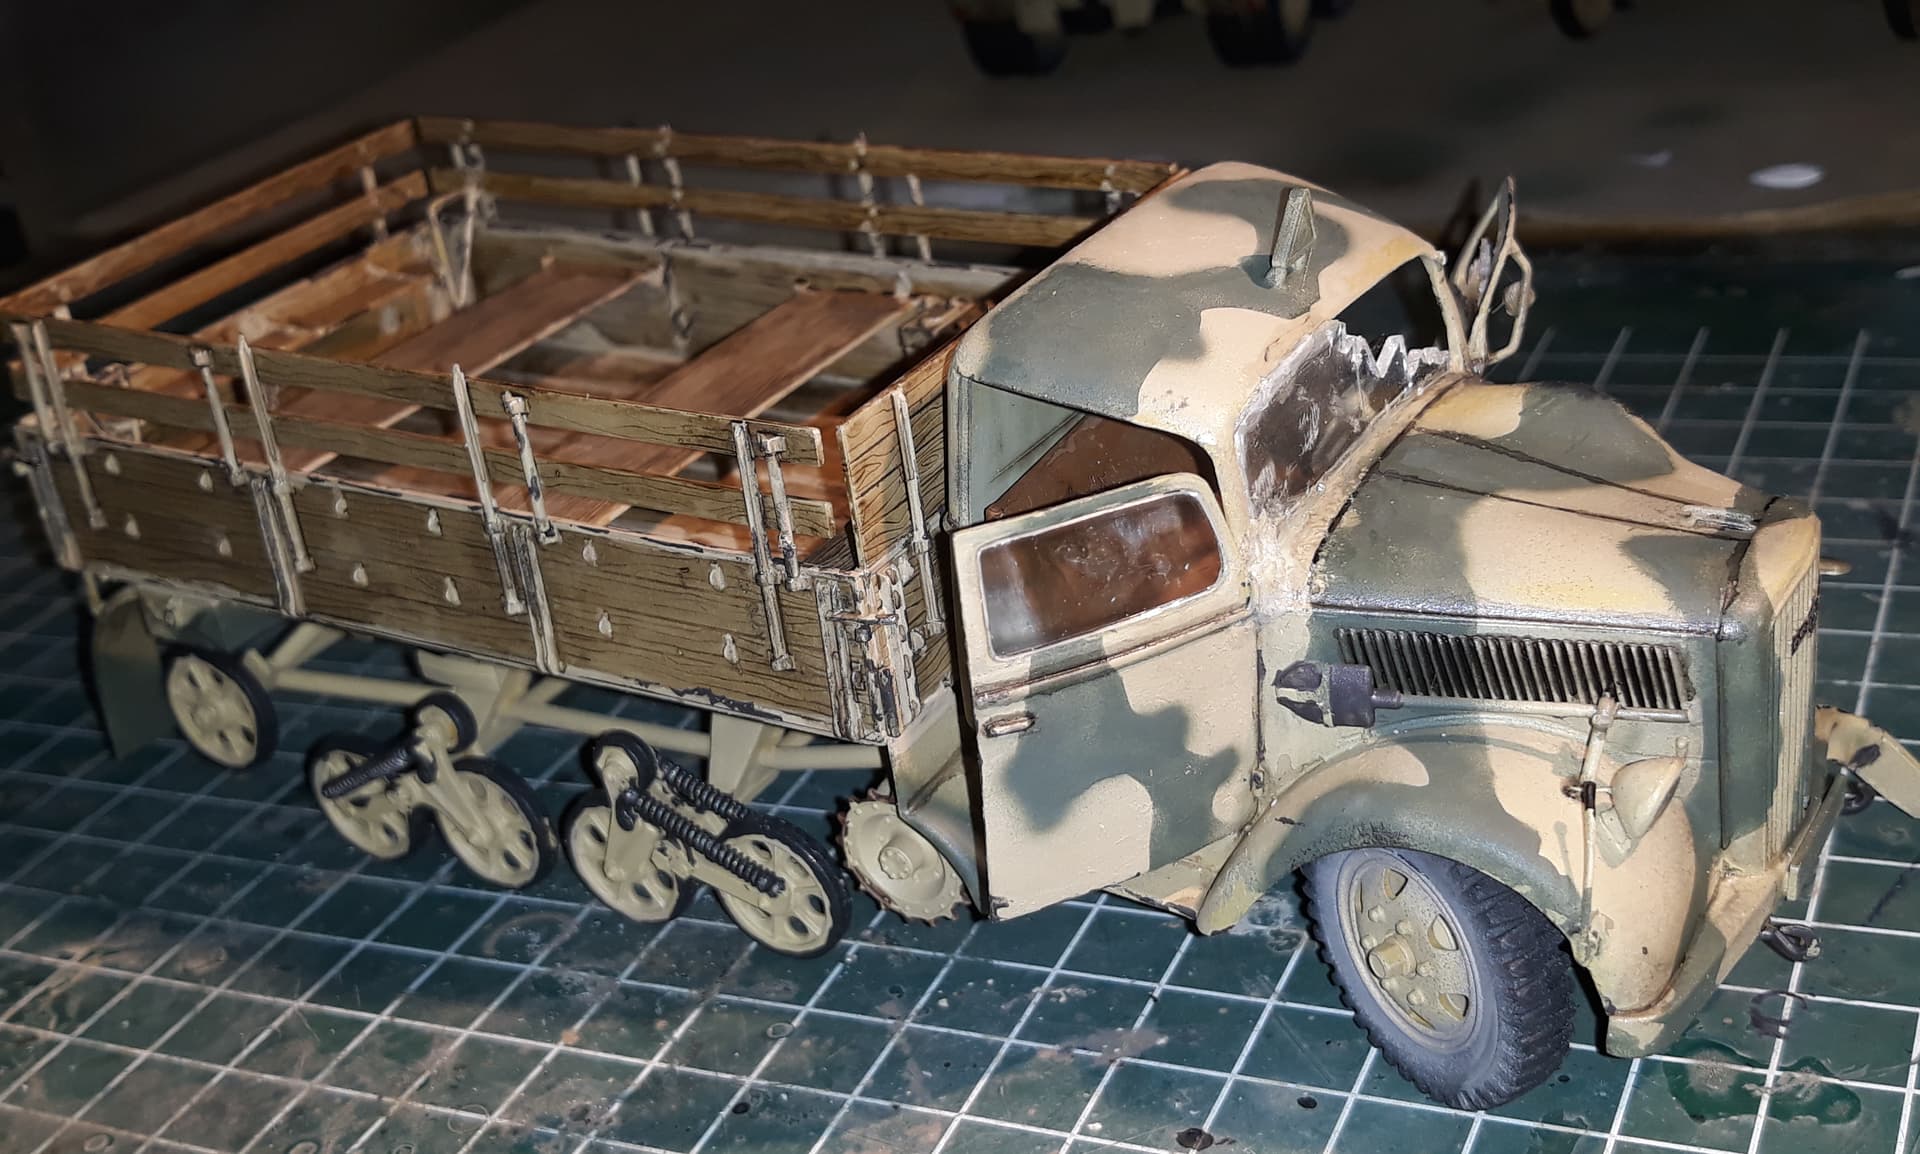
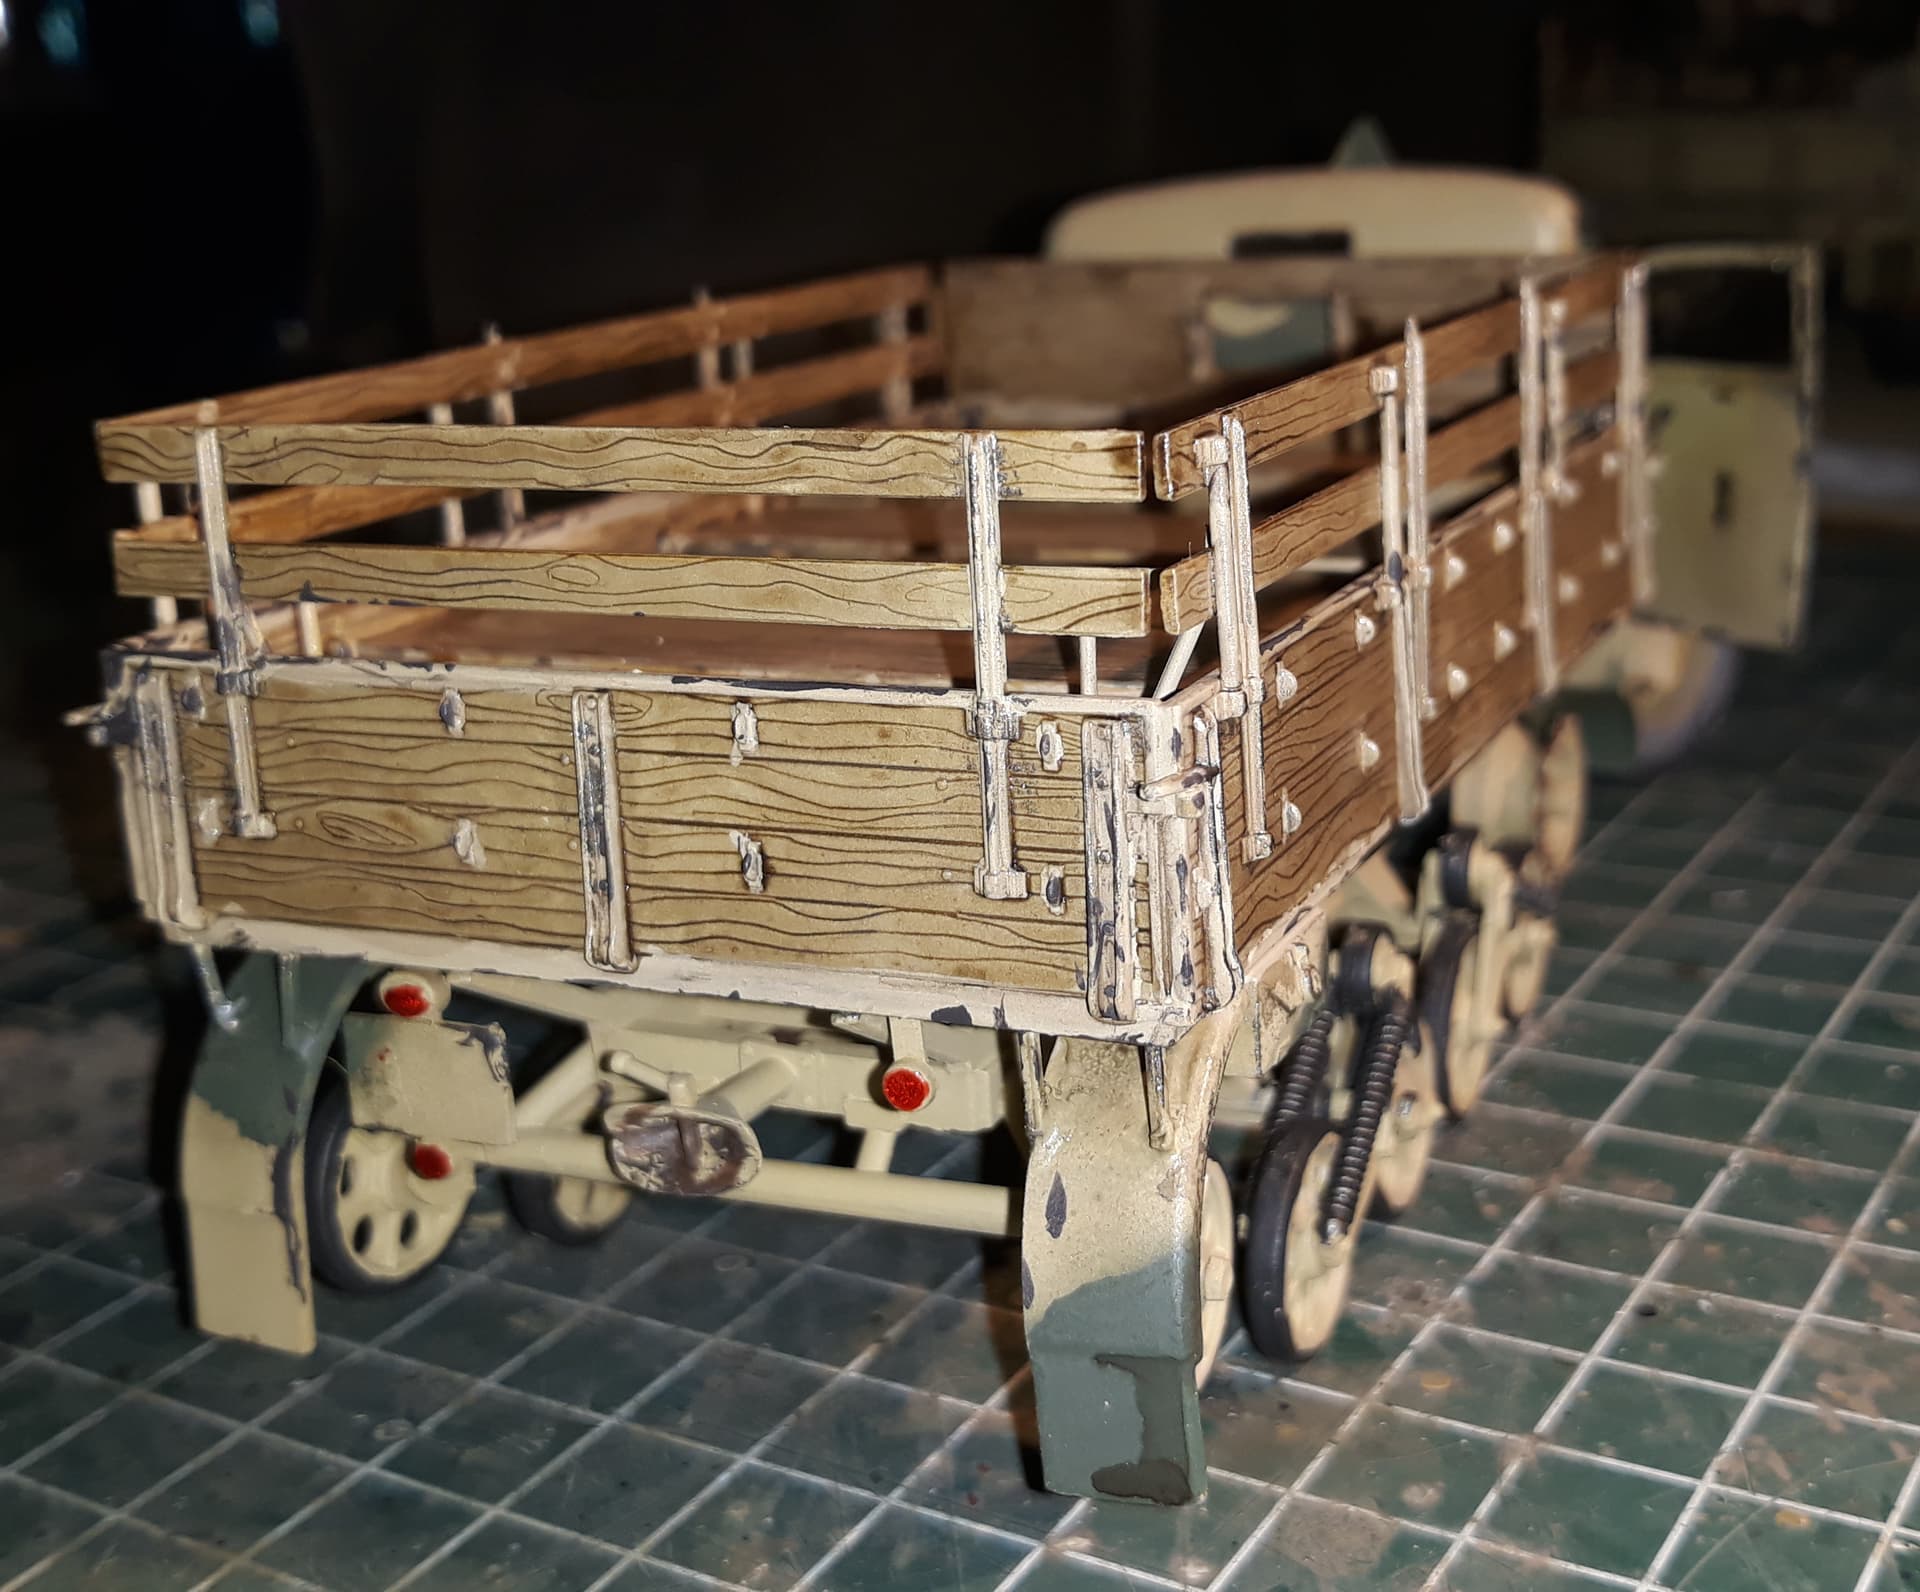
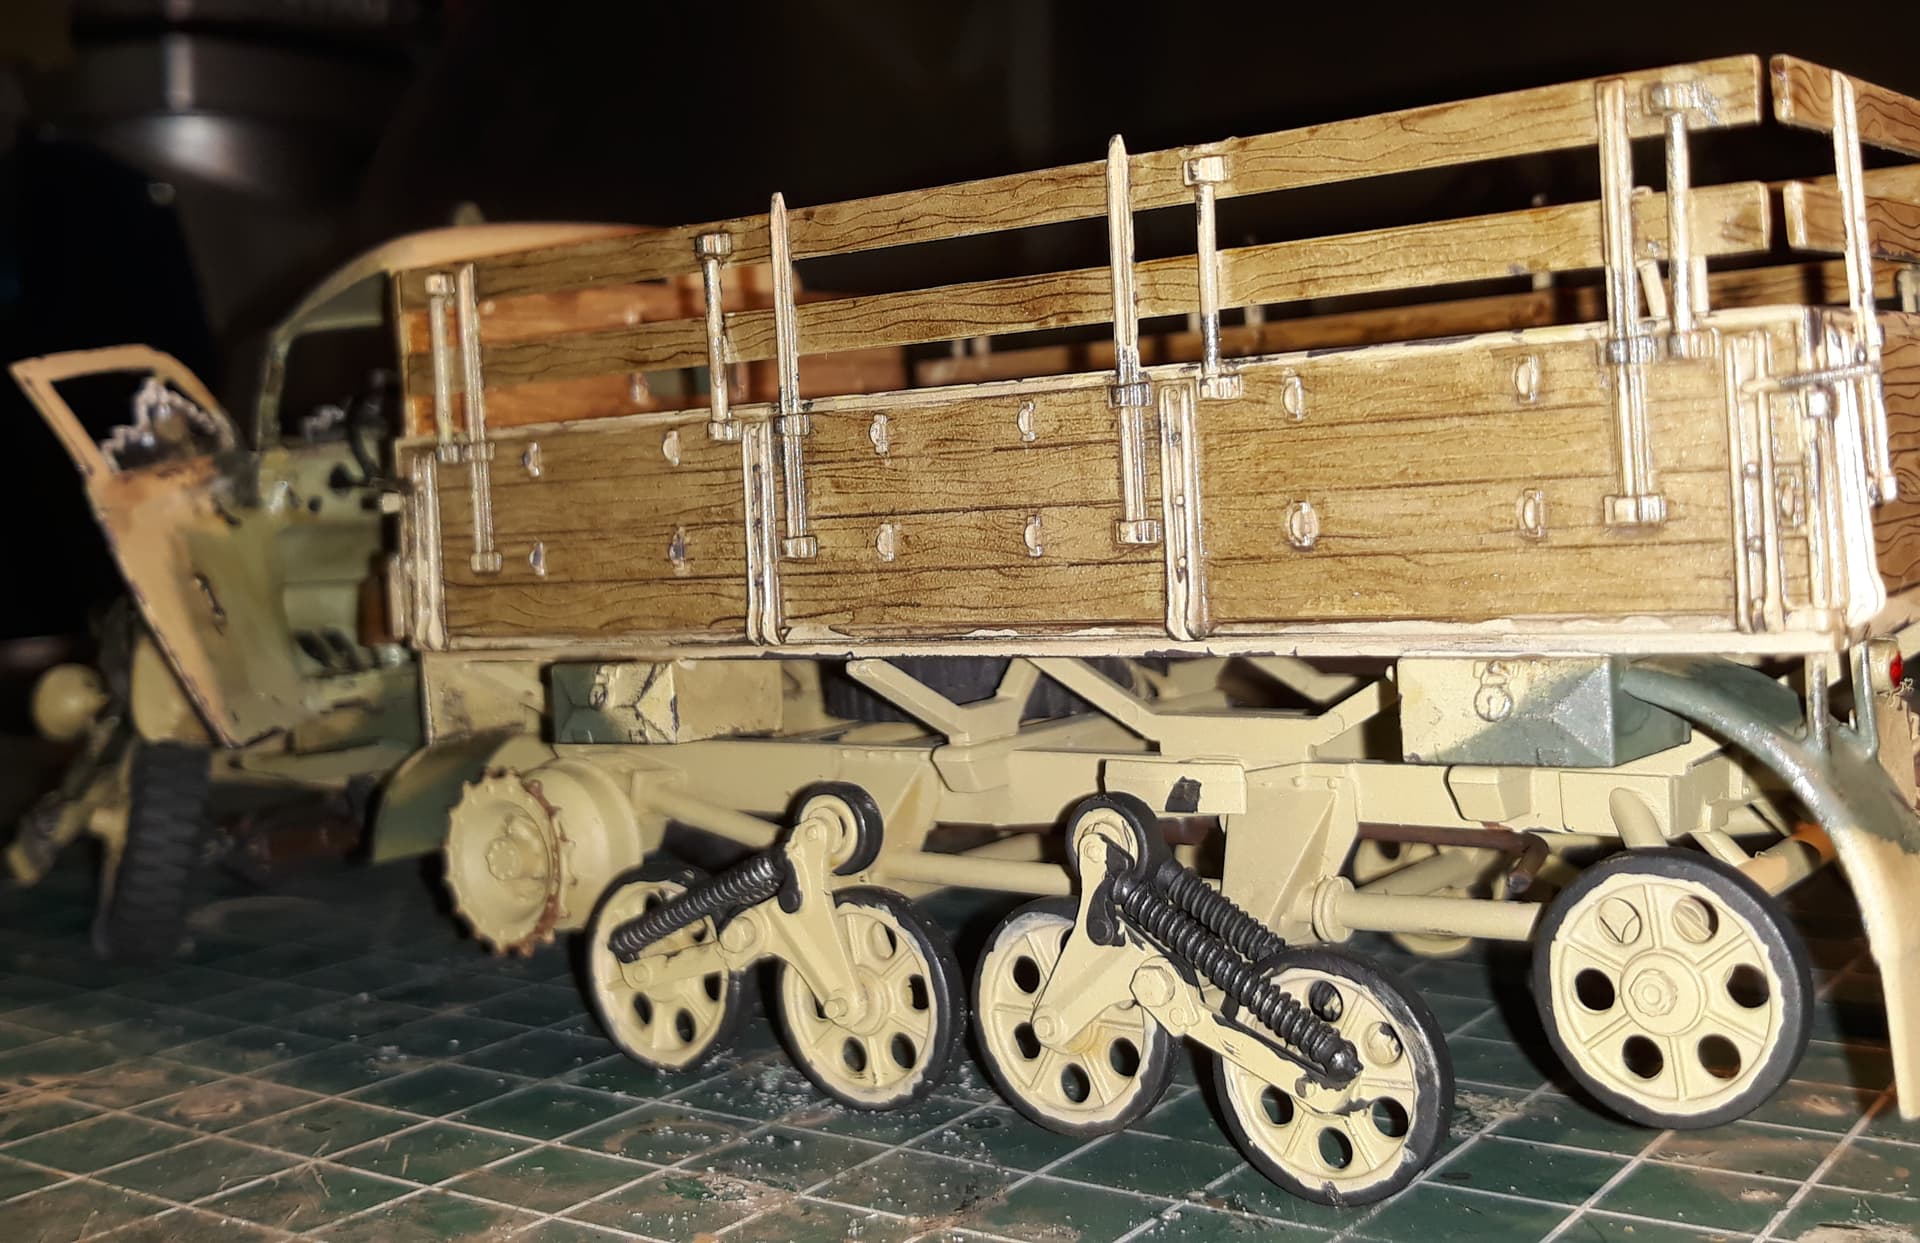
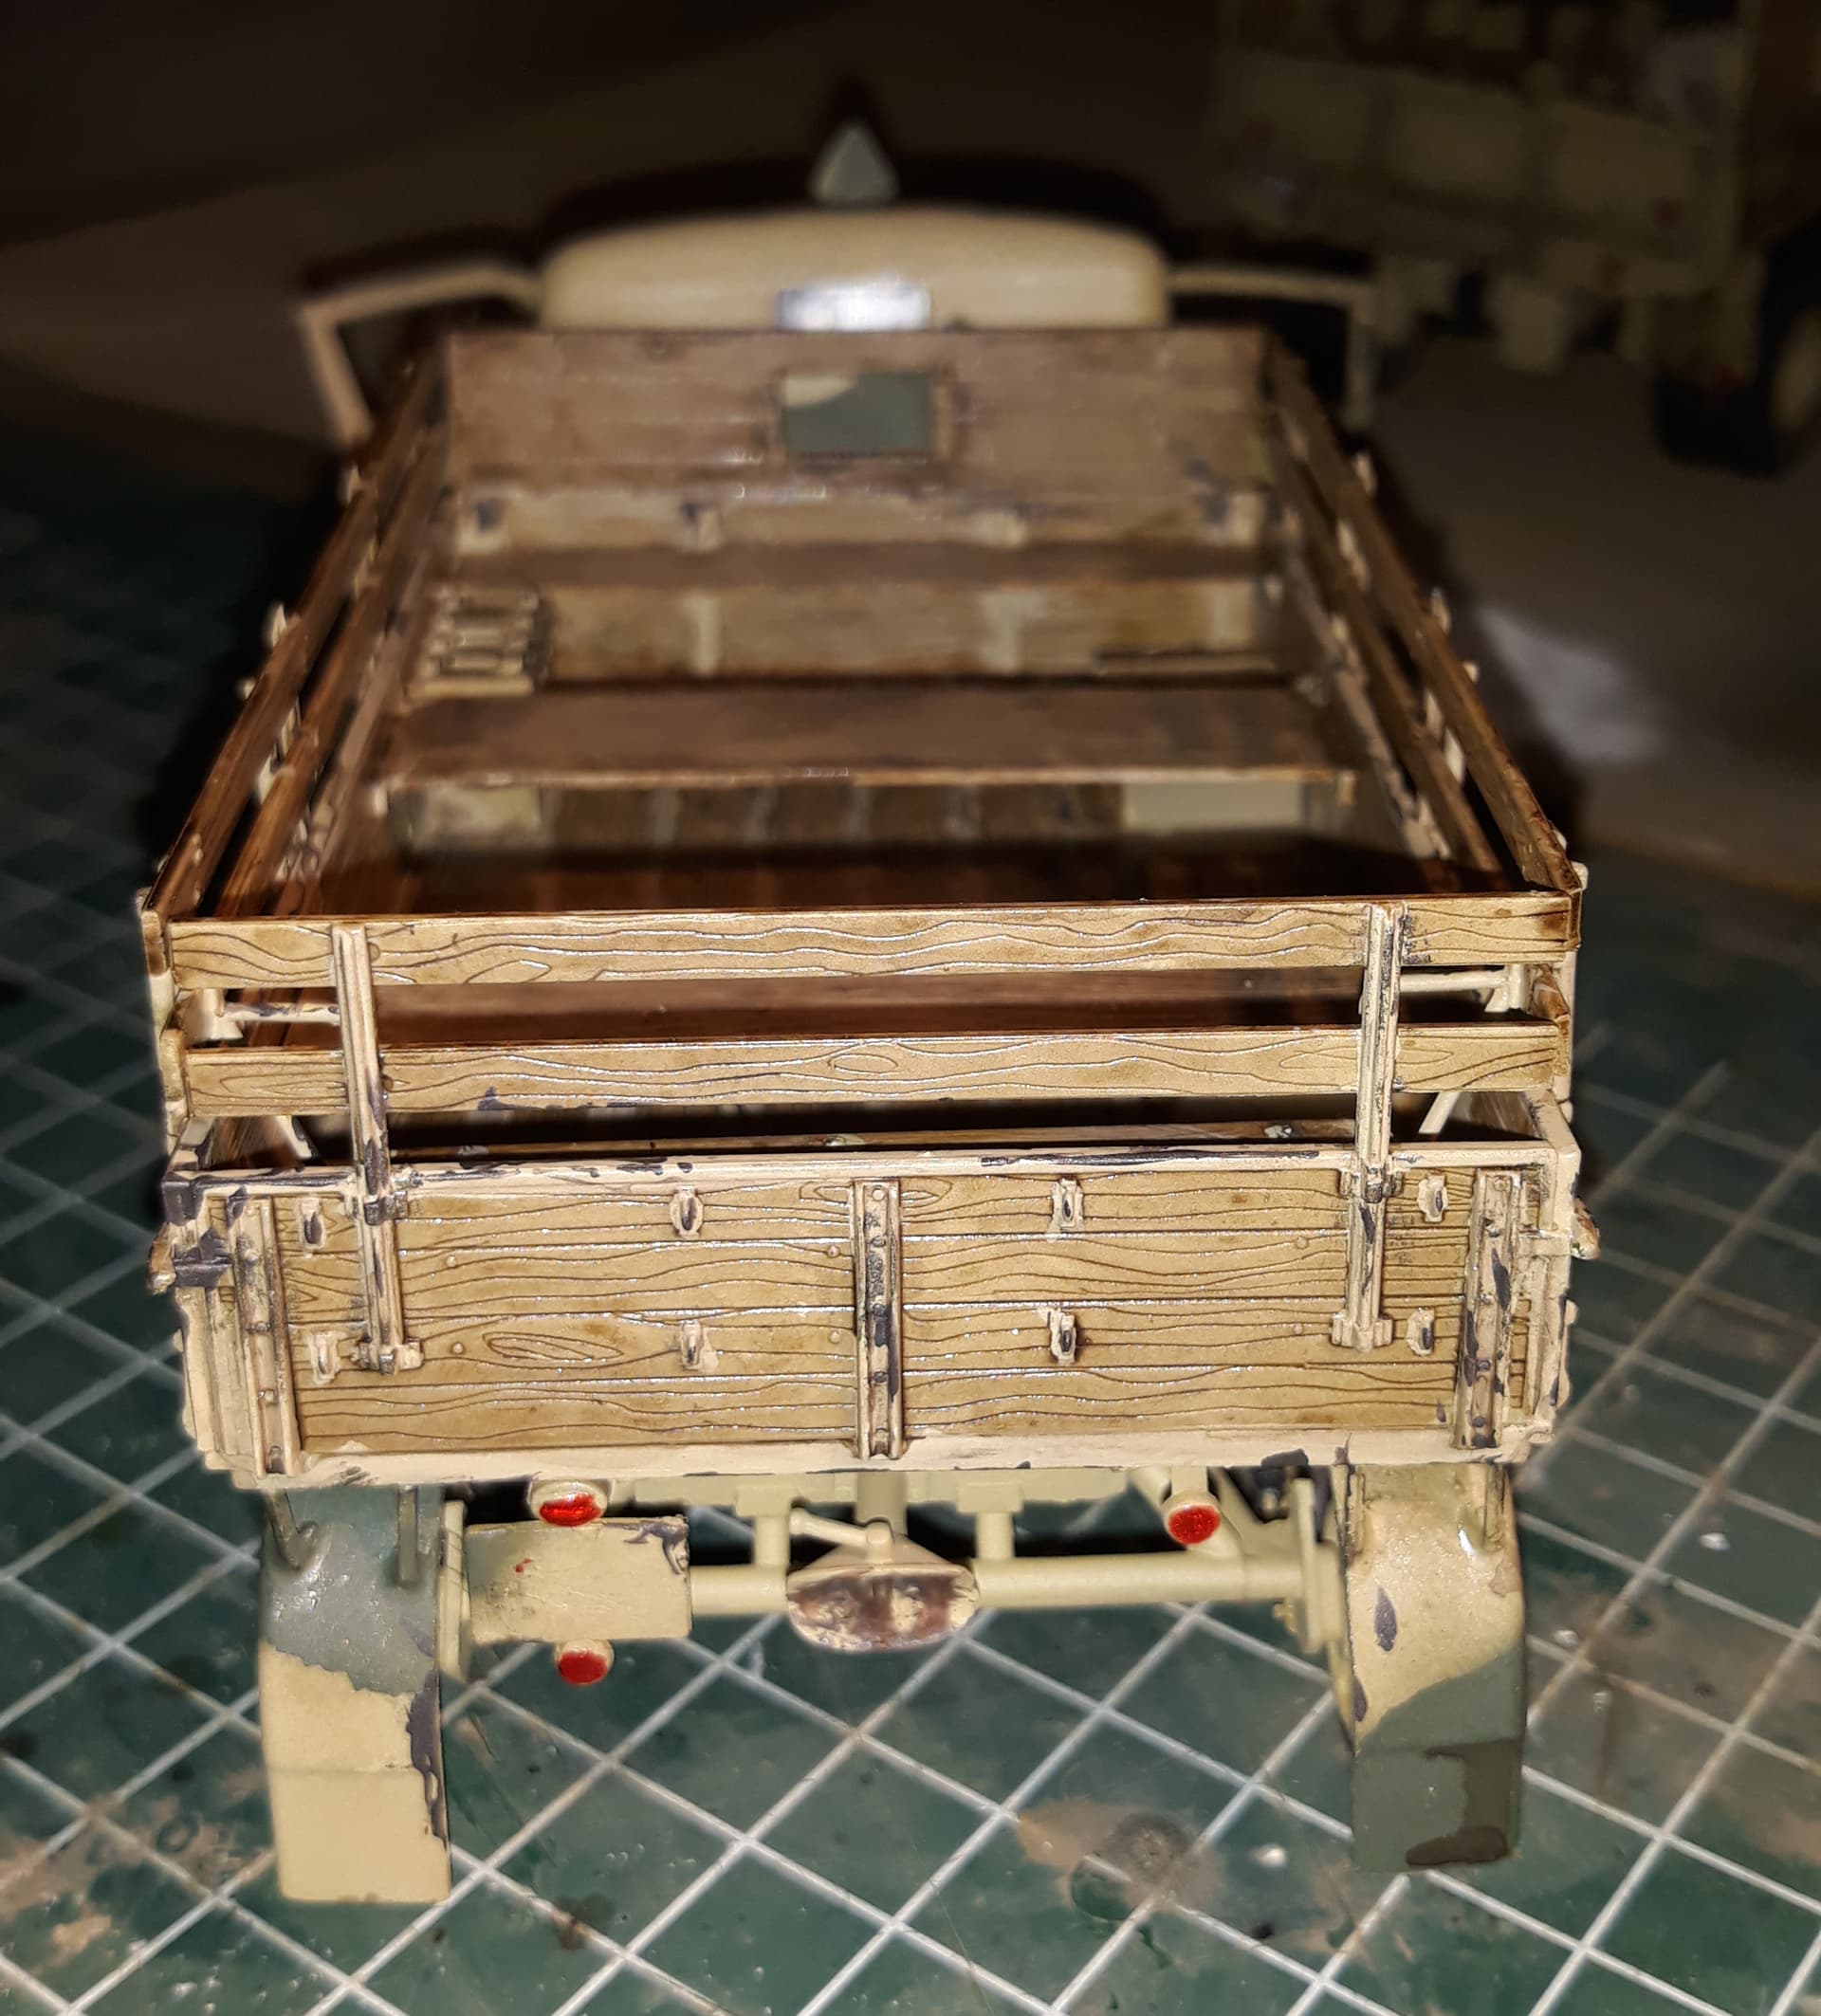
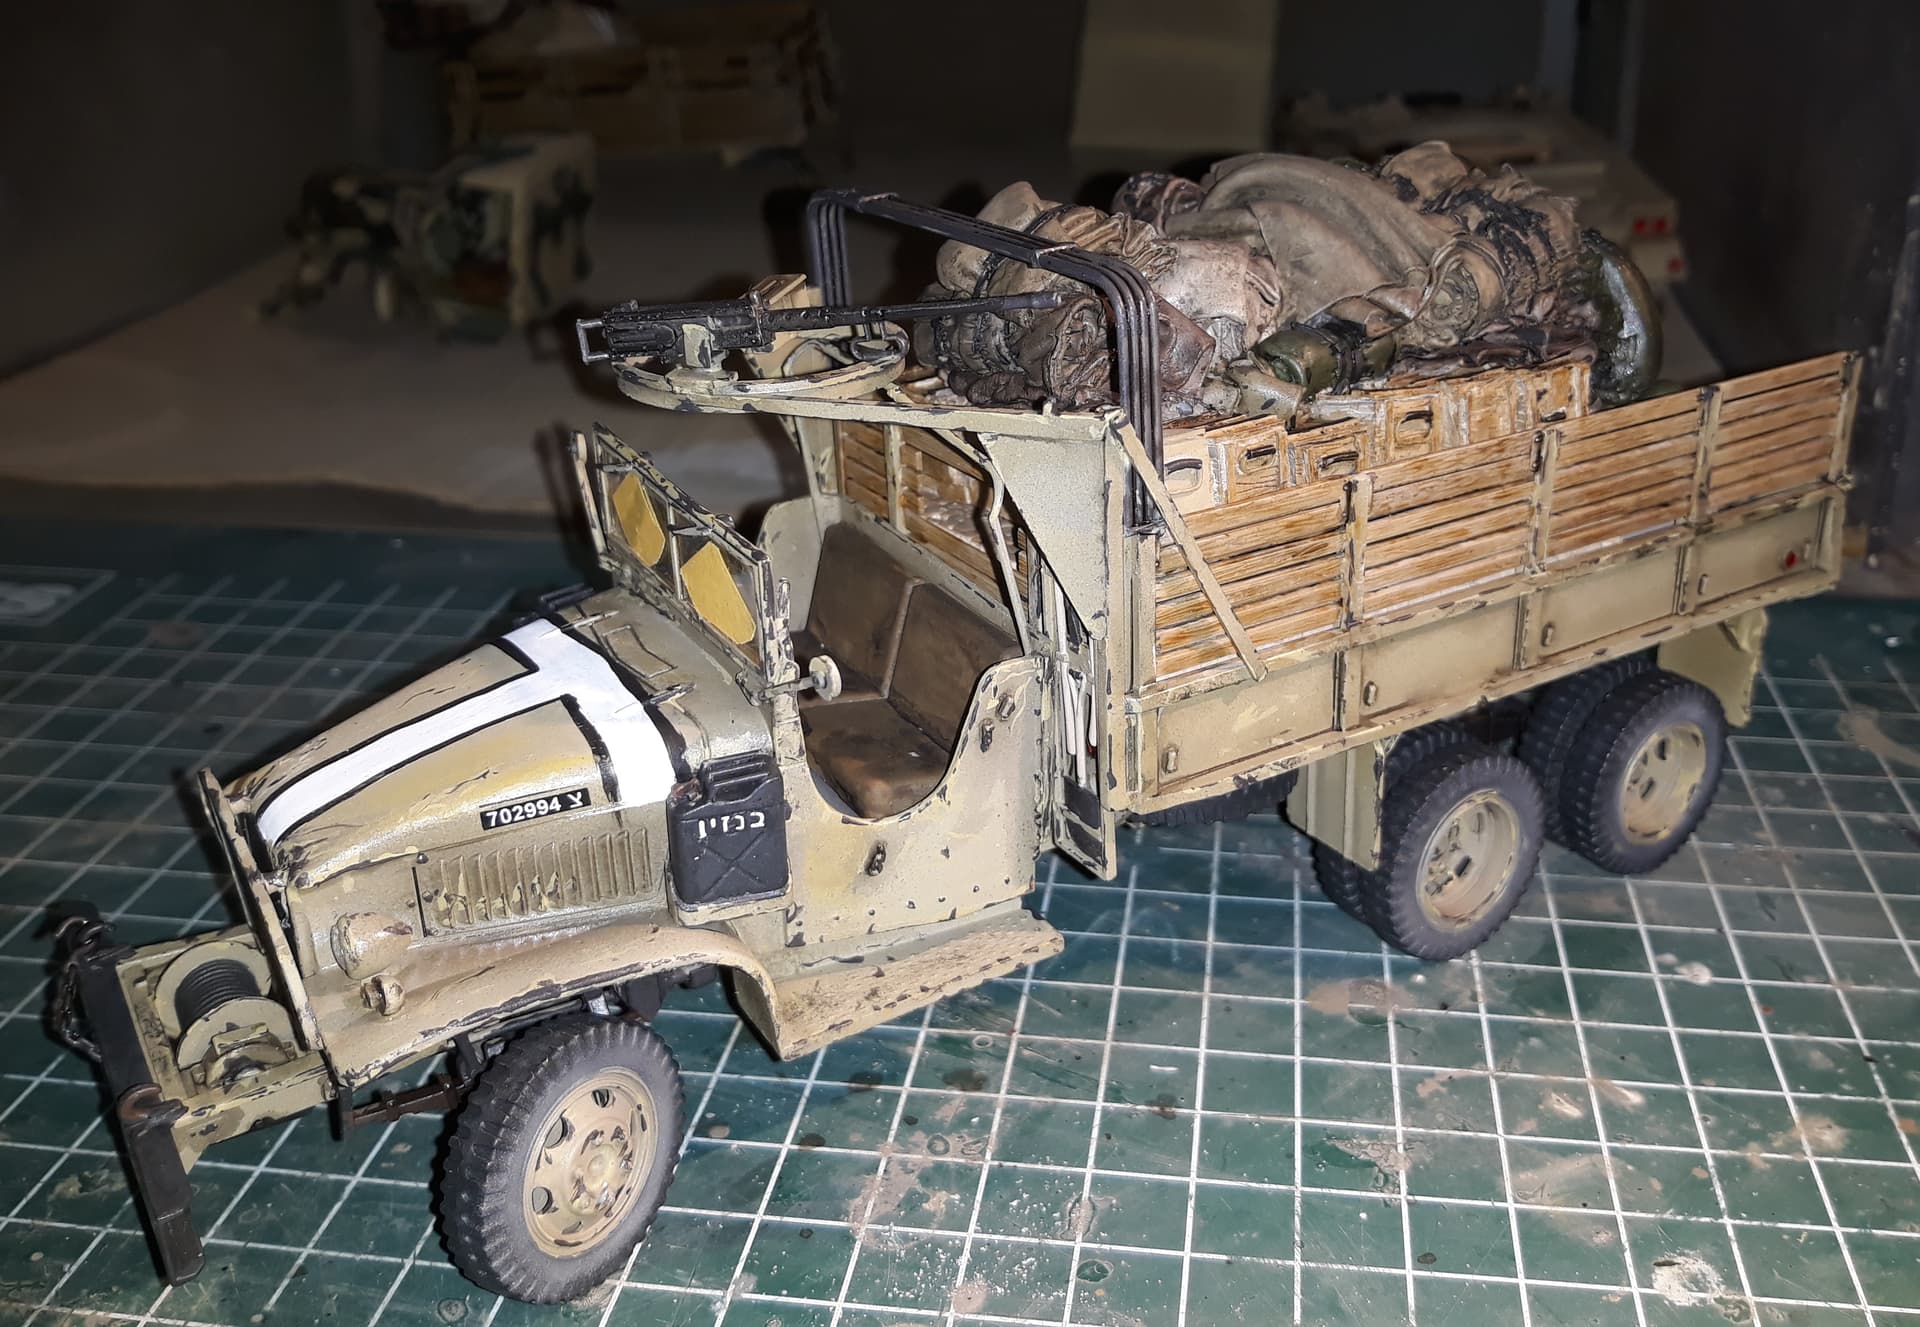
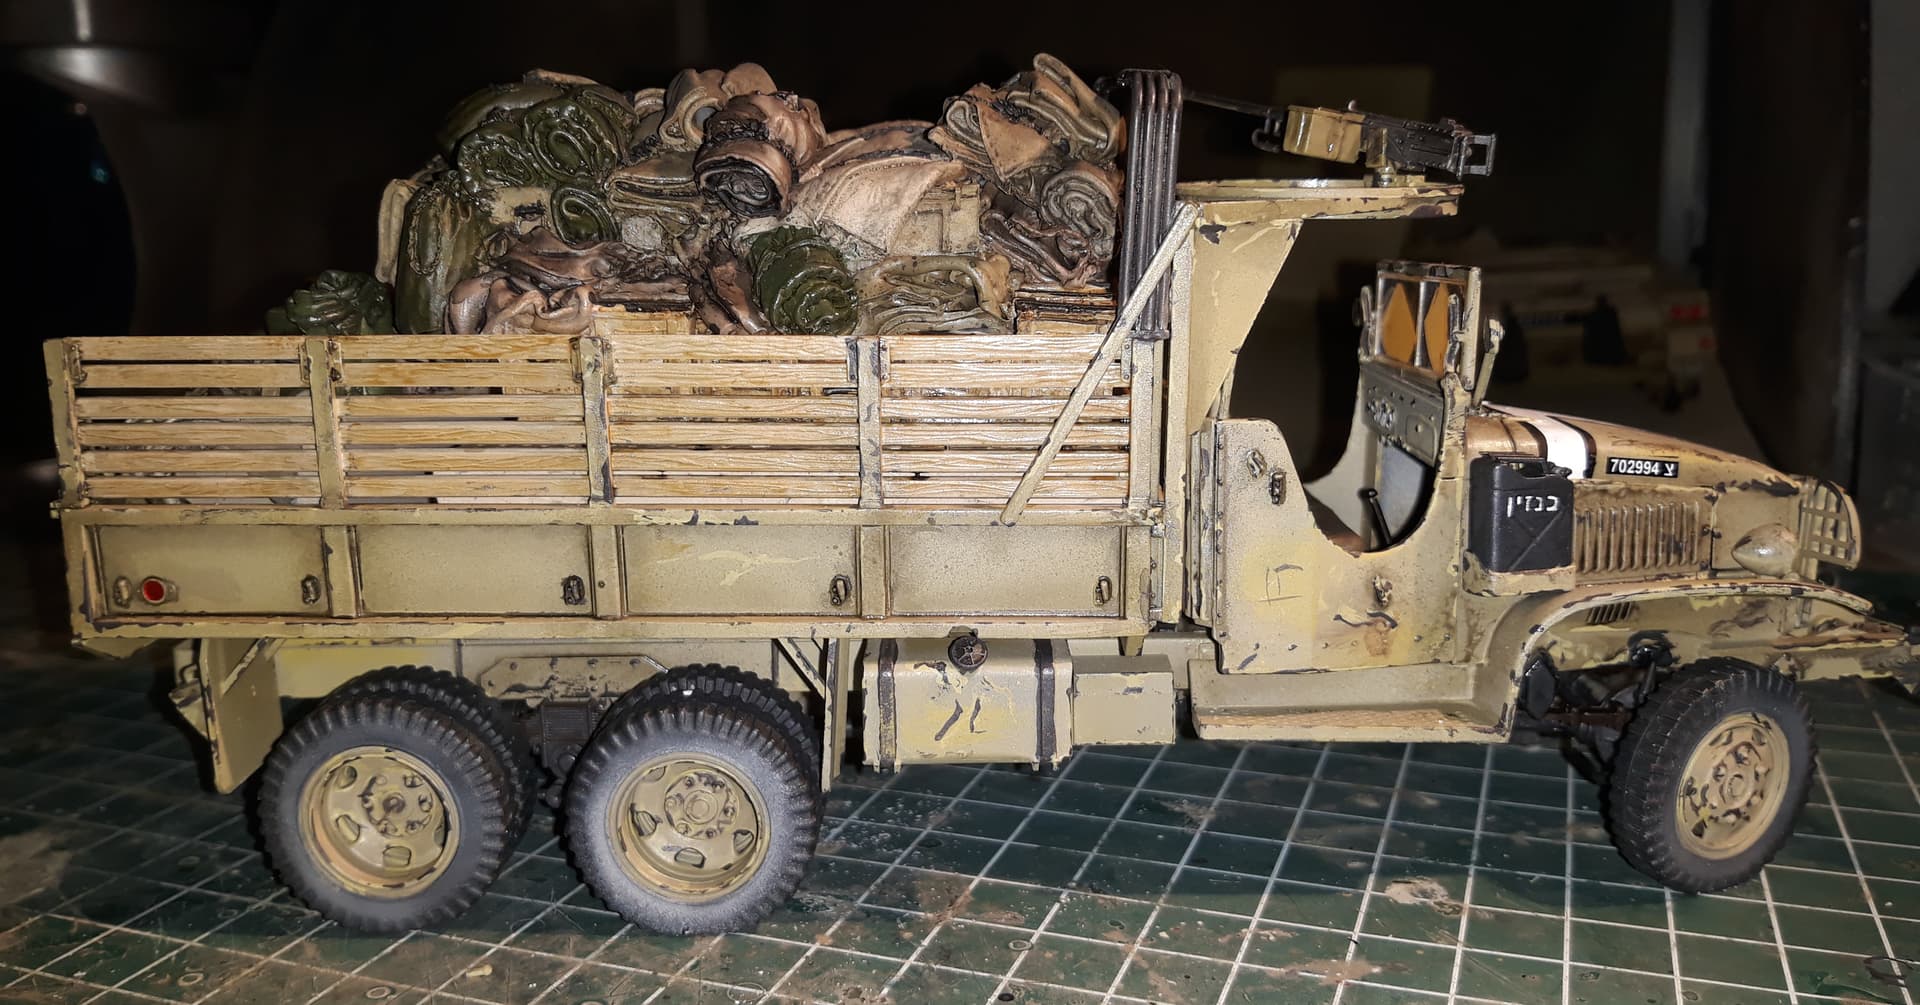
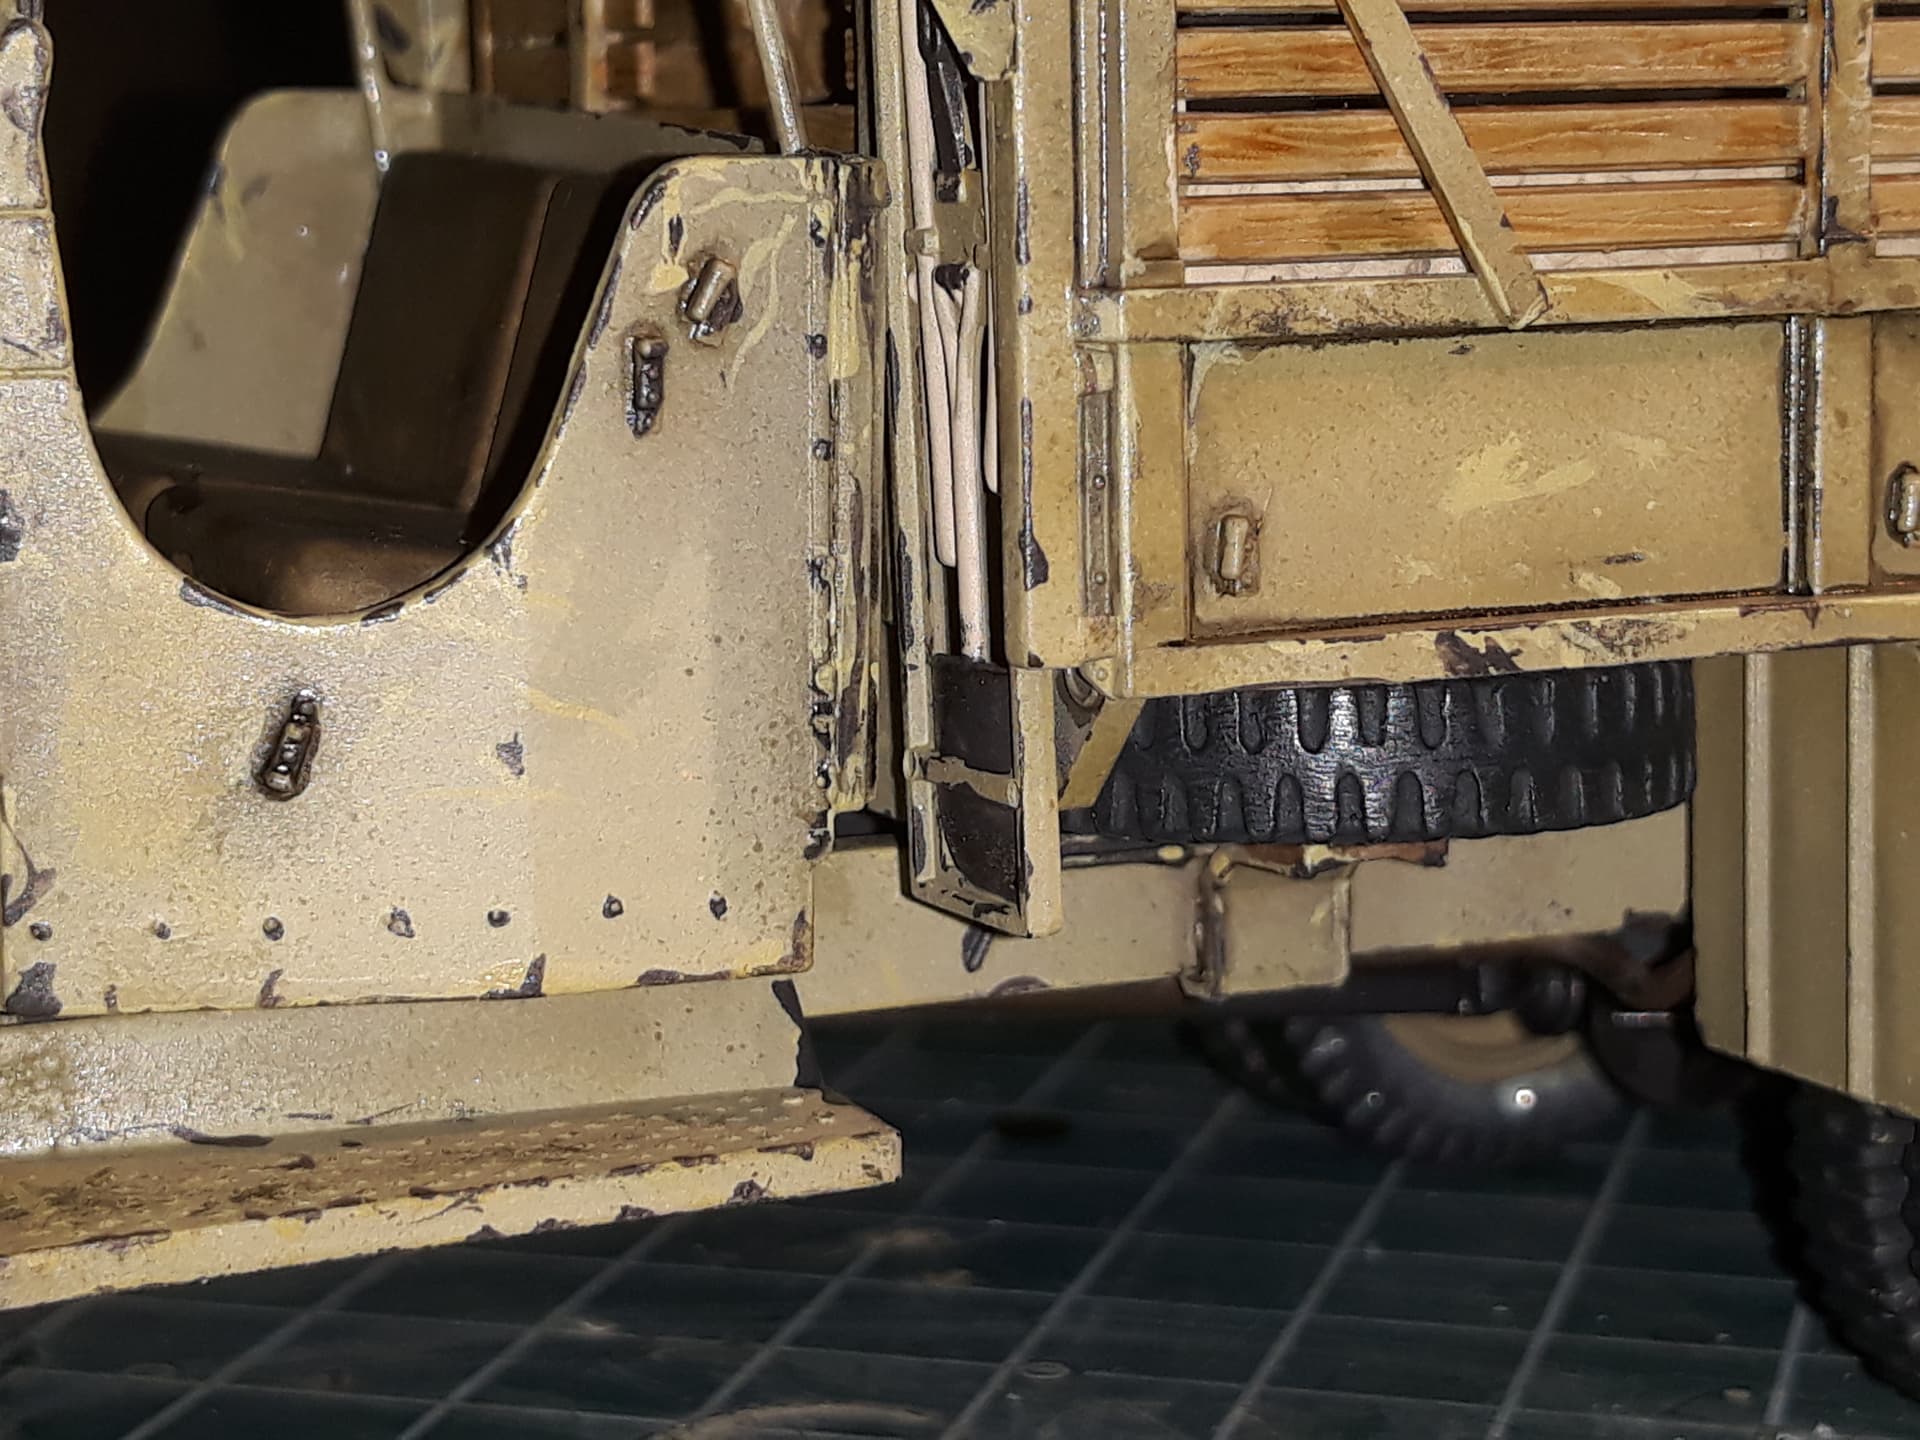
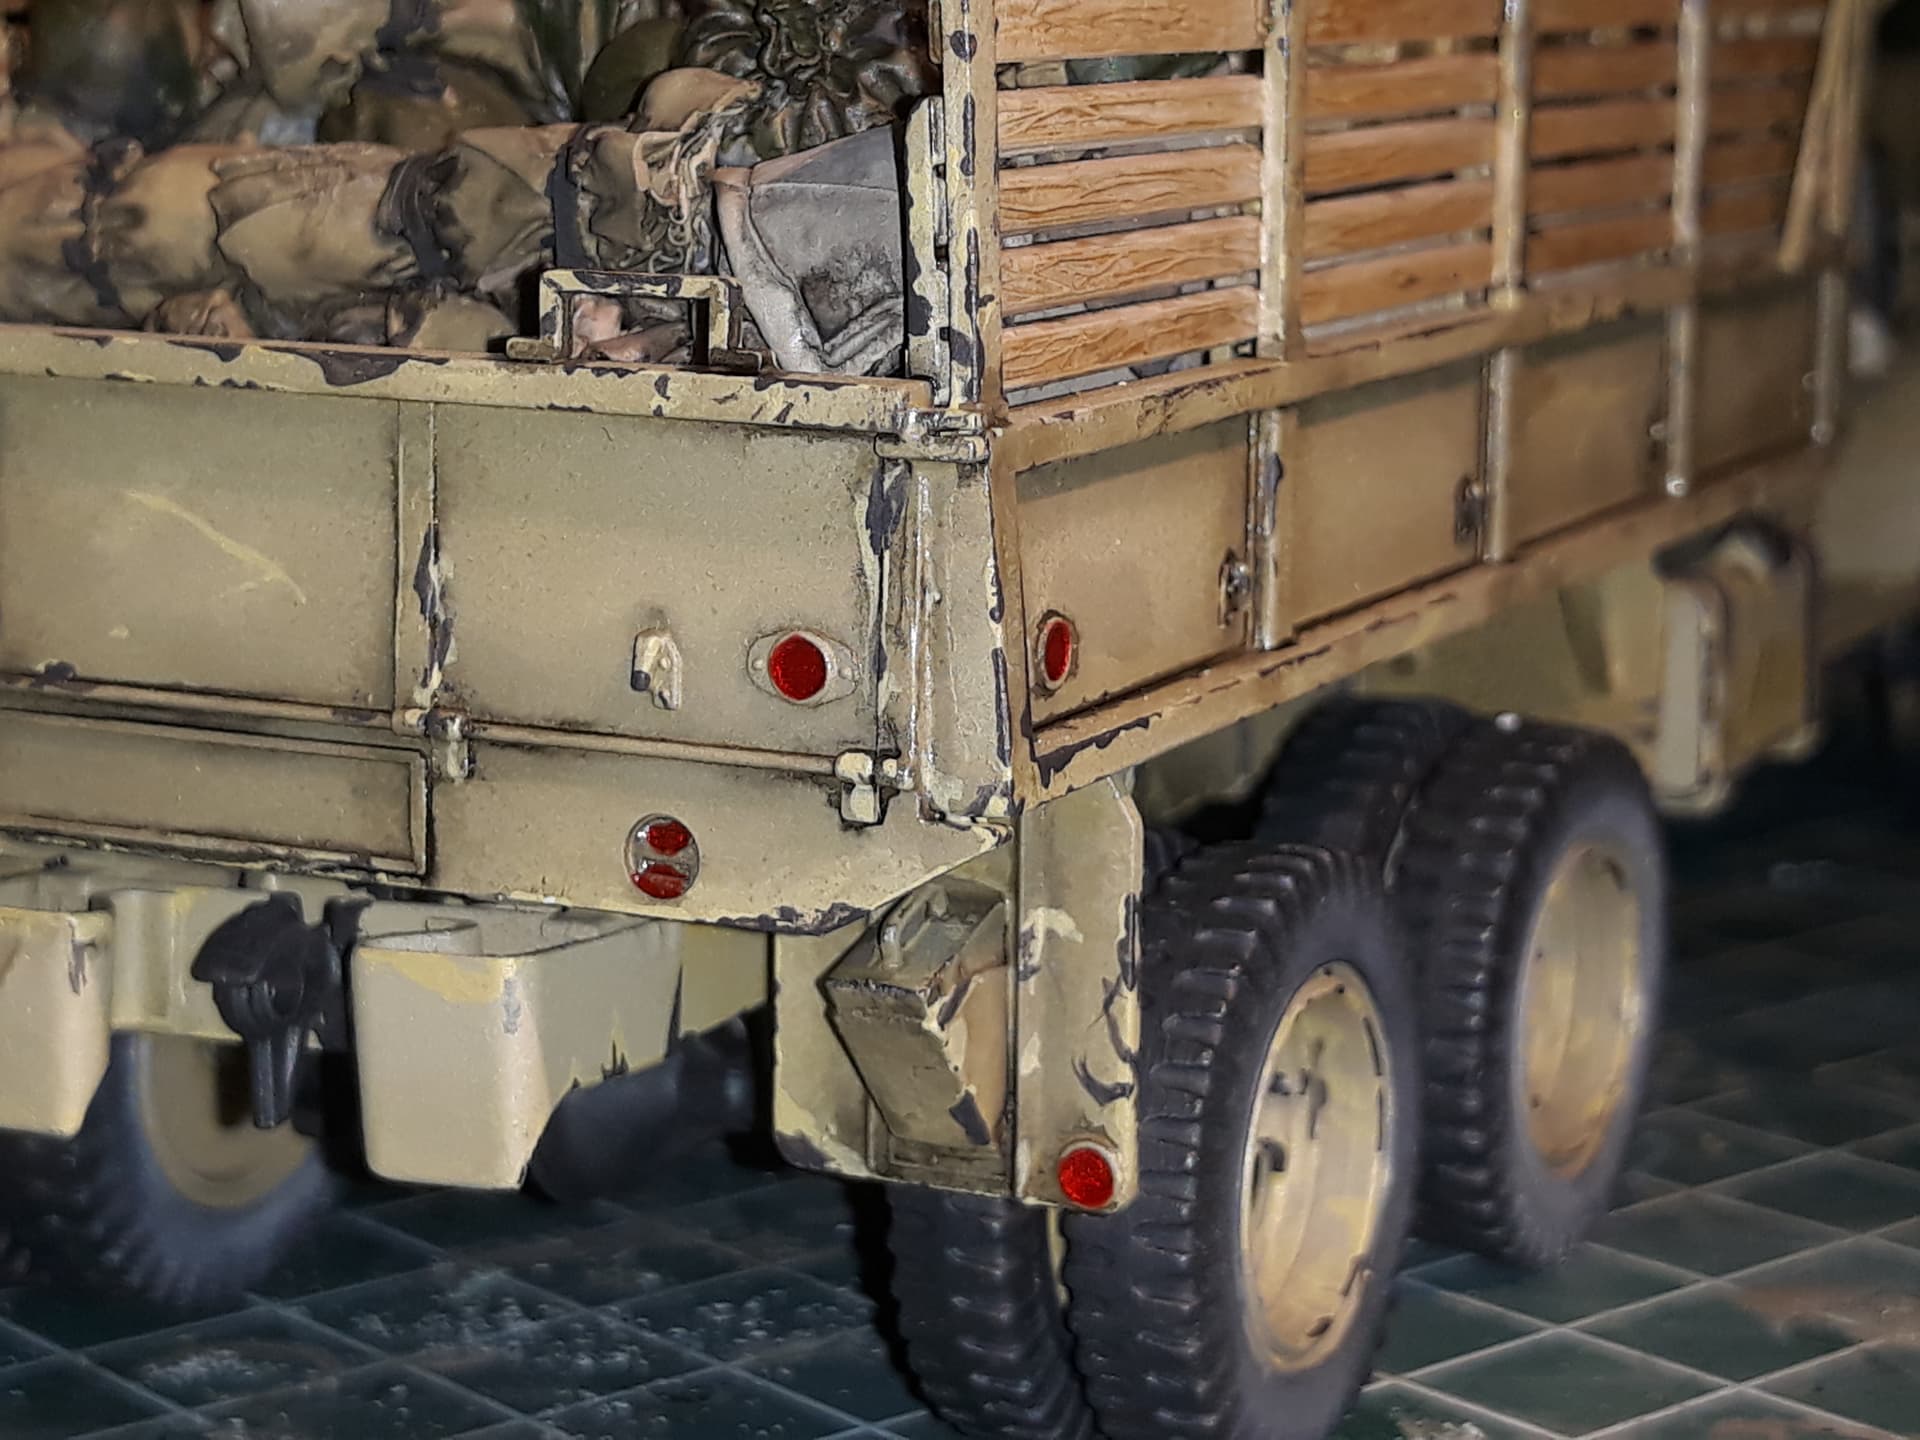
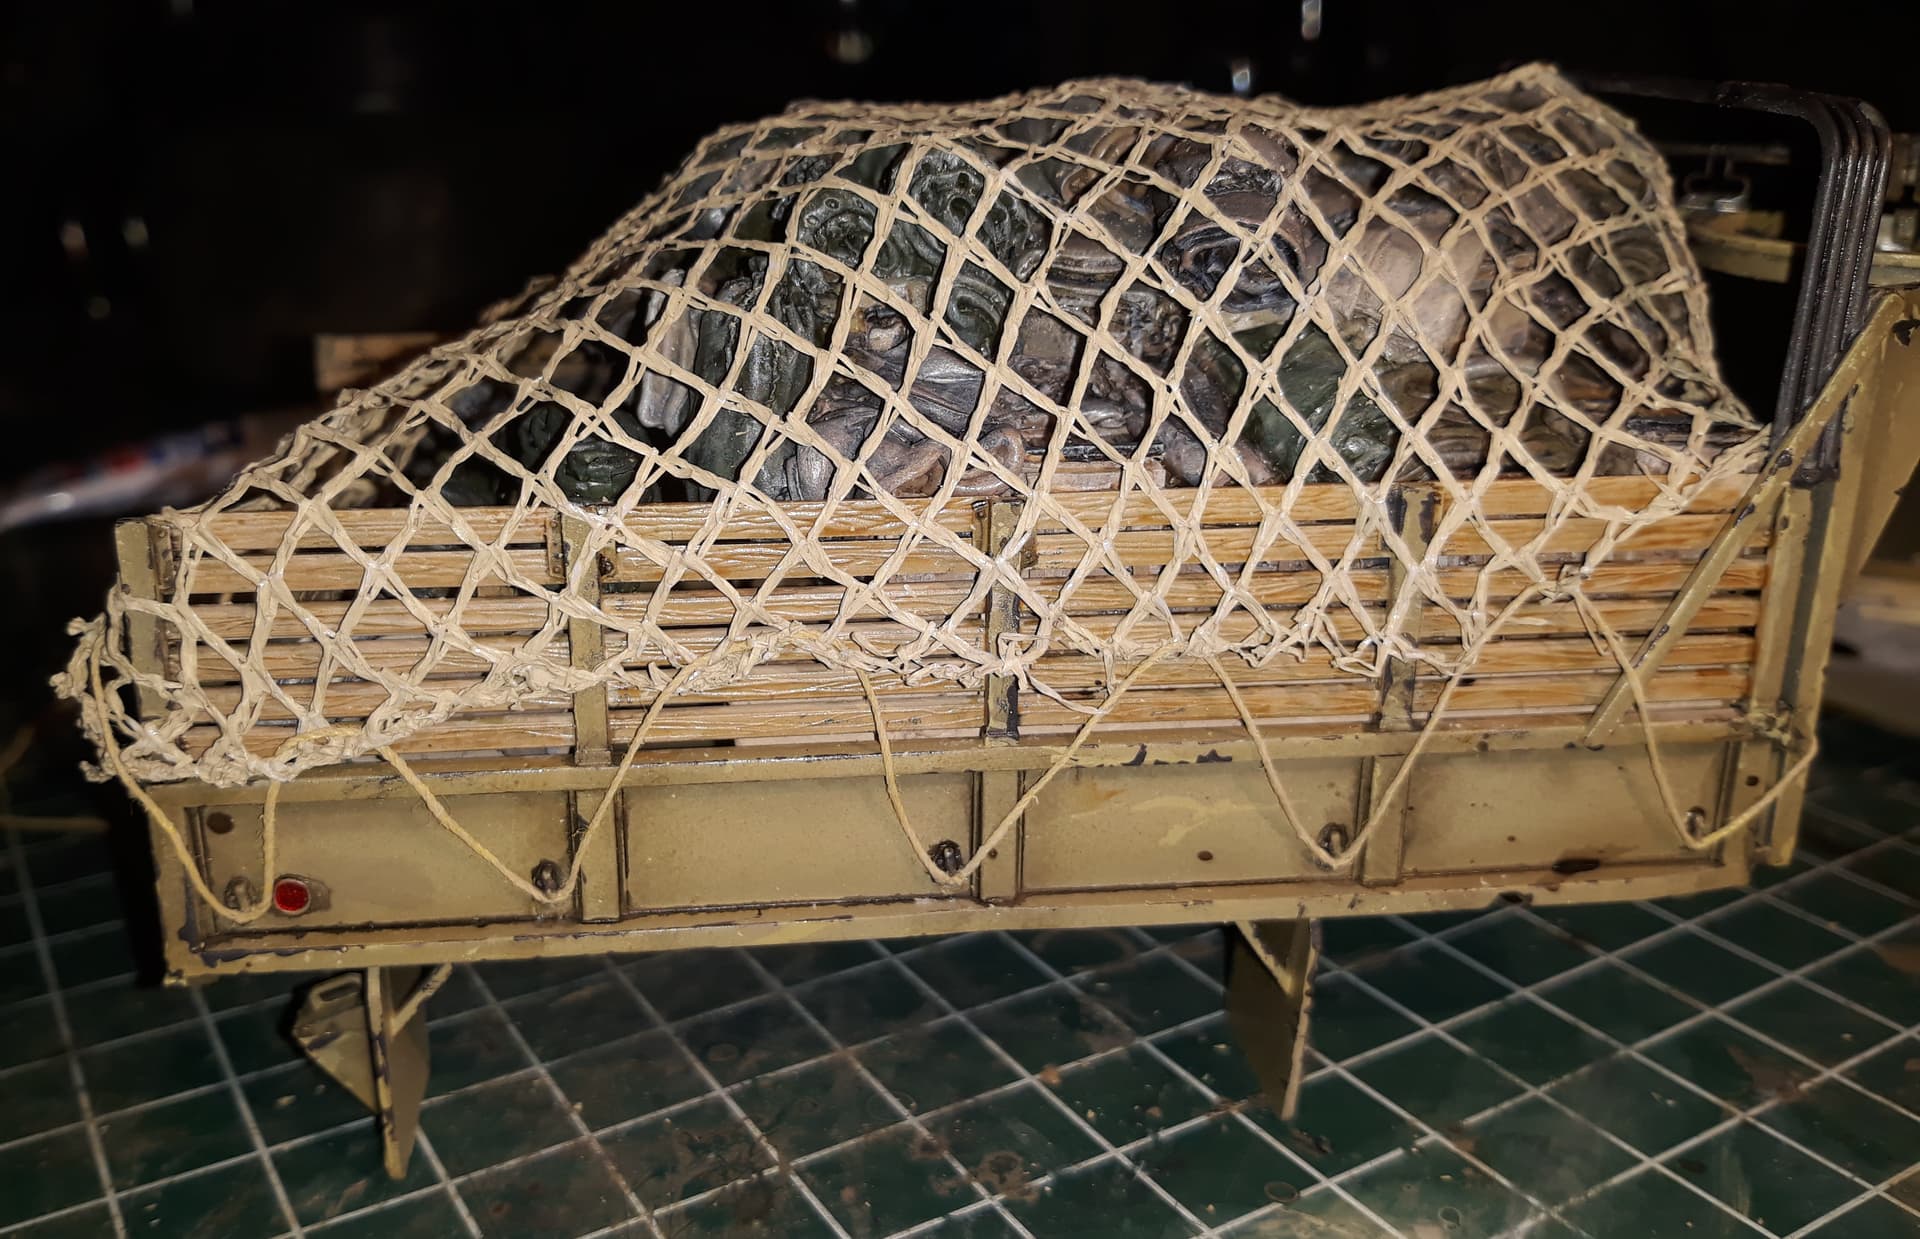
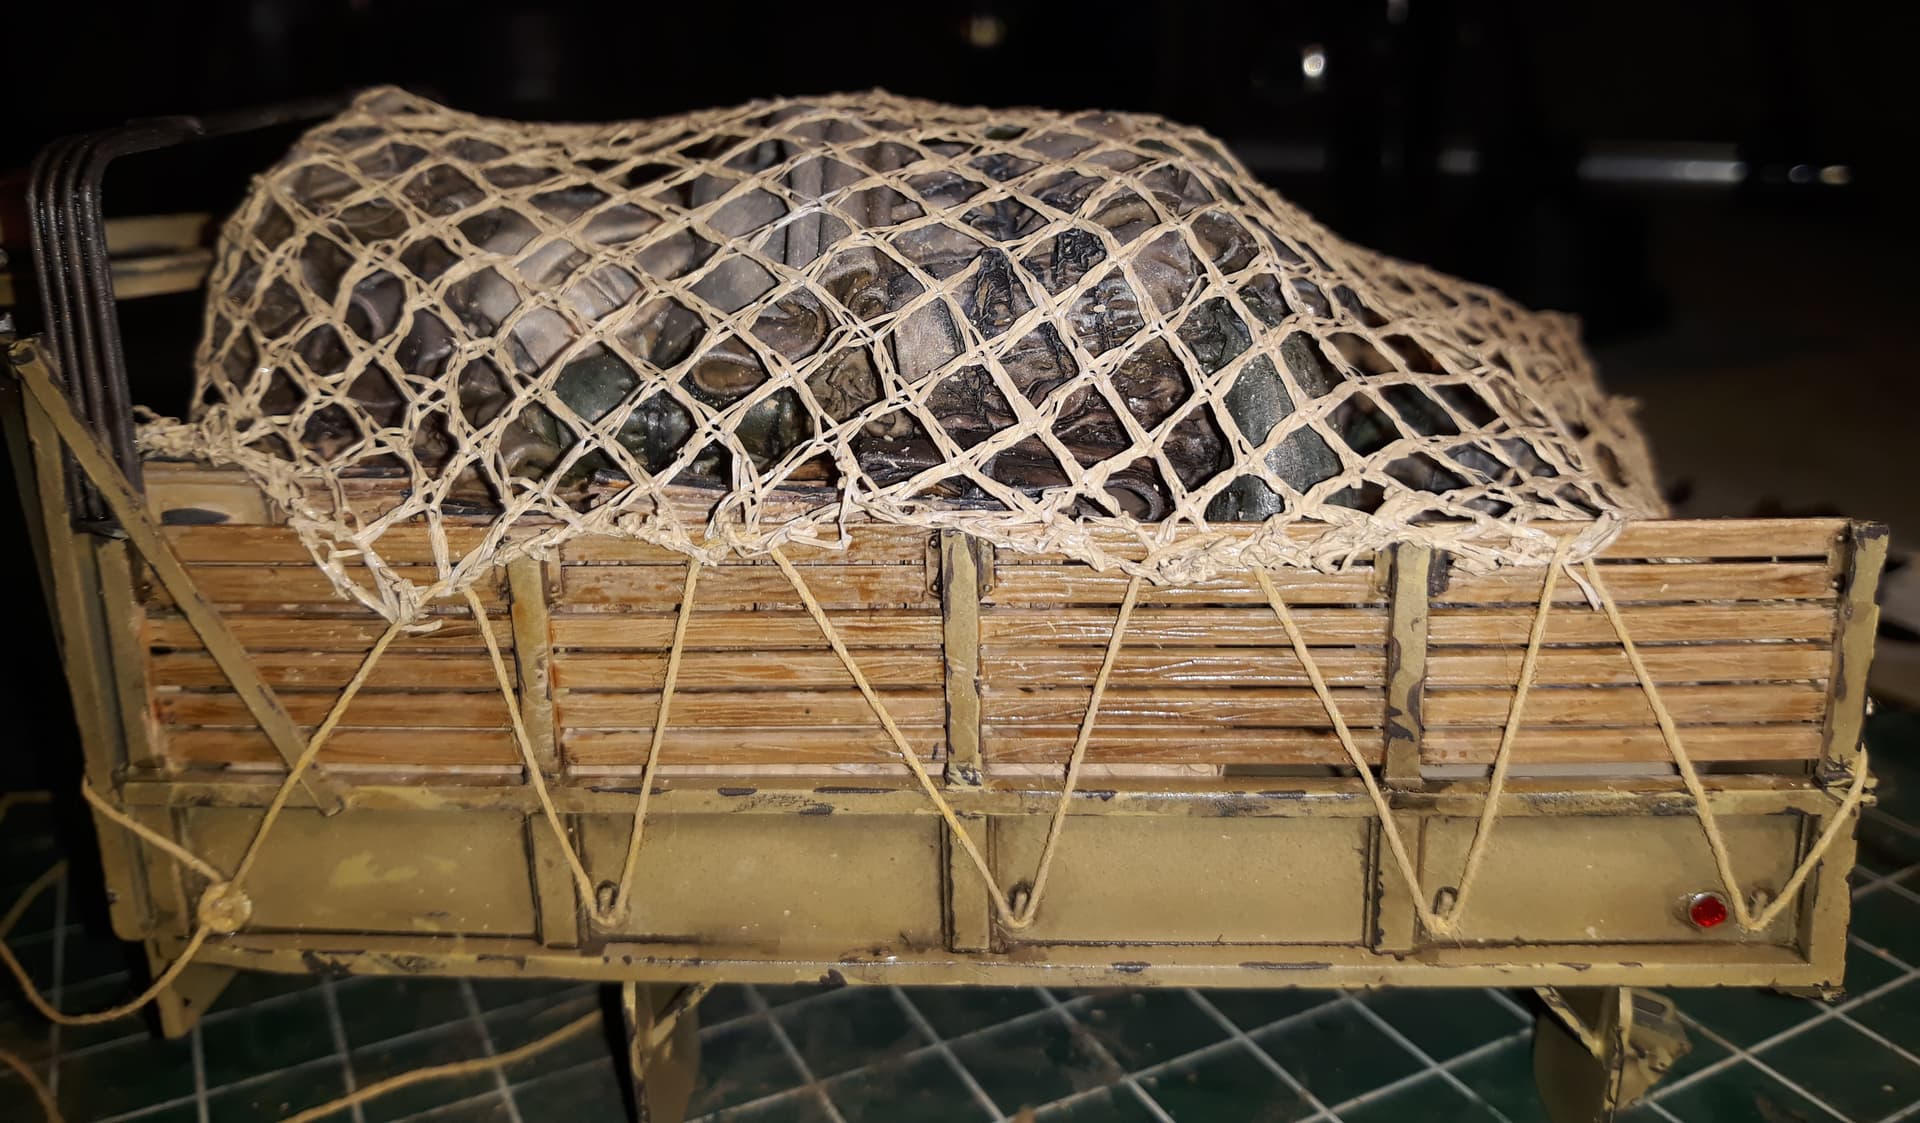
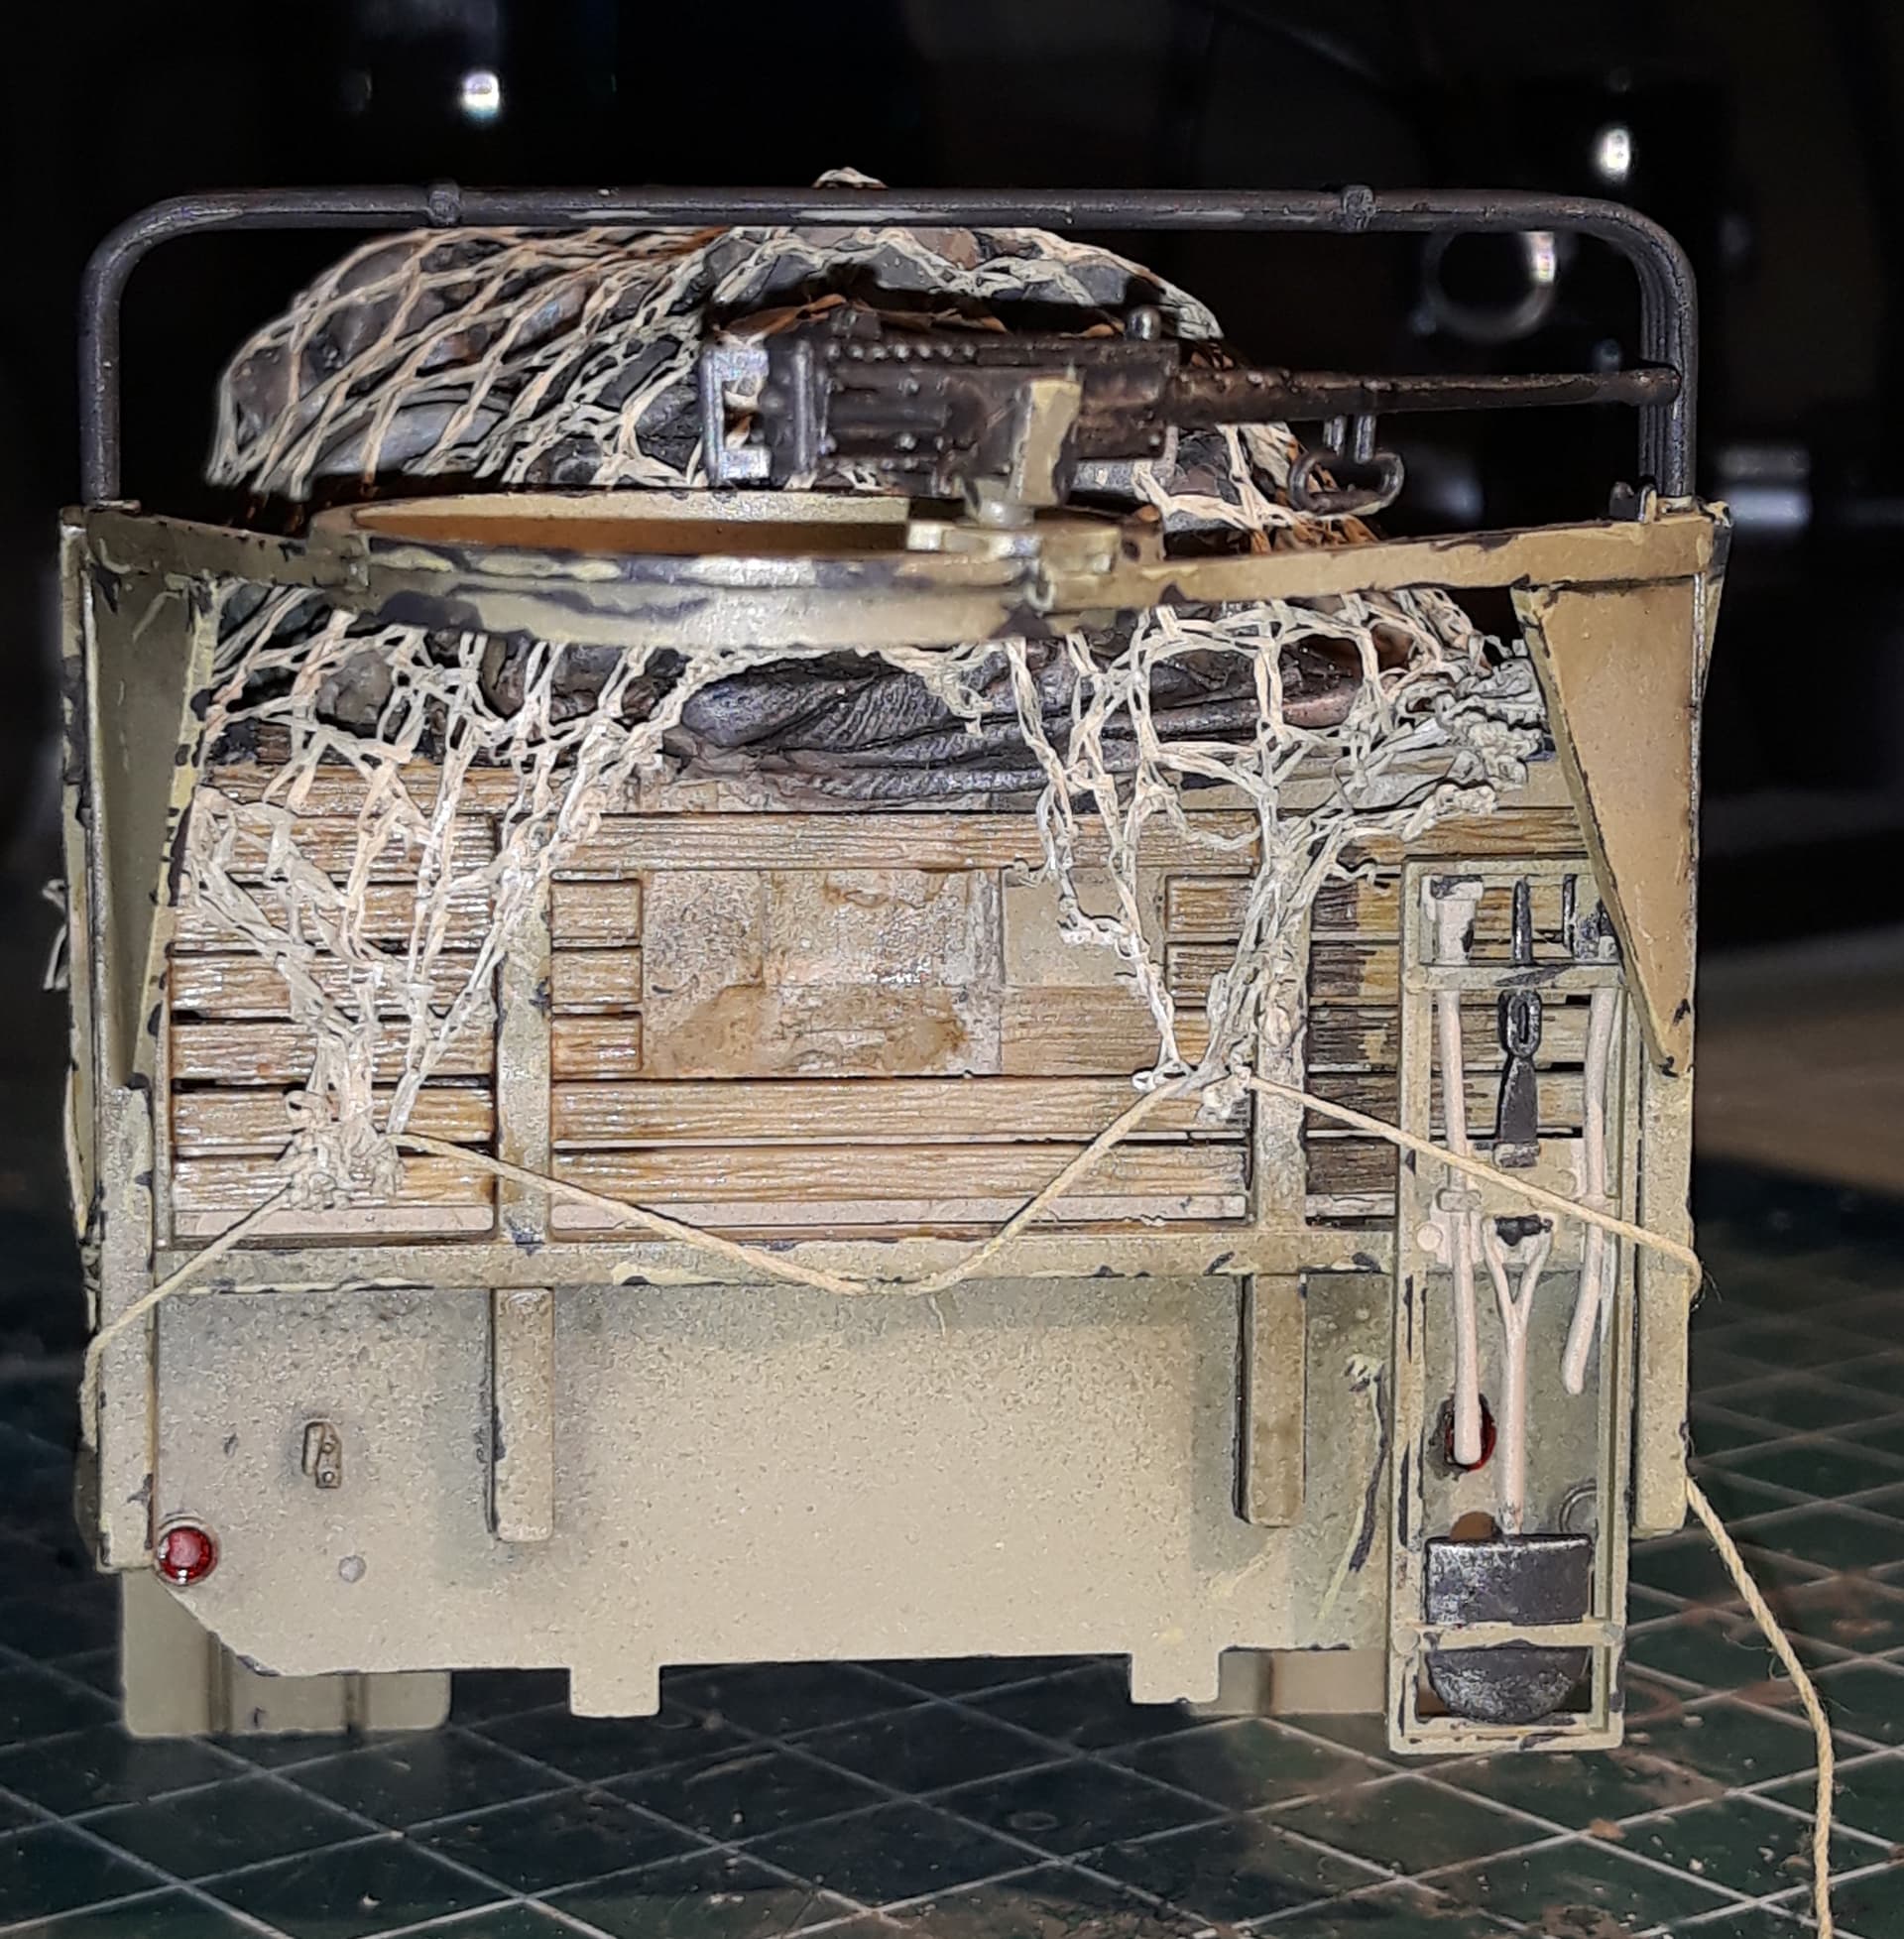
Meantime, have been doing a lot of painting, the Mule: I know the wooden backpart was useaully painted the same color as the rest of the truck, but I liked it in woodcolor, so thats what I went for.
Offcourse that means I had to paint up all those metal bits that were on the wood…
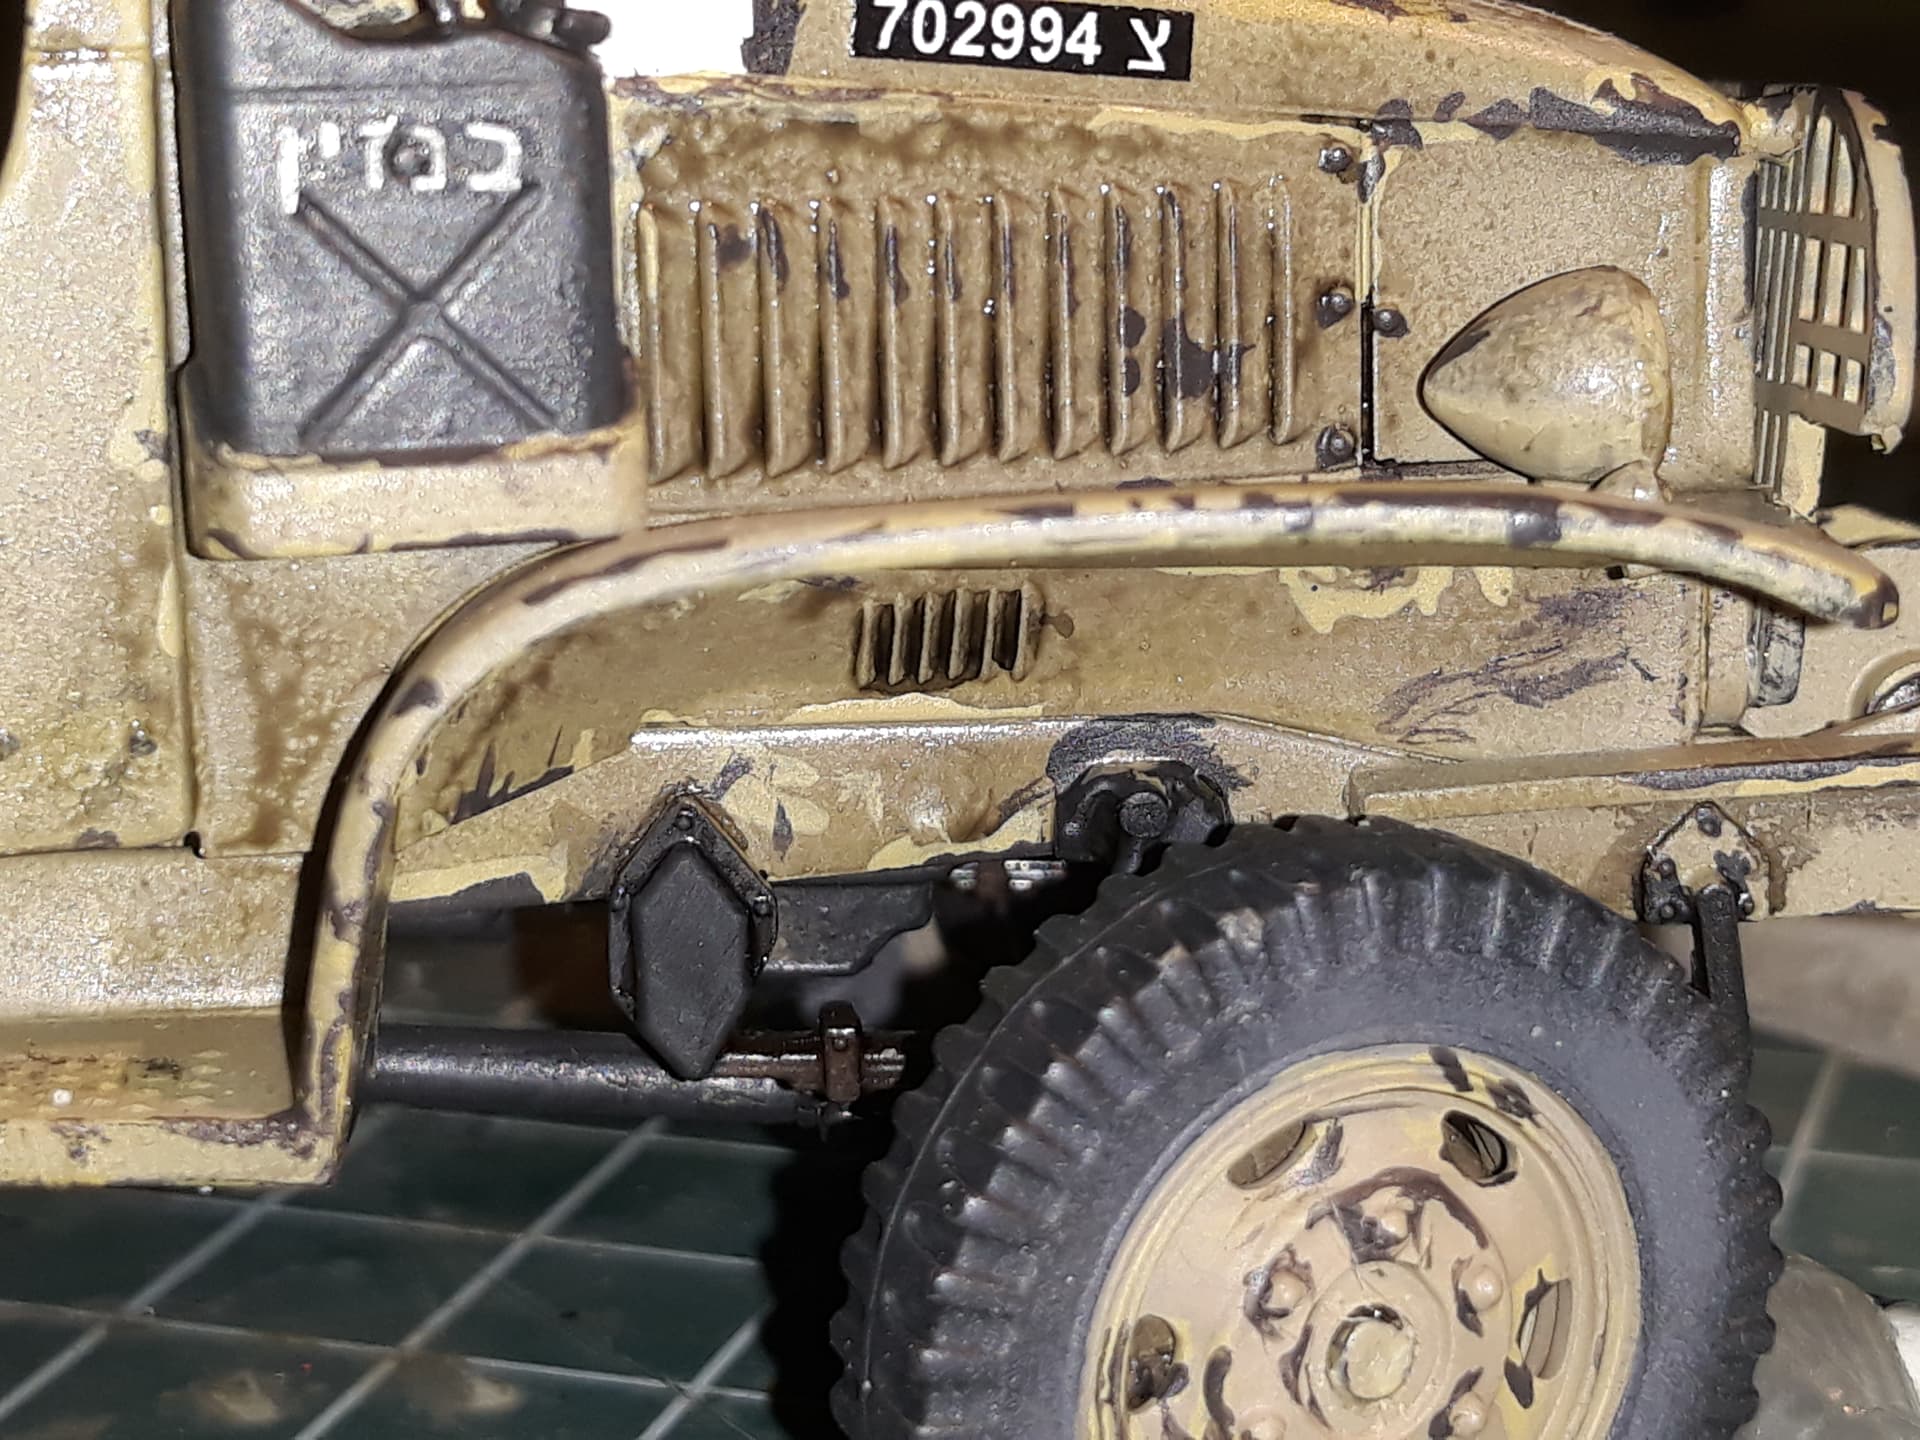
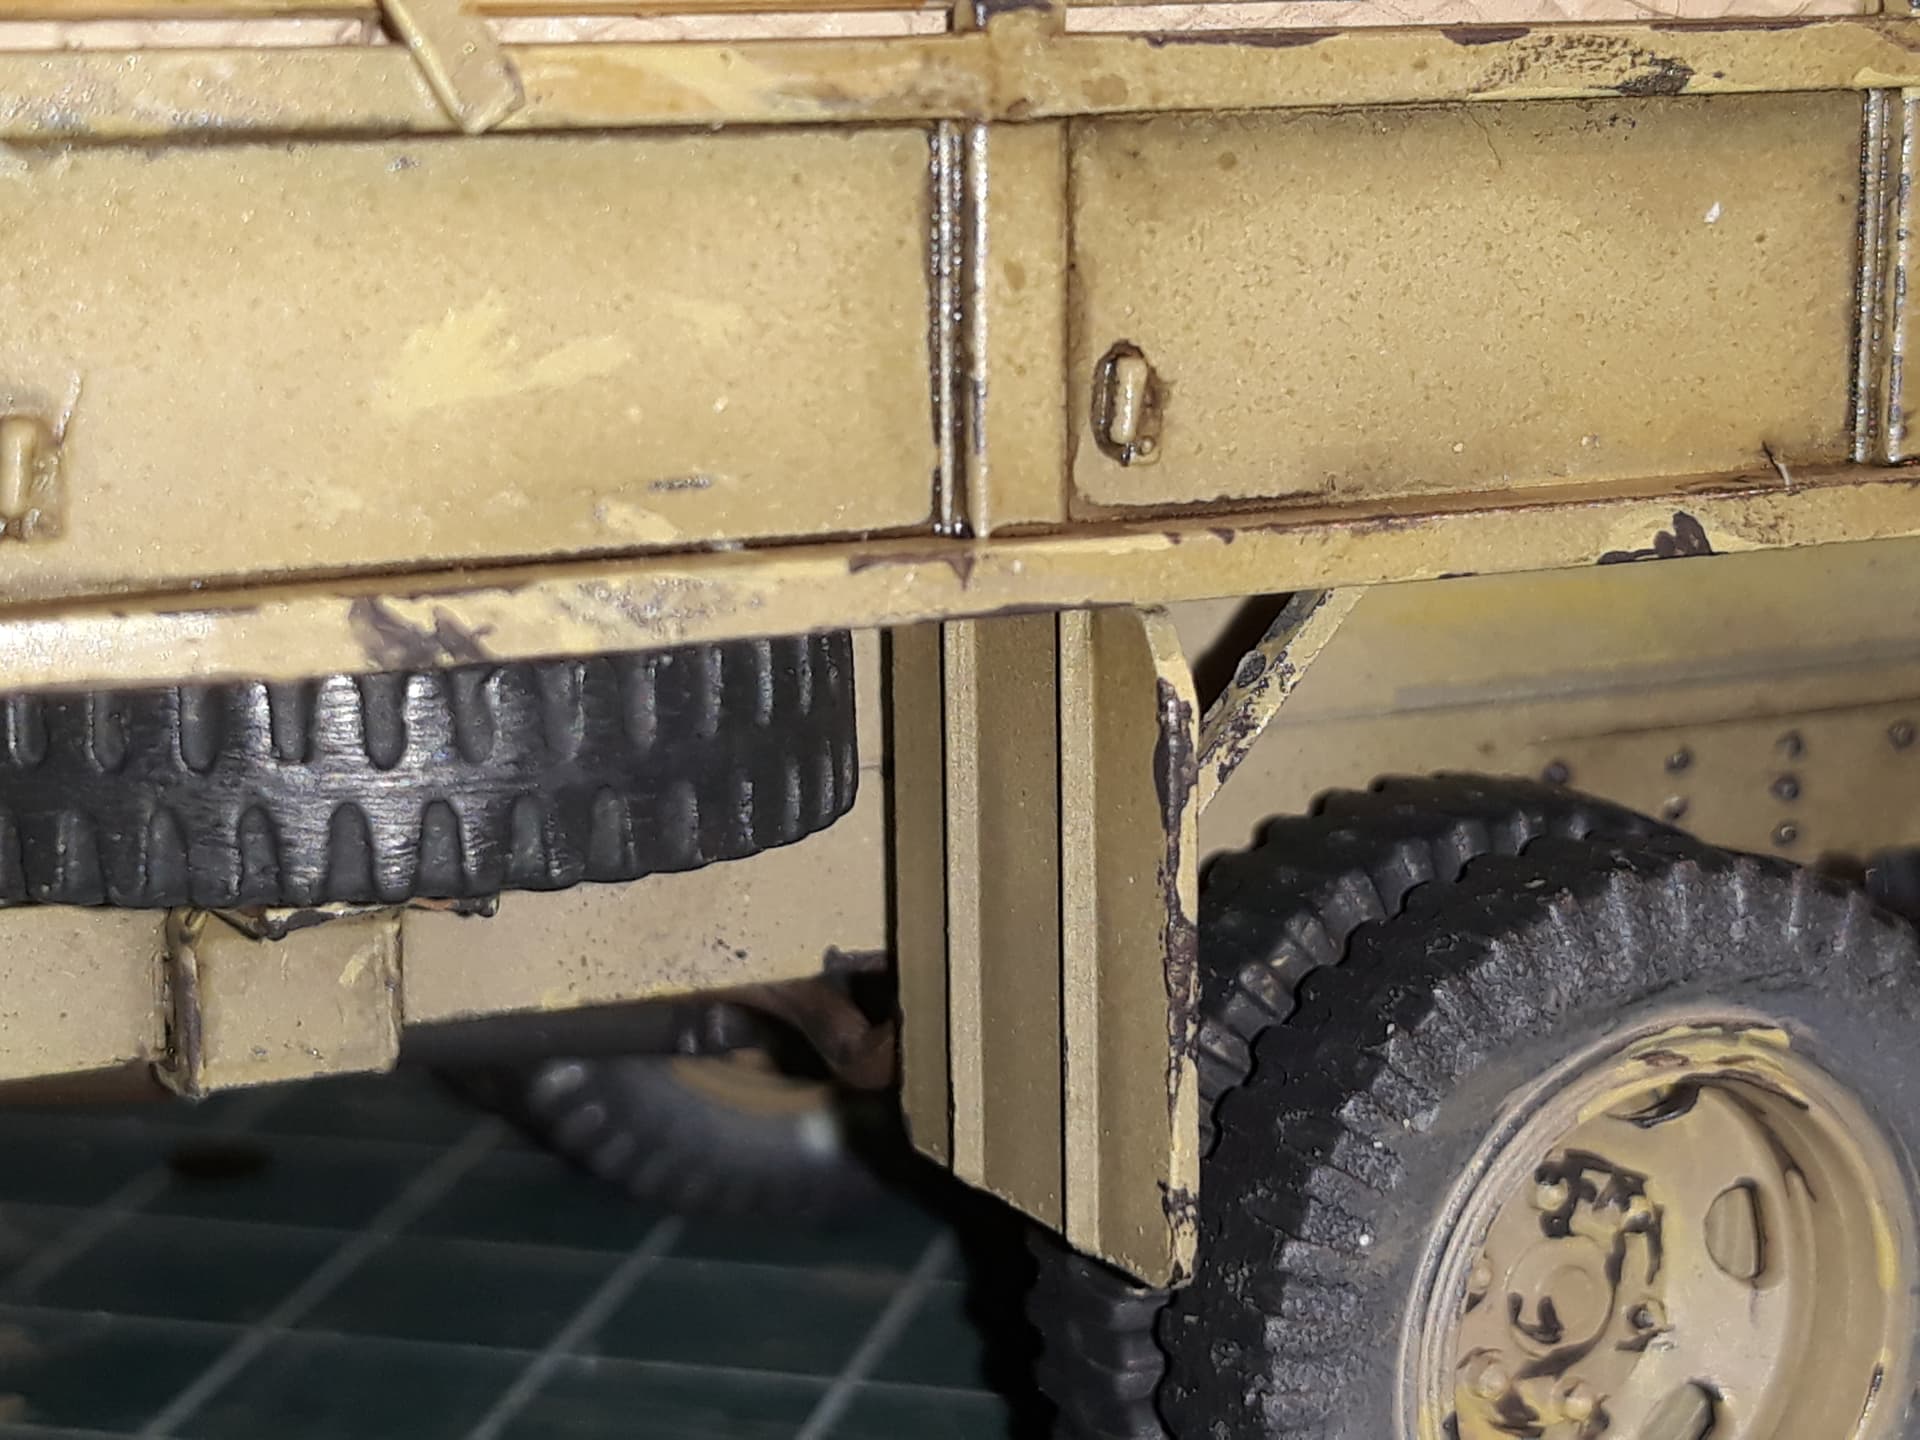
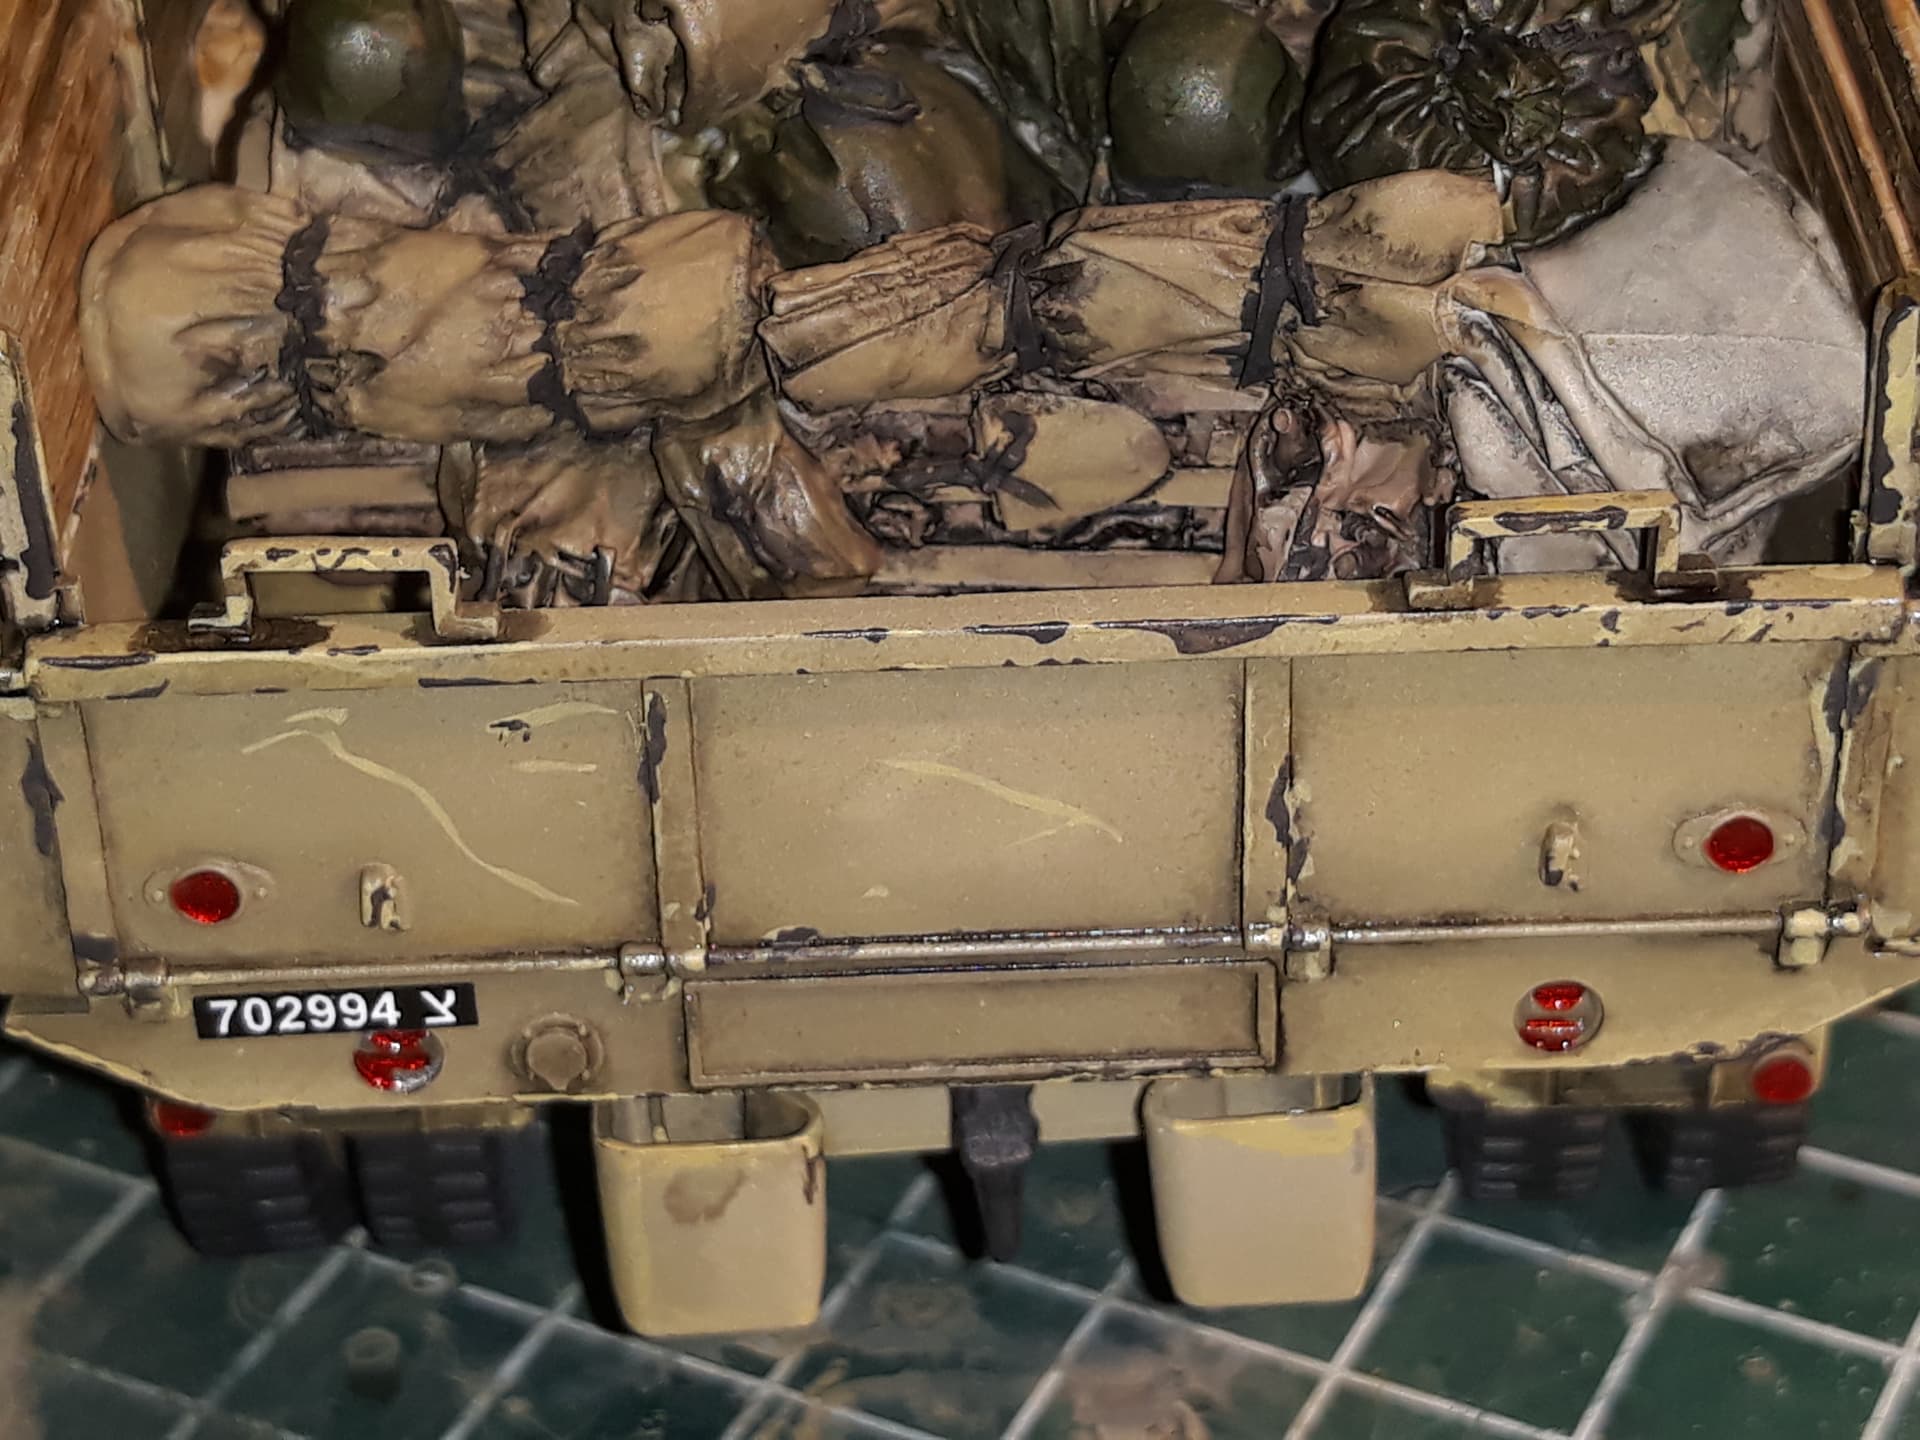
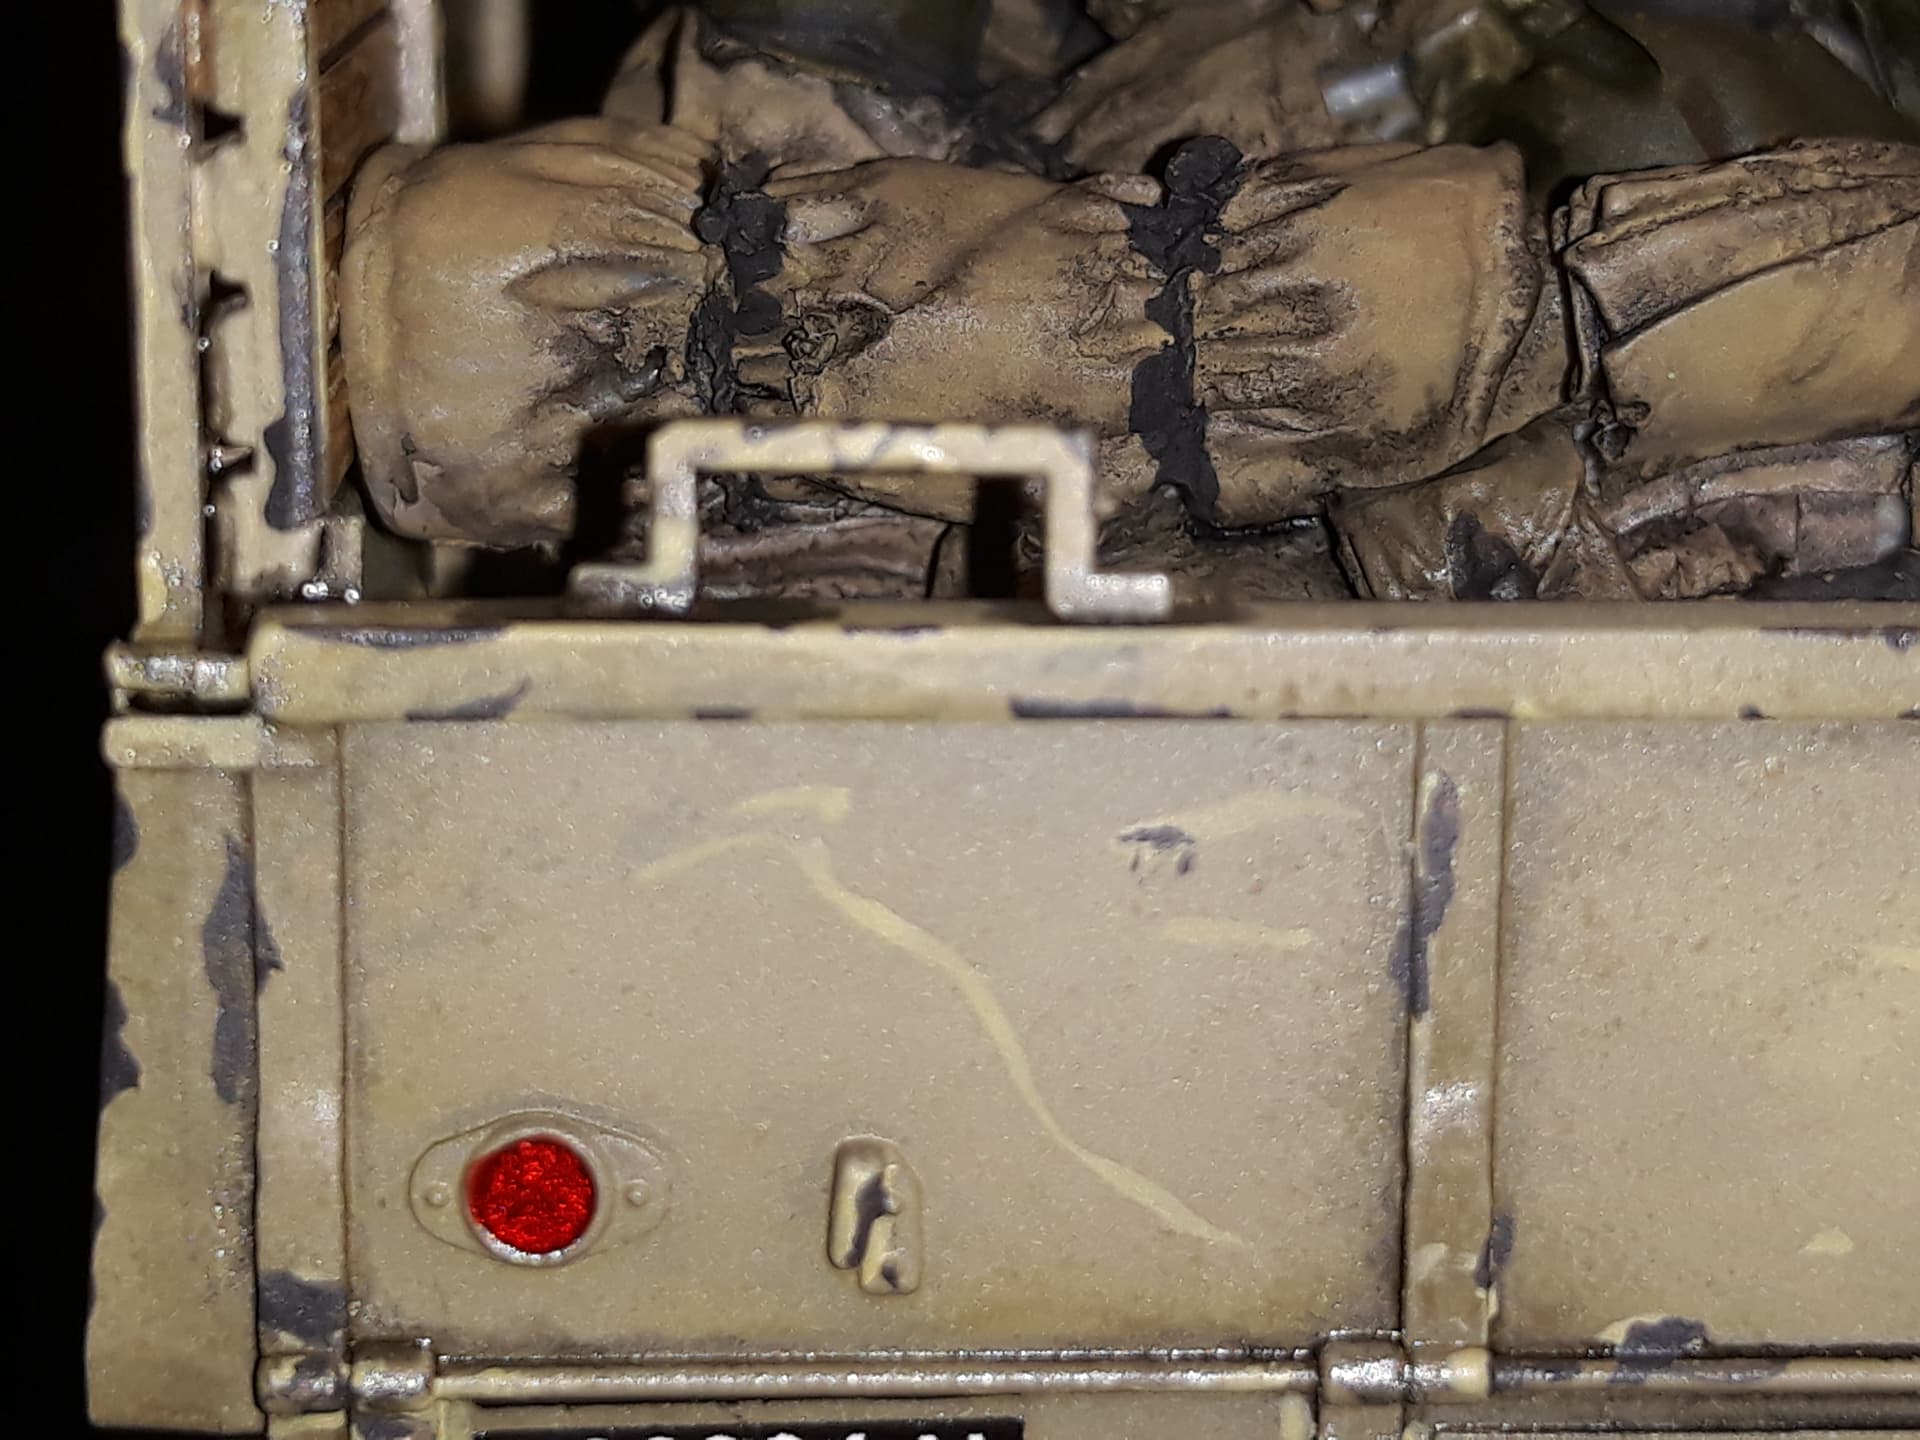
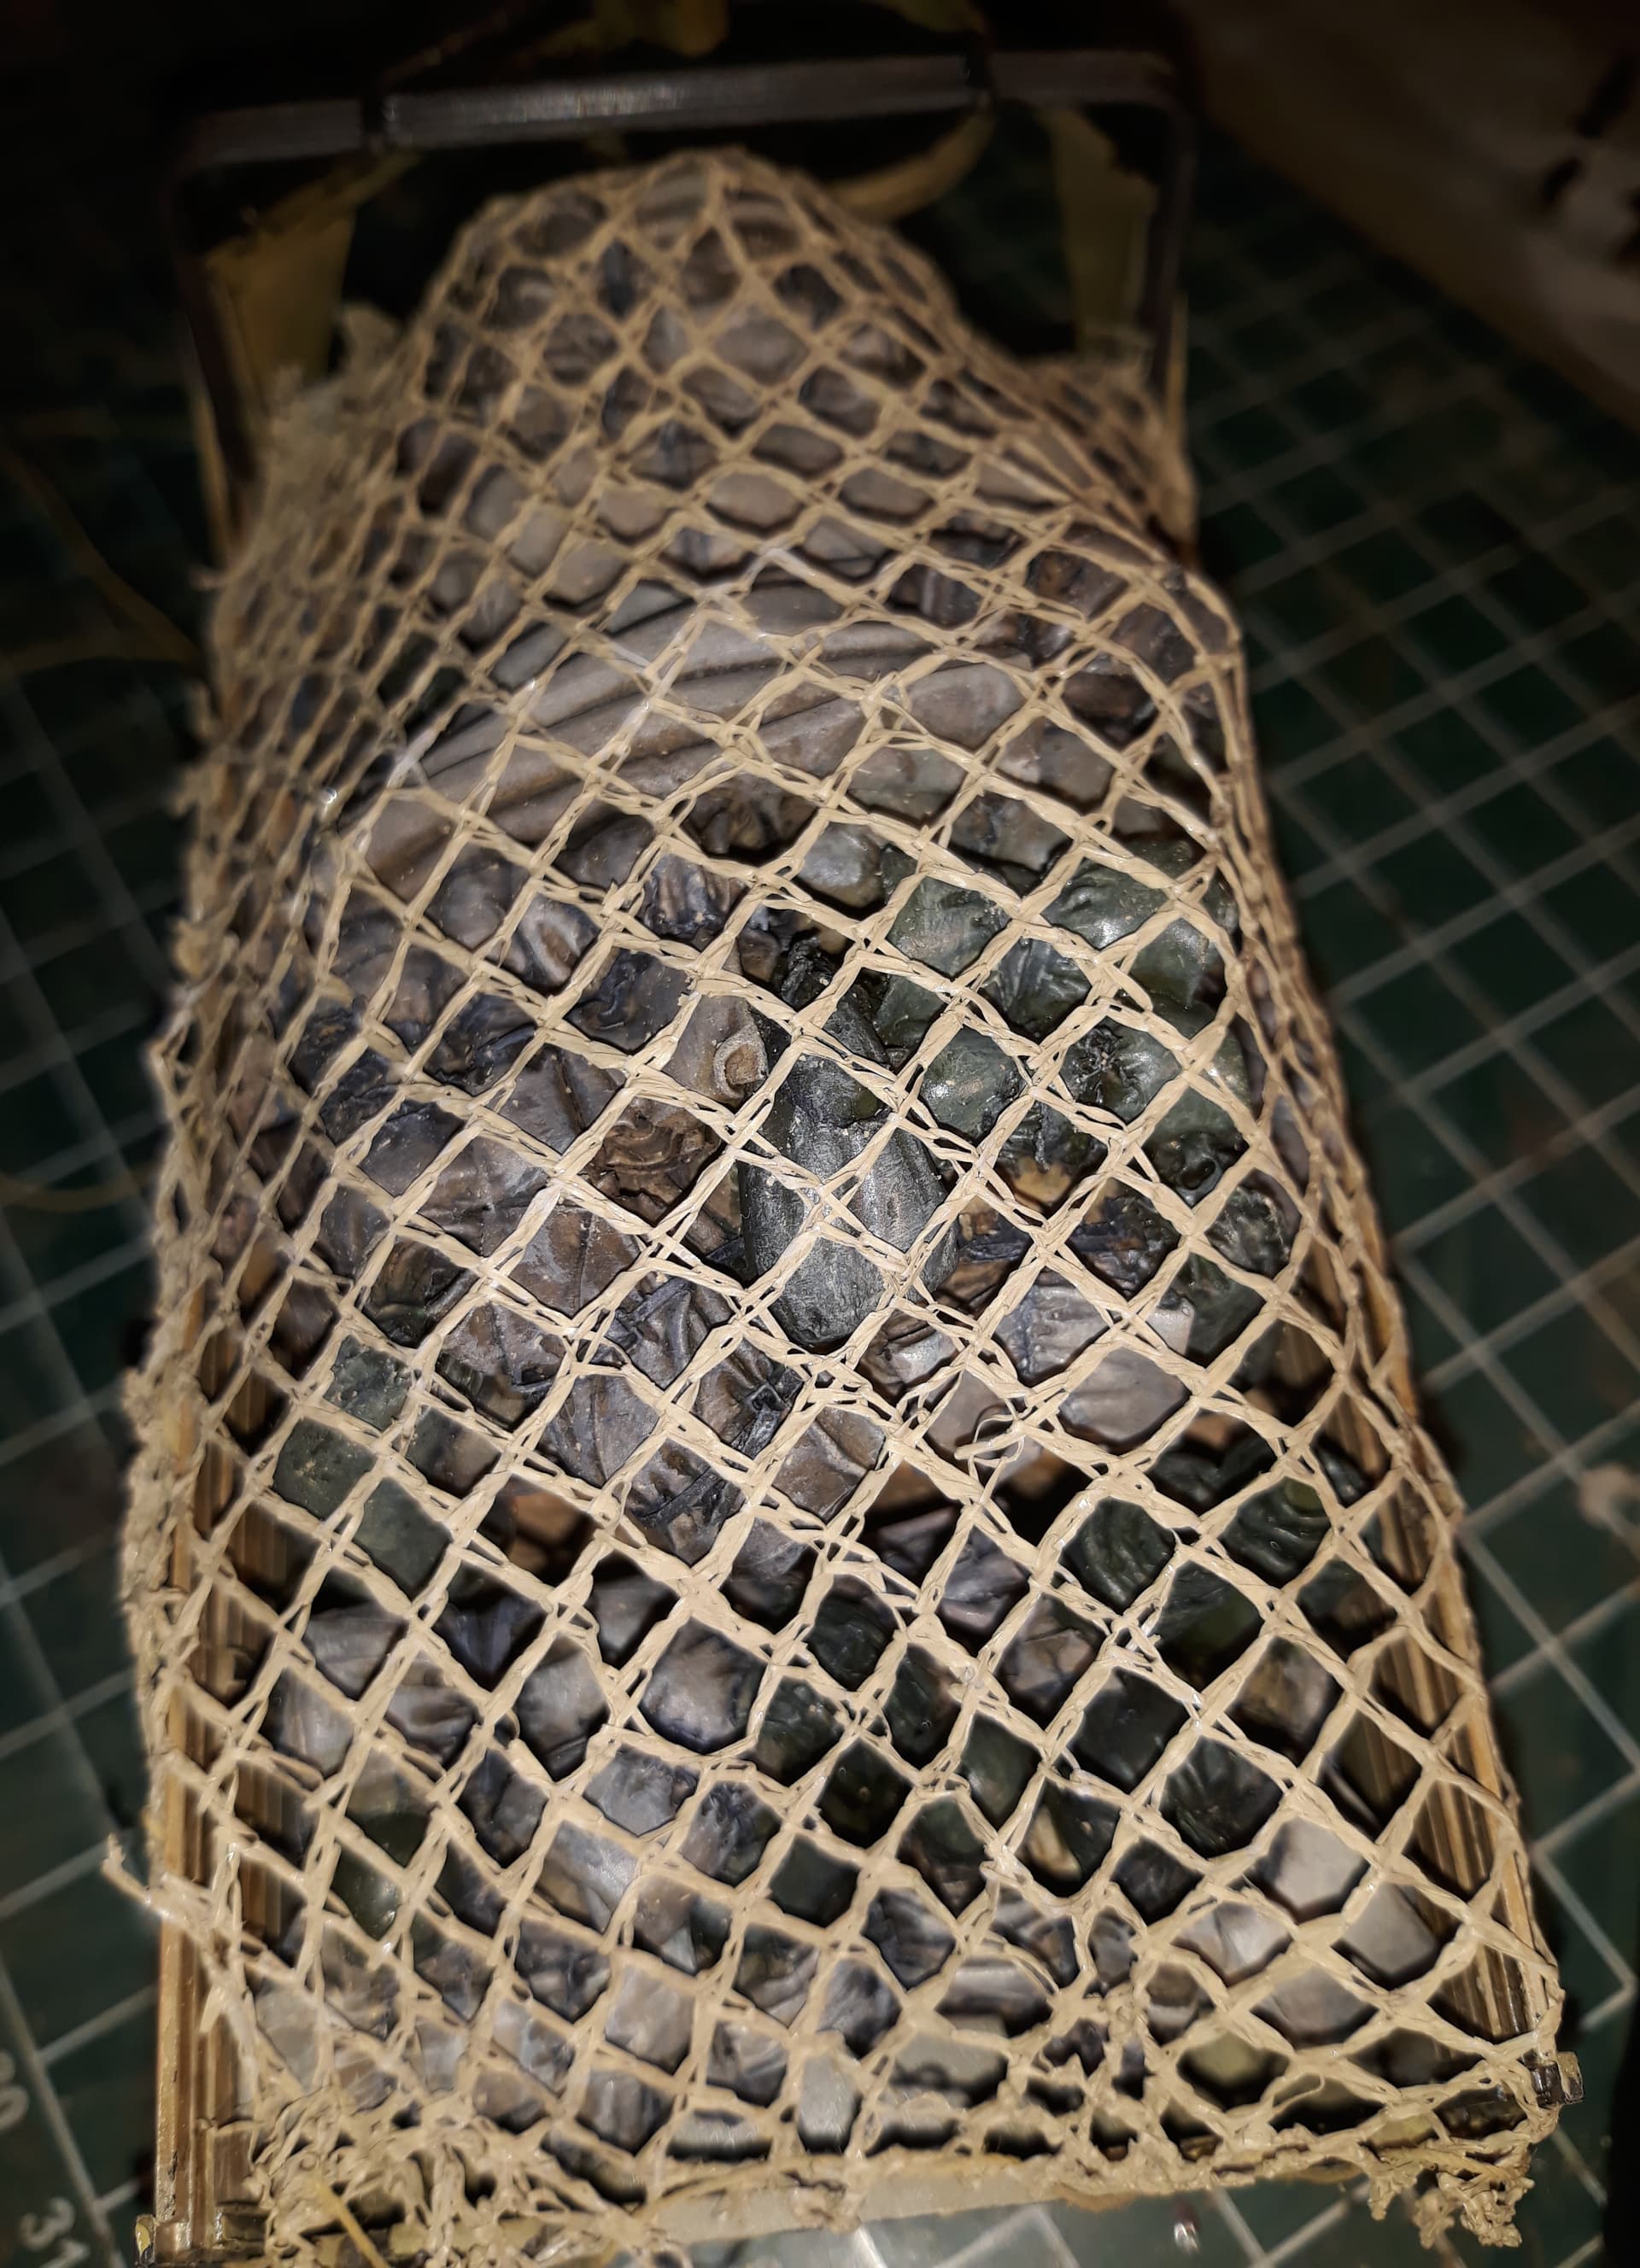
As it is an old truck, a survivor of WW2, being used intensely in the years after that, and nearly ready for retirement, I decided to do some serious chipping, so some detail pictures of the chipping:

 knowing it is a big What If… also because I happen to have this one but no Soviet trucks… (yet)