Italeri Sd. Kfz. 234/2 Puma


Finally, I’ve made some considerable progress!
Something that hasn’t been happening for weeks, if not months now!

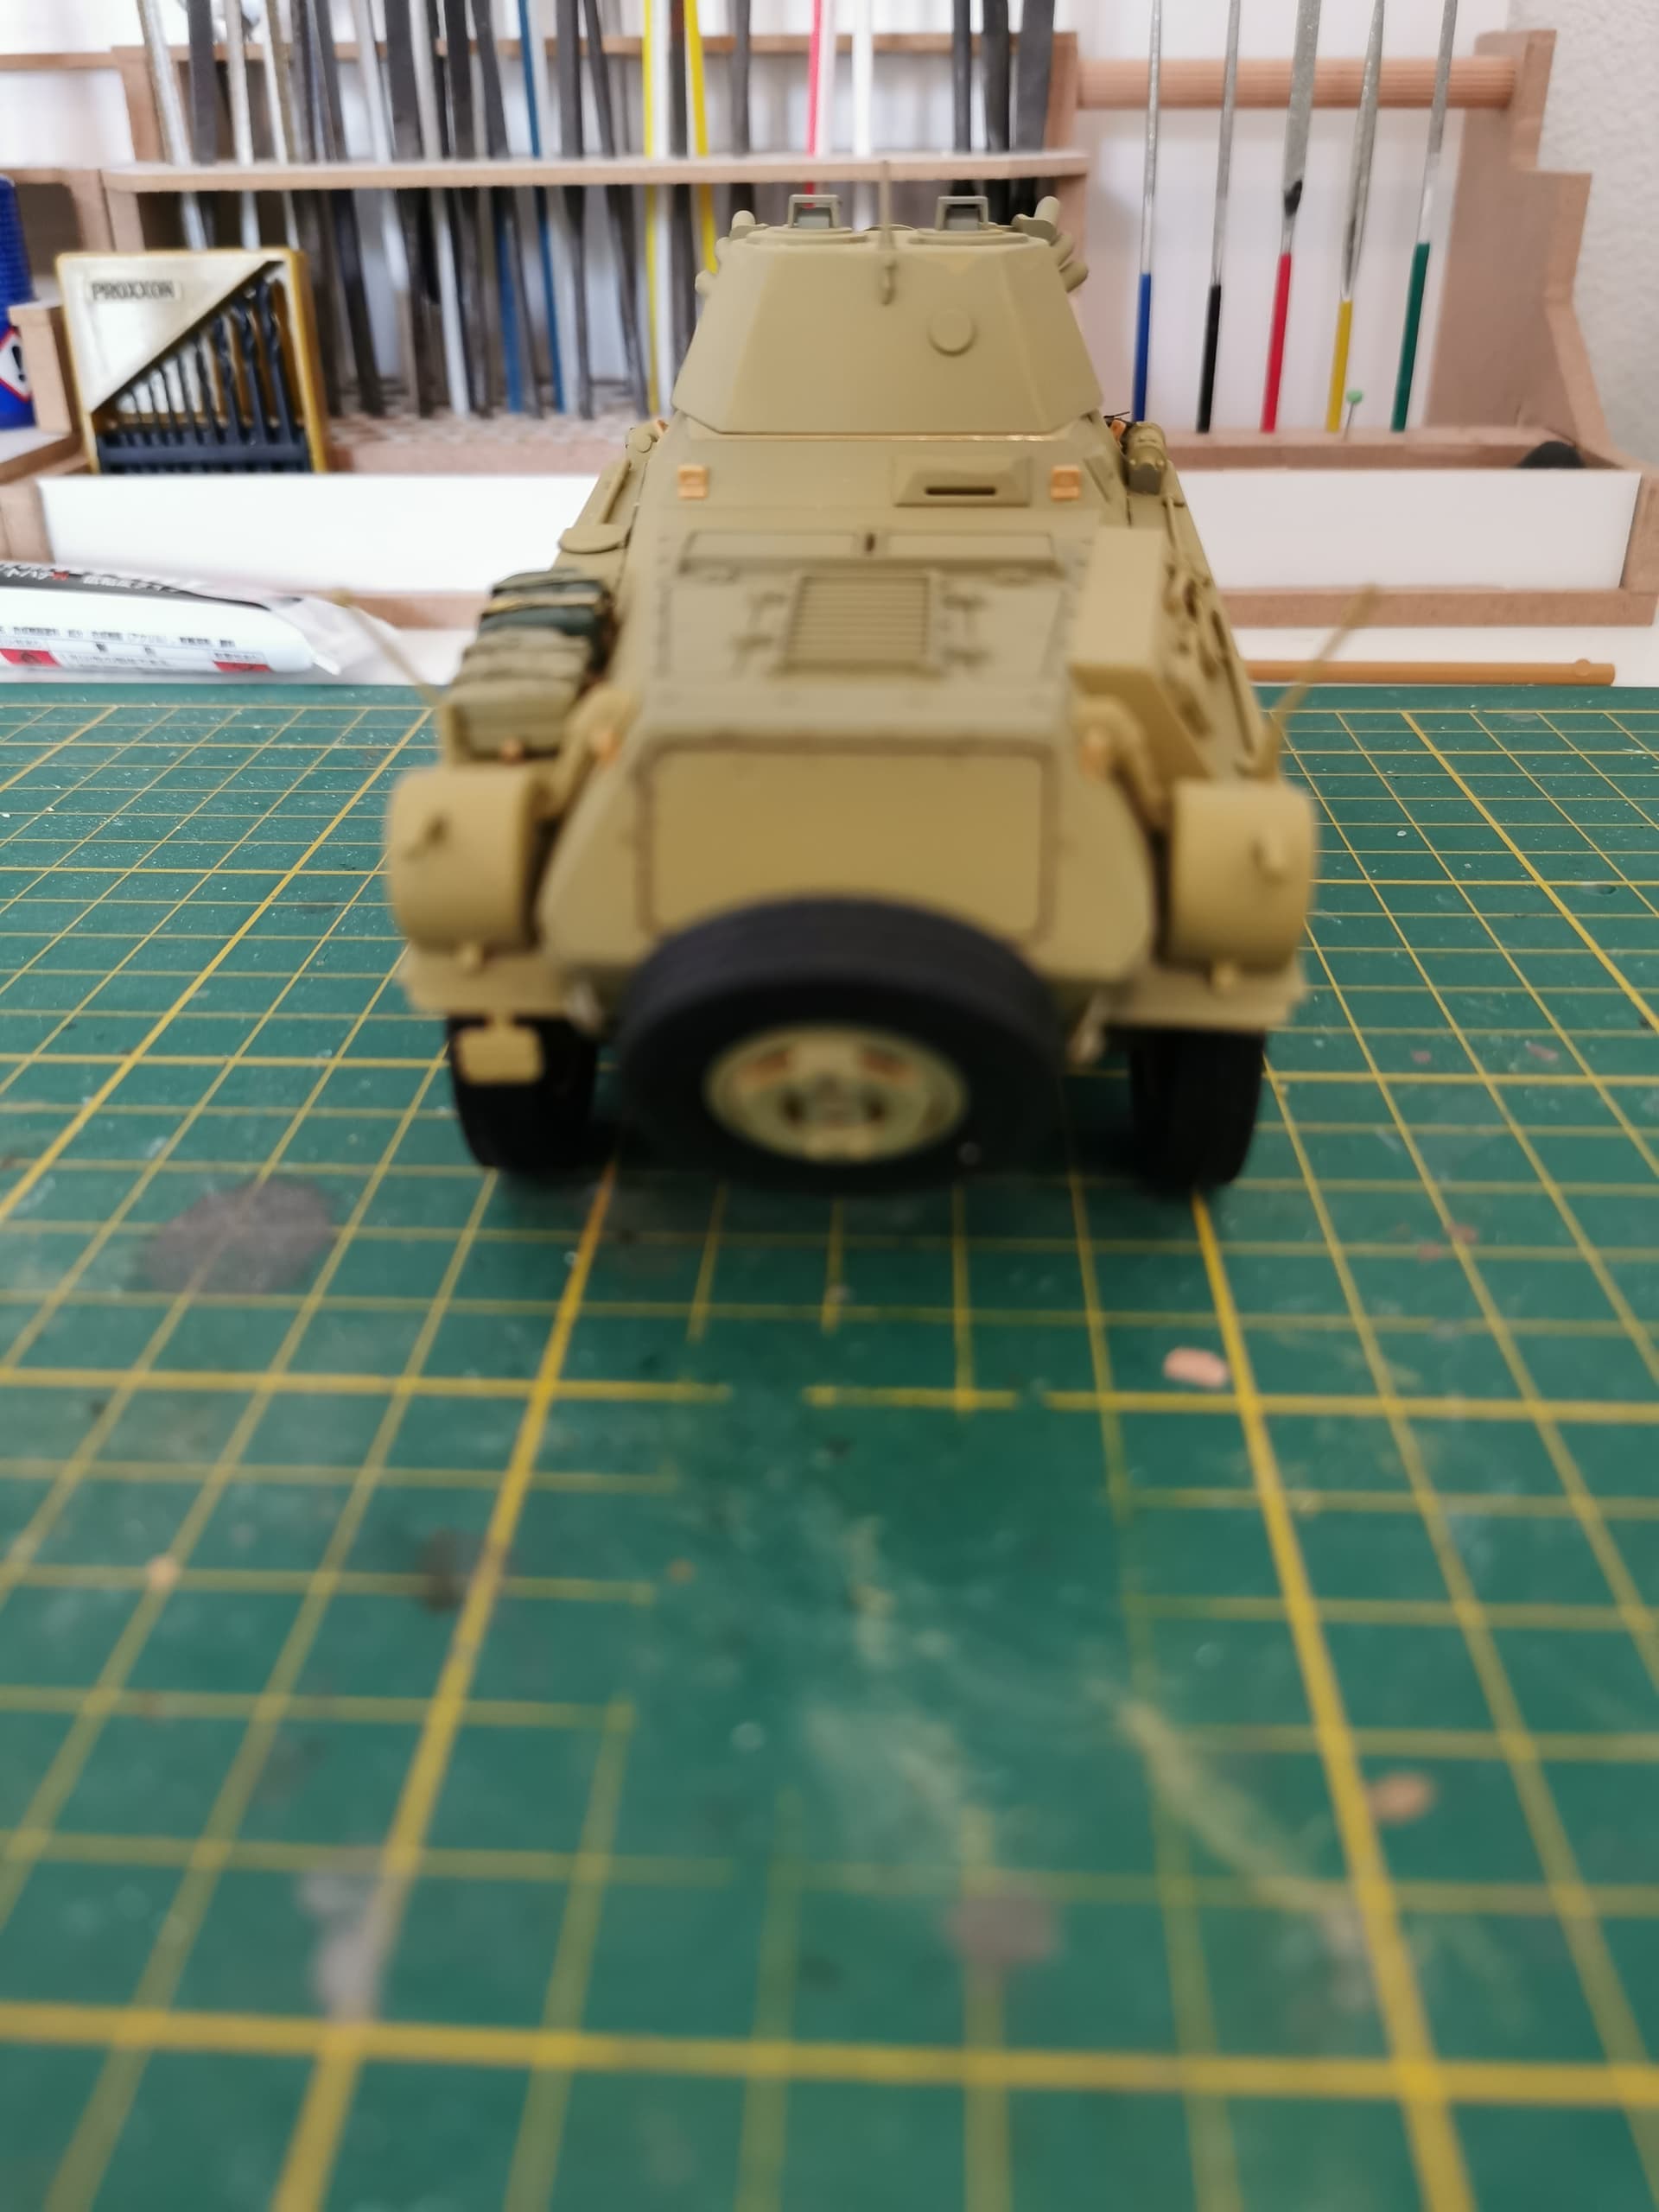
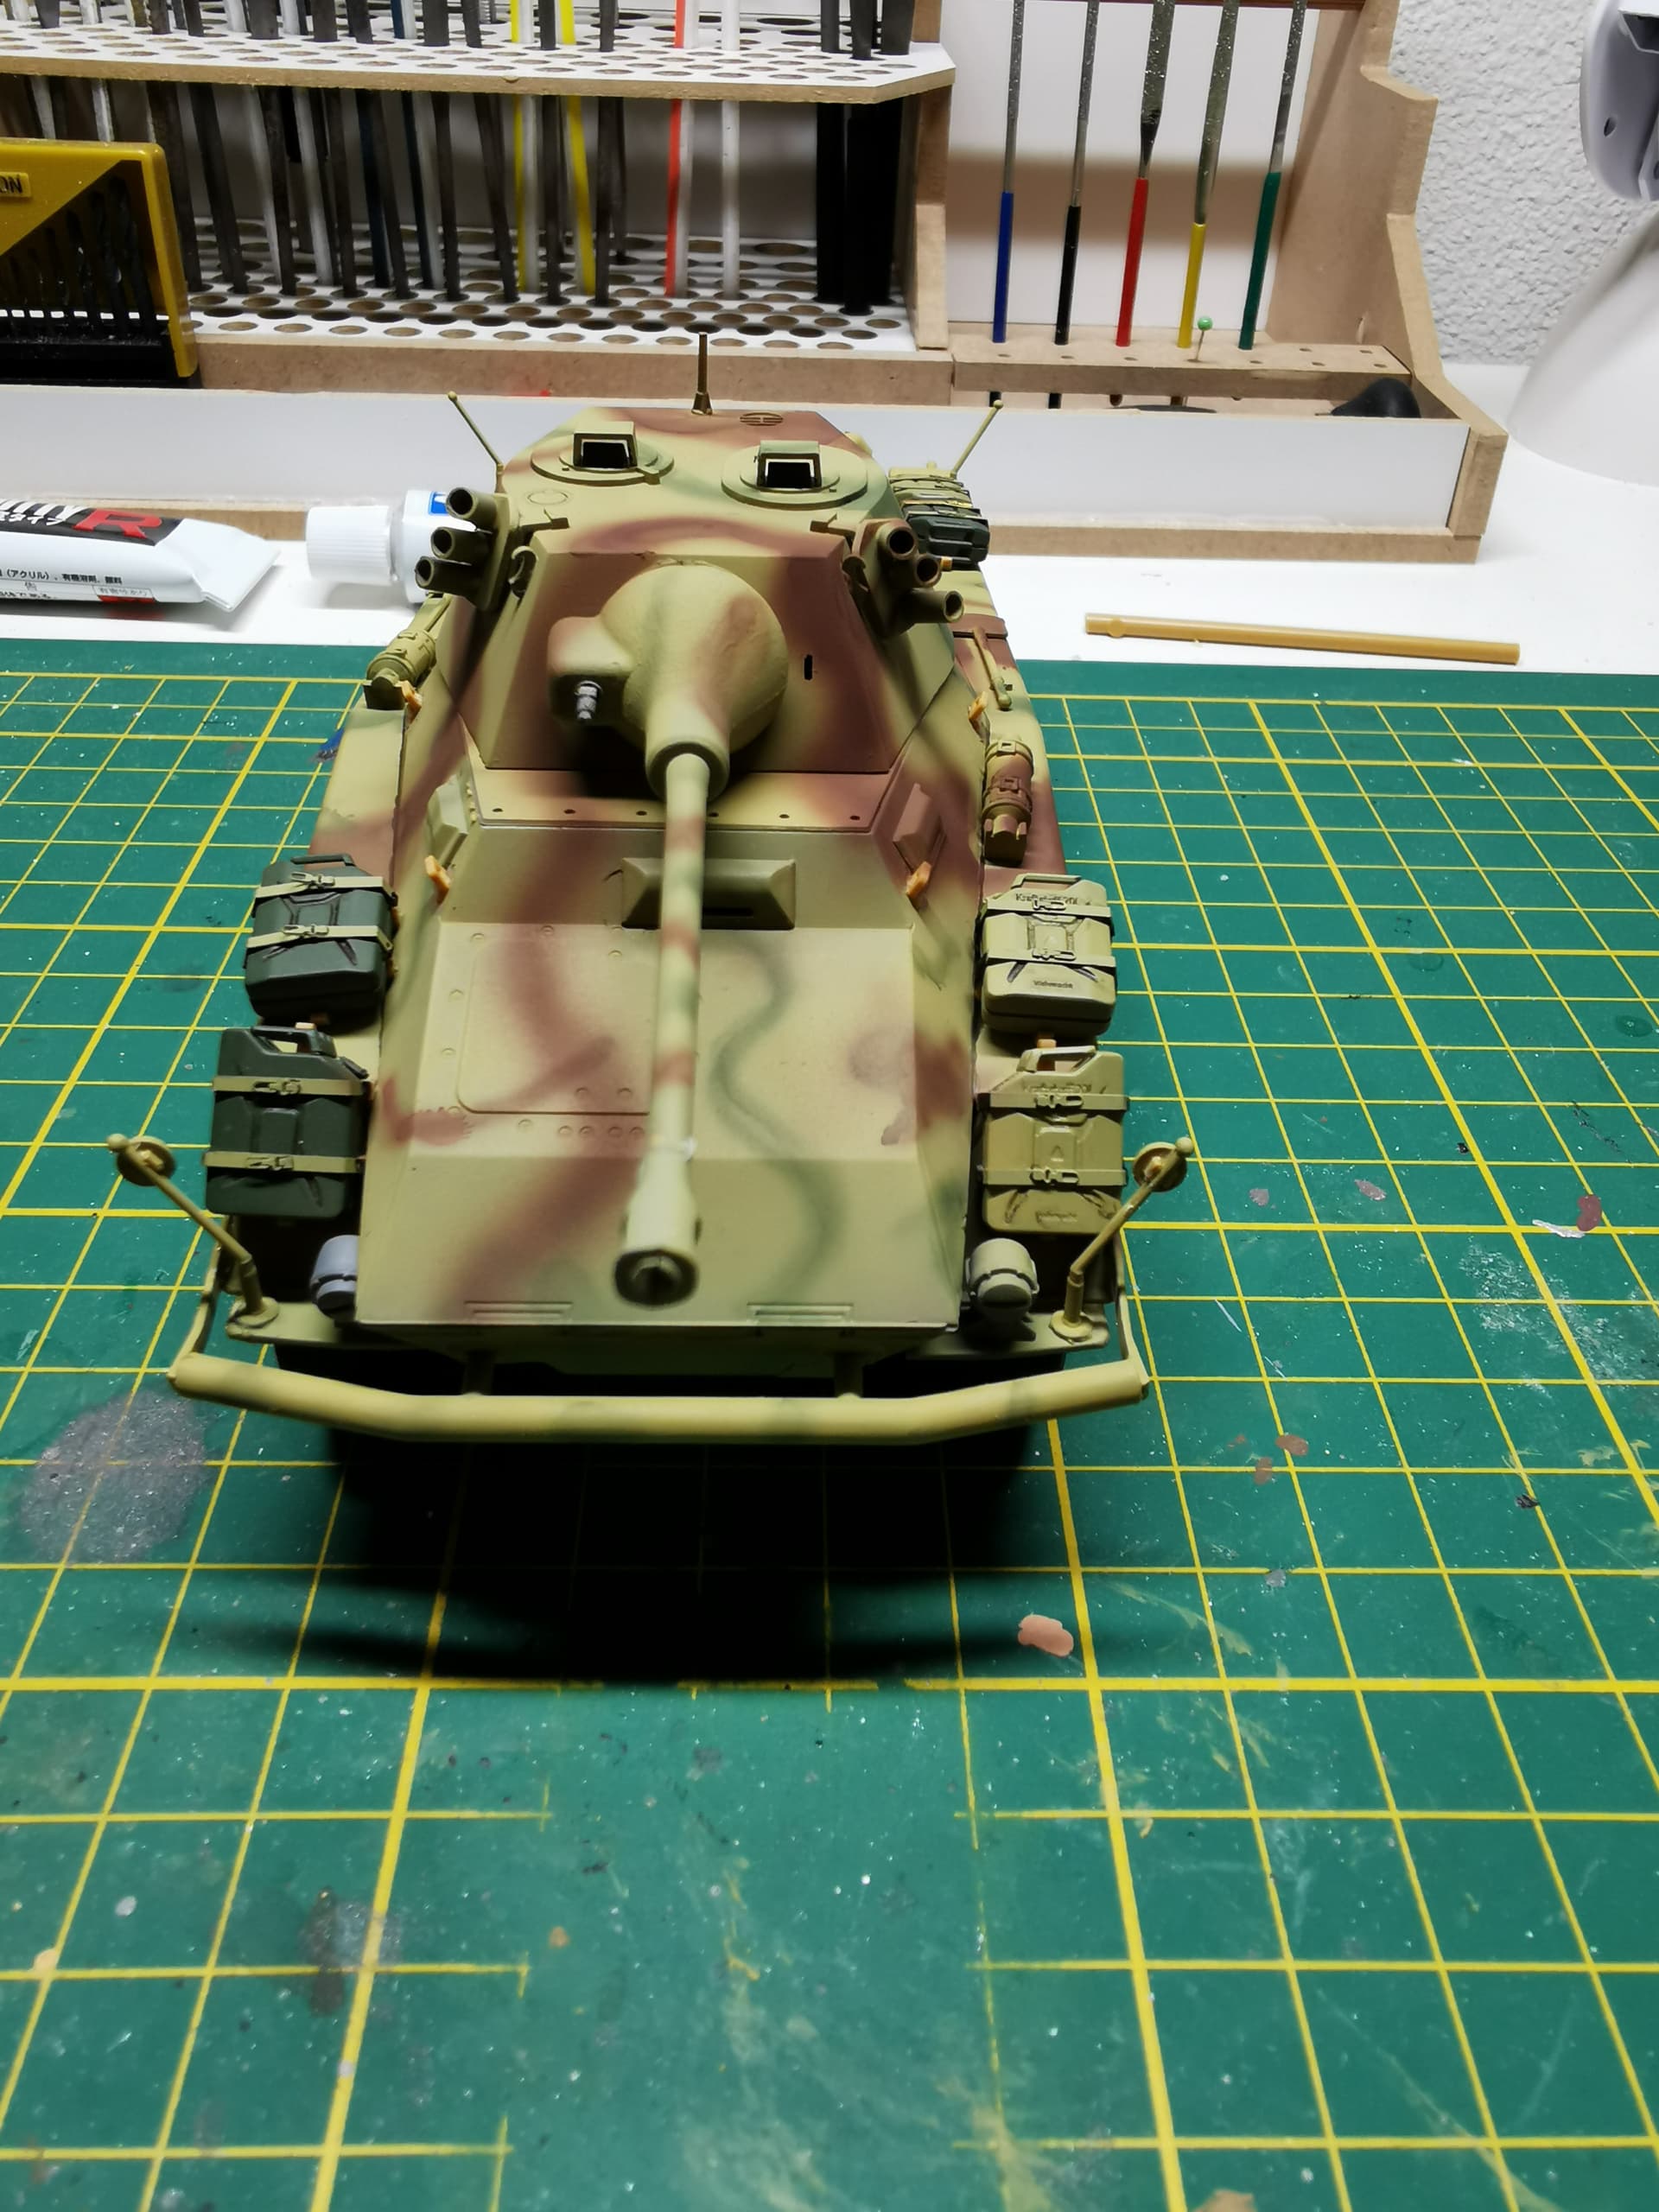
As you can see, since my previous update, a big step towards the end of the project has been made today.

For the first time since I have the AK Interactive 3rd generation acrylics. I have brush painted them on the shovels, spades width indicators and mirrors that are attached to the width indicators. The bumper has been brush painted as well.
I have tried to do these parts with the airbrush, but it proved to be more difficult than I had imagined beforehand. So I’ve been improving them with brush painting.

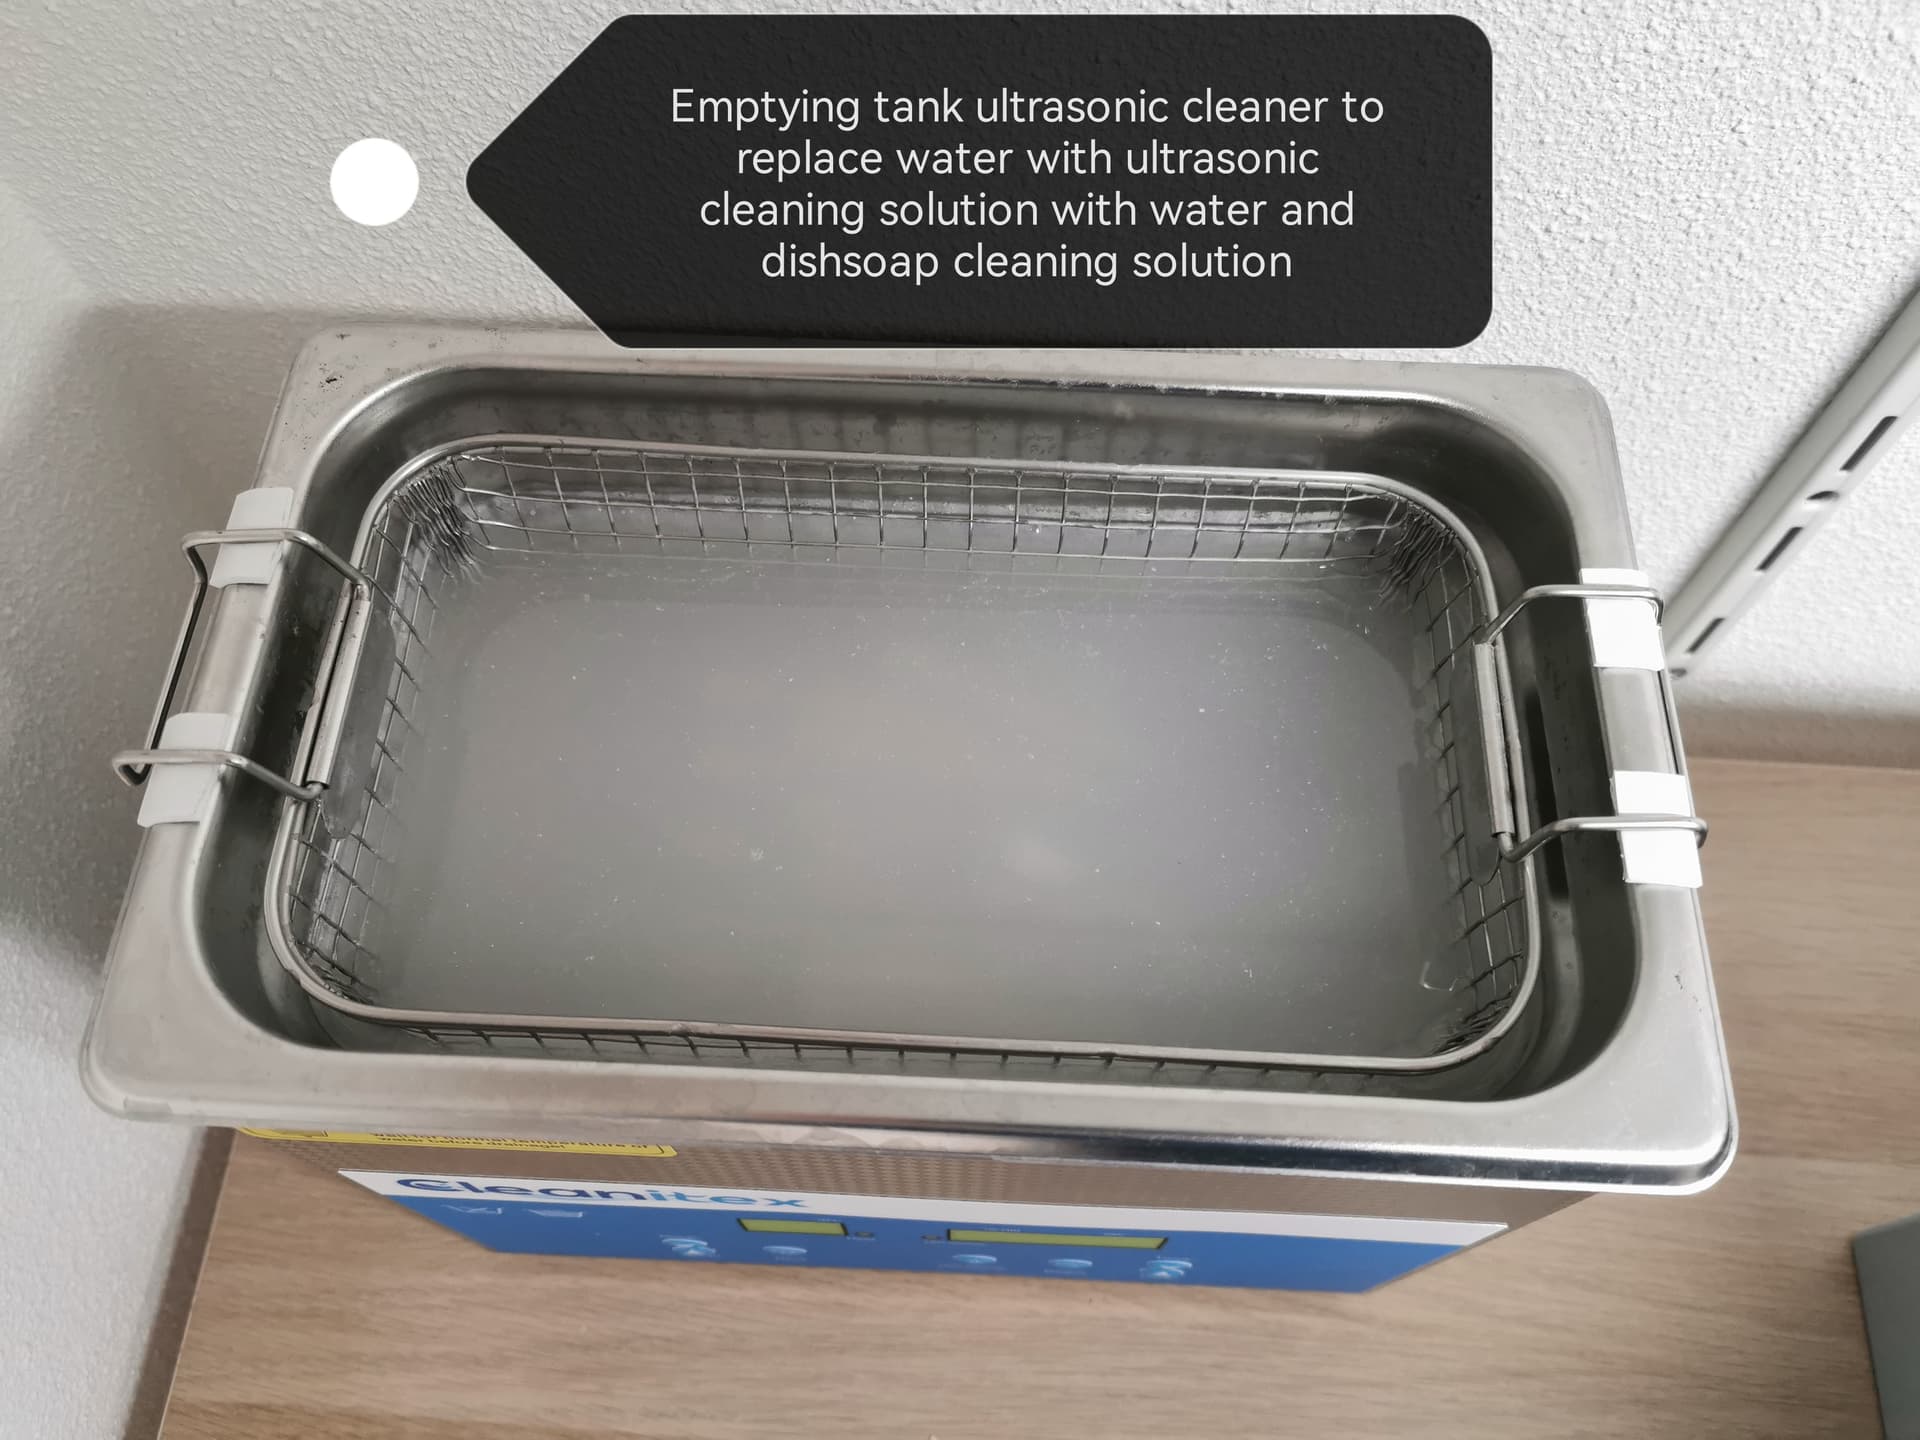
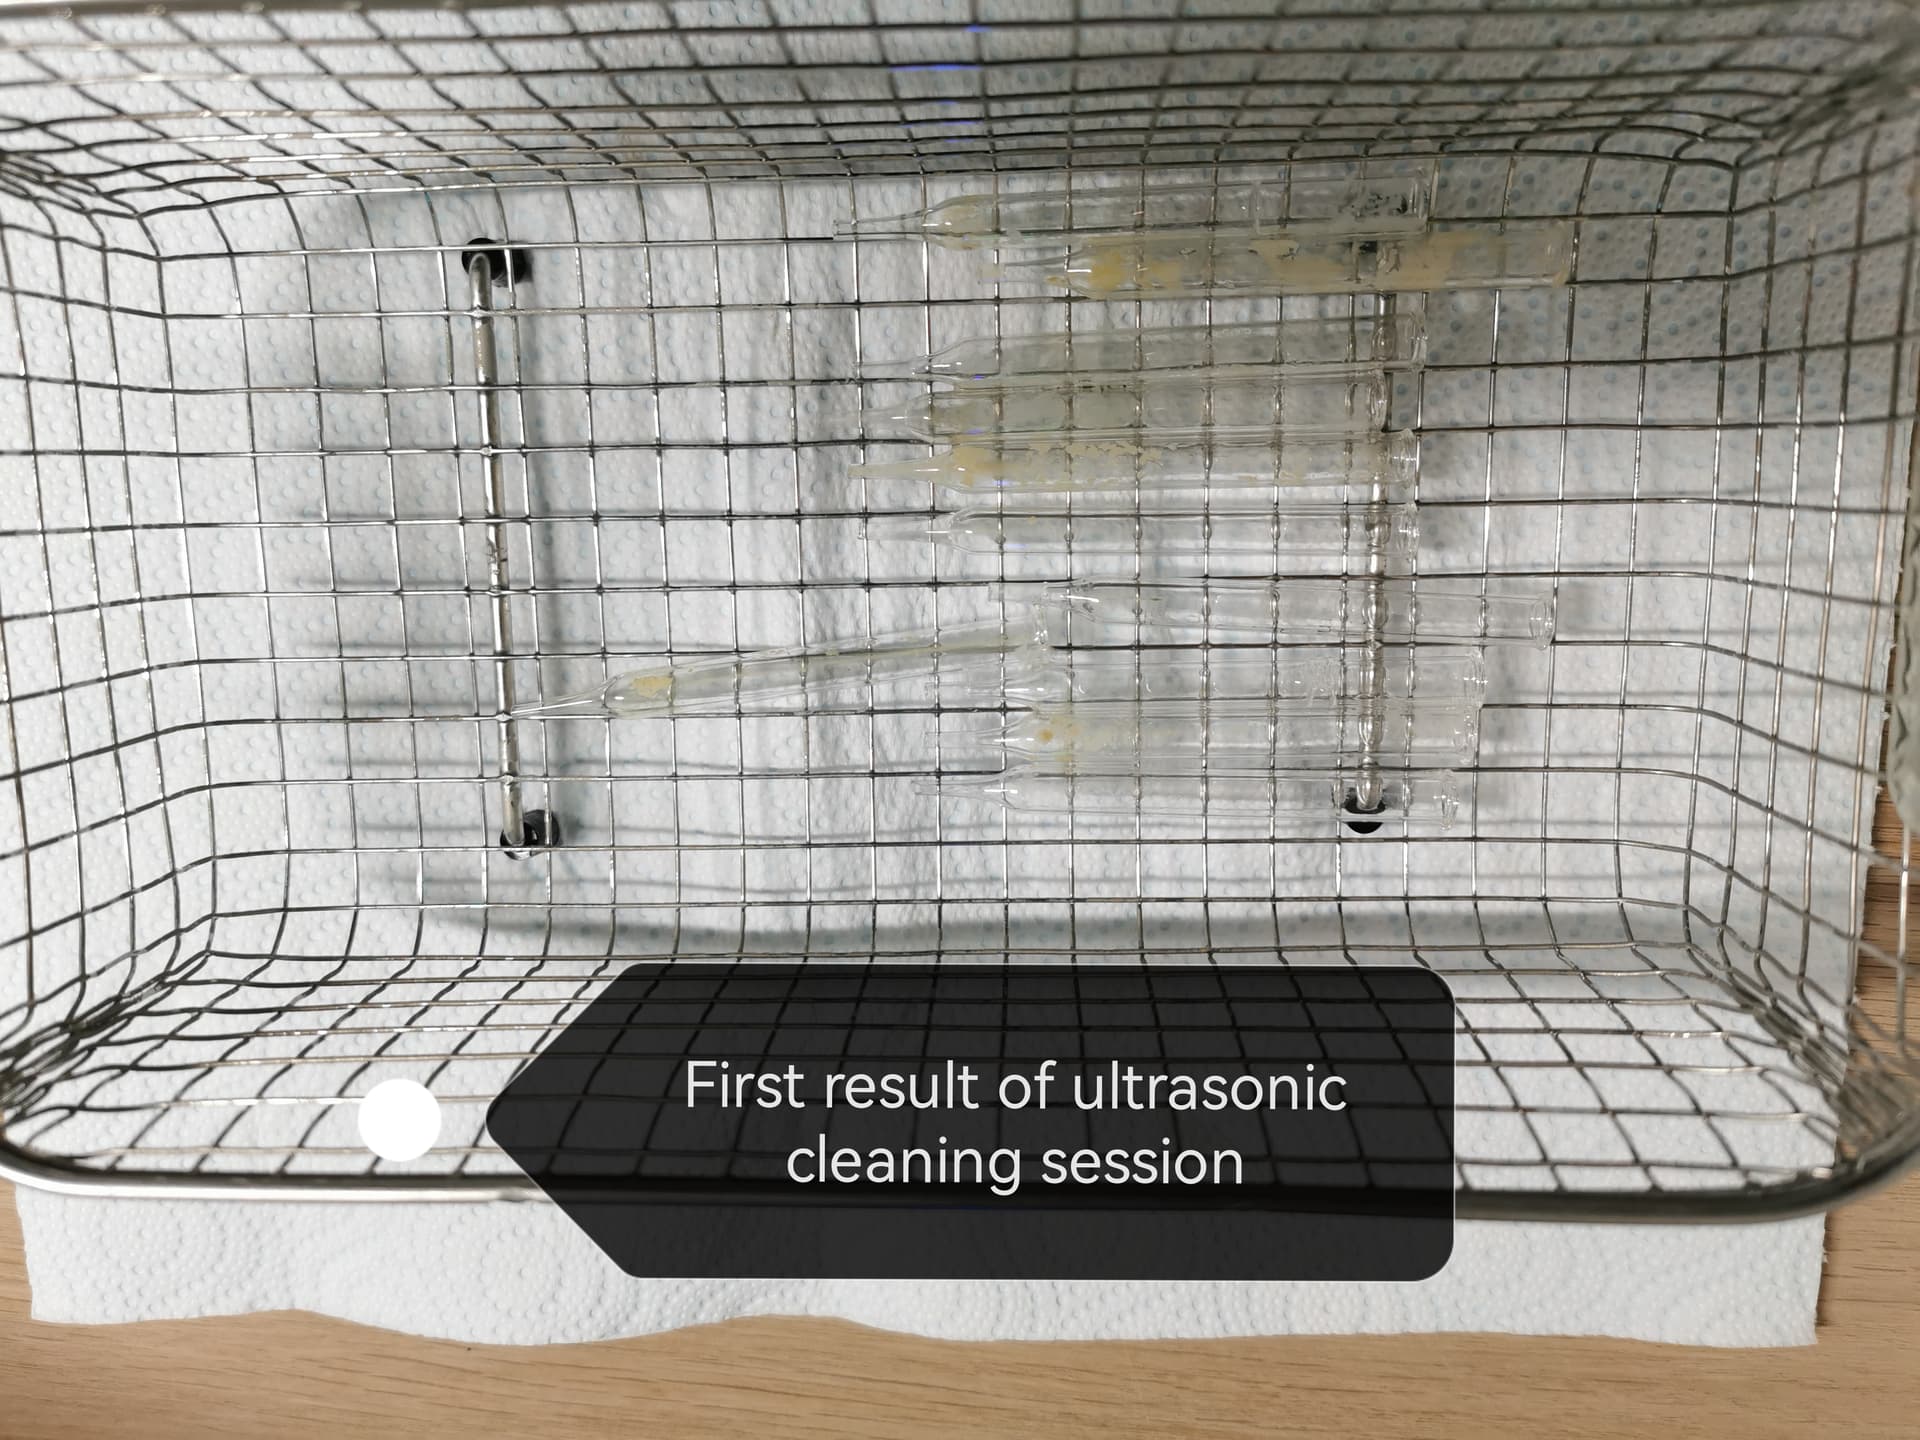
For the first time I’ve used the newly purchased brush set of Trumpeter Master Tools series. And I must say. They feel like they are premium quality brushes for a good price. Easy to clean and they were a pleasure to work with. But that’s my first impression working with them. I would have to work more with them and more frequent maybe to be able to tell more about them.

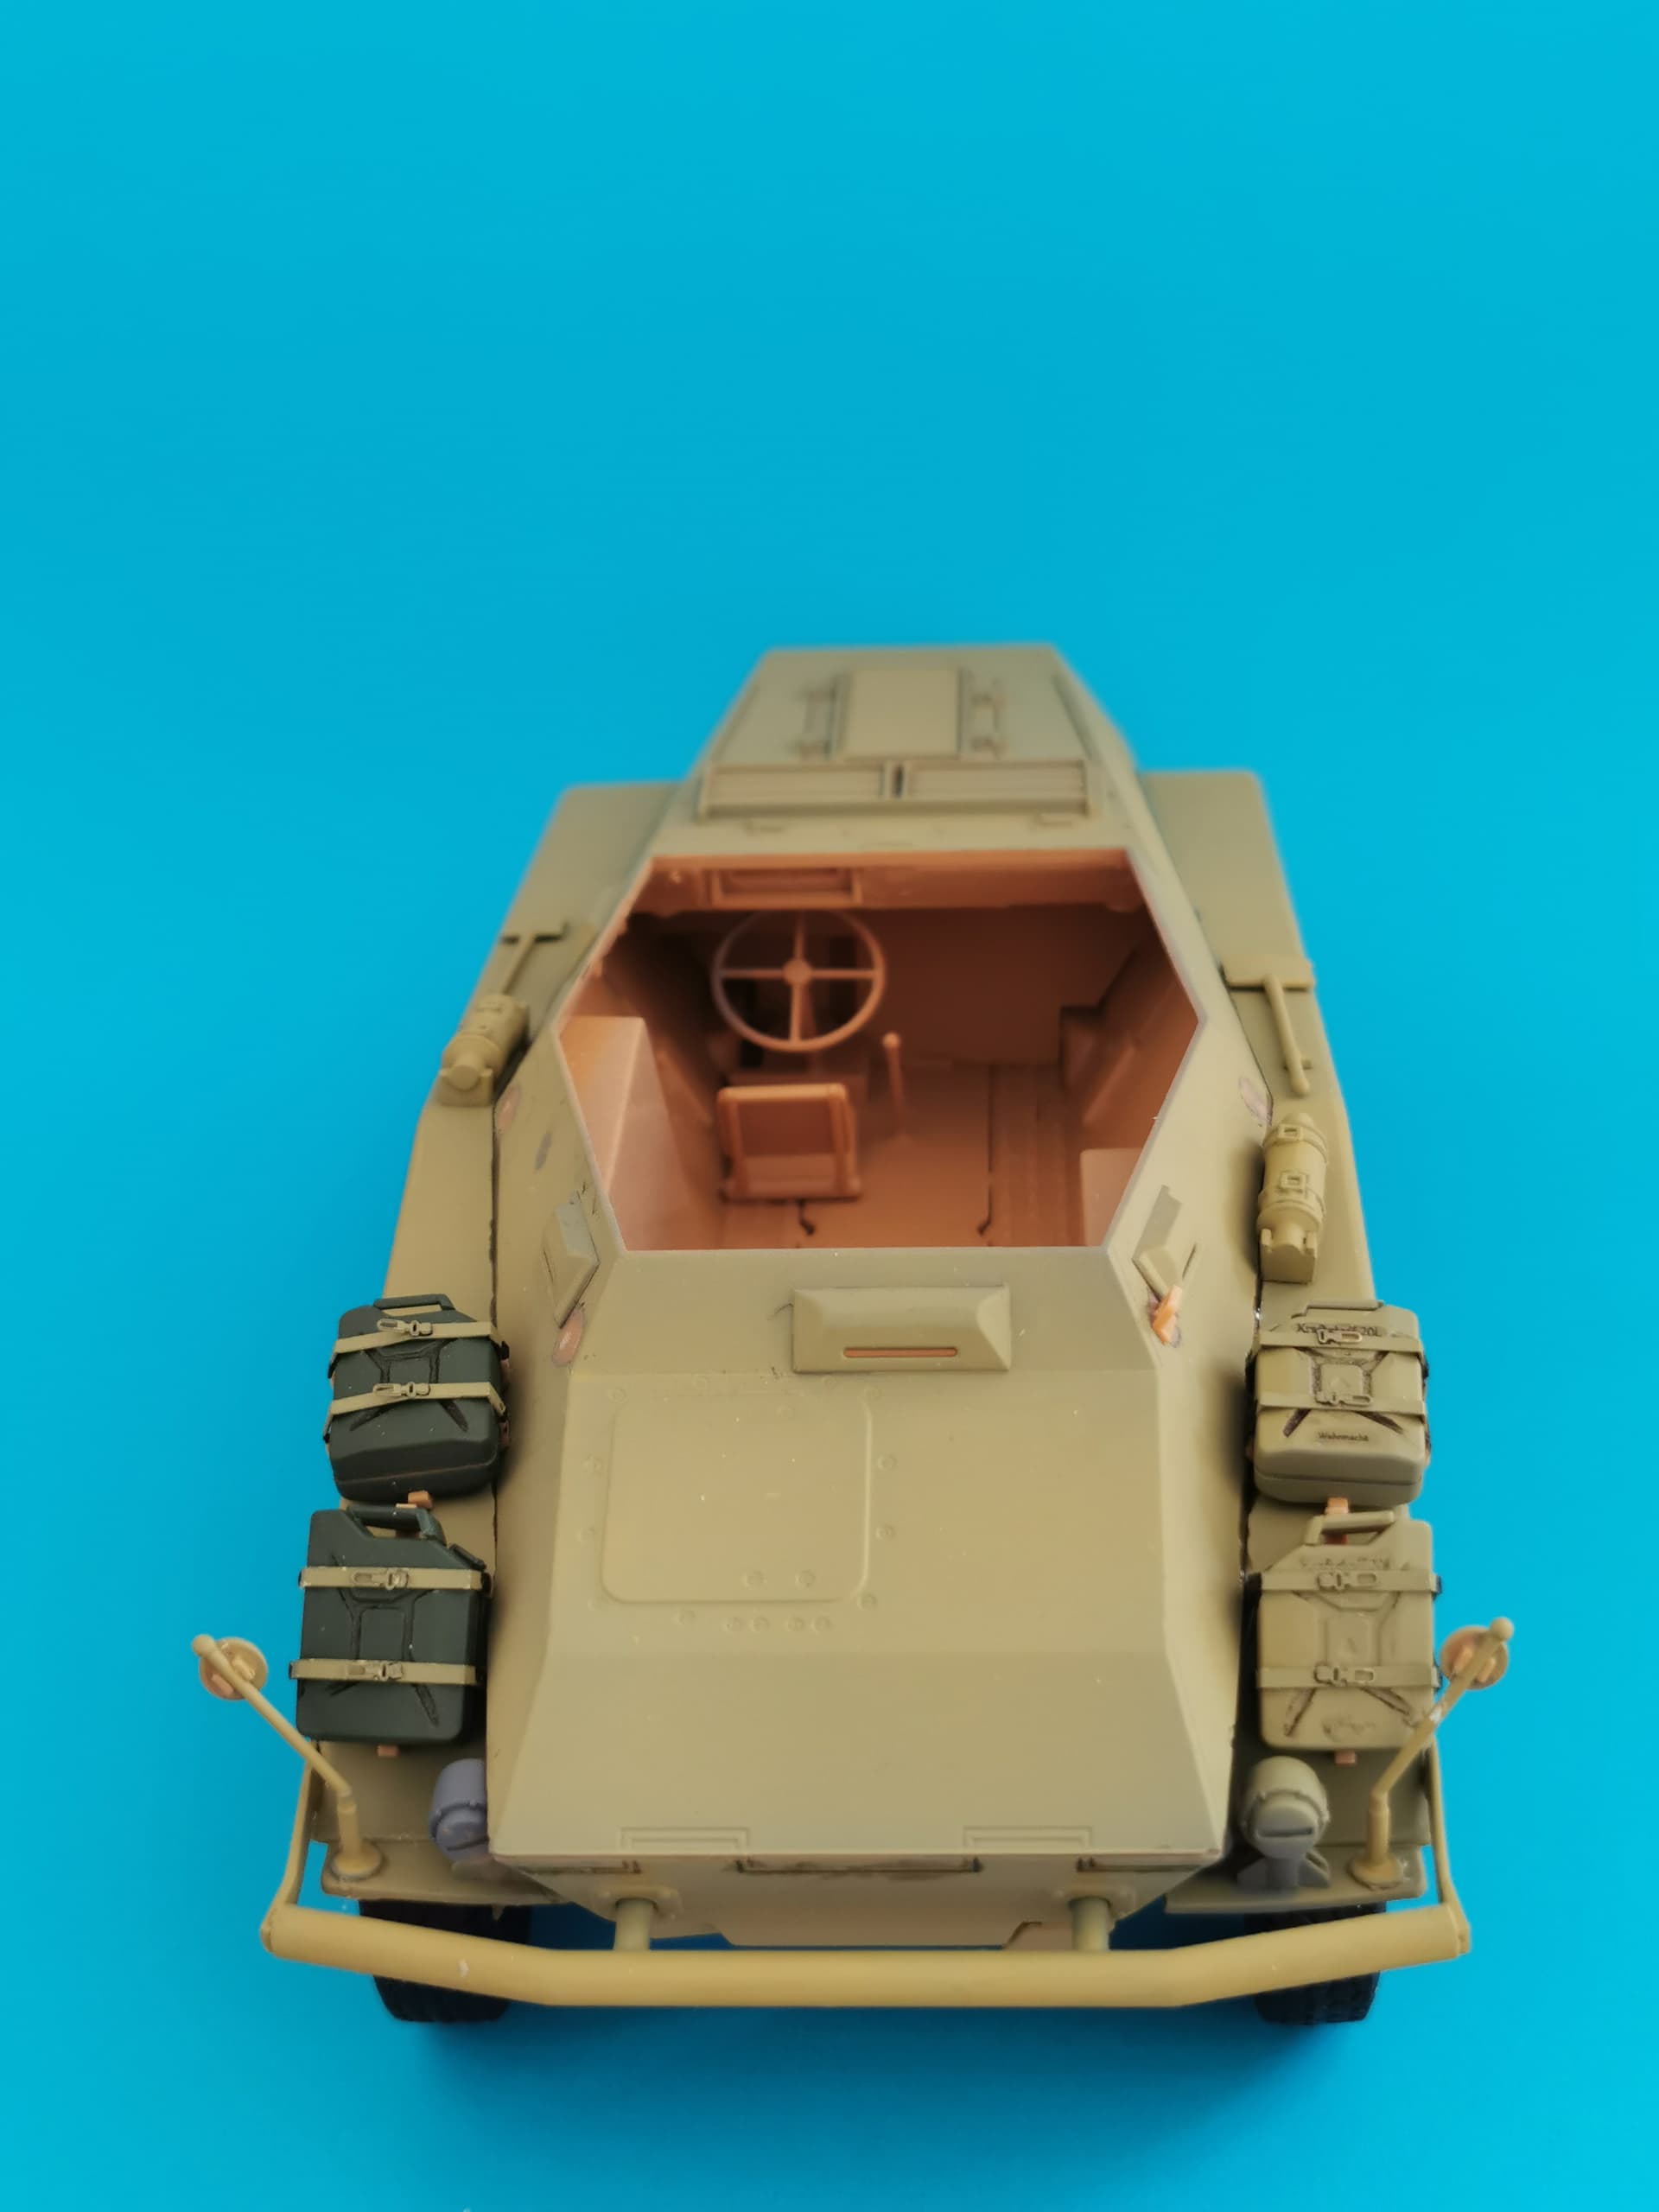
When I was fitting the two skirts? Is that how those side panels with the cabinets with the locks on them are called? To the side. I had the unpleasant experience the headlights and the horn were to tightly fitted to the left. So, I didn’t get a perfectly tight fit at the front sides to the hull. And I couldn’t do anything about it. Because, the glue has been dried a long time already. And otherwise, parts would break and it would just be an ugly mess to look at. I think you get what I mean.
Also, I didn’t get the job done with the standard MIG Low Density cement. Because it wasn’t drying already when applying it to the whole part. So, I used their superglue to glue the two sidepanels in place. And that did get the job done very well.
It took me quite some time to get the sidepanels lined up and at the perfect fitting spot. Since the indications on the whole were not correct. If I did follow them, it would’ve looked weird and ugly. So I decided to not use them and go on my own eyes and how it looked. And I think my result is paying off nicely.

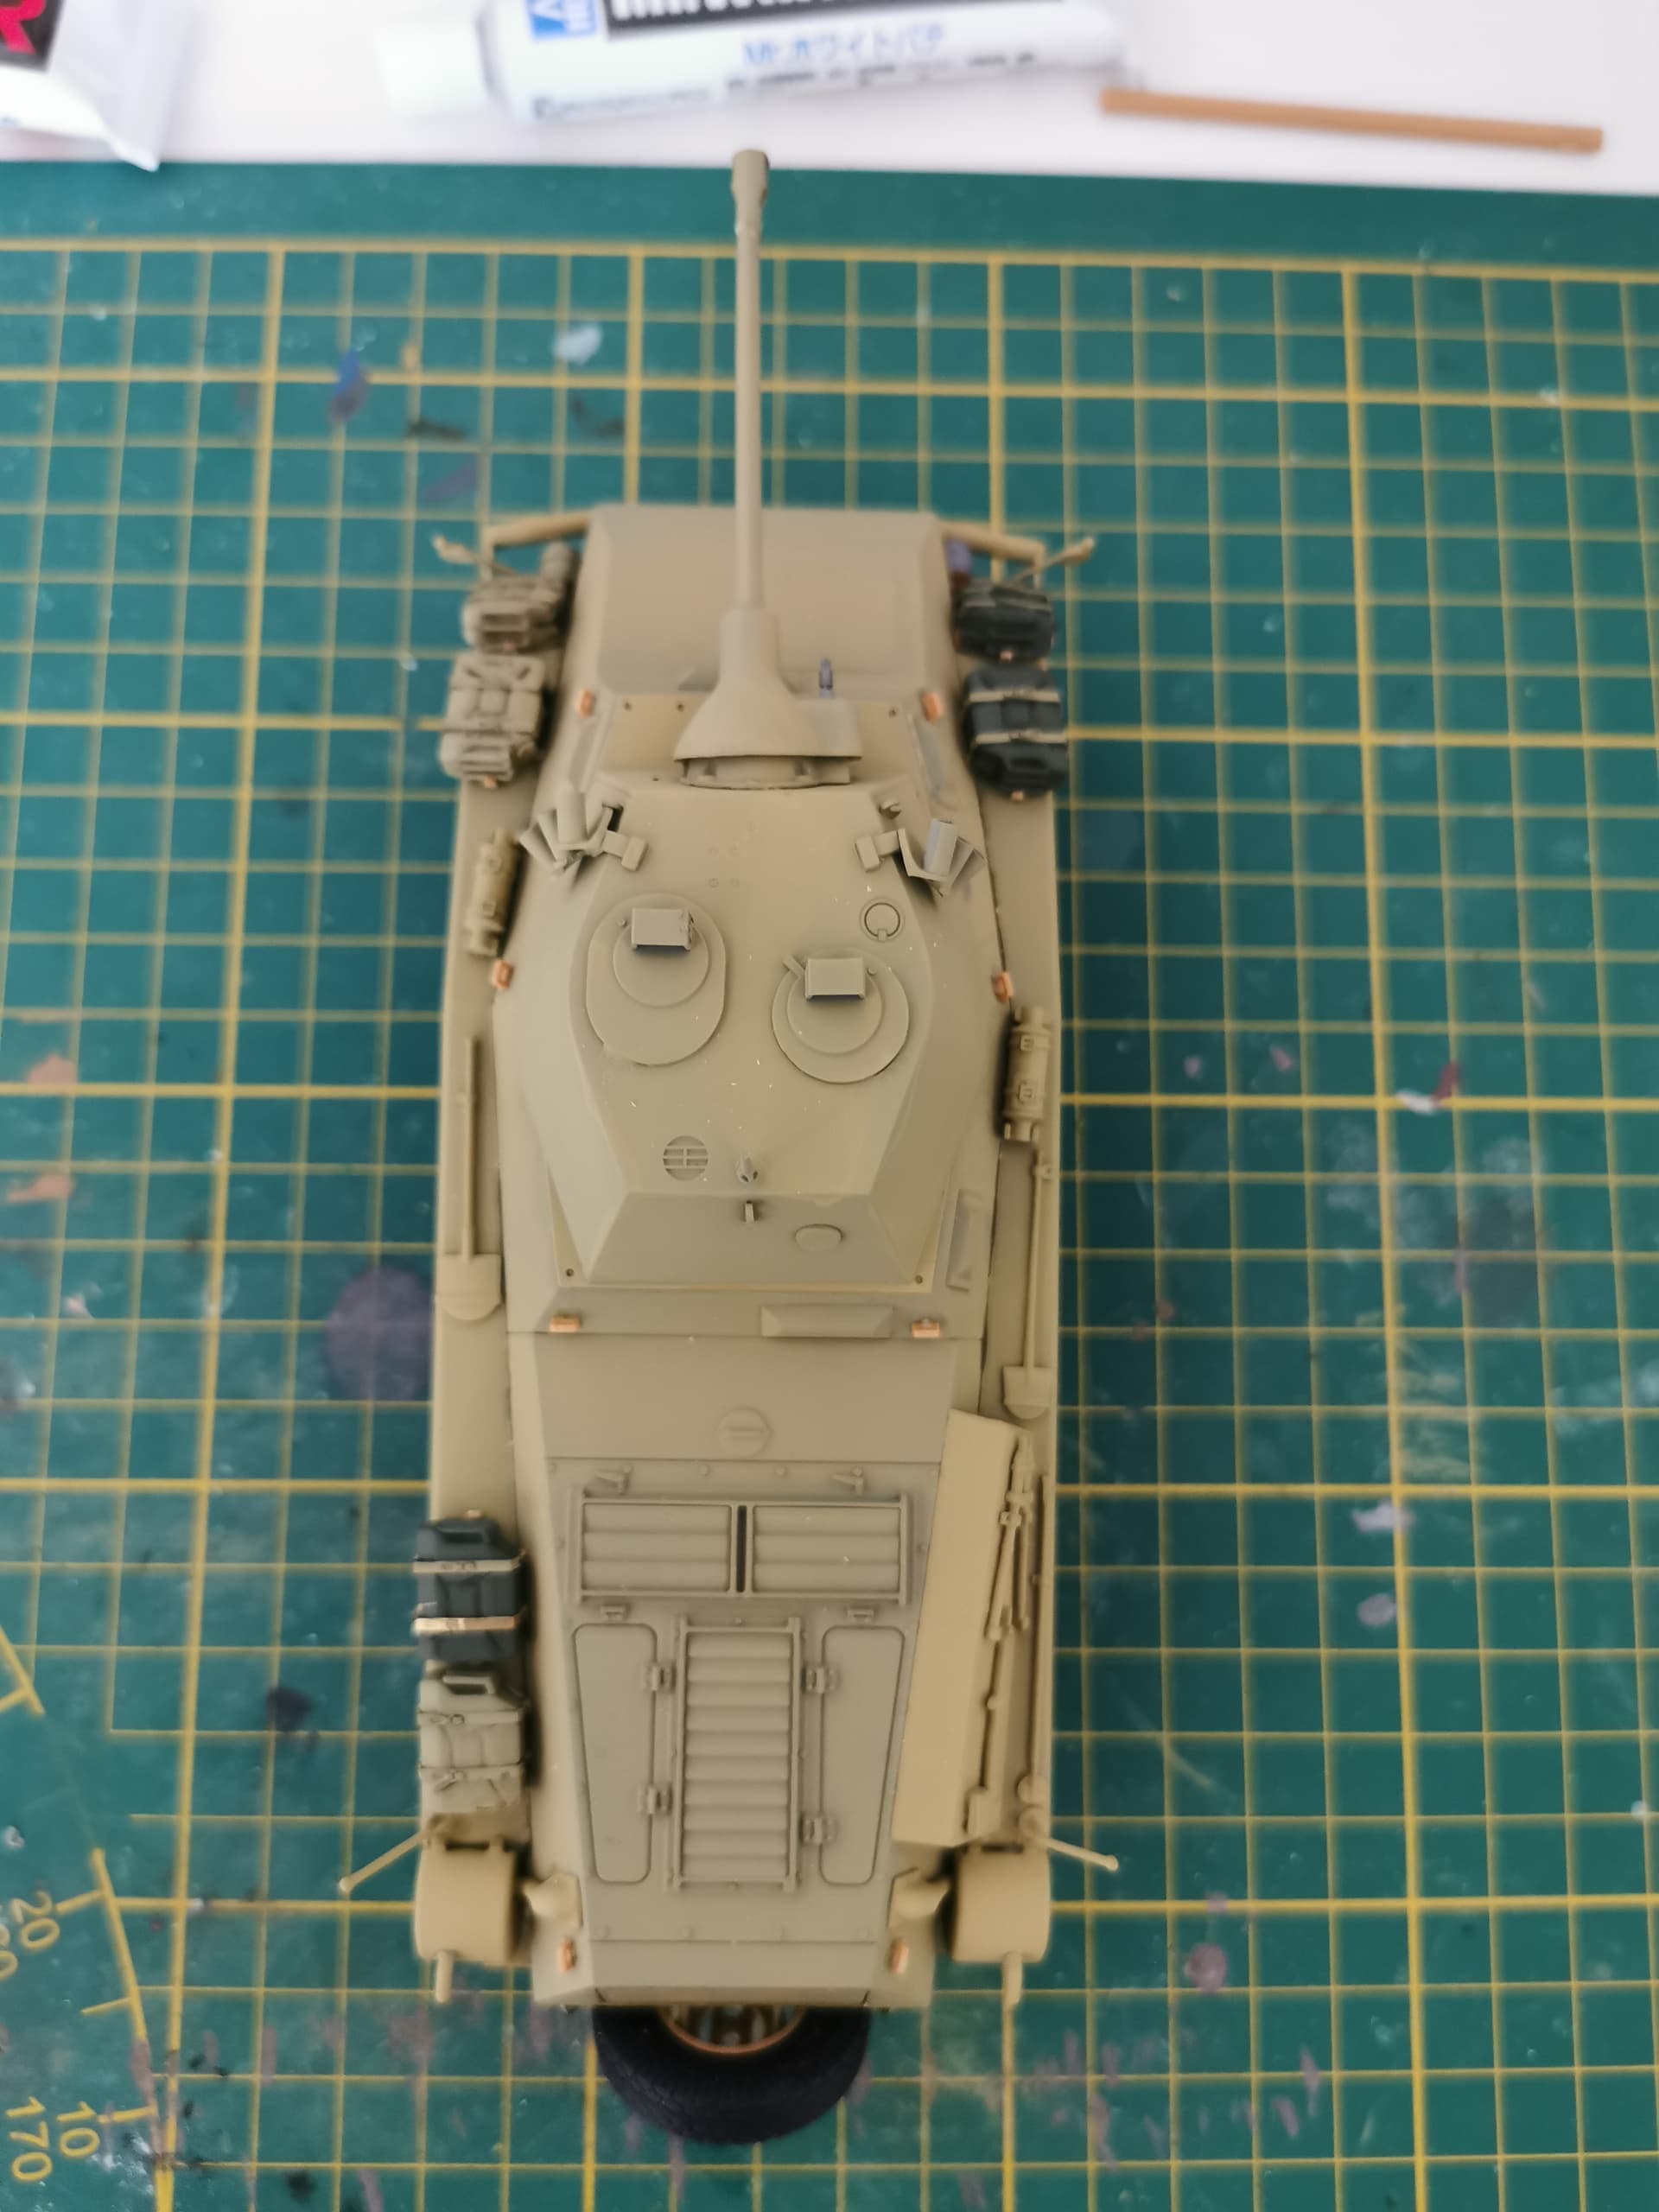
I did also take a fair amount of time to get the position of the tools just right, like the shovel, Jerry Cans and FireExtinguishers. And I’m proud of how I pulled this of as well. I think I’ve nailed that one.

The spots where you can see the color of the plastic. That’s looking quite ugly are positions where the other lifting hooks for the vehicle will be attached. I haven’t done so yet. That will be next time I will attach and paint them.

And I think that’s it then for this update. Long time since I provided an update. But I felt I didn’t really had anything interesting or important to provide as update. I just haven’t been able to spent much time on my project.

Have a great day and thanks for reading,

Artemis

4 Likes

Not really, fenders or sponsons would be more accurate. Fenders probably better.

1 Like

My advice Artemis buddy is - Niet teveel nadenken.

Don’t over think it.

Your development as a modeler depends on you getting bench time and making mistakes, learning from them, making more, learning from those, gaining experience and most of all, having a good time.

Spending too long on a hyper-researched rabbit hole of a build probably isn’t helping you if you aren’t really enjoying it, but that’s my view.

What is really pleasing to see is the progress you’ve made on your work - the above photos show you’ve improved tremendously since the pre-Famo days and what you are showing now is genuinely really good, super neat building work that most of us here would be proud of. I know I would be.

Keep at it bud, try not to worry too much. Judging by your work above you are doing absolutely brilliantly and headed in a very, very impressive direction my friend. :slight_smile:

3 Likes


On this side, there are two items missing. Because I didn’t had enough space on the fender to put them on. When I was going to remove the fire extinguisher and the shovel. It would probably break the part. Or cause other damage to the model. And I just didn’t wanna risk that happening. I already put countless hours in getting the project this far. And to be honest, I just want to finish this up. And move on to the next project. It is a pit without a bottom. In regards to time. Even those last two items would have take extra hours of work to make them look good. Removing seamlines etc. I just decided, to leave them. And save me some more work and time. And put the Jerry Cans where they were supposed to go. Because I didn’t wanted to leave them out. Since these items are so valuable, that I had to put them there. Countless hours to assemble them and make them as they are went into them. So that’s the story with this picture…


There are not much notable things with this side, except that I’ve cut of a piece of the box on the fender which you can see on the photo. The story behind this is. I didn’t had enough space to put it on the place it was supposed to go. And same story with removing the tools on this side. They were already attached. And removing them could’ve caused damage to the rest of the model. Since I didn’t wanted that to happen. I decided to cut a piece of. The instructions with this kit also were not the best. Not to clear on where everything was supposed to go. Some of the pictures did not add up. And I wanted actually to have that box with details on there. So that was the ‘solution’ I decided to go with.

I’m aware there is still some finishing touch work to do. Planning to give handpainting chips on the exhaust a try. Maybe do something with the width indicators and tools. I don’t know what I can do with the tools to make them more lifelike and realistic. Oh and the decal has to be attached to the fire extinguisher. On the other side to by the way. But I’m waiting to get the tools and products I need for that to be done. Saturday I go shopping these with my mother. So. That’s pretty much the story with this side.

The lifting hooks still have to be primed and painted. I will do this with a brush. I’m also planning to brush paint the varnish on the fire extinguishers. Still have to work out how. But that’s what I’m planning. If you can help me with this. That would be awesome…


A picture of the upper front view.
I have painted the periscopes with the periscope shade paint of my AK Interactive 3rd gen acrylics Vehicle accesories paint set.
Is there also something I can do with this front panel that’s currently less visible because of the paint?
Something simple maybe?
I also know that I need to paint the head lights.
The reasons why they are not that straight is again, didn’t had the space to do so.
And the instructions were not clear enough where the part should go.
I also checked reference photo’s and saw that the lights had to be really close to the main body.
But didn’t work out as well with the assembly process.
Also I’m going to paint the machine gun in the turret, but that’s still in progress.


A picture of the lower front view.
Put a wash on the welding seams as you probably can see.
There isn’t much else I have to say with this photo.


Is there something I can do with the engine deck to make it more real/life like? Something simple possibly?

And that’s it for this update.

7 Likes

you can paint of rust the exaust and put some stain on the deck and near the fuel cap

1 Like

Well done! The build is coming along nicely.

I have found enough video’s on how to paint the rust on the exhaust. But I didn’t found enough video’s on how to paint the stain on the engine deck. I probably don’t exactly know what to look for and what search queries to fill in on the YouTube search bar. Could you help me in the right direction?

If you go to the AK site, there are helpful video’s etc about their products like…

You can get this kind of stuff from different brands in Dutch model shops.

1 Like

In case anyone is interested:

2 Likes

Have you used flat black for the tyres?

Try using a dedicated ‘rubber & tyres’ colour - most paint manufacturers produce versions. Black is too ‘black’ for tyres, which aren’t black, if you know what I mean.

Someone a while back suggested adding a touch of flat brown to black. In my opinion it produces a really nice base for tires. A very dark grey with a warm undertone

image
is this inspiring you?

2 Likes


Let me first say, I’m totally irritated on how the result turned out. And about how the actual airbrush session yesterday went. I’m not at all satisfied with the camouflage pattern. It doesn’t look like at all with the camouflage drawings provided into the instructions. And I had as usual problems when applying the camouflage.

7 Likes

It takes a lot of practice to get good at airbrushing.
Practice on some other solid surfaces before painting the model.

Edit: I agree with Khouli (next post) that it looks OK. A perfect paint job could be unrealistic considering the conditions under which the real thing was painted.

3 Likes

That said, I don’t think it looks too bad really. Quite a lot of camouflage was unconventionally applied and random in its pattern.

As Robin says, airbrushing techniques need practice, so practice…

3 Likes

That looks pretty good. And guess what? In real life, they handed the paint and a spray gun to a crew member, usually the driver, and told him to paint the camouflage. He had less skill and experience than you do, and just wanted to get the job done so he could eat lunch. He didn’t care how it looked, as long as it made the sergeant happy.
Ken

4 Likes

Thank you for all the support, it helps me carry on with the project.
To finish it all the way till the end.

Facts of real life do help me in these kinds of situations, also thank you for providing these.
Special thanks to @tankerken for providing the real life scenarios.

Anyway, I will go through till the end.
And you will probably see more updates in the future, so stay tuned.

Test to clean pipettes in ultrasonic cleaner using detergent instead of ultrasonic cleaning solution

I’m trying out the soltuion of documenting my tests and the results suggested by @Armor_Buff in my post in Scalemodeling Q&A which you can find here: How are you testing new products you've purchased? - #2 by Armor_Buff

I hope it’s clear enough.

And I hope I understood correctly, there might be lots of room to improve with this method.
But so far, I like it.
I imagine when I’m doing this more often and more frequent.
It might be as quick and easy as @Armor_Buff is saying or even faster.

Anyway, thanks for viewing and reading all the way till the end.

3 Likes

I never bother with any of that ultrasonic cleaning solution malarky. I just use warm water and a drop or two of washing up liquid. Anything that needs to be cleaned by a specialist solution goes into its own small jar (I use Tamiya mixing jars) of that solution and I put those into the warm water - never use the basket either.

Everything i’ve put in has come out clean so far.

1 Like

Same as Khouli here except I’ll use the basket sometimes. If something needs Ultrasonic cleaning, I’ll normally run the cleaning cycle three times with the items in the water or dishwashing solution. I’ve never tried a dedicated Ultrasonic cleaning solution. I have an inexpensive very basic UC from Amazon

Not saying anyone else should do this but a clean empty glass bottle w/lid 3/4 filled with one of my favorite solvents like MEK does wonders for cleaning airbrush parts, color cups, nozzles etc with enamel, lacquer or other residue.

1 Like