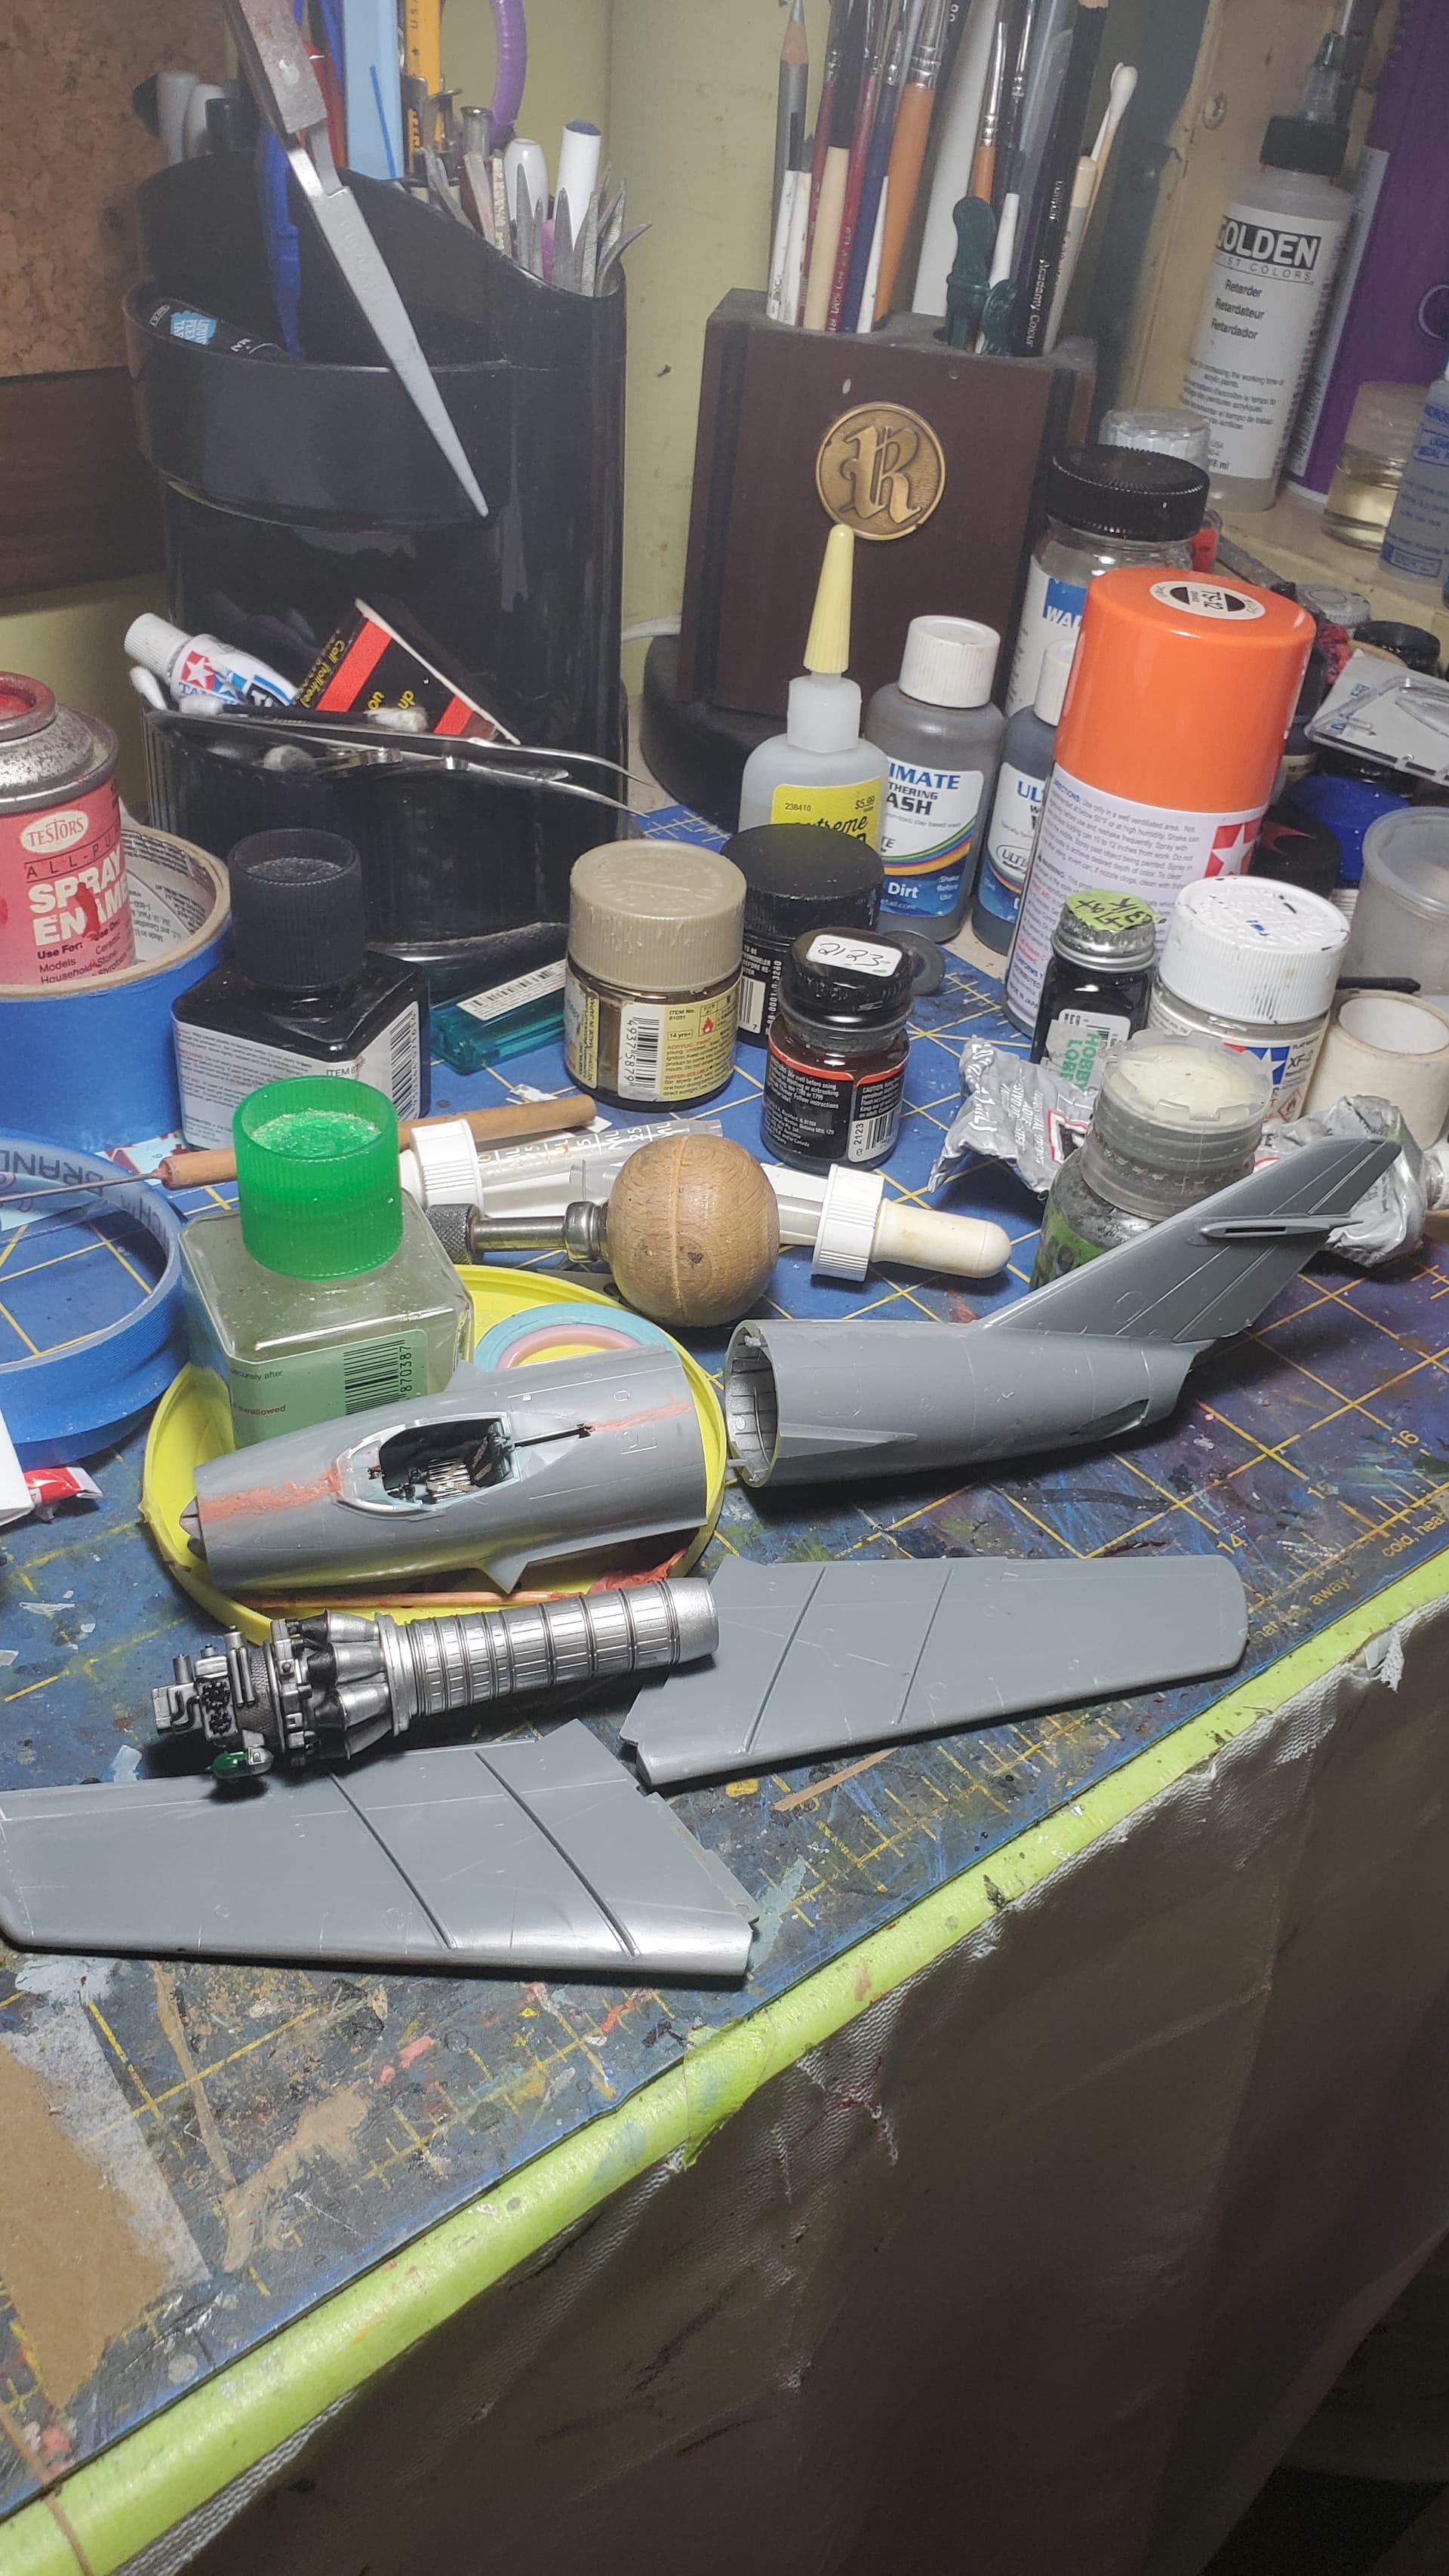
Here is my progress on the mig 15.
basic kit cockpit i just added a couple pe levers from a old 109 set.
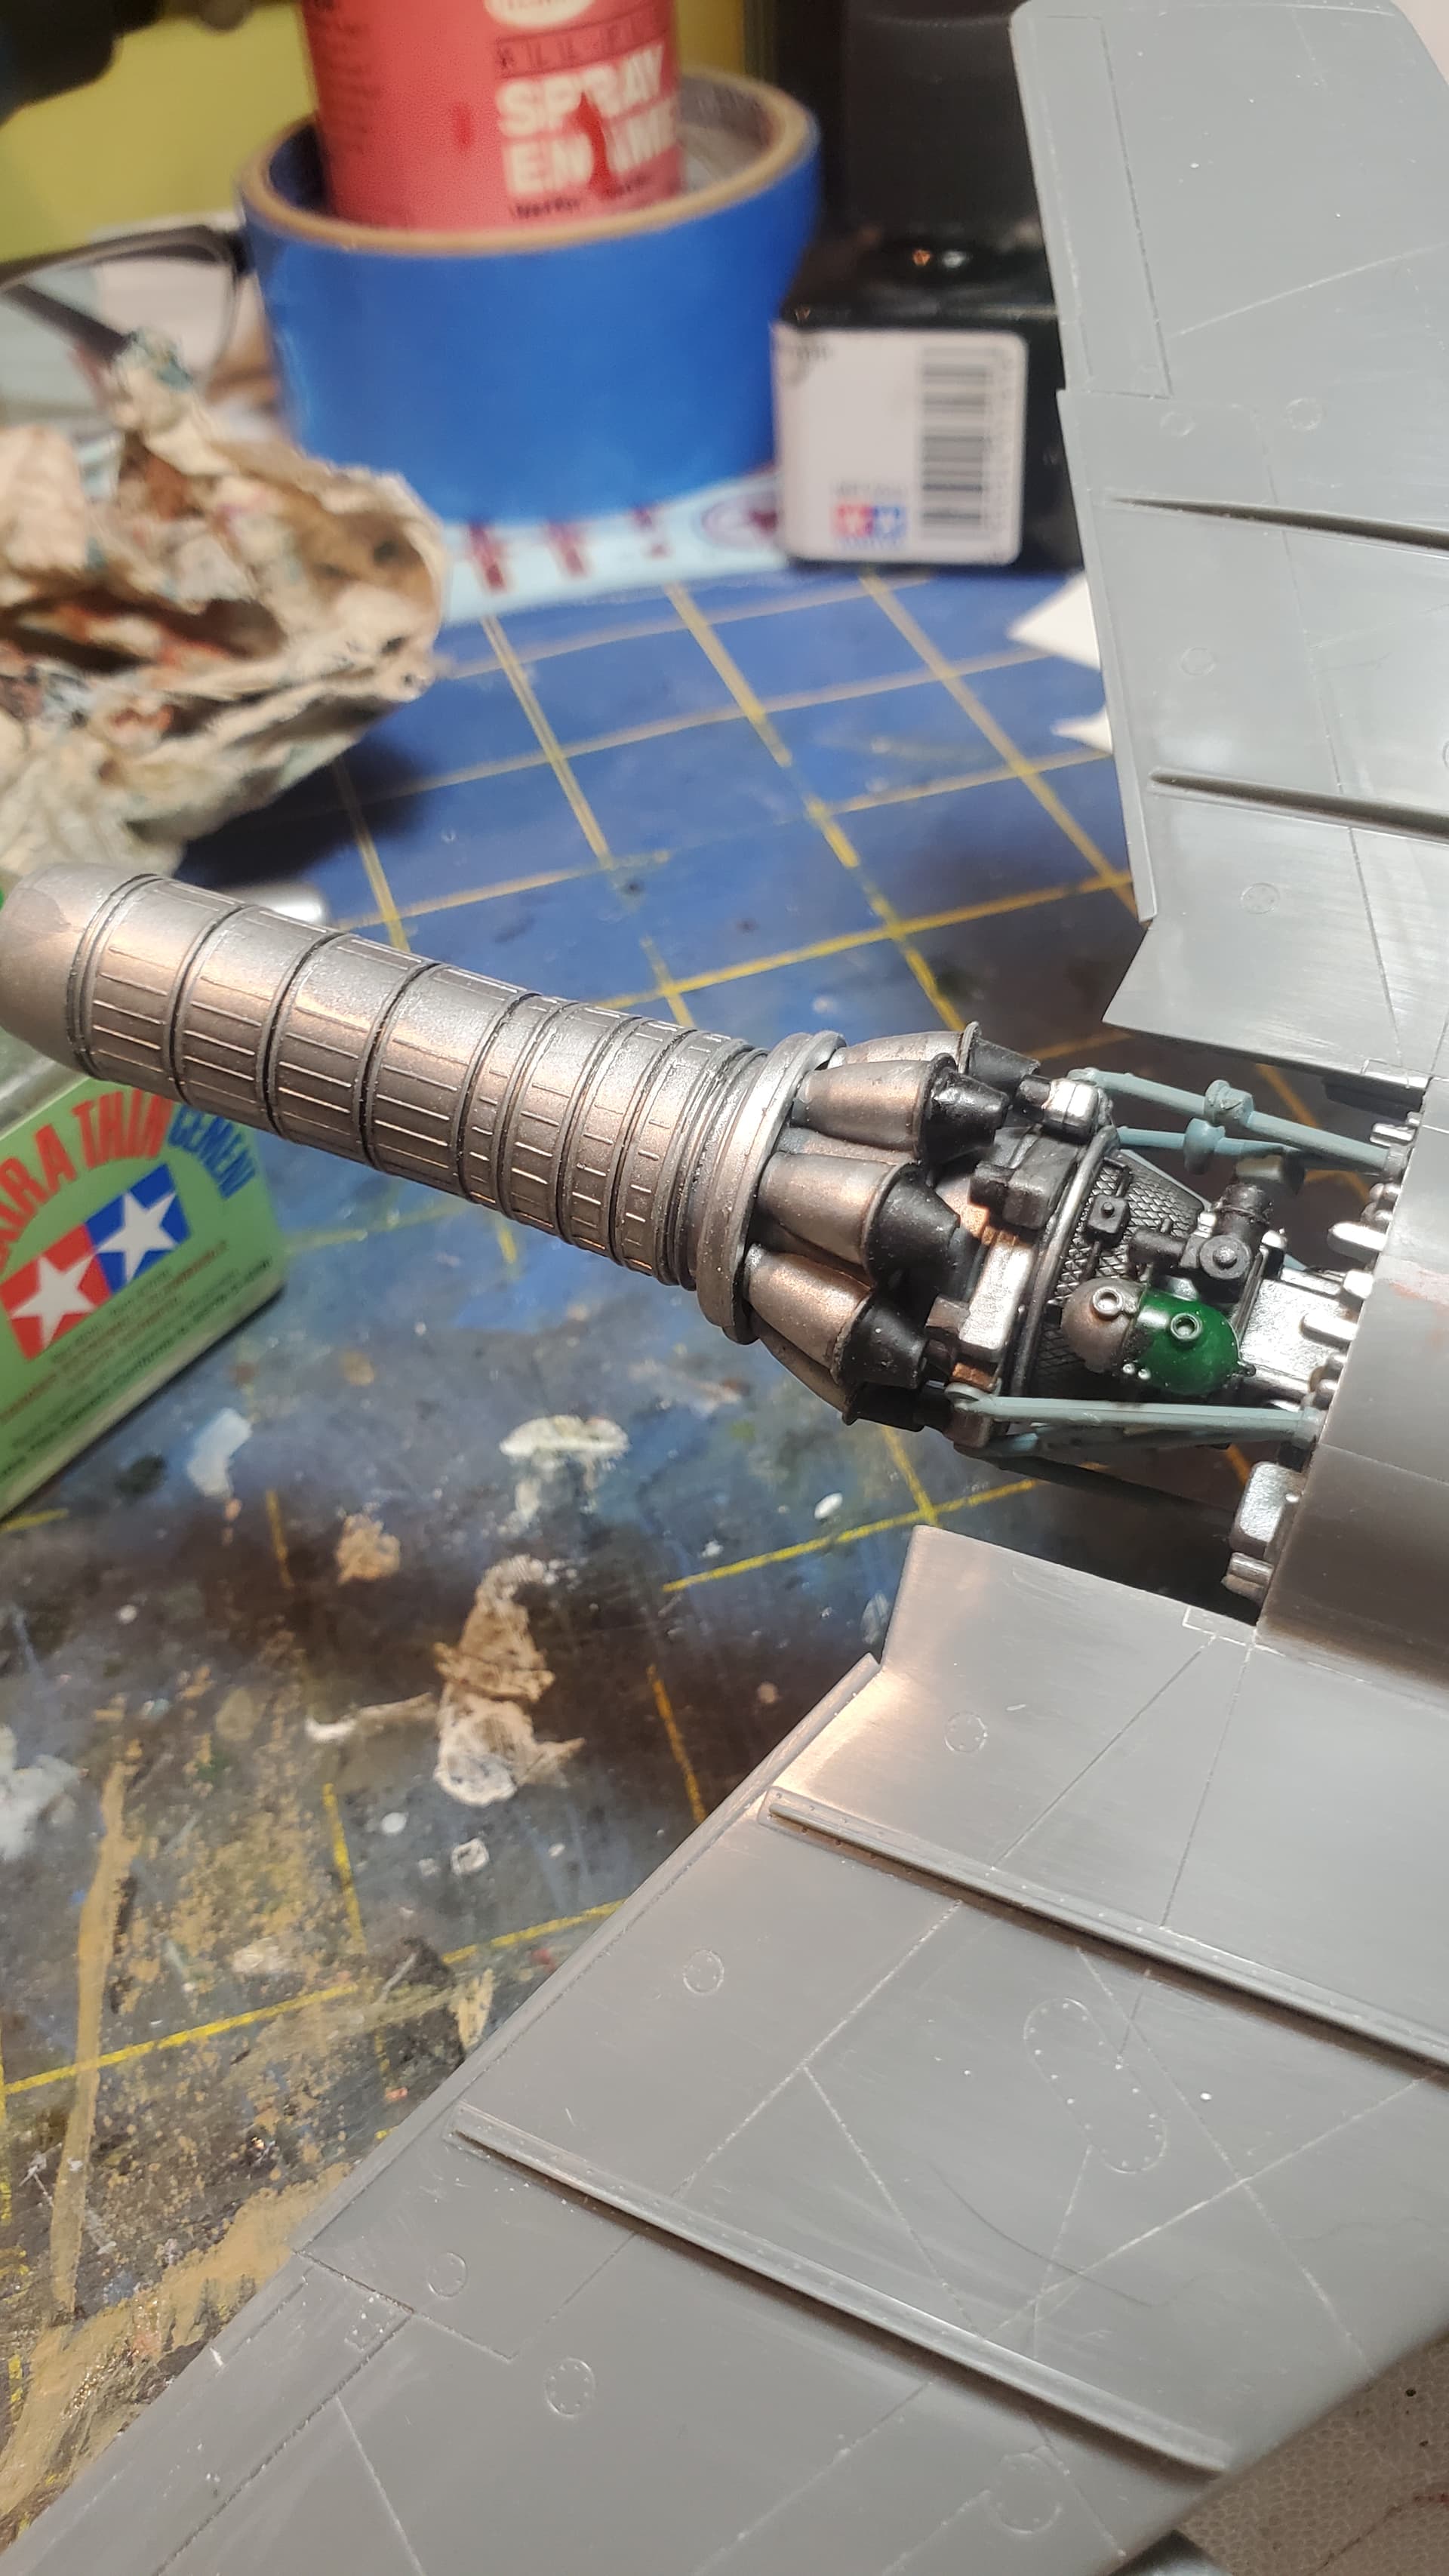
engine i just detail painted and gave it a black wash. still undecided if i will leave it to be displayed or just glue the fuselage halves together.
and the fuselage i am in the process of filling the seams.
Unfortunately no. Not enough time left for me to partake with the other projects that I have going. Thats how I have ended up with so many shelf queens in the past.
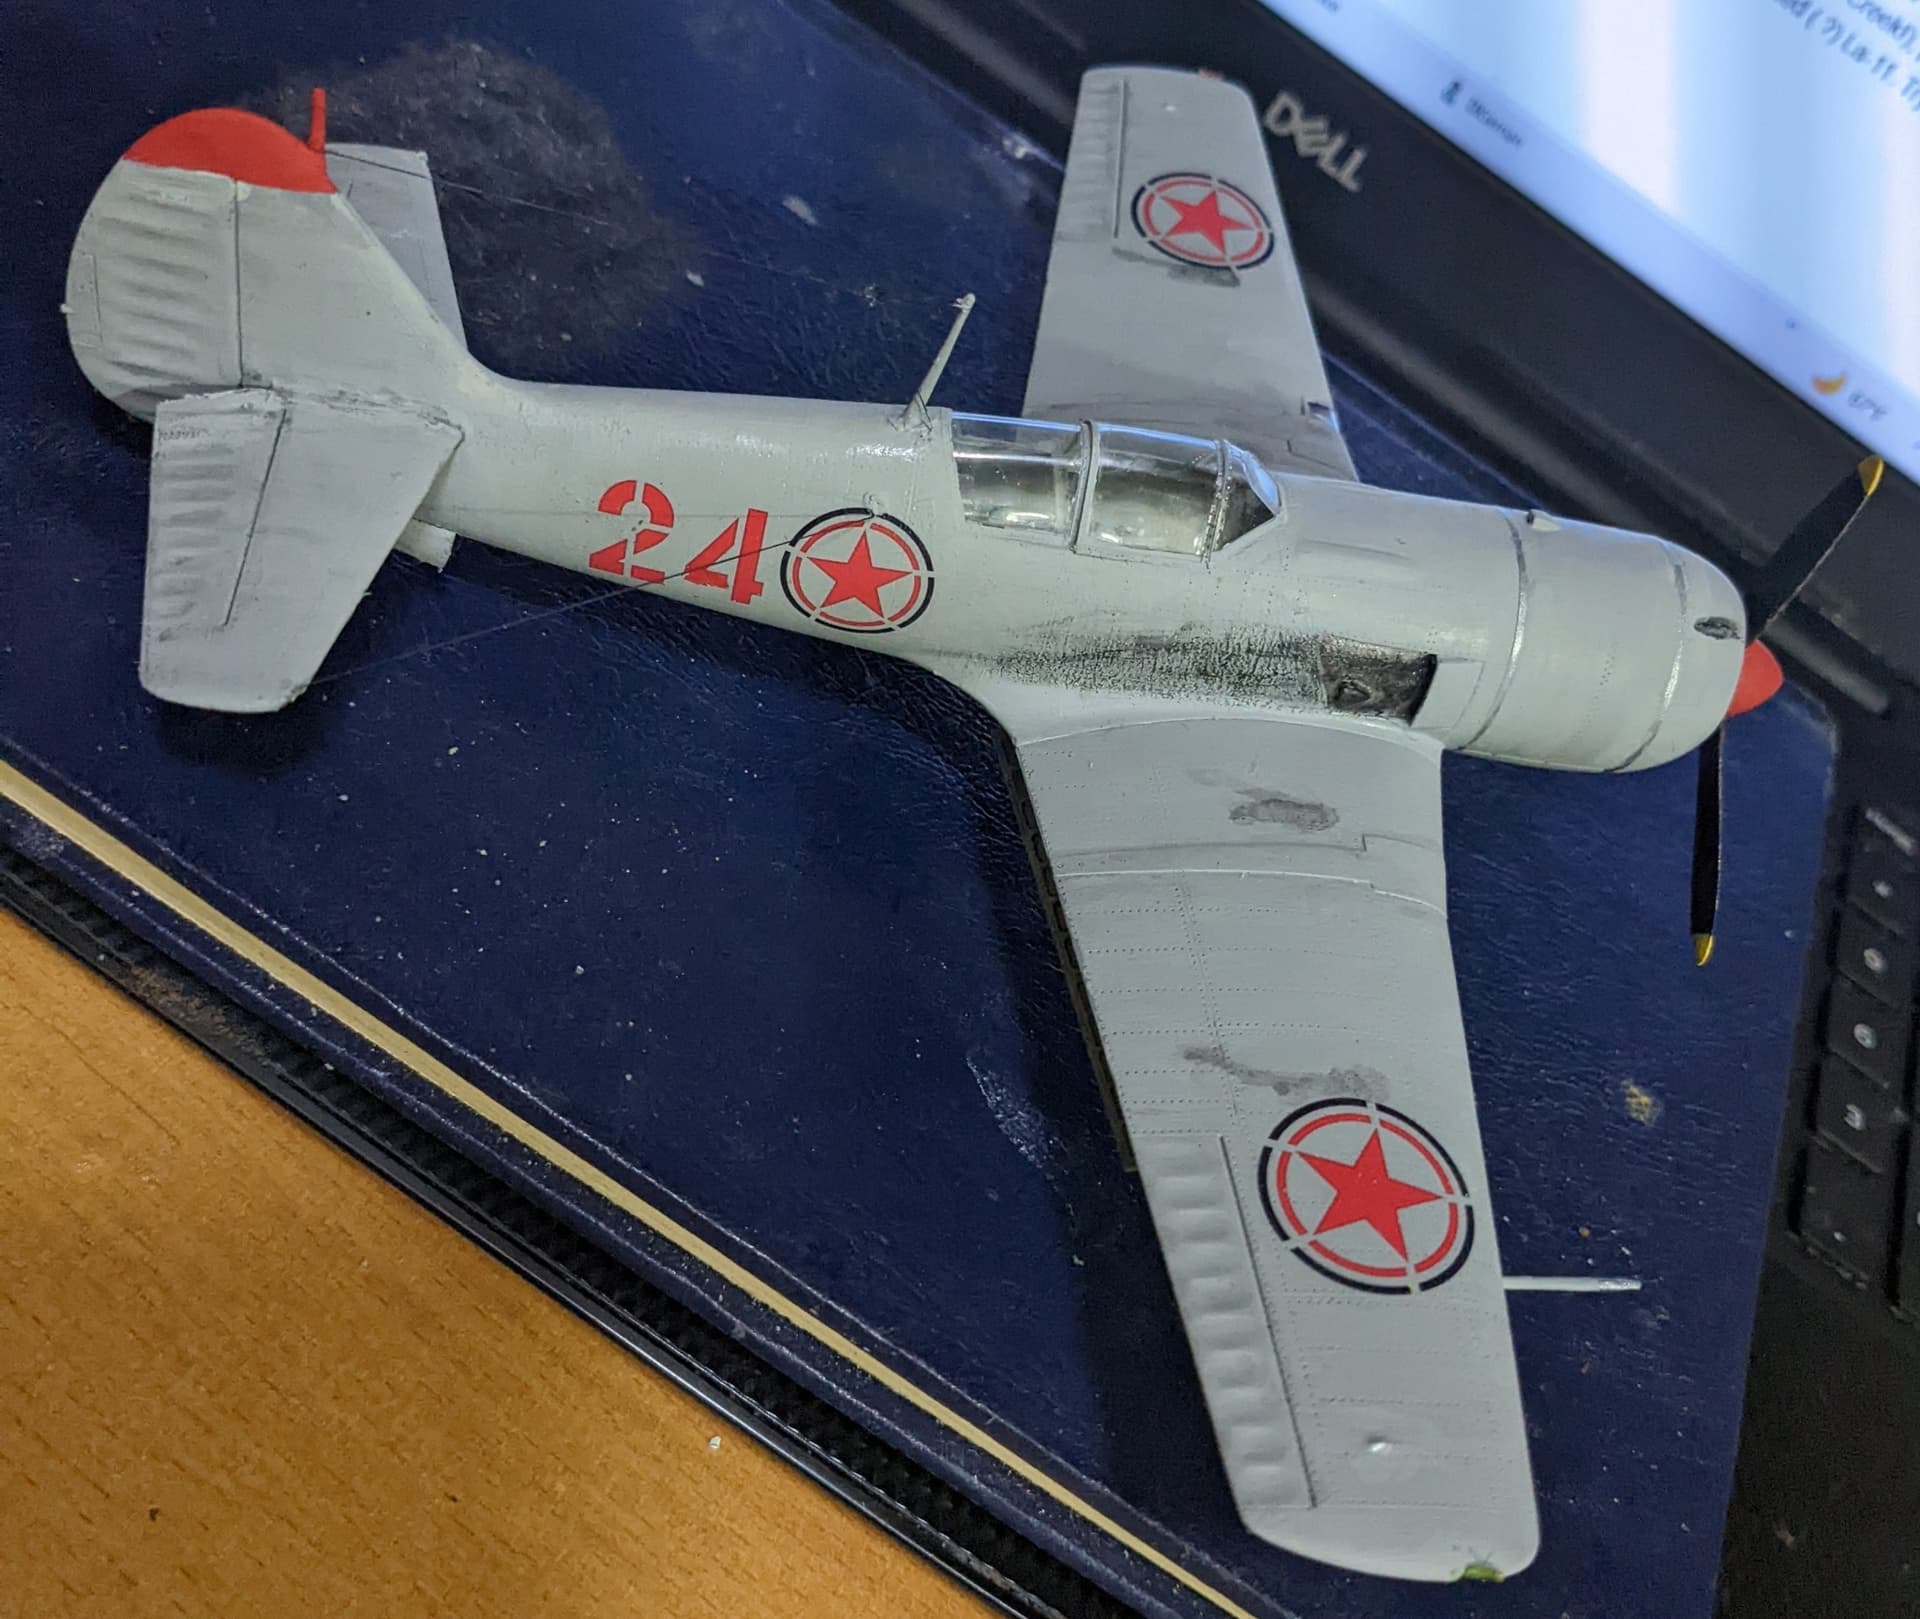
Hmmm…Have 3 F-51s, An F-84G,MiG-15bis, and La-11. SHould be able to finish a couple in time. I posted his question a while back and got nada. Maybe some one here will have the info. I read somewhere that Soviet “advisors” aircraft markings were Korean national marking on fuselage and lower wings only, with no white back ground. Chinese “volunteer” aircraft had Korean marking in 6 locations ,WITH white back ground. Yes? No? Maybe? Lastly … Anybody interested in 1/48 Tamiya MiG-15 bis “Clear edition” parts, (clear fuselage,etc) + engine dolly+ partial Iliad Mig 15 sheet and Tamiya decal sheet OR Aeromaster 48-409 F-84 decal sheet + mystery resin F-84 cockpit , PM me and we can work something out. (WIP La-11.)
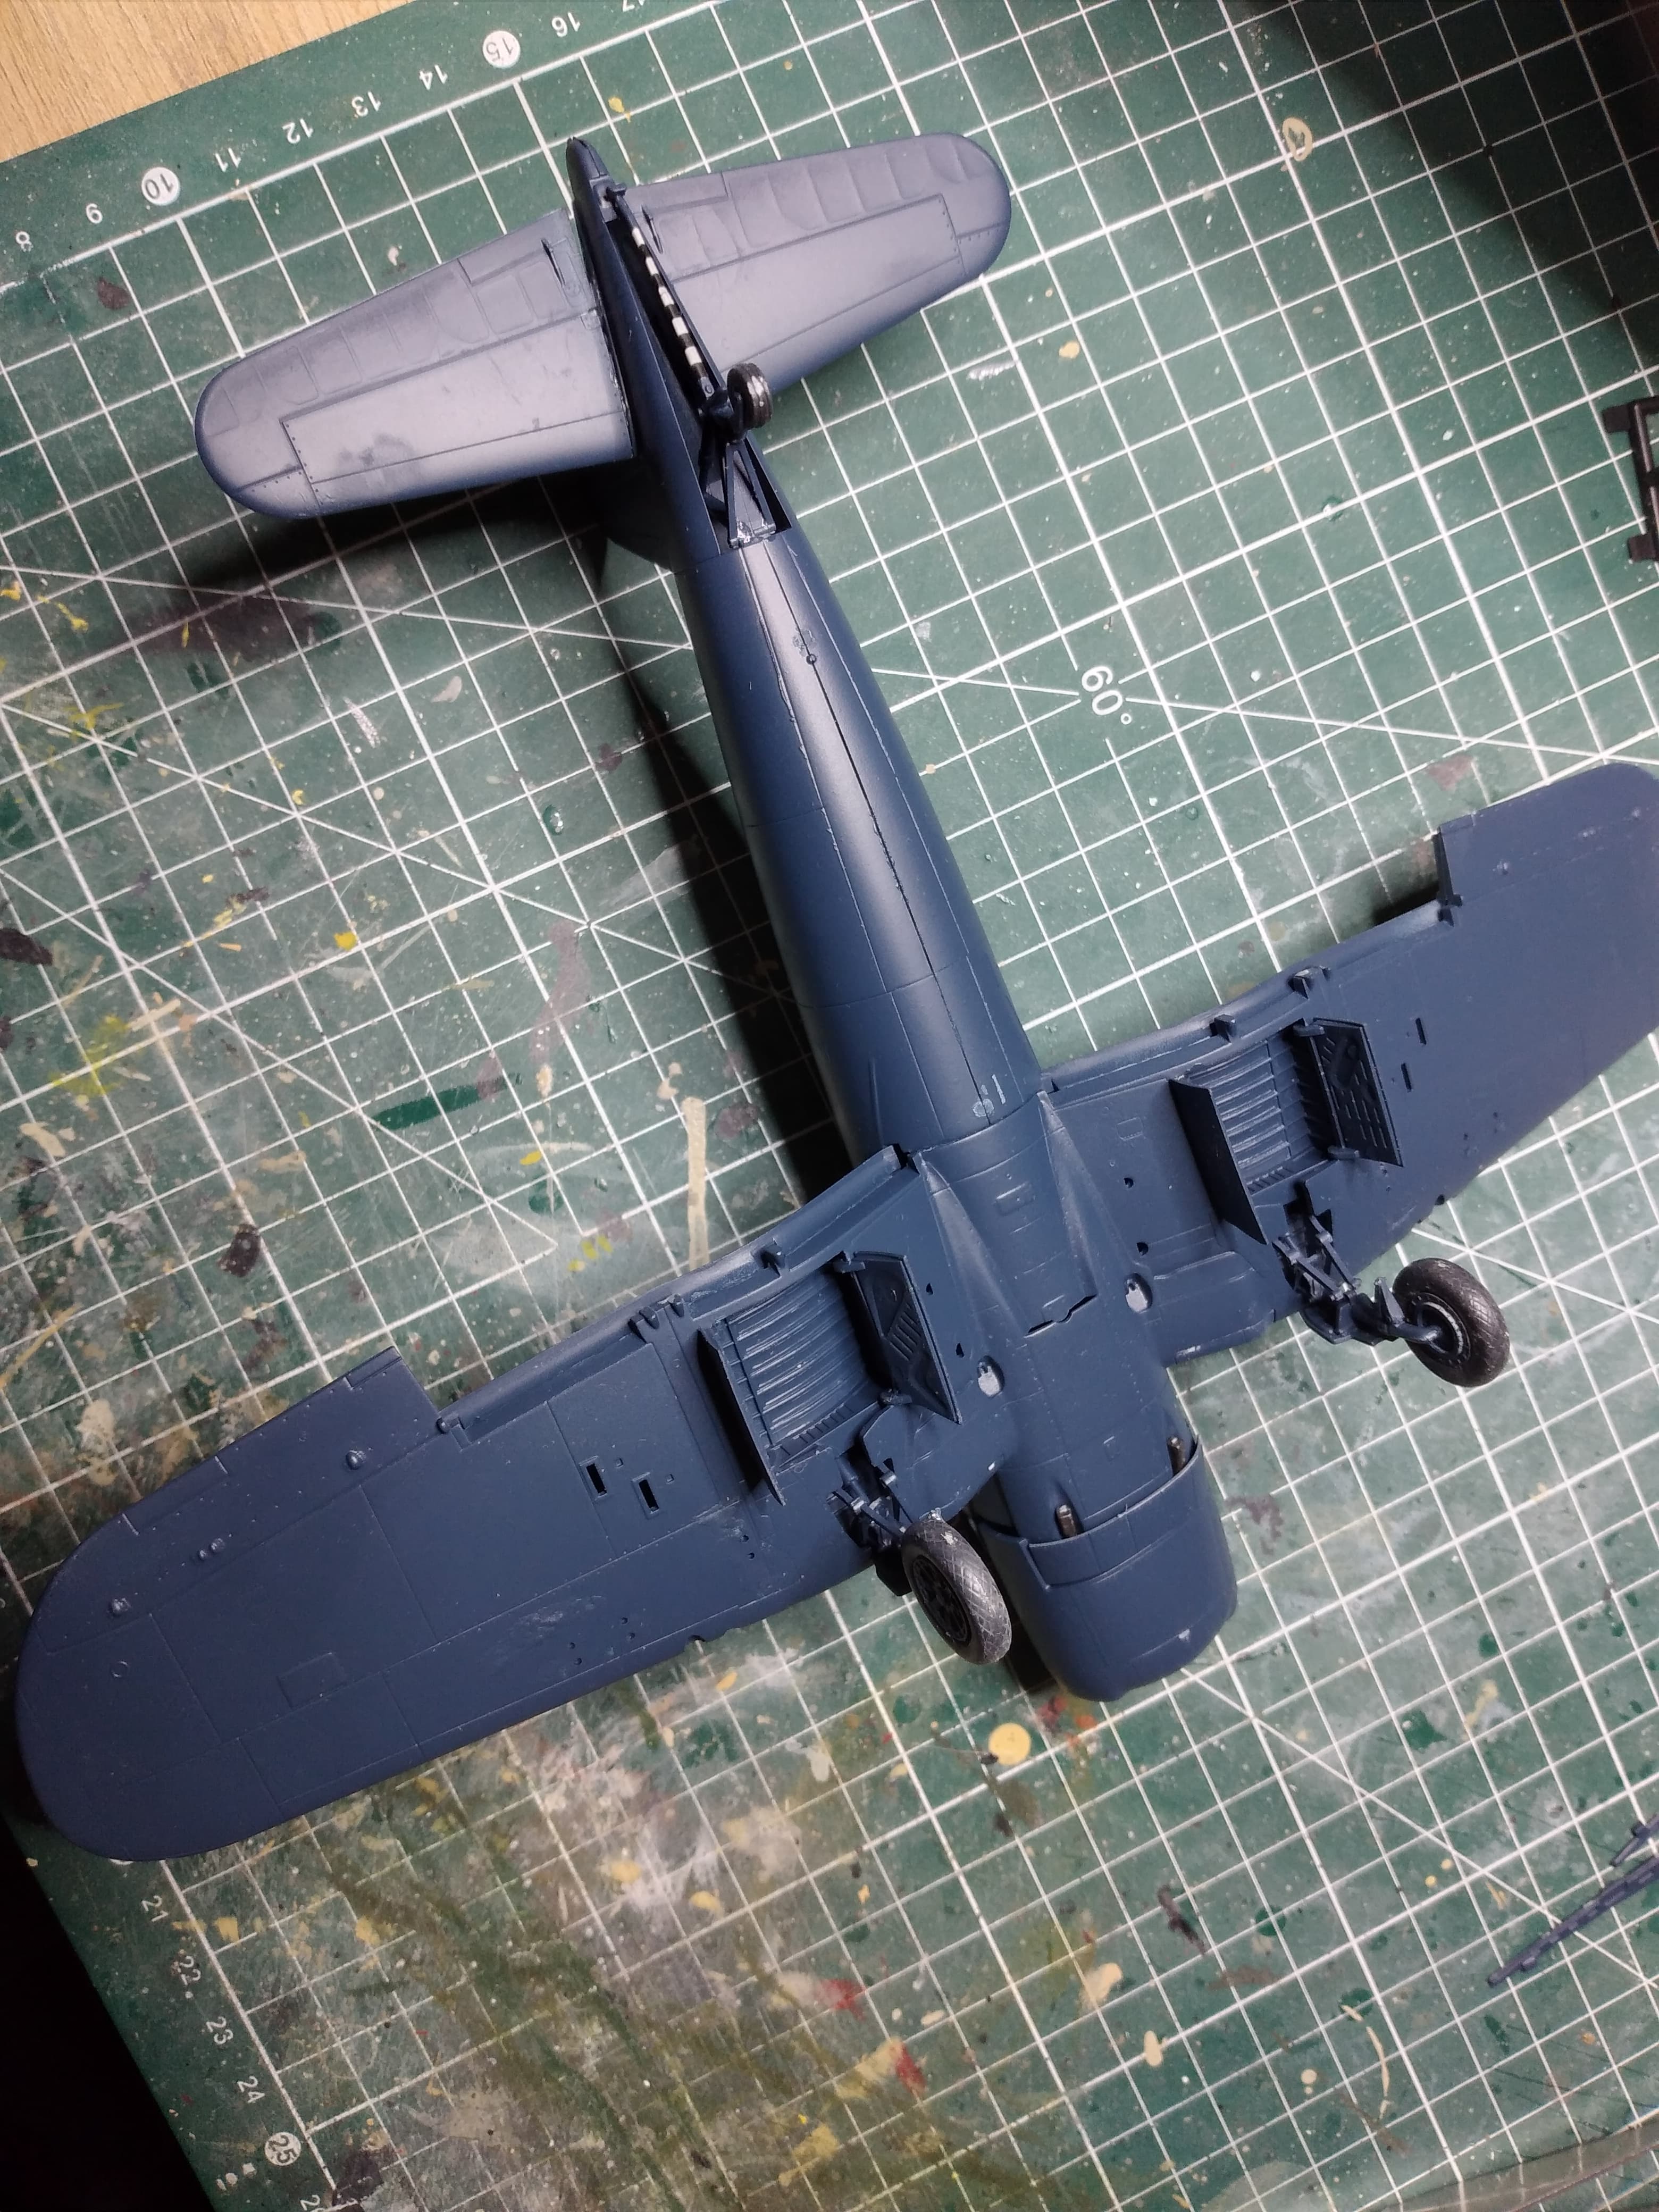
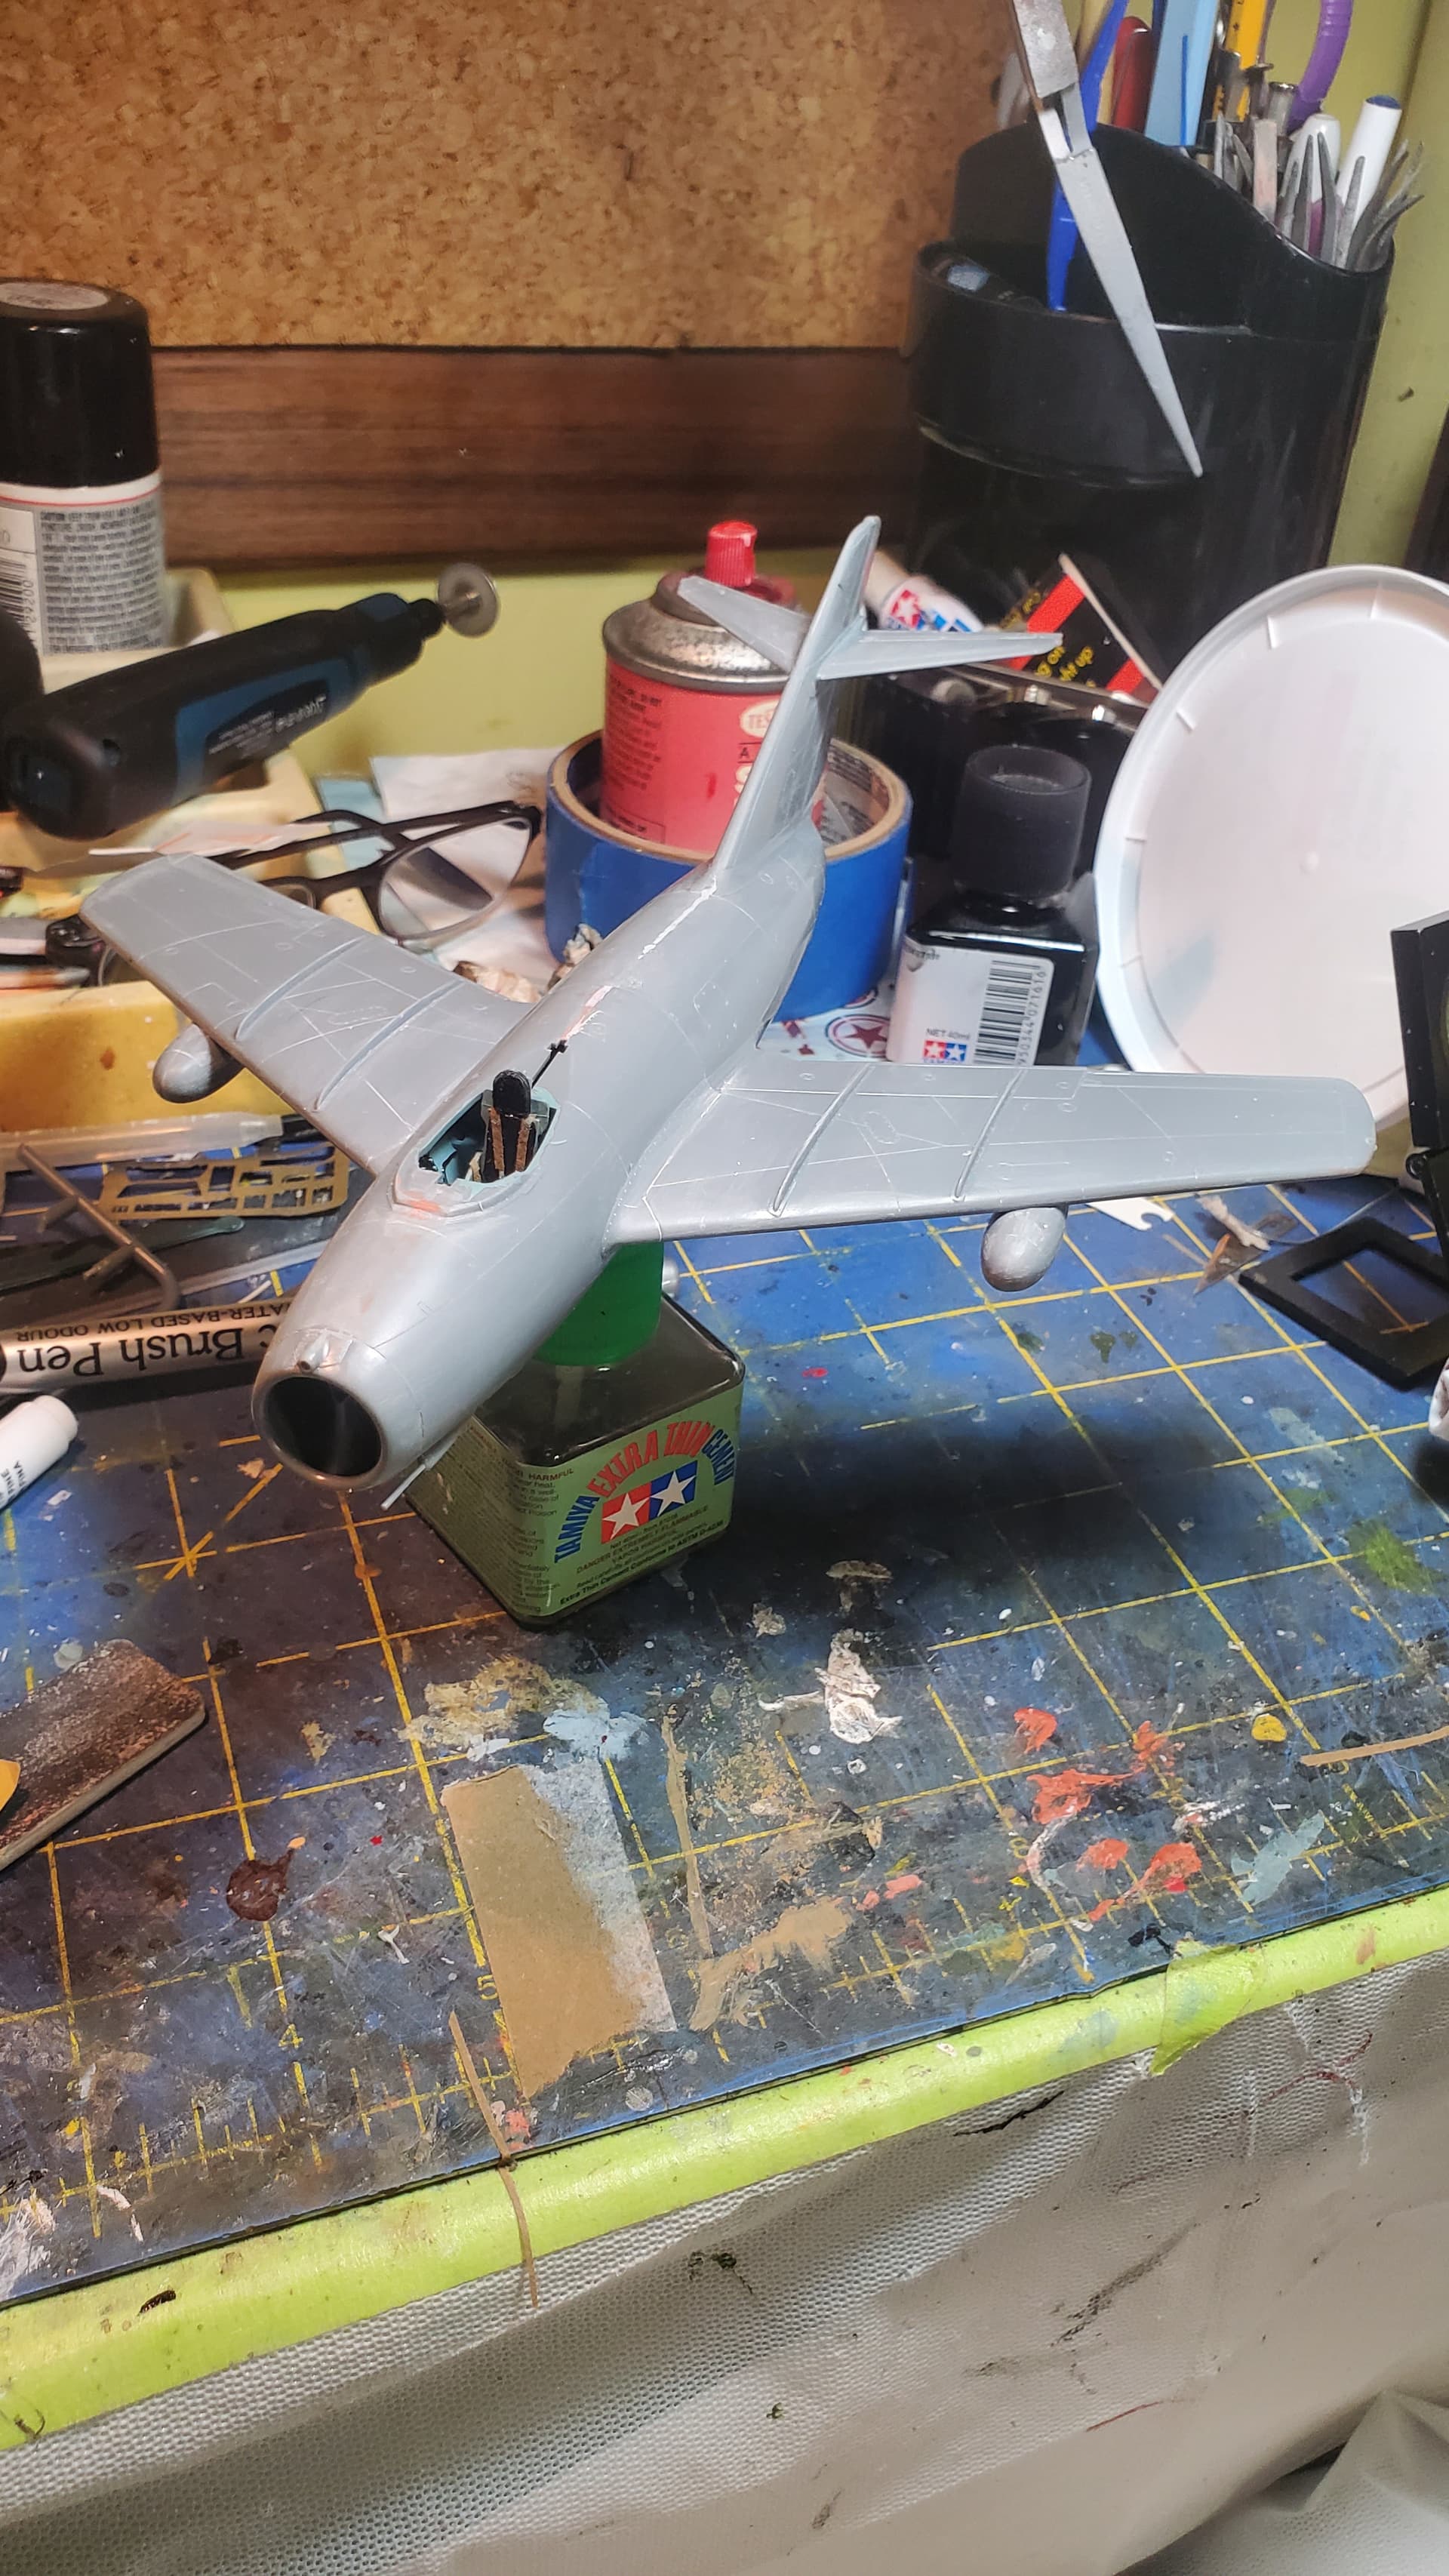
got the wings and stabilizers on, almost ready for primer. need to mask and attach the canopy and windscreen first.
i/m debating on either using dura aluminum which i have or white aluminum which i would have to order.
The engine came out well, very realistic. Will you display it with the tail off on some sort of cradle or just remove the tail when you want to look at it?
i actually was planning on gluing the fuselage halves together and sealing the engine inside but decided against it since it would make more work for me sanding and filling. so i will treat it as if it is one piece fuselage, i already glued the engine in place so it will not be using the cradle that comes with the kit. honestly this is not the best fitting kit by tamiya.
I recently decided to give modern Airfix a try and purchased this model. It looks decent in the box. Reviews are mostly positive. Seems like a quick build.
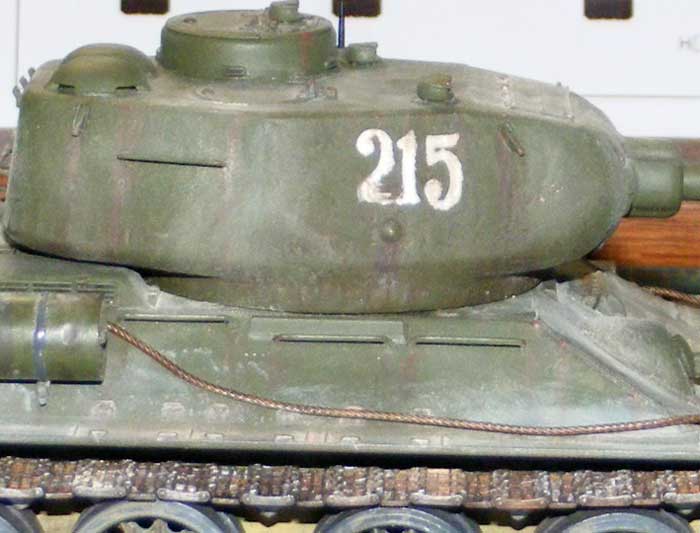
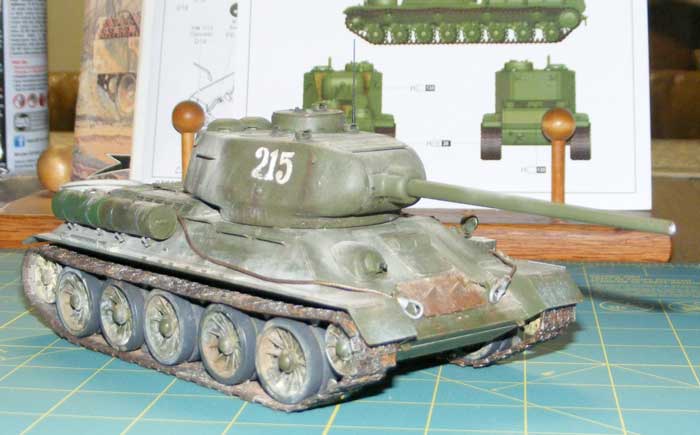
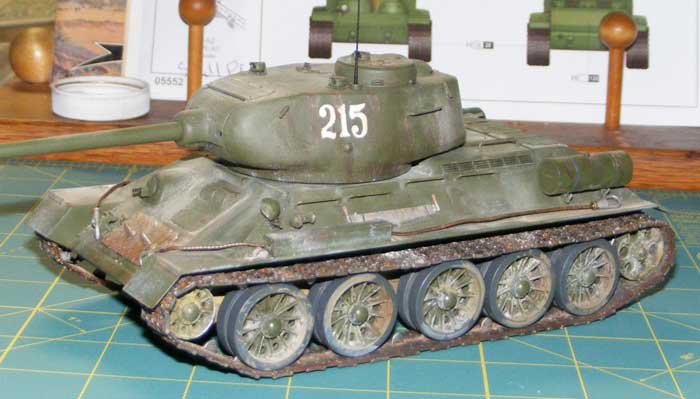
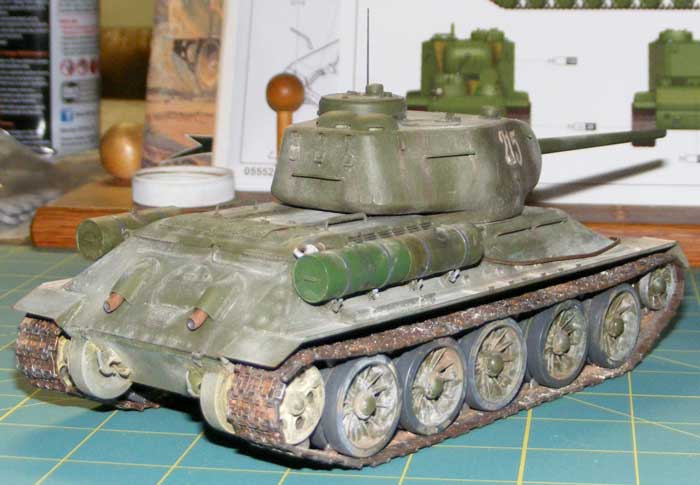
The Academy version includes decals for a North Korean tank used during the Korean War–just some white numbers. Maybe I could make those myself using white decal film?
Kinda want to build this next so dropping a picture.
I too built a North Korean T-35/85 for a Korean War campaign some years ago. I found some numbers that looked right in some of the many T-35 decal sheets available online.
Hocus pocus. Presto chango. Oh, hey! There was a T-34 in that box.
Typical Academy model. Everything is great until it isn’t. Biggest construction issue so far is the final drive cover on the back of the tank–too small.
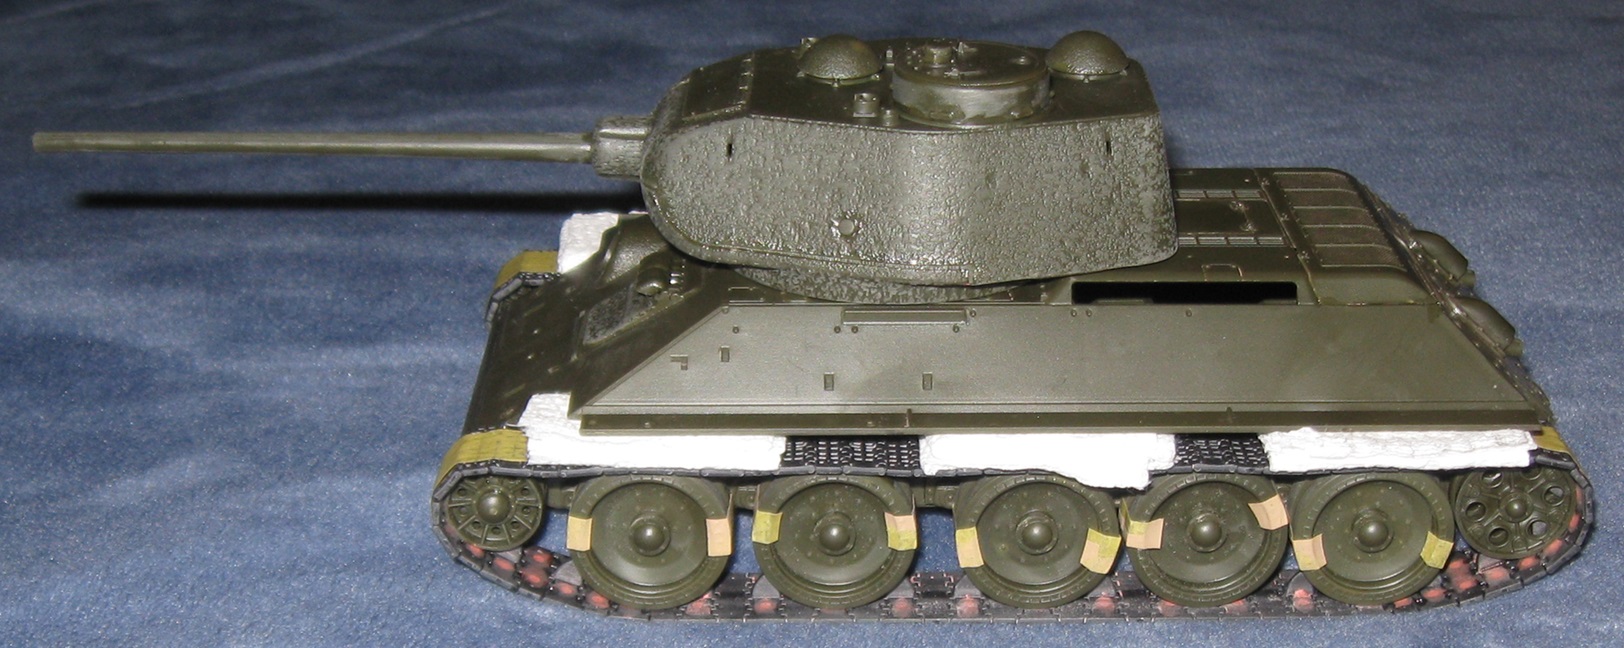
Everyone hates the cast texture so…Ima gonna leave it just to be different like.
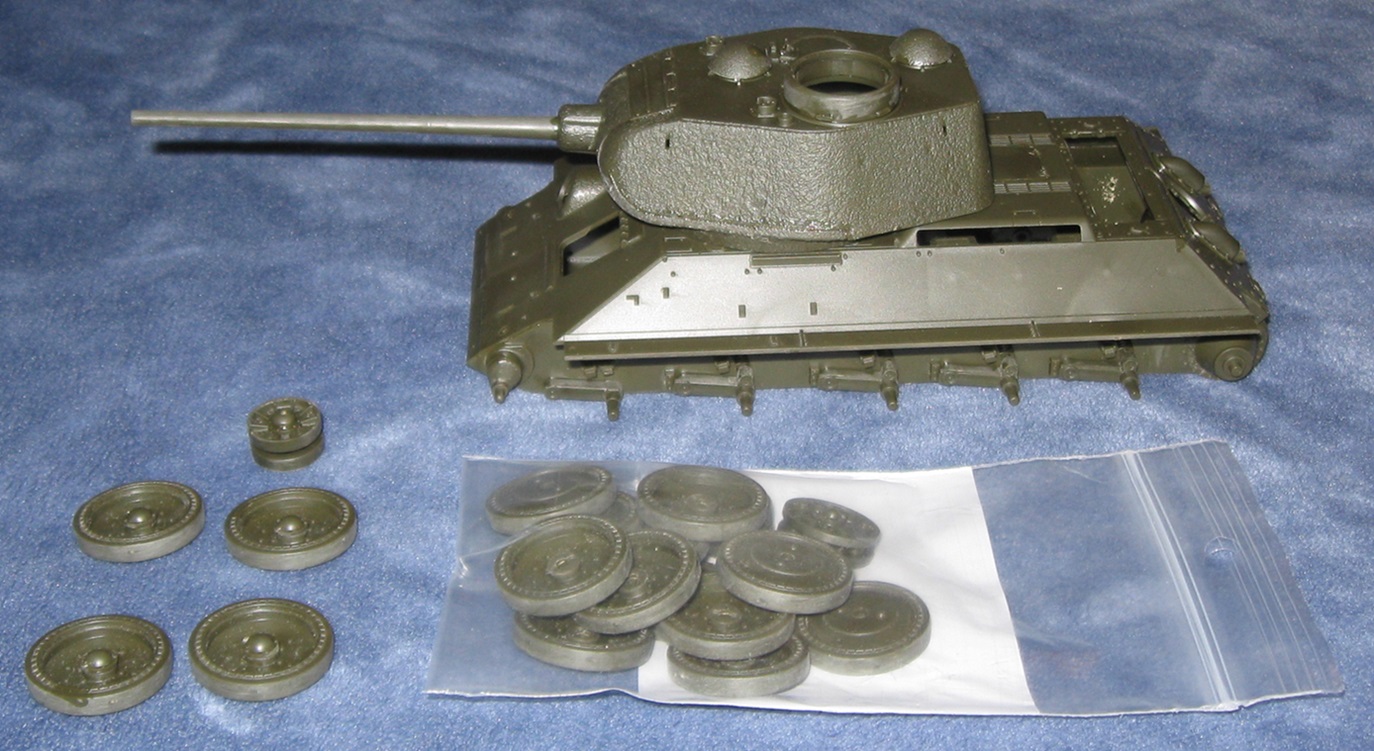
This picture shows all the filling I did on the model. If you do not mind shallow ejector pin holes on tracks and under fenders, almost no filling is required. If you shim the final drive cover from the inside, even those gaps could remain filler free. Fuel drum fit is quite good but I wanted to be sure.
Tracks fit quite well. There is a tiny bit of slop. That is good, because paint thickness will use that up.
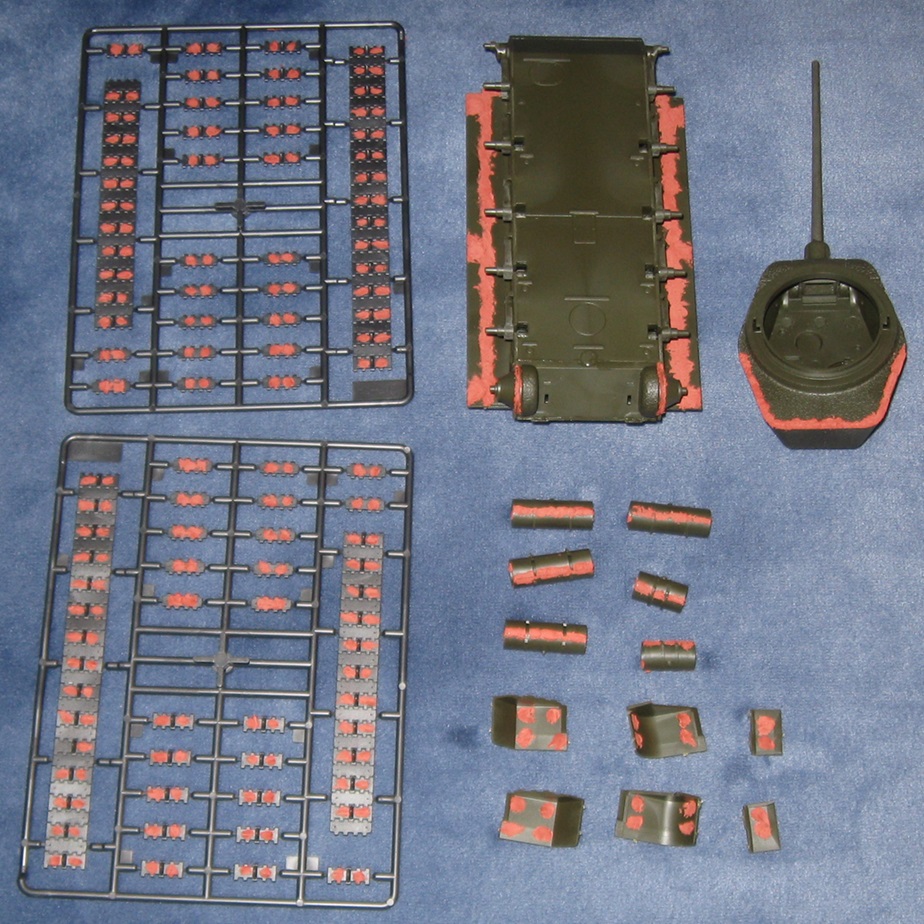
Tracks are molded with tiny track pin heads sticking out of the sides of each link. I sanded them all off to eliminate the mold lines on the sides of each link. Putting them back will require cutting and gluing about 320 teeny tiny plastic disks. May go there. May not.
Overall, parts fit is quite good. The only real issue is the final drive cover. At one point, the builder is required to add an extra swing arm bump stop to each side of the vehicle. Instructions do not show exactly where to put them.
Cast texture really is pretty crazy. Eventually, I sanded it back a bit. This only takes a few minutes.
The model comes with two versions of the rear deck air intake cover. One version uses a brass screen and some brass bolt strips. The bolt strips are ripe for a screw up and I want the brass screen for another project so I used the plastic cover on my model.
I am not a fan of Academy but this is quite good as a practice model.
Please note: I am not a T-34 expert. This is my first T-34 of any kind and my second Russian tank. My knowledge of the T-34 comes from a few nights reading articles on the internet.