Thank you! Since I’m new here, is there anything special I about Campaigns I should know? I’m sure the Mig-15 fits, but is there a “join” feature I need to do? Don’t want to screw up.
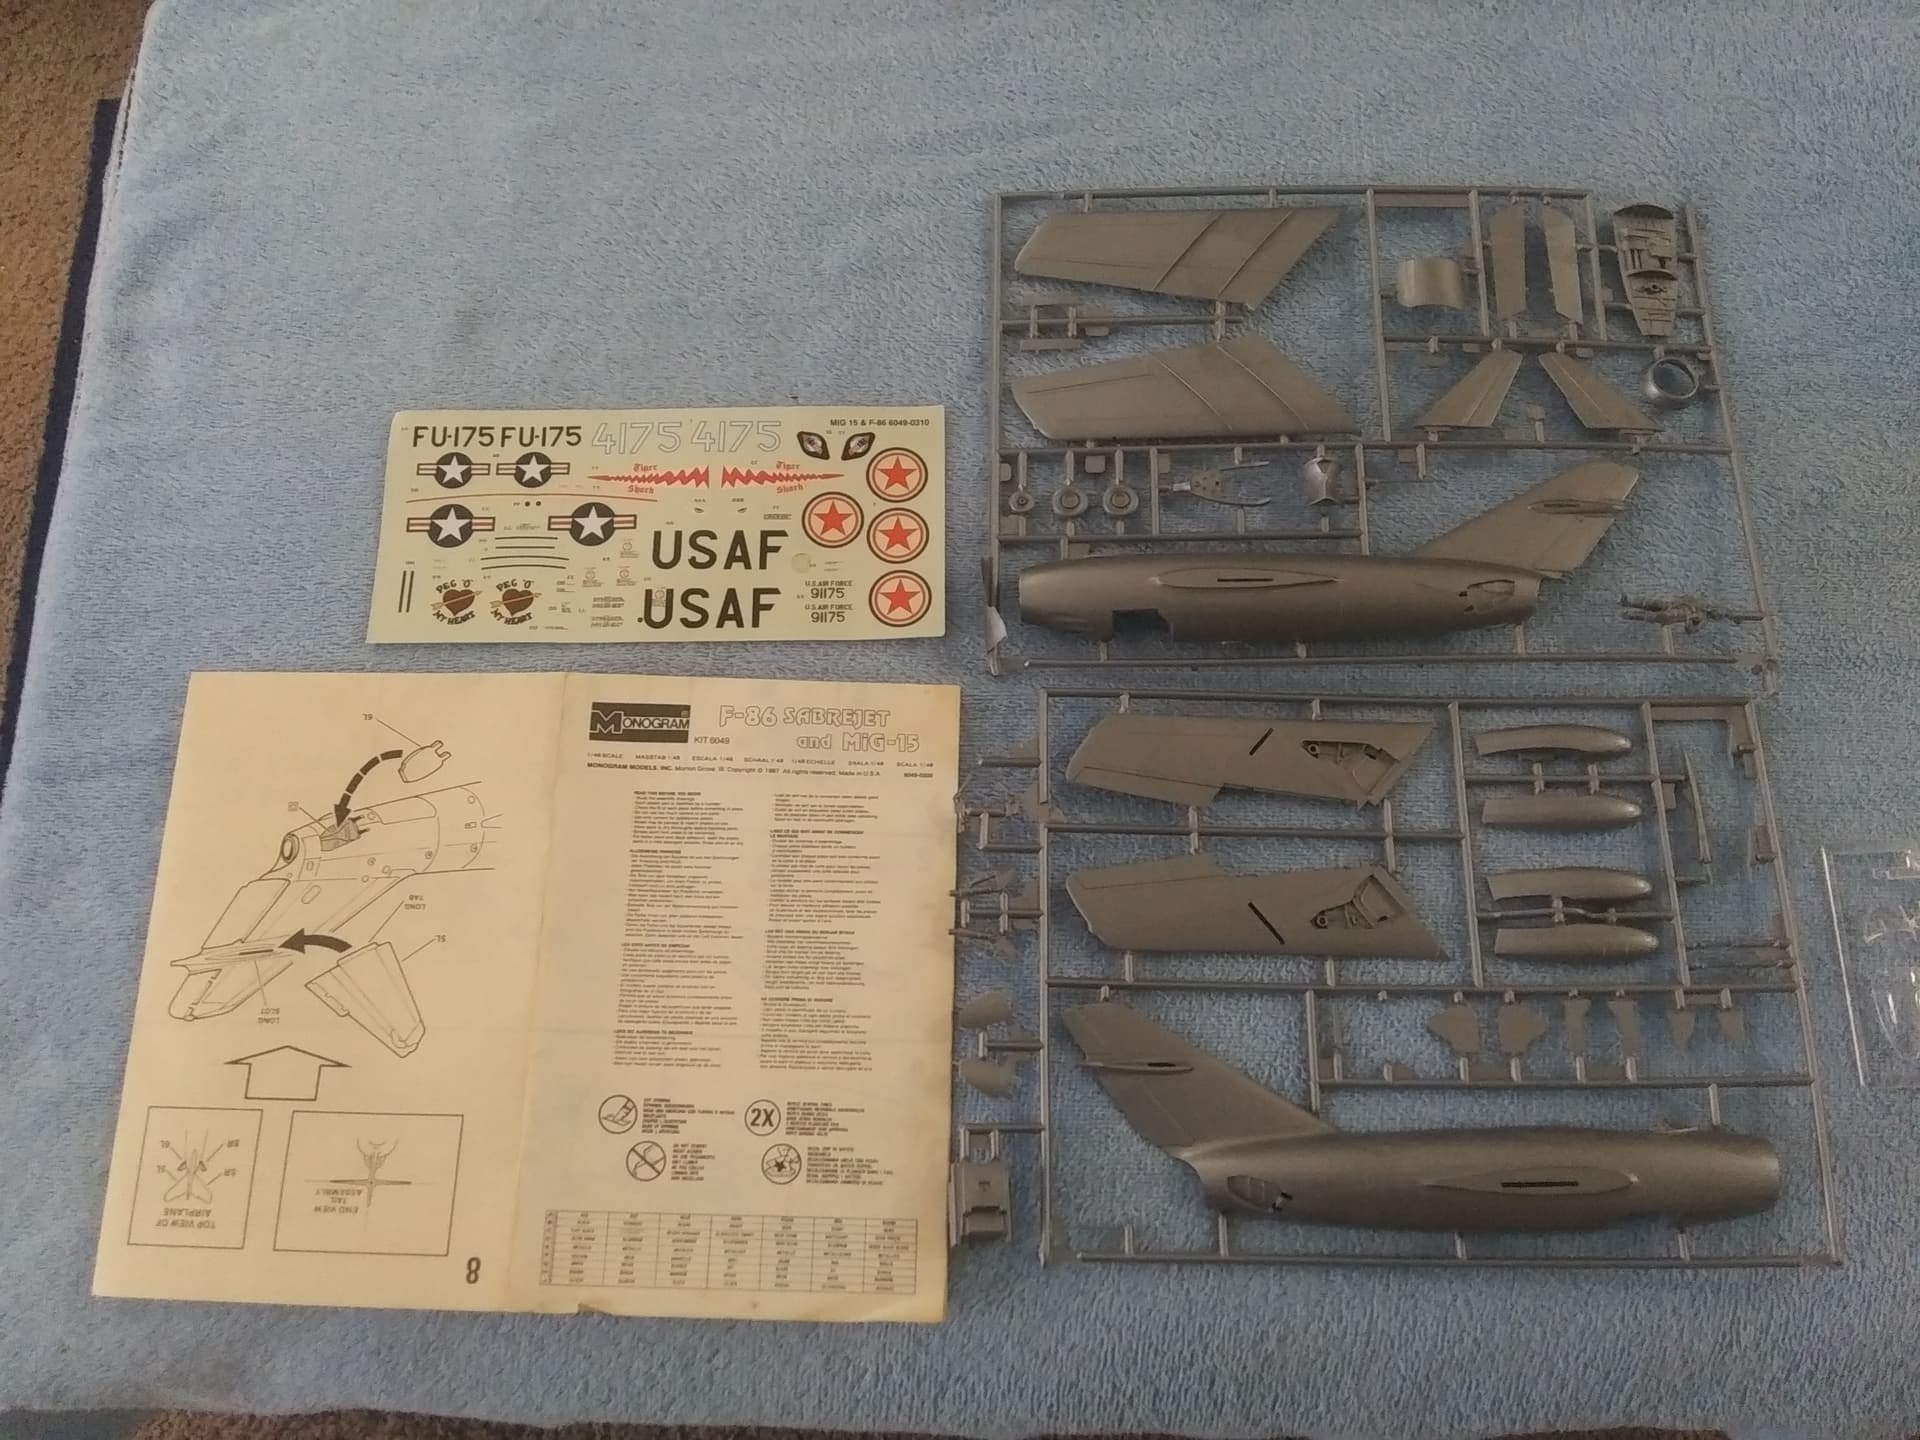
Meanwhile, here’s the kit unboxed in all it’s Monogram glory. I like these kits because it fits the rule of K.I.S.S., and should be done in the time allowed.
You just have to click on the “Going” button to join the campaign at the beginning of this thread, then post “in progress” pics during your built and a final pic of your model on this thread and you are good.
I remember building one of these maybe 50 years ago! Should be a fun, easy build - well worth watching.
PS: Should have added - you’ll want some extra weight in the nose (hidden behind the vertical spliter) to avoid tail-sitting if I recall. Guess who forgot it 50 years ago?..
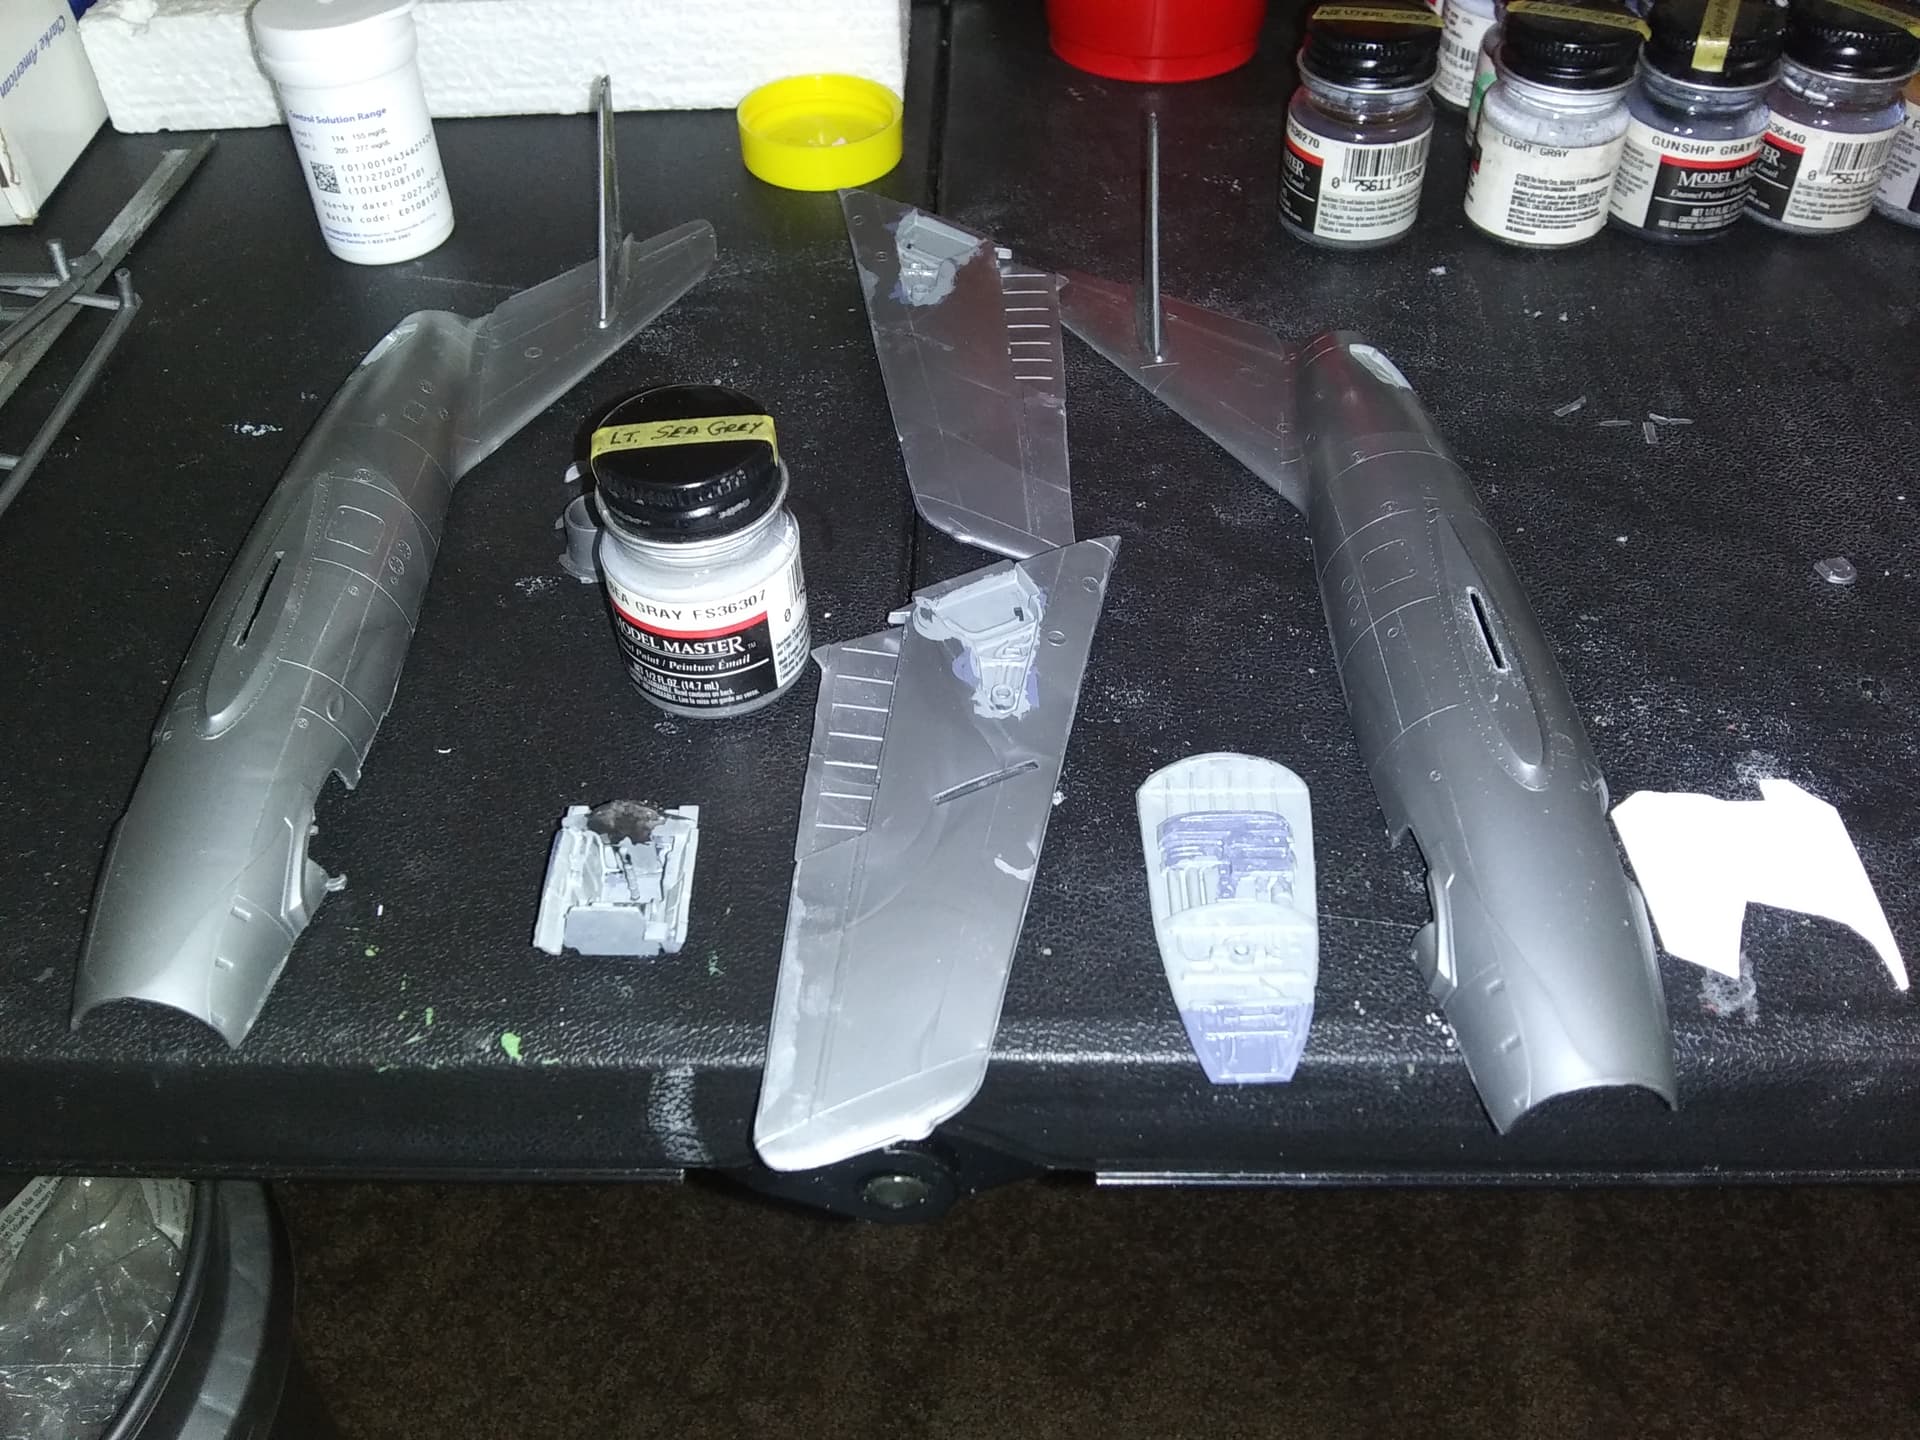
A days worth of work. Cleaning, sanding and getting things ready. Pardon the work area.
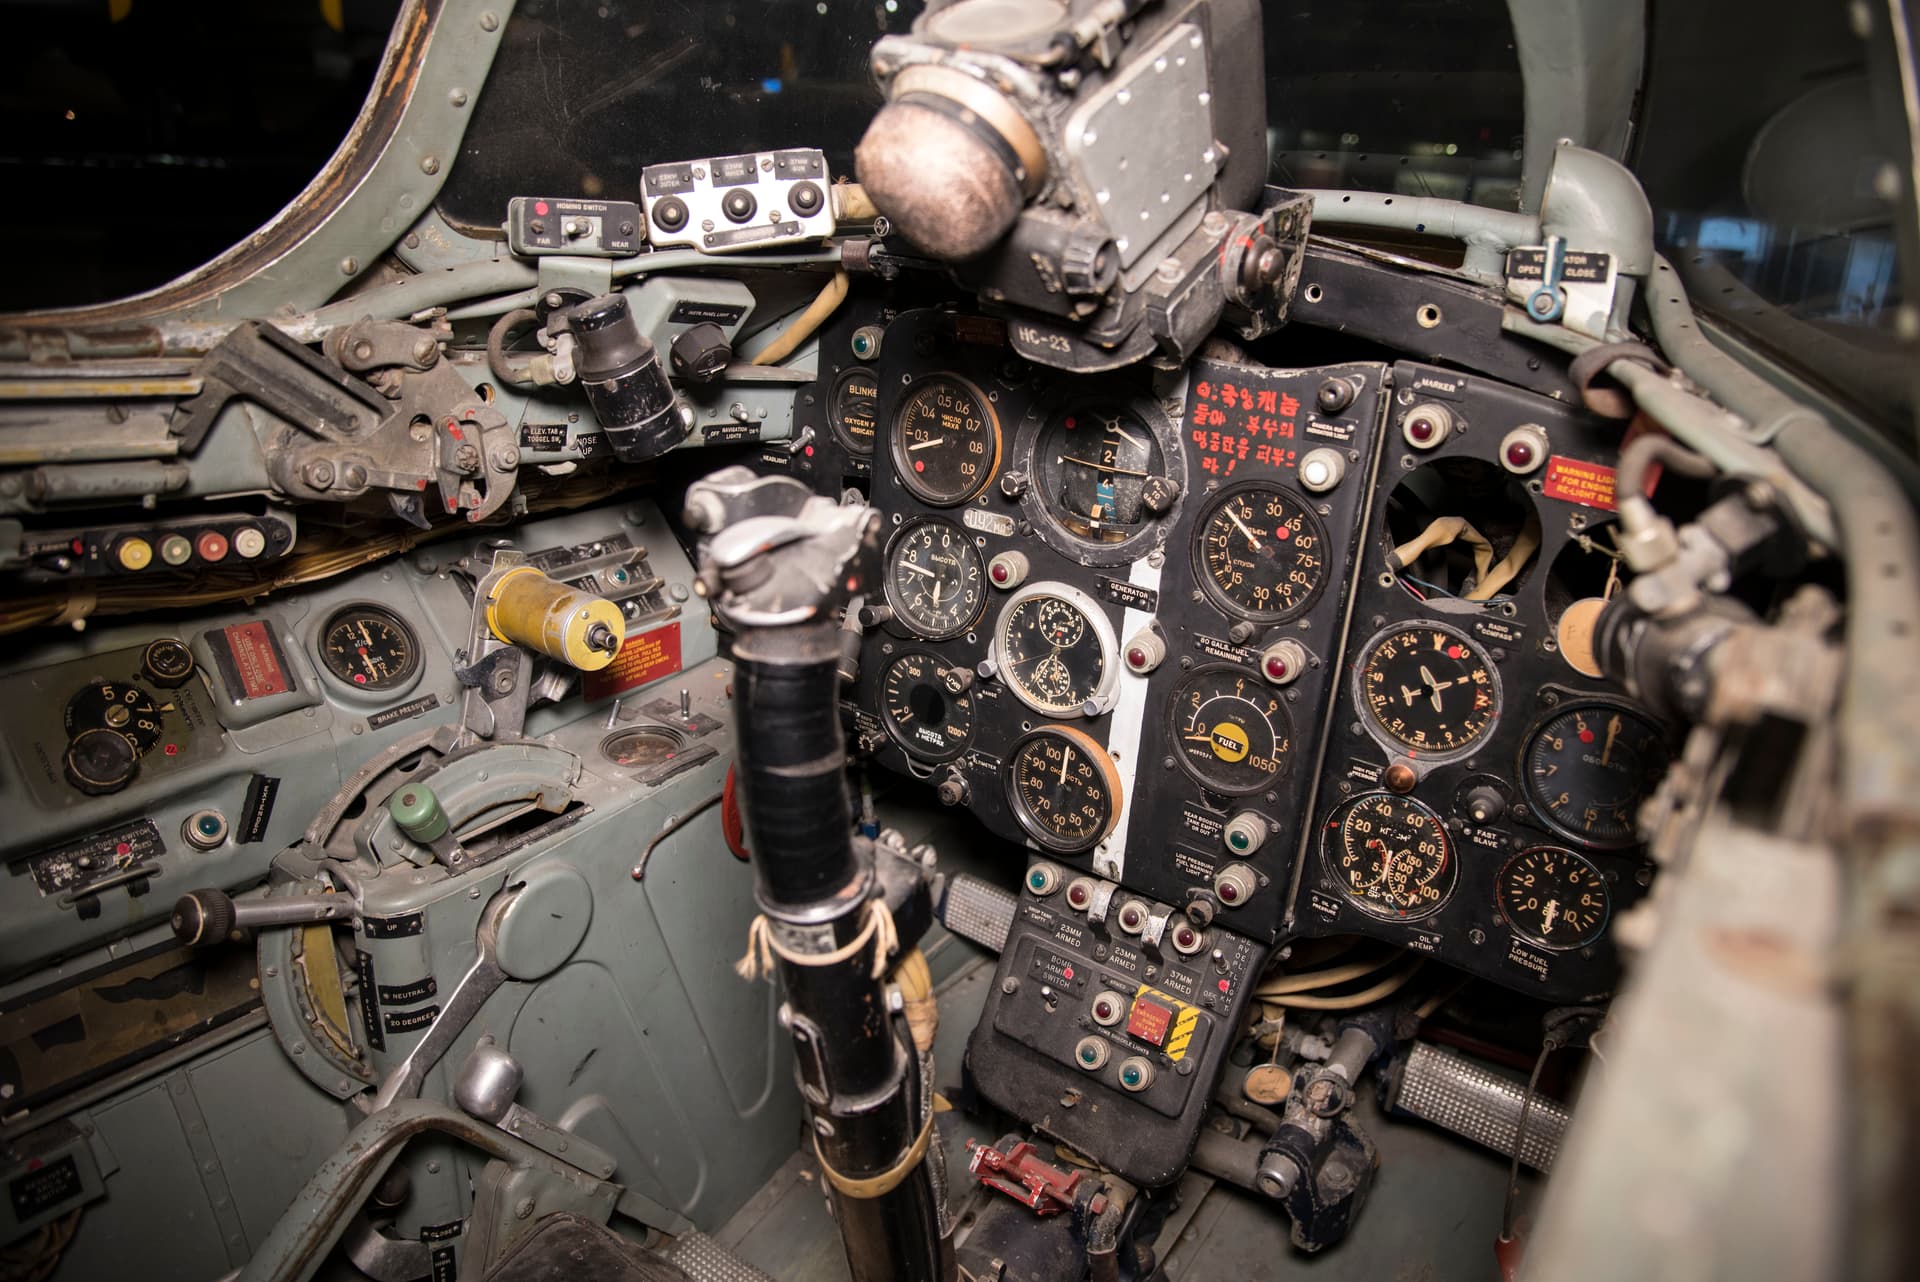
I’m trying to figure out what color to paint the interior surfaces of the Mig? Though I’m using the USAF museums Mig-15, photography makes it a bit iffy. Recommendations?
i used a model master russian underside light blue. i know it probably is for WWII aircraft but the tamiya directions called out light blue. i believe russian jets interiors were alight greenish blue or turquoise blue but this is close enough for me.
joe
That blue-green color came along around the time of the later MiG types such as the 21/23/25/27. By the time of the MiG-29, they had changed over to a light to medium gray.
I agree with the light bluish gray crowd above for the MiG-15. I think they used that color up to the late 60’s, when they went turquoise for whatever reason.
I thought it was done. I decided to paint the fuel tanks separately and left them off. I was going to head out into the garage and start priming. Wait. I better make sure the fuel tanks all fit.
Ummm…how come there are no mounting holes for the fuel tanks? Did I miss an instruction to drill out holes? No. Huh. Uh oh. The rear fuel tanks are not even close to fitting.
I have a second Airfix T-34/85. I pulled it out to look inside the upper hull. There are drill out divots where the large fuel tanks should go. Okay. I cleaned up the second upper hull and drilled out the fuel tank holes. I test fit the fuel tanks from model 1 on model 2. The spacing is wrong. The drill out holes are not in the right places.
I now need to remove the mounting parts for the small fuel tanks from the back plate, clean up the resulting mess, then figure out how to attach the small fuel tanks. Then I need to figure our where the large fuel tanks are supposed to go. I drilled one pilot hole in model 1 and it turns out, not only is the spacing wrong, the position of the holes is completely wrong. The large fuel tanks would end up inside the small fuel tanks.
There is one more problem. There are thingys on the right track guard. I think they are grousers. They are apparently attached to the tank by magic. There is no obvious way they could possible remain in place once the tank moves. Why did I even use them?
So, instead of being done, I probably have 10 hours of repair work ahead of me. I glued all the little detail parts in place and will now break most of them off trying to fix all the screw ups.
I should also mention, there is no obvious way to attach the tow cables. I guess magic also keeps those in place.
Yeah. Typical Academy. Not looking forward to the Academy Tiger I purchased.
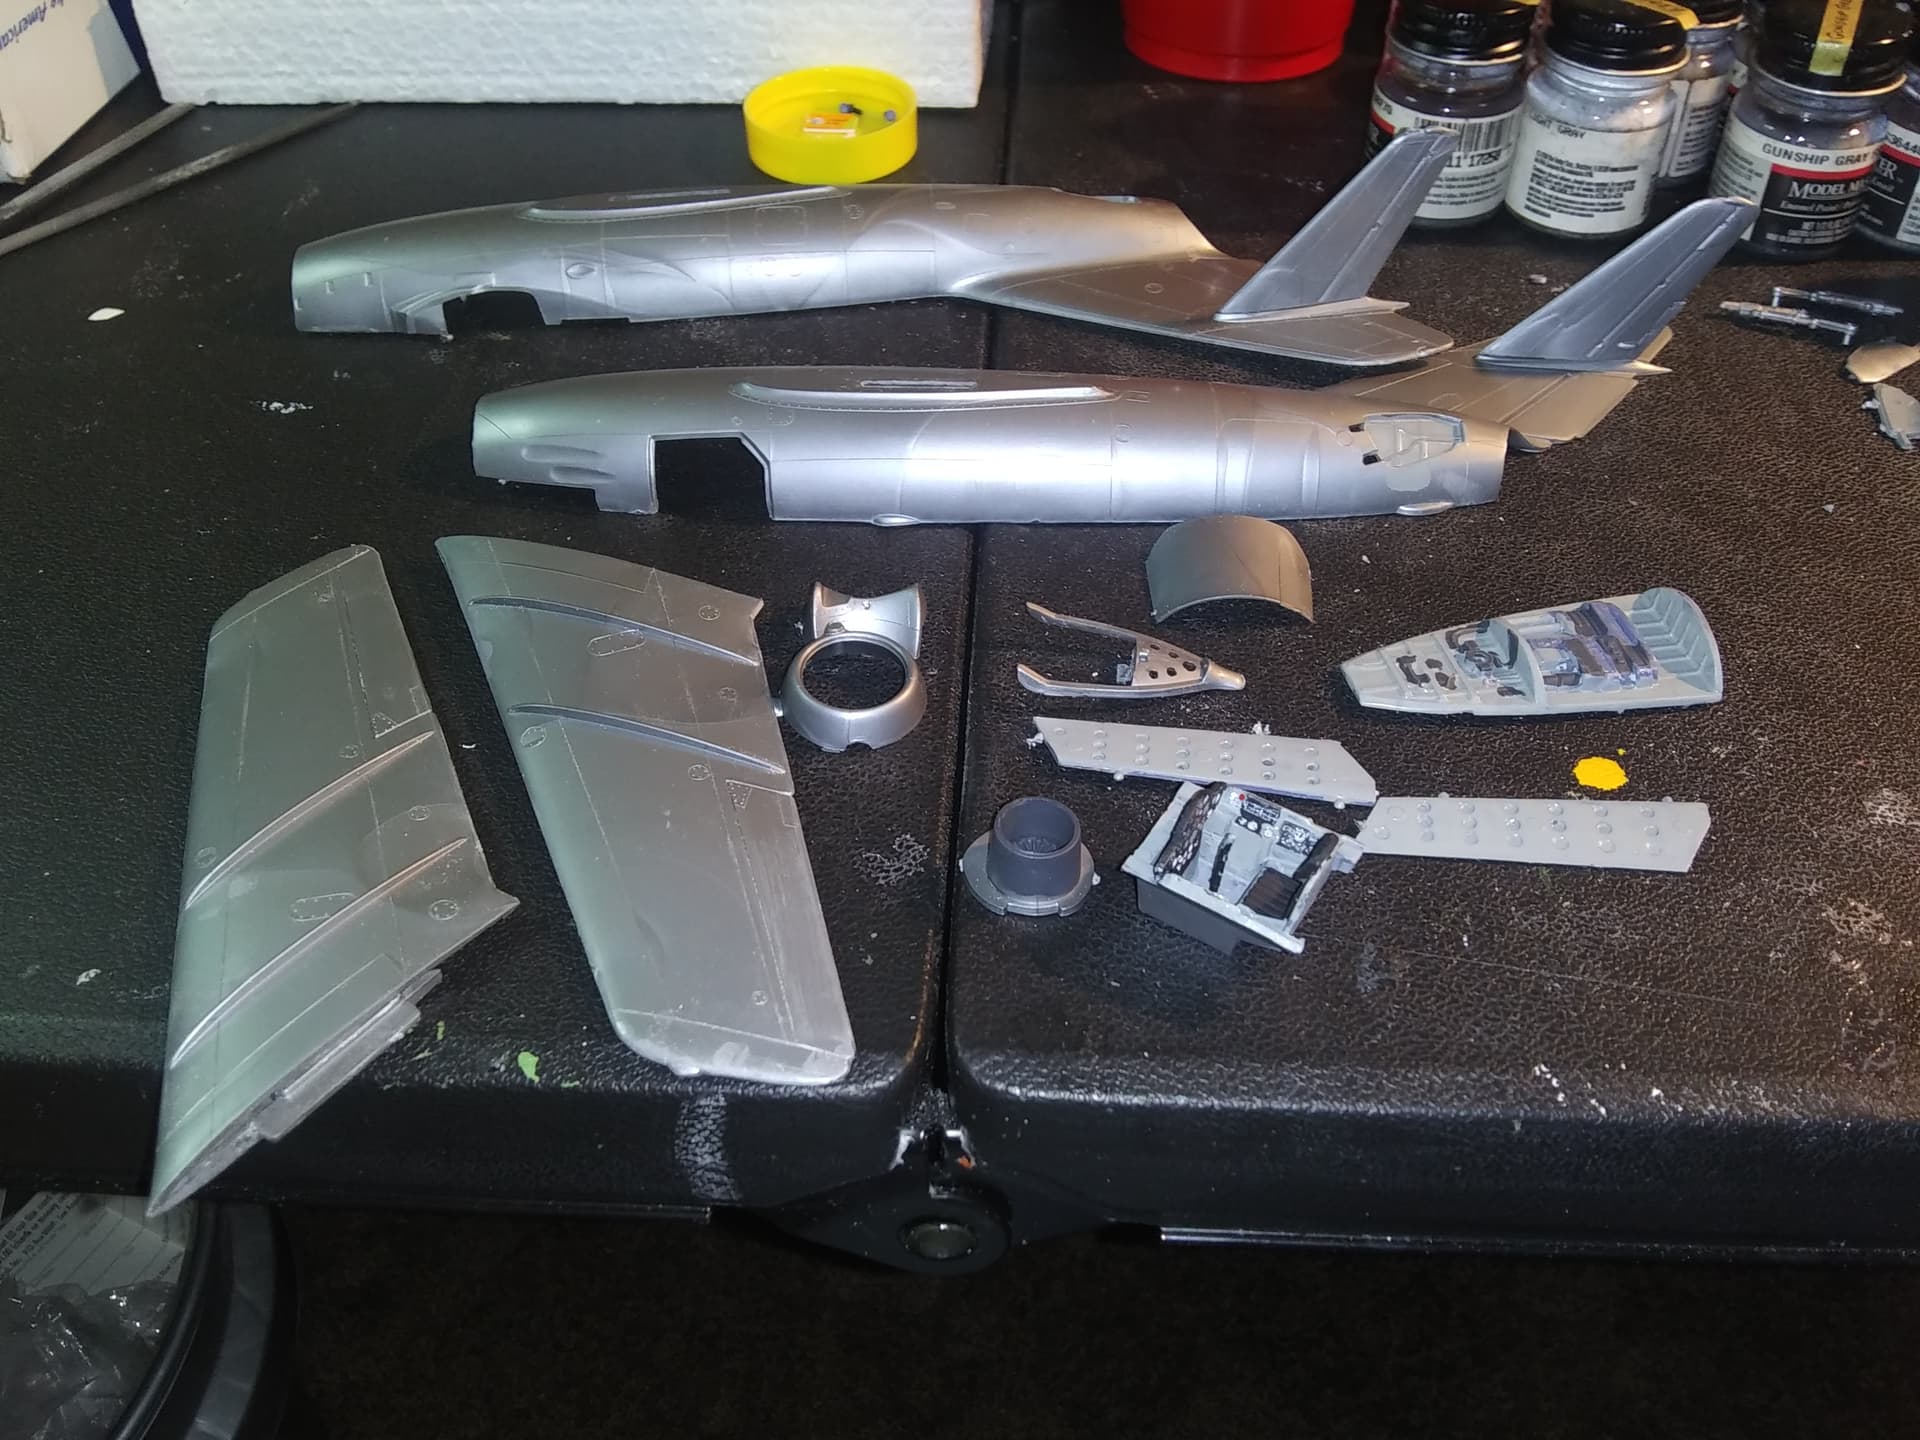
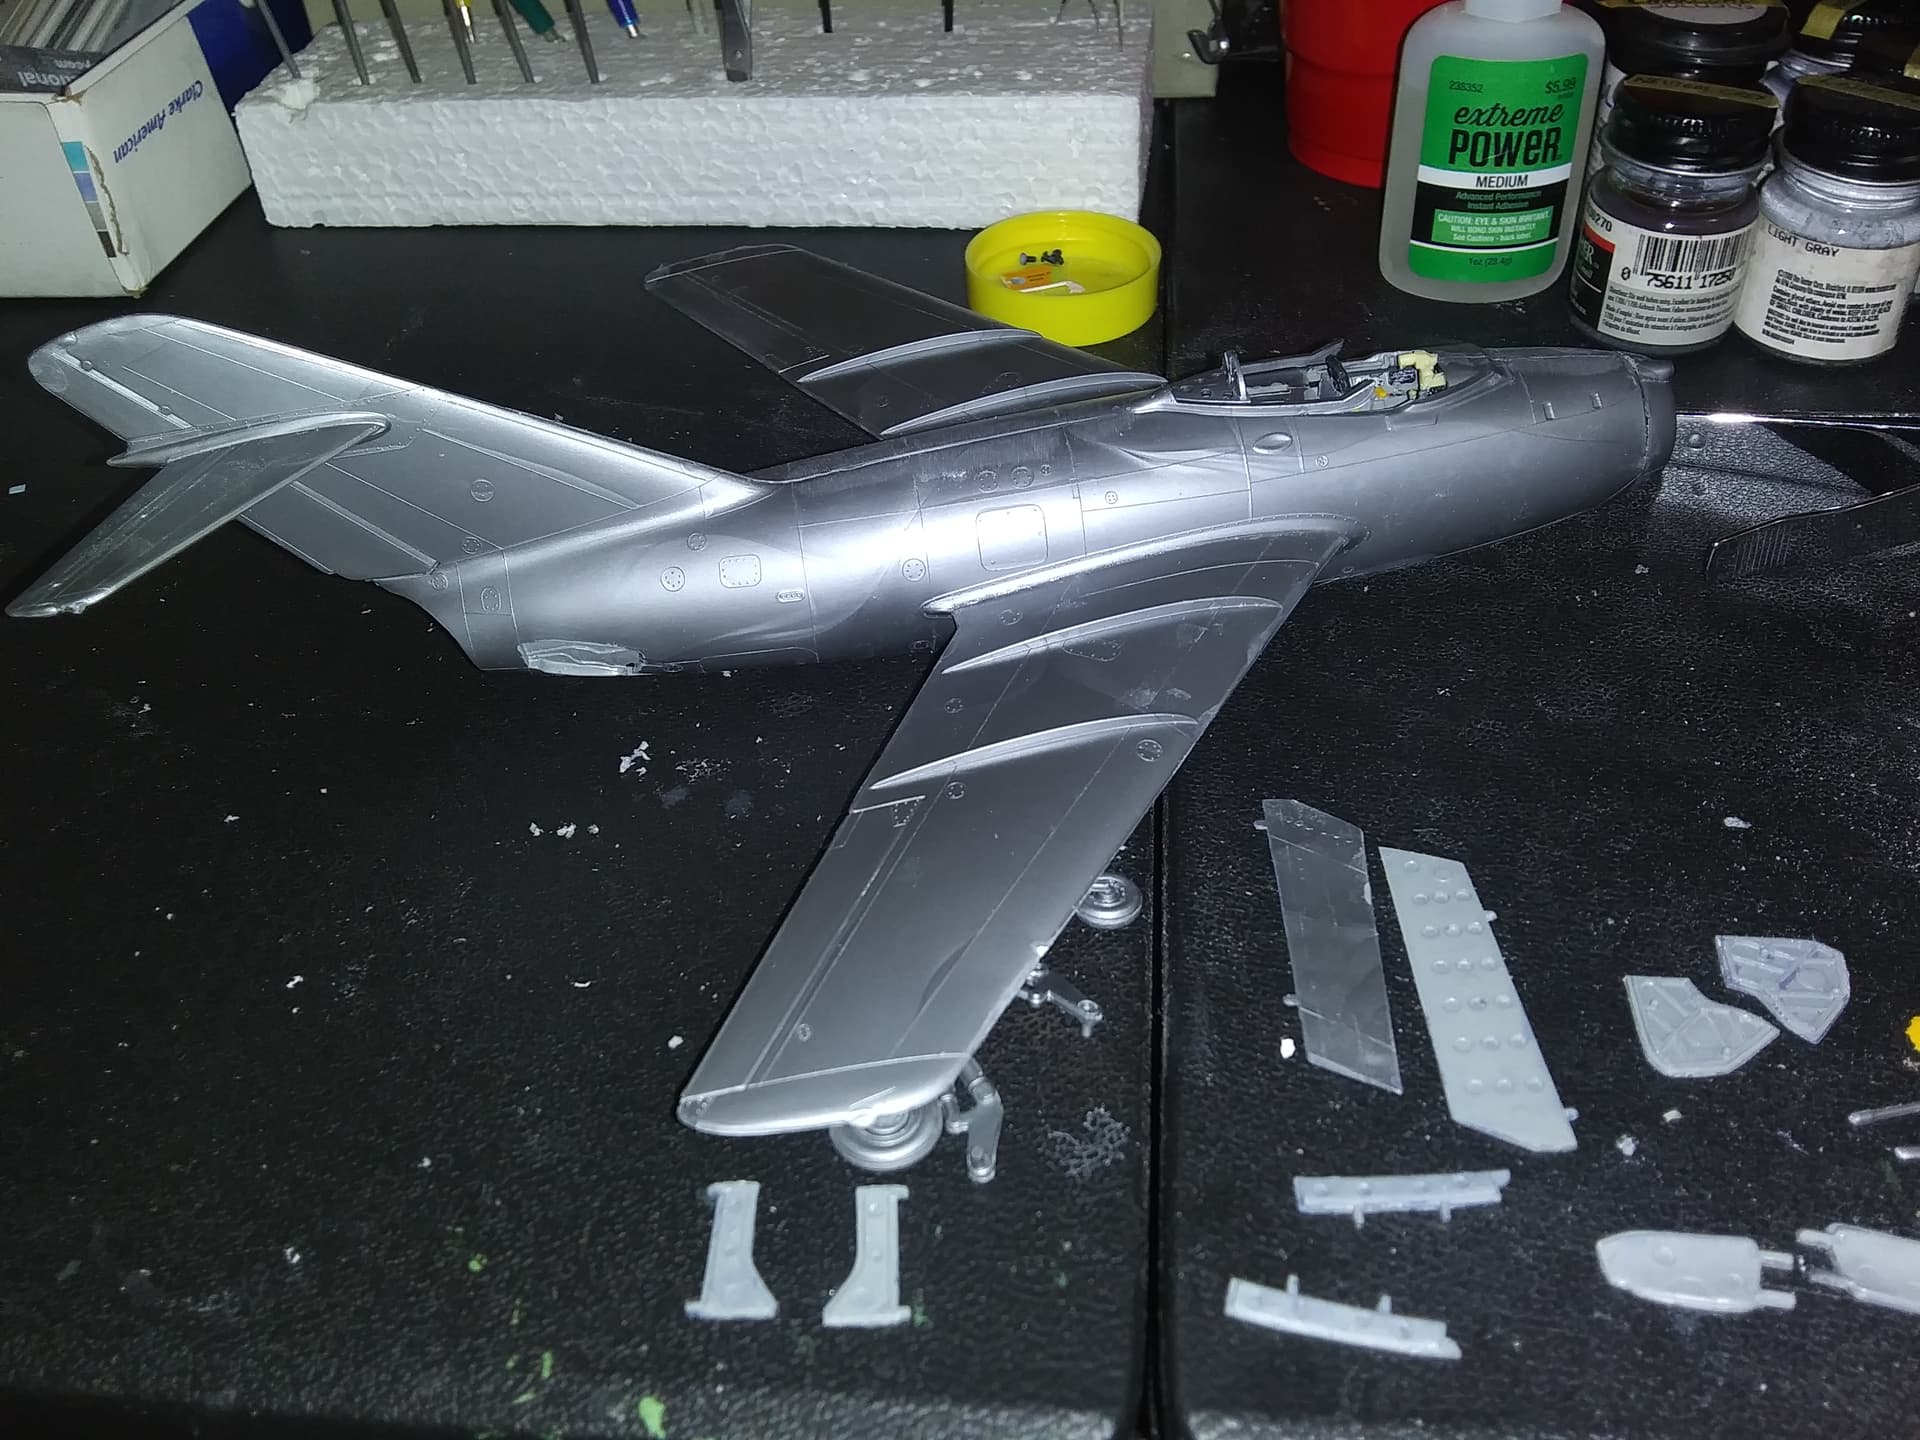
First was making an instrument panel. I took a scrap piece of plastic and carved out a shape using an illustration I found. Not a great fit, but I cut and sanded it into a reasonable facsimile of of one. Then I glued the horizontal stabilizers onto the fuselage and assembled the wing halves.
I then painted the front wheel bay and began to detail the pit. Not a great job, but it’s something that will not be seen once closed up. There are several pieces that need to be finished up before closing the fuselage. All in all, I’m happy with progress so far.
Thanks for looking!
Gary
PS> The Modelmaster Light Sea Grey is pretty close to the color I wanted.
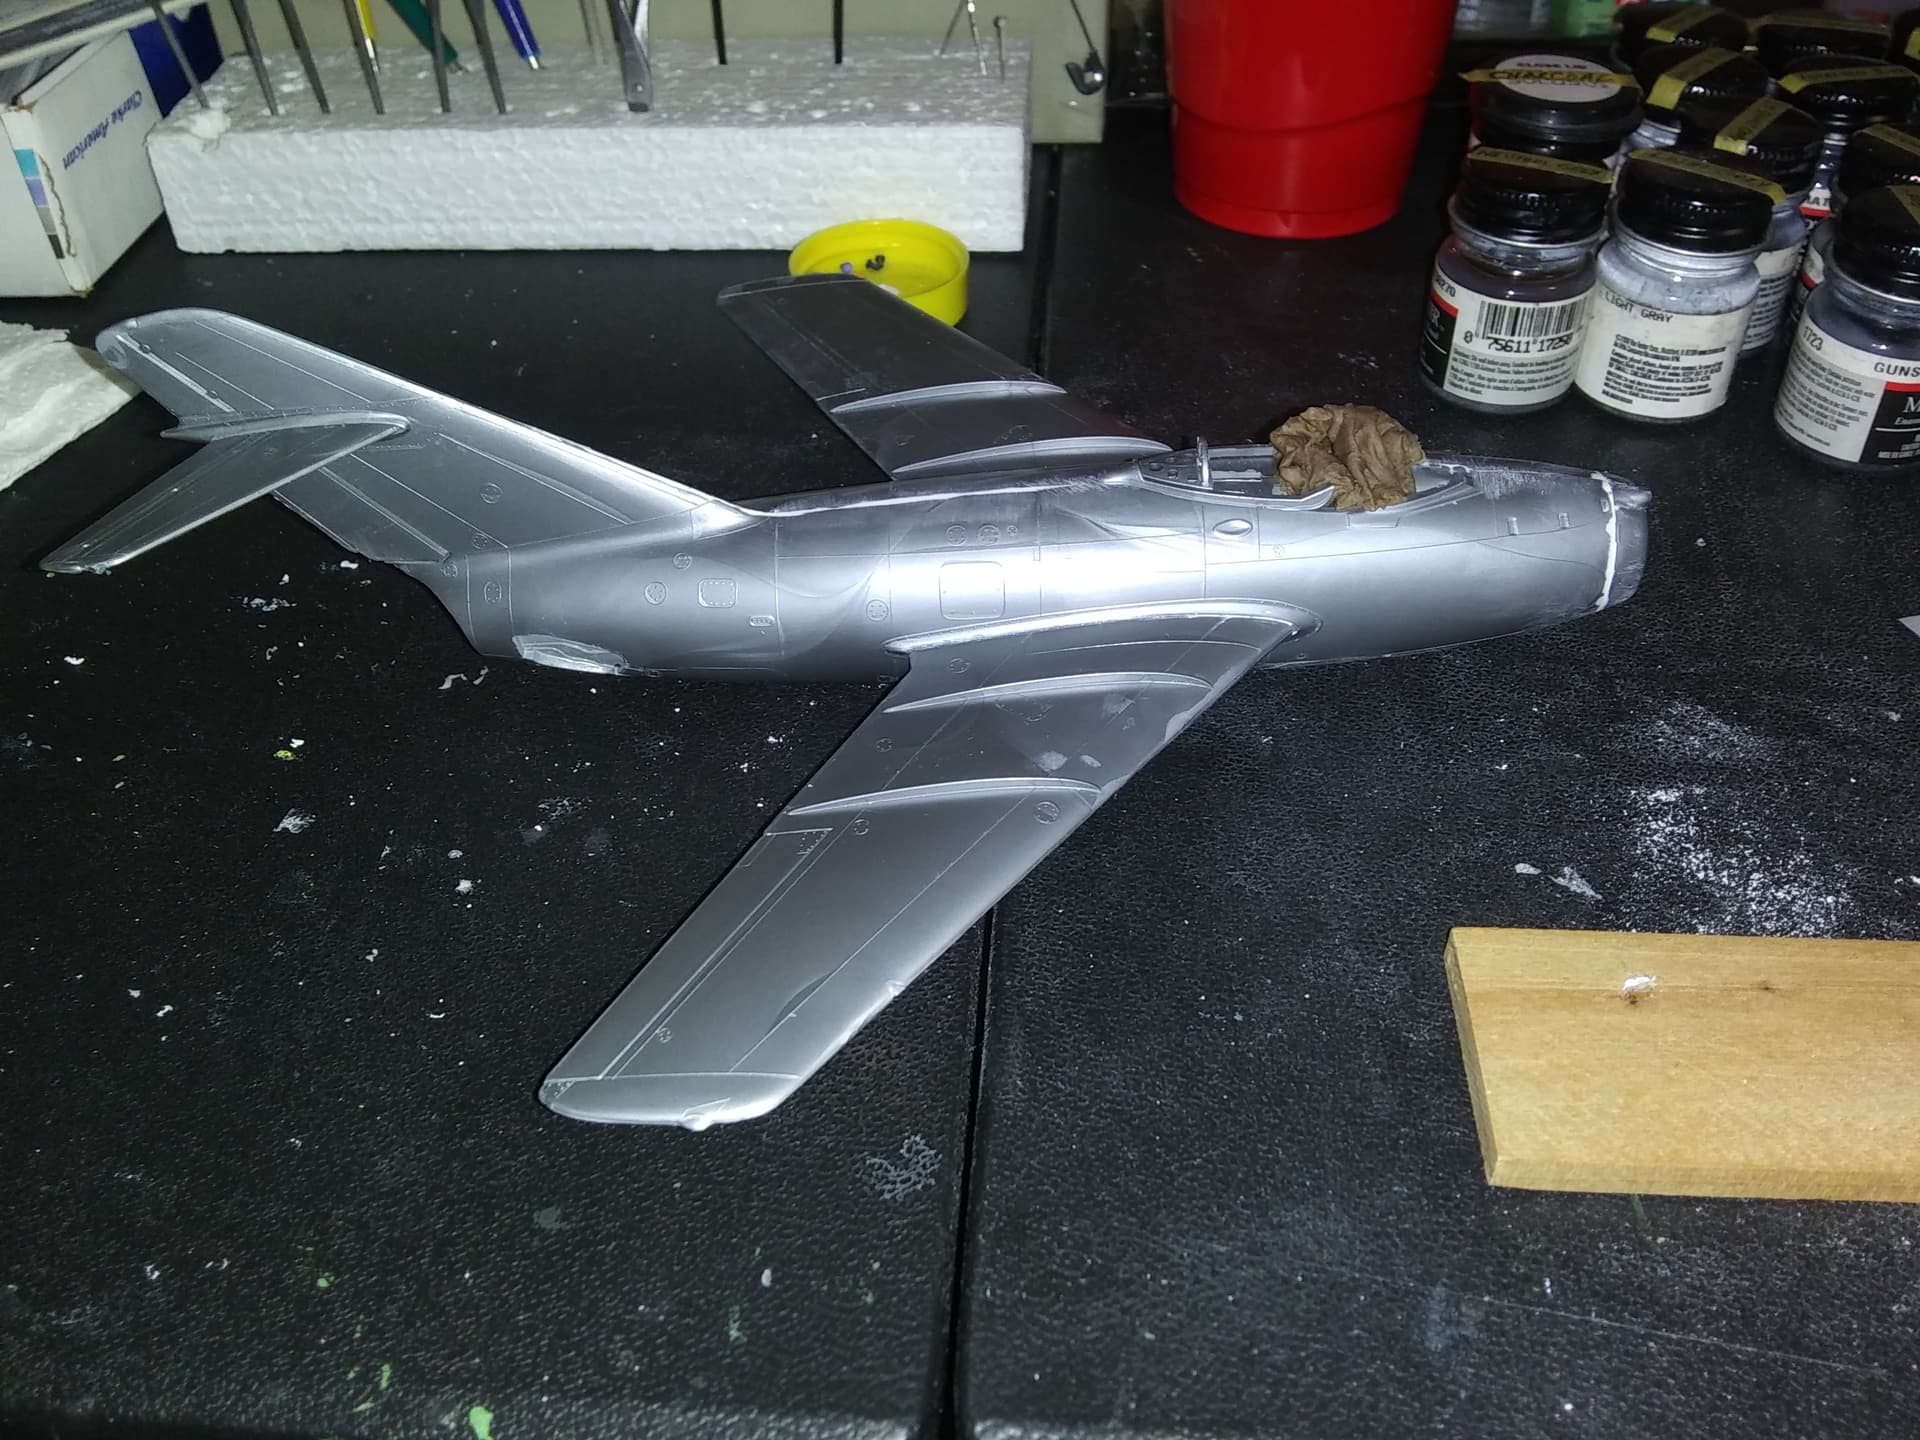
Managed to get the parts inserted into the fuselage and close it up. I had to replace a couple of parts, but nothing too difficult (a tiny section of the nose divider and gunsight). The gunsight I scavenged from a P-47 resin kit, and it needs to be shortened. The wings went on without trouble.