Sensational Jesper. Love it
1 Like

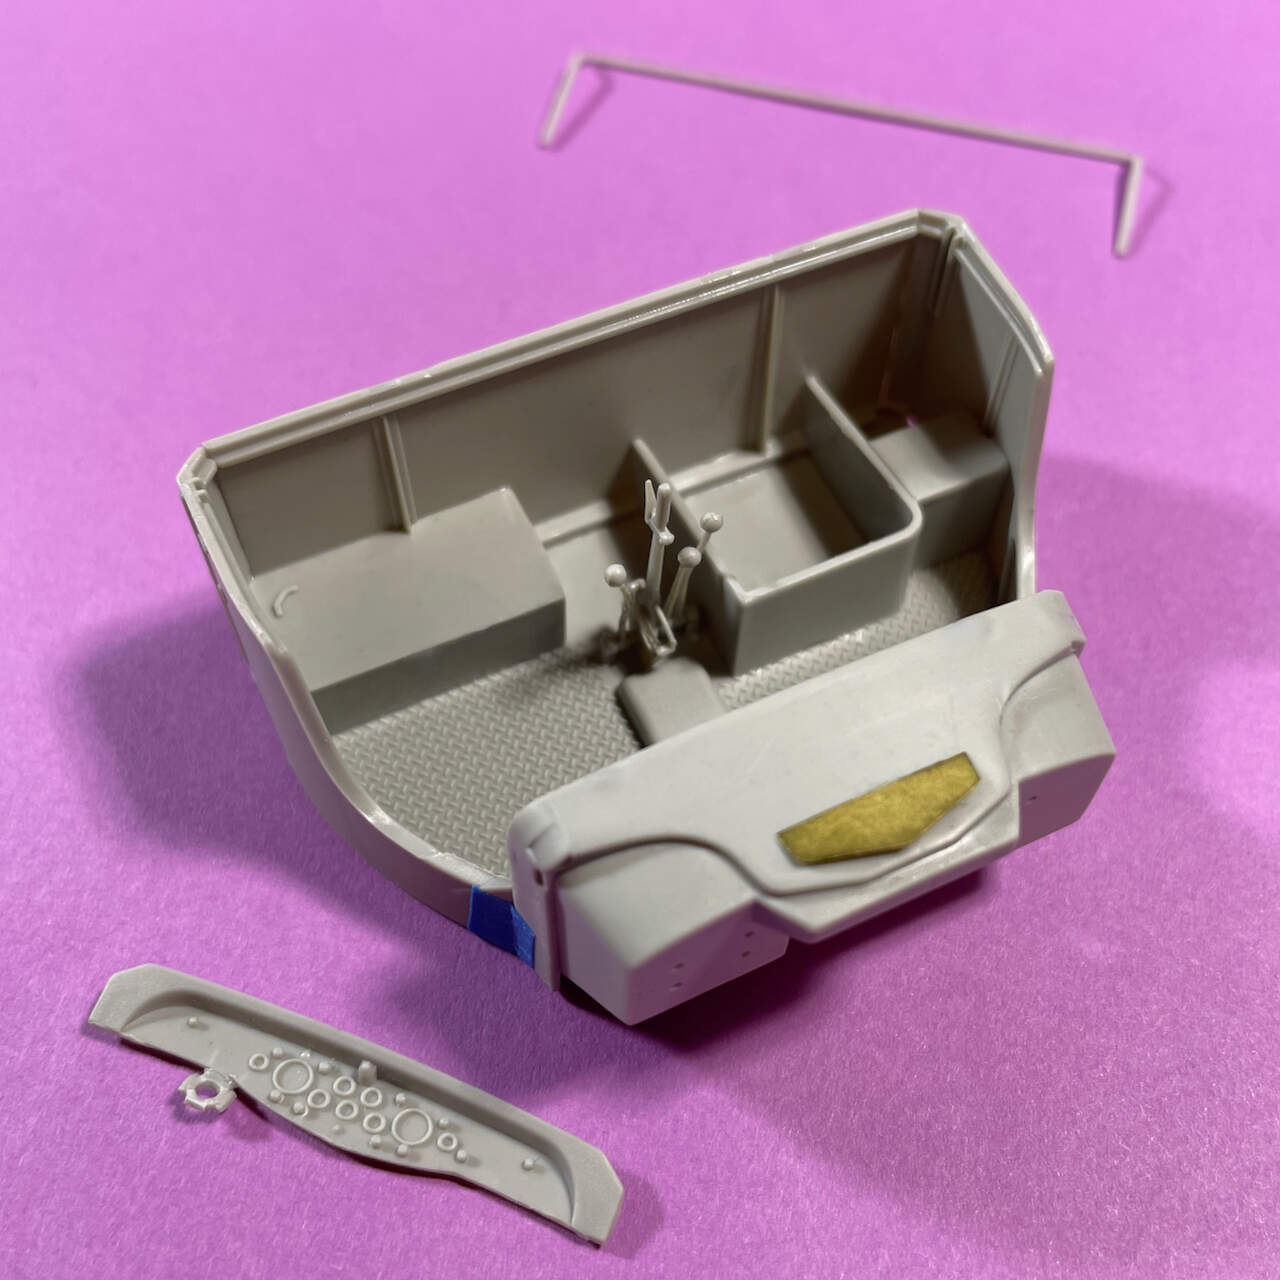
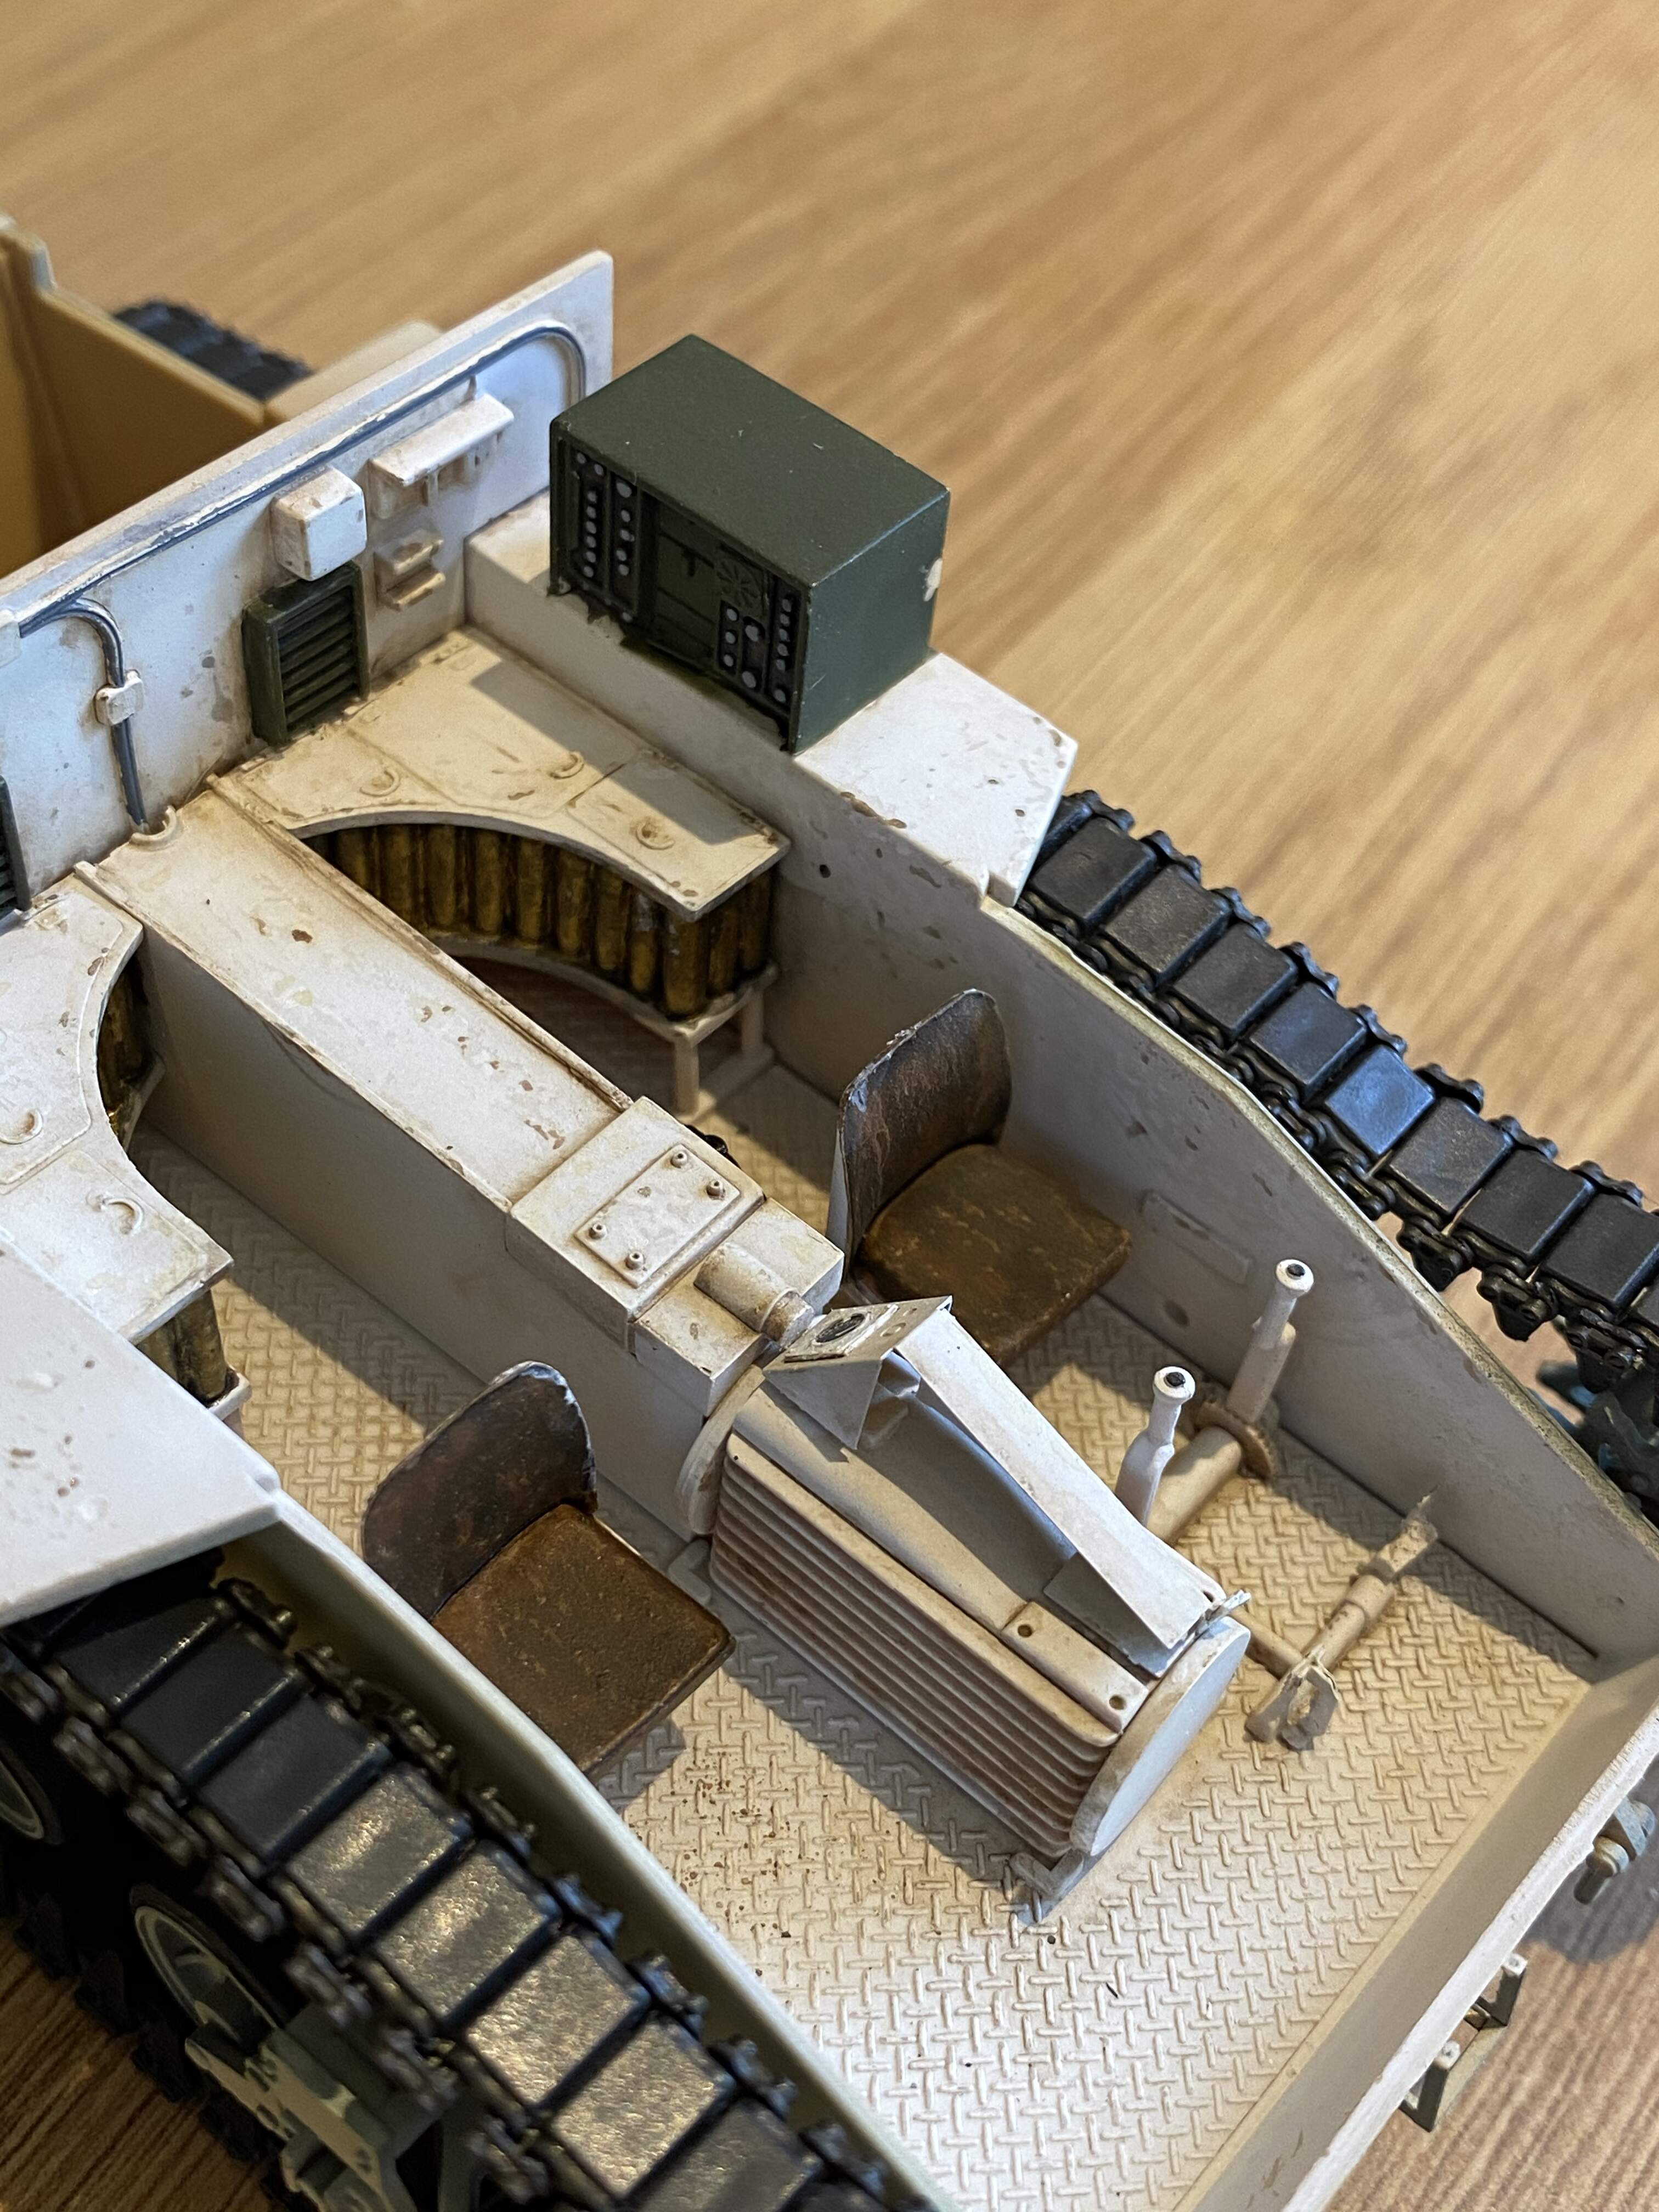
Fun with Styrene! … Assembled the gear shifters — broke one removing it from the giant sprue attachments — glued-up, or should I say “f’d-up” the cab assembly. When I returned to work on the kit tonight, I was completely baffled as to how the shifter assembly attaches to the floor. Then, I realized the floor was totally upside-down! Doh! After a fun d-gluing, scraping and sanding session, I managed to clean up my tracks and reassemble the cab. Whew!
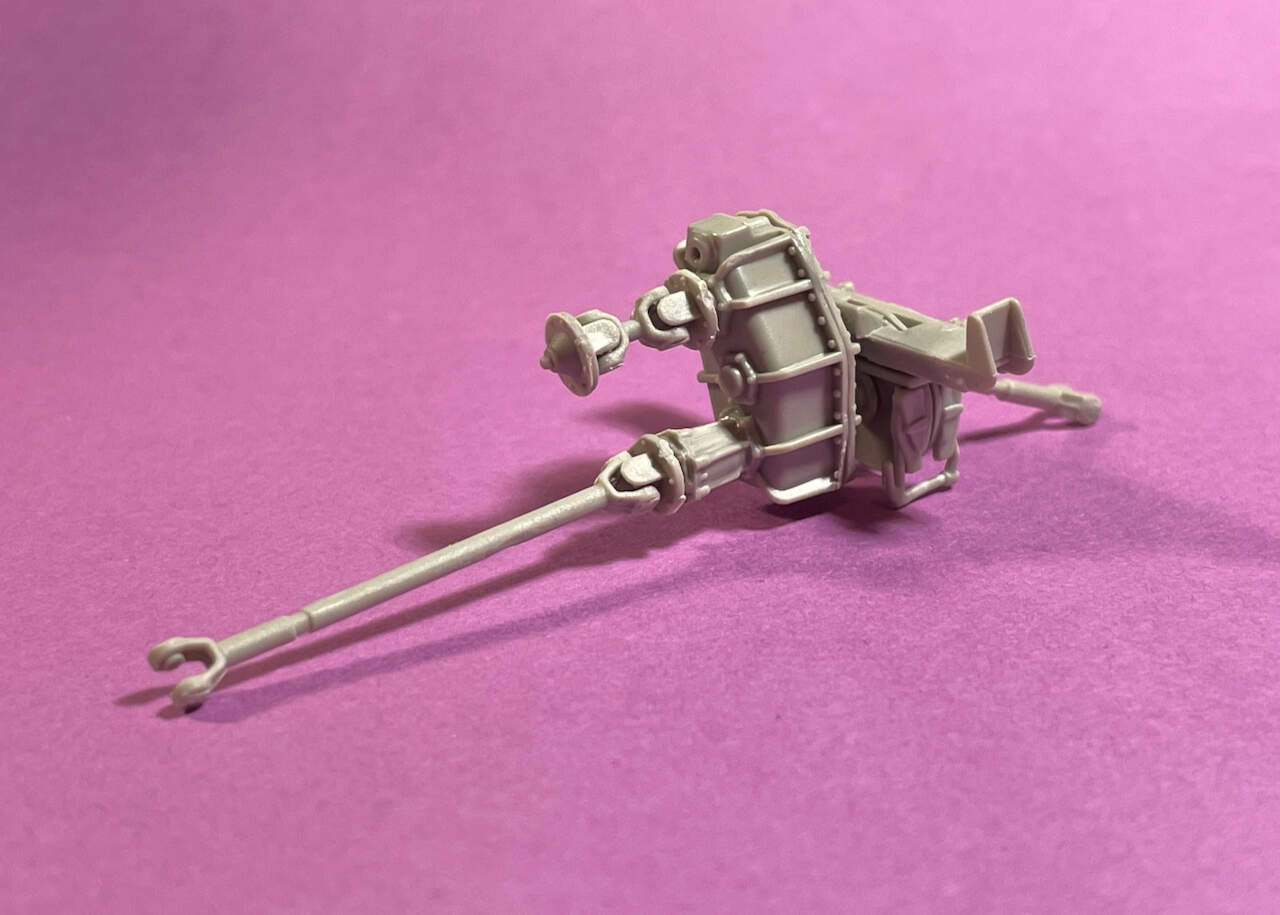
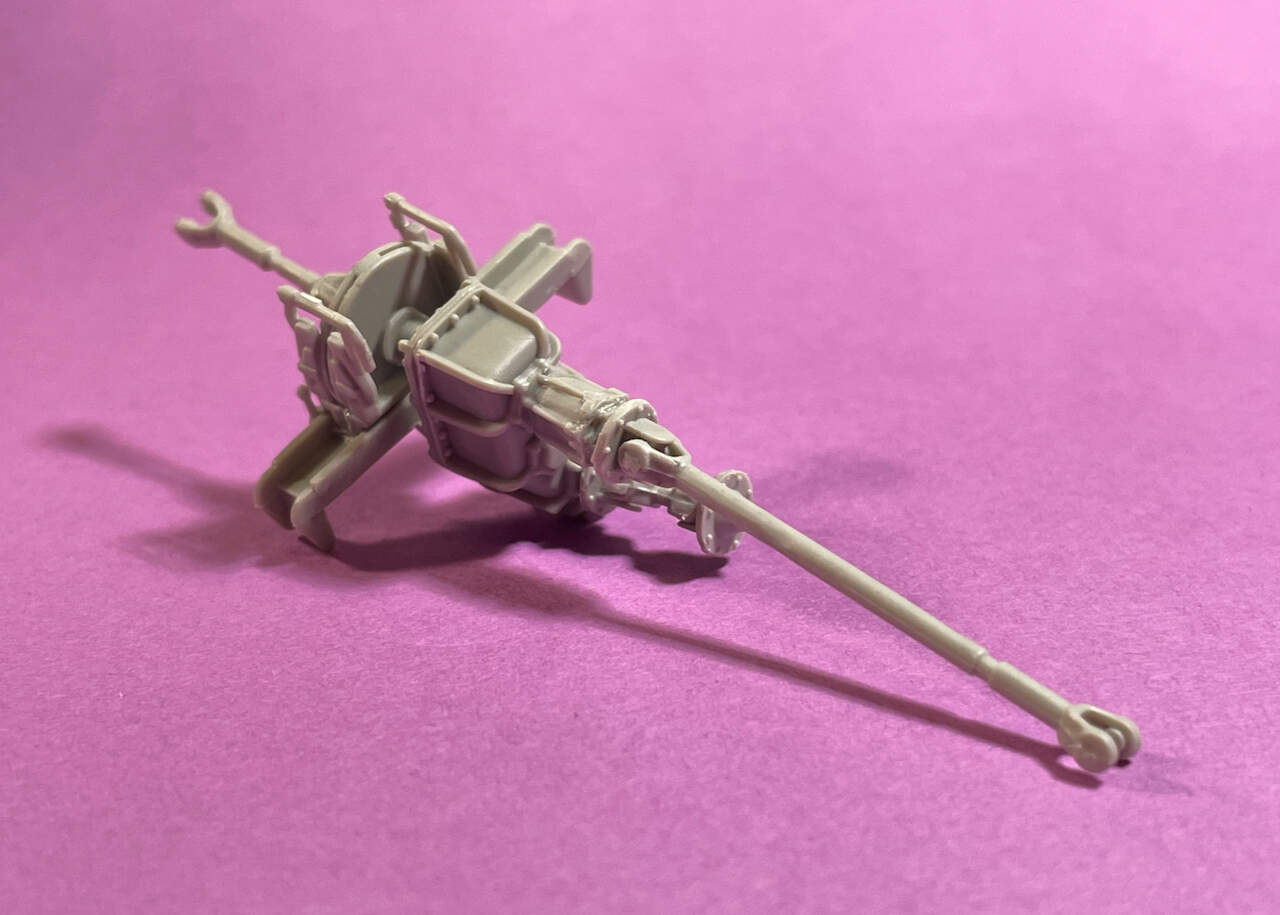
Big parts vs really skinny parts… and a little bit of PE.
Hope all your builds are going well.
Happy modeling!
—mike
2 Likes
Thanks for the comments, guys. Much appreciated!
Michael - it coming along nicely.
Treadplate didn’t give it away at first Mike? 
Hands up if you have never done this sort of thing at some stage… yeah, just what I thought no hands up that I can see…
1 Like
Friends shouldn’t let friends model and drink. 
2 Likes
I always enjoy building those heavy chassis - good job Mike!
Treadplate didn’t give it away at first Mike?
![]() One minute, it was there and the next night, it was on the underside.
One minute, it was there and the next night, it was on the underside.![]() Honest!
Honest!
Either way, the fit was perfect. Haha!![]()
1 Like
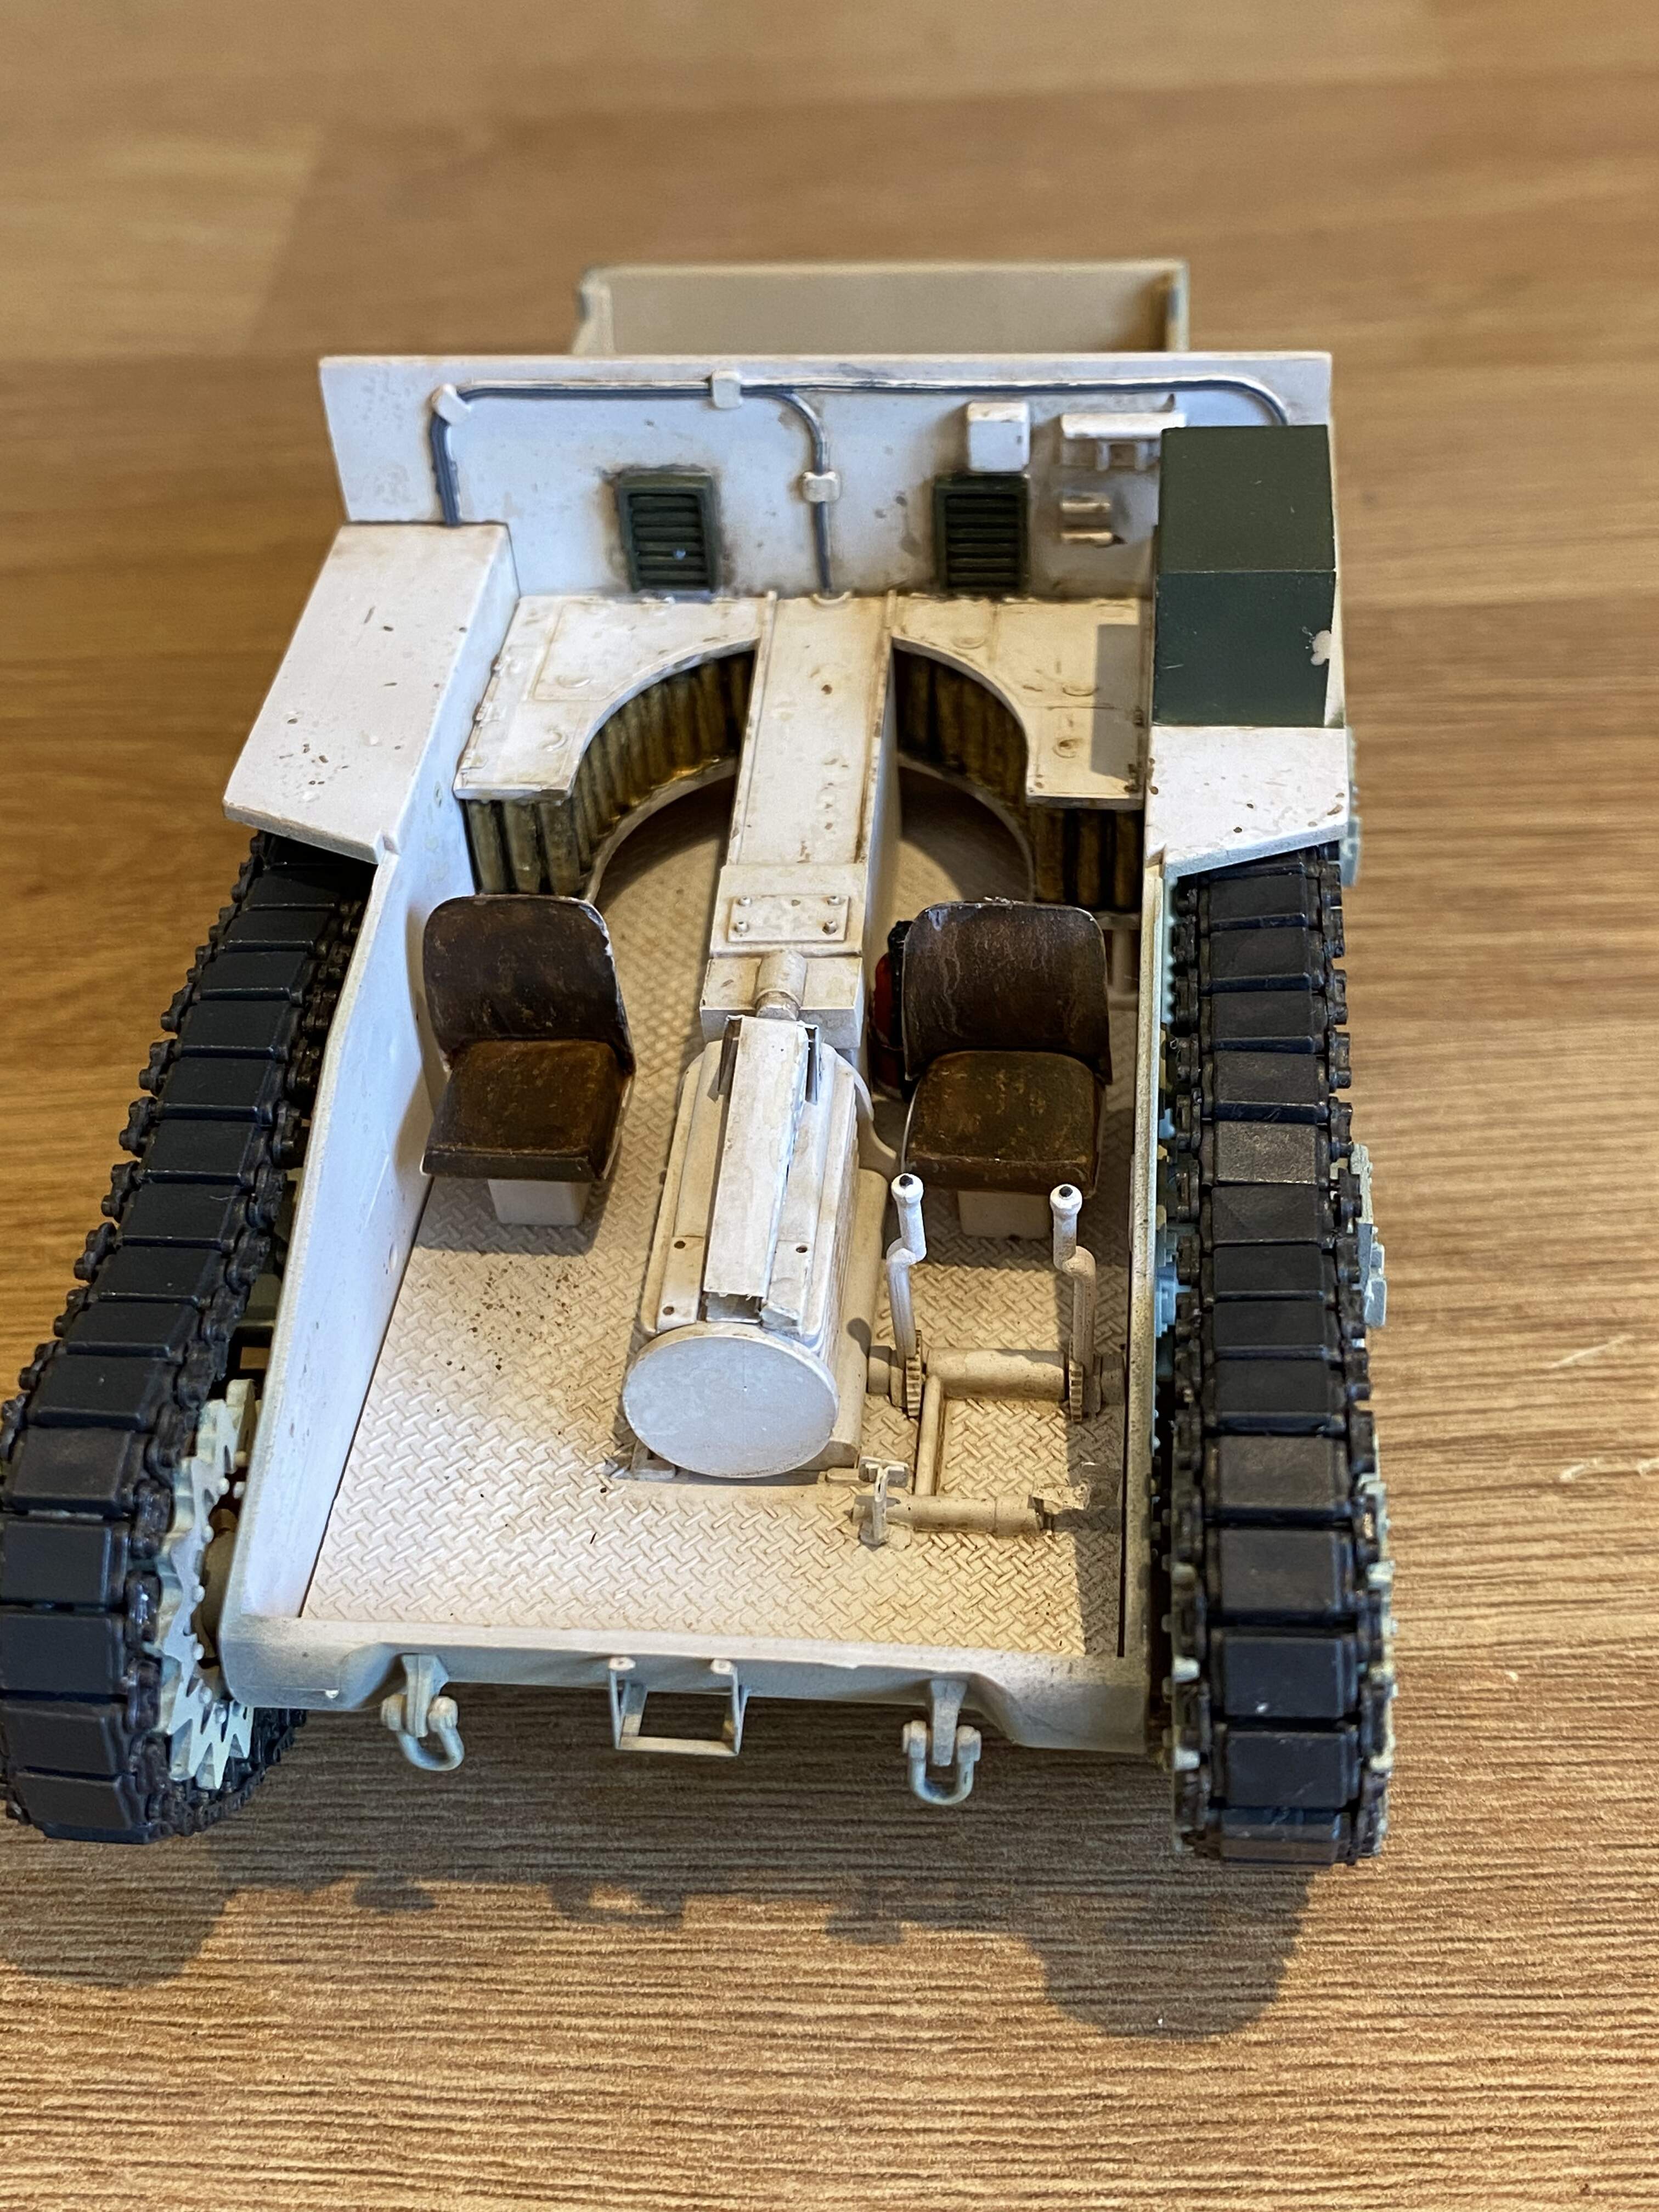
Souce photos I’ve checked look like seats were typically black leather or green canvas. But since I’m ok at brown leather, I went with that.
Not 100% happy with the interior. Need practice weathering white, but the kit doesn’t allow for a particularly easy view of the interior, so that should hide some sins.


5 Likes
That interior looks good to me!
1 Like
Looks really good from my side of the pond. I think you nailed it! 
—mike
Nice. I’m feeling left out - I need to get back to my Valentine!
Very nice interior you made. I think it looks very realistic.
Looking forward to see more 
Thanks all. I think I was a bit dissatisfied with the interior because I wanted subtle weathering, which proved a little difficult. Filthy grime it was then!
Looks good to me too. If you want to tone the grime down, you can always do a little white wash over it, but I think it is great as it is.
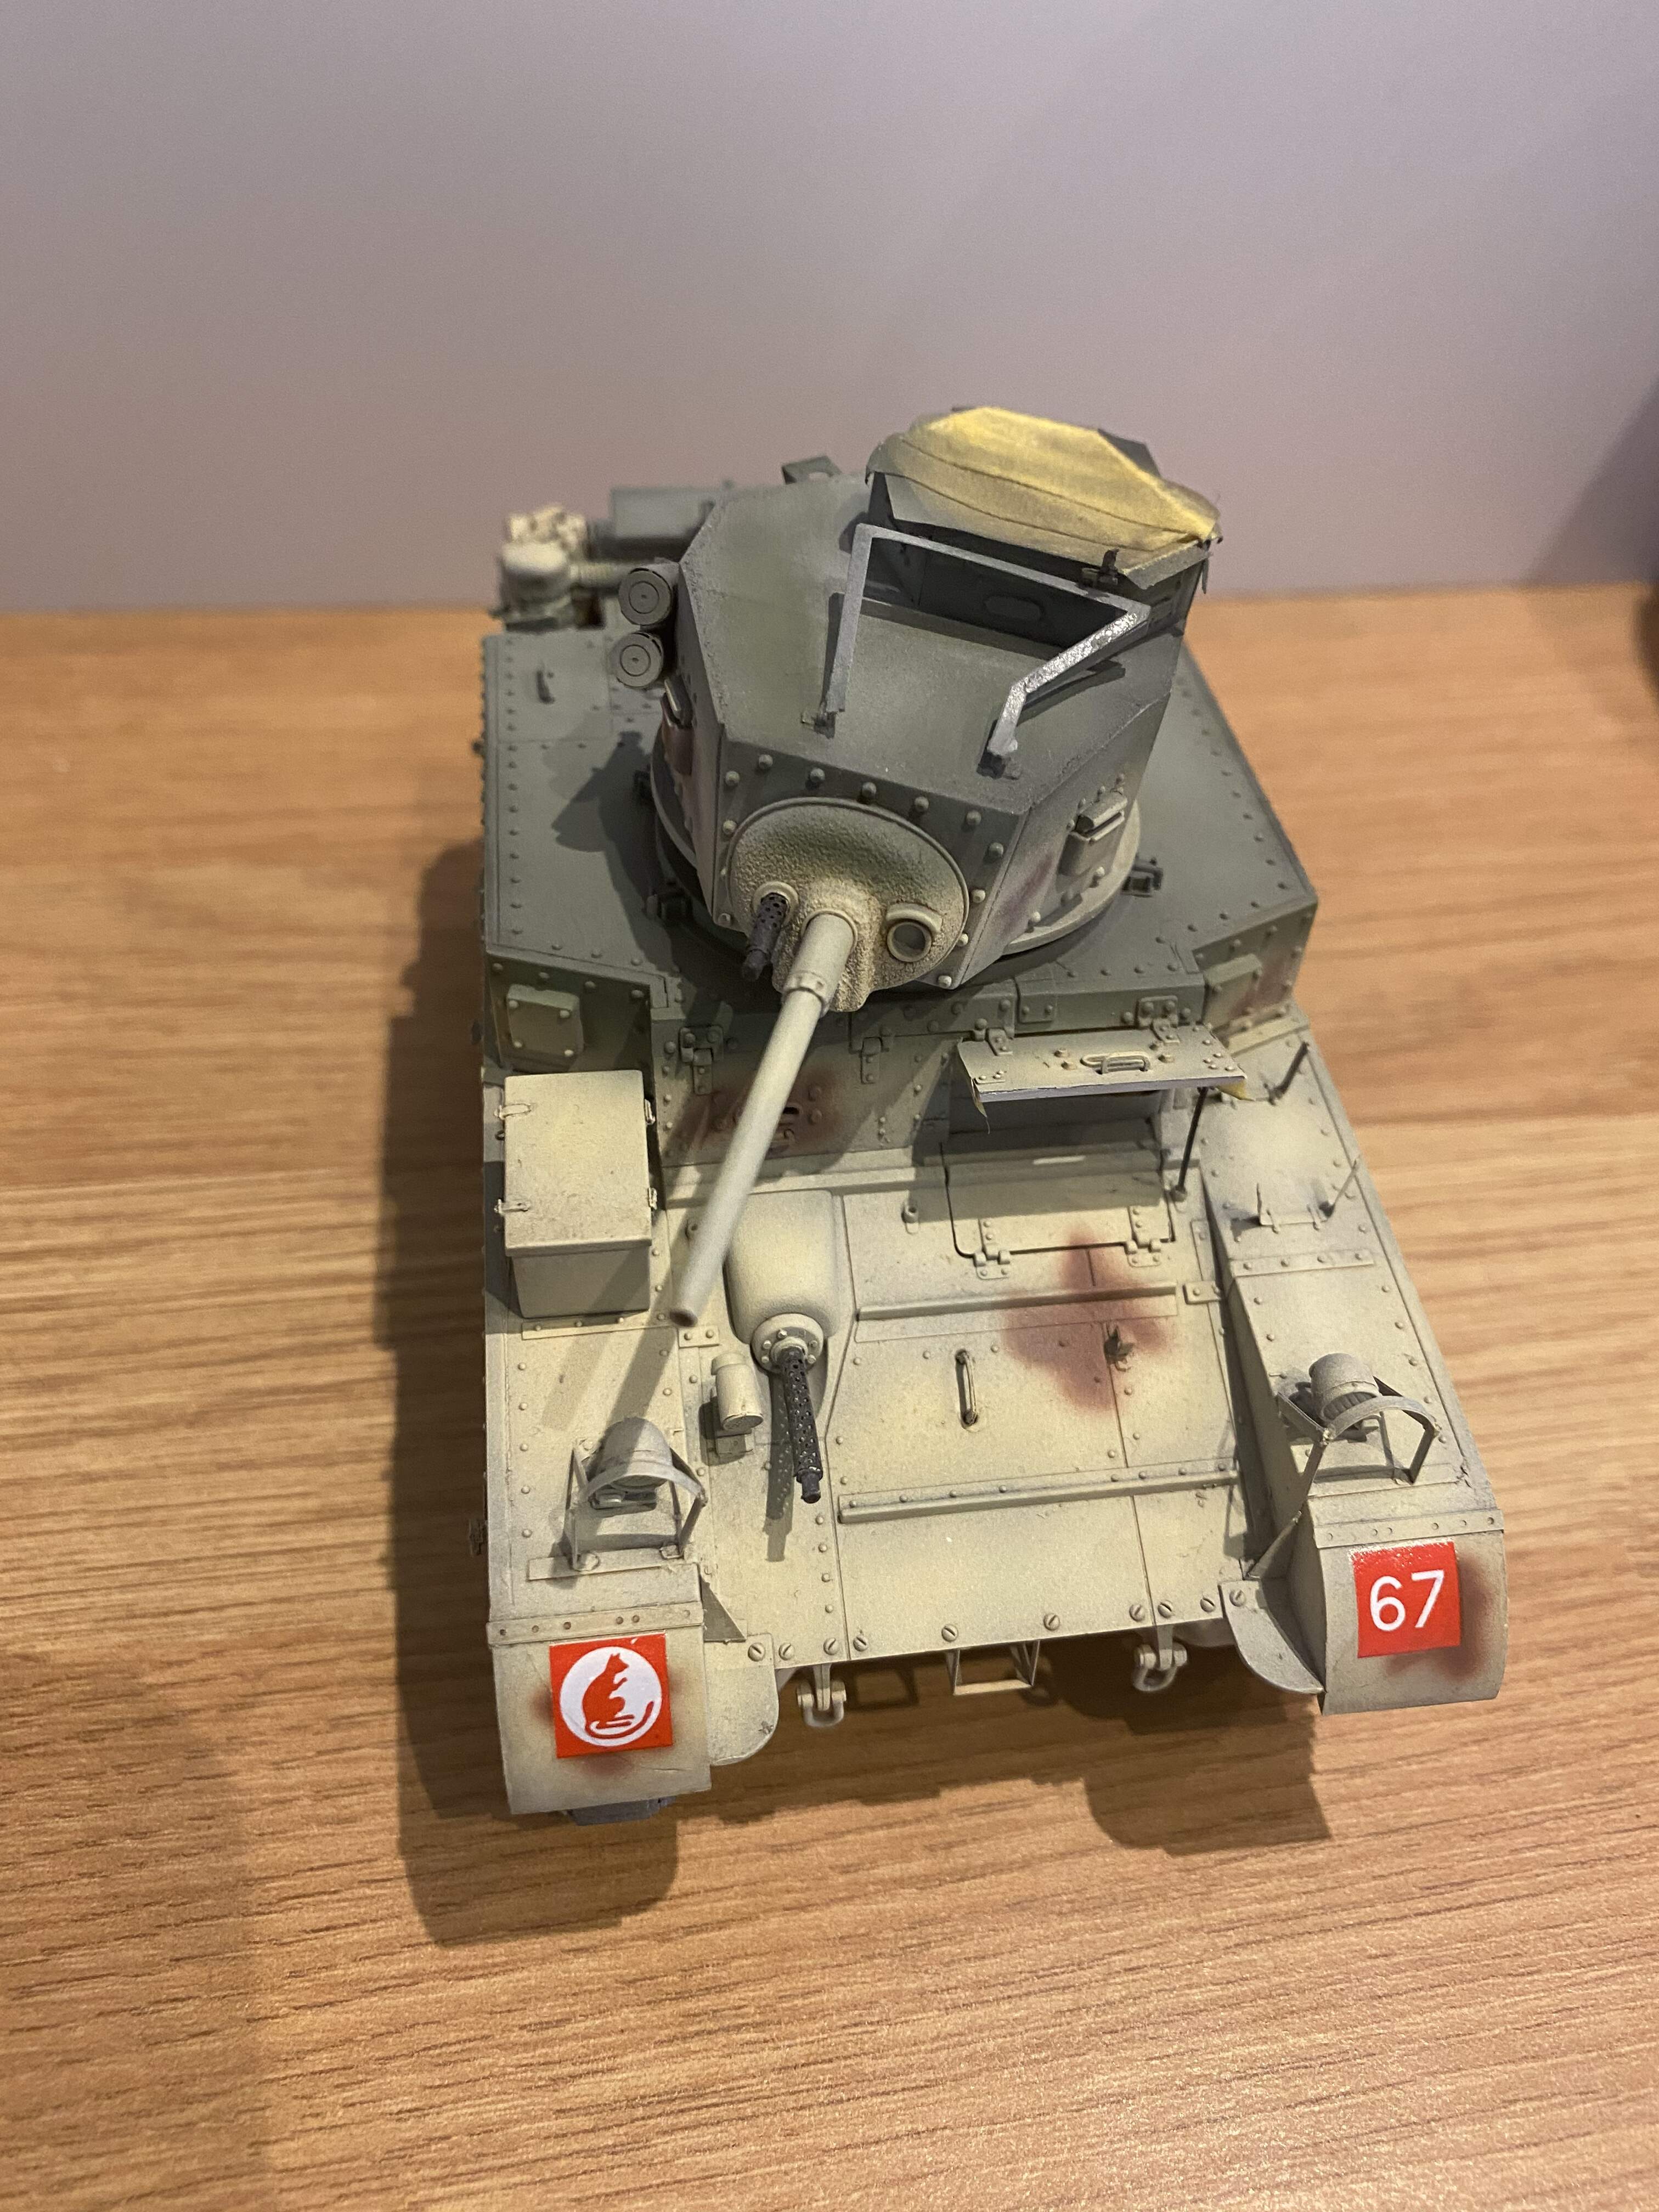
Base coat is now laid down, but was a bit of an experience!
I went with the box art for this one, as a fairly unique camo pattern. I’m not sure how authentic it is, but decided to ignore the paint call outs for two reasons:
1 - as its an Airfix re-box of an Academy kit, the paint call outs are Humbrol, so nope.
2 - I wanted to use paints from the caunter scheme, as since I couldn’t find any details on this particular scheme, figured caunter colours would be a good fit, specifically light stone and slate.
From here things didn’t go exactly to plan. Firstly I was checking paints to see if I had enough left before getting the airbrush out, when distracted by one of my kids asking something. I went back to pick the paint up forgetting I’d already unscrewed the lid and sent a pot of Tamiya deep green arcing across the room.
After about 20 minutes carpet cleaning I was able to start laying down a base coat.
I meant to go for light stone, but for some reason I picked the Portland stone mix in error. Ironically I recall it looked a bit yellowish on applying so added a touch more buff. Of course once it dried was a lot less yellow than the intended light stone. For the top I used slate and the brown I used an equal mix of red brown and flat earth. I varied the mix slightly and put a thin coat over hairspray. This was more to add texture to the slate, rather than chipping and is rather subtle. It’s not that clear in the photos and I suspect may be lost under weathering.
After realising the mix up with the Portland stone I added a coupe of coats of tan filter and the decals

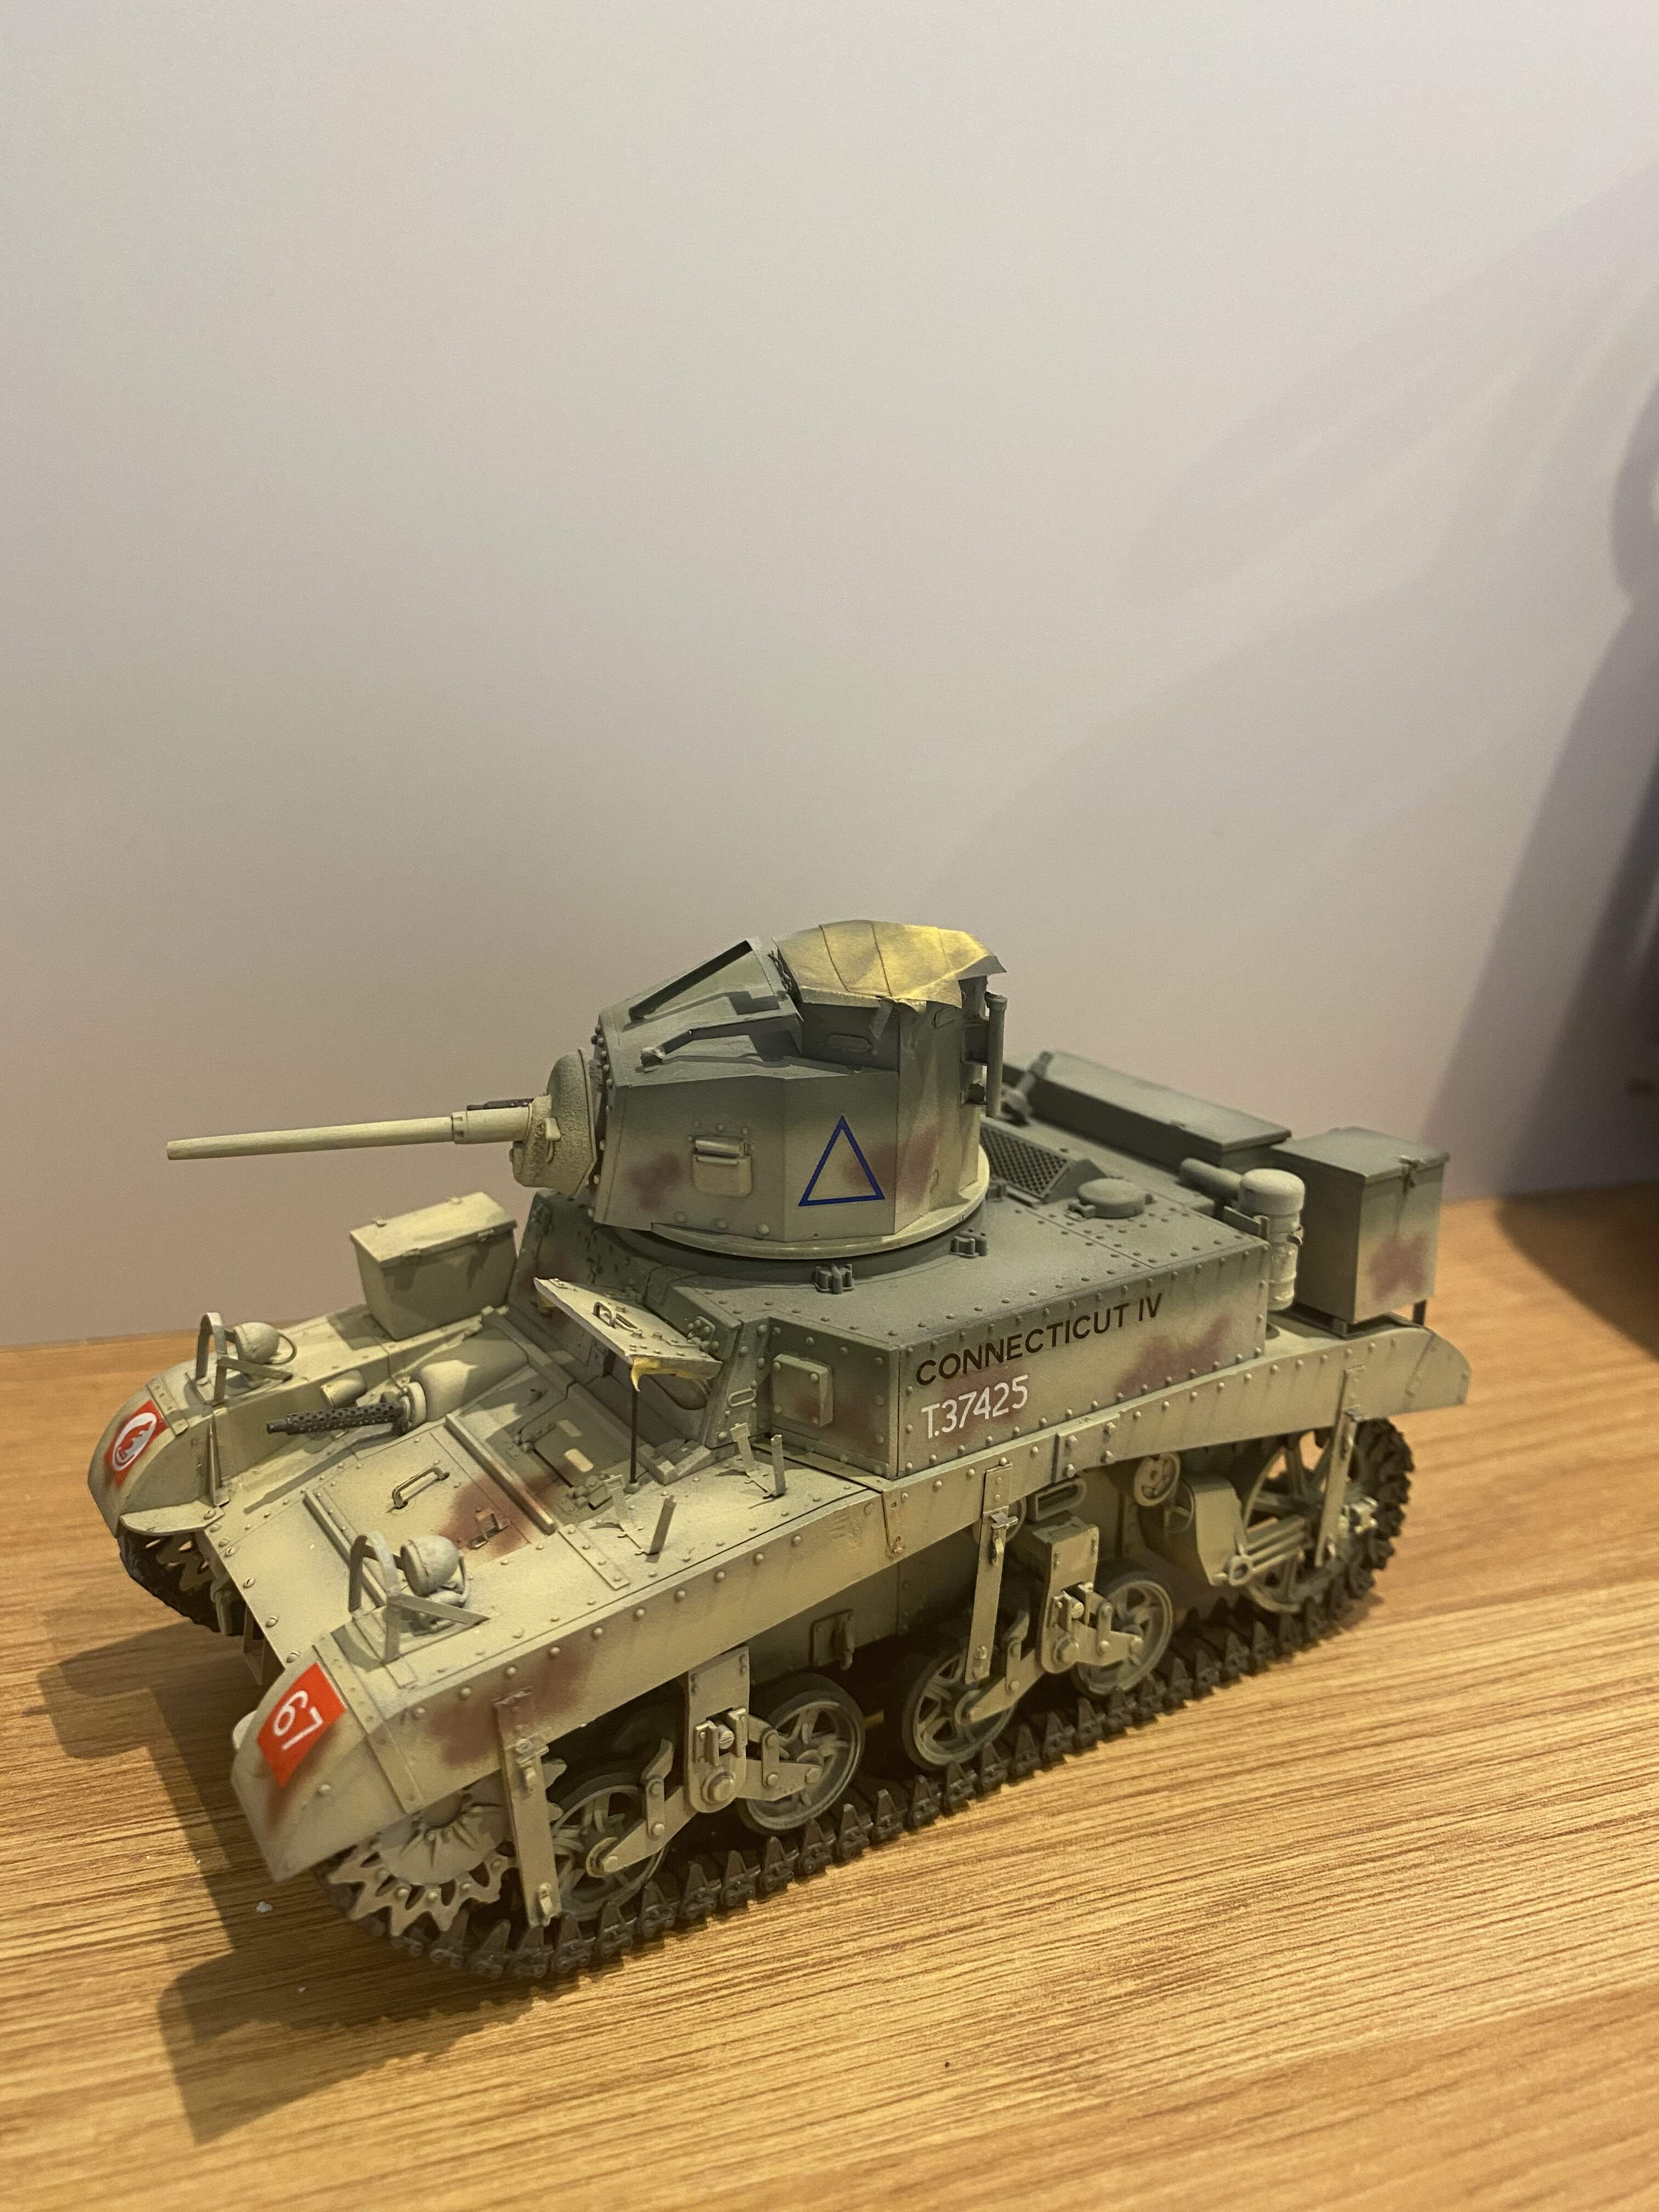
Overall I like the result, although not sure particularly authentic. Weathering next, plus some detail painting.
5 Likes
I like the result too. Can’t speak to authenticity but it looks believable to me.
Looks Good to me Digger. Very nicely done.
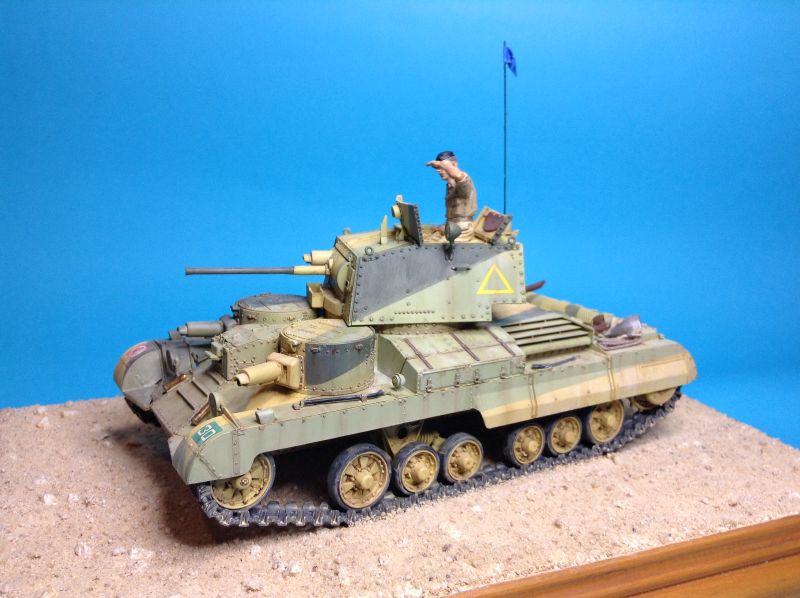
I recently did a Bronco A9 in Caunter, using Mike Starmer’s Tamiya based Portland Stone mix. After seeing how yellow it was, I assumed I got the colours switched by accident. Went and bought more paint and re mixed it to find it was exactly the same… then I found out is a very yellow colour in real life. However, a bit of weathering and it does tone down considerably.
5 Likes
Thank you Phil. I’ve really enjoyed this kit. Often wondered whether we get to caught up too much with authenticity sometimes, particularly when often given the time elapsed and lack of source material we may never know for sure.
That said it’s a compelling part of the hobby sinking into the detail.
Petbat that’s a great looking A9! There’s something very appealing to the caunter scheme and it component colours, at least to me. Maybe it is because it relatively unique. I’d describe the Mike Starmer mix as just a bit too bright, at least to my eyes, but you’re right, weathering always tones it down. Hopefully I’ve not dulled it down too much beforehand.
Weathering next. All those rivets calling out for a pin wash!
3 Likes
What is that greenish shade in this scheme, Peter? I’ve been looking for a good washed out green for my Iranian chieftain…